 Arnov Sharma
-
1Assembly
![]()
![]()
![]()
![]()
![]()
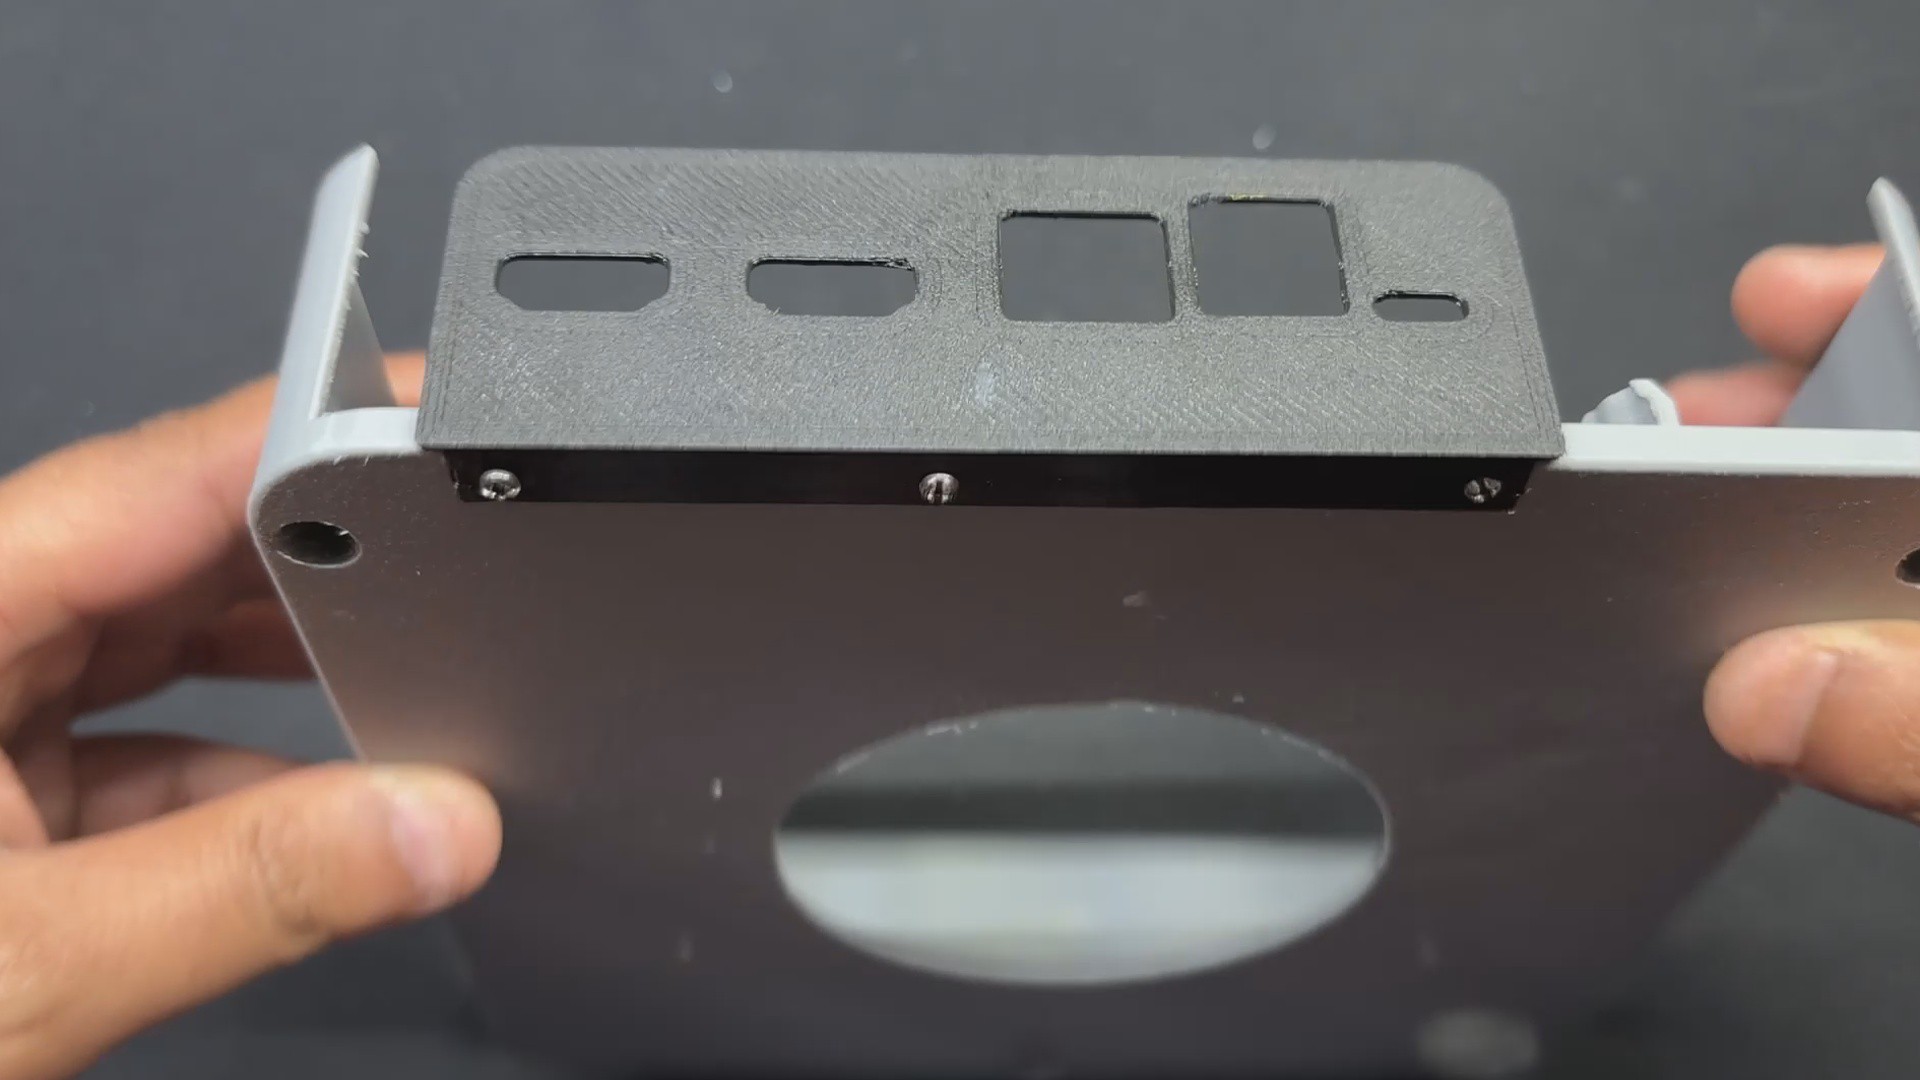
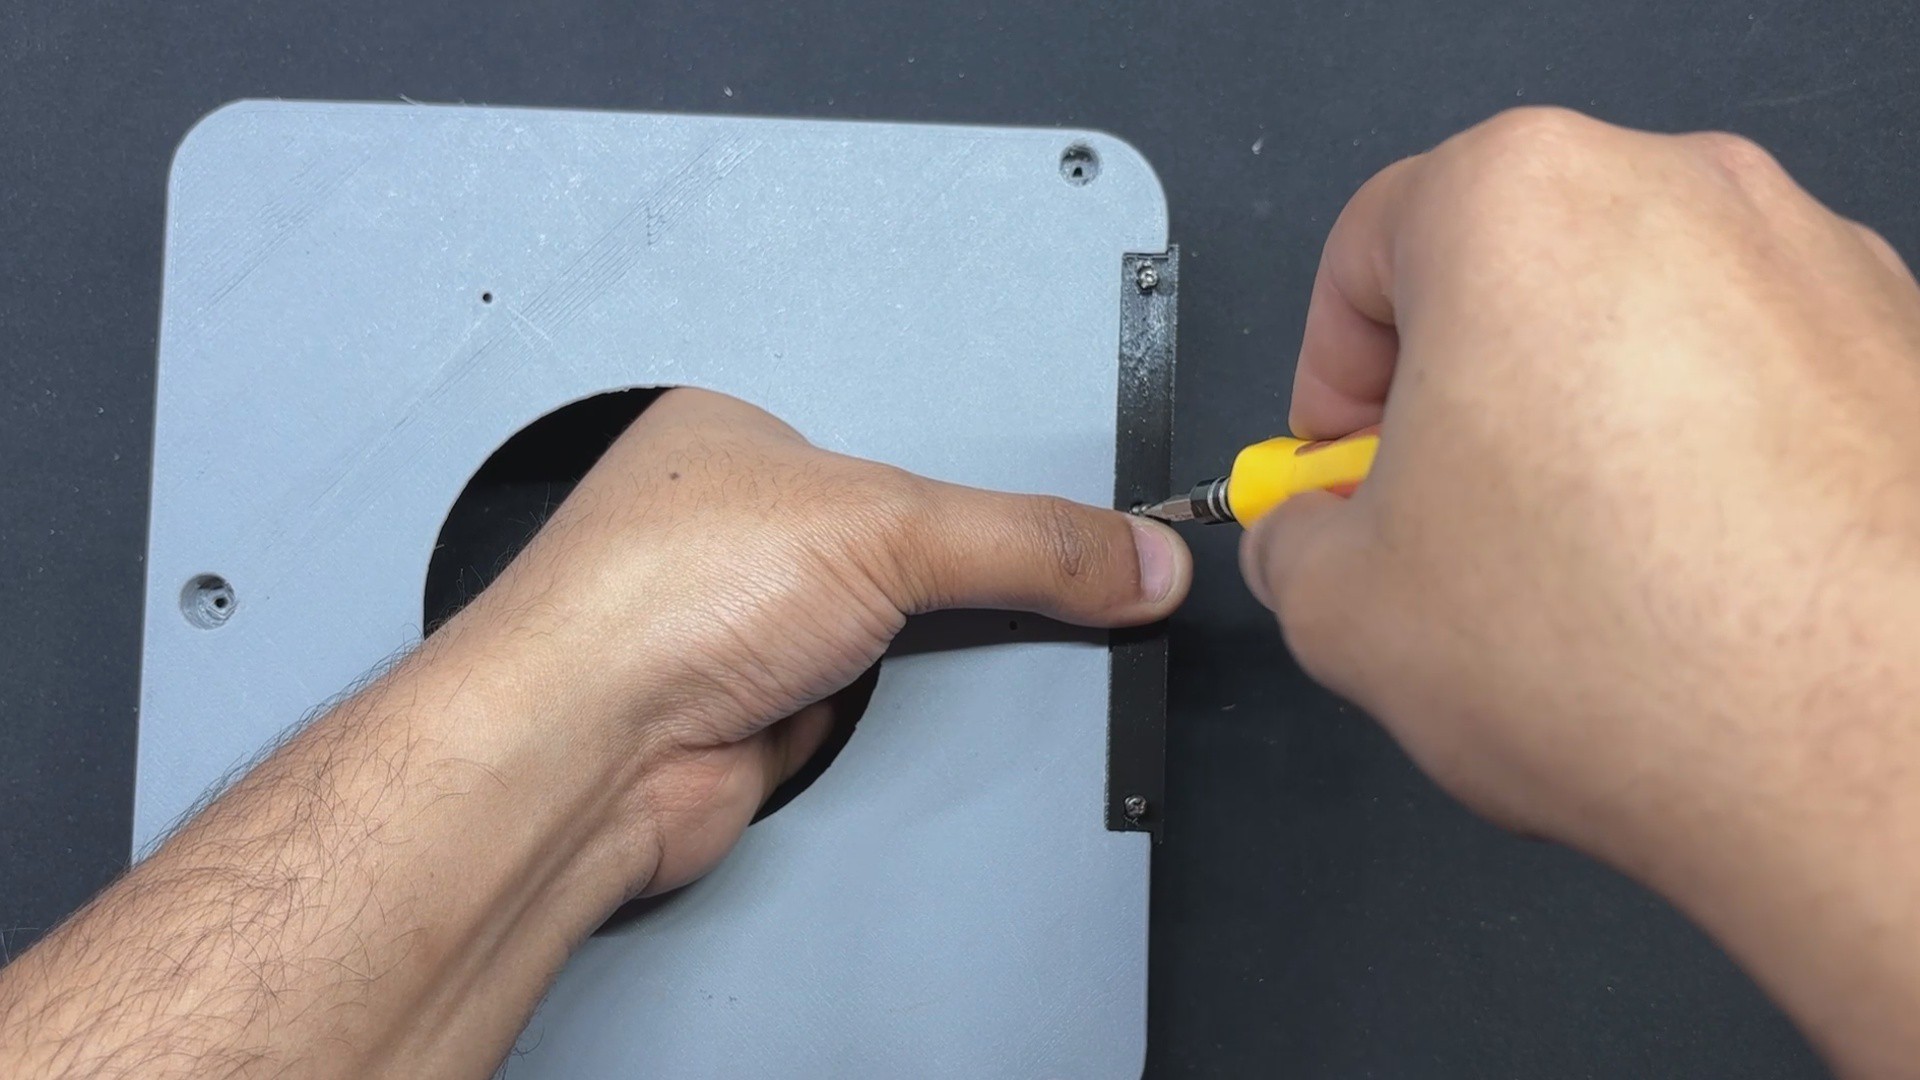
- The assembly process begins with placing the I/O Cover on the Main body, which is then secured in place with three M2 screws.
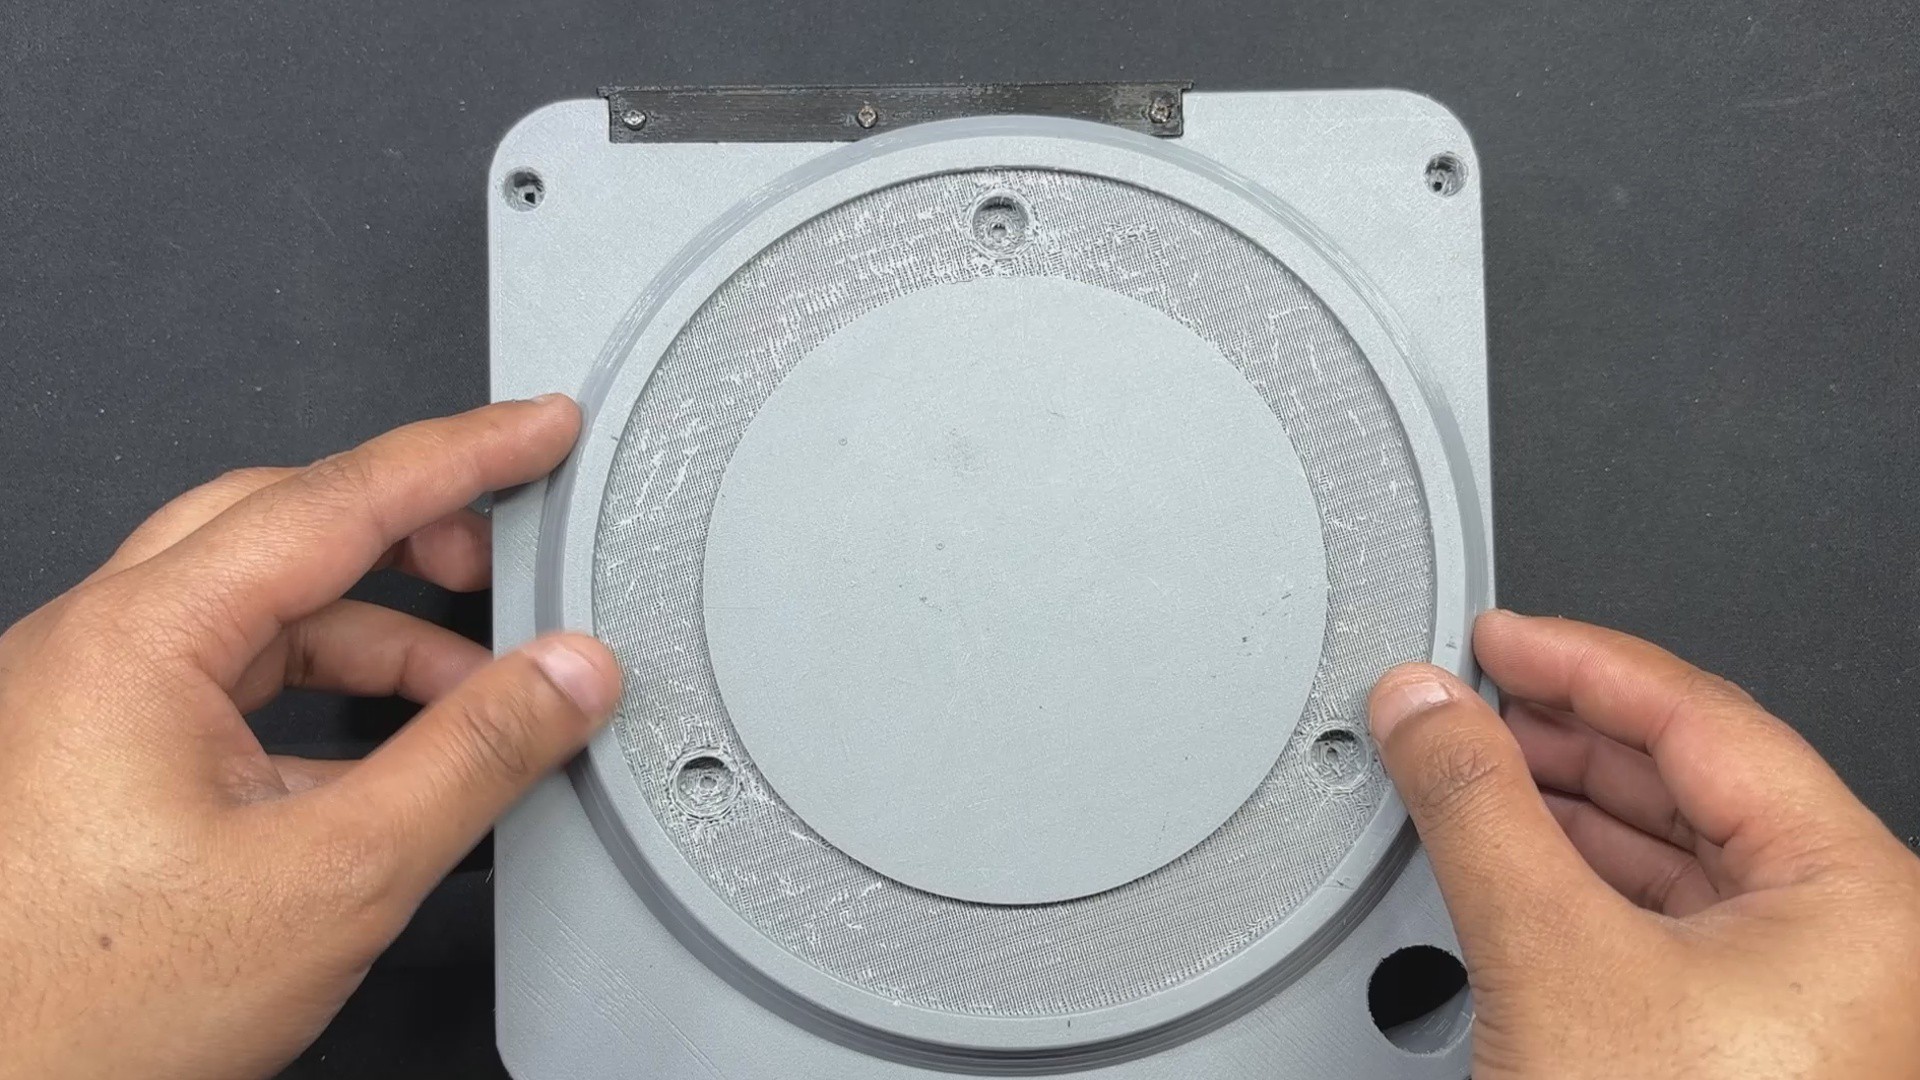
- Next, we attach the Lifting part to the bottom side of the Main body by aligning the mounting holes on the Lifting part and the Main body. Next, we use three M2 screws to hold them together.
-
2Power Switch
![]()
![]()
![]()
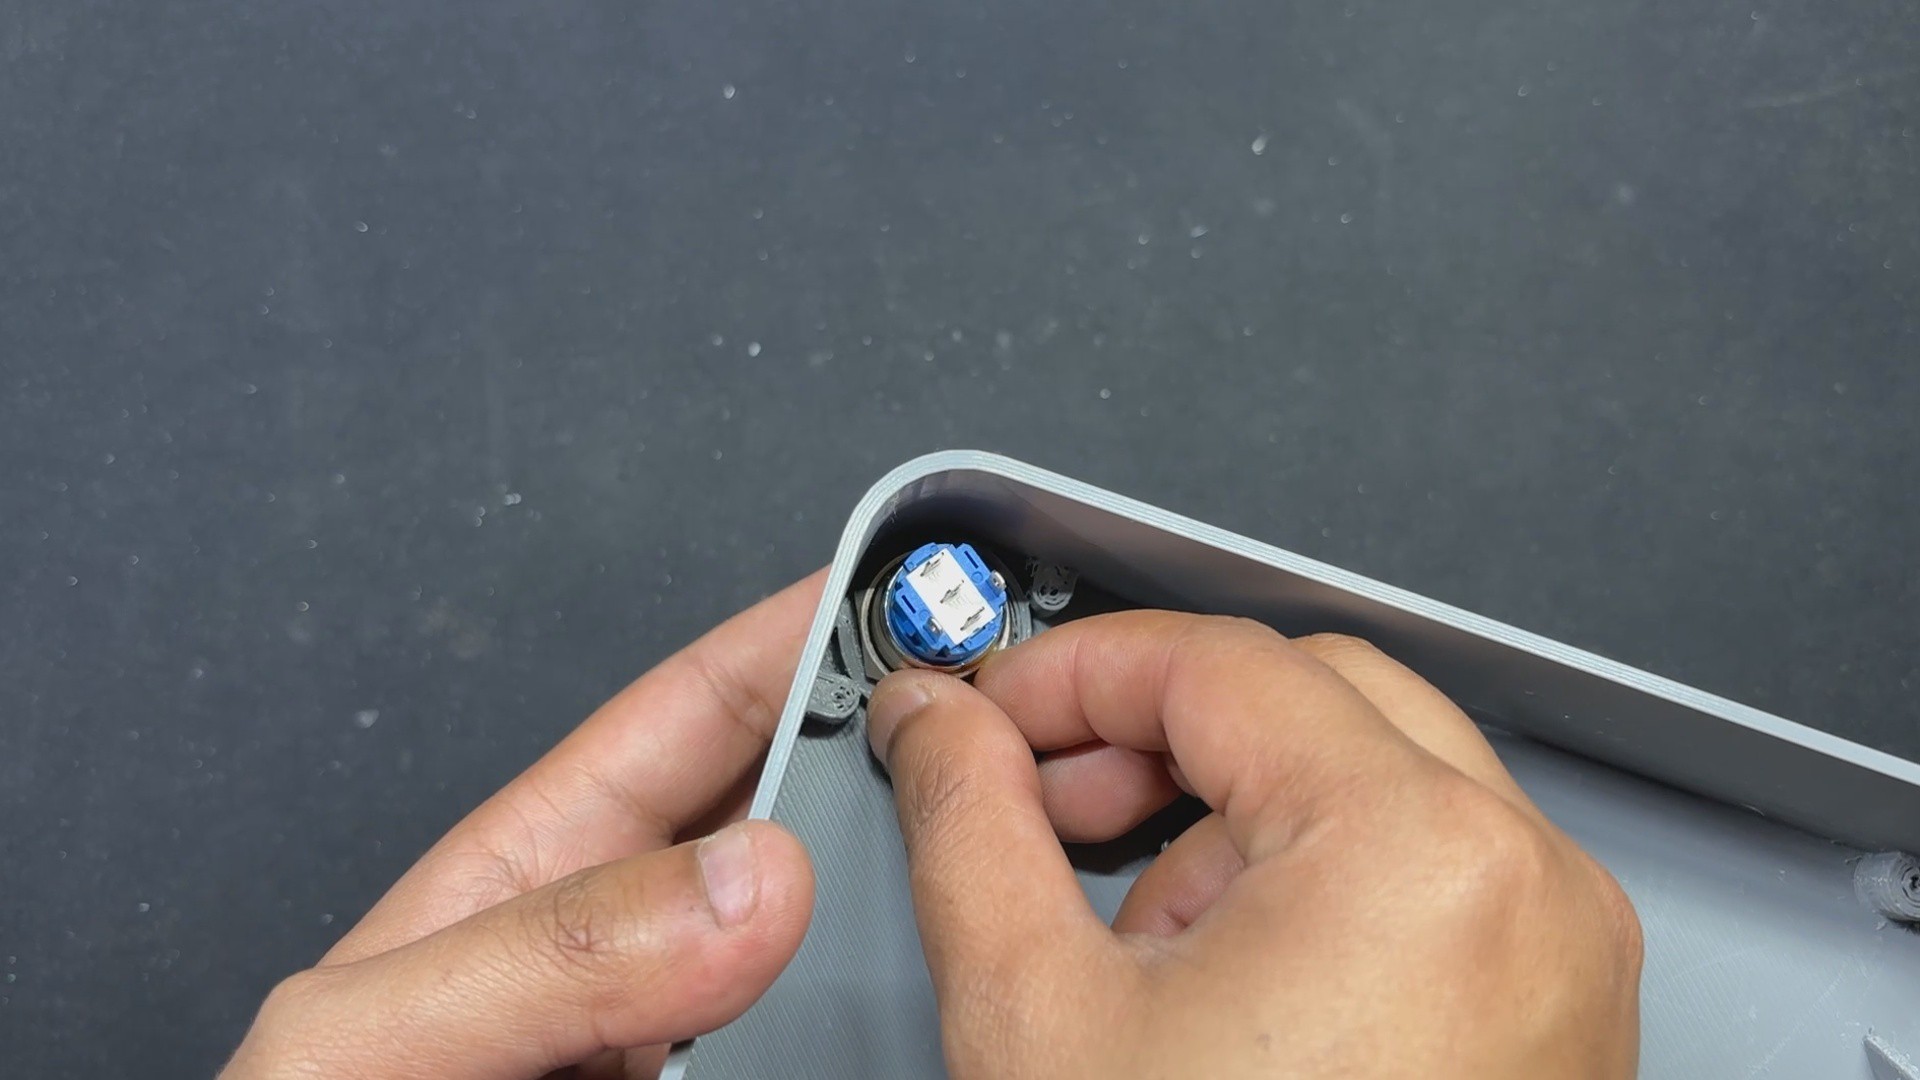
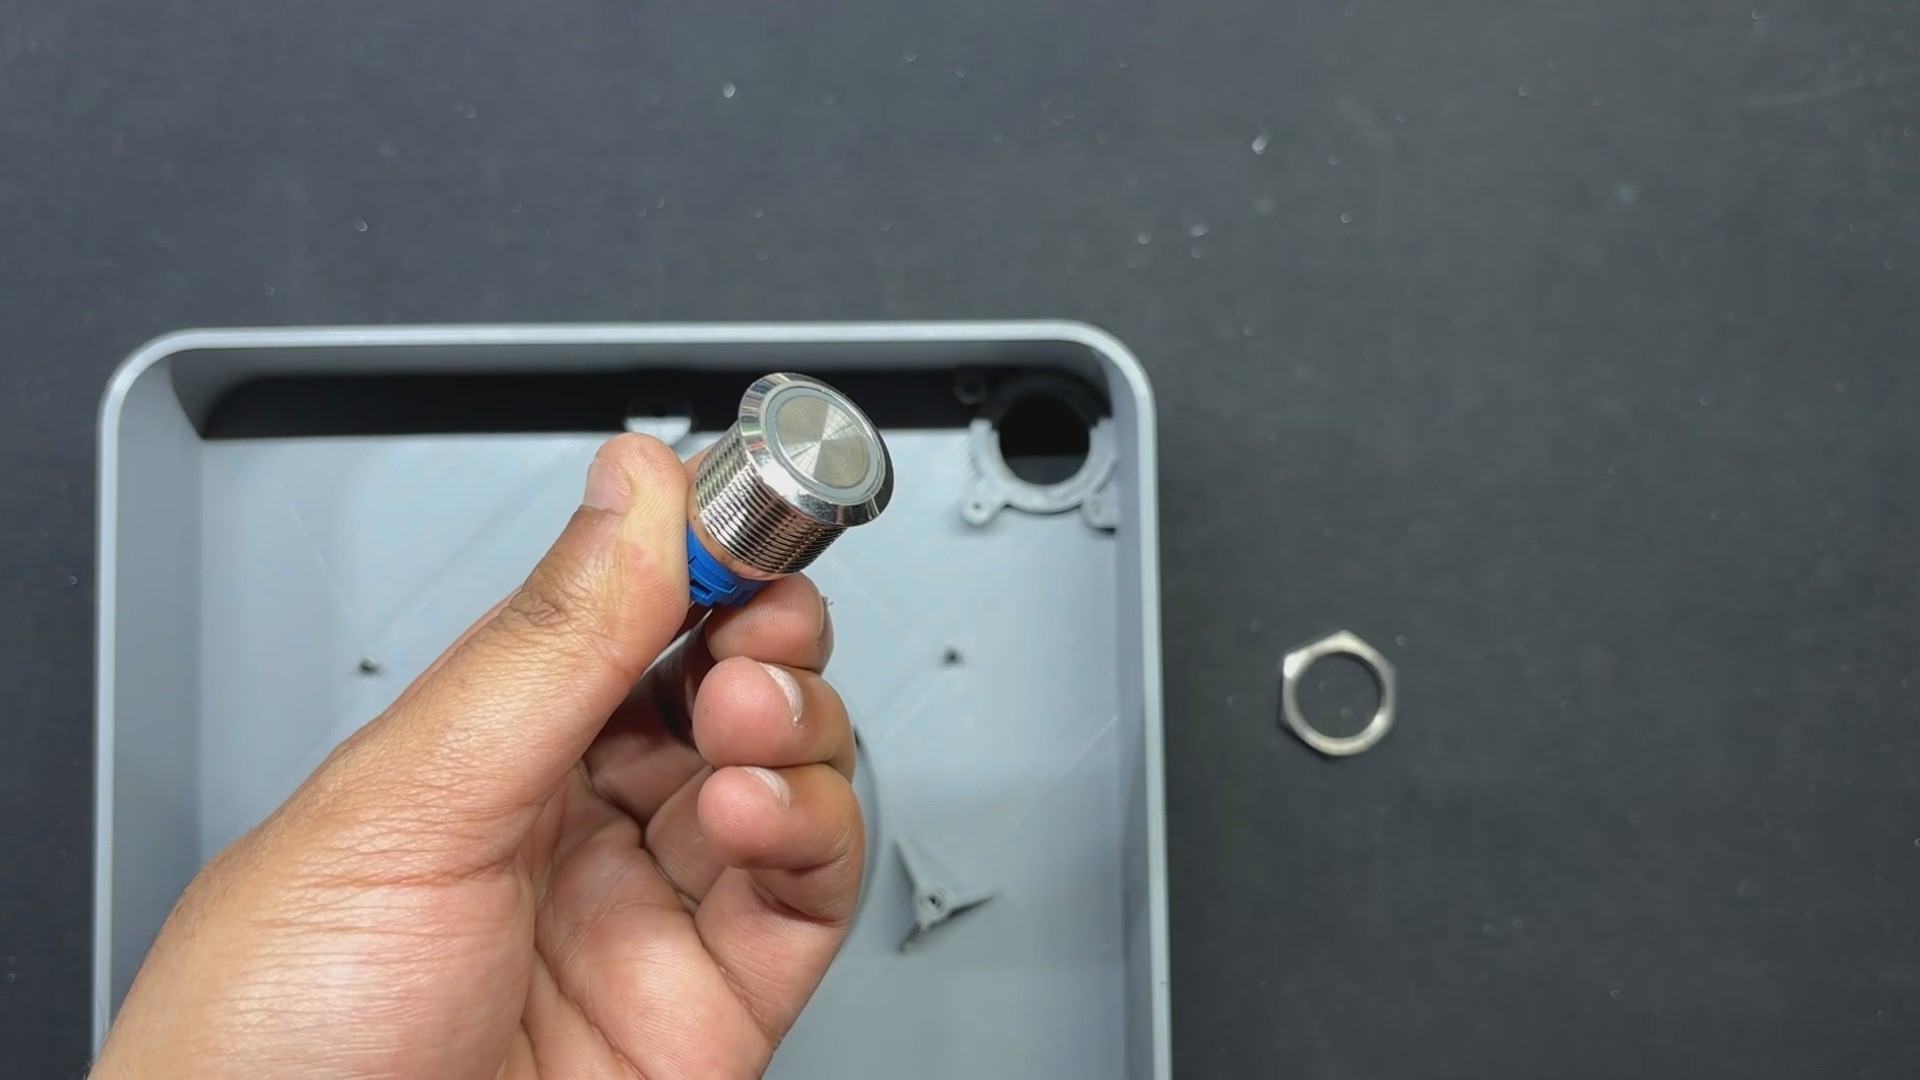
The power switch is then inserted in the hole on the main body and tightened in place using the provided nut.
-
3Compute Module Board Assembly with Base body
![]()
![]()
![]()
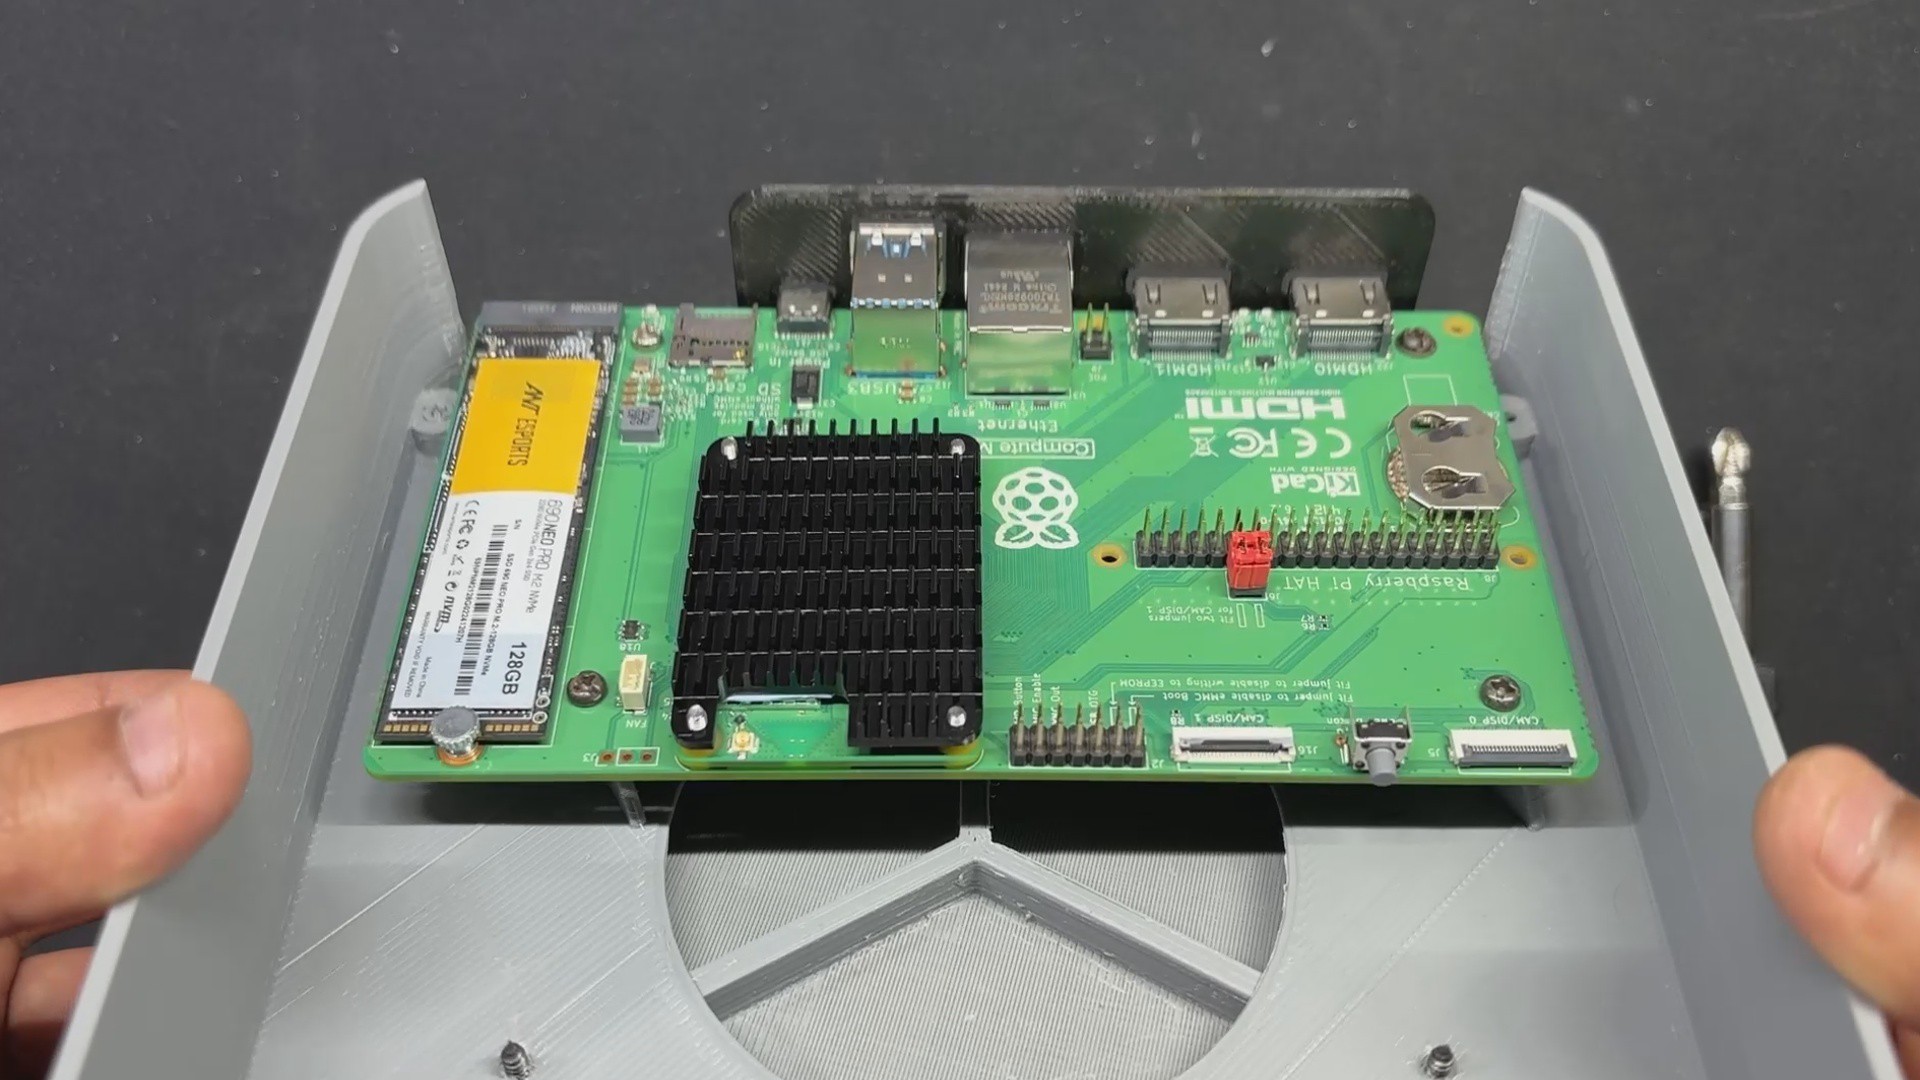
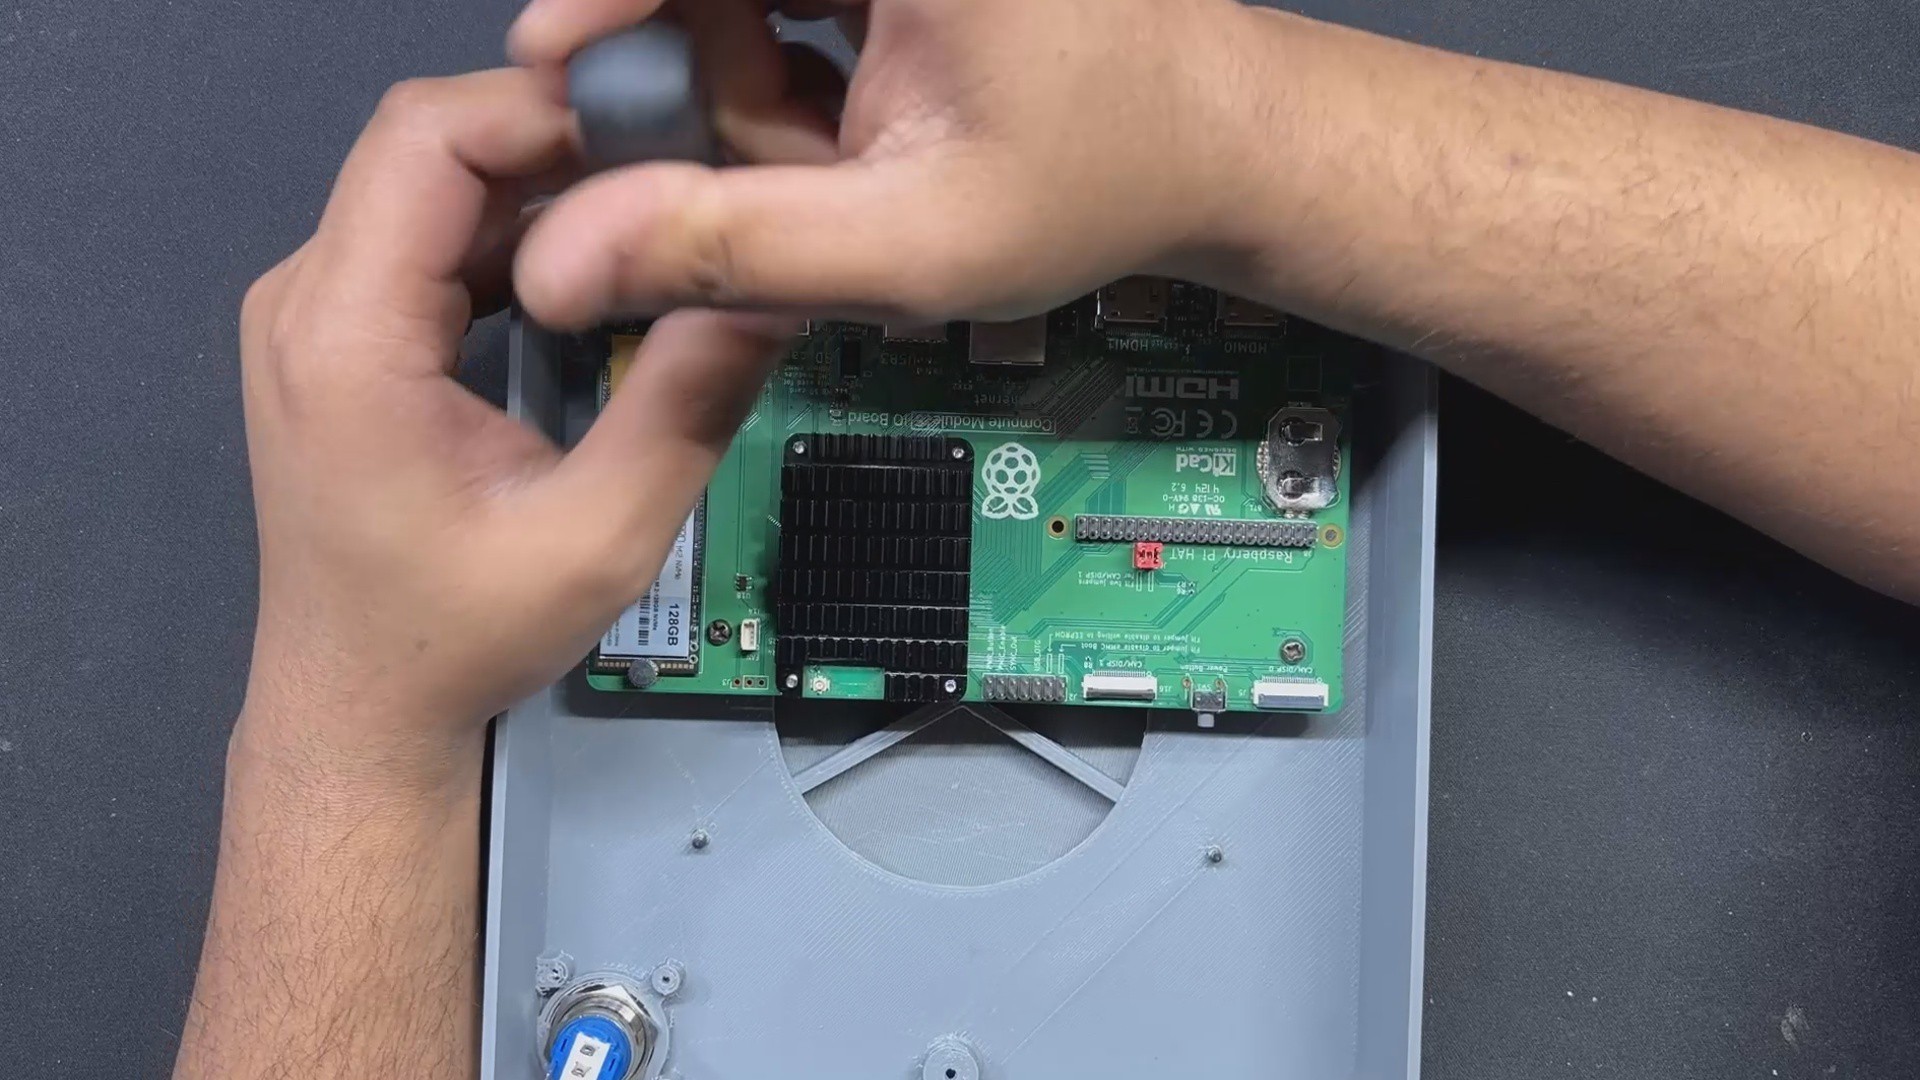
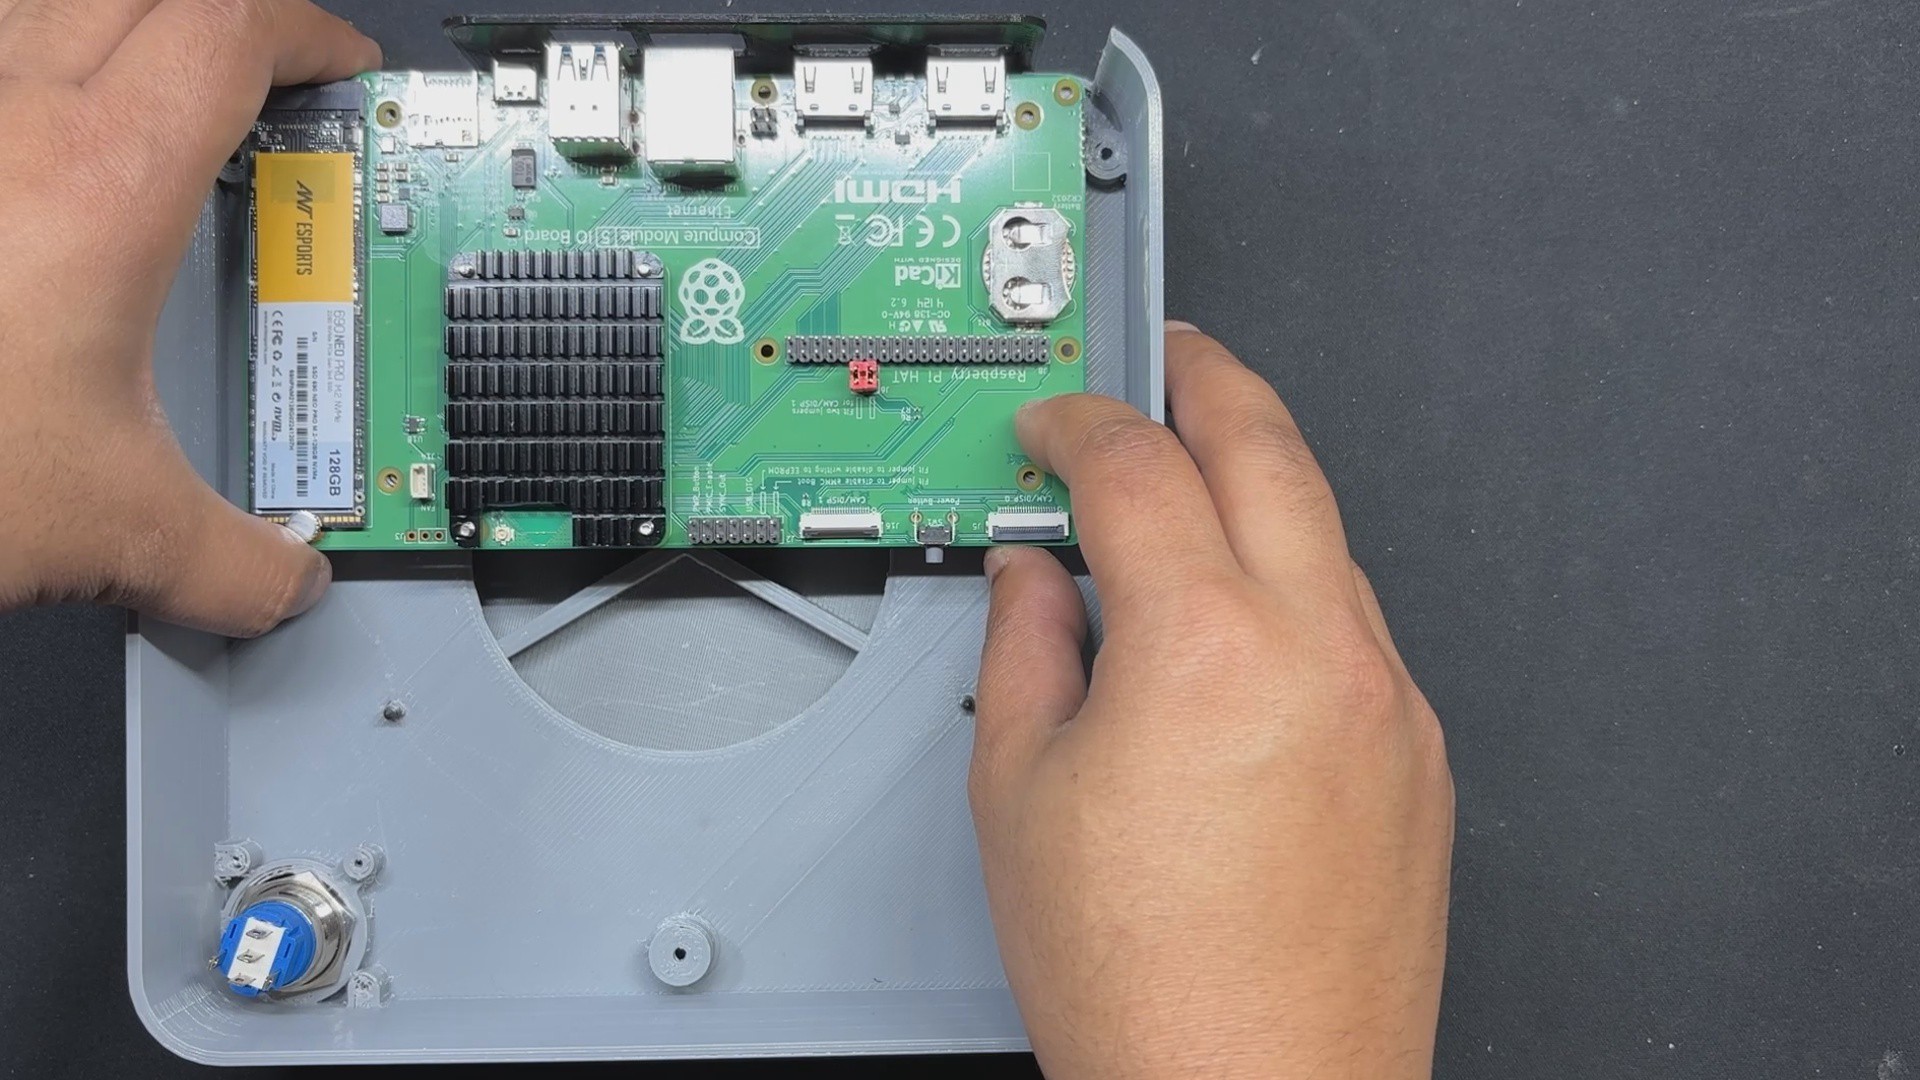
- After assembling the main body, we line the Compute Module evaluation board over the Mounting screw bosses and secure it with four M2 screws.
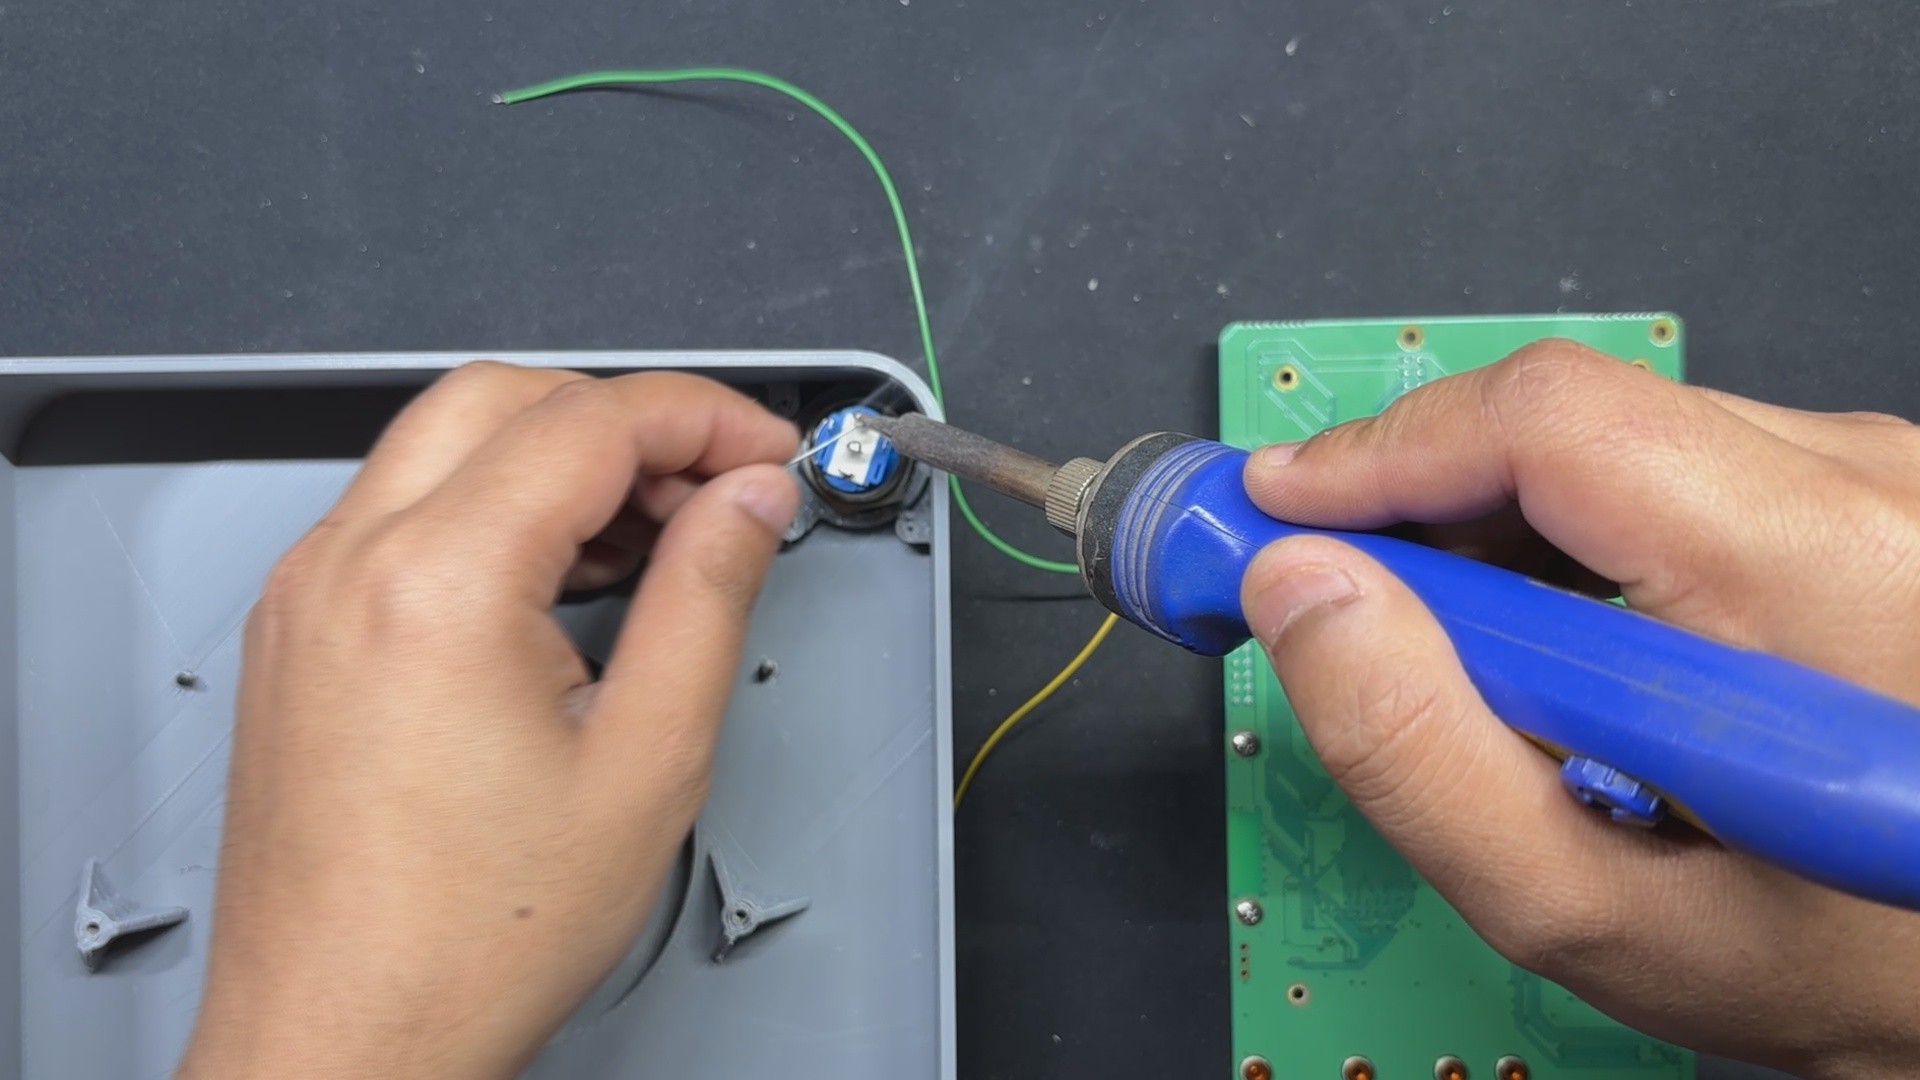
- We also soldered two wires in parallel with the Push Switch on the evaluation board and connected them to our newly added ON/OFF switch. This will function as a reset switch for our evaluation board.
-
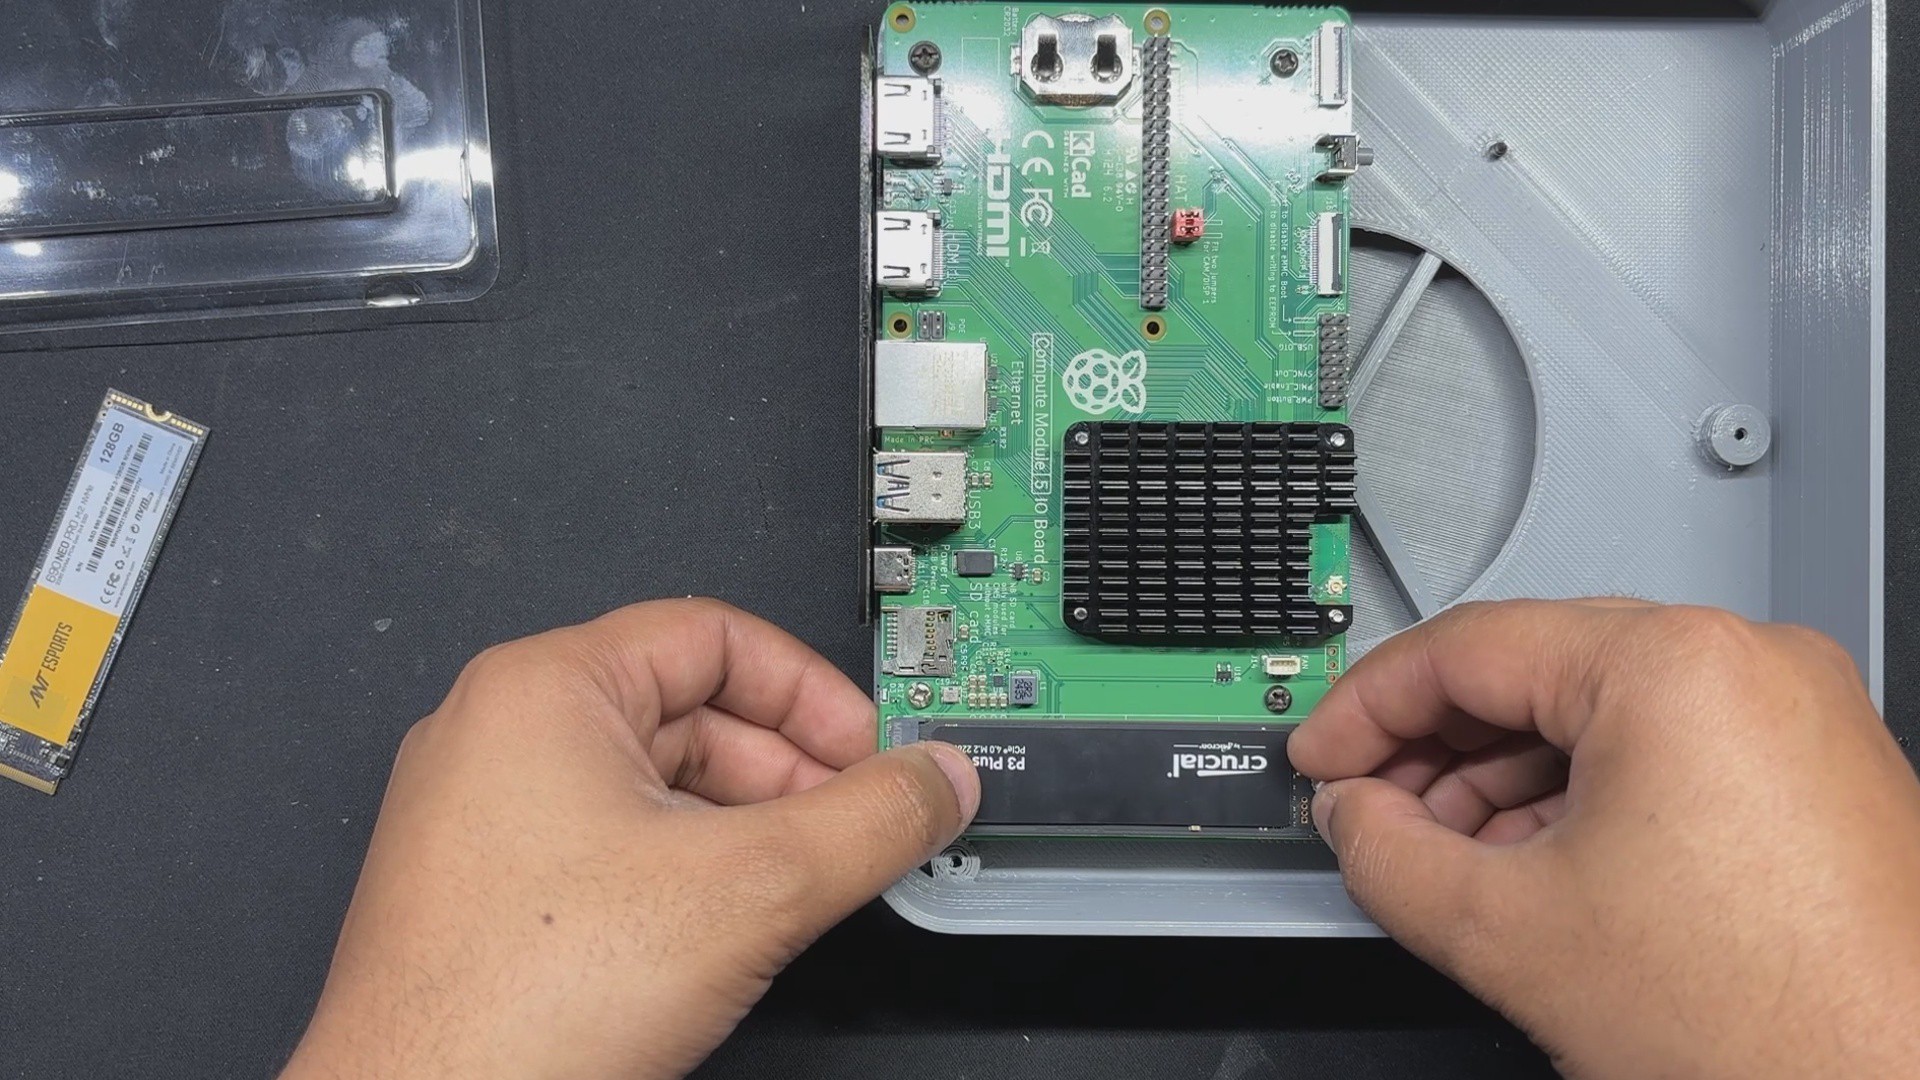
4Changing the NVME
![]()
![]()
This step was entirely optional, but we had to get through it. We replaced our previous Ant Esport 128gb SSD with the crucial P3 500gb SSD, which has a much faster read/write speed of 3500 MB/s than the Ant Esport NVME's 1600/1100 MB/s.
On paper, there appears to be a significant difference between these two SSDs, with a large gap between read and write speeds; however, it is actually the sequential read/write speeds that are important for transferring large files. For common operations such as booting up, launching applications, and gaming, random read/write speeds (measured in IOPS) are more significant.
-
5FINAL ASSEMBLY
![]()
![]()
![]()
![]()
![]()
![]()
![]()
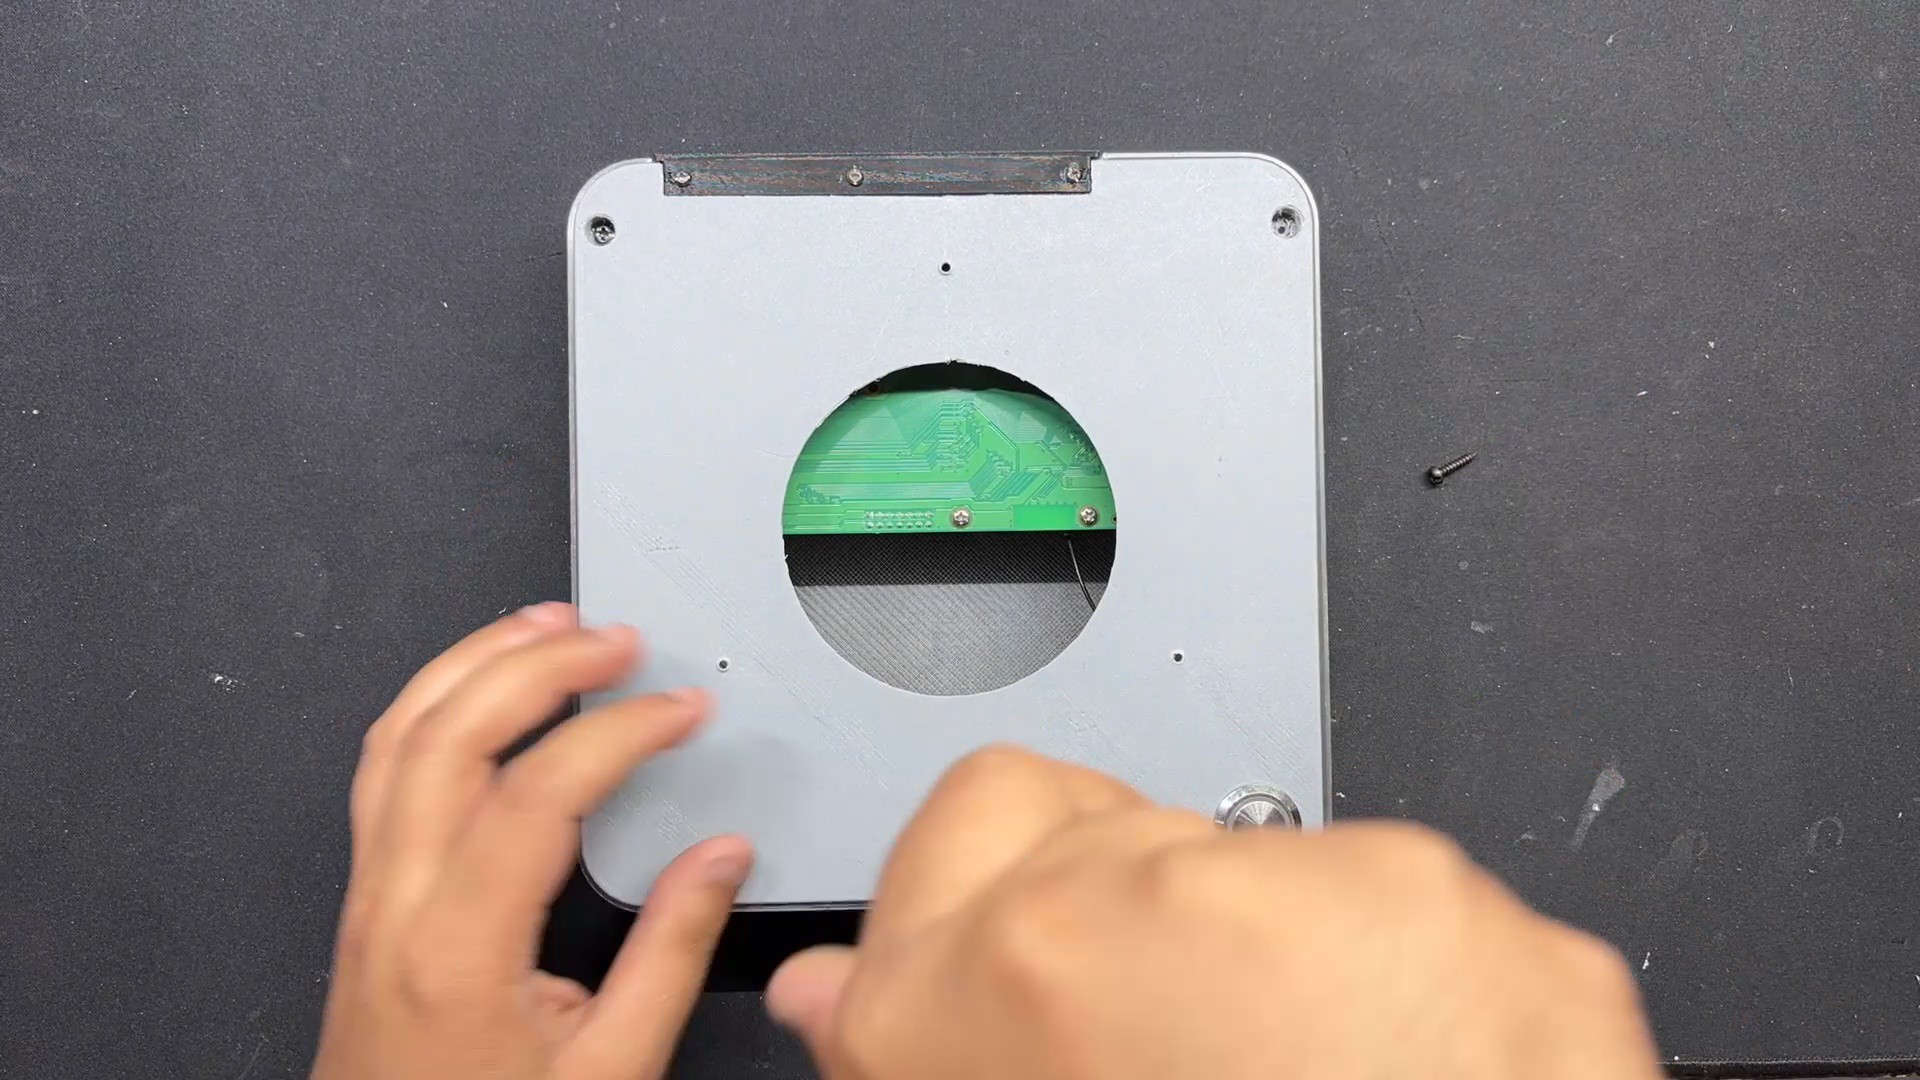
- For the final assembly, we installed the Top Lid portion. We had to remove the lower Lifting part for a short time because we modeled the Top Lid part in such a way that it has three screw bosses, one of which is hidden under the Lifter part. To access this screw boss, we had to unscrew the Lifting part and then add three M2 screws to three screw bosses that will mount the Base body and Top Lid part together.
- After mounting the lid part to the base body, we can reattach the lifting part and secure it with three M2 screws.
Assembly process has been completed and our device has been finalized.


Discussions
Become a Hackaday.io Member
Create an account to leave a comment. Already have an account? Log In.