Close
0%
0%

PlxyLight

Use sceen backlight acrylic to make a design light

Similar projects worth following
Make use of screen backlight element to make desk light.

LCD display have a diffusing plastic glass. I wanted to make use of one as to recycle that piece.

I got a 22" display, broken and salvage the plastic glass. The glass as a >PMMA< marking. It is acrylic. The LCD backlight acrylic has an interesting feature, one of the sides has white dots reflecting light that shines thru. If there was not dots, I would not get much light diffused from the lamp.

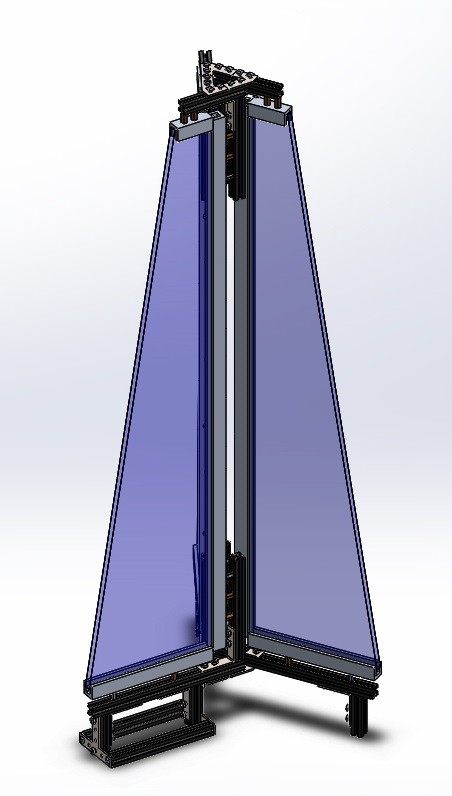
I made a design base on an earlier lamp I made. The frame is made of MakerBeam and Aluminum U-Channel. The U-Channel I used is very thick and I am able to use it as part of the frame.

I plan to use custom 6mm PCB LED strip to shines light at the edge of the acrylic. As i didn't find a 6mm wide LED strip with RGB LED, I designed one my self. As the frame was assembled, I used LCD backlight led upgrade kit meanwhile I did my custom one. The update kit is white LED on a 4mm wide PCB. Those even slide into a MakerBeam giving me idea for other usage once I replace them.

I made a 3D CAD of my lamp to plan how the U-Channel and the MakerBeam come together. From the model I generated blueprints to drill the 140 holes ( M2, M3 and M6 holes ). The U-Channel are attached to the MakerBeam with M3 screws and the custom PCB strip with M2 screws. The 6mm holes are to pass wire thru.

  • 1 × Plastic Glass Salvage a LCD Backlight Diffuser glass and lazer cut it.
  • 1 × Aluminum U-Channel - 1/2" Base Width, 0.125" Wall Thickness Holds the acrylic glass and makes the frame of the light
  • 1 × LED Backlight Kit One option for LED
  • 1 × MakerBeam Lamp Frame

  • 3D Model

    Stanislas Bertrand04/23/2017 at 02:10 0 comments

    As part of my design process I made a 3D model.

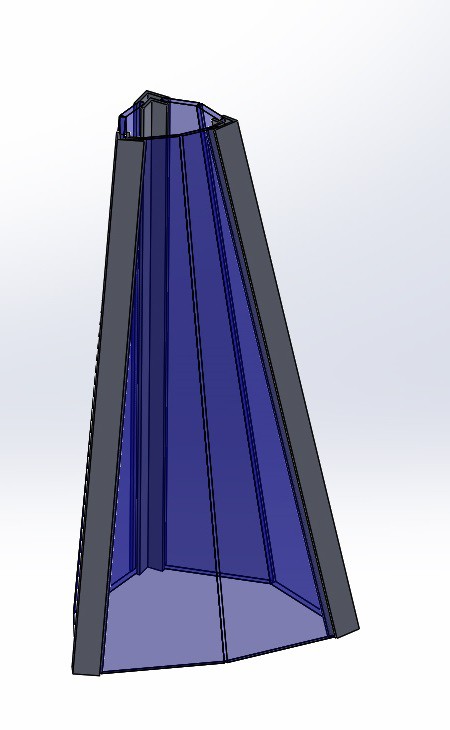
    This is the design I made. I was thinking of other designs :

    The above is a draft. It uses aluminum corners instead of aluminum channel for the frame.

  • Power Supply & Controller

    Stanislas Bertrand03/19/2017 at 21:39 0 comments

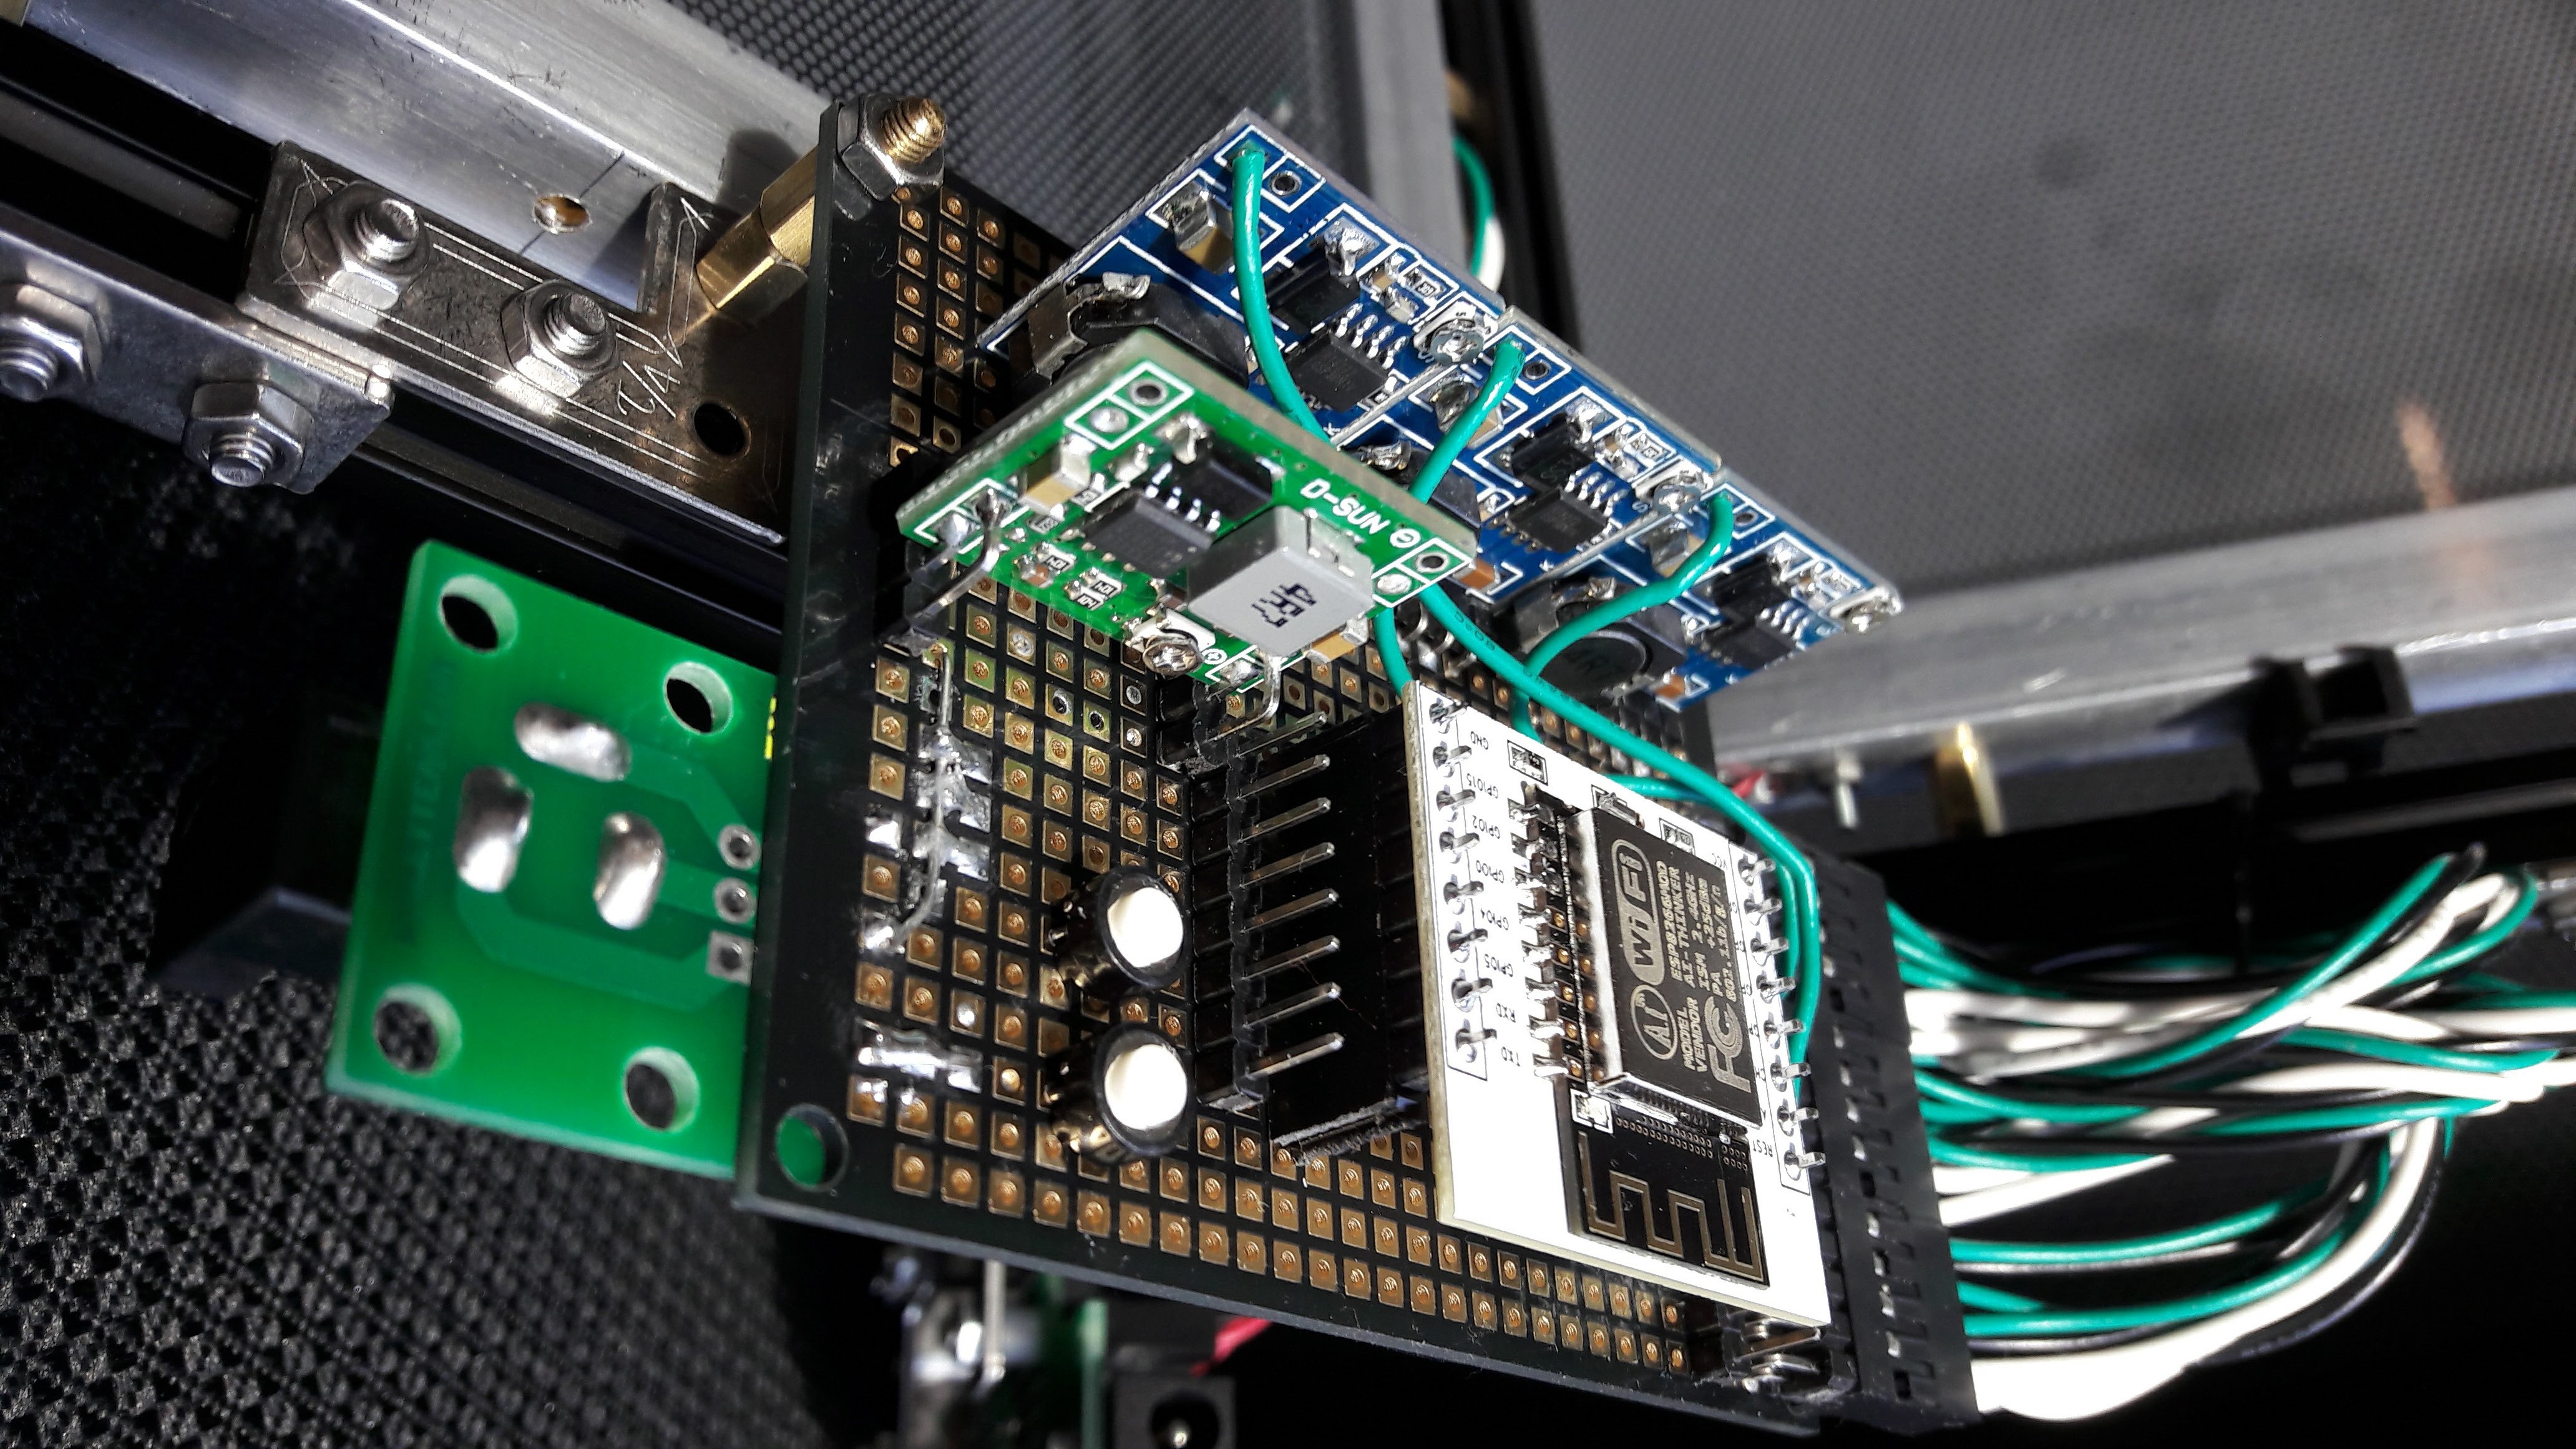
    I plan to design a custom power and controller board for the LED strips. Meanwhile I have assemble a temporary one.

    The power requirement per panel is the following : 6 Strip x 5 RGB x 60mA@5V + 6 Strip x 1 Series White x 20mA@12.6V = 1.8A@5V + 120mA@12.6V = 9W (RGB) + 1.512W (White). I have 3 panel so I need a little more than 31.5W.

    I got buck regulators on ebay. They are rated 3A. I first used only a single green regulator to power the whole lamp. The regulator when into thermal limit and I could only light the RGB at 25%.

    I installed 3 other regulators, one per panel. They do heat up a bit but do not enter thermal protection.

    The White LED are not cabled yet.

    I use an ESP12F micro to control the lamp. It is WiFi enabled. I can control the colors from my phone which is pretty cool.

    • LED Strips

      Stanislas Bertrand03/19/2017 at 21:22 0 comments

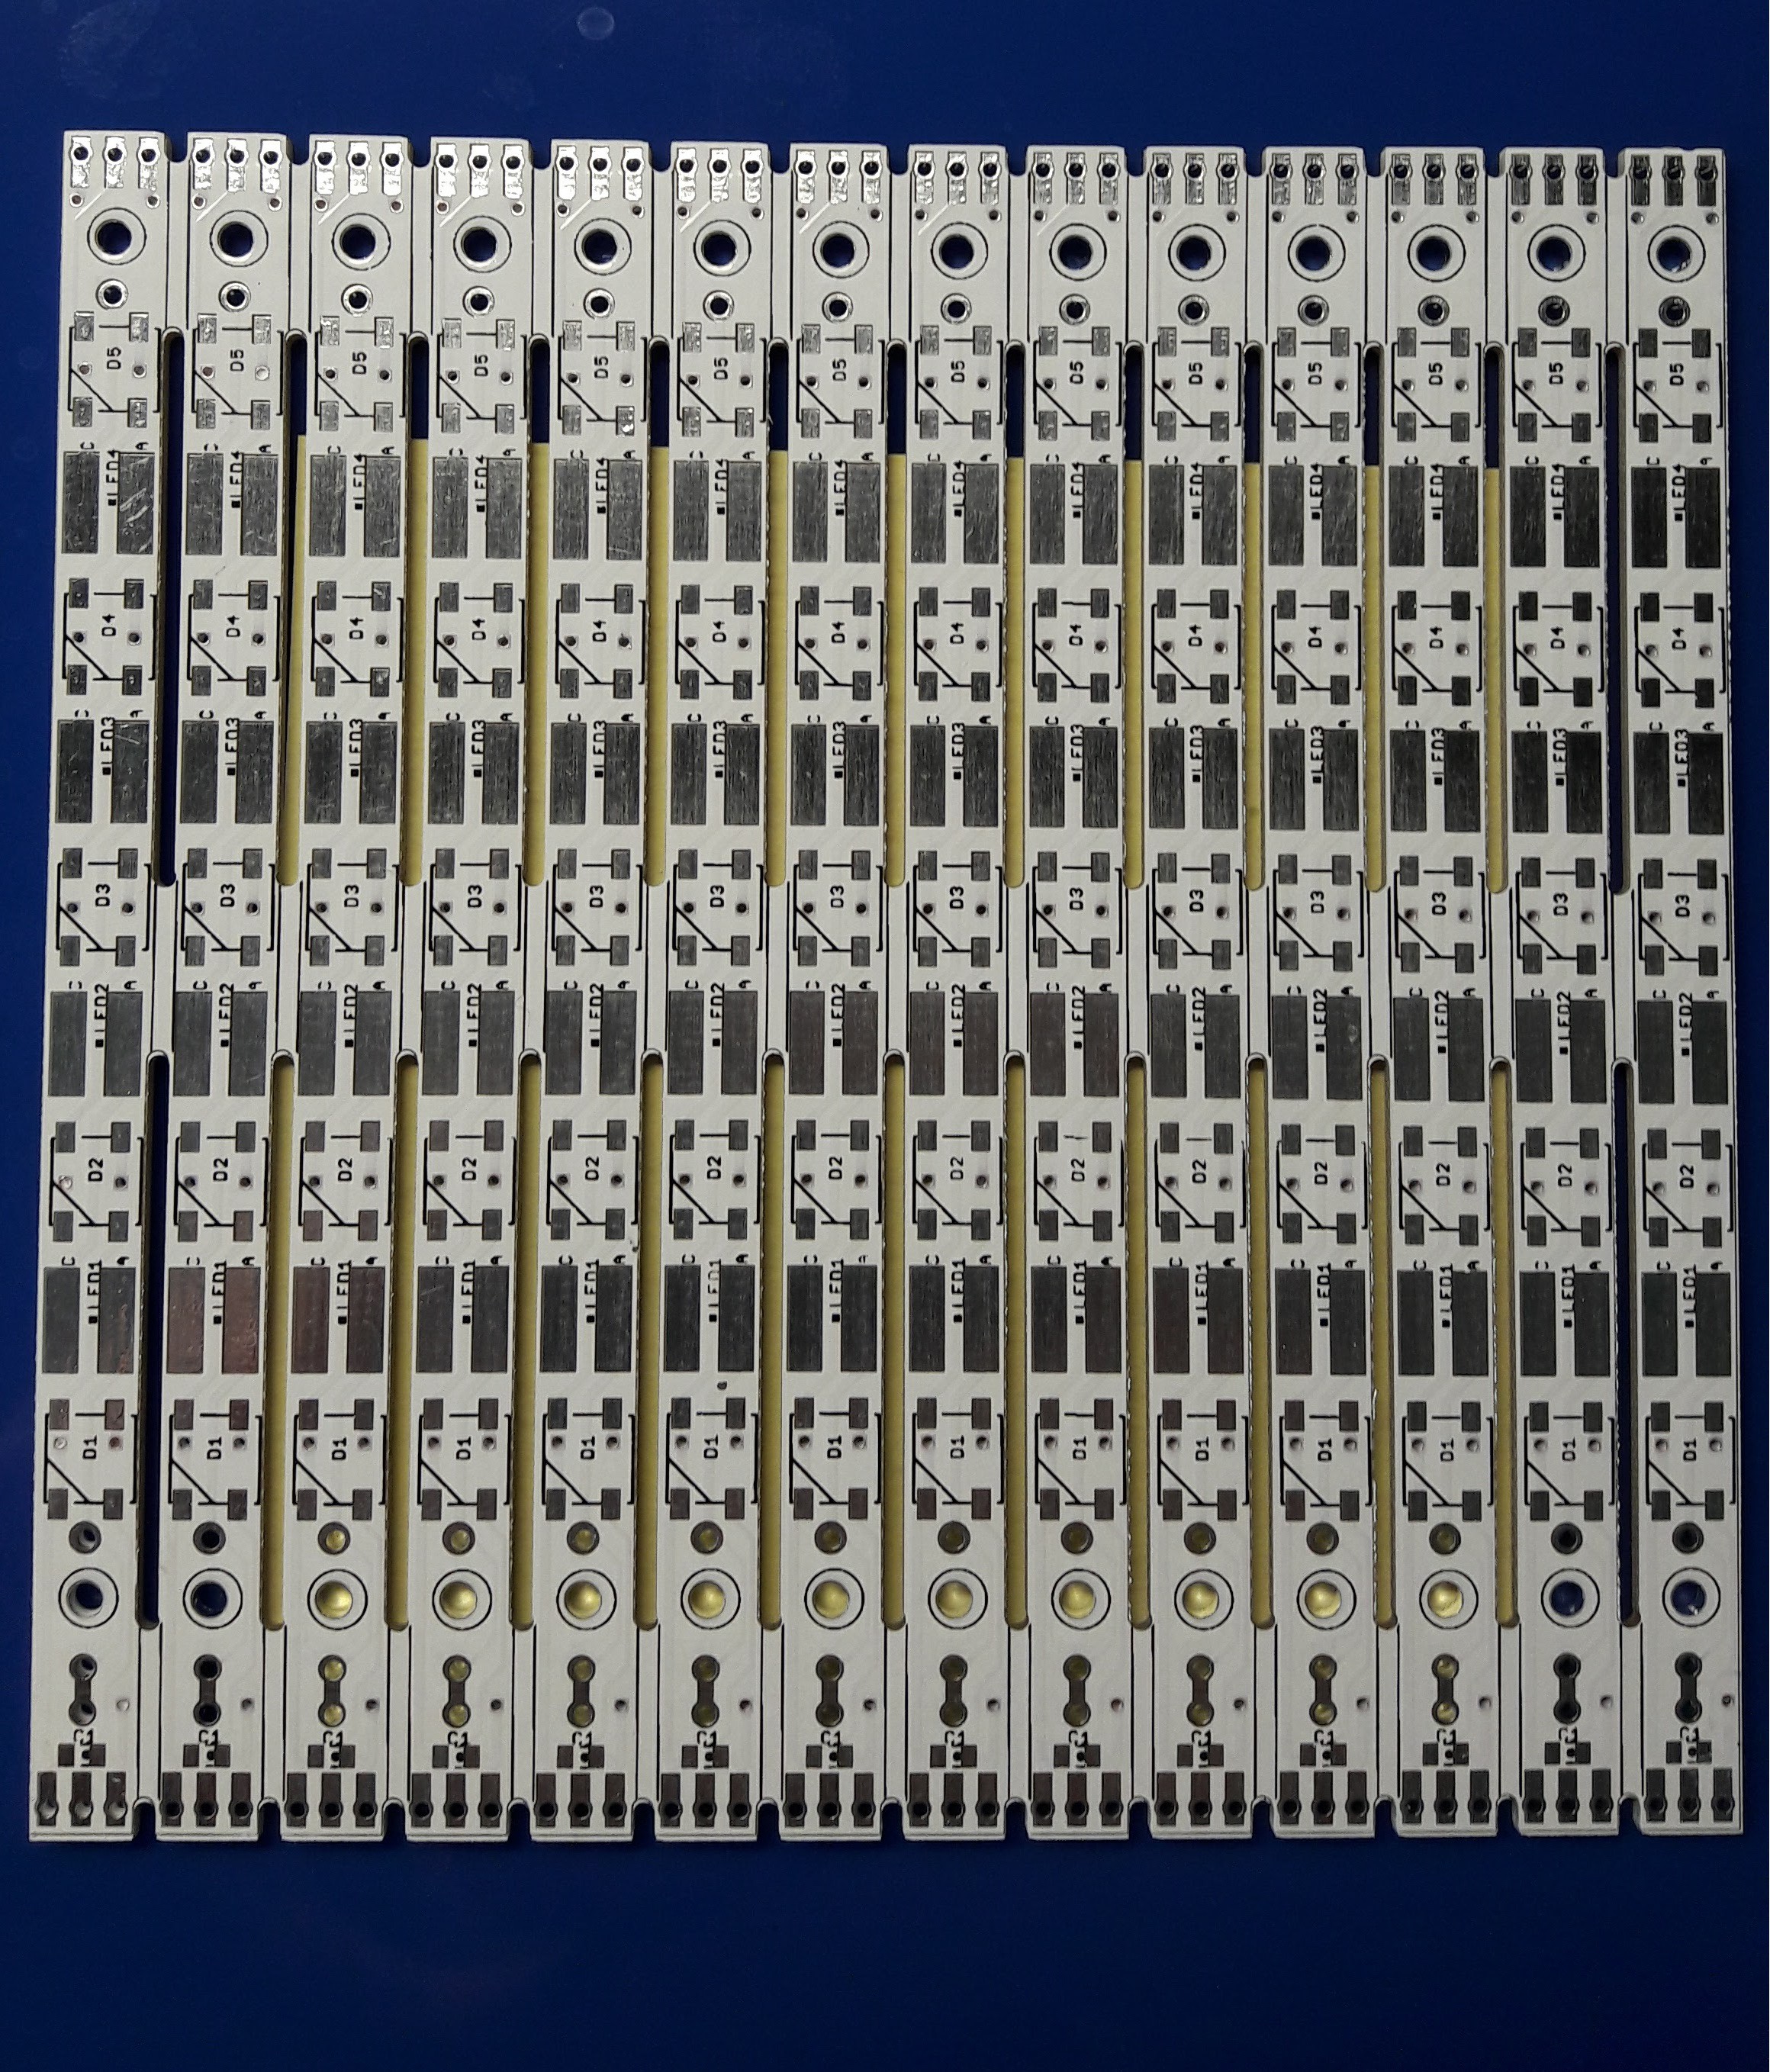
      I was looking for 6mm wide LED strip. White LED was the goal, RGB if possible. I could have use the LCD backlight kit but I design my own strips with White and RGB LED. To fit both on the same strips, I used addressable RGB LED. The WS2812b were a very nice fit as they have a reduced pin count allowing white LED PCB routing. The full RGB colors is pretty nice. The integrated controller simplifies the control electronics. The brightness to power ratio is not as great as bright white LED.

      The board is 10cm by 10cm and has 14 strips. Each strips fits 5 WS2812b and 4 White LED footprint (PLCC-2 SMD, each foot print can fit 2-3 LED). The WS2812b are powered in parallel and the White LED are powered in series. The strip can be chained to make a long RGB strip. I chain 6 strip per panel on my design. Two strips white LED can be chained to be powered from a 25.2V source instead of a 12.6V.

      The strip has 2 mounting holes, drilled at 2mm. They can be drilled to 3mm.

      I bought the White LED and WS2812b on ebay and soldered them myself.

      I have left over 10x10 Strip PCB panel (No LED). I would sell for $10. PM me if interested.

    • RGB LED

      Stanislas Bertrand03/19/2017 at 07:51 0 comments

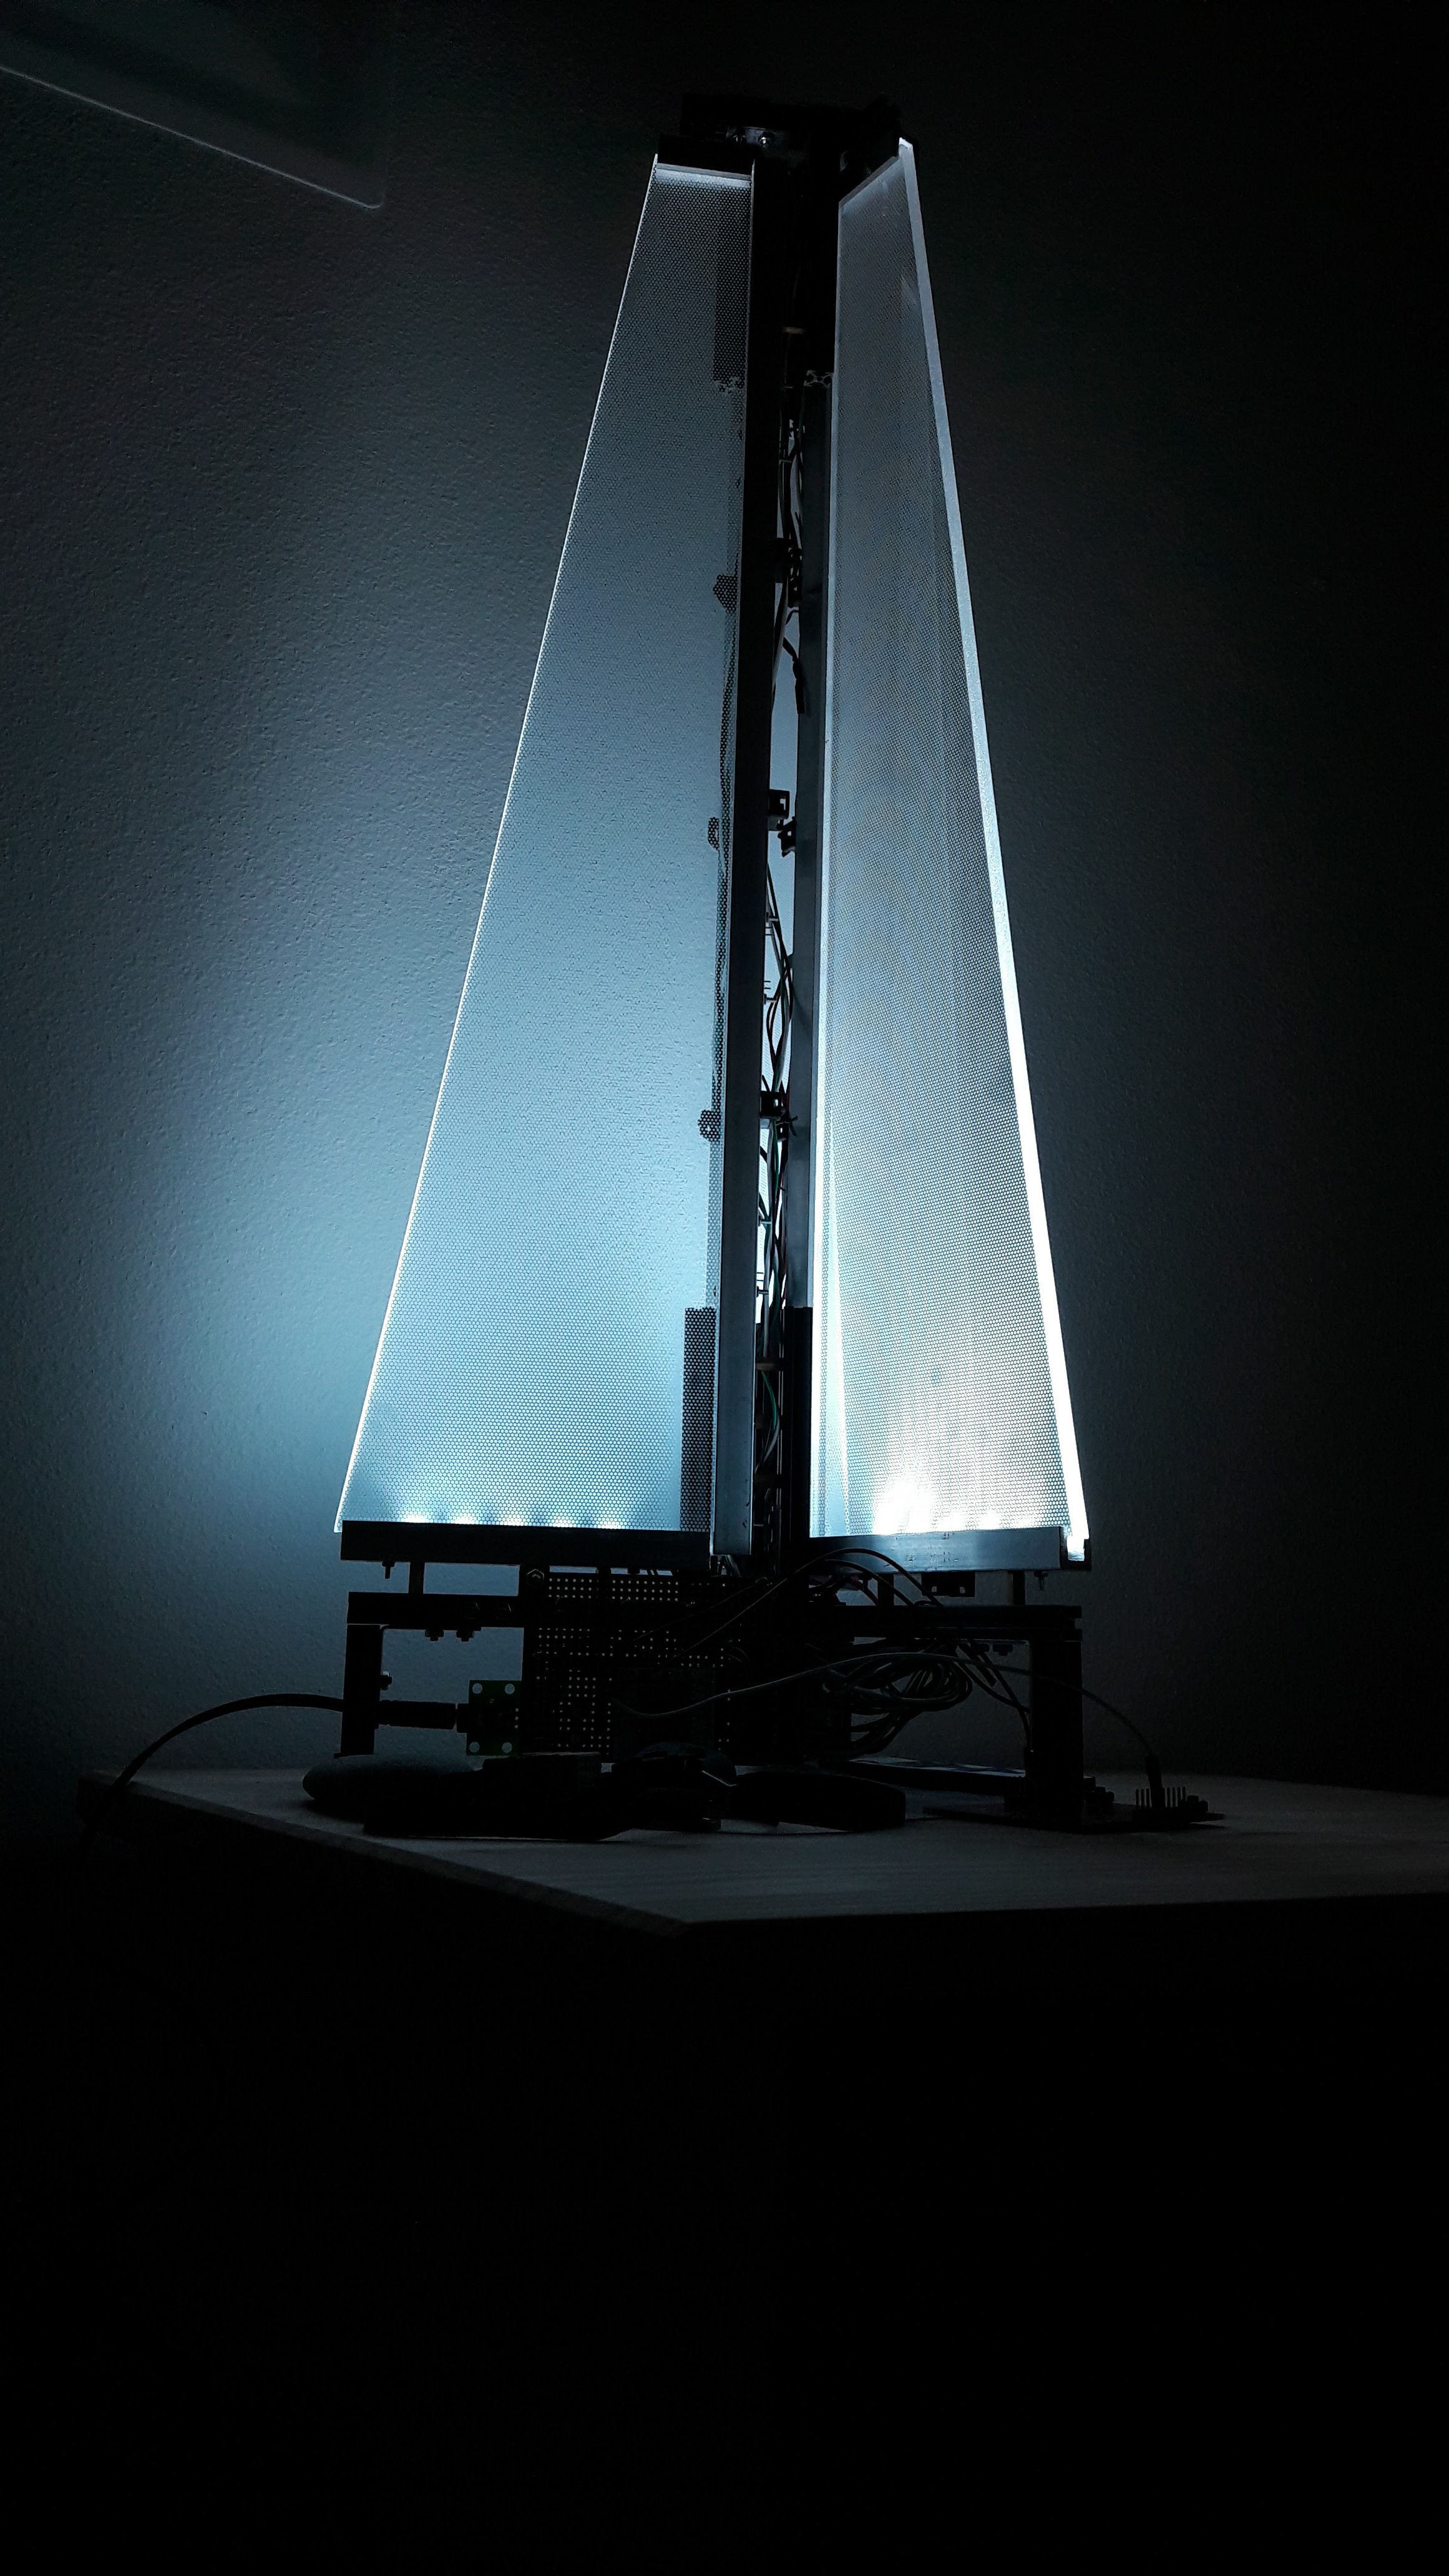
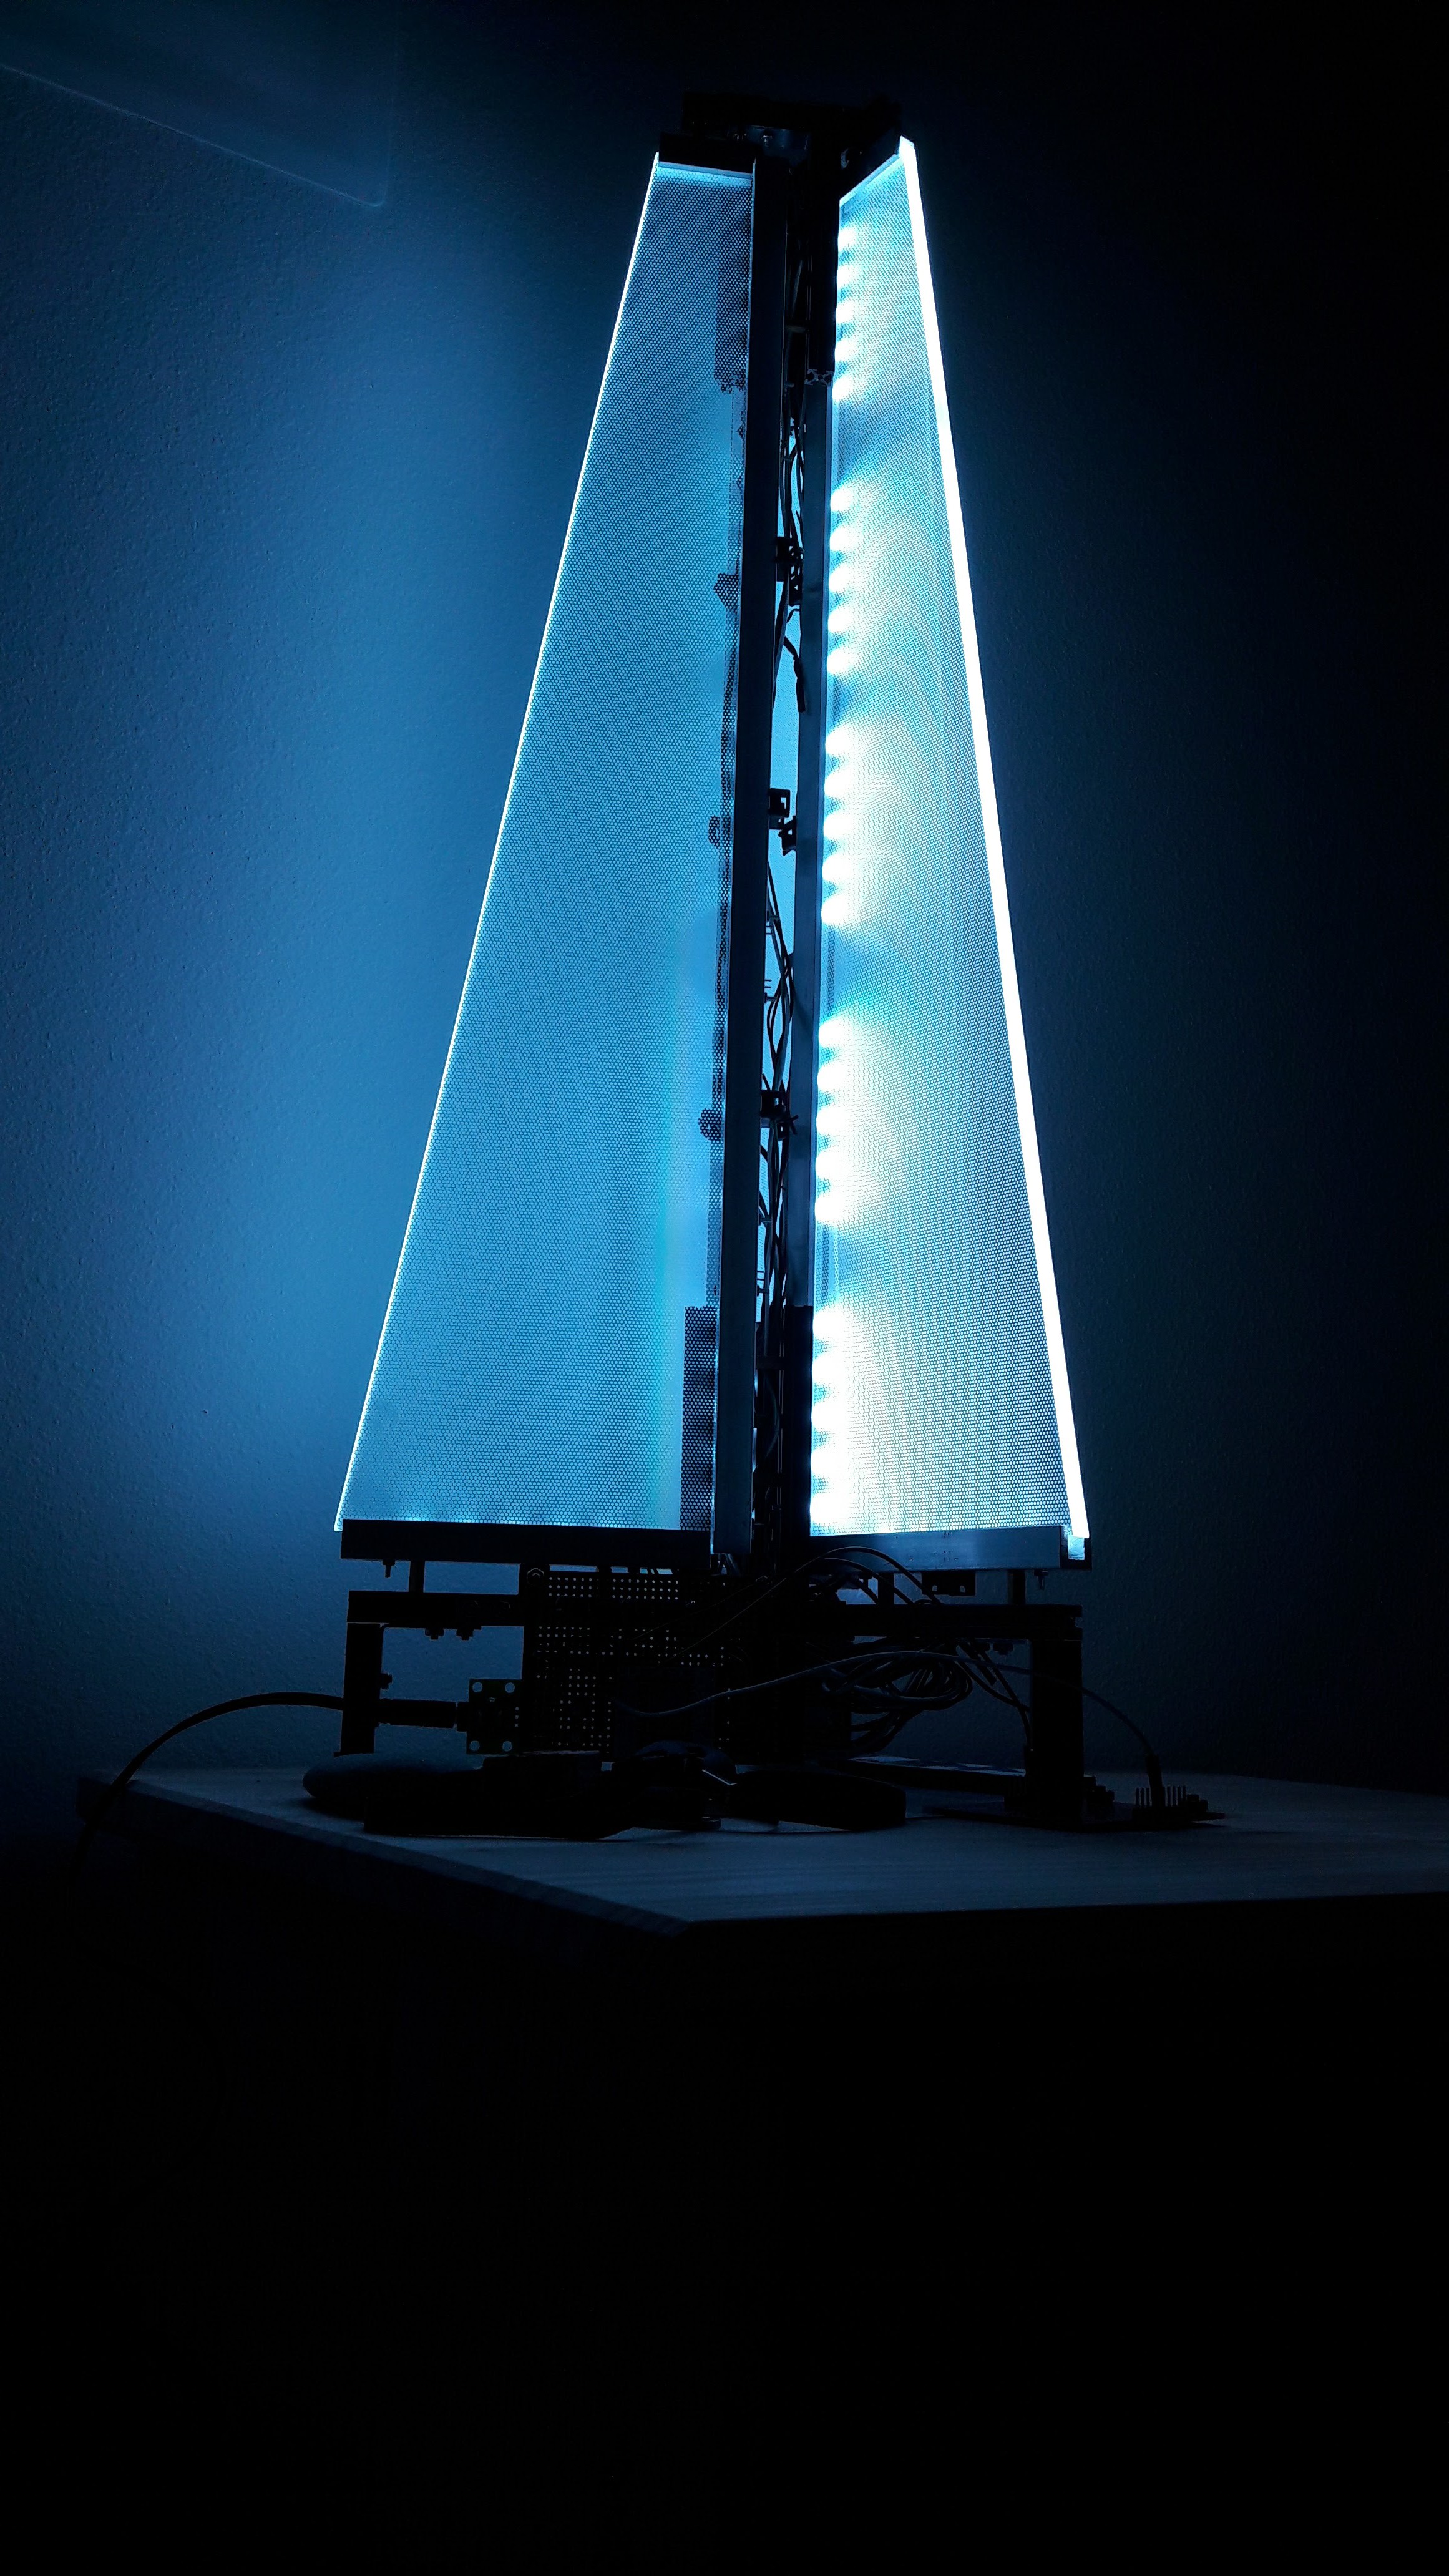
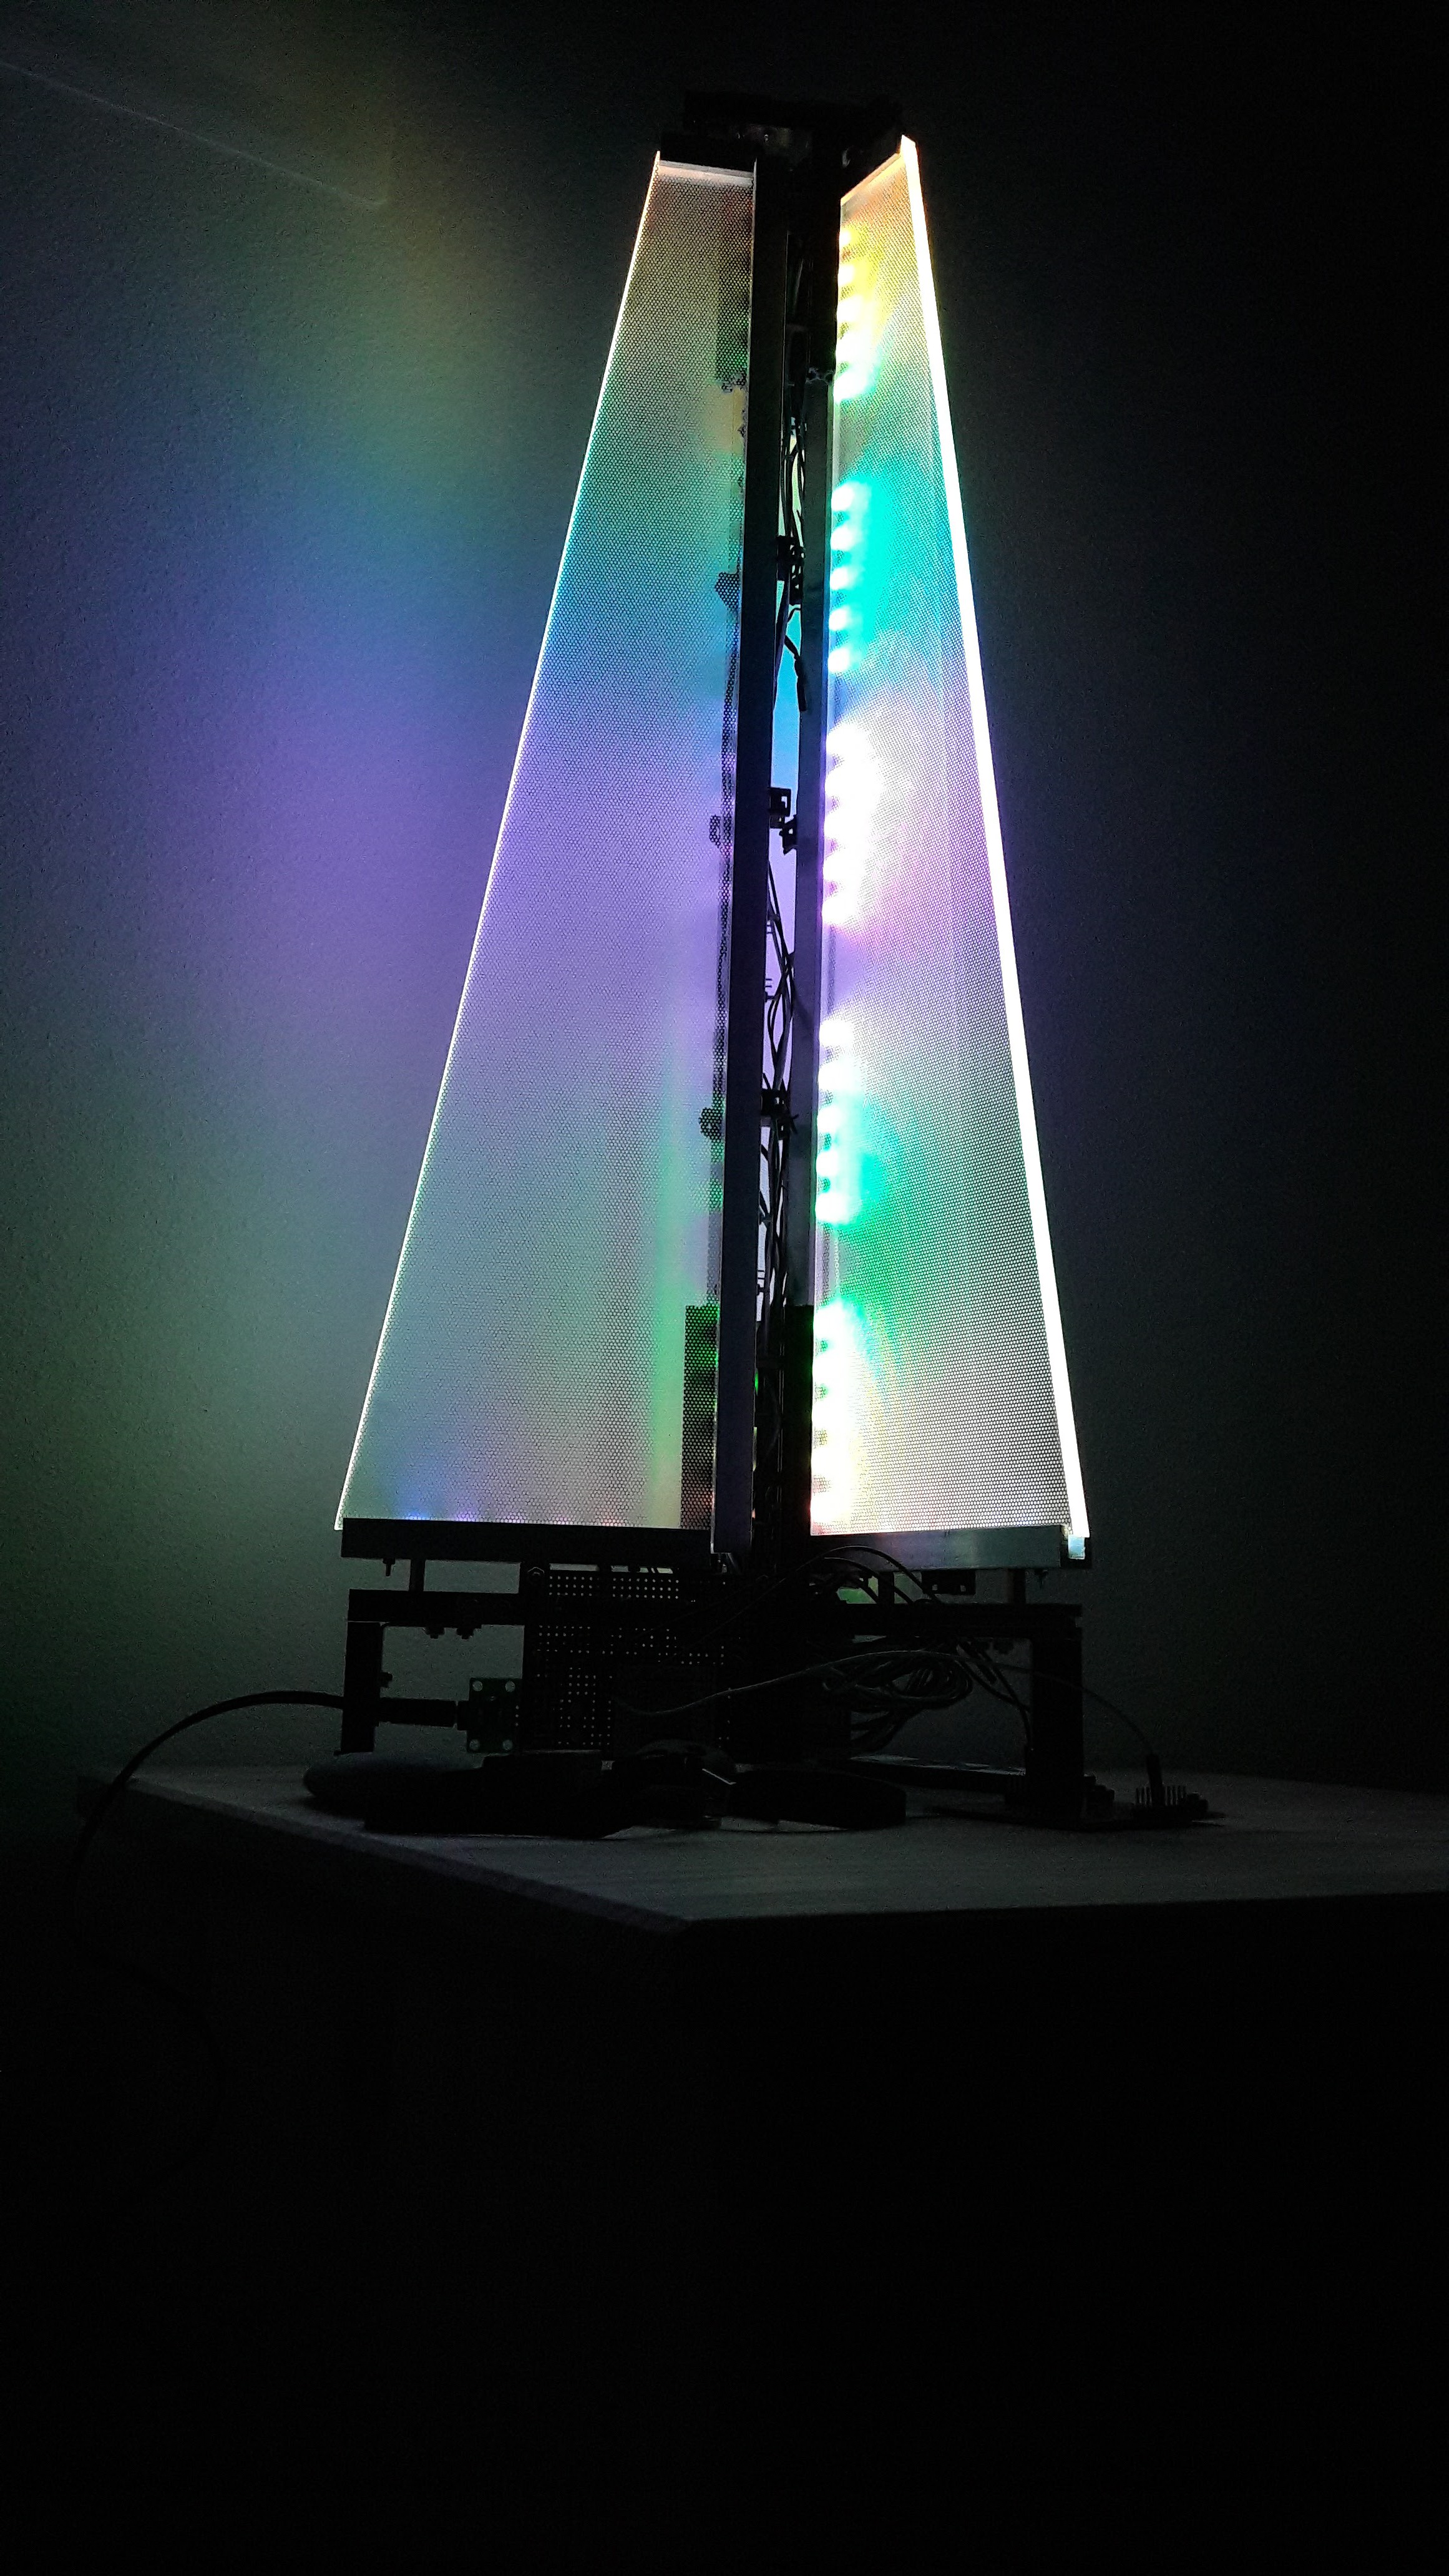
      Picture of the PlxyLight WS2812b controlled.

      Botton Led Only

      All Led on.

      A pattern slides along the leds.

    View all 4 project logs

    Enjoy this project?

    Share

    Discussions

    jlbrian7 wrote 03/16/2017 at 02:13 point

    Is there more?

      Are you sure? yes | no

    Stanislas Bertrand wrote 03/16/2017 at 16:53 point

    I'll put details soon

      Are you sure? yes | no

    Similar Projects

    Does this project spark your interest?

    Become a member to follow this project and never miss any updates