 tokaken

Introduction Video
how to play
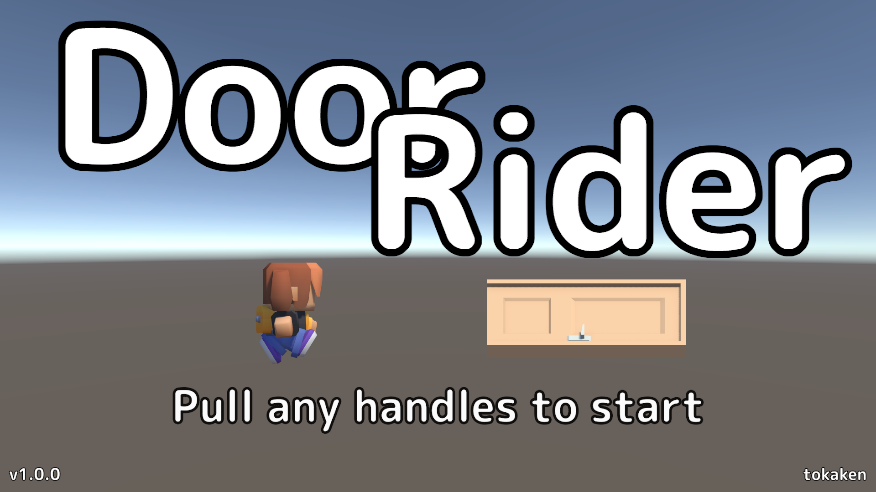
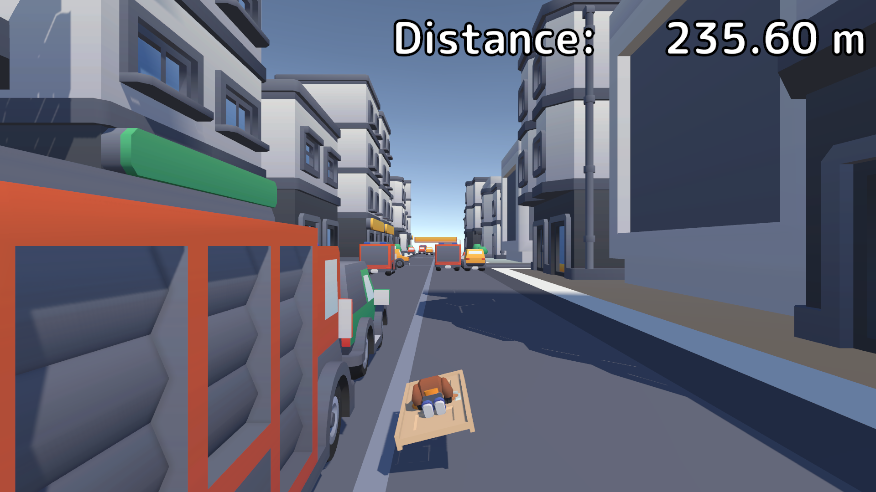
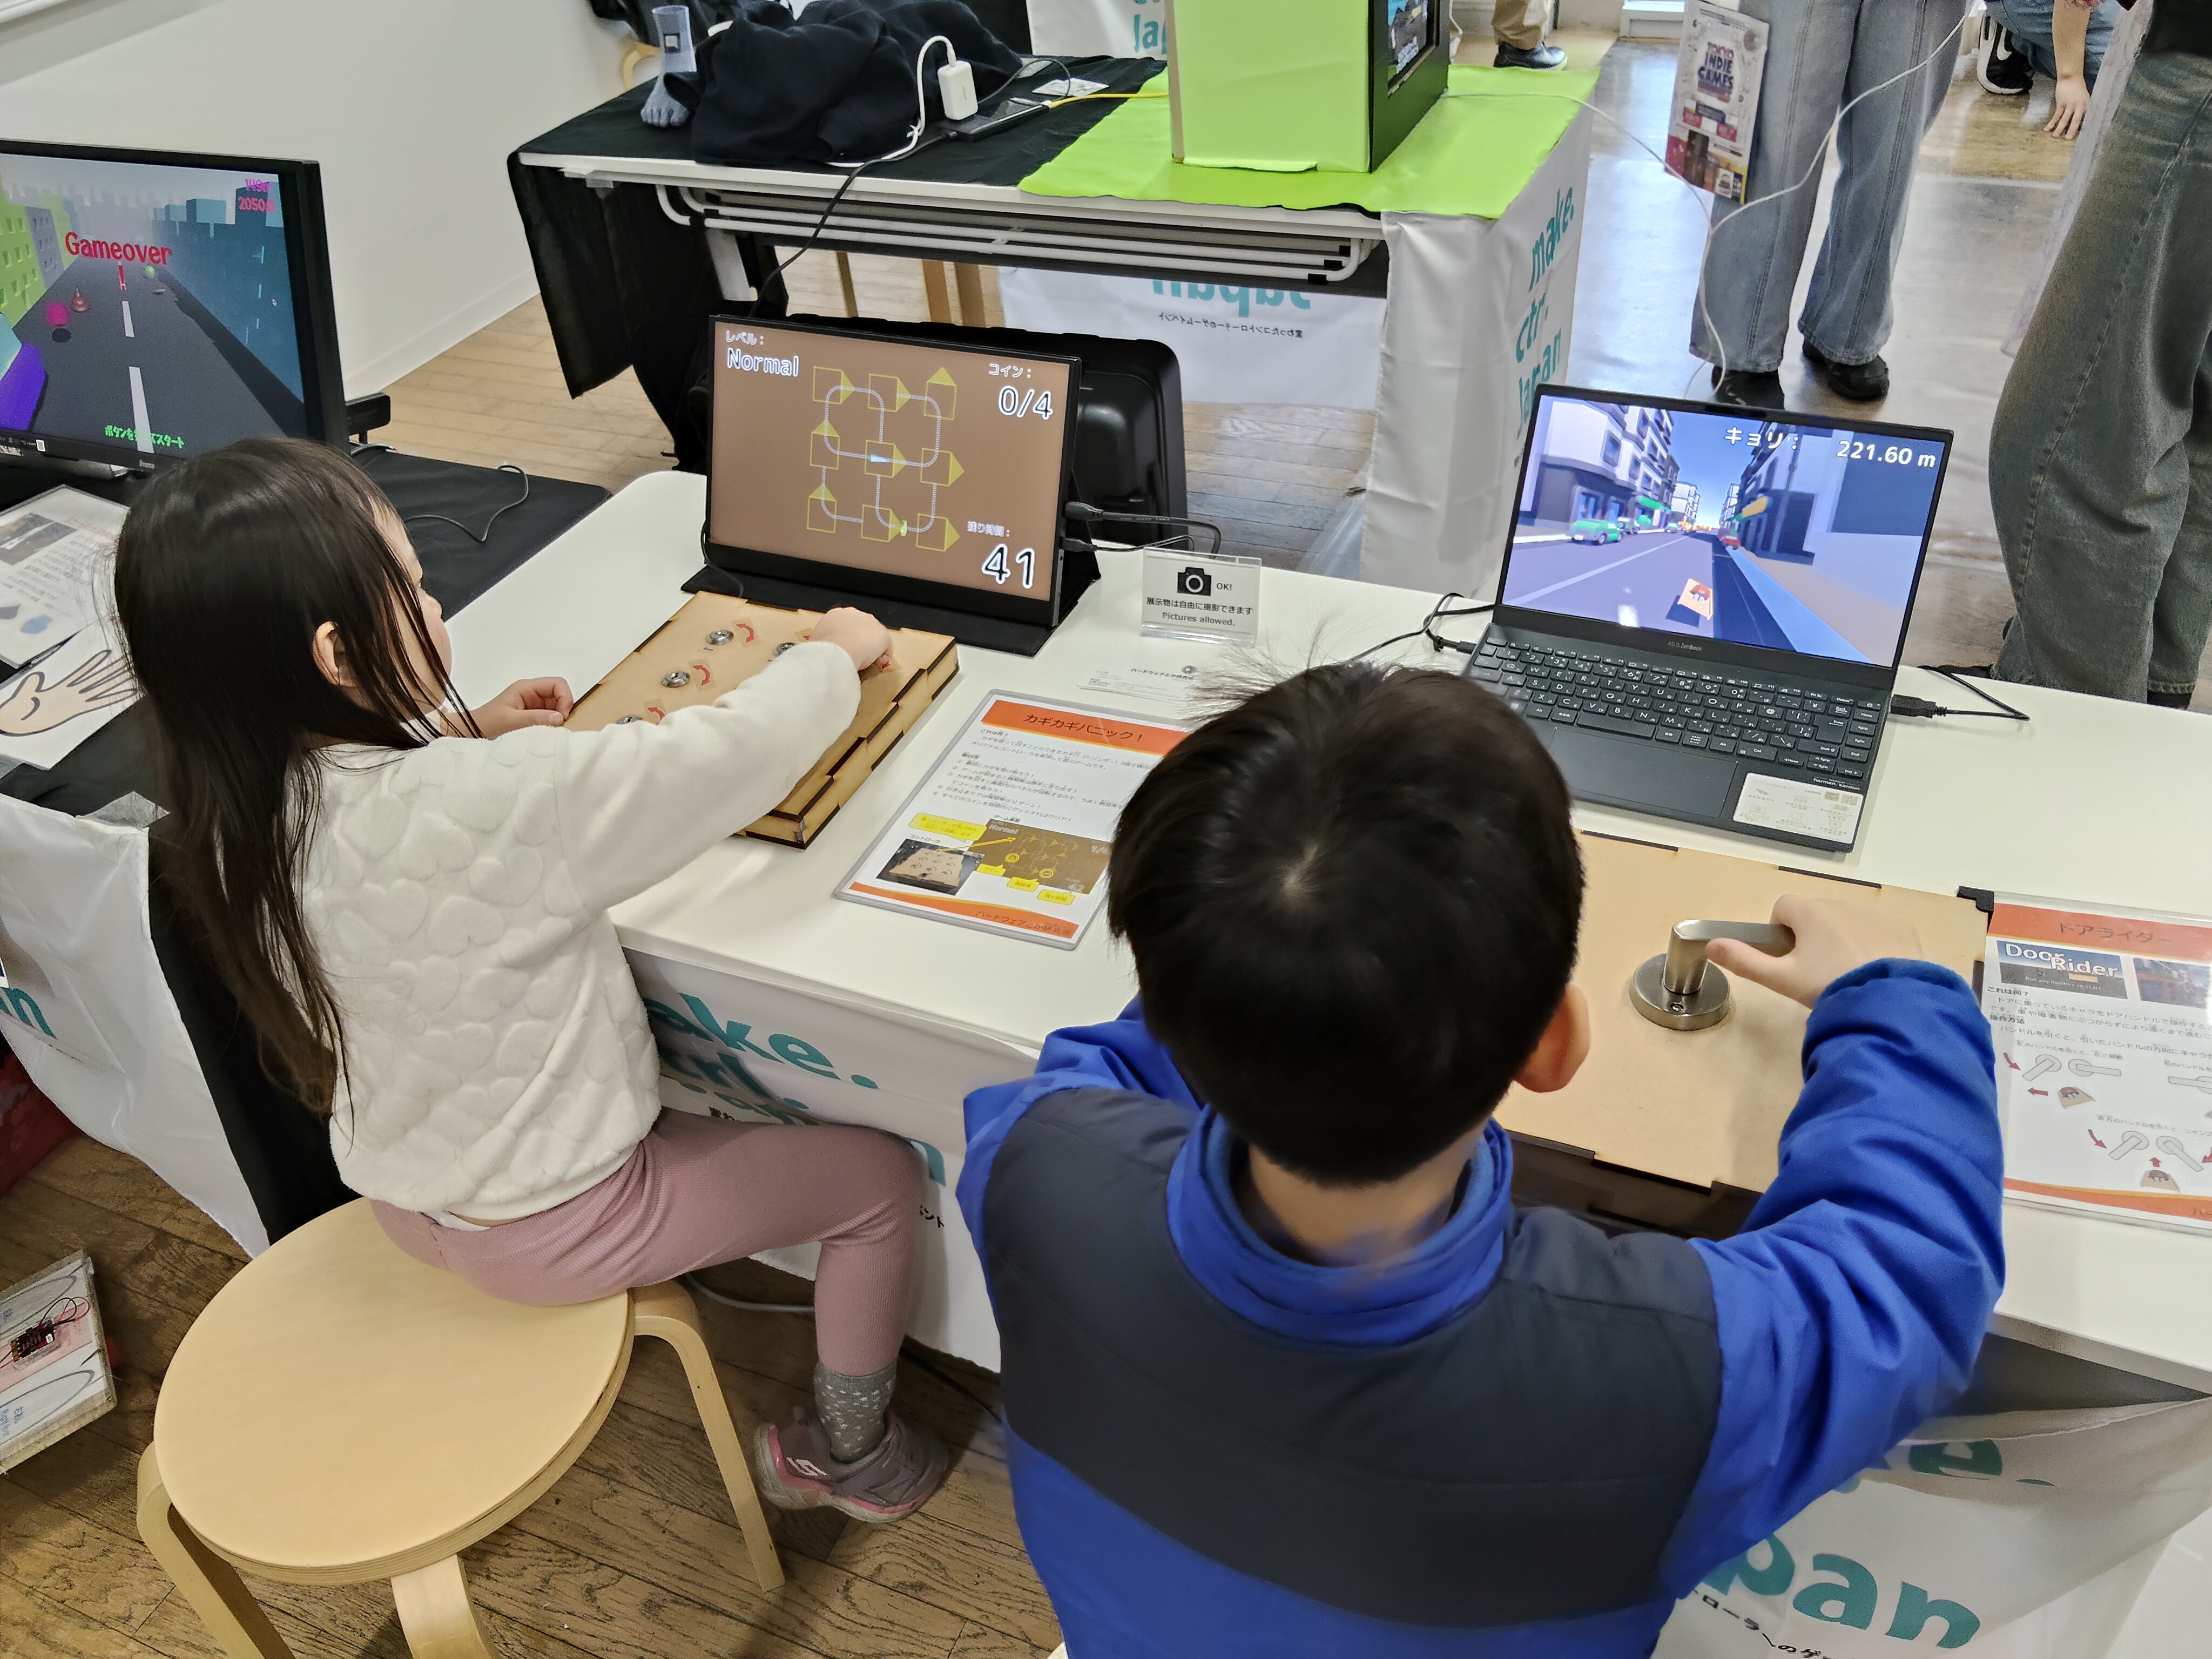
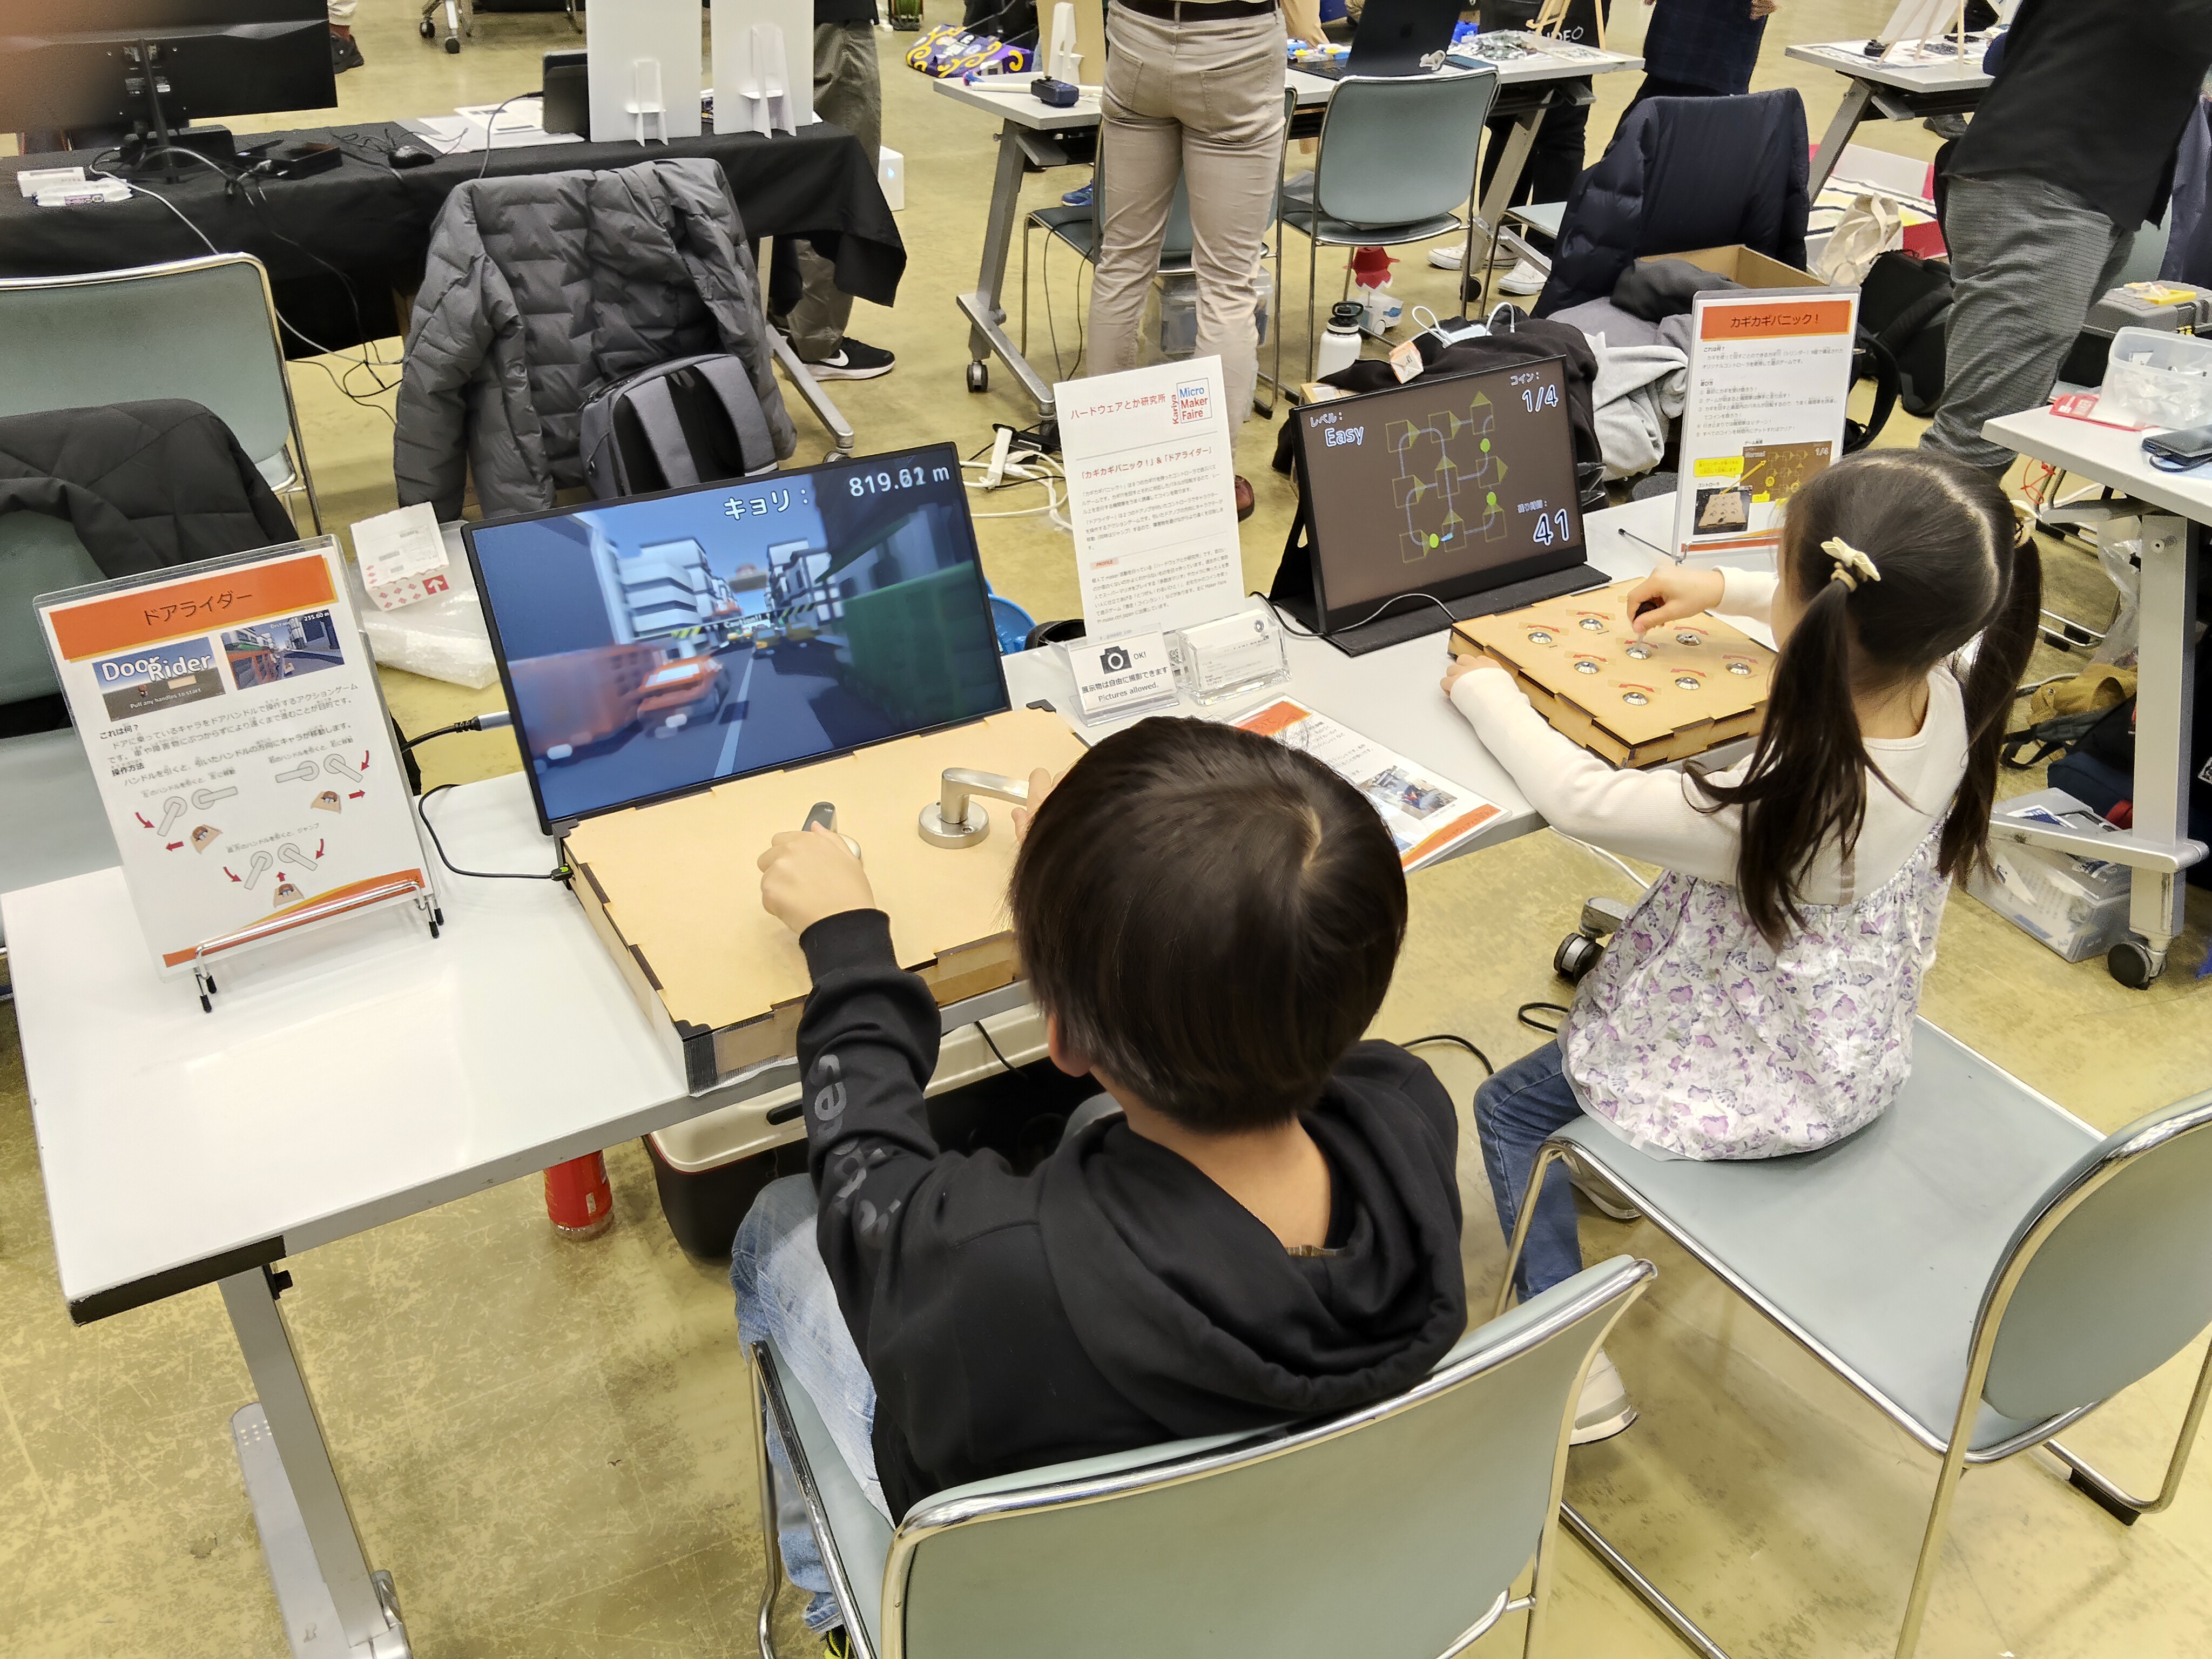
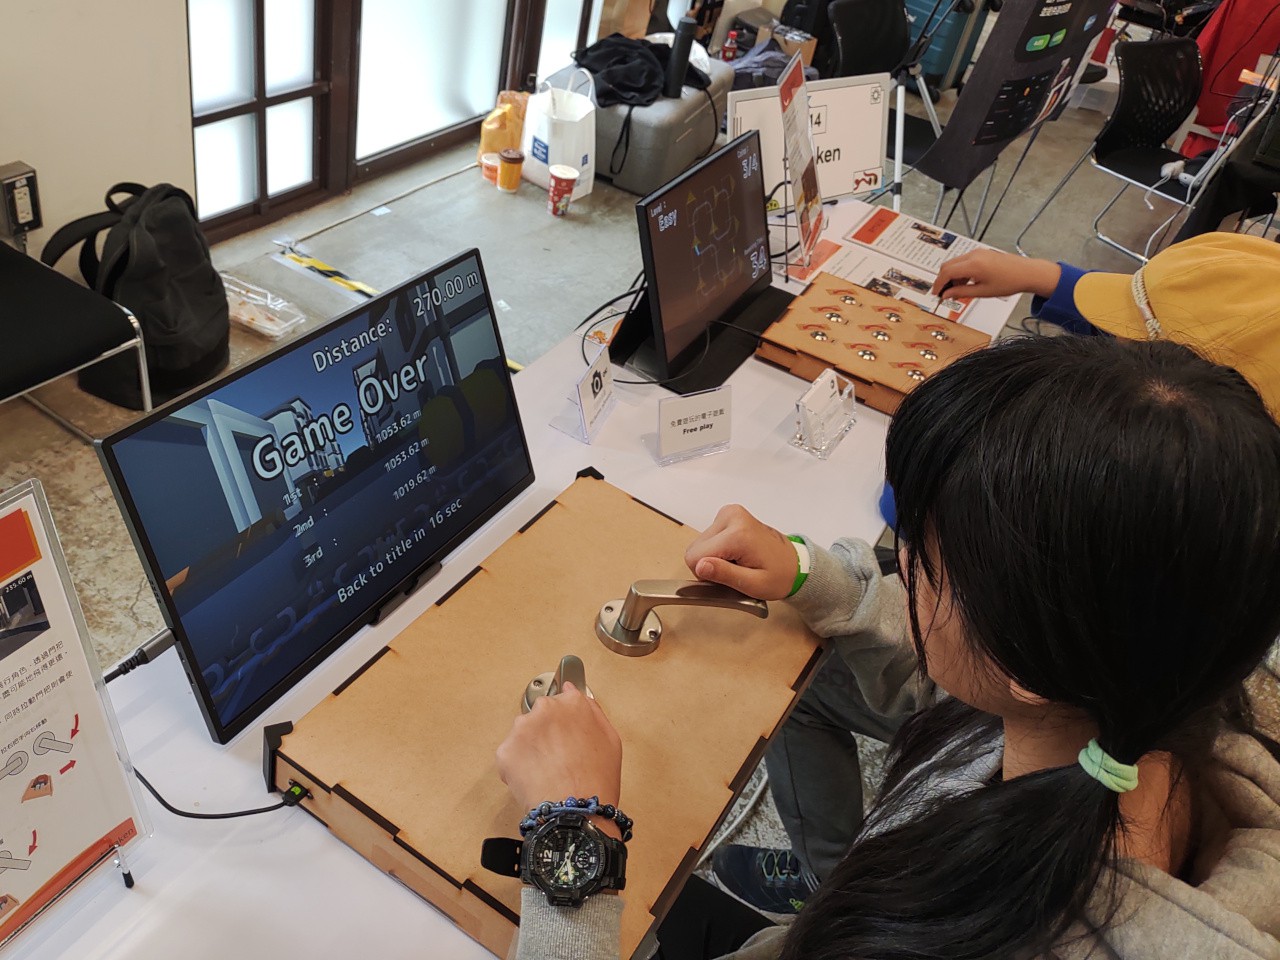
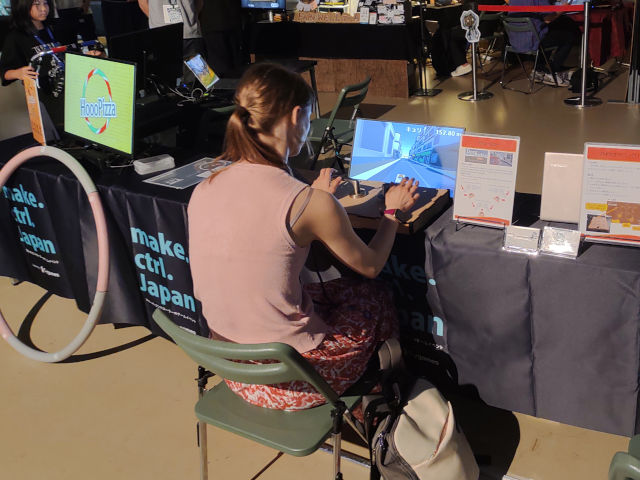
The game starts when you pull any handle on the title screen. When the game starts, the character riding on the door will start flying forward automatically. This character can be controlled with two handles. When you pull the handle, the character will move according to which handle you pull. If you pull the left handle, the character will move left. Same for the right handle. If you pull both handles at the same time, the character will jump.
The goal is to go as far as possible without hitting cars or obstacles.
Controller
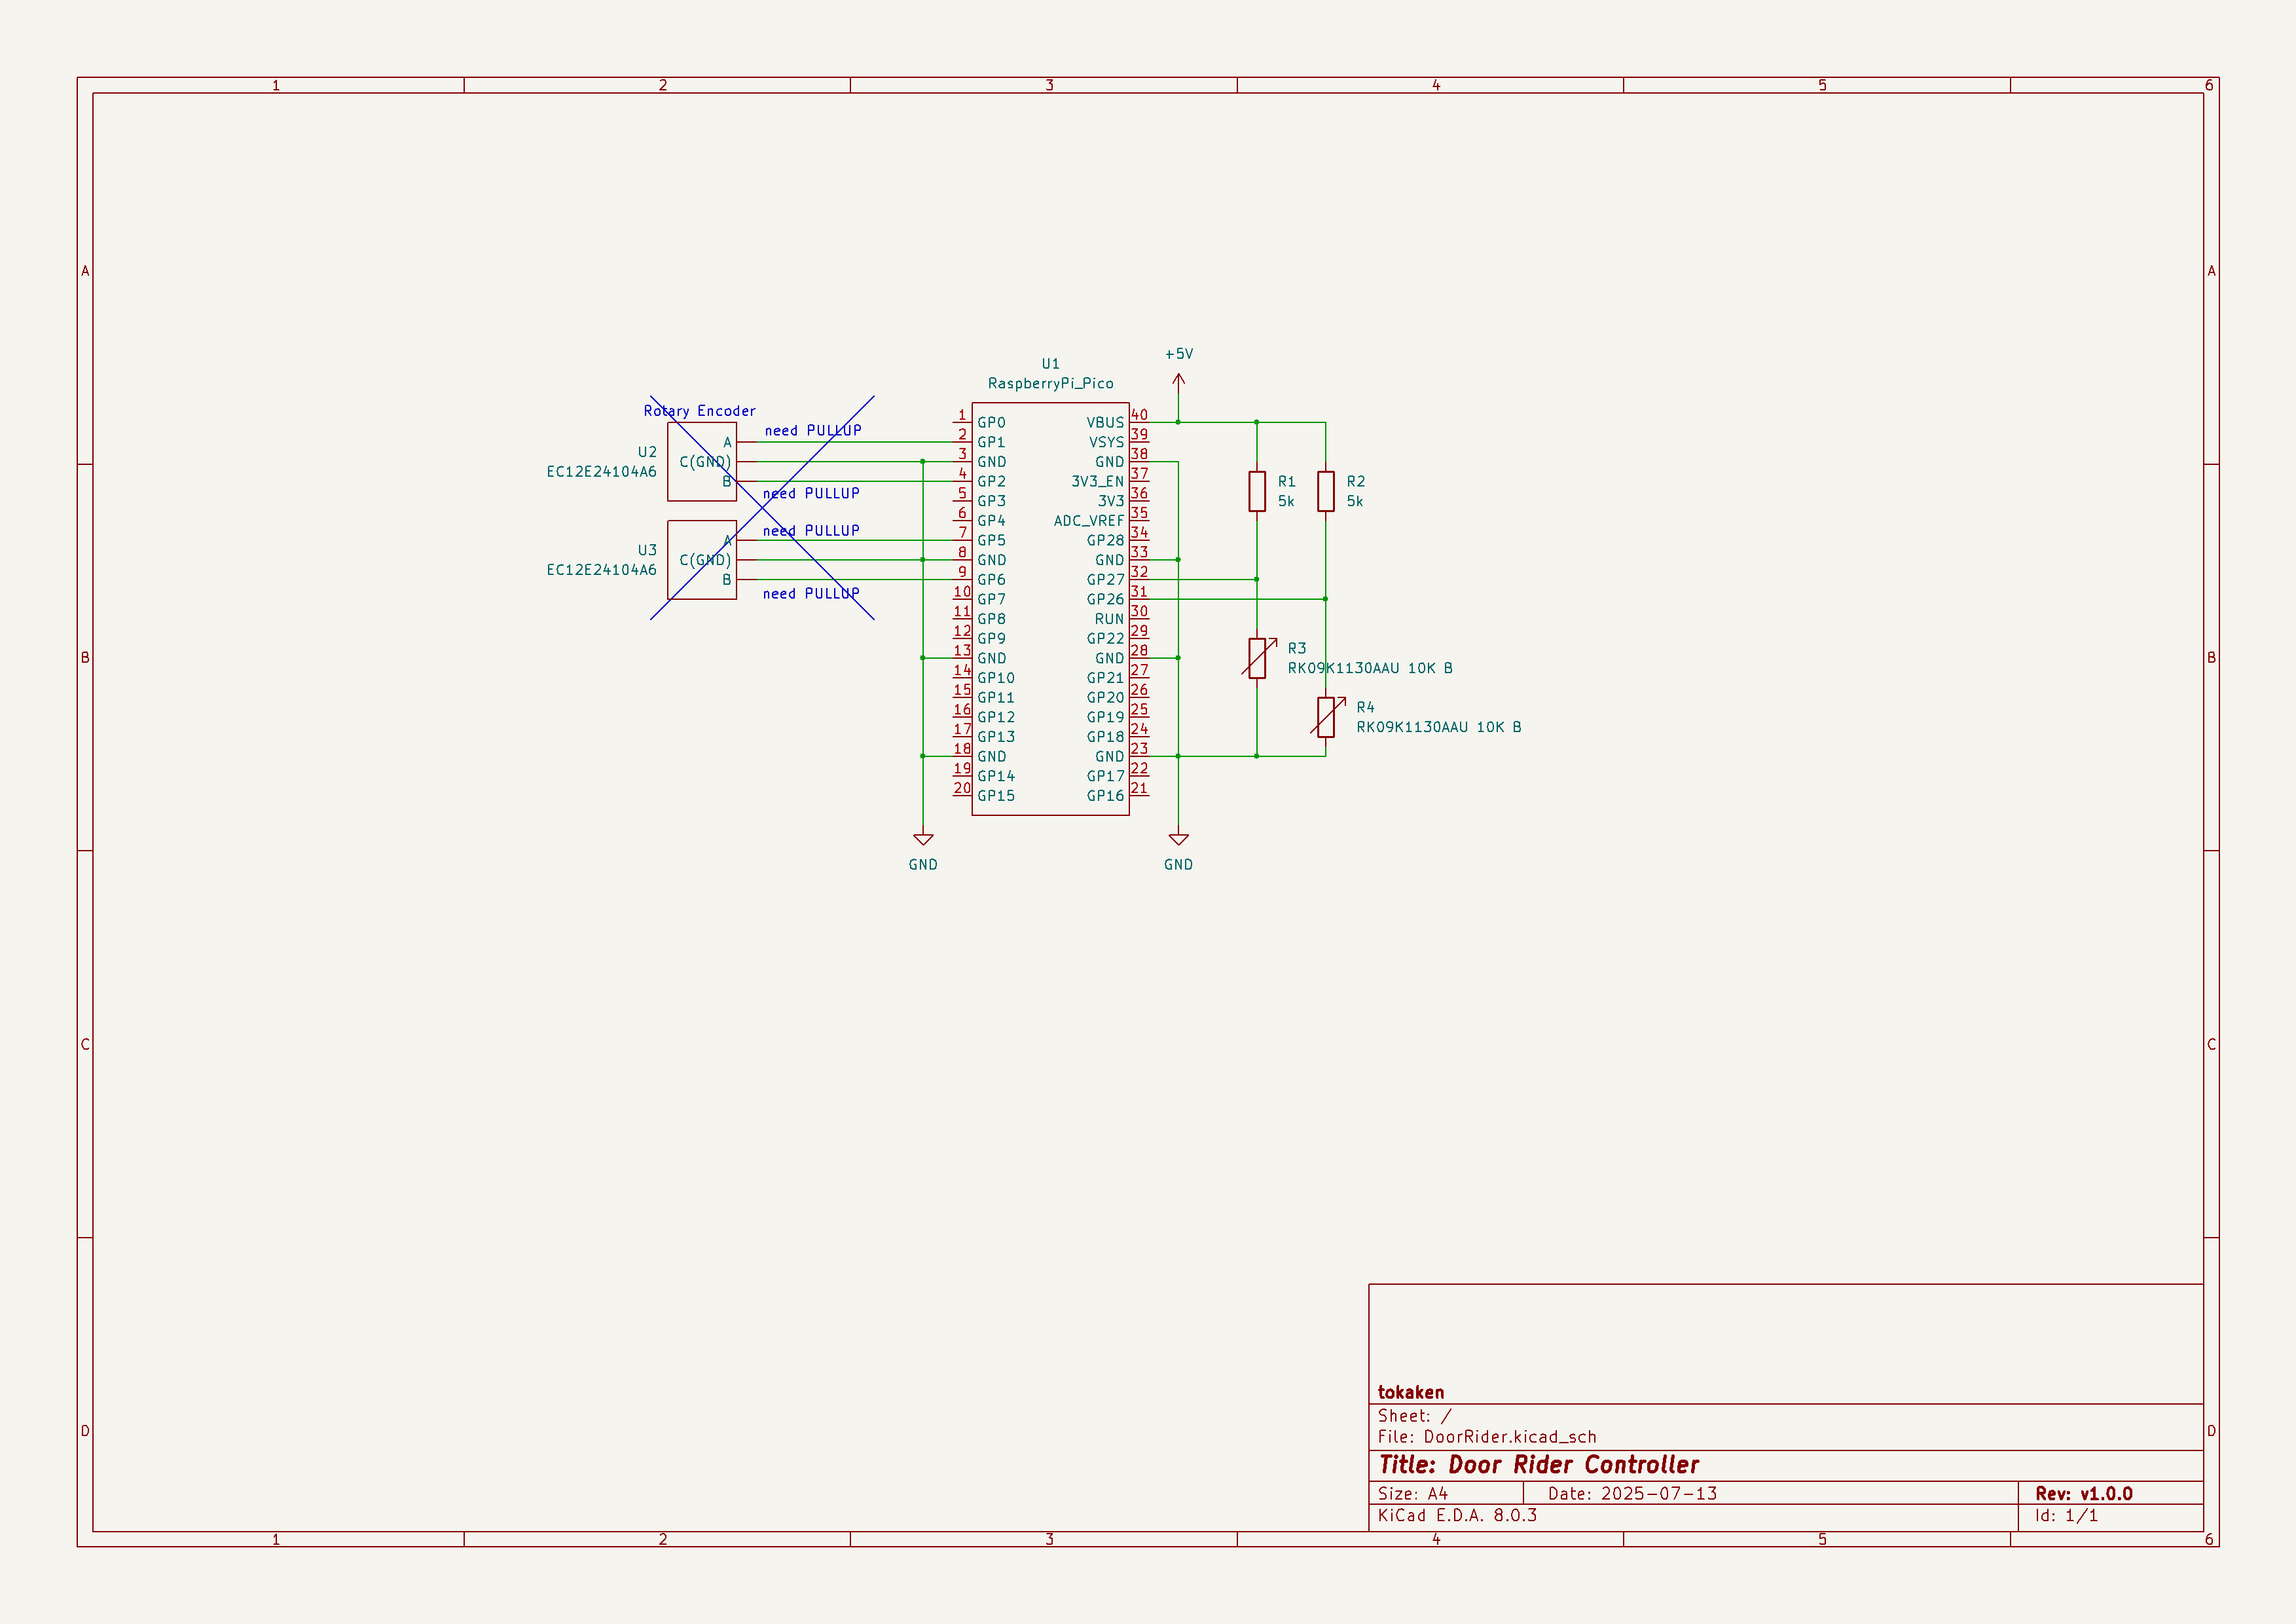
The controller has 2 handles, those handles are pre-made and sold as a set of two handles. The angle of the handle is detected by a potentiometer(variable register). The part that connects the potentiometer and the handle is made using a 3D printer. The controller also includes a Raspberry pi Pico.
The controller has a USB connector. When you connect this controller to a PC, it will be detected as a USB keyboard. This feature makes debugging easier during developing games. Because if I use a keyboard instead, I can test the game without a controller.
The outside is made of laser cut MDF (55mm thick).
controller circuit
3 attempts
1st attempt
First, I tried to detect the handle angle using a rotary encoder. But this attempt is unsuccessful. This is because, although a rotary encoder can detect the direction of rotation, it cannot detect the amount of rotation accurately. I didn’t realize that.
2nd attempt
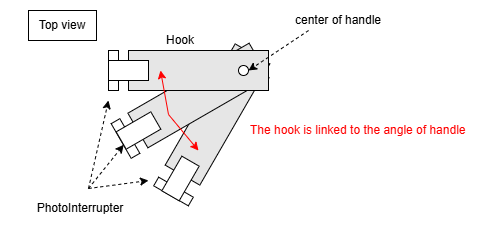
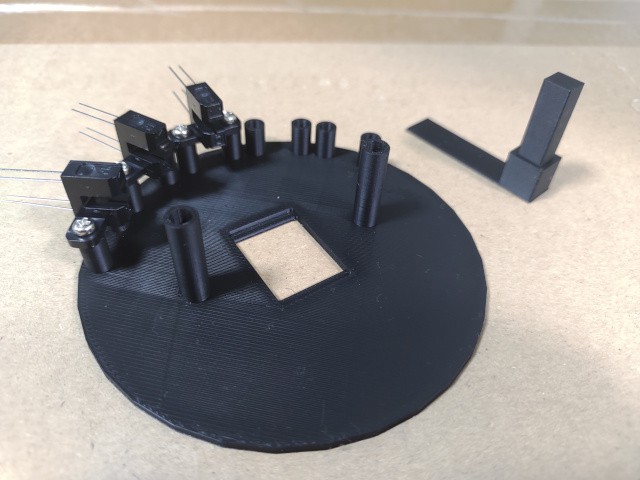
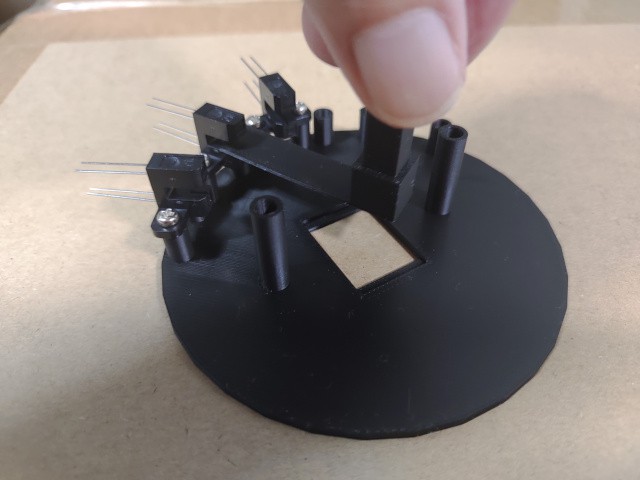
Second, I tried to detect the handle angle using a photointerrupter. Attach a hook to the handle that links with the angle of the handle. And place photointerrupters at each angle. When the handle reaches a certain angle, the hook is detected by the photointerrupter. But this attempt is unsuccessful too.
Photointerrupters are fairly large, so in order to place many of them, they must be placed away from the center of the handle. This requires the length of the hook to be somewhat longer. In this case, the movement of the hook linked to the handle becomes an issue. The handle does not simply move only along the horizontal plane. The rotation axis of the handle is unstable which makes it wobble around, making it hit the photointerrupter. Therefore, this idea was scrapped.
concept drawing
prototype
3rd attempt
Finally, I used a potentiometer to detect the handle angle. Now that I think about it, this is a very simple way to achieve this. By linking the handle angle and the register value, the angle can be obtained from voltage value using the ADC.
output
This controller can get the angle of handle as analog value. This value is converted into corresponding key input depending on the level. The controller sends the key input to the PC.
For example, left handle
- neutral
no output - pull a little
“d” keystroke - pull much
“s” keystroke - pull max
“a” keystroke
In other words, when you pull the handle, the controller sends the key input to the PC.
tidbit
Initially, I was trying to make a video game where you have to choose the correct door between two doors. For example, you could look at the silhouette of a person through a door window and determine whether they were Dracula or a human, or something like a quiz.
However when I made the controller, it looked like a bike handlebar (I always make the controller before the video game). Therefore, the game was changed to an action game where you control a character.
 Spawn
Spawn
 danjovic
 Sven Dahlstrand