 Vipin M
The journey to turning a Roomba 650 into a ROS 2-enabled SLAM and navigation robot has been eventful. Although the SLAM stack isn't powered up yet, much groundwork has been completed to reach that point. This update documents the process, decisions made along the way, and a glimpse of what’s next.
Hardware Interface and Serial Communication
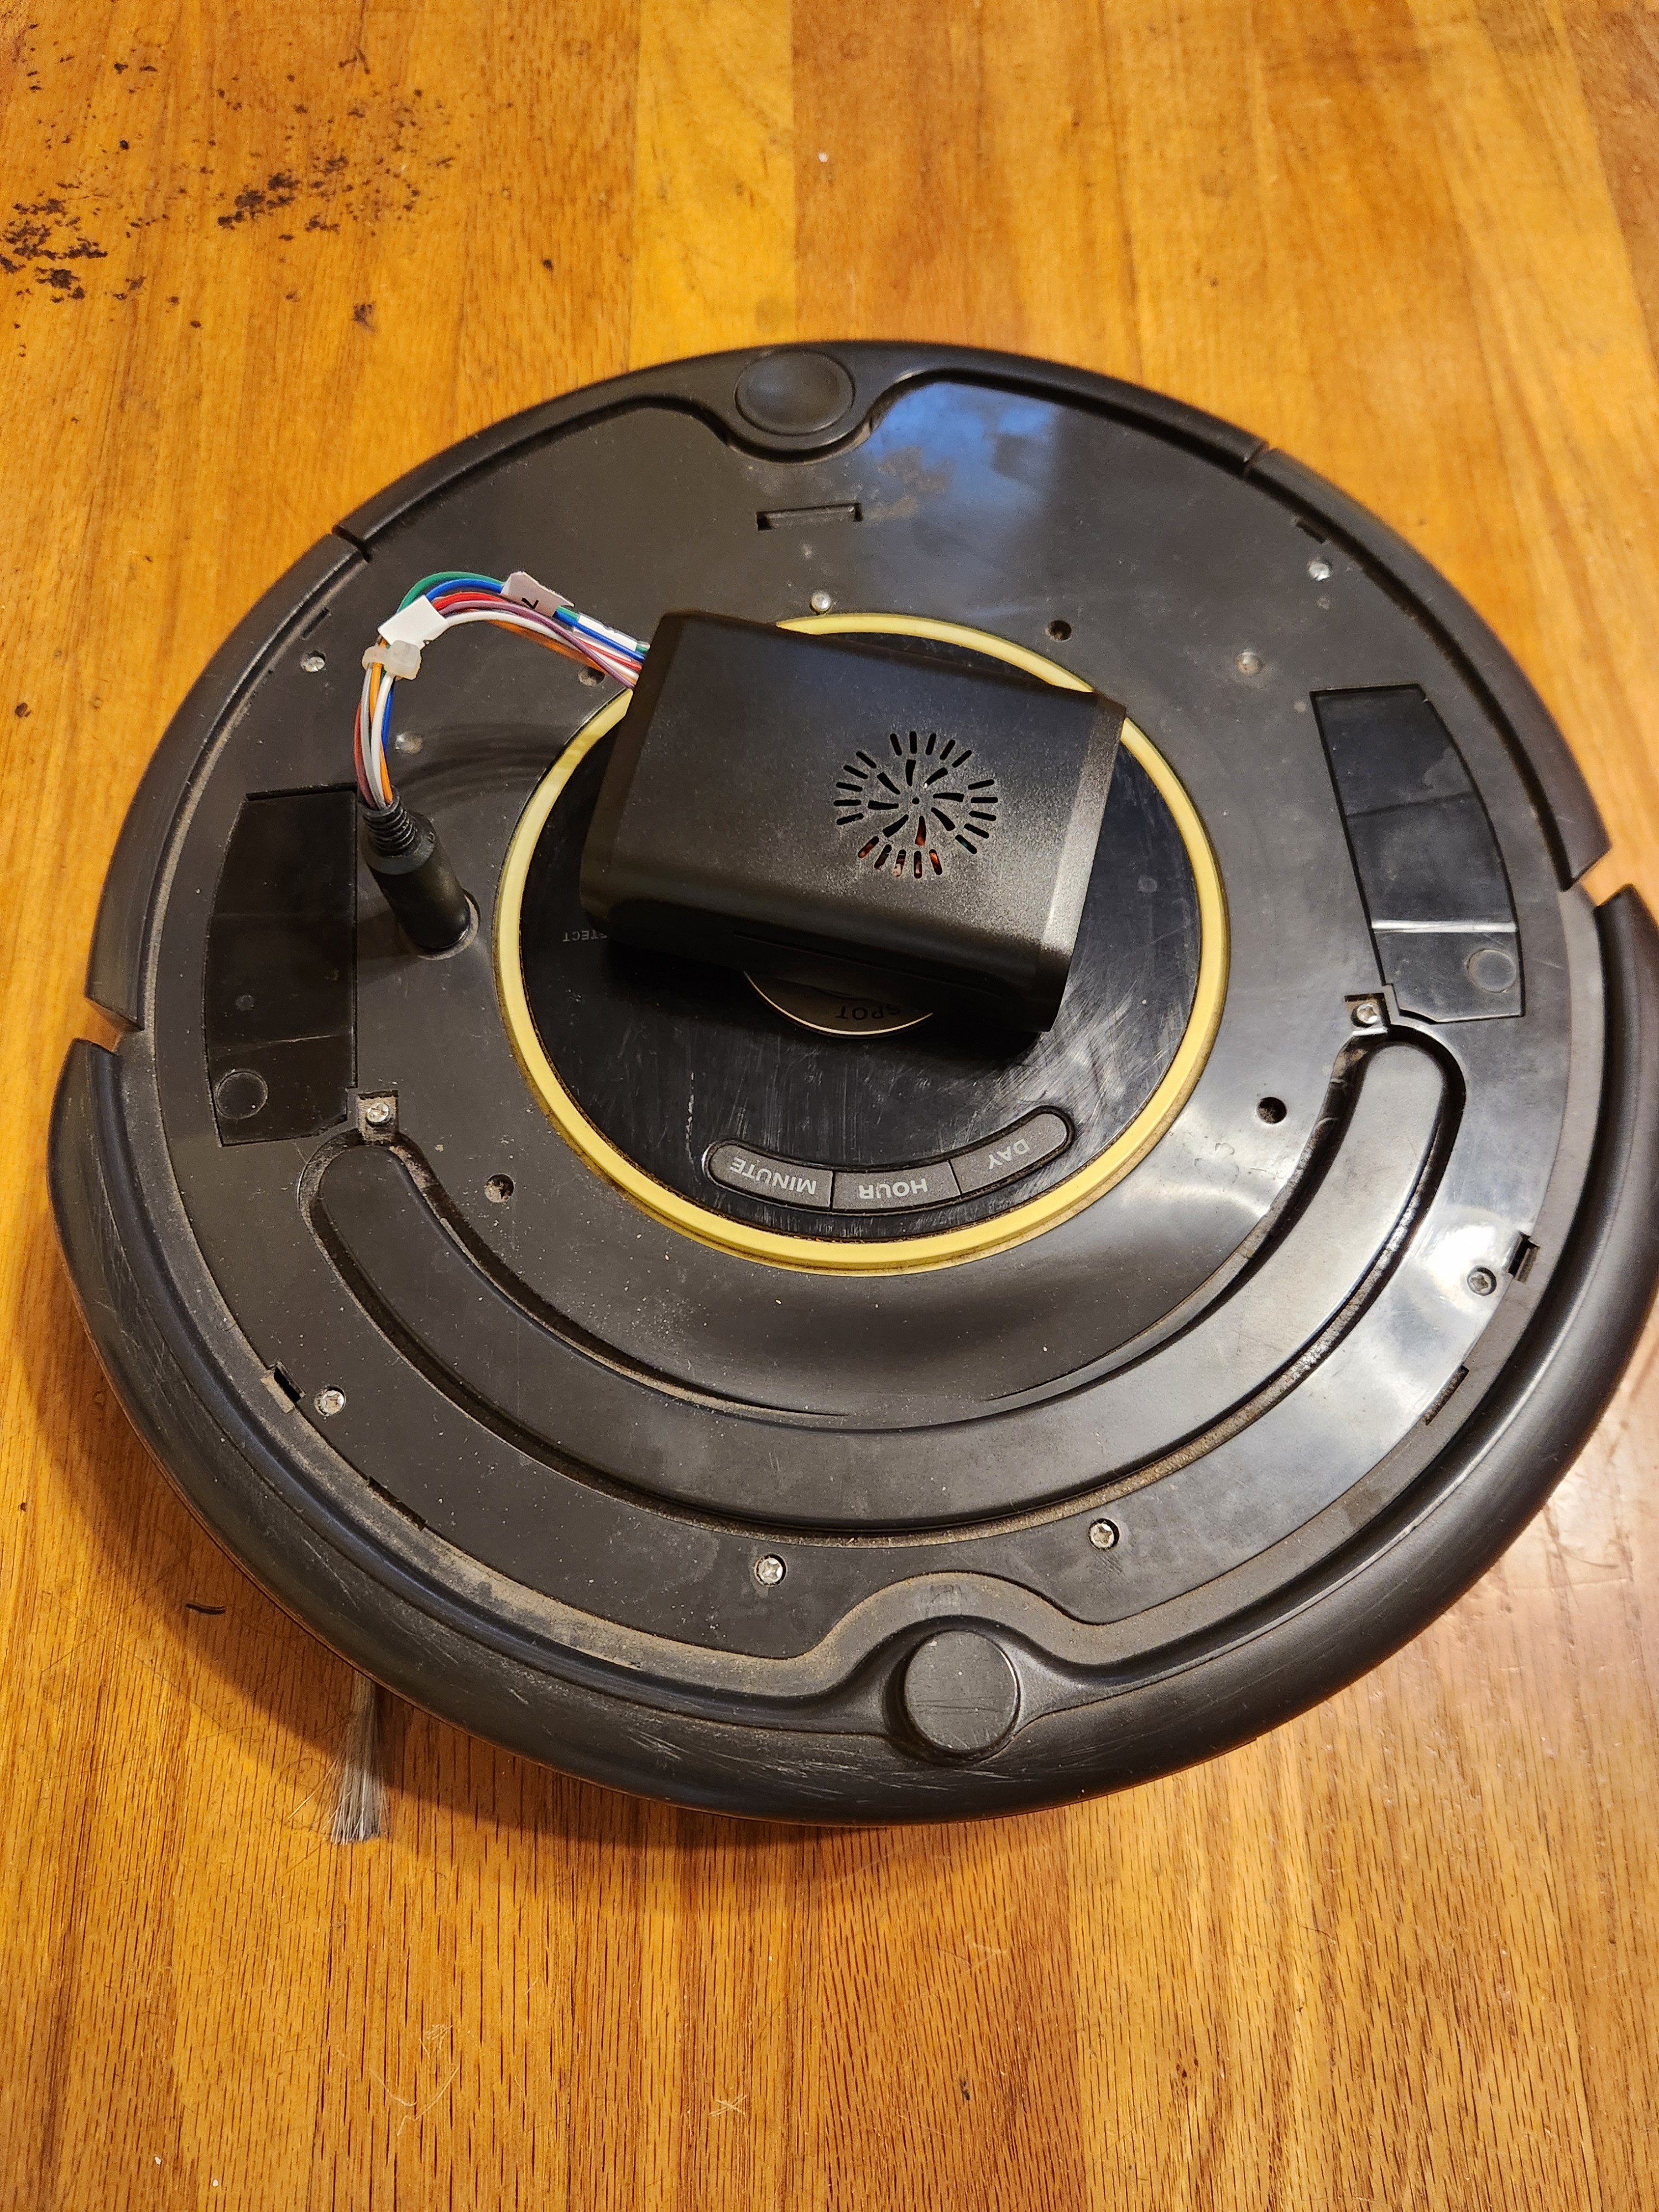
The project began with a deep dive into the iRobot Create Open Interface (OI) specification to understand the Roomba’s serial communication requirements. From there, the Roomba's 7-pin mini-DIN port was mapped to identify the relevant pins for TX, RX, and power.
It became clear that the Roomba's serial interface operated at 5V logic, while the Raspberry Pi's UART is 3.3V tolerant. To bridge this, I built a custom cable incorporating a level shifter. A DC-DC voltage regulator was also added to power the Raspberry Pi directly from the Roomba's onboard battery.
The initial attempt to communicate between the Pi and Roomba was unsuccessful. To debug, I replaced Roomba with an Arduino Uno, attempting a loopback test through the Arduino itself, but that too failed. I then created a local loopback on the Pi (jump TX to RX), which succeeded and reassured me that the Pi GPIOs were not fried. Returning to the Pi, the correct serial port abstraction was identified—/dev/ttyAMA0 or /dev/serial0—which had been part of the earlier confusion.
This progress made it worthwhile to improve the hardware connections, so a custom header was fabricated for the Raspberry Pi’s 40-pin connector to secure the wiring and facilitate swapping Pis without rewiring. With renewed confidence, I returned to the Pi to successfully establish communication with the Roomba.
Validating Control and Sensor Feedback
With the hardware connection sorted, the next step was to develop basic Python scripts to:
-
Start the Roomba’s OI
-
Drive forward, reverse, and rotate
-
Query sensor data including bump sensors, battery status, and distance traveled
This formed the first real confirmation that the Roomba was responding properly to commands issued from the Raspberry Pi.
Moving to ROS 2: create_robot Package
Next, I turned to the create_robot ROS 2 package from AutonomyLab. After cloning and building the package on the Raspberry Pi, the create_driver was launched:
ros2 launch create_bringup create_driver.launch.py serial:=/dev/serial0 baud:=115200
Once running, several topics became available:
-
/odomfor odometry -
/cmd_velfor velocity commands -
/battery/voltage -
/bumper -
/wheel_drop -
/cliff -
/light_bumper -
/ir_opcode -
/dock -
/buttons
Exploring Teleoperation
To control the robot, I started with teleop_twist_keyboard, a ROS 2 package that allows controlling via a keyboard. While exploring options for more intuitive control, I discovered two existing controllers at home: a Flysky RC transmitter used for drones and a Nintendo Switch controller. The latter was stolen from my son's stash and the former is something that both of use when we go out for flying drones and foamies.

The Switch controller was an easy pick because it could pair directly to the Pi via Bluetooth. The Flysky controller would have required an additional receiver, although I learned that with the inputattach tool, it's now possible to integrate such RC transmitters with Linux as joystick devices. This integration isn't complete yet but is on the list for a future blog post.
Setting Up RPLiDAR with ROS 2
With Roomba control and telemetry operational, the next focus was on integrating the RPLiDAR A1M8. This was first brought up on a desktop Linux machine running Ubuntu 22.04 and ROS 2 Humble, to simplify testing.
Once verified, the setup was migrated to the Raspberry Pi. The rplidar_node published data on the /scan topic, confirming that the LIDAR was functioning.
A split architecture was then tested:
-
The Pi handled the LIDAR and published
/scan -
A host computer ran RViz2 for visualization via ROS 2 networking
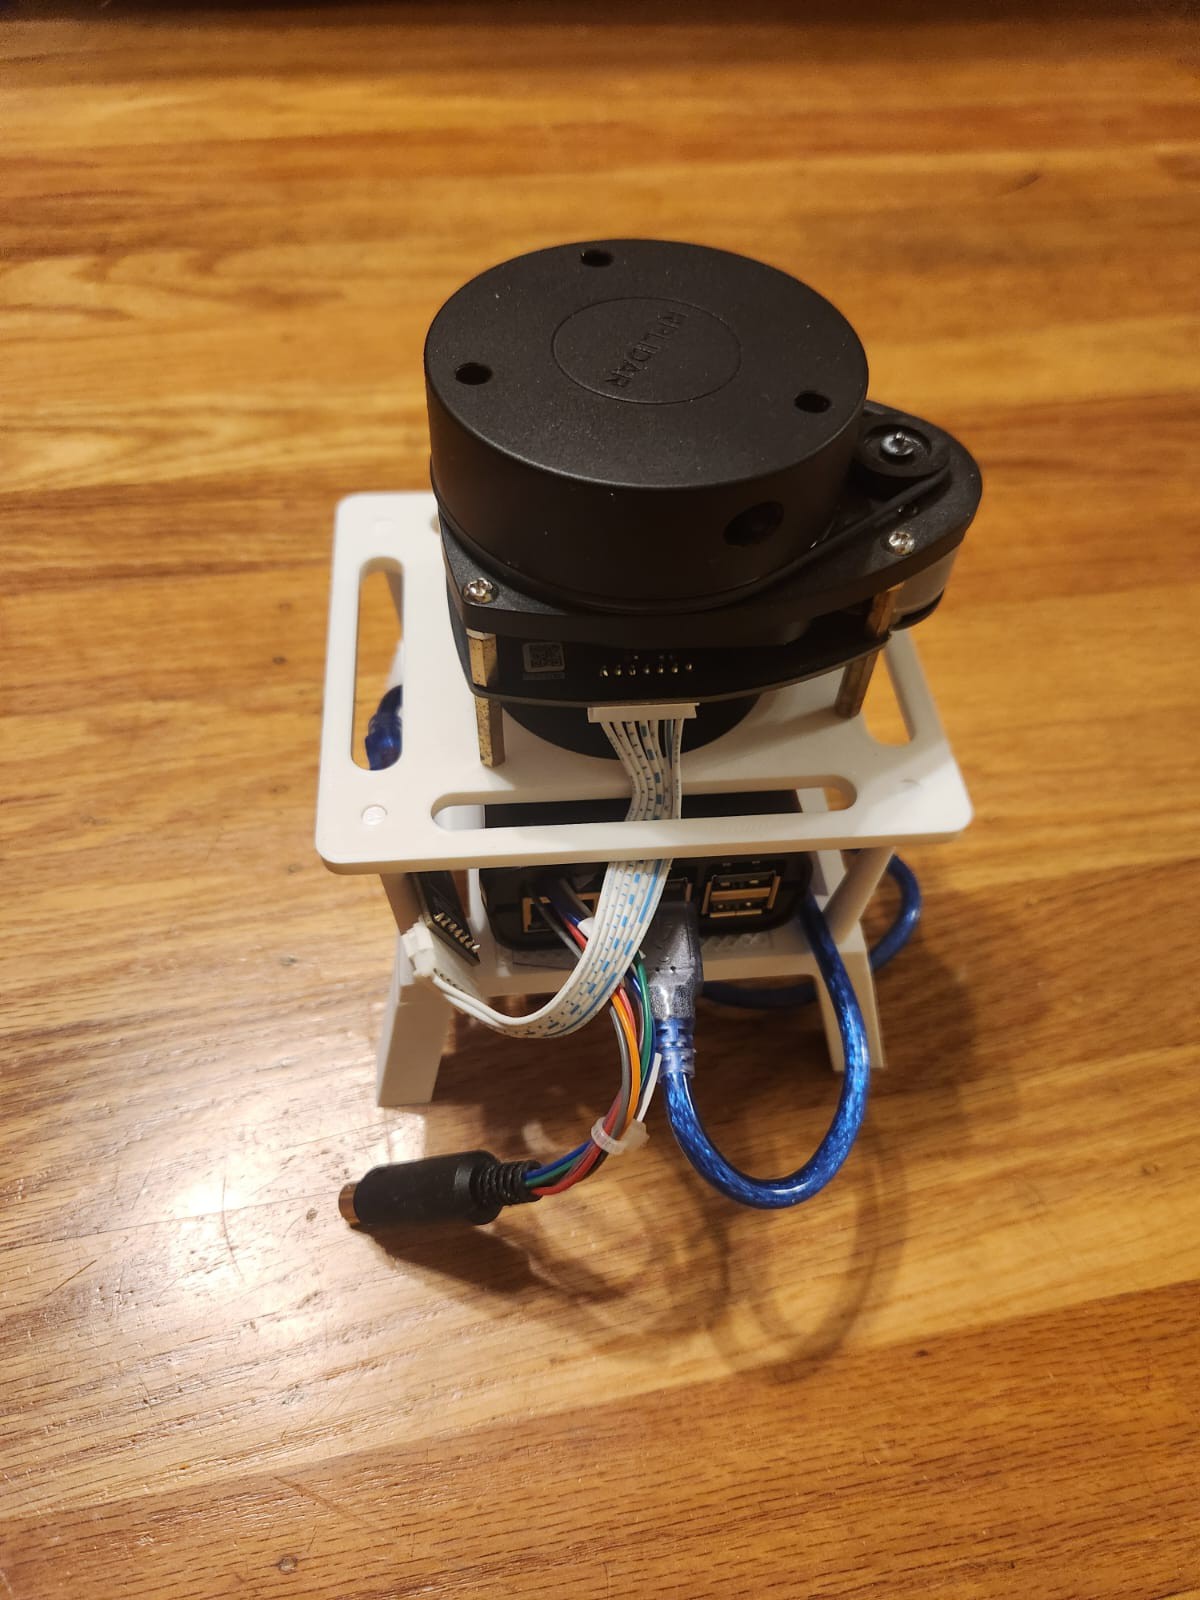
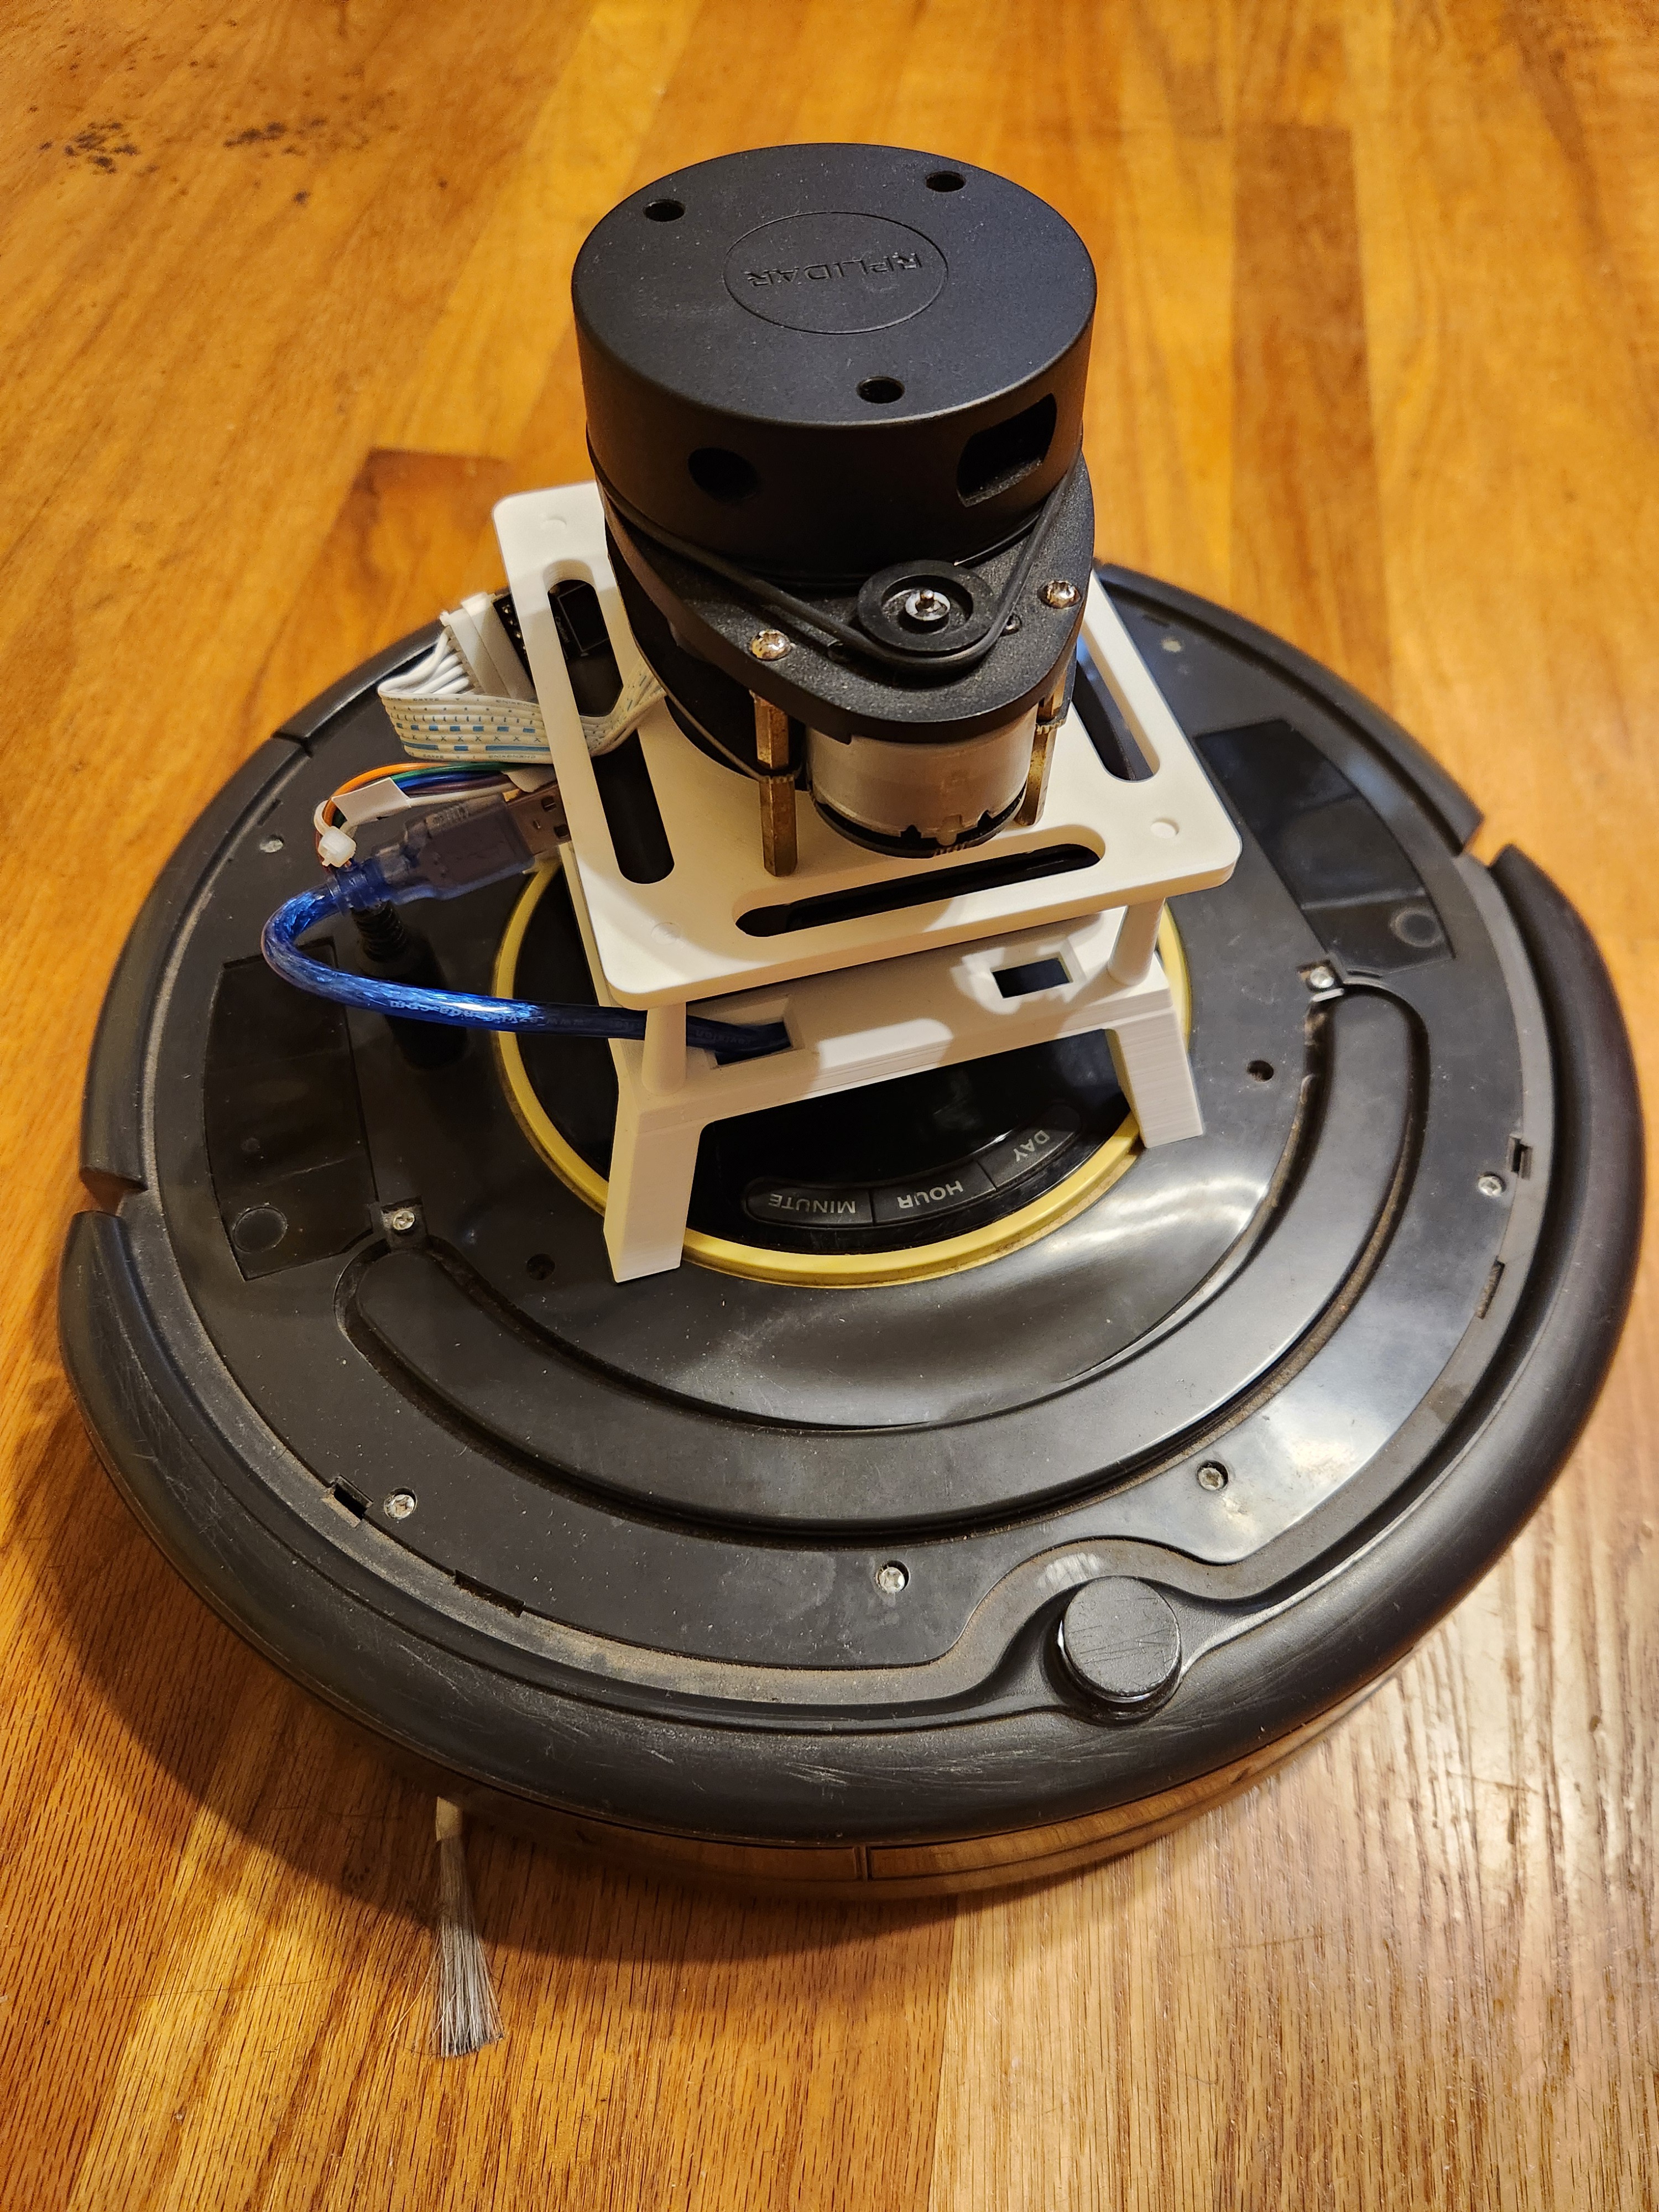
To properly mount the RPLiDAR on the Roomba, a 3D printed stand was designed and fabricated, which also housed the Raspberry Pi. The stand ensures a stable platform for the LIDAR and keeps wiring neat.
Current Status and Next Steps
Currently, the system comprises:
-
Roomba 650 with ROS 2 create_robot driver providing odometry
-
RPLiDAR A1M8 publishing laser scans
-
Manual teleoperation via keyboard
-
Visualization via RViz2
Next:
-
SLAM Toolbox integration to fuse
/scanand/odomand begin live map generation -
Visualization of the map alongside live scans and odometry
-
Eventually, integrate the ROS 2 Navigation Stack to enable goal-based autonomous navigation with dynamic obstacle avoidance
The pieces are in place; the next milestone is to bring them together under SLAM and start mapping the environment.
Discussions
Become a Hackaday.io Member
Create an account to leave a comment. Already have an account? Log In.