 Arnov Sharma
-
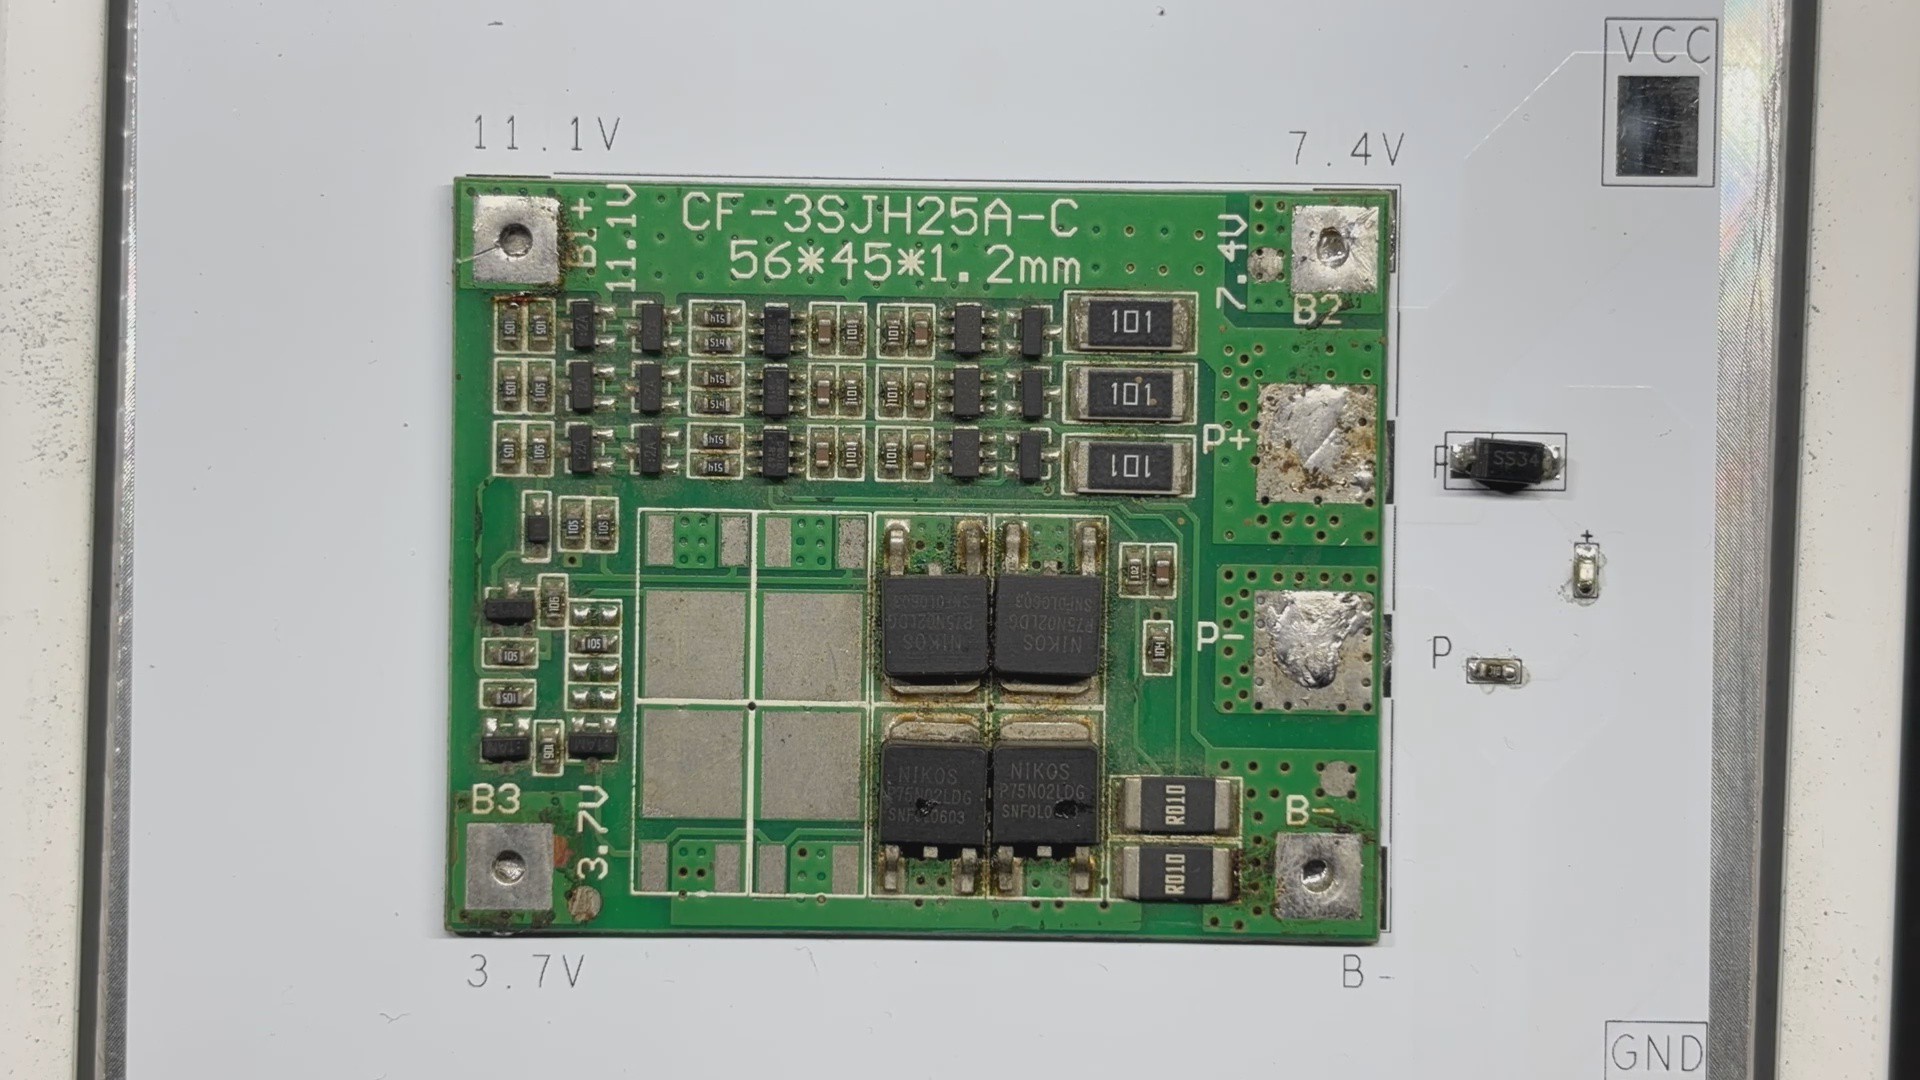
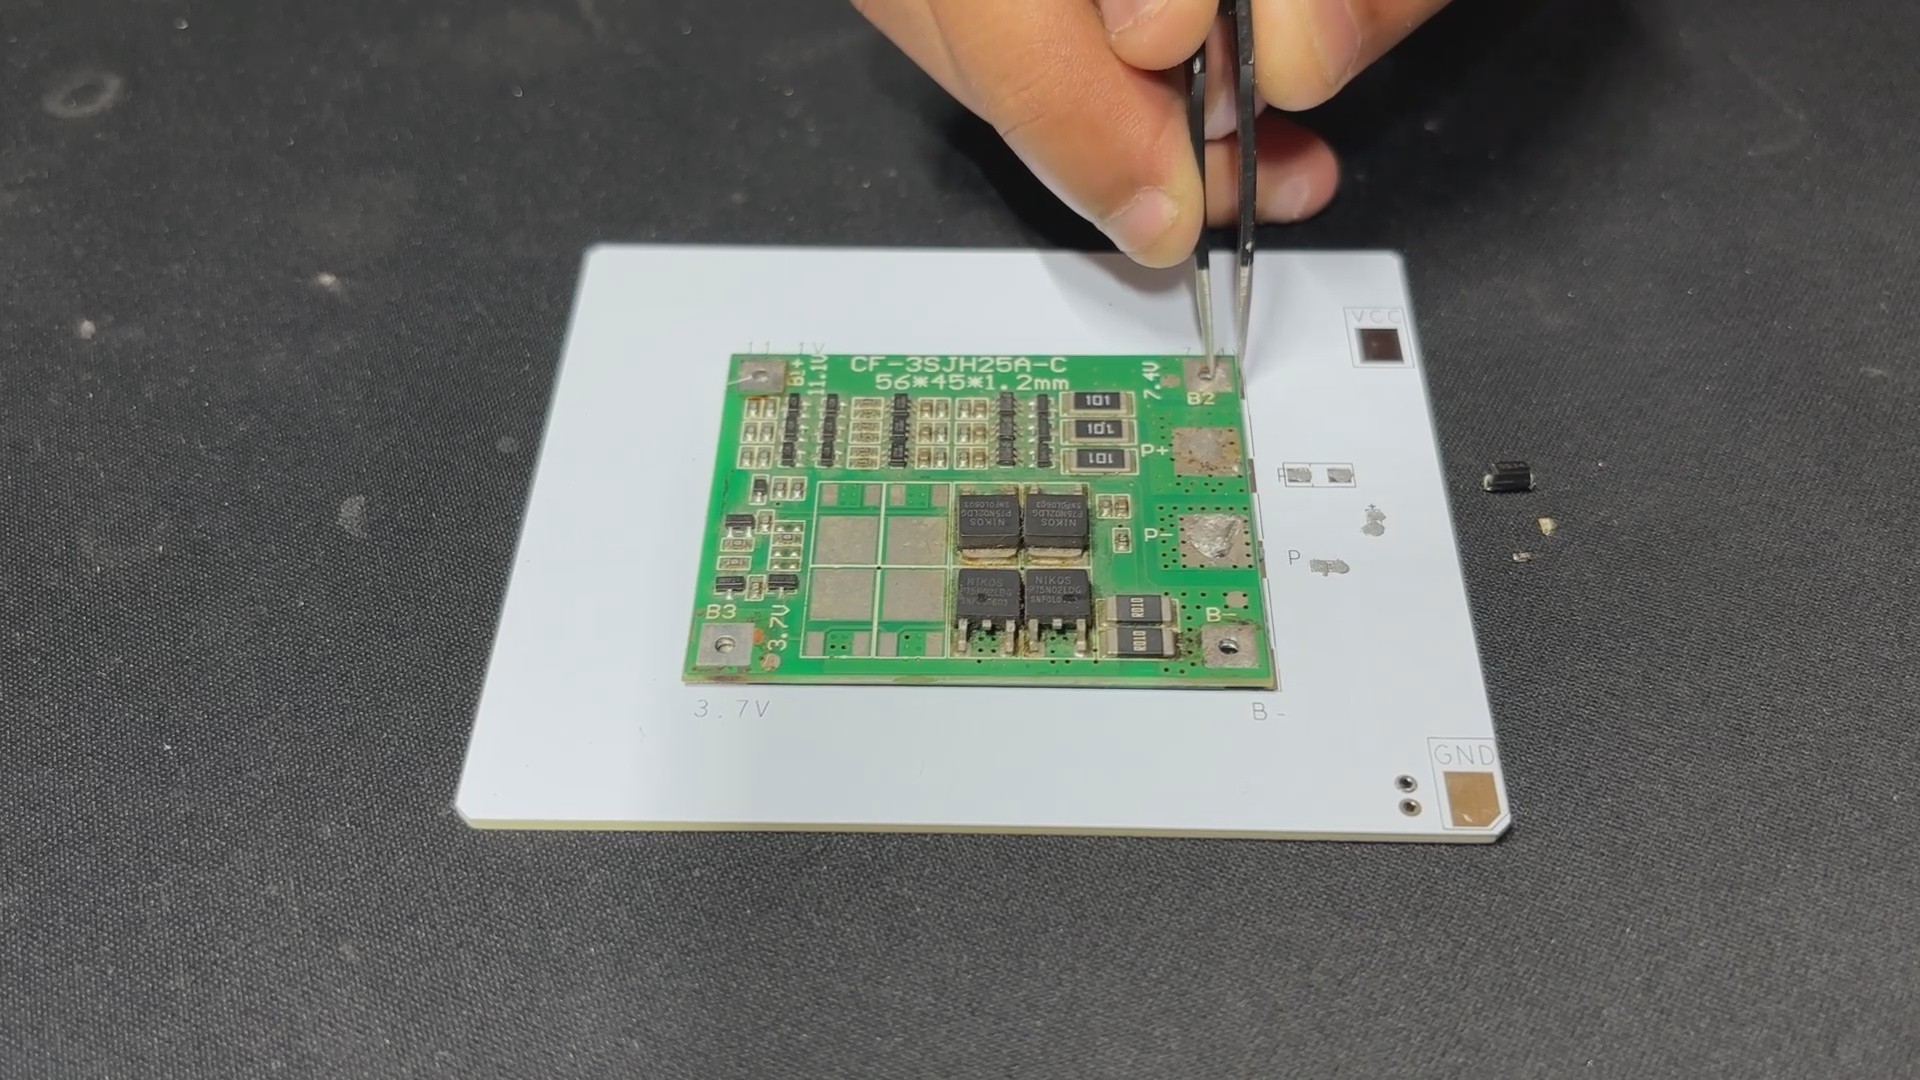
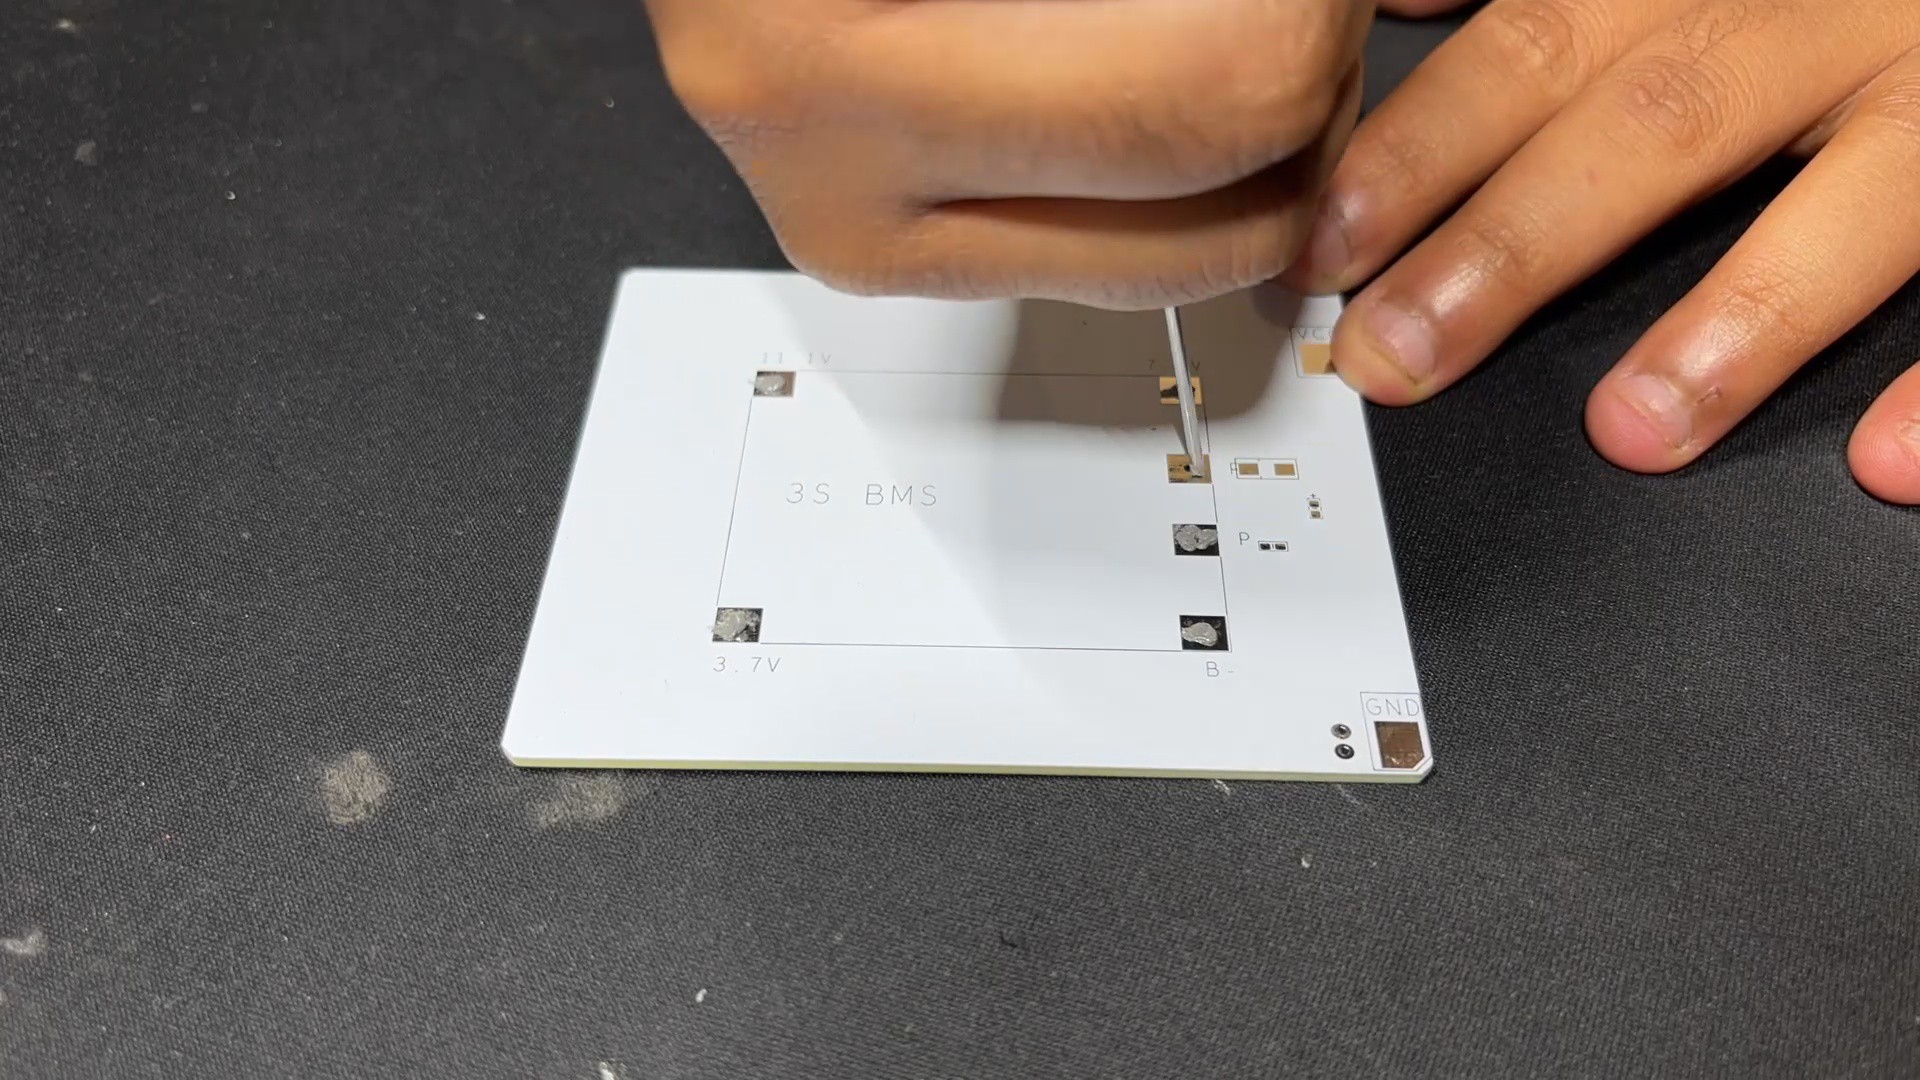
1PCB ASSEMBLY
![]()
![]()
![]()
- Using a solder paste dispensing needle, solder paste is applied to each component pad to start the PCB assembly process. 63/37 Sn-Pb solder paste is what we're using here.
- After that, we pick every SMD component and place it, starting with the BMS and moving on to the diode, resistor, and LED.
- We set the PCB on our Reflow Hotplate, which melts the solder paste by heating it from below. Solder paste melts as the temperature rises, allowing all parts to be secured in place.
- We use a soldering iron to attach the SMD 18650 Cell holder to the circuit from the bottom side.
-
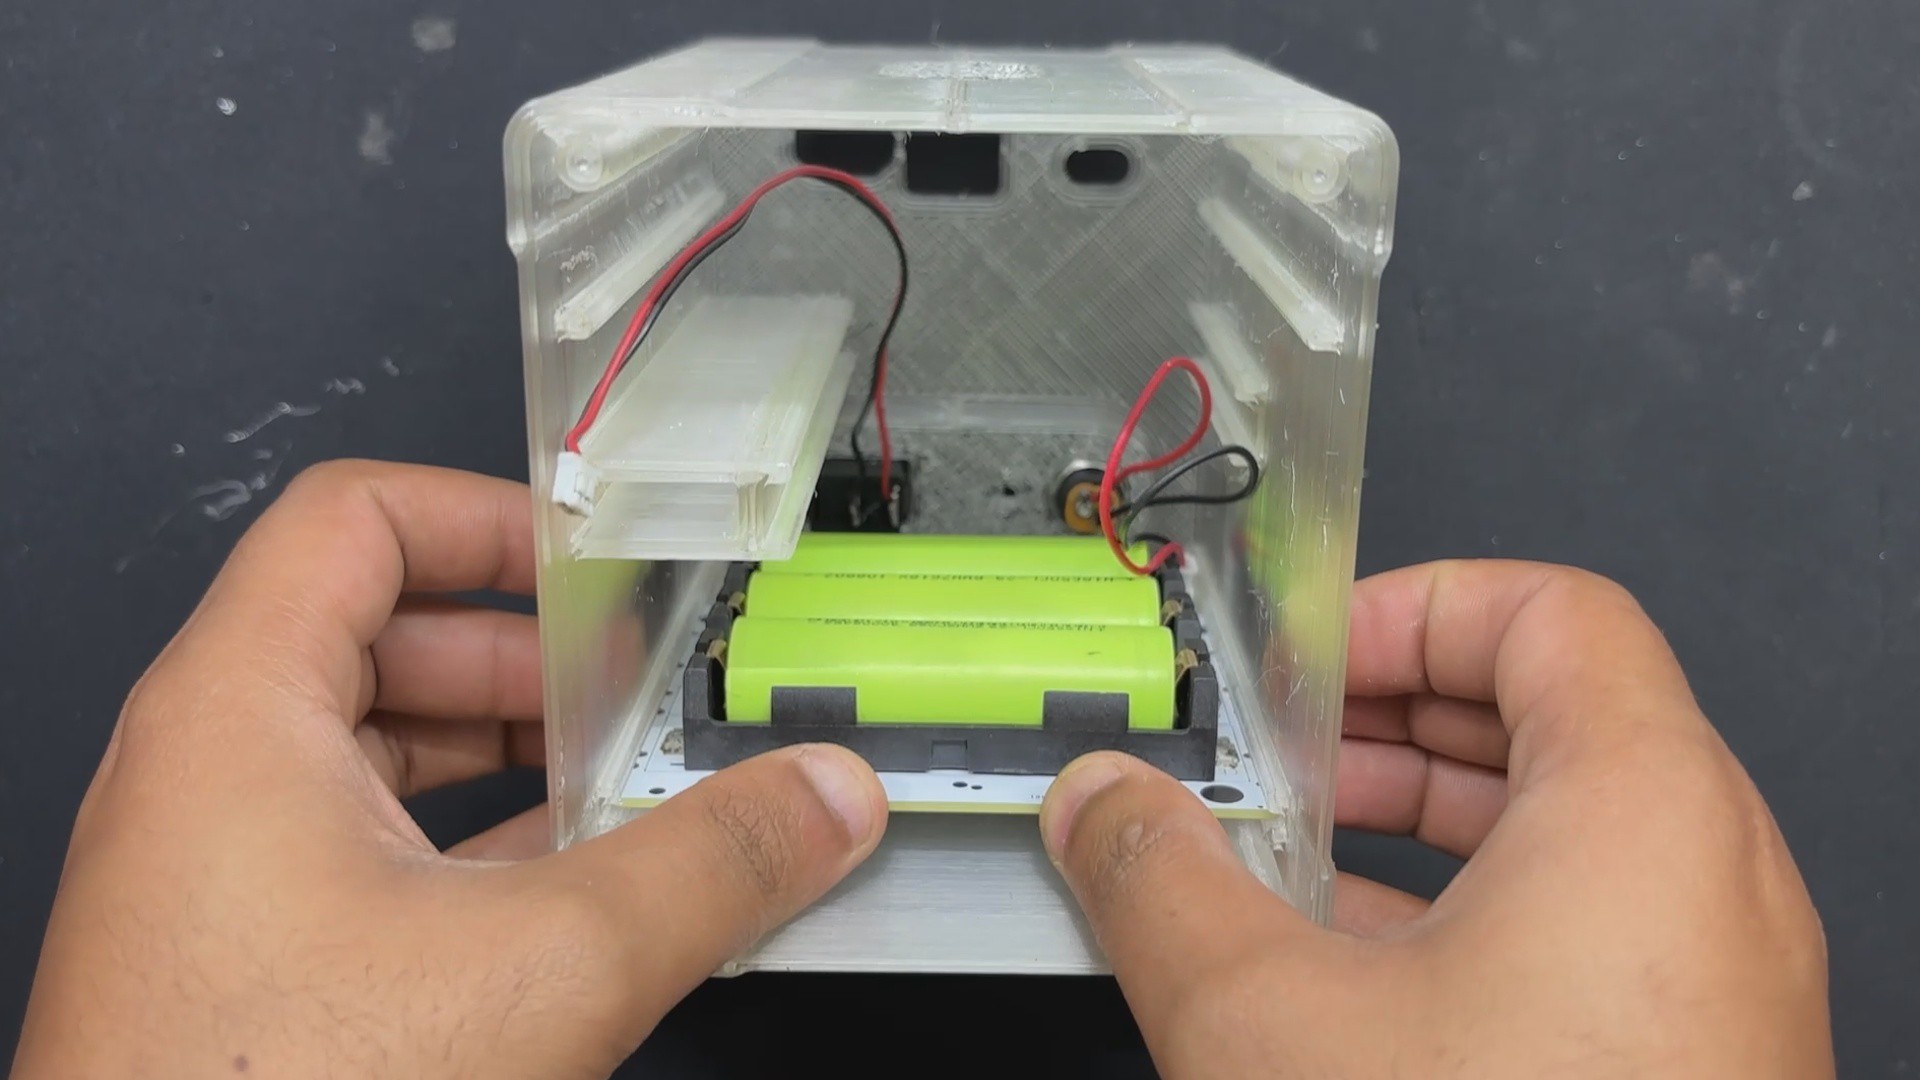
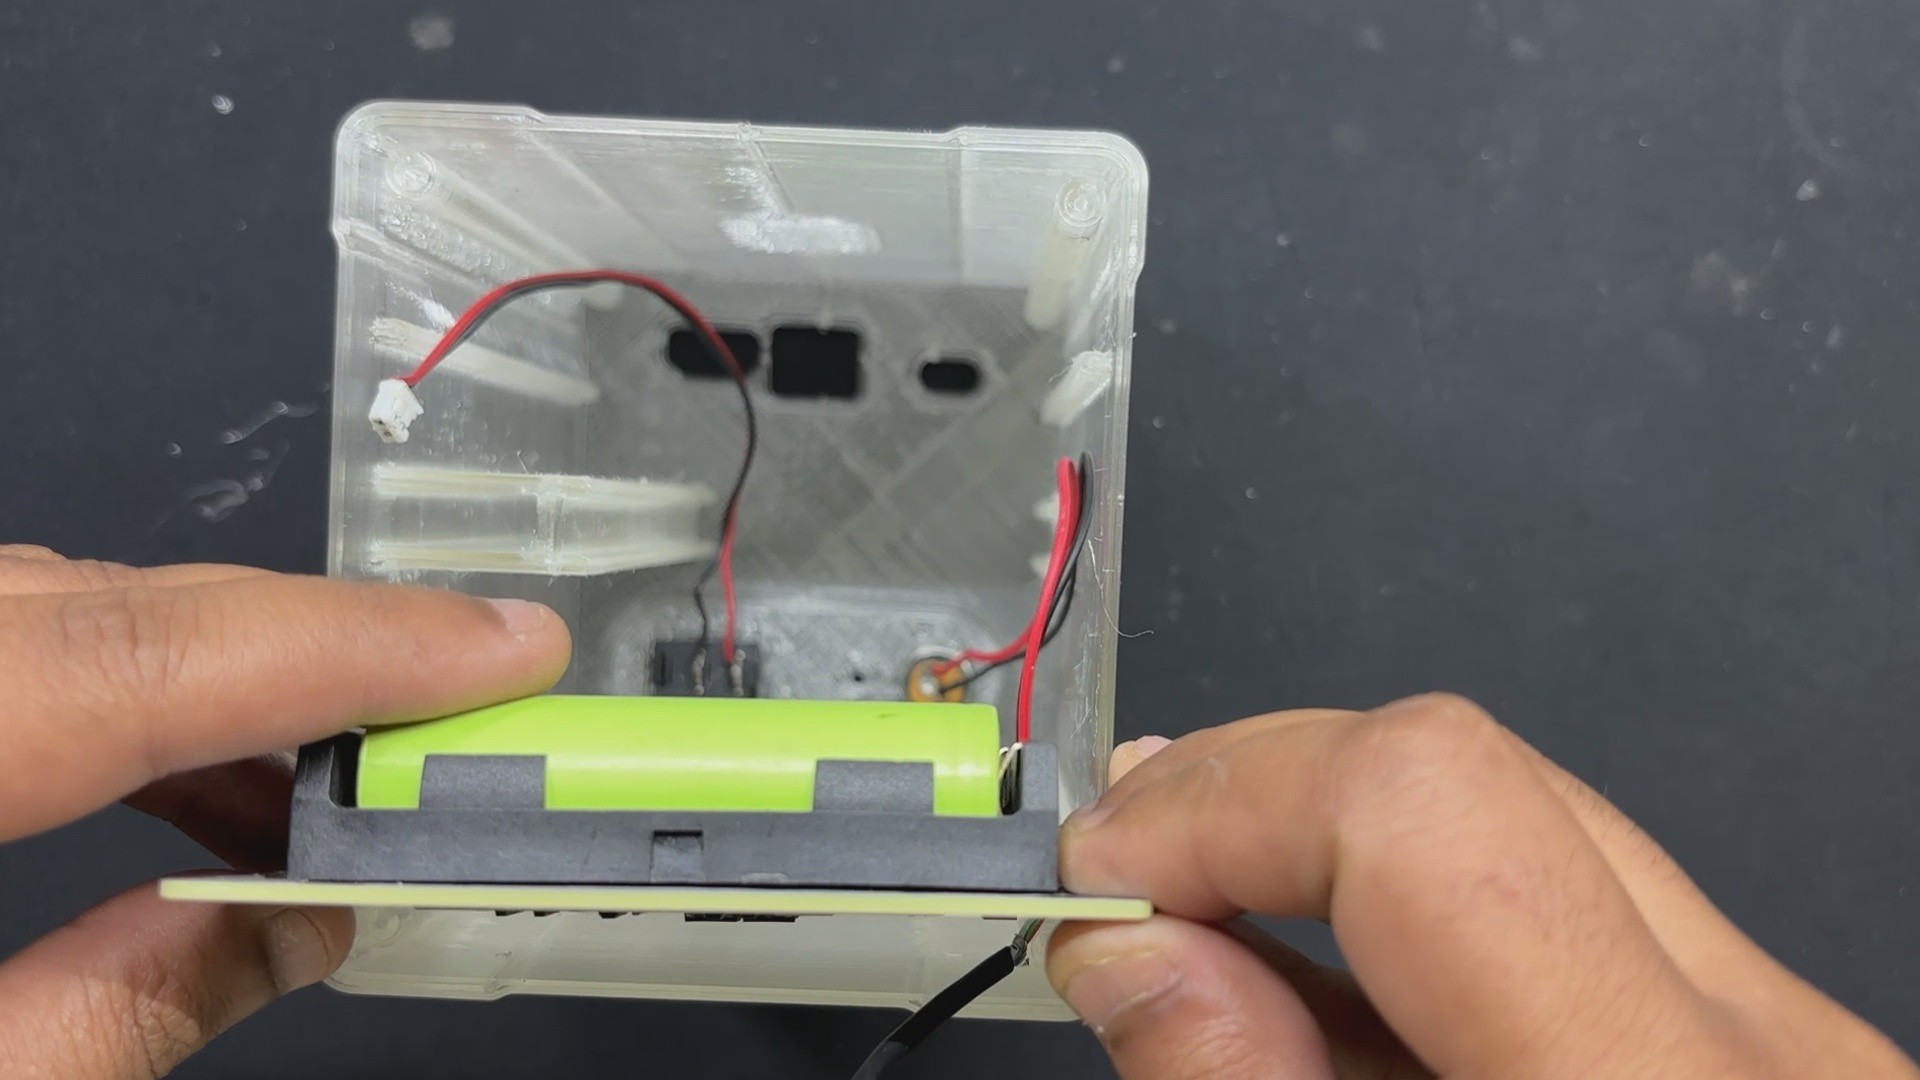
2POWER SOURCE AND TESTING
![]()
![]()
![]()
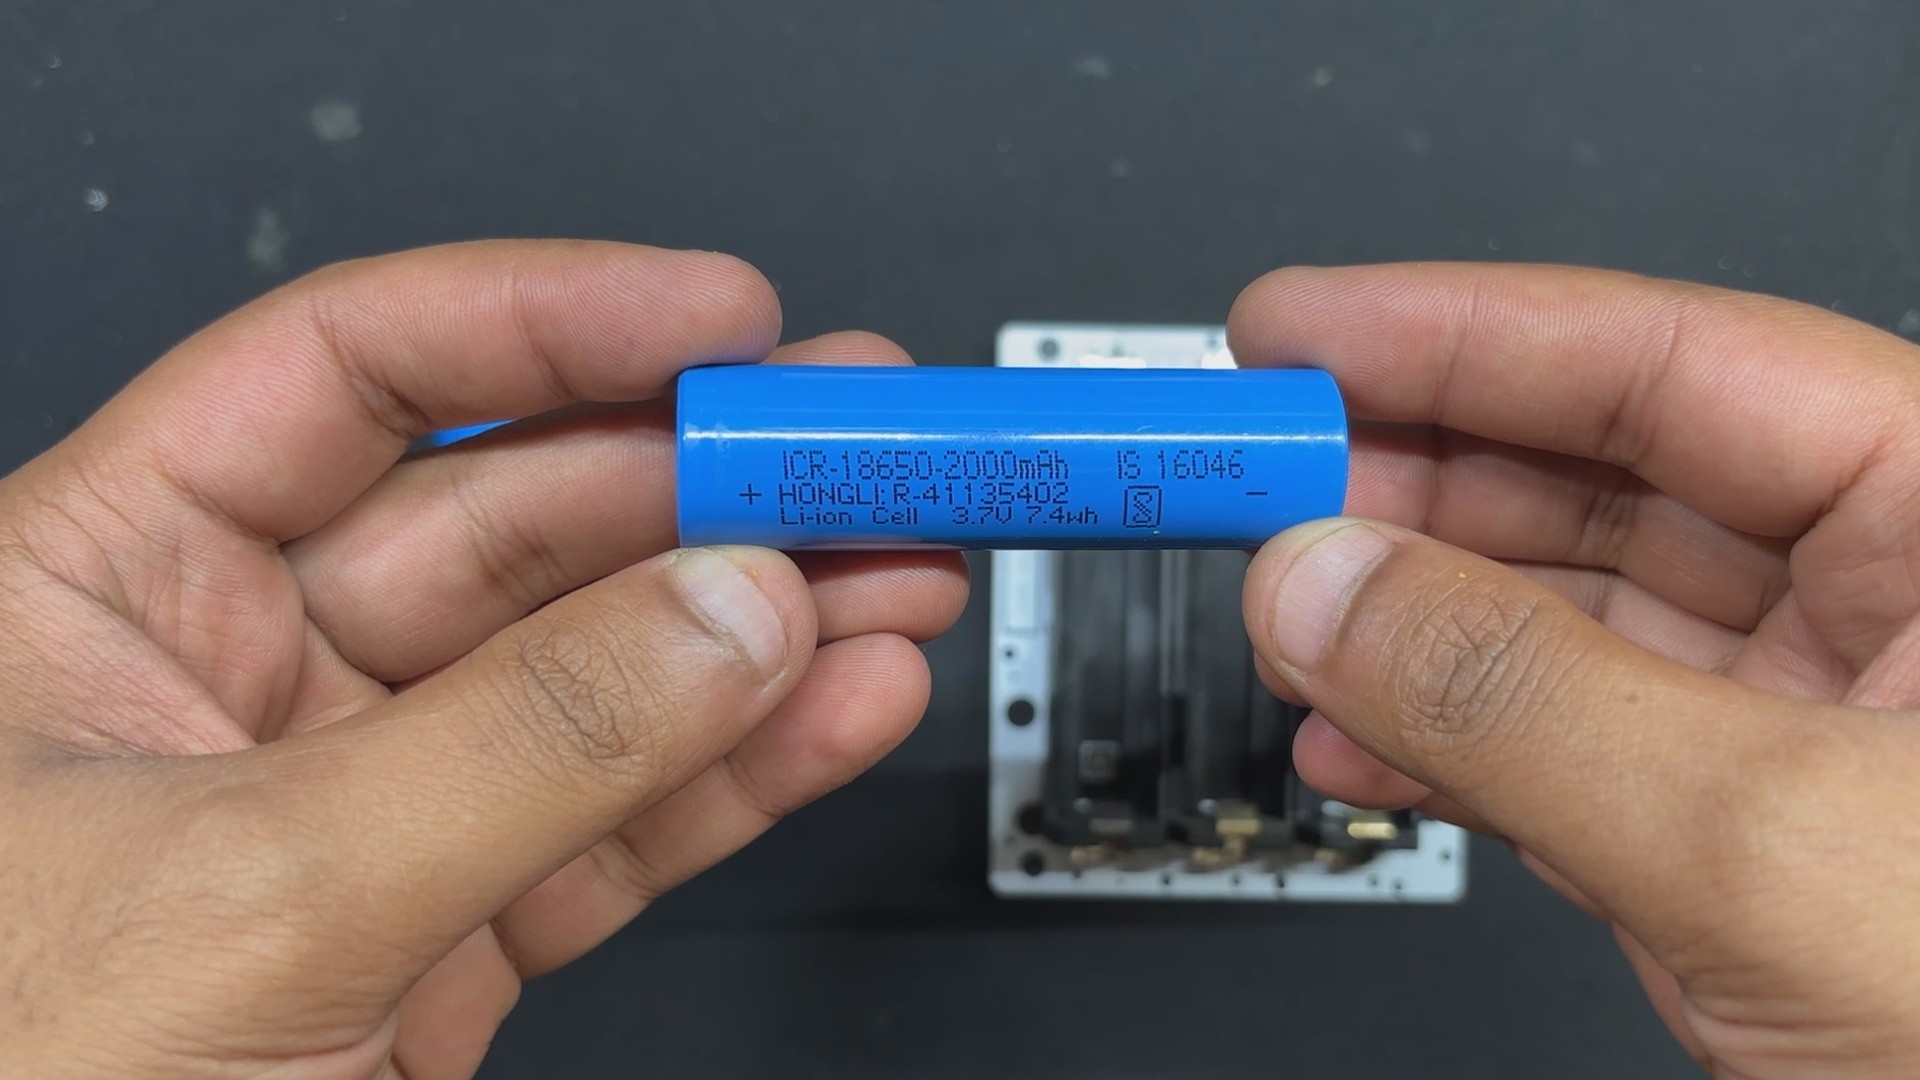
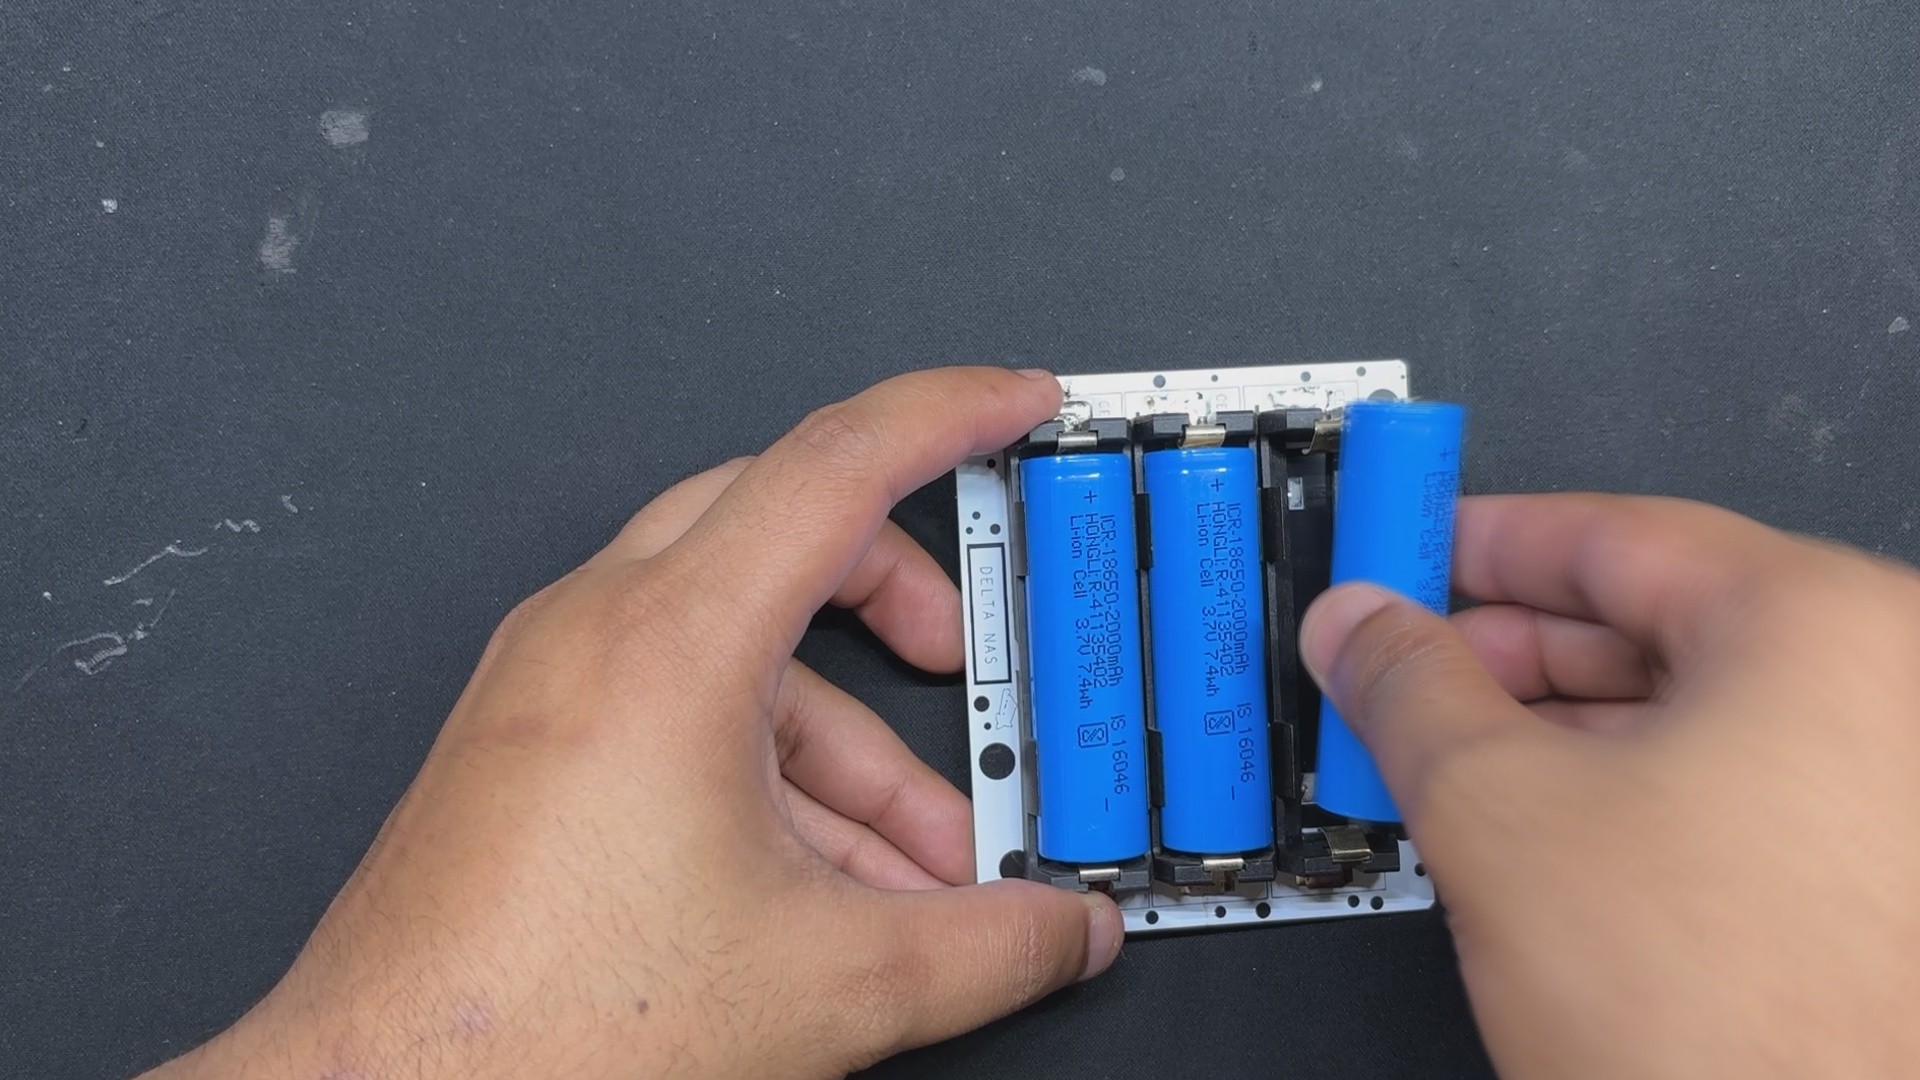
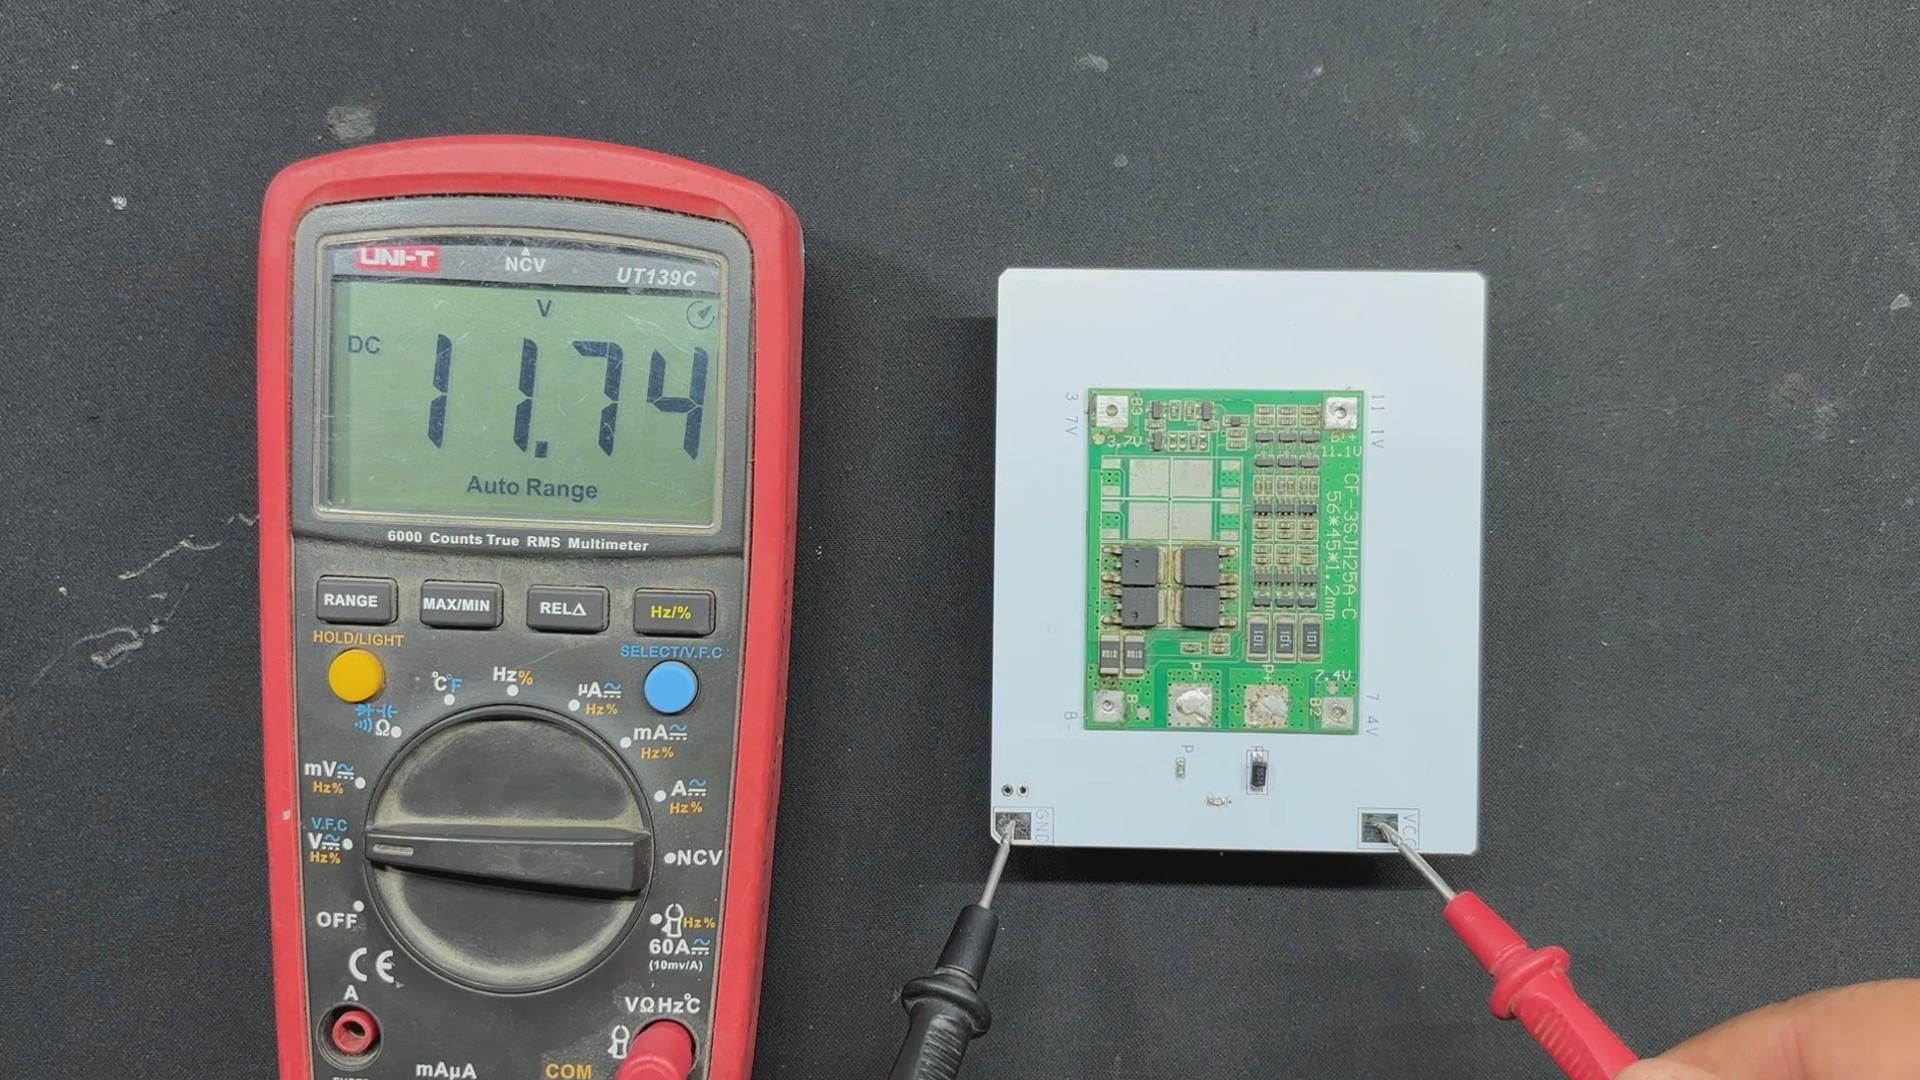
We are using 18650 3.7V 2000mAh Li-ion cells as the project's power source. Three 3.7V cells are connected in series in our configuration, giving us a maximum of 12.6V, which will power our Lattepanda 3 Delta.
In order to check that the battery board is functioning, we place the cells in the correct polarity. We then use a multimeter to measure the output pin, which gives us 11.7V, confirming that the pack is functioning but that the batteries require a little more charging.
-
3NVME to SATA ADAPTER
![]()
![]()
![]()
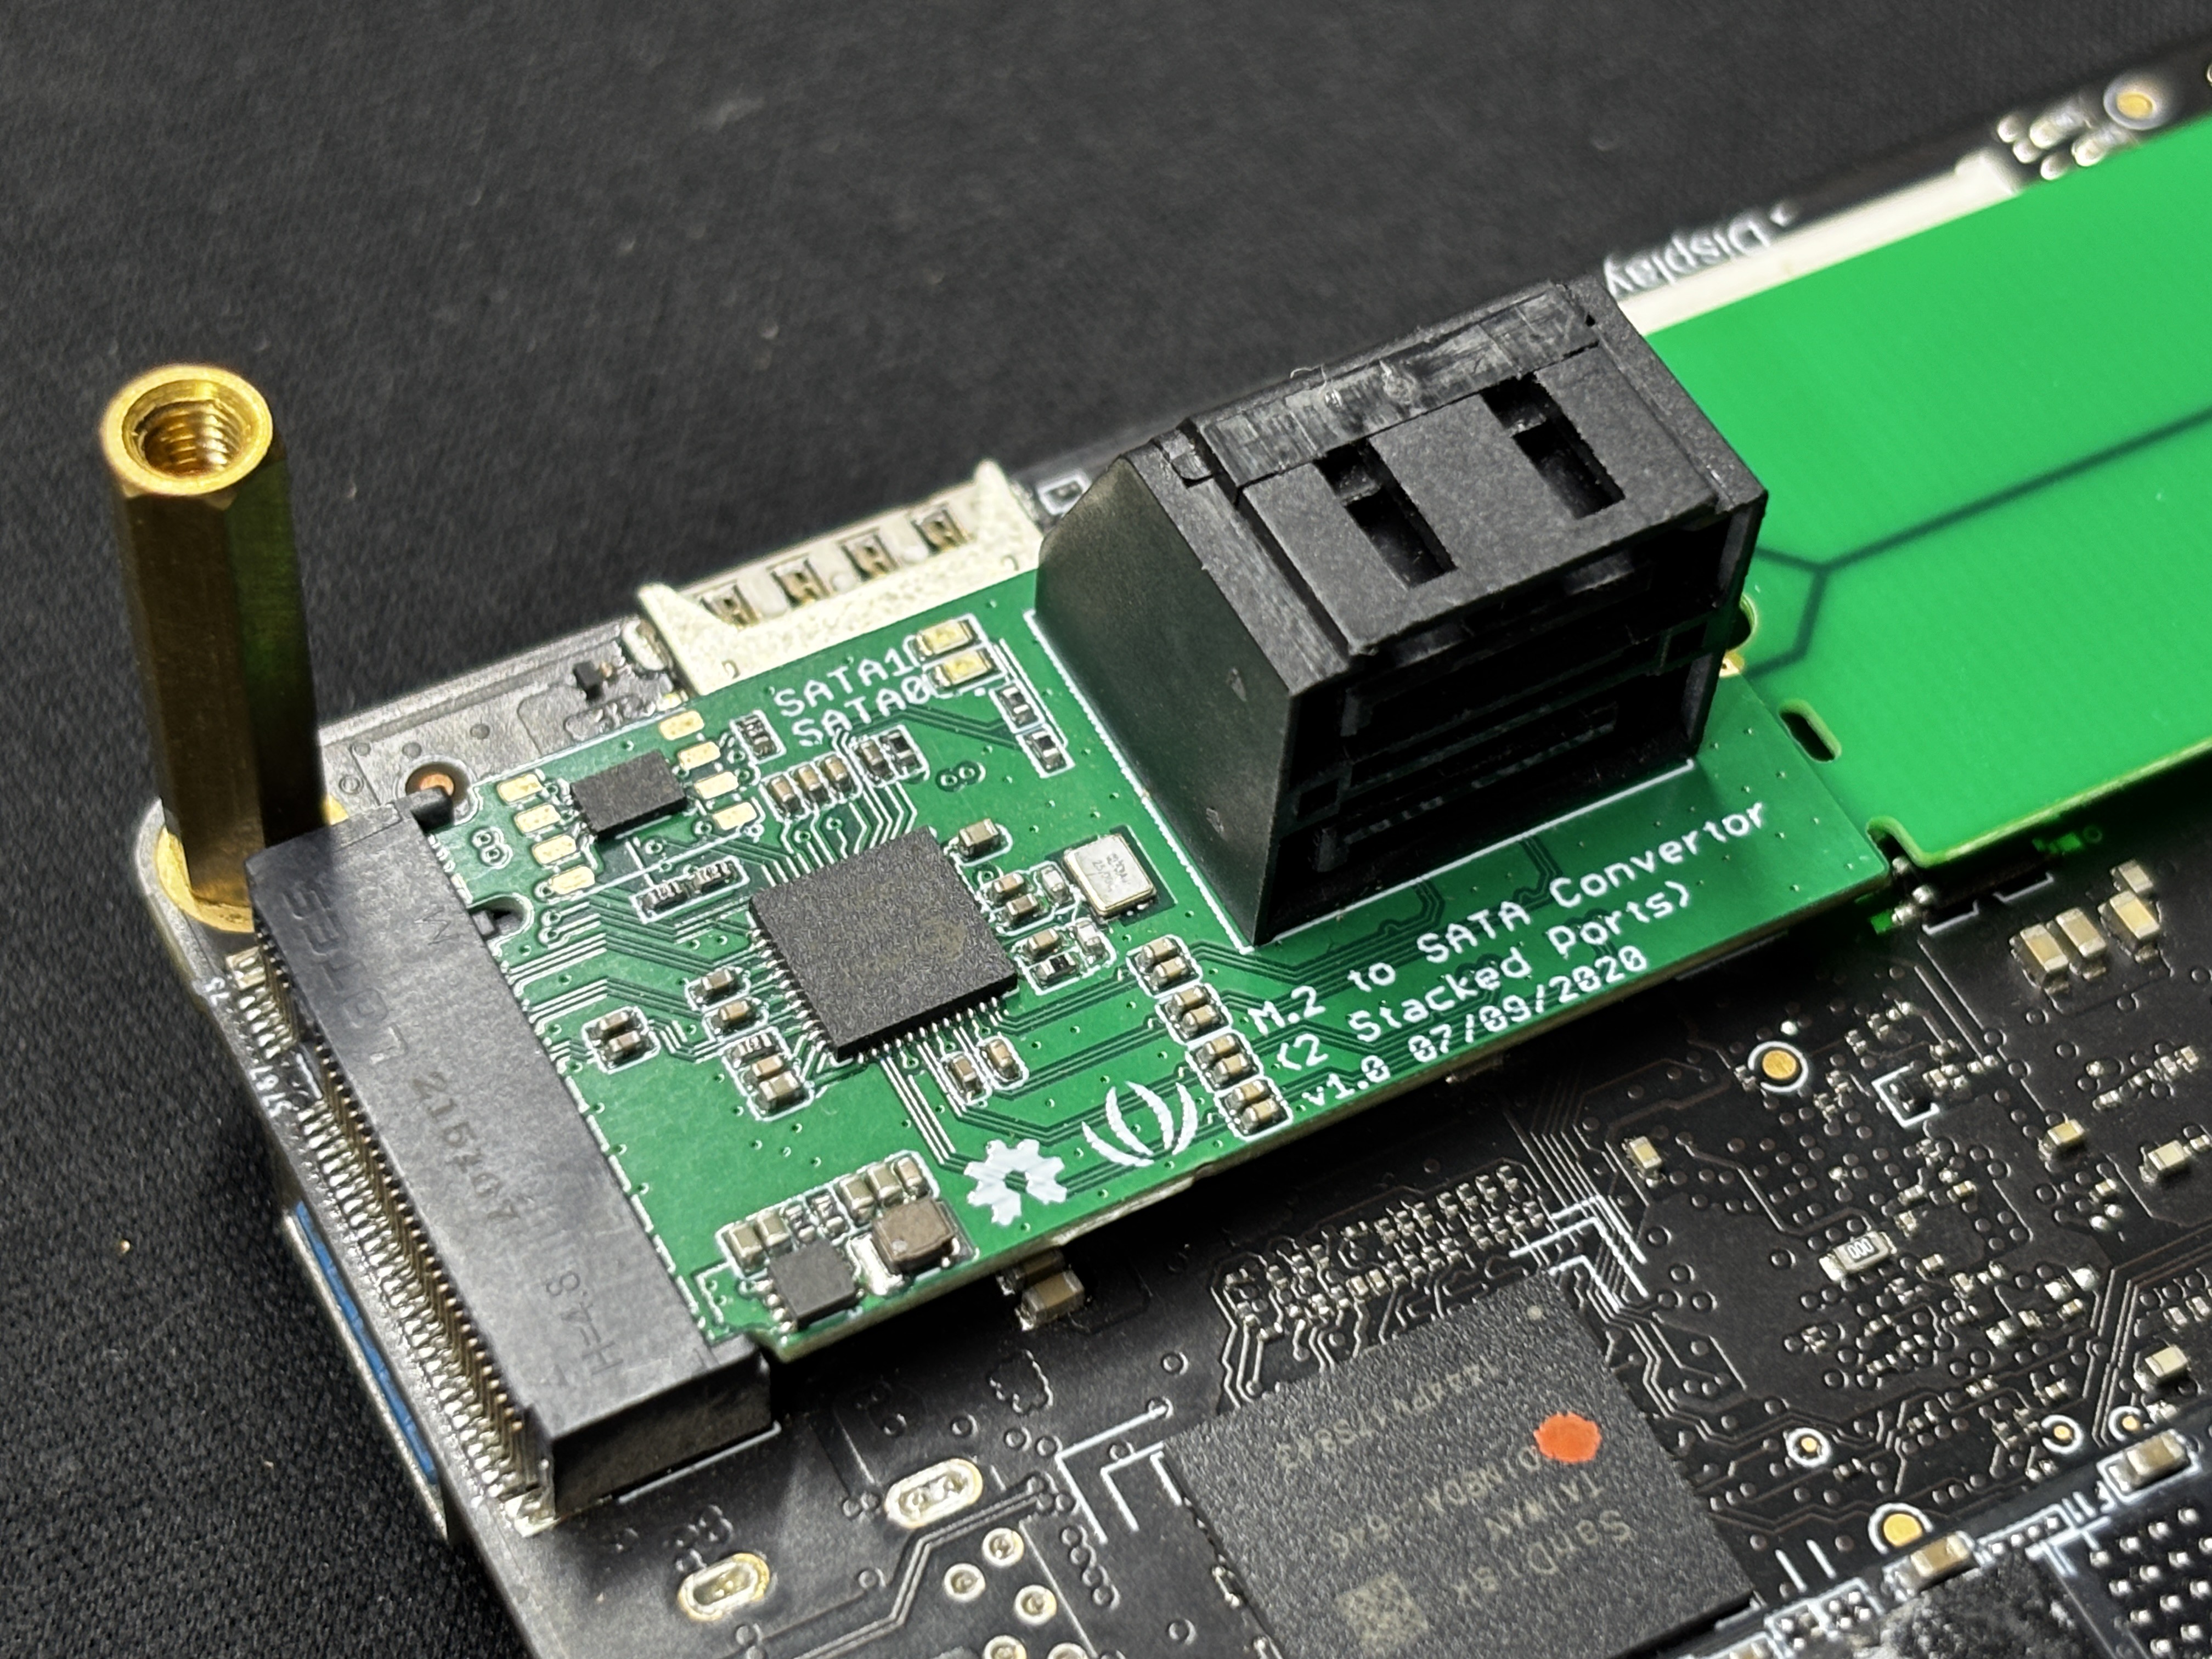
In this project, we are using a Sata SSD; however, the LattePanda 3 Delta does not have a Sata port; instead, it has two M.2 key slots, one of which we have utilized to install an M.2 SSD. With the addition of a special M.2 to Dual Sata Adaptor, we can now use the M.2 Port to connect two Sata SSDs to our Latte Panda.
We are using this M.2 Key adaptor from seeed studio-
https://www.seeedstudio.com/M-2-to-SATA-Converter-2-Stacked-Ports-p-4727.html
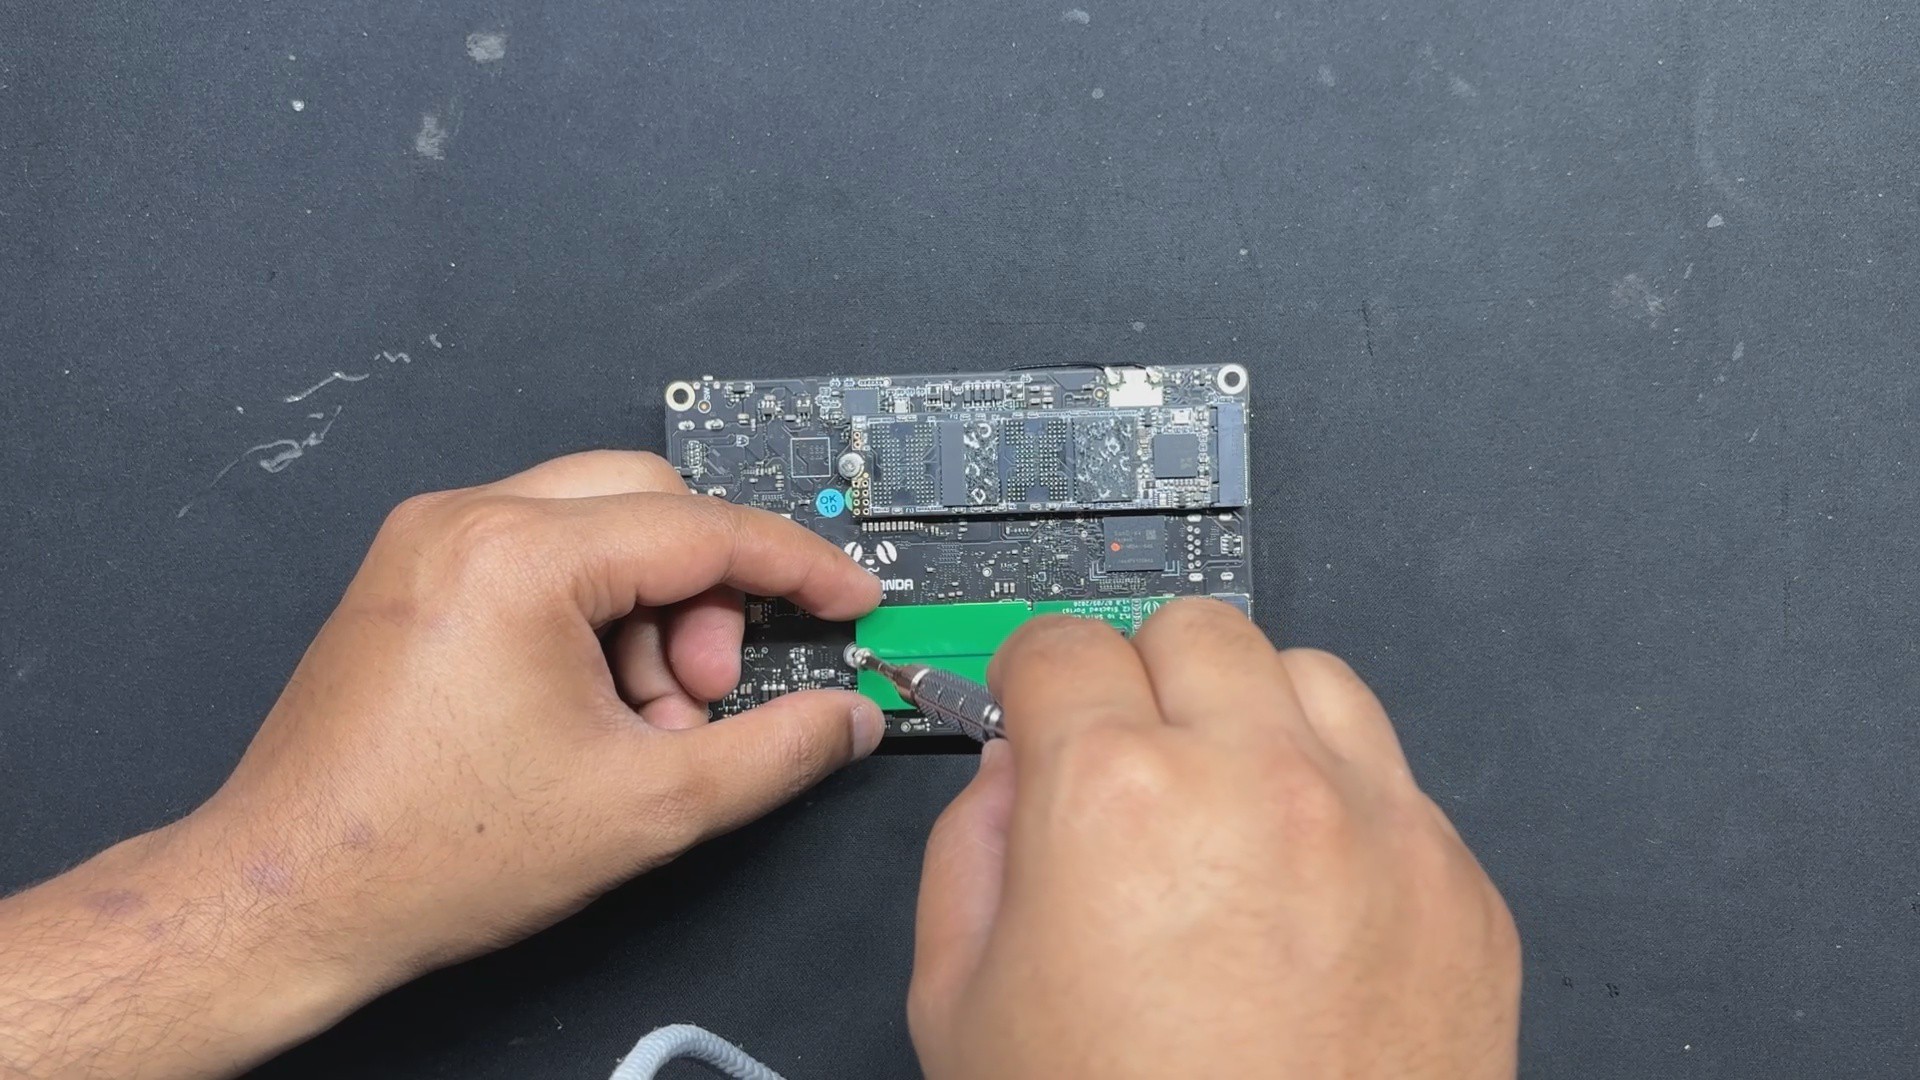
- It was really easy to add this adapter to our Lattepanda; all we had to do was plug the M.2 adapter into the Lattepanda's M.2 M key and fasten it in place with the included M2 bolt.
- We had to provide sata SSD with 5V from an external source because this is only for the SATA connection and does not power the SSD.
-
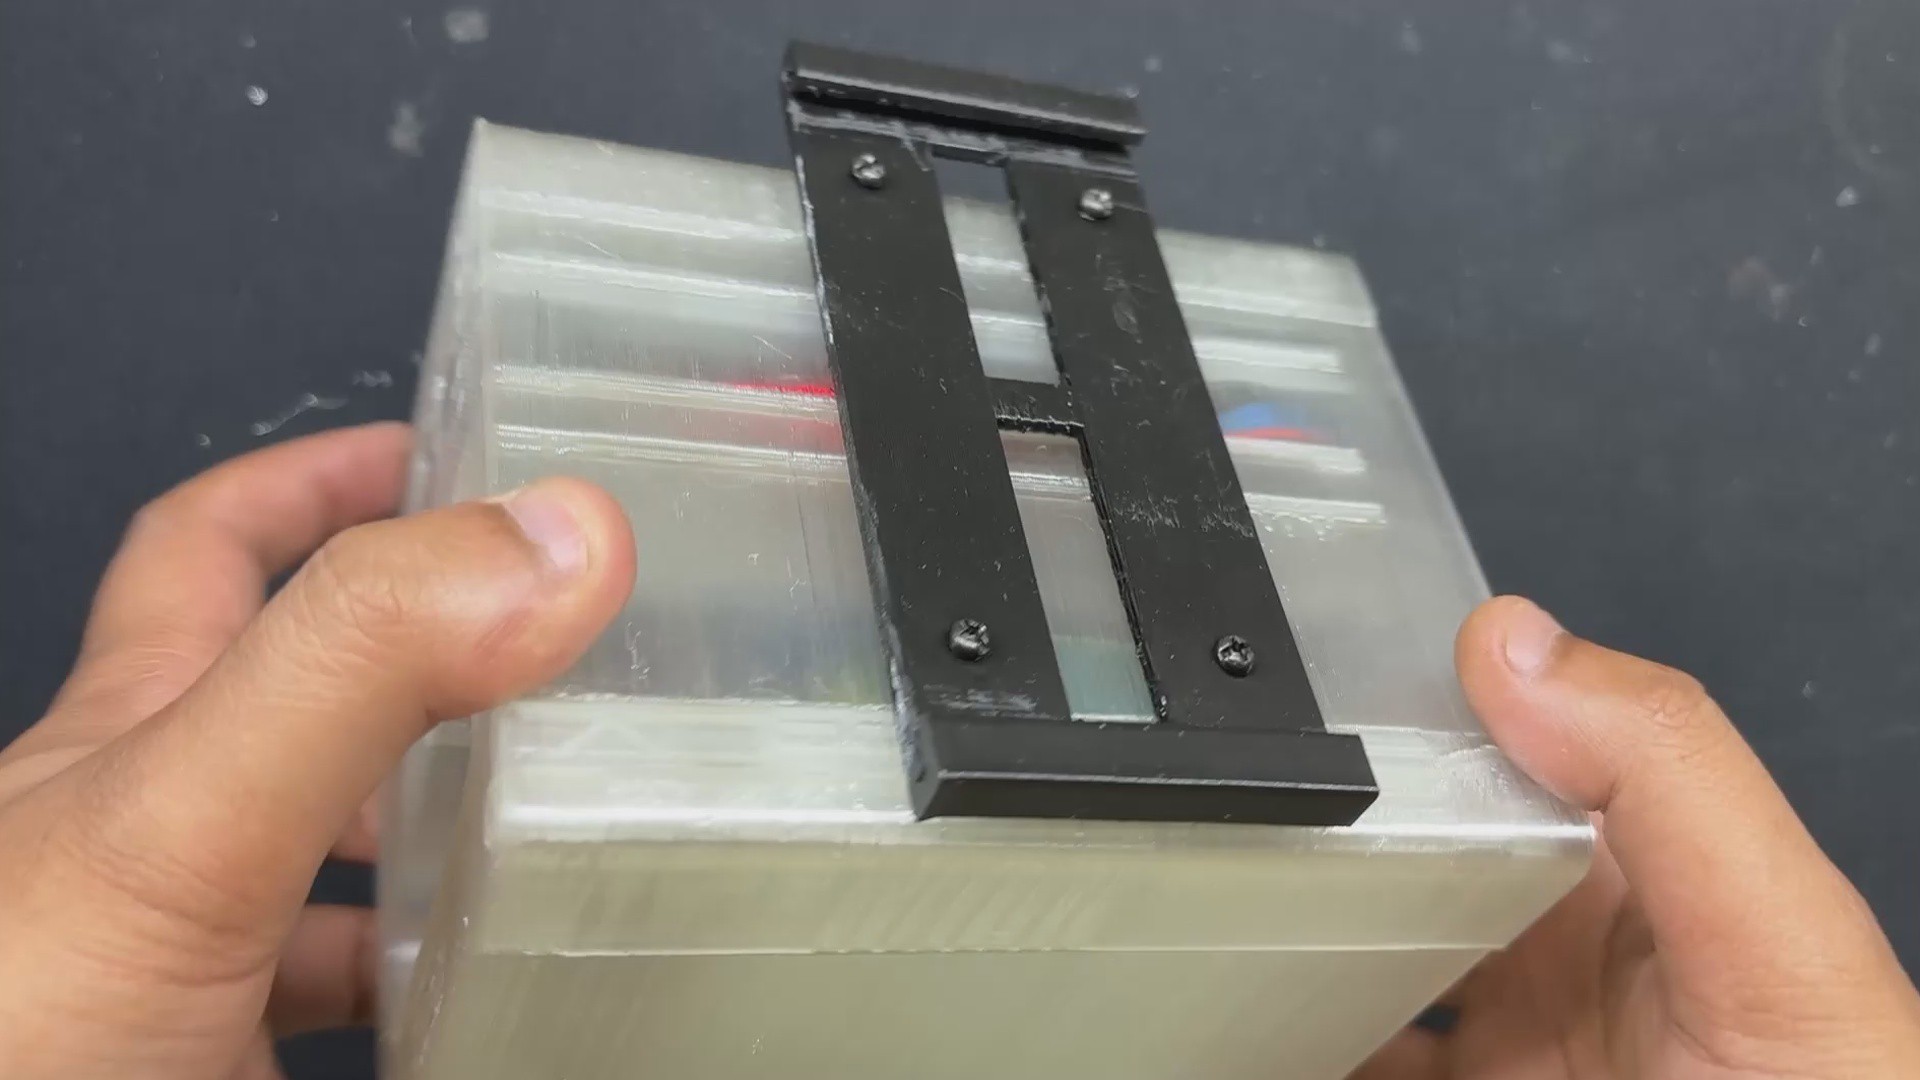
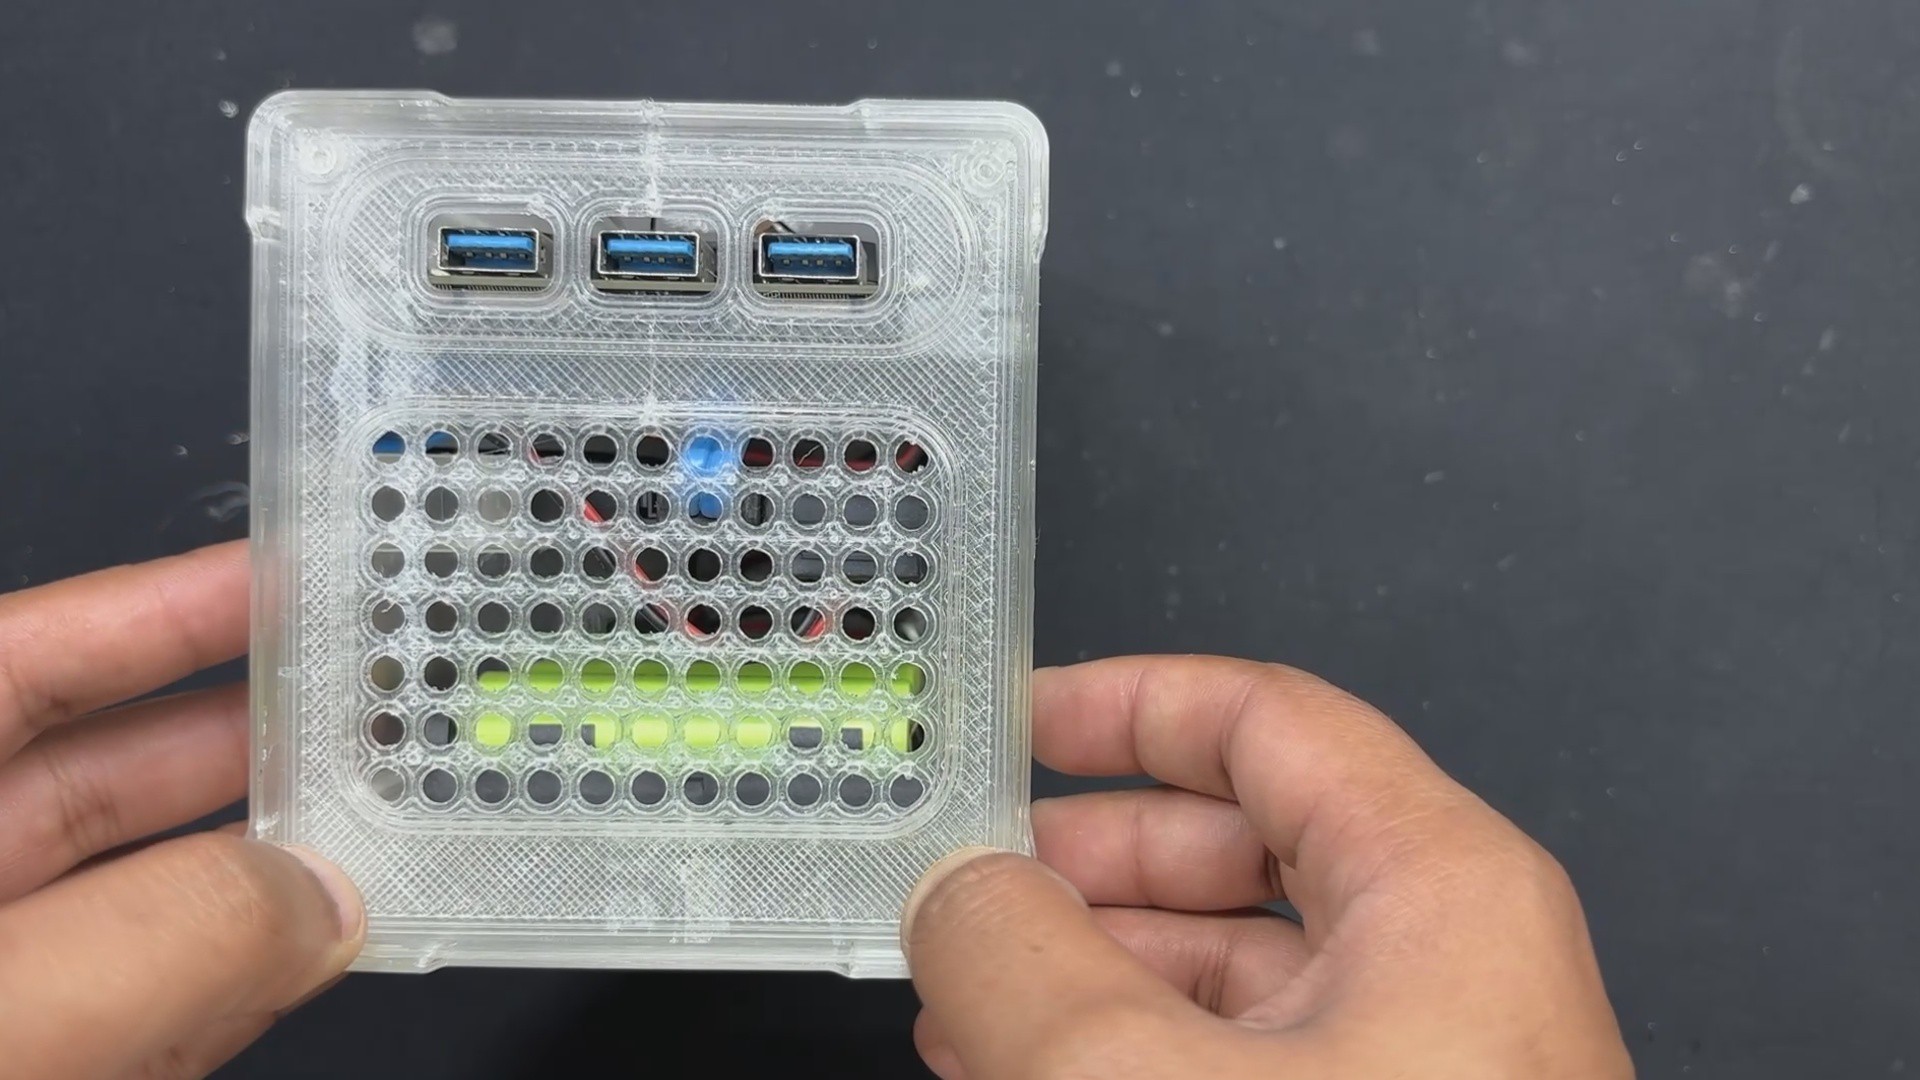
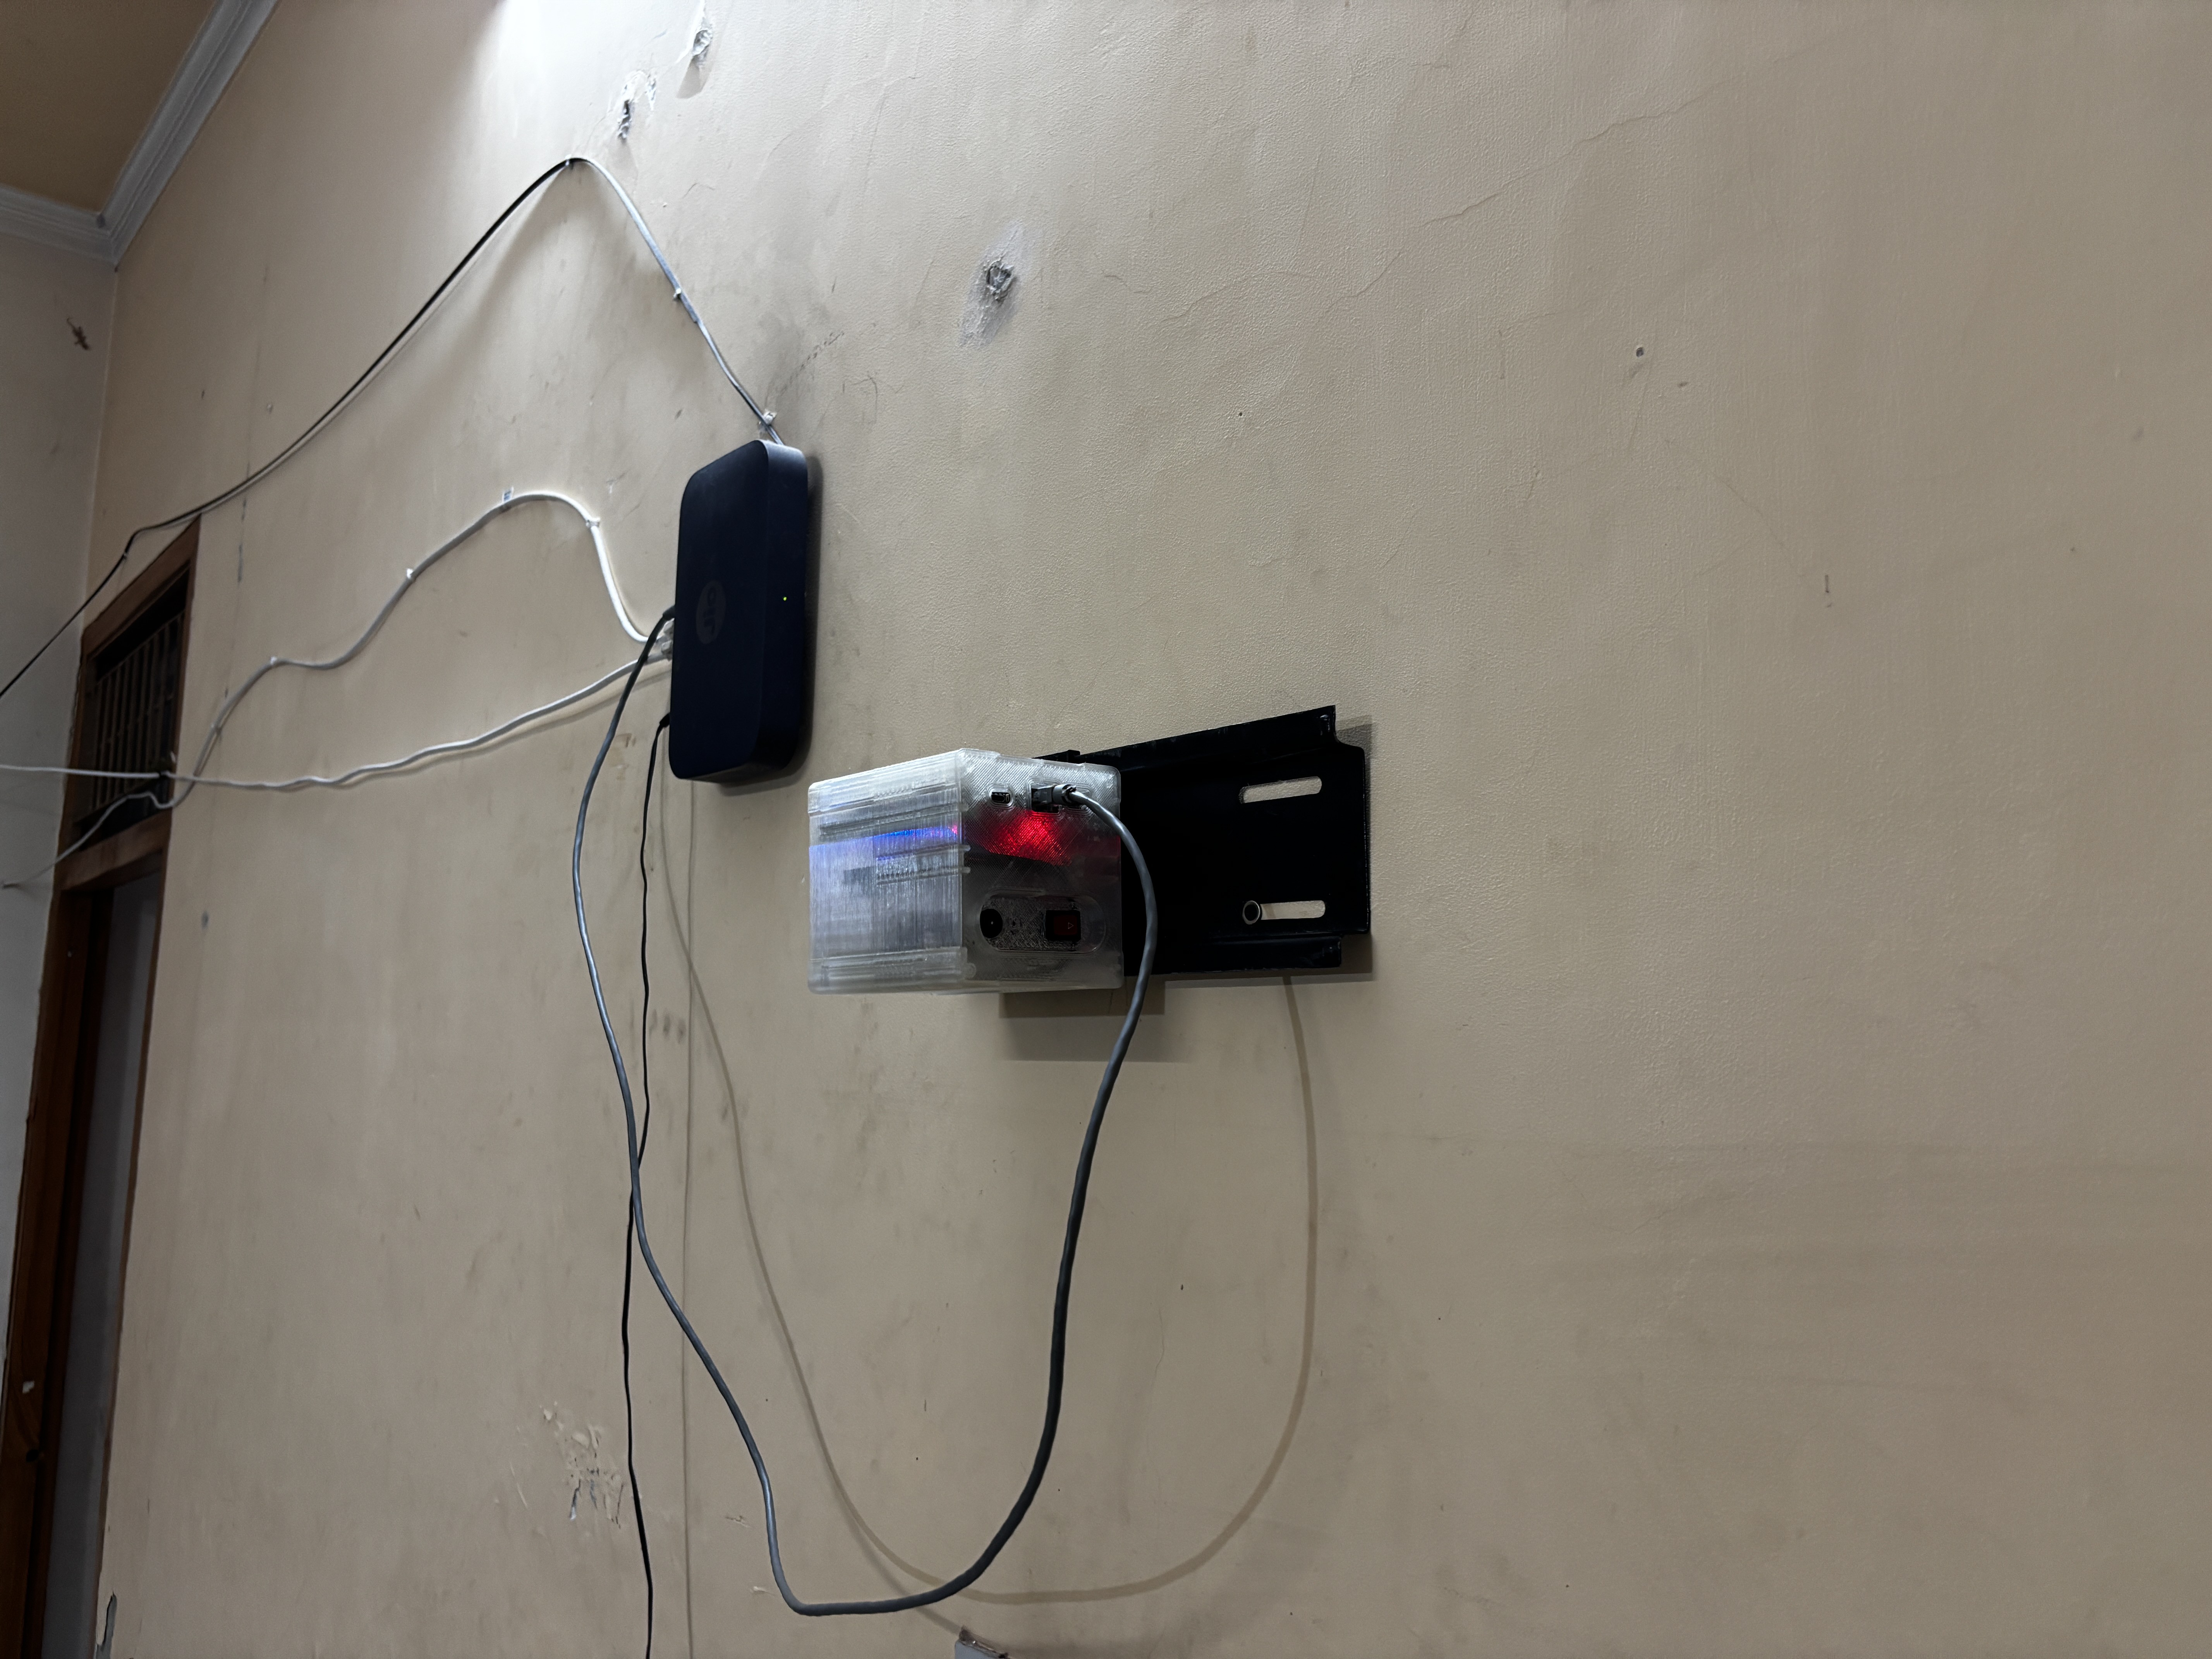
4FINAL ASSEMBLY PROCESS
![]()
![]()
![]()
![]()
![]()
- We attach the push button connector to the JST connector for the switch on Lattepanda.
- Next, we utilized a CON4 connector with pins attached to the VCC and GND of the Battery Board. This CON4 is plugged into the lattepanda's power connector, which supplies power to the lattepanda.
- Lattepanda is then positioned over its mounting spot and slid down into position.
- To place Lattepanda, we had to remove the Sata SSD from its original placement. After putting in the Lattepanda, we reinserted the SSD and attached the Sata Port connector and Sata Power connector to its ports.
- After assembling everything, we placed the Lid section on the left side and secured it with four M2 screws to the Delta Nas body.
- On the back, we inserted the Slide Rail Part and mounted it to the NAS Body with four M2 screws.
The Delta Nas assembly is now complete.
-
5NAS OPERATING OS- CASA OS
![]()
![]()
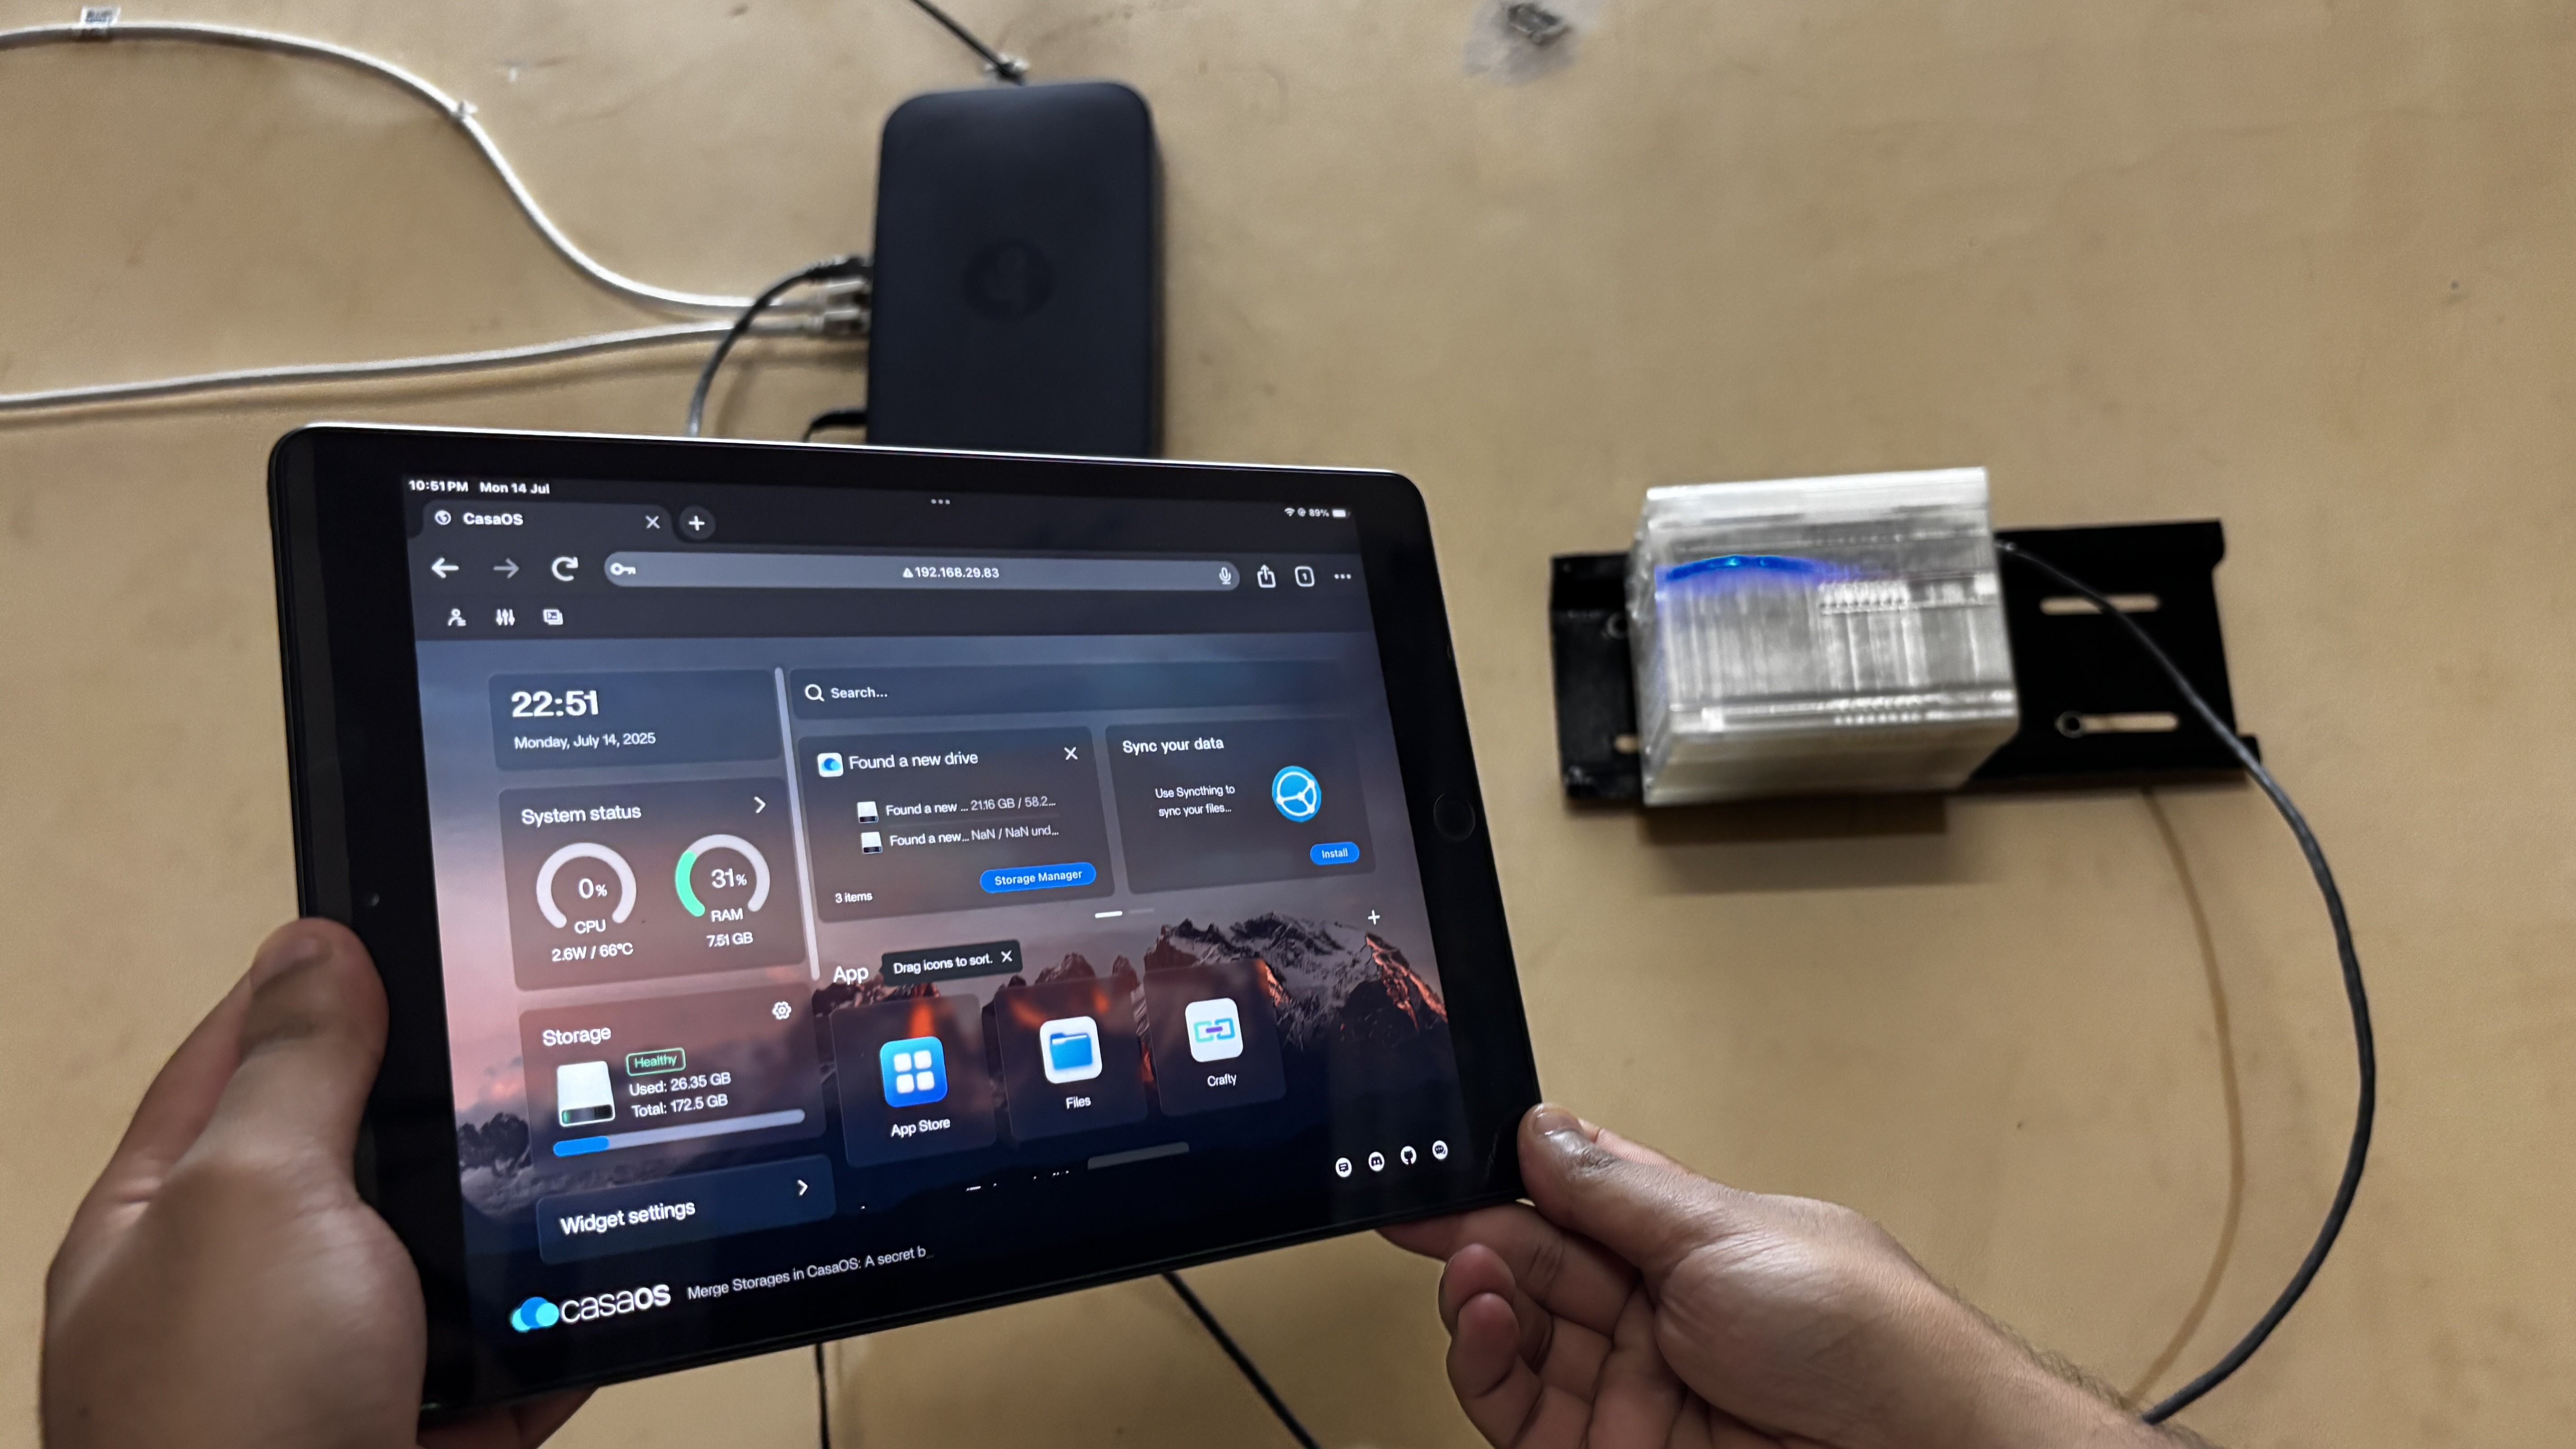
To power Delta NAS, I chose Debian 12 as the base operating system, layered with CasaOS, a lightweight and intuitive platform designed for personal cloud and home server environments. CasaOS simplifies NAS management by offering a clean web-based interface and one-click installation for popular Docker apps like Plex, Jellyfin, and Nextcloud.
It’s open-source, easy to set up, and ideal for users who want powerful functionality without the complexity of traditional NAS systems. With support for shared folders, remote access, and elegant file management, CasaOS turns any Linux-based device into a versatile and user-friendly storage hub.
SETTING UP CASA OS
Installing CASA OS is a super straightforward process.
- To begin, we run the following command to update the system and ensure that our operating system is up-to-date.
sudo apt update && sudo apt upgrade -y
- Next, we install dependencies such as curl and other required tools if they are not already present.
sudo apt install curl wget -y
- Next, we begin the Installation Script: CasaOS has a simple one-liner script for installation.
curl -fsSL https://get.casaos.io | sudo bash
After installing CasaOS, we are able to access it using a web browser using the IP address provided by the installer.
- We open a web browser on any device connected to the same network as our Debian server, using the IP address provided by the installation.
- We follow the instructions displayed on the screen to finish the initial setup and create our CasaOS account.
CasaOS has been installed on our NAS system; we can now use the App Store to explore and install a range of self-hosted applications with a single click, manage our files with simplicity using the File browser, and monitor our system resources with the built-in widgets.
-
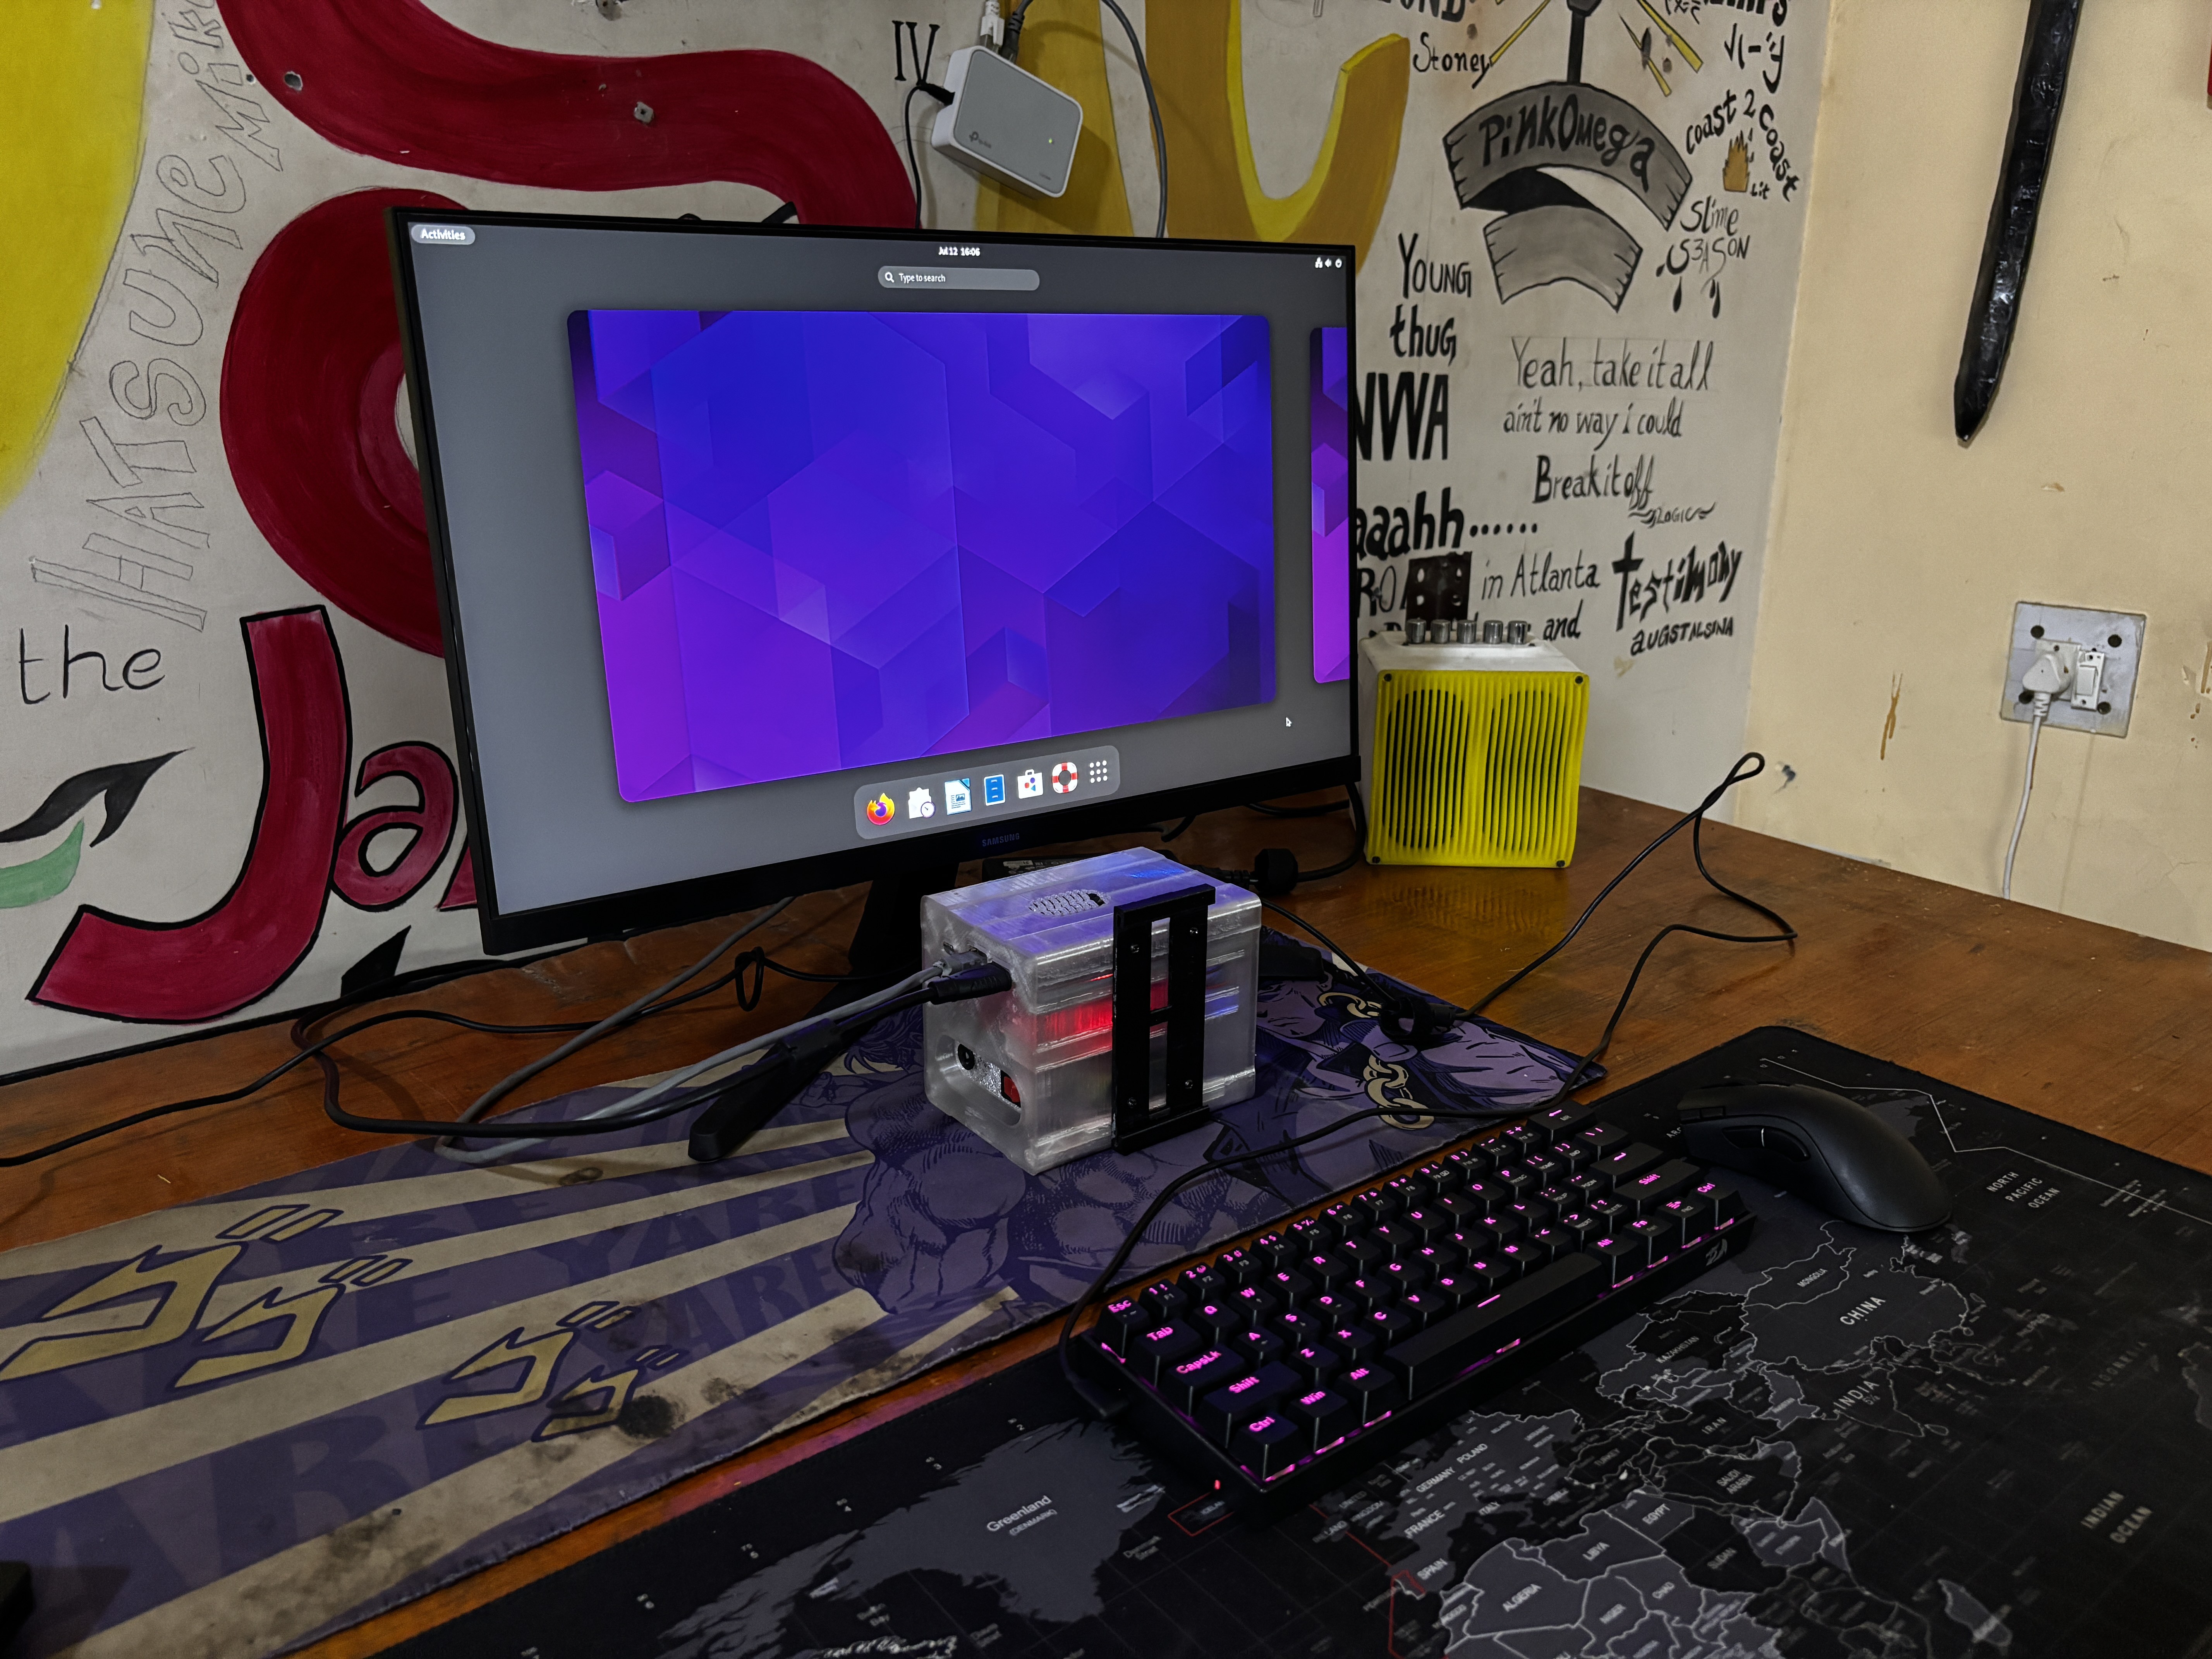
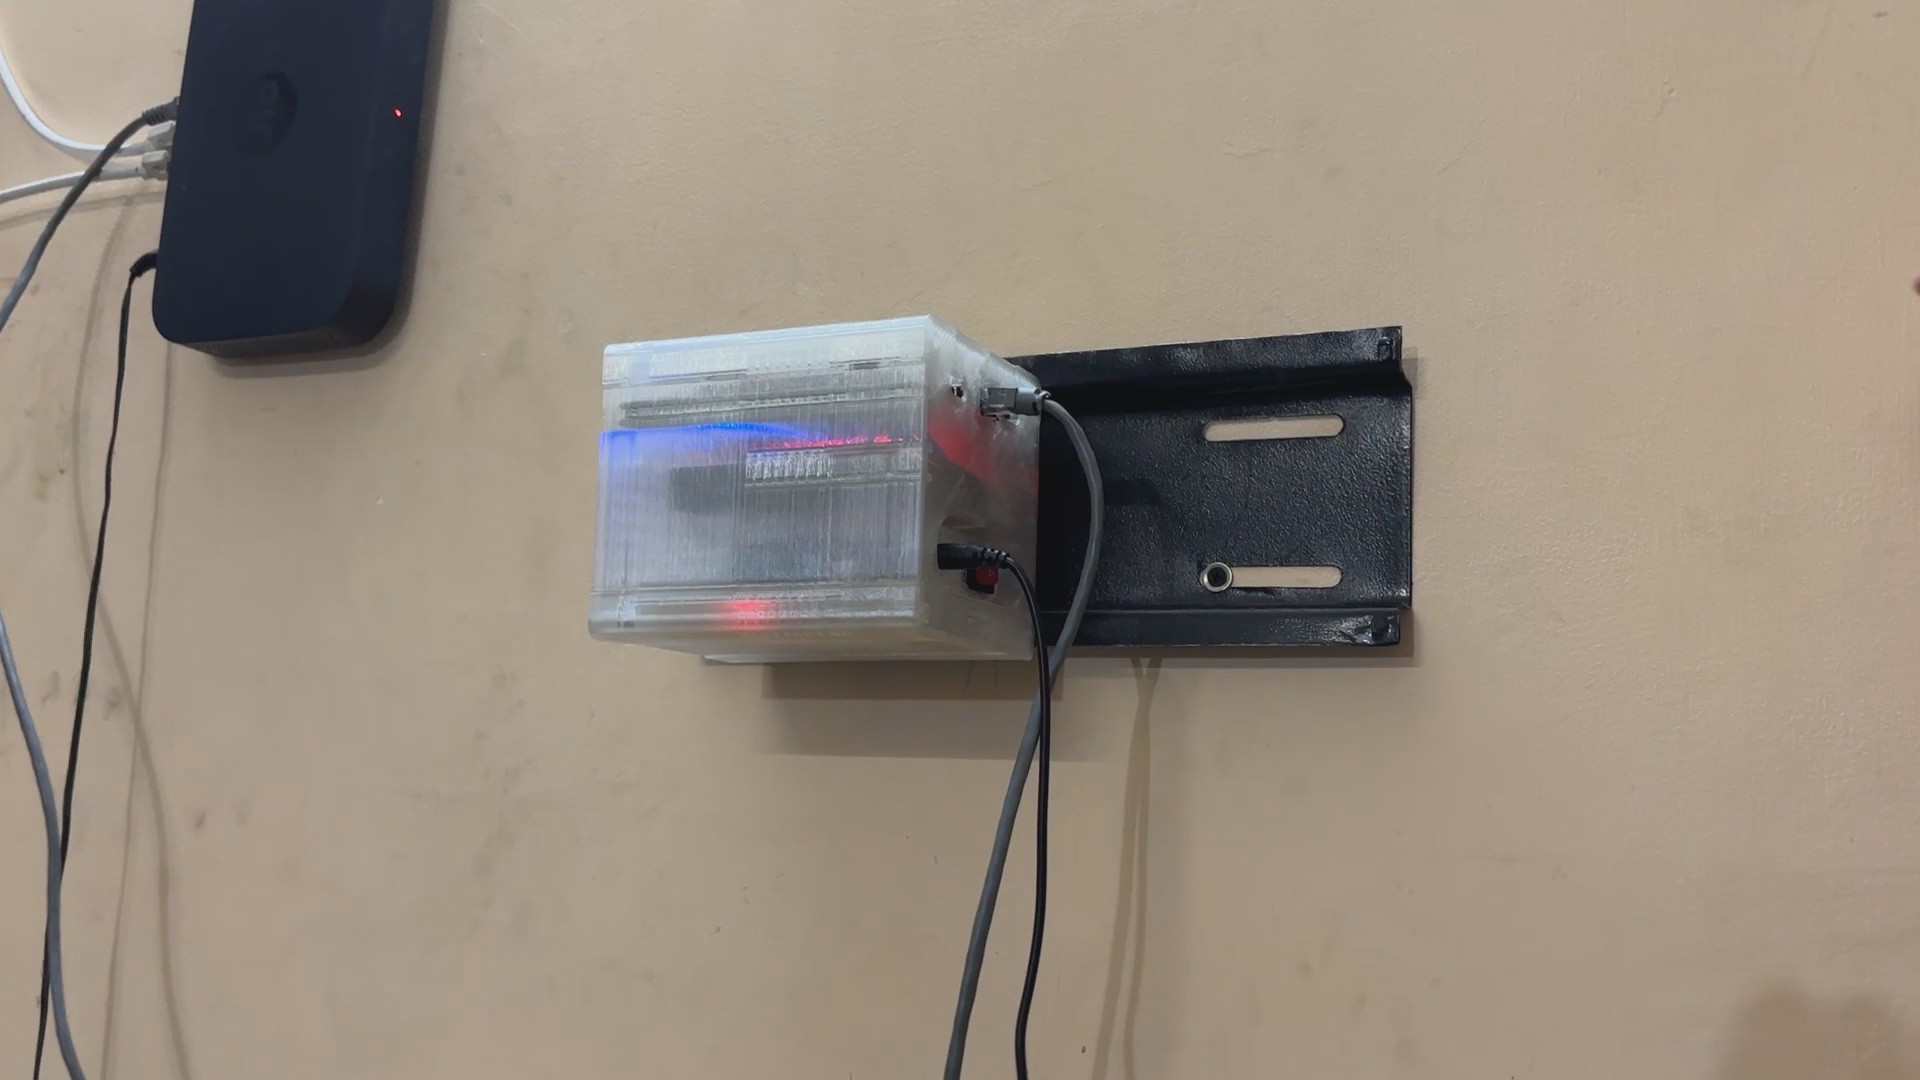
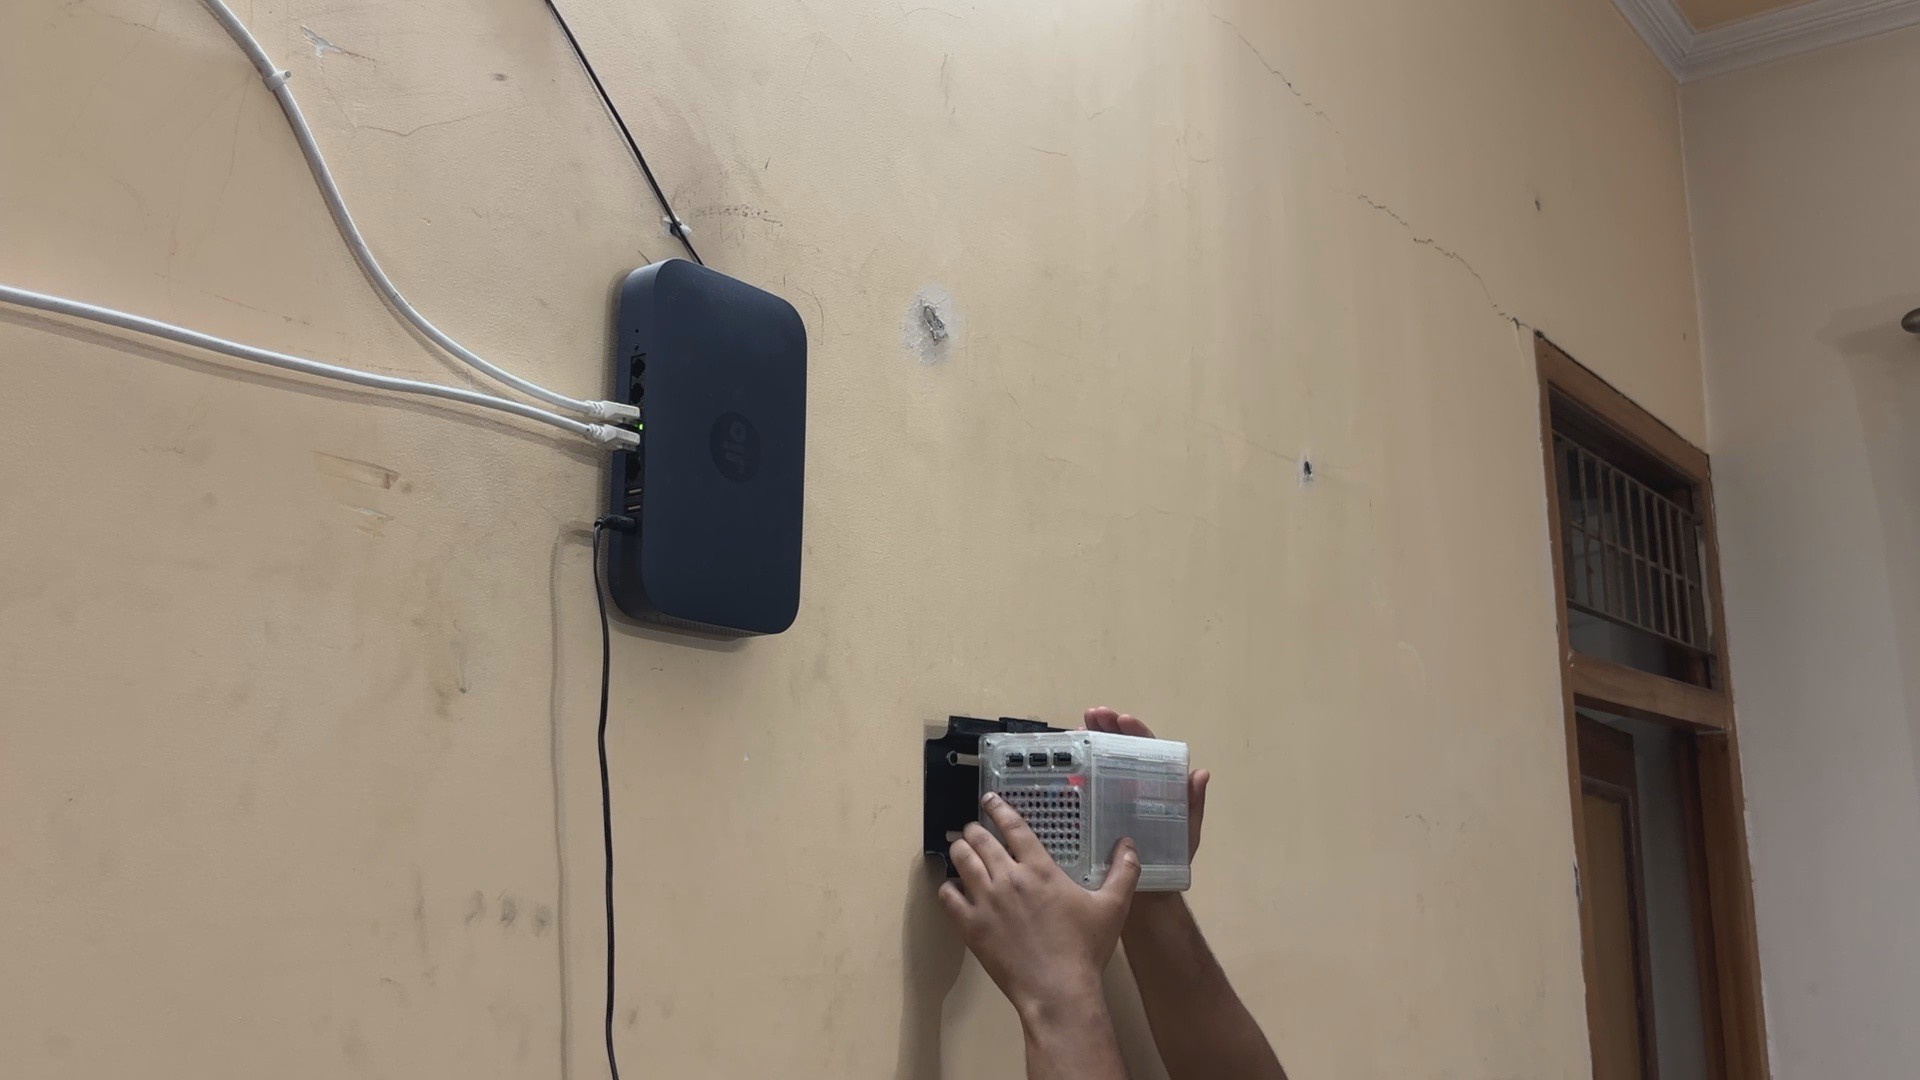
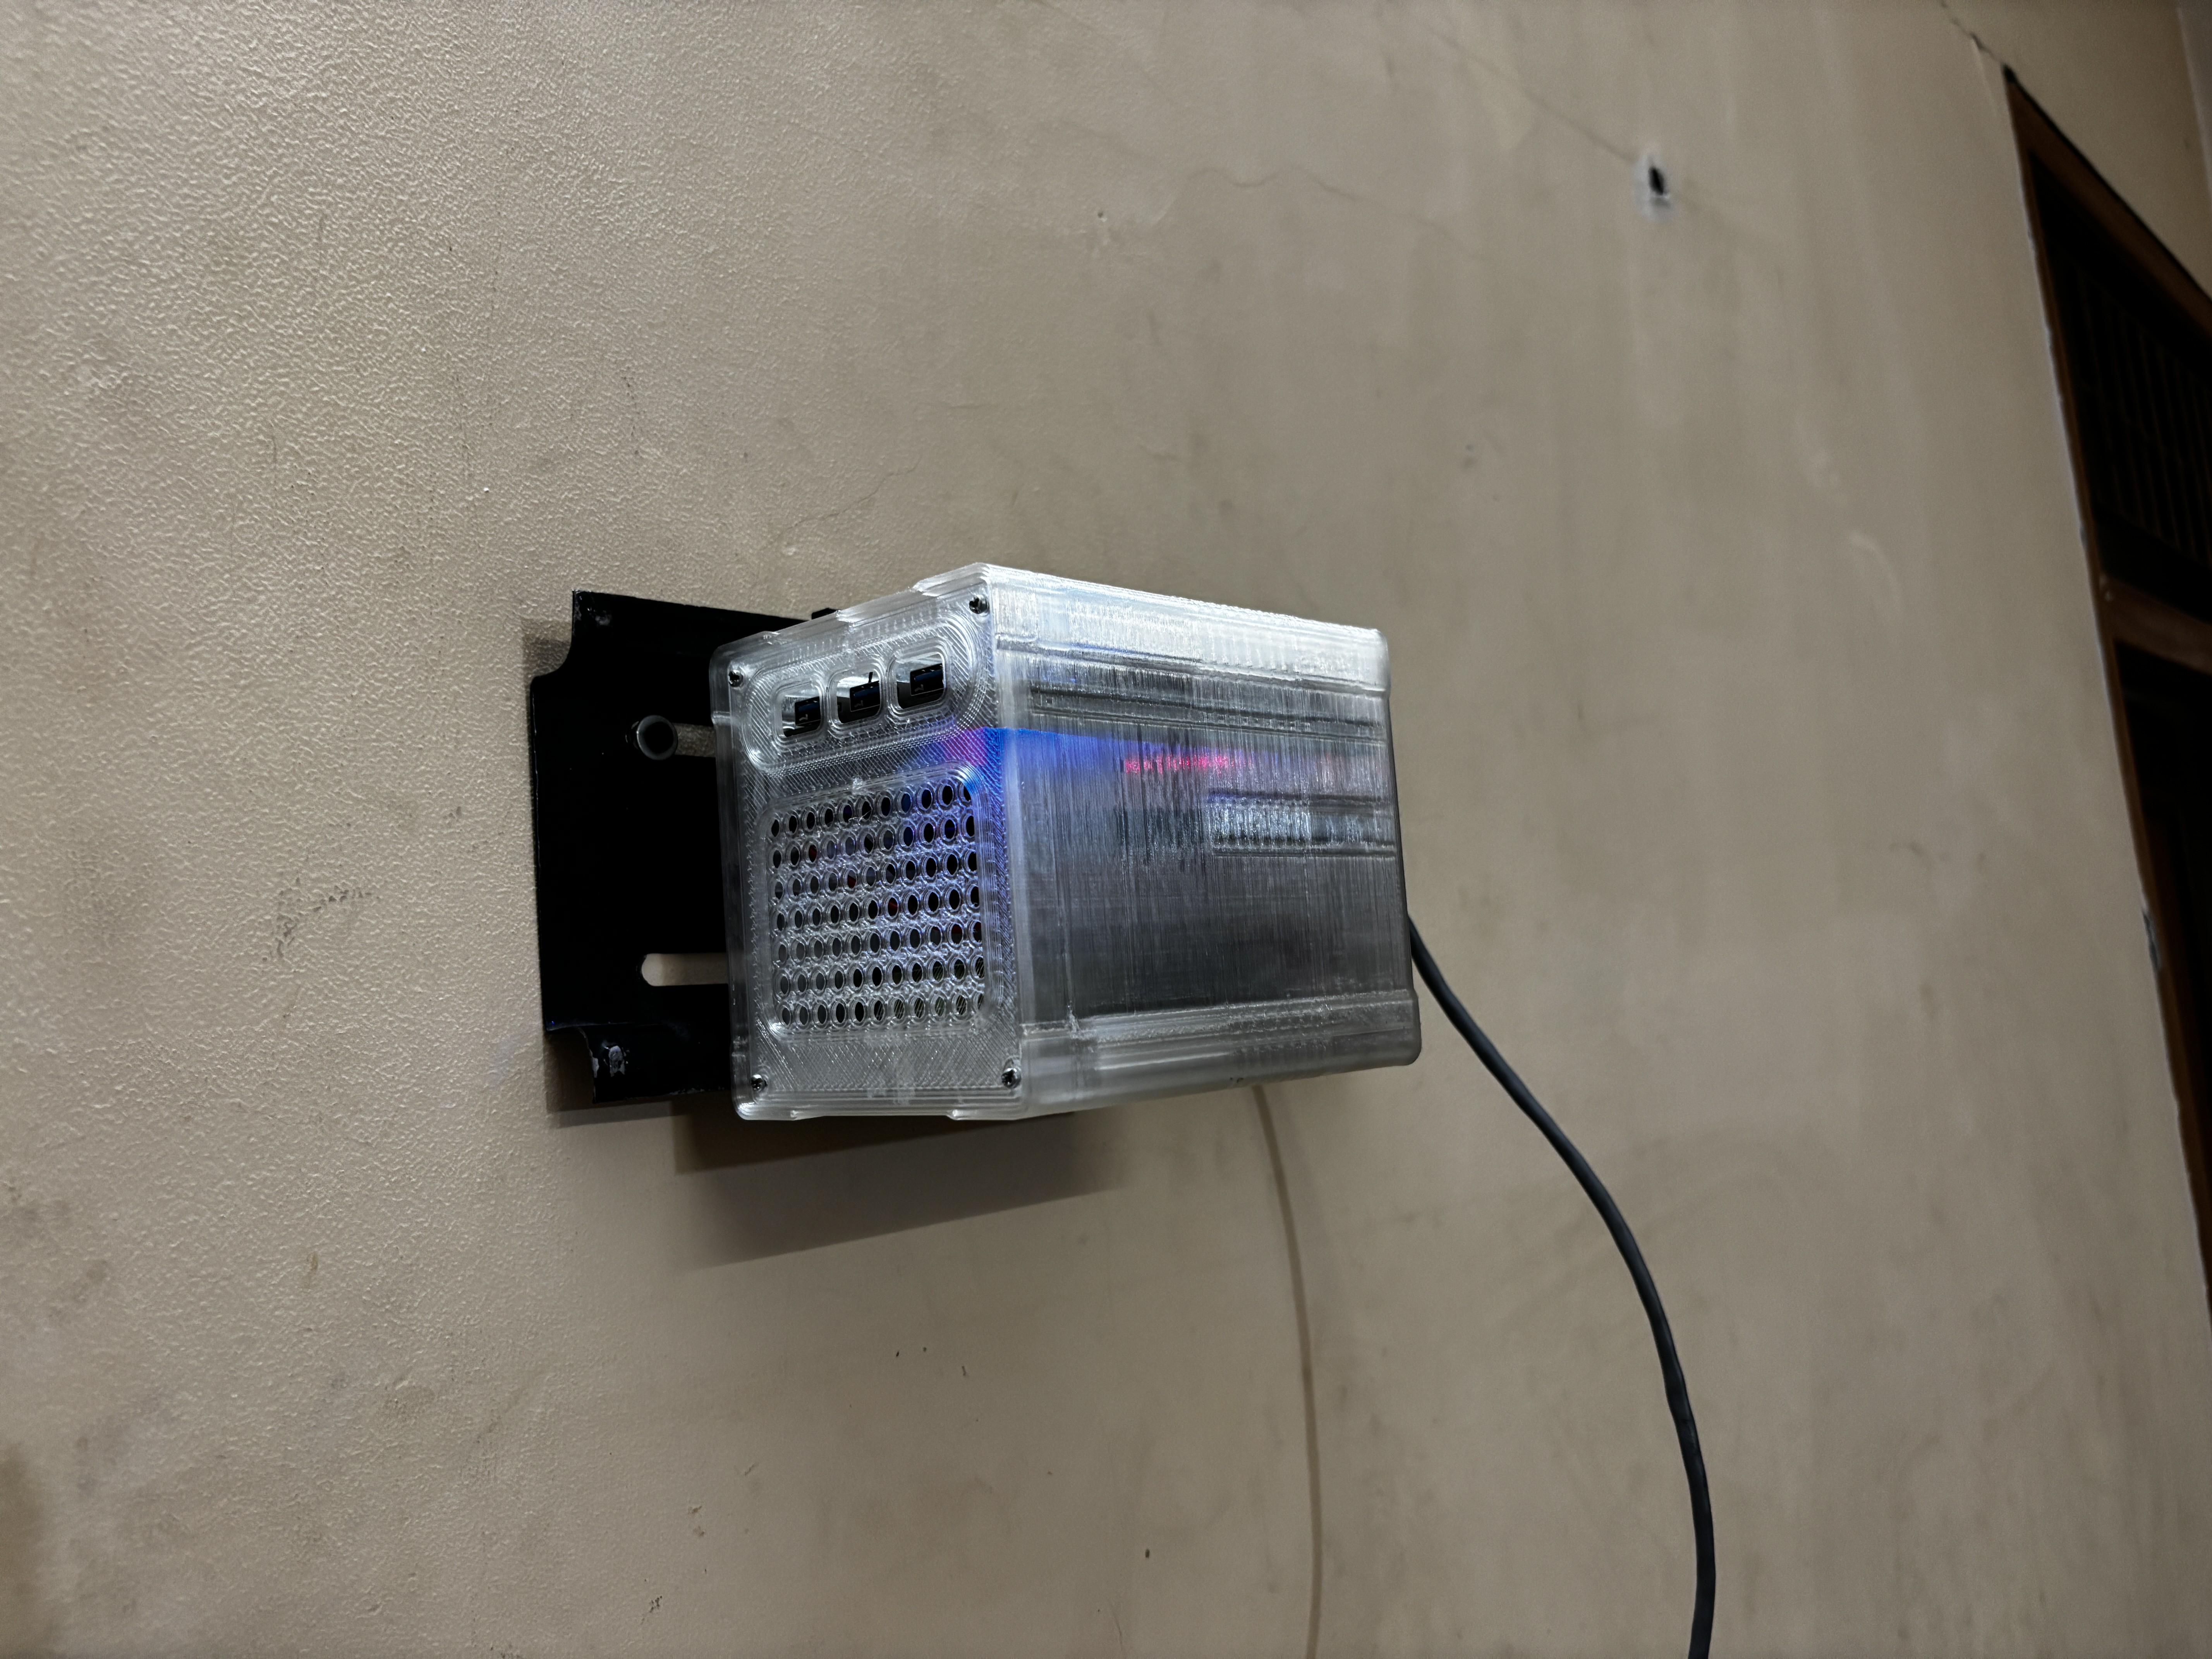
6RESULT
![]()
![]()
We slide the NAS onto the Stand, and it fits nicely thanks to the sliding tray part we built.
Next, we connected the ethernet port to the I/O Opening on the right side of the NAS, followed by the 12V Charger, which will charge the battery while also powering the system in parallel. When the power goes out, our system will run from the 12V battery pack, which is connected in parallel, acting as a UPS that will always keep our NAS running.
-
7CONCLUSION
![]()
![]()
![]()
Using our NAS, we were able to access saved data on our Sata SSD, which included family photos, videos, some crucial work documents, and even some old Retro Game Rom files that I had collected over the years.
The idea behind setting up this NAS was to create a common storage system that anyone in my family could access and view or save their stuff. 1TB of Sata SSD isn't particularly fast or large, but this was just a demo project; in future revisions, I plan to make a few changes to this NAS setup, such as adding more storage and even trying out other NAS OS instead of the webservice that I used in this project.
Please let me know if you require any additional assistance; all the documents, files, and code are included in the article.
Thanks for reaching this far, and I will be back with a new project pretty soon.
Peace.


Discussions
Become a Hackaday.io Member
Create an account to leave a comment. Already have an account? Log In.