 Arnov Sharma
NAS DESIGN
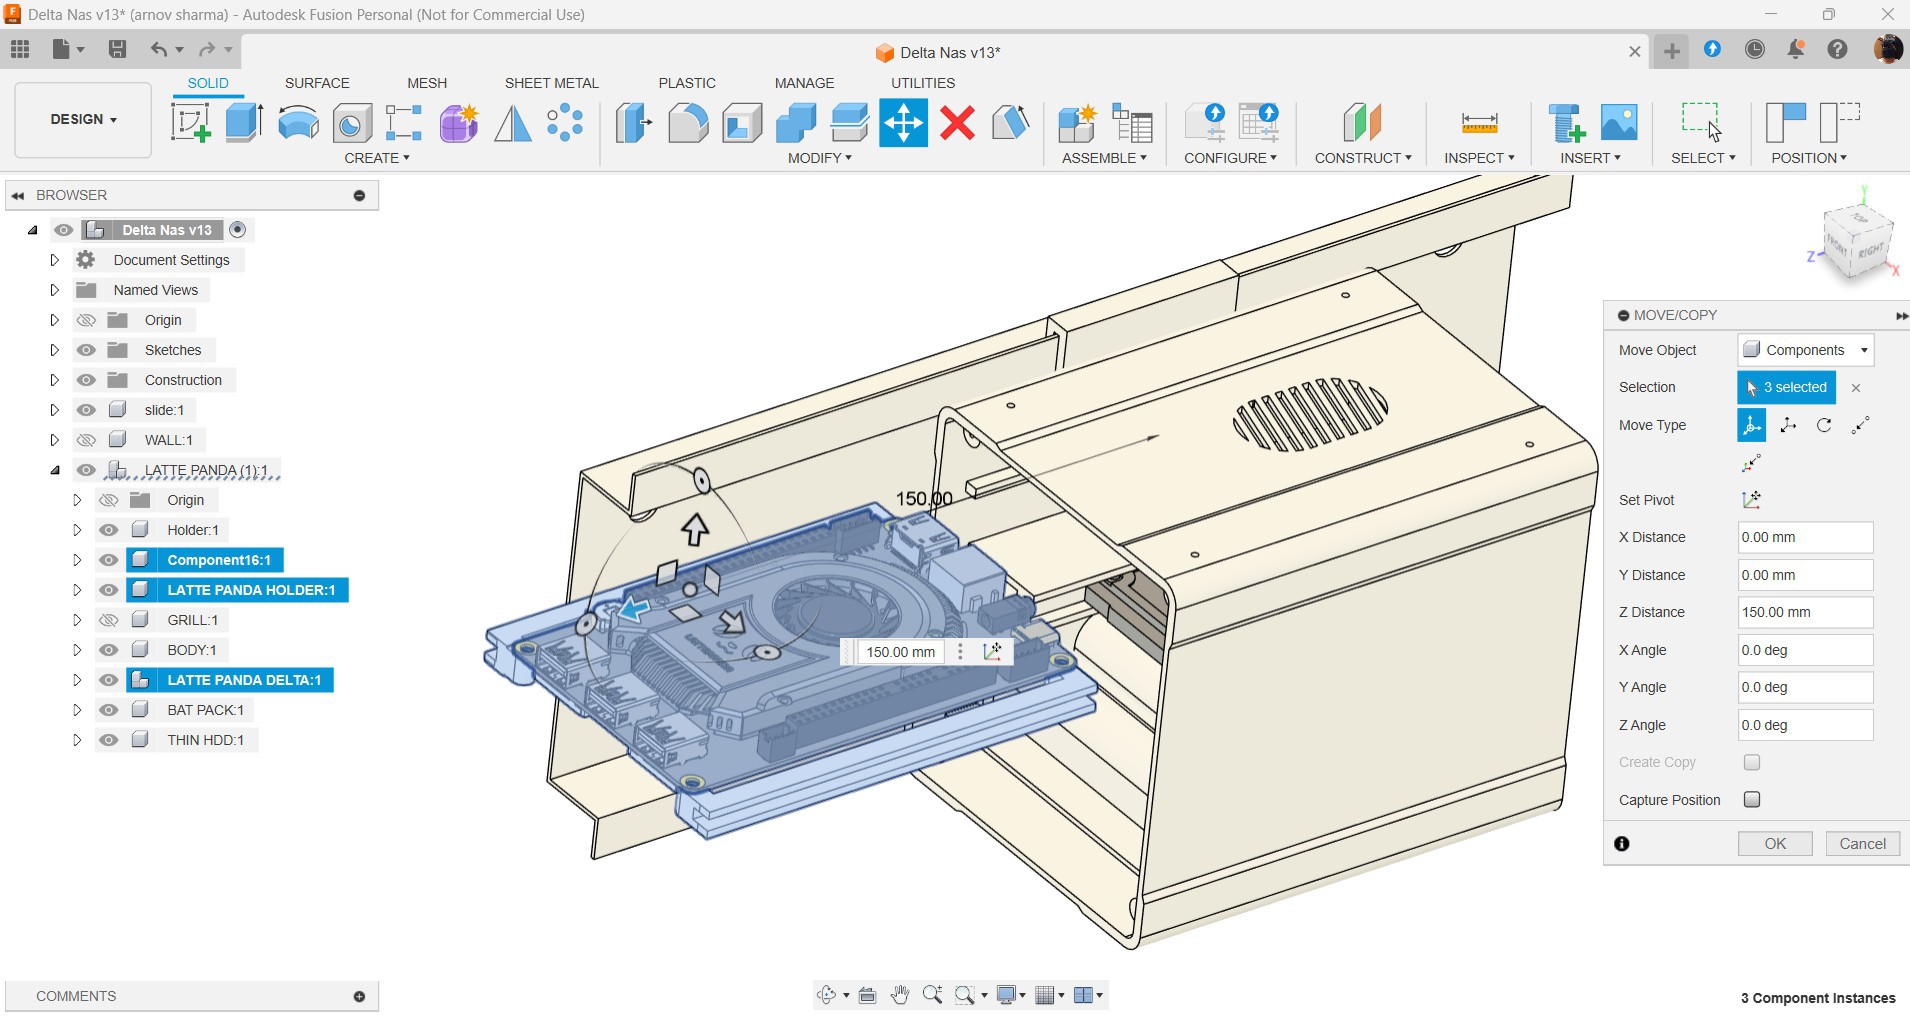
This project's design is straightforward; we took the Latte Panda 3 Delta 3D model to make a housing for the Latte Panda, Sata SSD, and a custom PCB on which we mounted the SMD Li-ion cell holders.
Here, we created a cuboid-shaped enclosure with an opening on the left side of the design. We added a lid to the left side of the enclosure that has four mounting holes, grills for airflow, and an opening for the Latte Panda's USB ports. We have included openings for the Type C, HDMI, and Ethernet ports on the right side of the design.
Along with a hole for a DC barrel jack that will be used for charging input, we have also included a slot for placement of a rocker switch that will be used to turn the Latte Panda on and off.
Sliding rails have been added inside, which serve as parts for adding and sliding all of our components into place. Although adding the SSD and power board is simple, the LattePanda needed a particular set of attachments to put the board into position.
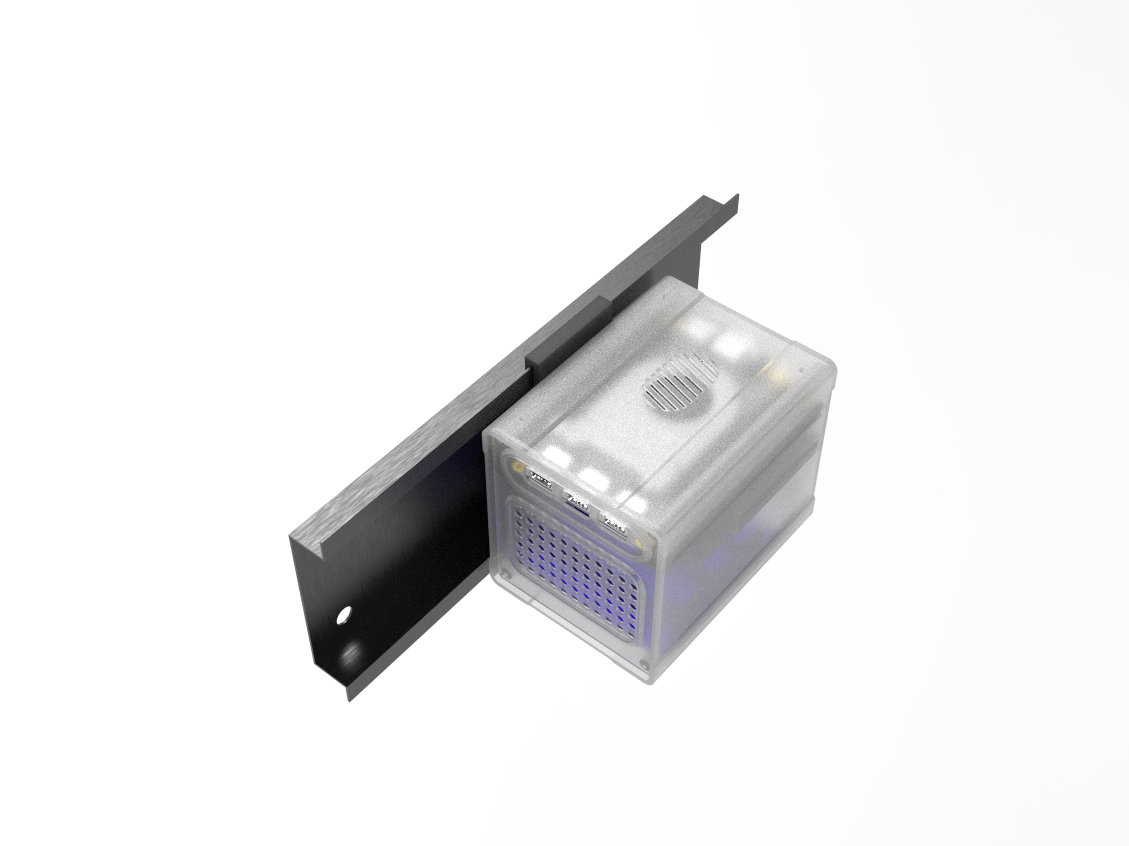
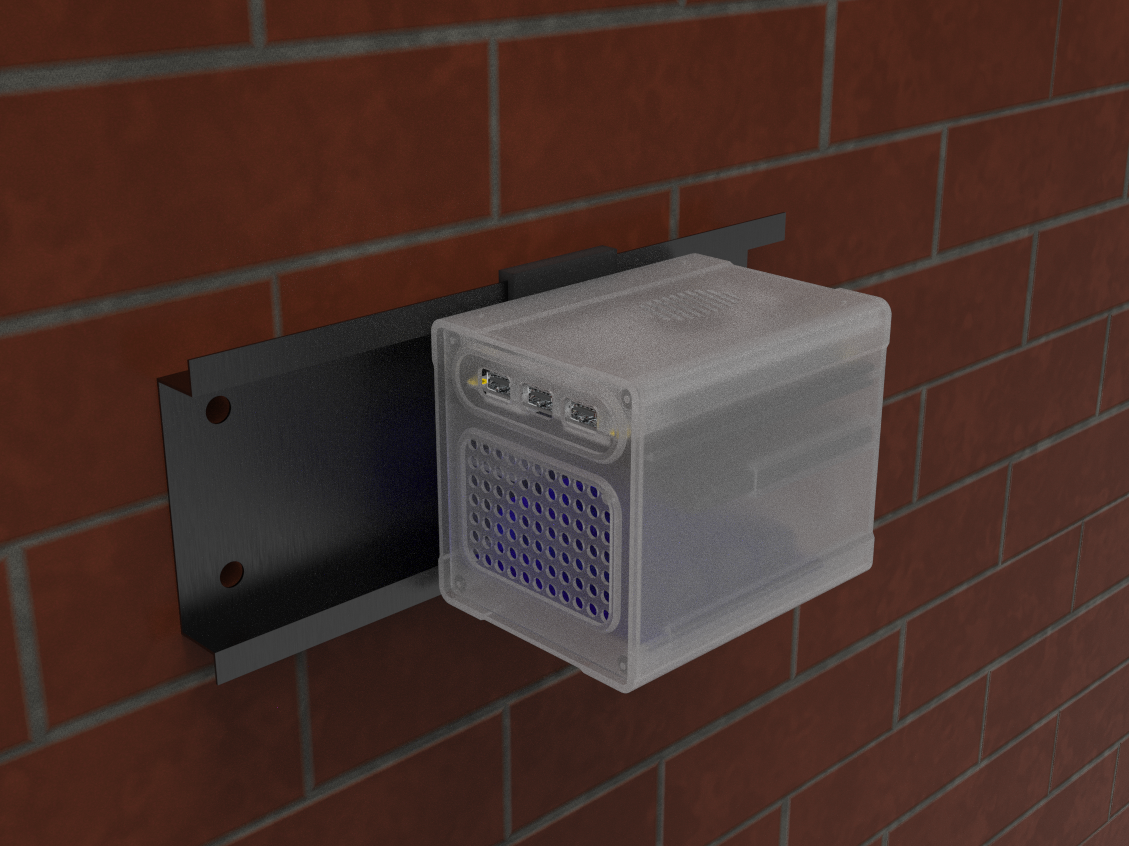
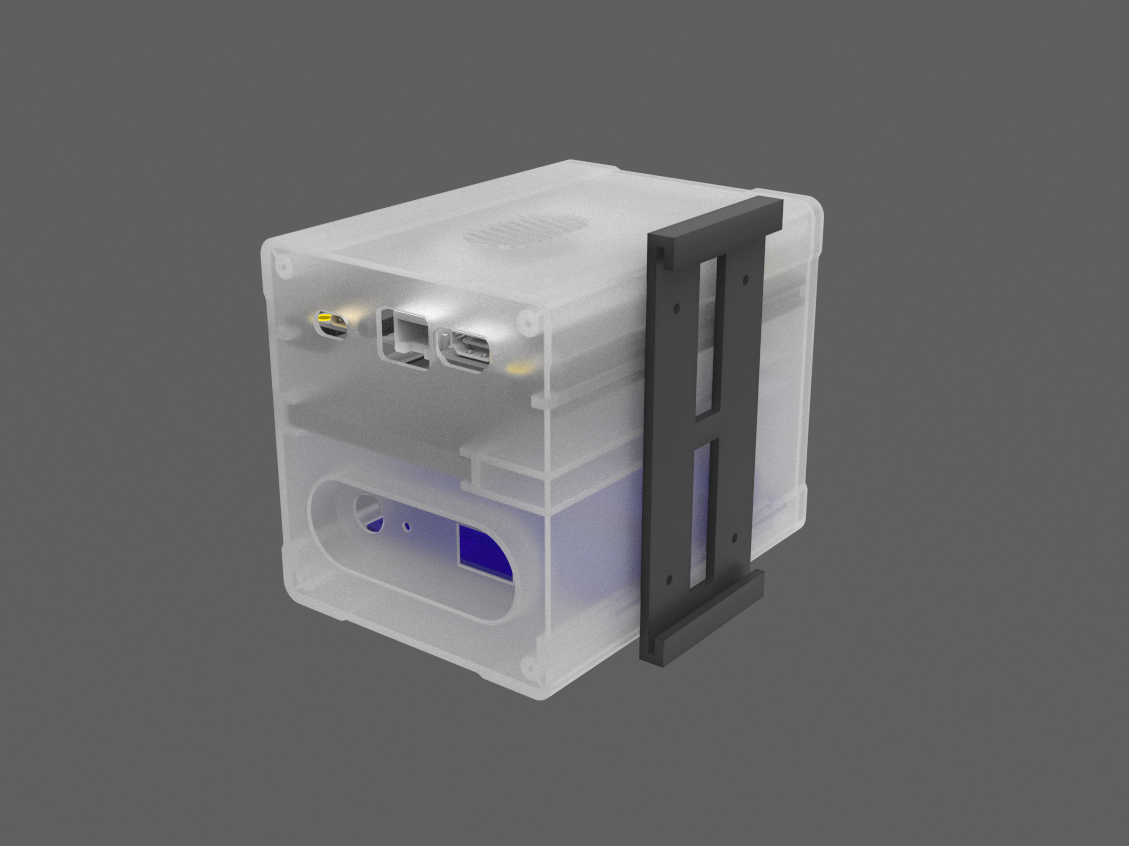
We are repurposing an old LCD TV stand for wall mounting the entire NAS design. Because of the stand's unique design, which resembles a sliding rail, we created a part that slides into the rail to mount the NAS on the wall.
Black PLA was used to print the Latte Panda slide attachment and the sliding rail mount part, while transparent PLA was used to print the main body and lid part.
LATTE PANDA 3 DELTA

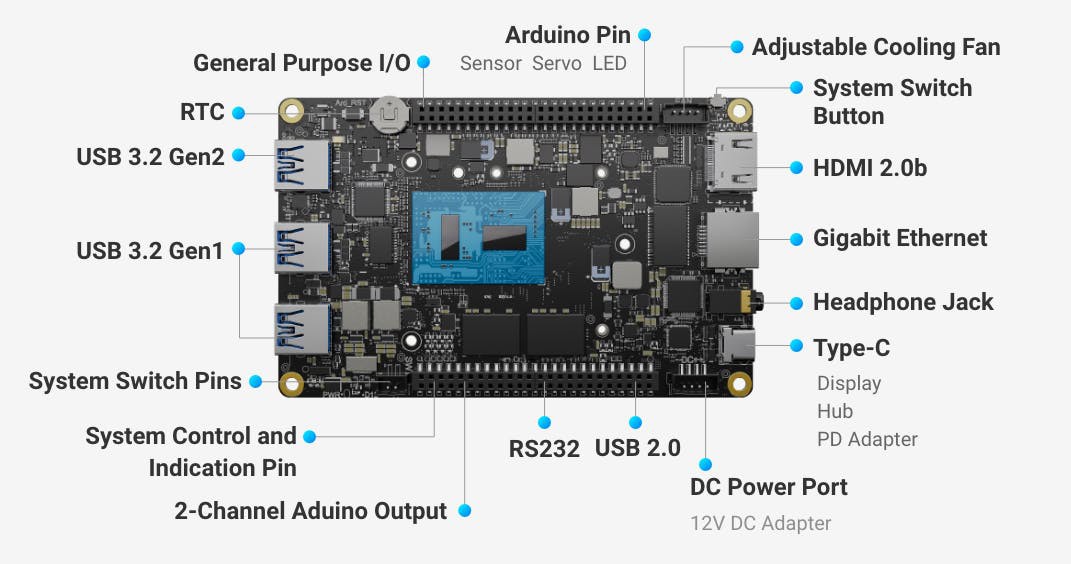
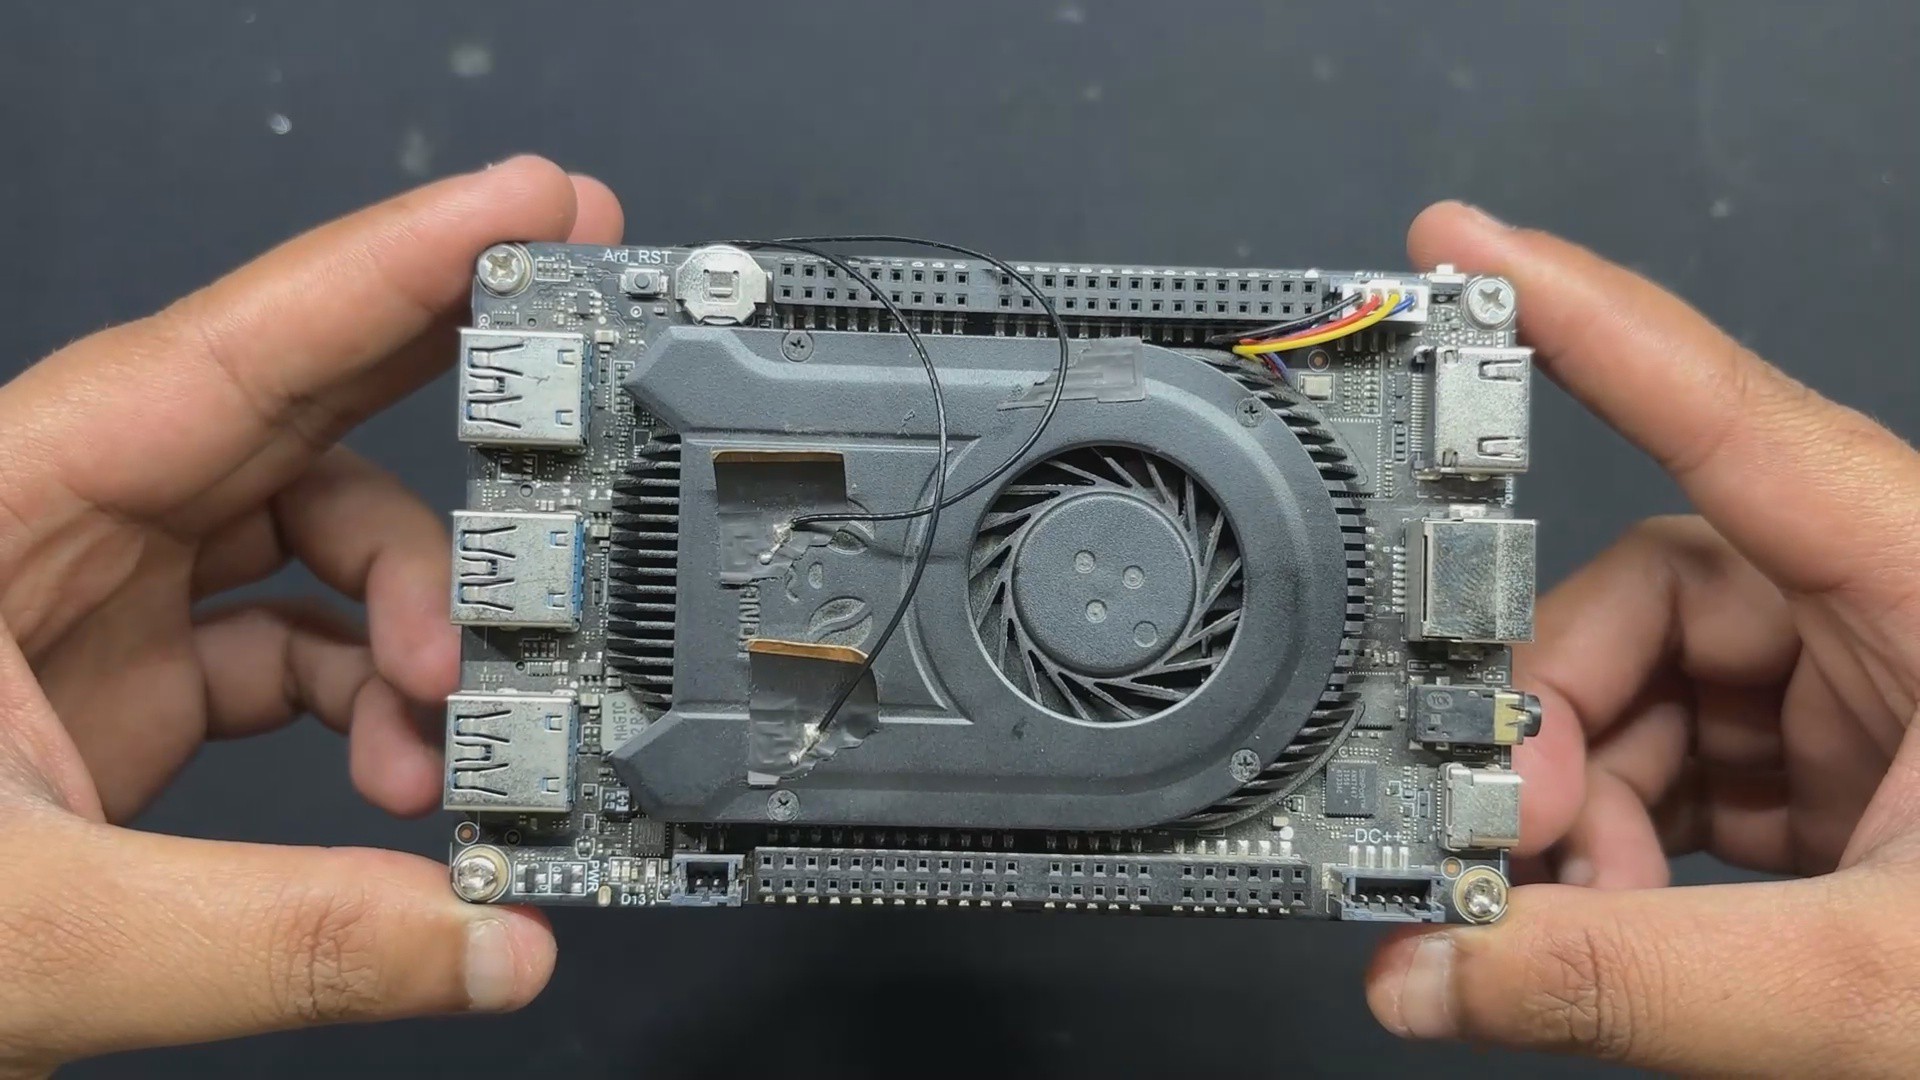
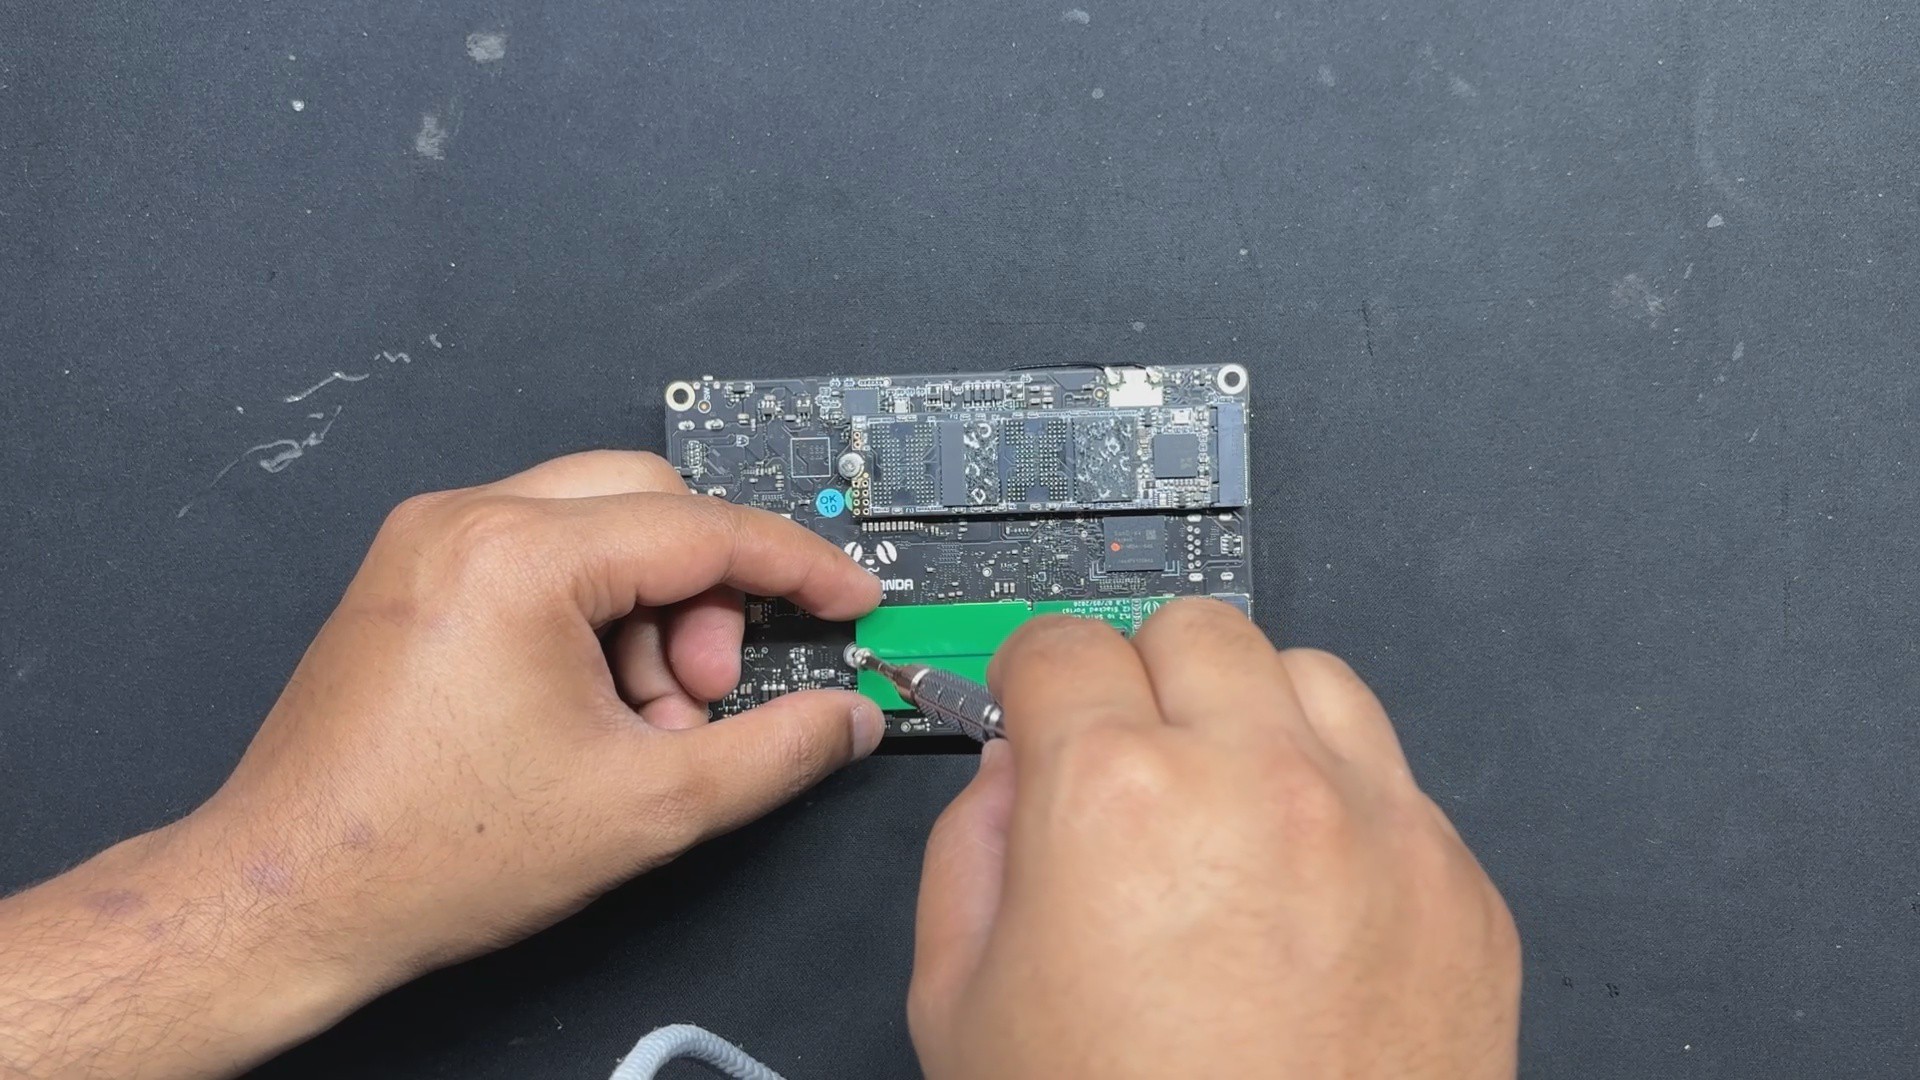
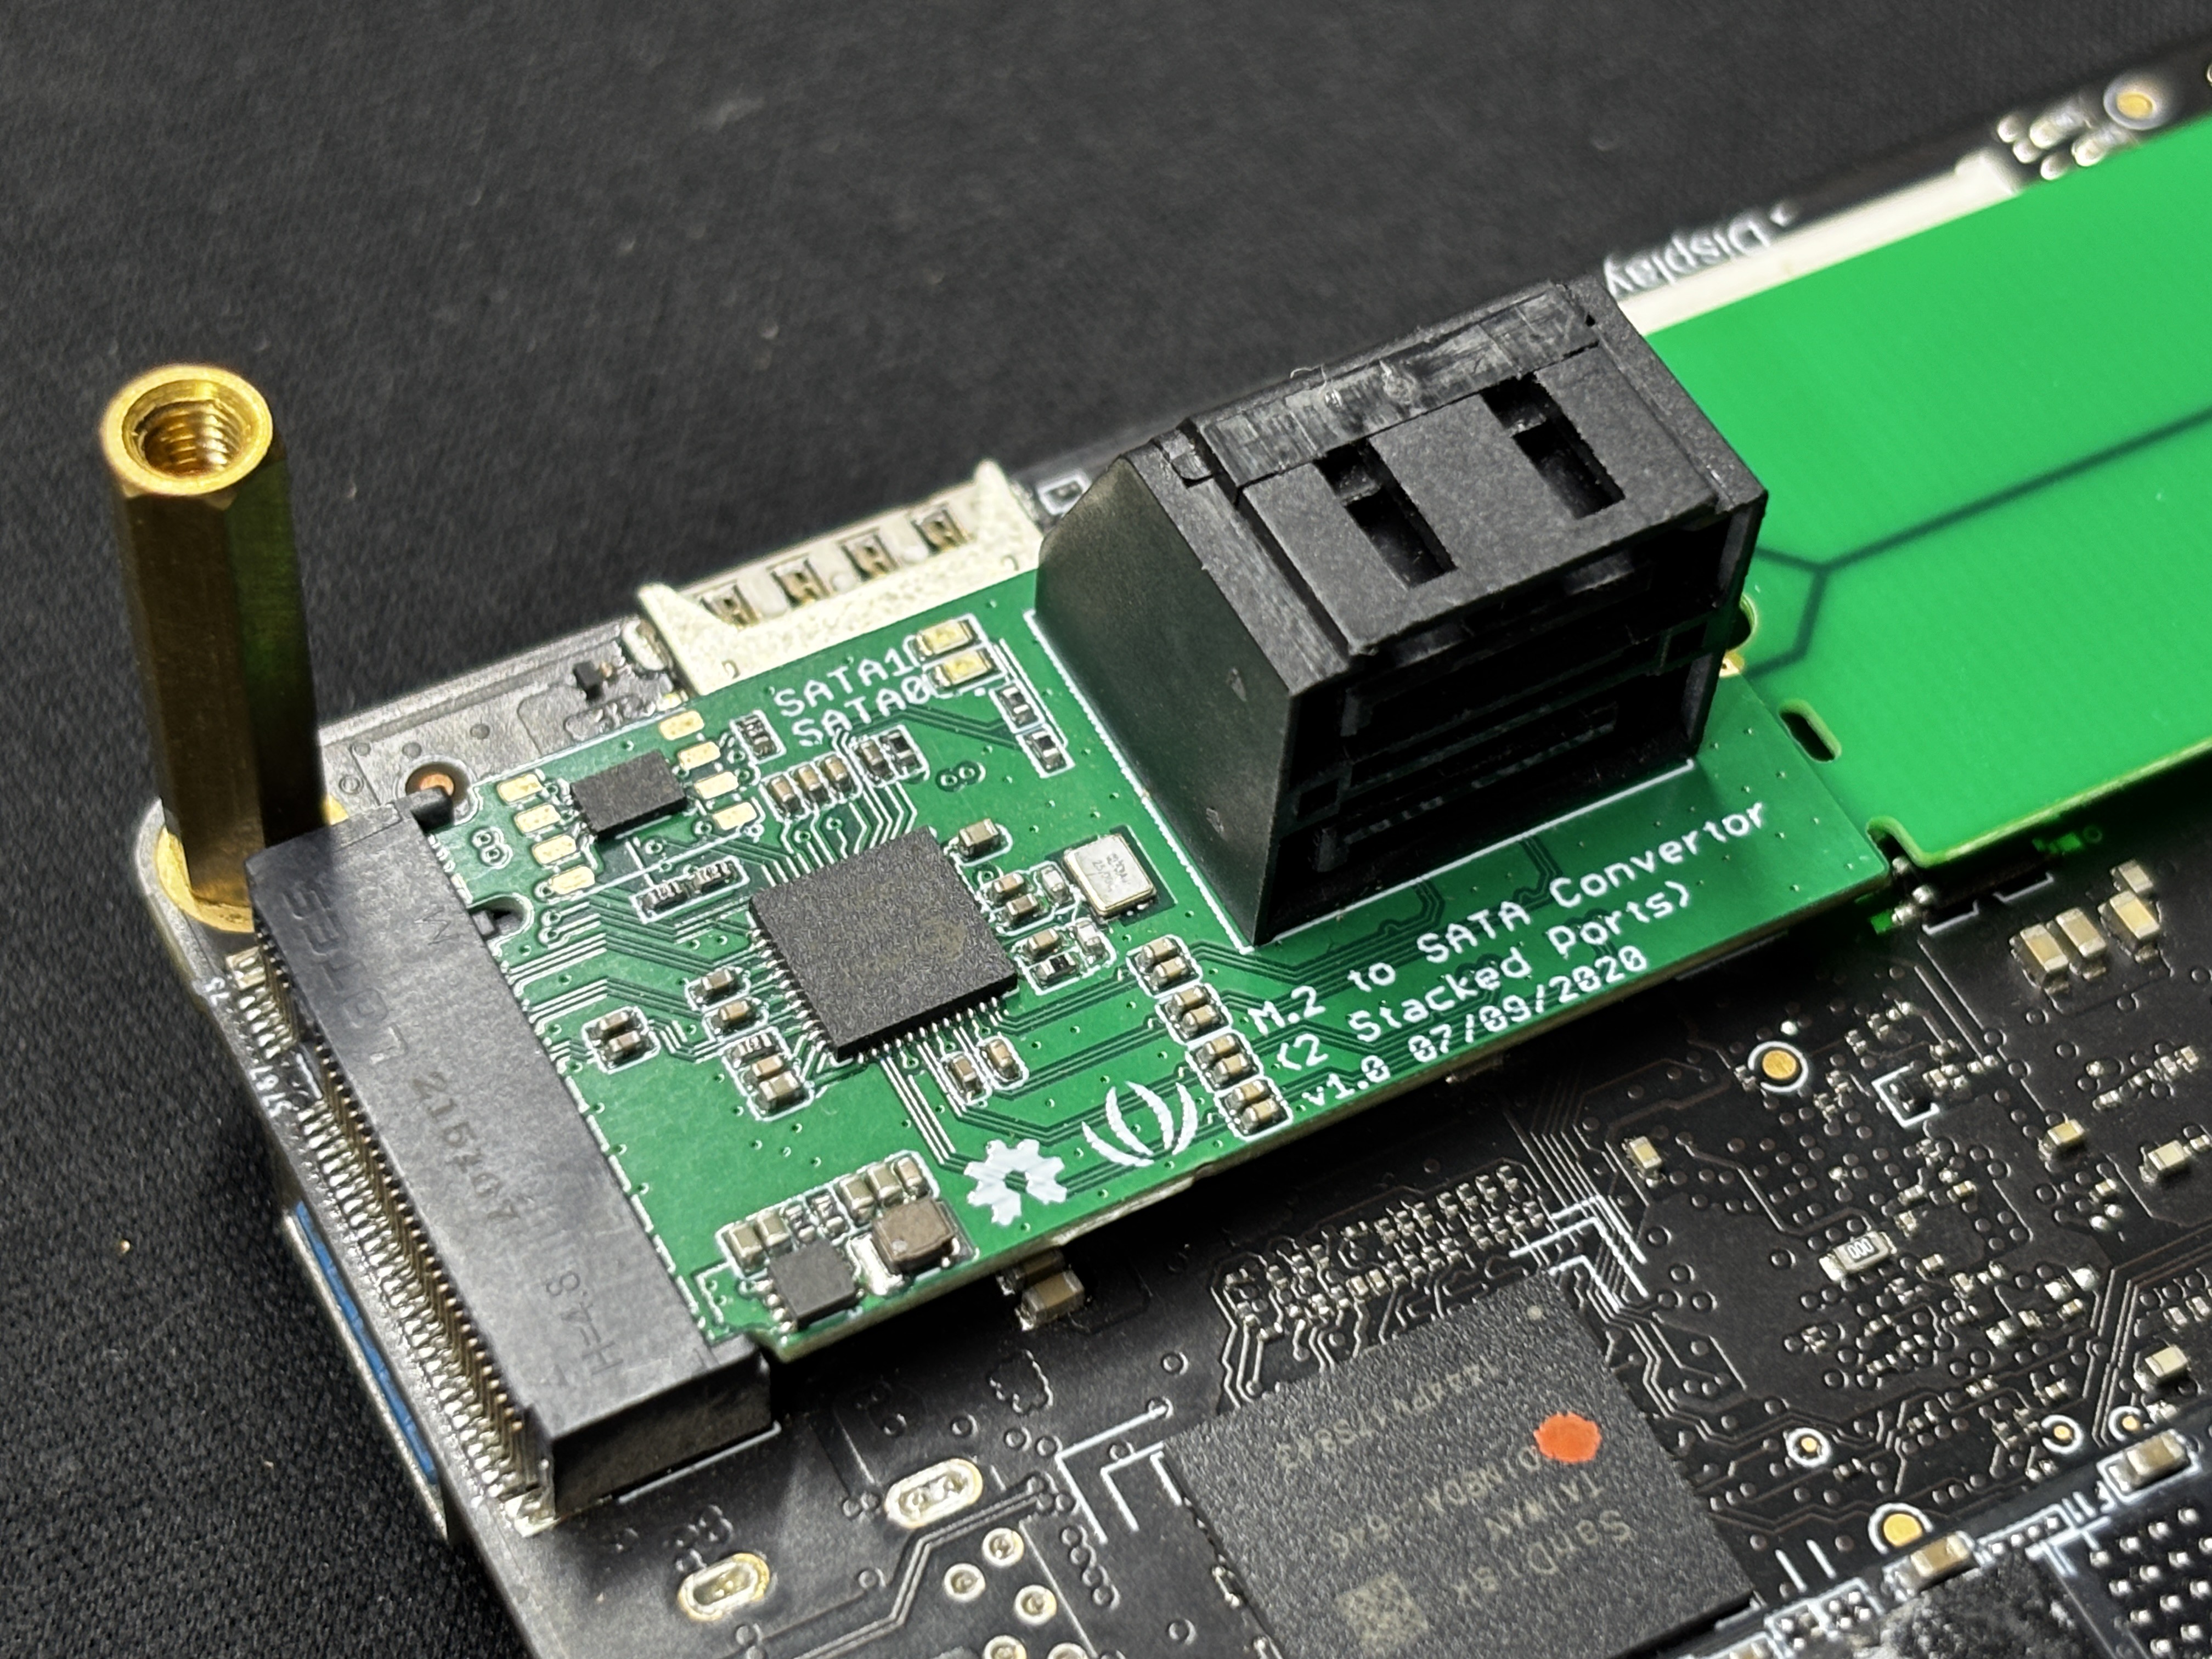
For the main control unit of our NAS setup, we’re using the LattePanda 3 Delta—a compact x86 single-board computer that packs desktop-level performance into a palm-sized form factor. Designed by DFRobot, it’s powered by an Intel 11th Gen Celeron N5105 processor and equipped with 8GB of LPDDR4 RAM running at 2933MHz. With its Gigabit LAN port and dual M.2 slots, it's built for speed, connectivity, and flexibility—perfect for projects that demand both serious computing power and precise hardware control.
In our case, the LattePanda 3 Delta is running Debian as its main operating system, paired with CASA OS to transform it into a full-fledged NAS. This setup is a great match—the x86 architecture and ample 8GB RAM give it plenty of headroom to manage storage, serve files, and handle web-based administration with ease. And the fact that it’s all running on a tiny SBC just makes the build that much more satisfying.
PCB DESIGN
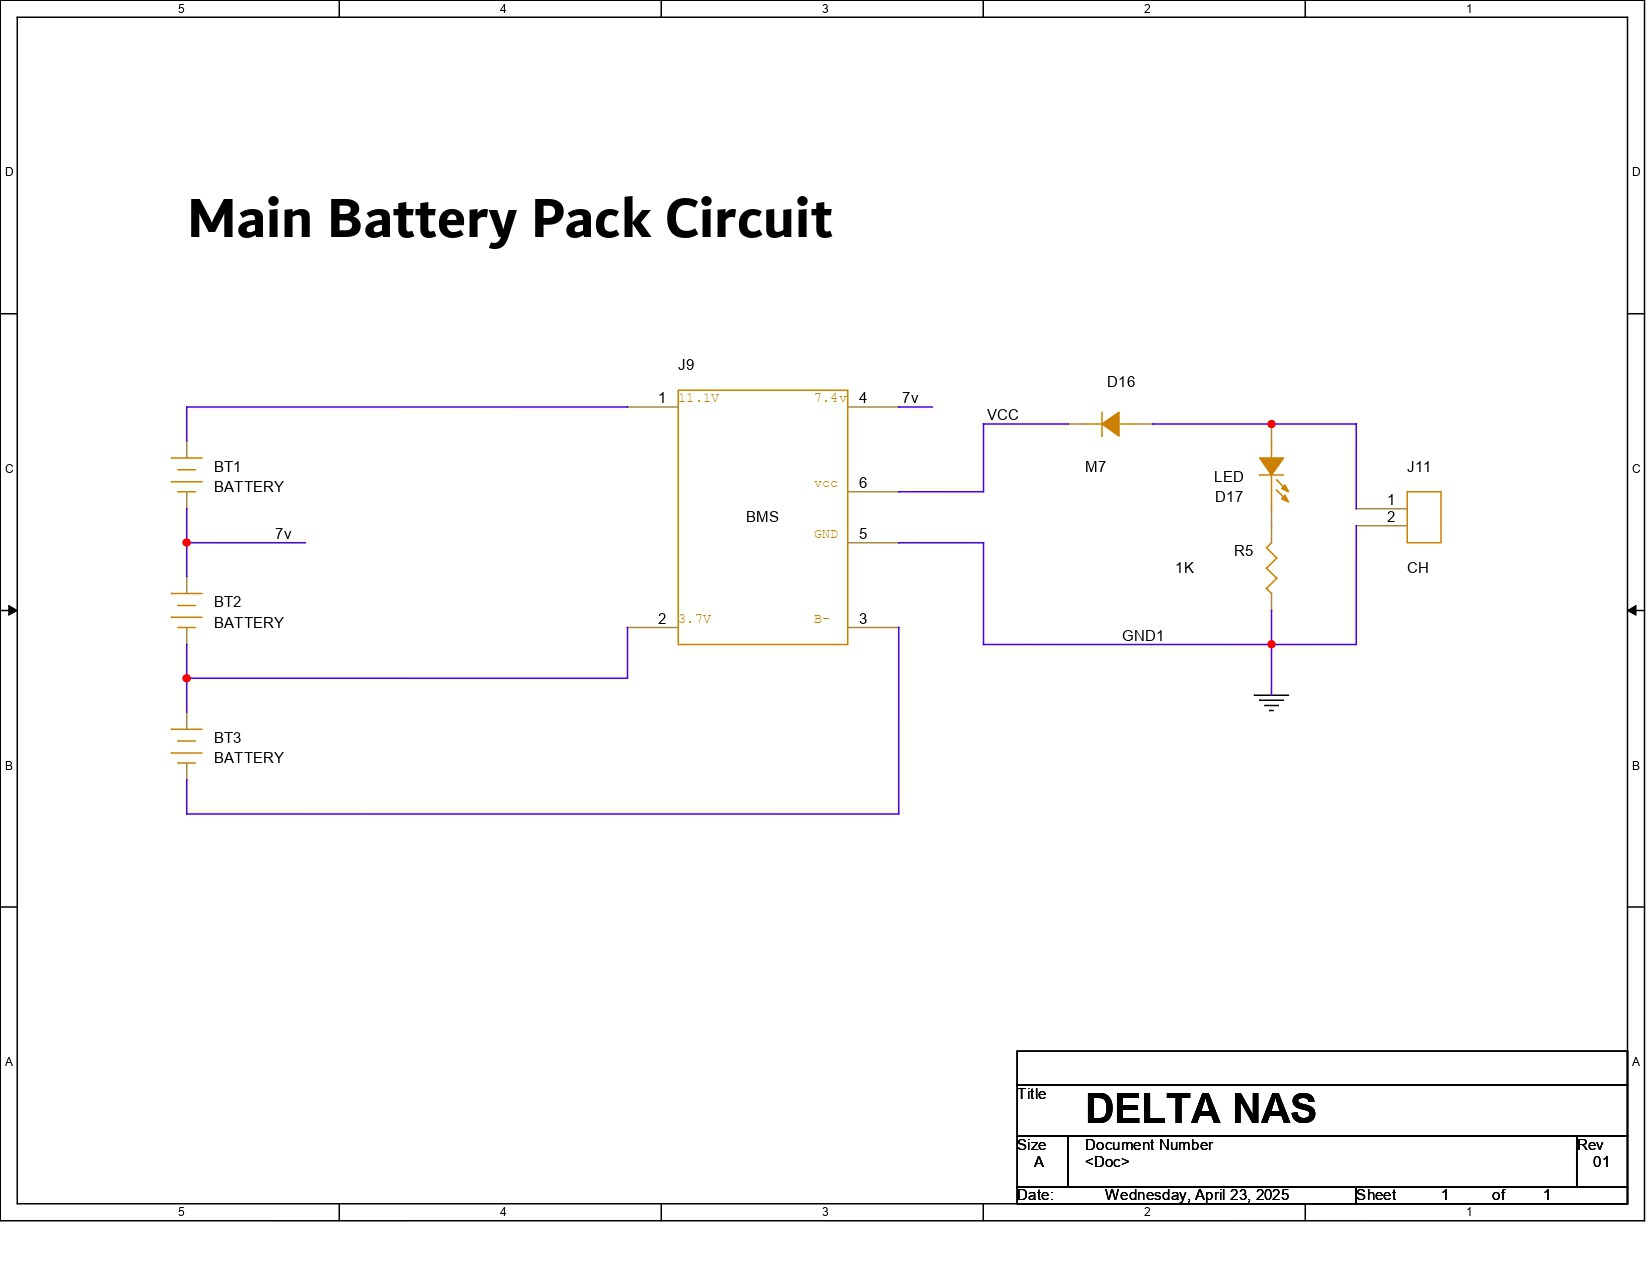
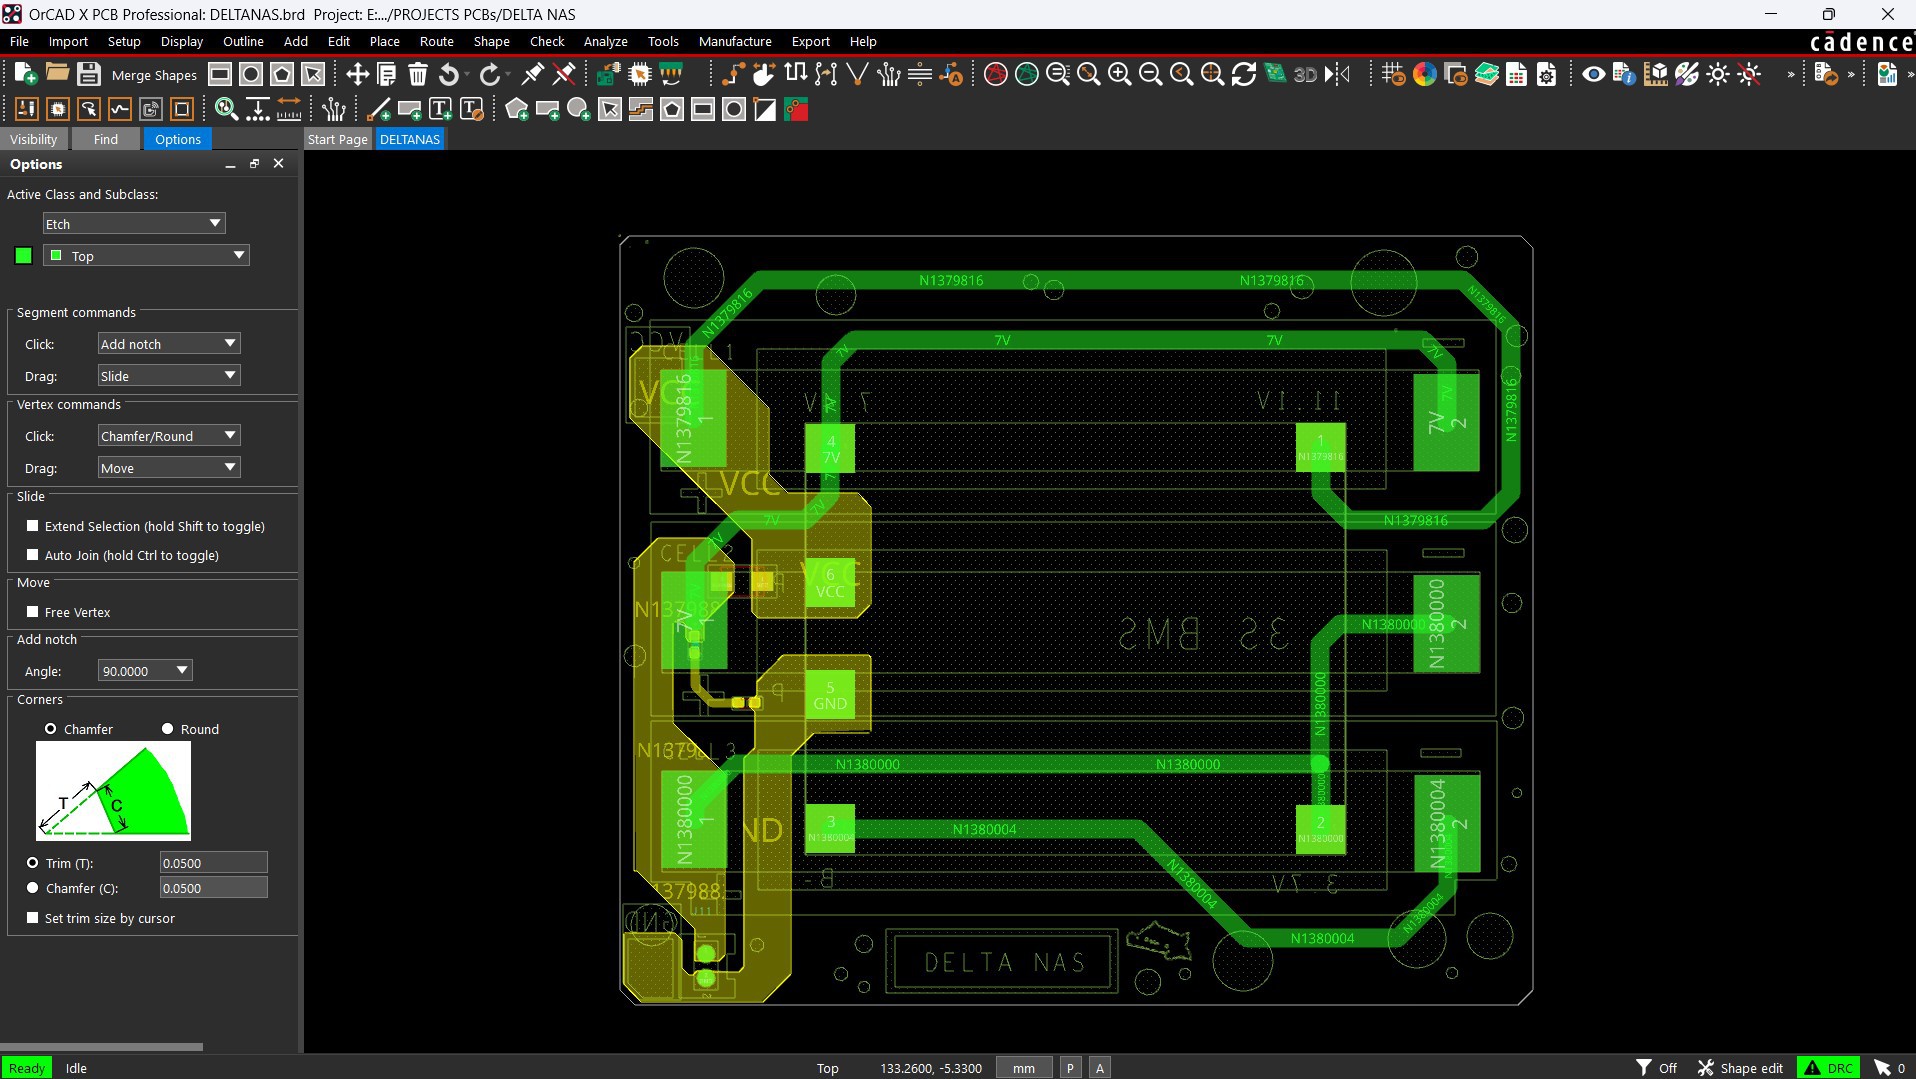
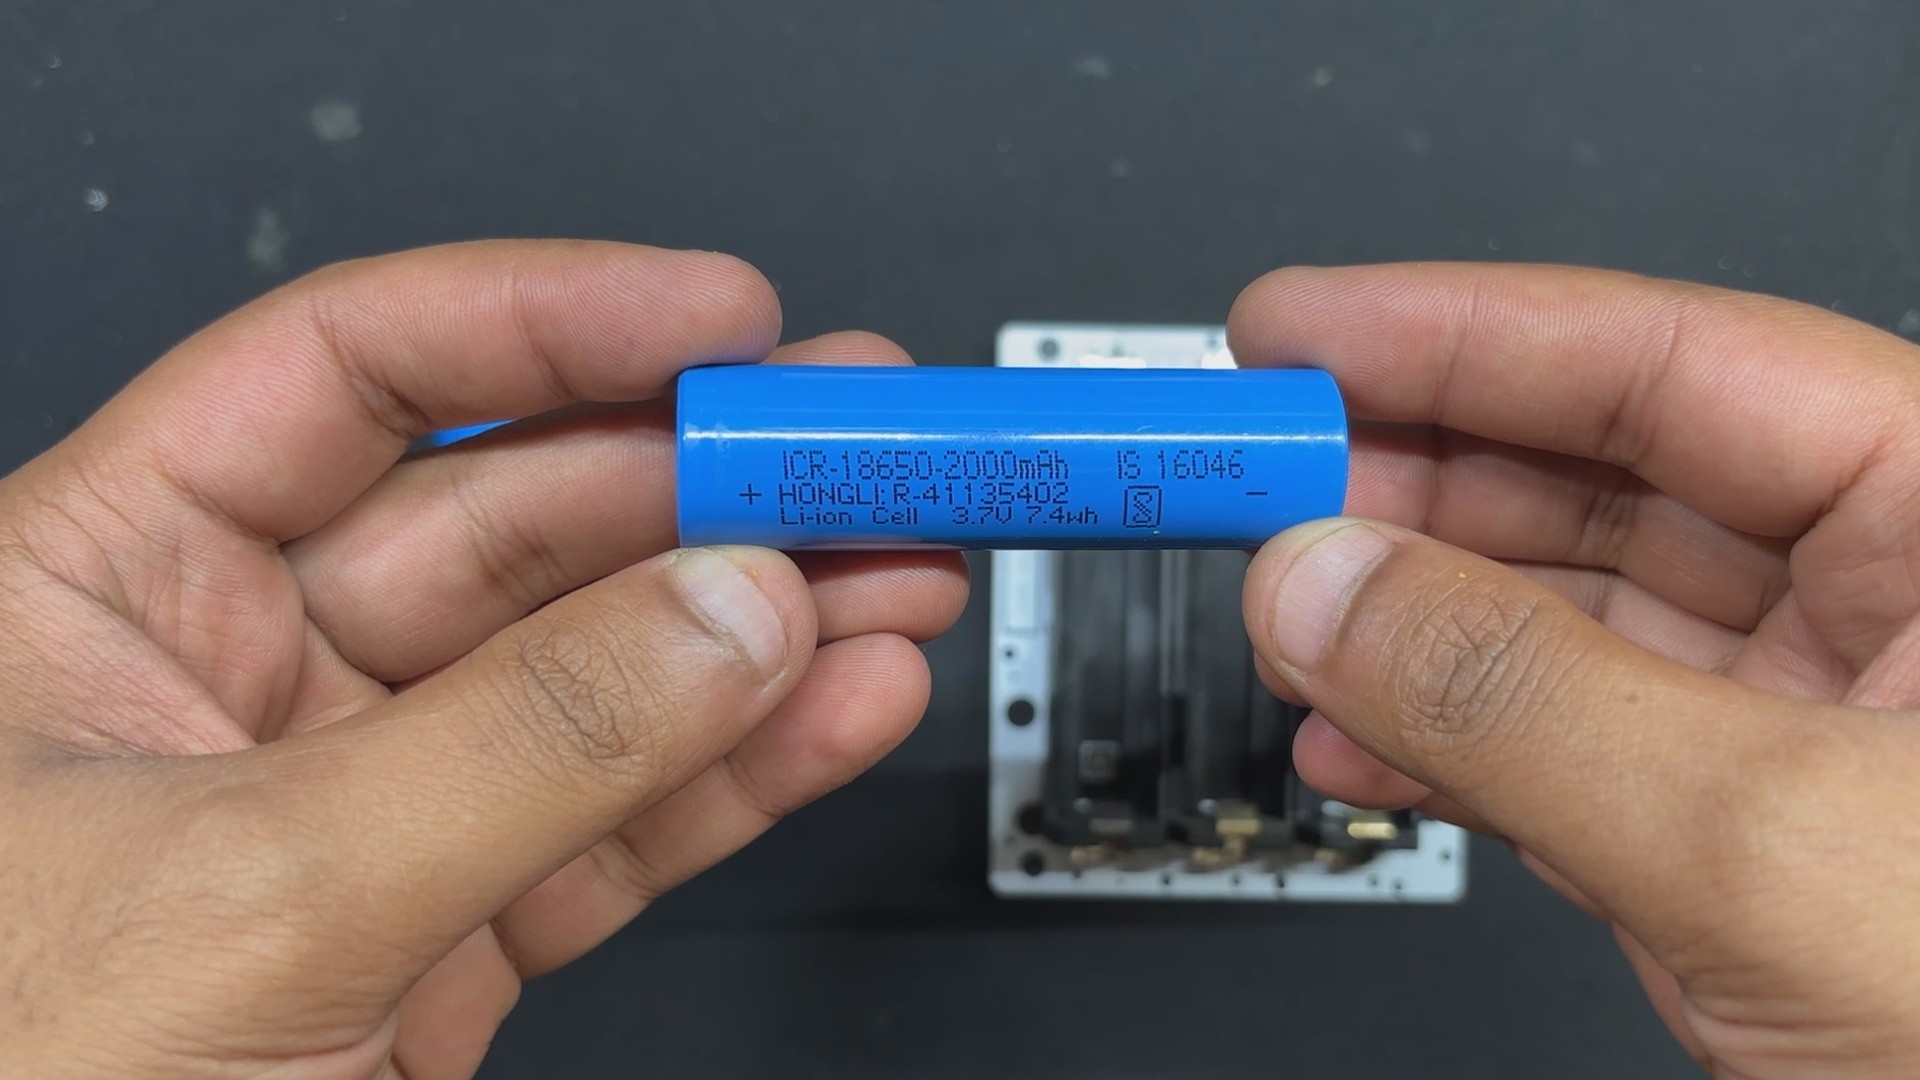
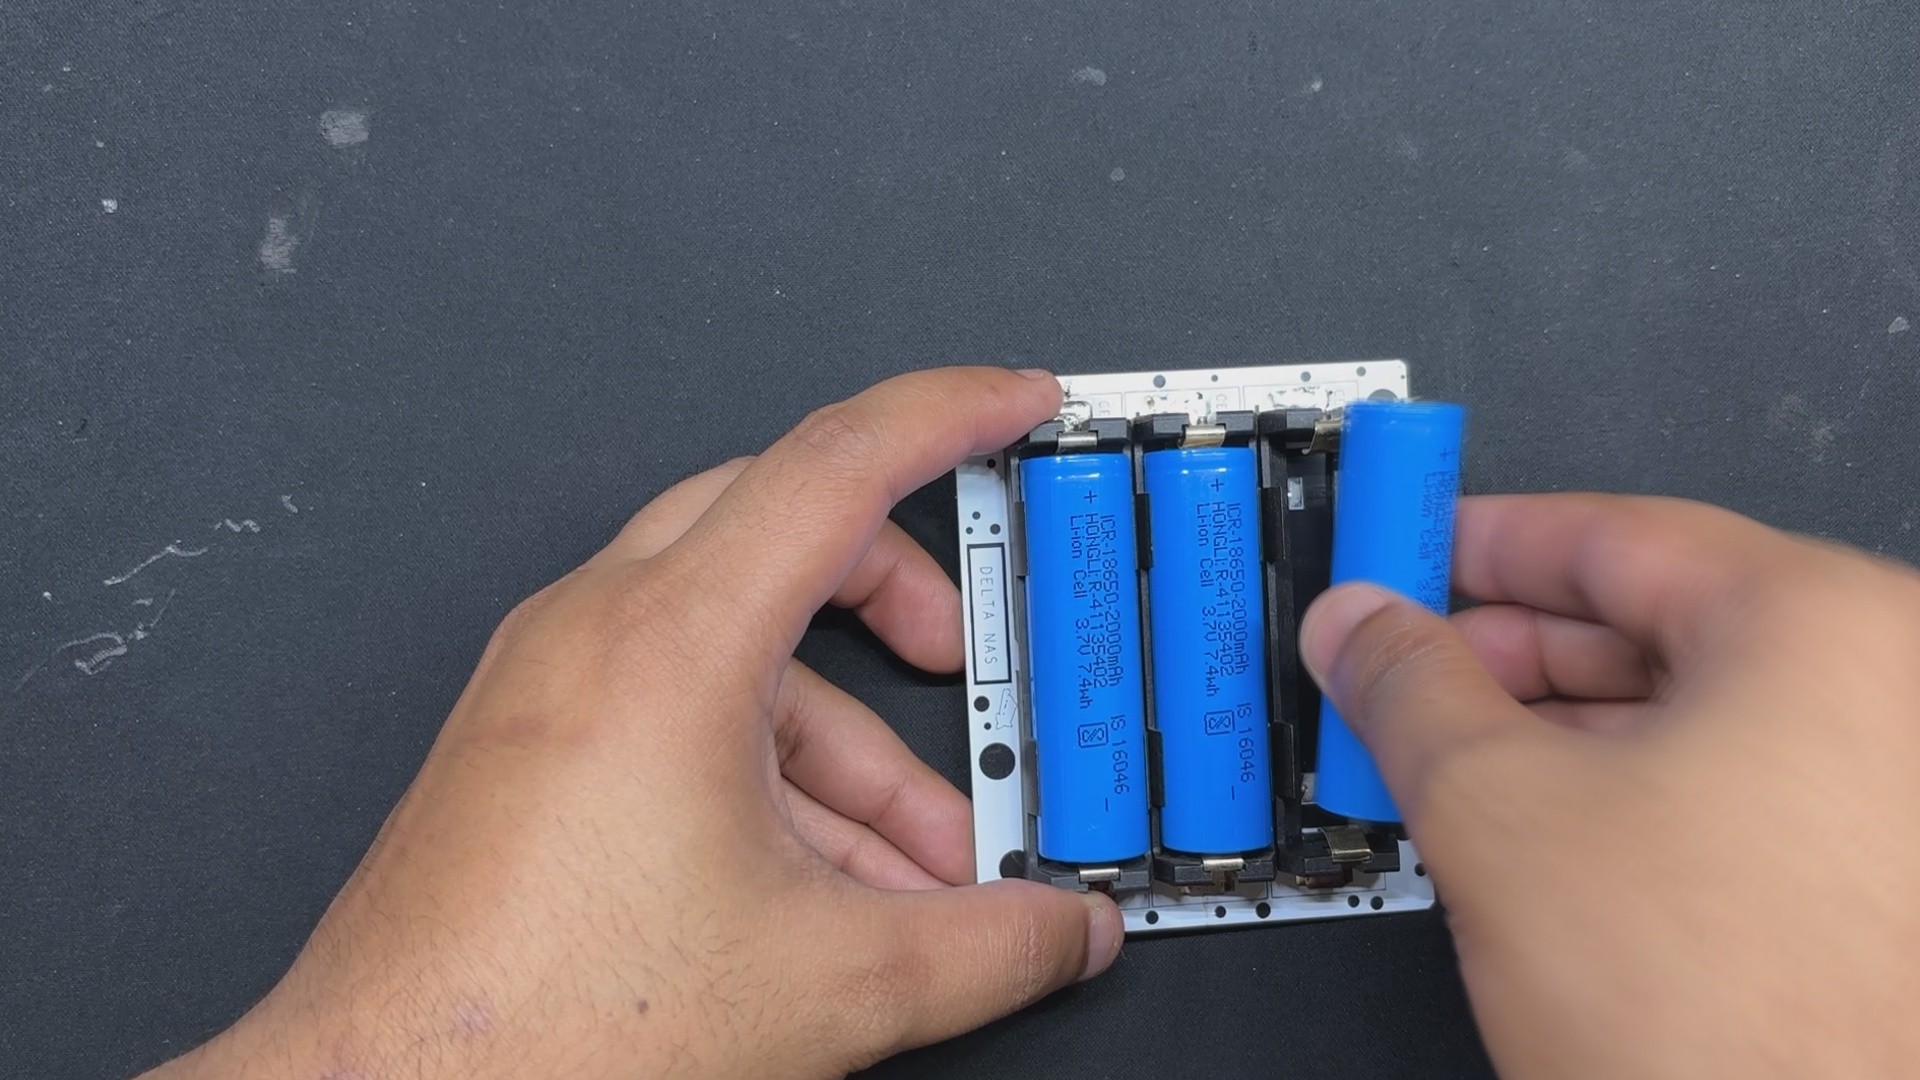
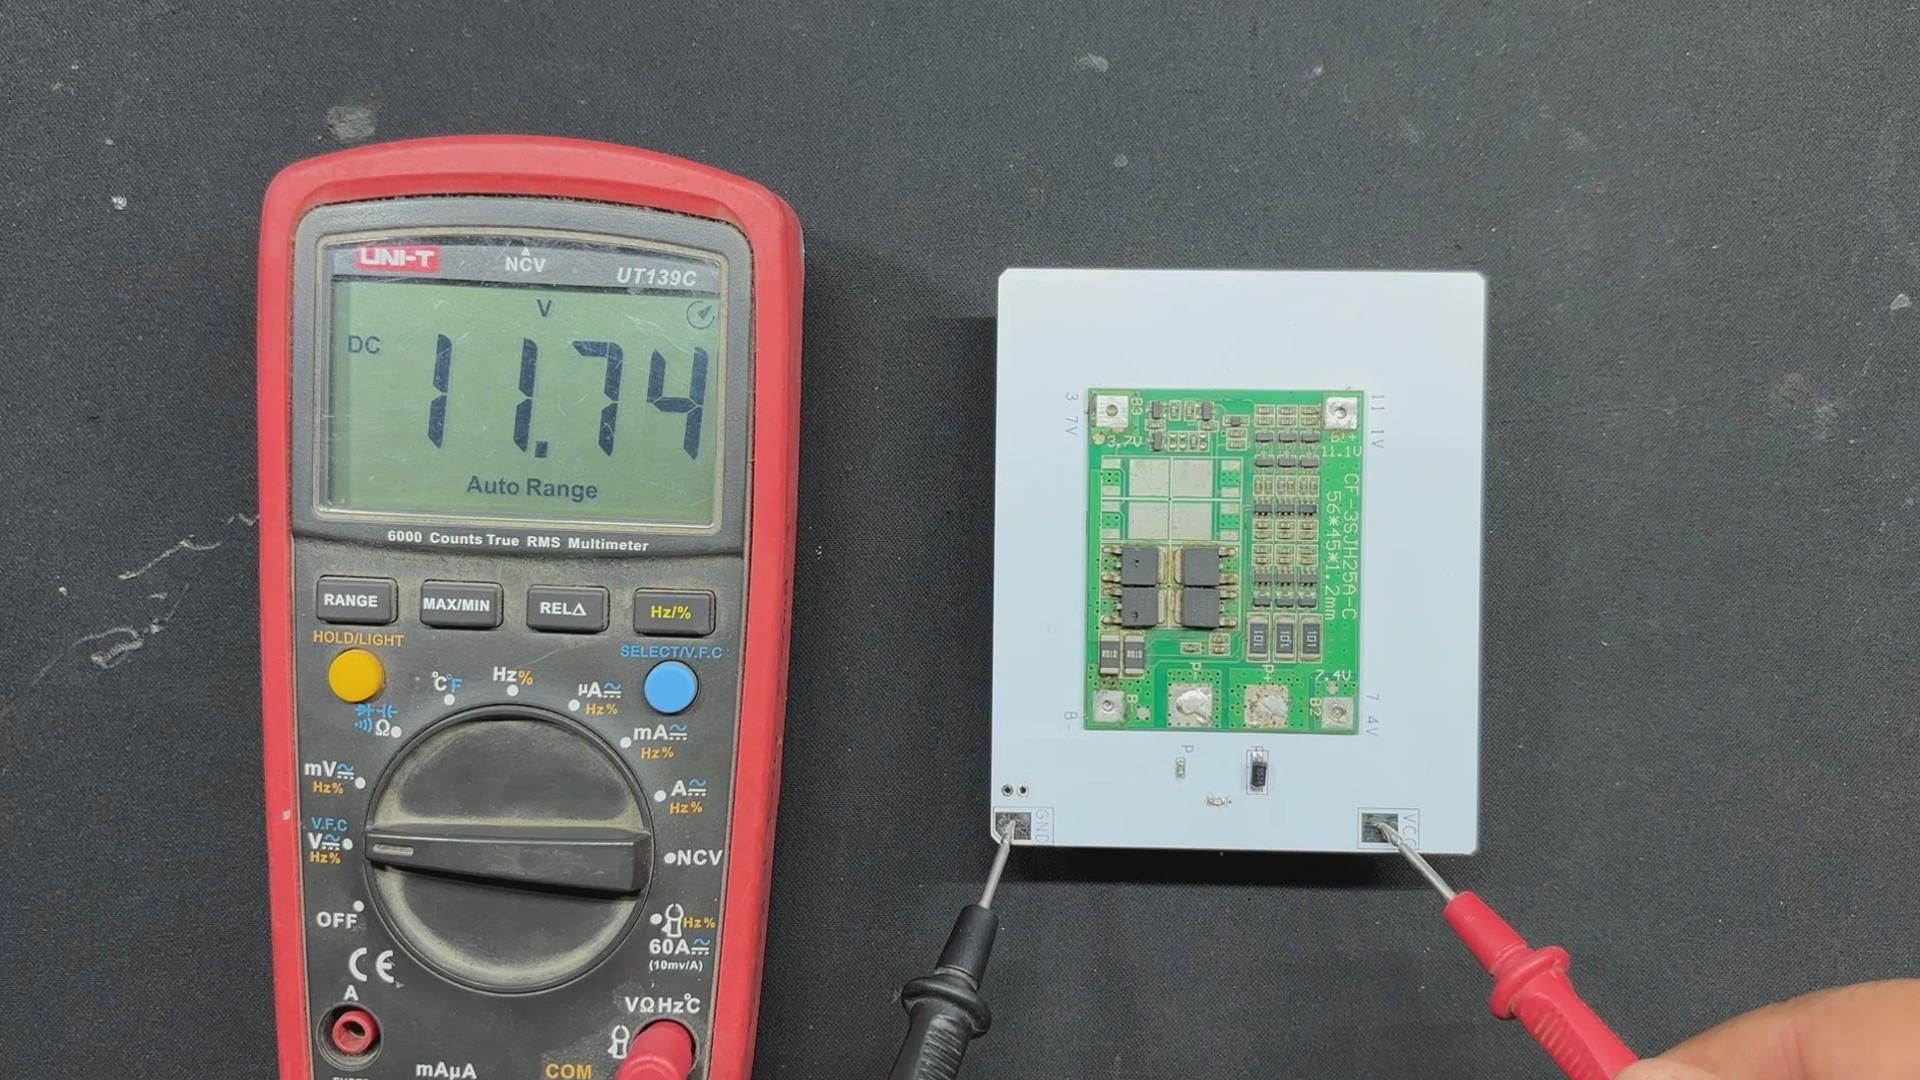
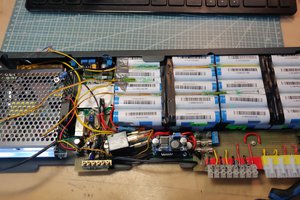
To power the Lattepanda, we designed a 12V battery board consisting of three lithium cells mounted on a circuit board and linked with a BMS.
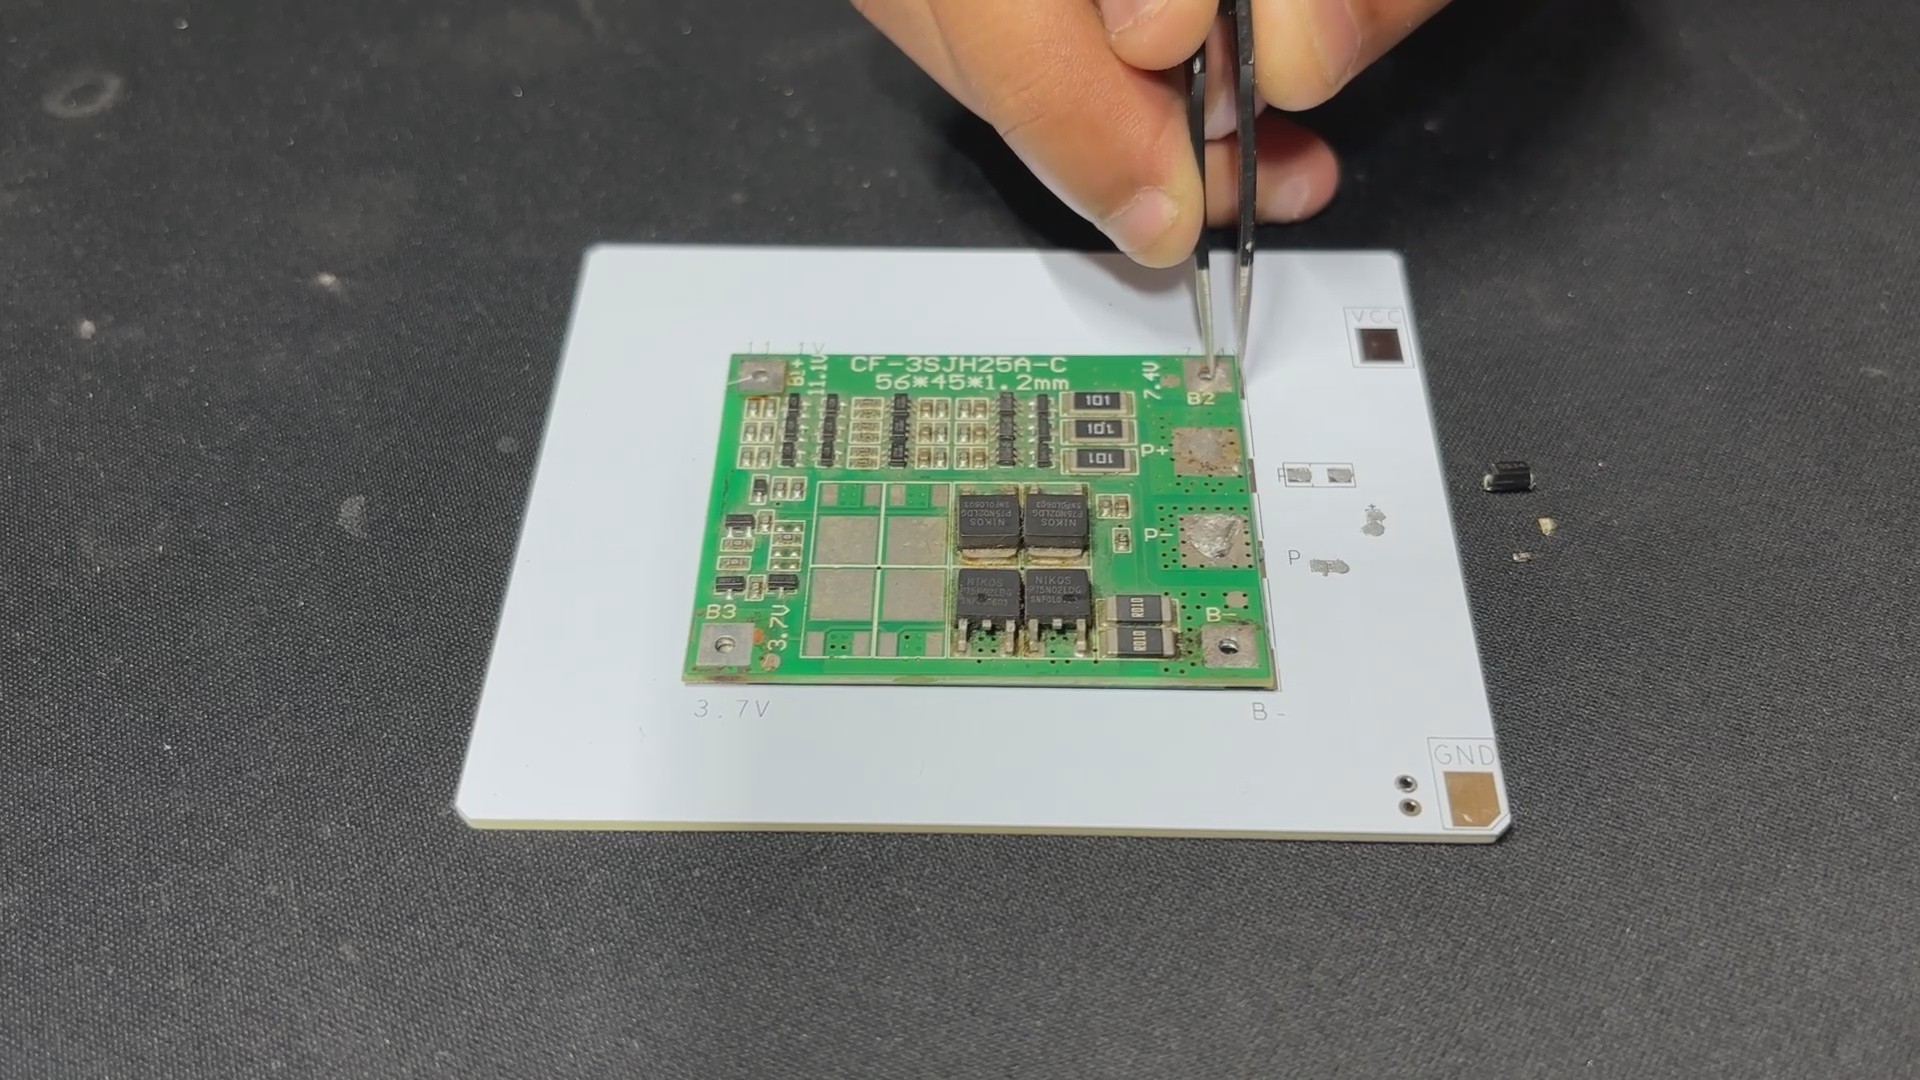
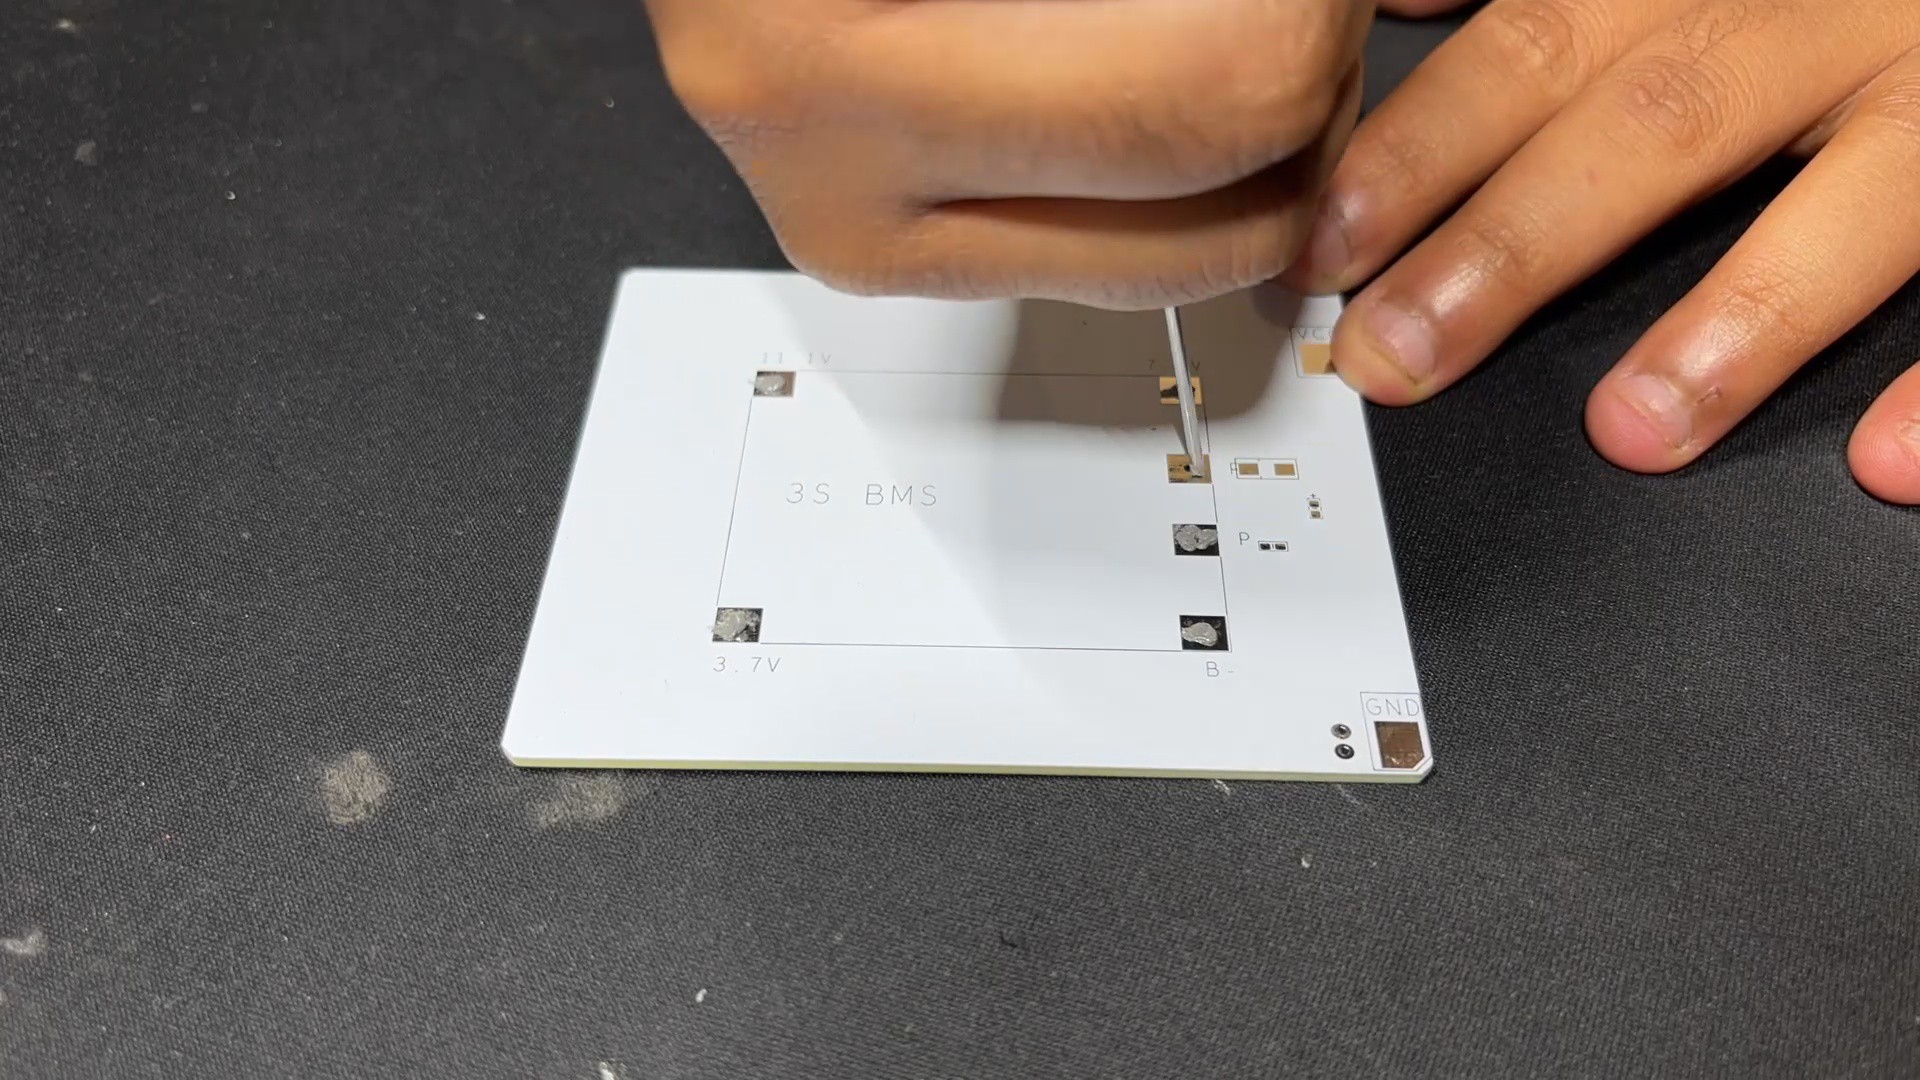
Here, the SMD 18650 cell holder was mounted on one side of the PCB, and the BMS was positioned on the other side. We also included an M7 diode to charge the cells, a 10K resistor, and a 0603 indicator LED, which illuminates when the battery pack receives 12V power by connecting the charger.
The High Cut feature of BMS allows it to cut off the external power supplied to each cell when the cells have reached full charge. This enables us to create a basic UPS for our Lattepanda 3 Delta using this battery pack in combination with a 12V charger.
PCBWAY SERVICE
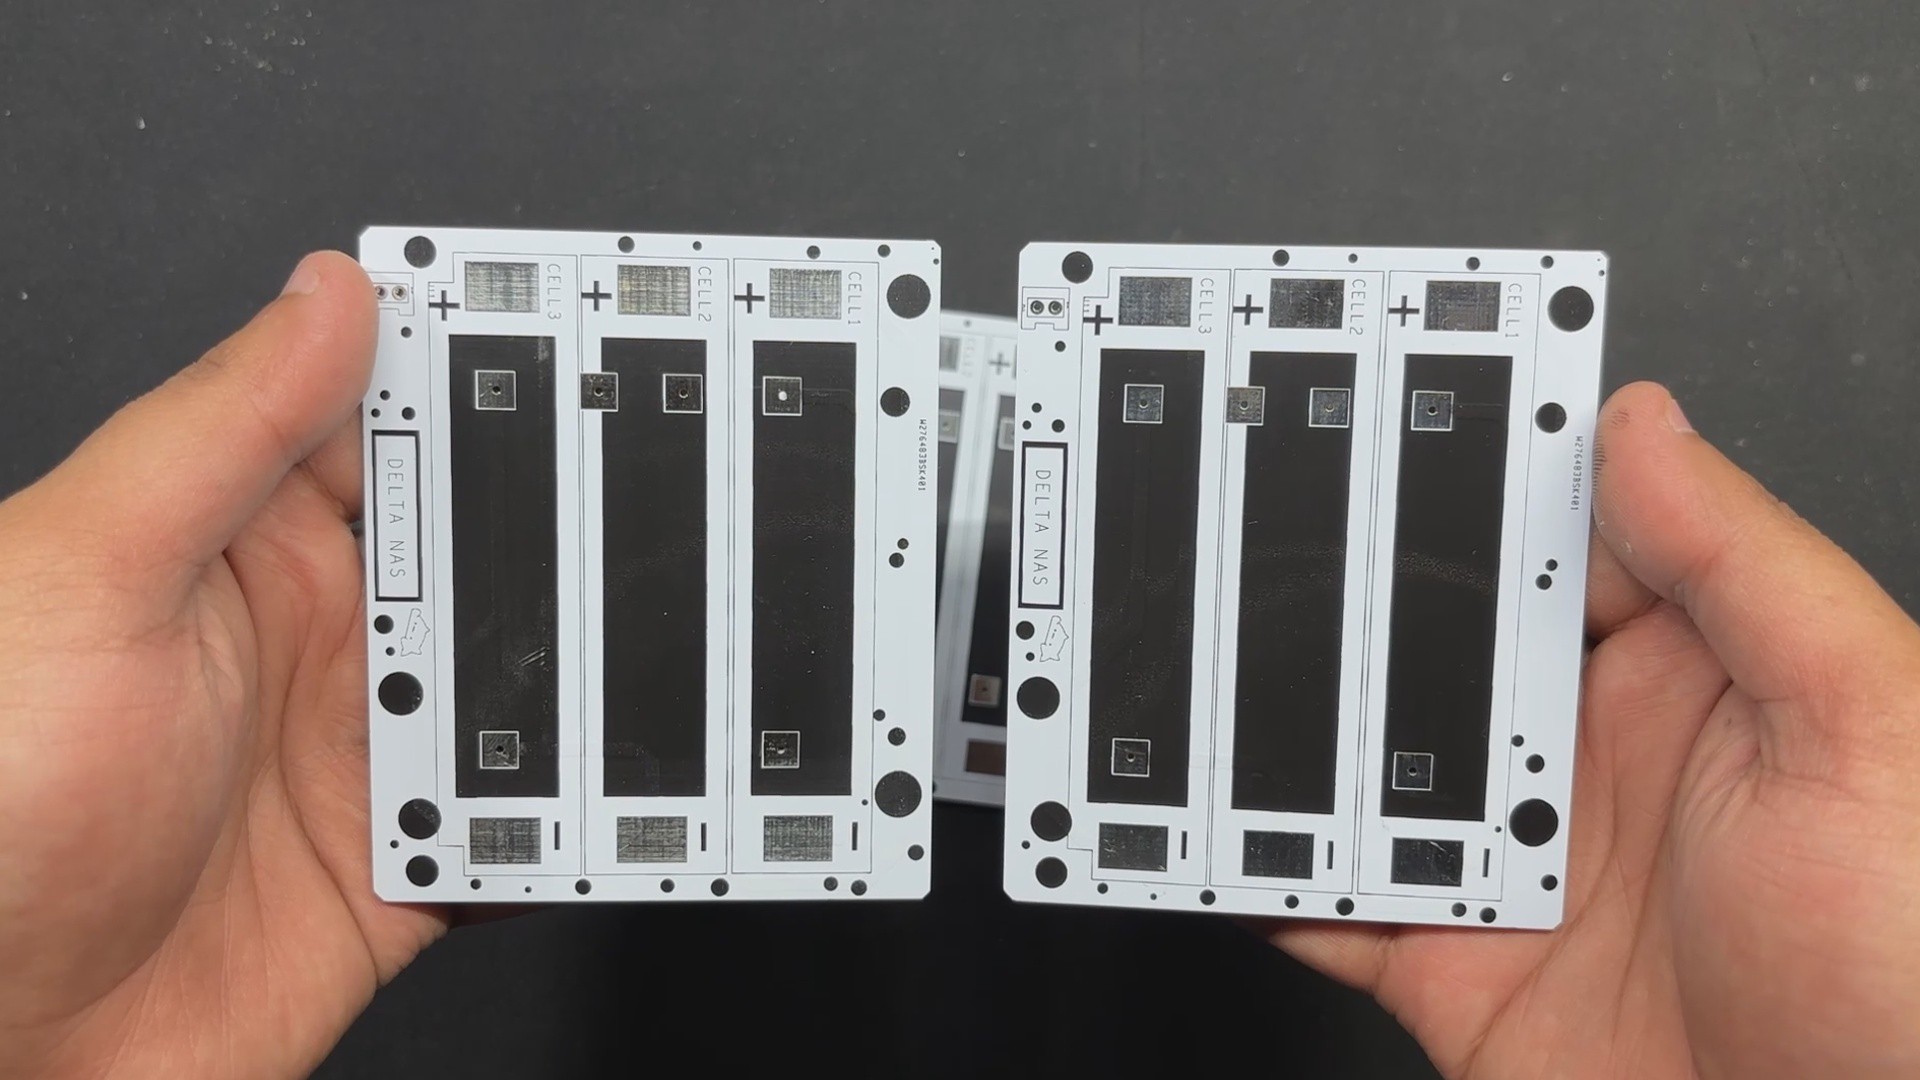
For this project, we opted for a white soldermask PCB with black silkscreen.
PCBs were received within a week, and the PCB quality was outstanding. Here, we added a few design elements on the board's silkscreen layer to increase the aesthetic appeal of the project. PCBWAY made the custom layer properly, which shows their great PCB manufacturing capabilities.
Over the past ten years, PCBWay has distinguished themselves by providing outstanding PCB manufacturing and assembly services, becoming a trusted partner for countless engineers and designers worldwide....
Read more »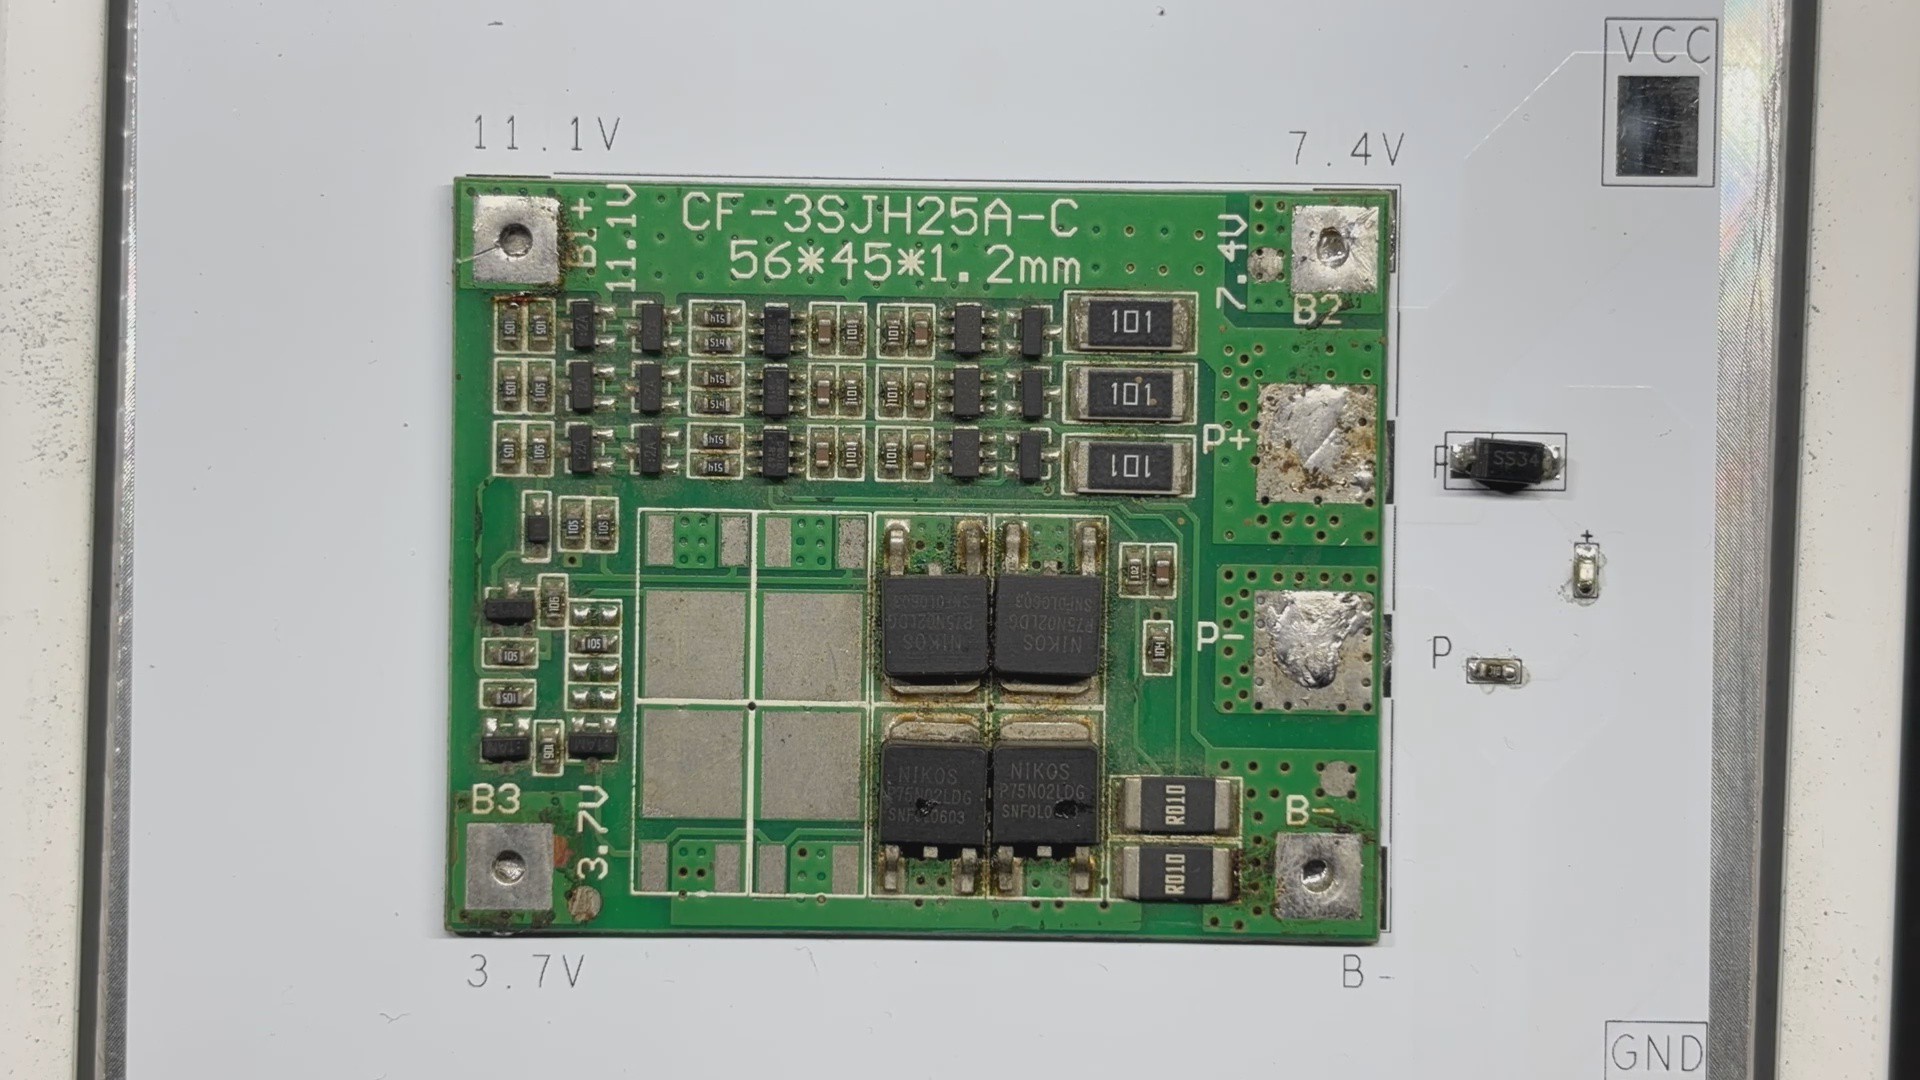

 Enki
Enki
 Kumar, Abhishek
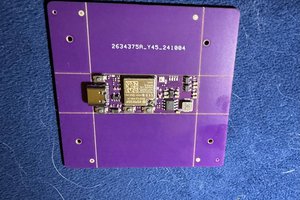
 Kyle
Kyle
 Jose Ignacio Romero