 Julius Curt
I built a fully analog tape loop recorder+player with Bluetooth input, a custom fluorescent VU meter, custom PCBs, and a stainless-steel sheet metal enclosure. It streams music over Bluetooth, records it onto tape, and plays it back with real analog tape saturation and that wobbly lo-fi cassette character. Let's break it down.
Why?
I love the physicality of the cassette tape. I also lived through that era so it has a touch of nostalgia to it, but it's mostly about being able to see the flow of data slowly gliding in front of my eyes.
I also wanted to be able to stream music from my phone over bluetooth as the only digital part, for convenience and to marry the old with the new. Past this point it all needs to be analog.
How?
The receiver converts digital to analog and sends the audio signal to the cassette deck recorder circuitry.
I kept this from the original player (Privileg TC 183) to avoid going into the recording part (bias signal generation, erase head oscillator, tape EQ). Instead of the regular cassette, the deck now powers a tape loop instead, so there's no need for rewinding at the end of the tape.
Once the tape gets erased and the signal gets recorded, it traaavels on the tape loop, guided by the orange brackets and is being read on the second tape head and played on the speaker.
Now, I had to figure out all the circuitry past this playback head. Spoiler, I also made a CCFL based VU meter which looks pretty insanely cool if I might say so myself.

Tape Delay
While I didn't build a speed control to have a proper tape delay machine, I'm still planning to use it as a tape saturation machine to be able to easily lo-fi tracks for audio production. So I also added Line IN and Line OUT jacks.
I learned analog audio
It was a long, tough journey, but I learned a lot. Sparing you of the sweat and elbow grease, this is what I ended up doing:
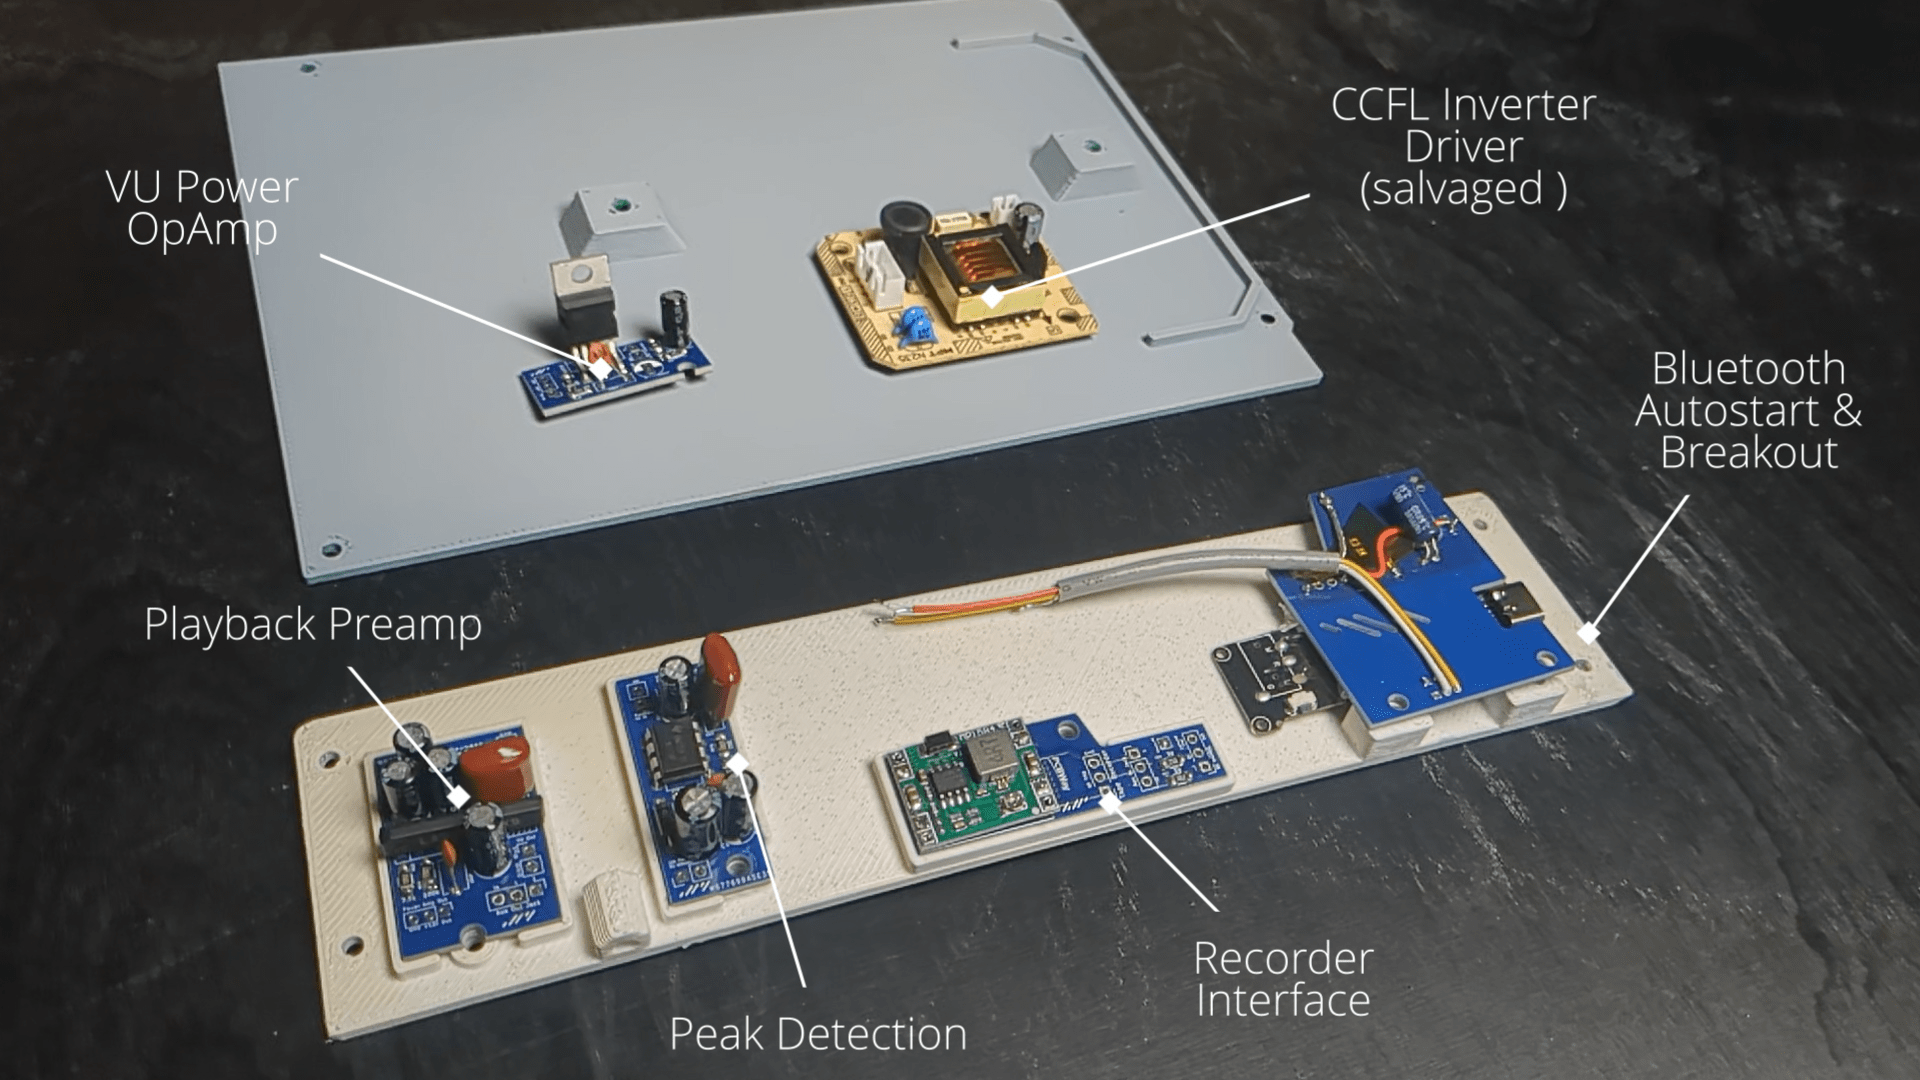
Thankfully, cassette dedicated chips are still available, I used the LA3161 ("preamplifier for car stereo") together with its datasheet example of tape EQ compensation. A lovely single-supply preamp that saved me of a lot of fiddling with gain and biasing.
This preamped signal goes straight into a TDA2030 power amp (and from here to the speaker), but it also feeds the signal chain for the VU meter.
VU meter
Speaking of which, it almost wore me out trying to design it. Going back to the desk lamp built in my first youtube video, the VU meter works by under-voltage starving the inverter driver of the CCFL (cold-cathode fluorescent lamp) tube. It's hacky, not "safe" for the tube, but what's a completely safe life other than boring?
Anyway, I needed to feed the tube driver enough current while varying the voltage in a 12-24V range, dictated by the audio signal. I ended up using a power op amp (TDA2050).
Rectification, it doesn't take directly the audio signal, but...
Peak detection
To look nice on VU meter, I need a smooth, groovy signal, rather than the full audio. I used an op amp (LM358) in a single-supply non-inverting configuration to further amplify the audio signal (a lot, around 500x) and exagerate the peaks. It also pushes it into clipping, conveniently dropping the lower half of the wave.
This huge peak-to-peak can then easily be smoothed with a diode-based peak detector. Although I had a spare op amp in the LM358 package, my signal now peaks over 12V so I won't care about the voltage drop of the diode to use an active peak detector.
Positive Ground What?!
I discovered that Ground is not this sacred 0V place that I believed it to be. I was so innocent and naïve. Turns out that the japanese engineers that built the original cassette deck decided to use the positive rail as ground. Turns out that, back in the day, this was a somewhat common practice in cases where it made sense cost-wise. I was so confused that I even tried reverse powering the cassette recorder. Luckly, nothing blew up.
The worst part was that I couldn't...
Read more »
 lion mclionhead
 Dan Julio
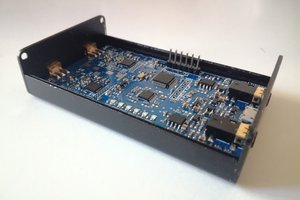
 NotBlackMagic
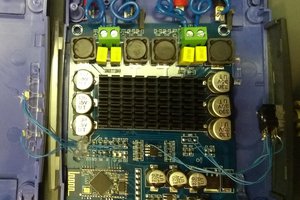
 Quinn
Quinn