Arnov Sharma
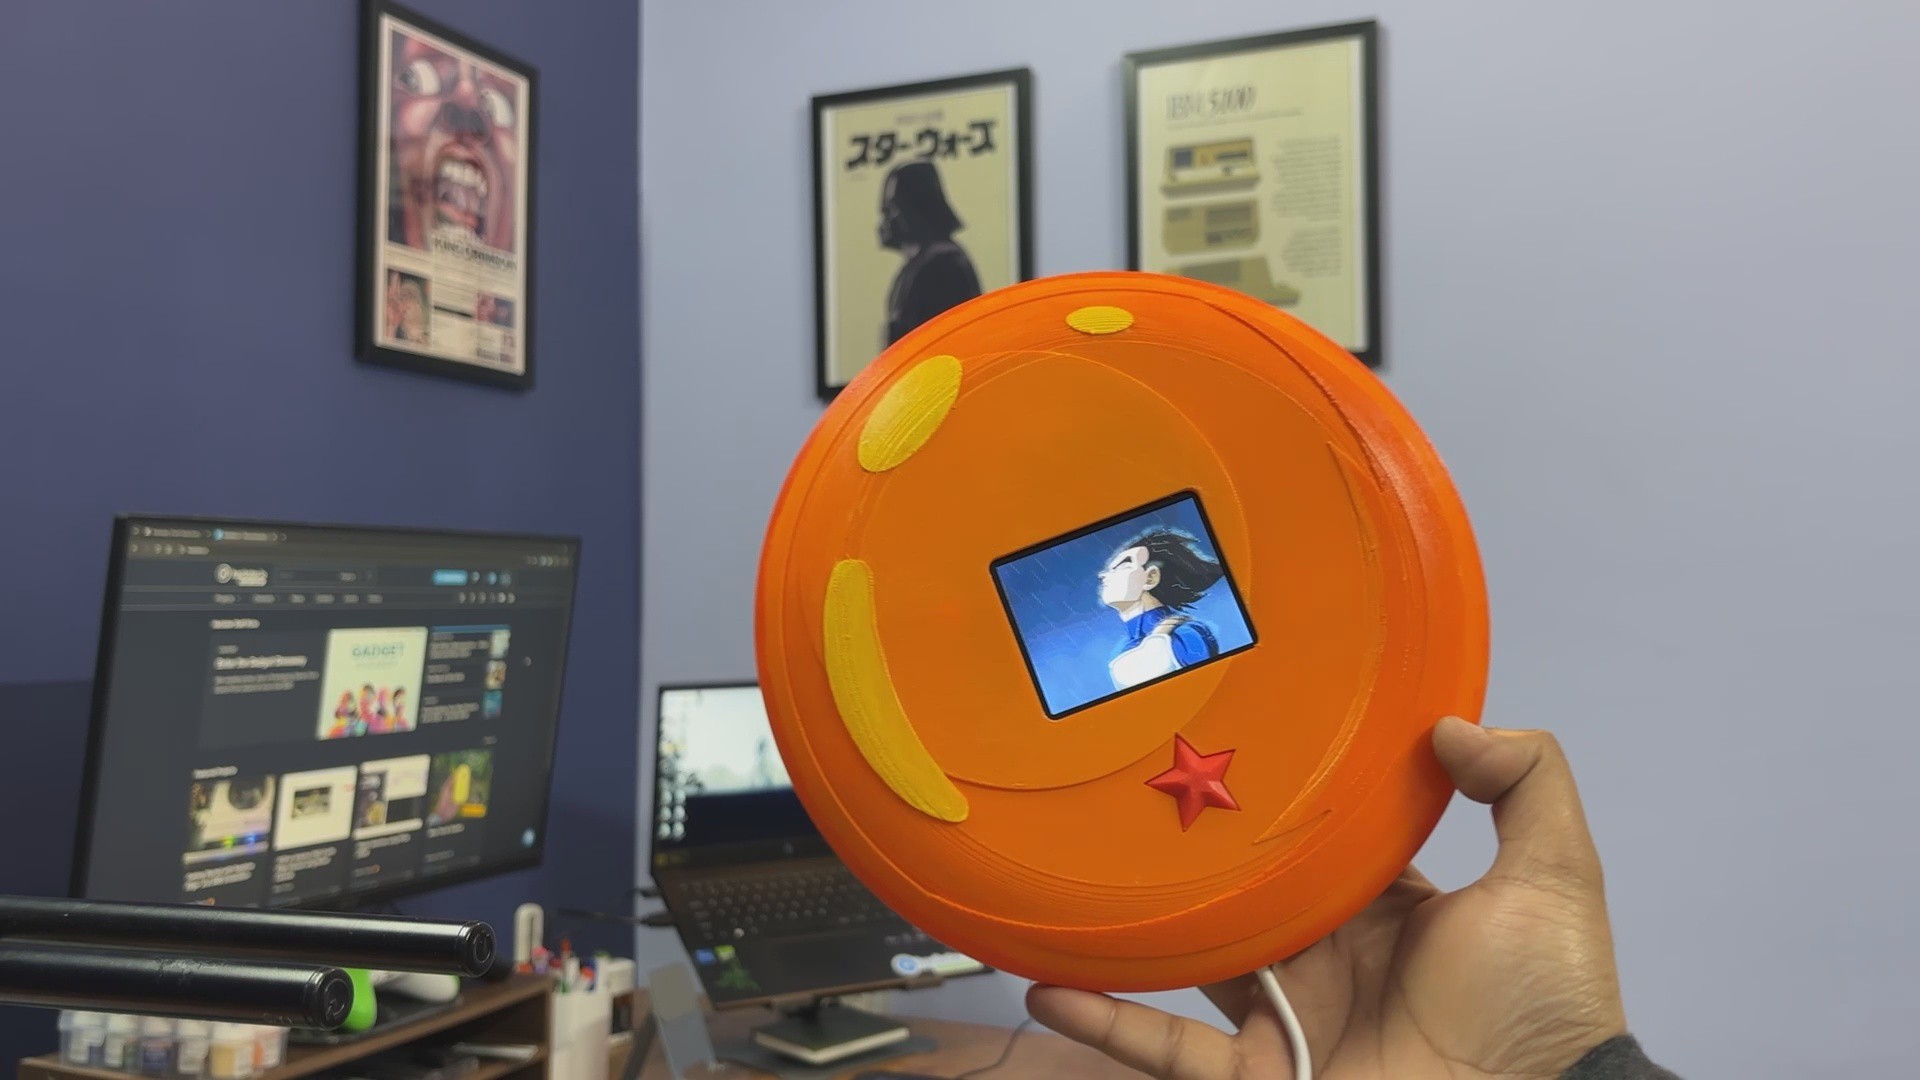

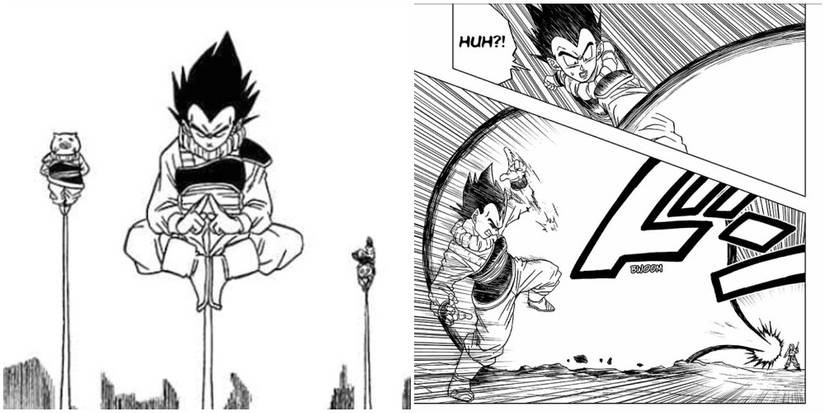
Vegeta’s entire journey is built on failure, pride, setbacks, and relentless self-improvement. He loses. He struggles. He gets outmatched. But instead of quitting, he trains harder. He confronts his weaknesses. He transforms frustration into fuel. Over time, he doesn’t just grow stronger; he grows wiser.
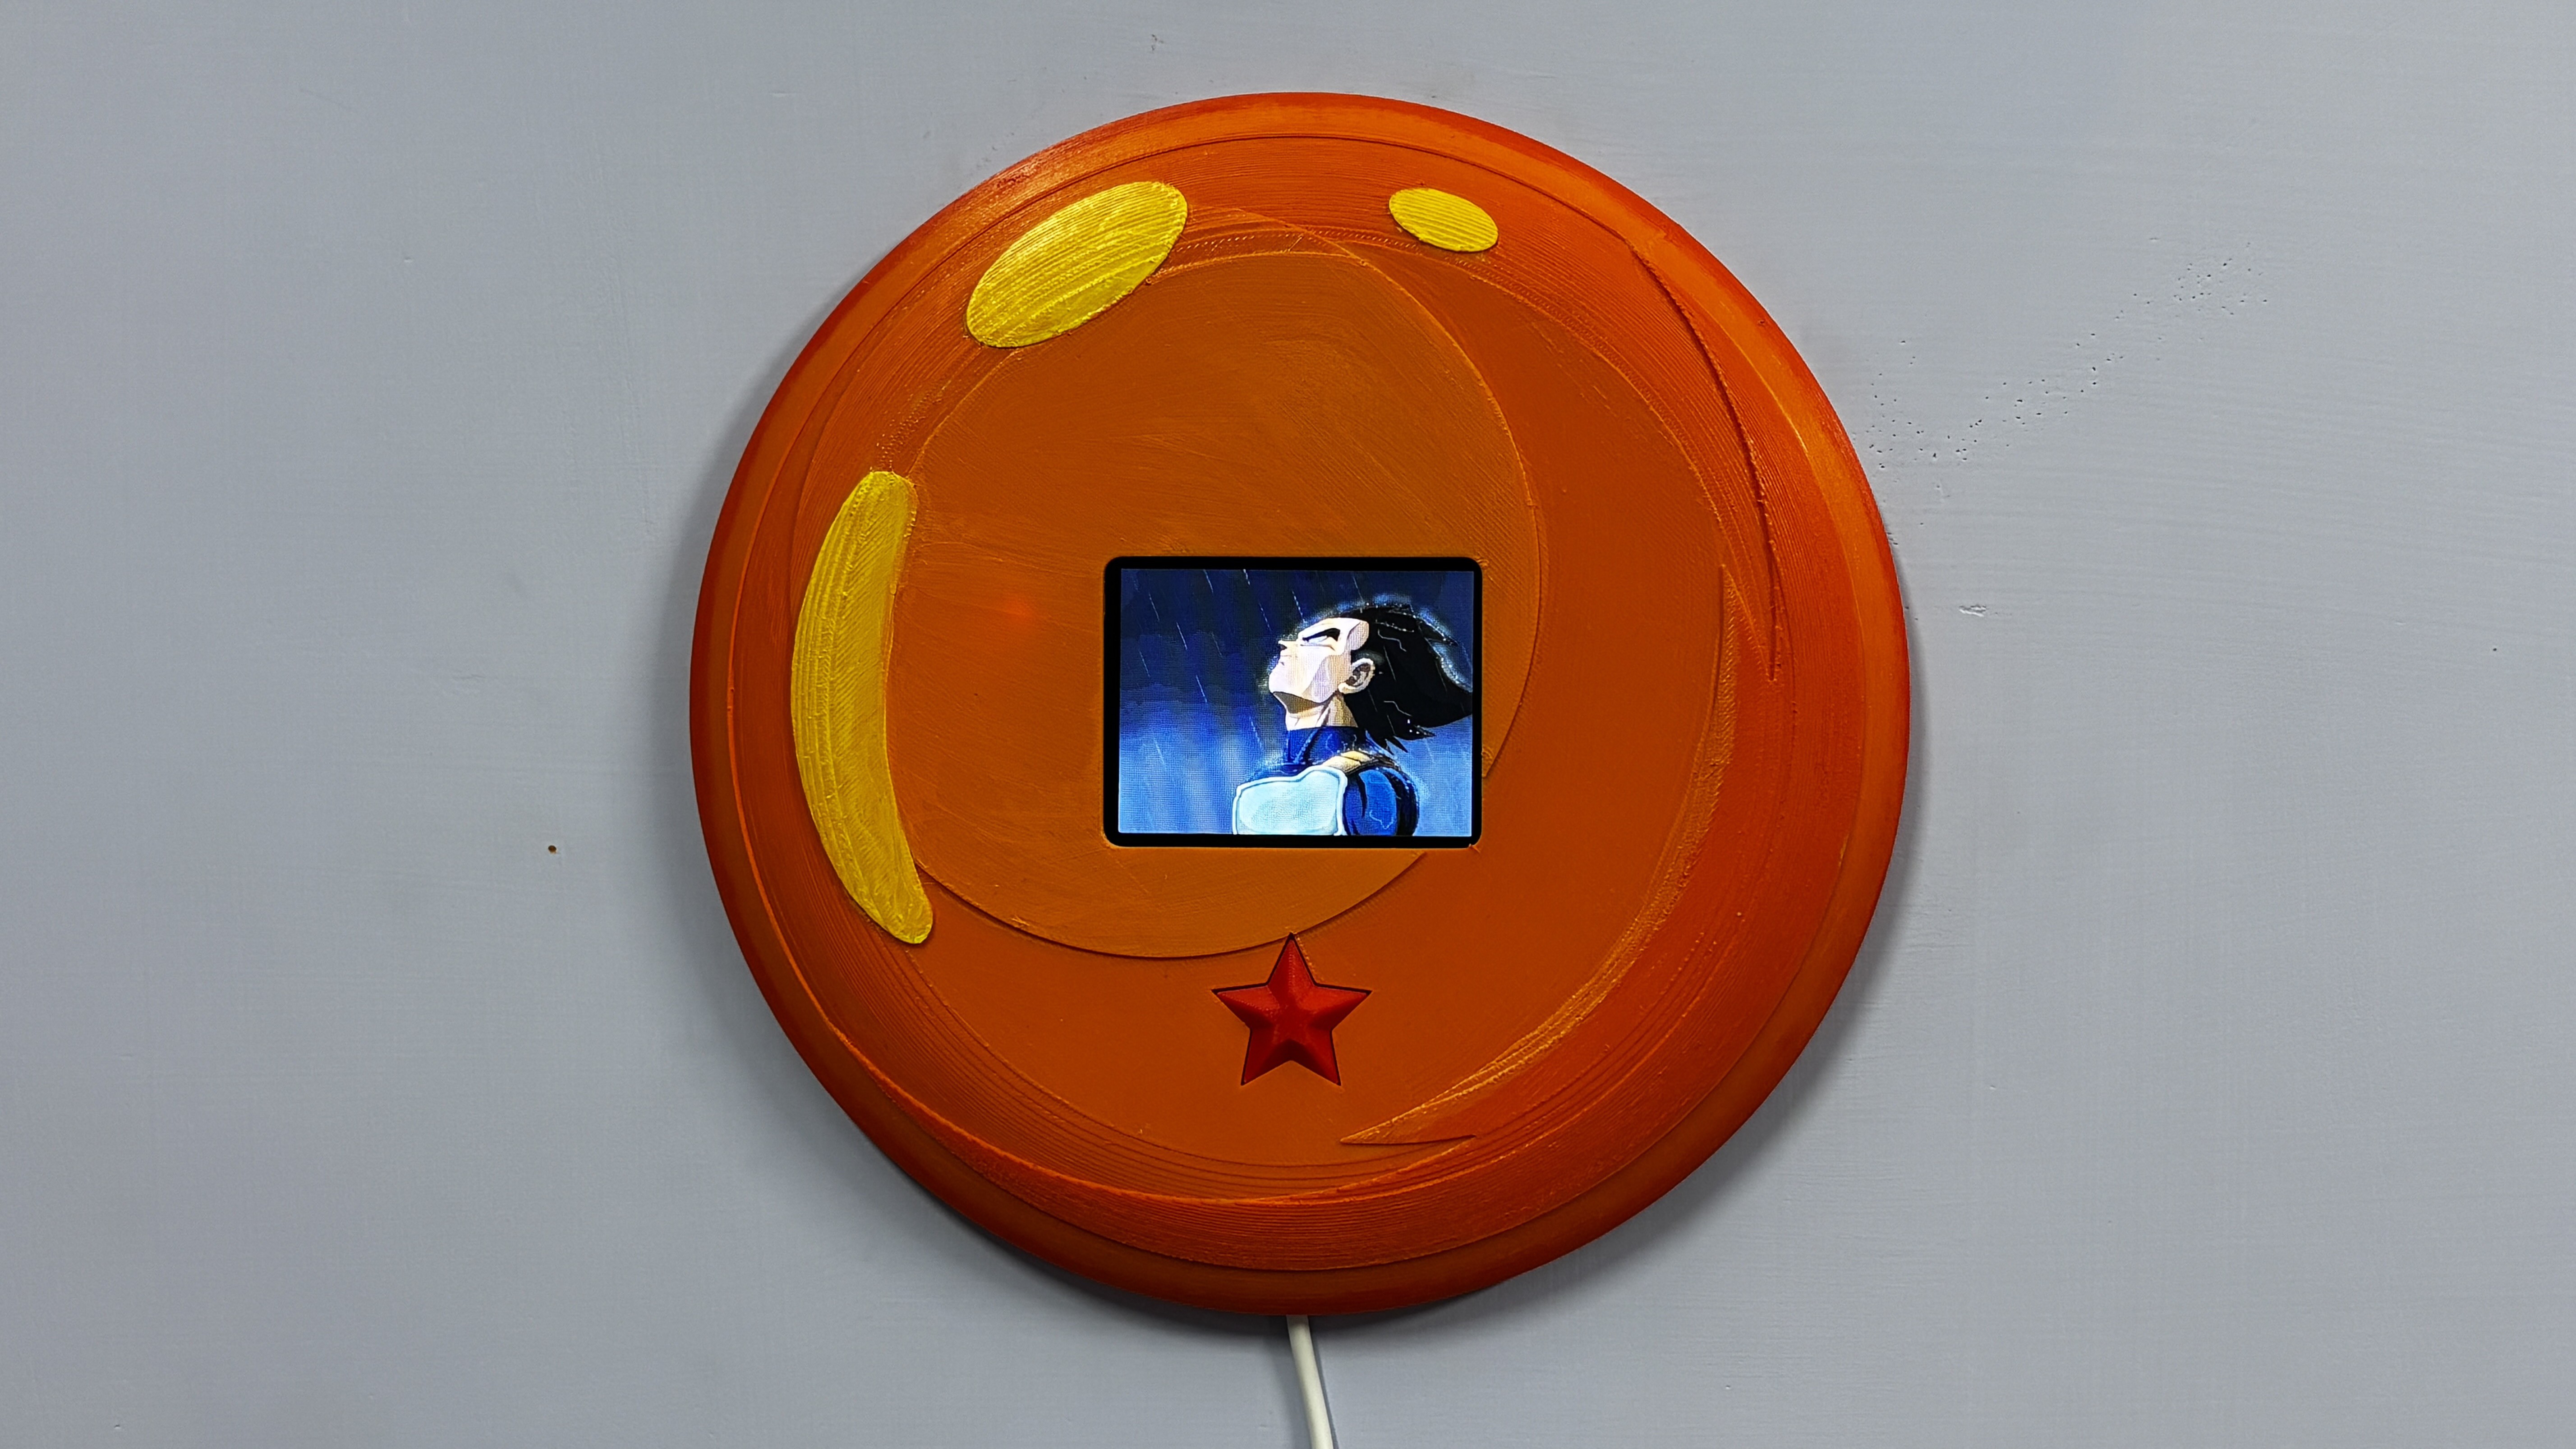
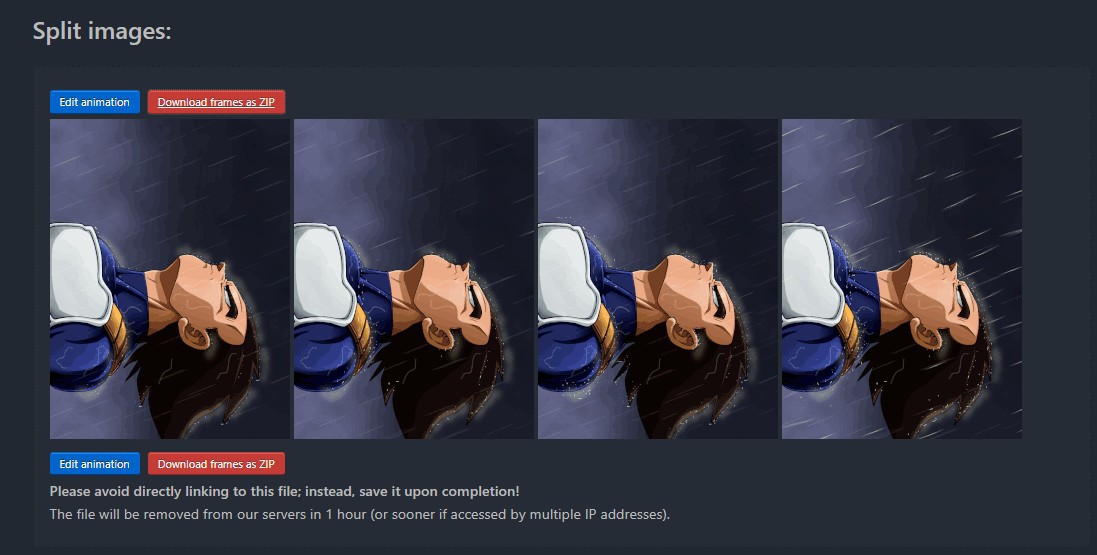
The Zenkai Engine consists of a full-size Dragon Ball enclosure and is powered by a UNIHIKER K10. When the external button that is shaped like a one-star Dragon Ball is pressed, the device plays a short animated sequence of Vegeta standing in rain along with a one-minute motivational speech. After inactivity, the display powers down to conserve energy, awaiting the next trigger.
About Zenkai Boost and Idea Behind Motivation
In Dragon Ball, the concept of a Zenkai Boost refers to the Saiyan ability to grow significantly stronger after recovering from near defeat. Instead of being weakened by loss, they come back more powerful. Damage becomes data. Failure becomes fuel. What makes this idea compelling is not just the ability itself, but how it is represented through characters, especially Vegeta.
Vegeta does not start as the strongest hero. In fact, he is repeatedly outmatched. He loses. He struggles. He trains alone. What defines him is not natural superiority but relentless self-improvement. He refuses to stay behind. He works harder than anyone else, including the hero. Every defeat becomes a reason to push further.
When a project fails, it feels like a setback. Hours of work may seem wasted, but in reality, every failed attempt, every wiring mistake, every blown microcontroller, and every debugging session adds experience. You may not see immediate progress, but you are improving.
The Zenkai Engine is a physical reminder of that principle.
When something doesn’t work, I press the button, listen to the speech, reset my mindset, and return to the problem.
HARDWARE—Unihiker K10
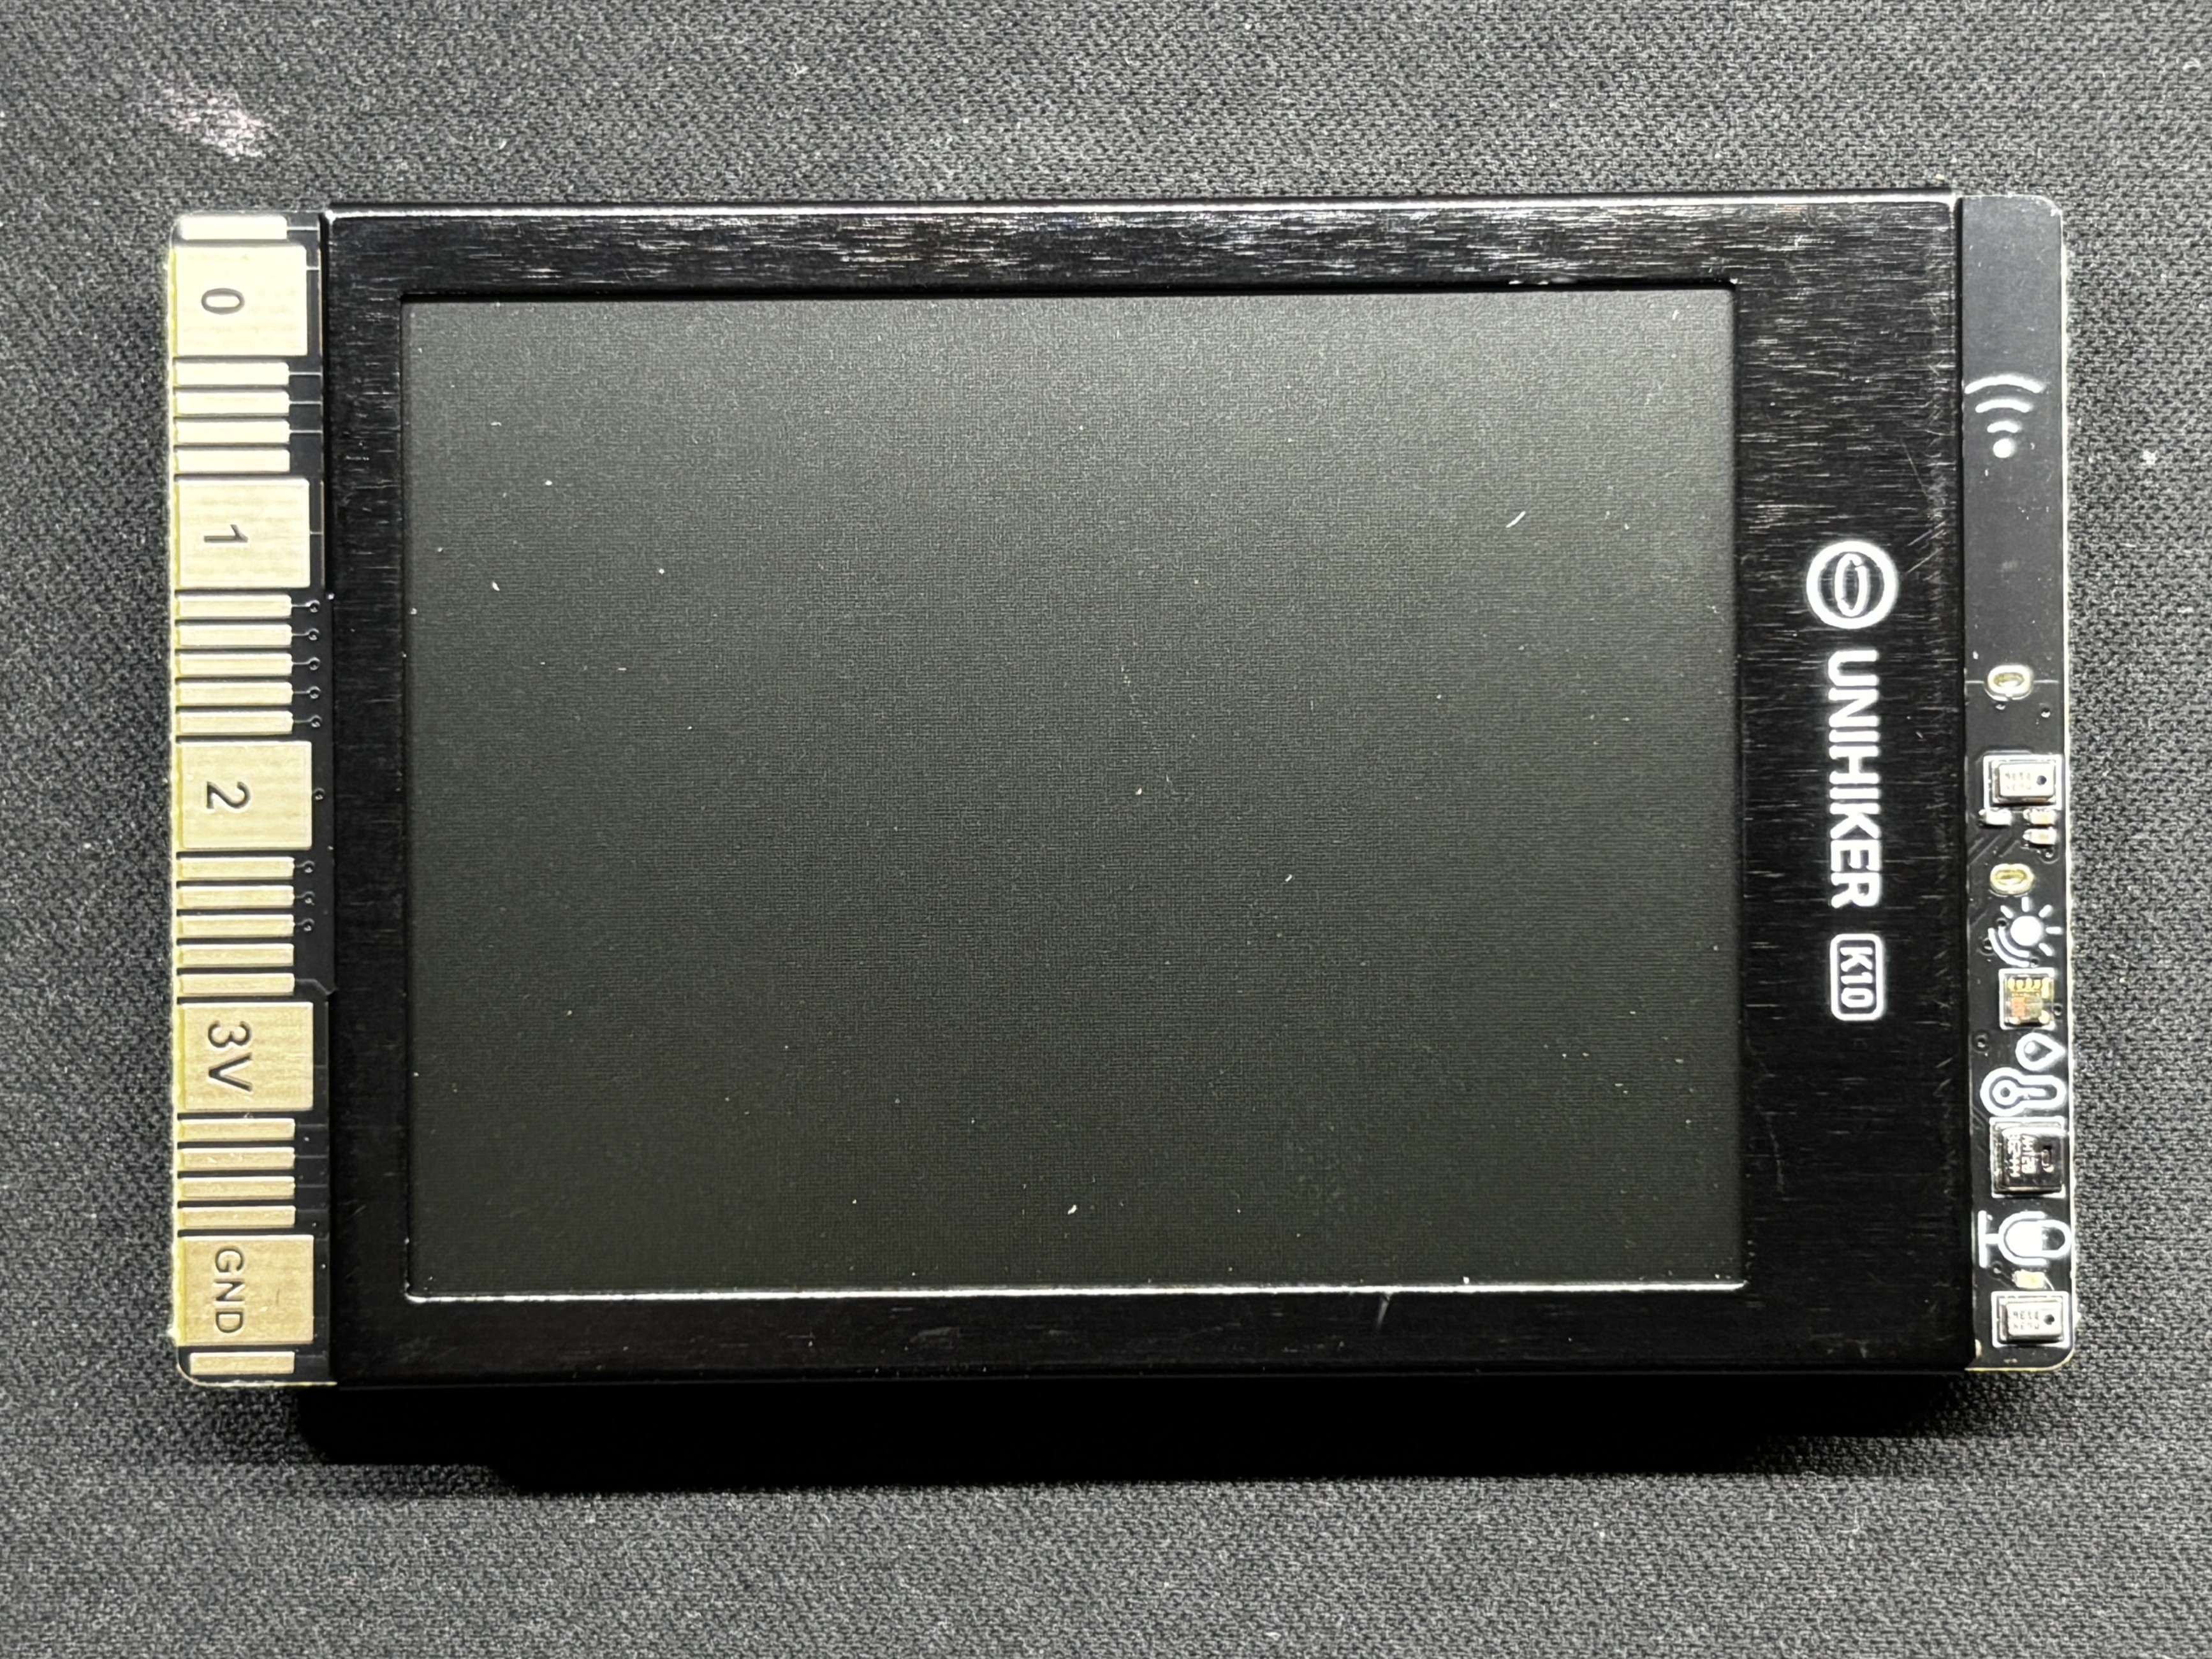
The star of this project is the UNIHIKER K10, which serves as the core controller and display unit for the entire system.
The UNIHIKER platform is available in two variants: the M10 and the K10.
The M10 is based on a Linux-capable processor, designed for higher-level applications.
The K10, on the other hand, is powered by the ESP32-S3 N16R8 module.
Key Specifications:
- Module: ESP32-S3 N16R8
- Processor: Xtensa® LX7 dual-core 32-bit CPU
- Clock Speed: Up to 240 MHz
- SRAM: 512 KB
- ROM: 384 KB
- Flash Memory: 16 MB
- PSRAM: 8 MB
- RTC SRAM: 16 KB
With its dual-core architecture and generous Flash and PSRAM, the ESP32-S3 is capable of handling image rendering, SD card file access, and audio playback simultaneously
Our primary reason for selecting the UNIHIKER K10 for this project was its built-in SD card reader and onboard speaker. These two features significantly simplified the overall design and eliminated the need for additional external modules.
All media assets used in the Zenkai Engine are stored directly on the SD card. This includes the image frames used to simulate the animated sequence, as well as the audio file that plays during activation.
The display renders JPG images read from the SD card in rapid succession to recreate the animated effect. For audio playback, the system uses a WAV format file, as this is the supported and most reliable format for playback through the onboard speaker.
By handling both image rendering and audio output internally, the UNIHIKER K10 serves as a compact, all-in-one solution for managing the interactive and multimedia aspects of the project.
Check out more about the Unihiker K10 from its wiki page.
https://www.unihiker.com/wiki/K10/
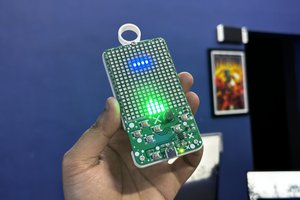
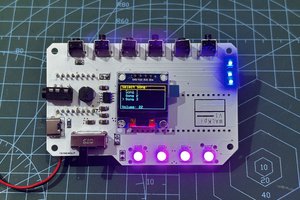
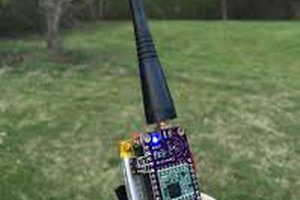
PCB BREADBOARD


For this project, I used one of my previously designed PCB breadboards, created specifically to suit my personal prototyping workflow.
The board includes an integrated USB Type-C input for power delivery, along with an M7 forward diode for reverse polarity protection. This...
Read more »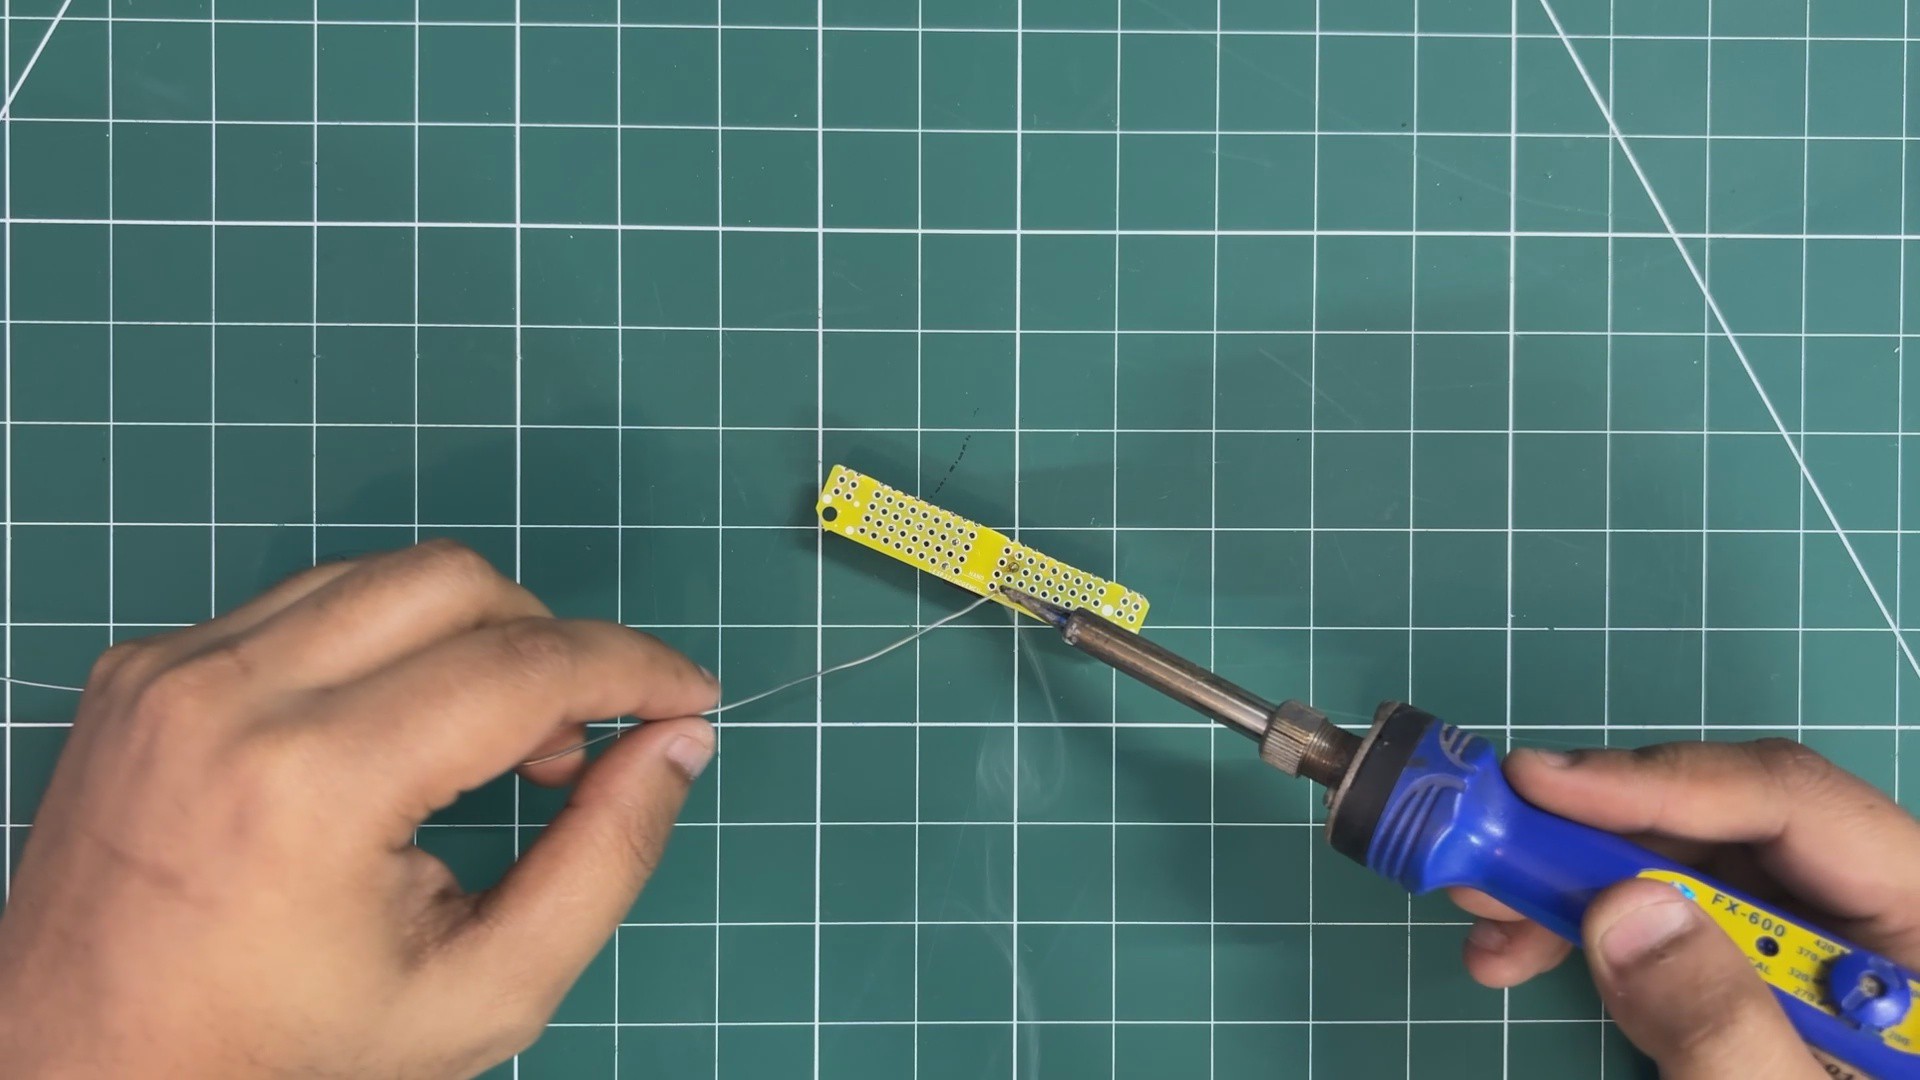


 Taiwo
Taiwo