 Julius Curt

What is it?
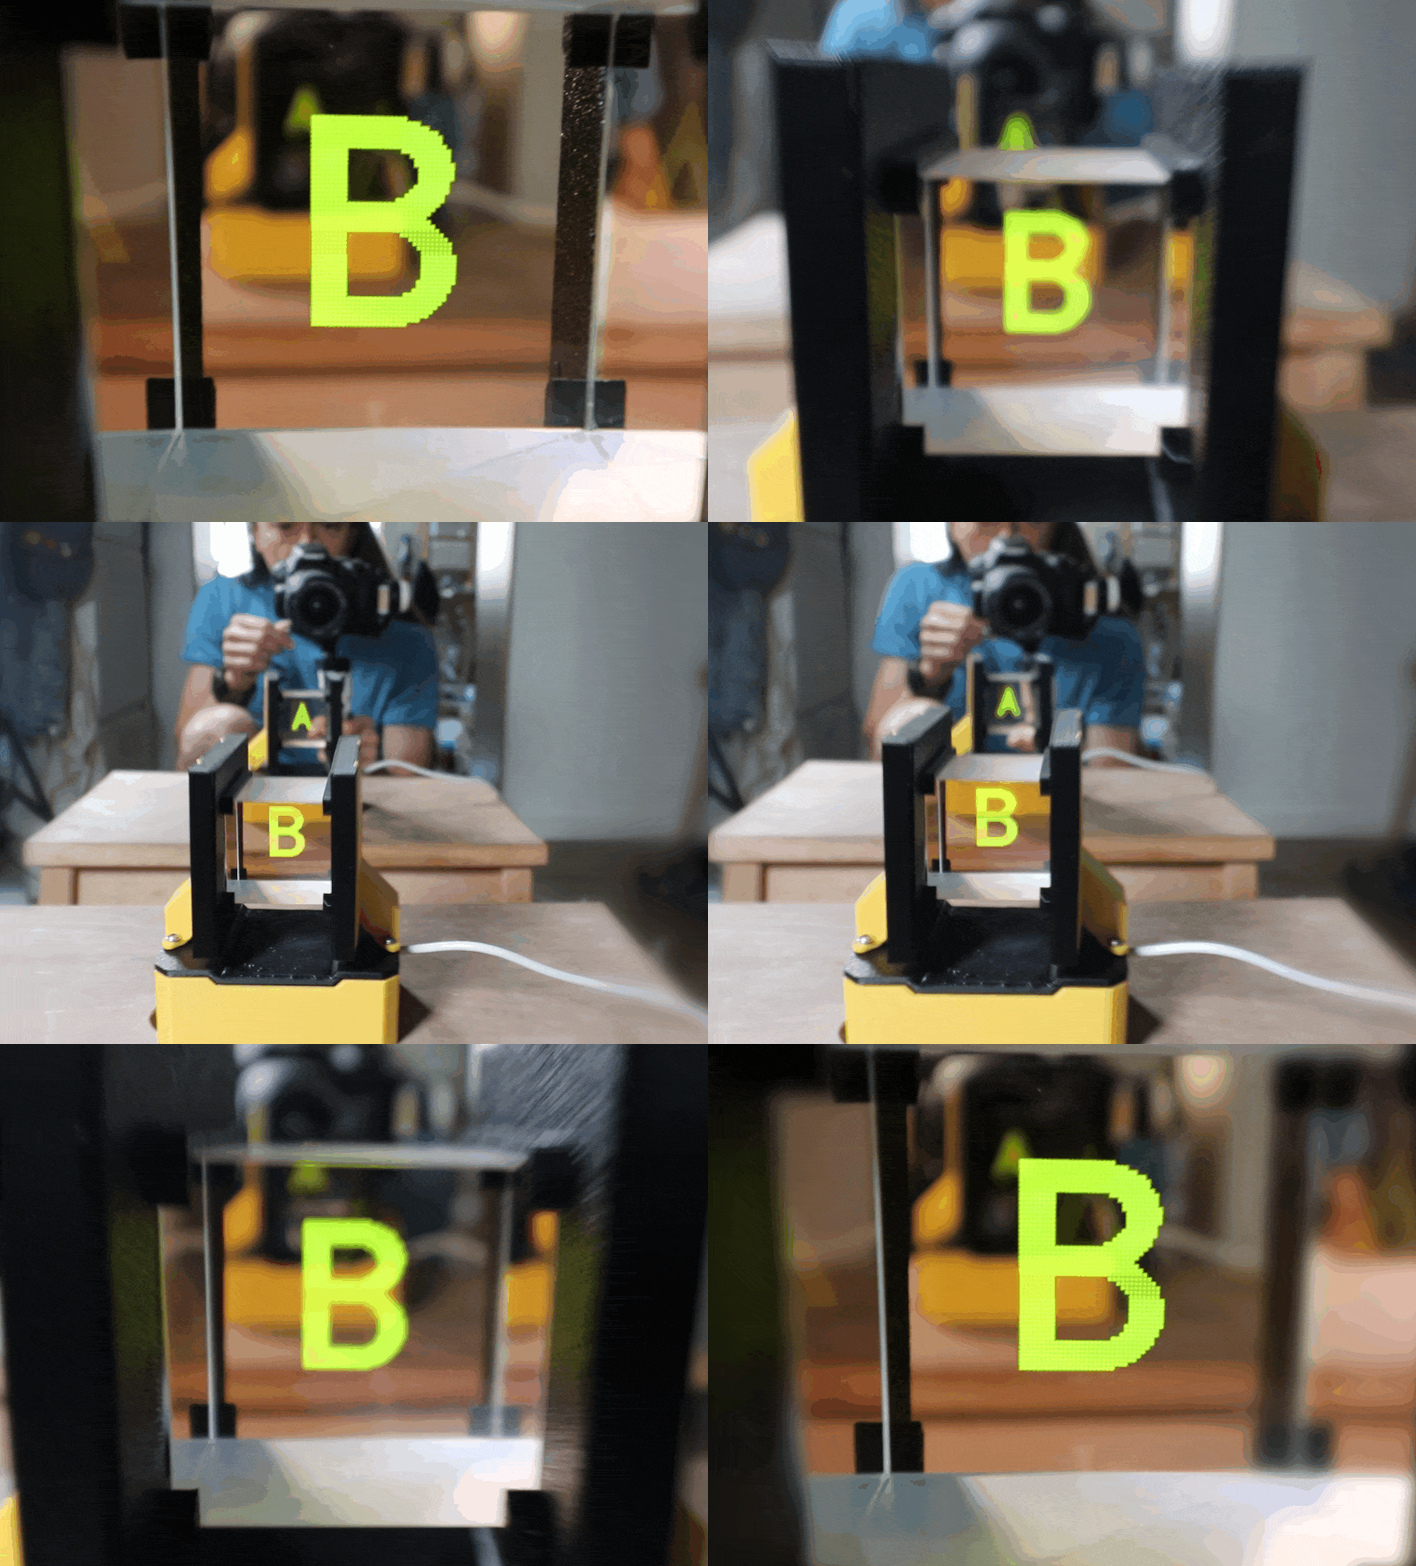
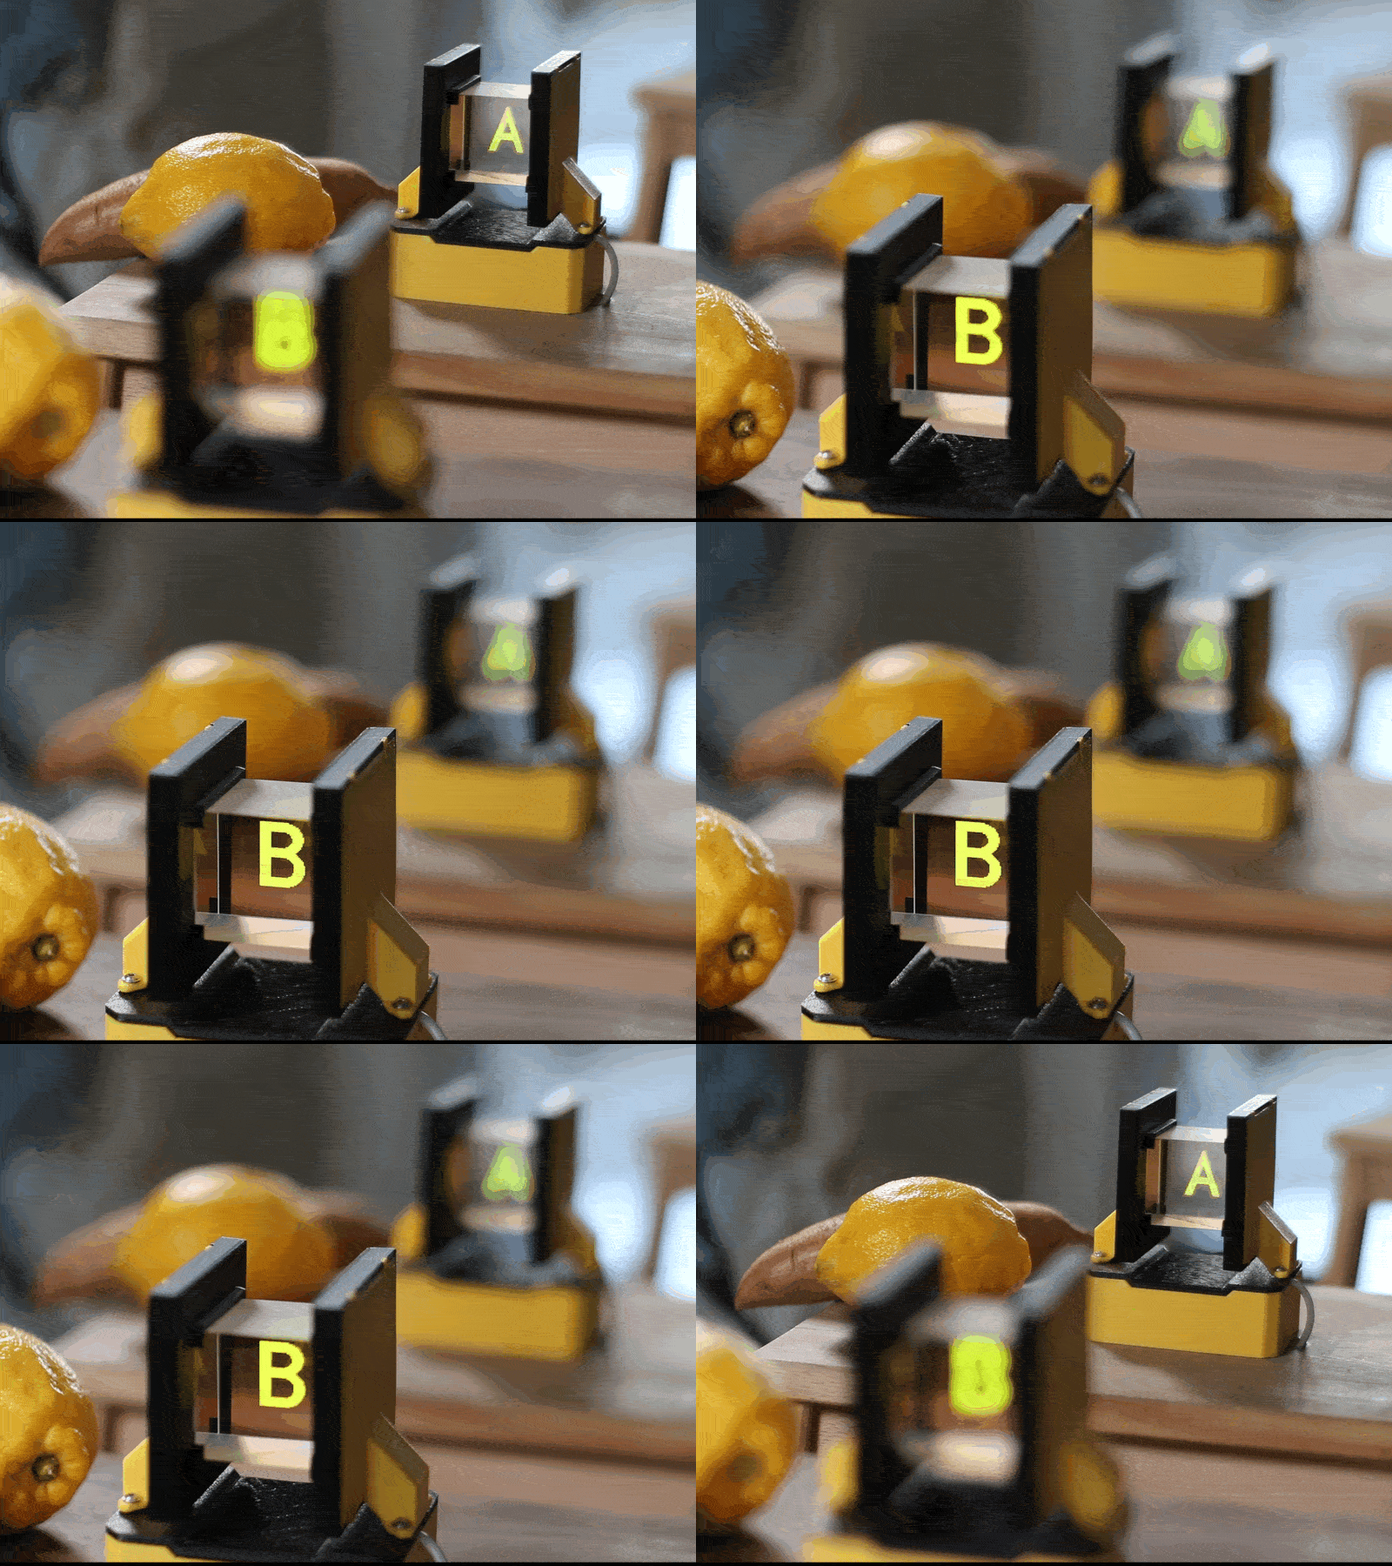
Clear glass, an image floating in it. Then you look from the other side and it's a completely different image. Or, to put it in rap:
DIY two-way
Holographic display
You’re seeing A, no way
Cause I see B all day
Anyway, I discovered this effect by mistake, and even though now it feels straight forward, I don't recall seeing it before. Maybe it's one of those cool things that don't really have good applications? I challenge you to do something cool with it nonetheless!
My current application is a 2-way display in a puzzle box game, where a player on one side will receive information needed by the player on the other side and vice versa. They look at the same thing, they even see each other, but see different things. If that's not magic I don't know what is anymore.
Let's build it!
Electronics
I used an ESP8266 (Wemos D1 Mini), but really any microcontroller will support I2C and be able to drive 2 OLED displays at _some_ frame rate. So identify your board's I2C pins and get ready to connect.
Here's my BOM for reference (affiliate links):
- 2 × 2.4" 128x64 OLED Display I2C Module: https://s.click.aliexpress.com/e/_c3QLeGrJ
- 1 × Beam-splitter Cube (40mm): https://s.click.aliexpress.com/e/_c3SOWowz or https://s.click.aliexpress.com/e/_c41nhiw9
- 1 × Wemos D1 Mini (ESP8266 Module): https://s.click.aliexpress.com/e/_c3VTfkQz
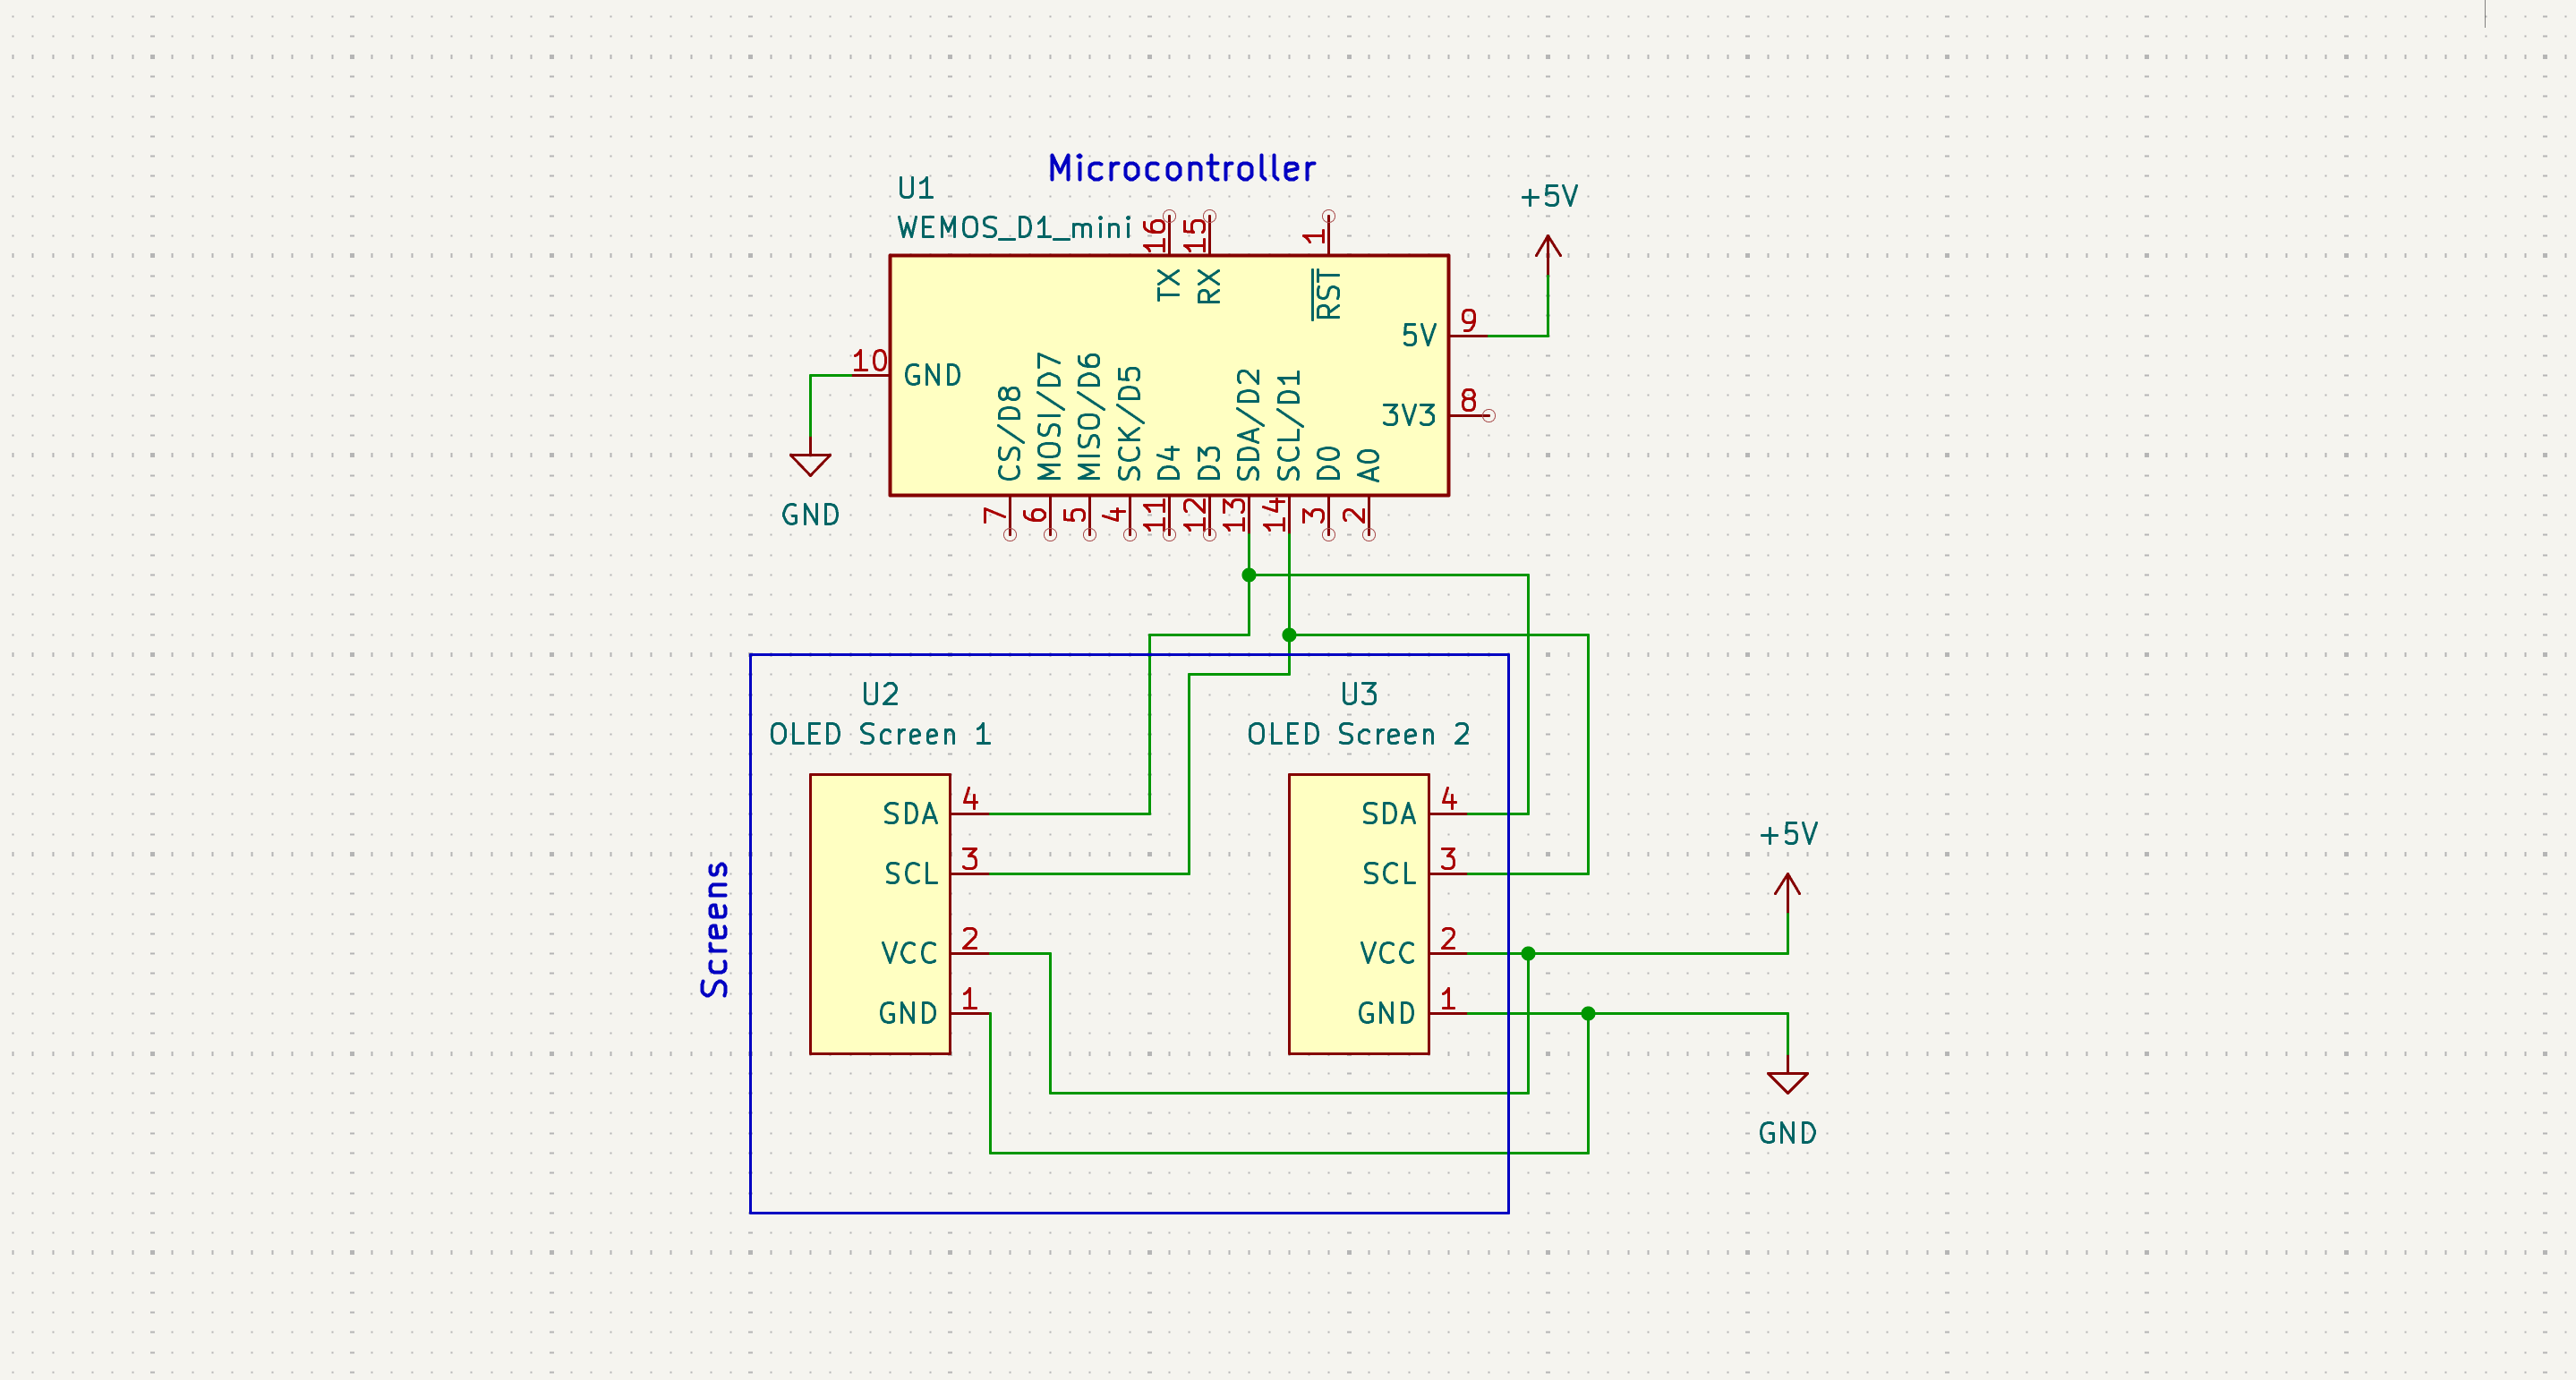
The wire-up is easy, as both displays will share the I2C bus. I chose to daisy-chain them, but it's an easier wire routing if you wire both to the microcontroller. Here's a diagram for reference:
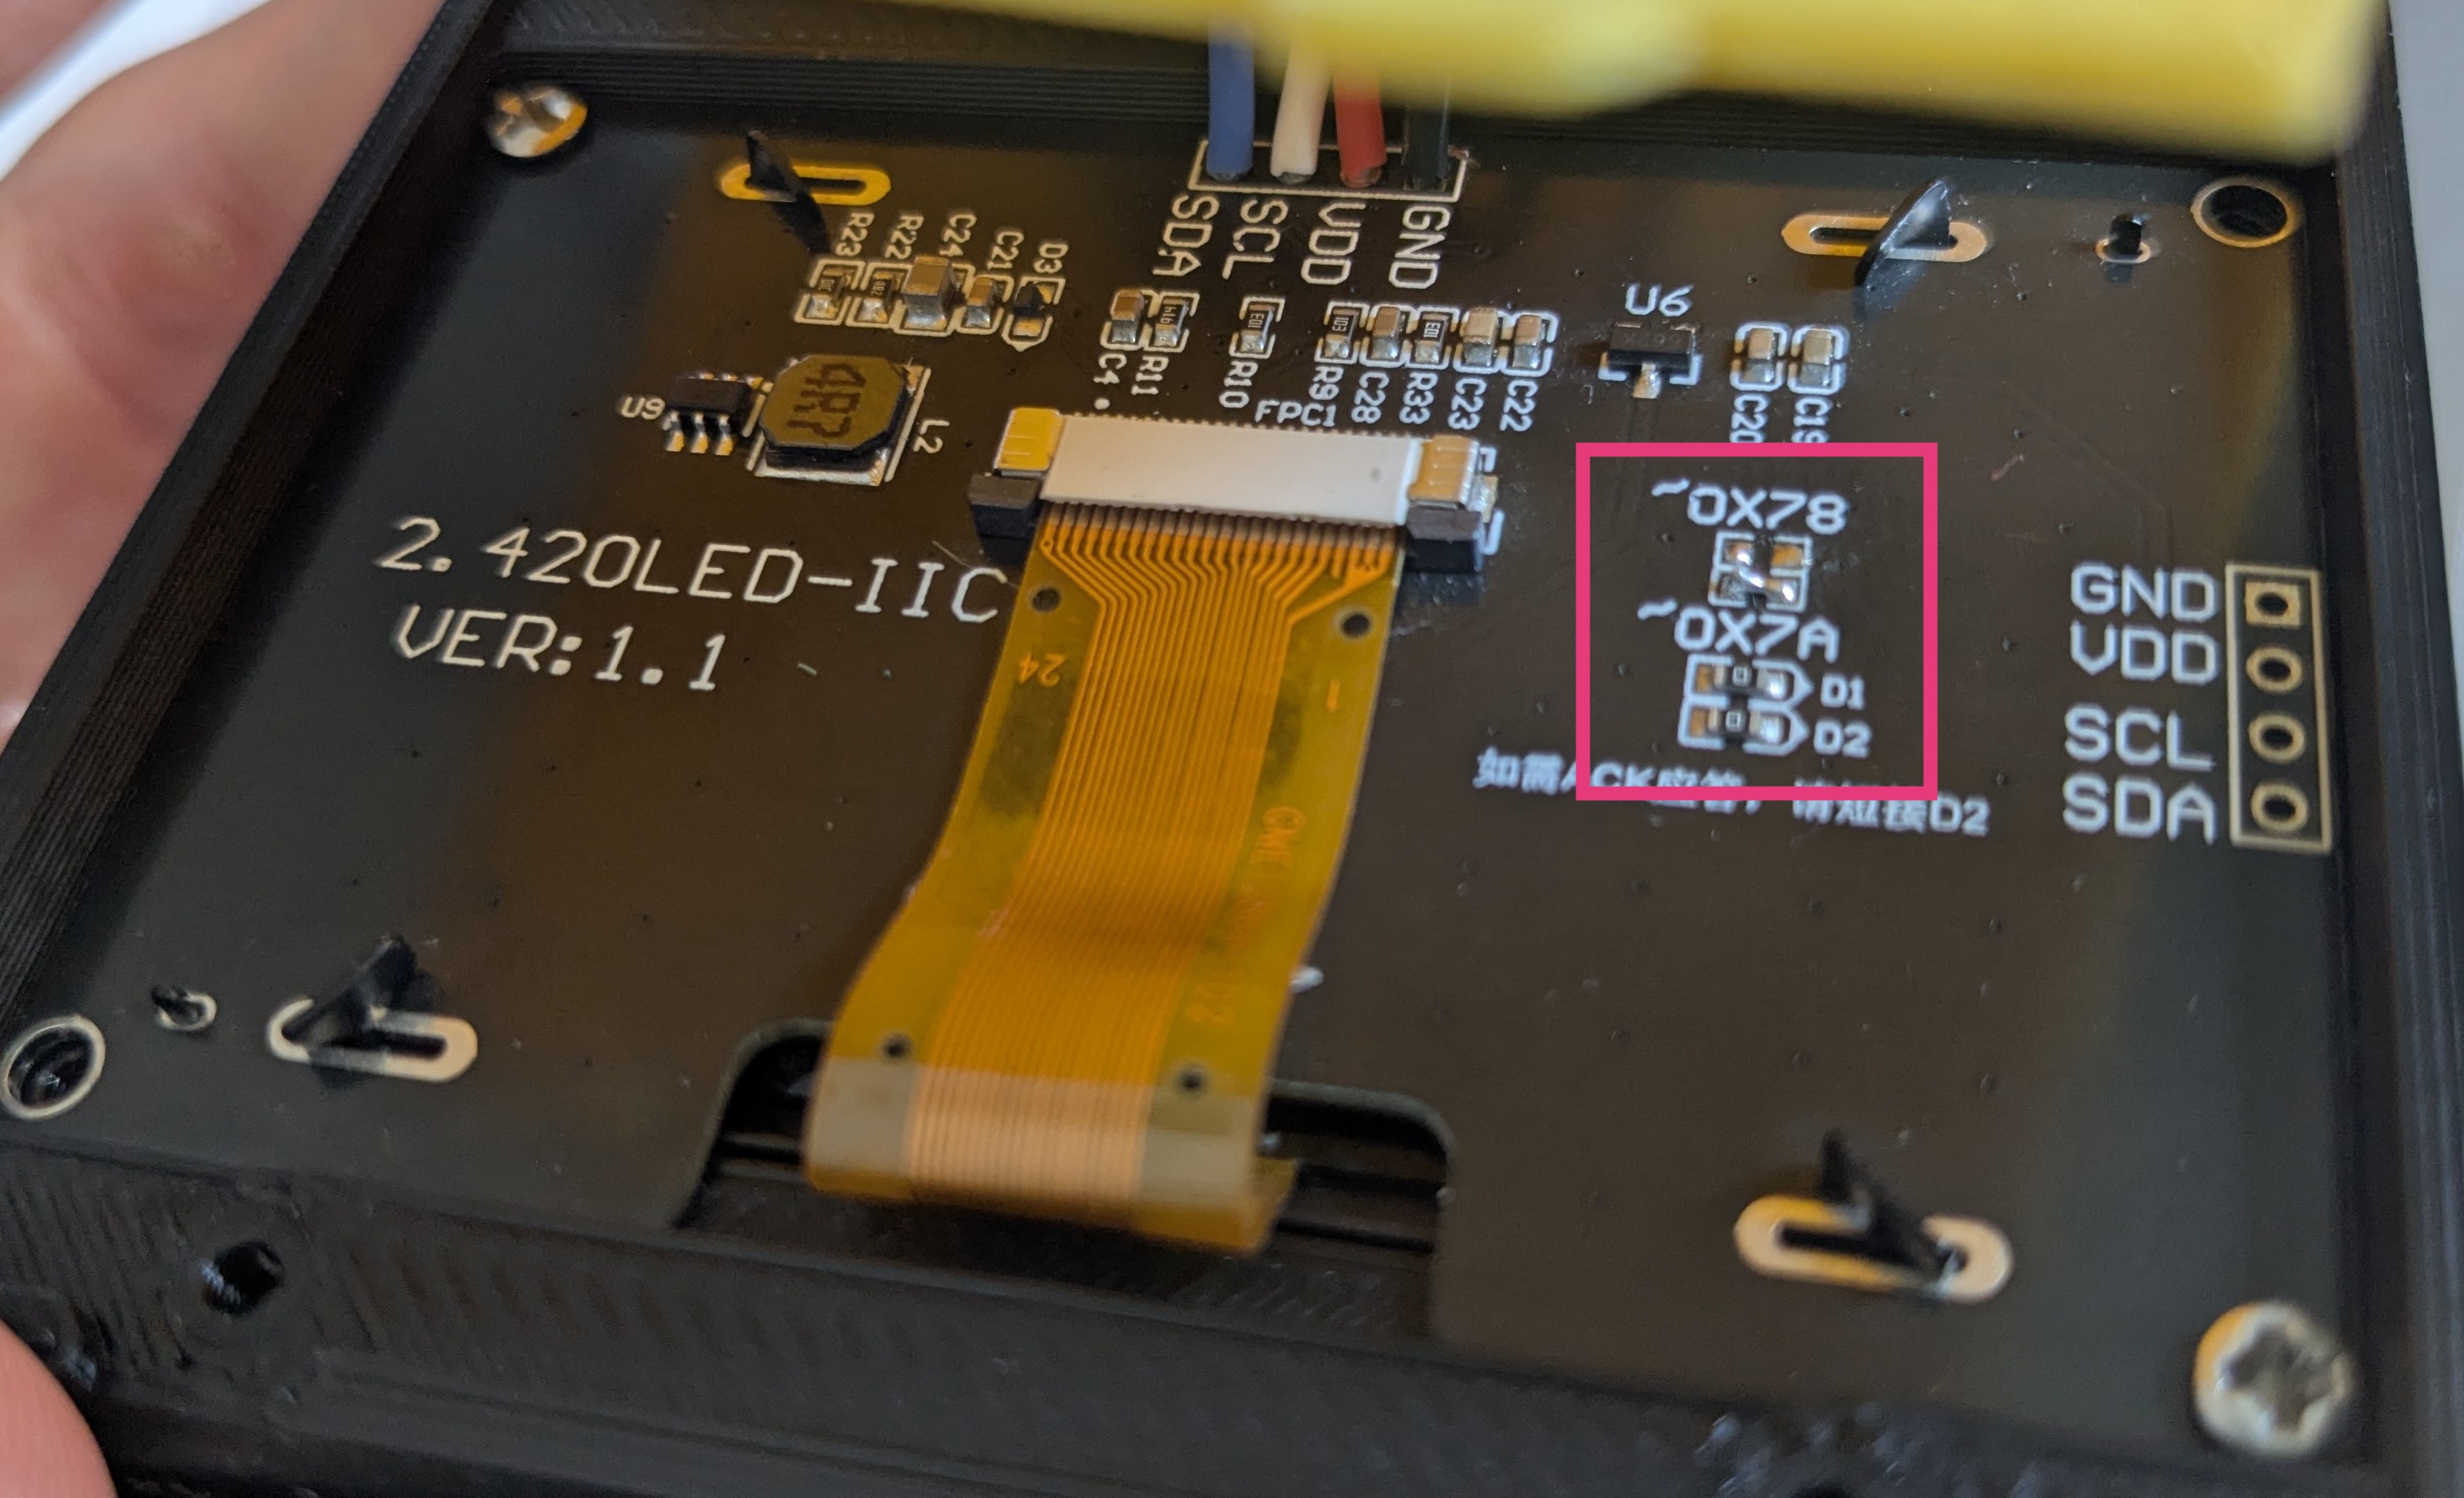
Now, one of the displays need to get a different address. Most I2C displays have solder jumpers for setting address. This is how it looks on mine:
The Beam-Splitter Cube
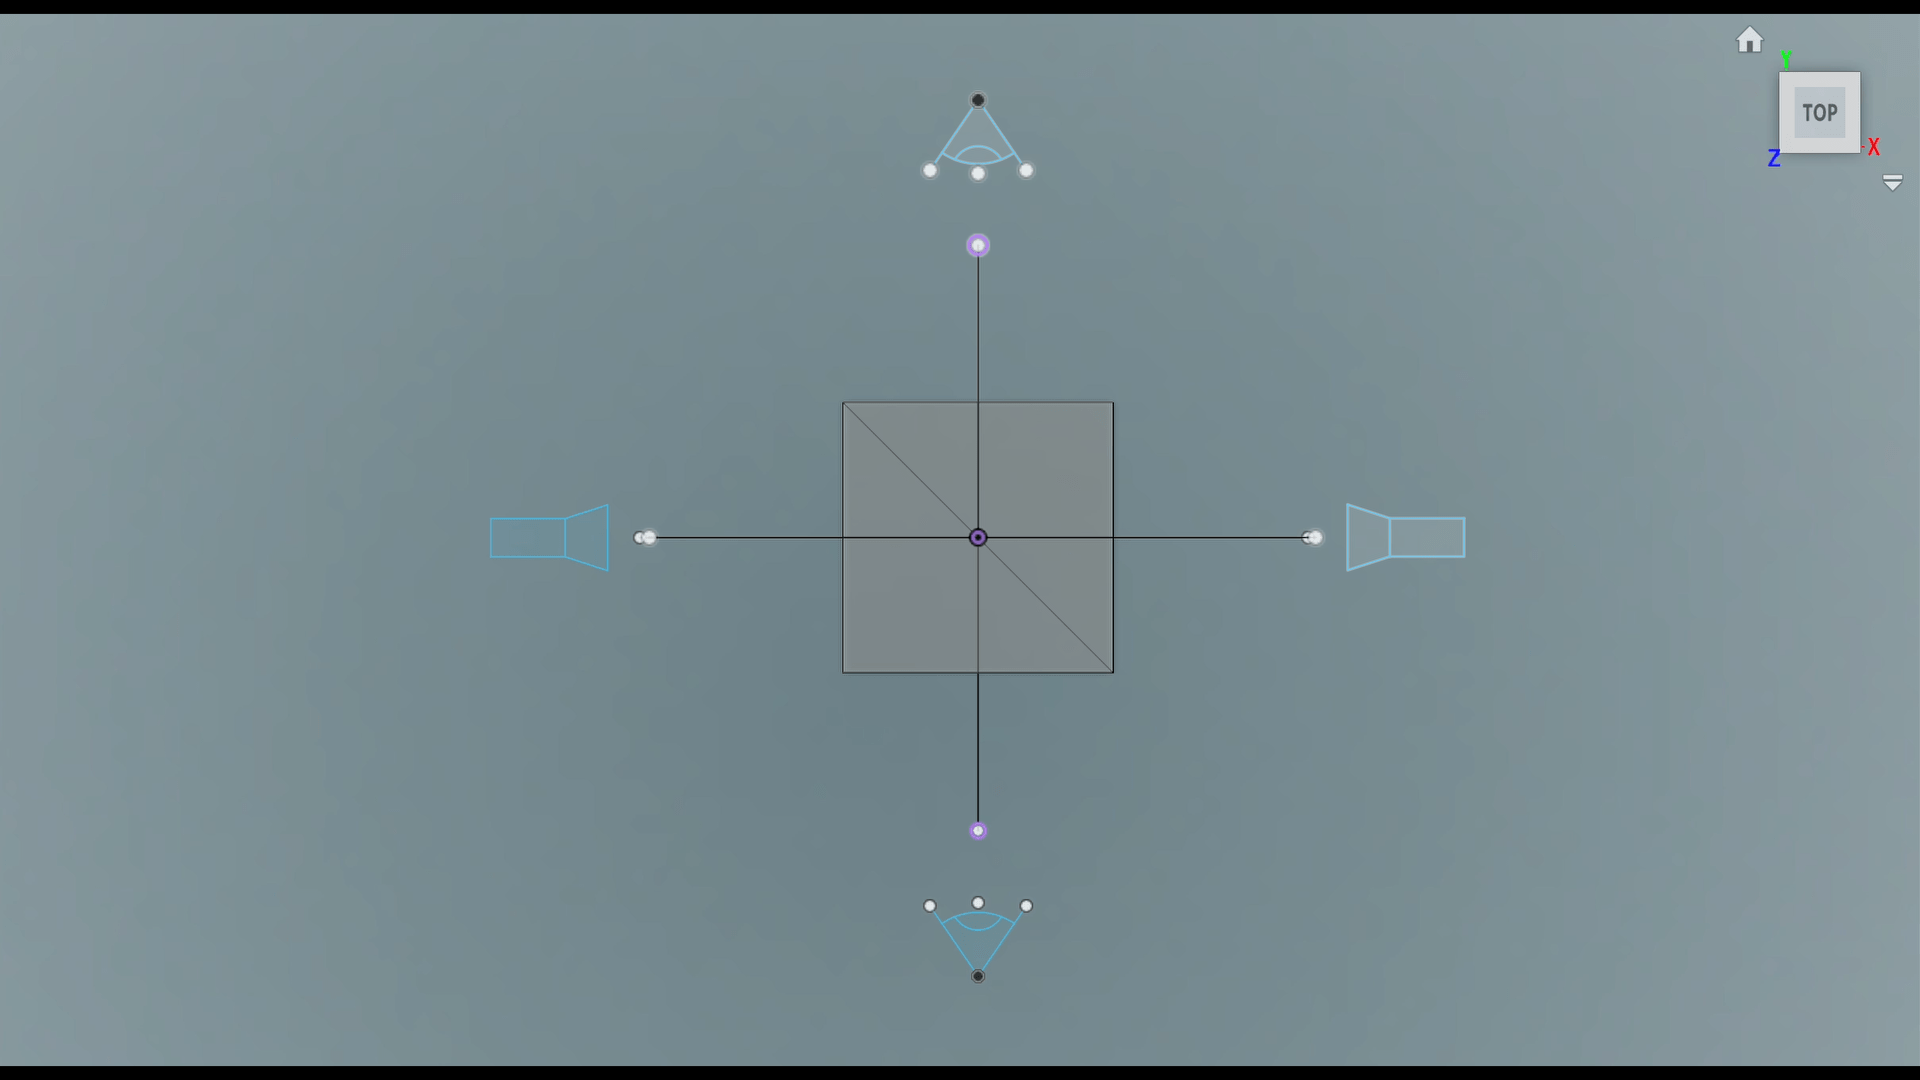
It's 2 glass cube halves glued together. The inner 45° face is then used to split the light, half transmitted, half reflected. In this application I only care about the reflected part.
The beauty is that we can use 2 separate light sources, each using half of the cube, and they won't interfere with each other. Of course, through several reflections, the light from one side of the cube will eventually get to the other too, but with decent ambient light that ghosting can be almost entirely reduced.
Code
The Arduino sketch I used for the Wemos D1 Mini is here: https://github.com/iuliux/JuliusMakes-Arduino/tree/main/Space-Cadet-Series/Two-Way-Display
It's not doing much though, so feel free to just use your display library and your microcontroller specific settings.
The only thing you'll probably have to fiddle with a bit is the orientation of the displays. They both have to be mirrored (because there's 1 reflection happening in the light path). One of them also needed rotating. That could be avoided by printing one Screen Enclosure flipped instead of 2 identical ones.
3D Printed Enclosure
First, head over to https:// to get the 3D models (no pay-wall). I always include a STEP file, so get that if you plan to customize or remix. Printing should be straight forward, these are the parts:
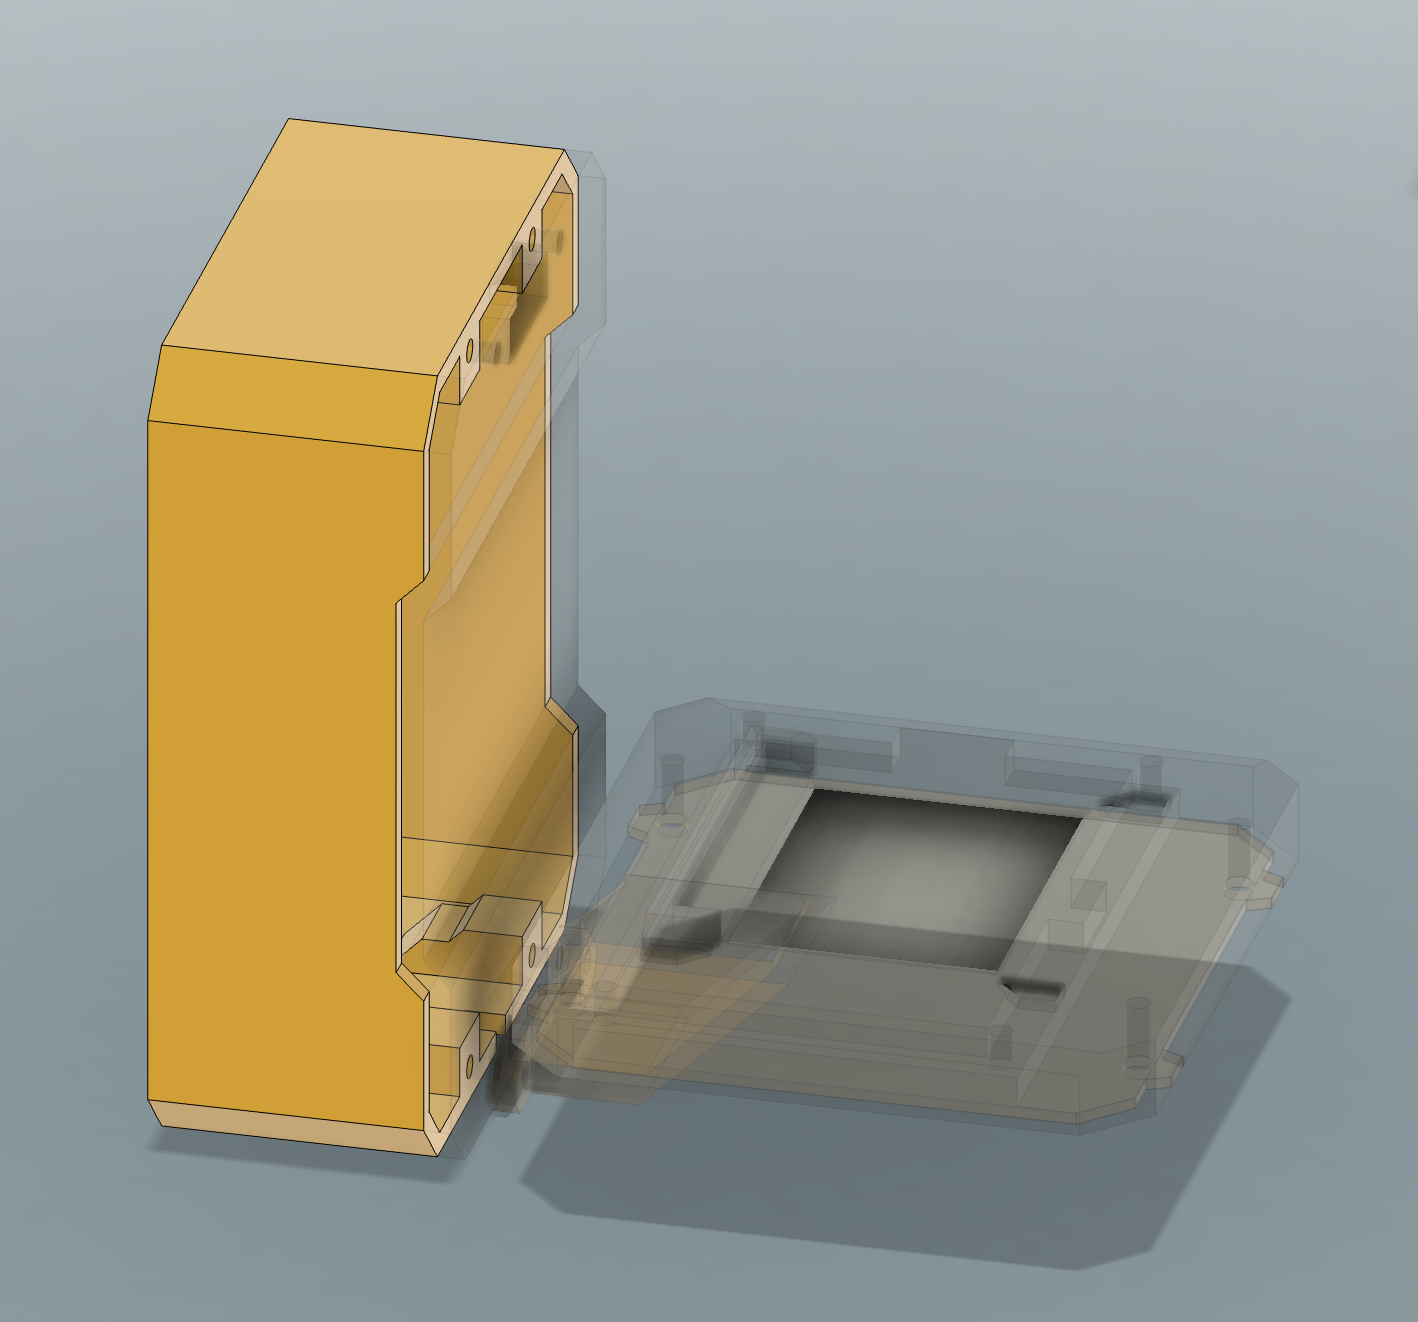 | 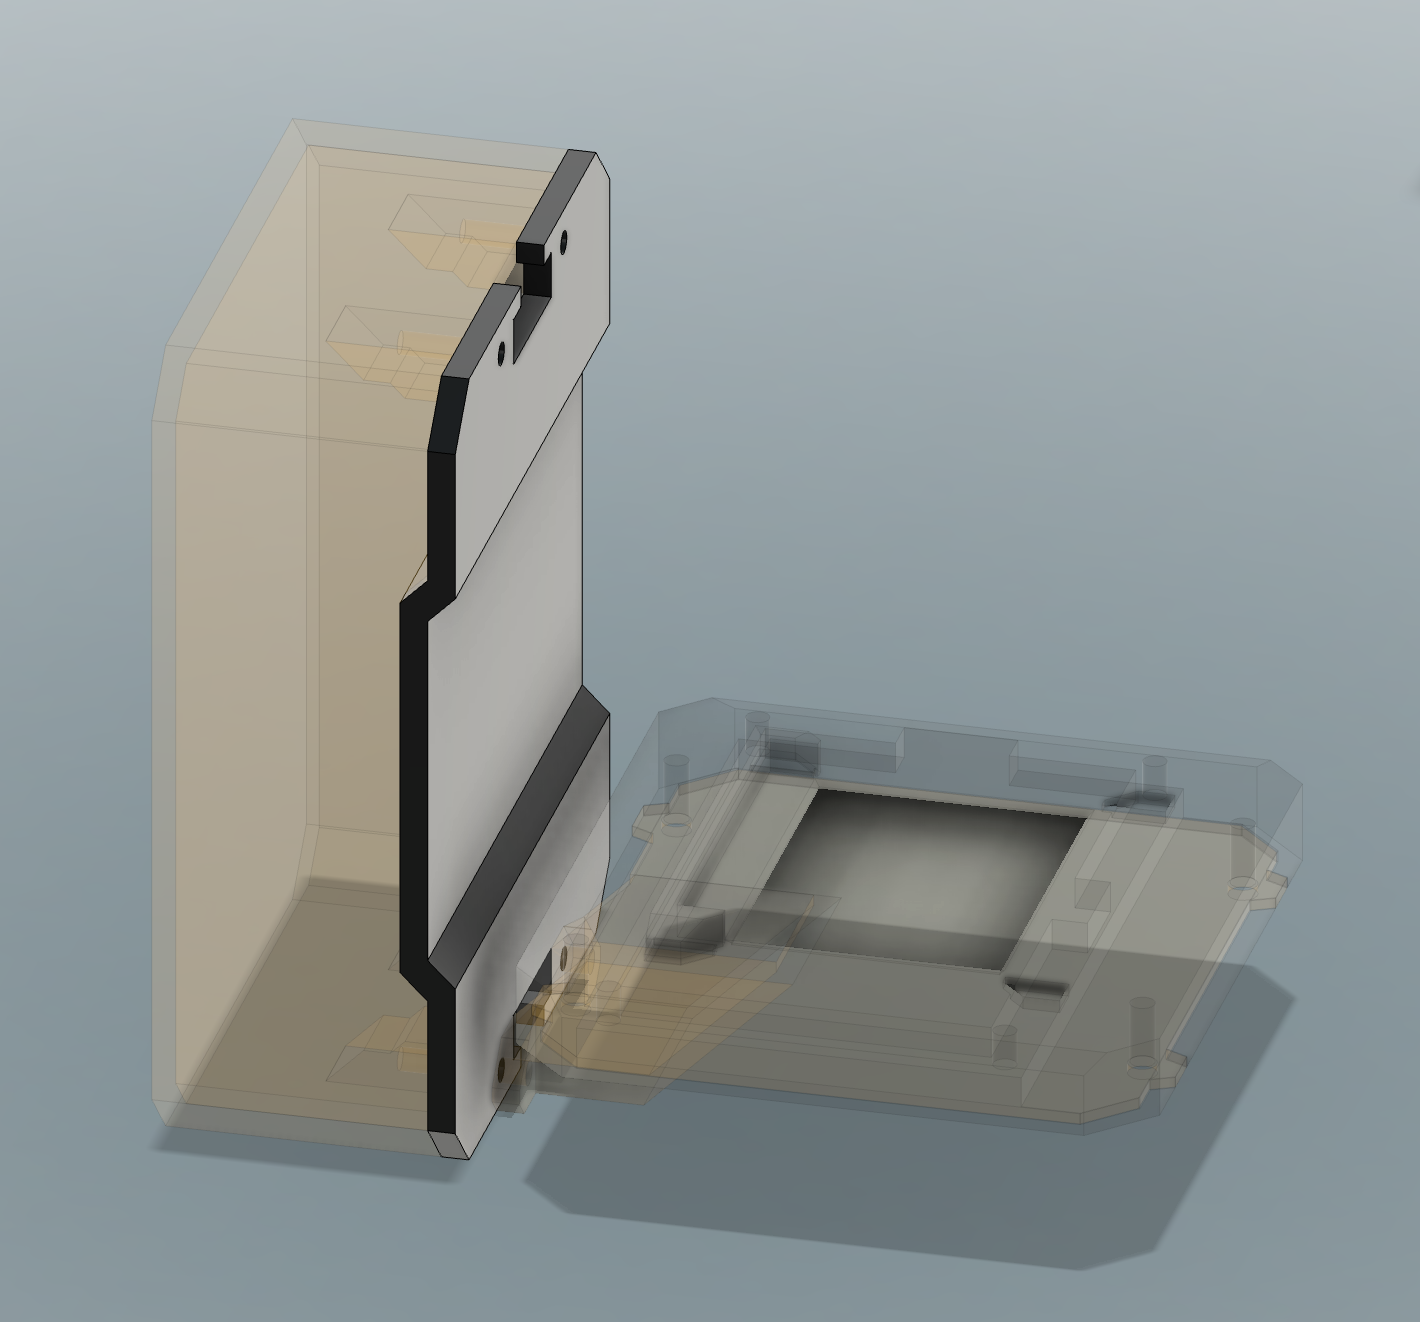 | 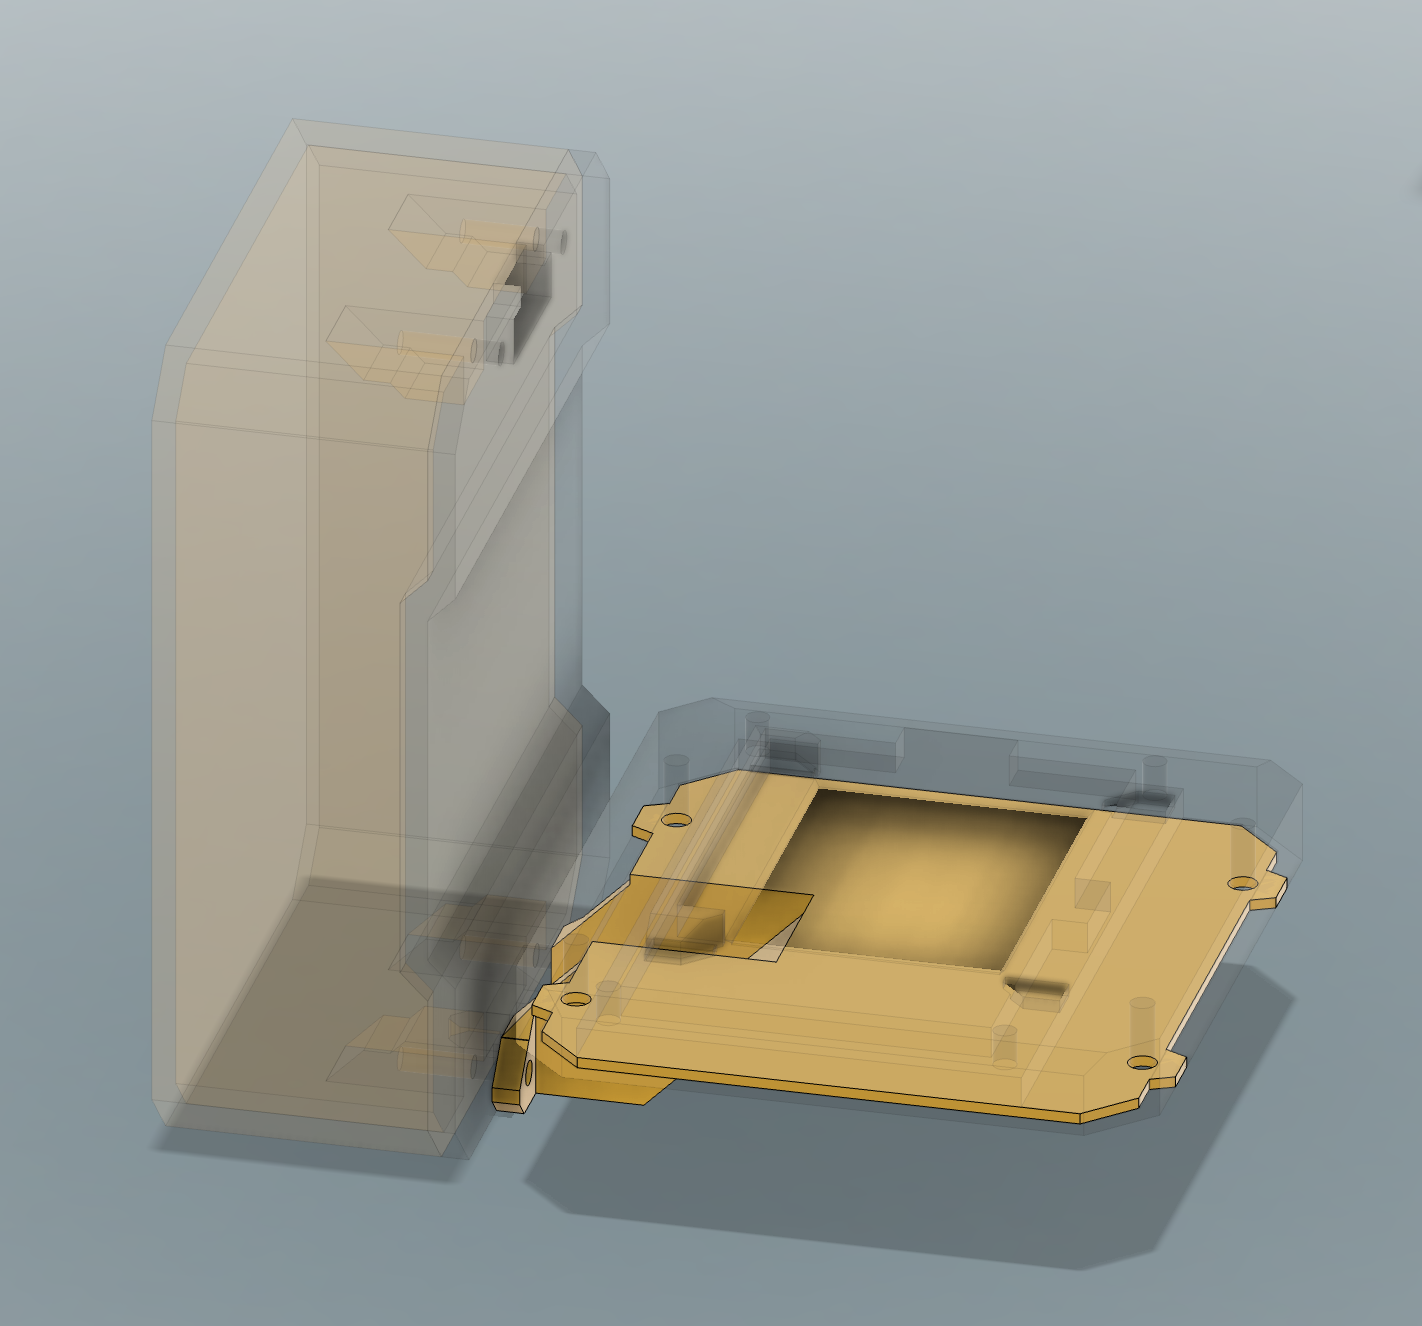 |
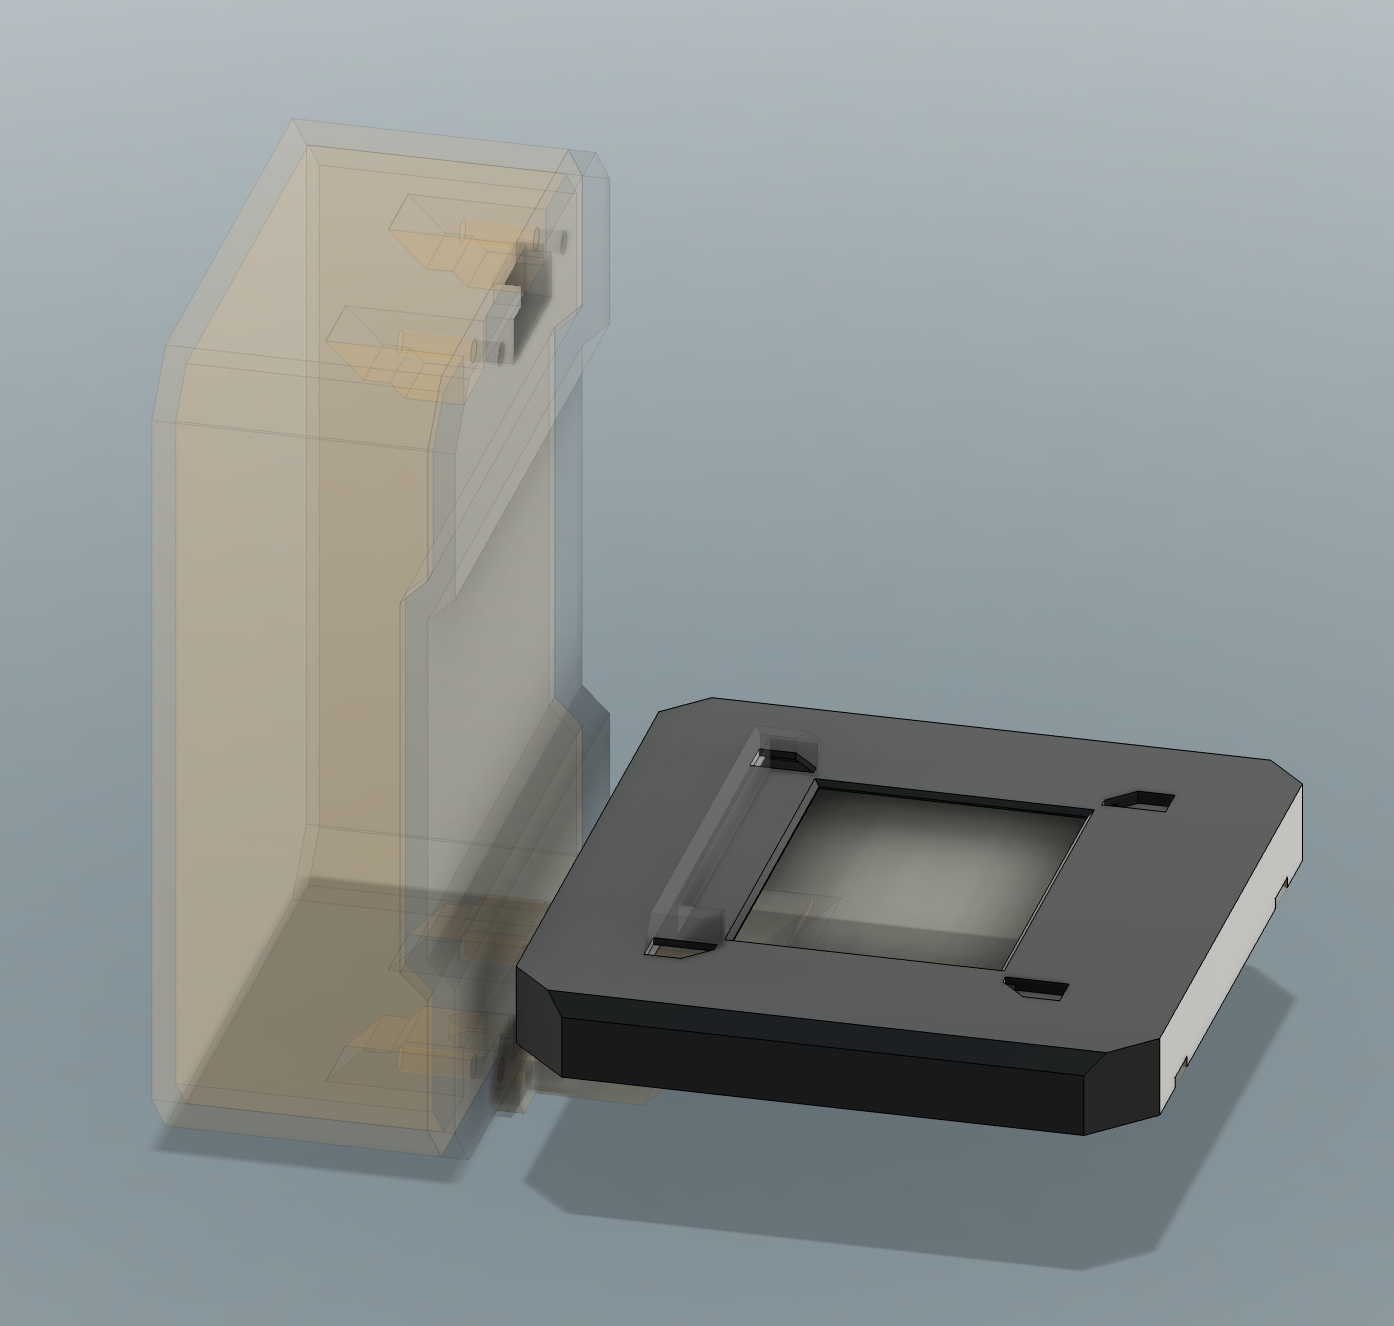 2x Screen Enclosure | 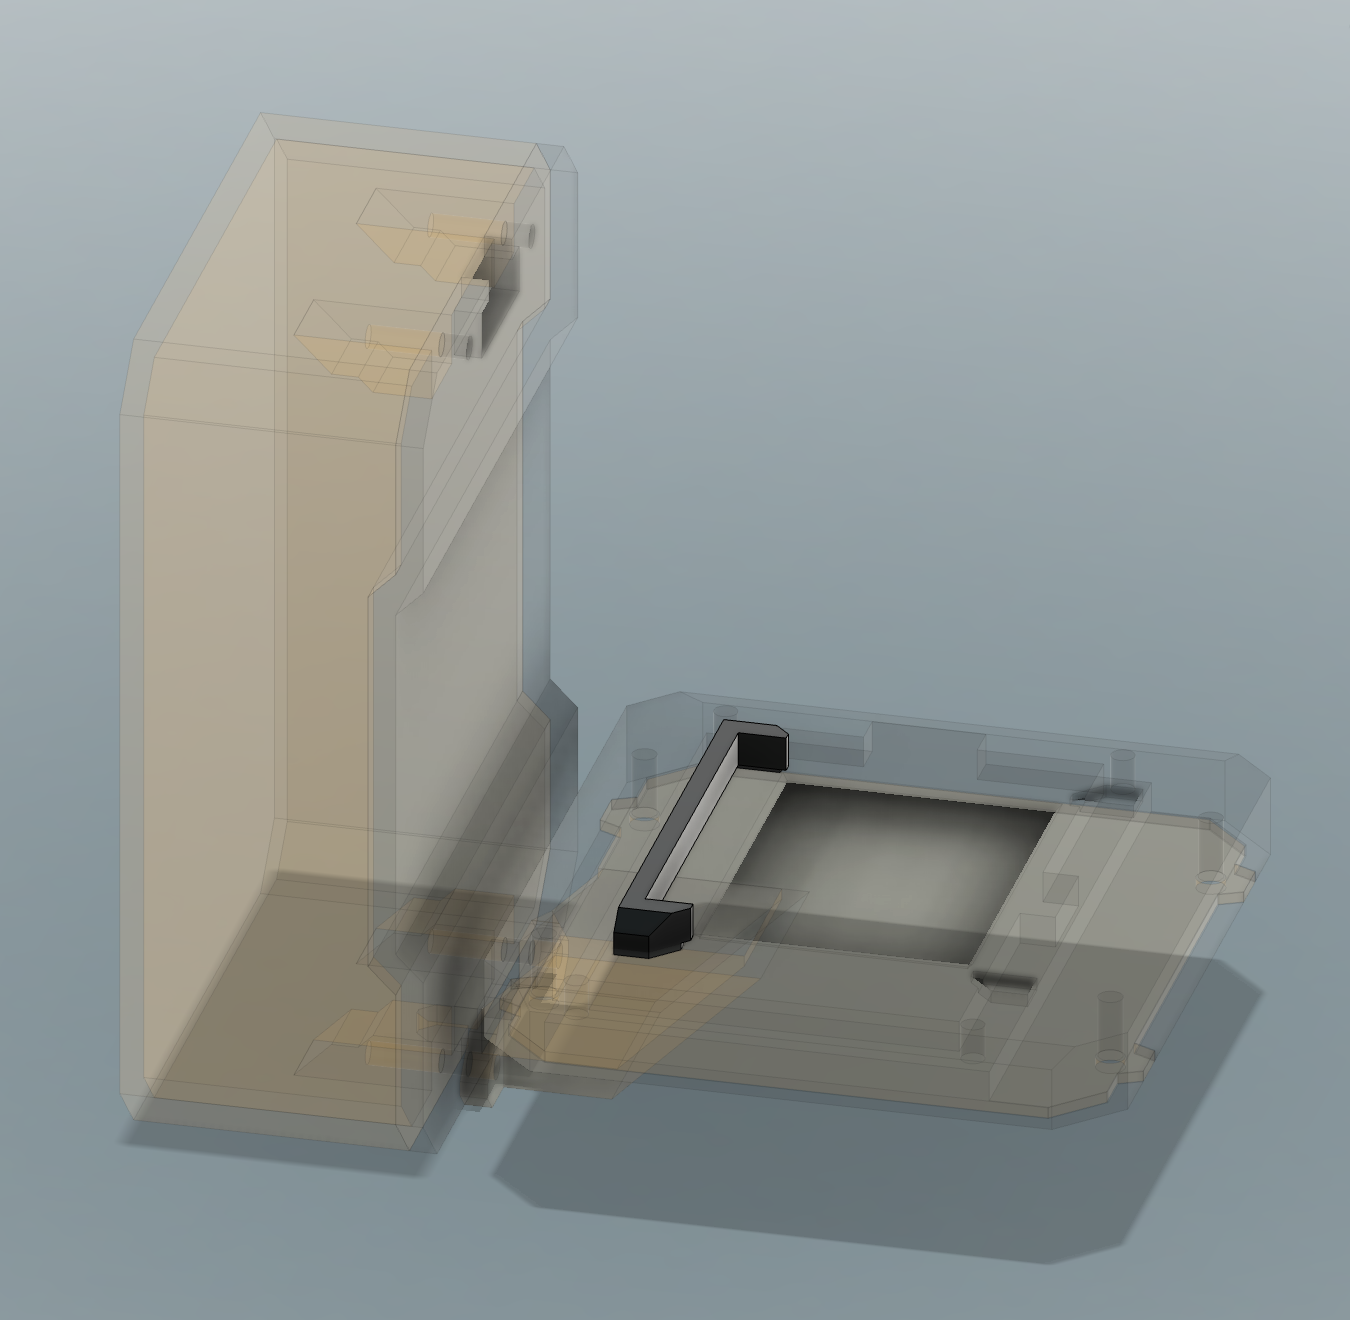 4x Beam-splitter Bracket |
Once printed, the 4 Beam-splitter Brackets will be superglued in place on the Screen Enclosure faces. These will restrict the beam splitter cube in place. I opted for this design to keep the Screen Enclosure face on the print bed (to get a nice finish) and to have an easy no-supports print.
Neither print, for that matter, will require any supports.
Assembly
This should be pretty straight-forward and it's been covered a bit in the video (top of the article). The only missing detail would be the screws. I used M3 8mm (self tapping) screws made for plastic.
 svofski
 Matthias Kampa
 M.daSilva
 deʃhipu