 Arnov Sharma
-
11TEST RUN
![]()
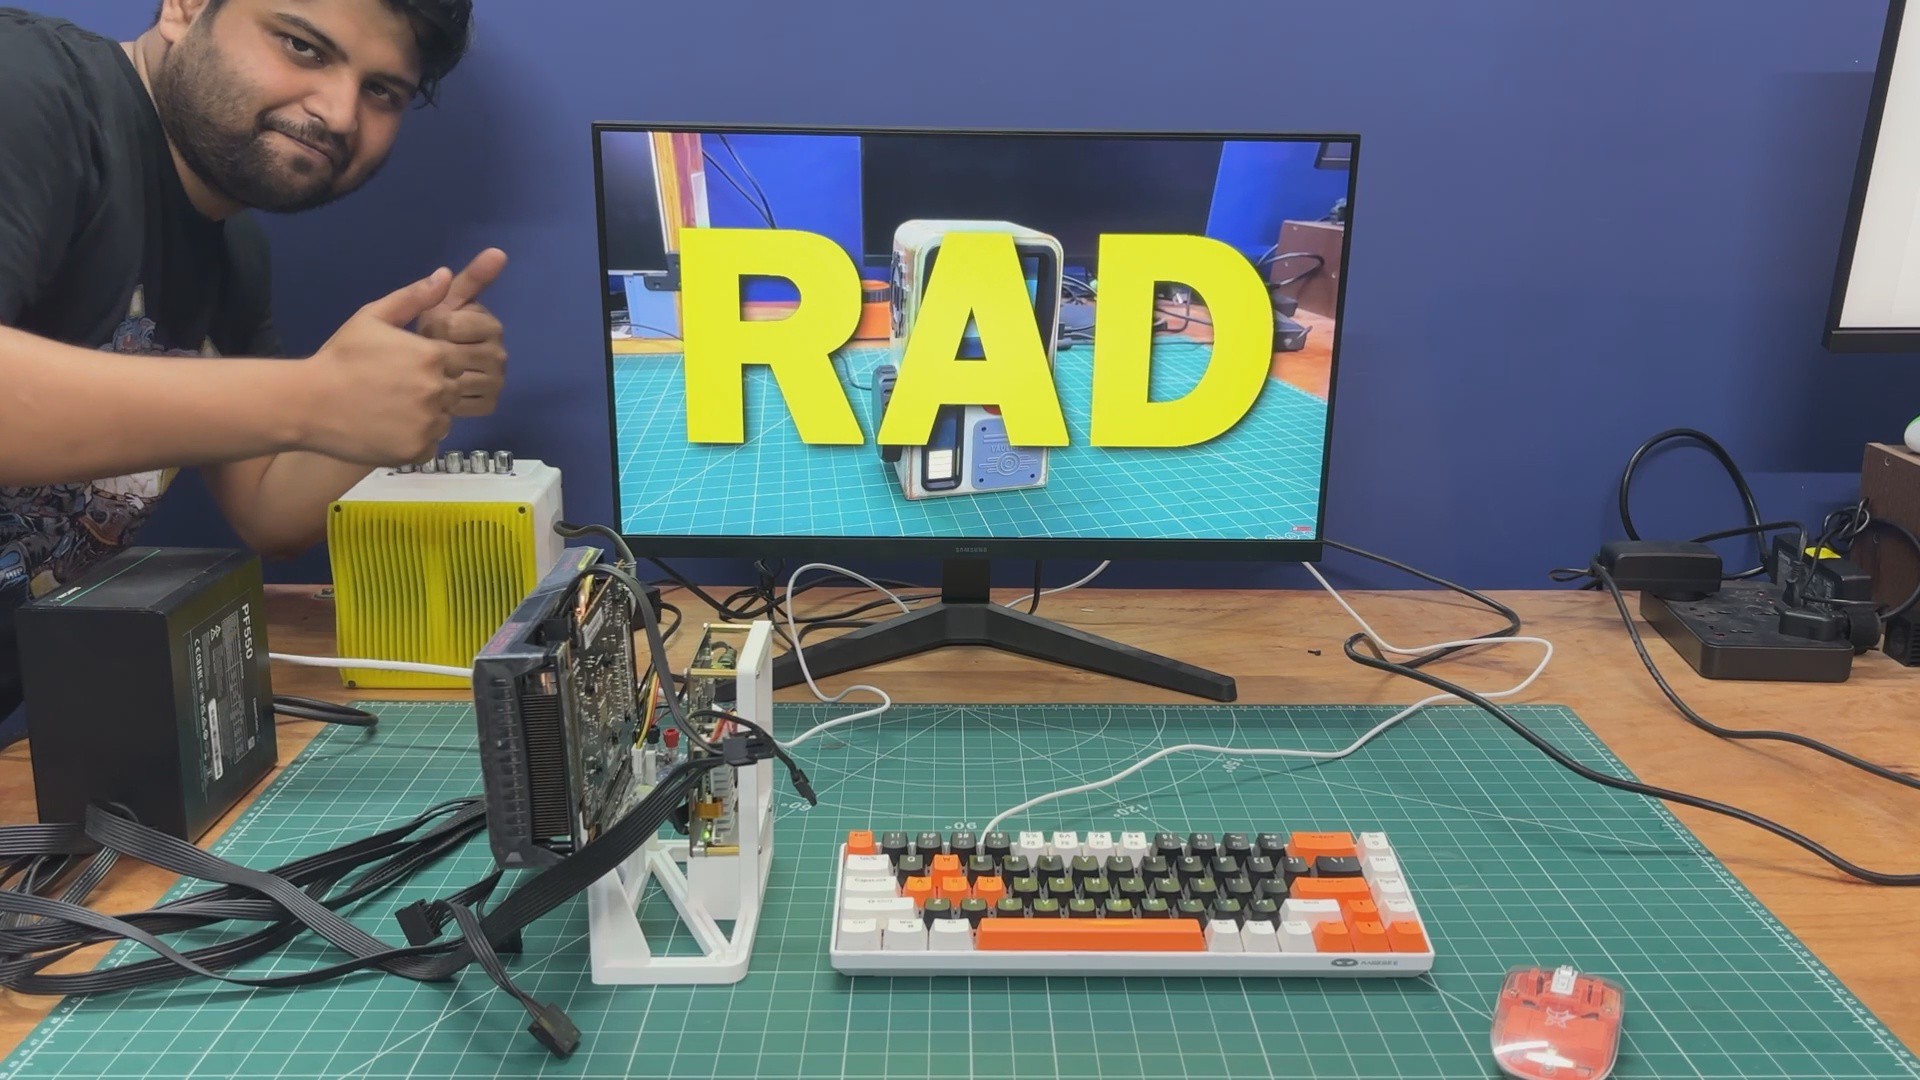
Before we moved ahead with the assembly, we tested our Pi GPU setup.
We connected the ATX connector from the power supply to the breakout board. The 12V output from the breakout board was then used to power the Raspberry Pi 5 through the barrel DC jack available on the Waveshare board.
Next, we connected the 6-pin PCIe power connector from the power supply to the Graphics Processing Unit. We also connected a SATA power connector to the power harness of the M.2 to PCIe adapter.
After turning on the power supply, the entire setup powered up, and the operating system booted within five seconds, which was incredibly fast thanks to our NVMe boot drive.
For this dry run, we opened YouTube and played a video at 1080p resolution. Everything worked flawlessly. Watching YouTube on this setup felt just like using a regular PC rather than a Raspberry Pi.
-
12BENCHMARKS
![]()
![]()
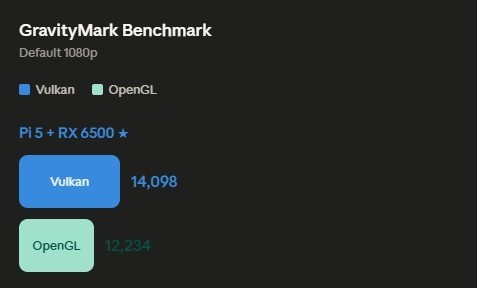
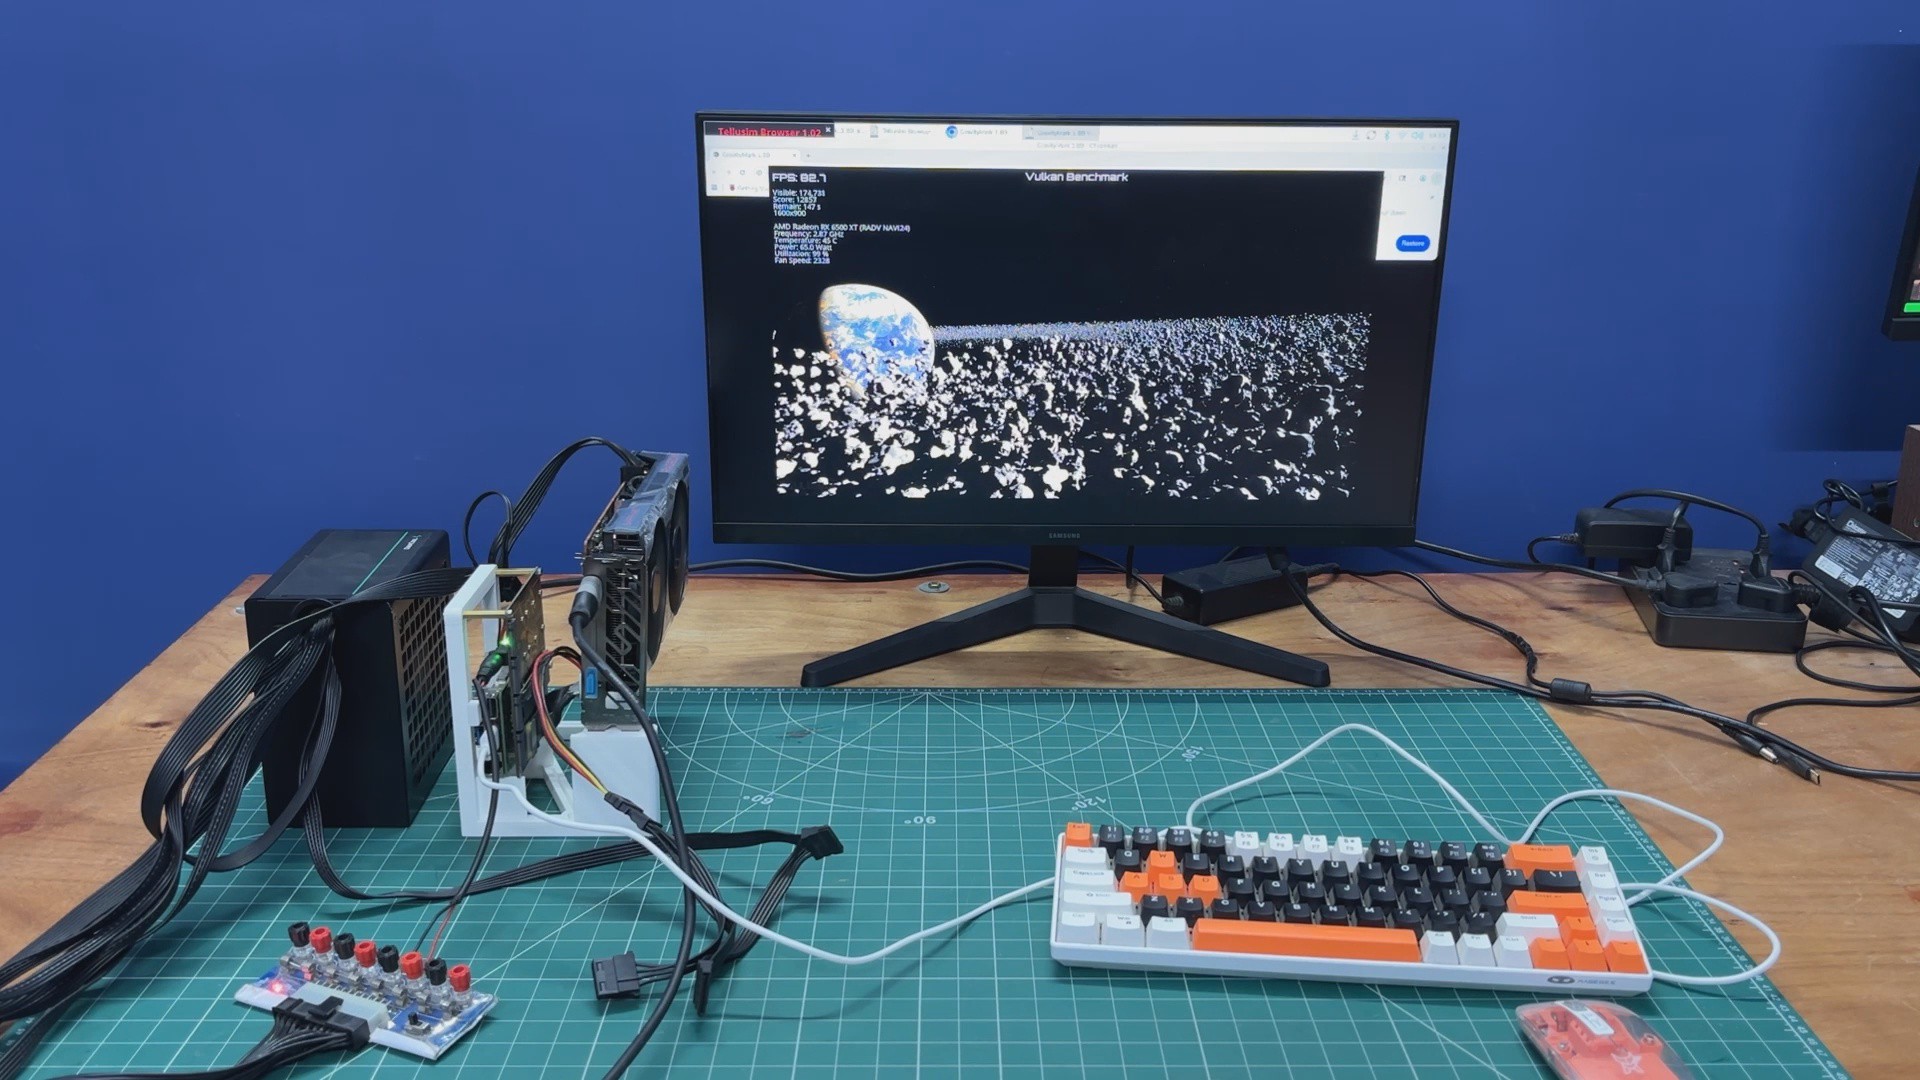
Just to establish a baseline, we ran GravityMark on this setup. We installed GravityMark and ran the GPU benchmark.
In the Vulkan test, we achieved a score of 14,000. We then ran the benchmark again using OpenGL, which yielded a score of 12,000.
These results are particularly impressive considering that the system is powered by an AMD Radeon RX 6500 XT connected to a Raspberry Pi 5 over a PCIe adapter. The RX 6500 XT is substantially more powerful than the Pi’s onboard Broadcom VideoCore VII GPU, and the Raspberry Pi’s PCIe interface offers limited bandwidth compared to a full desktop platform. This means the GPU cannot operate at its full potential, and some bottlenecks are expected, especially in data-intensive workloads.
Even with these limitations, the benchmark results demonstrate that the external GPU setup is functioning correctly and delivering performance far beyond what the Raspberry Pi could achieve on its own.
-
13RUNNING GAMES
![]()
![]()
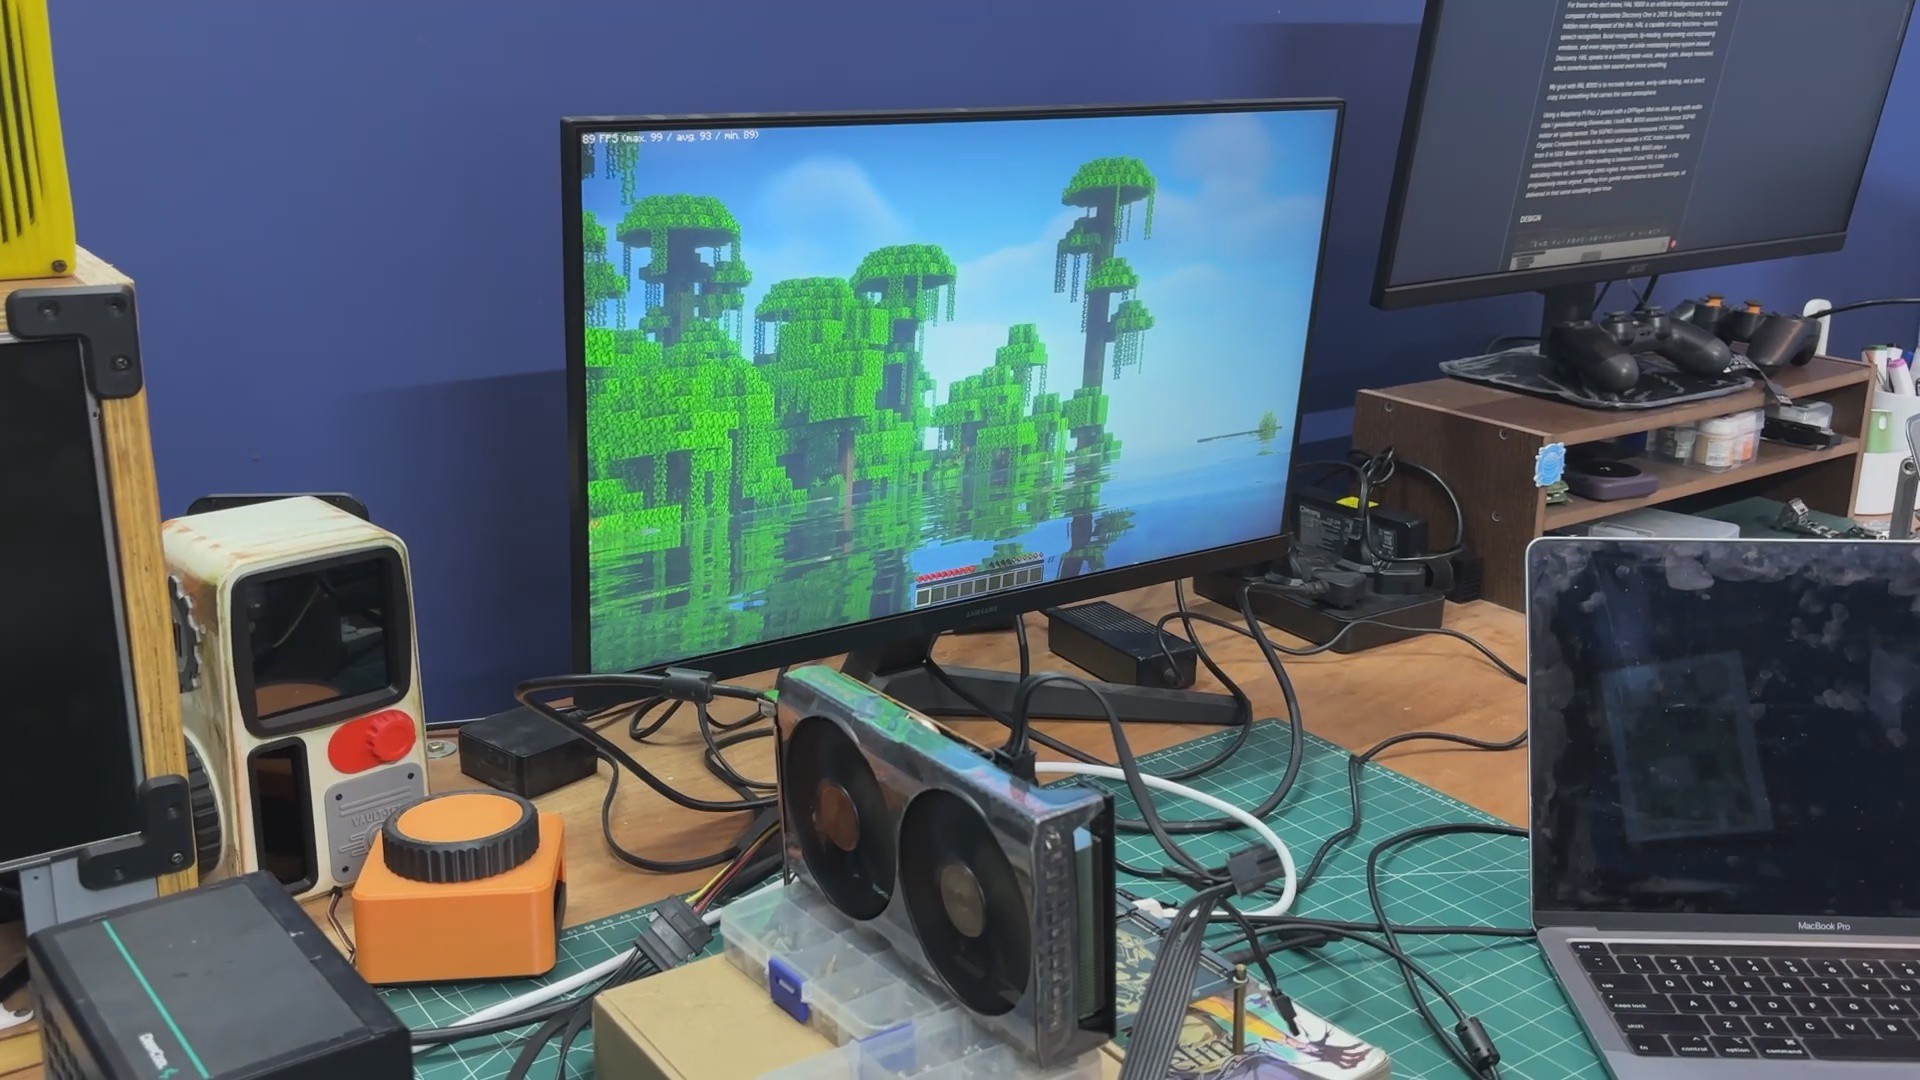
Next, I verified that games were running on this setup, and to my surprise, they were, and they ran exceptionally well.
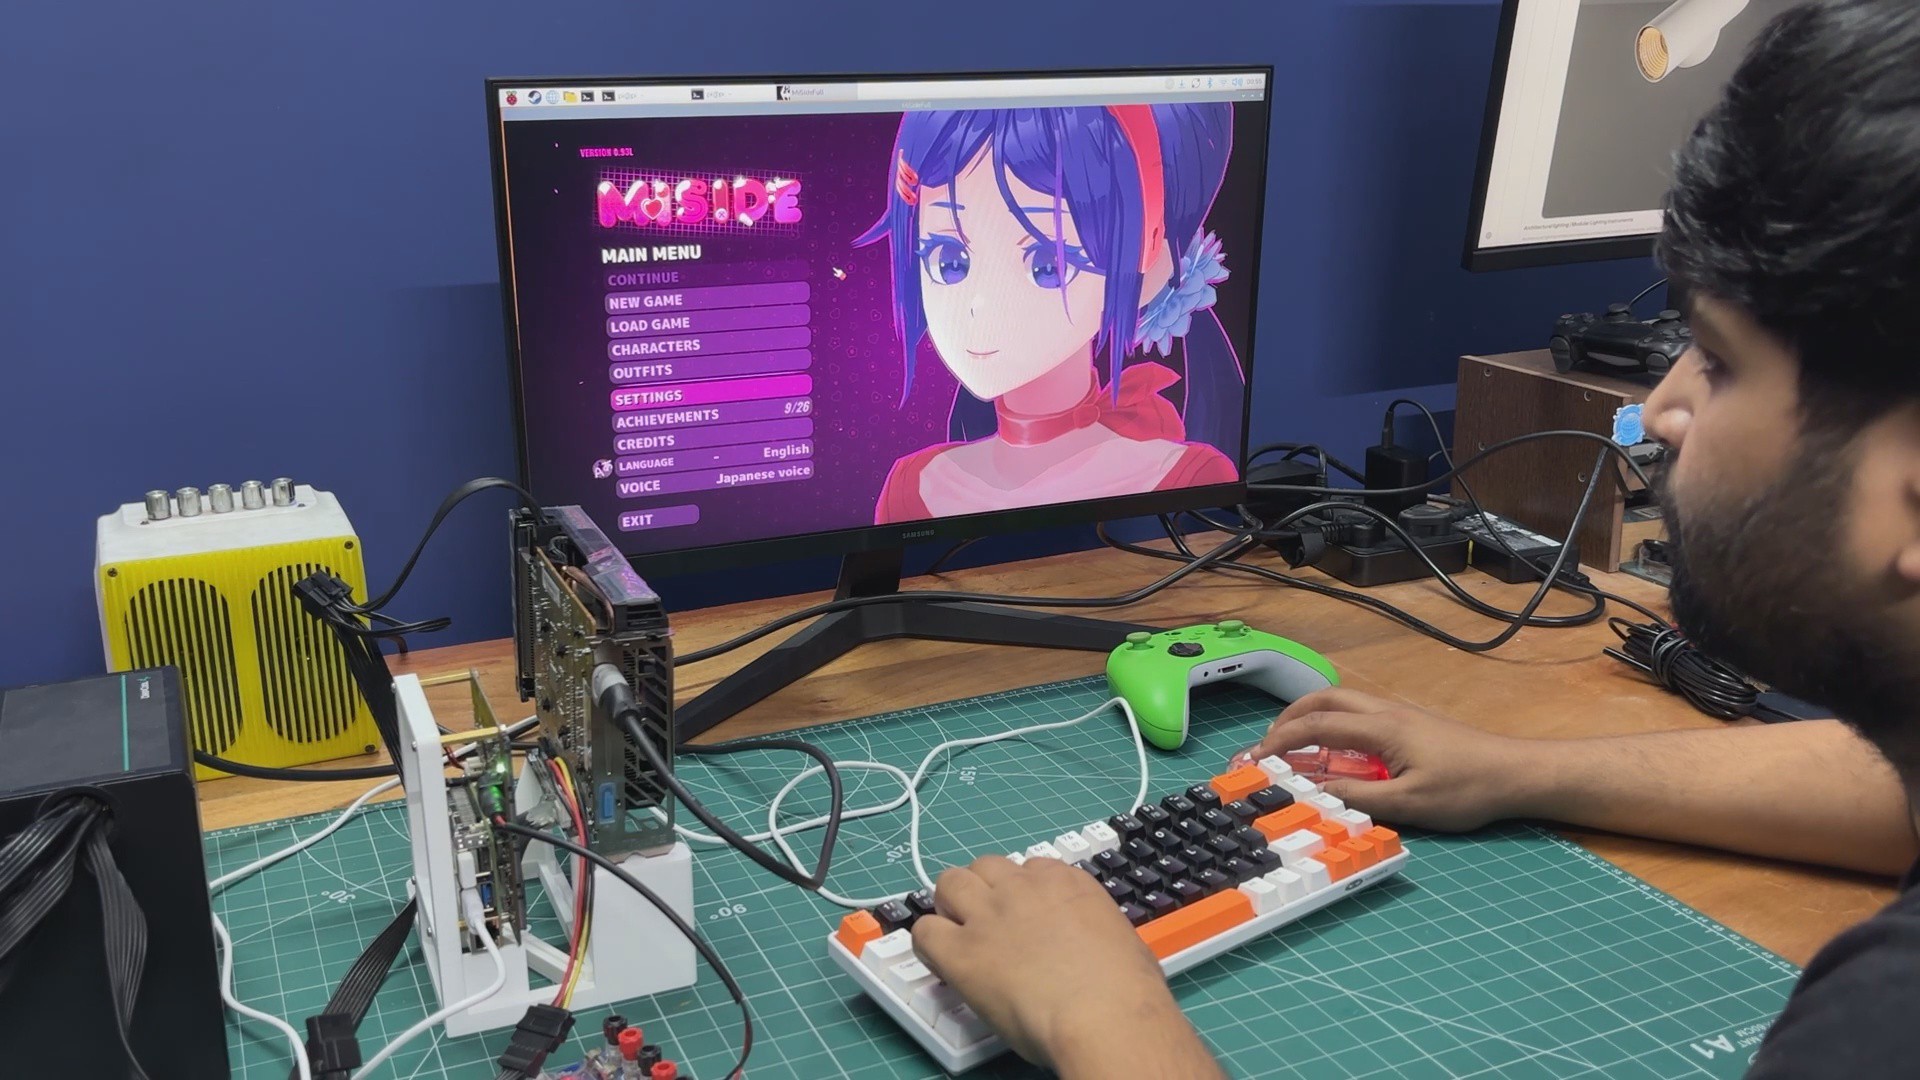
I tested several games, starting with Minecraft: Java Edition, which ran flawlessly even with BSL Shaders enabled. I then played MiSide, which also performed very well, as expected, since it is not a particularly graphics-intensive title.
After confirming that games were running properly and that the entire setup was functioning as intended, we moved on to the next phase of the project.
-
14FINAL ASSEMBLY PROCESS
![]()
![]()
![]()
![]()
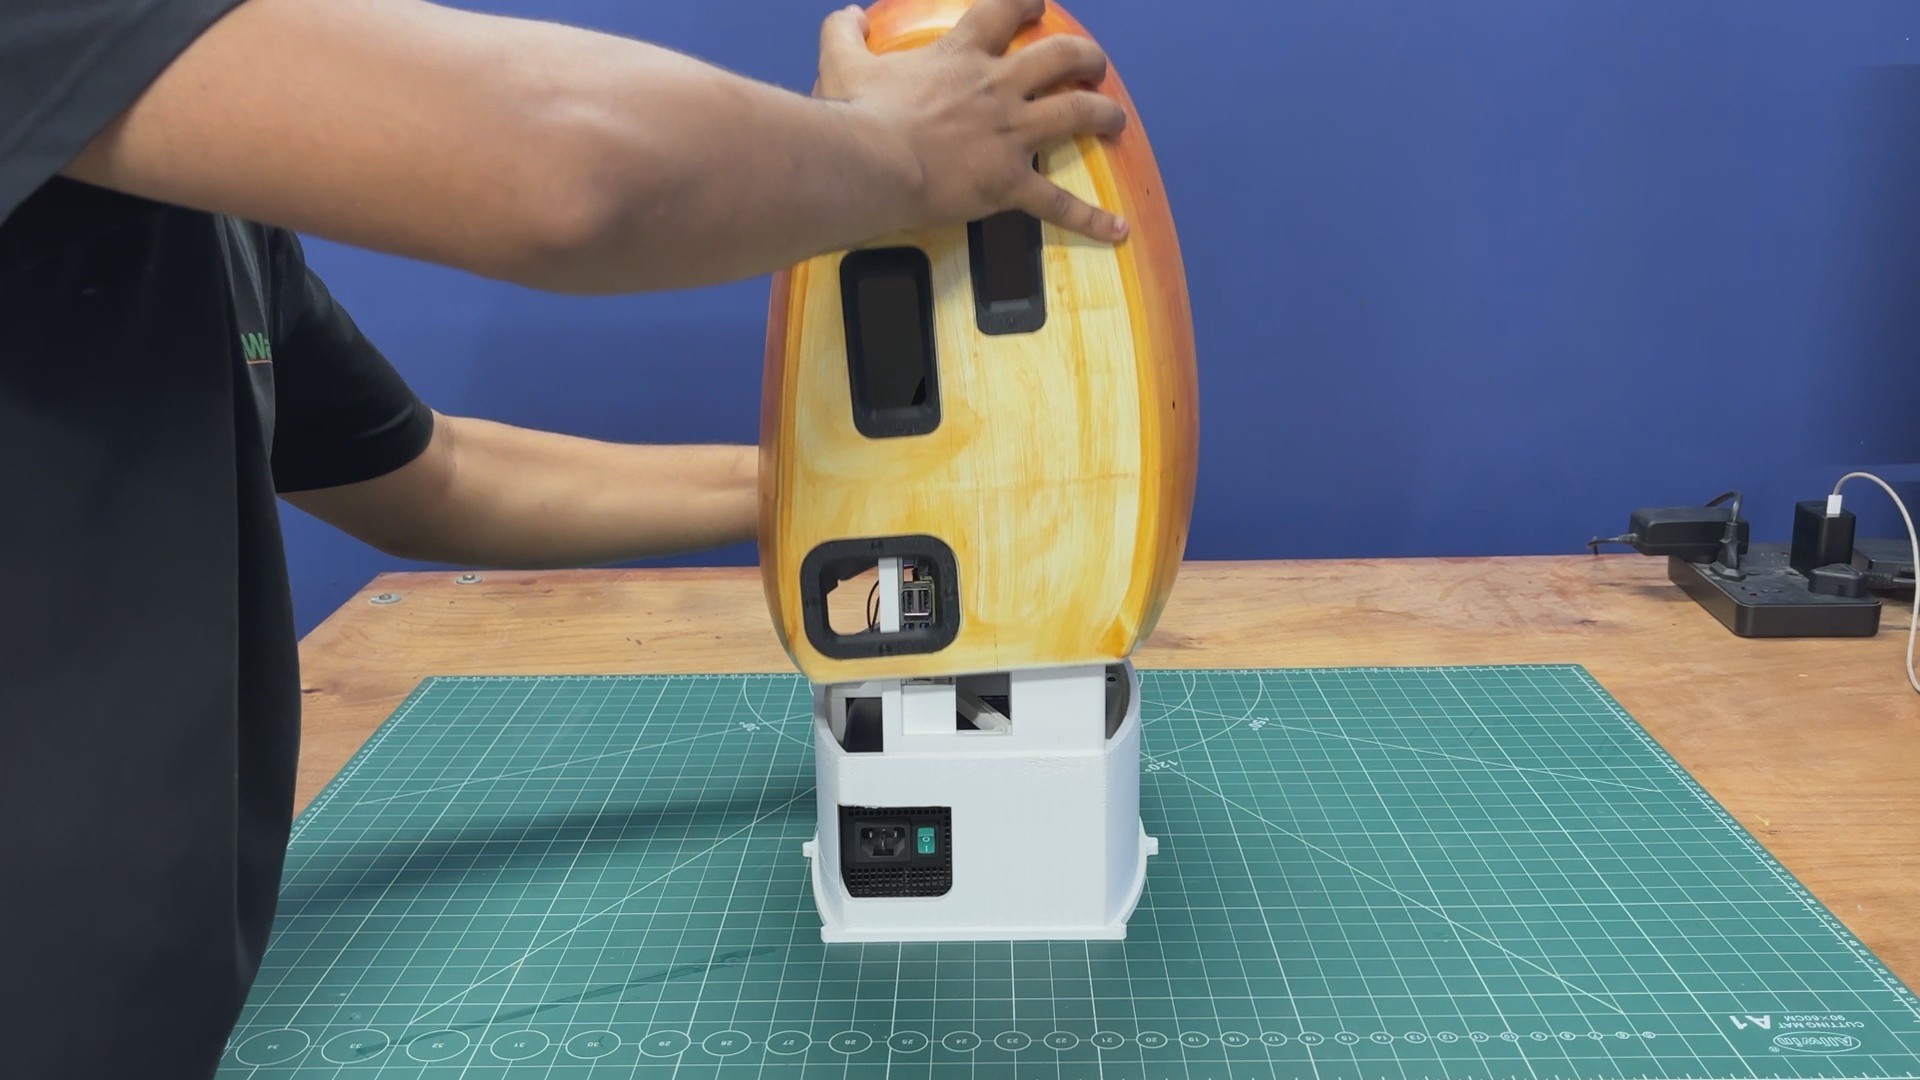
The complete Potato PC enclosure is then slid over the base and into position. We carefully align the enclosure with the base and press it downward until it fits securely in place.
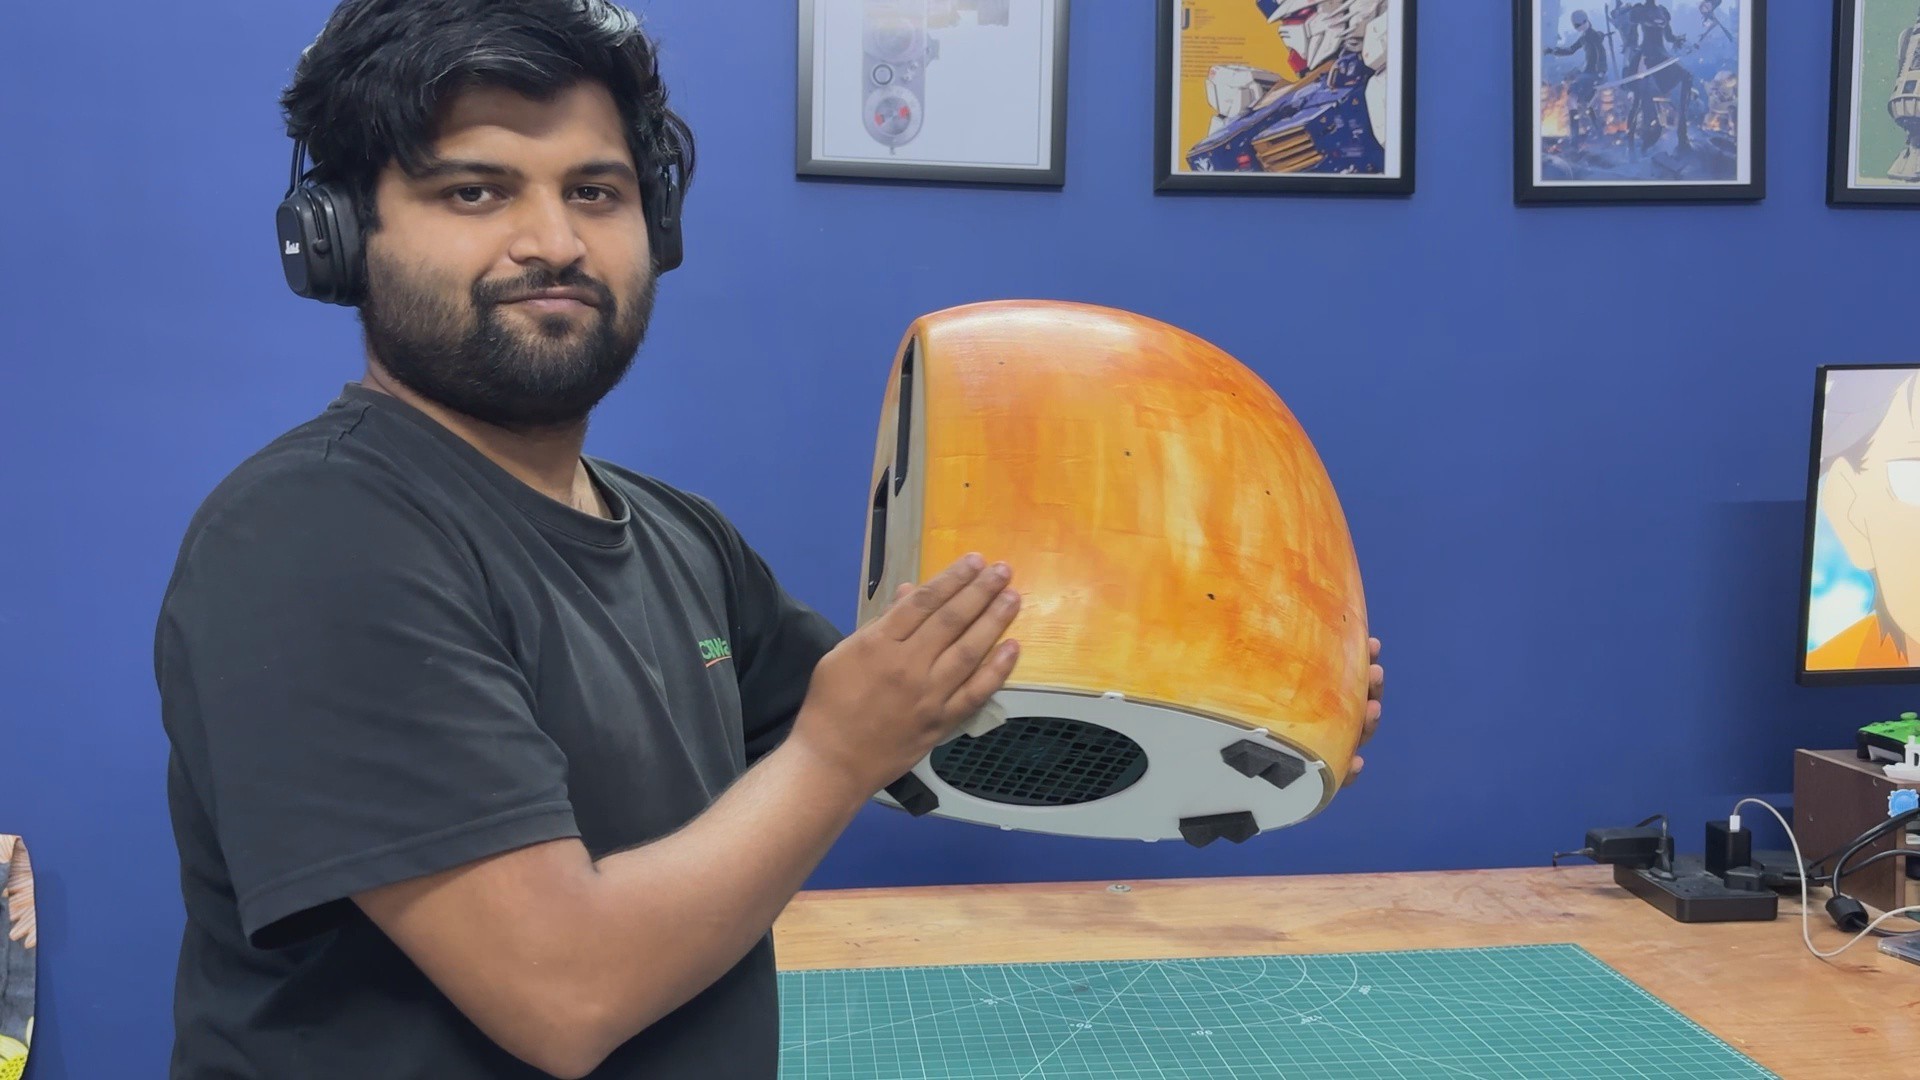
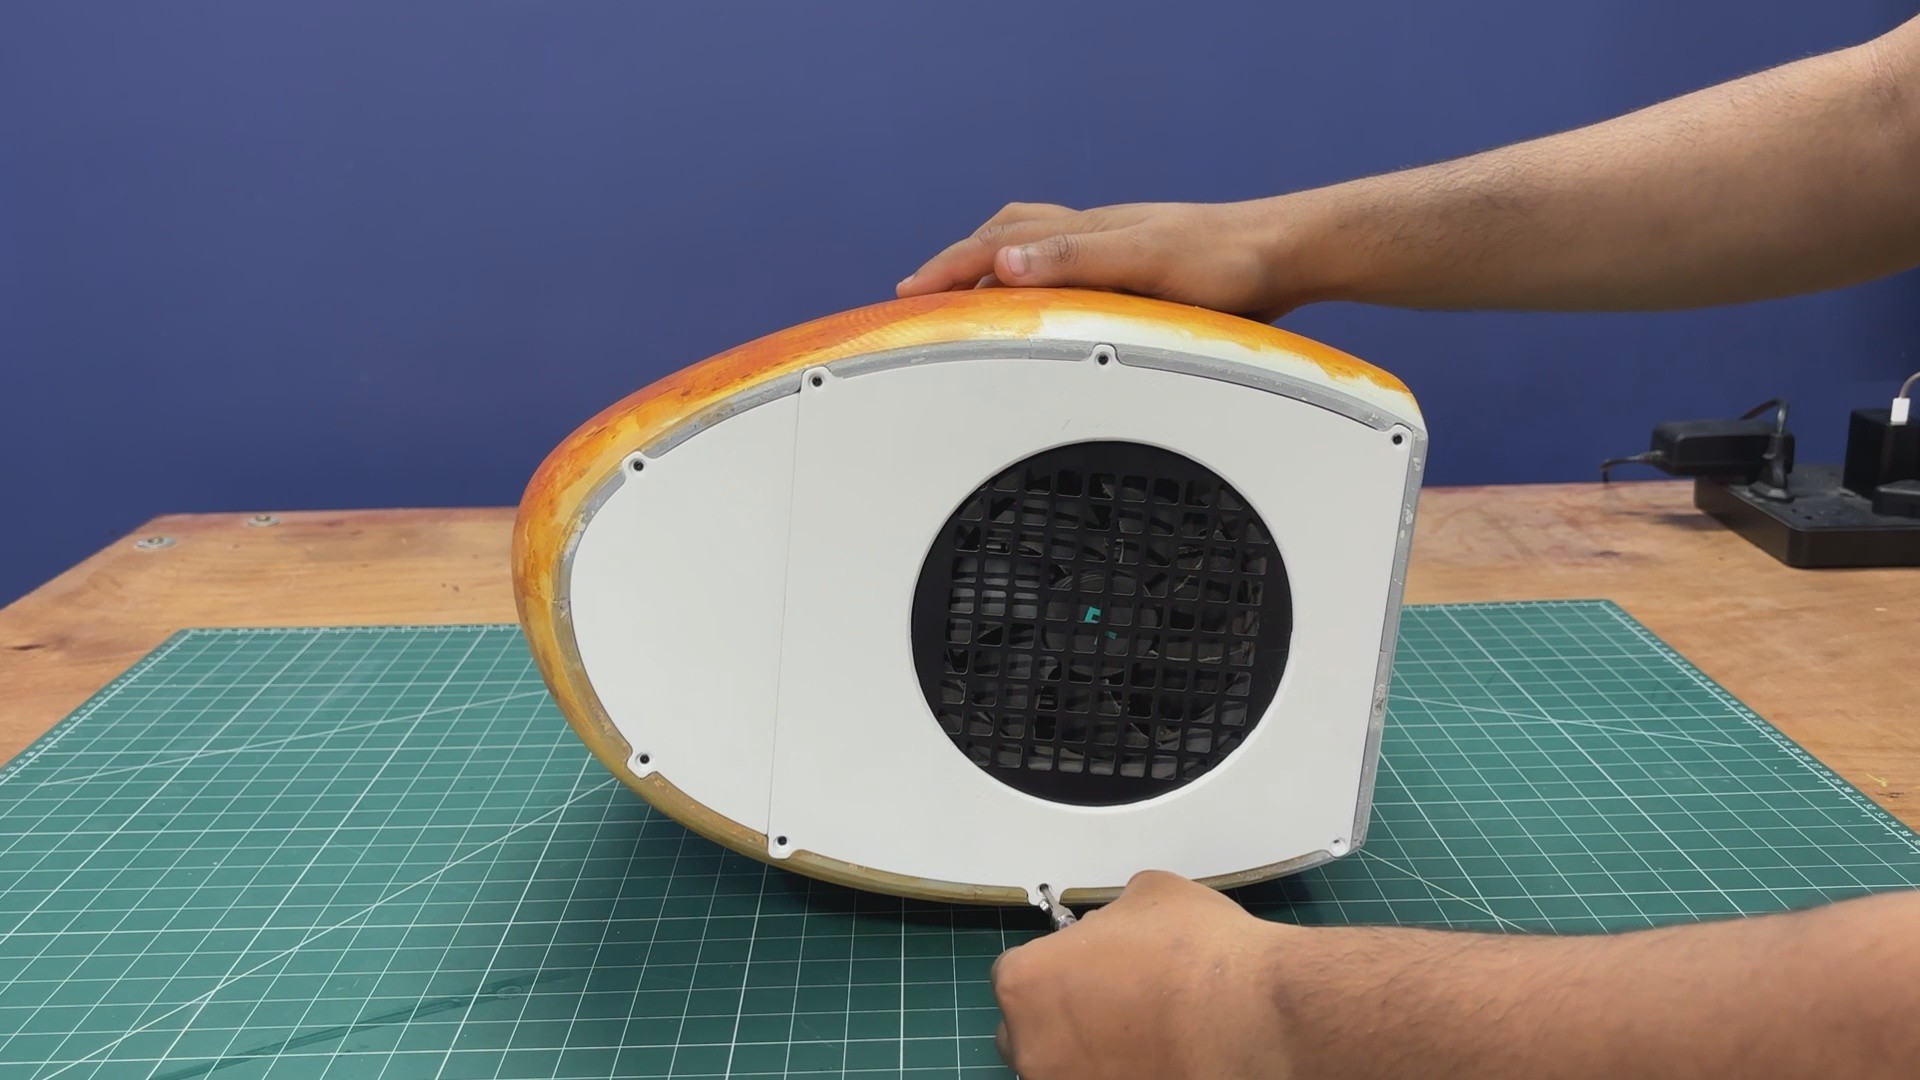
Next, we tilt the entire assembly and, from the underside, install eight M2 screws to fasten the base to the potato enclosure, securely joining both parts together.
To lift the Potato PC slightly off the ground and provide a stable footing, we attach foam pads to the bottom using hot glue.
With that, the assembly process of our Potato PC is complete.
-
15RESULT
![]()
![]()
![]()
![]()
![]()
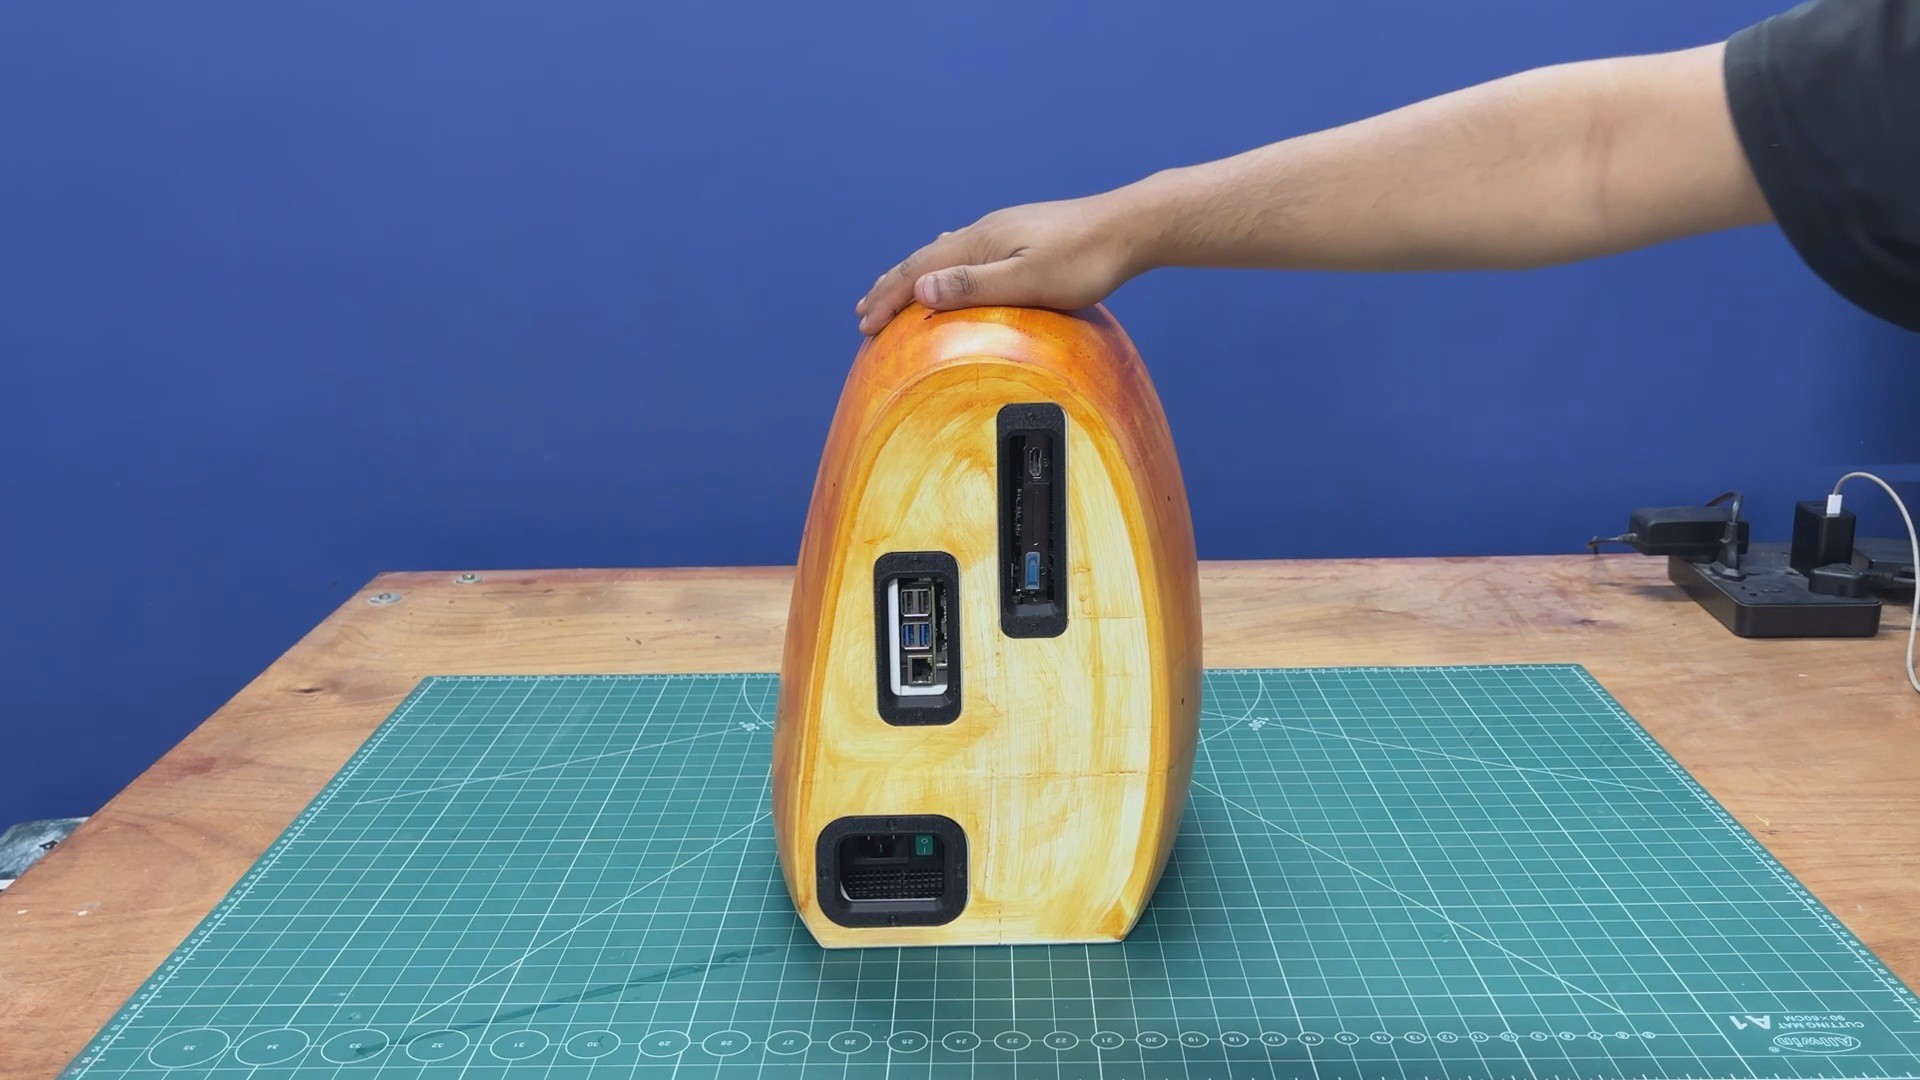
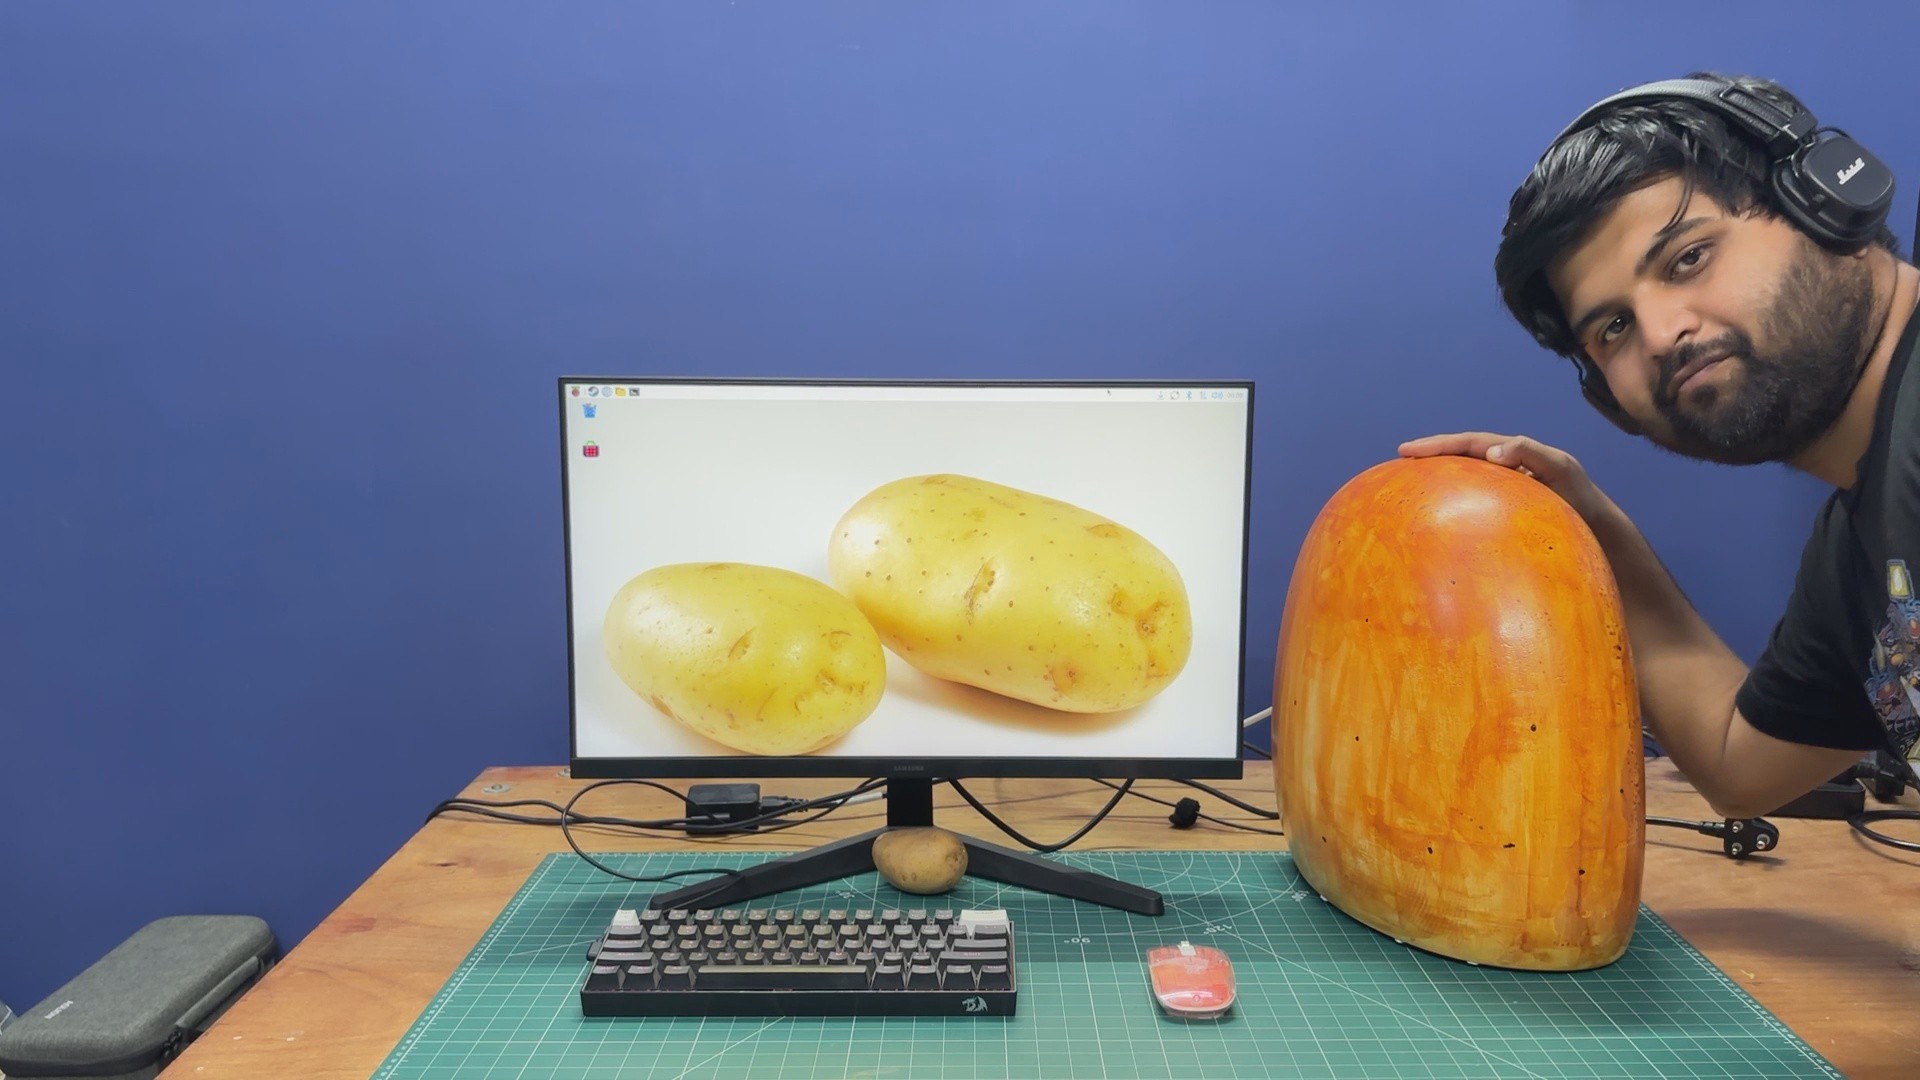
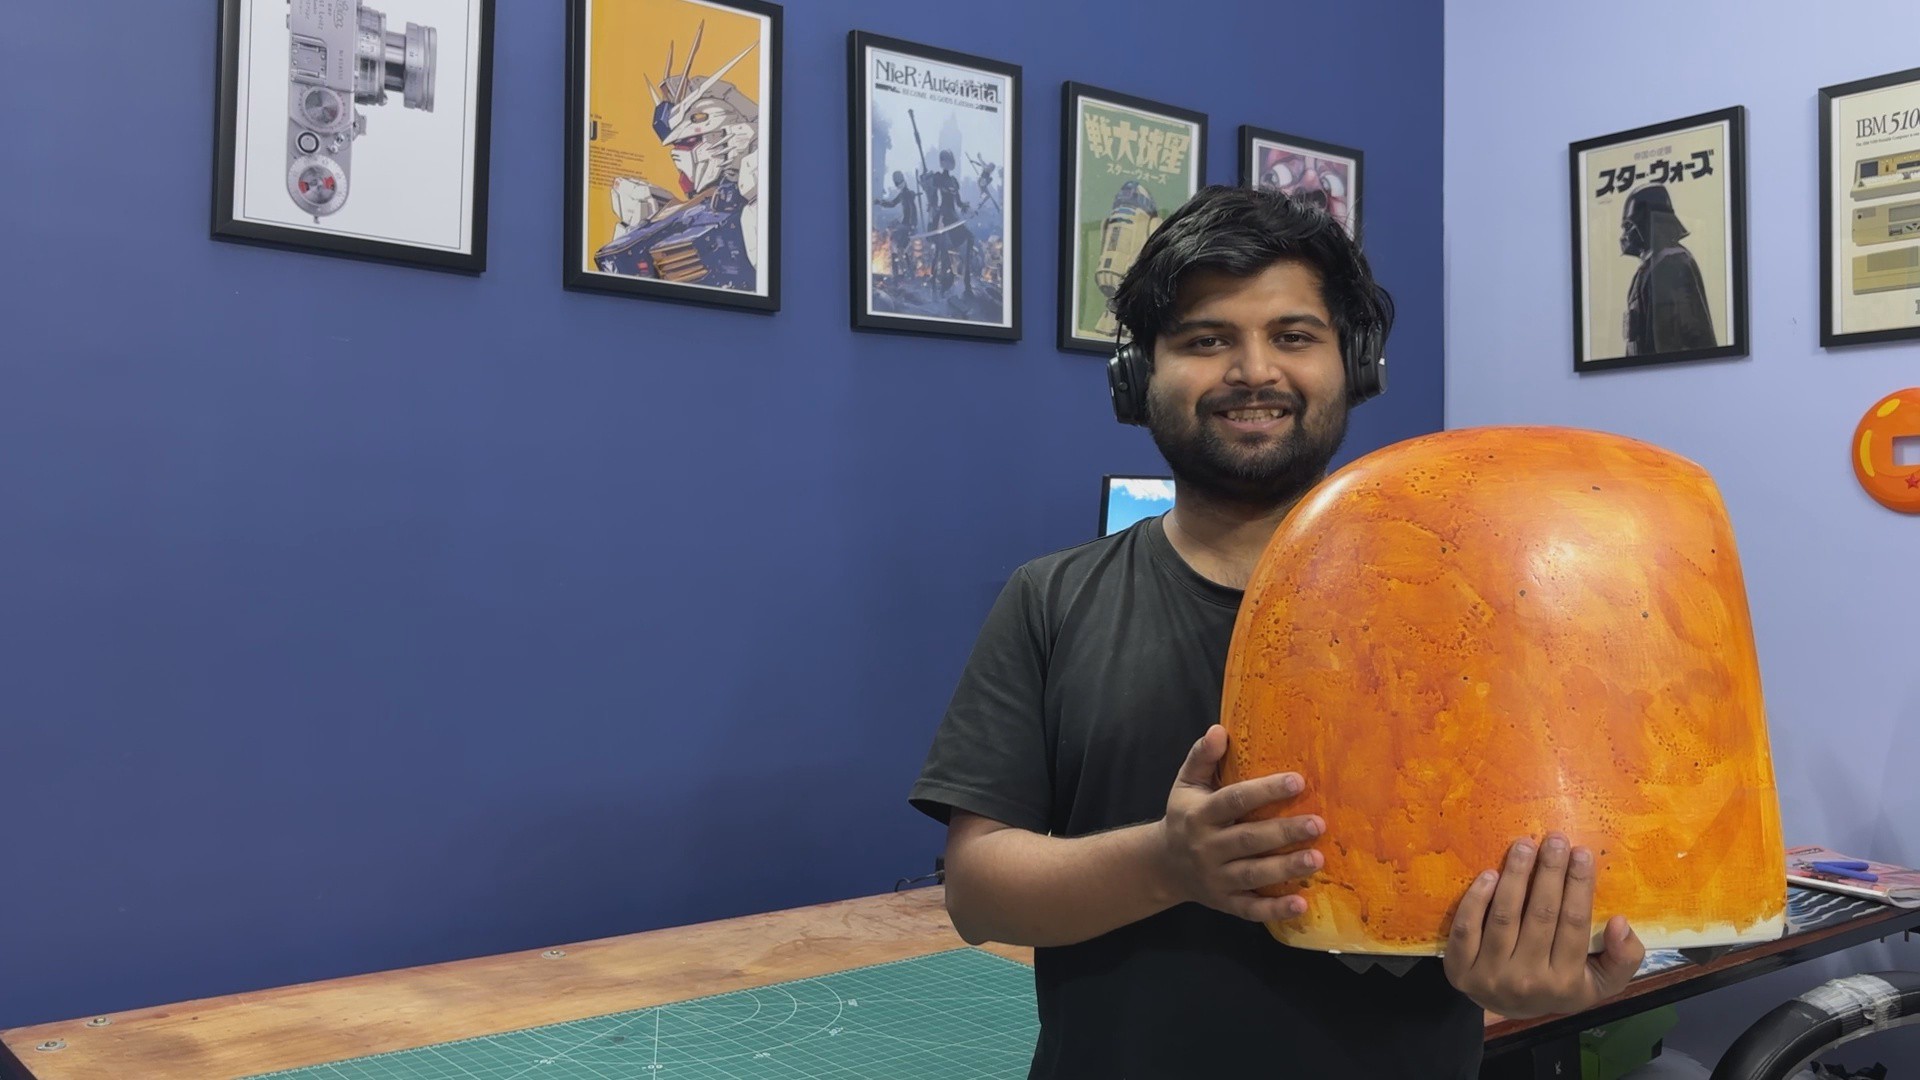
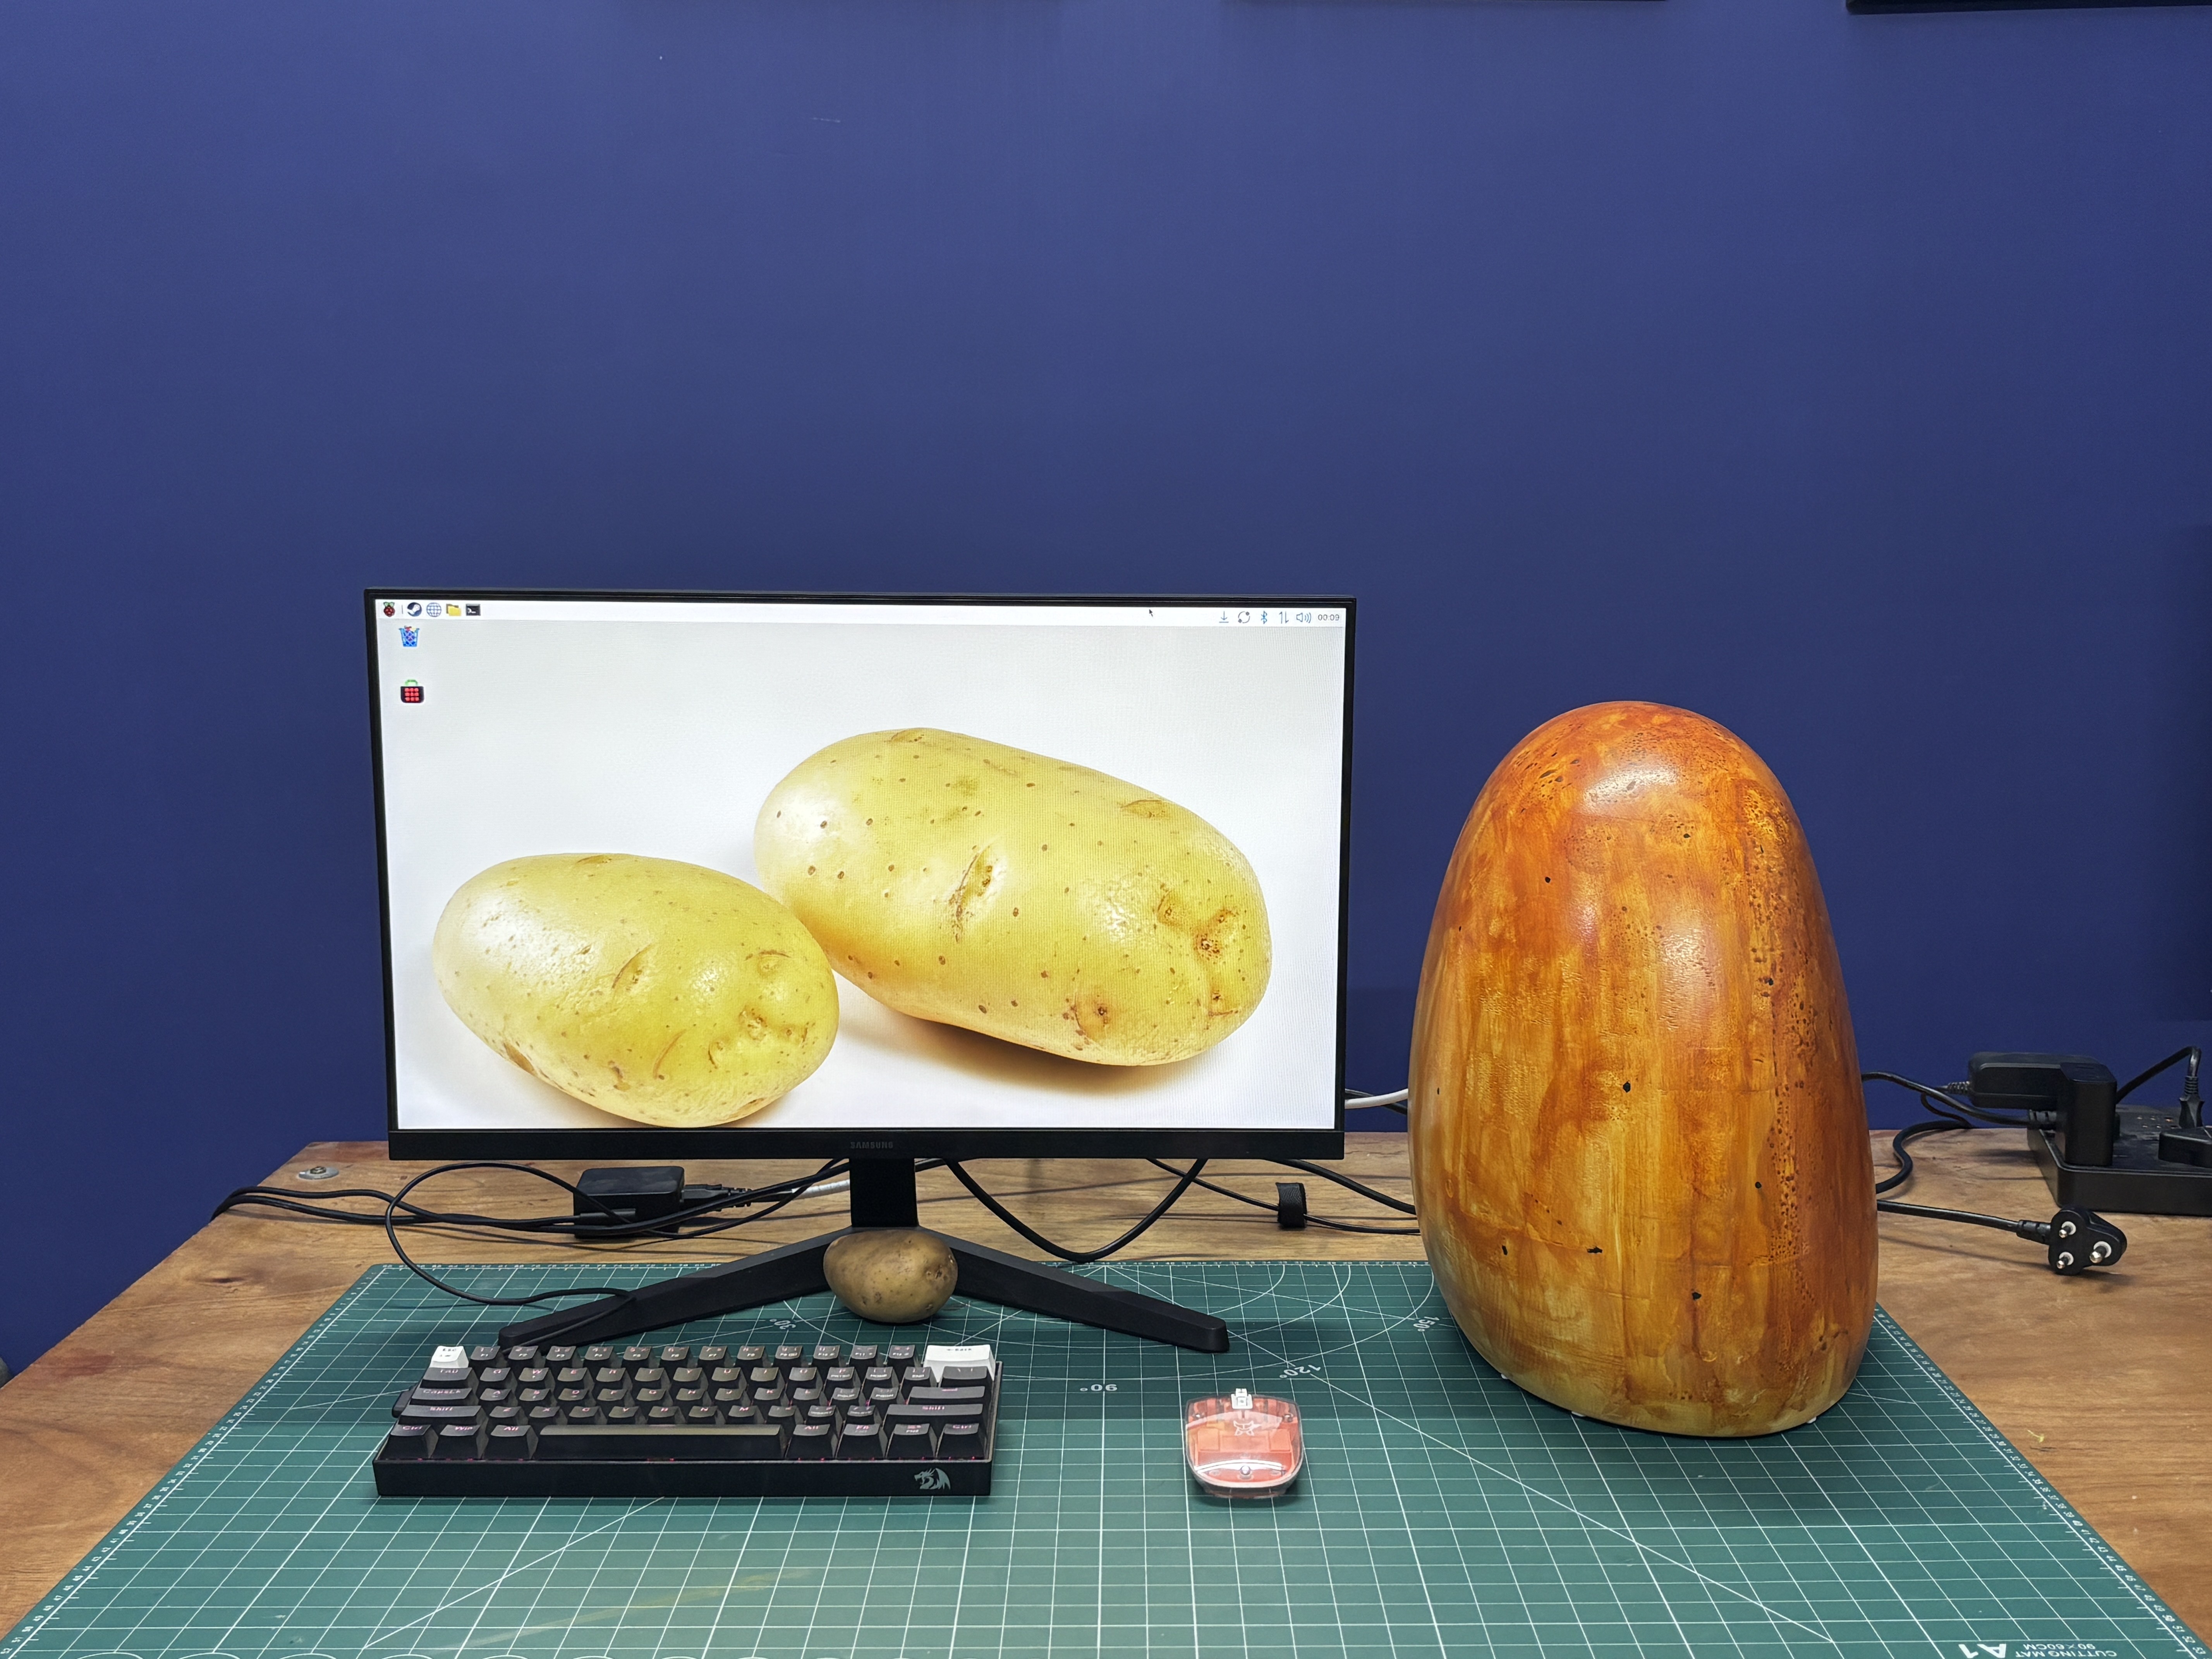
Here is the final result of this tedious but incredibly fun build: an oversized potato that is actually a fully functional PC. When you think about it, this is essentially a sleeper PC disguised as a potato.
Jokes aside, this is my Potato PC, a completely working computer built around a Raspberry Pi 5 and paired with a full desktop-class AMD Radeon RX 6500 XT. Using a series of adapters, I was able to connect the GPU to the Raspberry Pi through its PCIe interface.
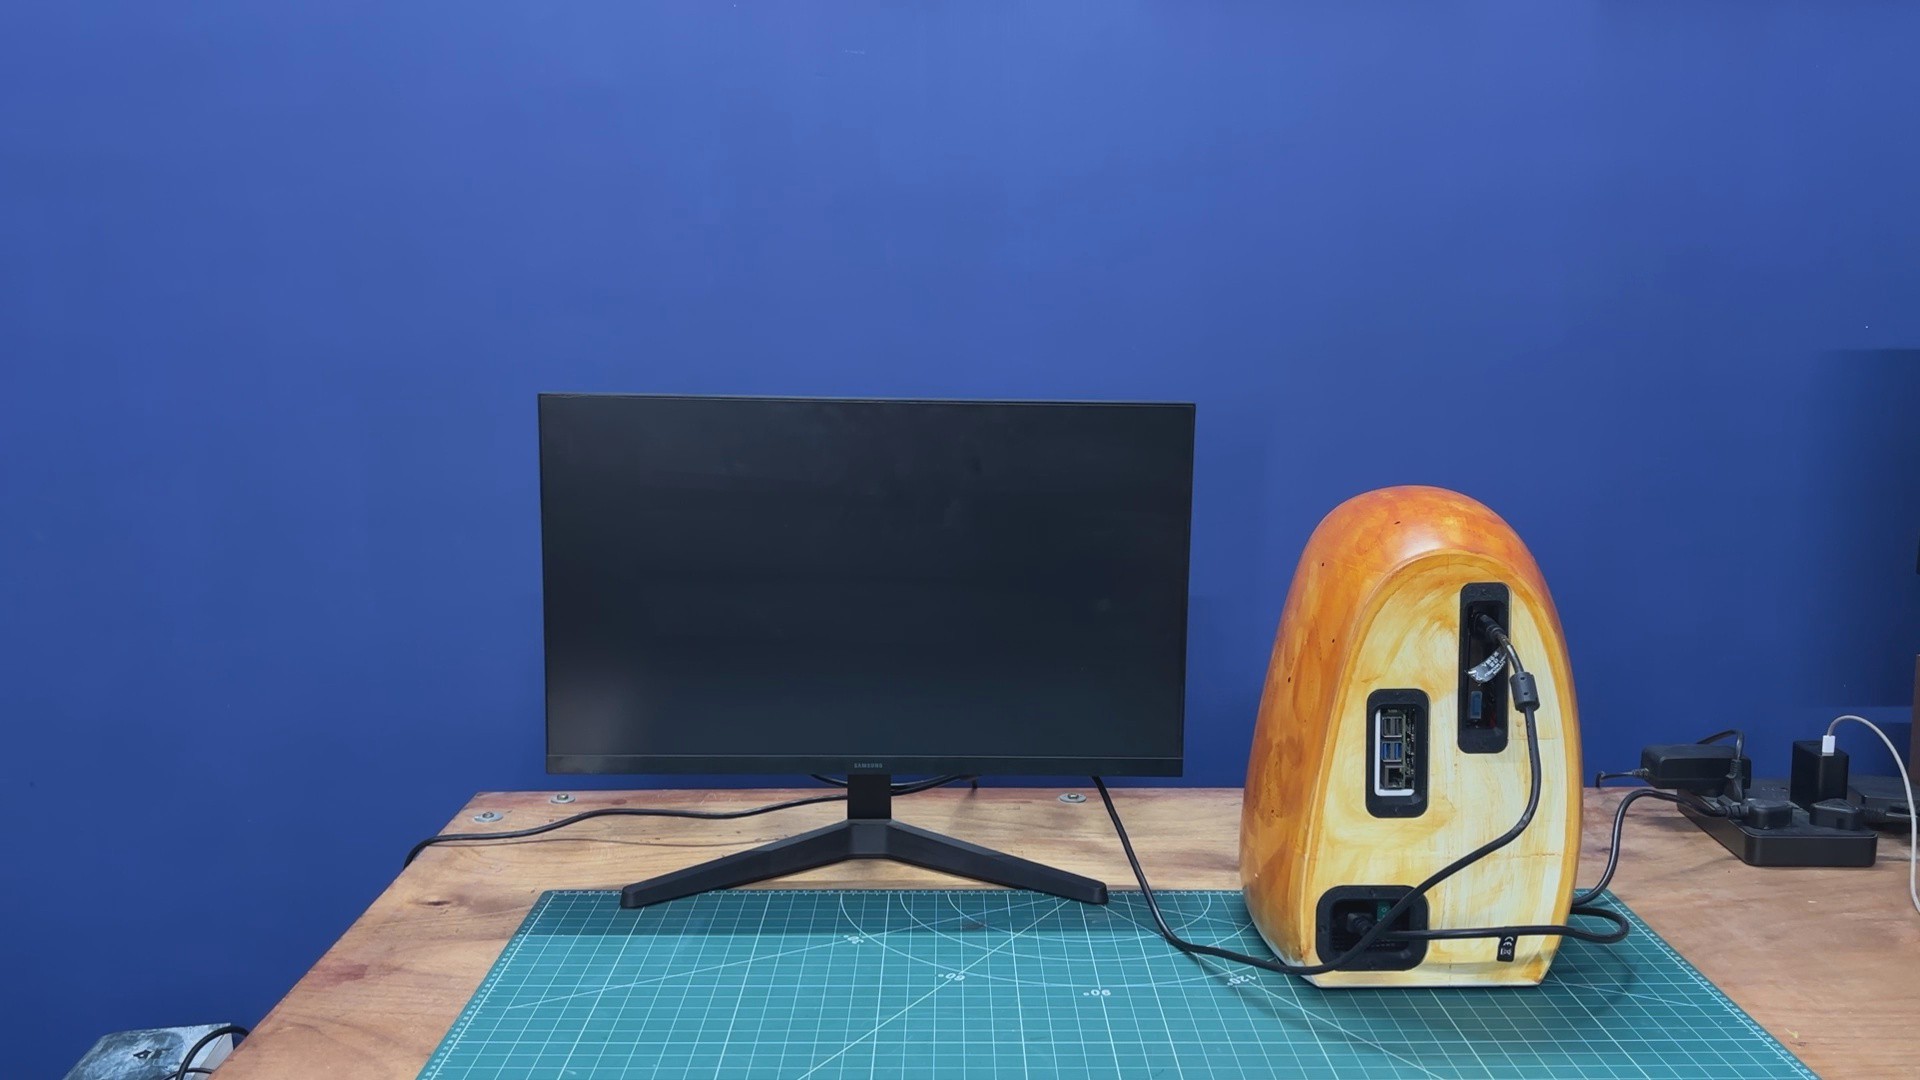
Using the system is just like using any other desktop computer. I connect my monitor directly to the graphics card, plug the AC power cord into the power supply, and connect it to a wall outlet.
Once powered on, the system boots in about five seconds, which is remarkably fast thanks to the NVMe storage drive.
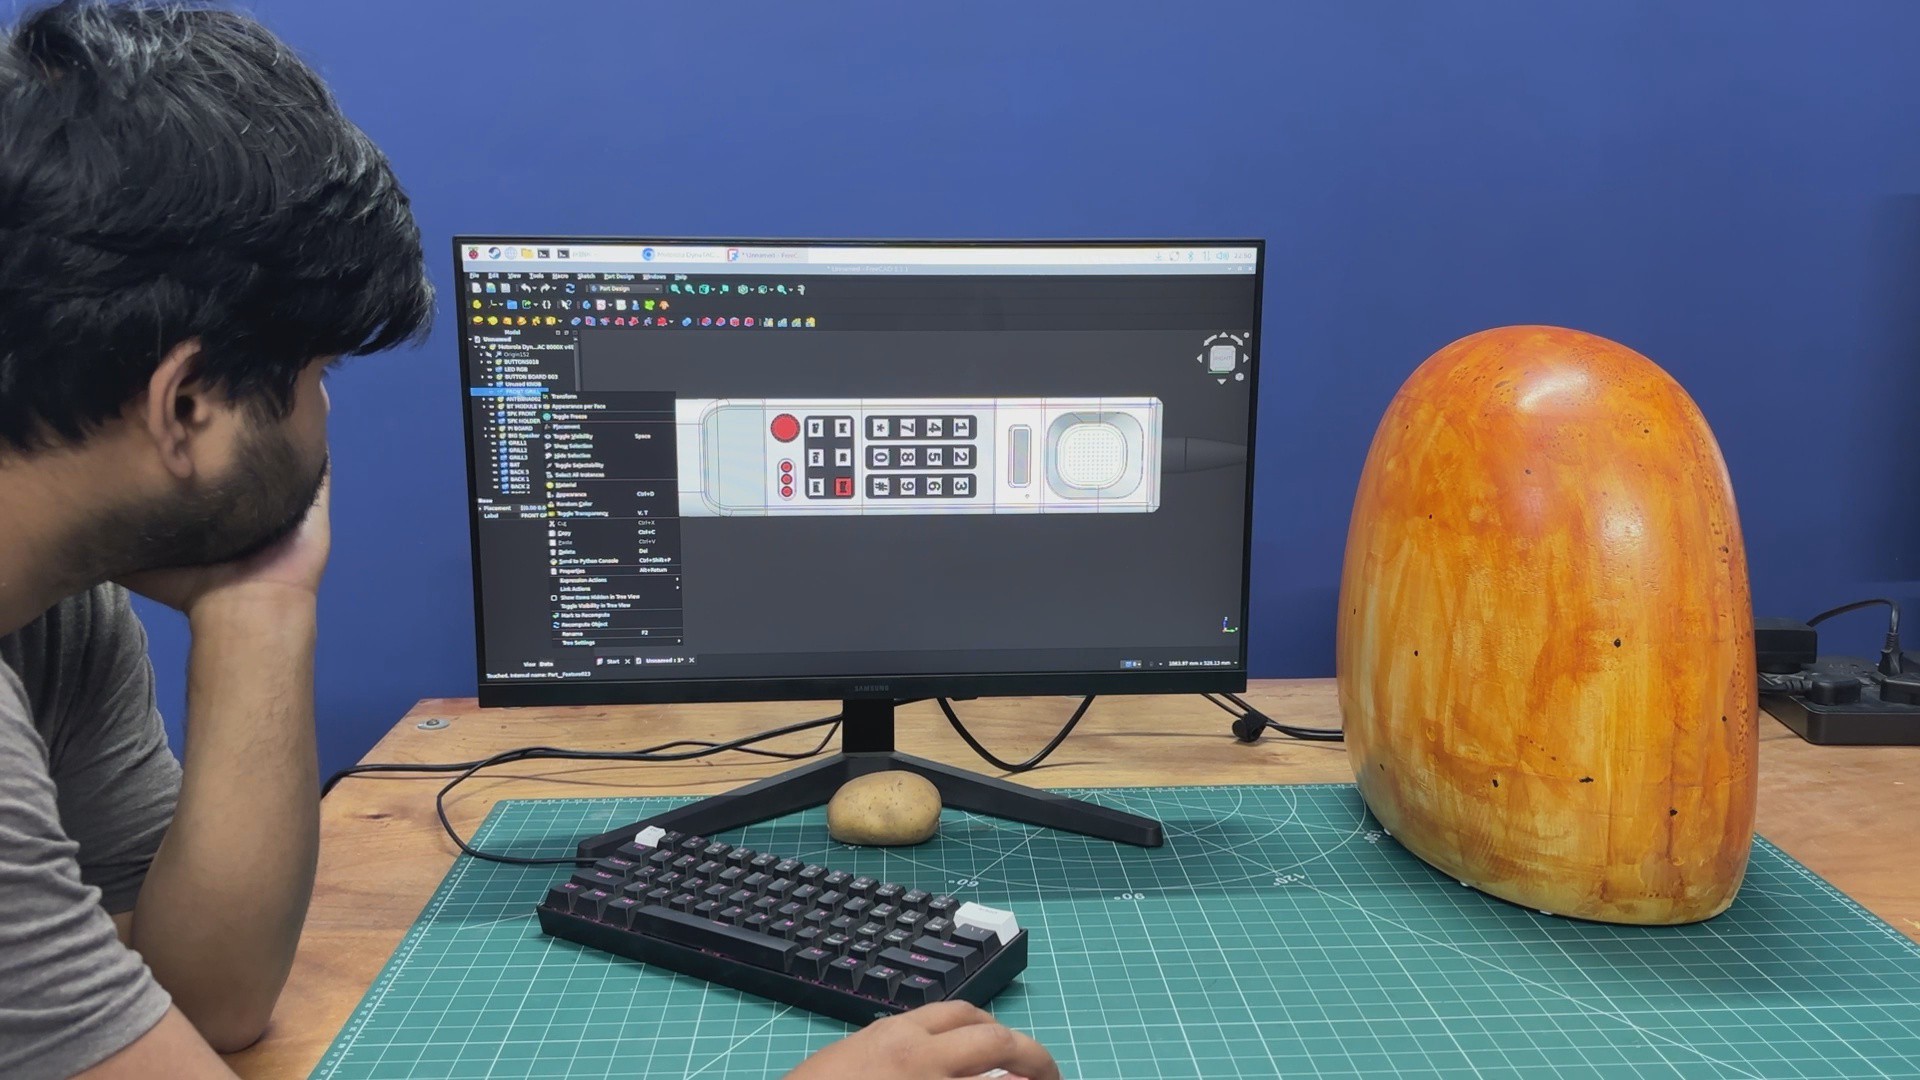
The next test for our Potato PC was running productivity software. As an R&D engineer, the primary software I use professionally is SOLIDWORKS, and for personal projects, I typically use Autodesk Fusion. Unfortunately, neither of these applications is natively available for Linux on ARM, so I installed the next best alternative: FreeCAD.
FreeCAD is a powerful open-source CAD package developed by the community. I had experimented with it in the past, but never fully transitioned to it. For this test, I loaded one of my larger design files of the Motorola DynaTAC project, which is approximately 69 MB in size. The file opened within a few seconds, and navigating the model was smooth and responsive. At no point did it feel like I was working on a Raspberry Pi-based system.
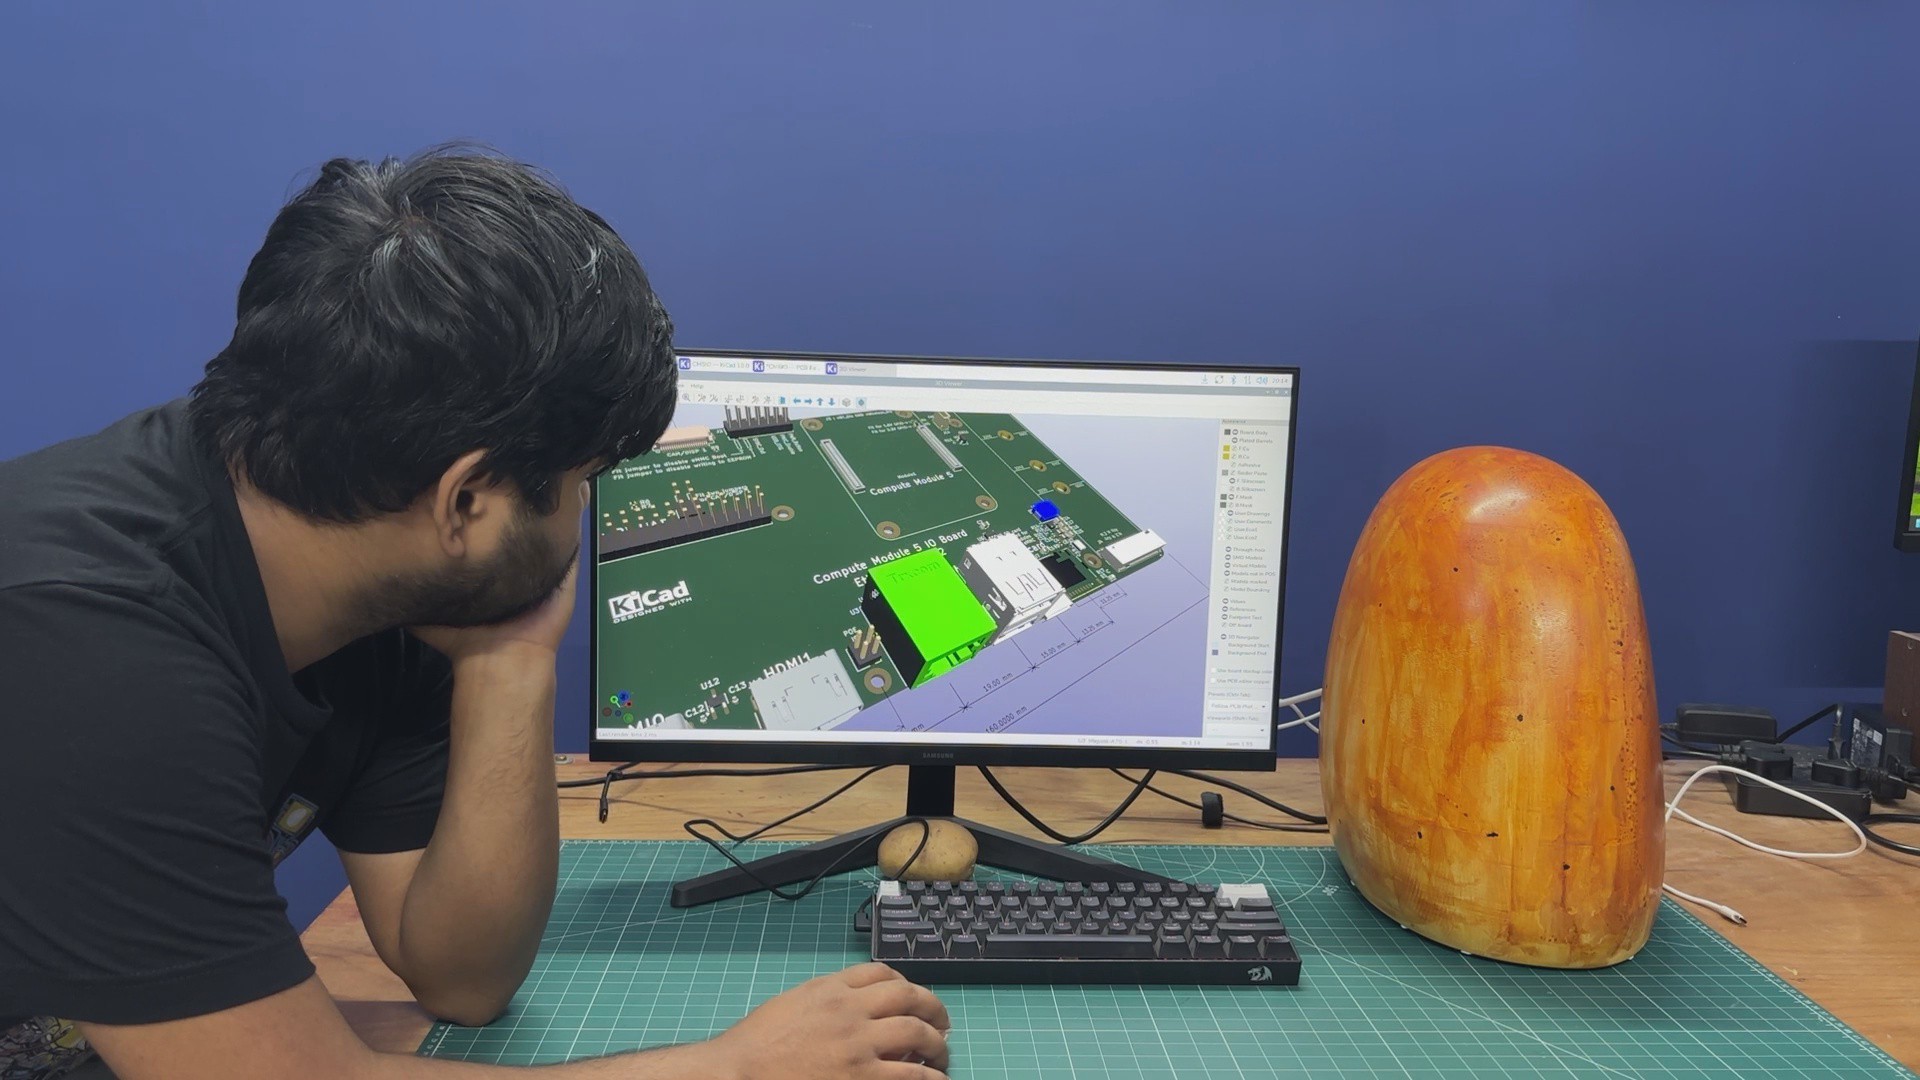
Next, I installed KiCad and opened the reference design files for the Raspberry Pi Compute Module 5, which I downloaded from Raspberry Pi’s official documentation. KiCad also performed exceptionally well, with no noticeable lag or rendering issues.
I even tested Gimp on this setup, and of course, it worked perfectly.
These tests demonstrate that the Potato PC is more than just a joke build.
-
16RUNNING GAMES
![]()
![]()
![]()
![]()
![]()
![]()
![]()
![]()
![]()
![]()
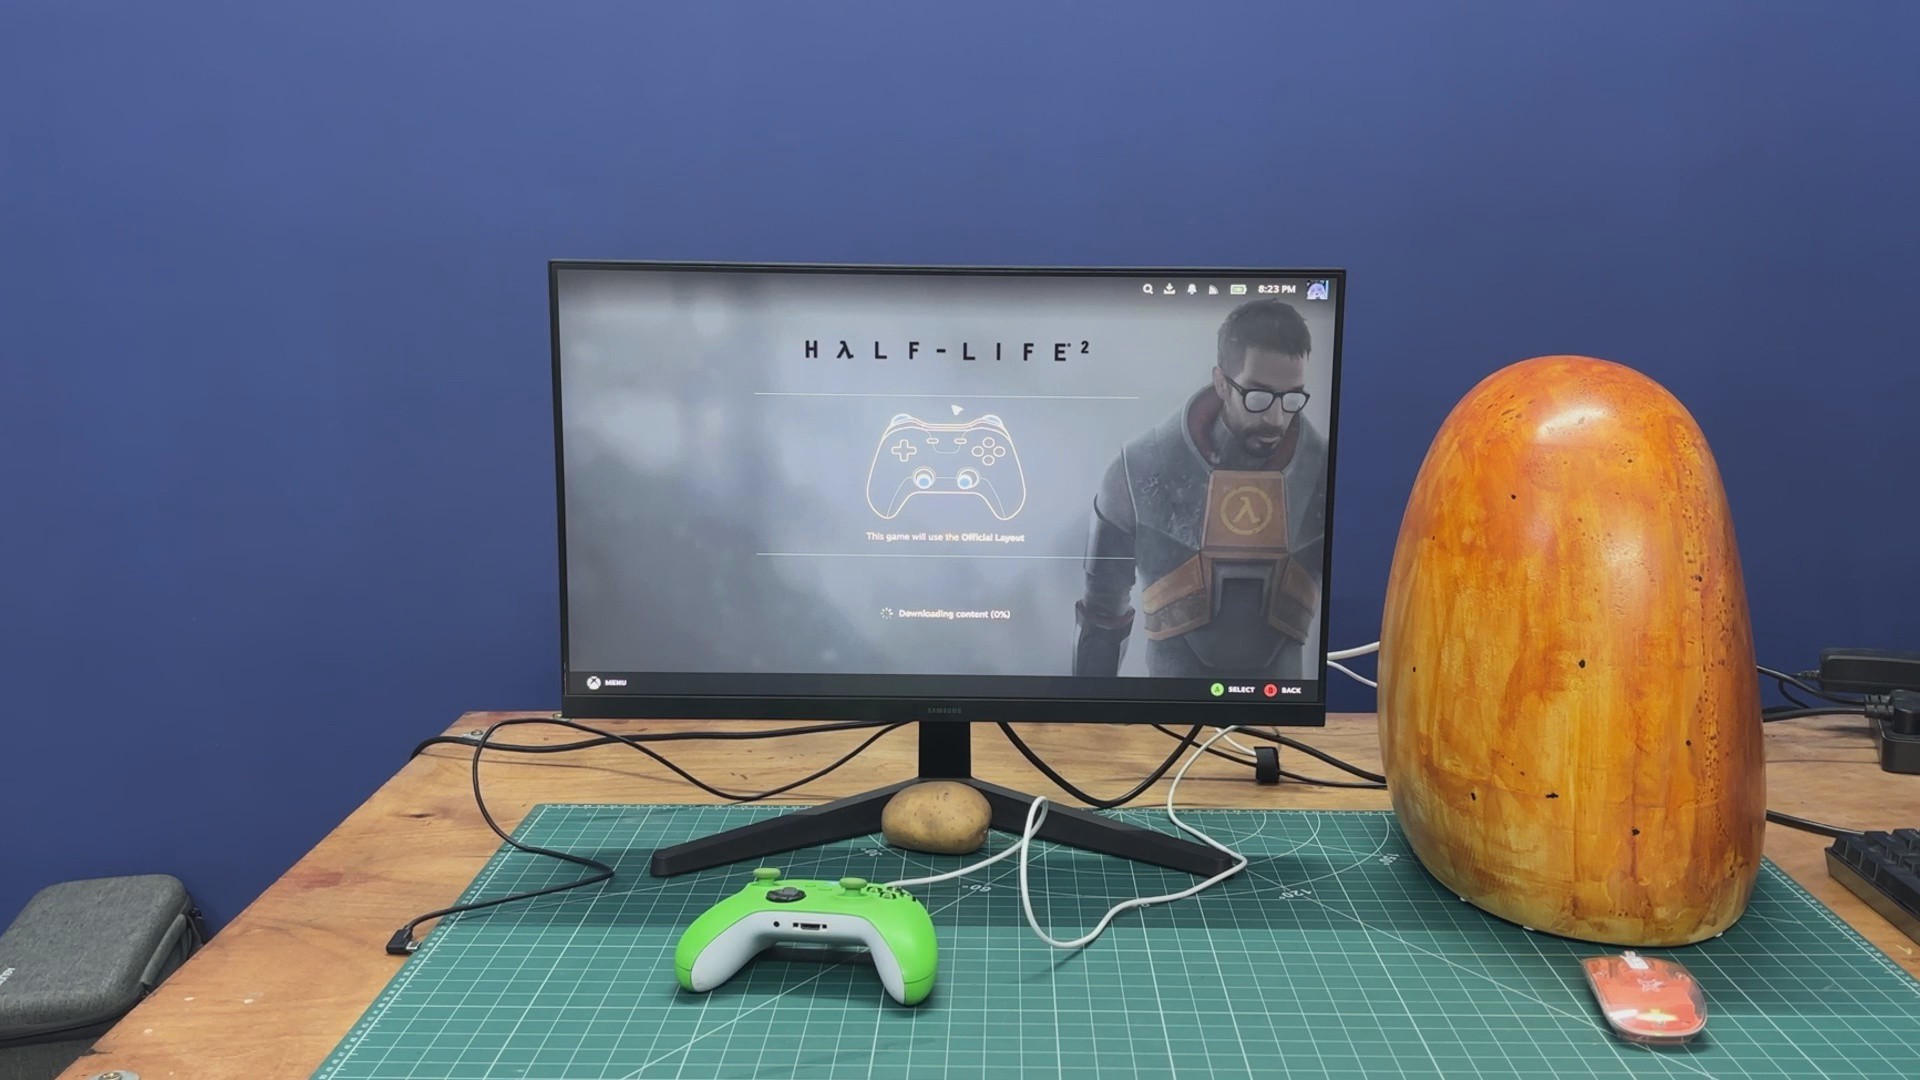
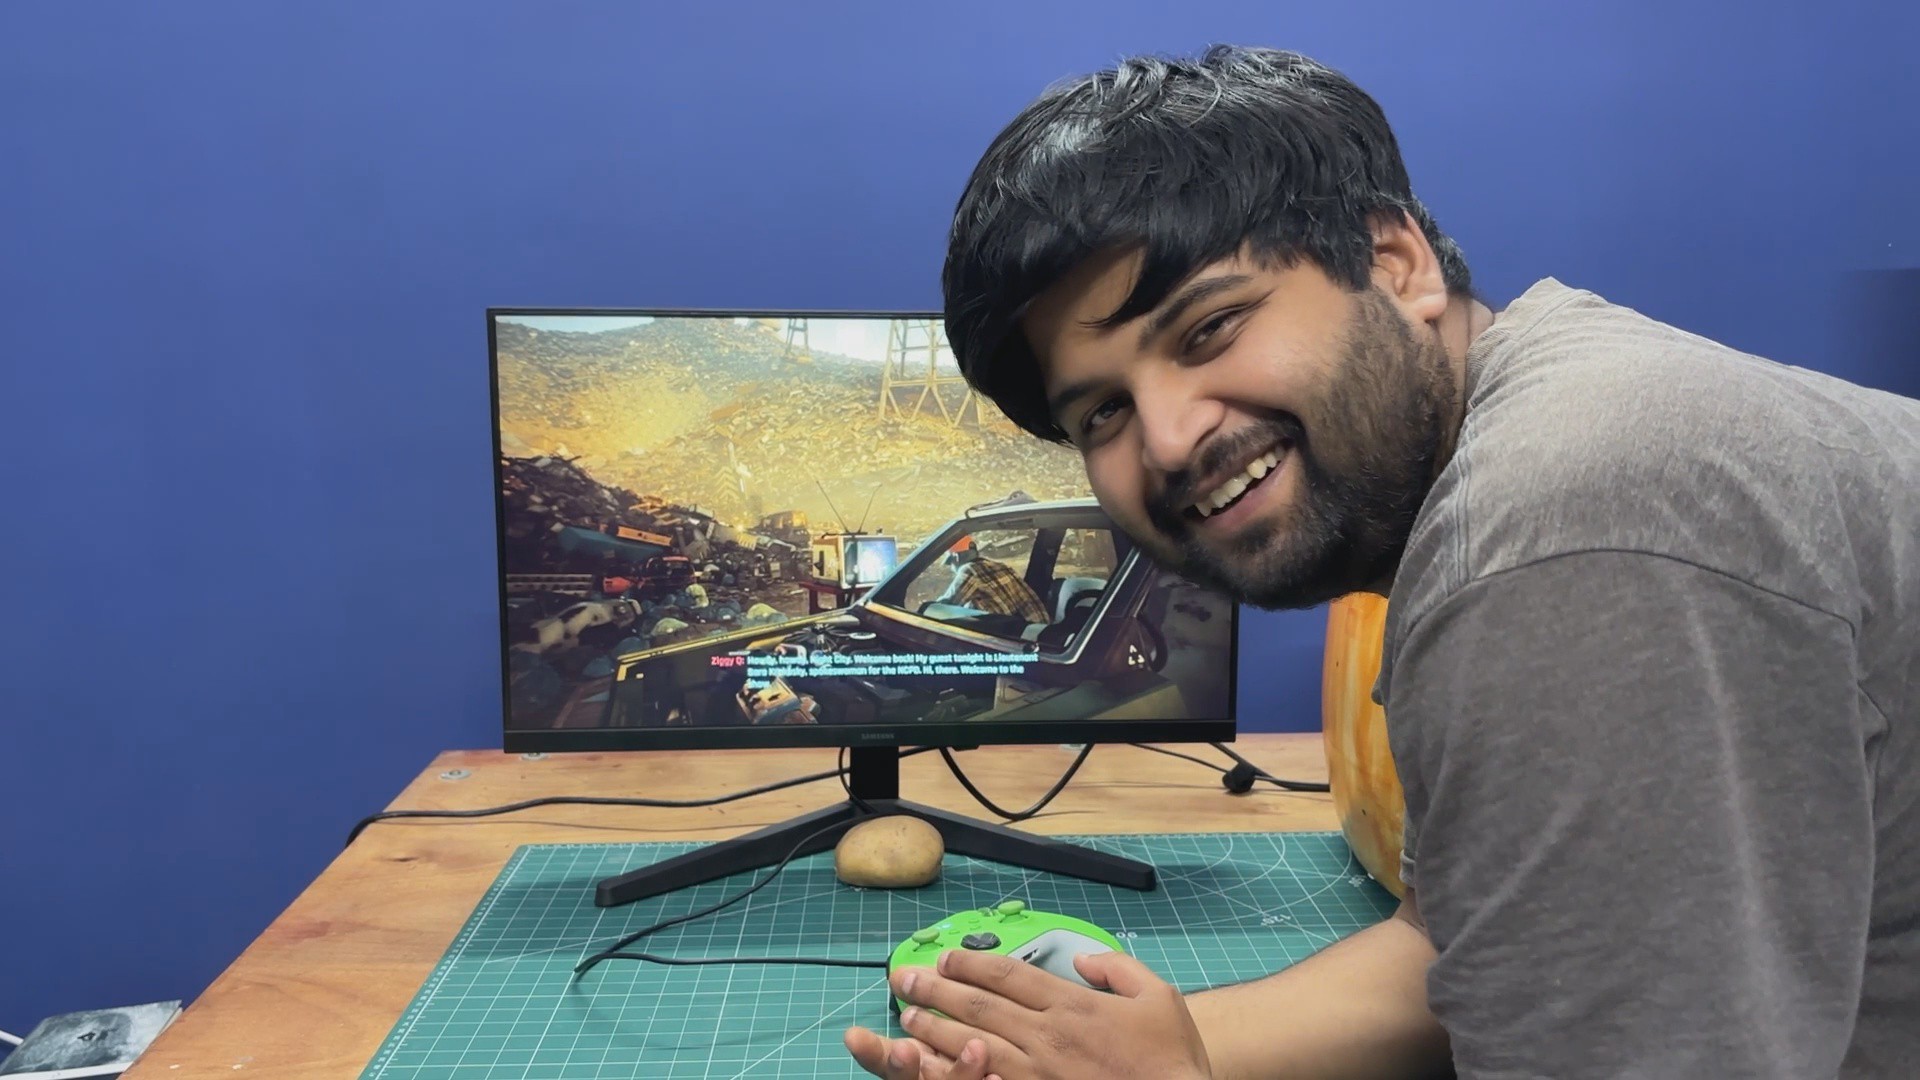
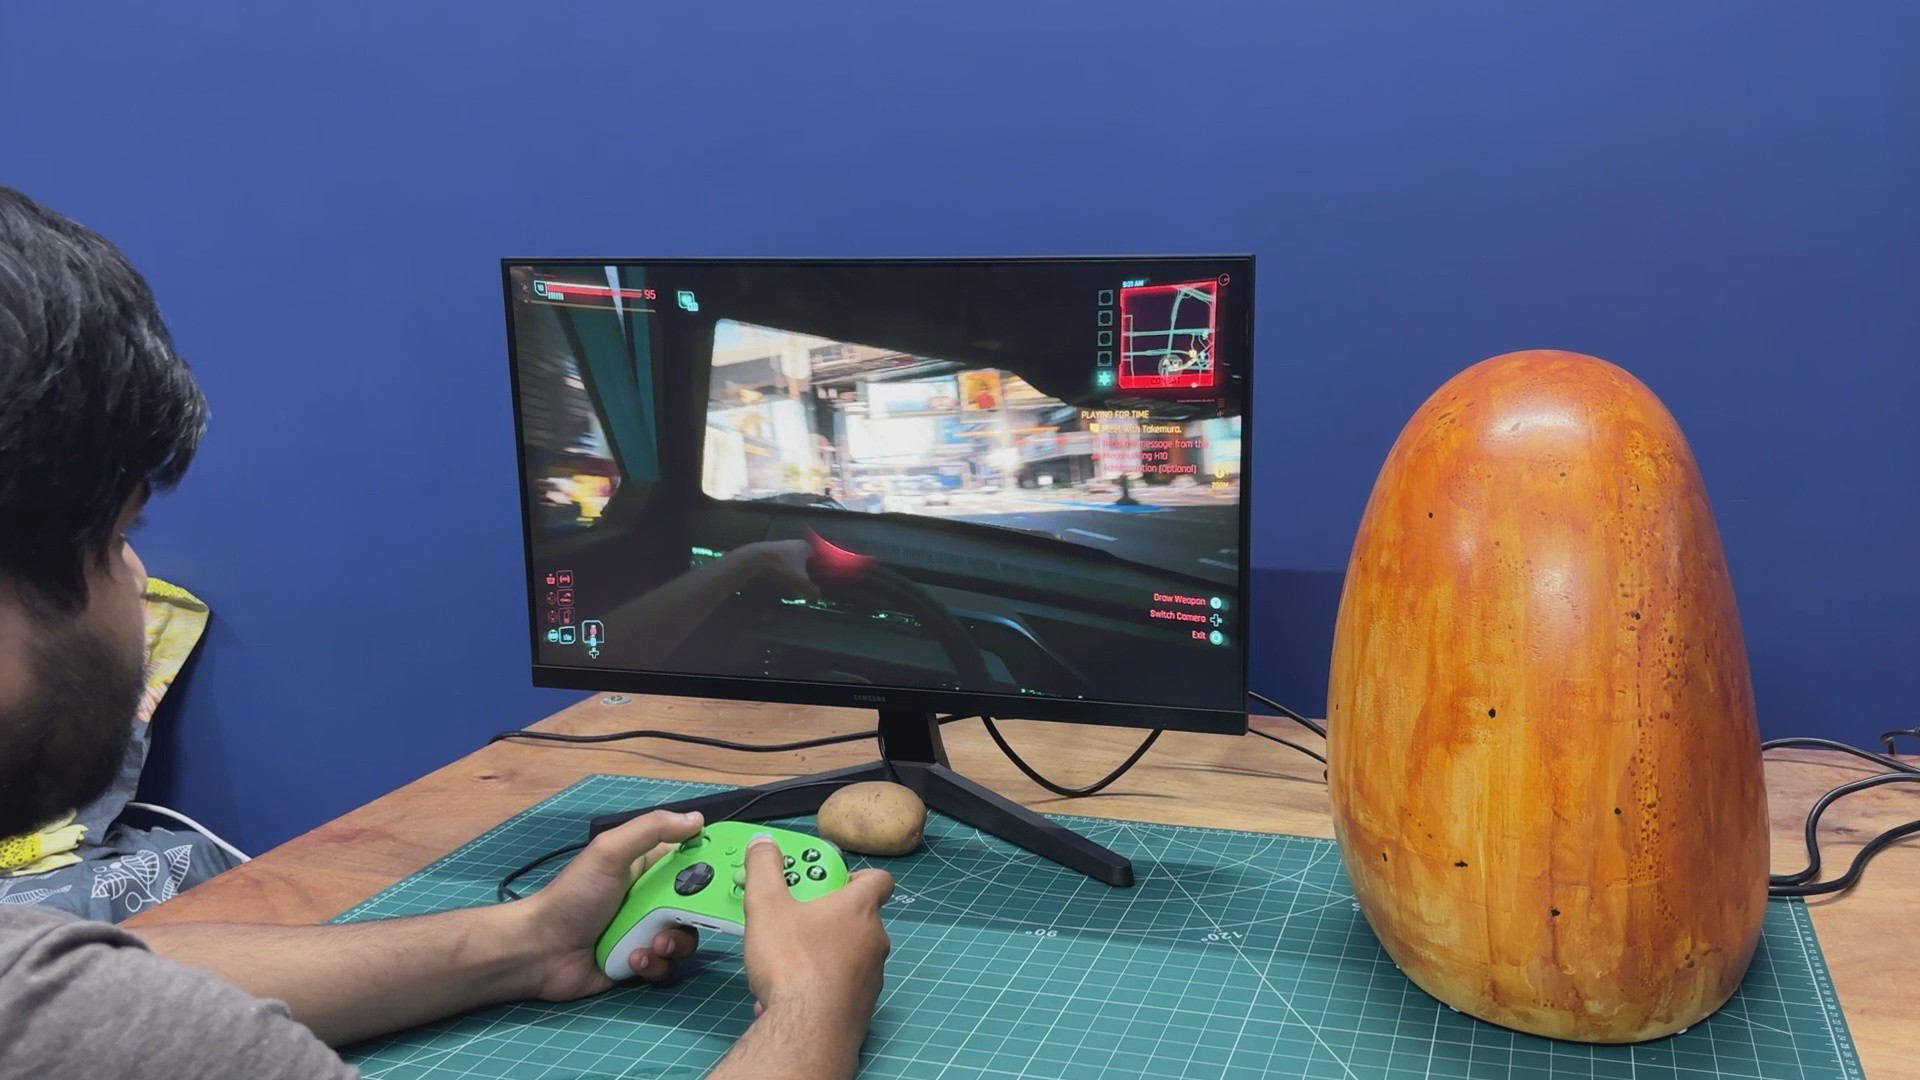
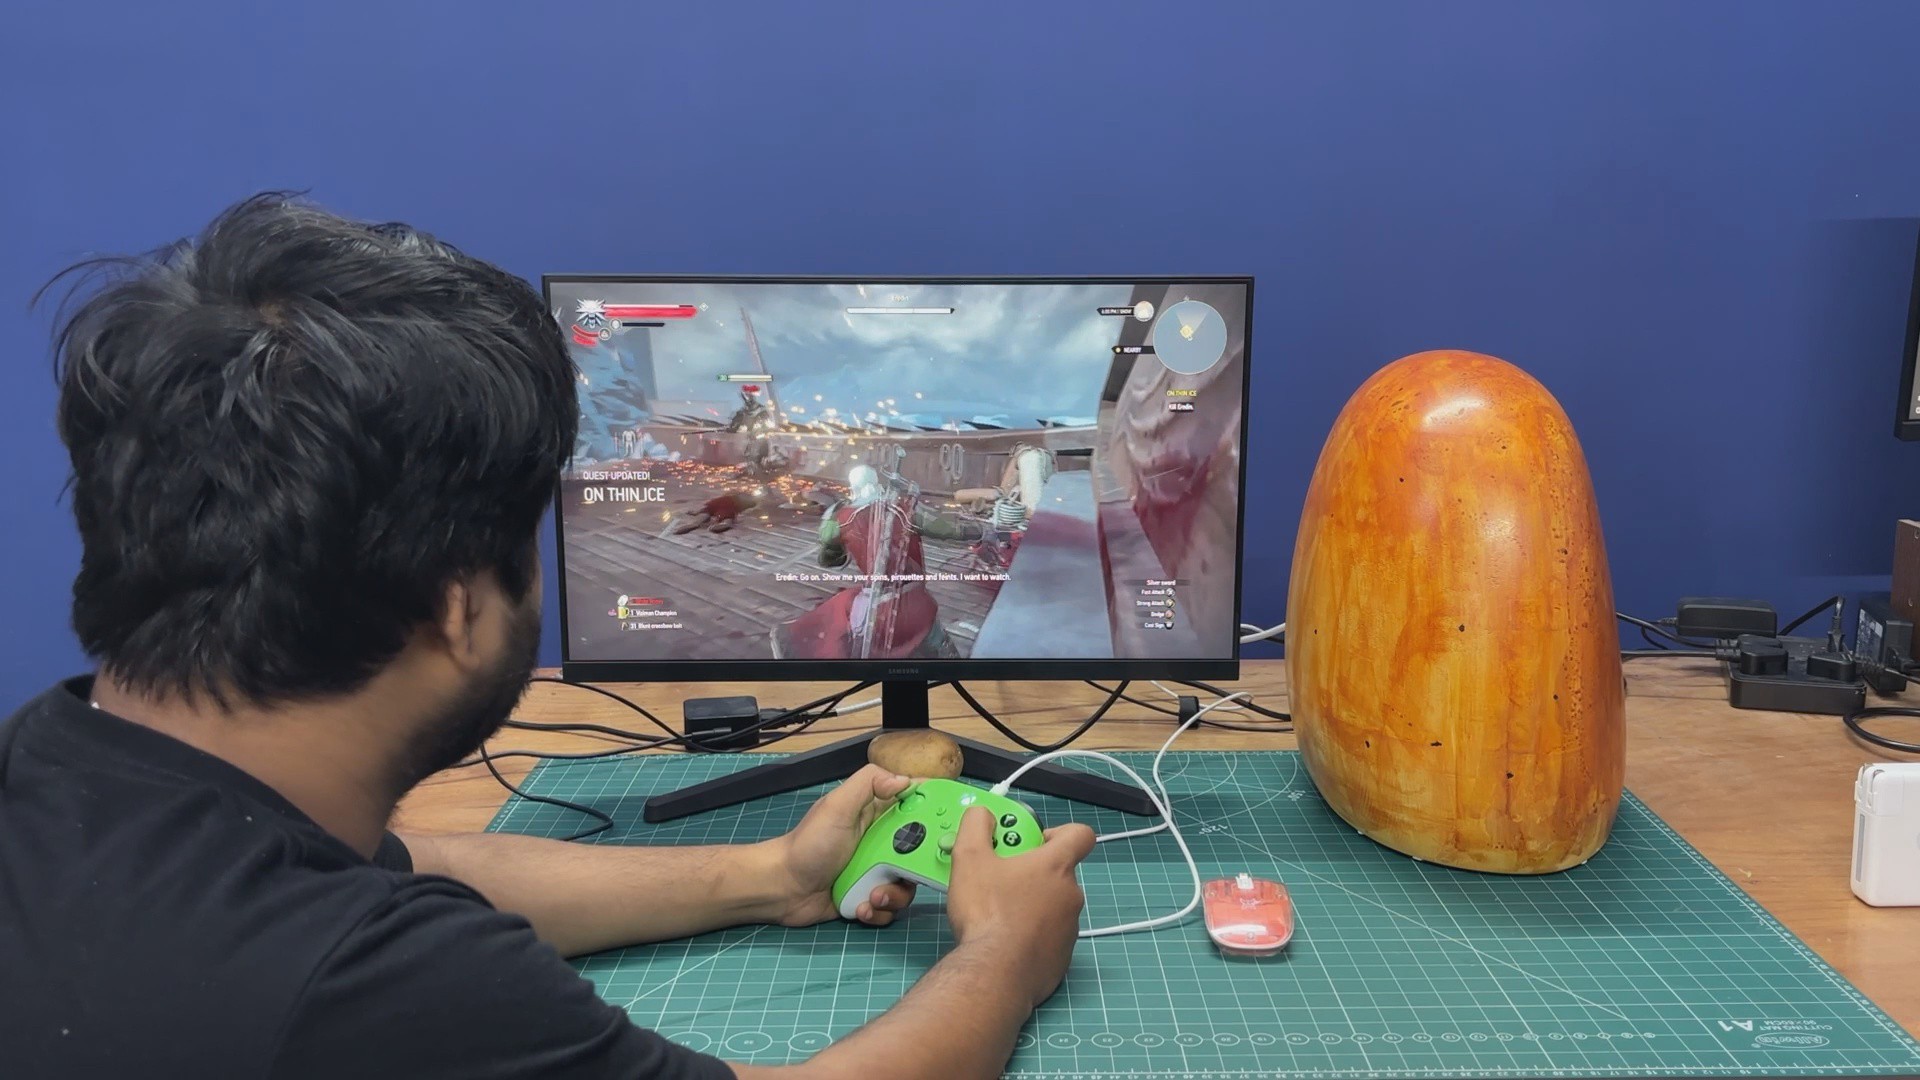
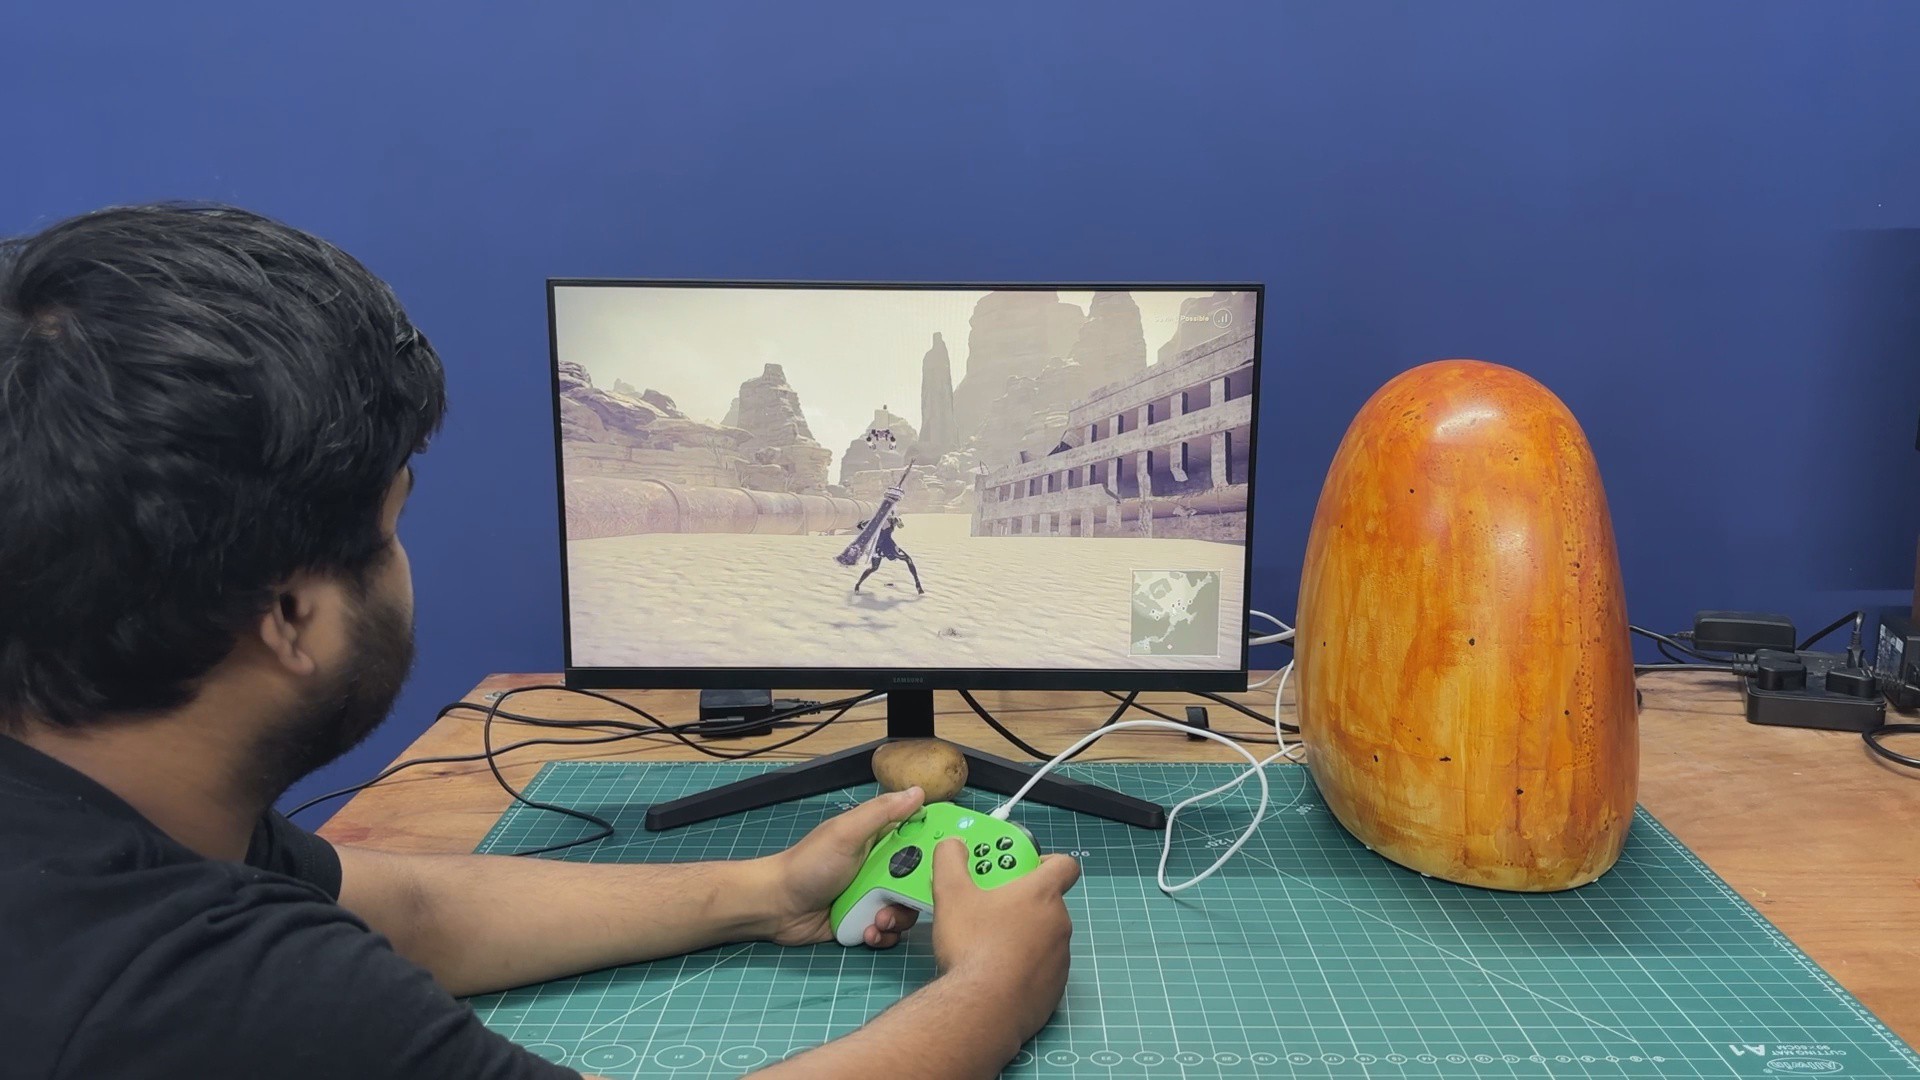
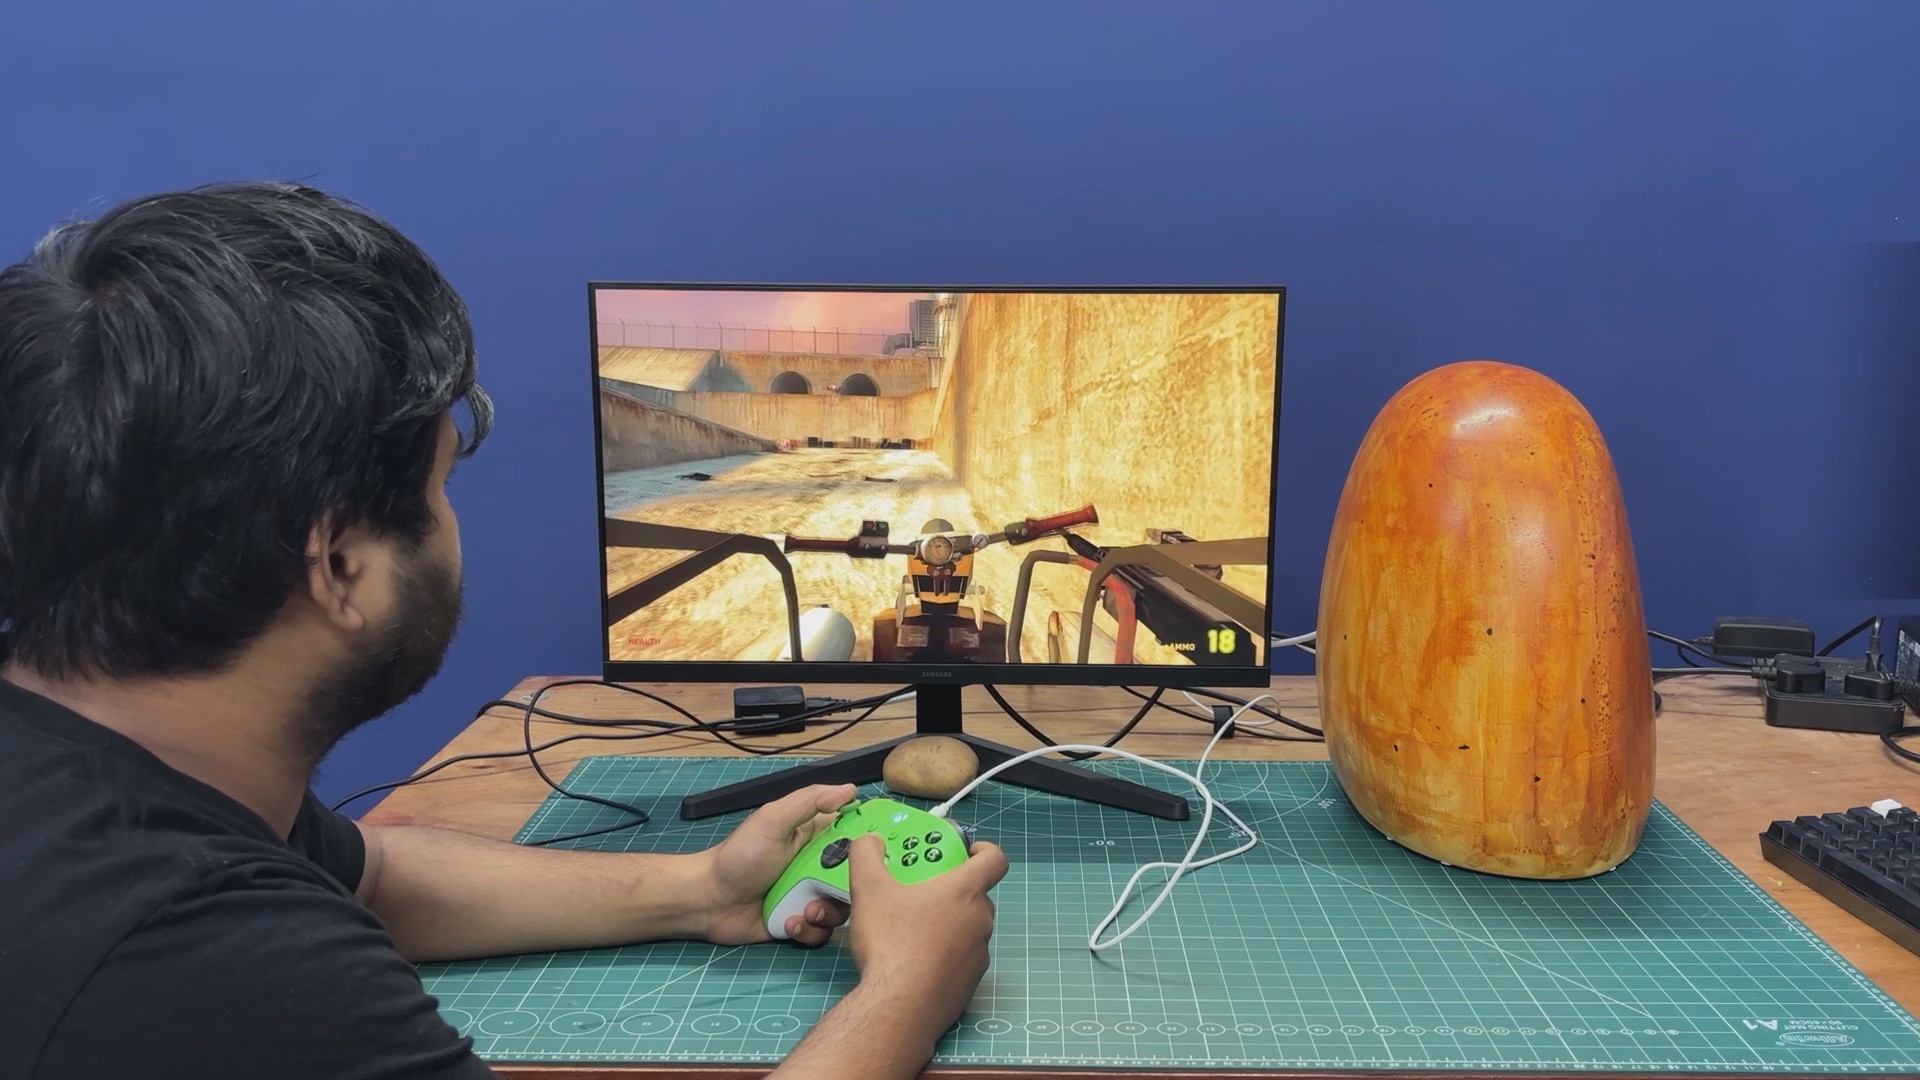
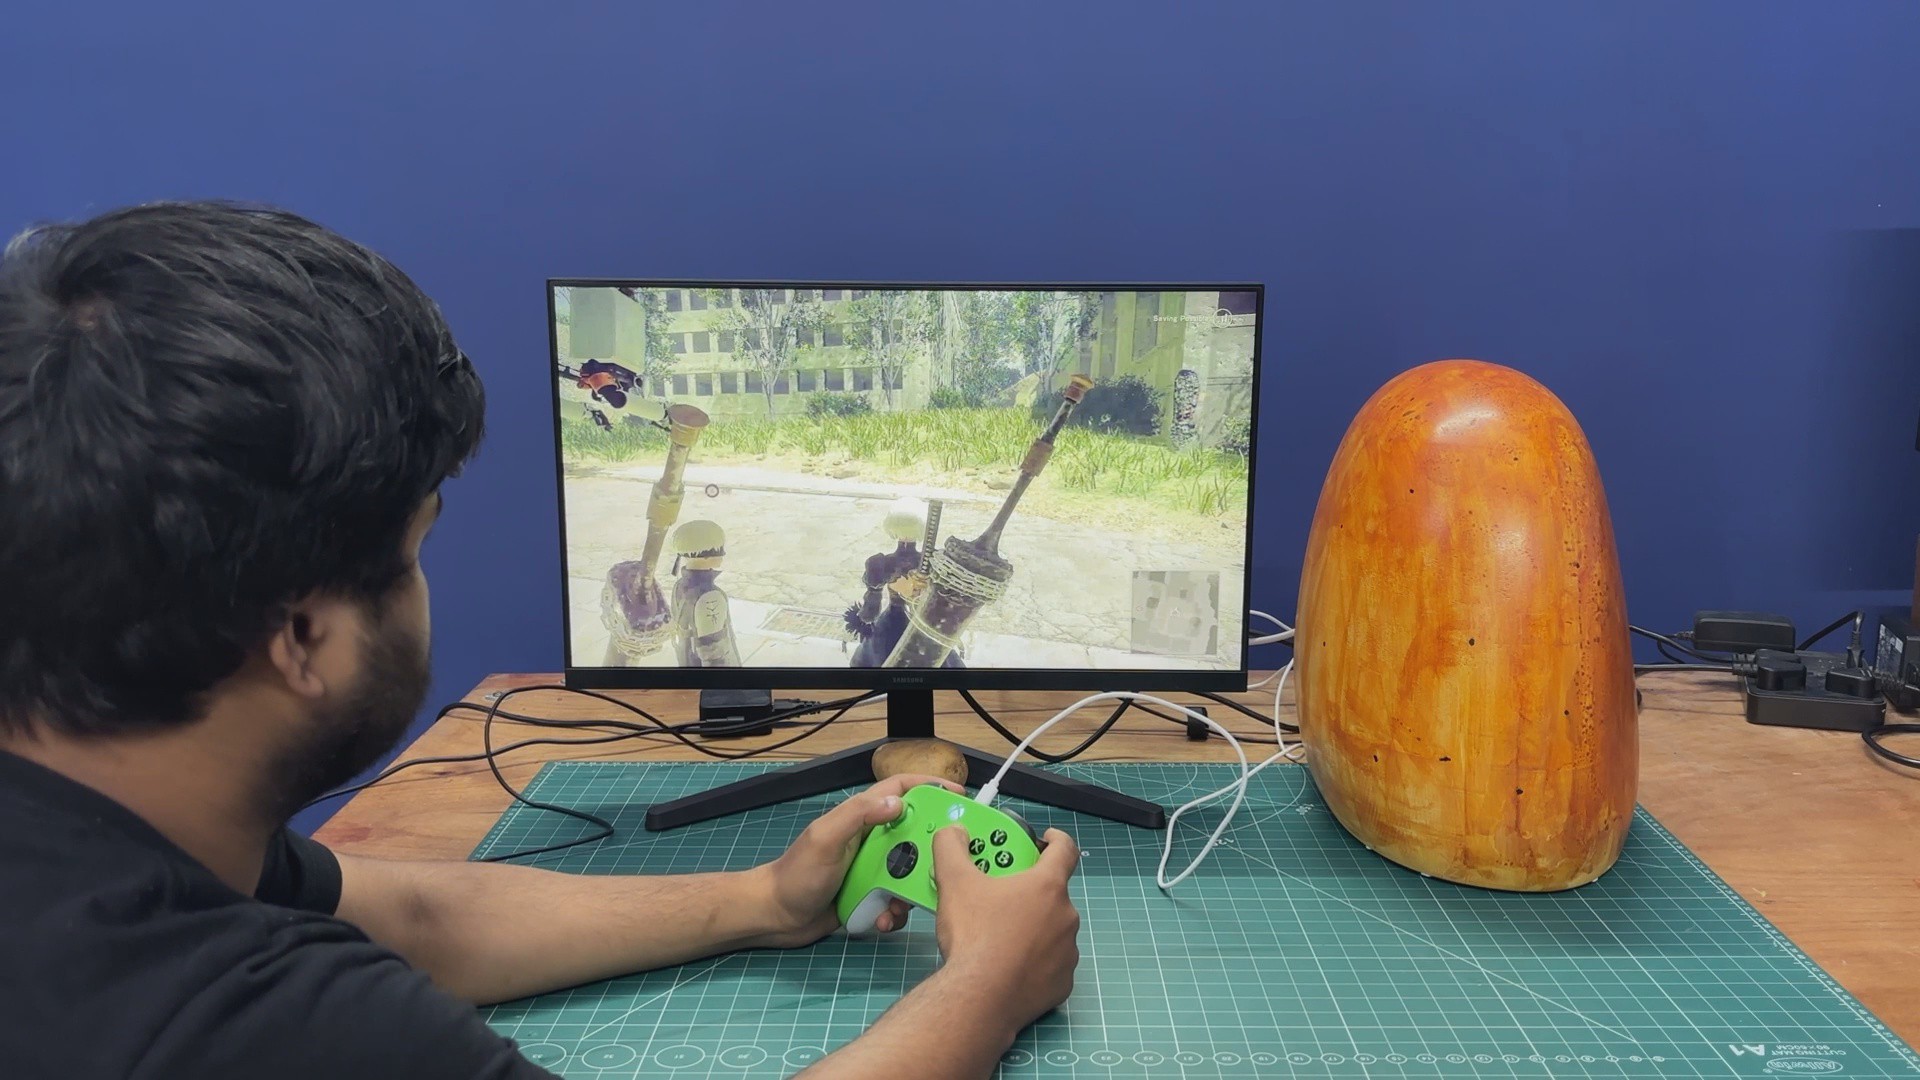
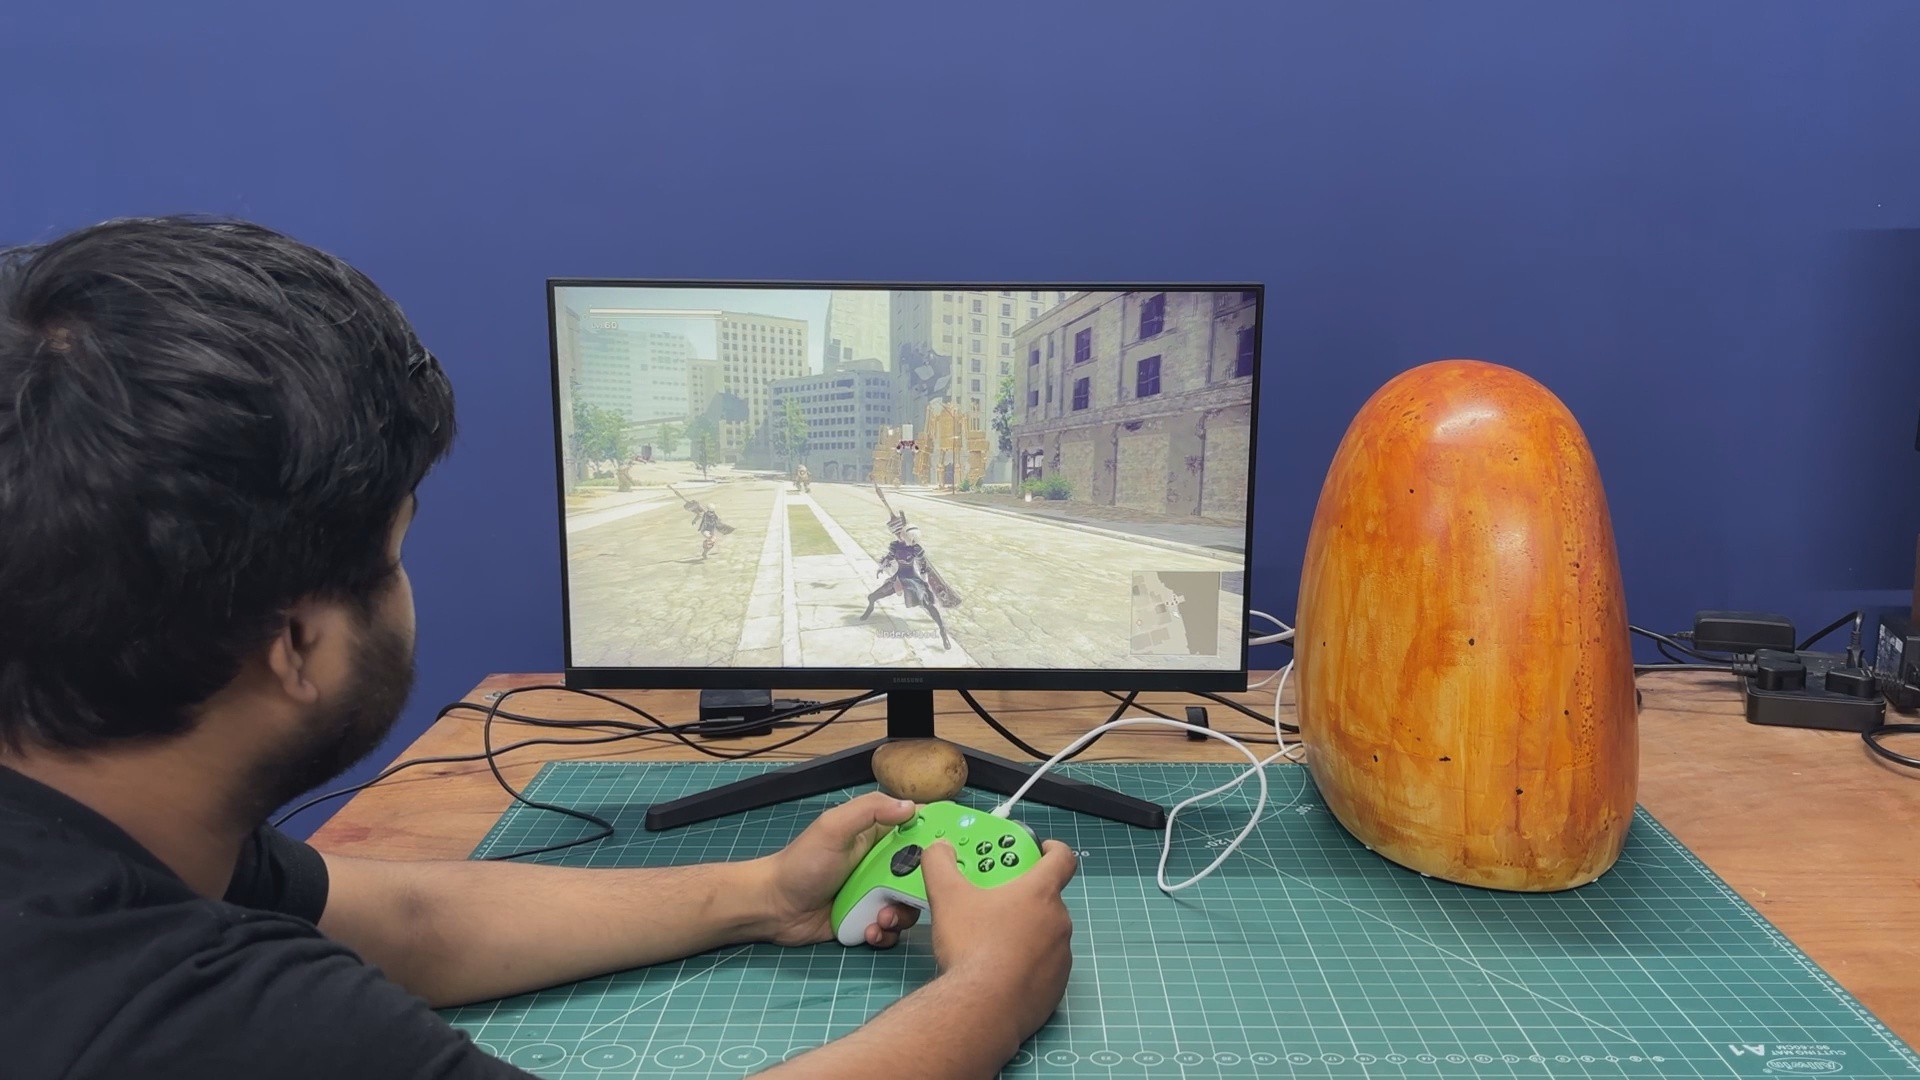
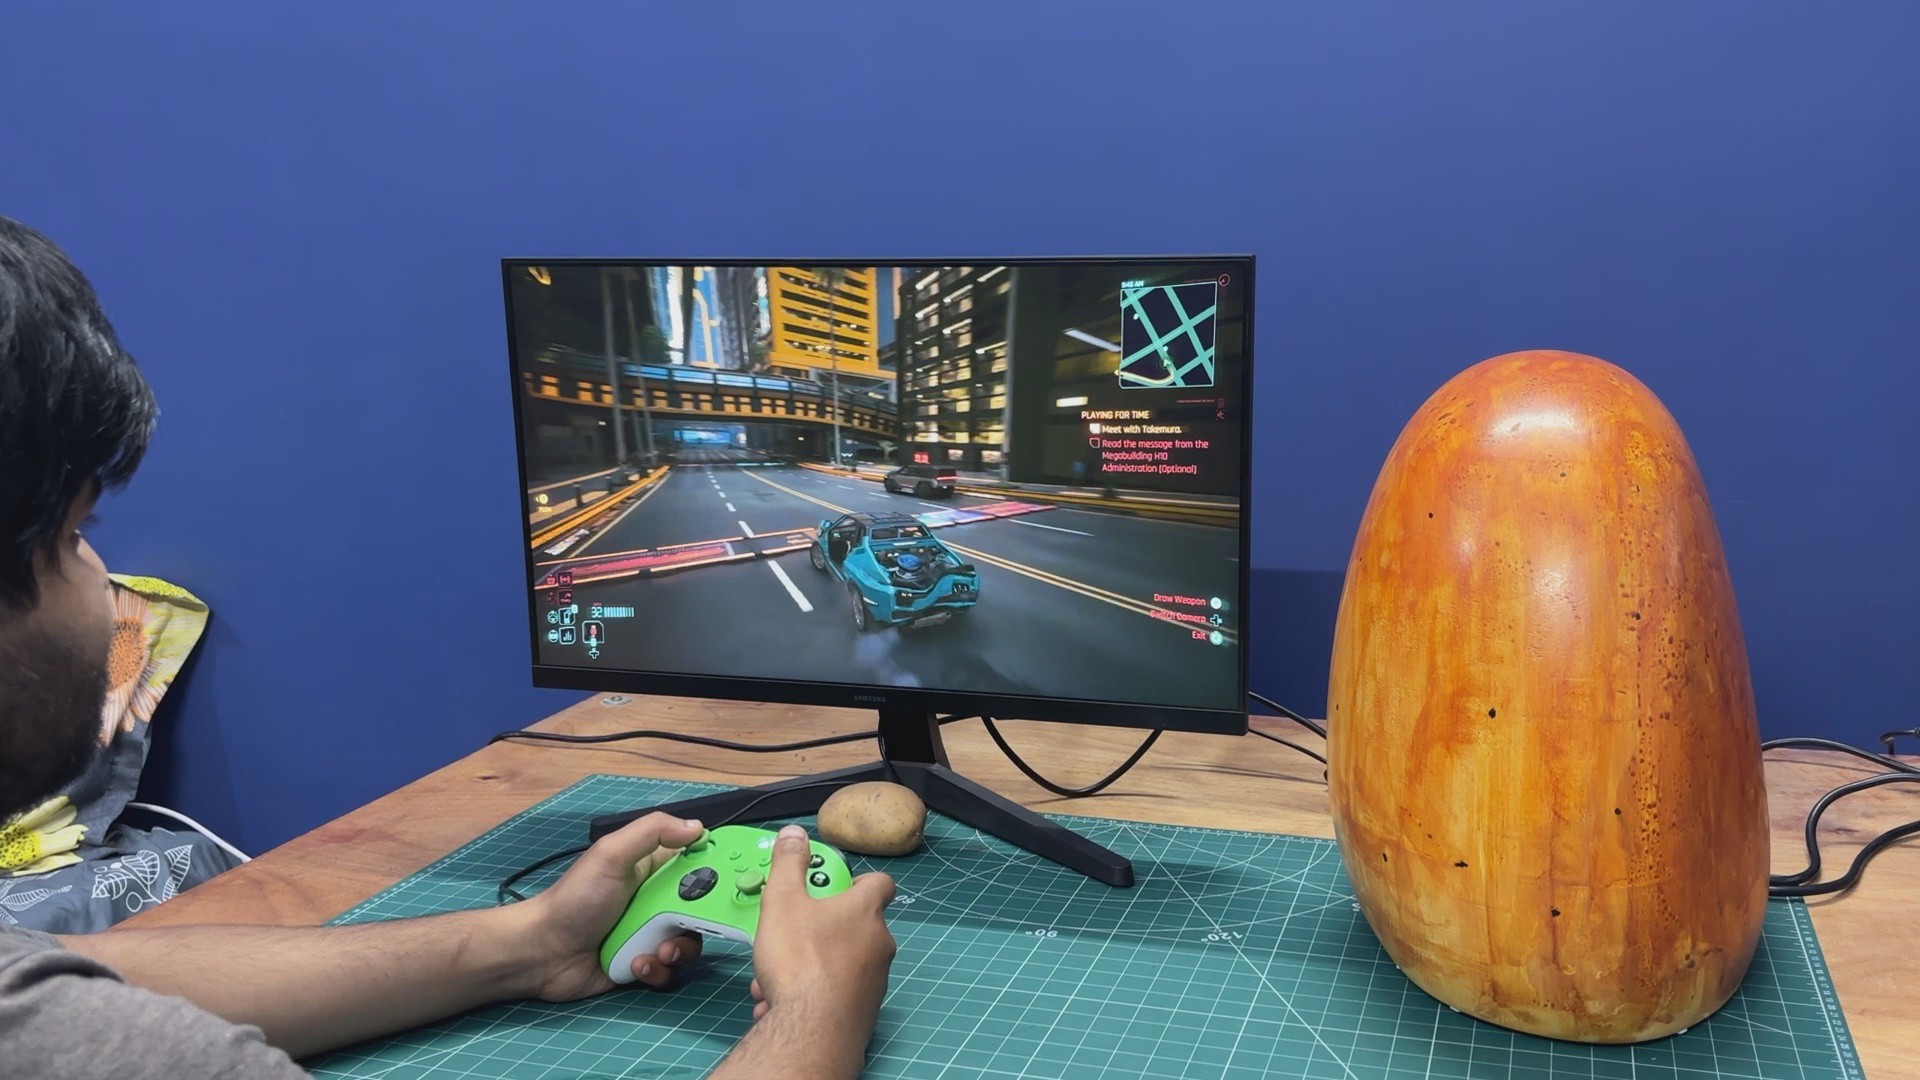
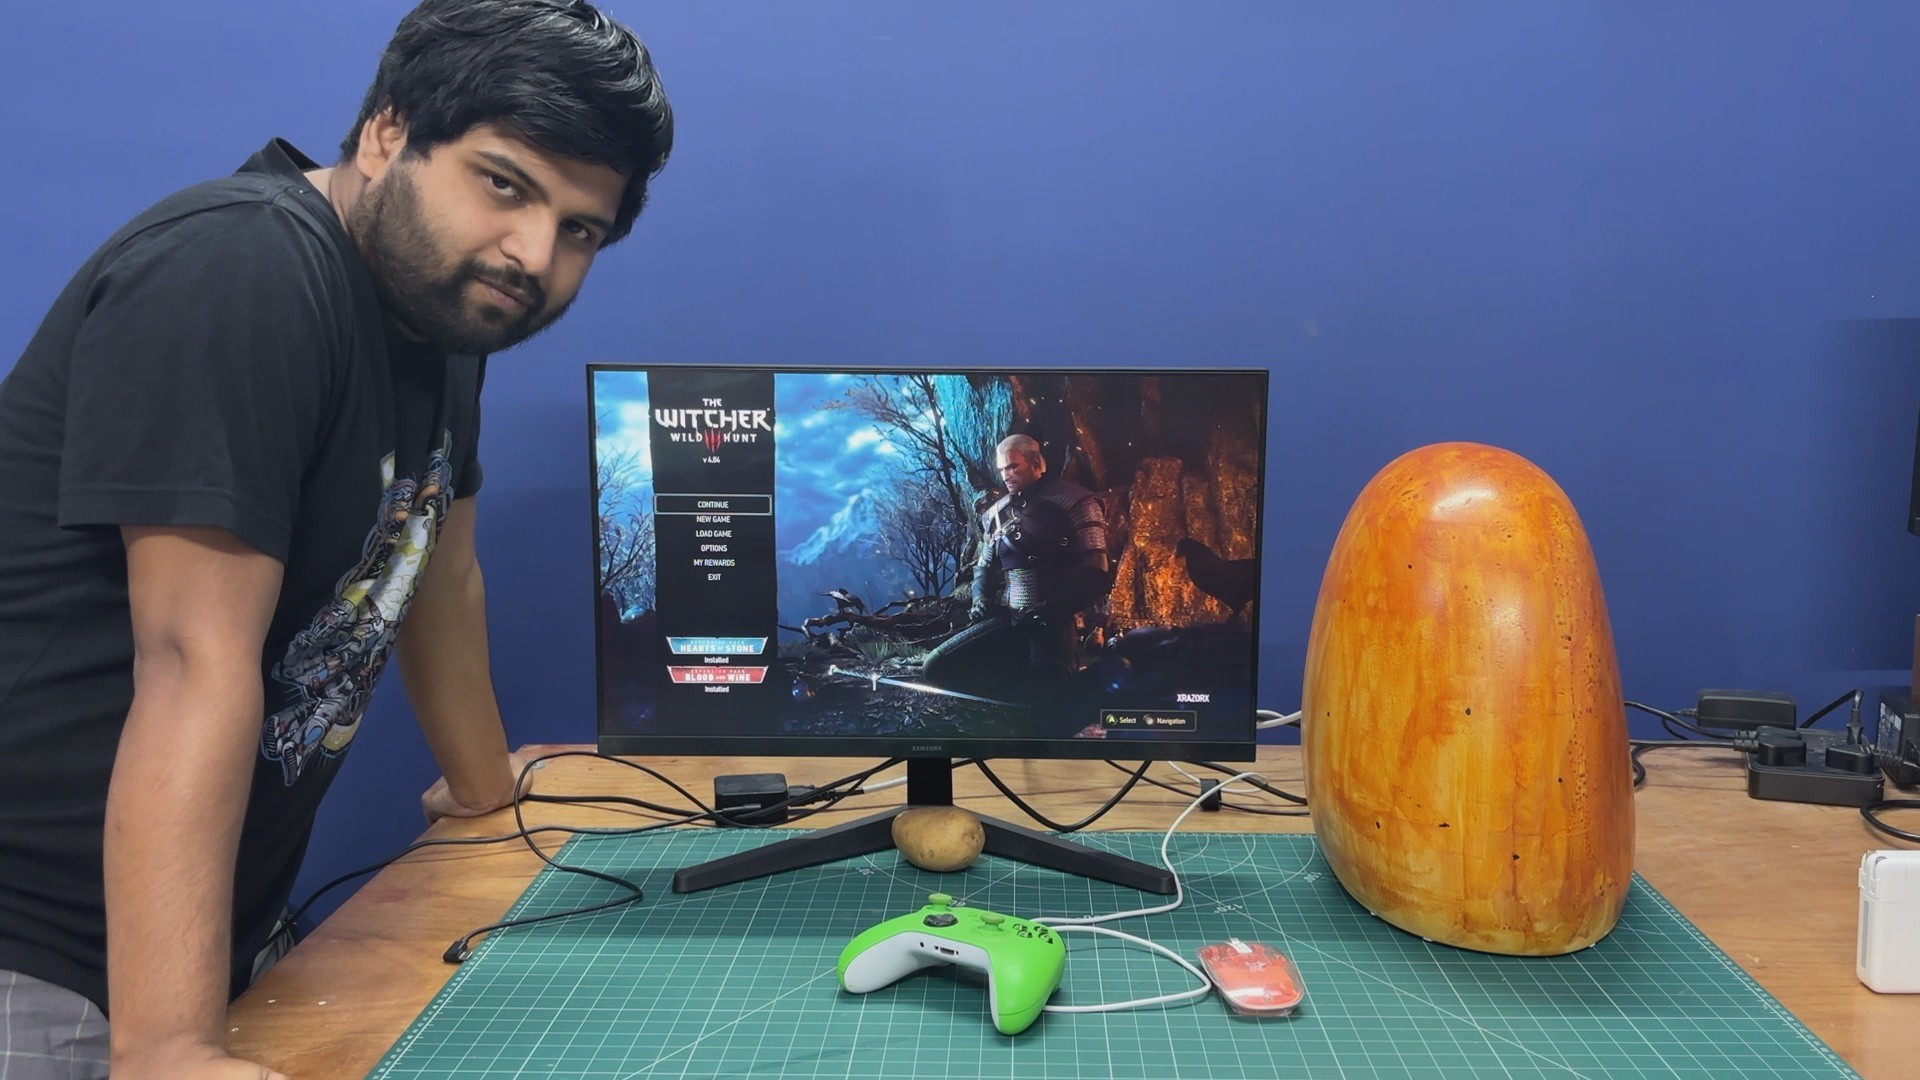
We installed several games on the system, ranging from classic titles like Half-Life 2 to modern AAA games such as Nier:Automata, The Witcher 3: Wild Hunt, and Cyberpunk 2077.
Next was Half-Life 2, which ran flawlessly. The game was fully playable and consistently delivered frame rates above 60 FPS. This was not particularly surprising, given that the game was originally released in 2004.
Next, we ran NieR:Automata on our setup, and it delivered a consistent frame rate of over 30 FPS. I lowered the graphics settings to medium to achieve smoother performance, and the game ran quite well overall.
We then tested The Witcher 3: Wild Hunt (the next-generation update). Running at medium settings, the game delivered frame rates in the 30 to 40 FPS range, which made it very playable.
We then installed Cyberpunk 2077 through Steam and used the preset settings optimized for the Steam Deck. The game ran surprisingly well, maintaining a respectable 25 to 30 FPS. Considering that Cyberpunk 2077 is running on a Raspberry Pi with a low-power ARM-based processor, this level of performance is remarkable.
-
17CONCLUSION
![]()
Our Potato PC performs surprisingly well at everything we throw at it, far better than what you would normally expect from a Potato PC. These results are especially impressive when you consider that the AMD Radeon RX 6500 XT is not operating over a full PCIe x16 connection. Instead, it is running through the Raspberry Pi’s limited PCIe interface at PCIe 2.0 speeds, which introduces a significant bandwidth bottleneck. Even with this limitation, the fact that these modern games run at all on a Raspberry Pi-based system is an extraordinary achievement.
That said, I did encounter several issues during the testing phase of this project.
The first major issue was the Raspberry Pi 5 itself, or more specifically, the 4GB version I used for this build. While the system works well overall, the limited memory proved to be a significant bottleneck. Many applications launched and ran successfully but would often crash after a few minutes due to insufficient RAM. The games I recorded for this project worked only for a short time before the system became unstable. Other software, such as CAD applications, ran more reliably, but memory usage remained a constant concern. For Version 2, I plan to upgrade to the 16GB Raspberry Pi 5, which should greatly improve system stability and multitasking performance.
The second issue was cooling. Airflow inside the enclosure is extremely limited. Because I wanted the case to look like a realistic potato, I chose not to include ventilation holes. At the time, I assumed the Pi would not generate significant heat, but after running the system for about an hour, the enclosure became noticeably warm to the touch, and internal temperatures increased substantially.
For Version 2, I plan to take inspiration from my previous LattePanda fan mod project and integrate more powerful cooling fans to improve airflow and thermal performance.
The third area for improvement is the enclosure’s paint finish. From my perspective, the case does resemble a potato, but when I showed it to several friends, they all agreed that it did not look as convincing as I had hoped. Clearly, my painting technique needs refinement. For the next version, I may print a new enclosure and repaint it with improved textures and color blending to create a more realistic potato appearance.
All the problems I encountered during the testing phase of this project will be addressed in Version 2, so stay tuned for future updates.
Special thanks to Hackster.io for making this project possible in the first place, and a huge thank you to everyone who made it this far through the article.
Peace out.
Potato PC
A Raspberry Pi 5-based PC paired with a Radeon RX6500XT themed after a Potato
Discussions
Become a Hackaday.io Member
Create an account to leave a comment. Already have an account? Log In.