 Himanshu Dada
-
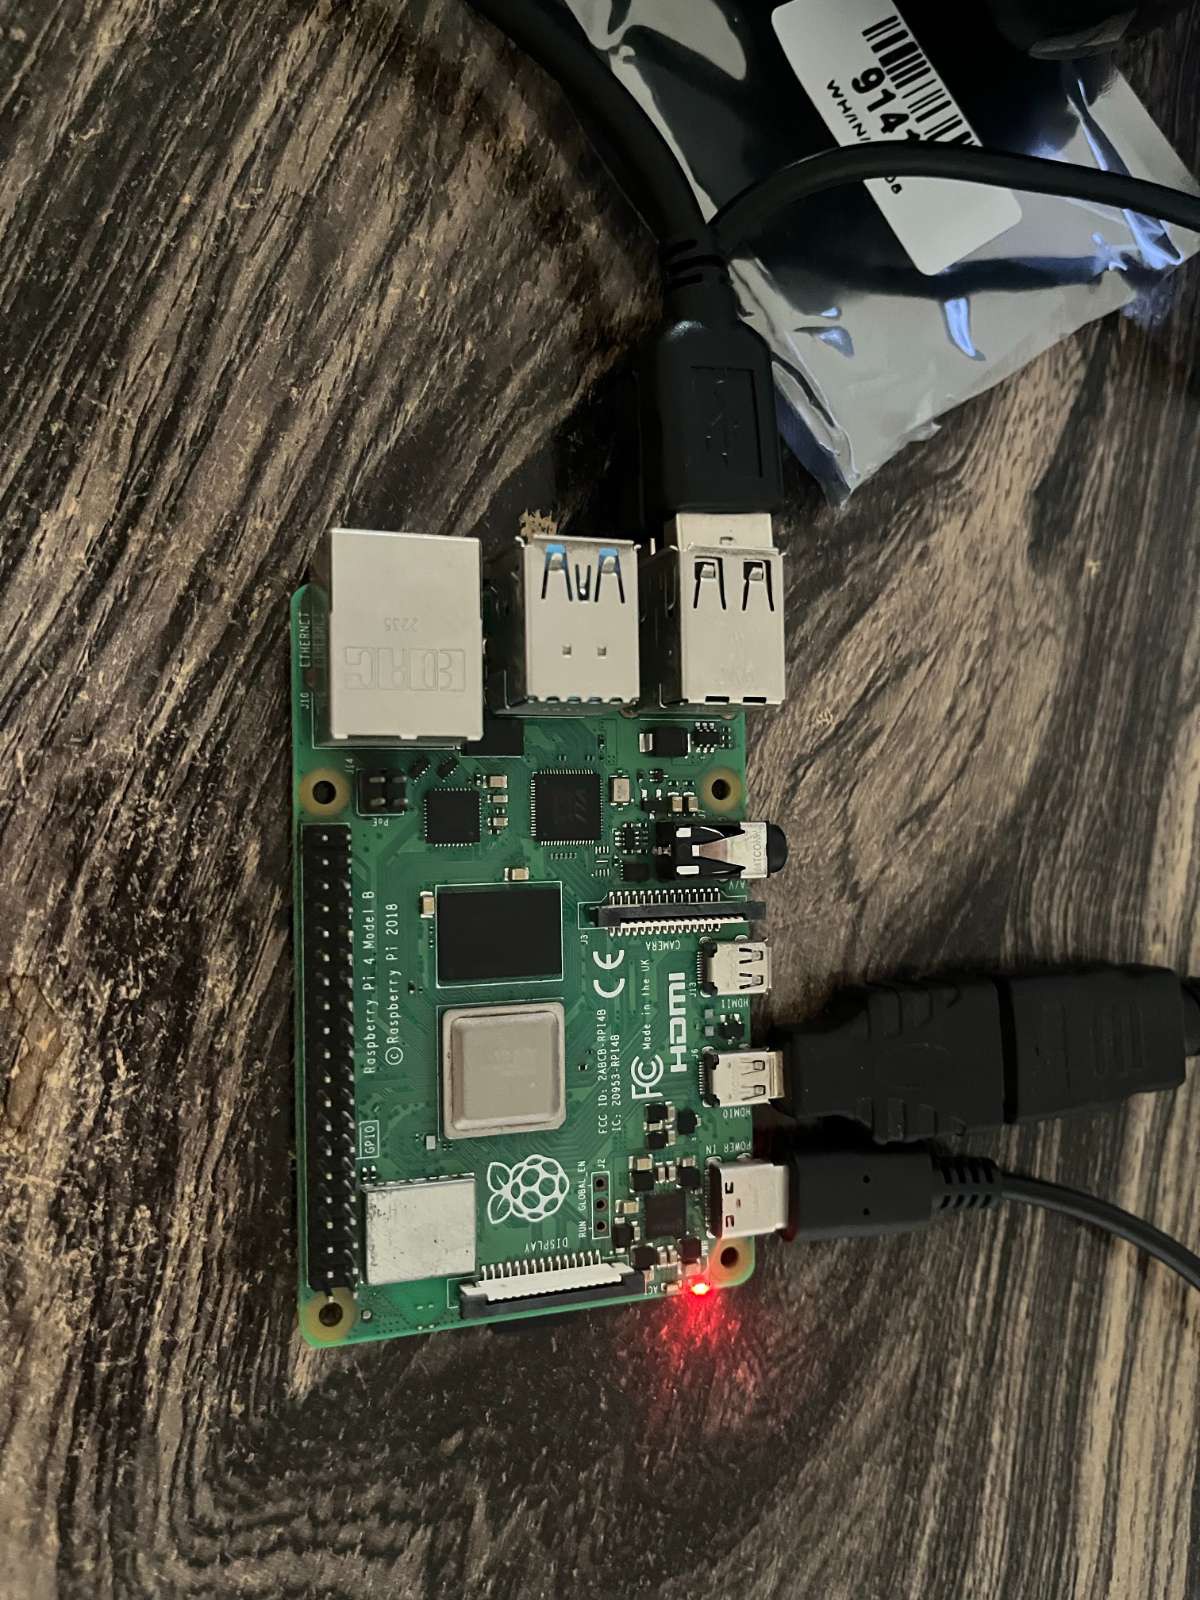
1Prepare the Hardware
![]()
Gather all required components:
- Raspberry Pi 4
- MicroSD Card with Raspberry Pi OS
- Camera Module
- Electronic Solenoid Lock
- Relay Module
- Power Supply
- Jumper Wires
- Locker Enclosure
Install Raspberry Pi OS on the microSD card and complete the initial setup.
-
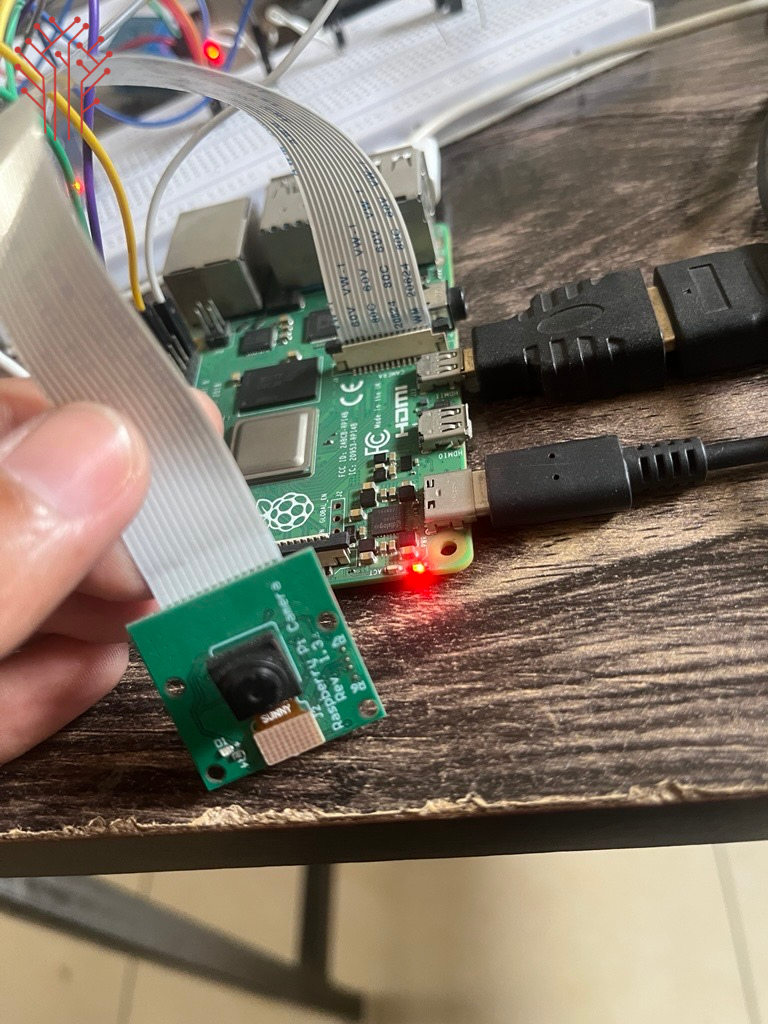
2Connect the Camera Module
![]()
Power off the Raspberry Pi and connect the camera module using the CSI ribbon cable.
Enable the camera interface:
sudo raspi-config
Navigate to:
Interface Options → Camera → Enable
Reboot the Raspberry Pi.
-
3Wire the Locking Mechanism
Connect the relay module to the Raspberry Pi GPIO pins.
Example wiring:
Relay IN  → GPIO17
Relay VCC → 5V
Relay GND → GND
Connect the solenoid lock through the relay so the Raspberry Pi can control lock and unlock operations safely.
-
4Install Required Software
Update the system:
sudo apt update
sudo apt upgrade
Install required libraries:
pip install opencv-python
pip install numpy
pip install requests
These libraries handle image processing, automation logic, and cloud communication.
-
5Configure User Authentication
Create a user database containing authorized users.
The system can store:
- User ID
- Name
- Access Permissions
- Locker Assignment
- Access Logs
This information can be stored locally or synchronized with a cloud database.
-
6Develop the Access Control Logic
Create a Python application that:
- Detects user activity.
- Verifies access permissions.
- Activates the relay.
- Unlocks the locker.
- Records access events.
- Synchronizes data with the cloud dashboard.
-
7Integrate Cloud Monitoring
Connect the Raspberry Pi to a cloud service using APIs.
The dashboard can display:
- Locker Status
- User Activity
- Access History
- System Health
- Real-Time Notifications
-
8Testing the System
Perform complete testing:
- Verify lock operation
- Test user authentication
- Confirm event logging
- Validate cloud synchronization
- Check unauthorized access handling
Ensure all events are properly recorded and displayed on the monitoring dashboard.
-
9Deploy the Smart Locker
Mount all electronics securely inside the locker enclosure.
Verify:
- Stable power supply
- Reliable network connection
- Secure lock operation
- Proper cable management
The Smart Locker System is now ready for real-world deployment.
Raspberry Pi Smart Locker System with Cloud Monito
Managing secure storage spaces efficiently is a challenge for offices, educational institutions, gyms, logistics centres
Discussions
Become a Hackaday.io Member
Create an account to leave a comment. Already have an account? Log In.