Next Builder
How many times have you picked up your phone just to check the time... only to end up scrolling through notifications or social media for the next few minutes?
It happens to all of us.
While studying or working on electronics projects, I noticed this small habit breaking my focus again and again. I didn't need another smart device with endless features—I just needed something that could show me the time instantly, without any distractions.
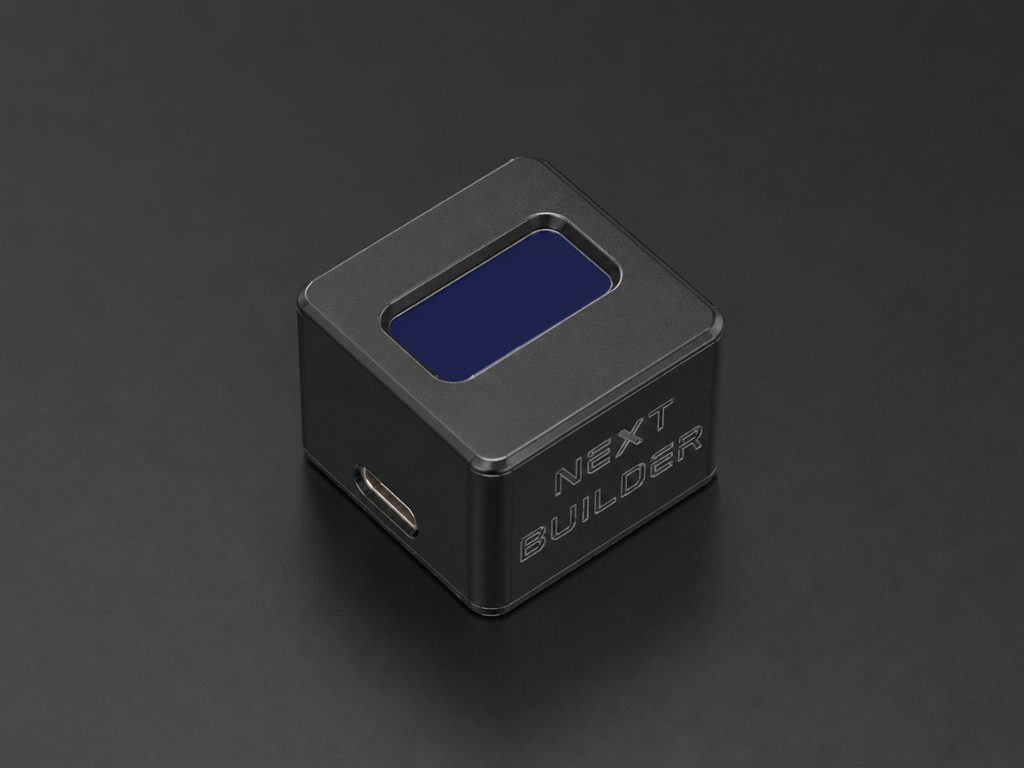
That's why I built Nexus. It's a compact Wi-Fi desk clock designed for clean, distraction-free workspaces. Instead of competing for your attention, it quietly sits on your desk, giving you exactly what you need at a glance so you can stay focused on what truly matters.
Whether I'm studying, designing PCBs, writing code, or building my next DIY project, Nexus is always beside me. It's a simple reminder to stay present, keep creating, and make every minute count.
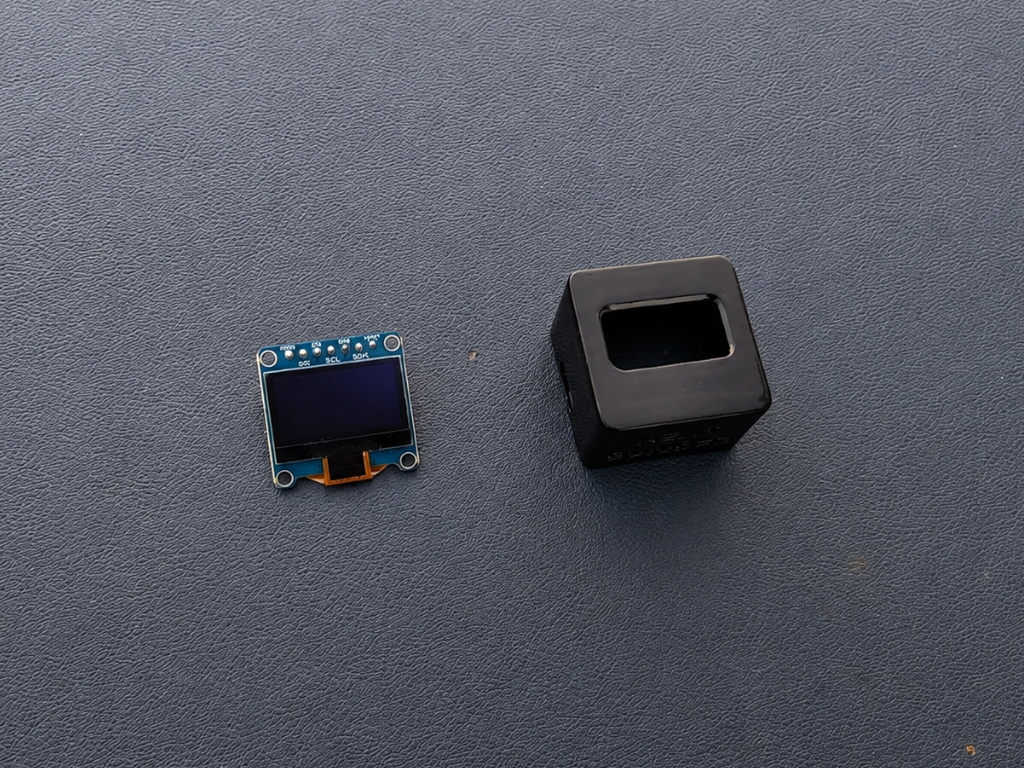
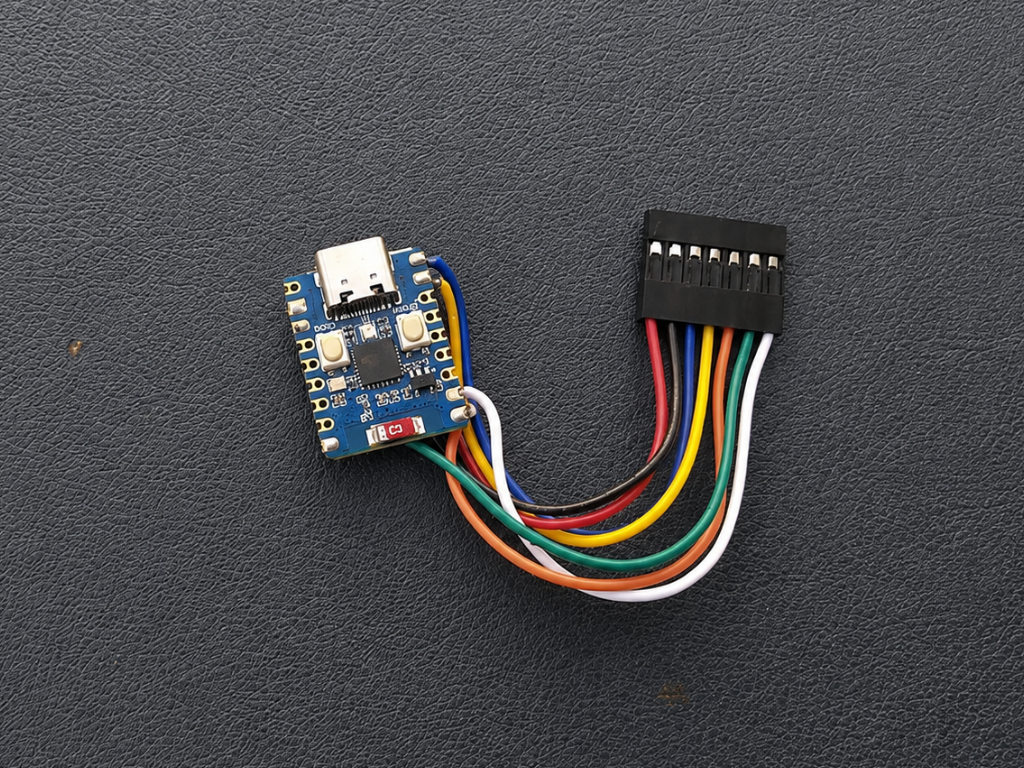
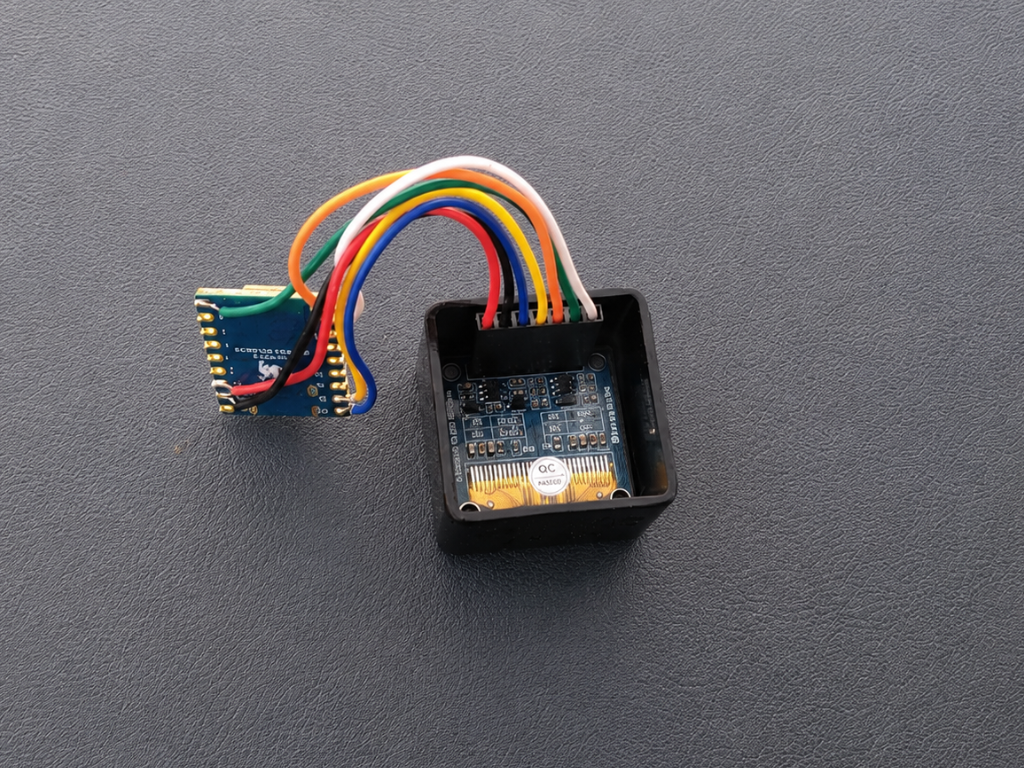
Powered by the Waveshare ESP32-C3, Nexus automatically synchronizes with Network Time Protocol (NTP) servers over Wi-Fi, so it always displays accurate time without the need for a traditional RTC module or manual adjustments.
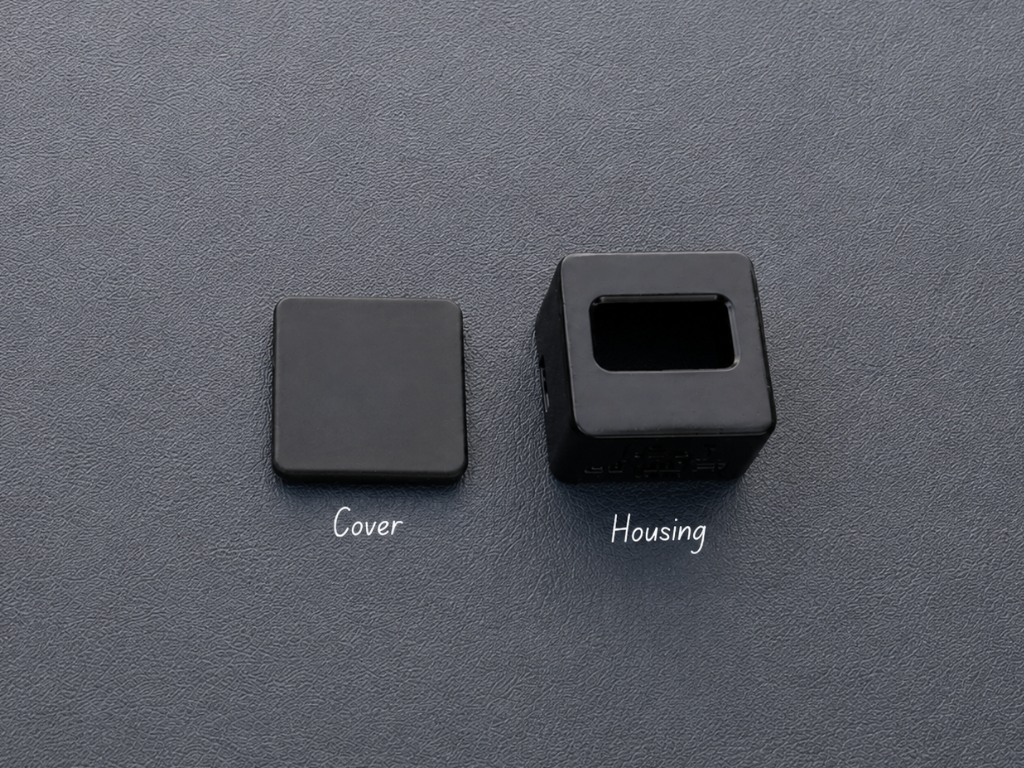
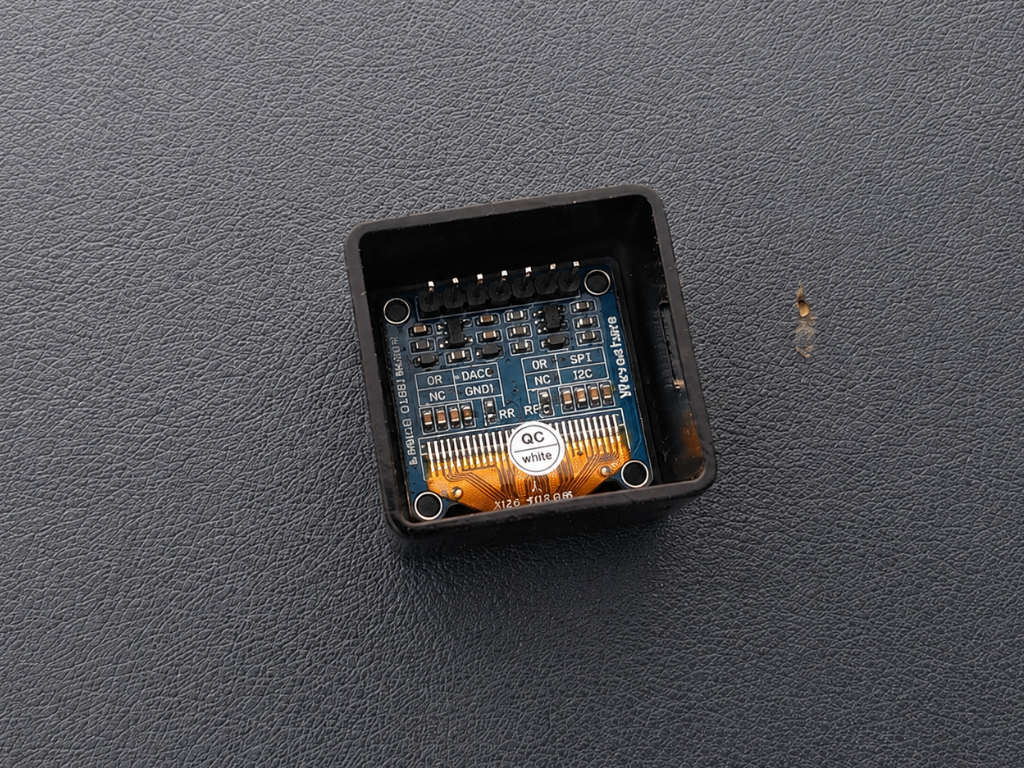
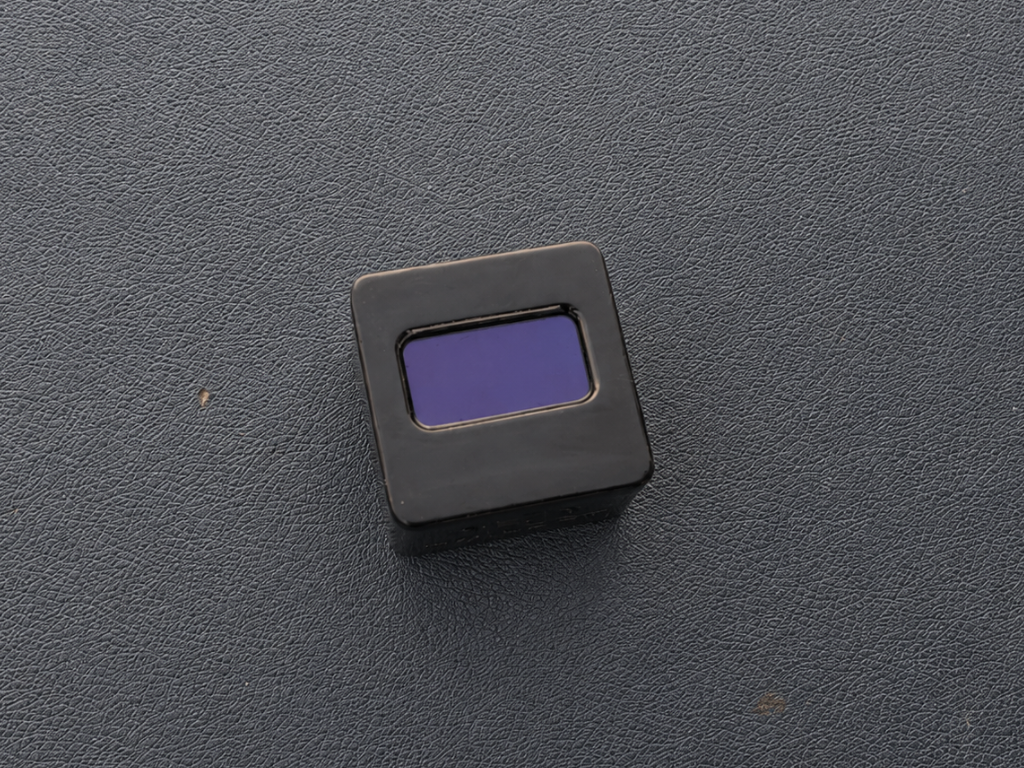
The crisp Waveshare 0.96-inch OLED display shows the current hour, minutes, AM/PM indicator, and the current date in DD/MM/YYYY format. Everything is housed inside a custom enclosure that I designed from scratch in Autodesk Fusion 360, giving the clock a clean, modern look that fits naturally on any desk.
Sometimes, the simplest devices are the ones that help us stay focused the most.


 victor-chew
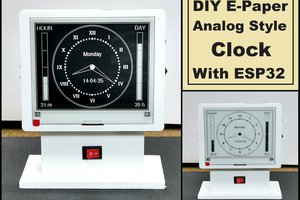
 mircemk
 Lilia Lobato