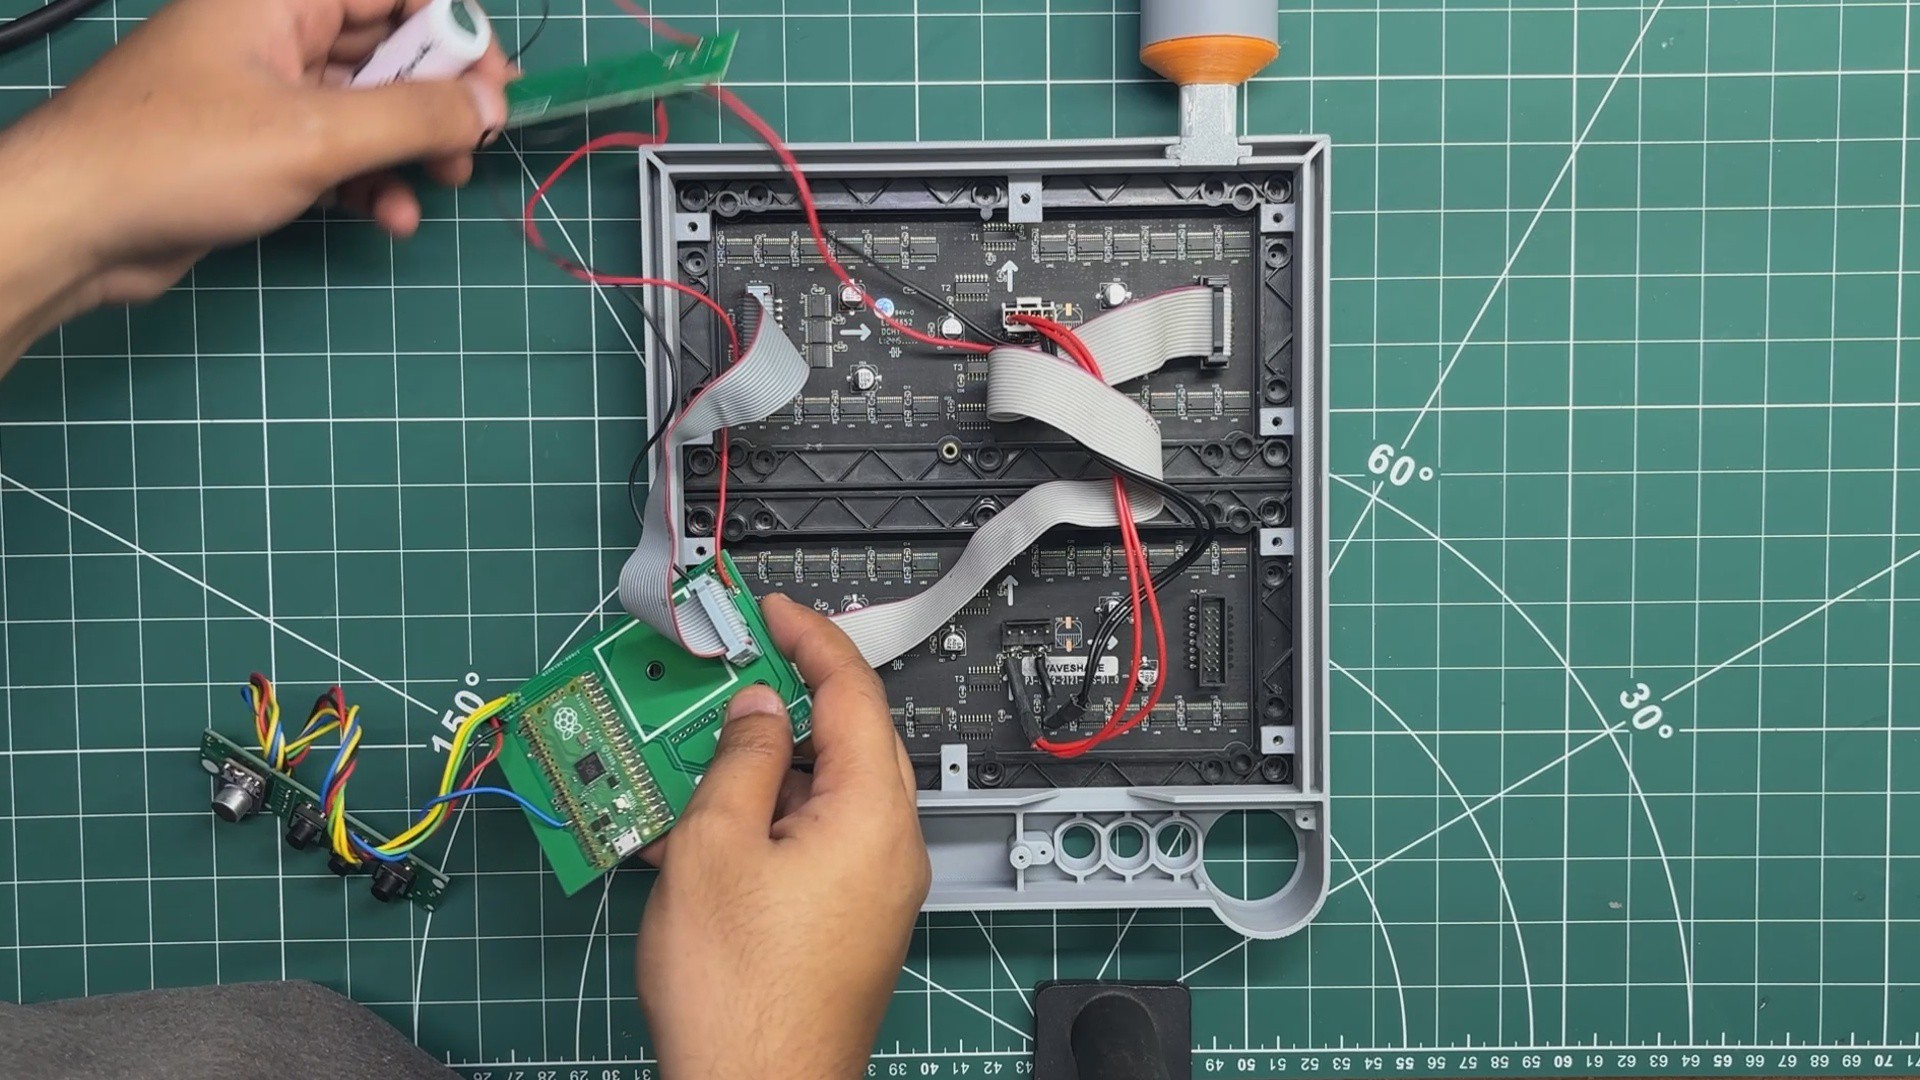
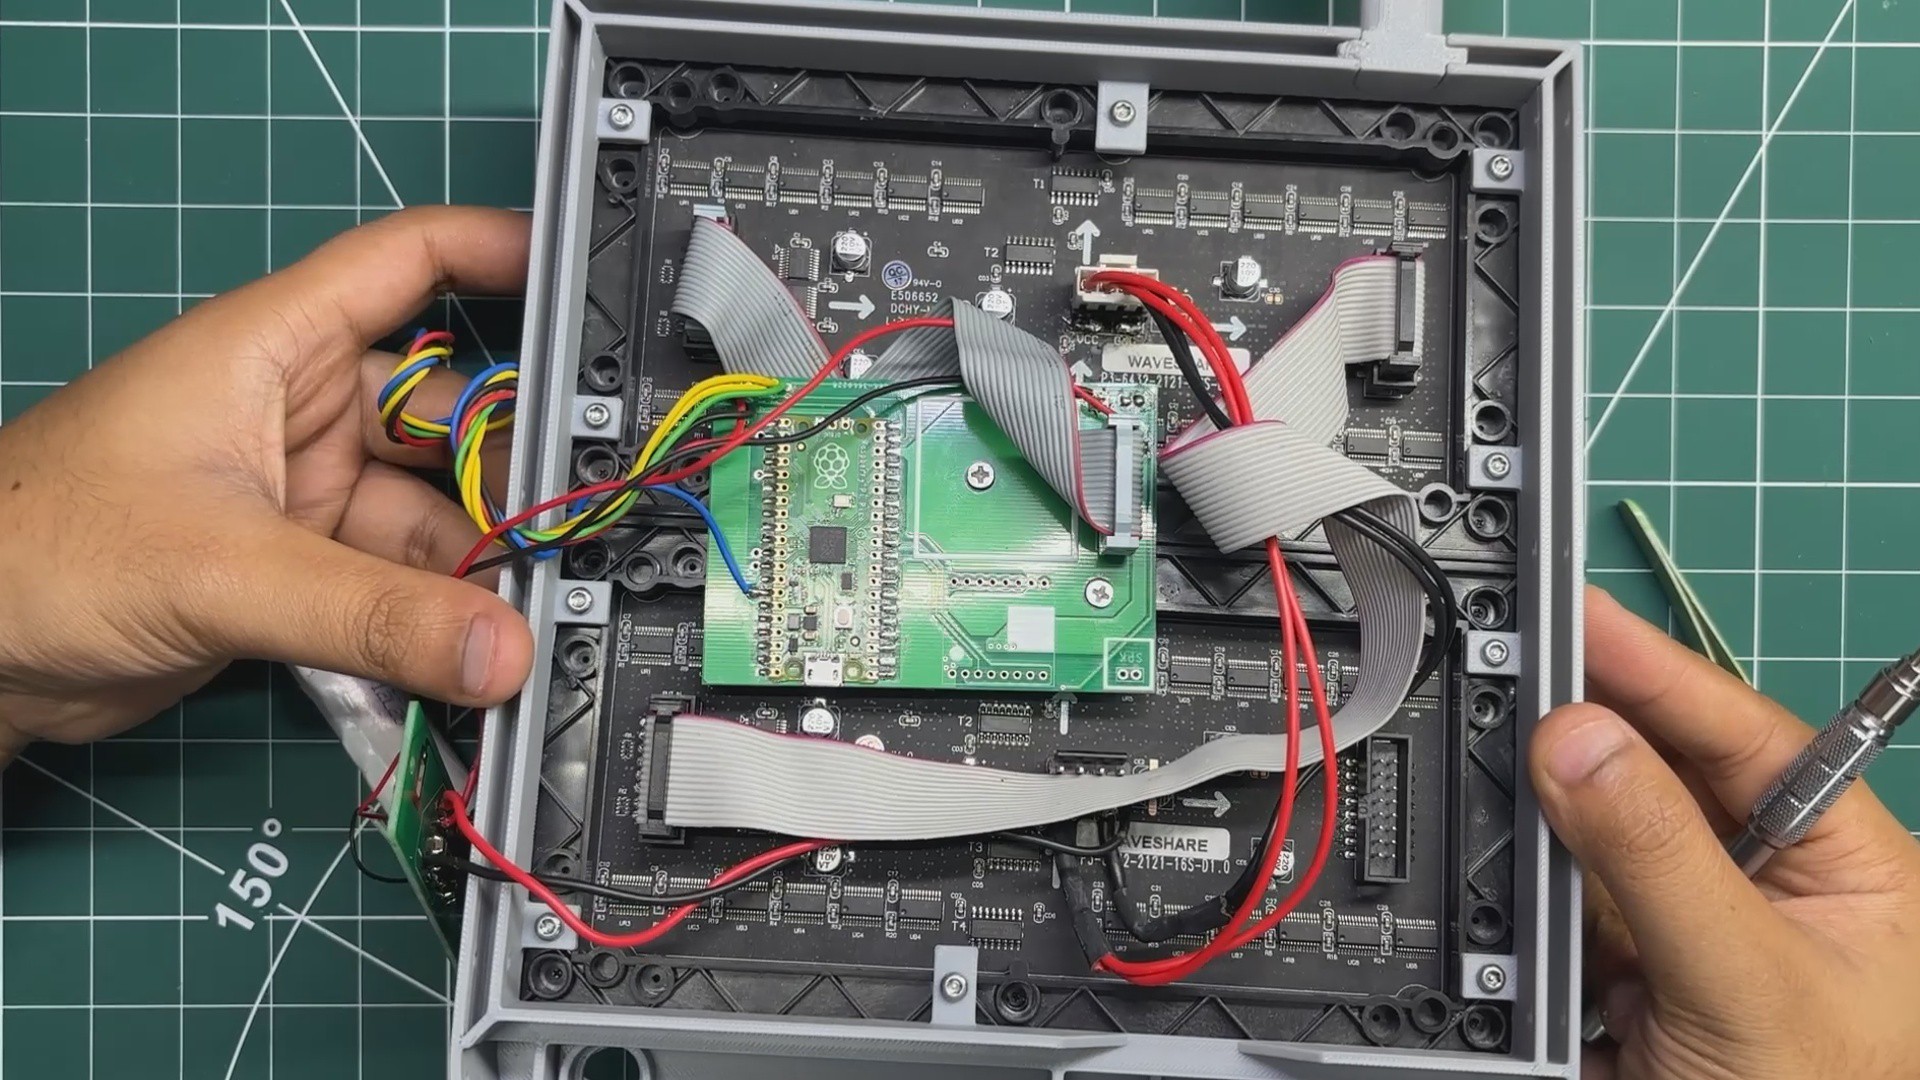
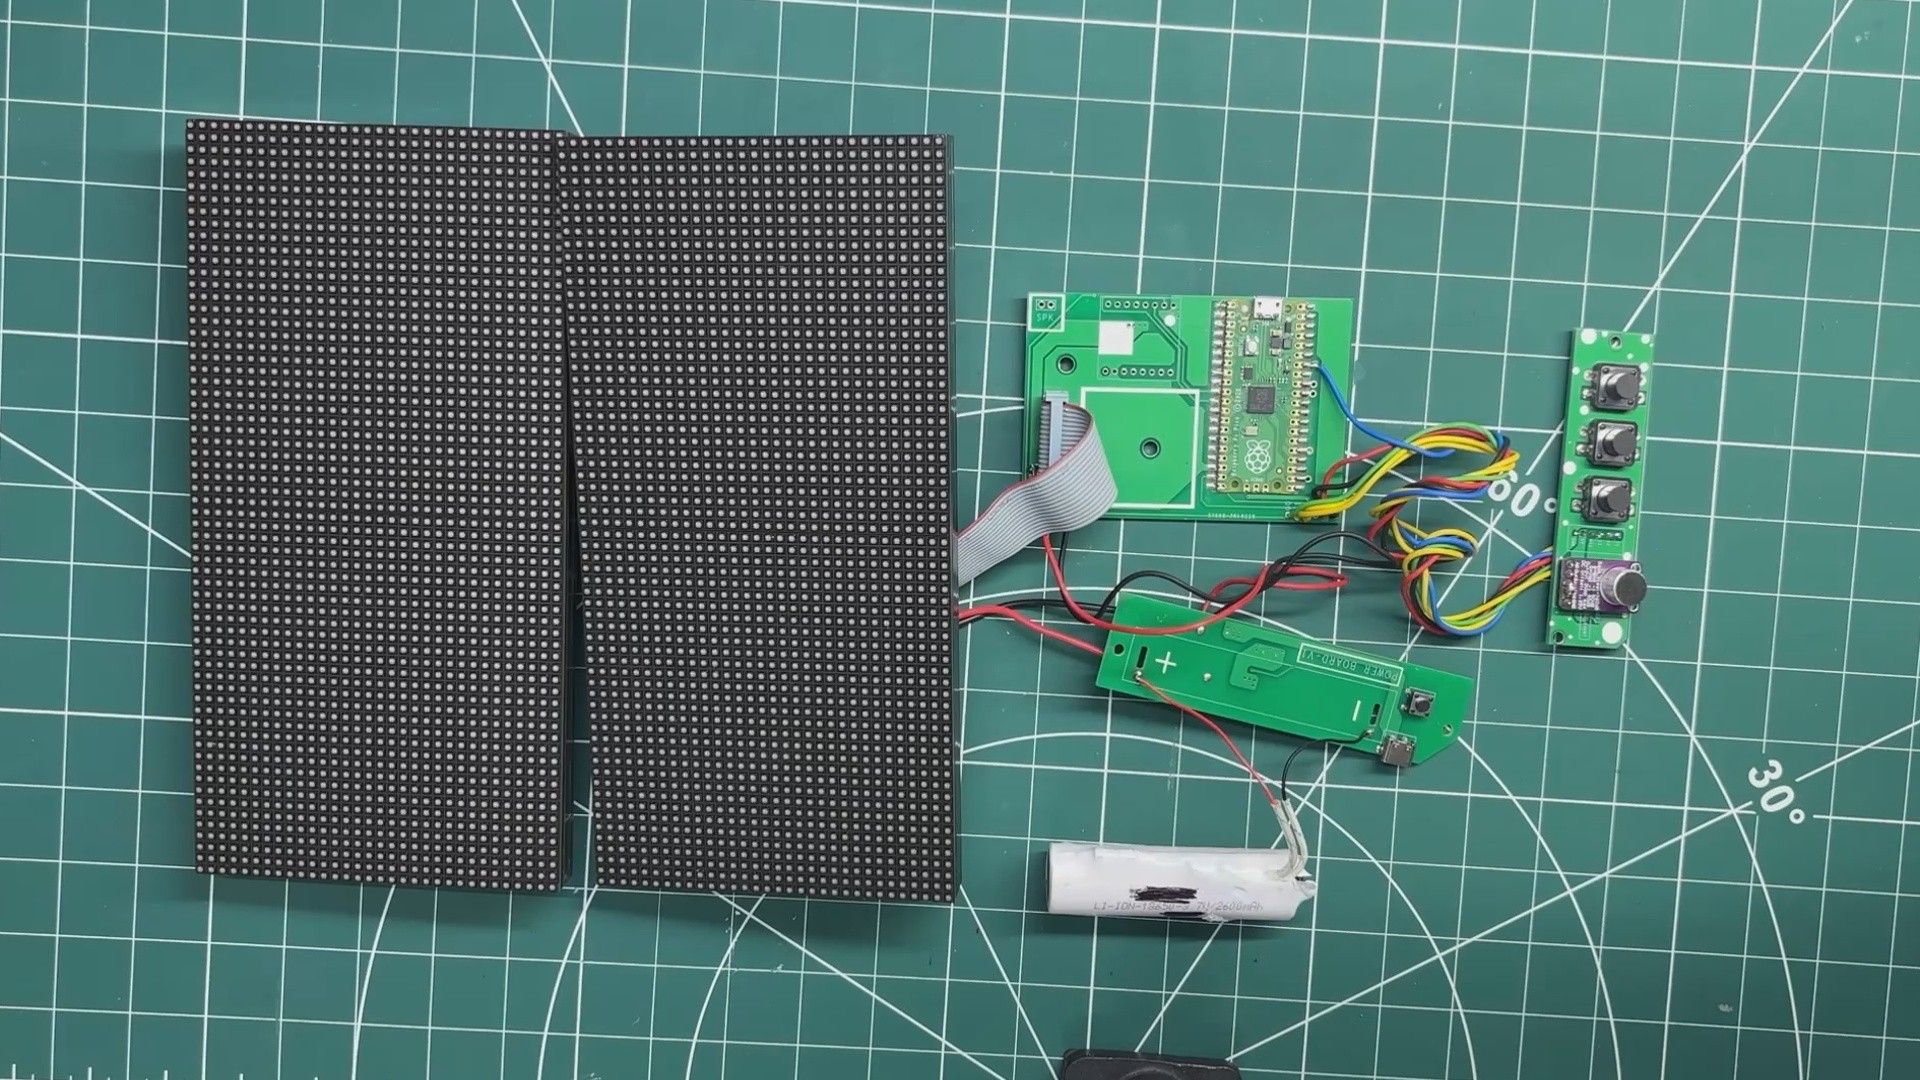
Now comes the final assembly process, which begins by reconnecting the Pico Driver Board to the RGB matrices. We solder the VCC and GND wires of the matrices back to the 5V and GND terminals of the Pico Driver Board.
Next, the 16-pin ribbon cable of the first matrix is reconnected to the HUB75 connector on the Pico Driver Board.
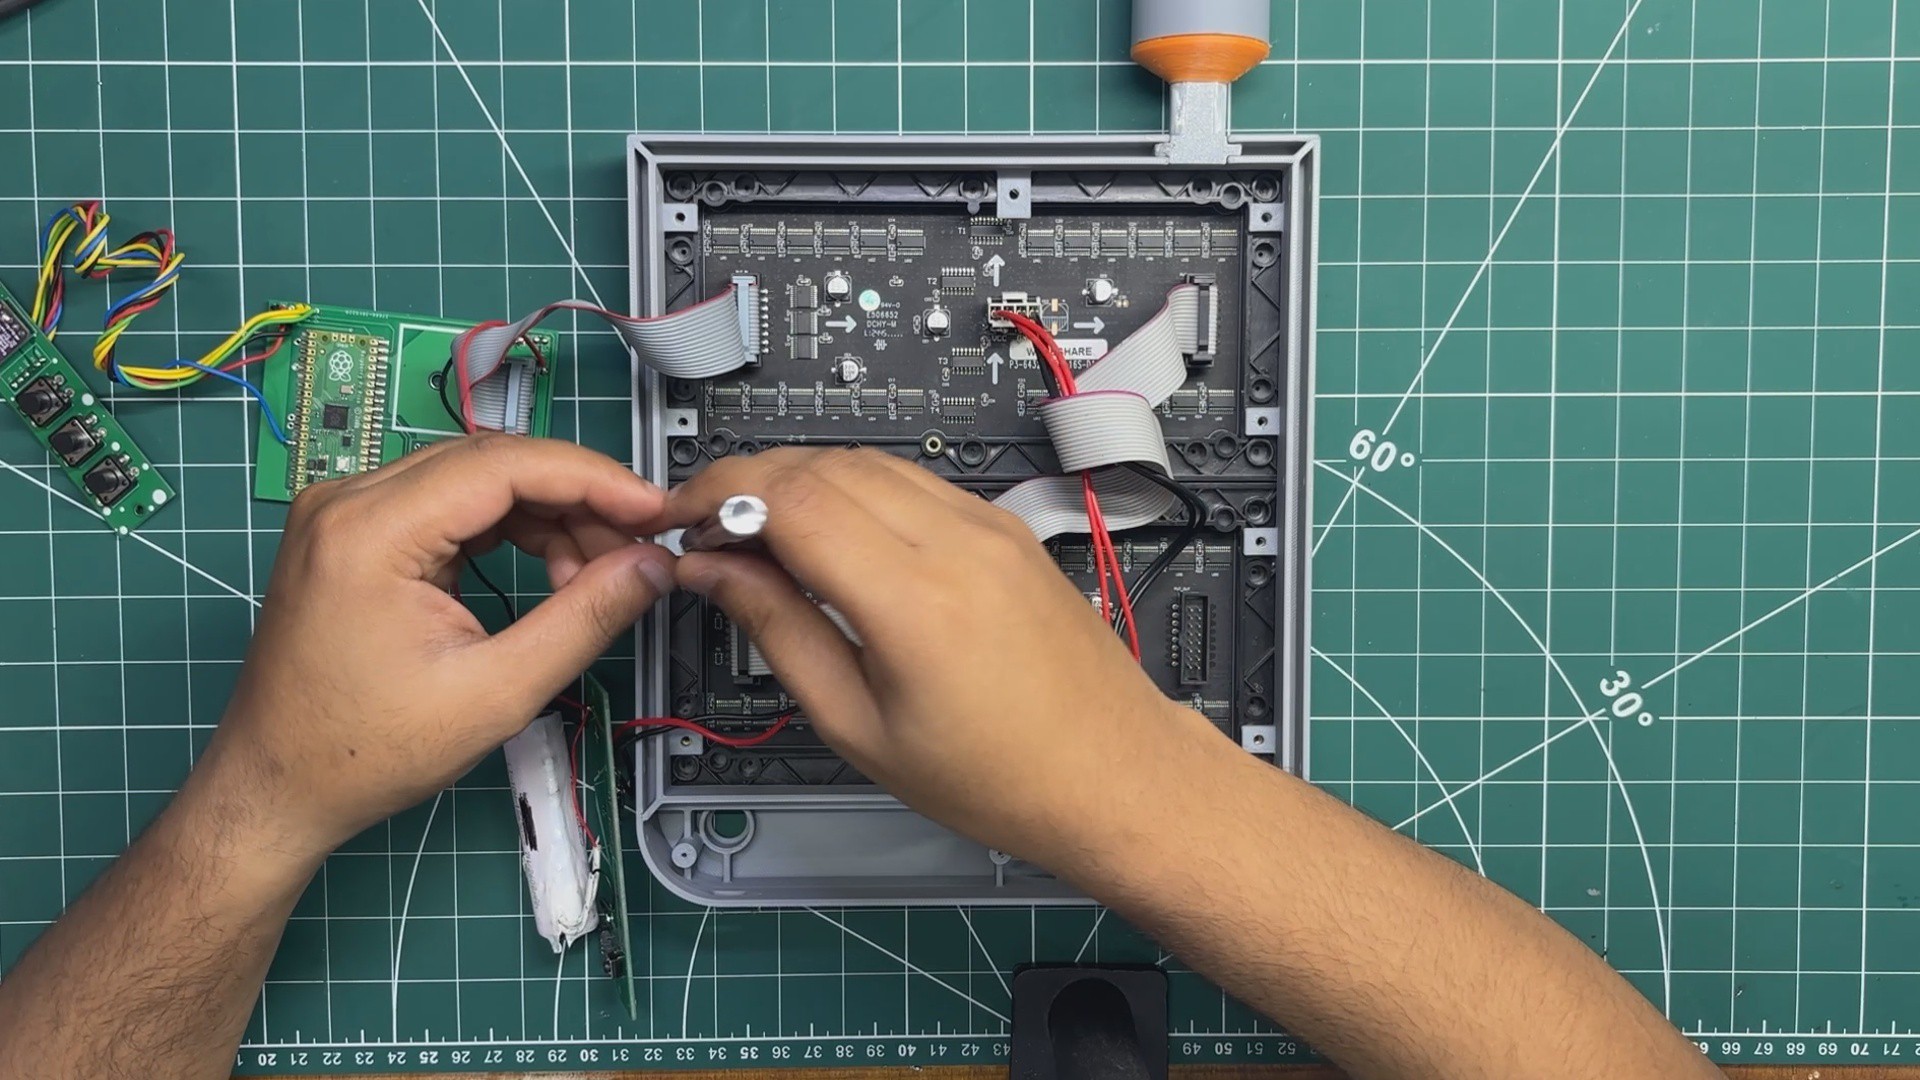
Before proceeding further, we power up the setup to make sure everything is working correctly. Once we confirm that both matrix and the display are functioning properly, we begin assembling the enclosure.
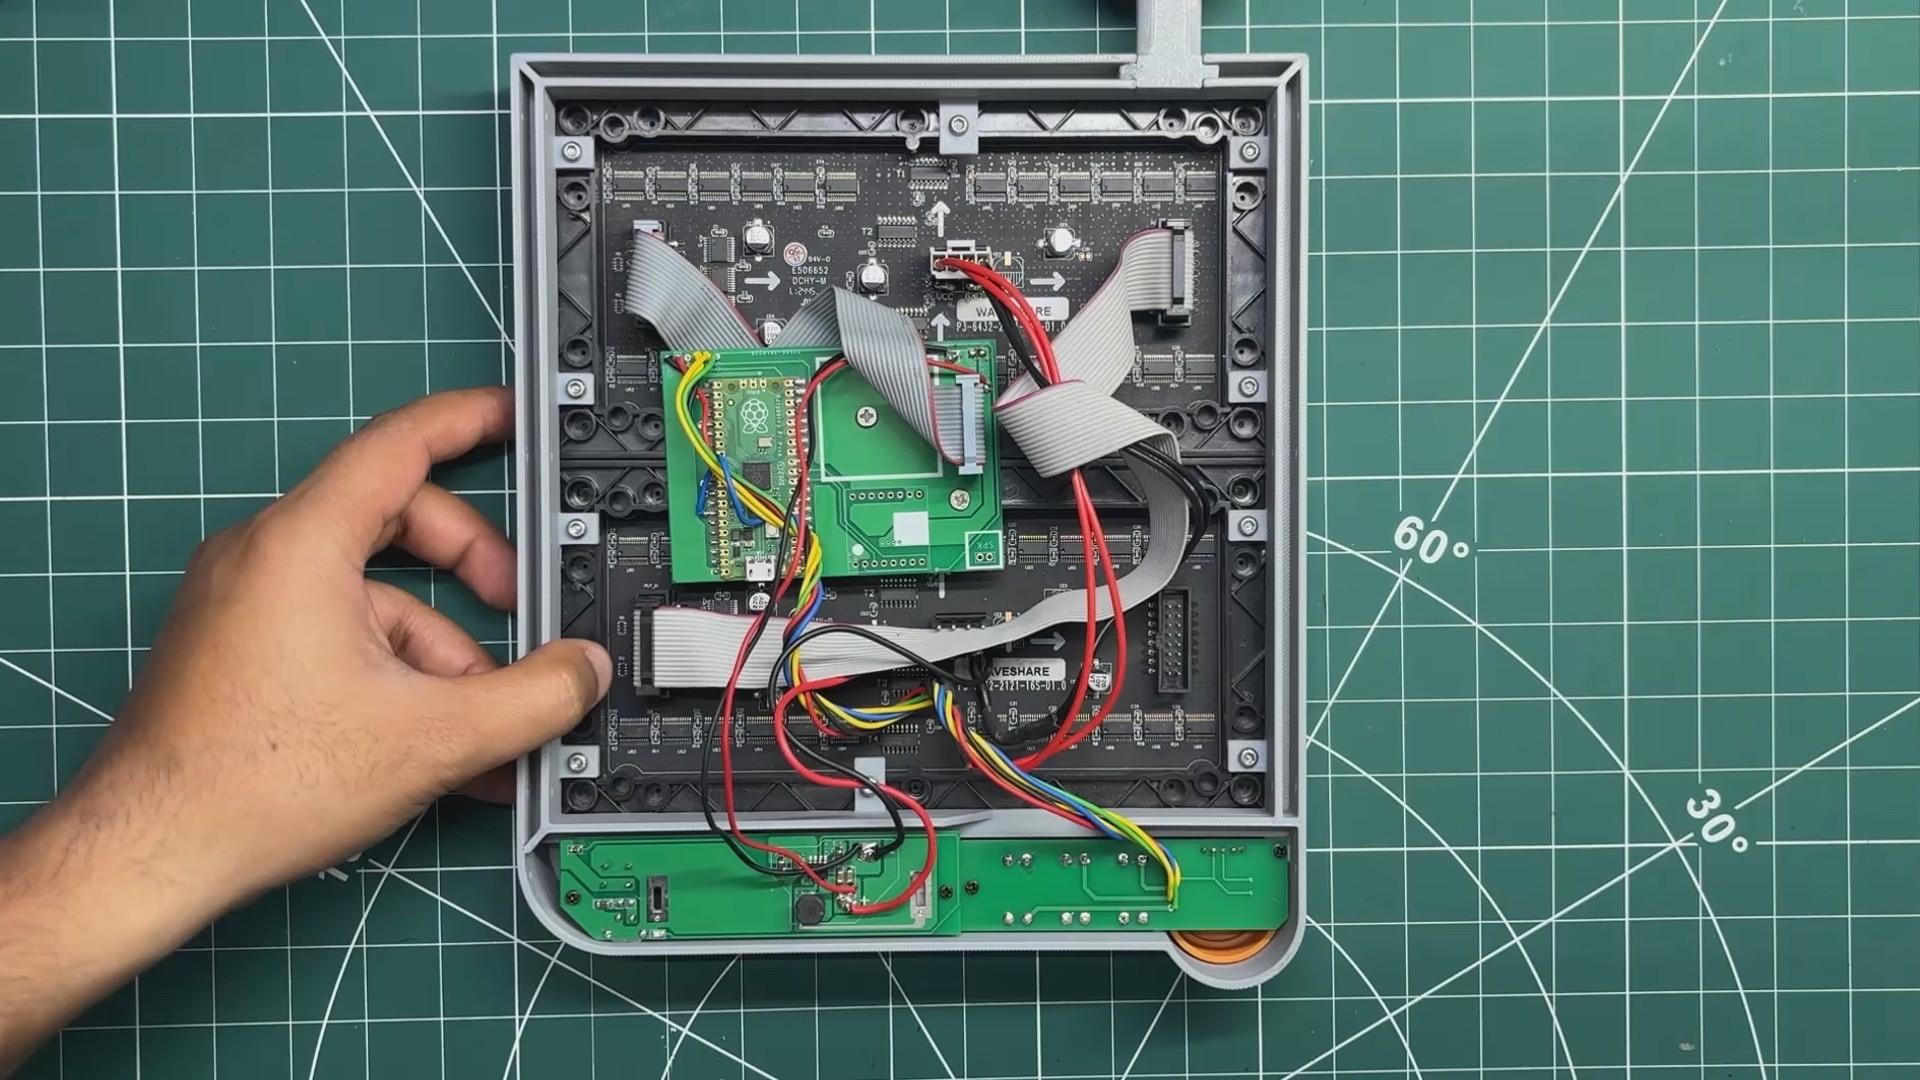
The Main Body is placed over the displays by aligning its mounting holes with the mounting points on the RGB matrices. We then use a total of ten M3 bolts to secure both matrices to the Main Body.
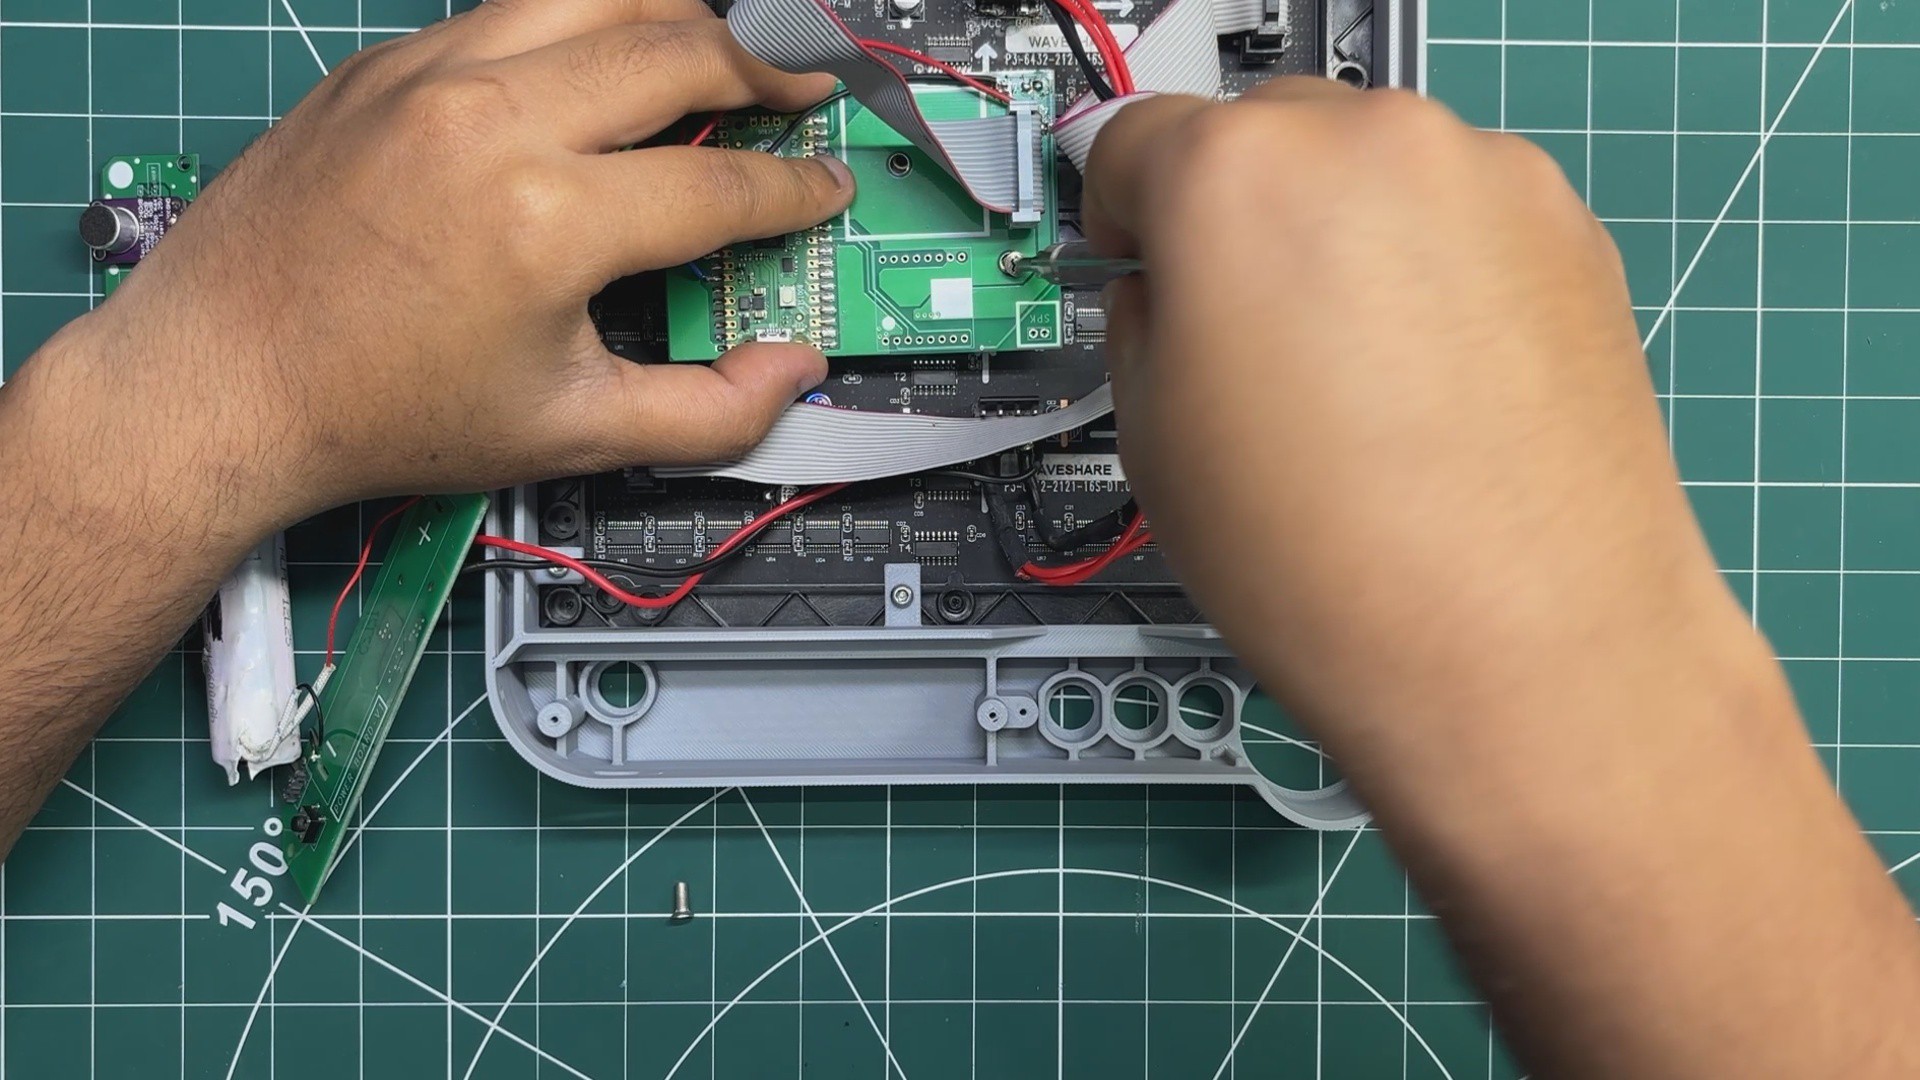
Next, the Pico Driver Board is positioned between the two matrices by aligning its mounting holes with the mounting points on the matrices. Two M3 bolts are then used to secure the Pico Driver Board in place.
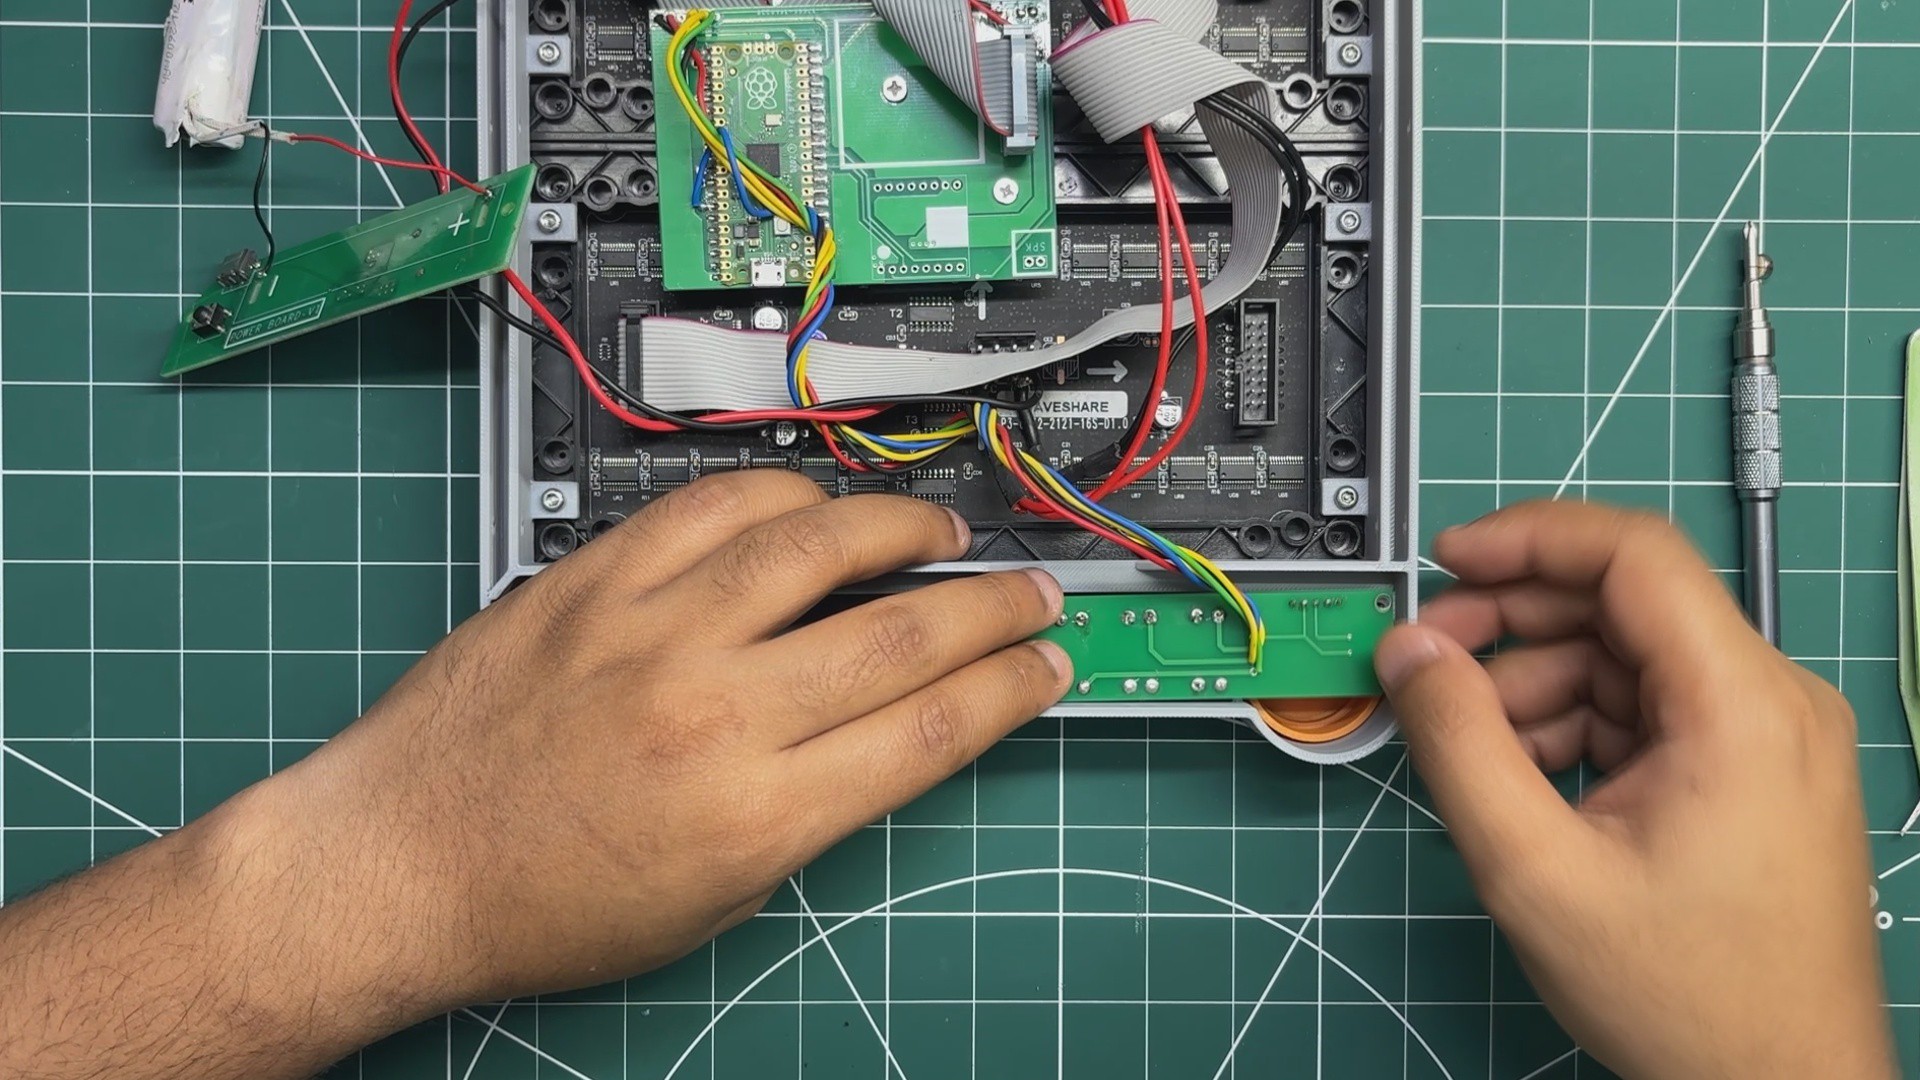
The three orange Switch Actuators are positioned in their respective slots, followed by the orange Grille Part. The Switch Board is then placed over the three actuators and secured in place using M2 screws.
Next, the orange actuator for the main power switch is positioned in its slot.
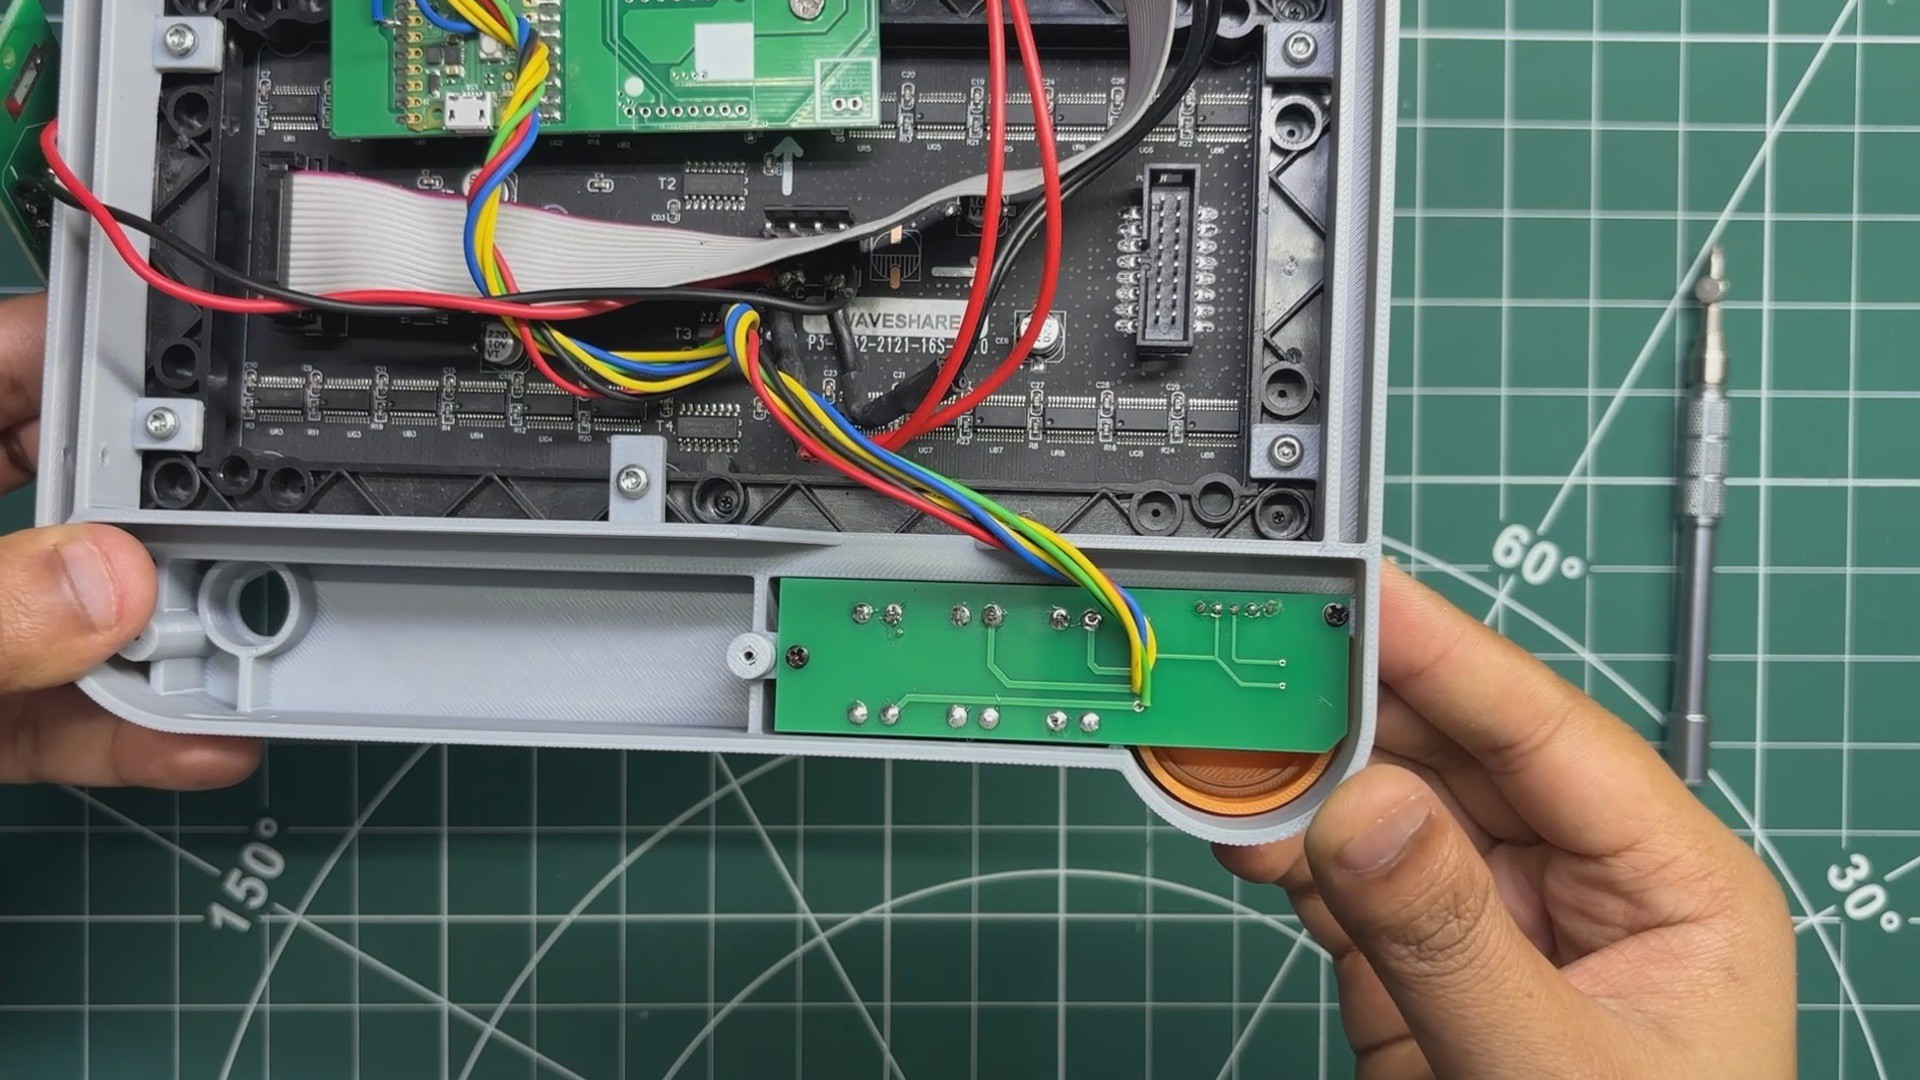
The 3.7V lithium-ion cell is then placed inside the enclosure. The Power Board is positioned over the main switch actuator and lithium-ion cell and secured in place using M2 screws.
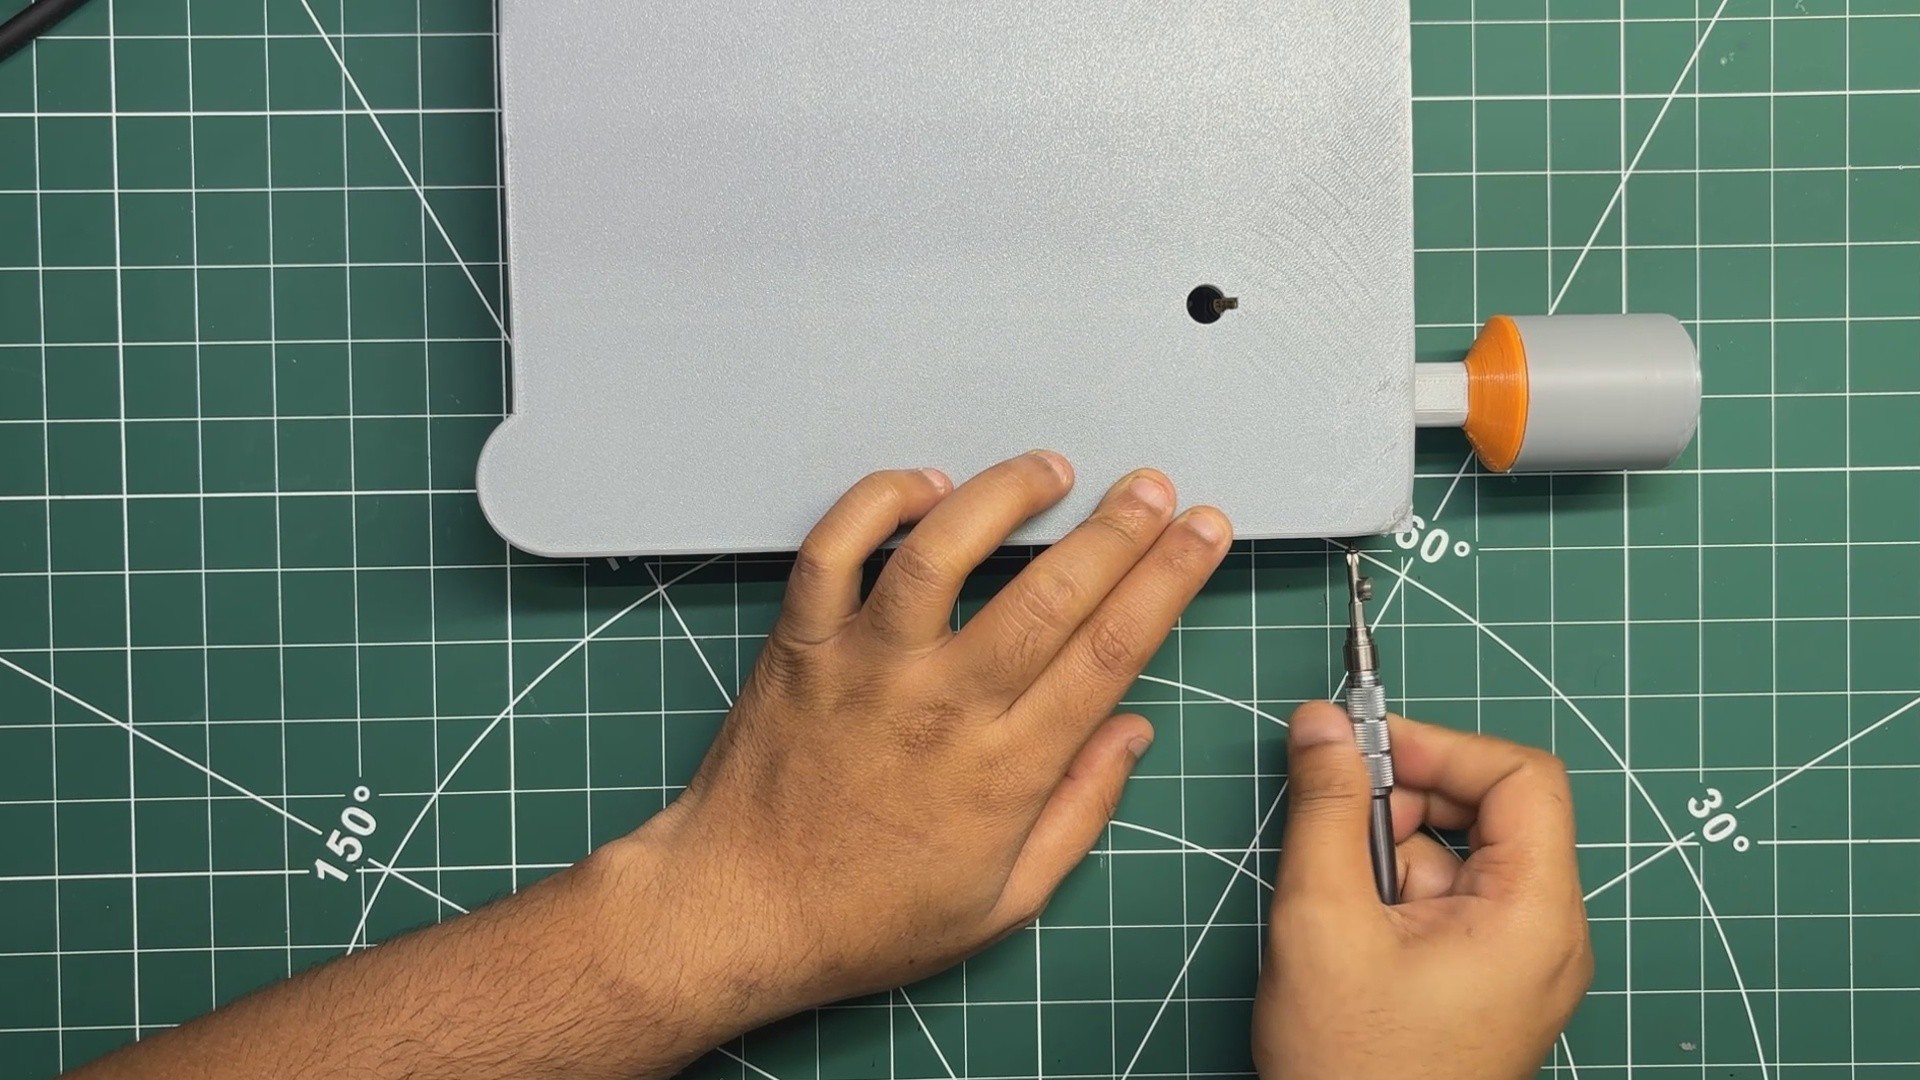
Finally, the Back Lid is positioned on the rear side of the Main Body. M2 screws are inserted from the left and right sides and tightened to secure the Back Lid to the Main Body, completing the assembly process.
12
RESULT
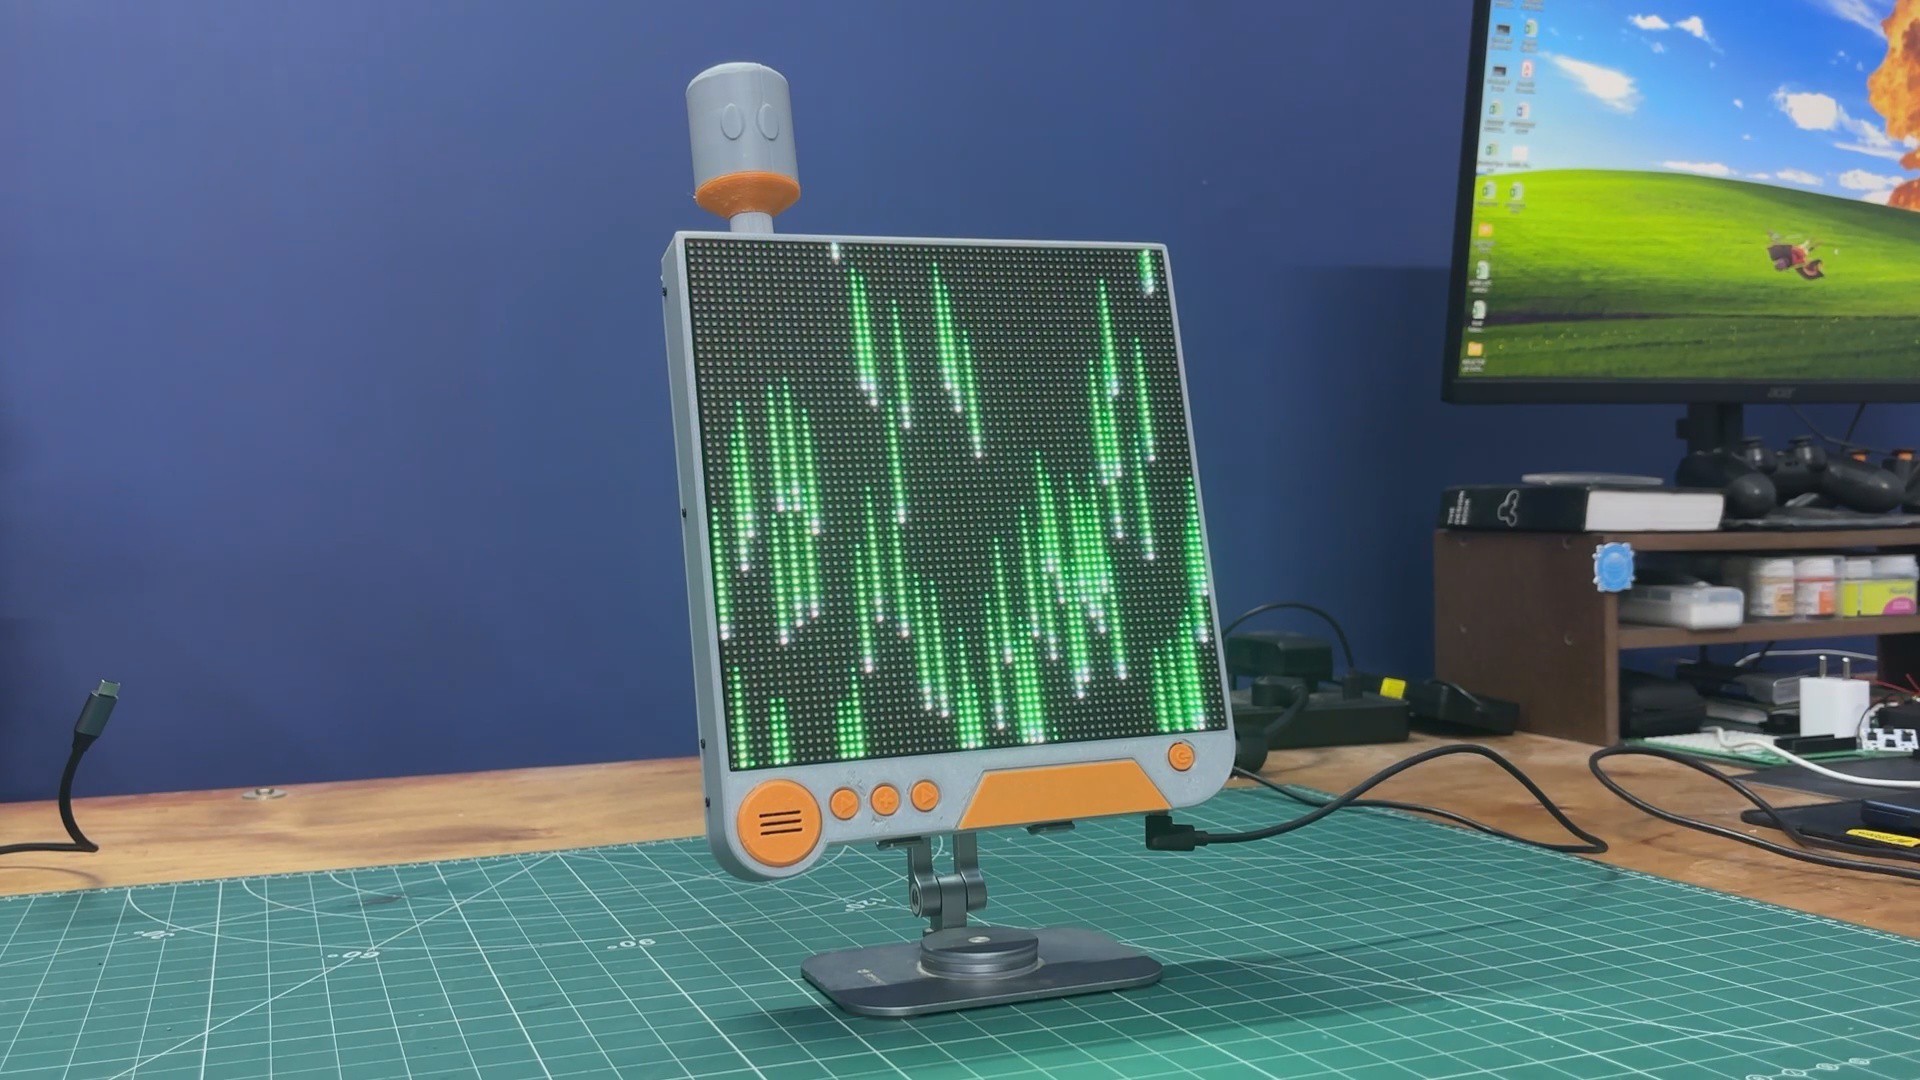
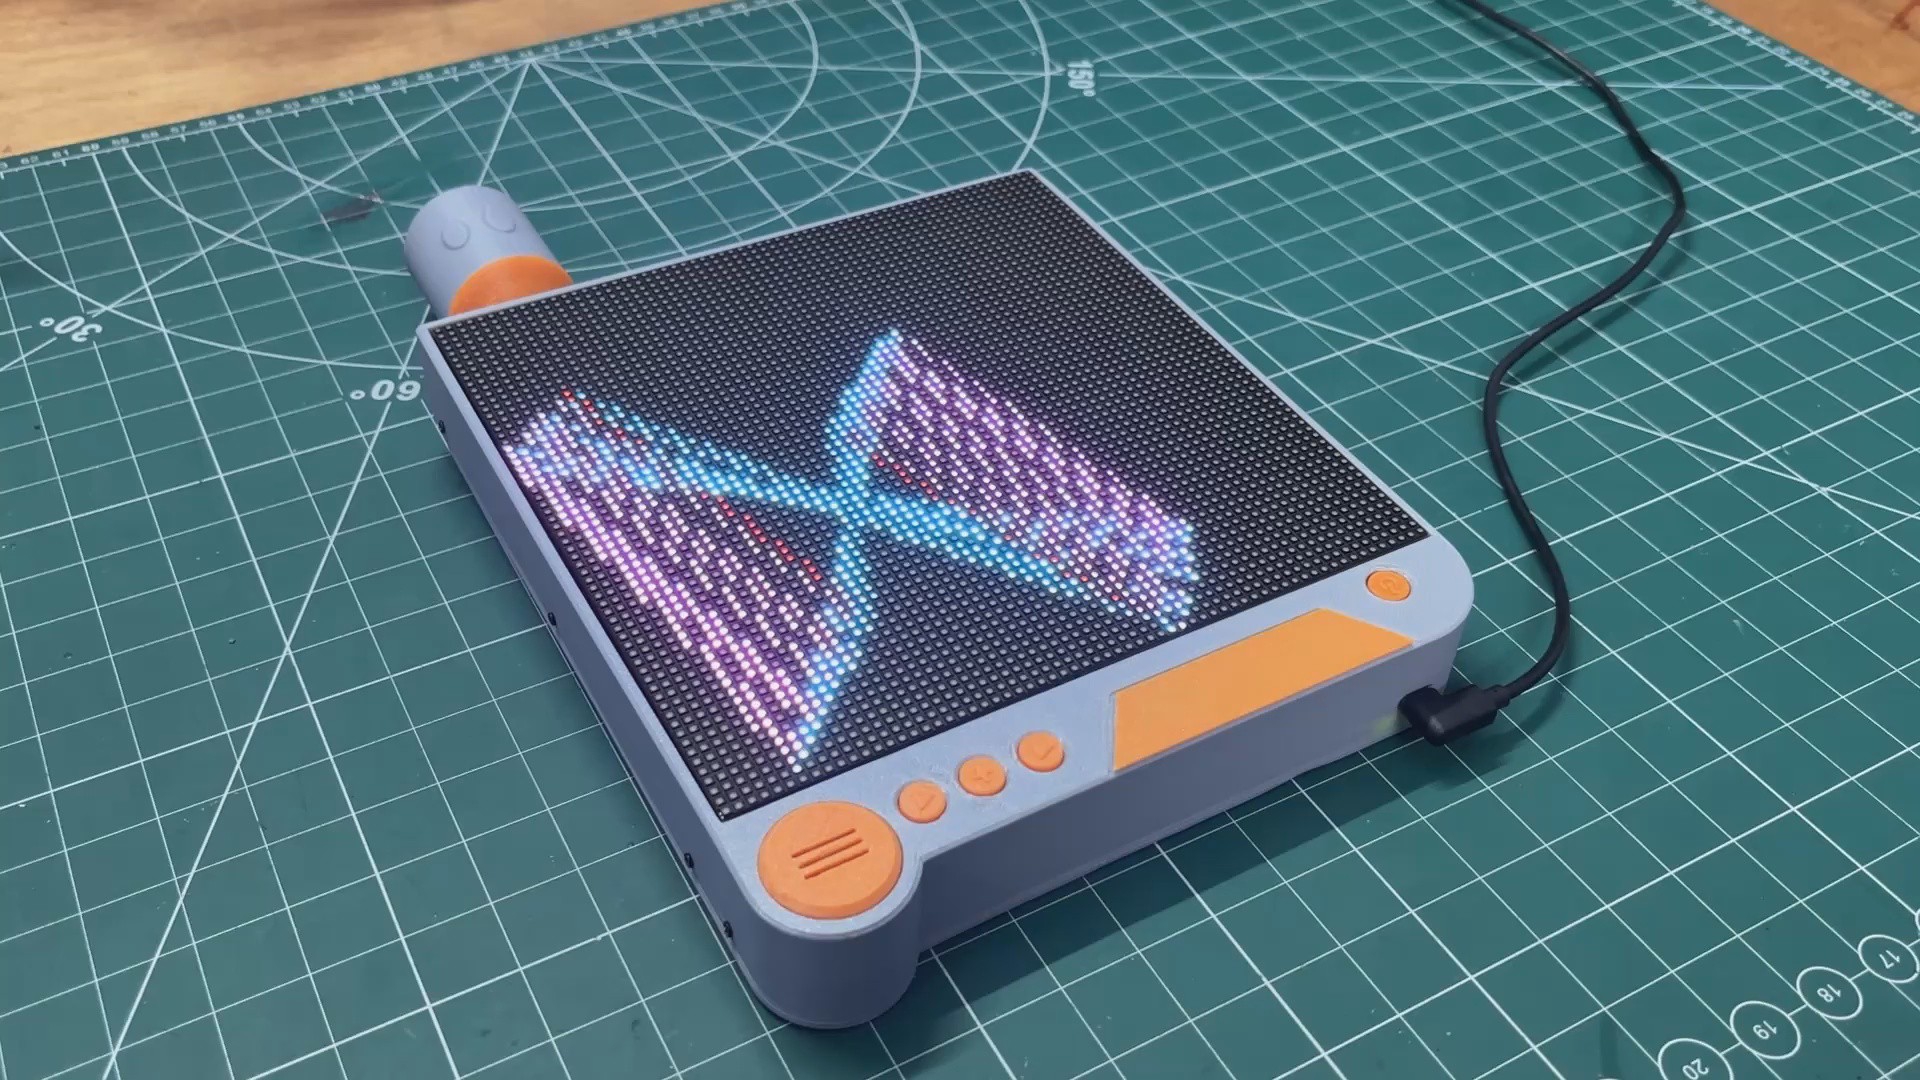
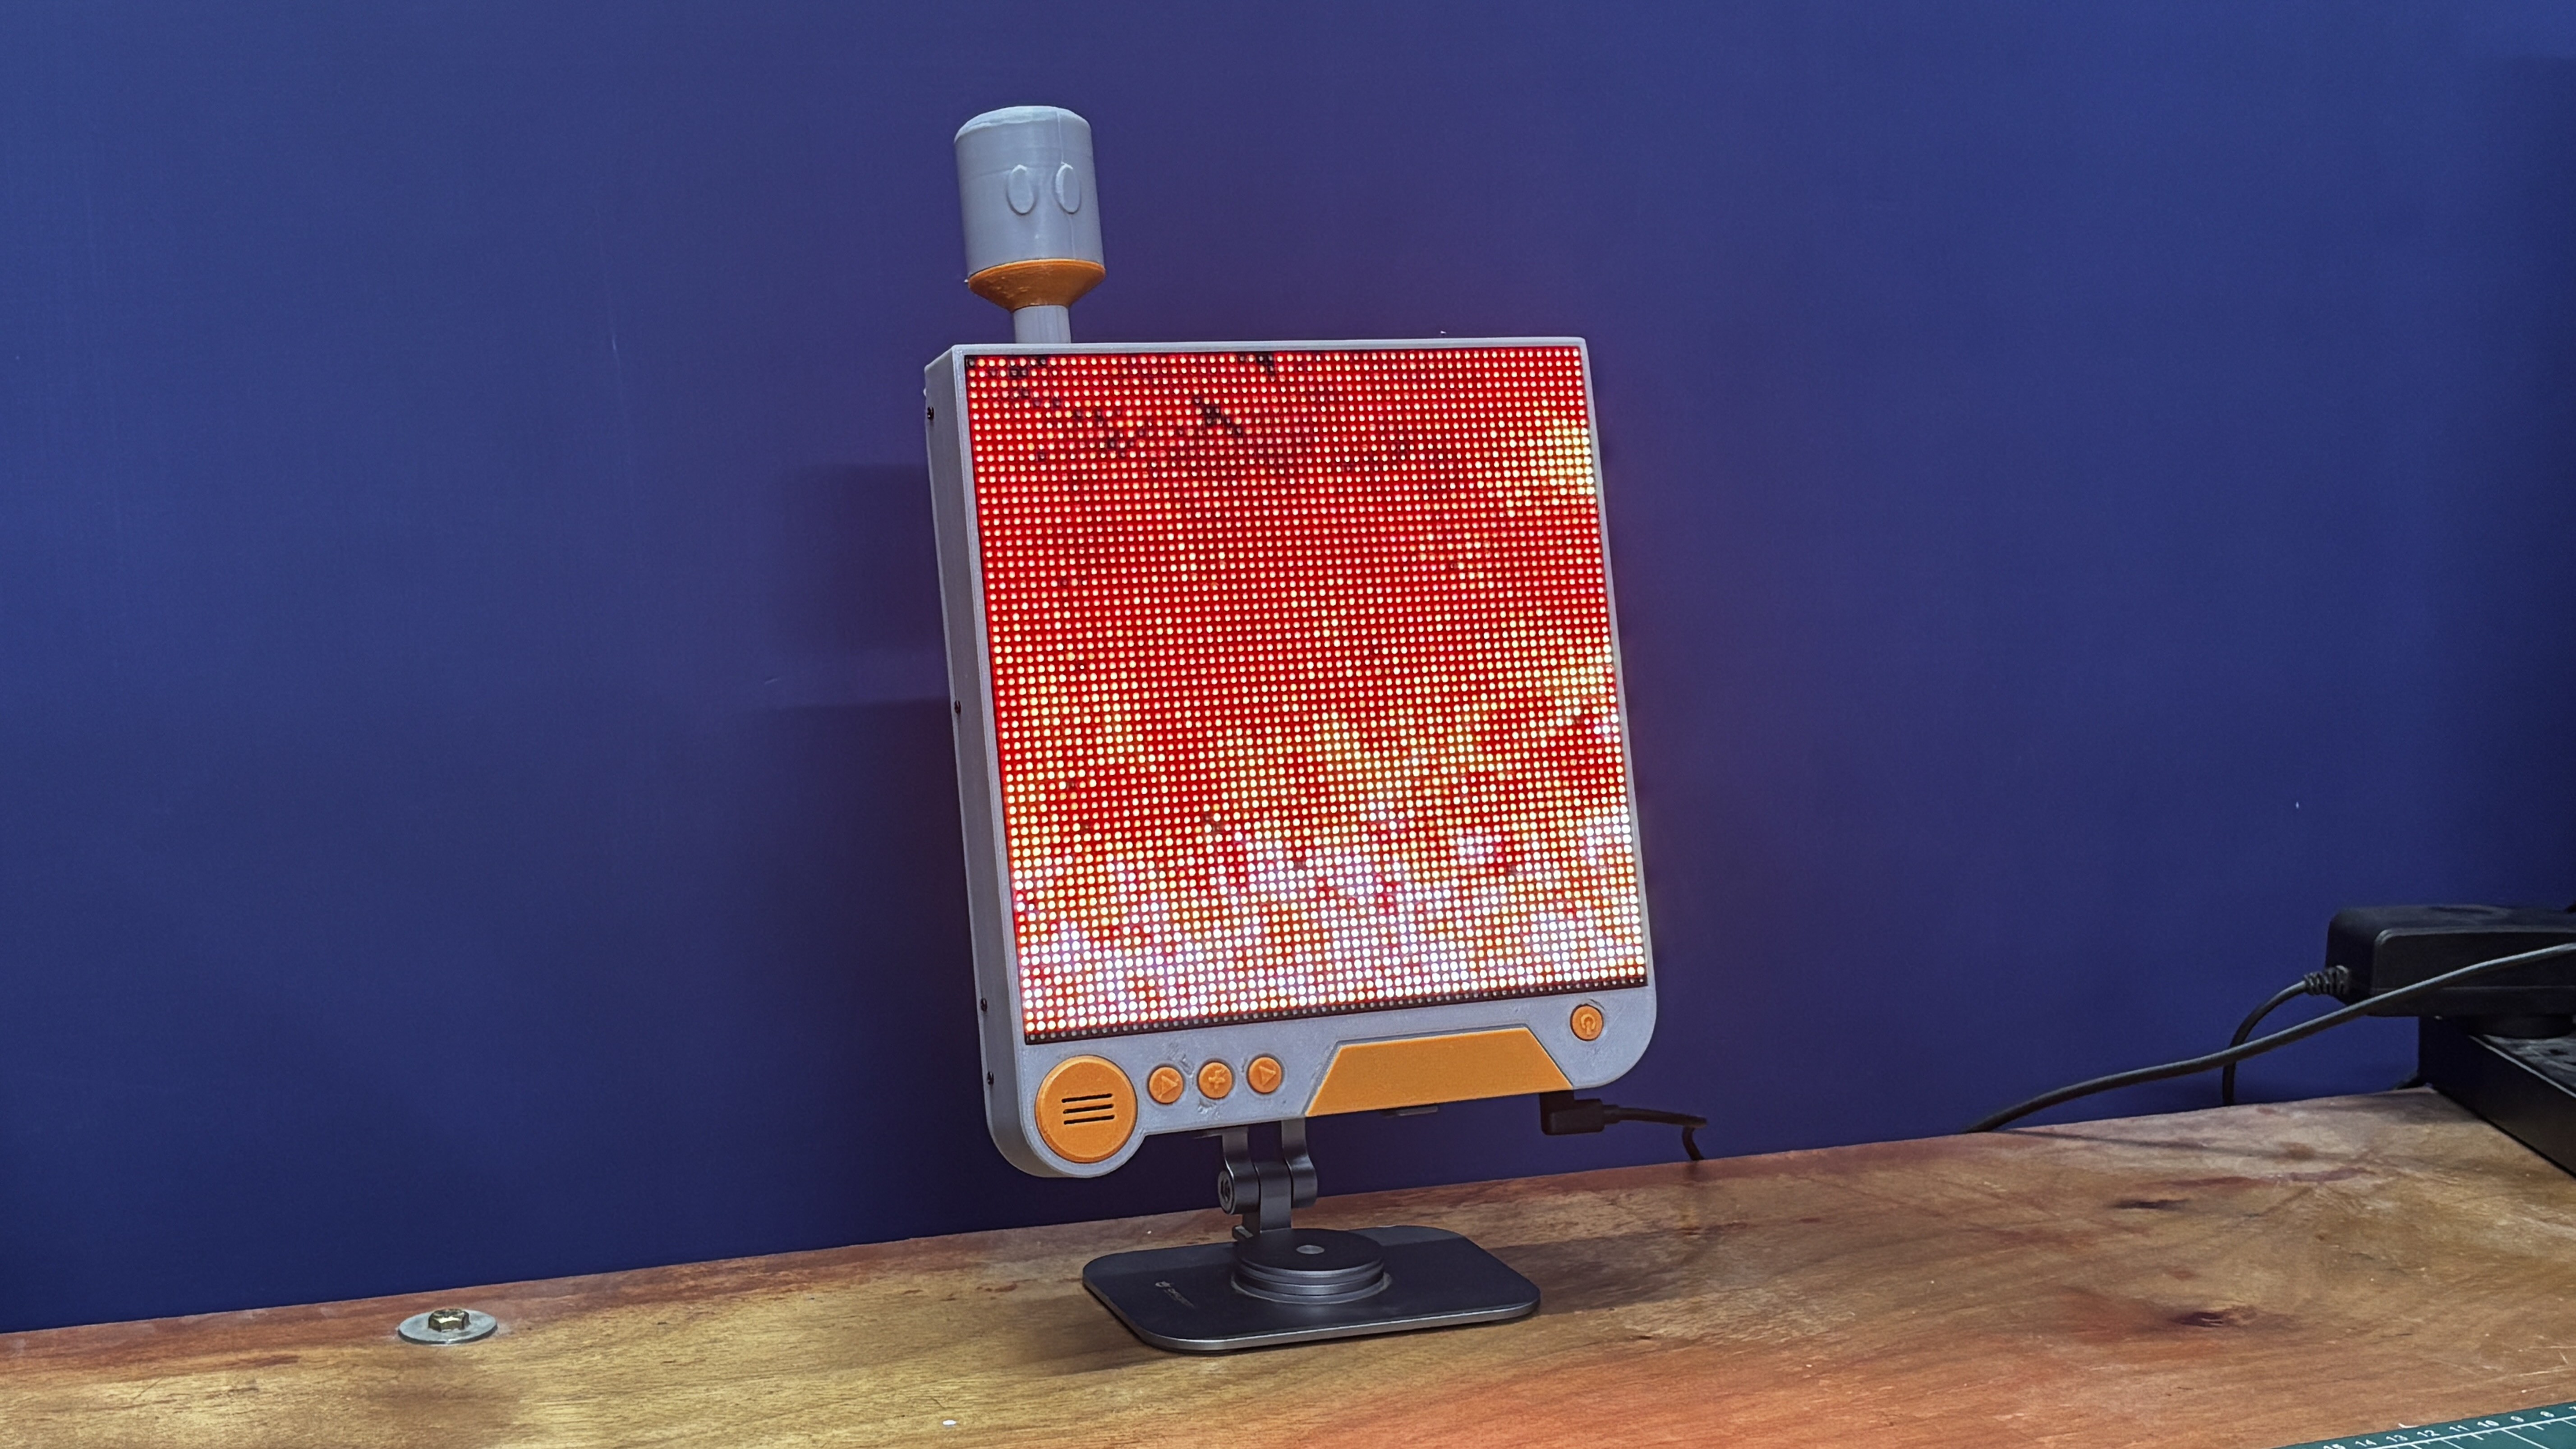
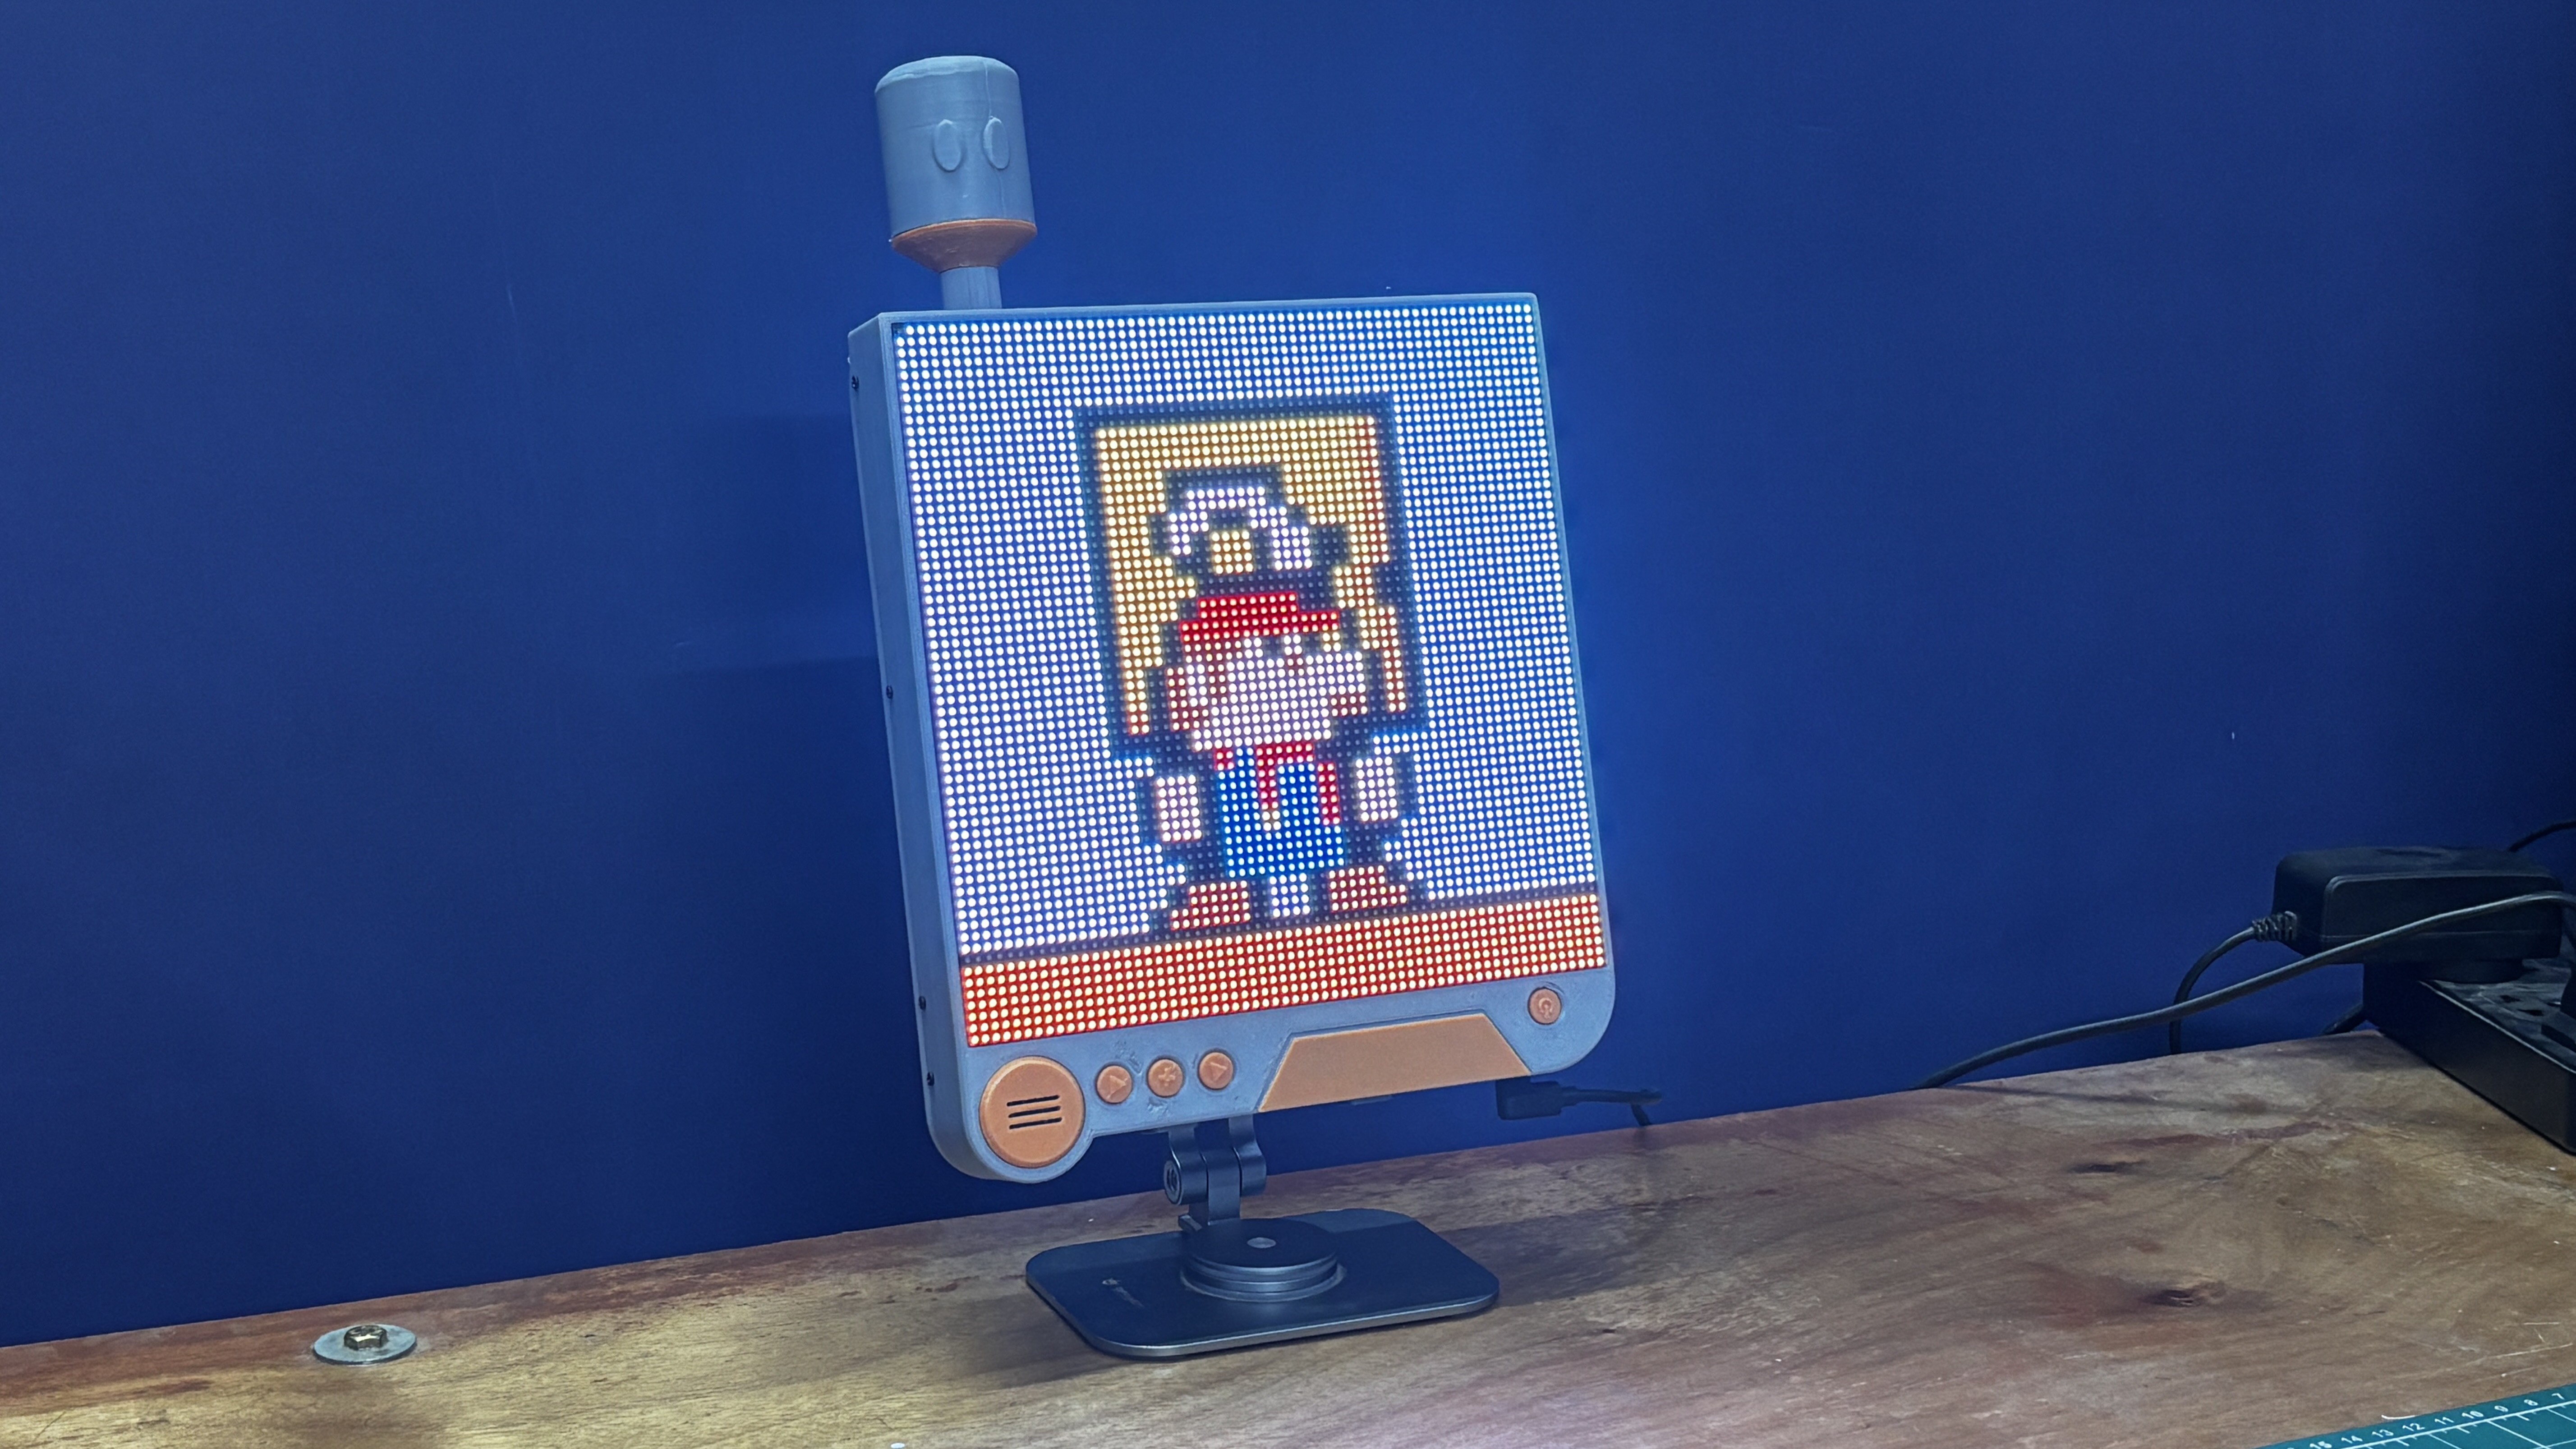
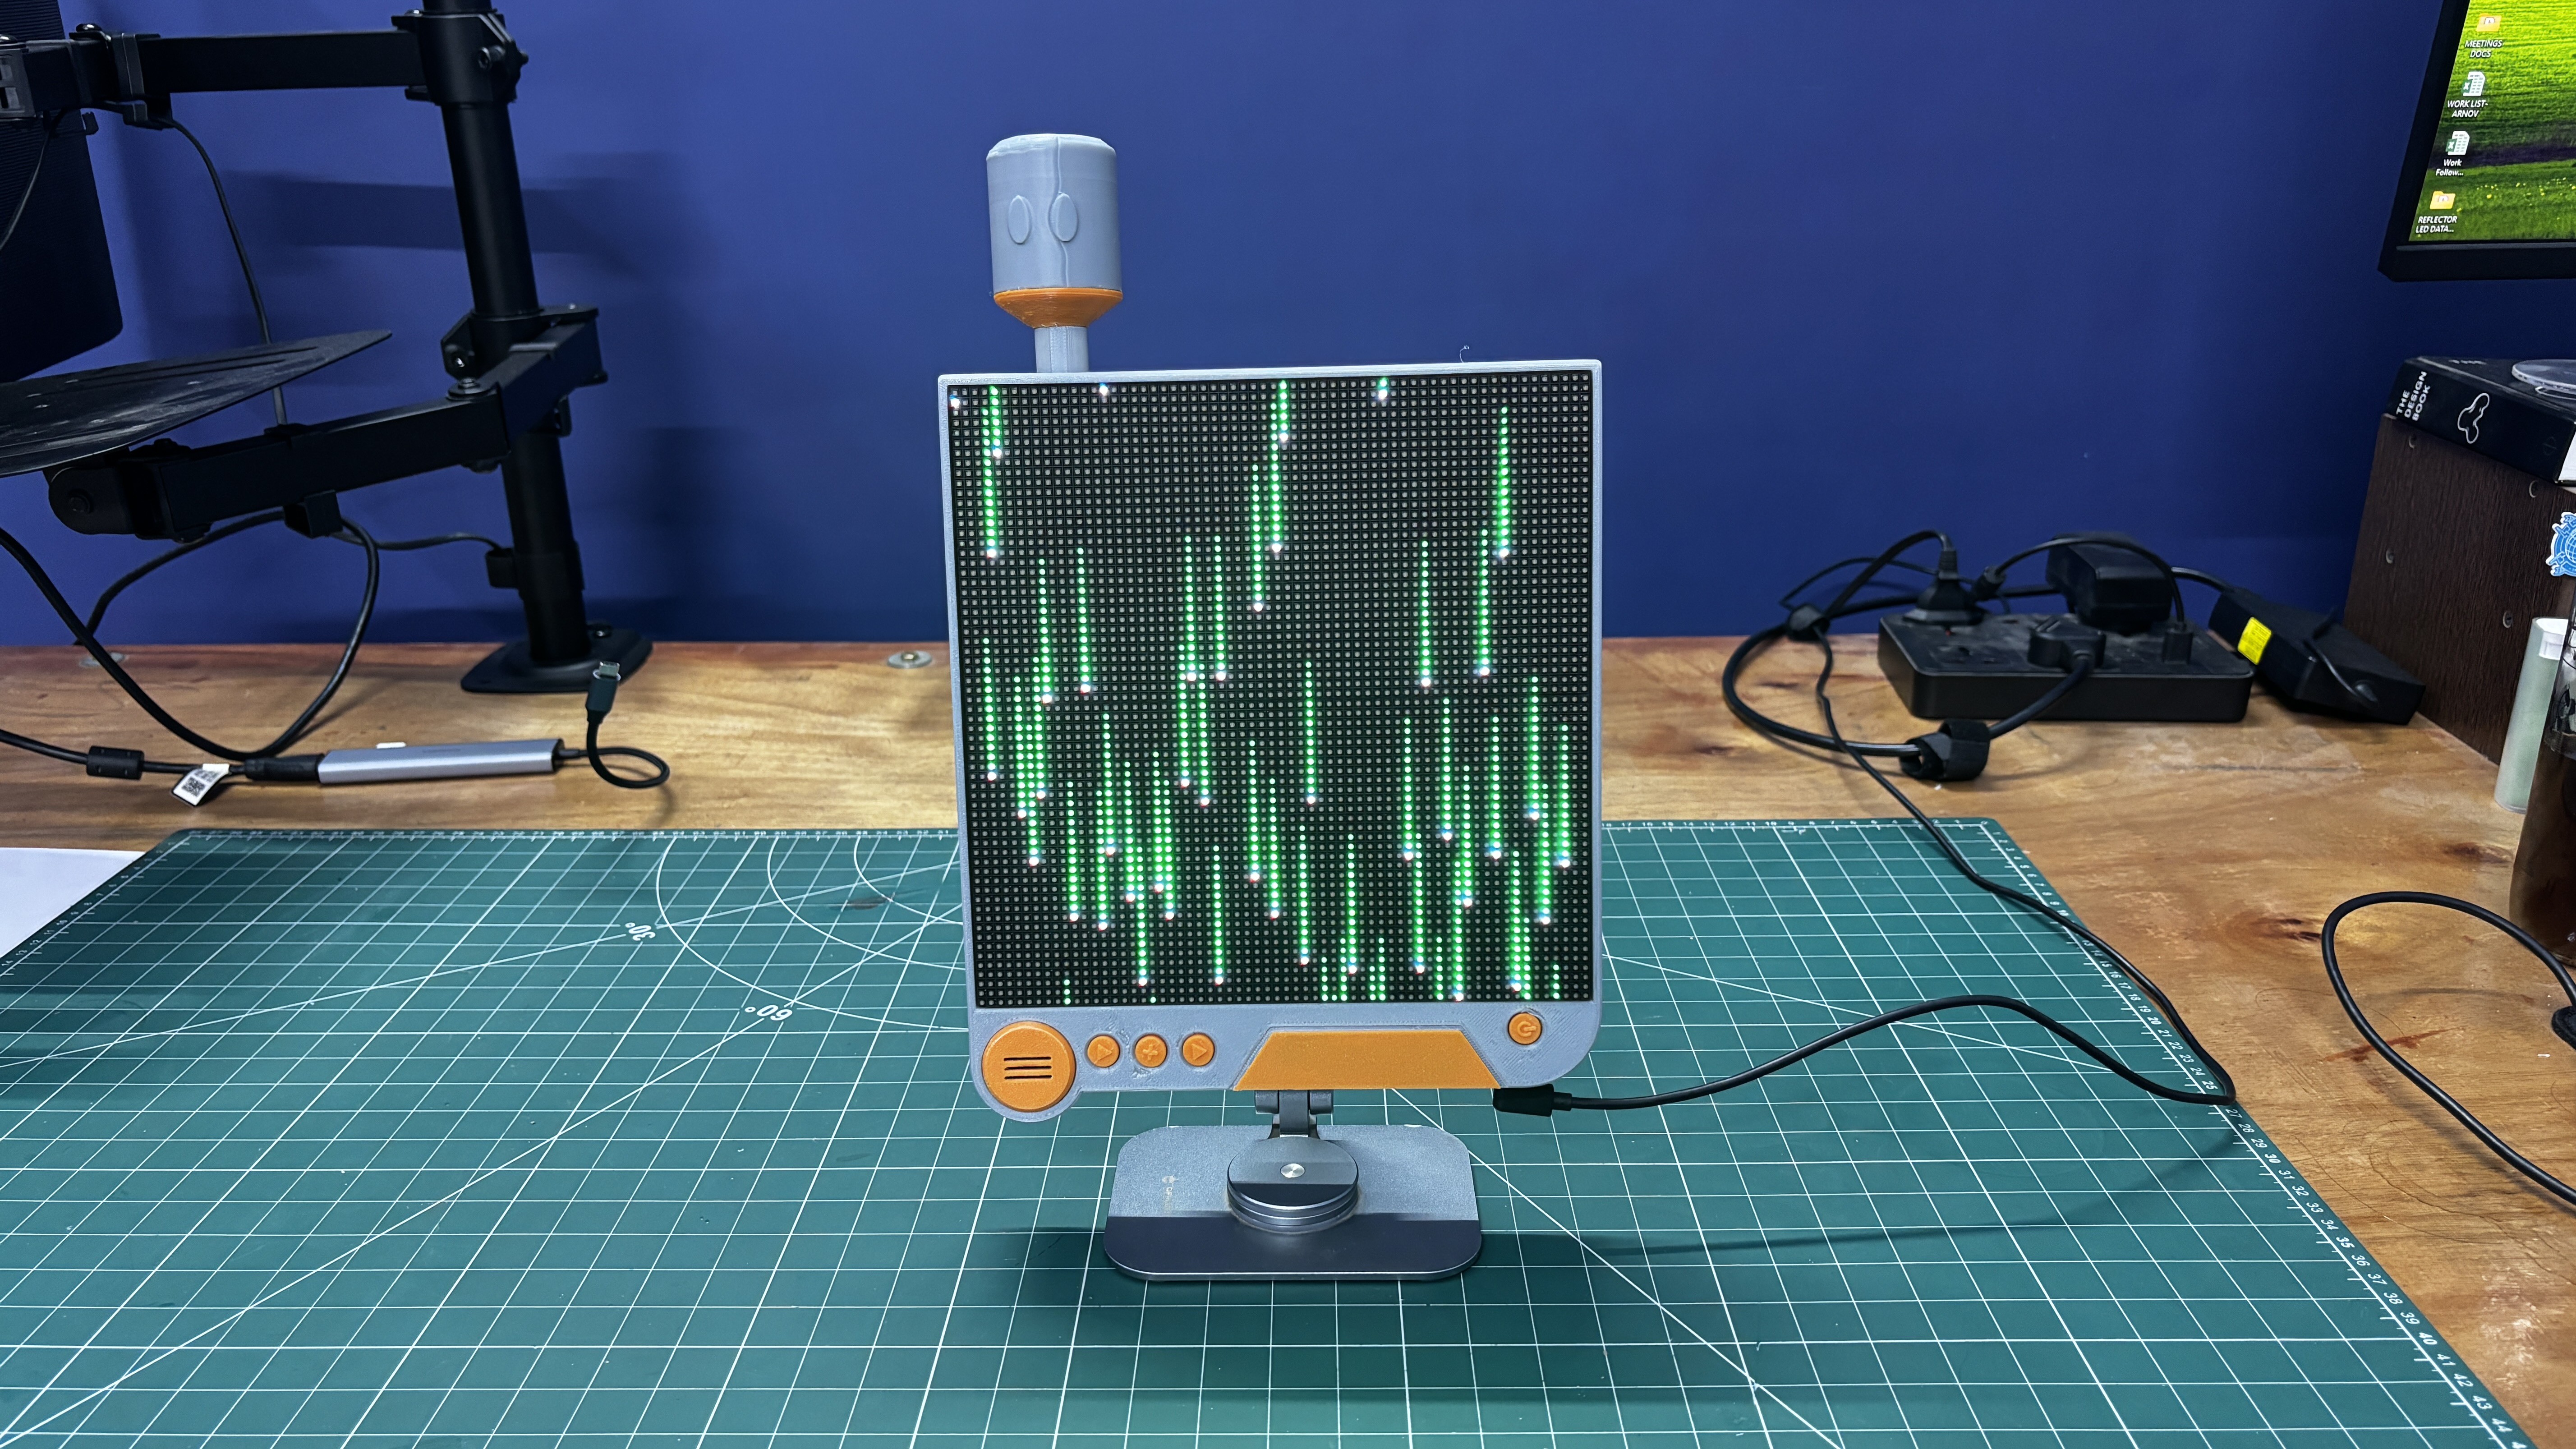
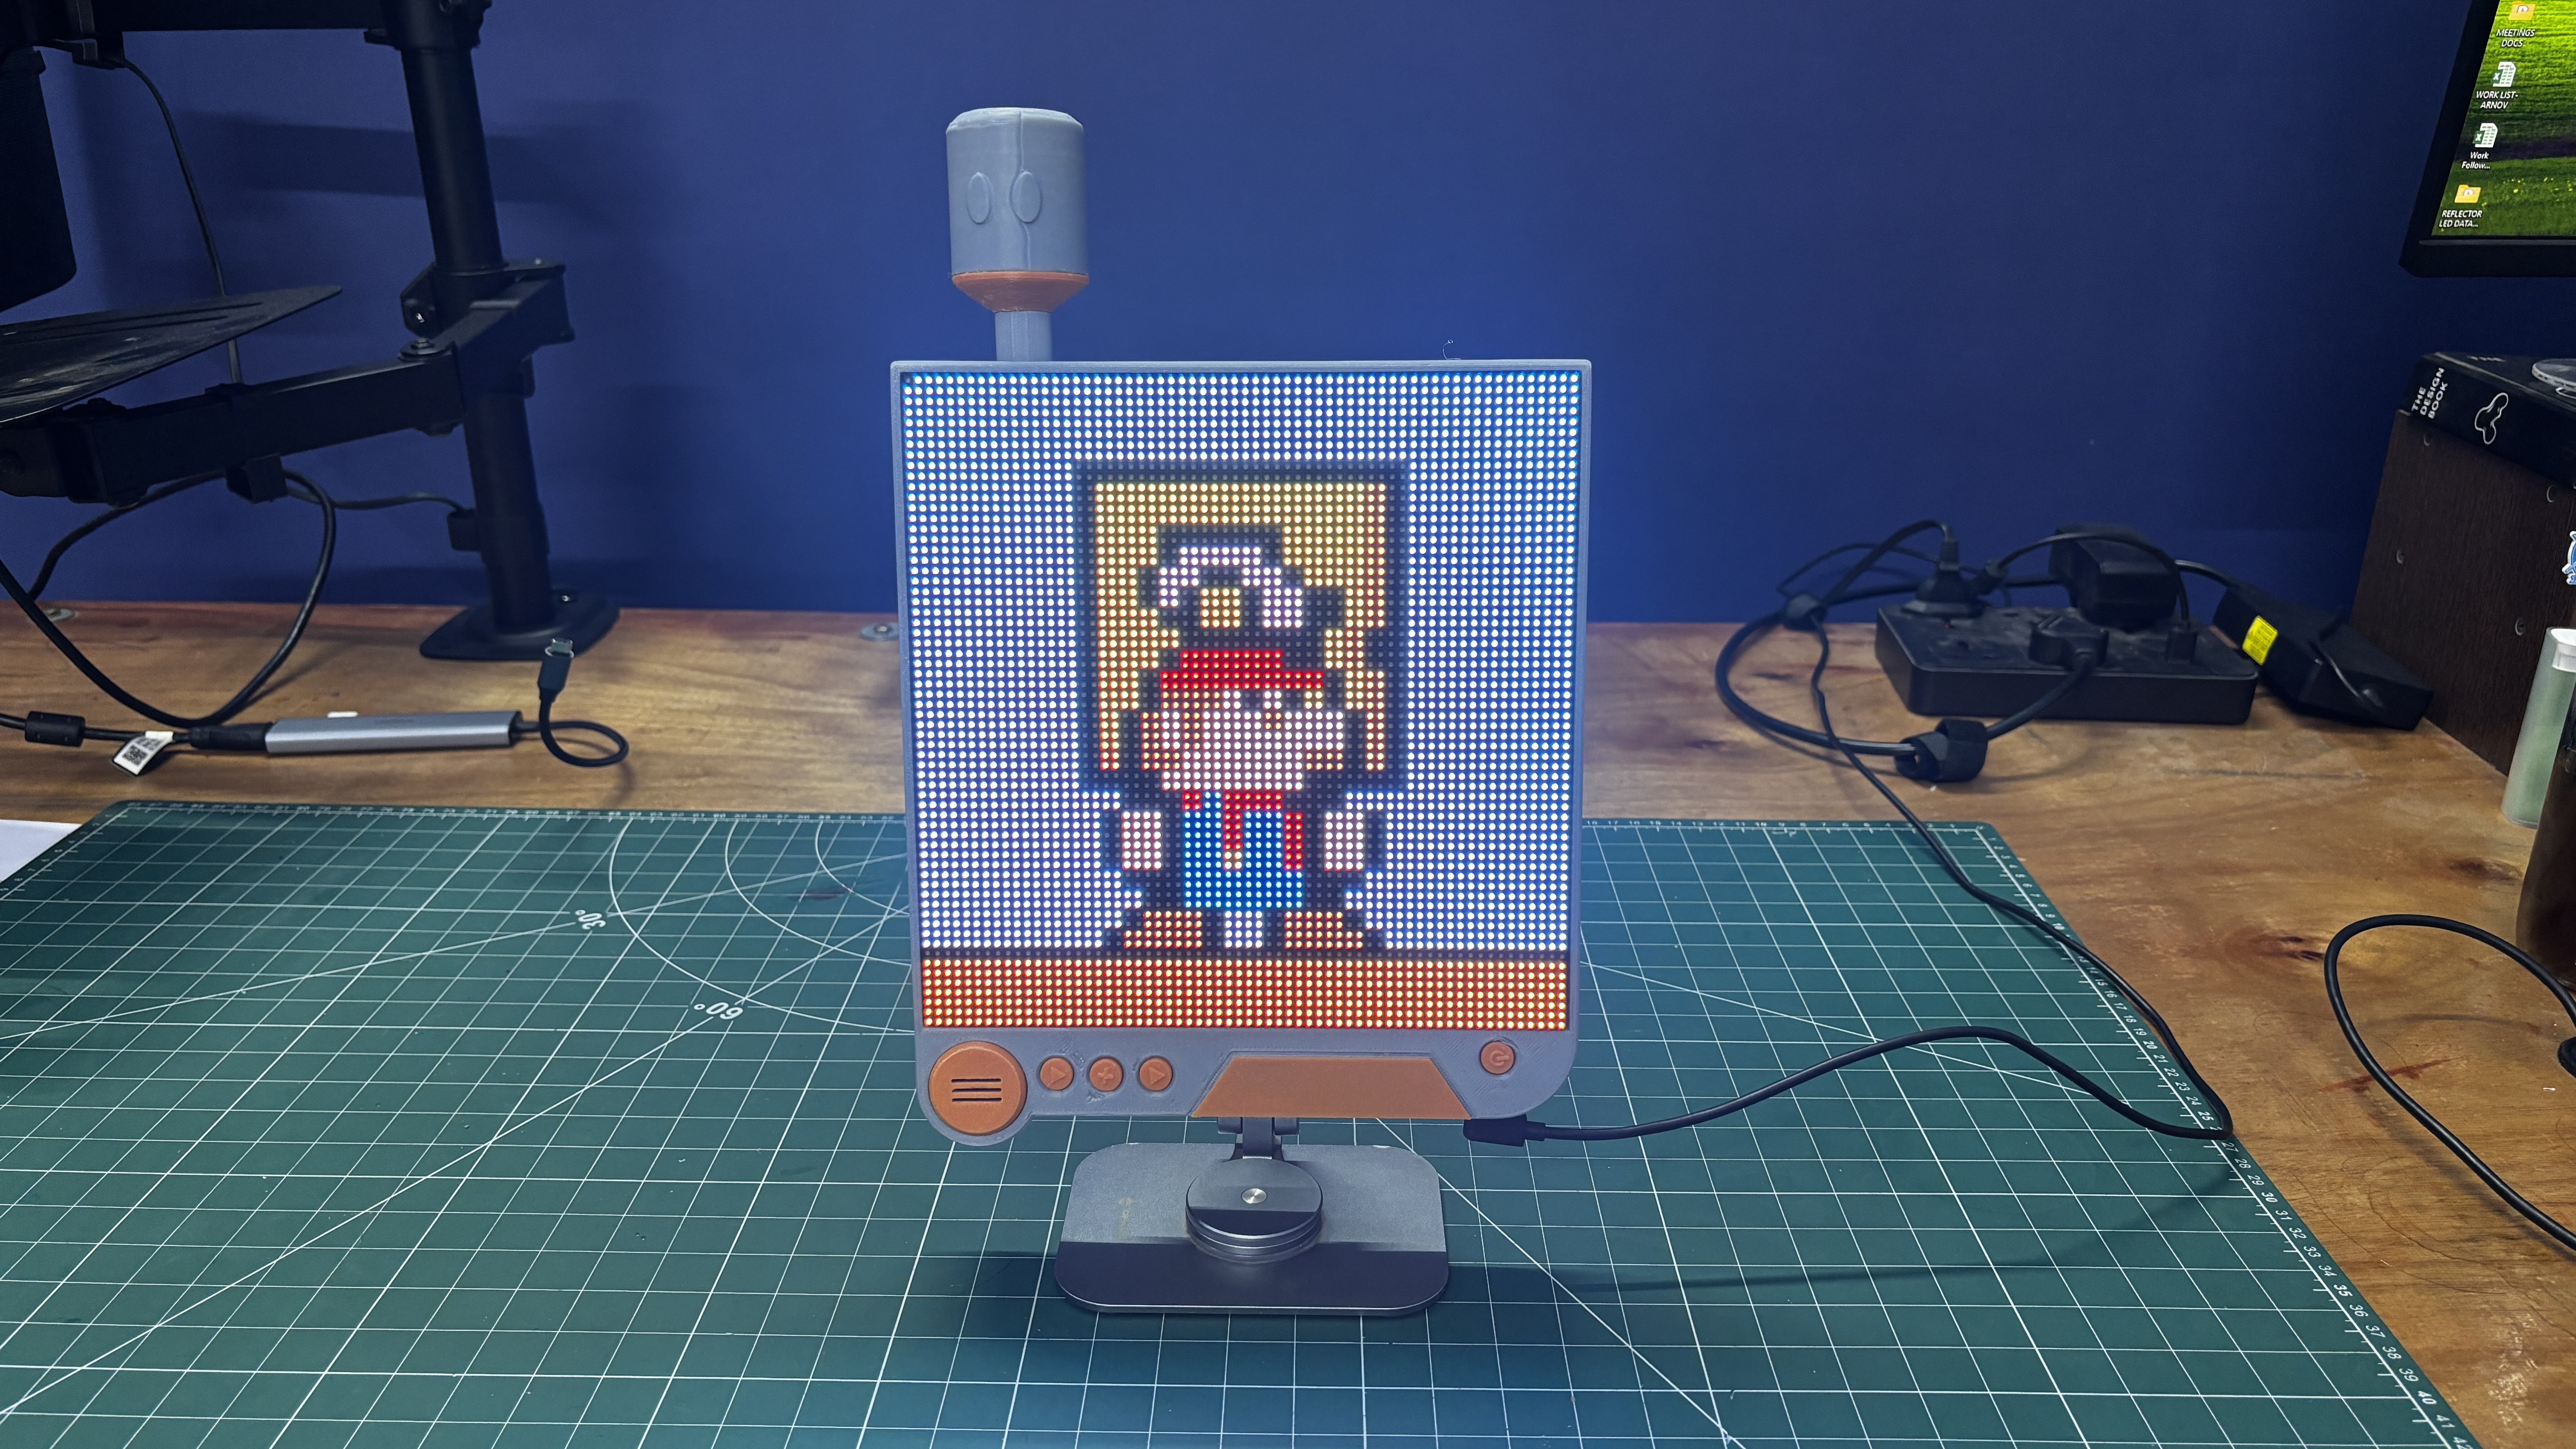
And here’s the end result of this project, PROJECT GESTALT, a fully functional RGB matrix display that combines animations, gaming-inspired visuals, and a sound-reactive WaveForm mode, all inside a custom enclosure inspired by the Pods from NieR: Automata.
To turn the device ON, we press the main power button, which powers up the system and initializes the display.
Three control buttons are provided: Previous, WaveForm Mode, and Next.
The Previous and Next buttons allow us to cycle through the different animations stored on the device. Pressing the Next button moves to the next animation, while the Previous button takes us back to the previous one.
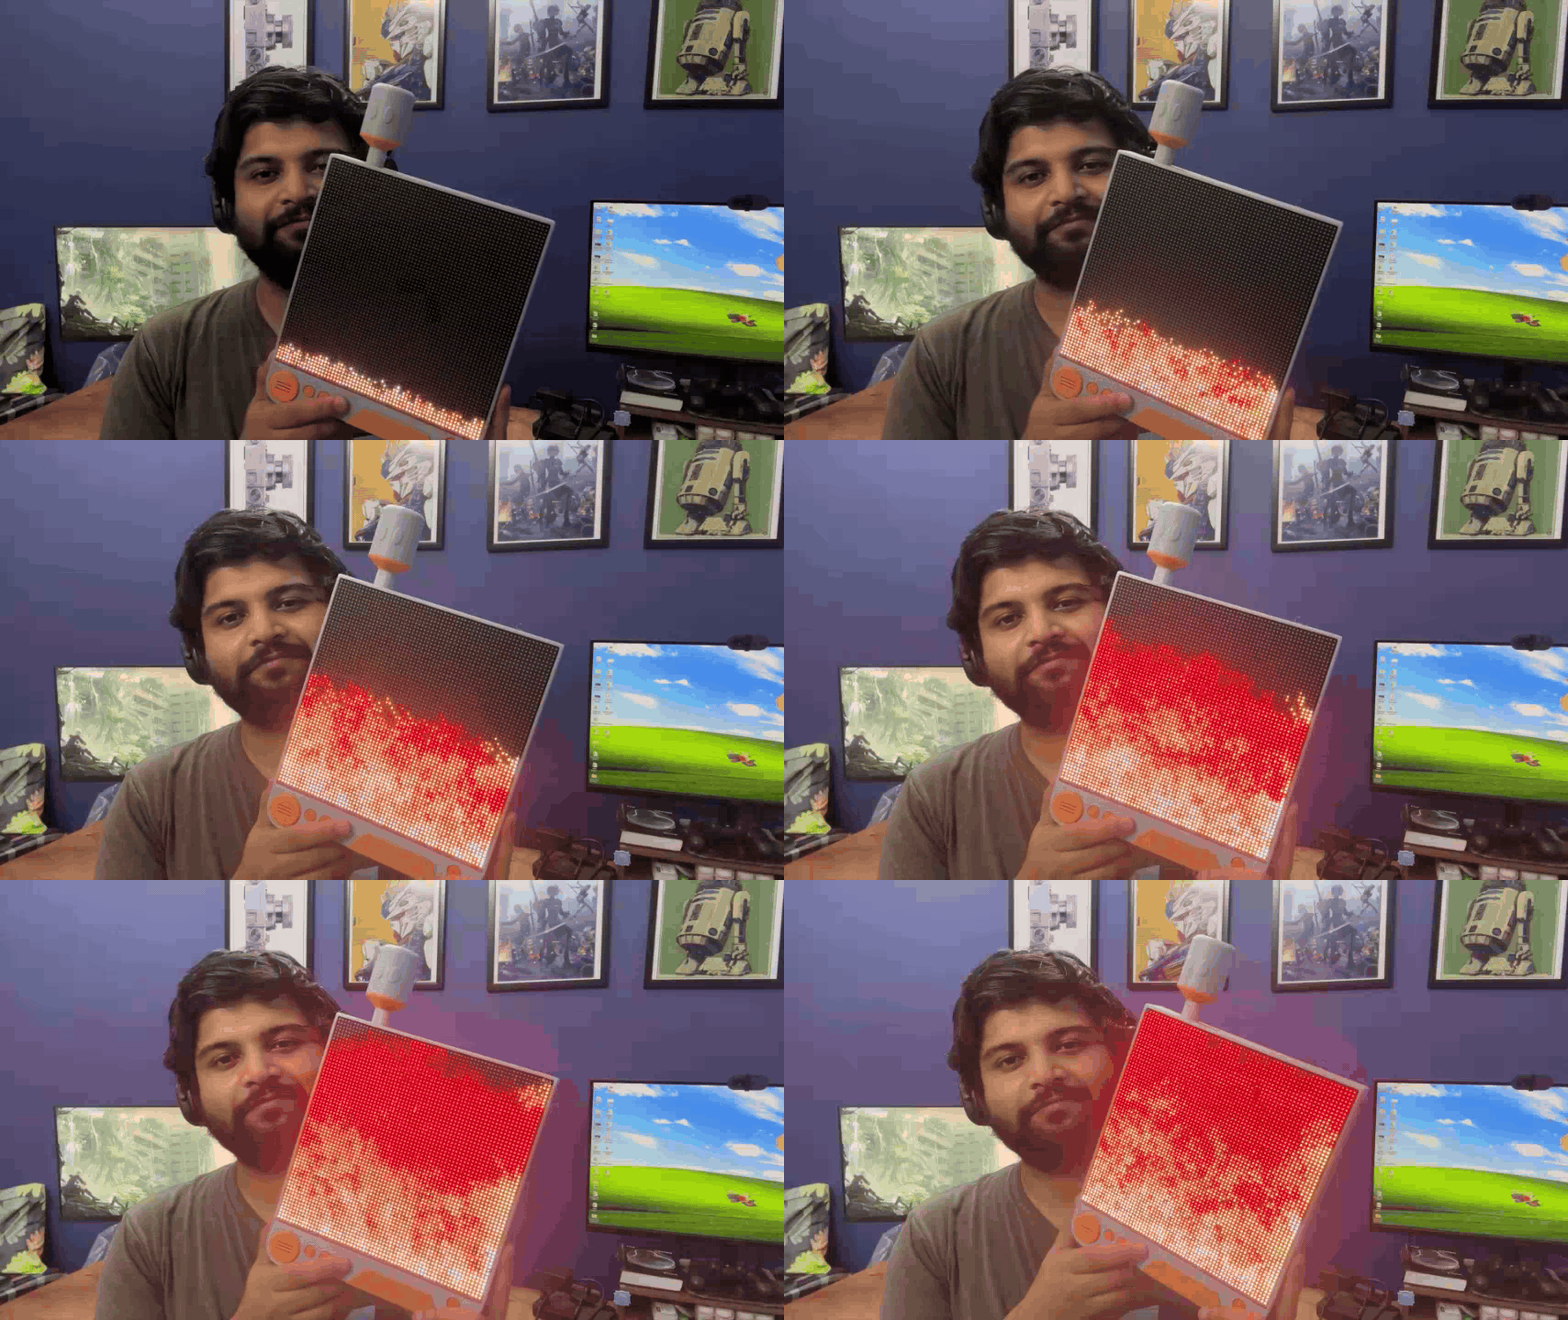
The dedicated WaveForm Mode button switches the device into its sound-reactive mode. In this mode, the microphone picks up the surrounding sound level, which is then visualized in real time as an animated wave on the RGB matrix. As the surrounding sound gets louder, the wave expands and reacts accordingly.
13
ANIMATIONS
Project Gestalt currently features nine custom animations, each created using procedural graphics and lightweight code to run smoothly on the Raspberry Pi Pico.
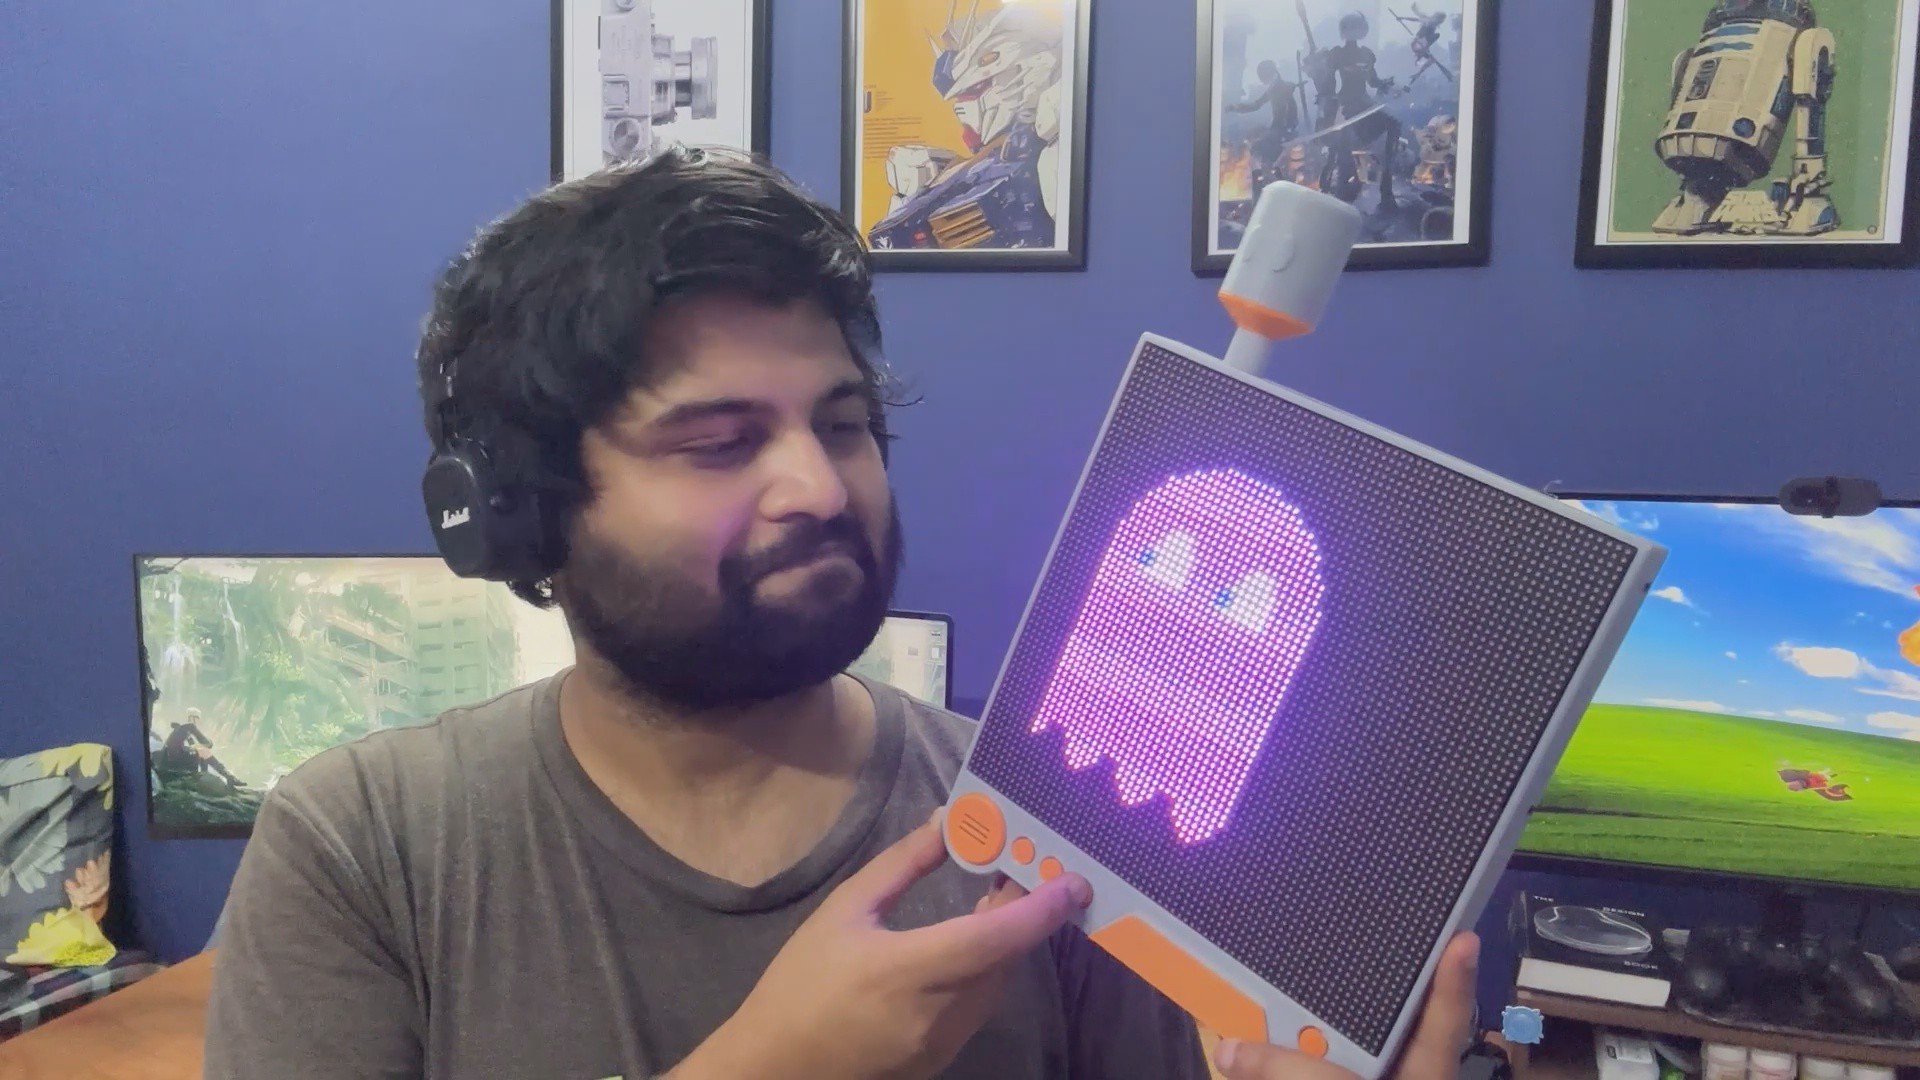
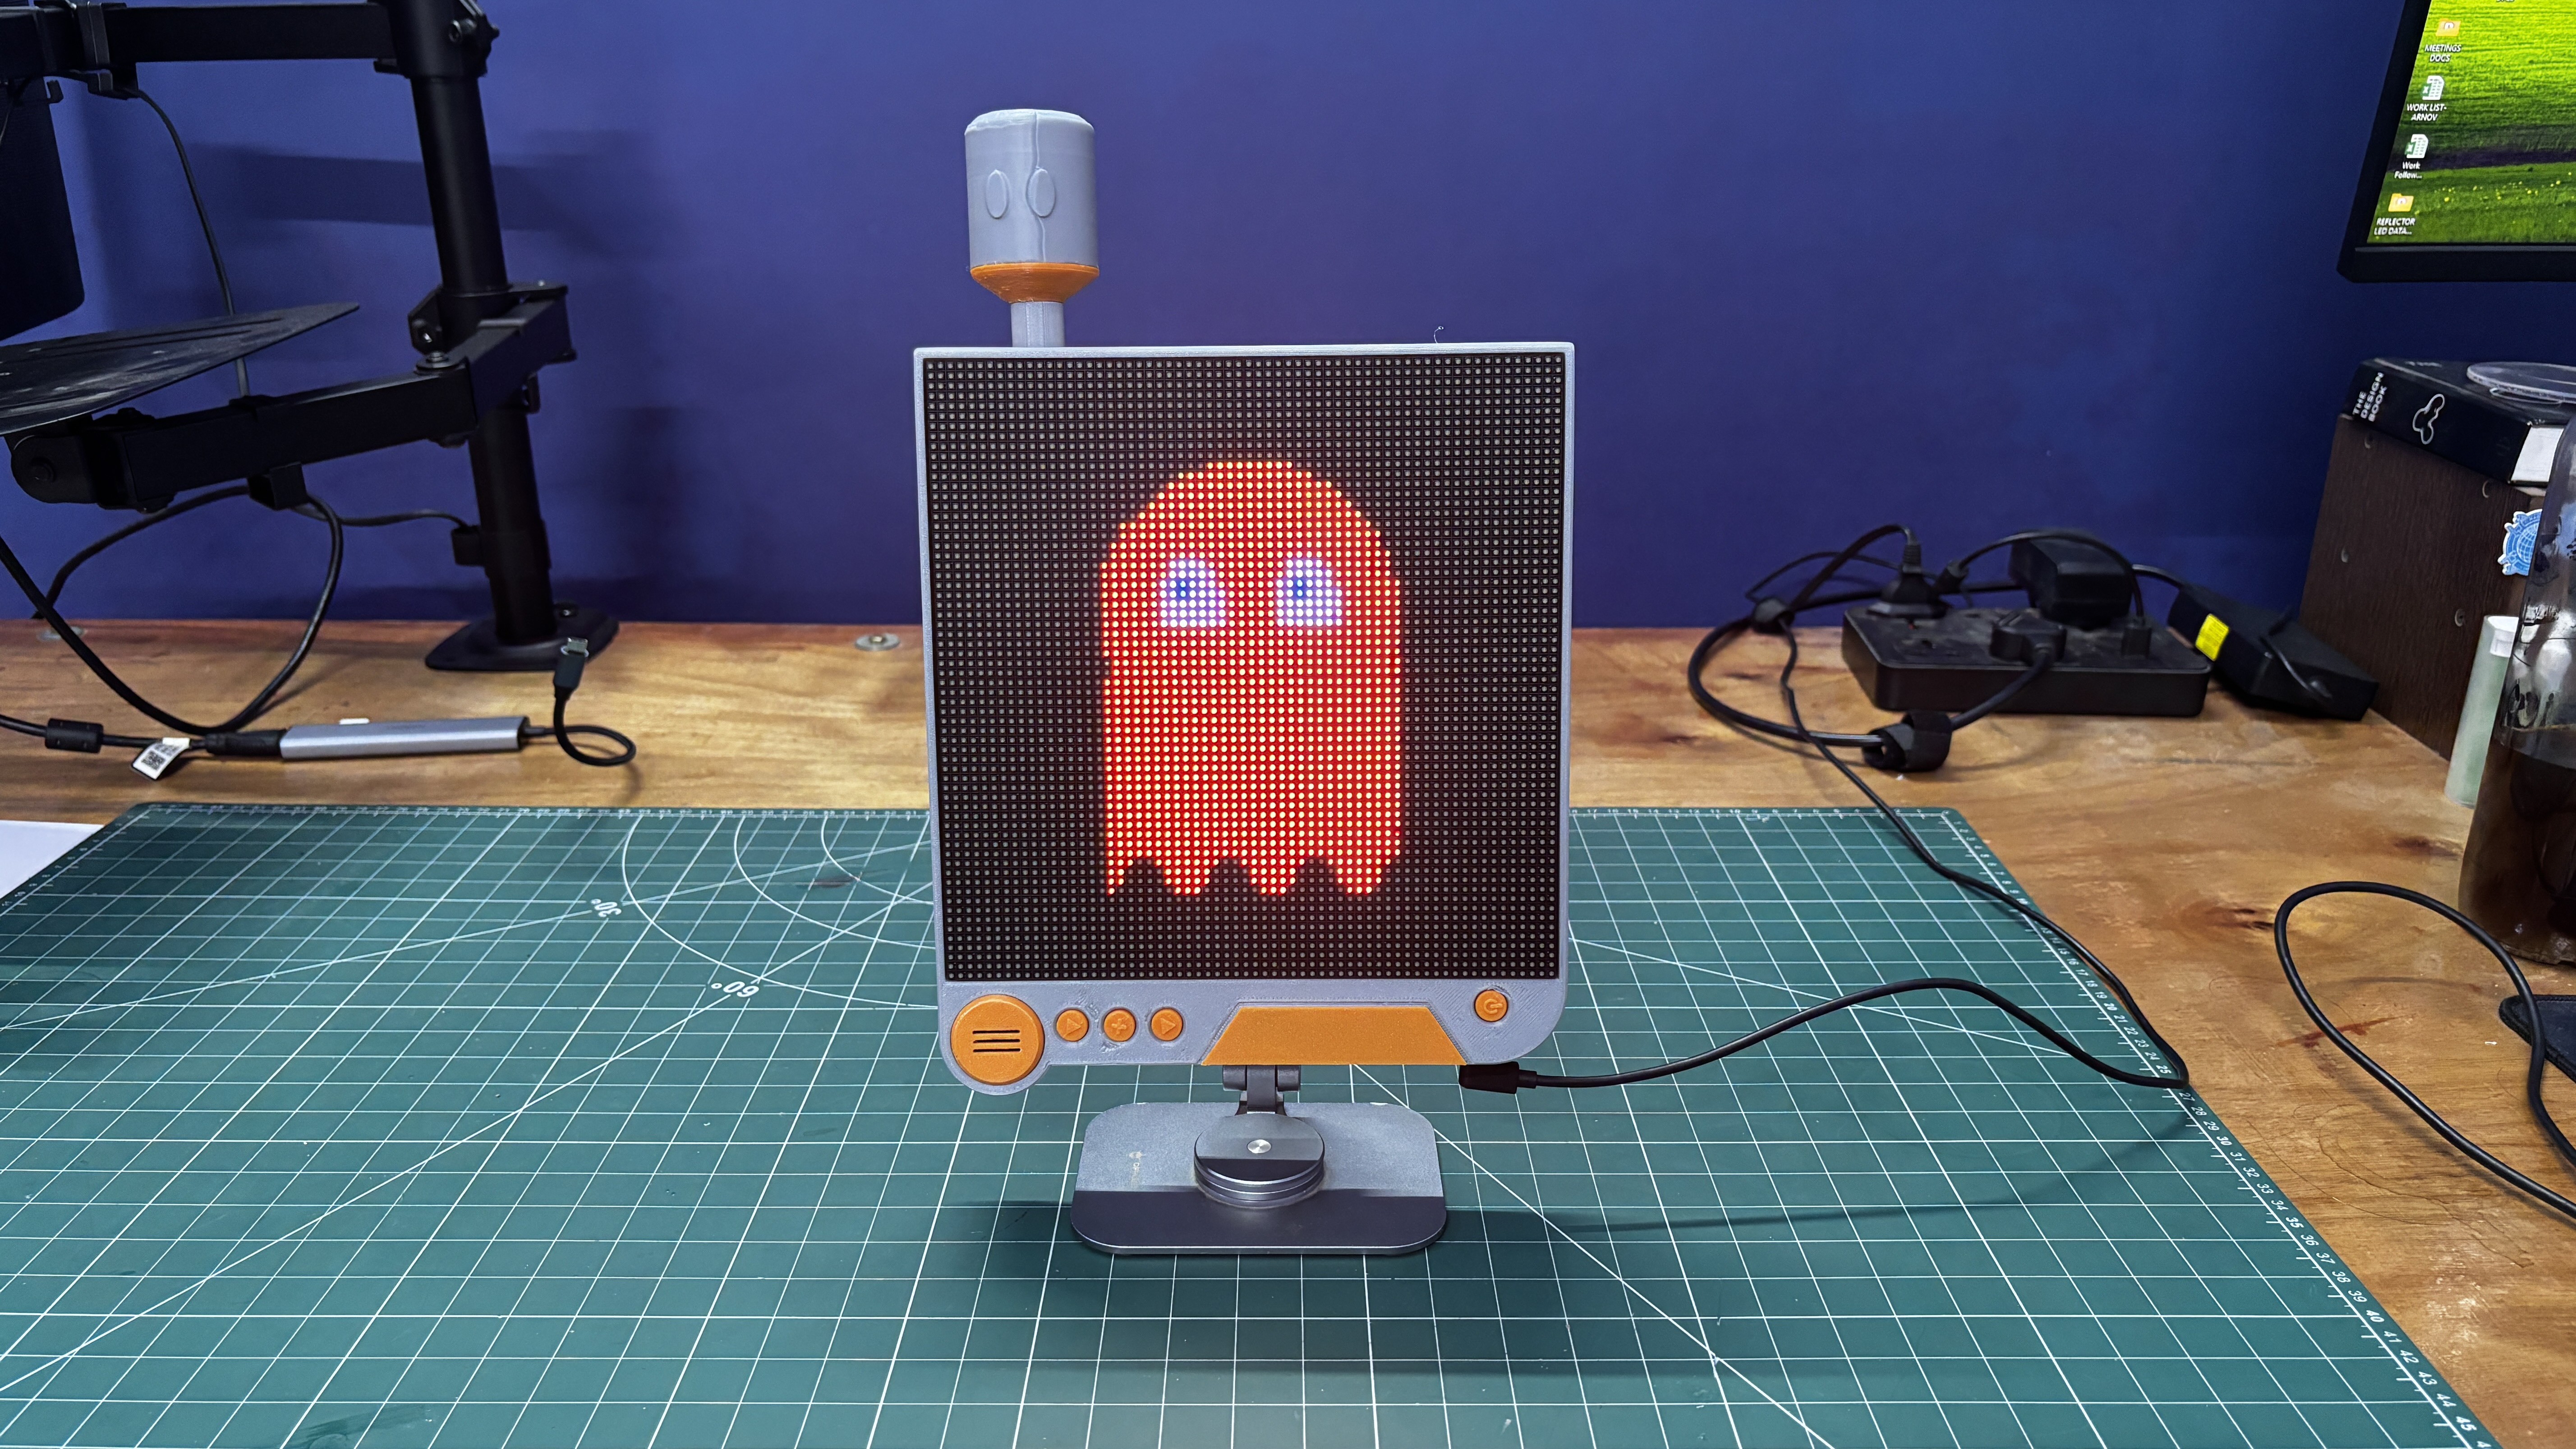
Cyber-Ghost- A colorful Pac-Man-inspired ghost with animated feet and continuously shifting RGB colors.
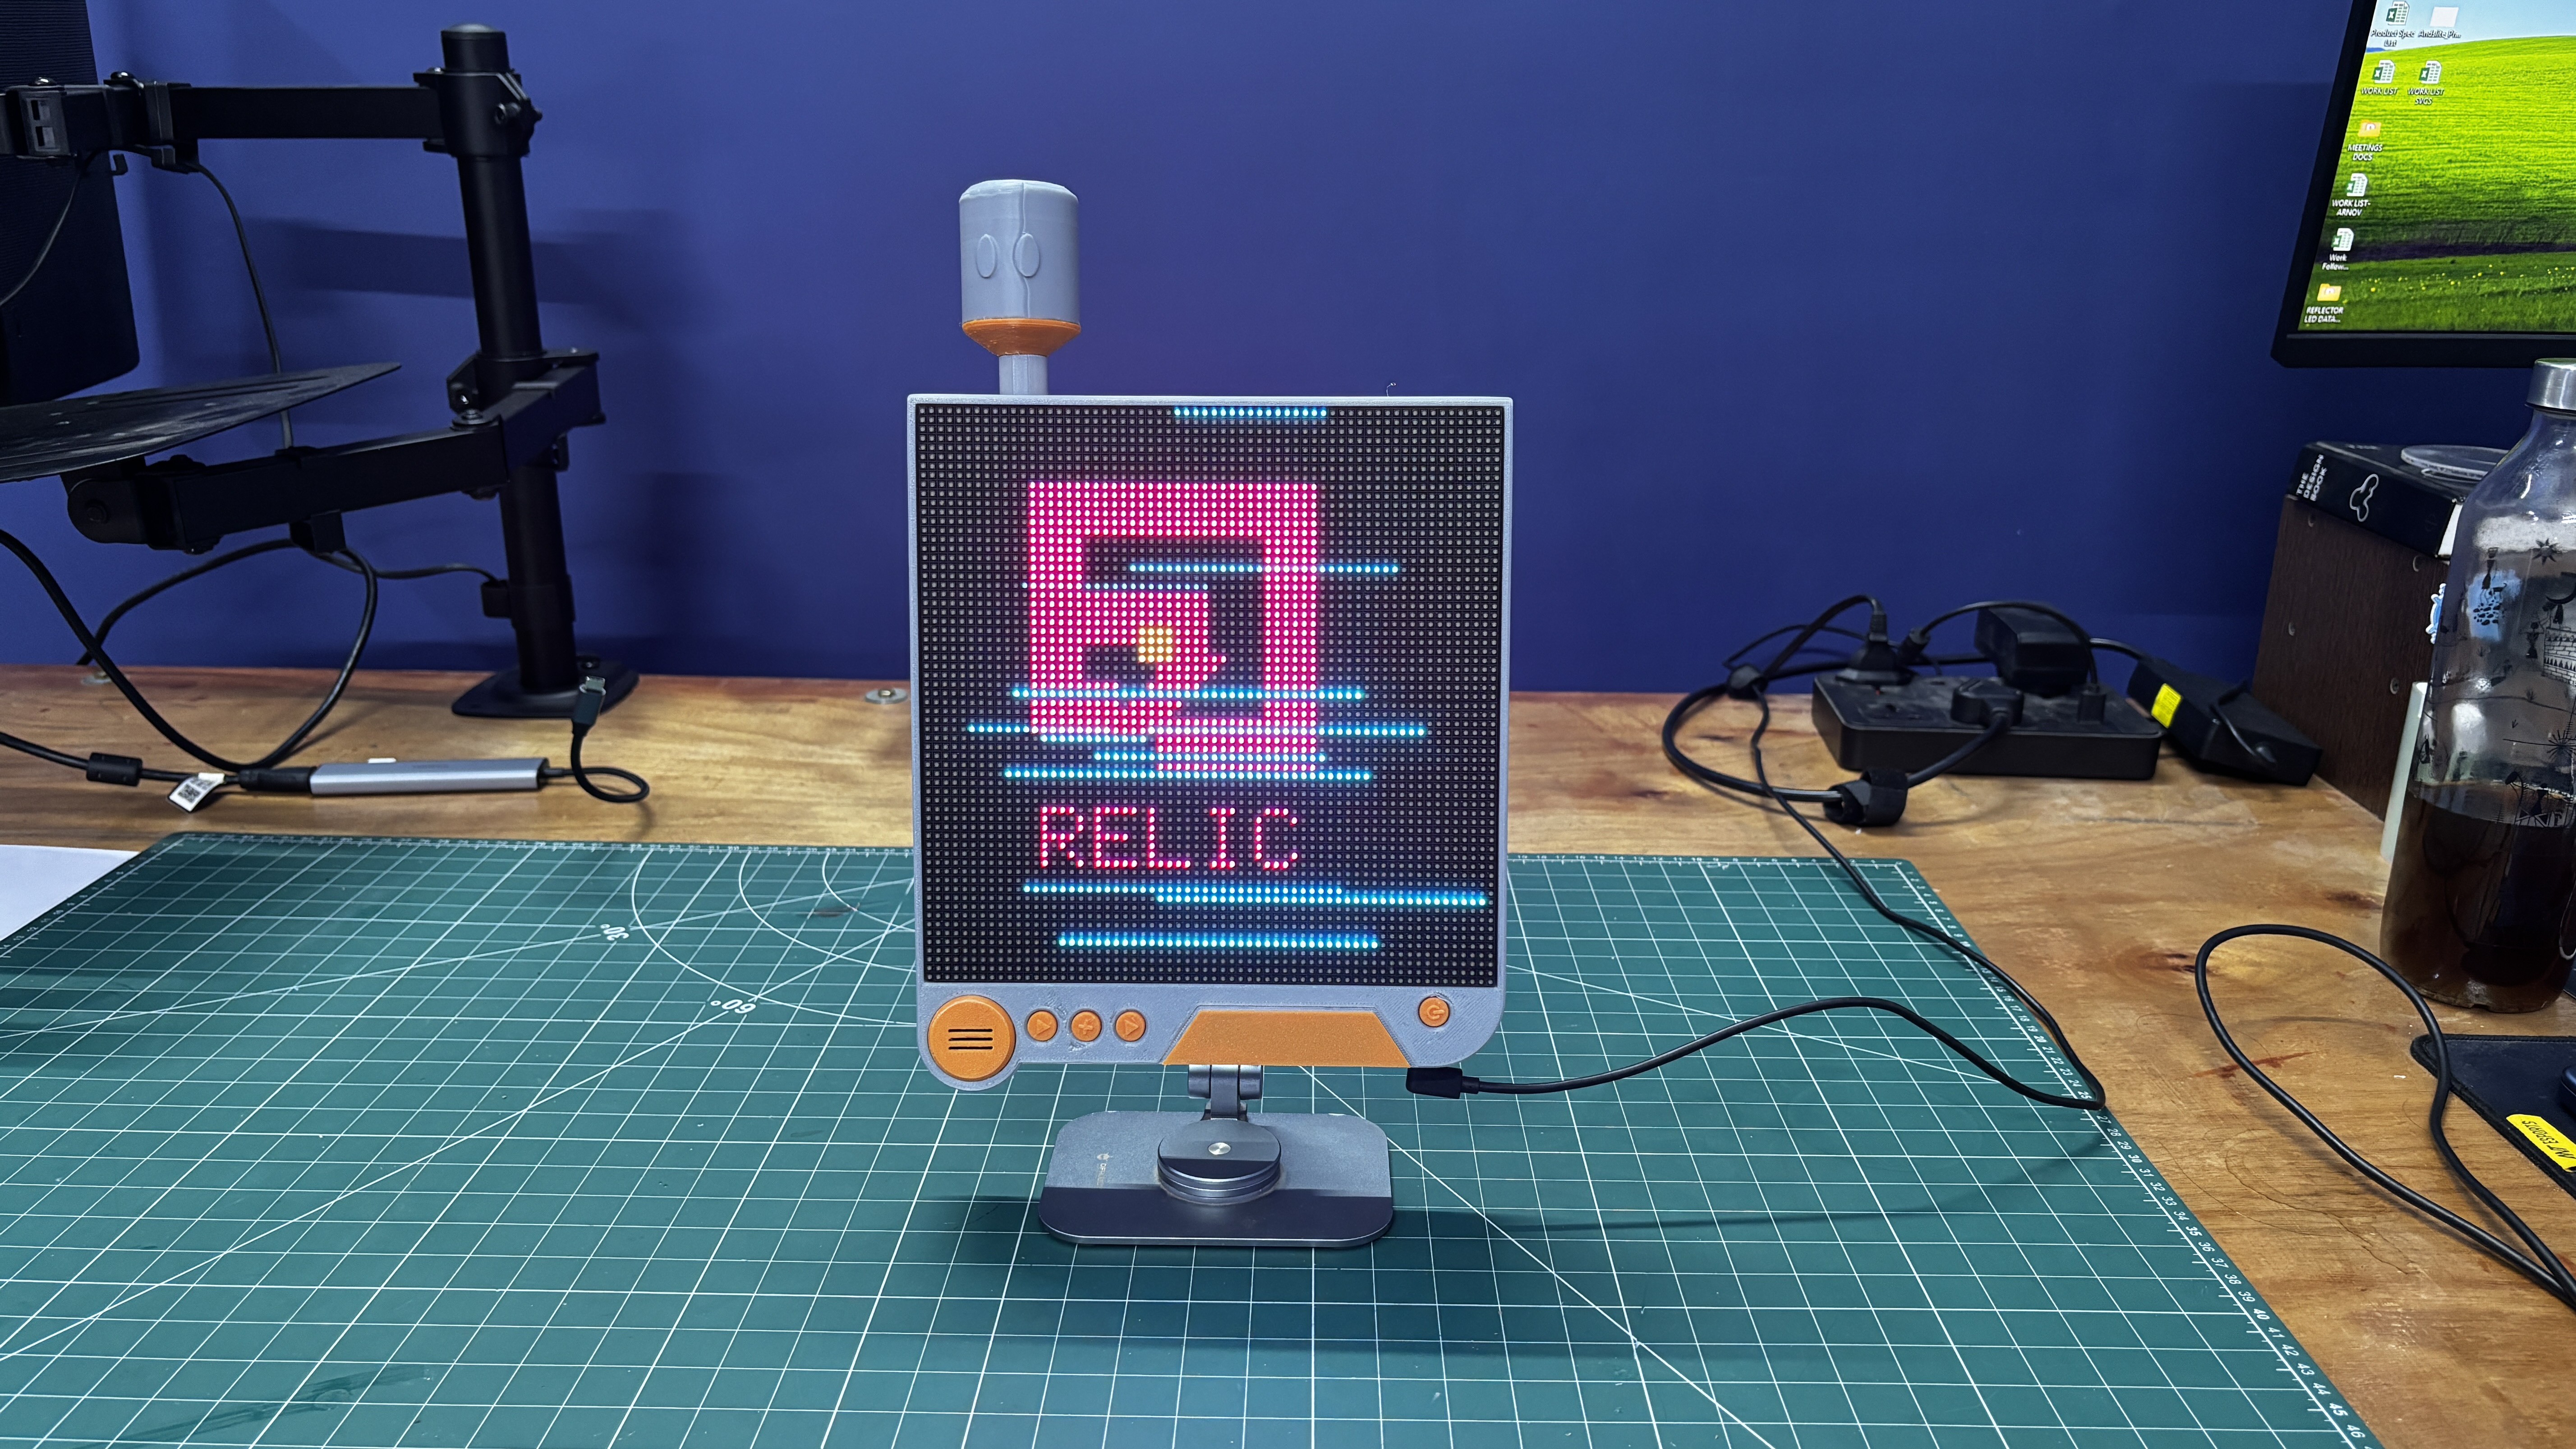
Cyberpunk 2077 Relic- a Cyberpunk-inspired Relic logo featuring glitch effects, screen tearing, and randomized digital interference.
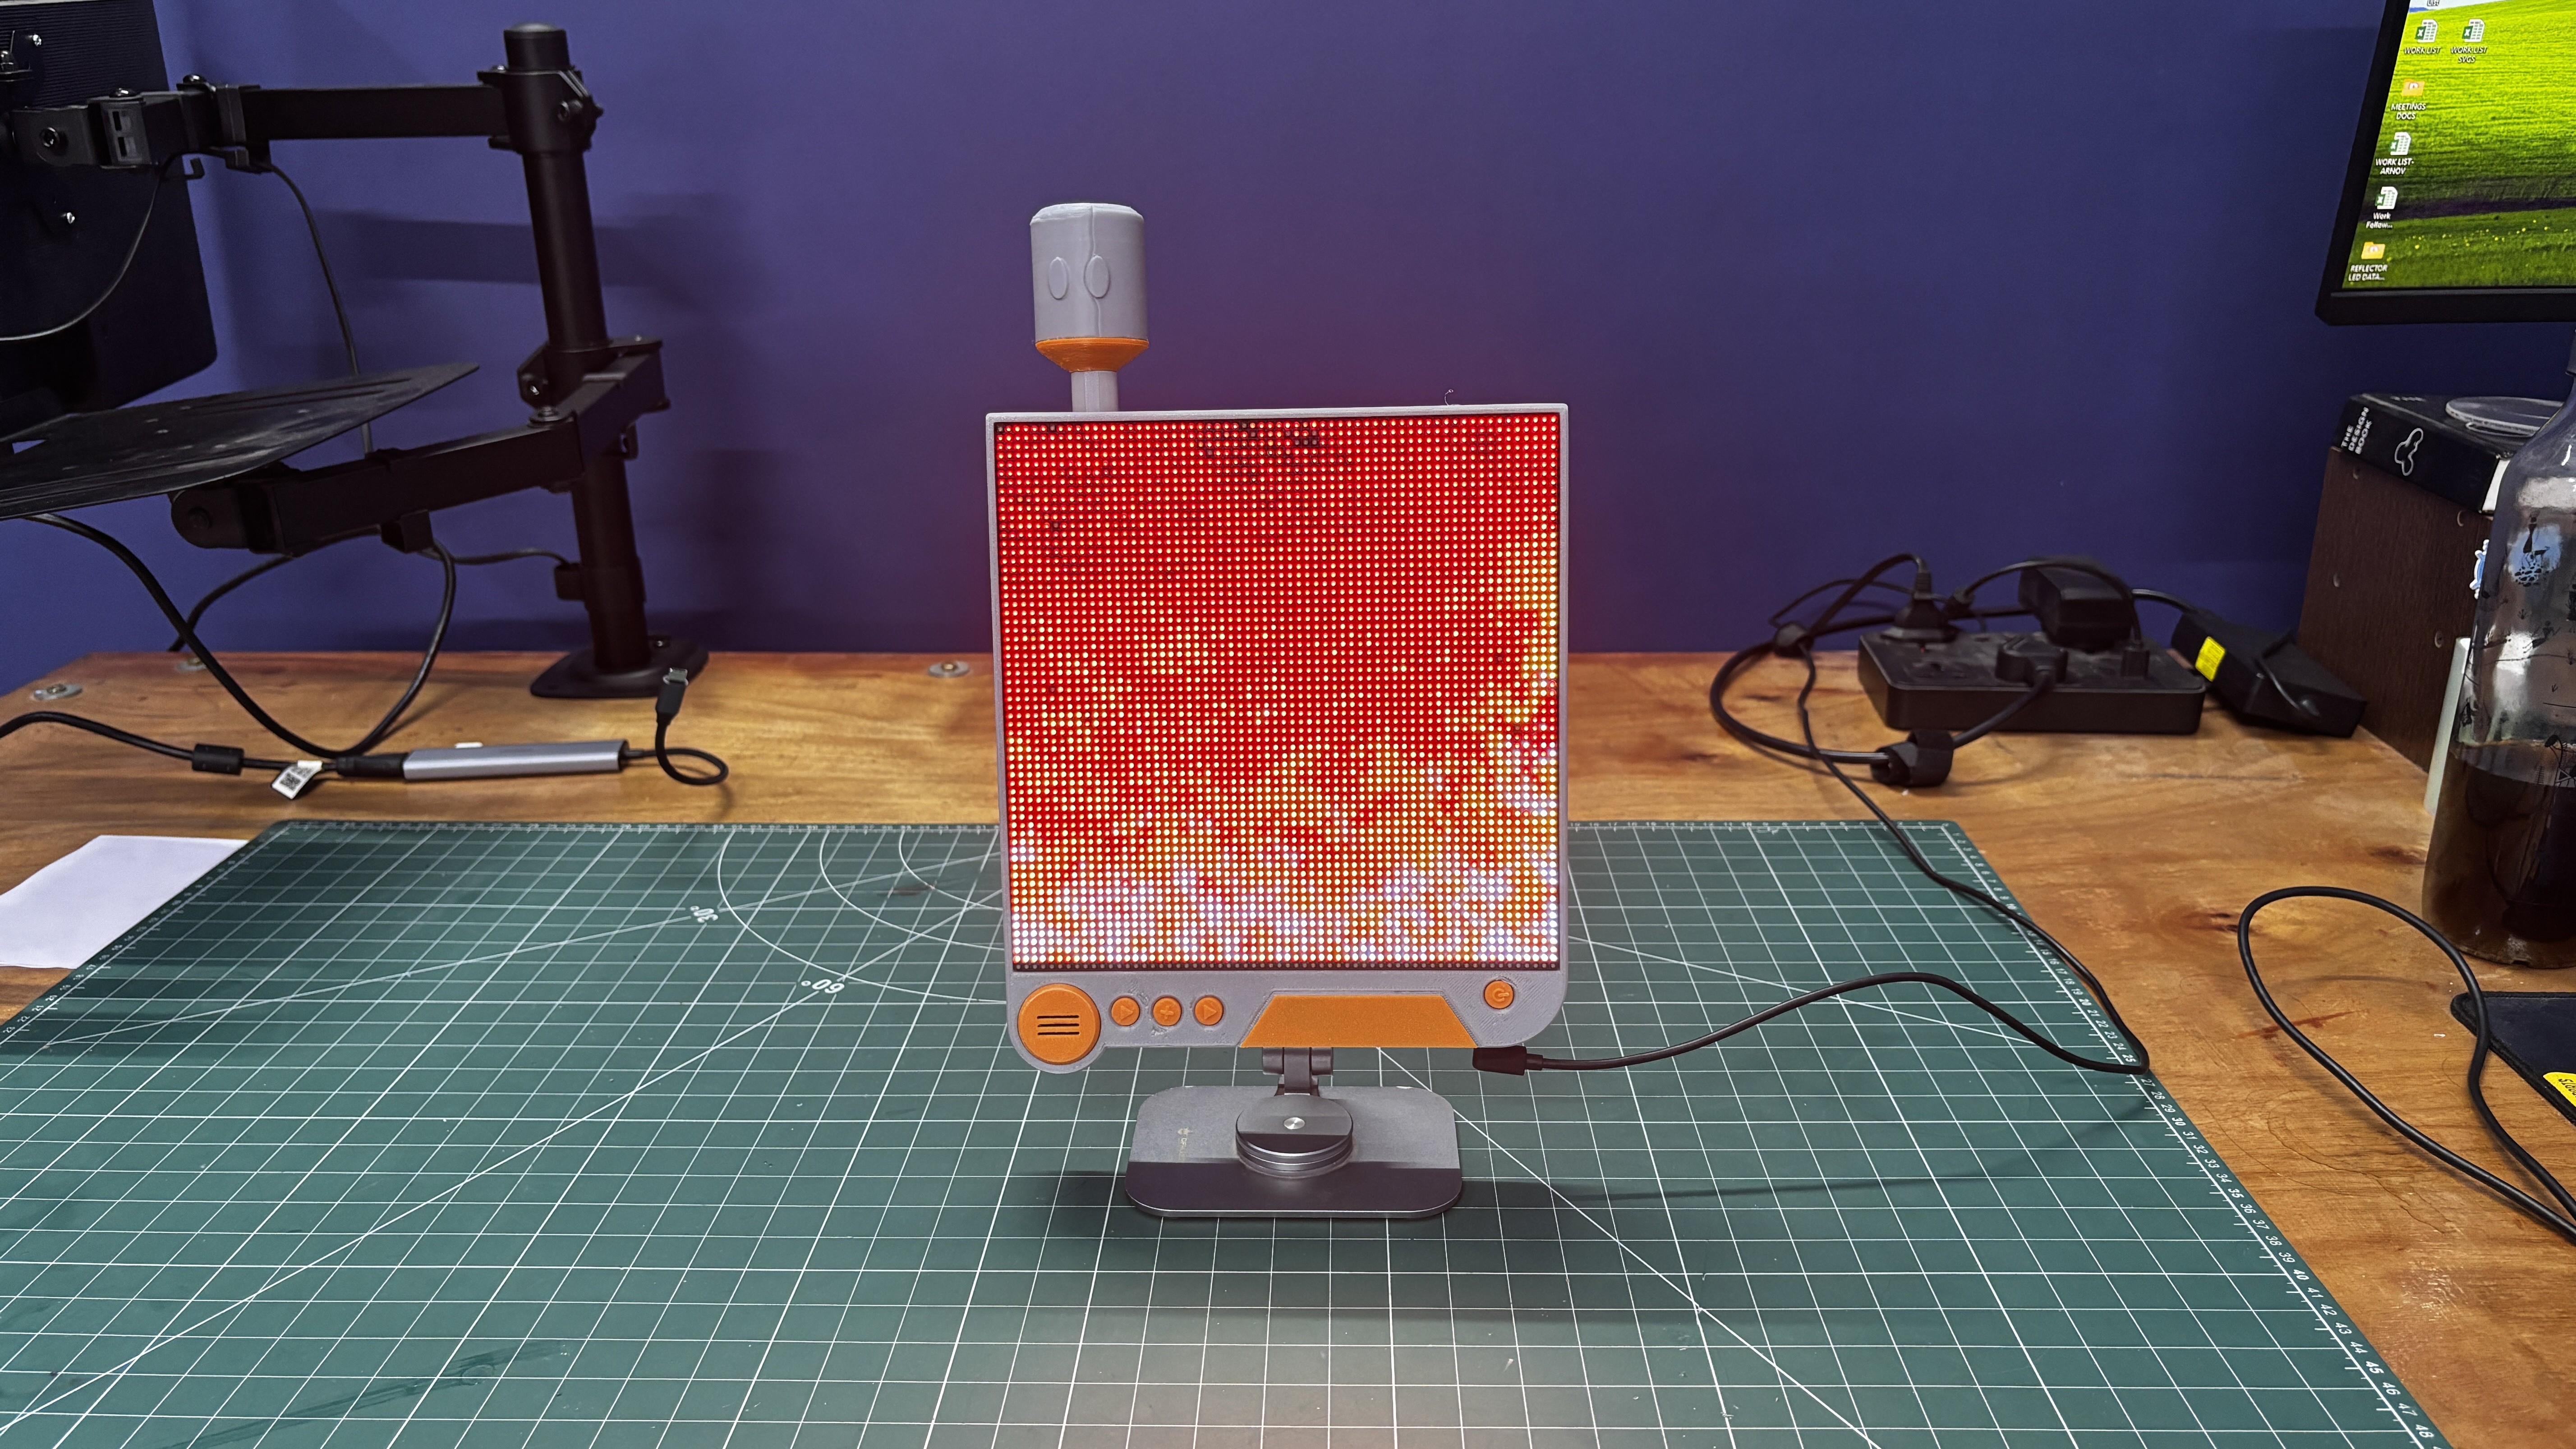
Retro DOOM Fire- a classic pixelated fire effect inspired by old-school games and demoscenes, with flames dynamically rising across the display.
XOR Cyber-Fractal- a constantly evolving geometric pattern generated using lightweight bitwise operations and procedural animation.
Synthwave Outrun Grid- a retro 80s-inspired animated sunset and moving perspective grid that creates the illusion of traveling forward.
Neon Qix Trails- inspired by the classic Mystify screensaver, featuring bouncing neon lines that leave colorful fading trails behind them.
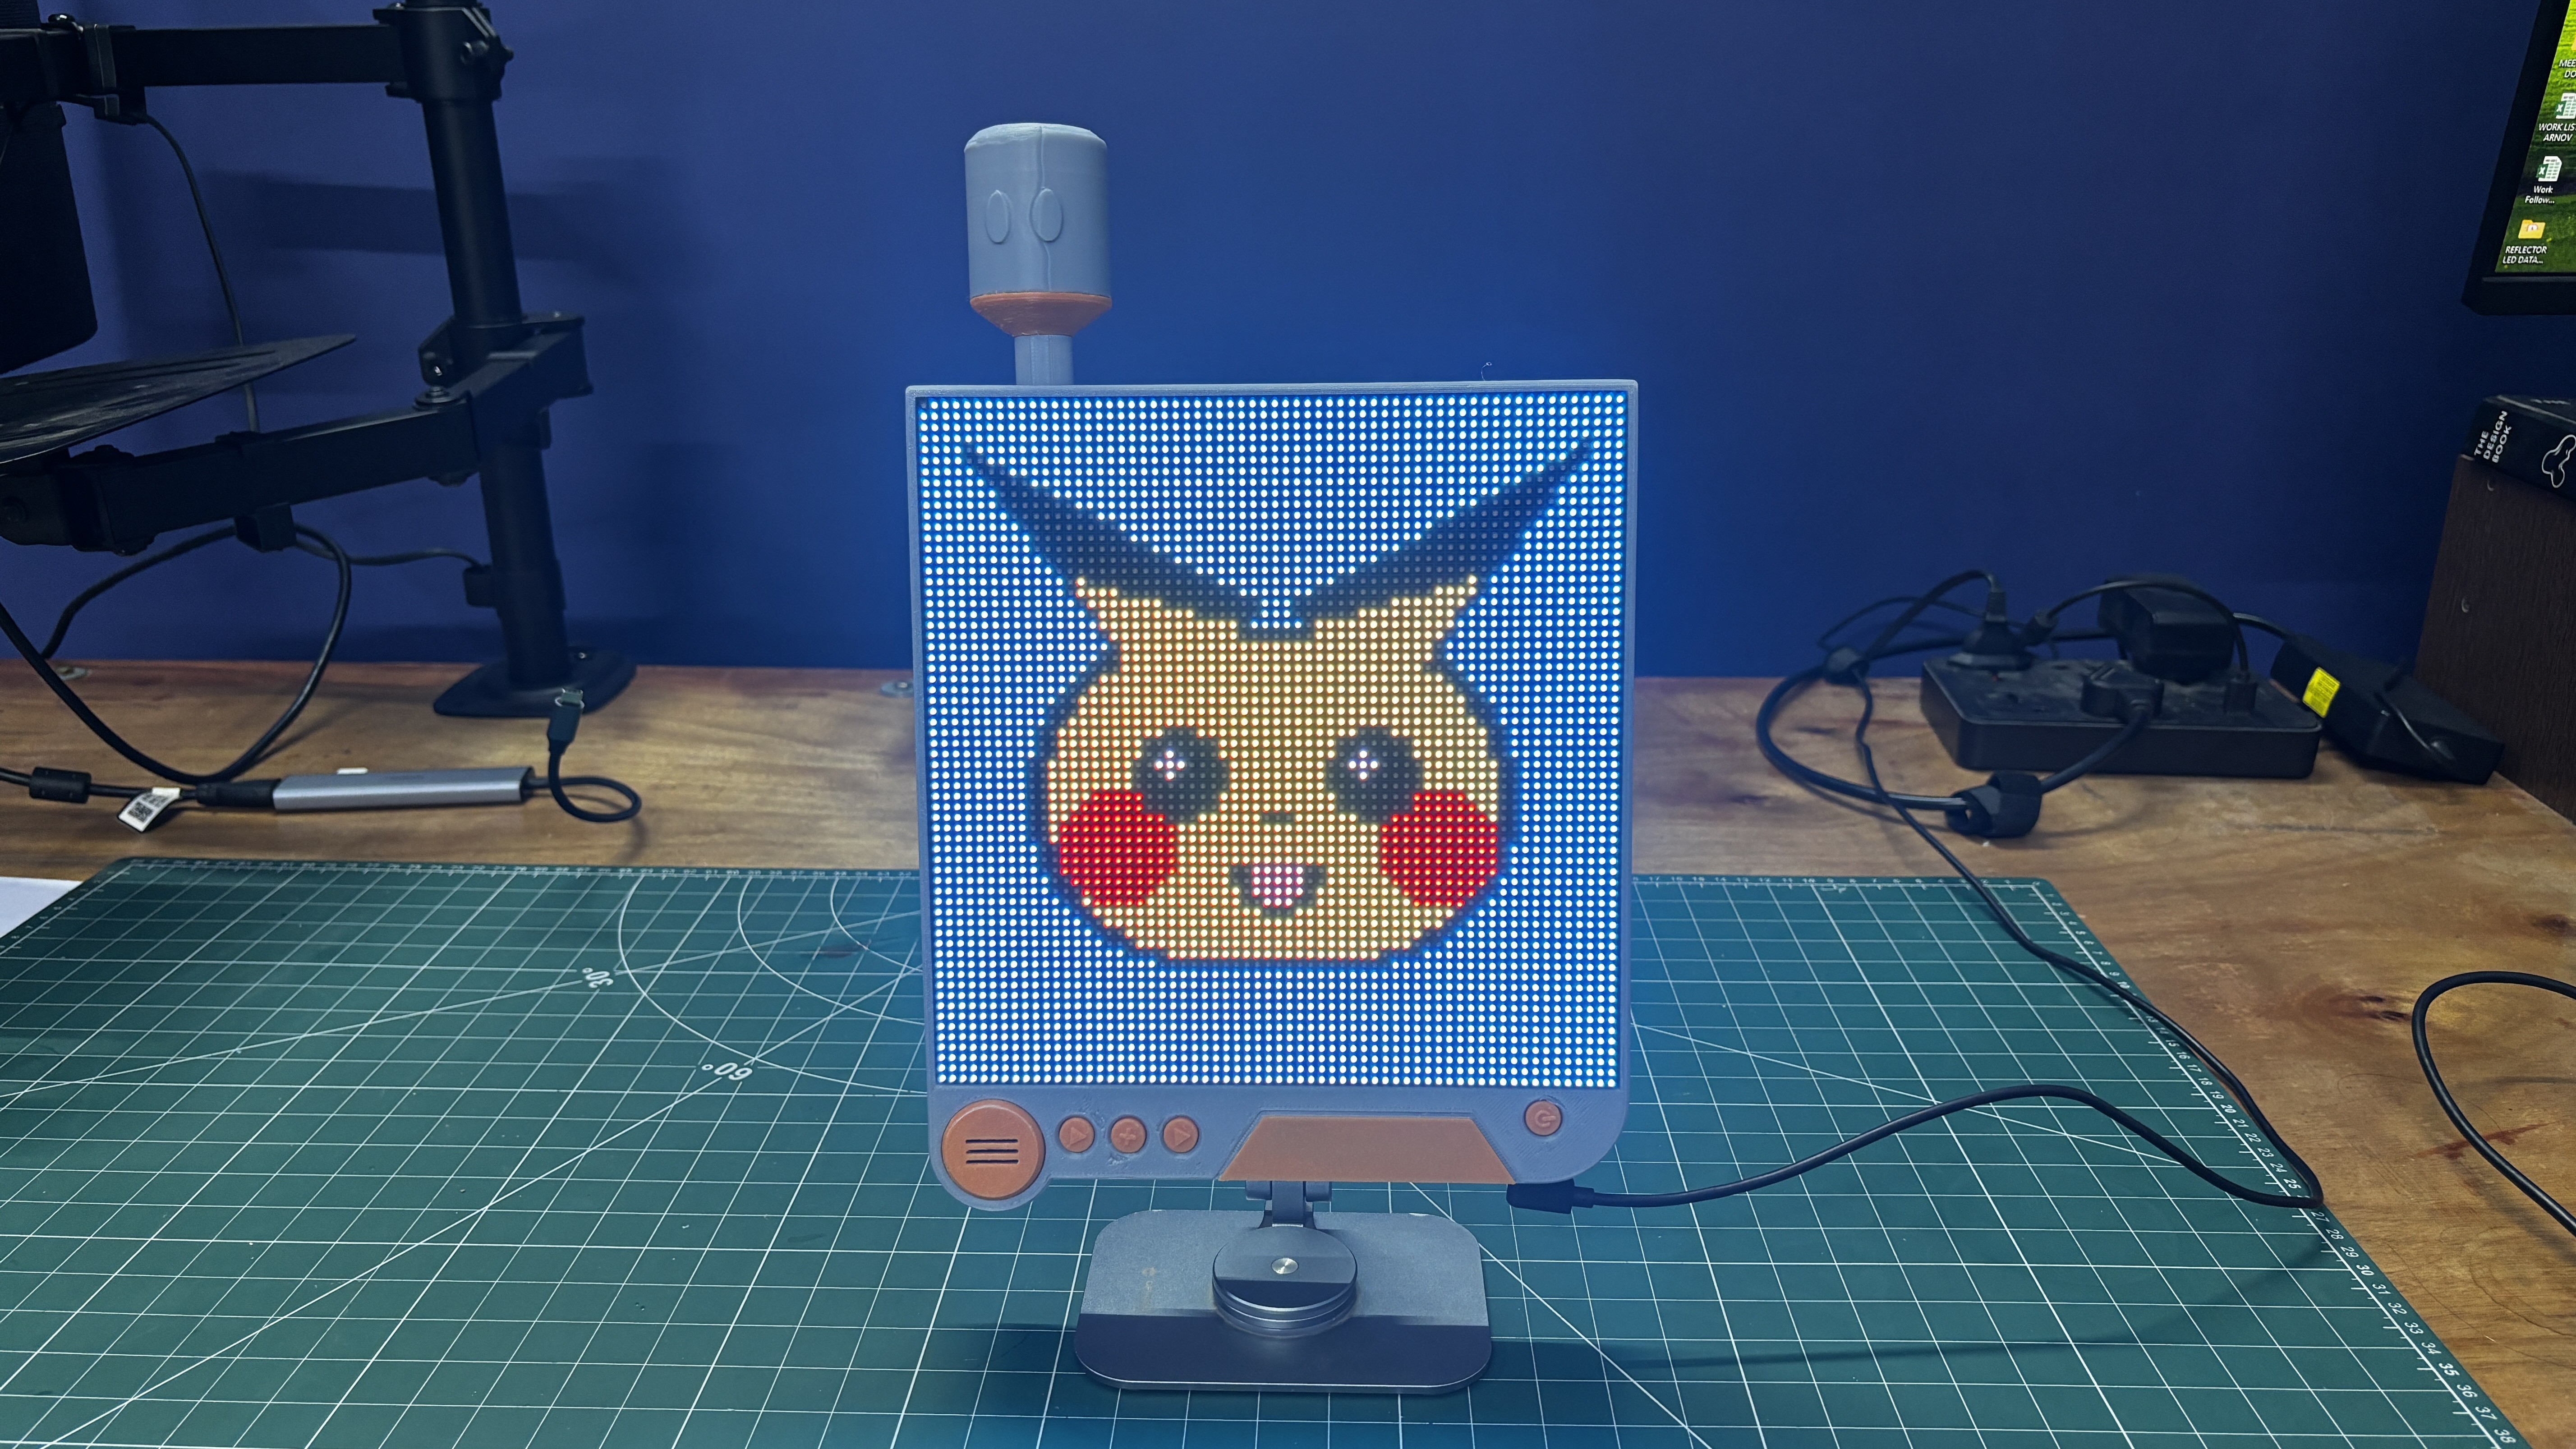
Pikachu- an animated 8-bit Pikachu with a bobbing head and moving mouth designed to mimic its iconic “Pika Pika!” expression. (This was my Fav one)
It's a Me Mario- a miniature animated scene where Mario runs, jumps into a Question Block, and sends a gold coin flying out.
Matrix Digital Rain- the iconic Matrix-inspired effect featuring streams of glowing green code continuously falling across the display.
14
WAVEFORM MODE
Another feature I incorporated into Project Gestalt comes from one of my previous projects, WaveForm: The Background Sound Visualizer.
WaveForm is a sound-reactive visualizer that transforms surrounding sound into an animated wave displayed on a HUB75 RGB matrix. As the sound gets louder, the wave expands and reacts in real time.
Since Project Gestalt already uses a large RGB matrix, I ported my previously developed WaveForm code to this project as well. By pressing the dedicated WaveForm button, the device switches to an audio-reactive mode where the displayed wave responds to surrounding sounds in real time.
You can check out the complete WaveForm article from the link below.
Here's the code that I edited for the dual RGB Panel setup.
voiddrawWaveform(){
staticfloat samples[OVERSAMP];
uint32_t sum = 0;
for (int i = 0; i < OVERSAMP; i++) {
int v = analogRead(MIC_PIN);
samples[i] = (float)v;
sum += v;
delayMicroseconds(100); // Slight speed up for better sampling
}
// DEBUG: Uncomment this line to check values in Serial Monitor (115200)// Serial.println(sum / OVERSAMP);float dc = (float)sum / (float)OVERSAMP;
float rmsSum = 0.0f;
for (int i = 0; i < OVERSAMP; i++) {
float centered = samples[i] - dc;
rmsSum += centered * centered;
}
float rms = sqrtf(rmsSum / (float)OVERSAMP);
if (!noiseInit) { noiseFloor = rms; noiseInit = true; }
noiseFloor = (0.95f * noiseFloor) + (0.05f * rms);
float rmsEffective = rms - (noiseFloor * 1.2f); // Slightly higher gateif (rmsEffective < 0.0f) rmsEffective = 0.0f;
rmsPeak = (0.99f * rmsPeak) + (0.01f * rmsEffective);
float loud = (rmsPeak > 5.0f) ? (rmsEffective / rmsPeak) : 0.0f;
loudSmooth = (0.7f * loudSmooth) + (0.3f * loud);
// Build pointsfor (int i = 0; i < NUM_POINTS; i++) {
float s = samples[i * (OVERSAMP / NUM_POINTS)];
float amp = loudSmooth * (H / 2.0f);
float y = (H / 2.0f) - ((s - dc) * amp / 500.0f);
if (y < 0) y = 0; if (y >= H) y = H - 1;
waveY[i] = y;
}
uint16_t waveColor = rgb(0, 255, 0); // Solid green wavefor (int i = 1; i < NUM_POINTS; i++) {
matrix.drawLine((i - 1) * X_STEP, (int)waveY[i - 1], i * X_STEP, (int)waveY[i], waveColor);
}
}
15
CONCLUSION
This project has been a success, and one of my favorite things about Project Gestalt is its versatility. It can either be mounted on a wall or placed on a desk using a stand, making it a great interactive and aesthetic addition to my workspace.
The device currently features nine custom animations along with the sound-reactive WaveForm mode. More animations can easily be added in the future, keeping the display fresh and interesting over time.
There are also several upgrades I’m planning for the next version of this project. One major improvement would be replacing the Raspberry Pi Pico with a Pico W to add Wi-Fi functionality, which could allow images and other content to be sent wirelessly to the matrix. I would also like to add a DFPlayer Mini module to bring audio playback to the project.
These upgrades will hopefully make the next version of Project Gestalt even more interactive and capable. For now, I’m quite happy with how this version turned out, and I hope you liked the project as well.
For now, Project Gestalt is complete, and all the details you need to build your own version are available in this article, including the code, schematic, enclosure files, and complete build instructions.
Special thanks if you made it this far, and I hope you enjoyed reading about this project as much as I enjoyed building it.
I’ll be back with another project very soon. Until then, stay tuned, and happy making!
 Arnov Sharma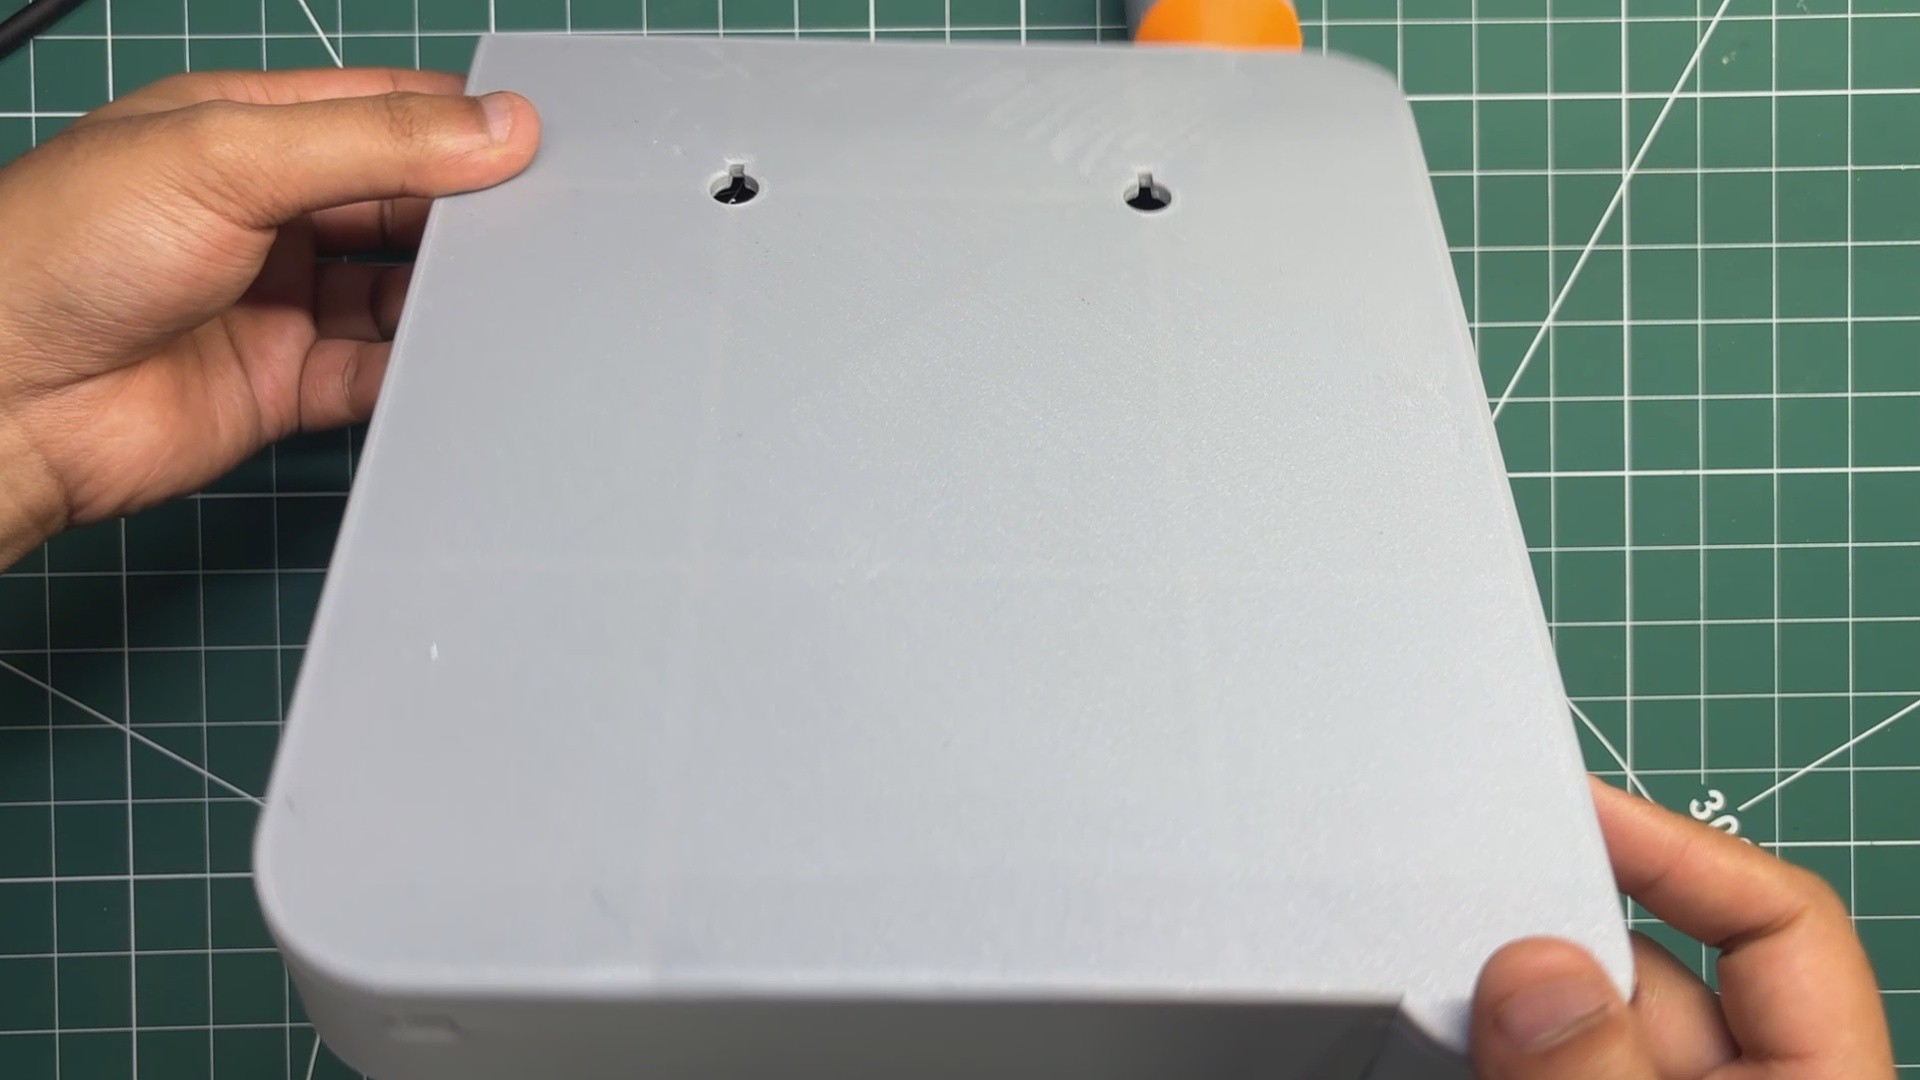

Discussions
Become a Hackaday.io Member
Create an account to leave a comment. Already have an account? Log In.