 MATEO GARCIA
-
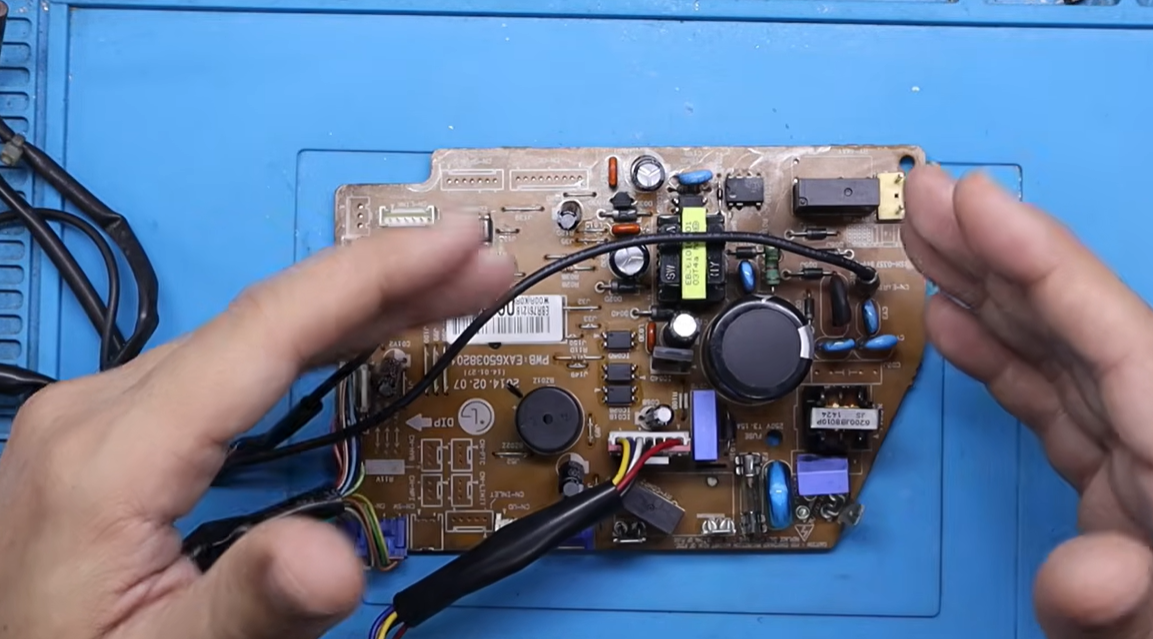
1Step 1
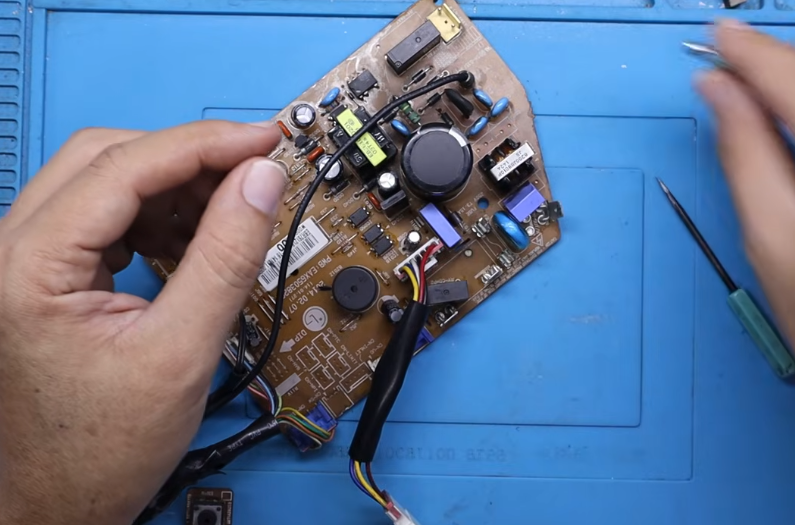
1. Visual Inspection (The Blown Fuse): Spotting physical damage like shattered glass fuses and cracked components (NTC thermistor).
![]()
-
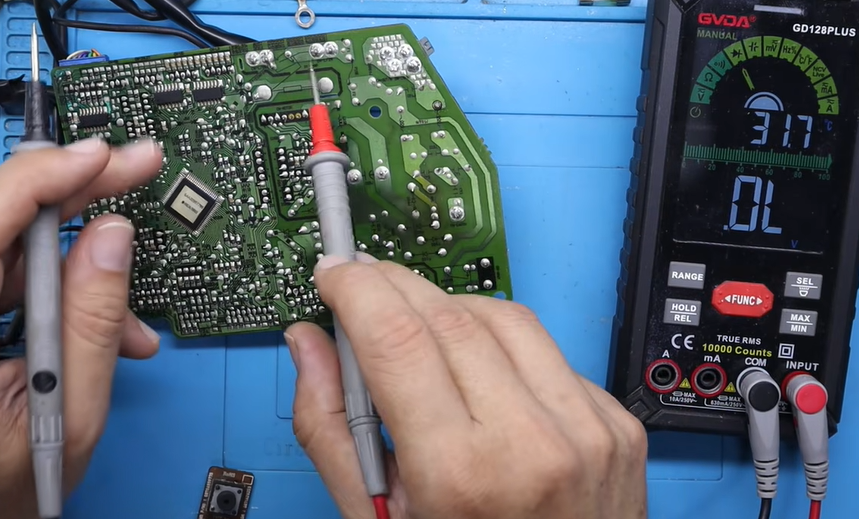
2Step 2
2. Multimeter Testing & Short Detection: Using a multimeter in diode/continuity mode to track shorts from the AC input to the switching regulator stage.
![]()
-
3Step 3
3. Component Removal & Verification: Desoldering damaged NTC thermistors and bridge rectifier/diodes (such as 1N4007 diodes), then re-testing the circuit traces.
![]()
-
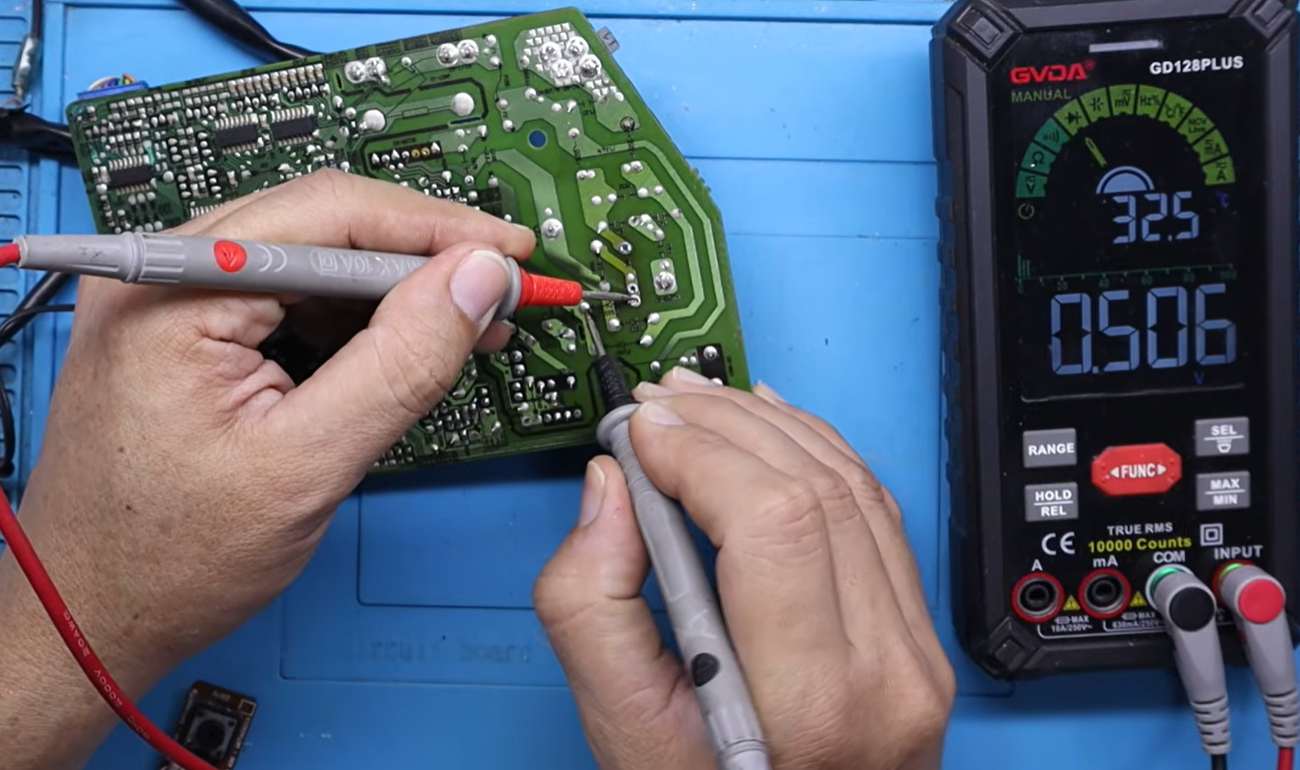
4Step 4
4. Replacement & Reassembly: Installing new components, a fresh 3.15A fuse, and checking resistance values (moving from ohms/short to megaohms).
![]()
-
5Step 5
5. Safe Power-Up & Testing: Powering the board through a dim-bulb/series tester for safety, verifying standby state, and remote control testing.
![]()
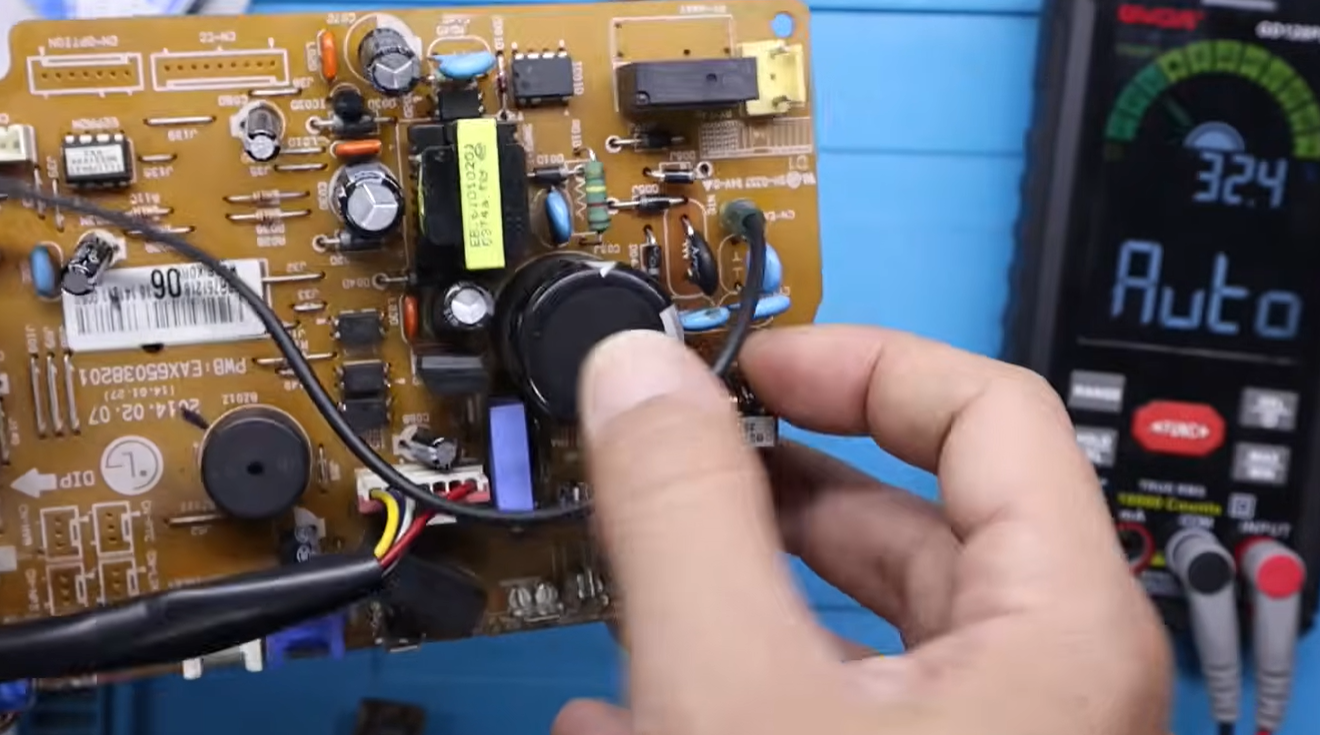
LG Air Conditioner PCB Short-Circuit Diagnosis.
SMPS Board Repair: Fault Detection, Component Replacement, and Safe Testing.
Discussions
Become a Hackaday.io Member
Create an account to leave a comment. Already have an account? Log In.