 Shiela Dixon
Having proven the concept, the next step is the hard work of knocking the code into shape and I've put a lot of hours into that this week.
(I do it all myself, I've never used any kind of AI help. This is a hobby. I love coding.)
This application has several aspects. I don't know yet how it'll all be structured (buffering, interrupts, that kind of thing) and I haven't thought about the serial i/o yet. I've first focussed on the keyboard scanning and the printing.
Key scanning and mapping
I probably mentioned earlier that I'd be using MSX BIOS code for the keyboard scanning. Actually scanning a keyboard row is really simple, there's very little to it. This is the only part that's straight from the MSX:

The rest is my own. That's obviously called from a larger chunk of code which loops for the number of keyboard rows (9) and handles the raw data, and then an even larger chunk turns the raw key into an ascii value.
We 'just know' how a keyboard works and don't really think about it. But there are many rules. For example, a 'caps lock' flag needs to be toggled each time the caps key is pressed down. The caps lock LED, which the MSX keyboard can have, is under computer control. A shift flag needs to be set if the shift key is pressed down, and reset when it's released. A letter character needs to be capitalised if the caps lock or shift key is flagged, and other keys need to produce a symbol depending on the state of the shift flag.
I spent some time on the logic for detecting a new key being pressed. When you're typing at speed, you often 'overlap' keys - the new one goes down a fraction before the previous one goes up - and so there's some xor'ing and and'ing to do with previous value and new value to detect a change and then find whether that change is a key up or key down. I've handled button pressing before, but to get this working as smoothly as anyone would expect a keyboard to respond today took some work.
The key mapping on an MSX (defined in early '80s) is surprisingly close to today's keyboards. The MSX allows for various keyboard standards, but because this code will be used within this one project, I don't really need to worry about that, but I've defined it like this for easy future changes
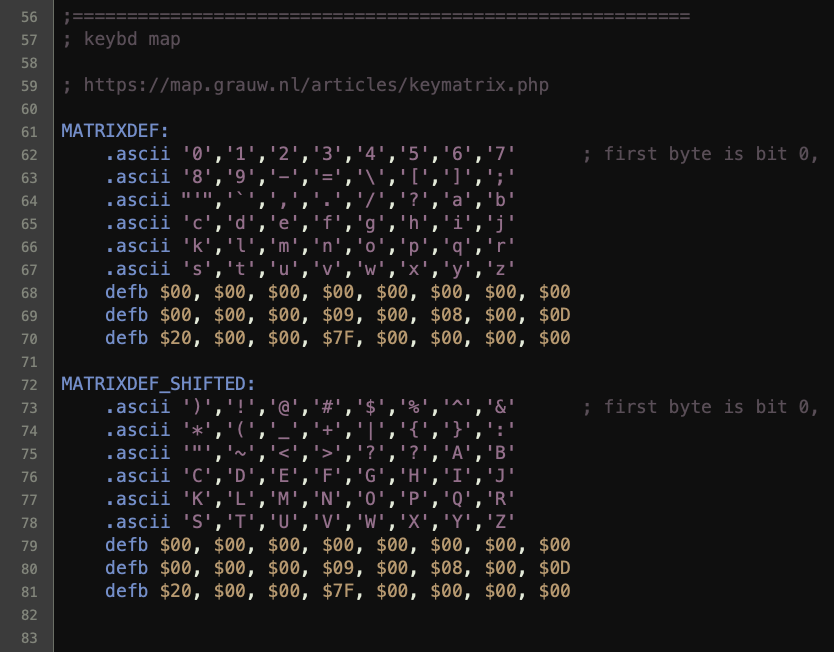
These are the keyboard matrix rows and bits, and these arrays make it easy for my code to do the lookup (in C, these would be two dimensional arrays, referenced by keyboard row and bit number).
One interesting point to note is that this map has them in alphabetical order. You can tell that the person who wrote this wasn't the same one who'd be laying out the tracks on the keyboard pcb!
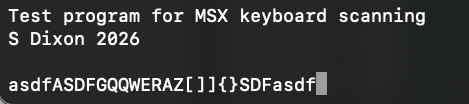
Eventually I could detect key presses, turn all letters and symbols into their ascii value, with caps lock and shift working and send those characters to the console:
Printing
I was very chuffed when I first had Rob's code printing out the RC2014 logo, if a little messy.
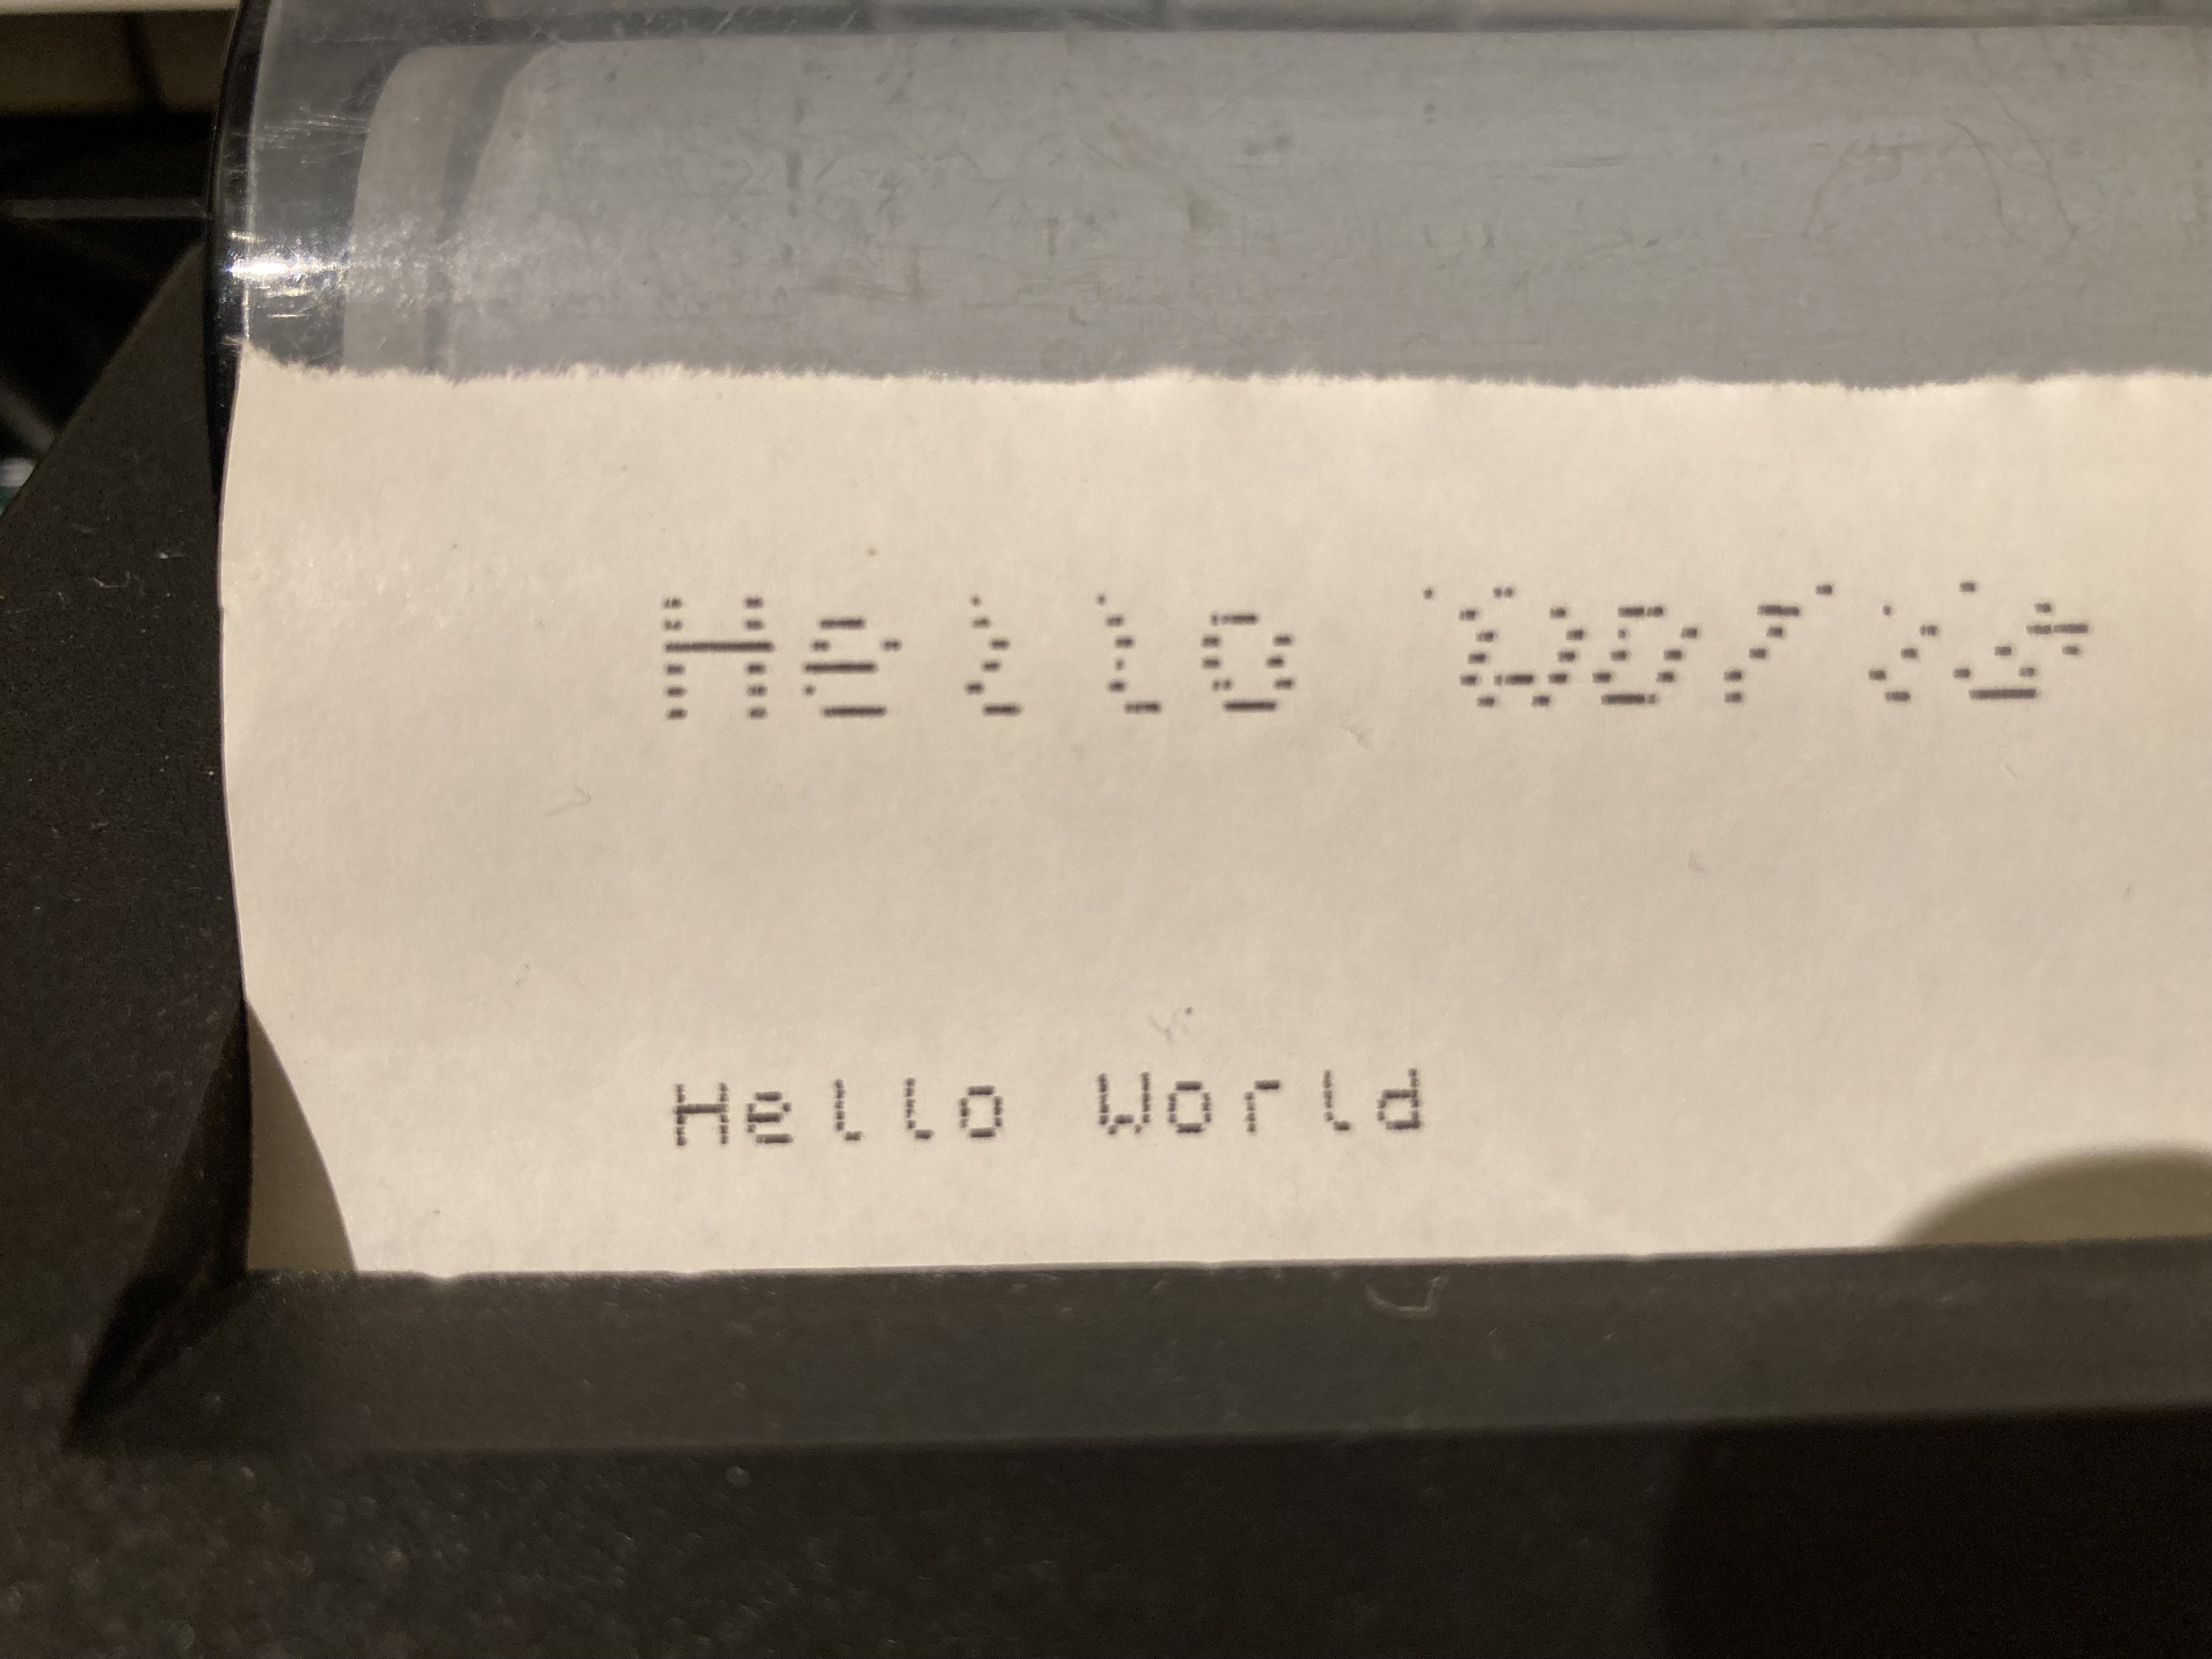
Text had printed out really nicely when using the ZX81. However, after writing some routines to copy character bitmap data into a buffer and send that to the printer using Rob's code, things didn't look quite so good:
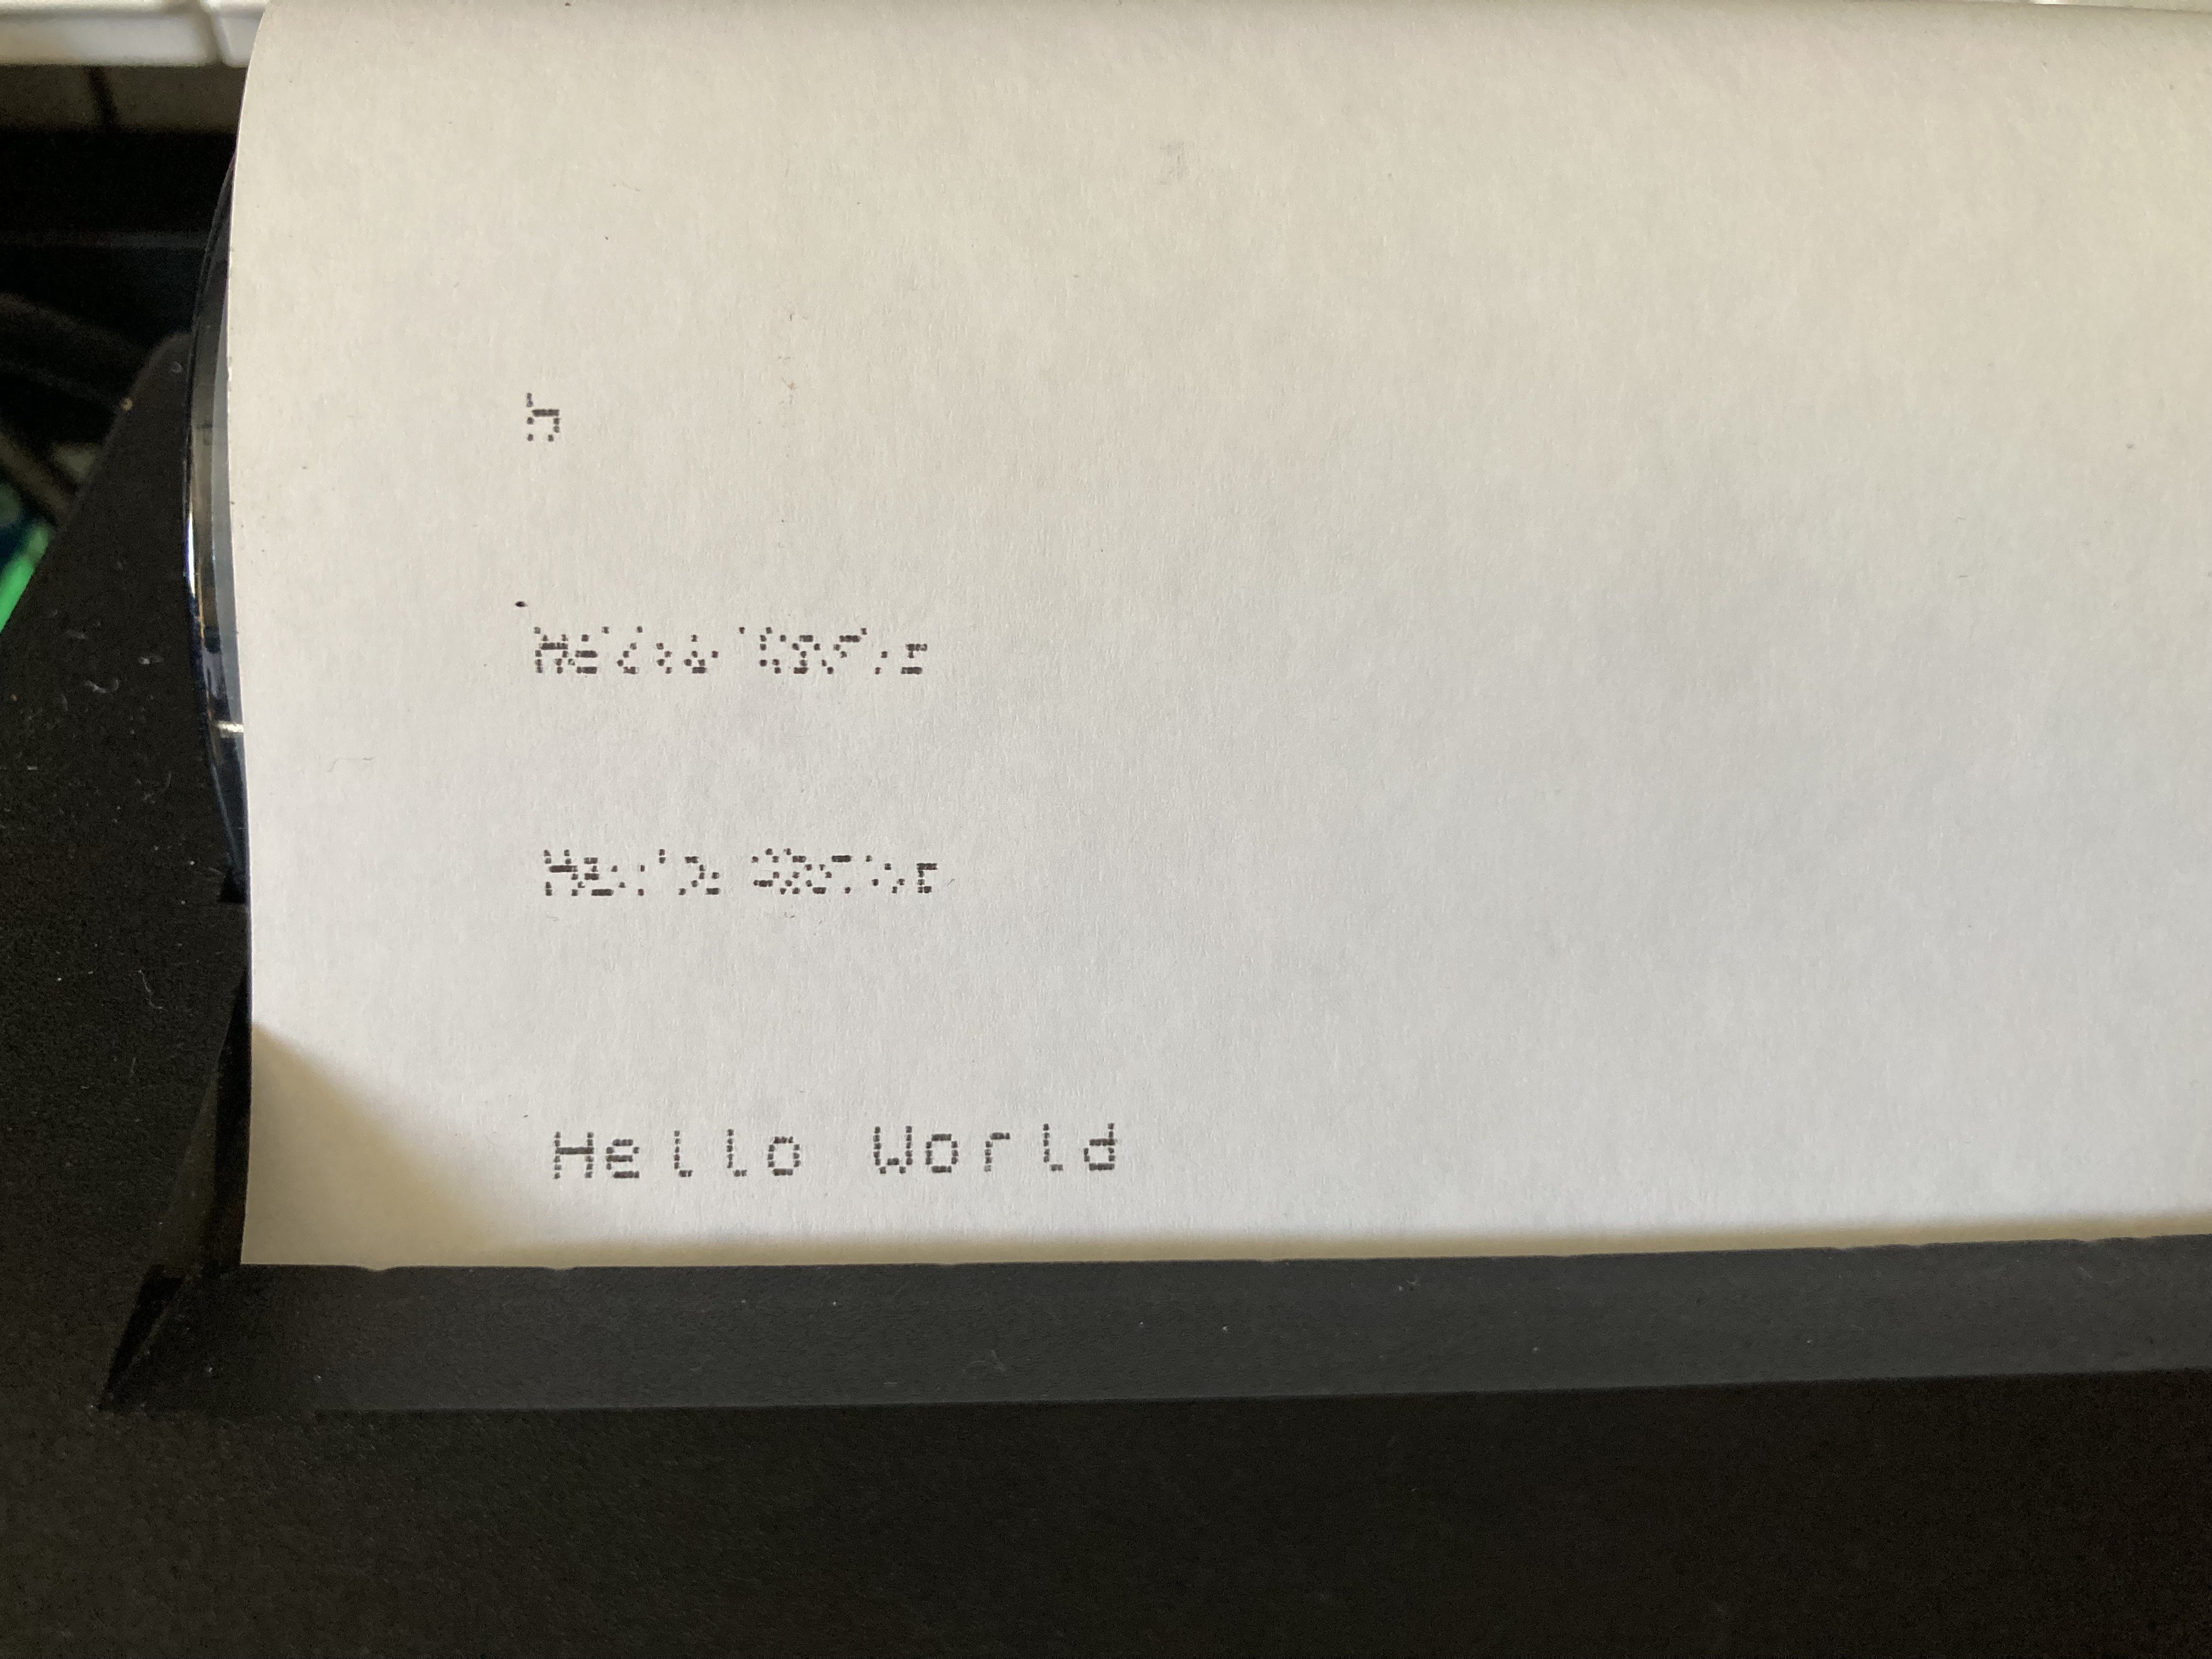
To cut a long story short, the difference turned out to be the speed of the computer. The RC2014 is running at 7.4 Mhz, around twice as fast as the ZX81. The successful 'Hello World' at the bottom of the above photo was printed with the same code, but with the computer's clock halved to 3.7Mhz. At this speed, the RC2014 logo looks a lot better:
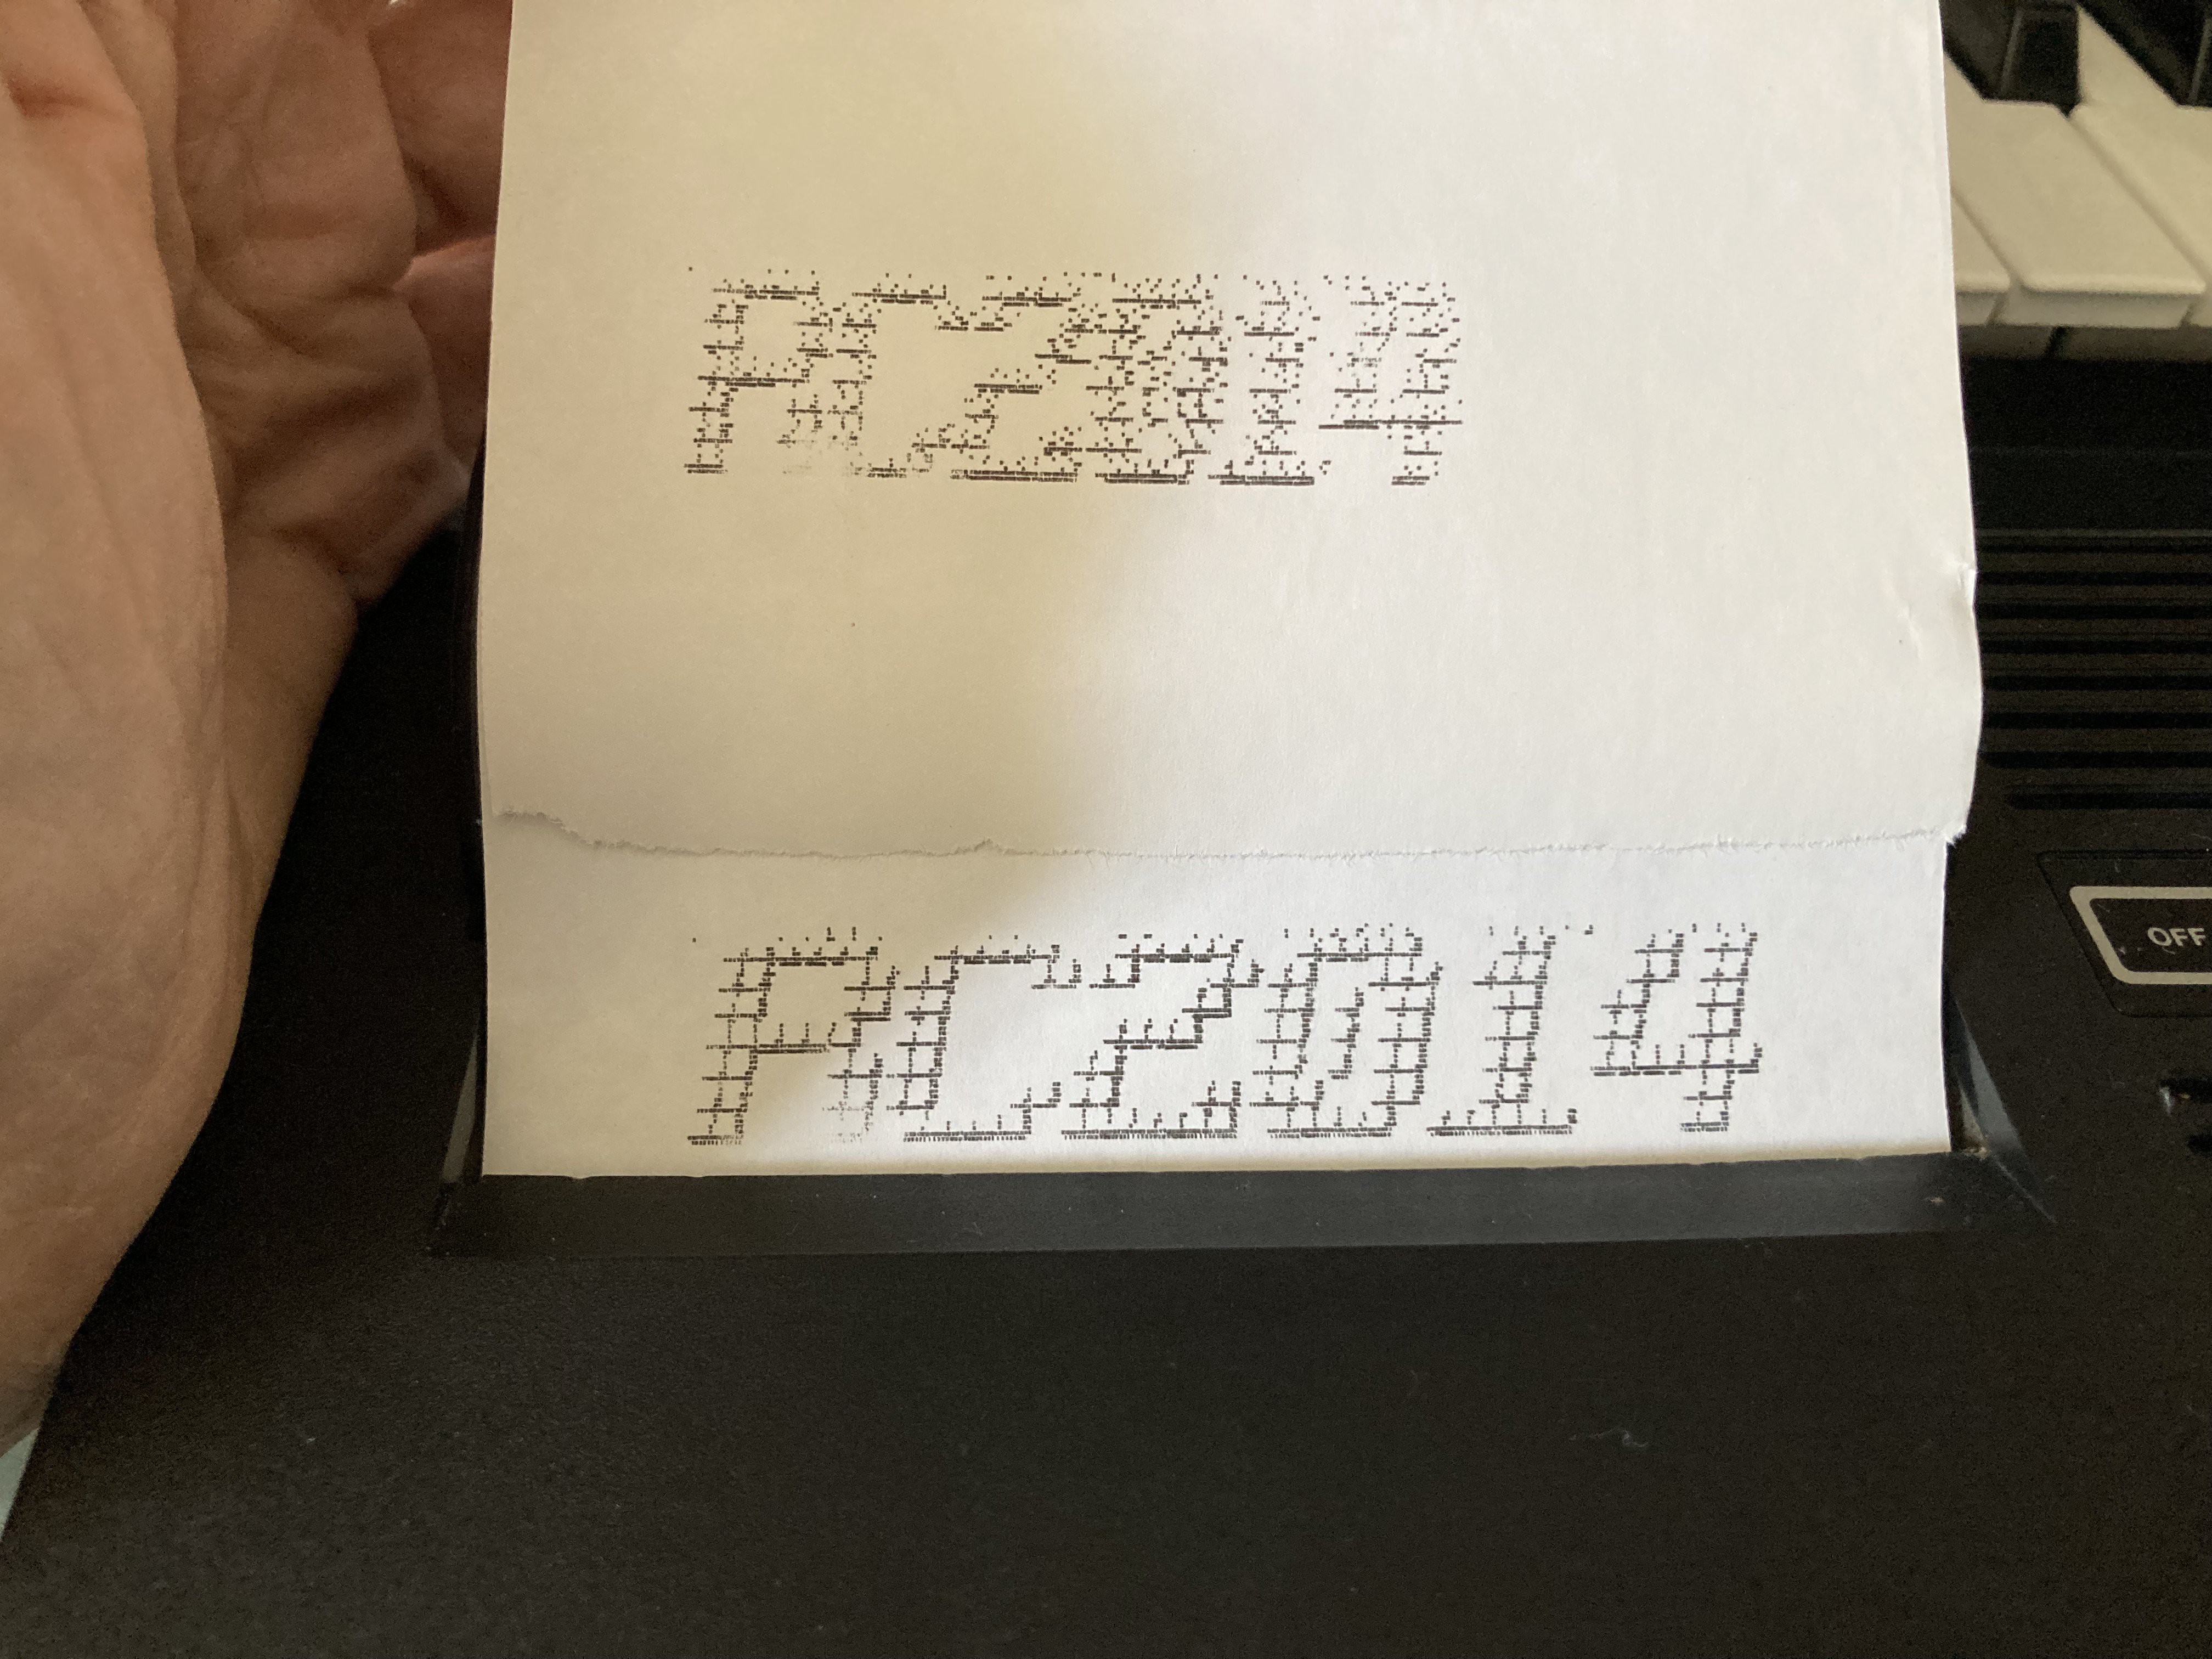
That's not a permanent solution because I'd like my teleprinter to send/receive serial at 115200 (which I almost always use on my RC2014s) and that requires 7.4Mhz clock. I don't want to get into dual clocks.
The code does check the status of the printer and wait for it to be ready before sending a line or a pixel, so in theory the speed of the computer shouldn't matter. But it seems that at the faster speeds, you can jump in ahead of it saying that it's not ready. Or maybe you can't read that status bit on this printer as per the ZX printer which this is supposed to be compatible with. Either way, the timing is important here and we need to compensate for this computer's faster clock.
Rob had already handled this in the outer 'print a line of pixels' loop but not in the inner 'send a pixel' loop.
It took a little bit of experimentation to find the magic number for the smaller pixel delay (too much was nearly as bad as too little) but once dialled in, text started printing very nicely with the computer running at the full clock speed.
Finally for this log, I wanted to put the keyboard scanning and the line printing routines into a single program and link them so that a carriage return would send a line of typed characters to the printer. Here it is:
Obviously the keyboard won't be sending directly to the printer in the final project, this is just a test. But this is an important milestone and I'm really happy to see this working. It gives a taste of how the finished project will look and feel and I like it.
Discussions
Become a Hackaday.io Member
Create an account to leave a comment. Already have an account? Log In.