Close
0%
0%

MCU-less teletype terminal using Alphacom printer

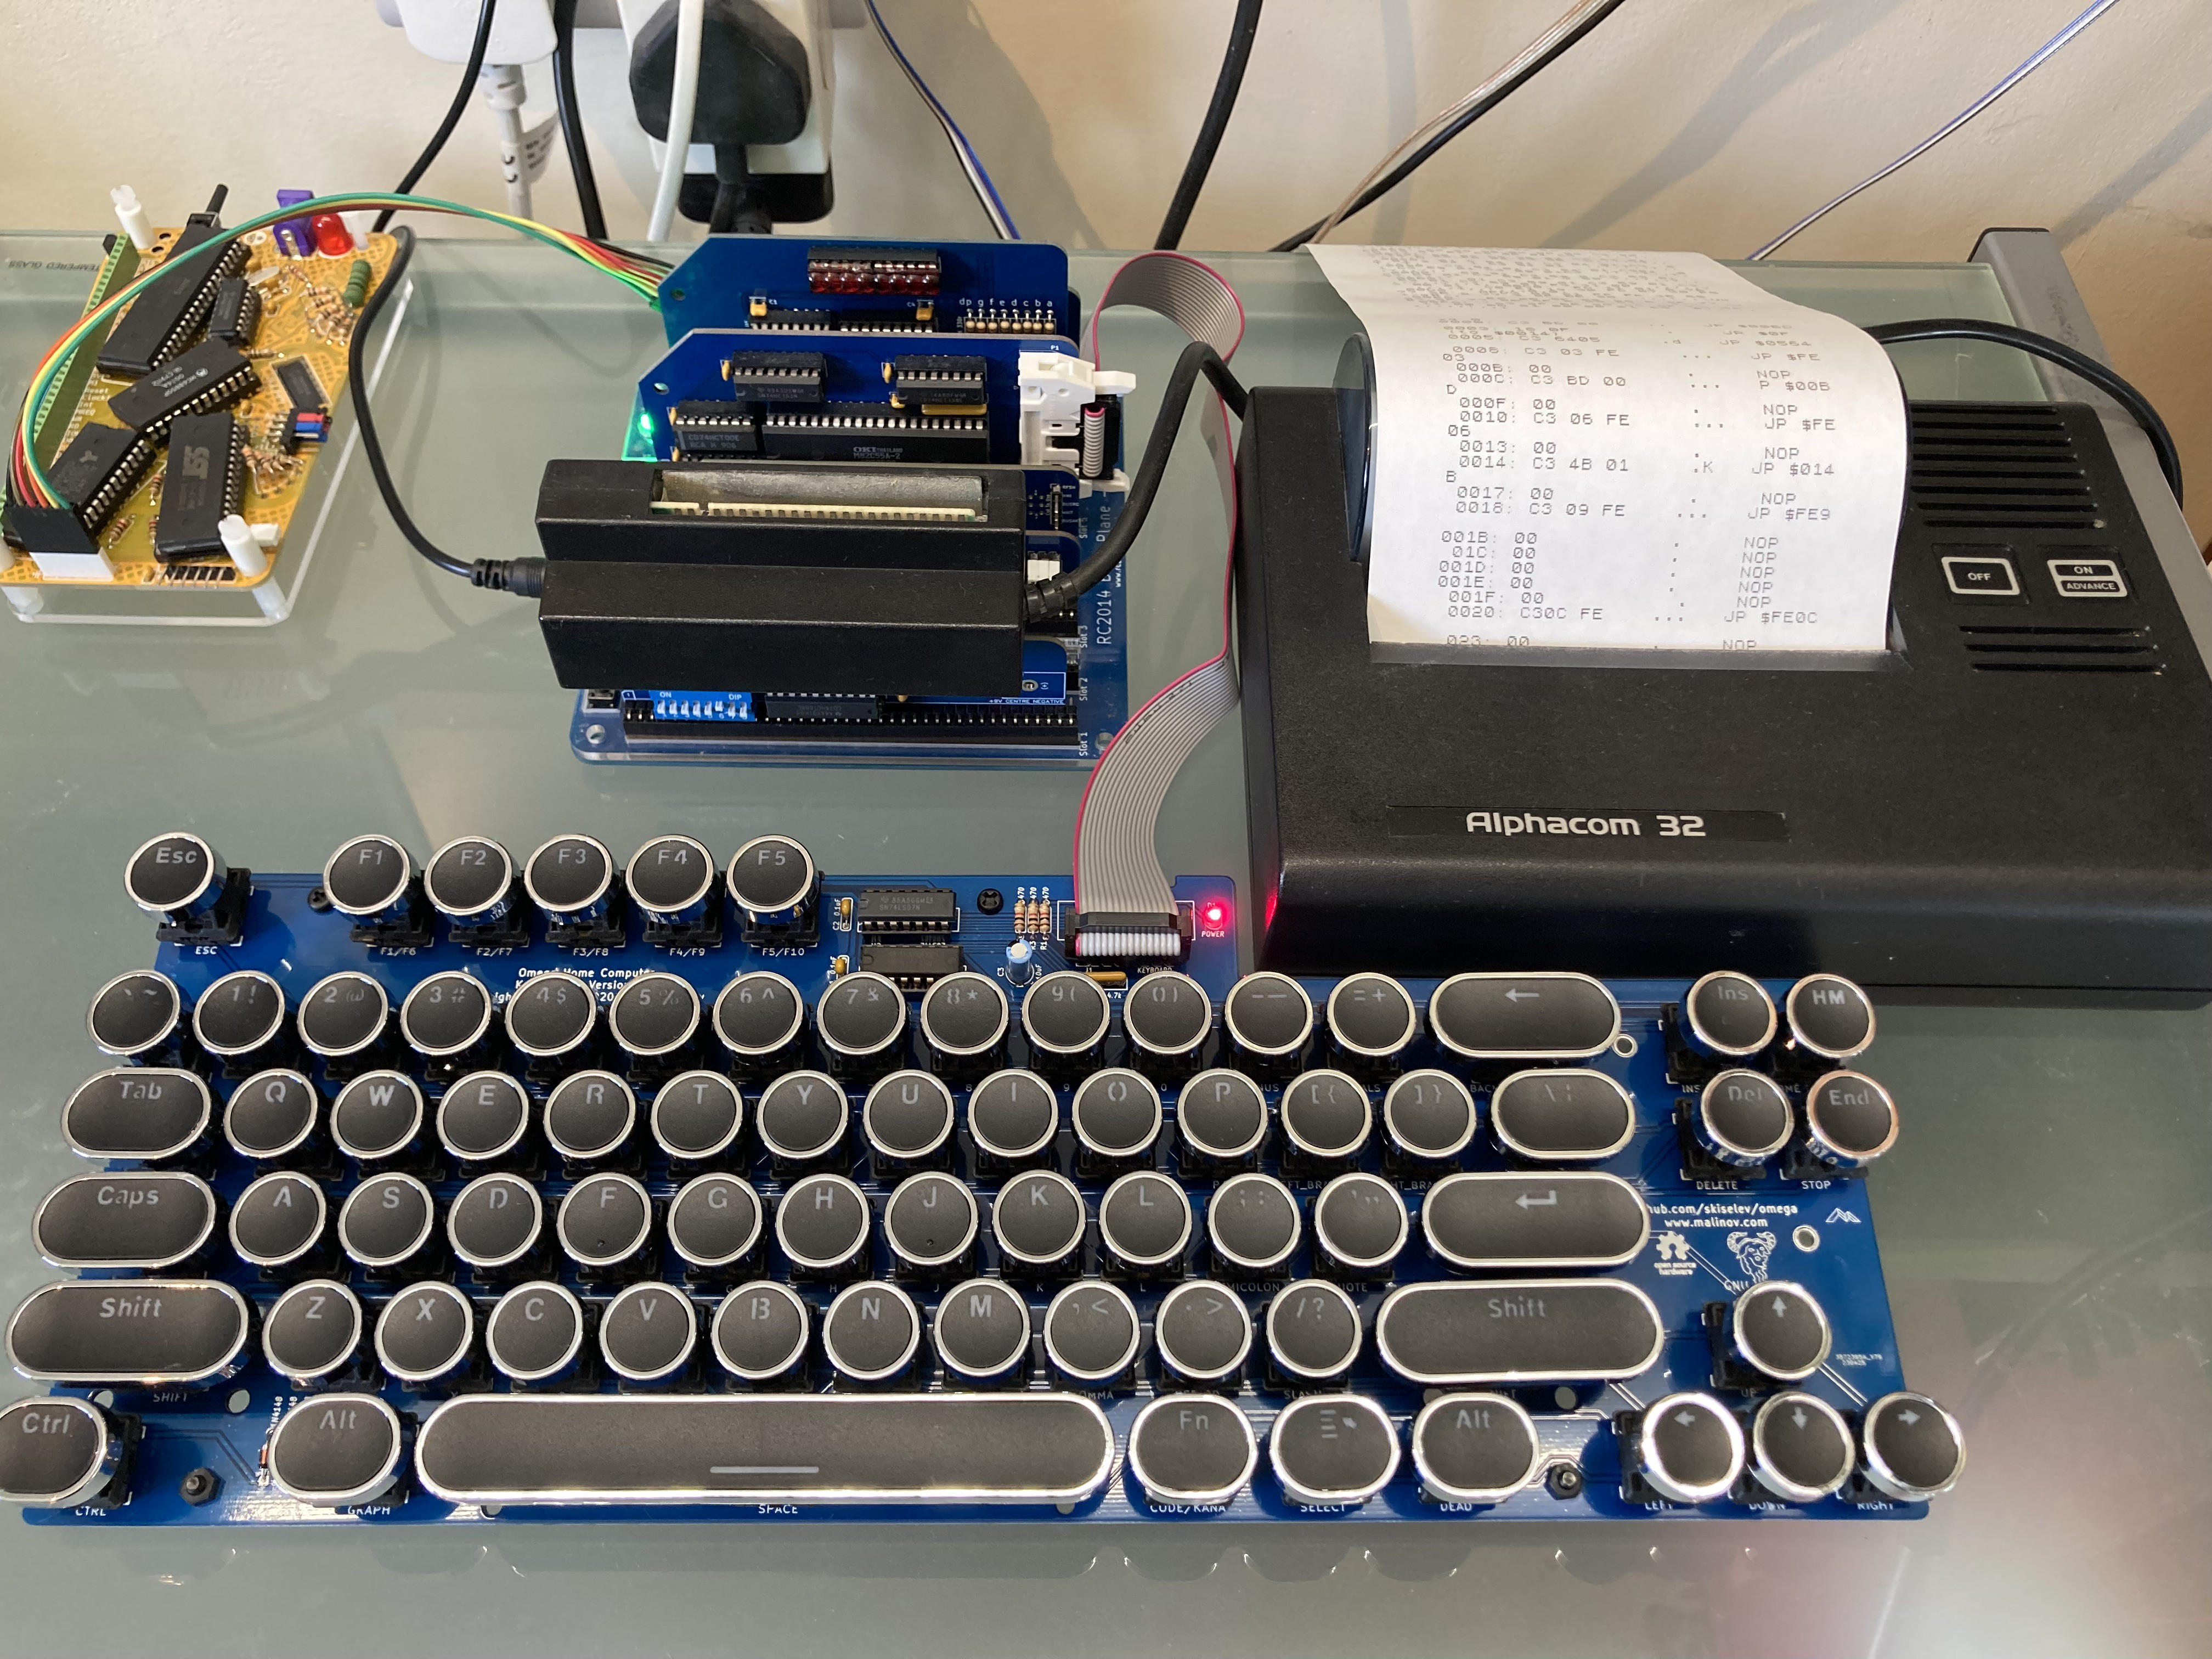
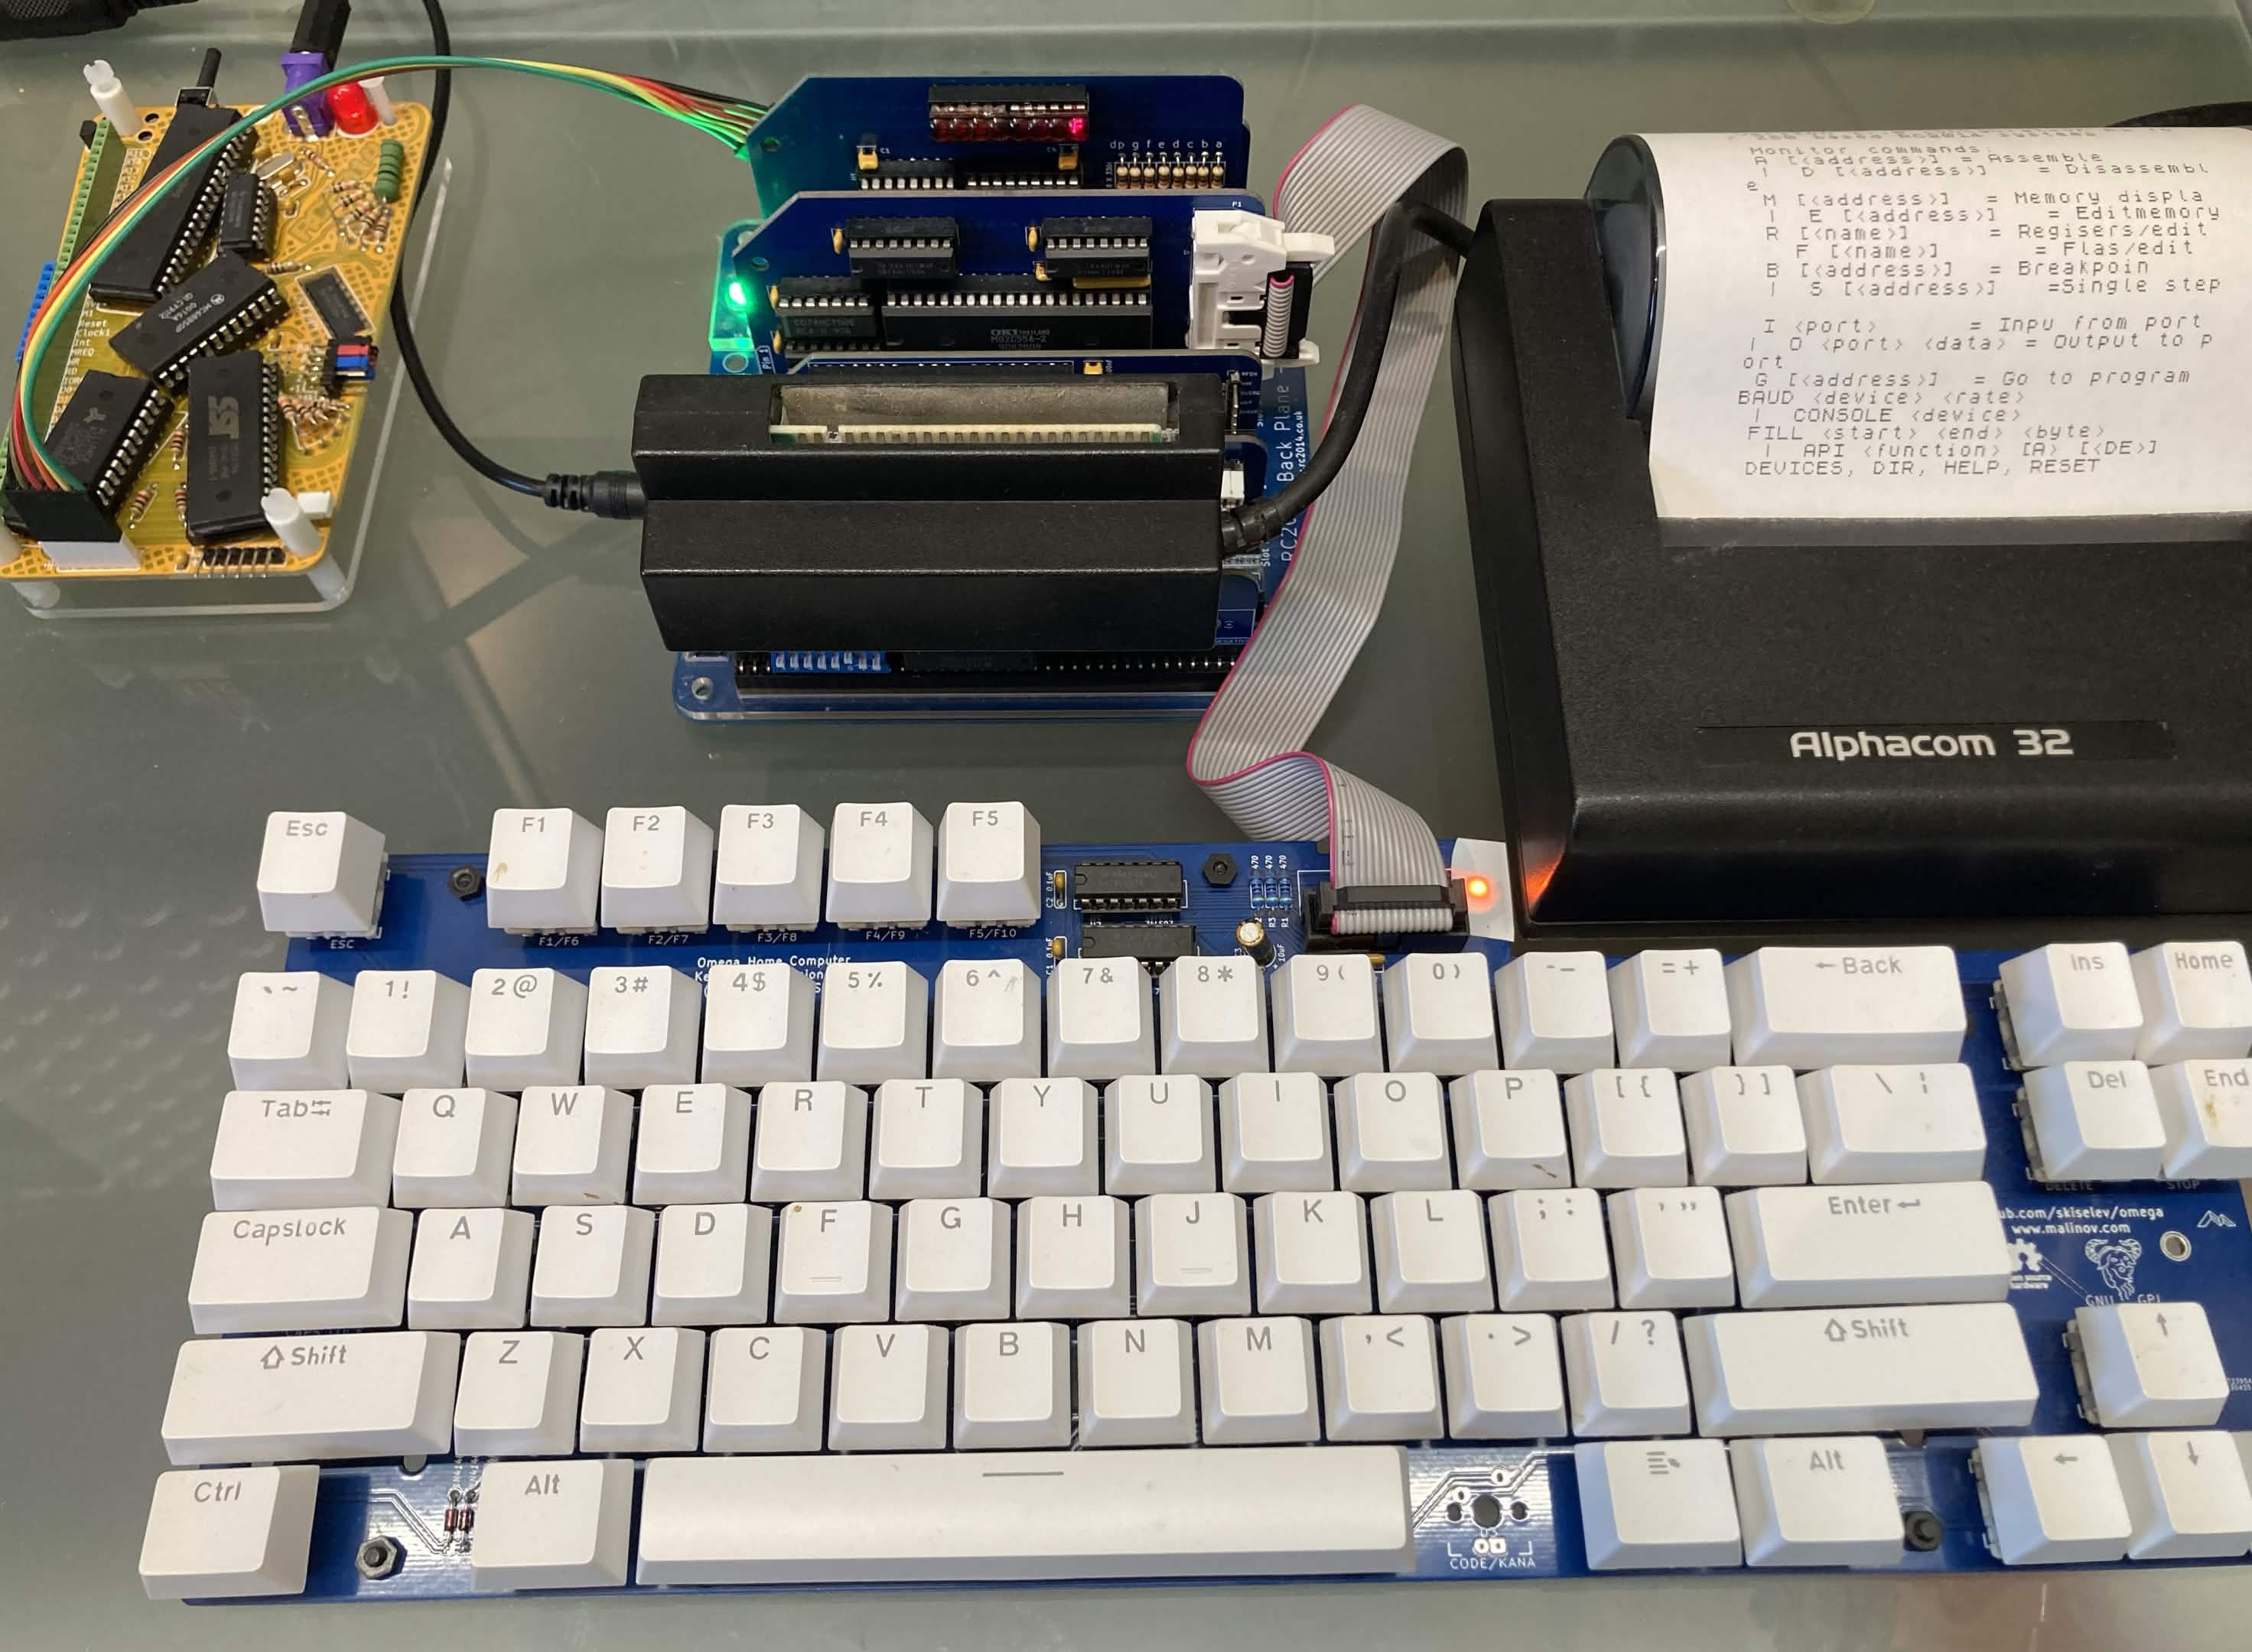
I'd like to build a teletype-style terminal using an Alphacom thermal printer and a decent keyboard that will work with any RC2014

Similar projects worth following
The RC2014 is a modular kit computer in the spirit of early home computers. In its simplest form it has Z80 CPU, RAM, ROM, clock and serial I/O. One of the easiest ways to communicate with it is to use a terminal emulator on a modern computer but there are many options for making the machine more standalone with video output and sometimes keyboard input.

Many of these use modern technology such as a microcontroller and I'm not averse to that. I like a crisp video output, the convenience of HDMI and USB keyboard input. Indeed I make and sell such a module.

However, it does trouble me a little that the microcontrollers used for these things are probably capable of emulating the Z80, its ram, rom and other preripherals. It would be nice to get back to brass tacks, if just for fun.

Period-correct technology would probably be a VDU terminal or its predecessor, a teletype terminal, which is an electric typewriter that sends serial output from its keyboard and prints serial input onto paper.

Here's where the Alphacom printer comes in. It was compatible and contemporary with the ZX81 and was a better option in many ways than Sinclair's ZX Printer. (The ZX computers had built-in line-printer capabilities.) Importantly there are plenty of the Alphacoms around today, working fine. 
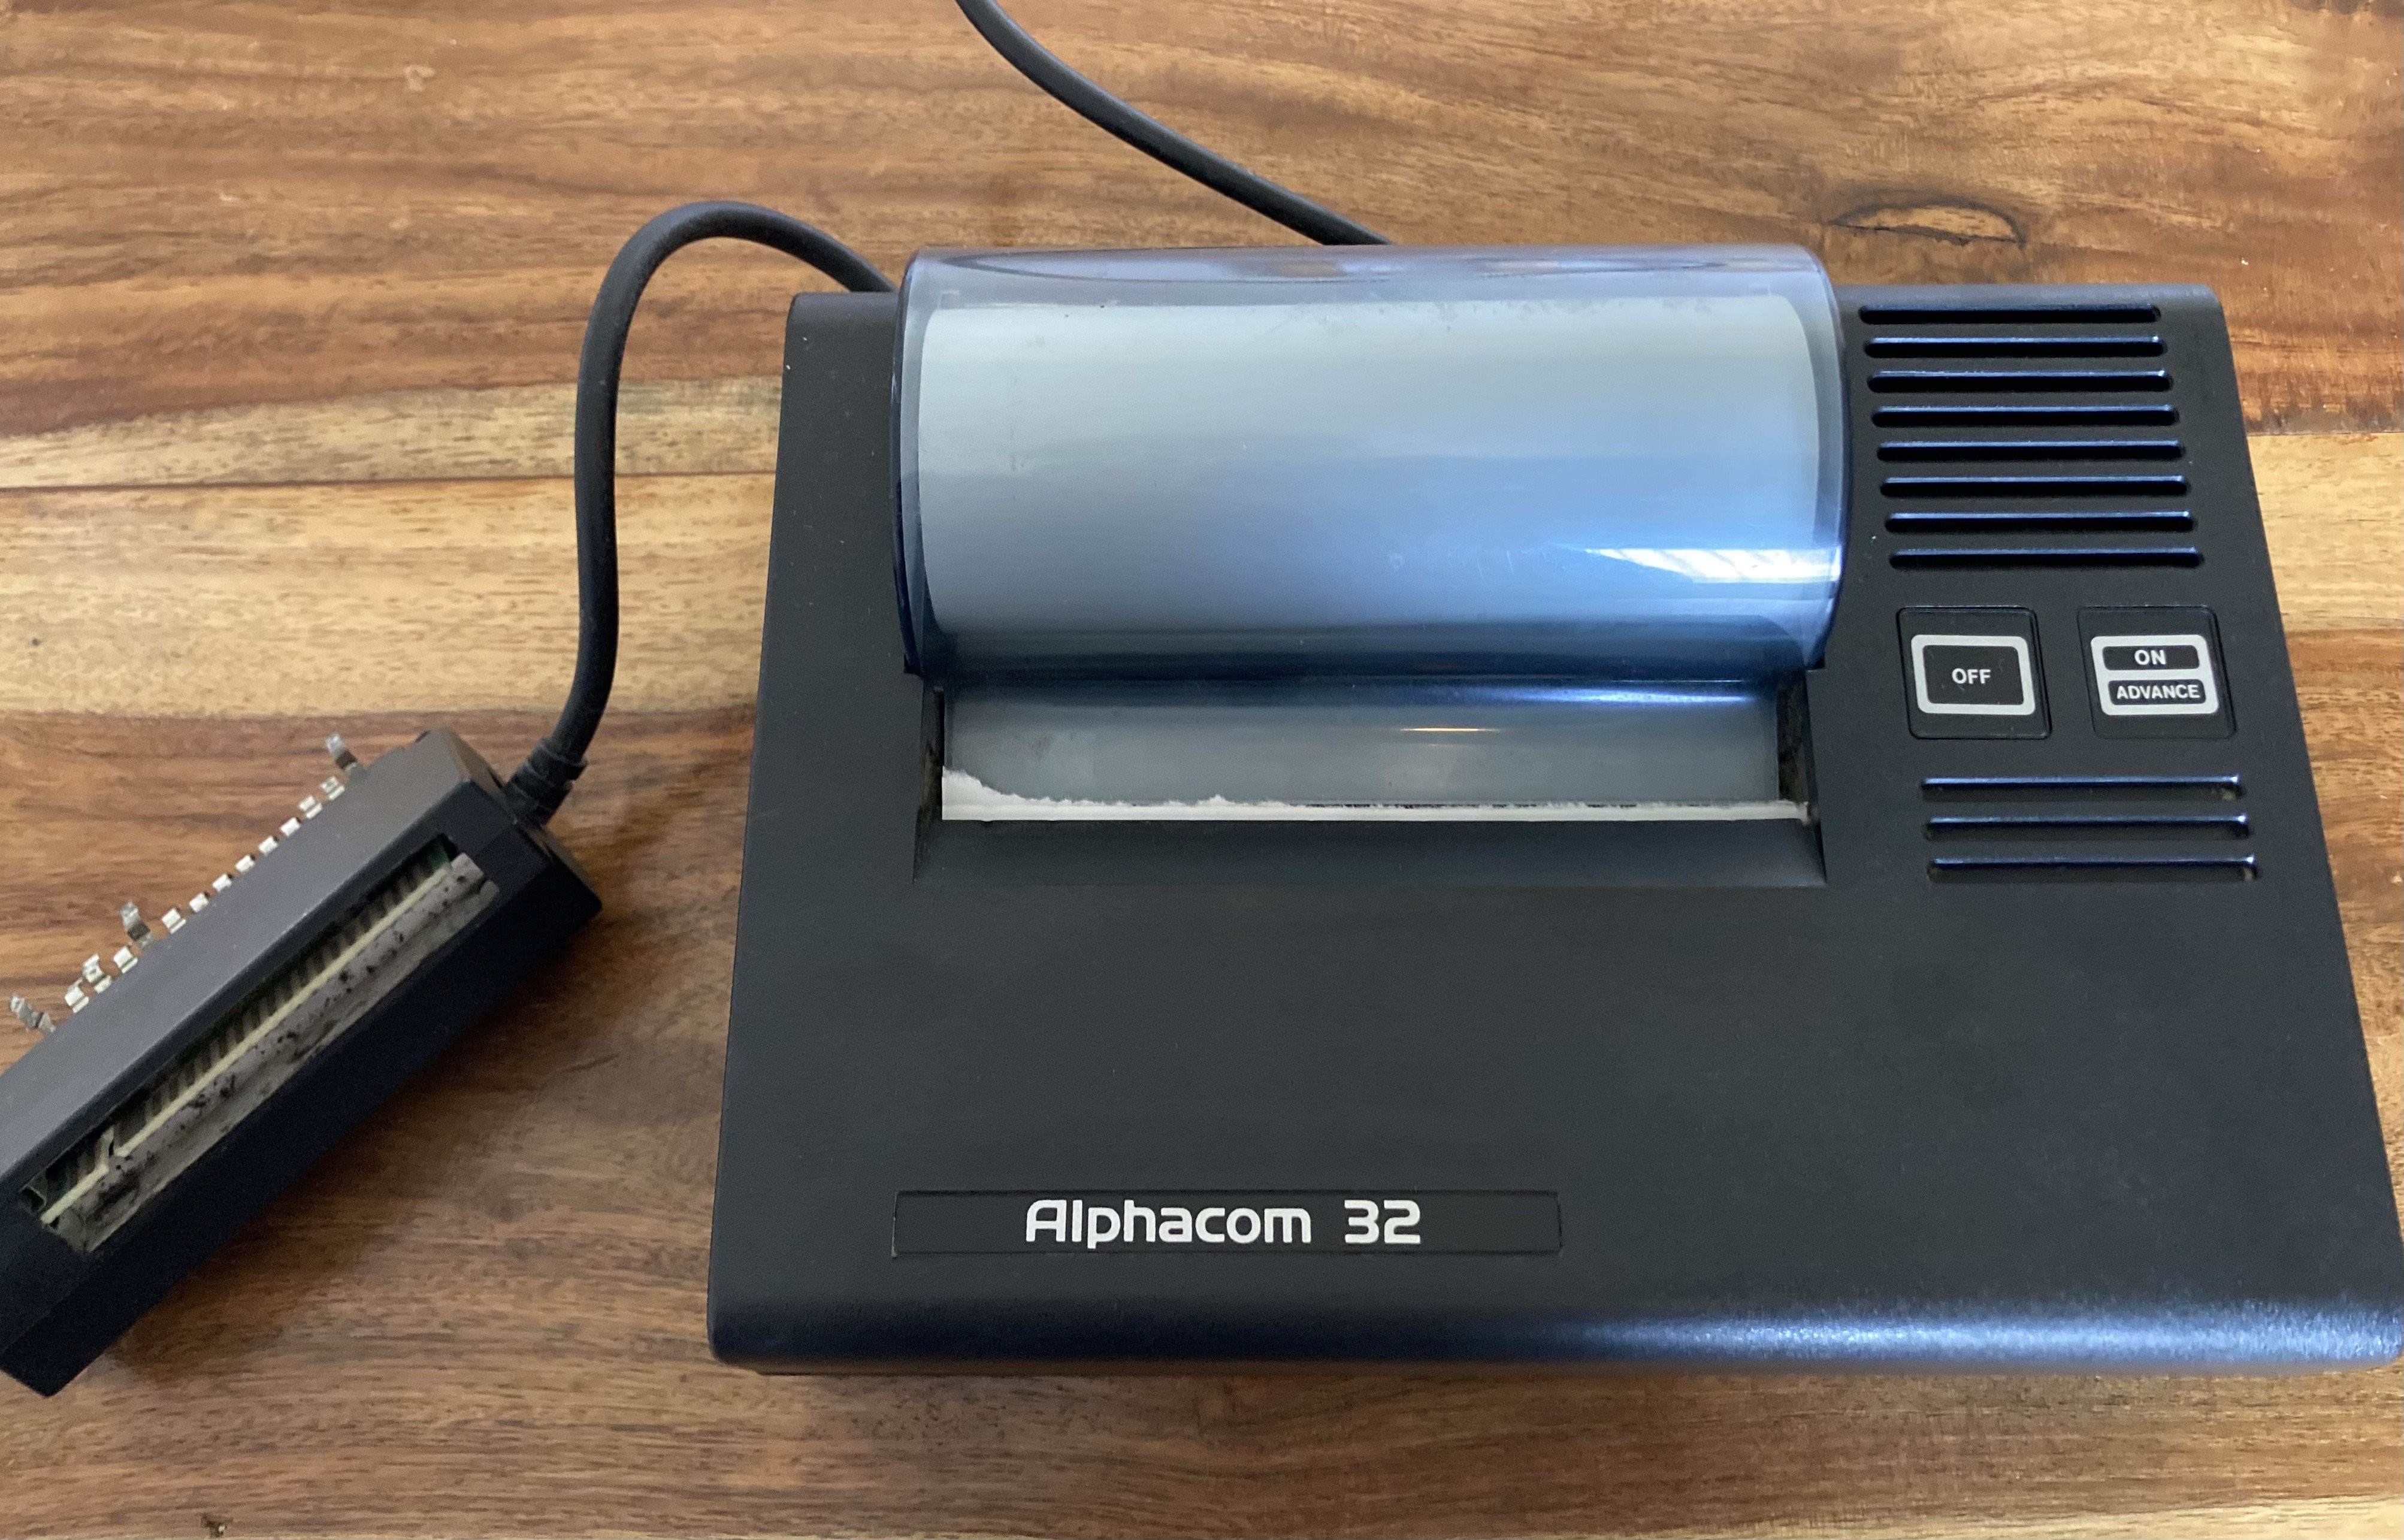
While thinking about this, a couple of things caught my eye, and I must give credit to these people.

Dave Curran recently wrote :
http://blog.tynemouthsoftware.co.uk/2026/07/testing-not-quite-zx-printer-on-not-quite-a-zx81.html
Dave references Rob Price's project:
https://www.robertprice.co.uk/robblog/using-a-zx-printer-on-an-rc2014/

I bought one of these printers a while ago (more accurately, I bought another Spectrum Plus in order to get the printer that came with it.) I verified that it worked at the time but haven't done any more with it until now. 

(Does the Alphacom contain a microcontroller? I don't know (I may have a look) but if it does, it's 1981 technology and I specifically want to use this particular printer so I'm not going to fret about that.)

Another influence on this project is the work that Roy Templeman (loudscotsbloke) has been doing on some turn-based games, specifically aimed at terminal-based computers. Roy has made a turn-based Tetris (!) and a Robots game that both work on an RC2014 with serial terminal output.

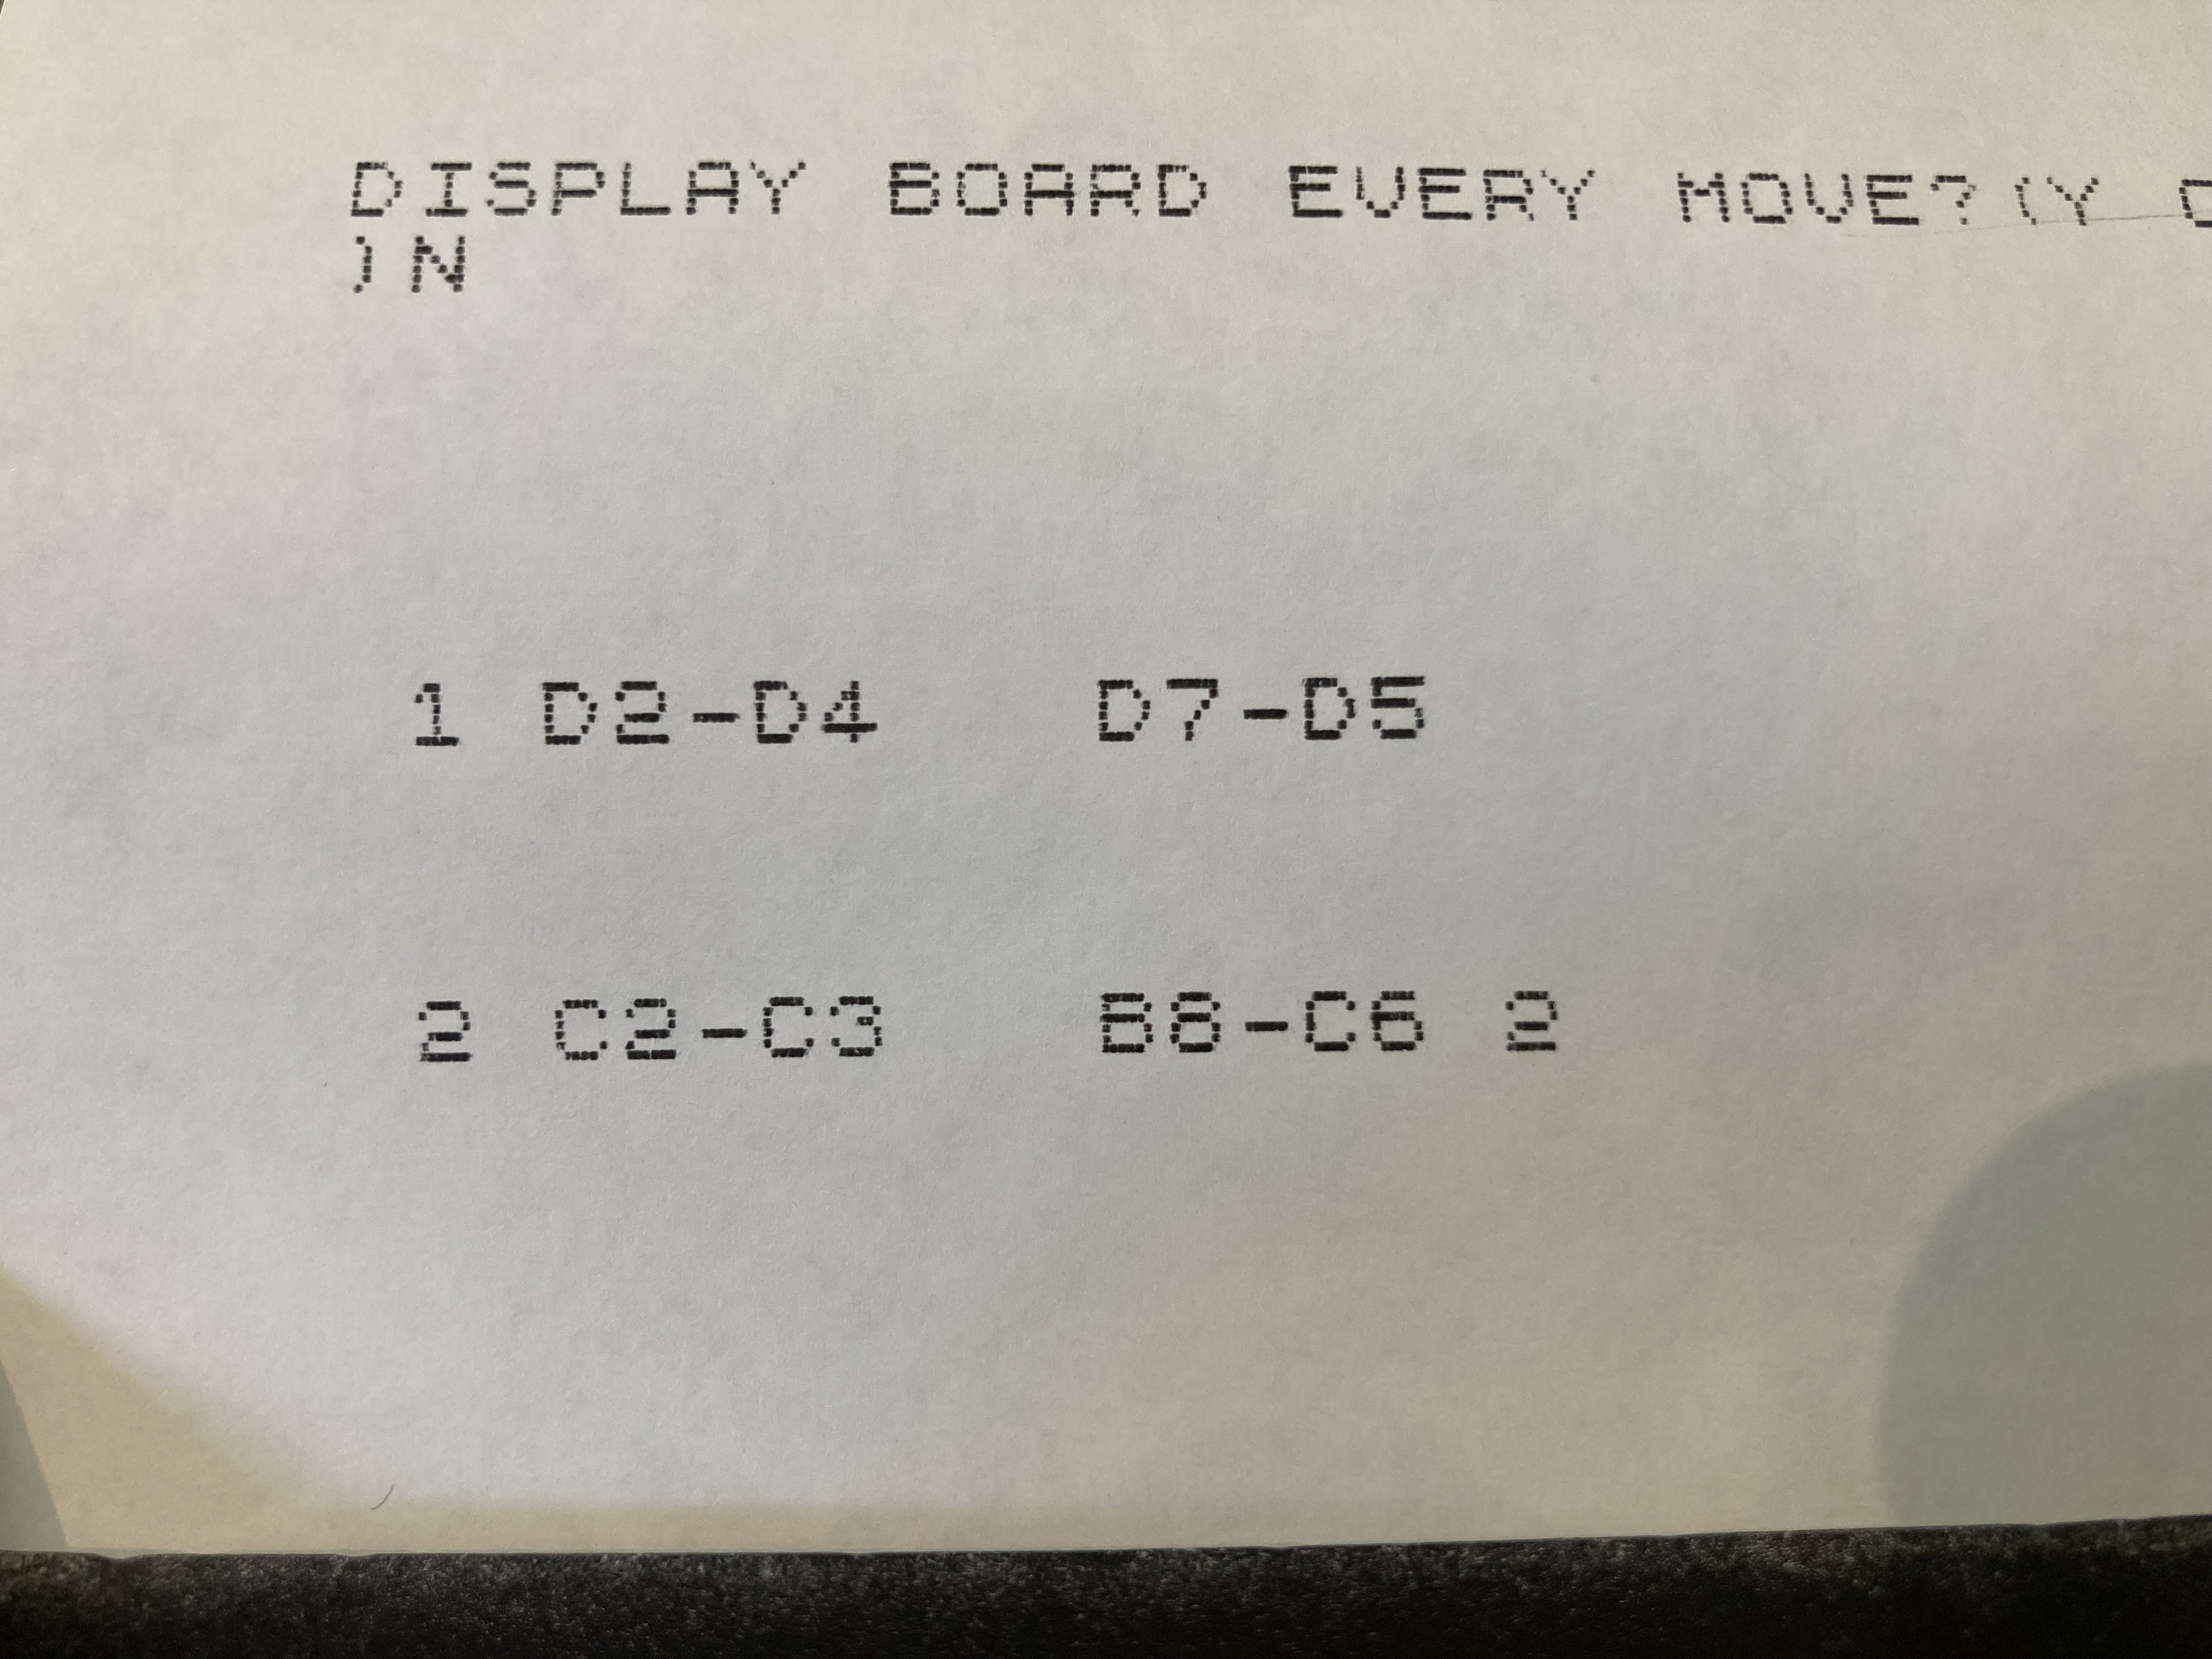
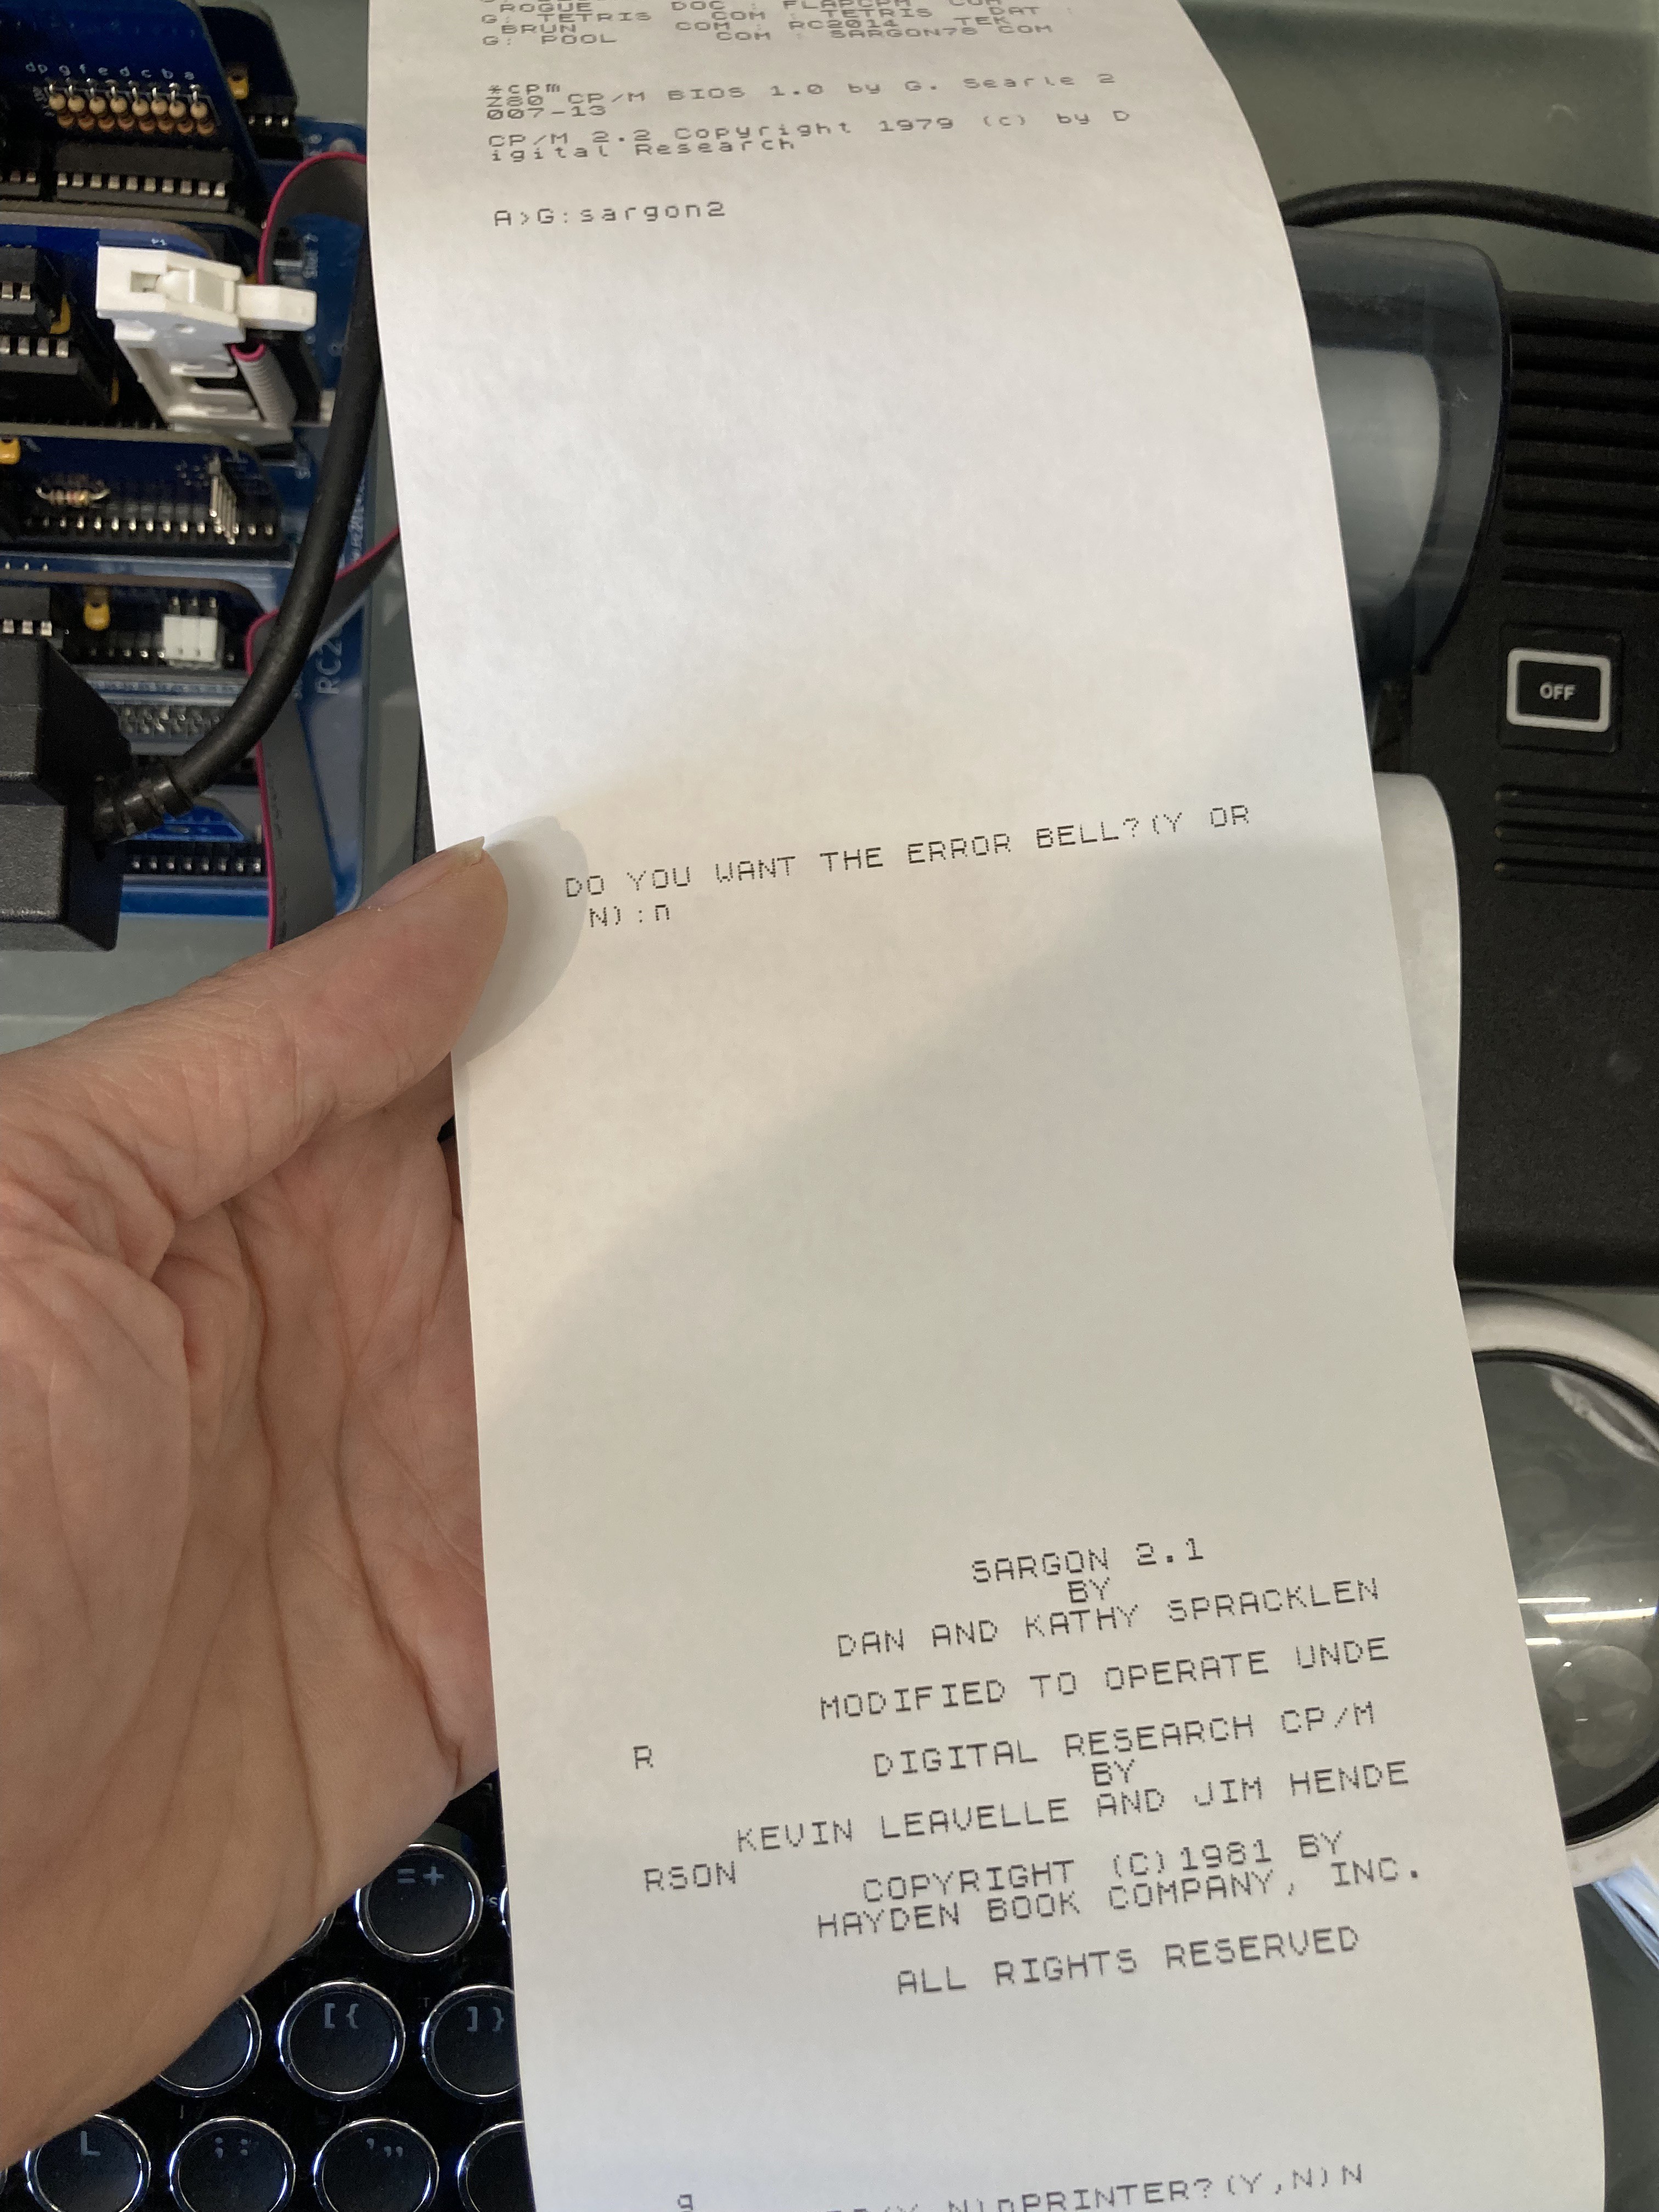
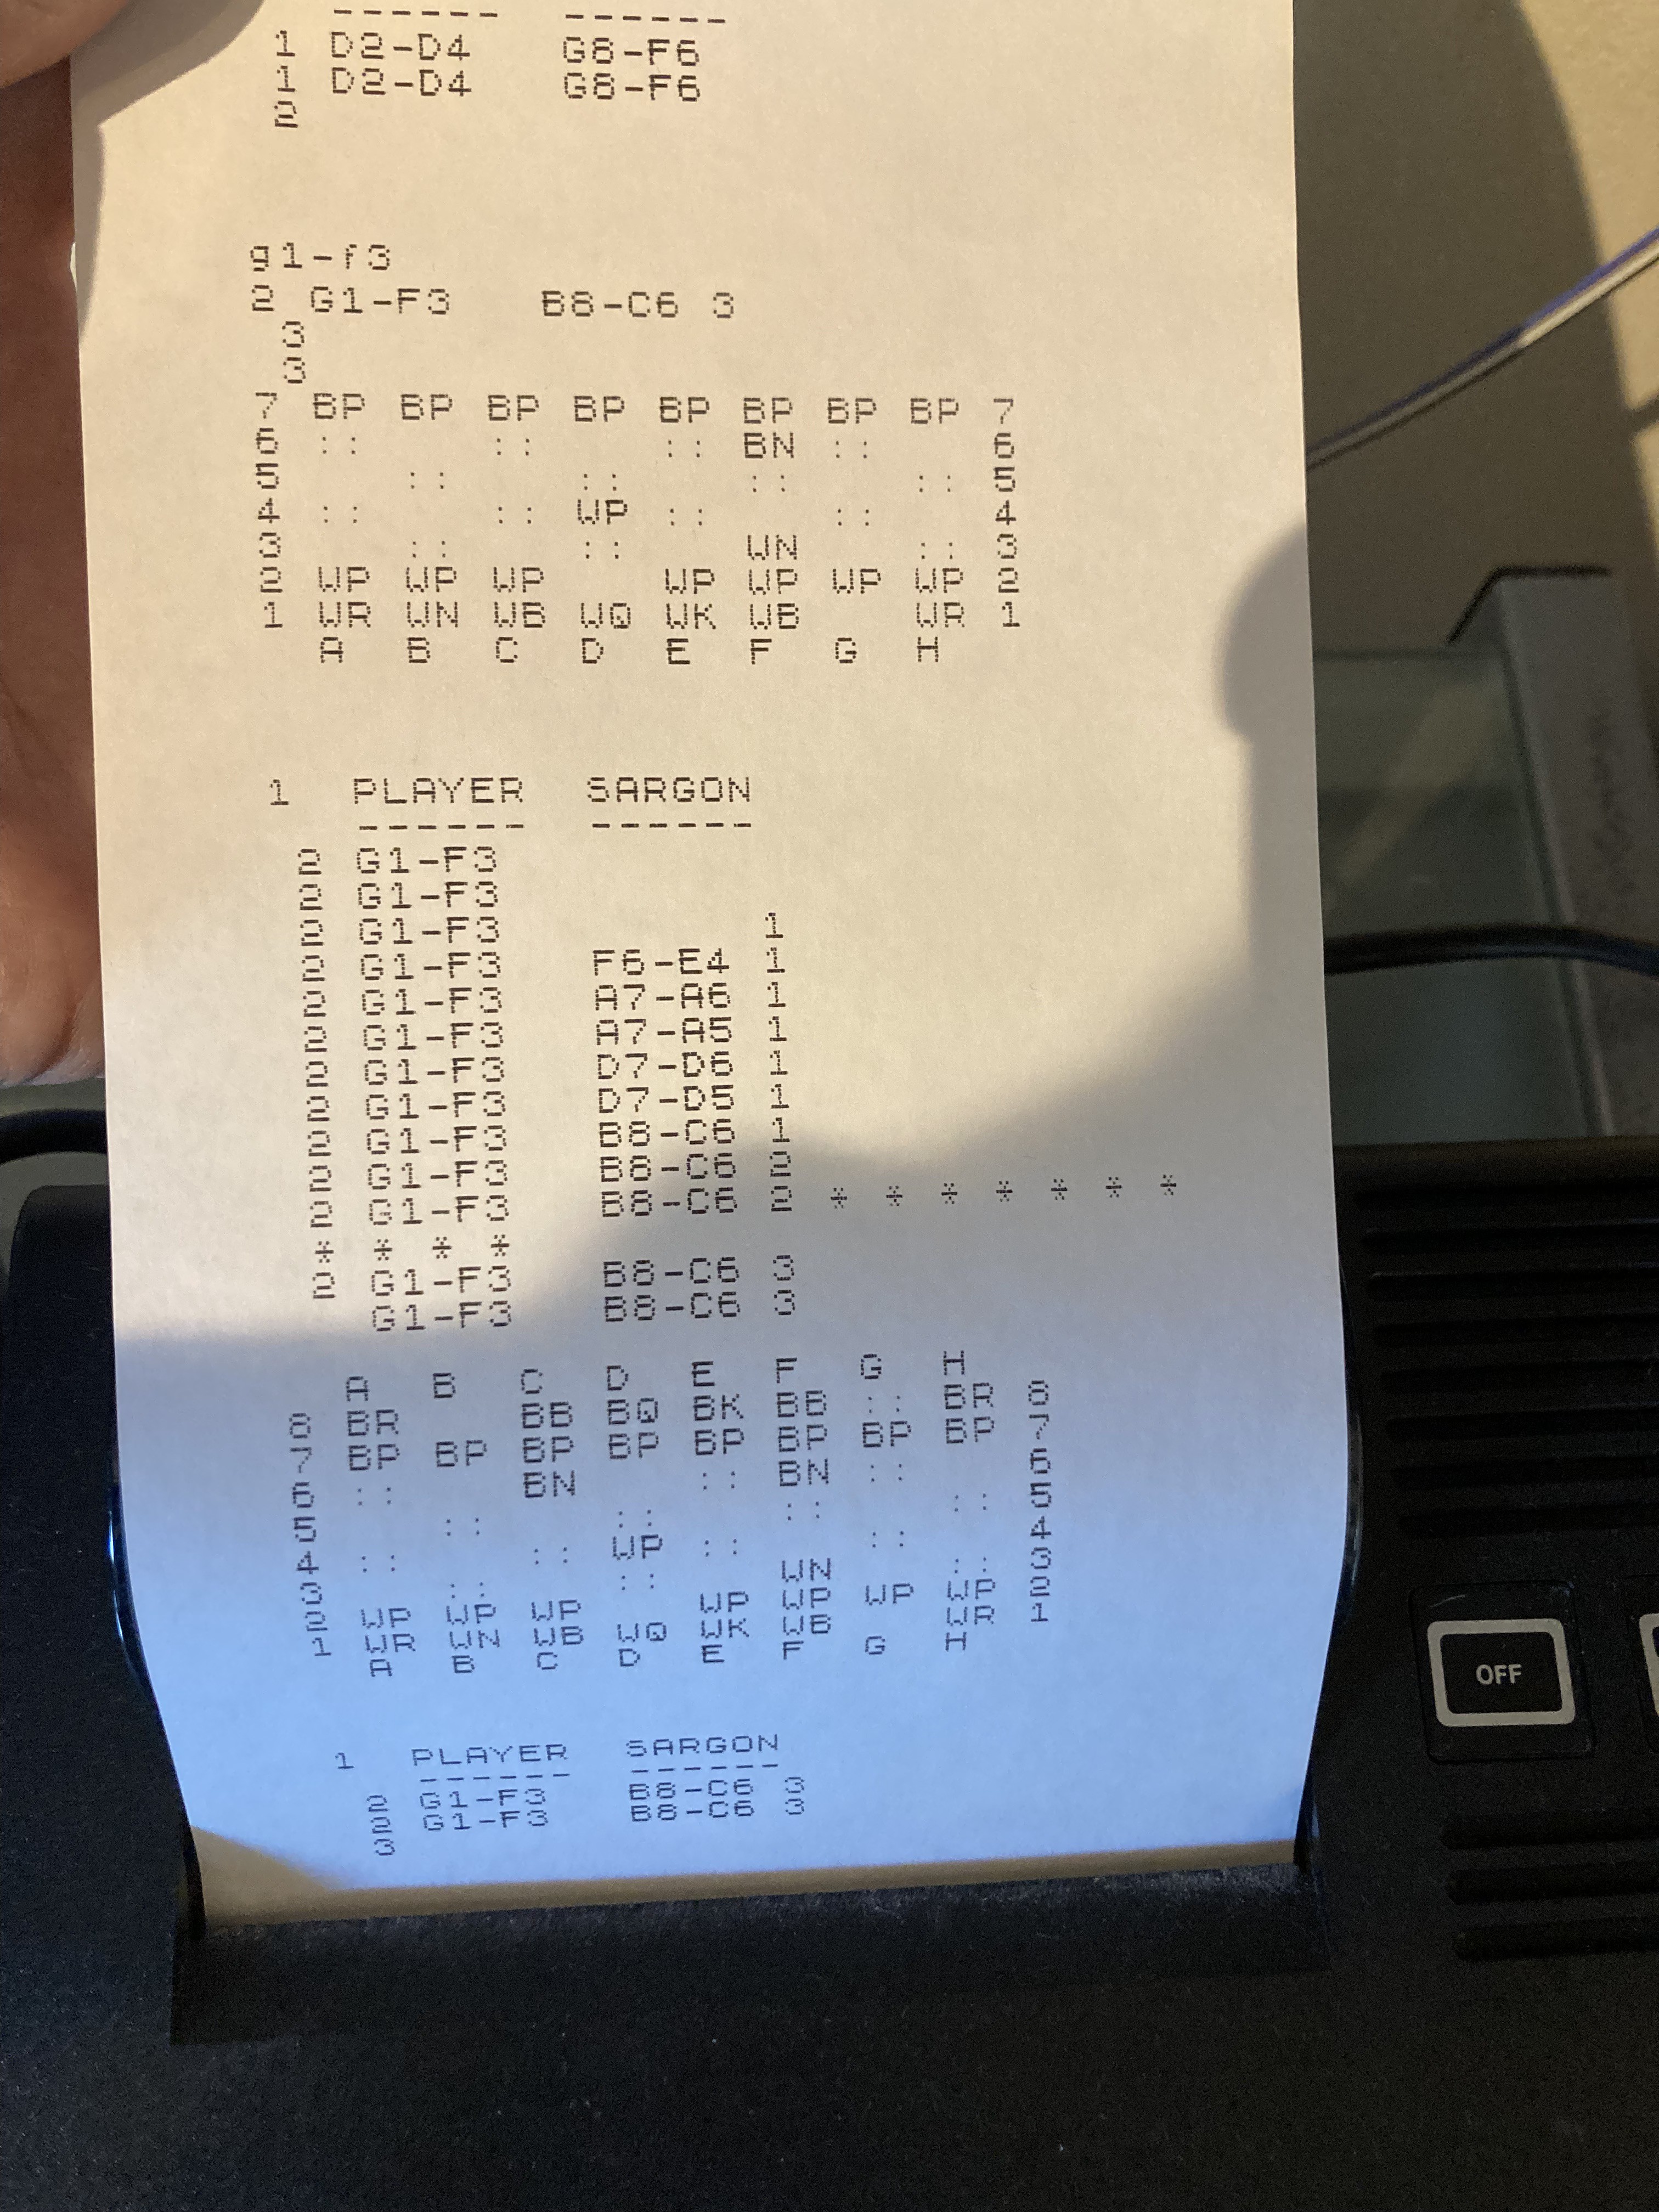
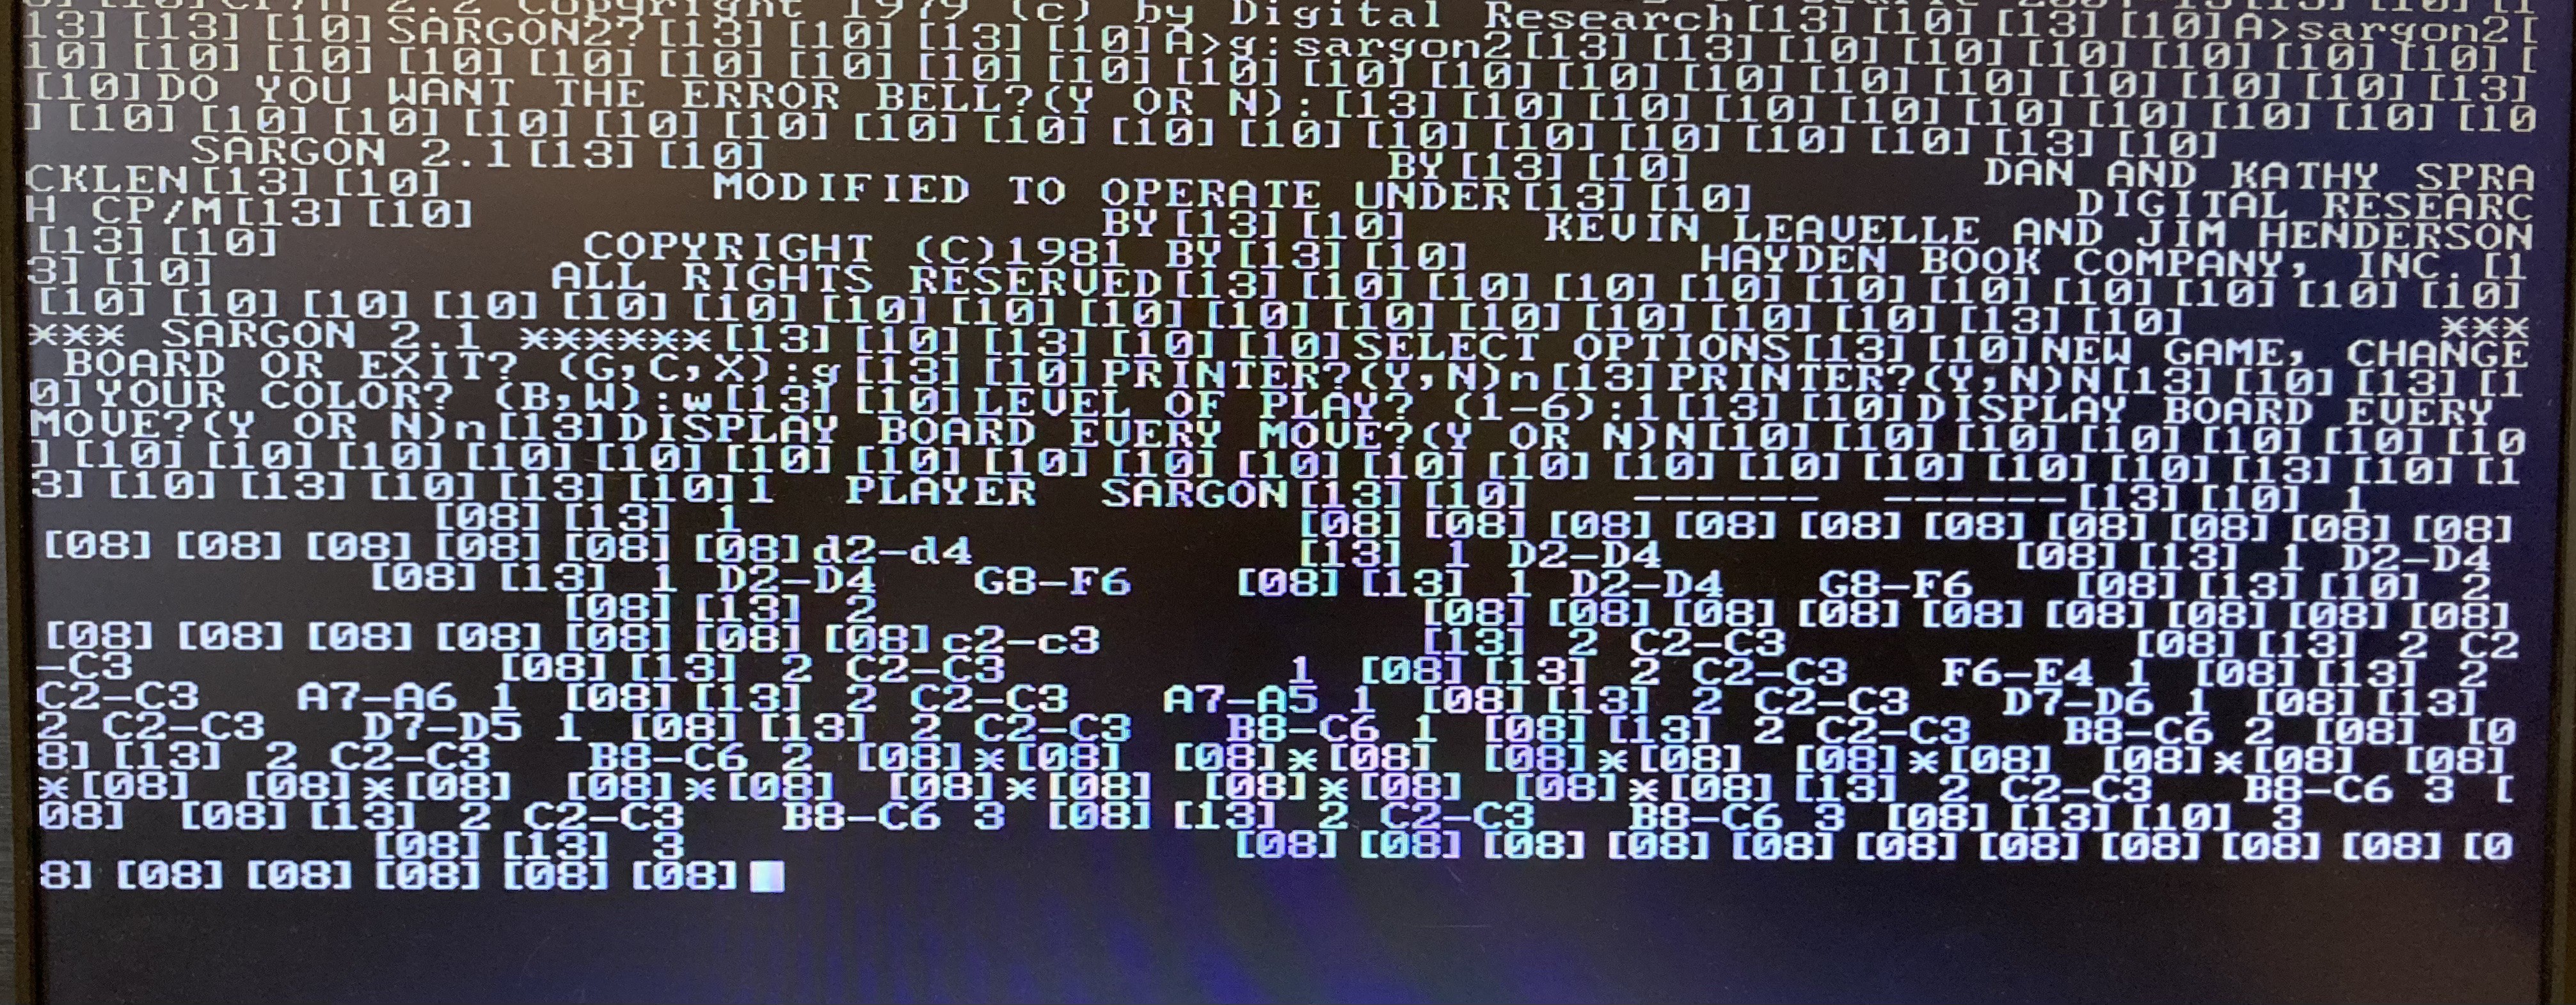
I'm particularly fond of chess computer games and like using Sargon II on my RC2014. Not only would this work perfectly with a teletype terminal (the CP/M version I use has the option of printing the board every turn) but there are advantages, such as having a printed record of the game - previous moves aren't lost as they scroll off the top of the terminal display.

I'm thinking that a couple of games that I've ported to the RC2014 - 3D Monster Maze and Mazogs - would also be fun as turn-based games. They would require some conversion and the terminal may need to contain the Sinclair character set but I'm quite excited about that idea. 

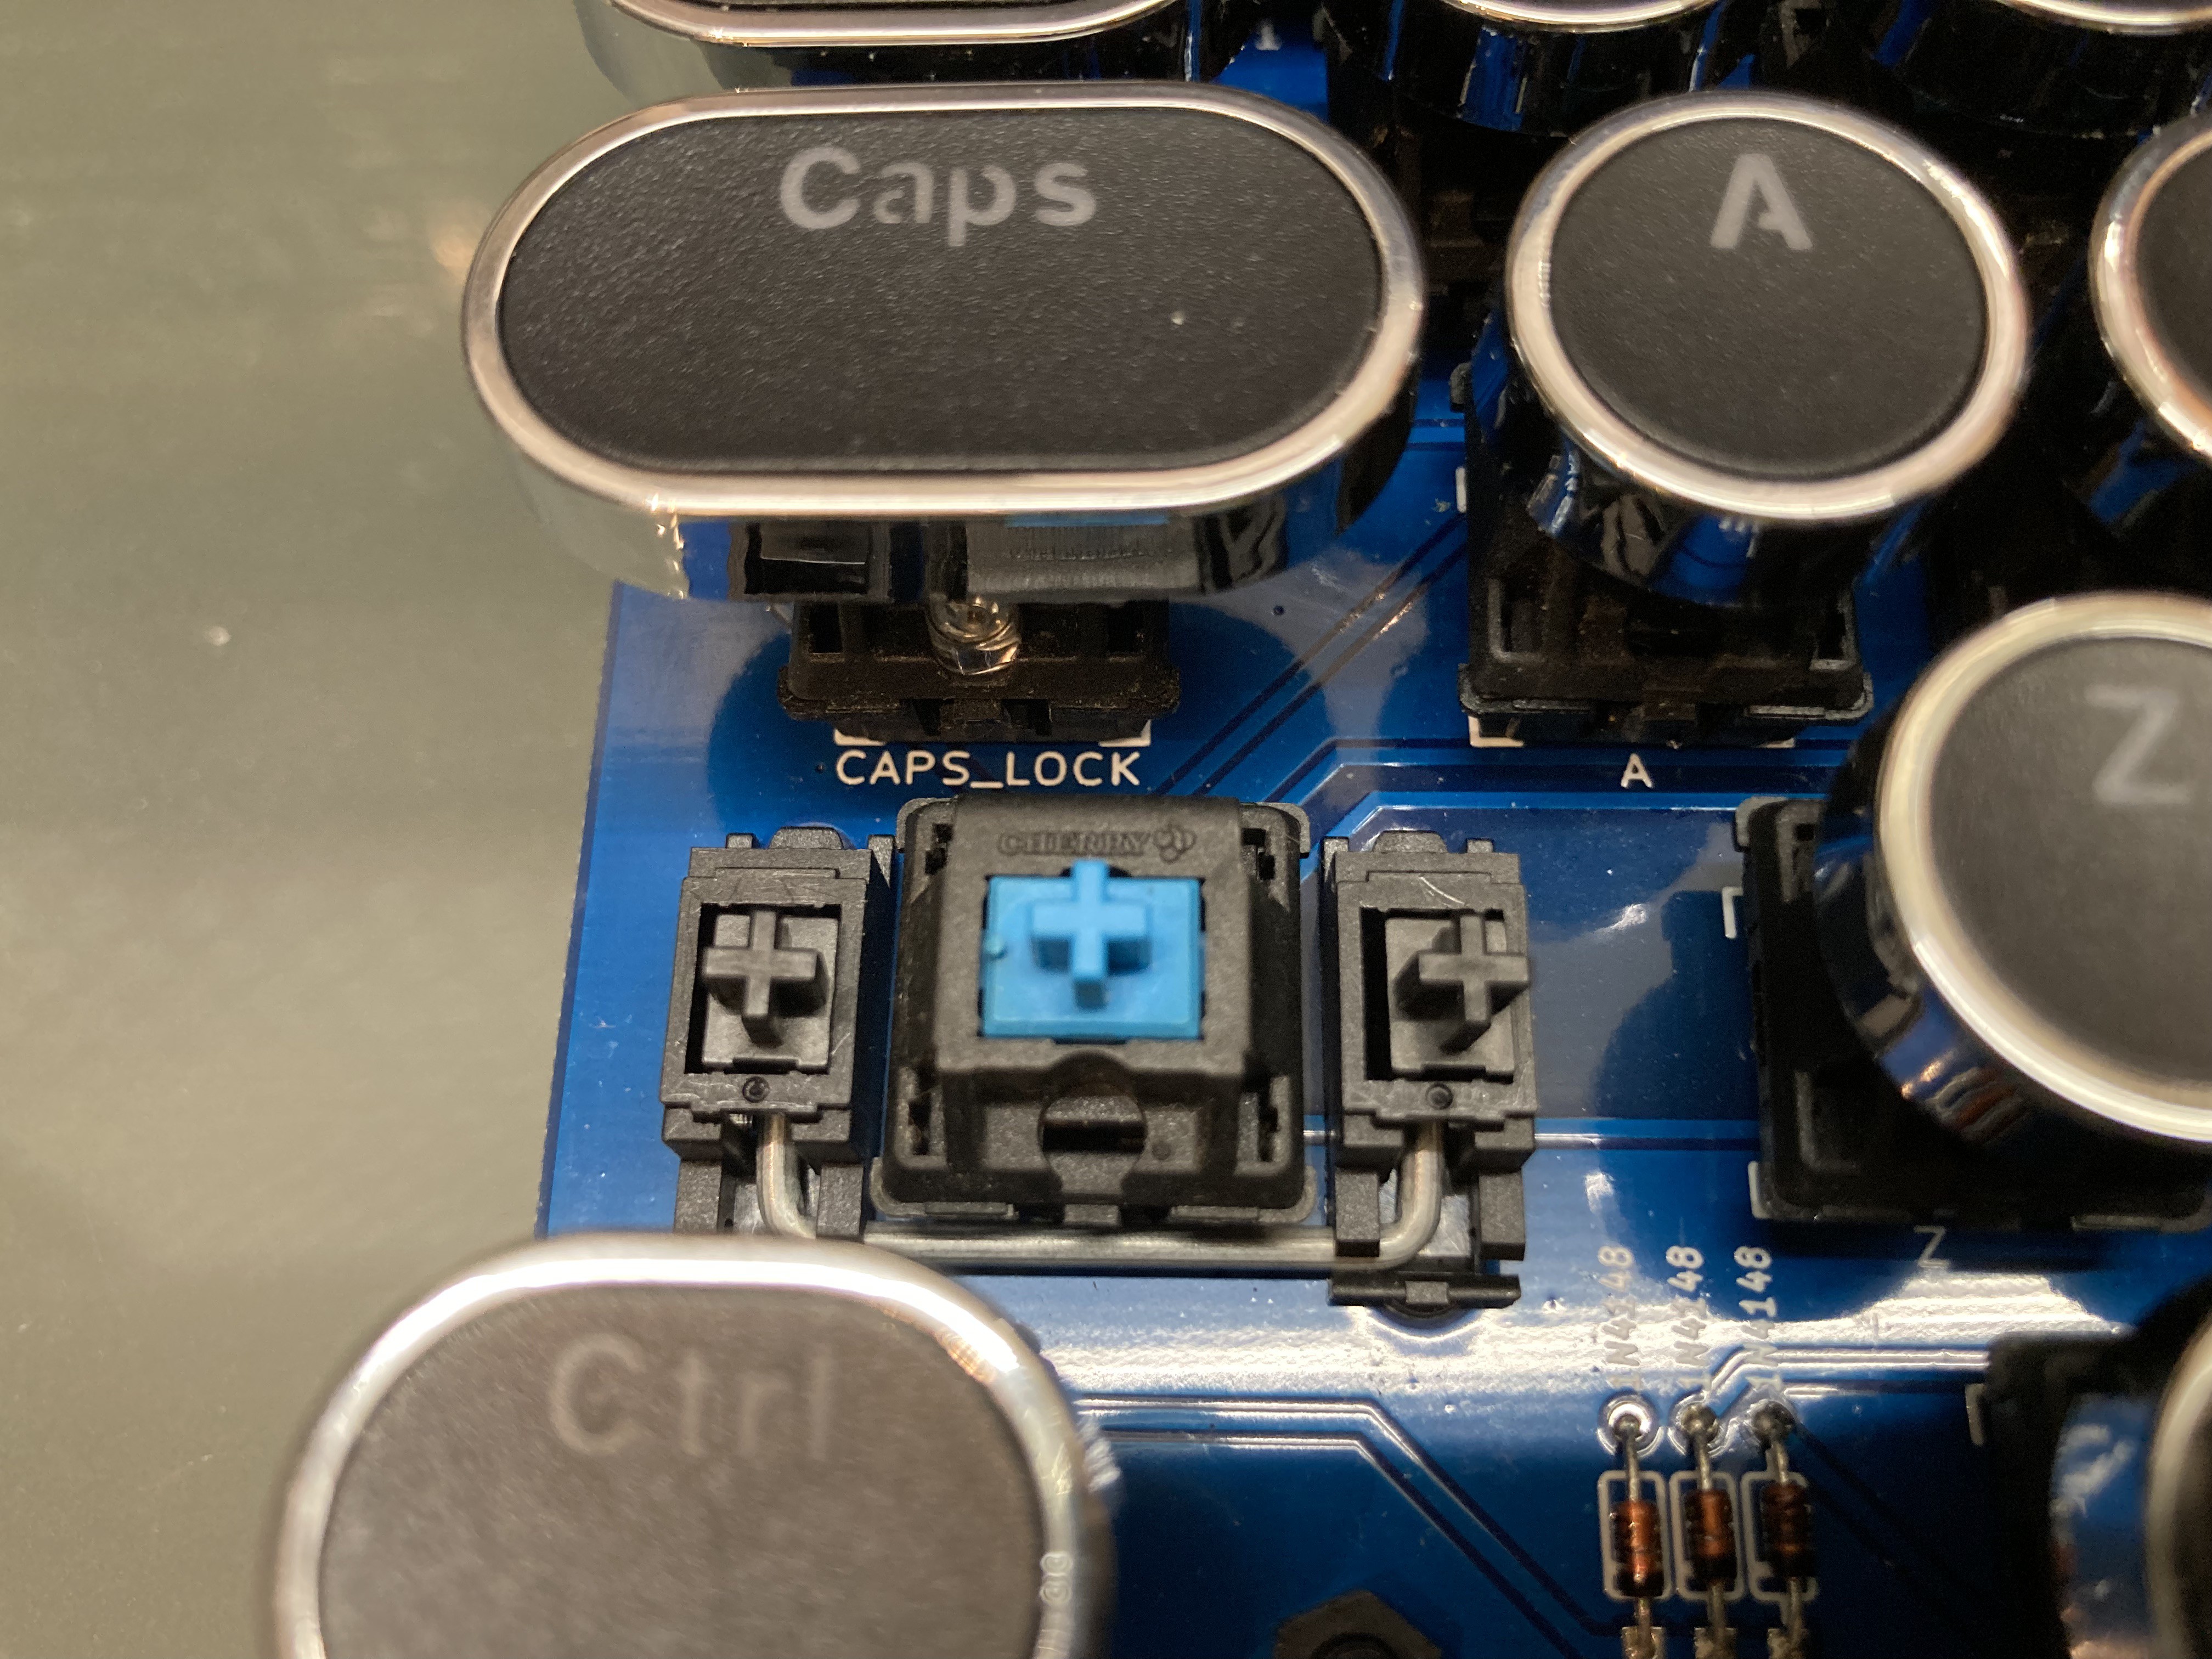
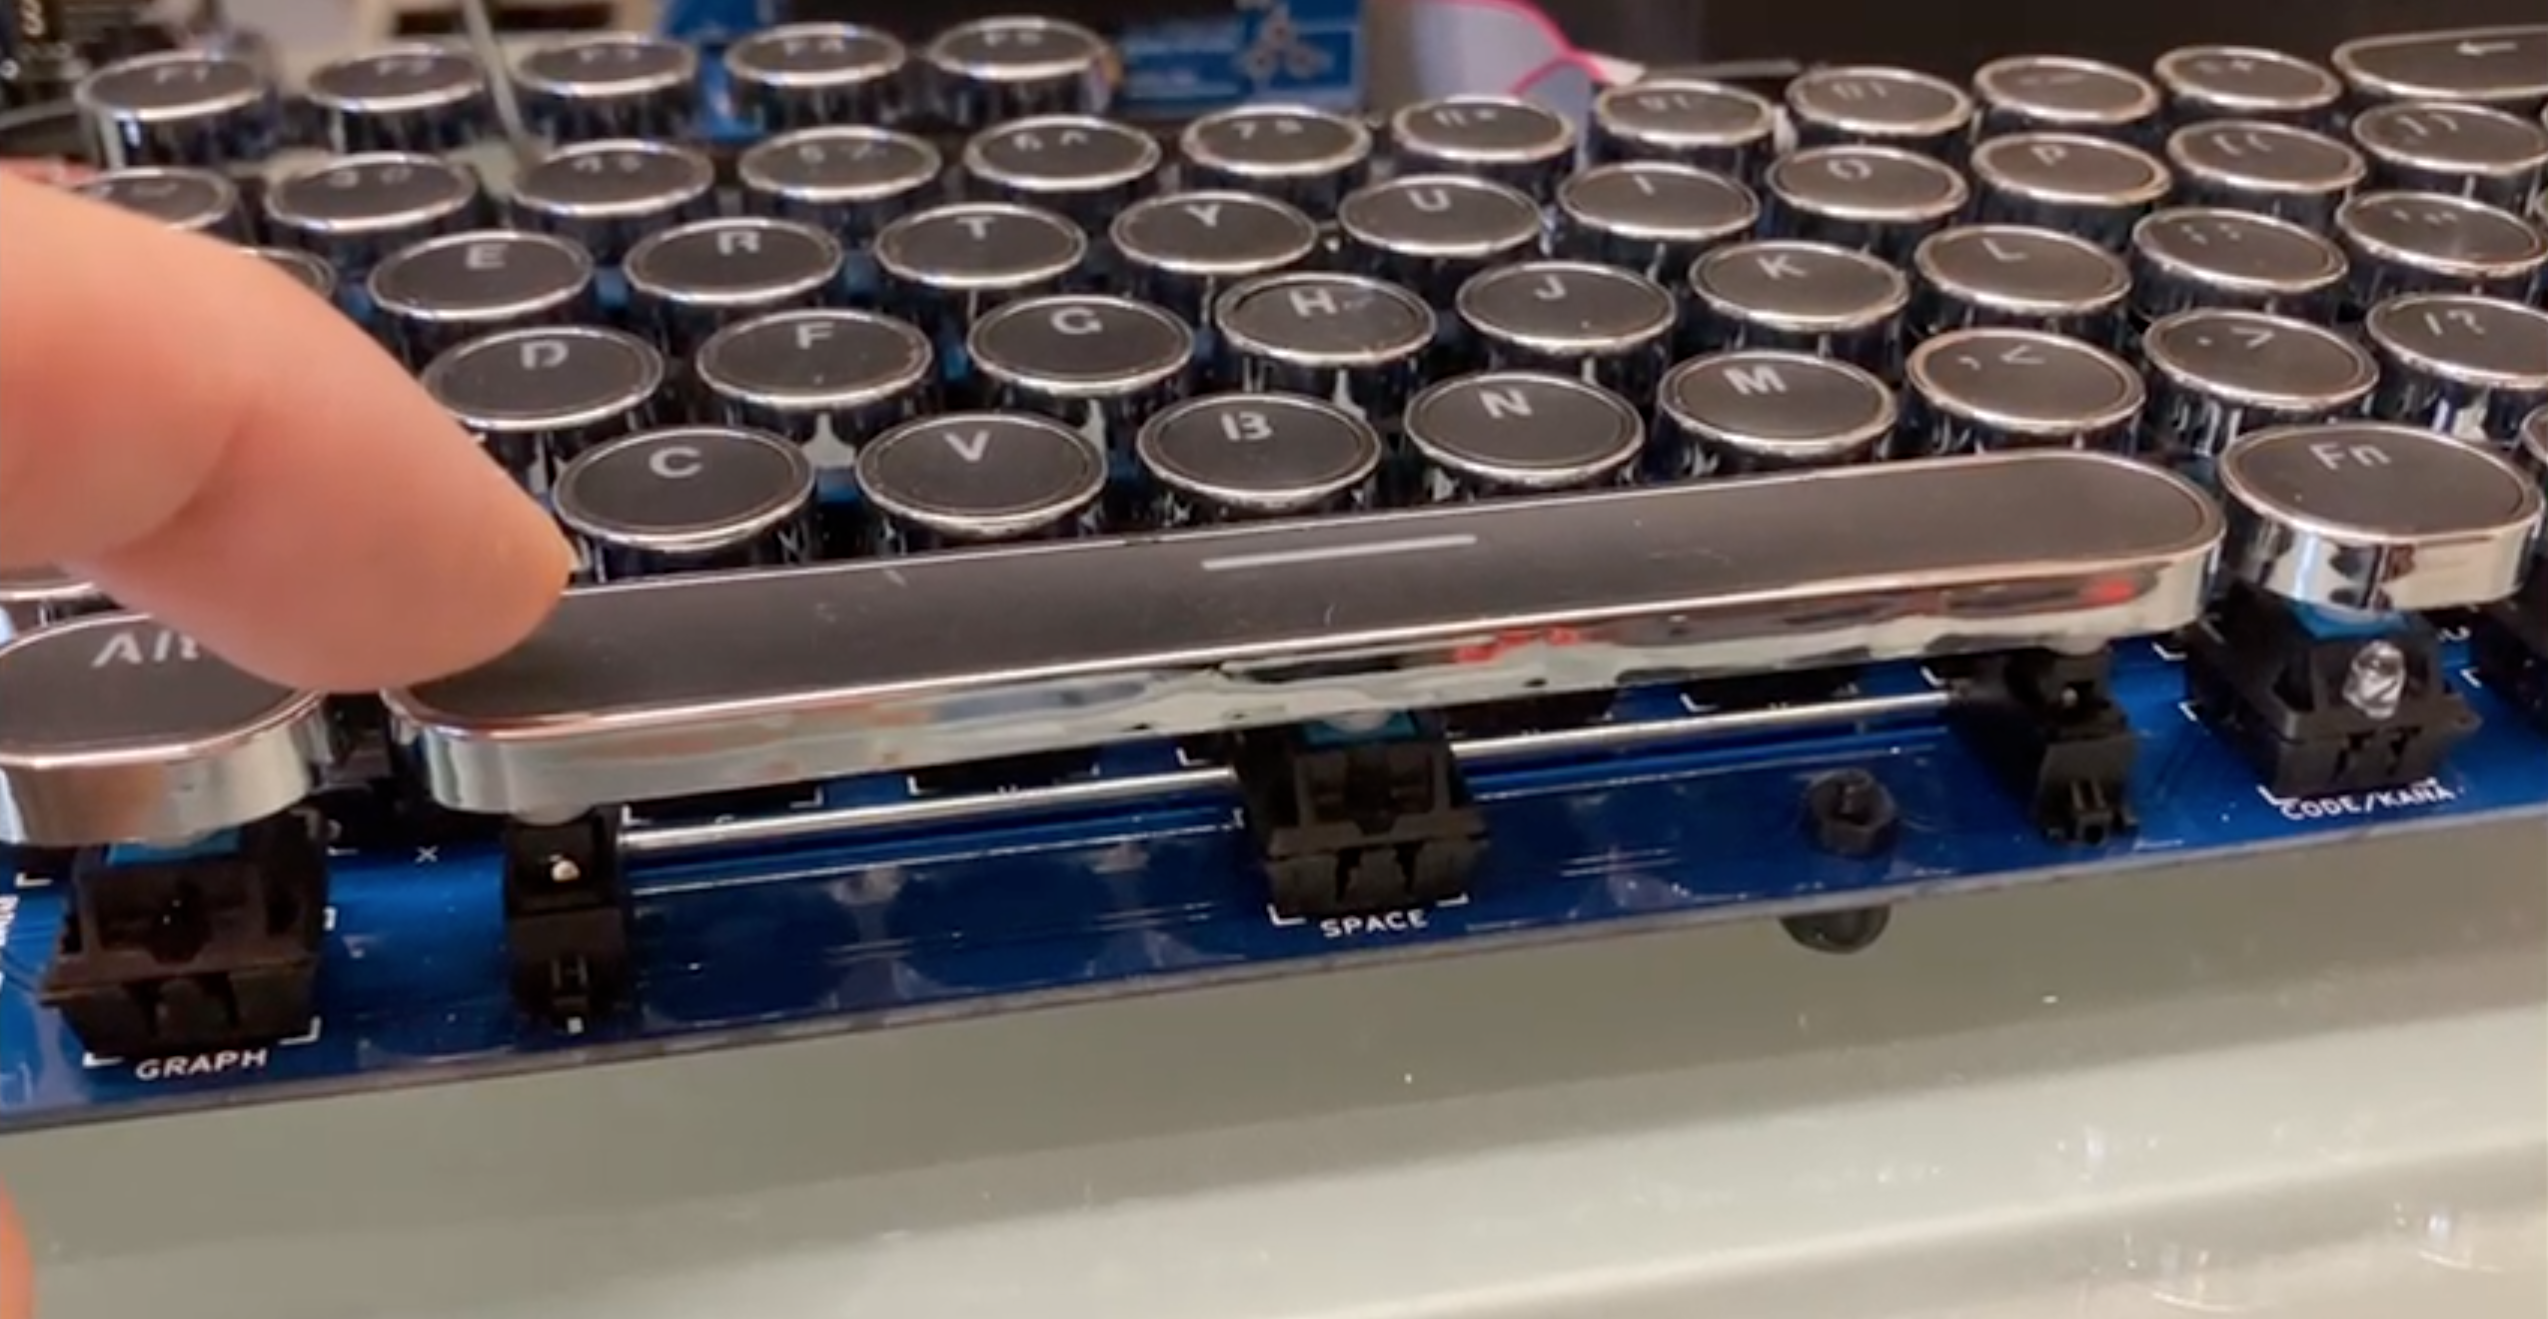
On the keyboard front, I'd like to use a decent one. The problem here is that a modern USB keyboard probably contains a microcontroller and you'd need another one (or some modern USB interface device) to convert that to the serial for the RC2014. Appropriate technology is a matrix keyboard. My thought is to use an MSX keyboard. I've built an MSX-compatible keyboard (using the Omega MSXproject) and the RC2014 interface module for my MSX2014 project and have spare boards. The RC2014 can easily scan a matrix keyboard but of course that relies on the scanning routine being built into whatever system or software you're using.

So we arrive at a specification for this project:

A self-contained terminal using the Aplhacom printer that interfaces directly with any RC2014 via the standard FTDI header, or indeed anything else that speaks the same serial. It'll send serial from its own MSX-compatible mechanical keyboard. 

Challenges:

The printer will need driving and the keyboard will need scanning. Both need to be interfaced with the serial header. An MCU is out and I don't plan to build this using logic. 

Solution:

My plan is to use a Z80 + ROM/RAM and write the drivers into the ROM. 

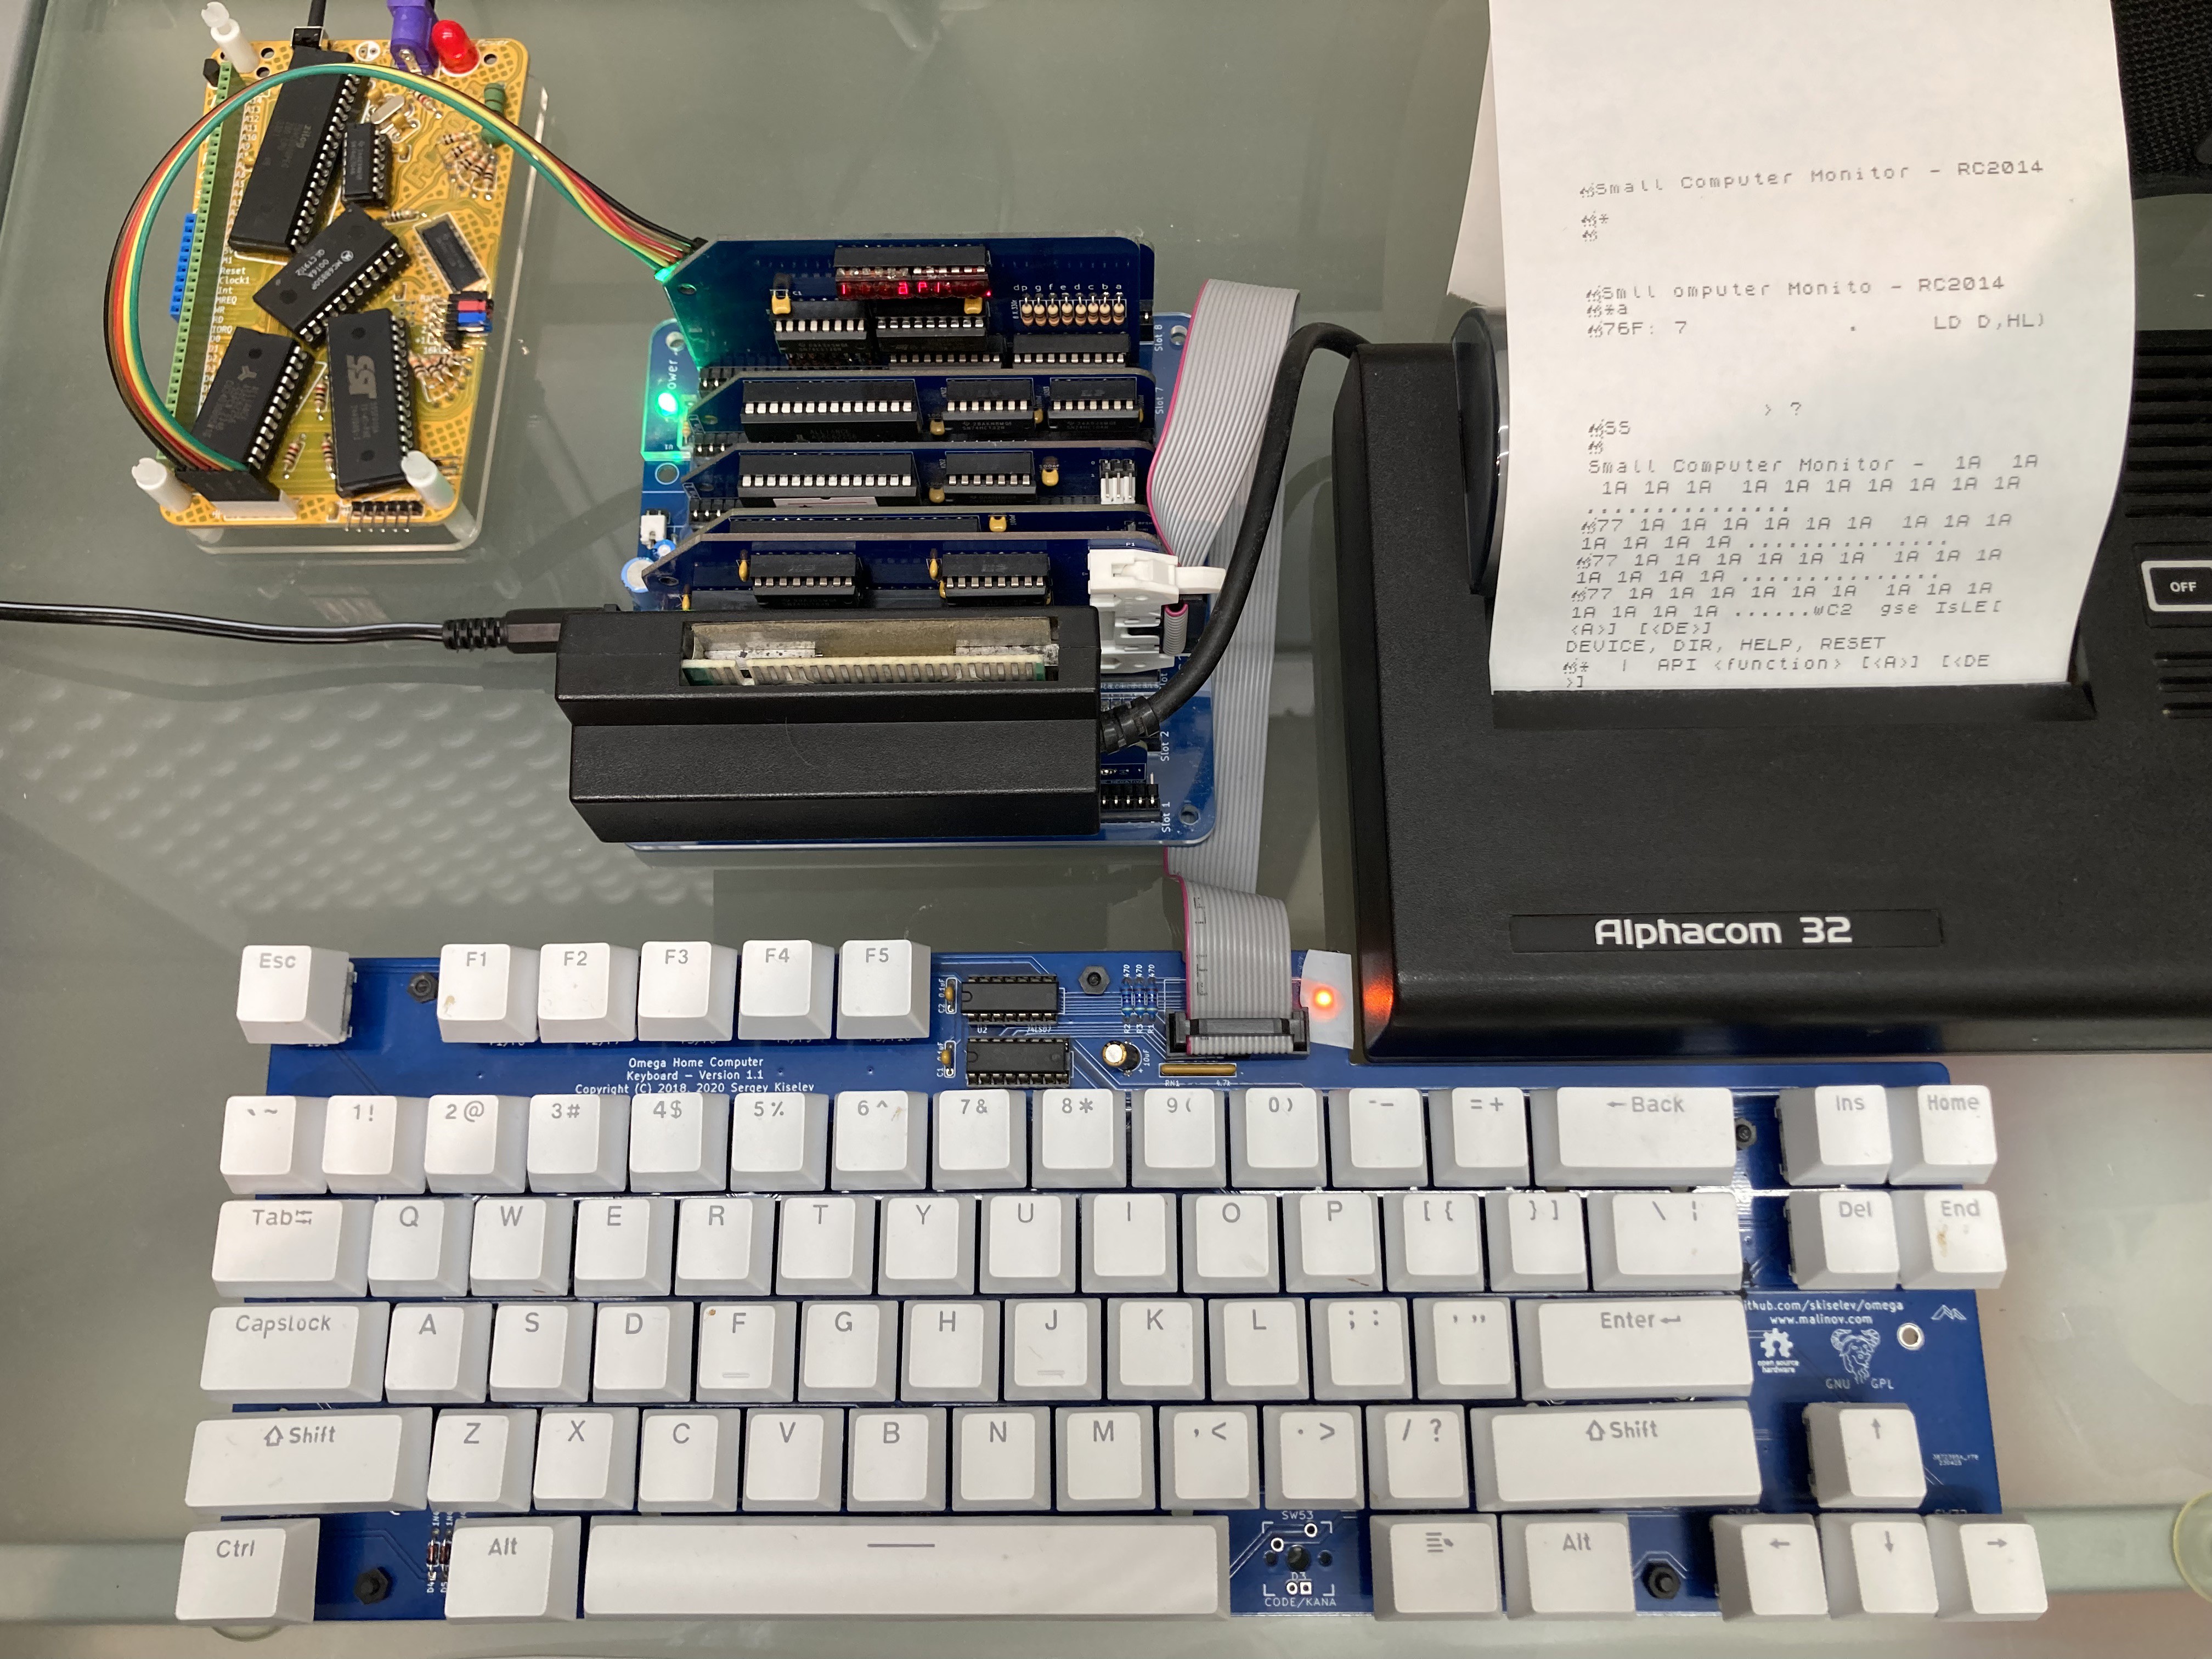
A neat and convenient way to do this may be to use an RC2014 micro, which consists of a Z80 and supporting chips in the form of an RC2014 module. A short backplane would connect this with an interface board for the Alphacom and the MSX keyboard module. Yes, a minimal RC2014 dedicated to driving the printer and keyboard.

As stretch goals I'd like to build in other optional character sets, such as the Sinclair one. Also the ability to send graphic data somehow. As a minimum it all needs to be fastened together, maybe on some kind of base....

Read more »
  • A line display and connecting to a computer for the first time

    Shiela Dixona day ago 0 comments

    One issue that I've already noticed is that most typing has to be done blind. 

    This is because the Alphacom can't print character-by-character, just a whole line at a time. (You need to rasterise your line and send 8 pixel lines. The paper transport is one-way. Plus you can't actually see the line being printed, it's covered until the paper scrolls up.)

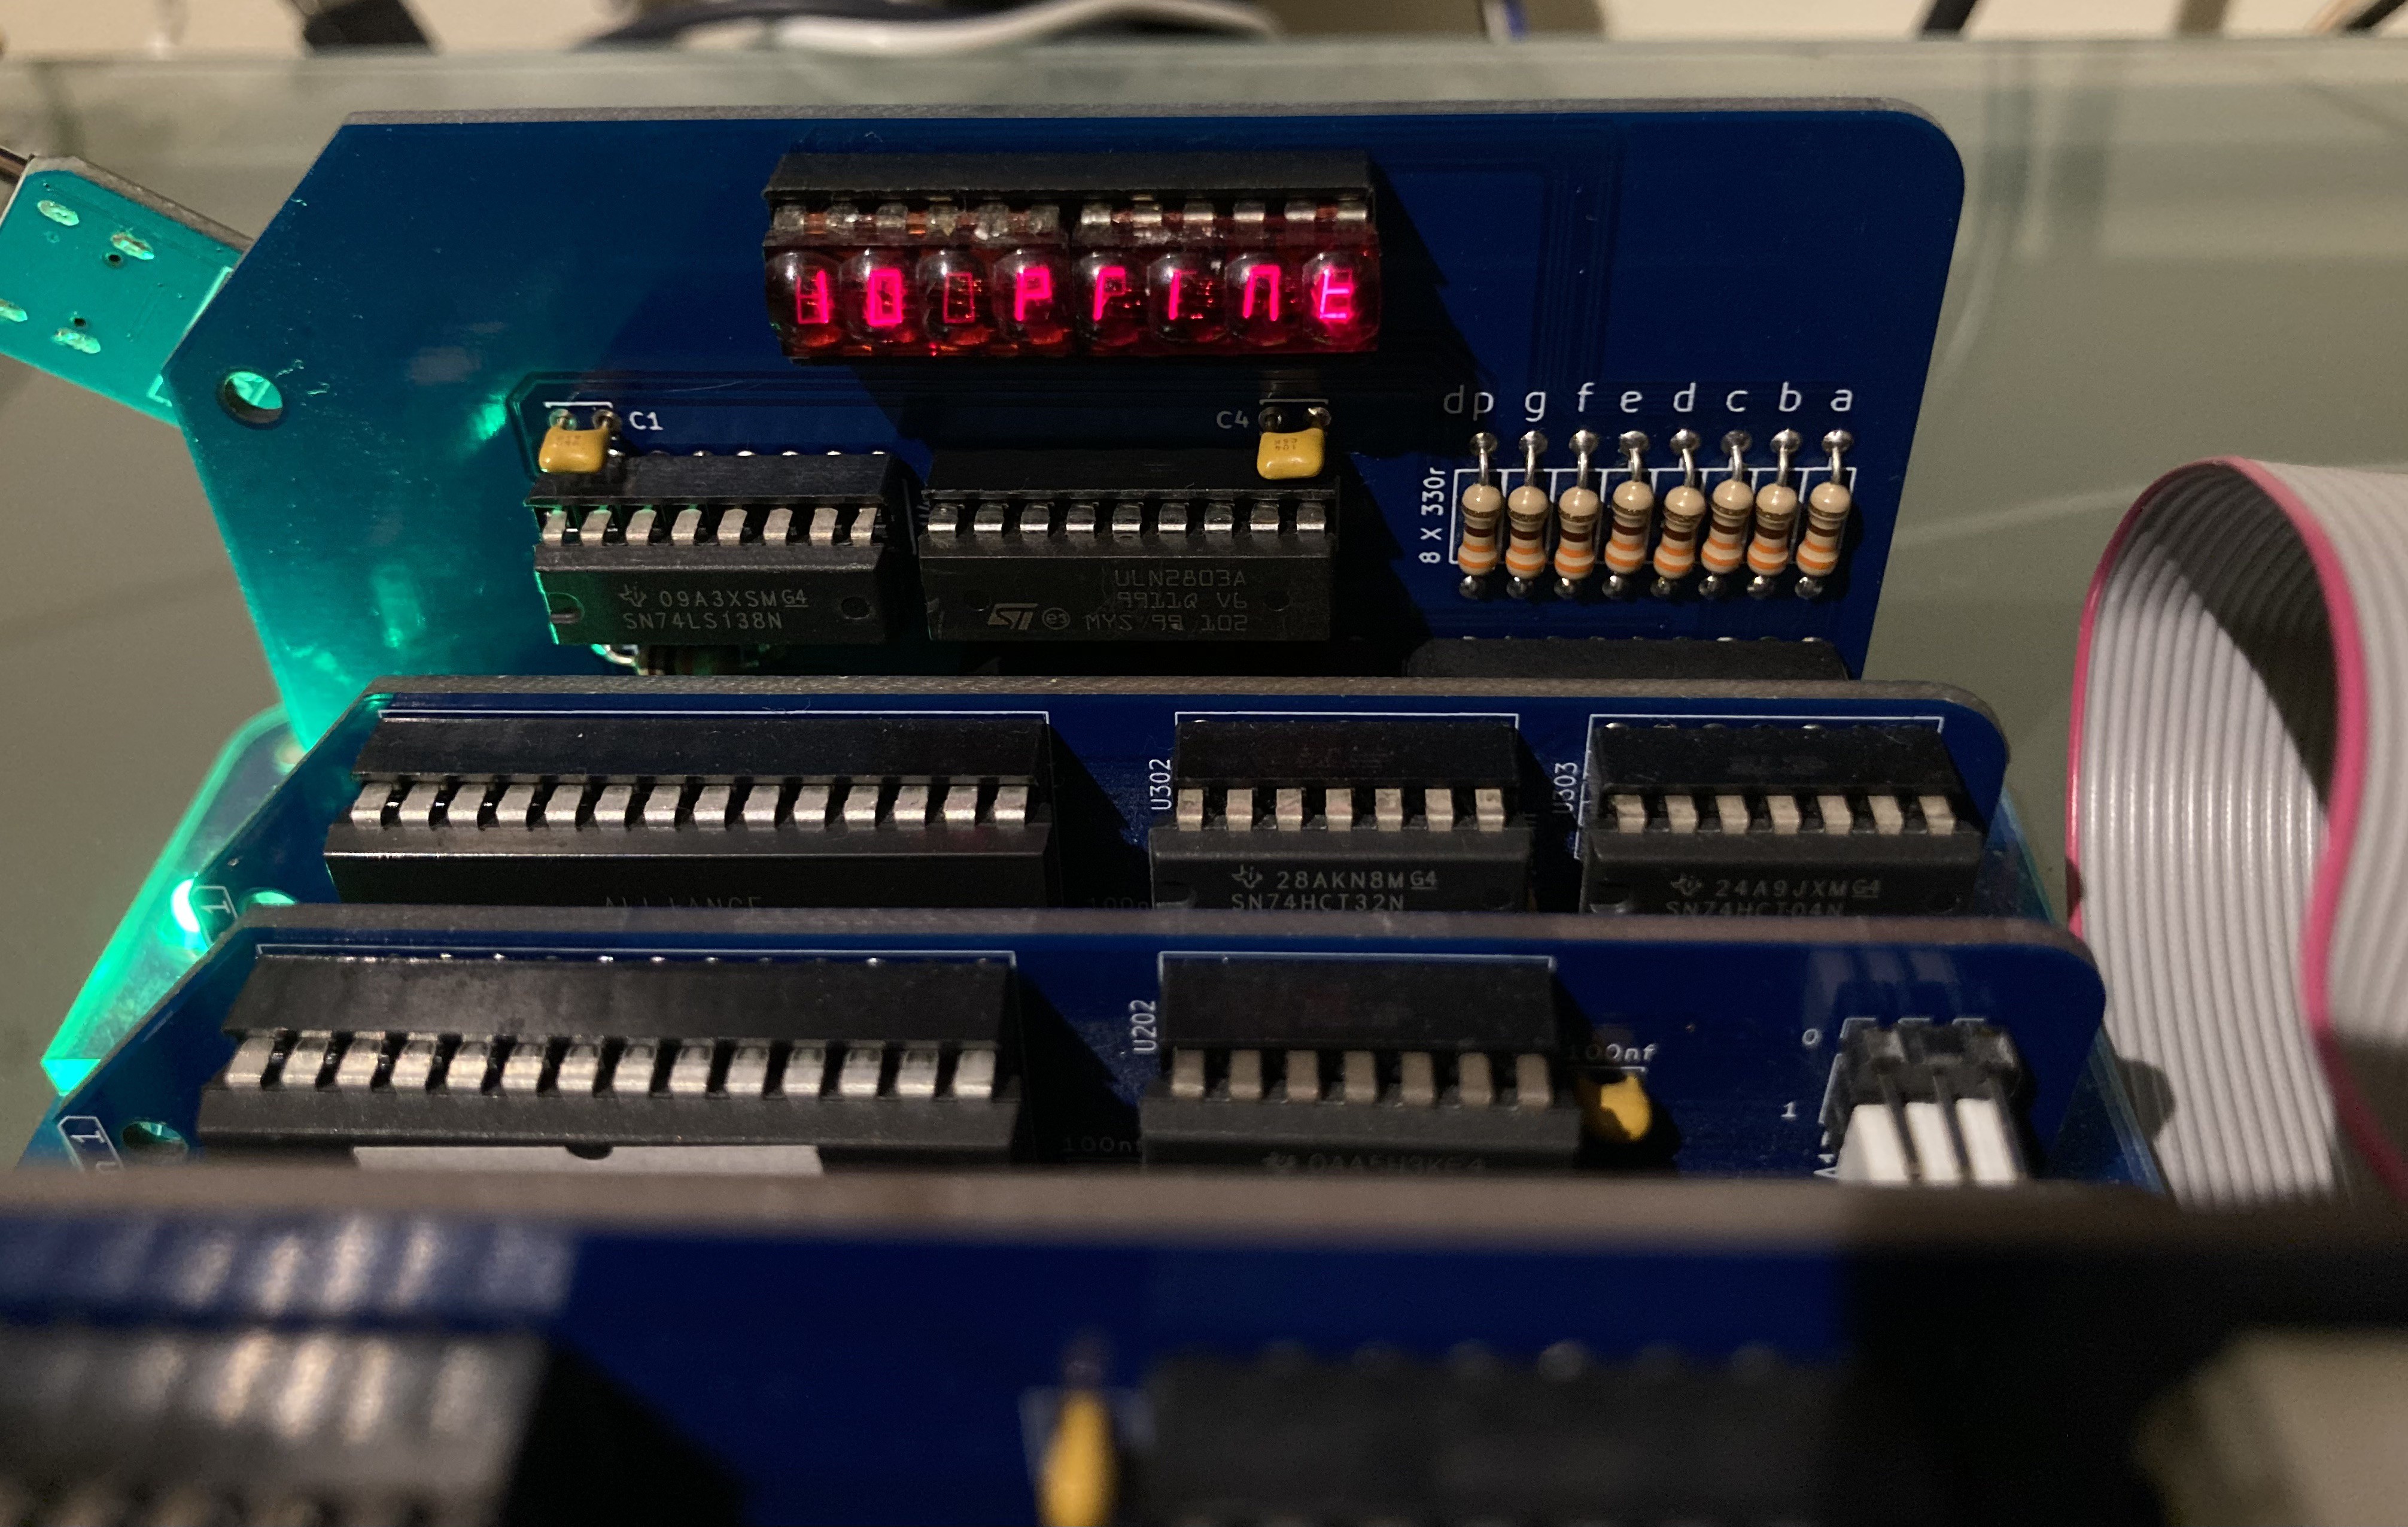
    This is project creep but I think this is an enhancement that will make the project much more usable. I started to think about adding a single-line display so that you can see what you've typed. I've played with various displays for the RC2014 over the years, but one in particular feels right for this project. 

    A few years ago, Spencer designed a bubble LED display. It's hard to do LED displays justice in a photo but these displays are beautiful and period-appropriate for what I'm doing. The HP 5082-7400 is an early 7-segment LED display packaged as groups of four. The module has two of these for eight characters. 

    A 7-segment display won't display an entire character set perfectly with uppercase, lowercase and all the symbols and punctuation, but it'll display them well enough to see what you've typed before you hit return.

    At the time I wrote a code 'toolbox' for this module and so it didn't take long to incorporate this into my application.  

    I had to add another buffer to cache the characters that have been typed (the existing line buffer is a pixel buffer for the printer and therefore stores the characters as bitmaps). I was already planning to switch to a character buffer anyway to enable word-wrapping and make things like backspaces a bit easier. Writing to the printer pixel buffer only needs to happen before sending that data. 

    Since the display only has eight characters, it needs to scroll horizontally as you type. This works great, here's a quick demo:


    So far I've had a modern terminal emulator plugged into this, so that I can type both ways. It was time to try plugging in an(other) RC2014 and see what happens when they're connected serial <-> serial. 

    Here's my RC2014 Picasso plugged in. Fun fact: This series of RC2014s has a header marked 'keyboard' which is actually another FTDI header but with the rx and tx switched. This allows a very neat connection with a straight-through FTDI extension. 

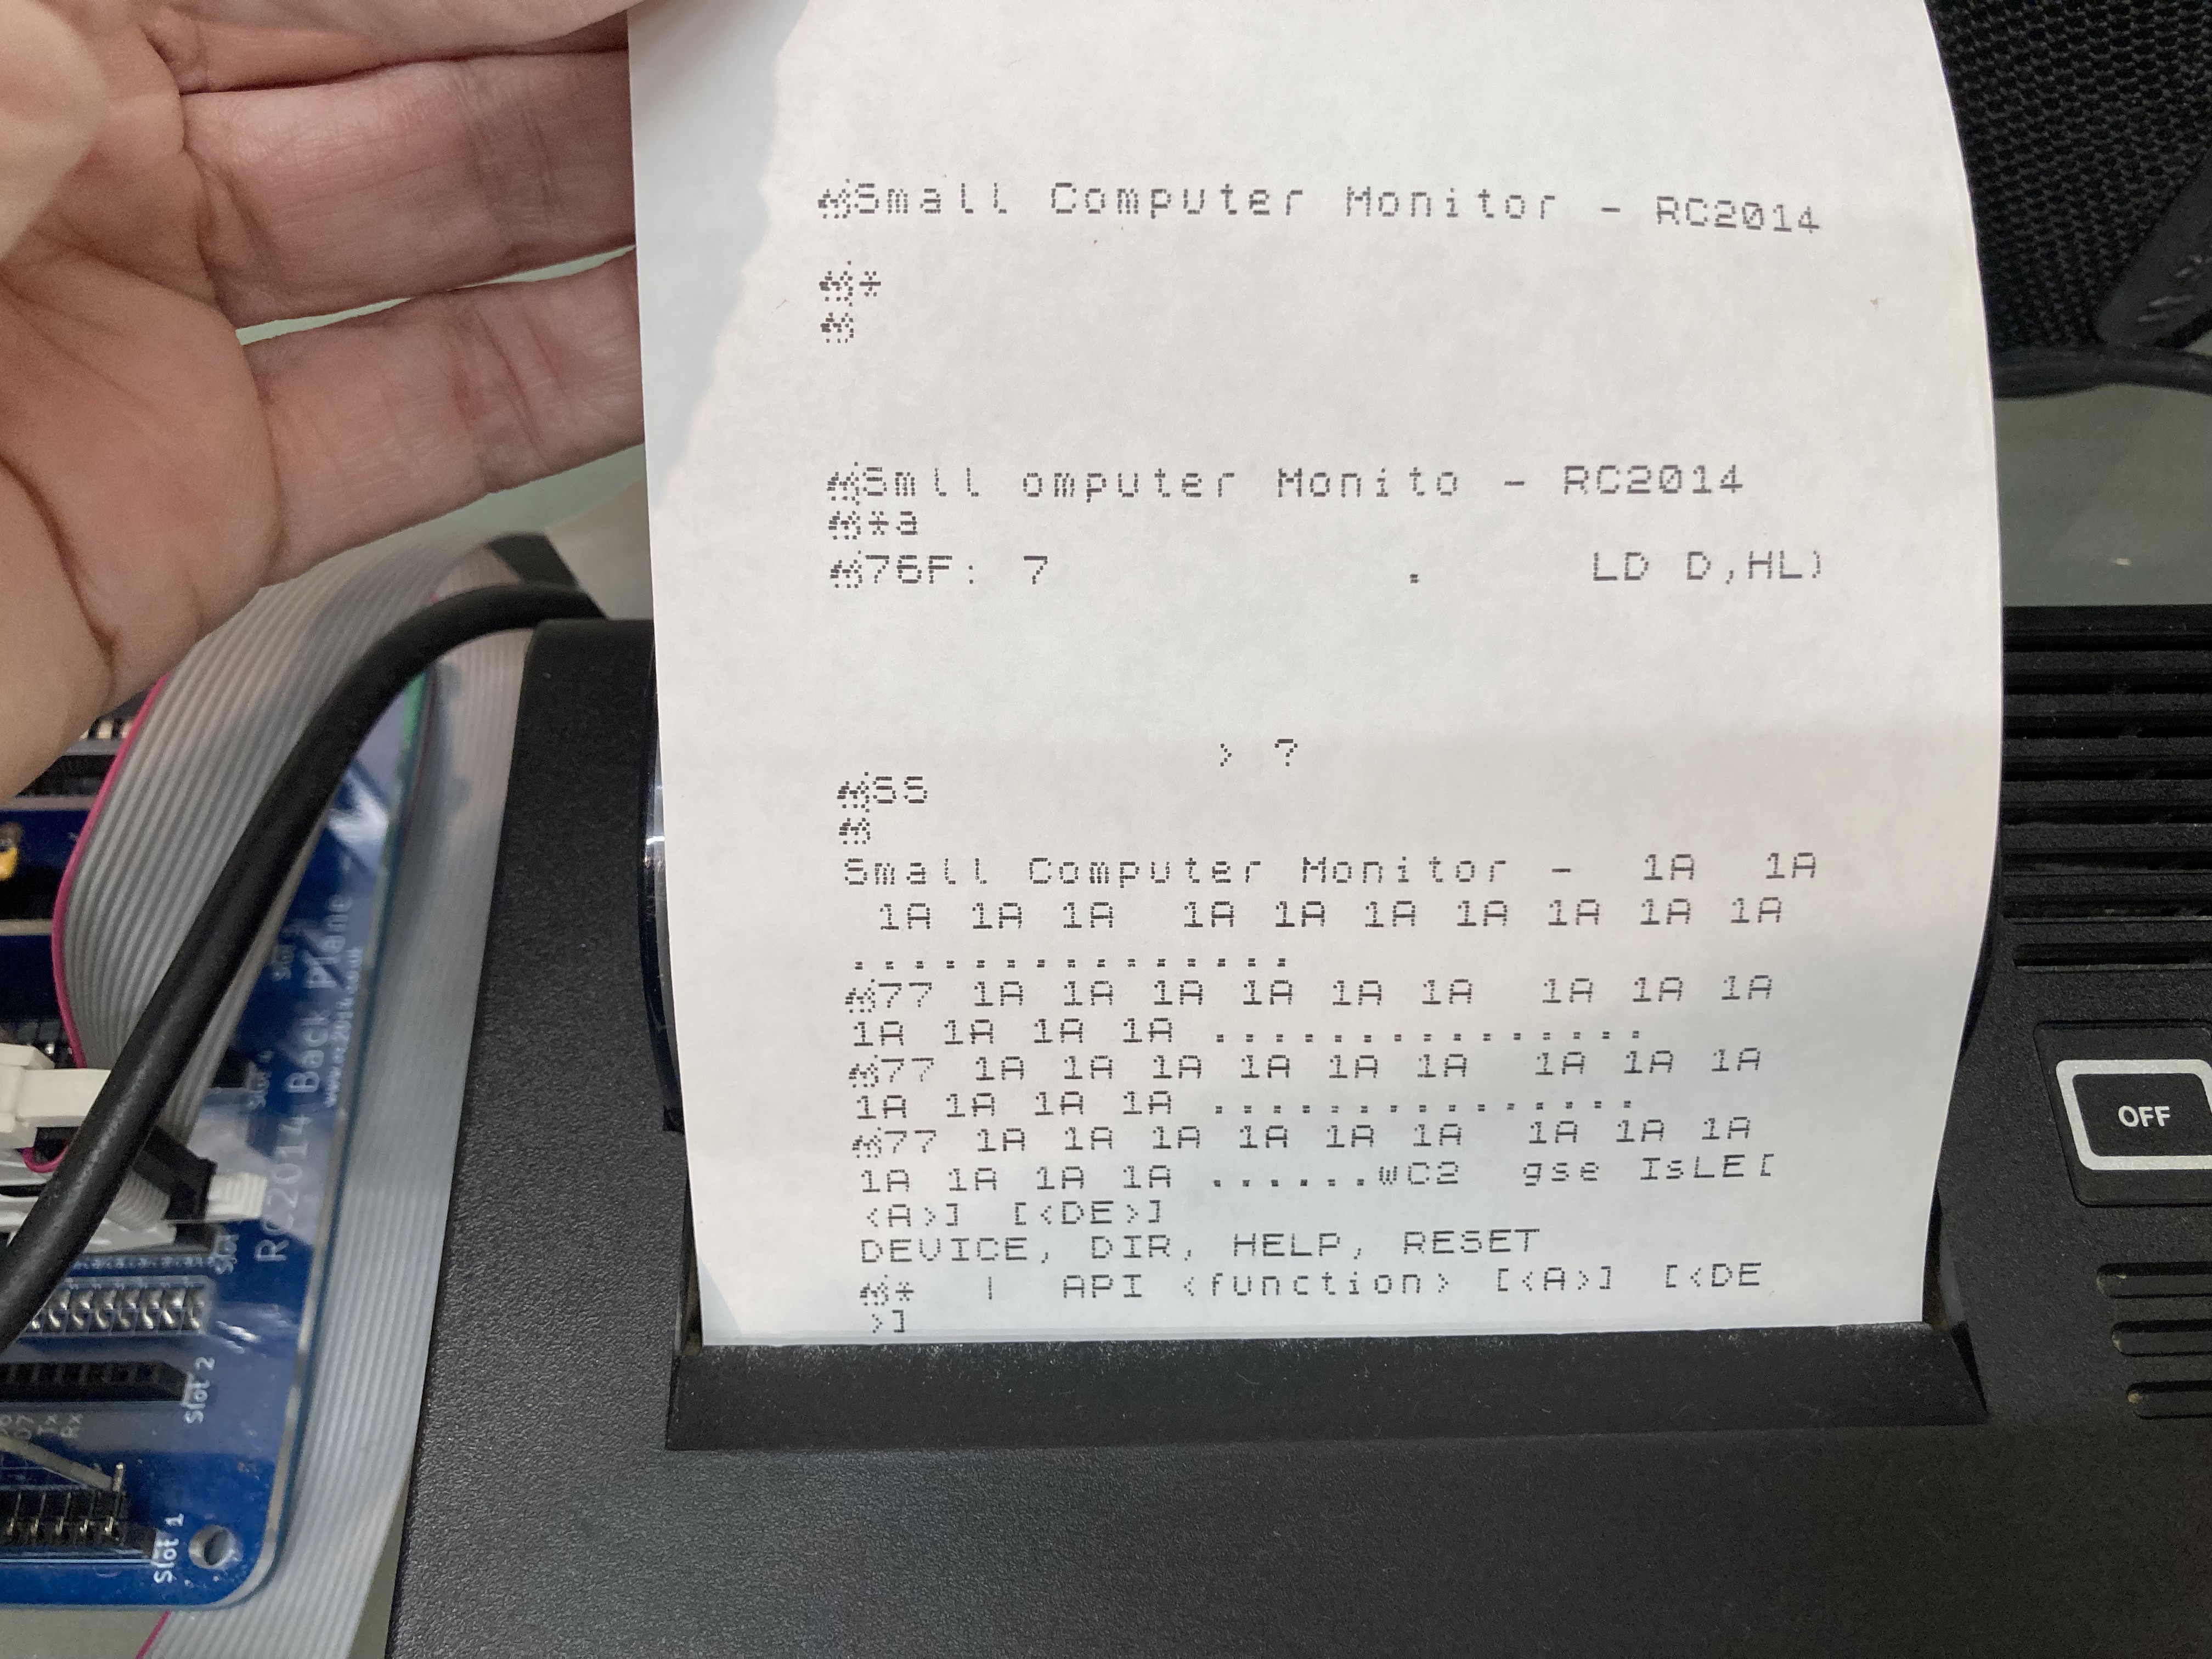
    I don't yet have my terminal application in ROM, meaning that I had to first connect to my Mac's terminal emulator and send and start the program in the usual way, before some fairly sketchy swopping of the serial leads to plug in the Picasso. (It currently boots to SCM. I optimistically thought I might even be able to type and run some assembly.) That worked... to a point... but the results weren't an unmitigated success. 

    There are some garbage characters - possibly escape sequences or non-printing characters. It's trivial  to sort those things out. More importantly there are a lot of dropped characters, particularly when the computer sends multiple lines.  I think this is because interrupts have to be disabled while we're sending a line of characters to the printer. I do have an idea that may at least help with that. The worst case scenario is that I can only run programs that are written with this teleprinter in mind. ie for each line of characters written, pause to allow the printer to print. 

    Rome wasn't built in a day. 

  • Working serial

    Shiela Dixon08/25/2026 at 20:00 0 comments

    I now have serial working on this project. 

    It's the third major piece in the puzzle. I had procrastinated on this part because I'm a little scared of serial on the RC2014.

    I know how it all works, I've dealt with it in other projects, notably my TMSEMU and my MIDI module (the latter handles serial in and out from the MIDI ports as well as the usual terminal connections). But I still find it confusing. 

    I needn't have been worried. I've already done the work in my MIDI mk2 module and so it was more of a copy / paste exercise.

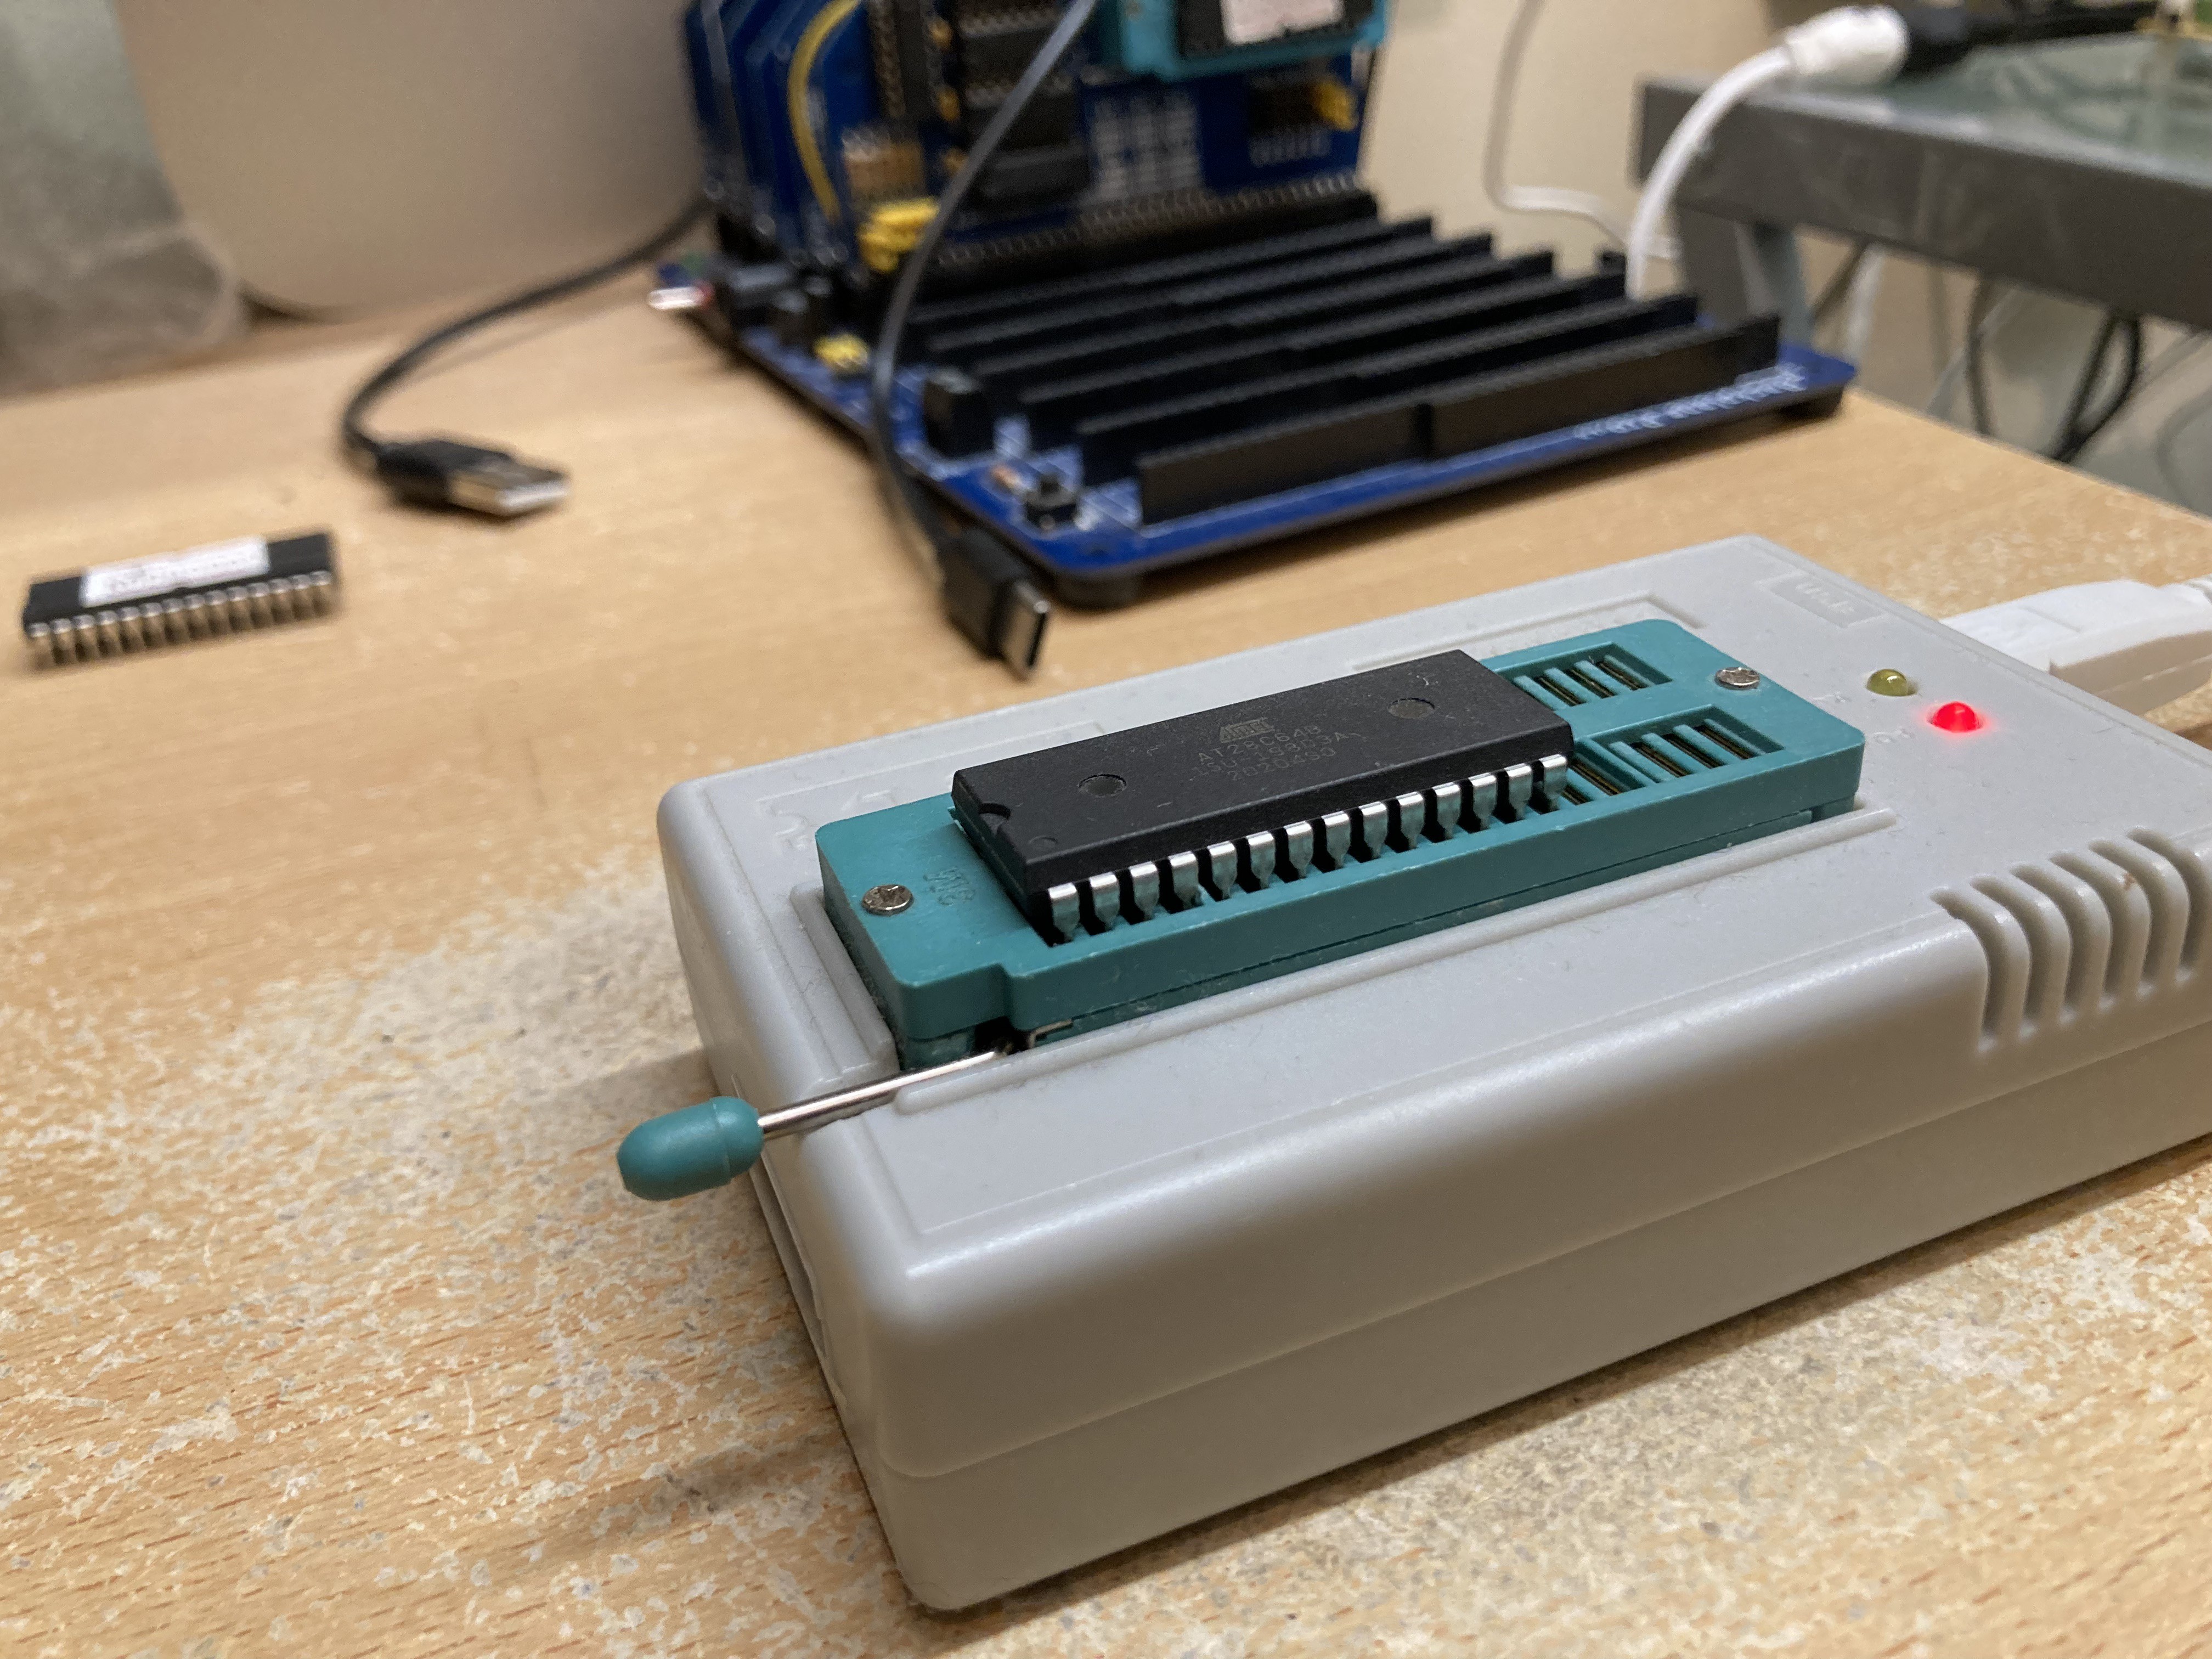
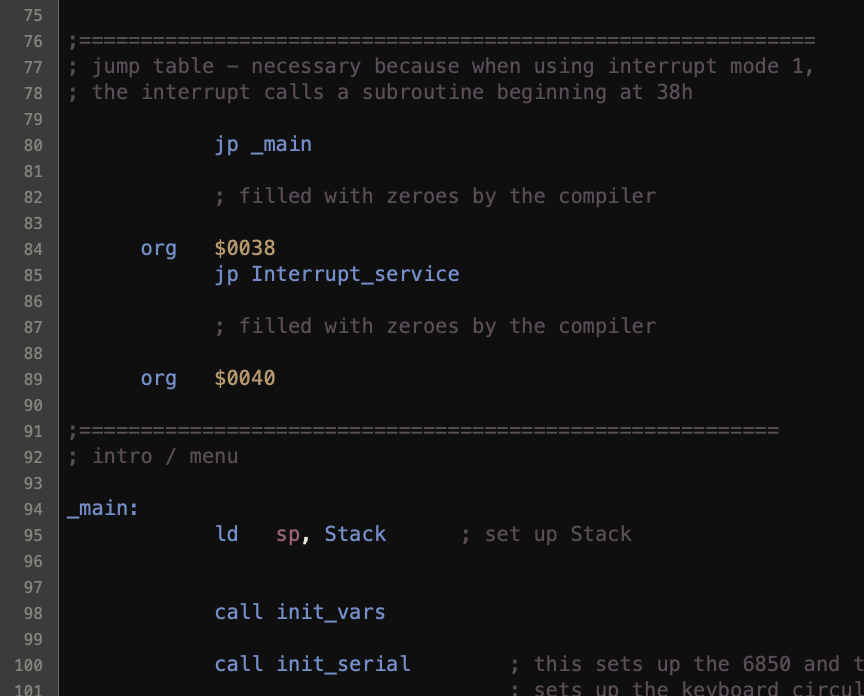
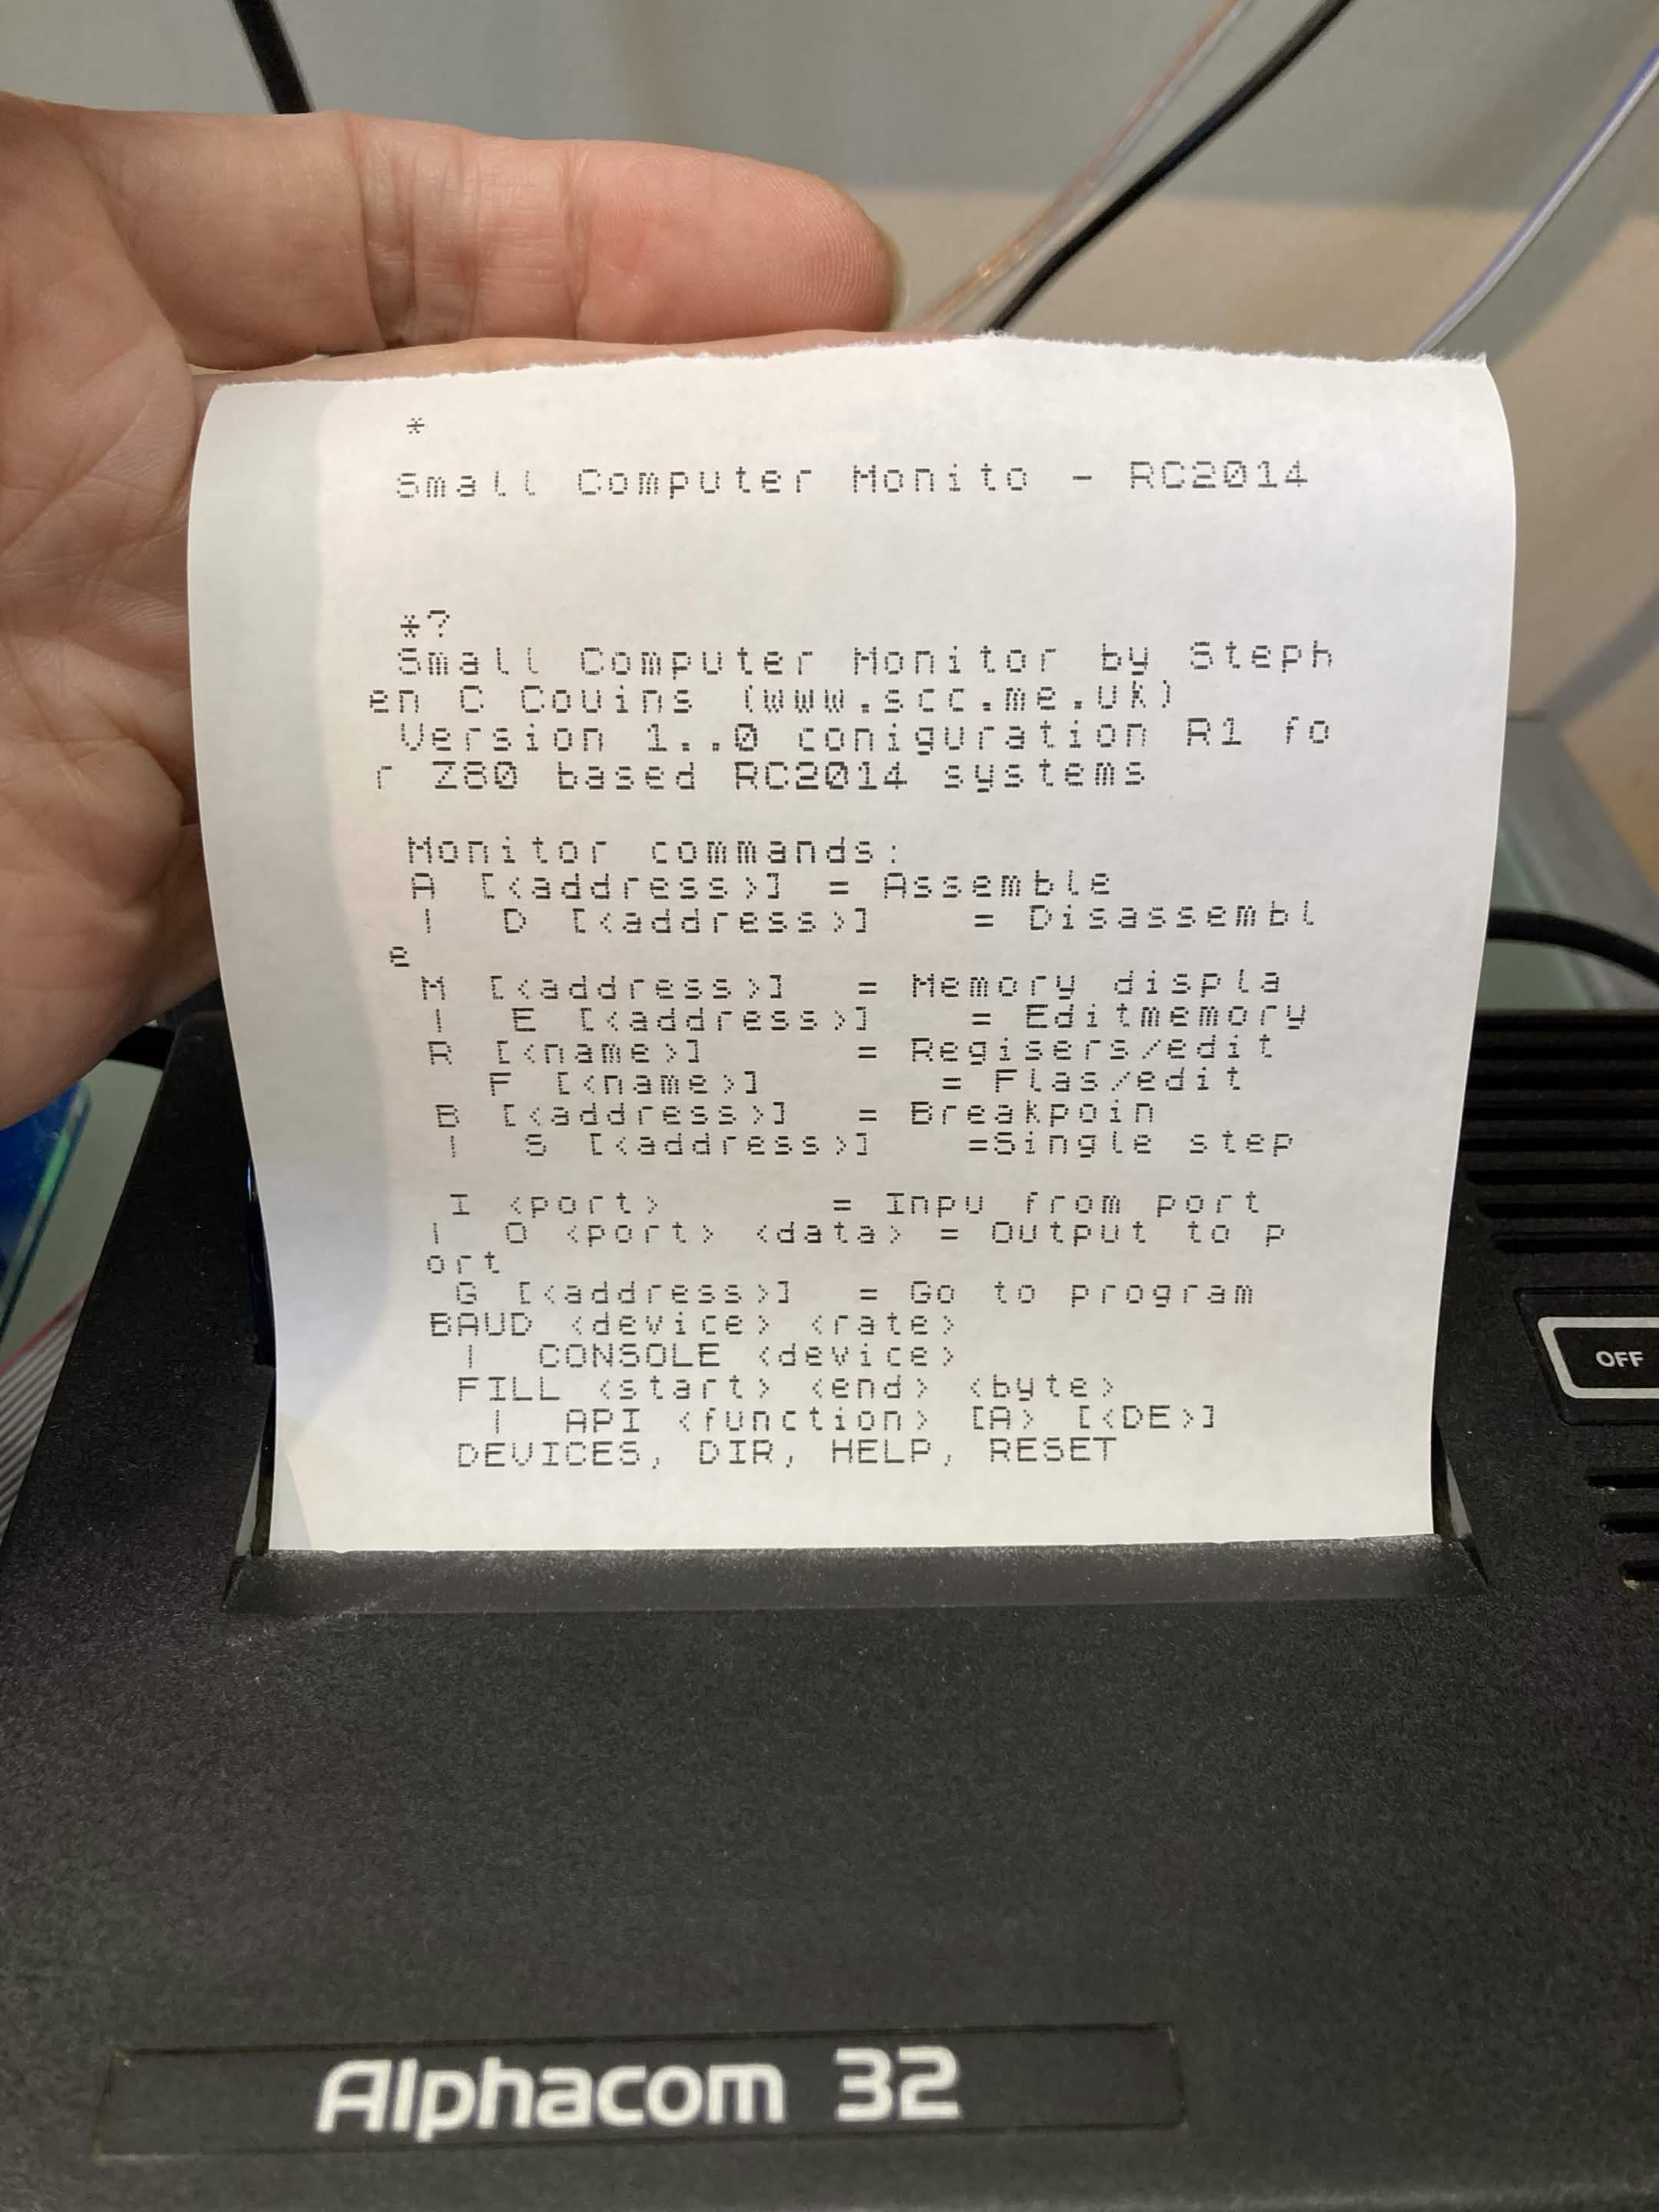
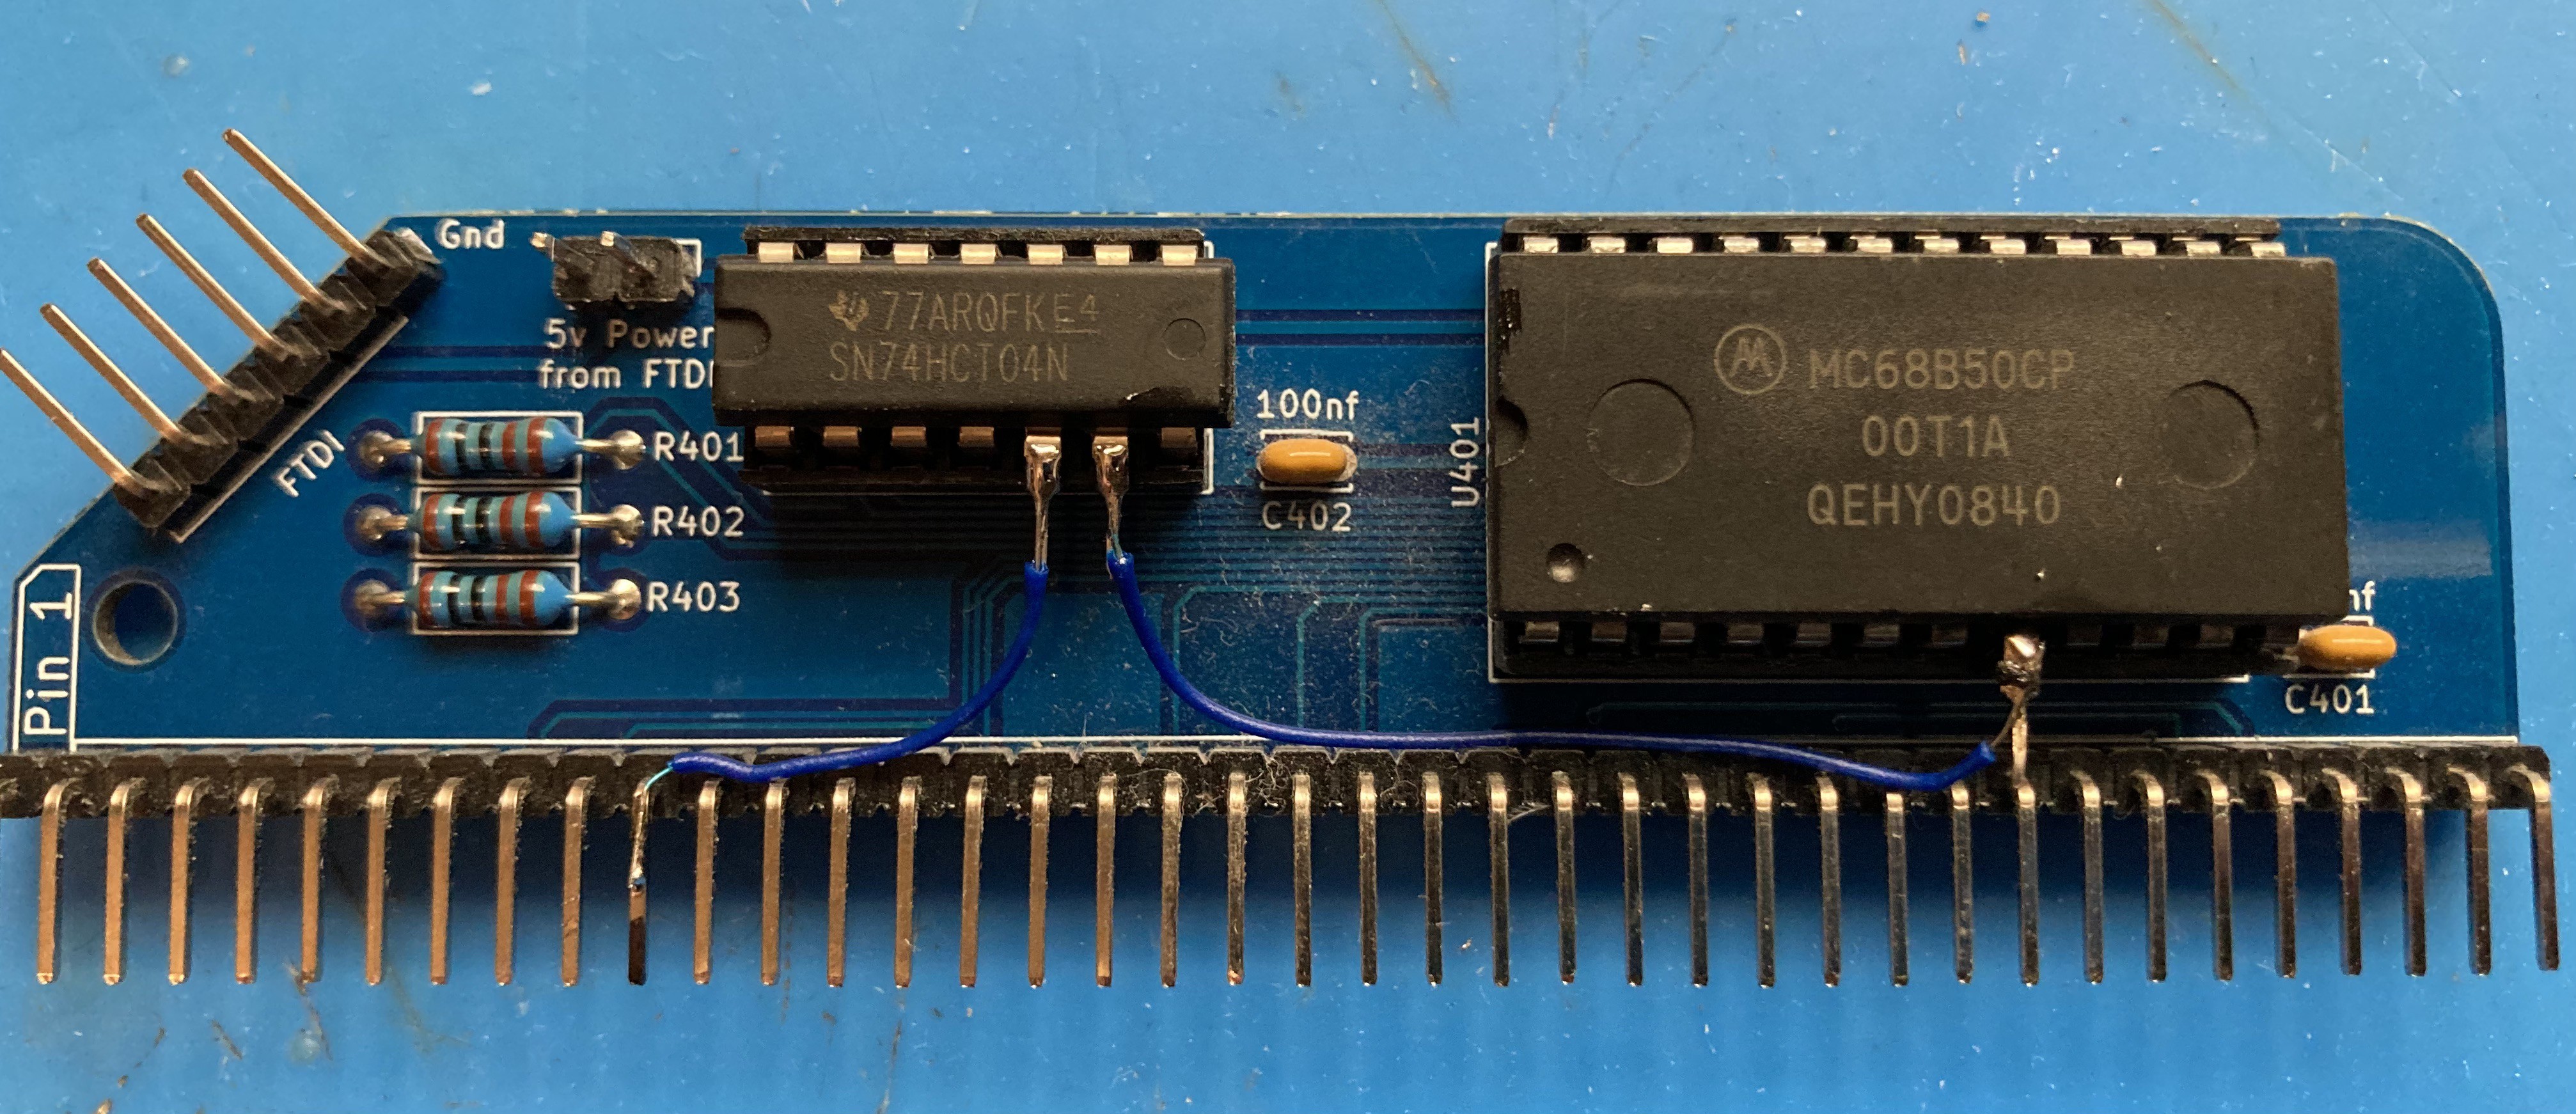
    It sets up interrupts on the 6850 (SCM, the monitor I use on this 32k RC2014, doesn't use interrupts) and installs an interrupt handler that buffers the incoming data. 

    Now the keyboard scanning routine, which is just done in the main loop, sends a character out to the serial chip when one is typed.

    Half the battle is working out how you're going to develop/test this stuff. 

    I've been working with this RC2014 hooked up to my Mac's Terminal as usual (that's necessary to load the program - eventually it'll be in ROM but while I'm developing I'm loading each new build of the program into RAM in the usual way). 

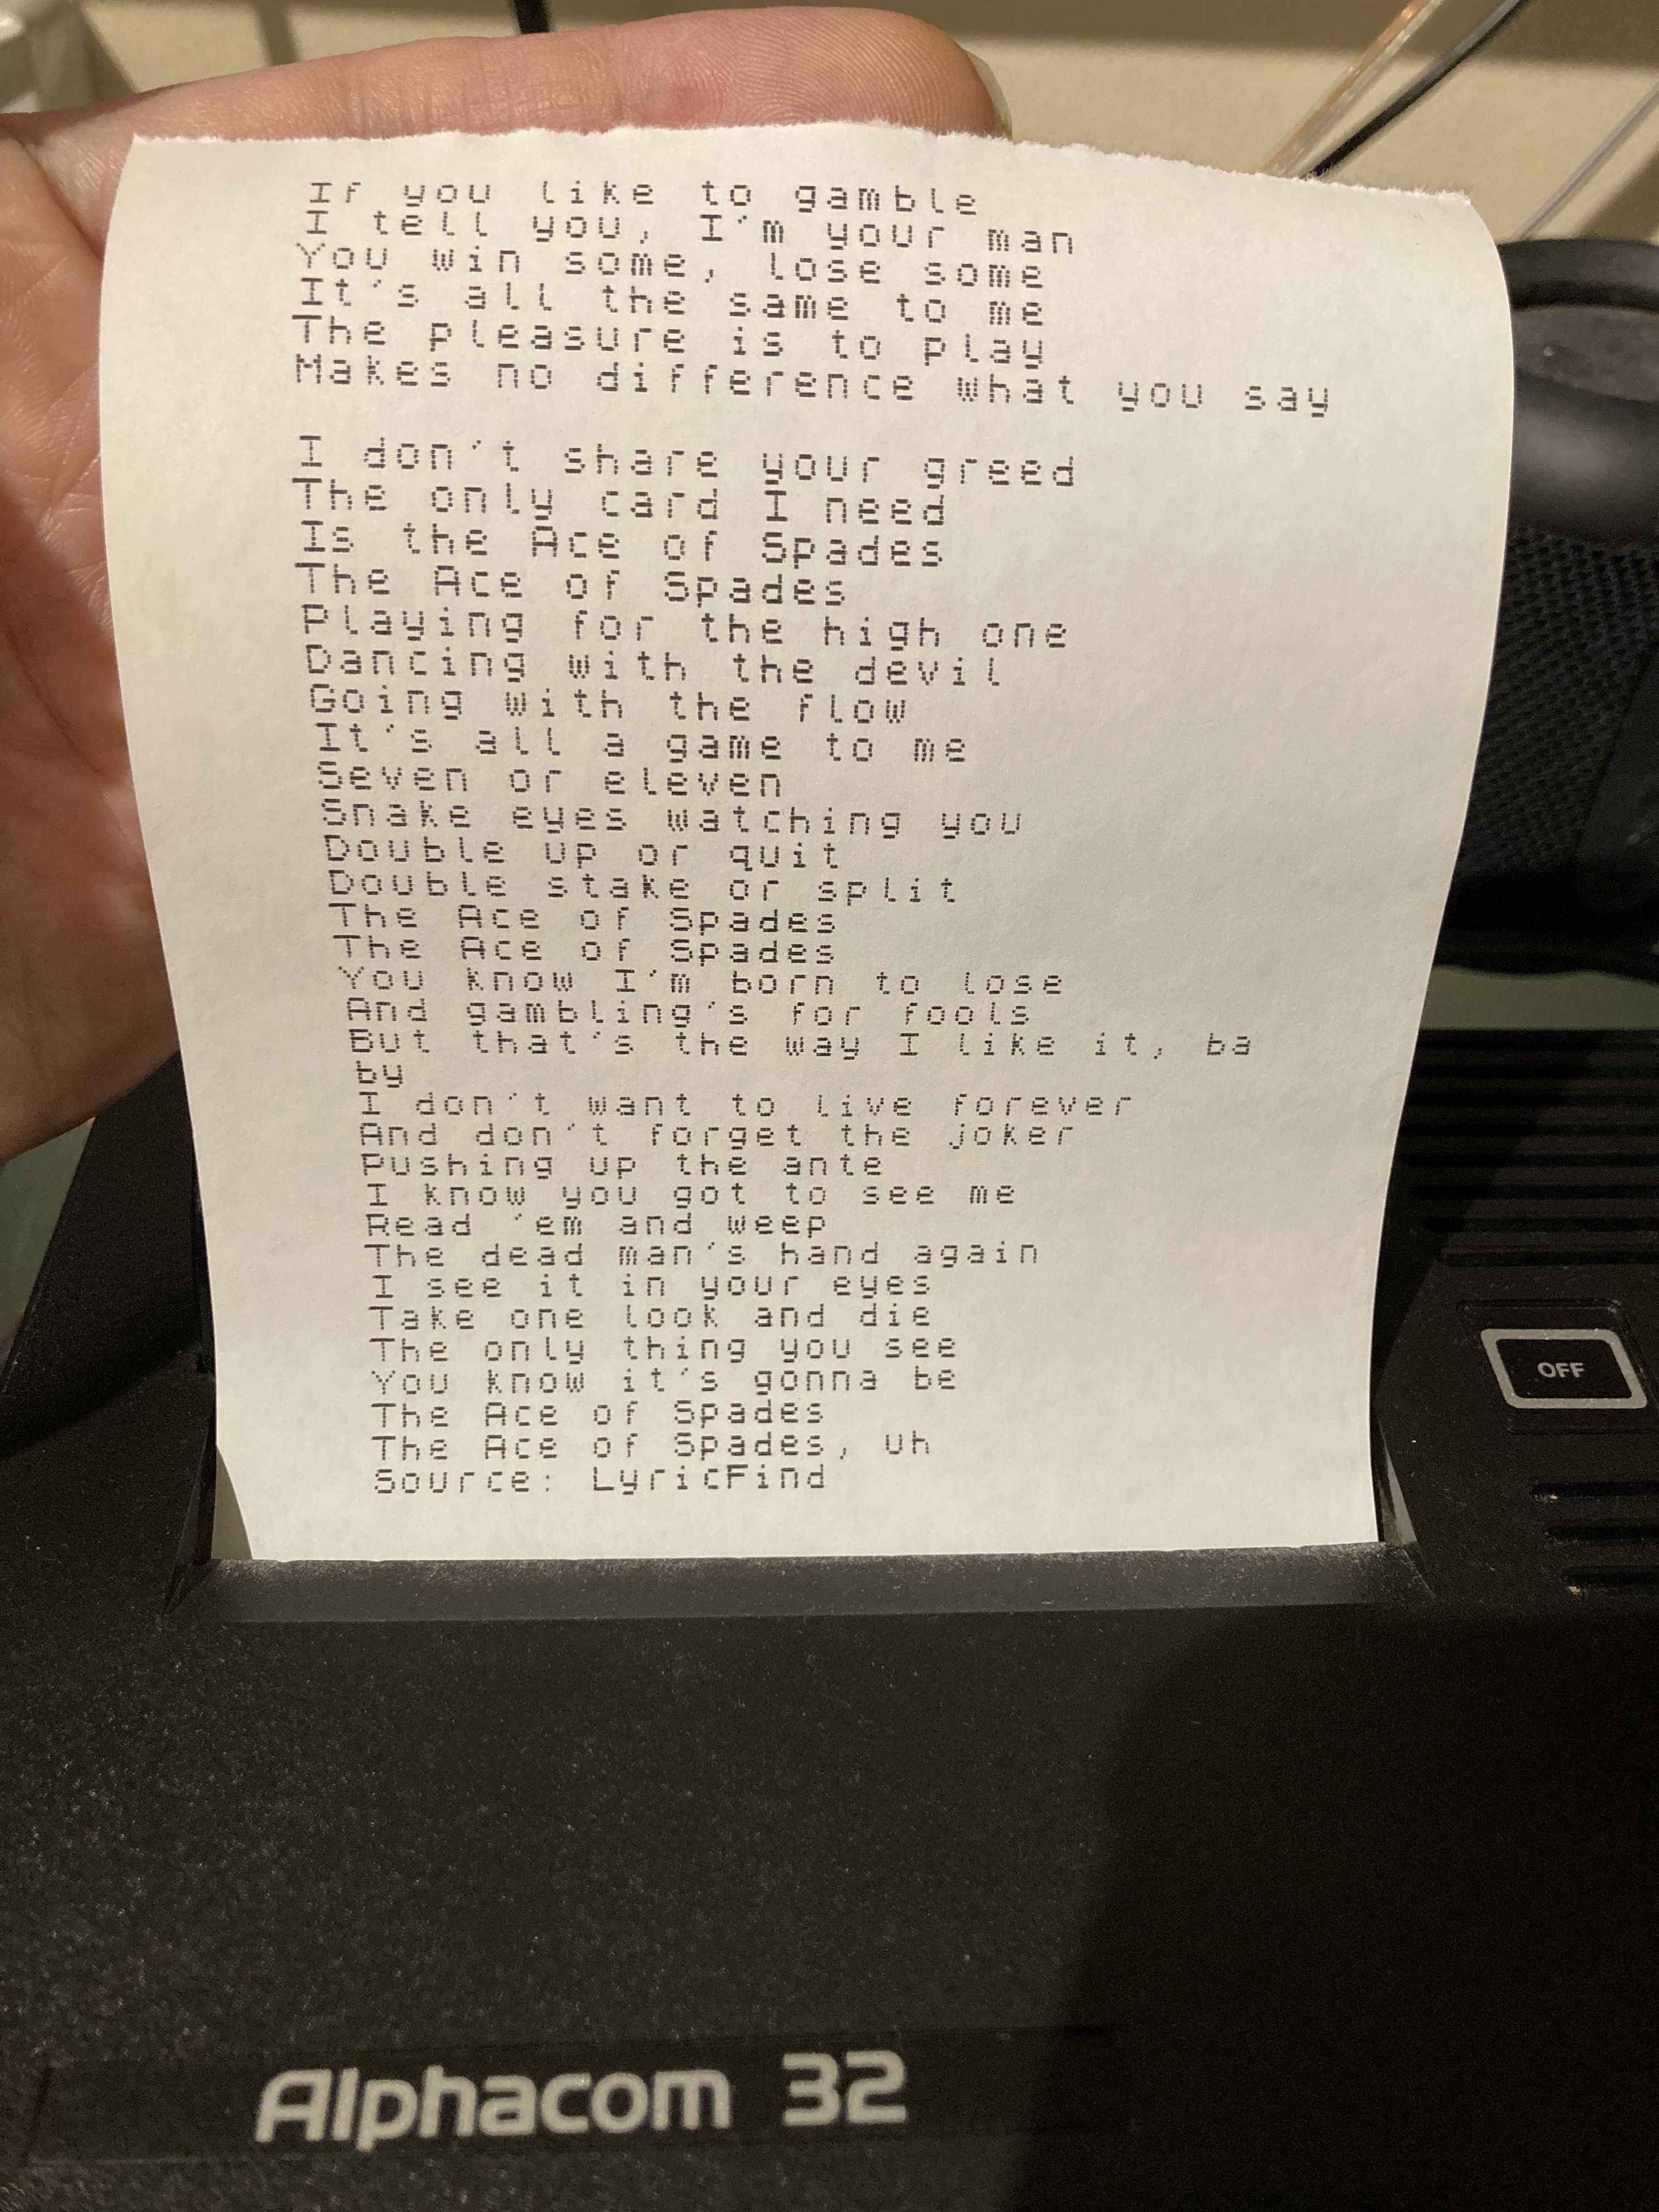
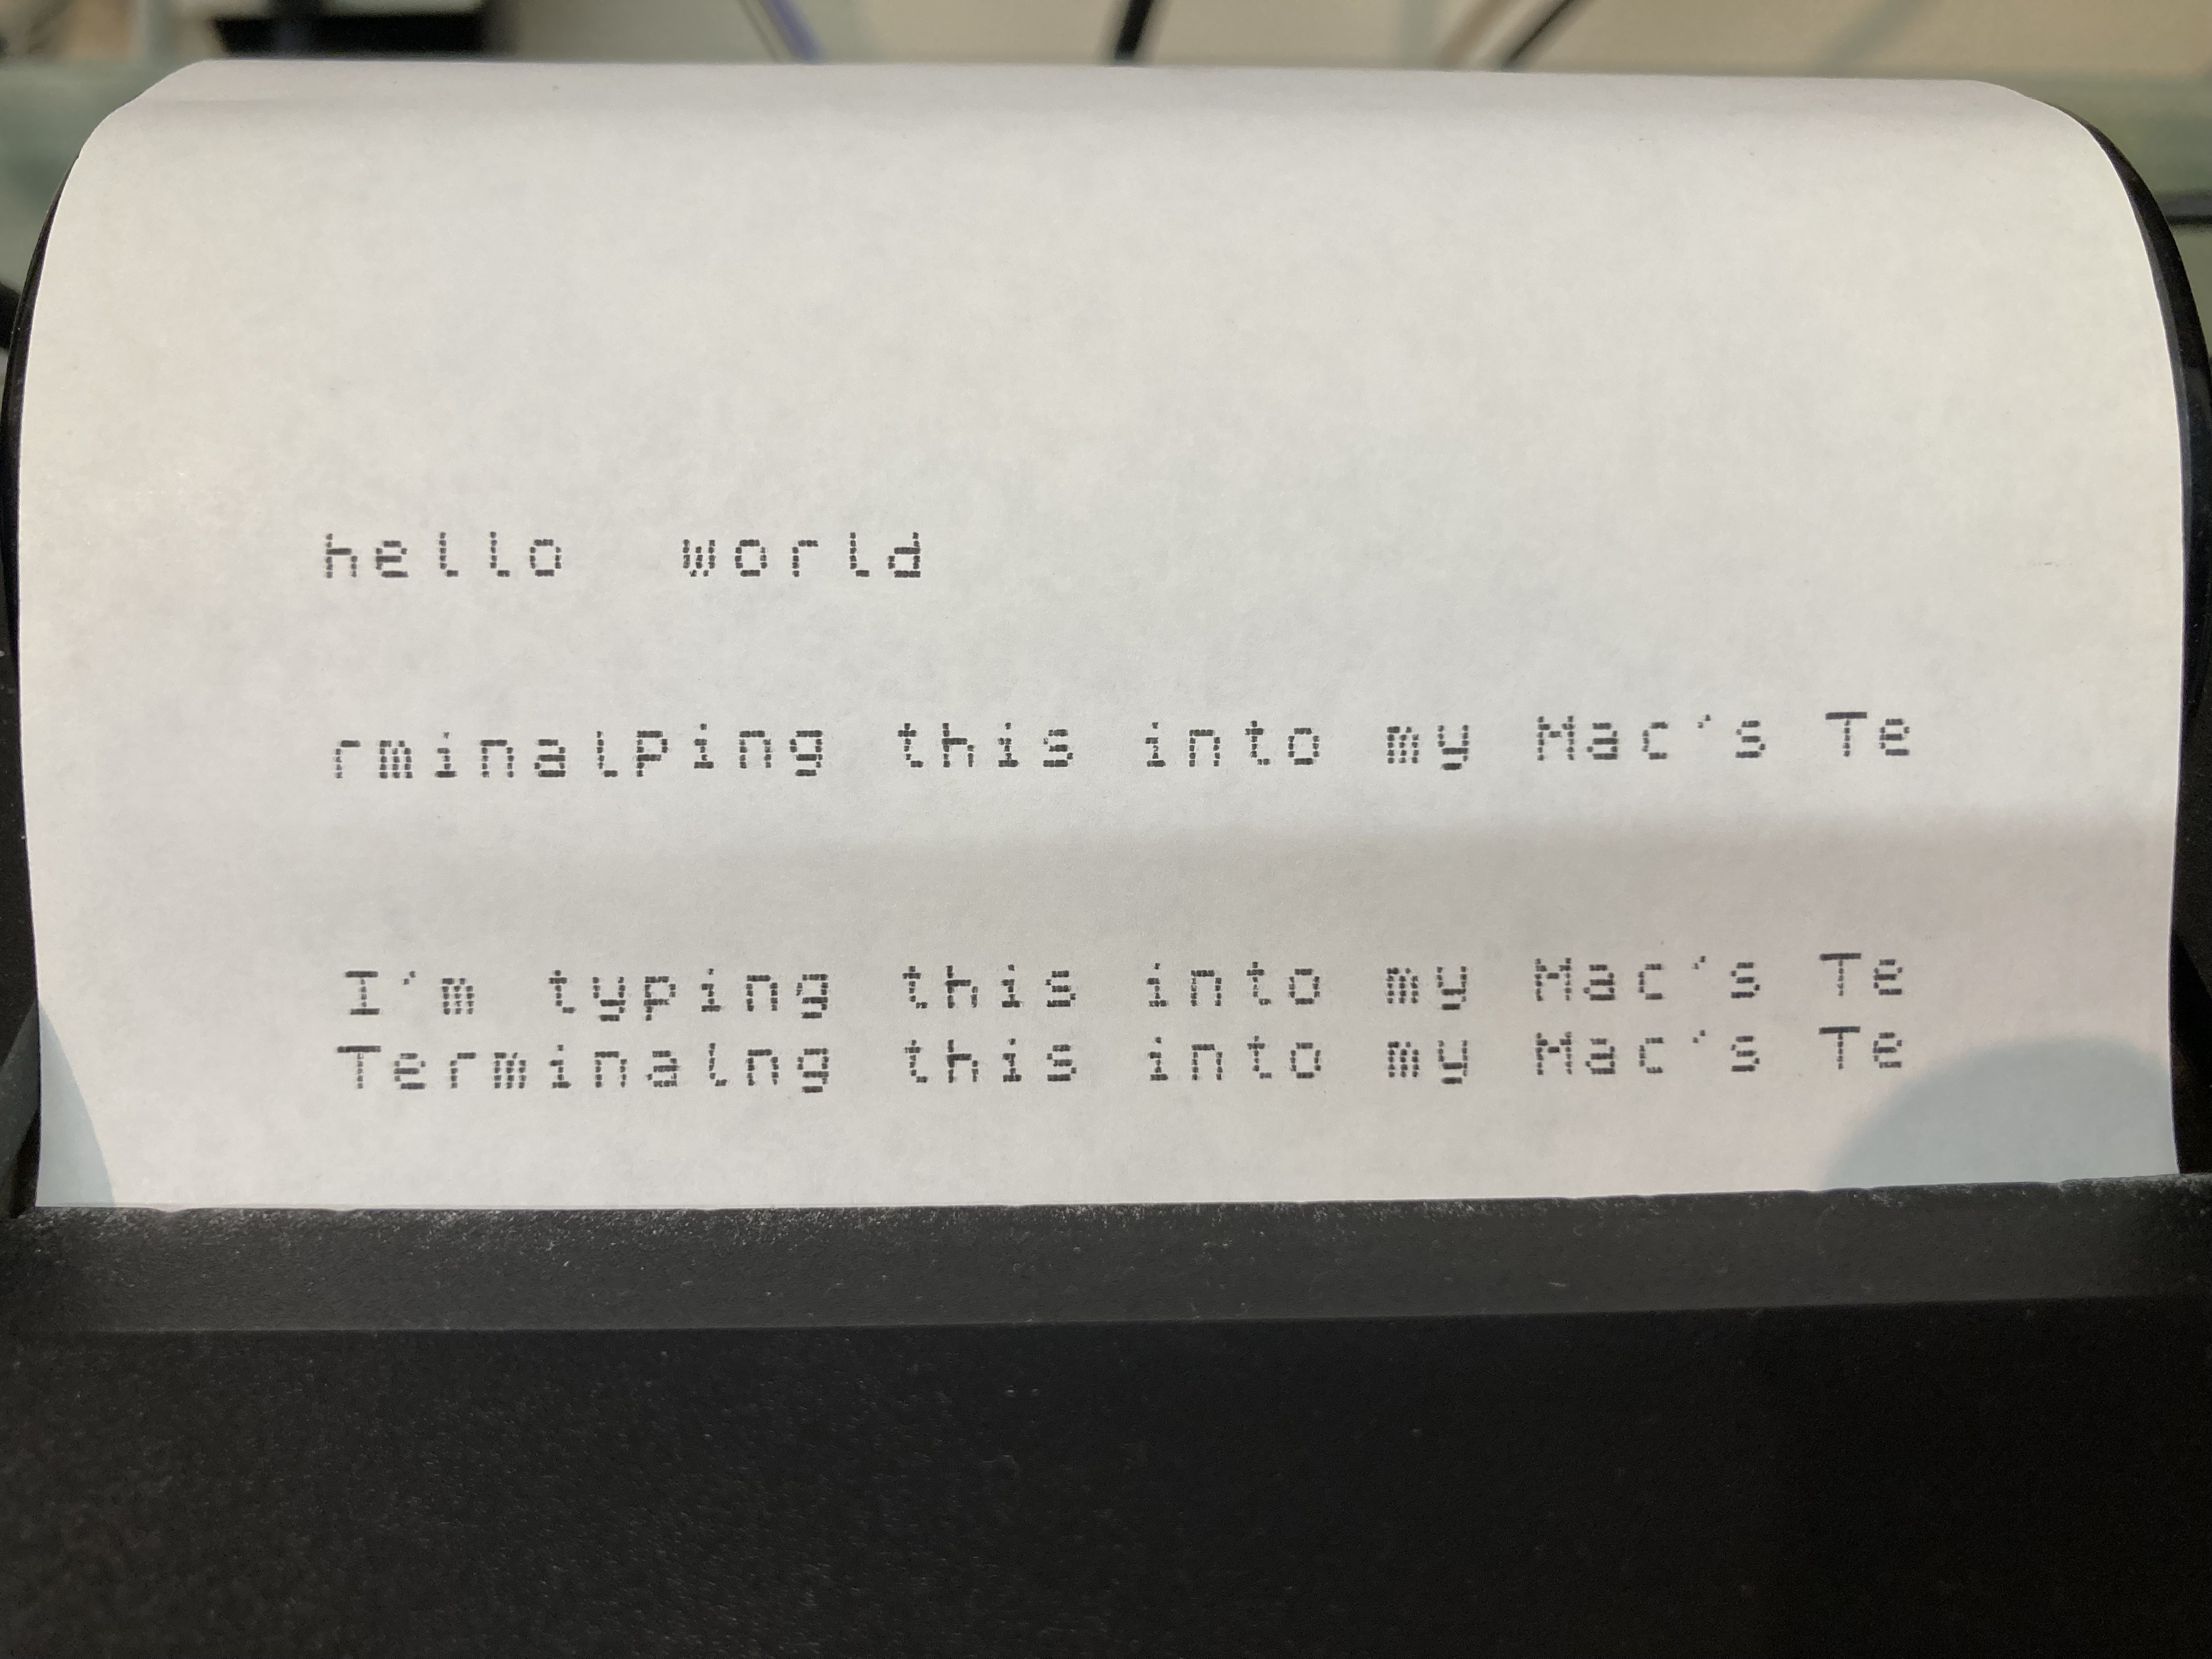
    So with this running, I now have the world's worst messenger. Anything I type into my Terminal emulator on the big computer comes out of the Alphacom (after a carriage return) and anything I type on the MSX keyboard appears in the terminal emulator.

    The title of this log is 'Working serial' and what that means is that 20% of the work is done and now we're embarking on the harder 80% - finding and fixing all of the problems or things that haven't been taken into account ...

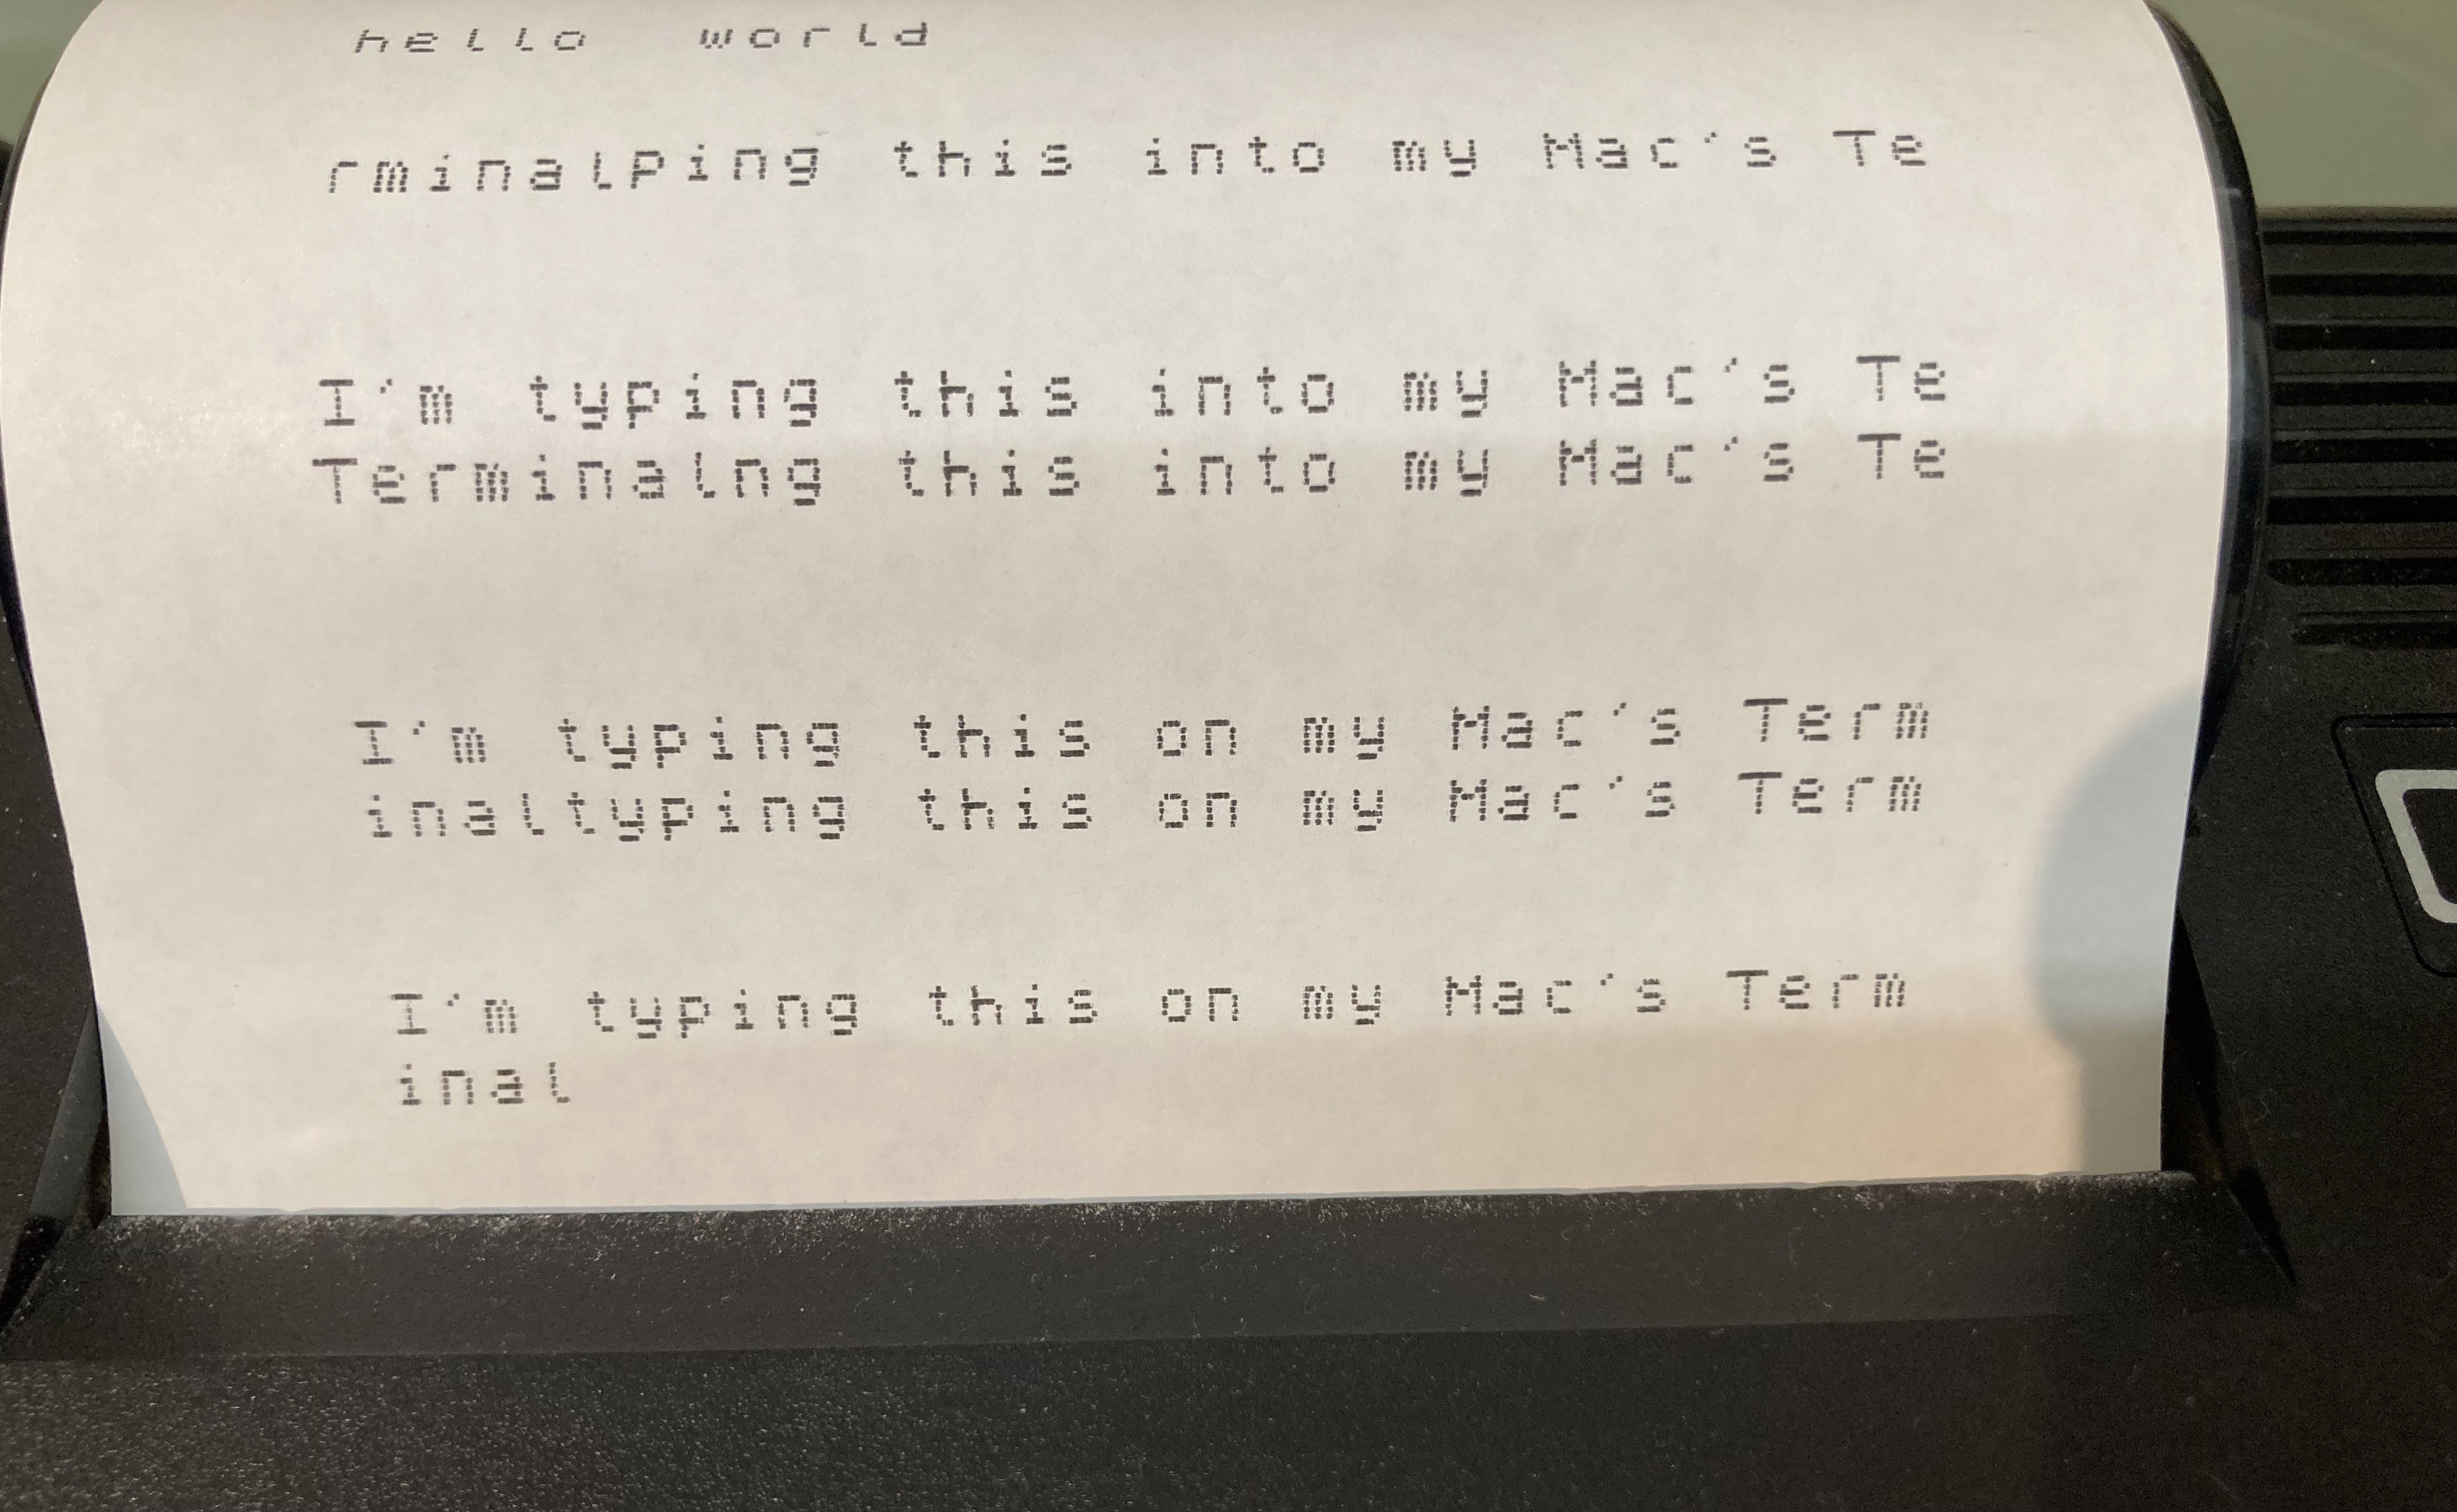
    ... such as line-wrapping; the printer needs to print a line and clear the line buffer after 32 characters if no carriage return has been received. (We won't get into word-wrapping at this point, although that shouldn't be too tricky).

    That's better! As you can see it took a few tries!

    The printing routine disables interrupts (for timing reasons). So when you reach 32 characters in the line buffer, the printer's going to fire up and print the line - ignoring interrupts from the 6850 while it's working. I expected this to mean the odd lost character or two, but so far that doesn't seem to happen. If it does, then I may have to make calls to the interrupt service routine during those delays in the printer code. 

    I guess after a little more testing, it'll be time to build this for a ROM and connect this to a (nother) RC2014 to see it actually working as intended.

  • Progress with keyboard scanning and printing

    Shiela Dixon08/23/2026 at 23:36 0 comments

    Having proven the concept, the next step is the hard work of knocking the code into shape and I've put a lot of hours into that this week.

    (I do it all myself, I've never used any kind of AI help. This is a hobby. I love coding.)

    This application has several aspects. I don't know yet how it'll all be structured (buffering, interrupts, that kind of thing) and I haven't thought about the serial i/o yet. I've first focussed on the keyboard scanning and the printing. 

    Key scanning and mapping

    I probably mentioned earlier that I'd be using MSX BIOS code for the keyboard scanning. Actually scanning a keyboard row is really simple, there's very little to it. This is the only part that's straight from the MSX:

    The rest is my own. That's obviously called from a larger chunk of code which loops for the number of keyboard rows (9) and handles the raw data, and then an even larger chunk turns the raw key into an ascii value. 

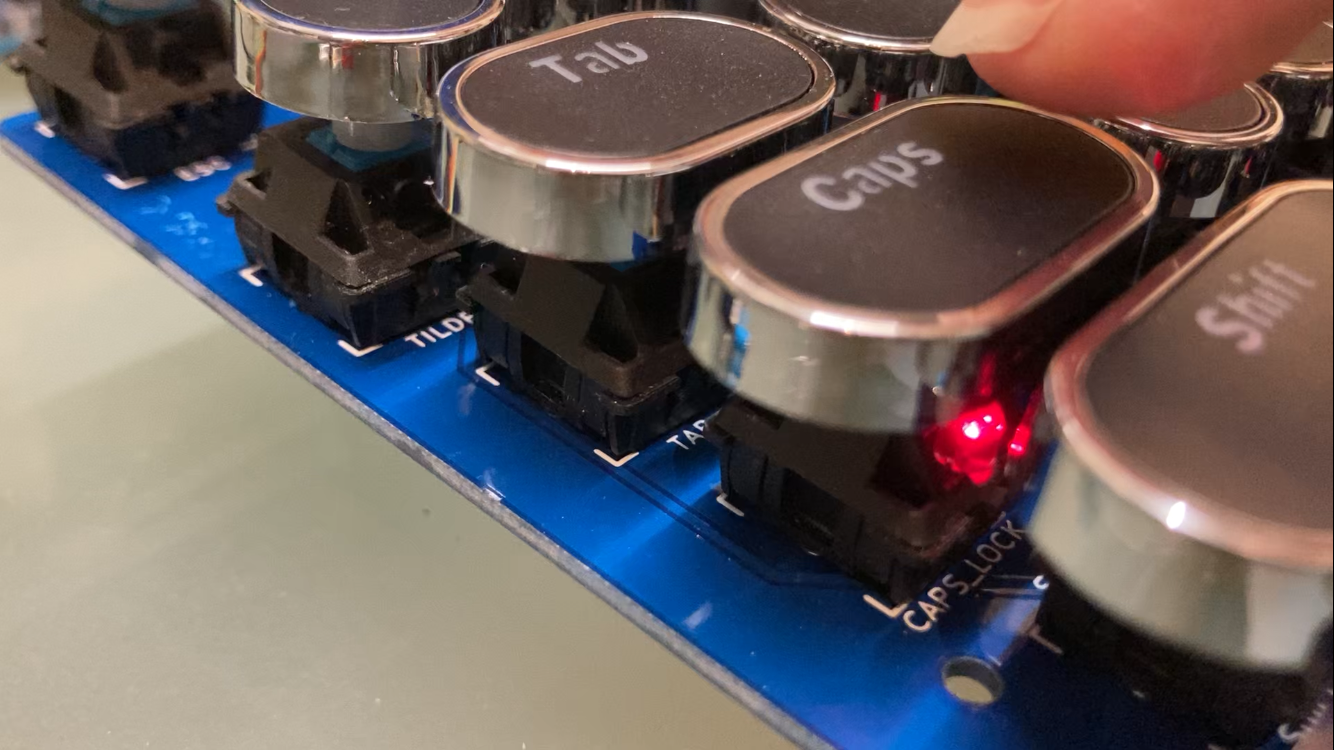
    We 'just know' how a keyboard works and don't really think about it. But there are many rules. For example, a 'caps lock' flag needs to be toggled each time the caps key is pressed down. The caps lock LED, which the MSX keyboard can have, is under computer control. A shift flag needs to be set if the shift key is pressed down, and reset when it's released. A letter character needs to be capitalised if the caps lock or shift key is flagged, and other keys need to produce a symbol depending on the state of the shift flag. 

    I spent some time on the logic for detecting a new key being pressed. When you're typing at speed, you often 'overlap' keys - the new one goes down a fraction before the previous one goes up - and so there's some xor'ing and and'ing to do with previous value and new value to detect a change and then find whether that change is a key up or key down. I've handled button pressing before, but to get this working as smoothly as anyone would expect a keyboard to respond today took some work.

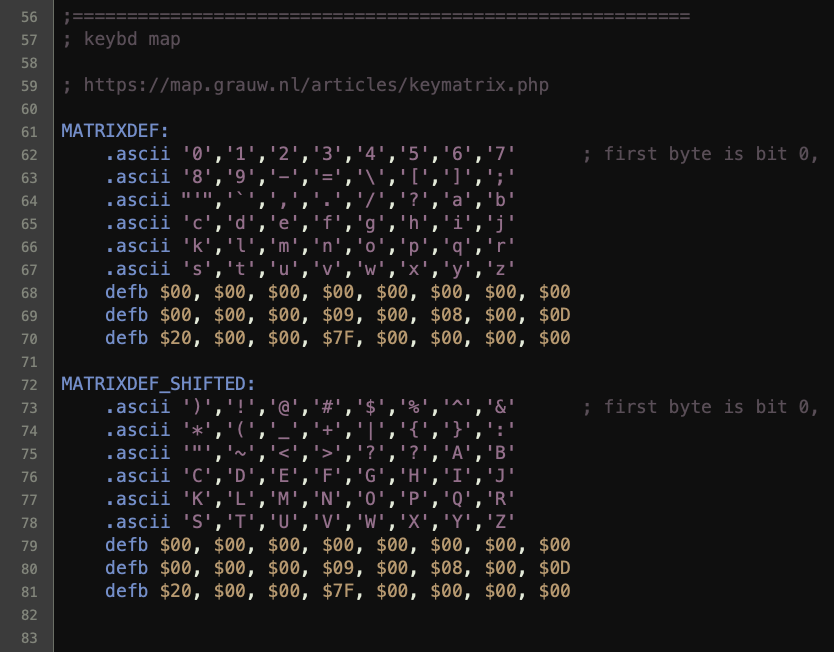
    The key mapping on an MSX (defined in early '80s) is surprisingly close to today's keyboards. The MSX allows for various keyboard standards, but because this code will be used within this one project, I don't really need to worry about that, but I've defined it like this for easy future changes

    These are the keyboard matrix rows and bits, and these arrays make it easy for my code to do the lookup (in C, these would be two dimensional arrays, referenced by keyboard row and bit number).  

    One interesting point to note is that this map has them in alphabetical order. You can tell that the person who wrote this wasn't the same one who'd be laying out the tracks on the keyboard pcb!

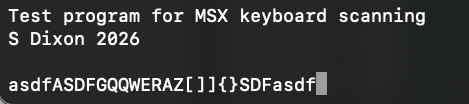
    Eventually I could detect key presses, turn all letters and symbols into their ascii value, with caps lock and shift working and send those characters to the console:

    Printing

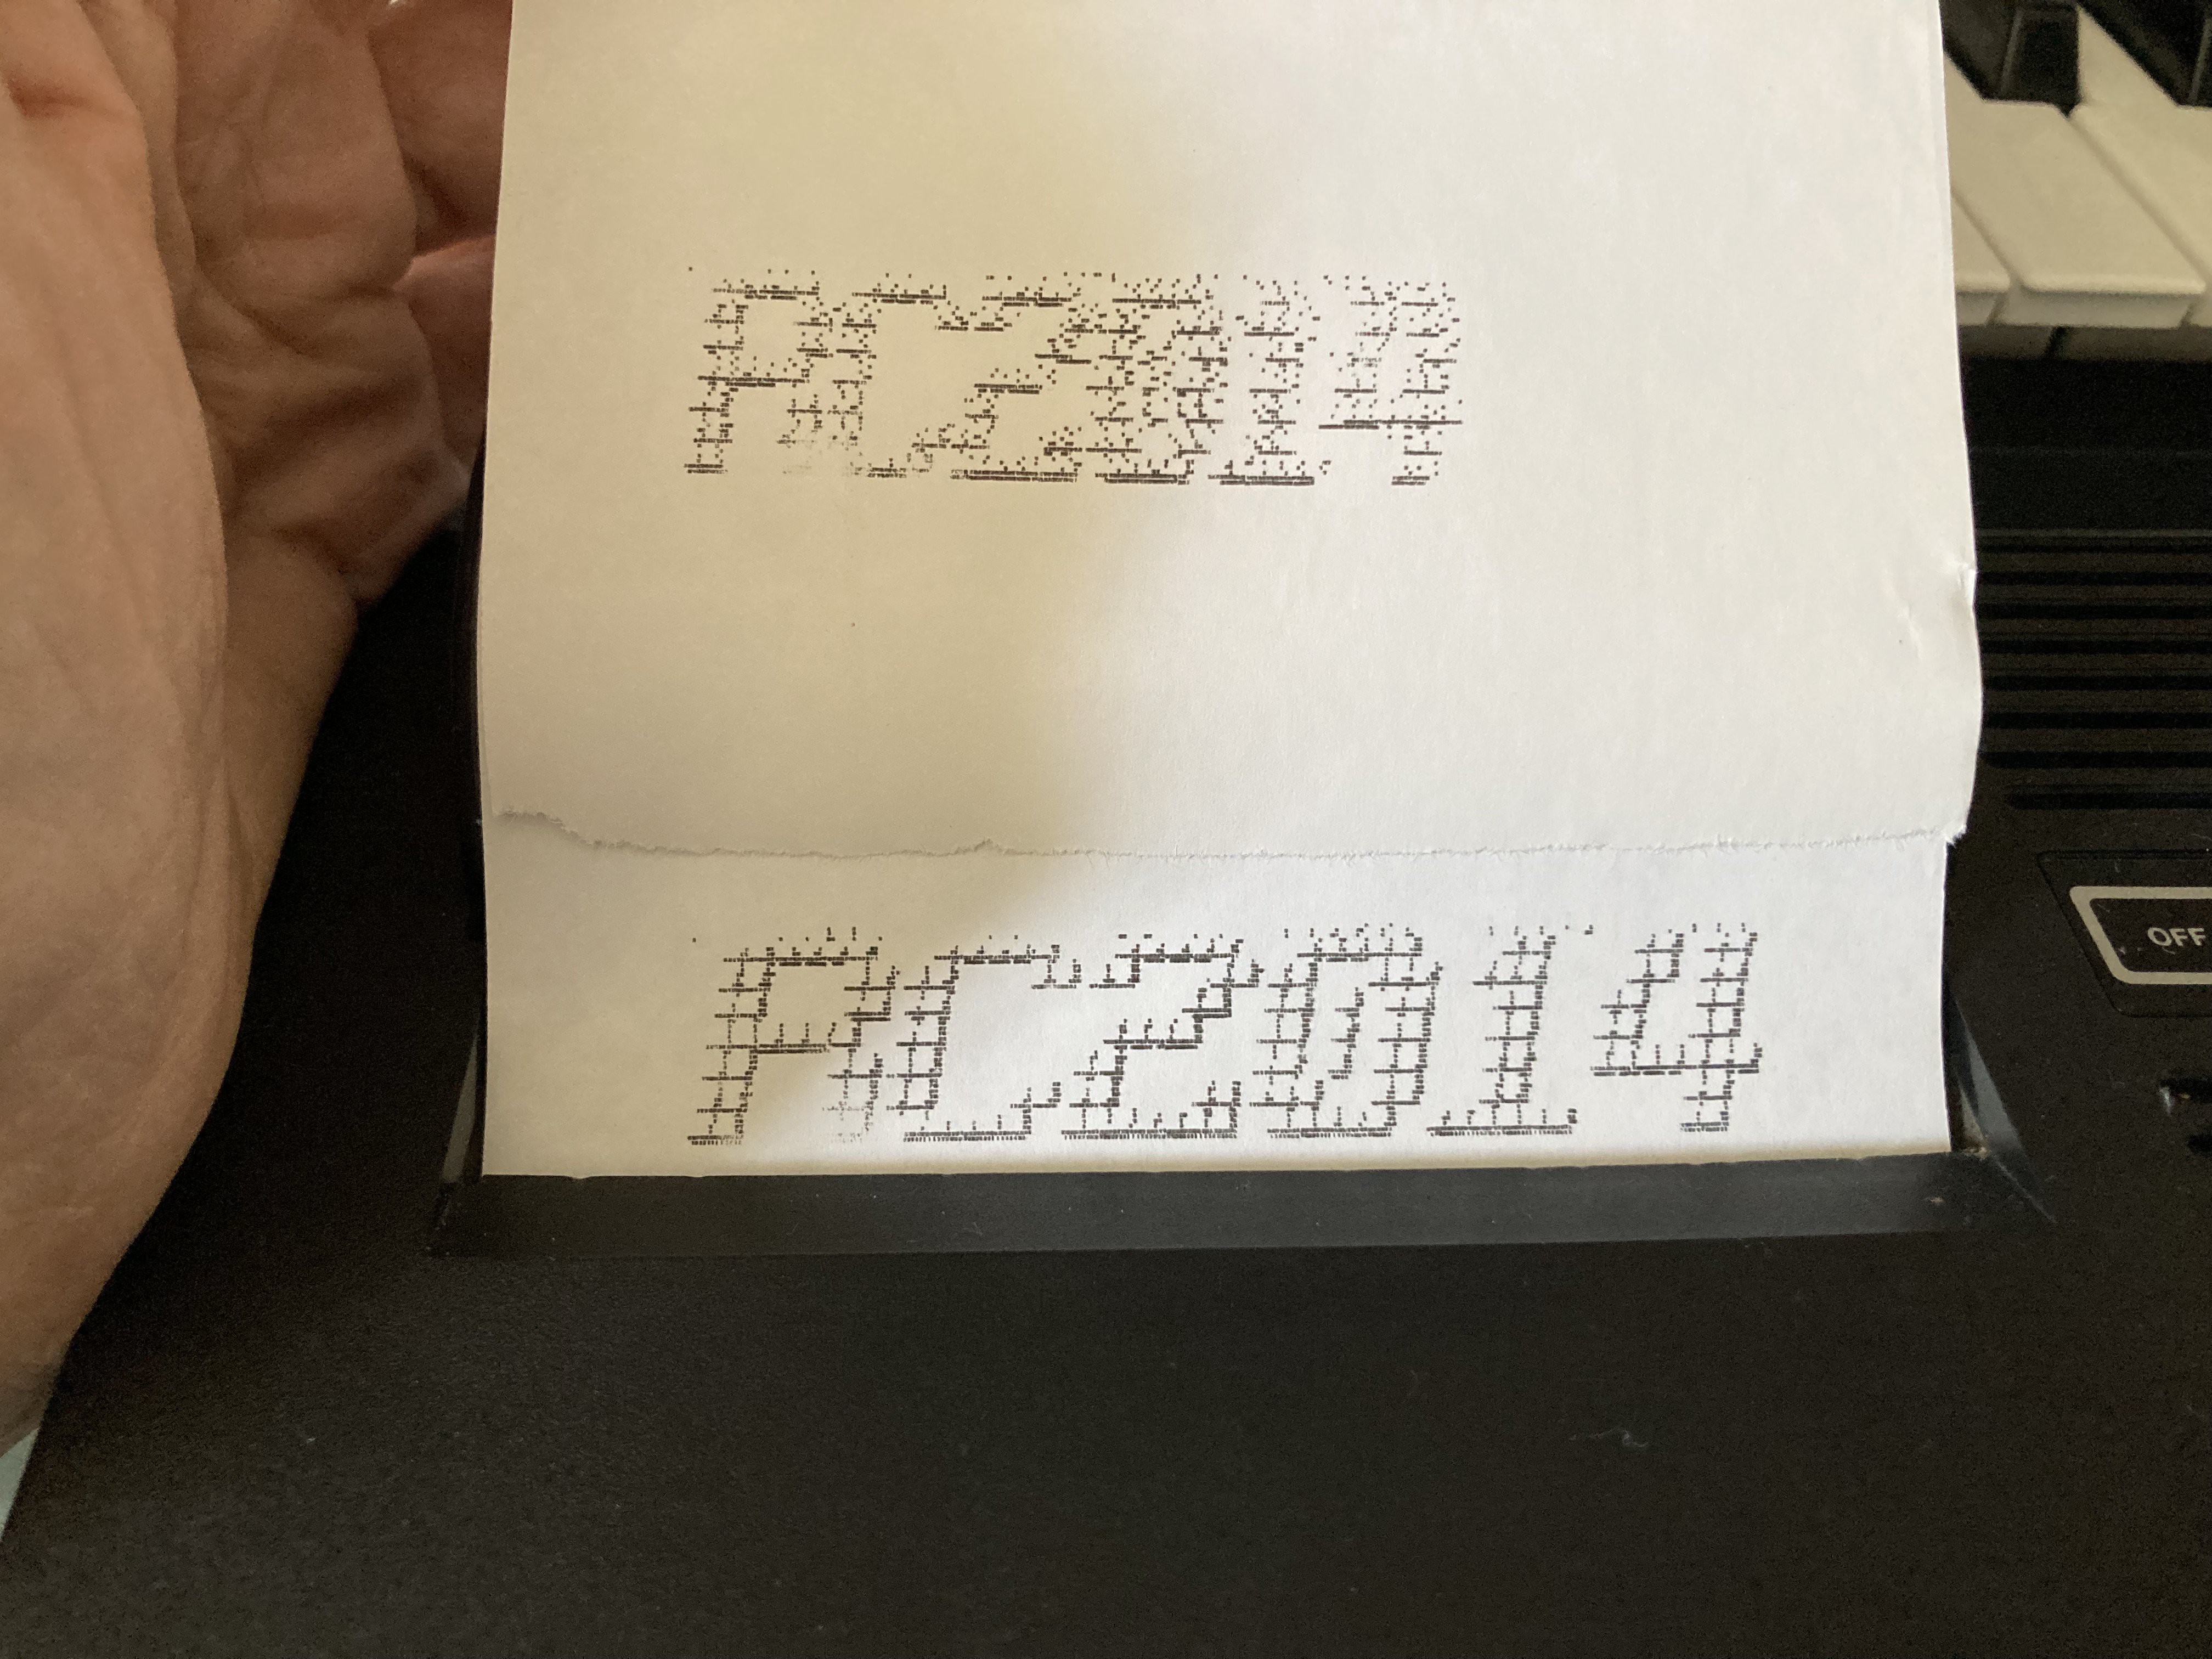
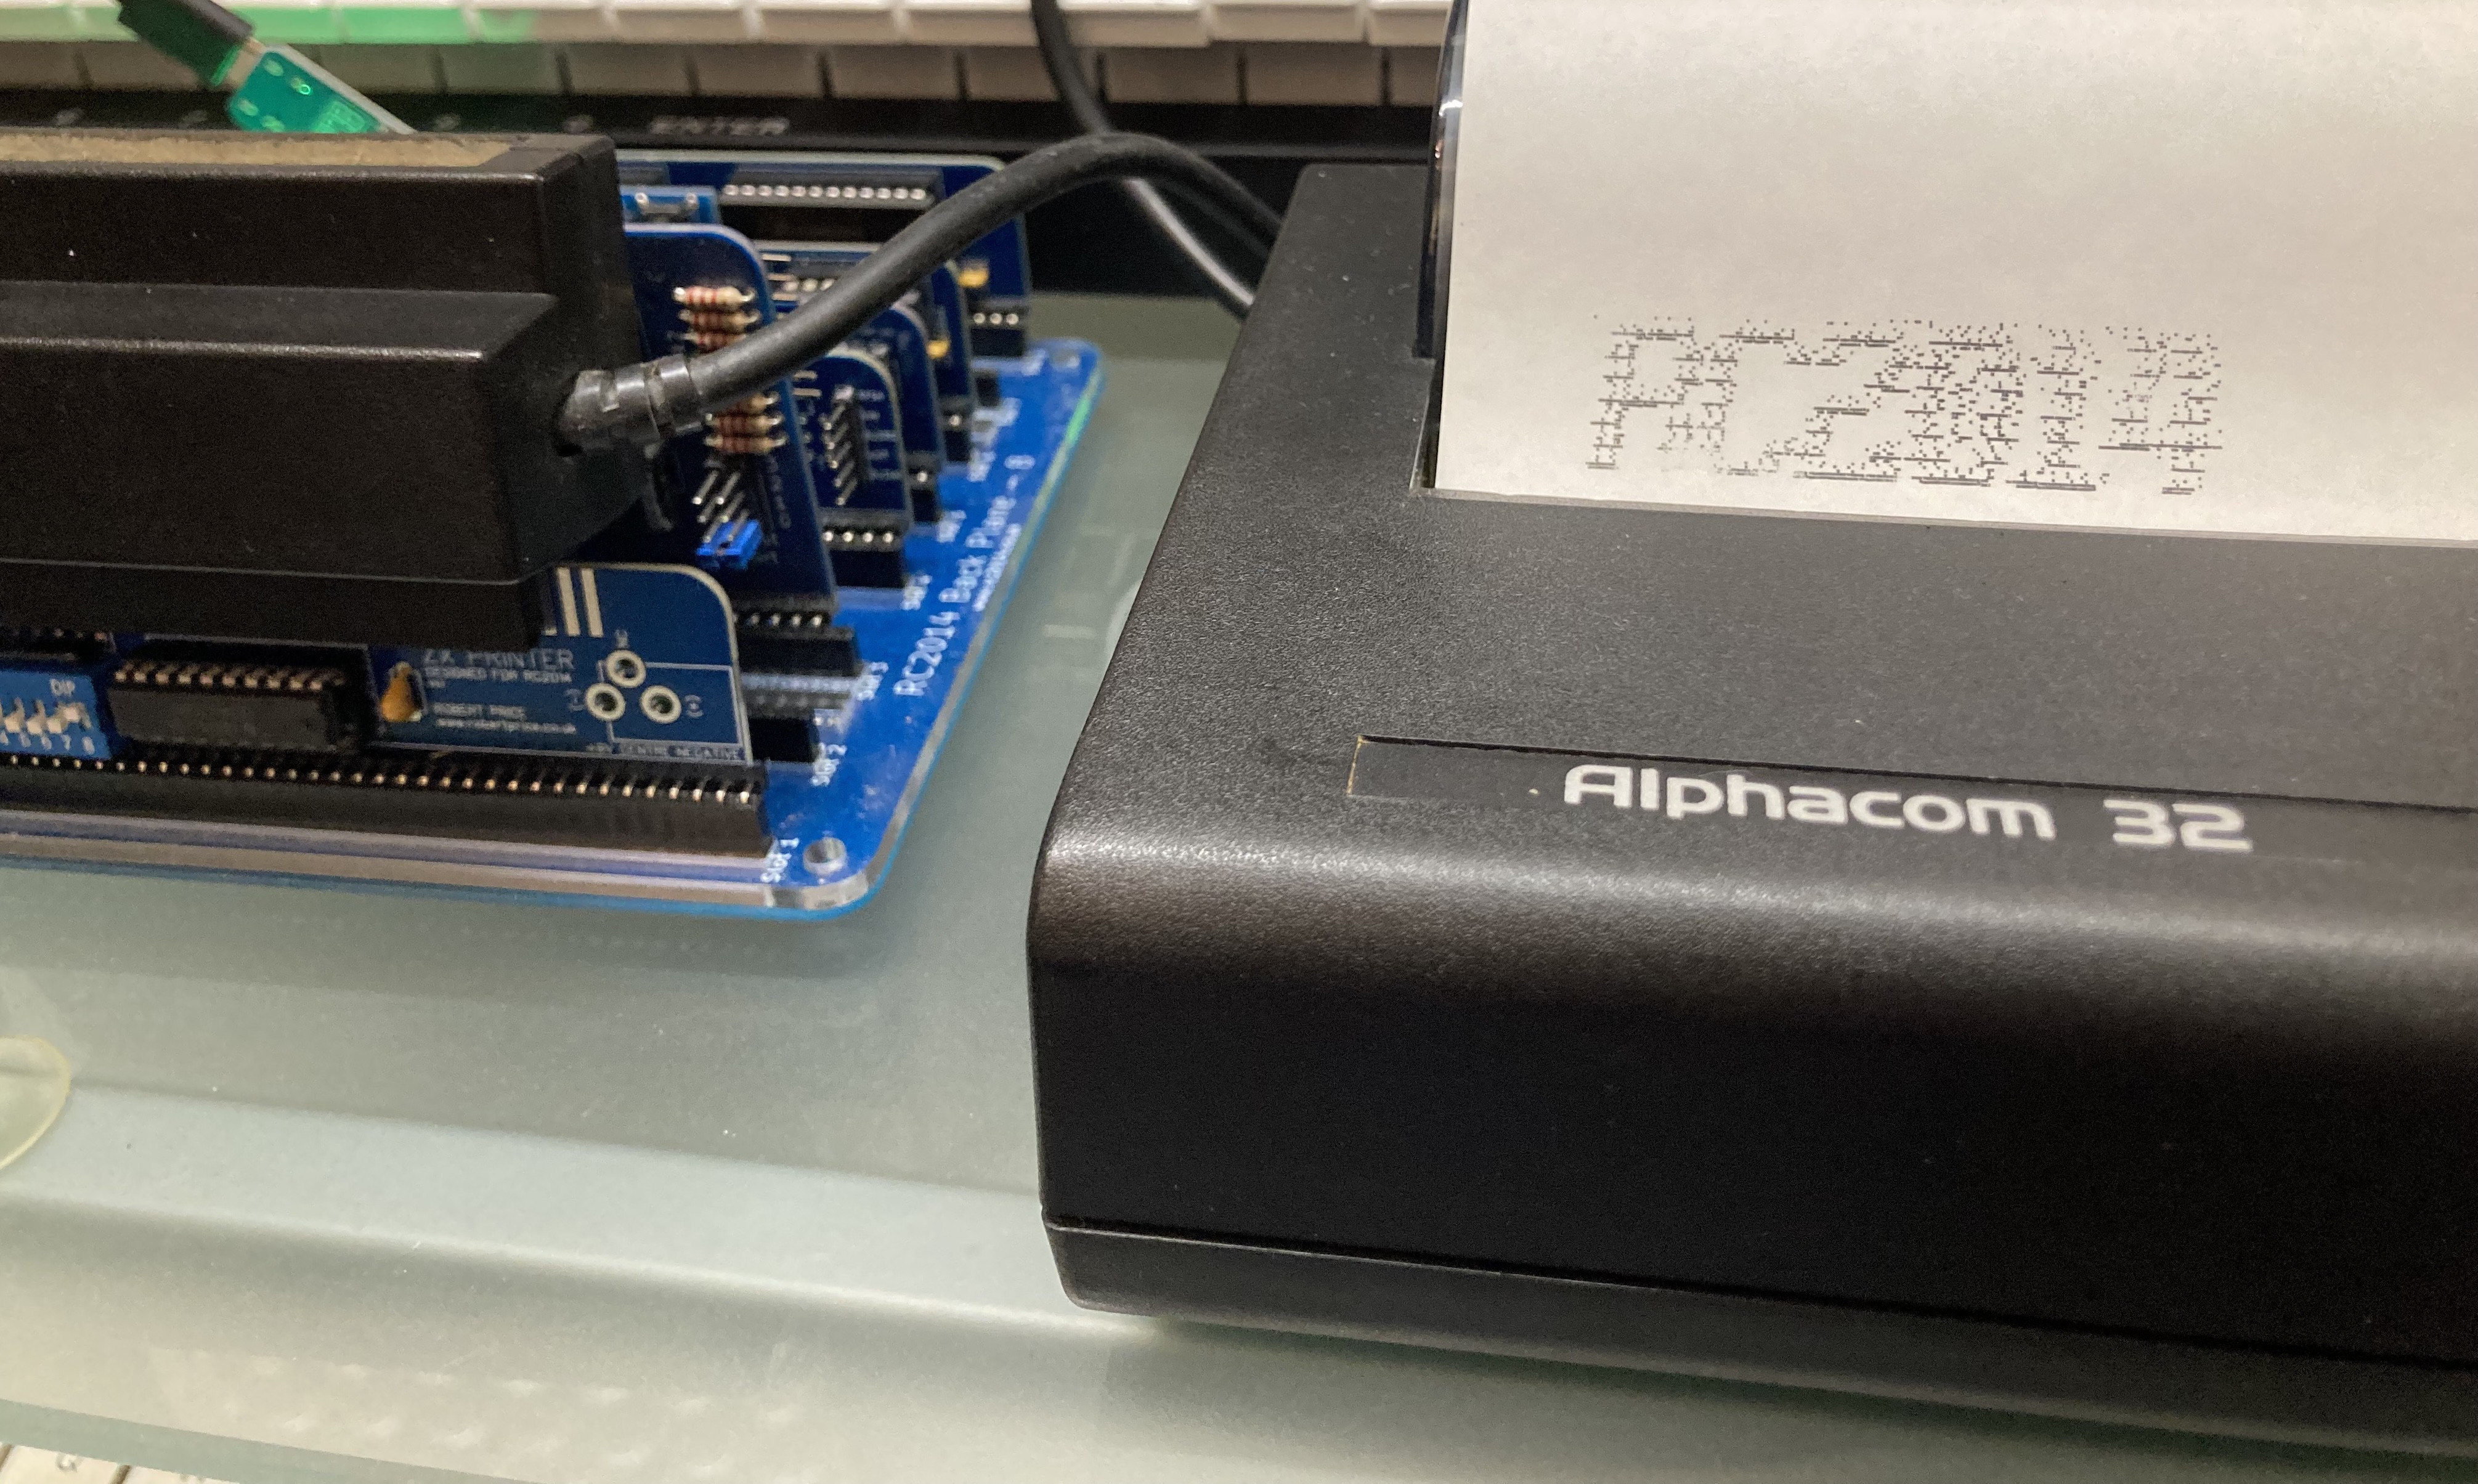
    I was very chuffed when I first had Rob's code printing out the RC2014 logo, if a little messy. 

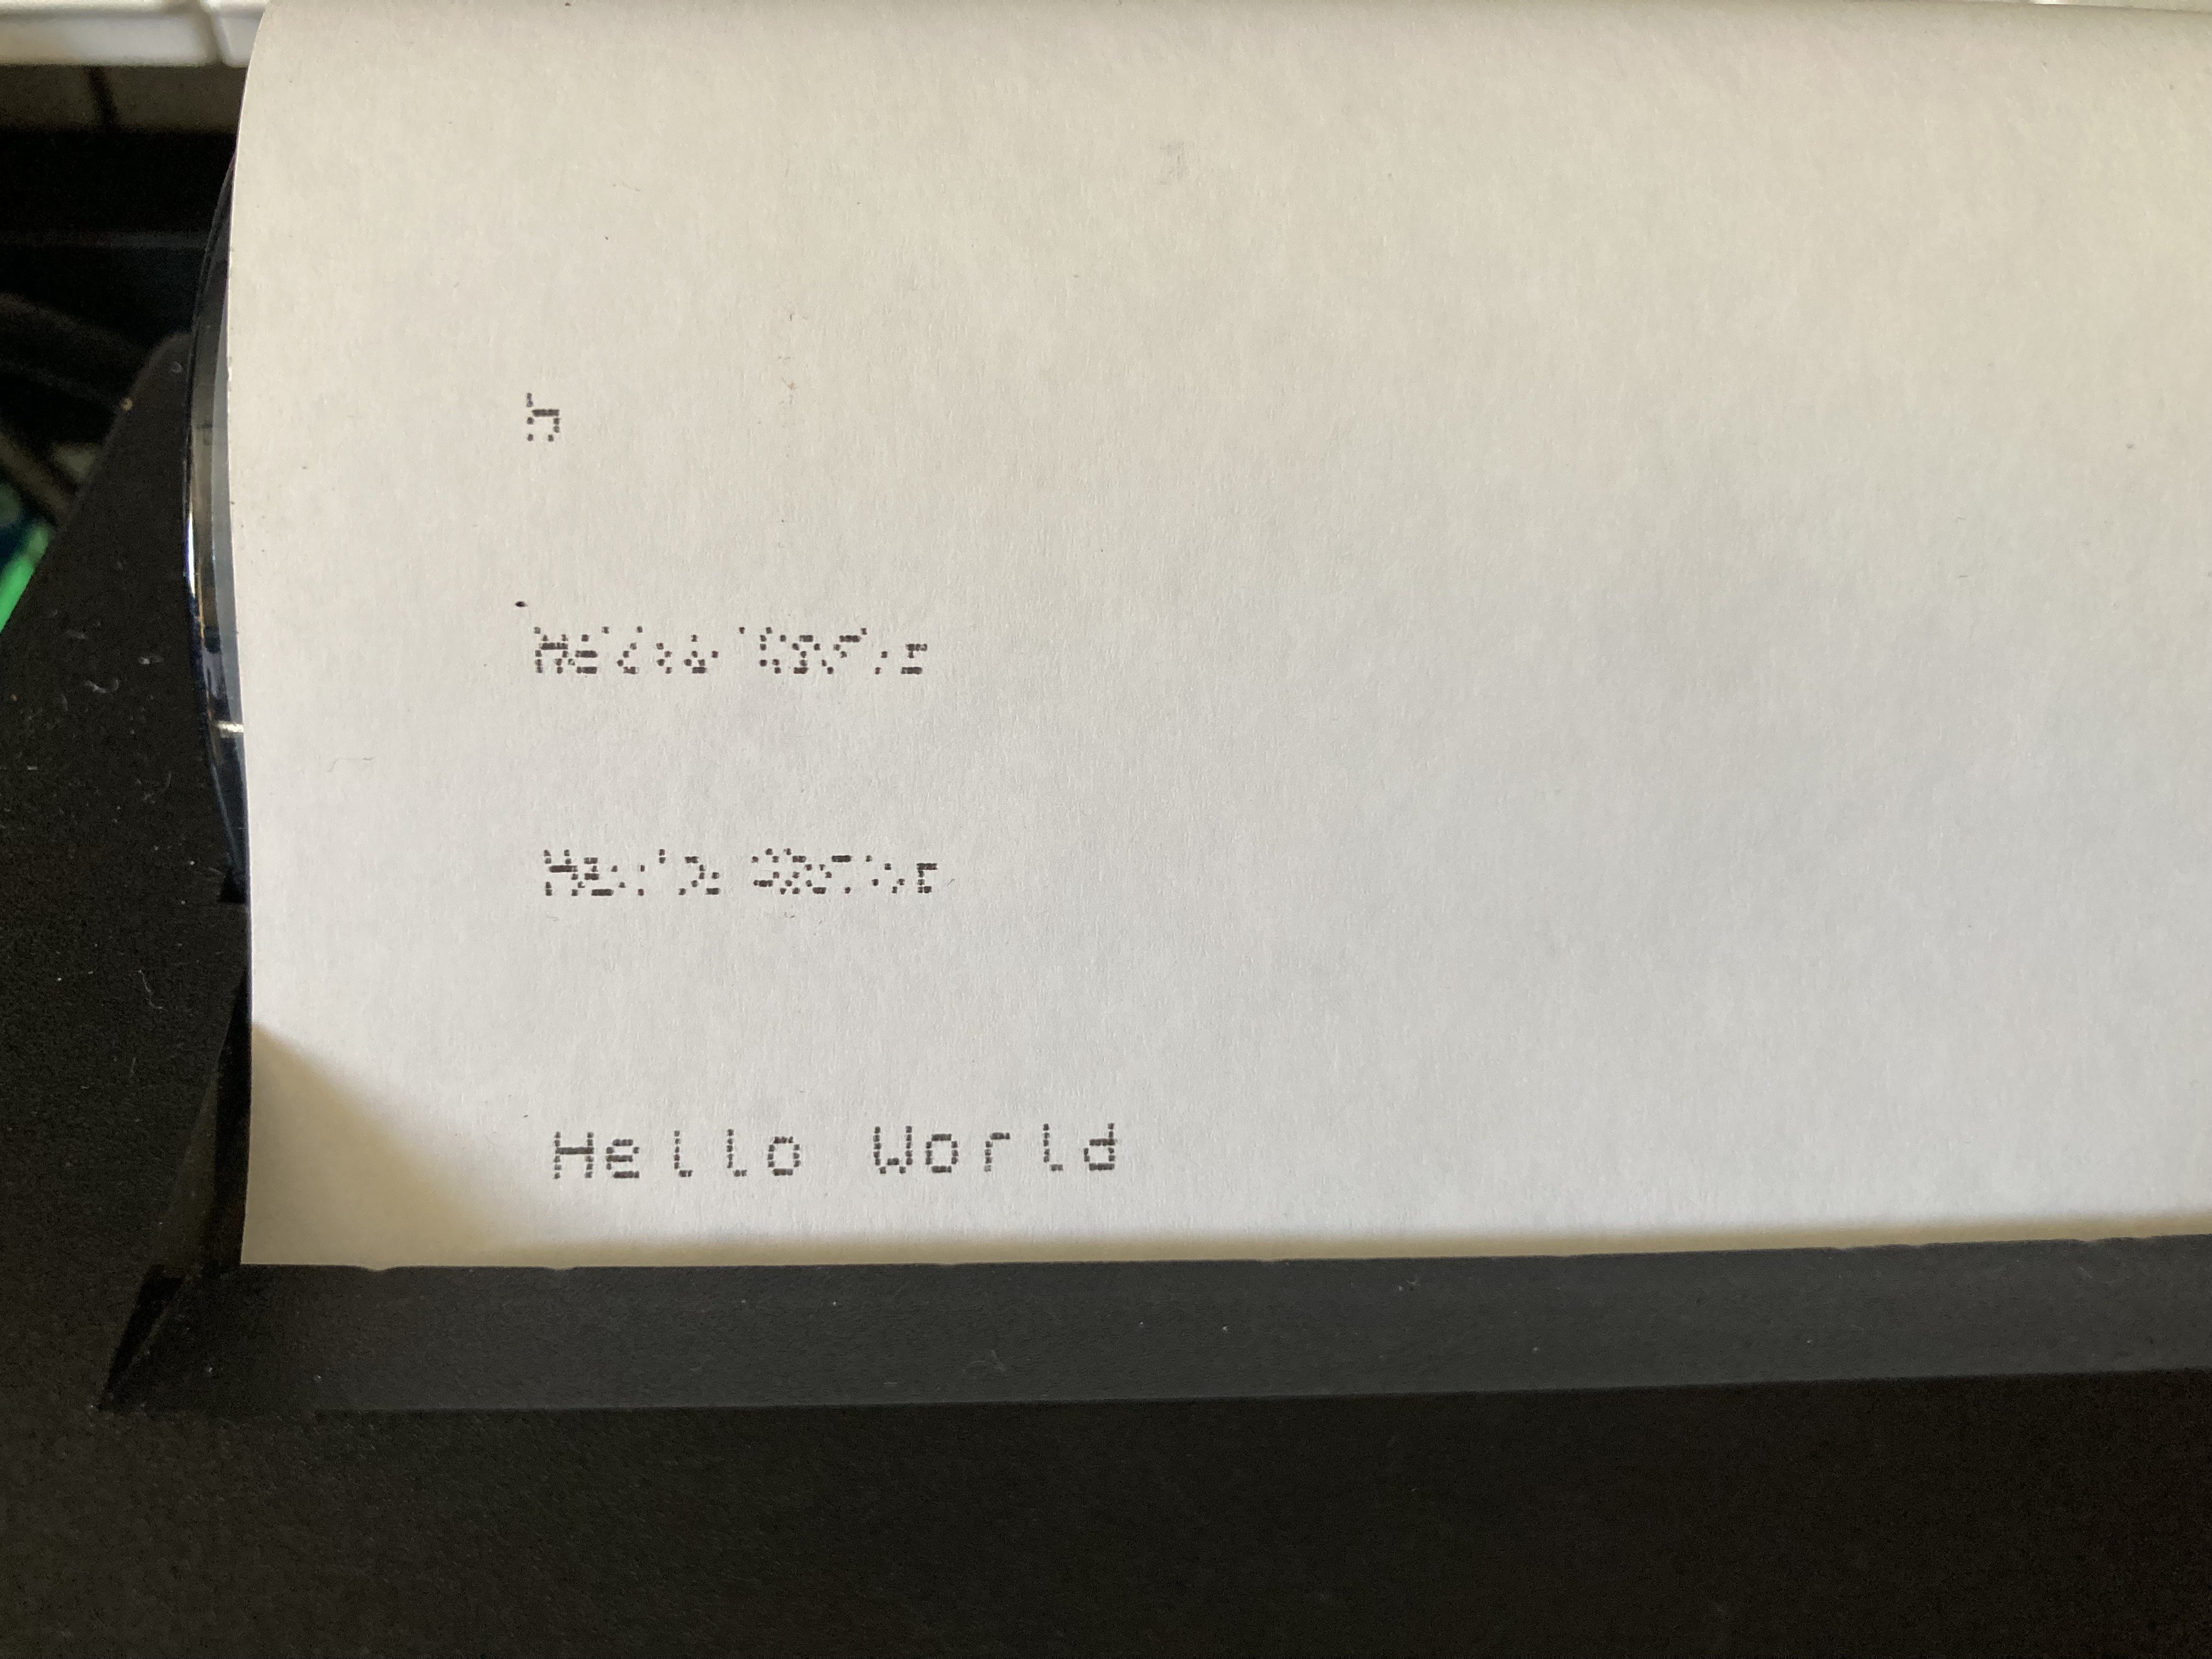
    Text had printed out really nicely when using the ZX81. However, after writing some routines to copy character bitmap data into a buffer and send that to the printer using Rob's code, things didn't look quite so good:

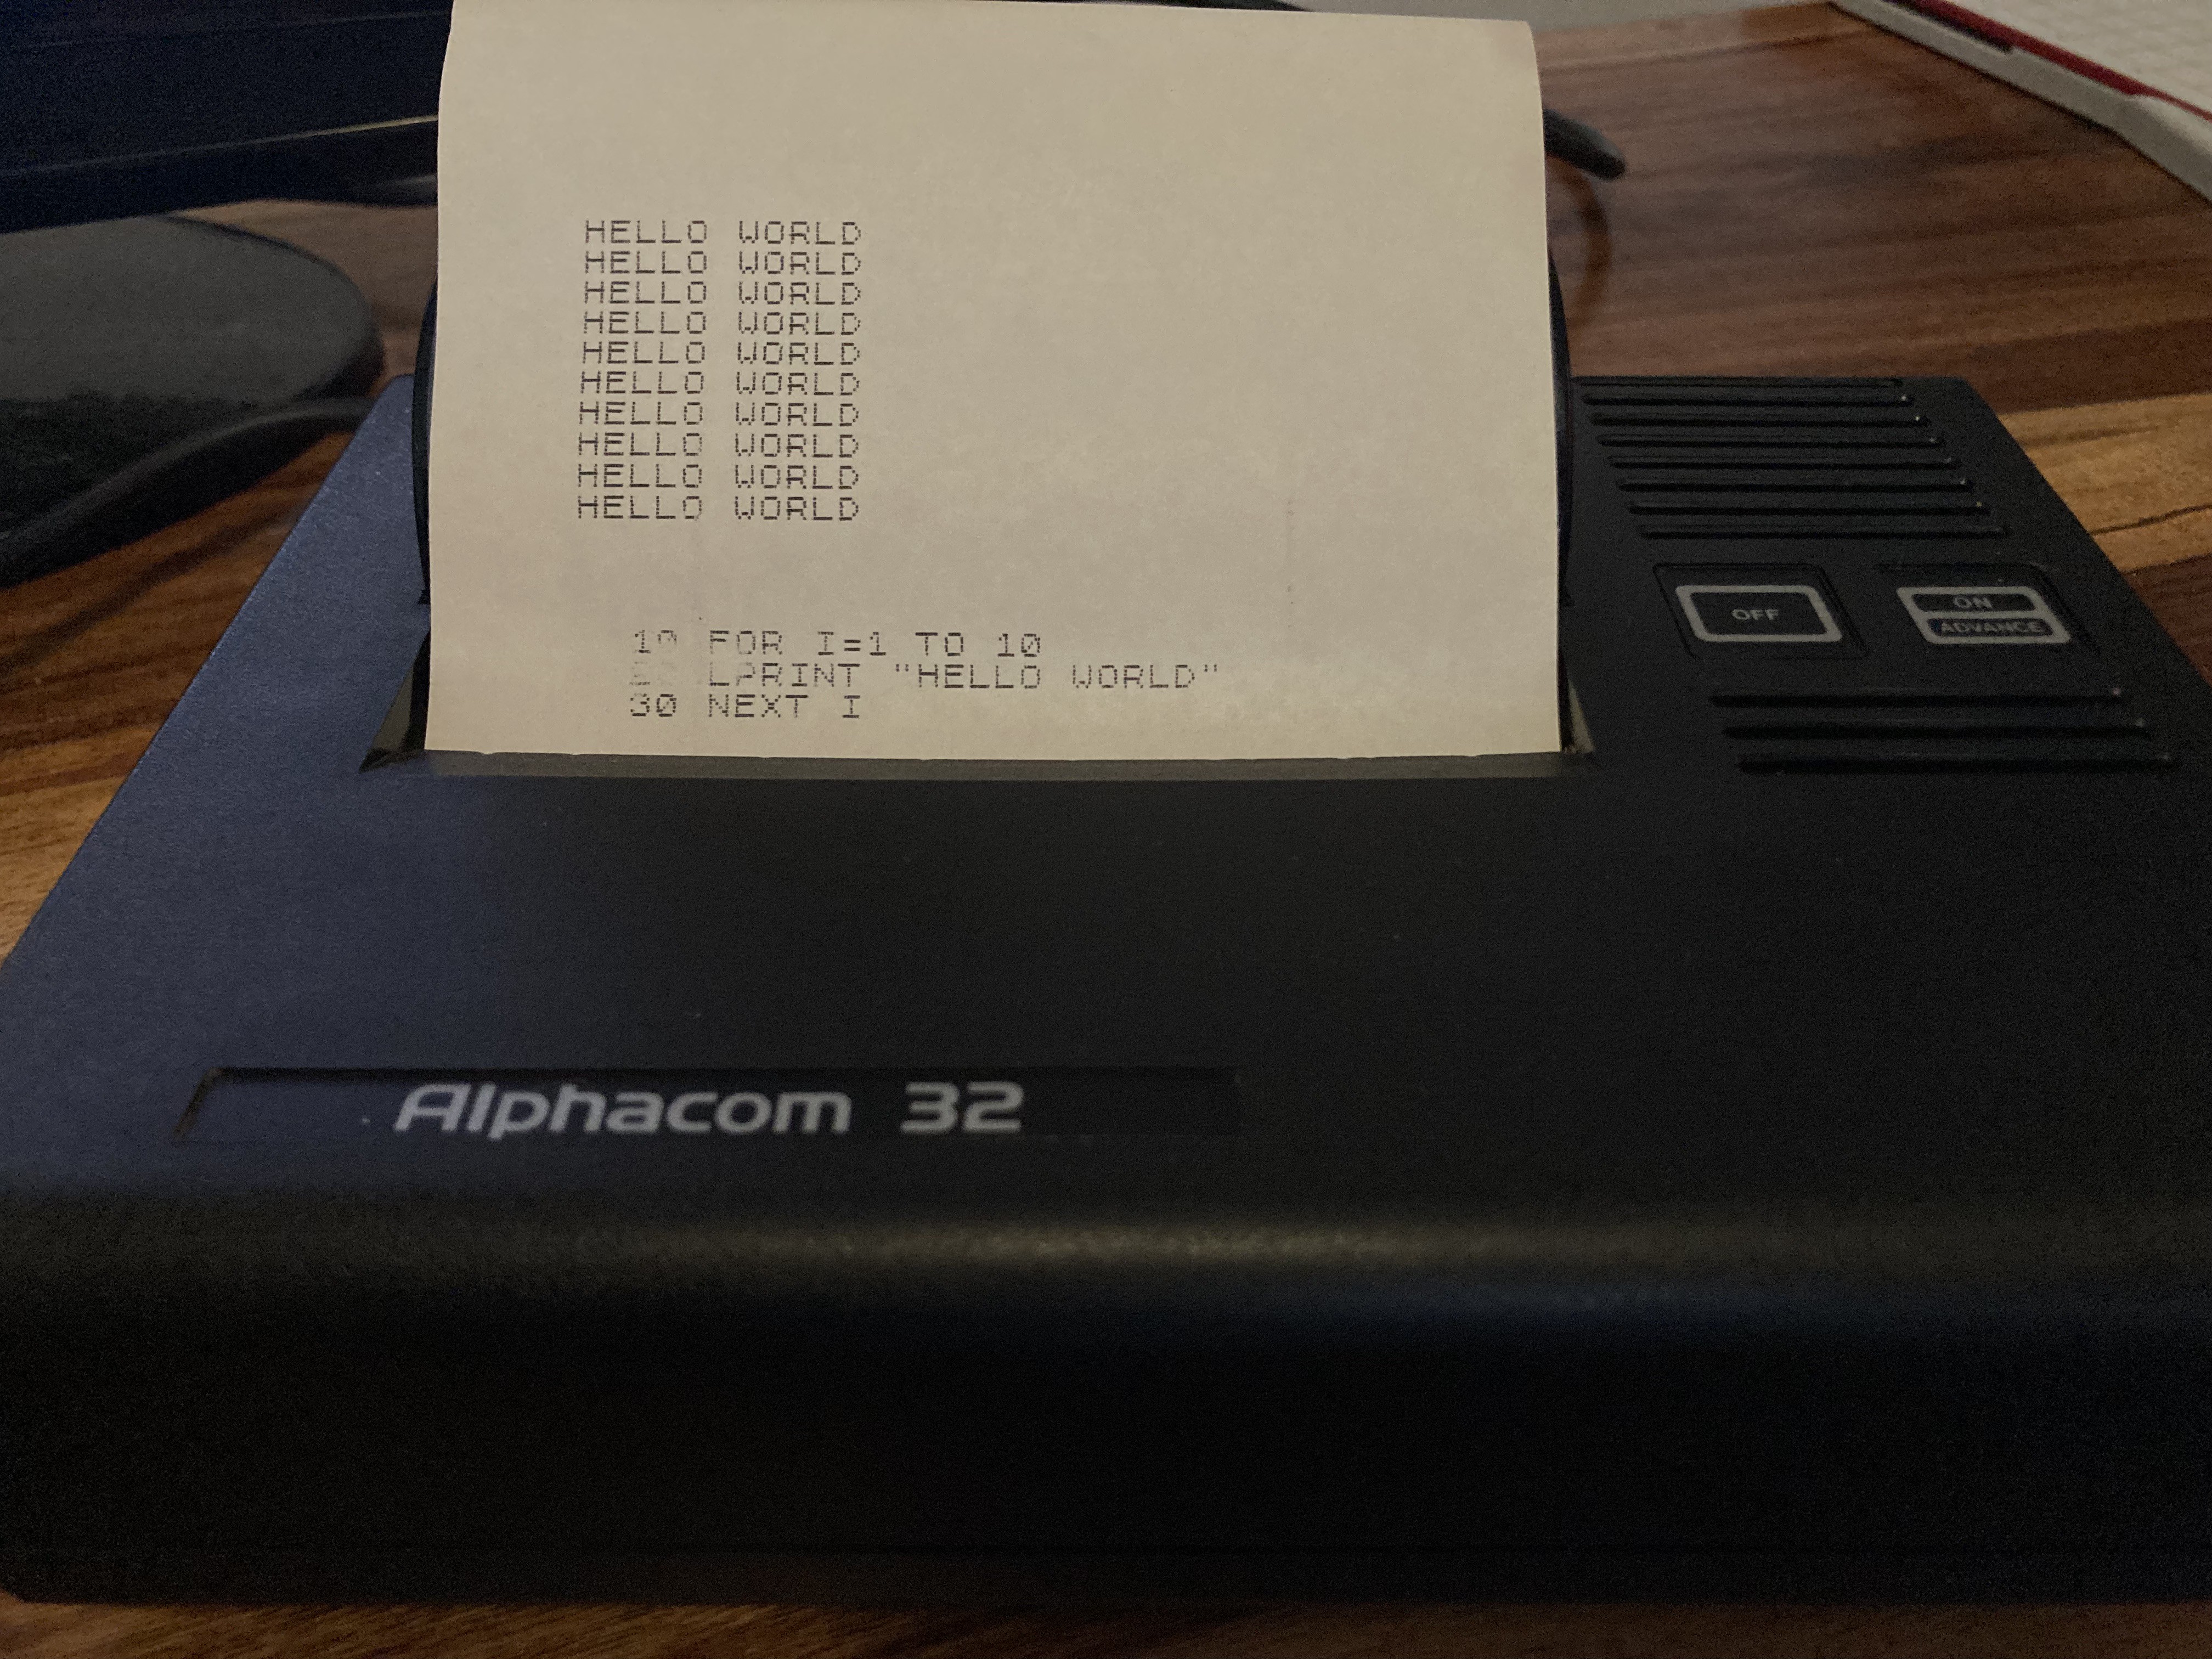
    To cut a long story short, the difference turned out to be the speed of the computer. The RC2014 is running at 7.4 Mhz, around twice as fast as the ZX81. The successful 'Hello World' at the bottom of the above photo was printed with the same code, but with the computer's clock halved to 3.7Mhz. At this speed, the RC2014 logo looks a lot better:

    That's not a permanent solution because I'd like my teleprinter to send/receive serial at 115200 (which I almost always use on my RC2014s) and that requires 7.4Mhz clock. I don't want to get into dual clocks.  

    The code does check the status of the printer and wait for it to be ready before sending a line or a pixel, so in theory the speed of the computer shouldn't matter. But it seems that at the faster speeds, you can jump in ahead of it...

    Read more »
  • Proof of concept: driving the printer and scanning the keyboard

    Shiela Dixon08/21/2026 at 09:04 0 comments

    First catch your rabbit.

    Or in this case, first excavate the Alphacom printer from the attic and make sure it still works.

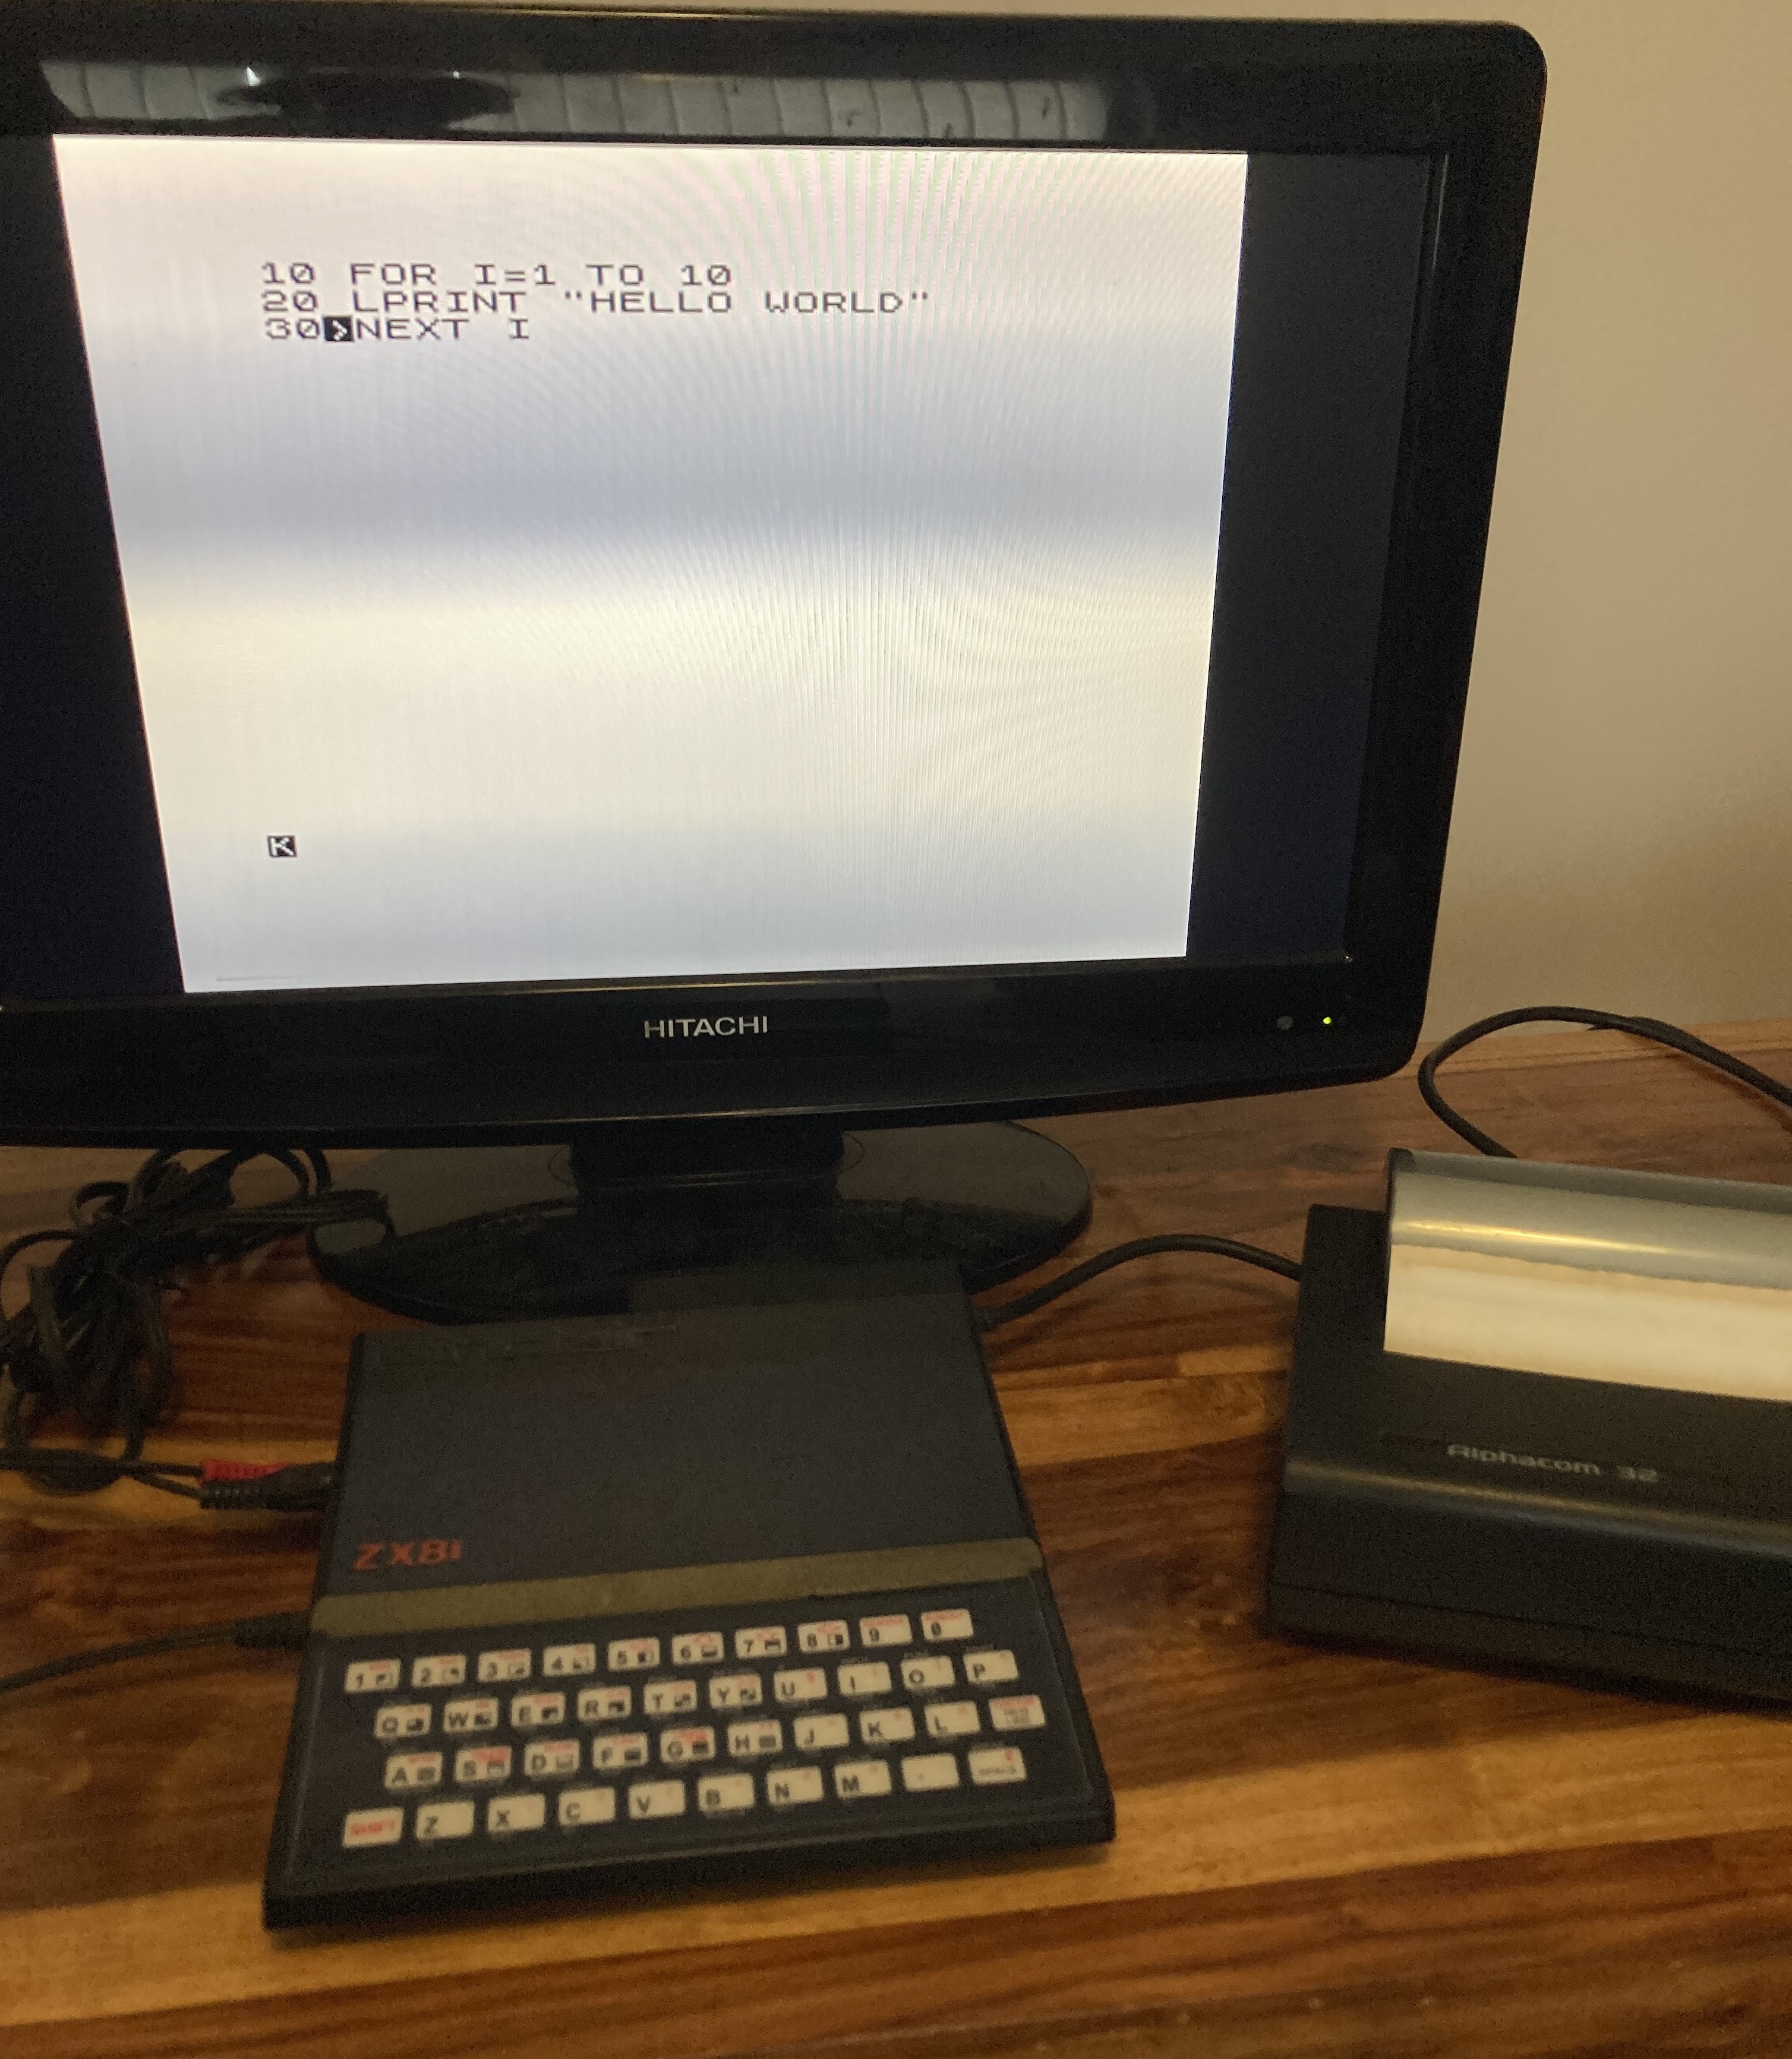
    First test is to plug it into a ZX81 as intended and use the LPRINT and LLIST command to send something to the printer. The printer wants a 24V AC supply. I've previously cobbled together an adaptor so that I can use an Acorn Electron brick. This is allegedly 19V AC, which seems close enough and does work. 

    The second test was to build Rob's code and print the RC2014 logo. Thanks to Rob for his Alphacom / RC2014 interface, which allows you to choose a specific port (when connected to a Sinclair computer, the Aplhacom responds on any port where A2 is low).
    This took longer than it should, partly because I'm using a different compiler to Rob and had to fiddle with his code a little. But in the end, this printed out. Yes, it looks a little messy, but so does Rob's! He says that this is related to the way he scaled and converted the image. 

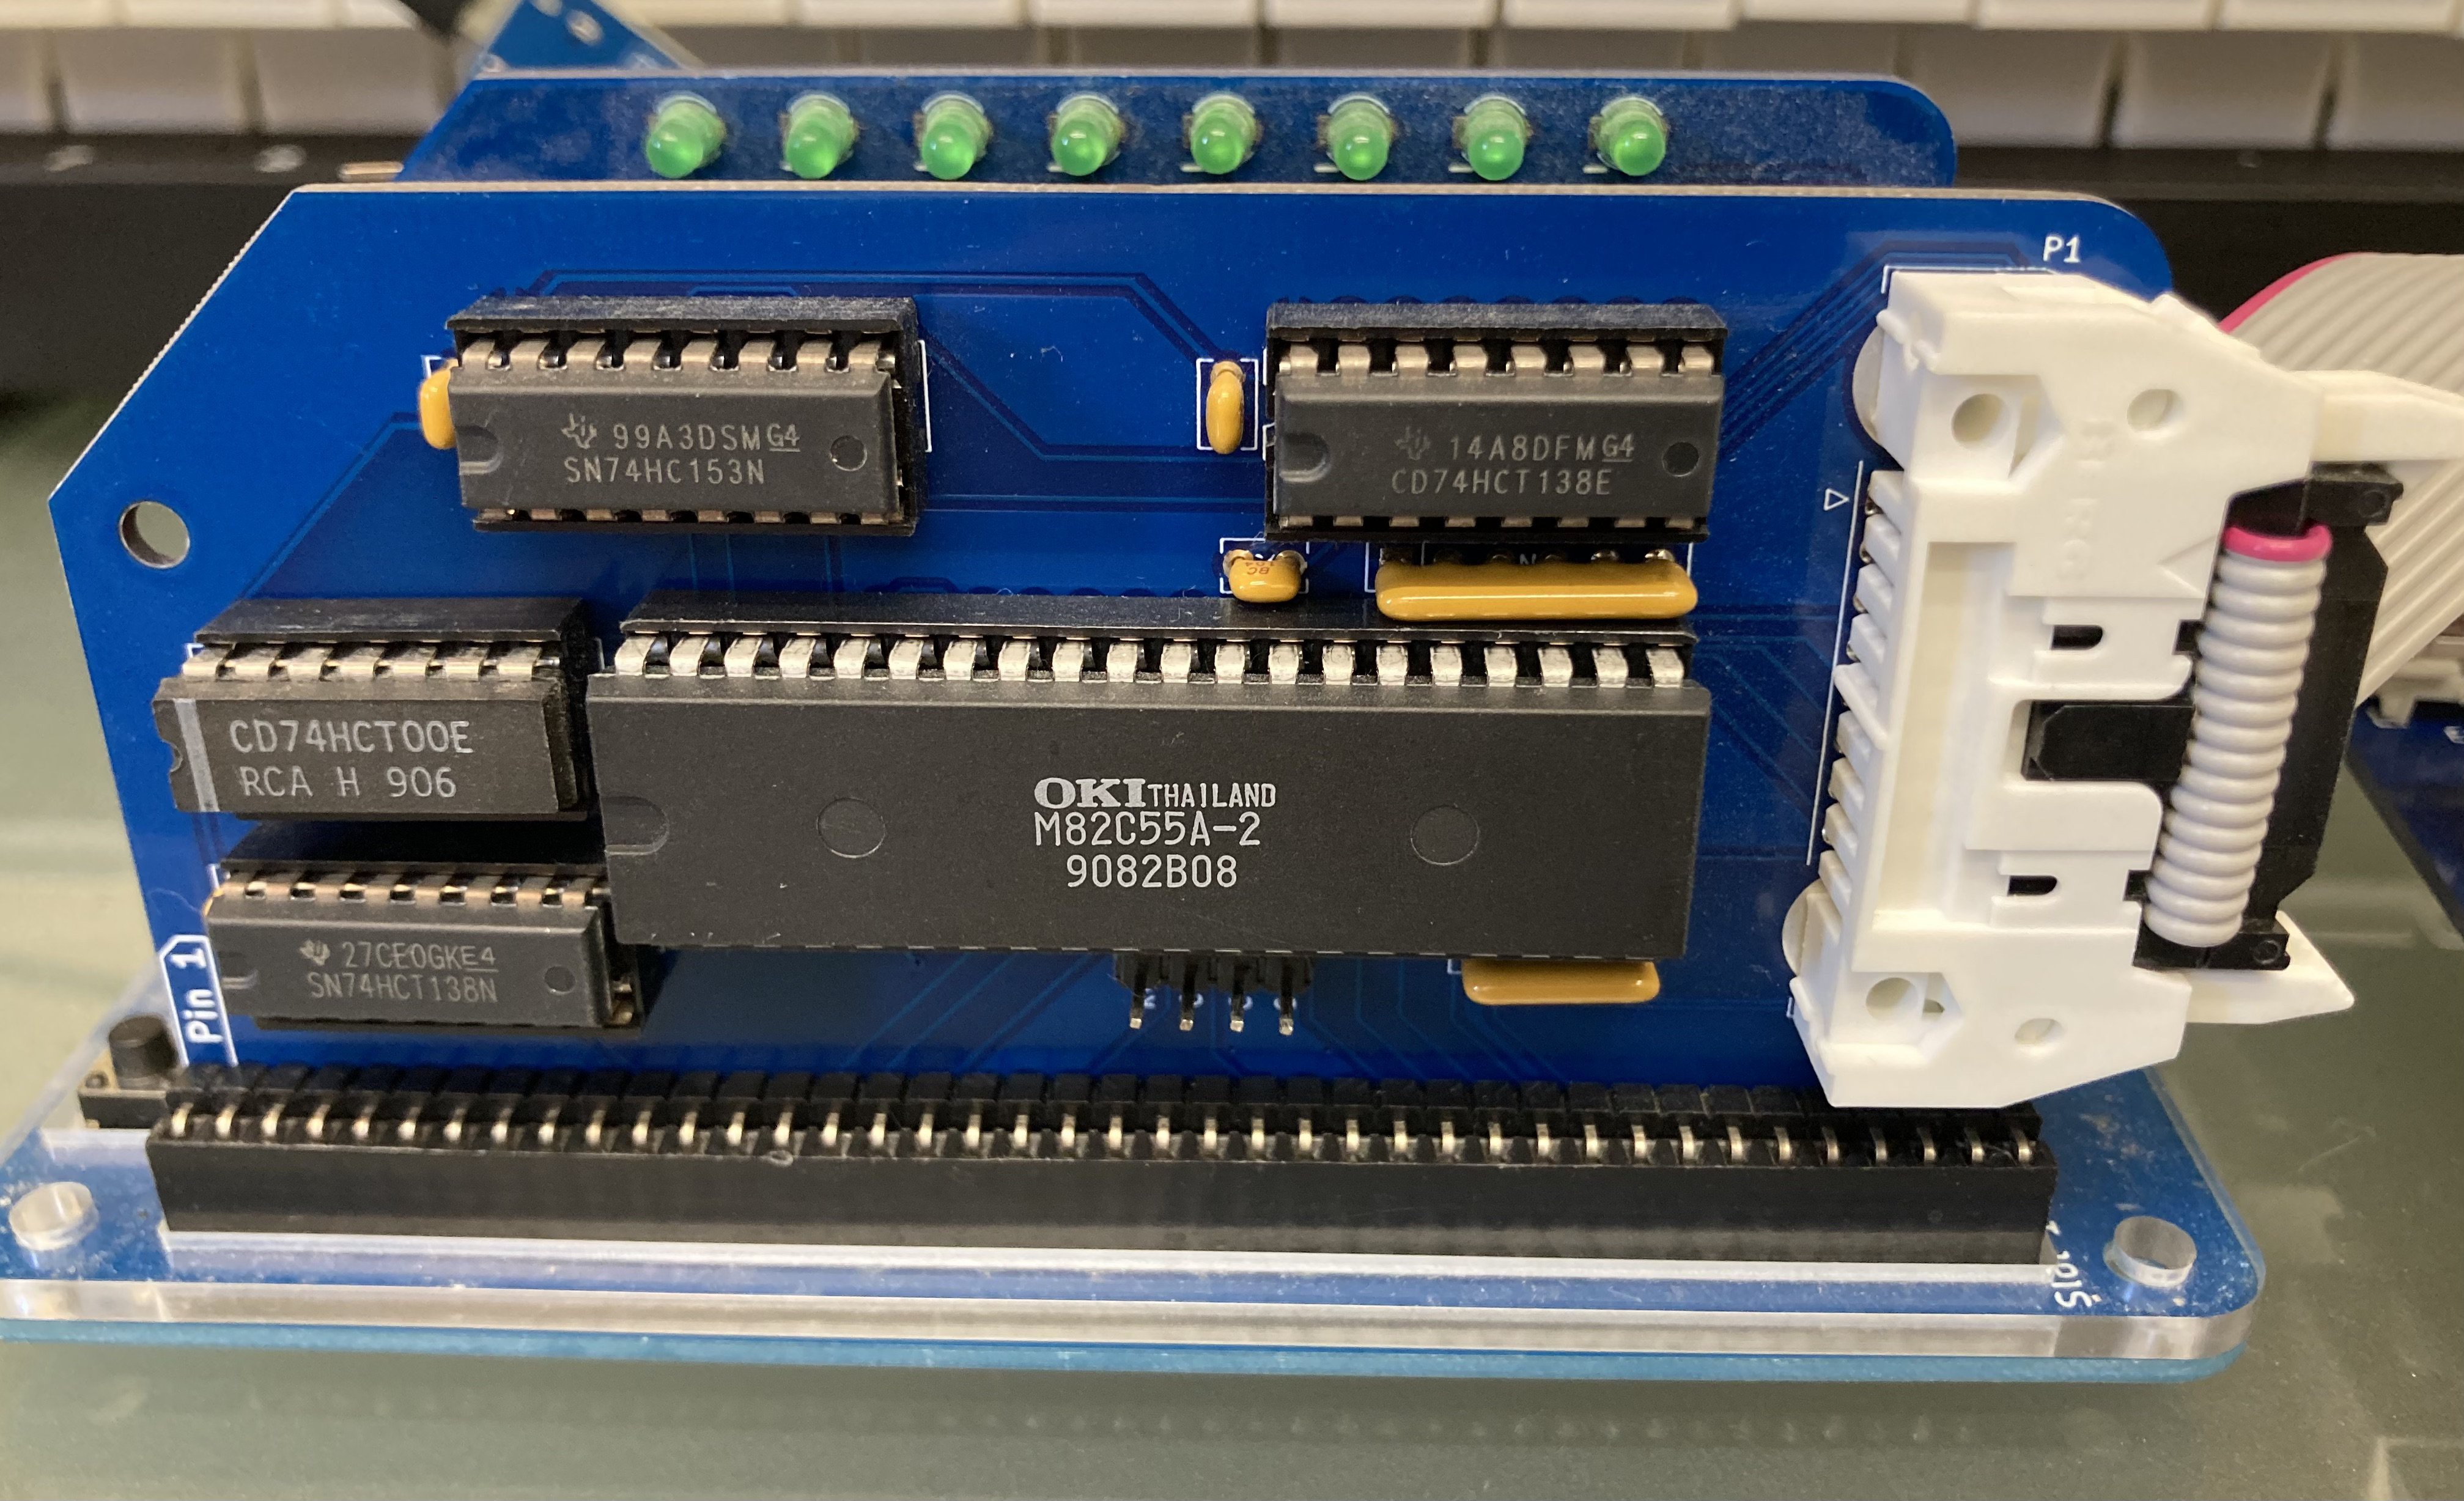
    Then I wanted to test whether I could read the MSX keyboard. This wasn't as straightforward as it could have been. I've already built my own MSX PPI module (Programmable Peripheral Interface - for interfacing with the keyboard and doing a few other MSX things. It provides ports for scanning the keyboard). I eventually found the MSX BIOS code which actually does the scanning - specifically a routine that you send a row number and get a value back.

    The big problem here is that the RC2014 serial module doesn't decode its port numbers fully ($80 and $81) and clashes with the ports that my PPI module uses ($A8, A9, AA, AB). So the first thing I had to do was to modify my serial module and tighten up the port decoding (specifically taking A5 into account, which is the difference between $8x and $Ax). 

    With that done, it wasn't too difficult to scan a single row repeatedly and output the result to my digital i/o and see lights coming on when I pressed keys 0-7.

    So now I have working code for an RC2014 classic that can send data to the printer and scan a mechanical keyboard. I've shown that Rob's Alphacom interface module and my PPI module both do what I need. There's now a lot of coding to do. 

View all 4 project logs

Enjoy this project?

Share

Discussions

Similar Projects

Does this project spark your interest?

Become a member to follow this project and never miss any updates