Shiela Dixon
-
Log 8: How about a nice game of chess?
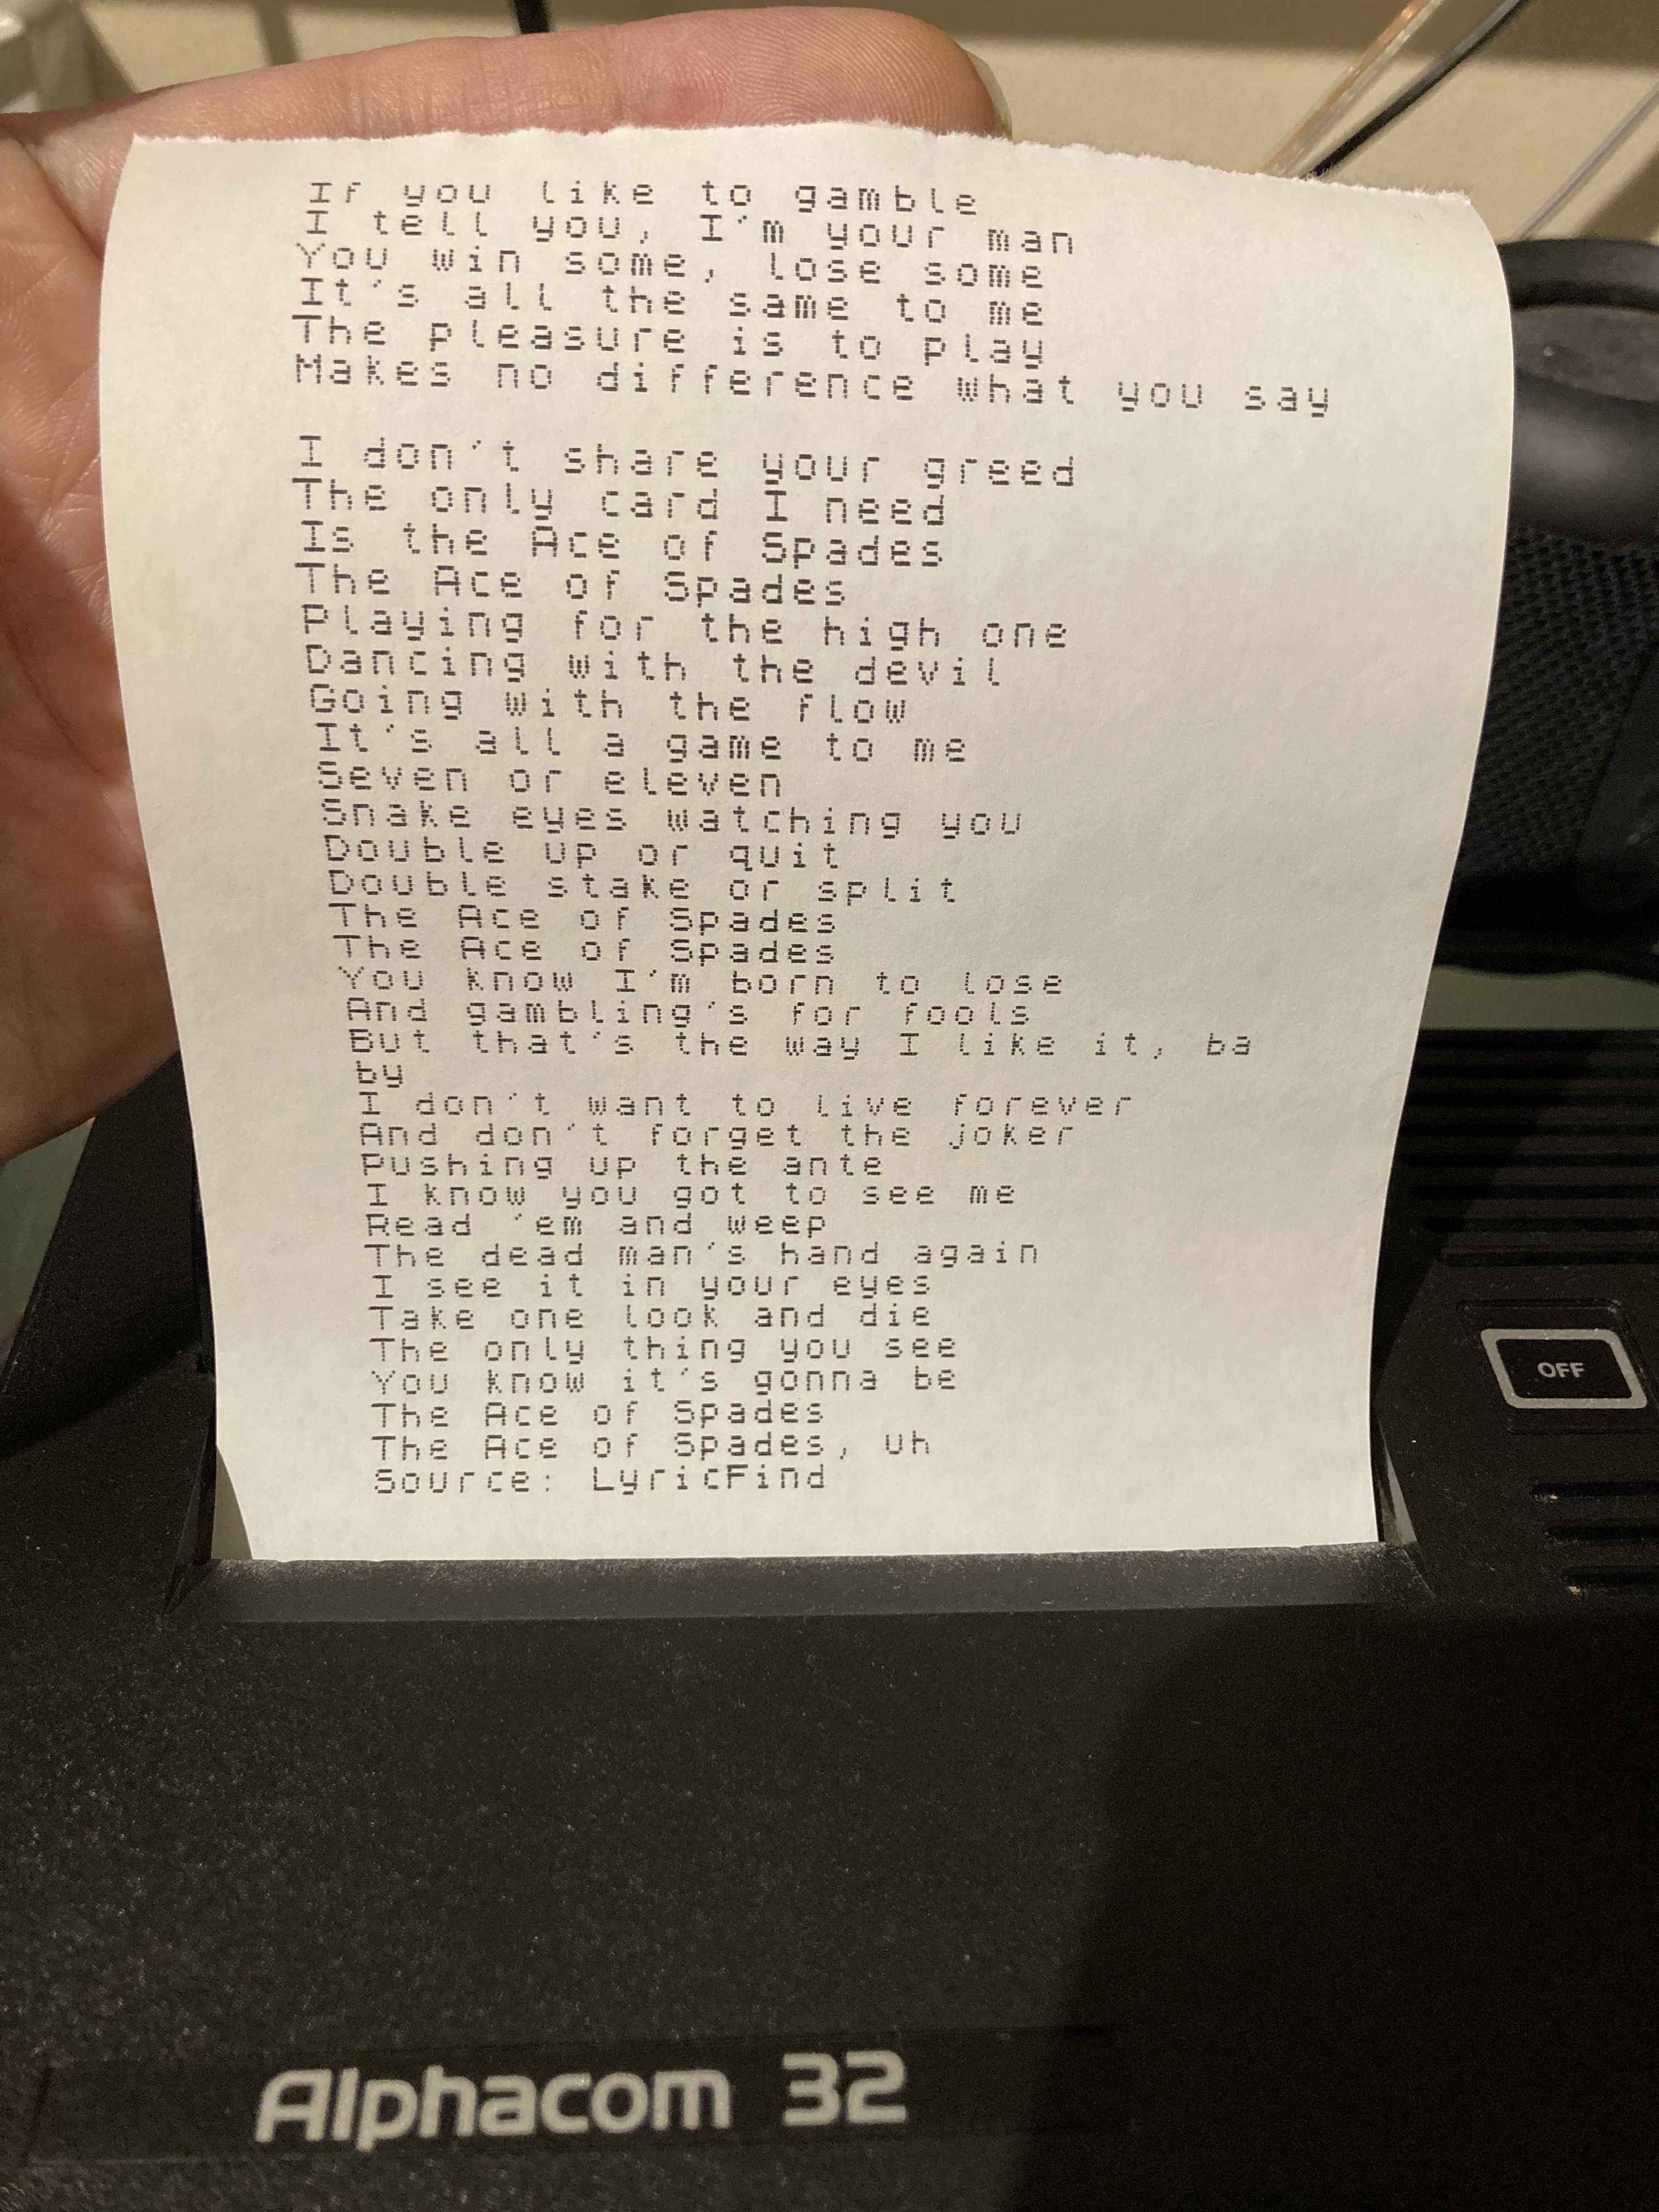
09/15/2026 at 11:03 • 0 commentsI've reached the point where I can have a nice game of chess. My favourite chess game for RC2014 is Sargon 2 for CP/M.
Trying to use the teletype with this game raised a few issues.
The first is the old CR/LF issue. This is a dog's dinner in computing generally and it's no wonder that it has its own page on Wikipedia.
These two characters need to be handled differently on the sending and receiving sides.
Initially I was sending both CR and LF when the return key is typed on the keyboard because this seemed right. But there's a specific issue with CP/M that makes CR-only more appropriate. That seems to work fine with SCM and other software so I'm going with that.
On the receiving/printing side though, it seems that CR, LF and other nonprinting characters need to be handled appropriately.
Initially, I was using a CR to detect the end of a line and print it. This works most of the time, because usually a CR+LF terminates a line. But sometimes they're used separately and have different meanings. I've found that it's better to observe the LF to trigger that line print than CR.
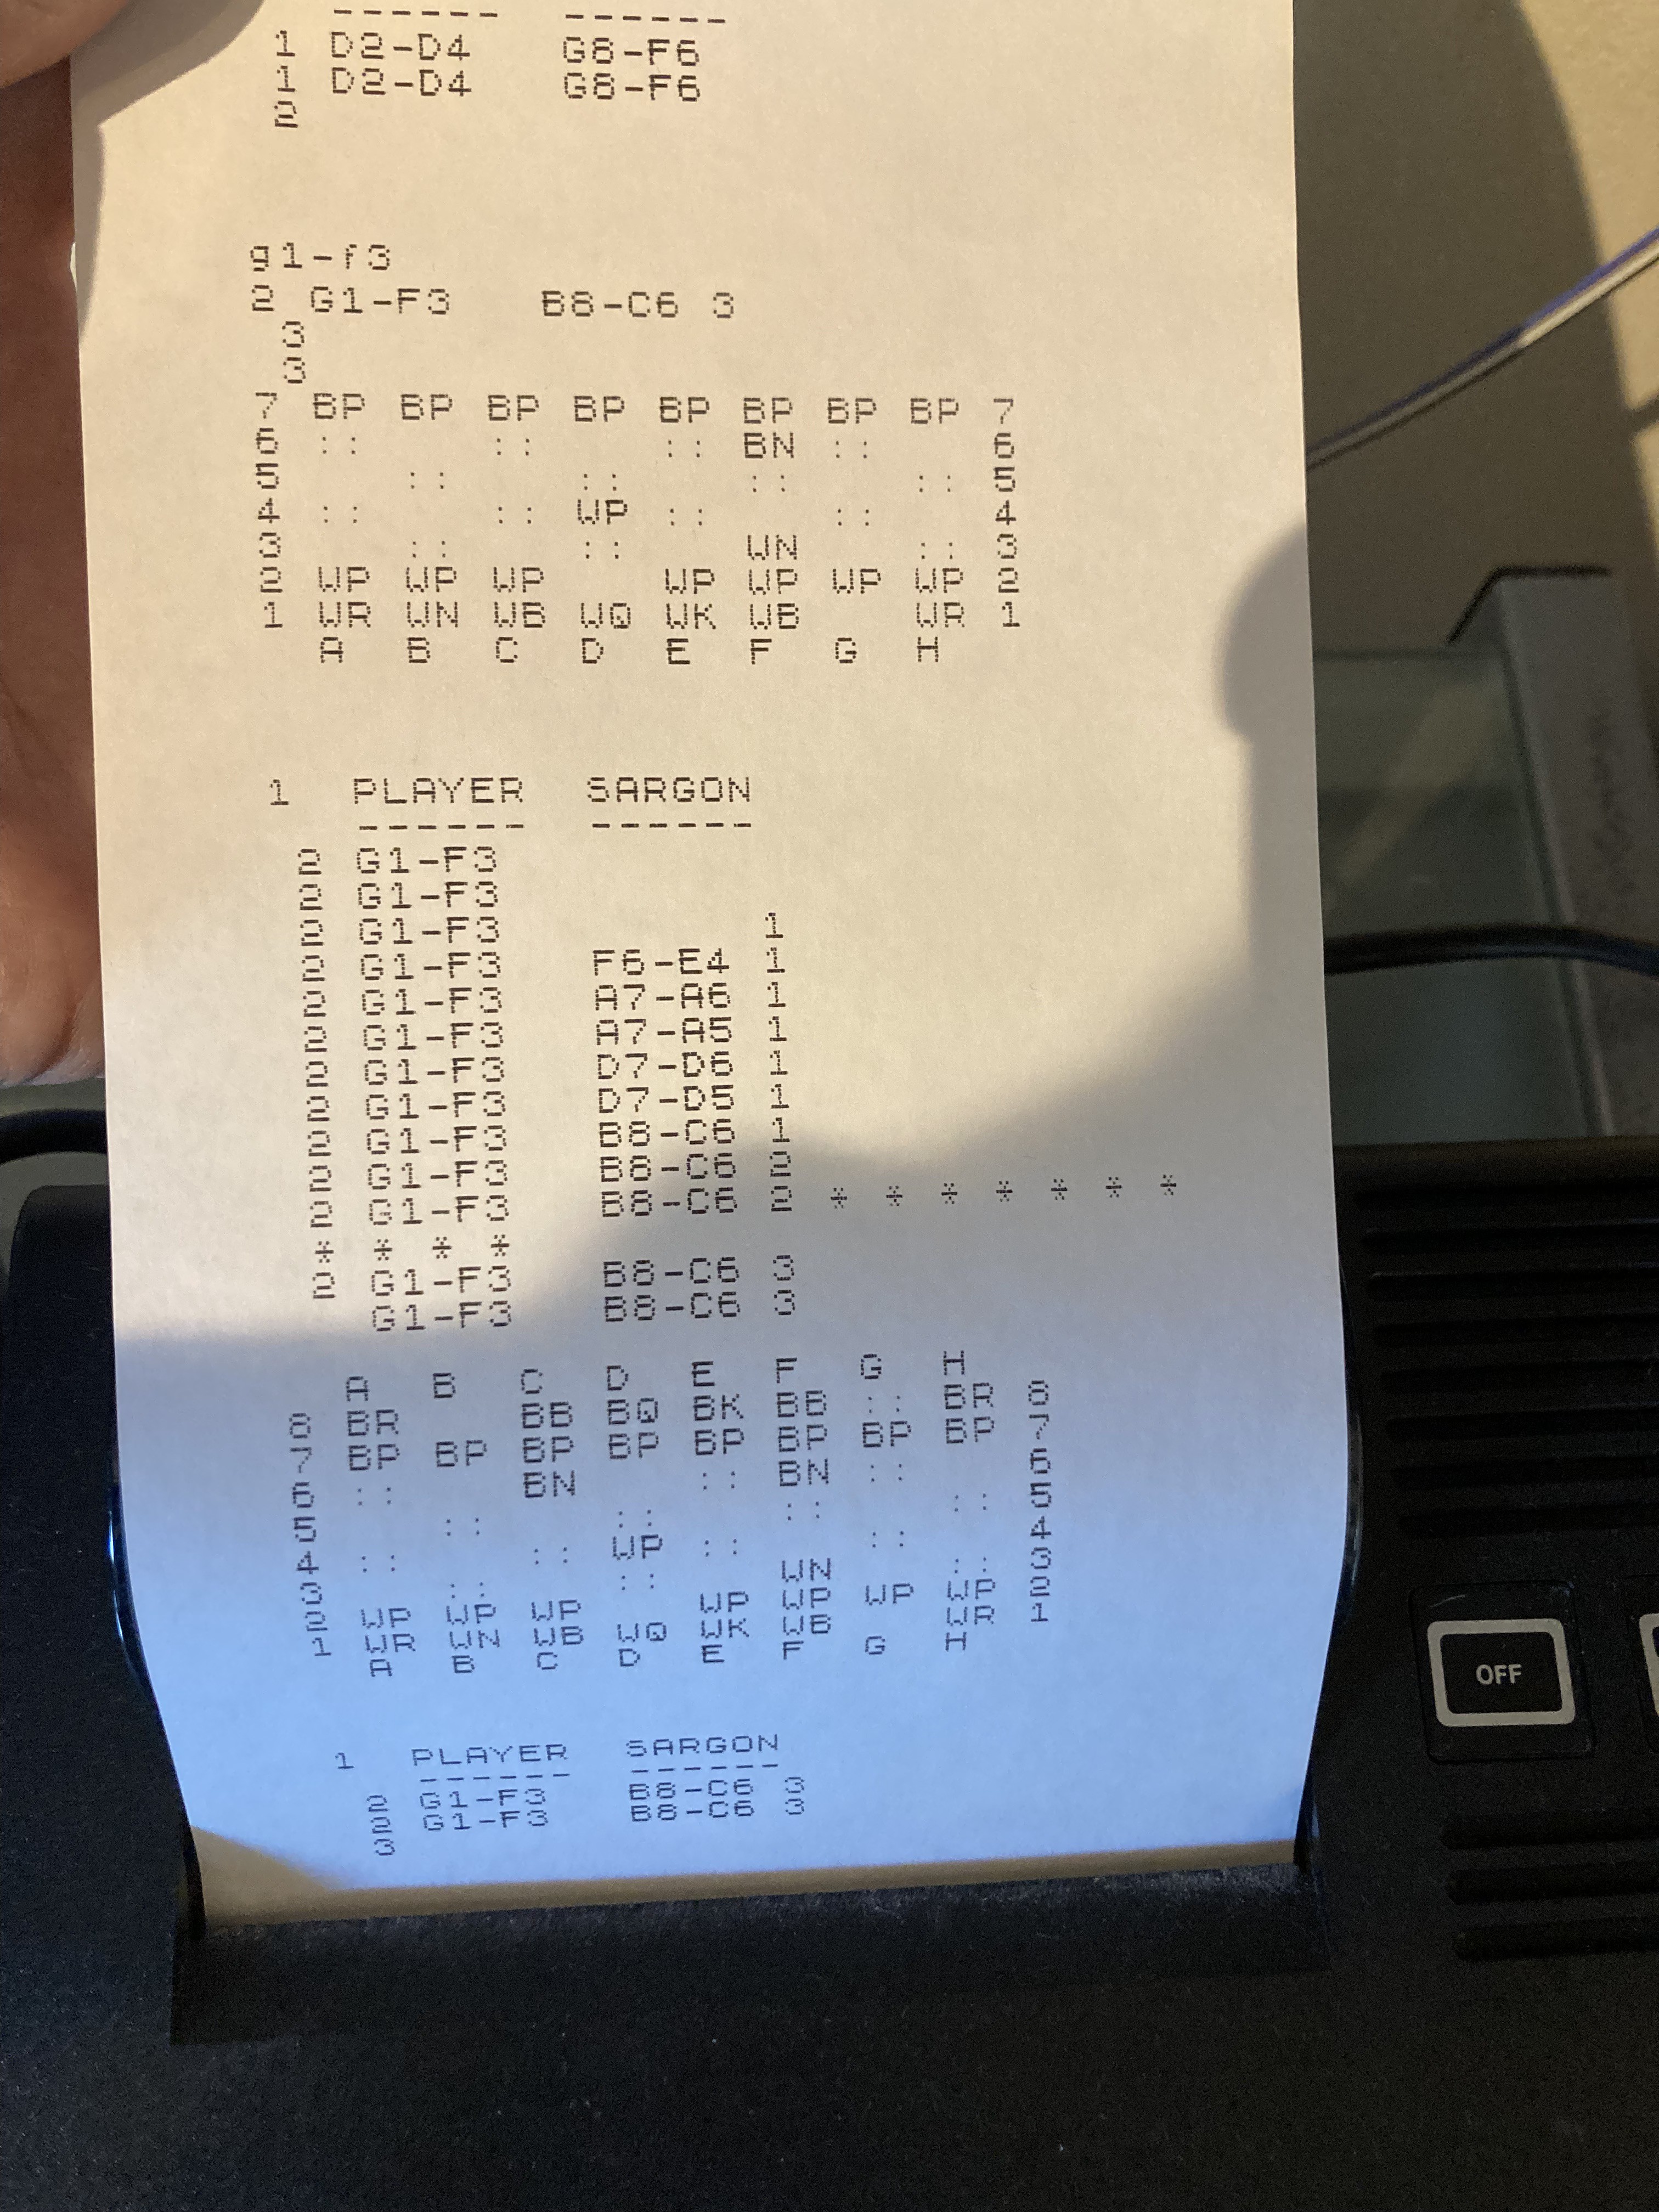
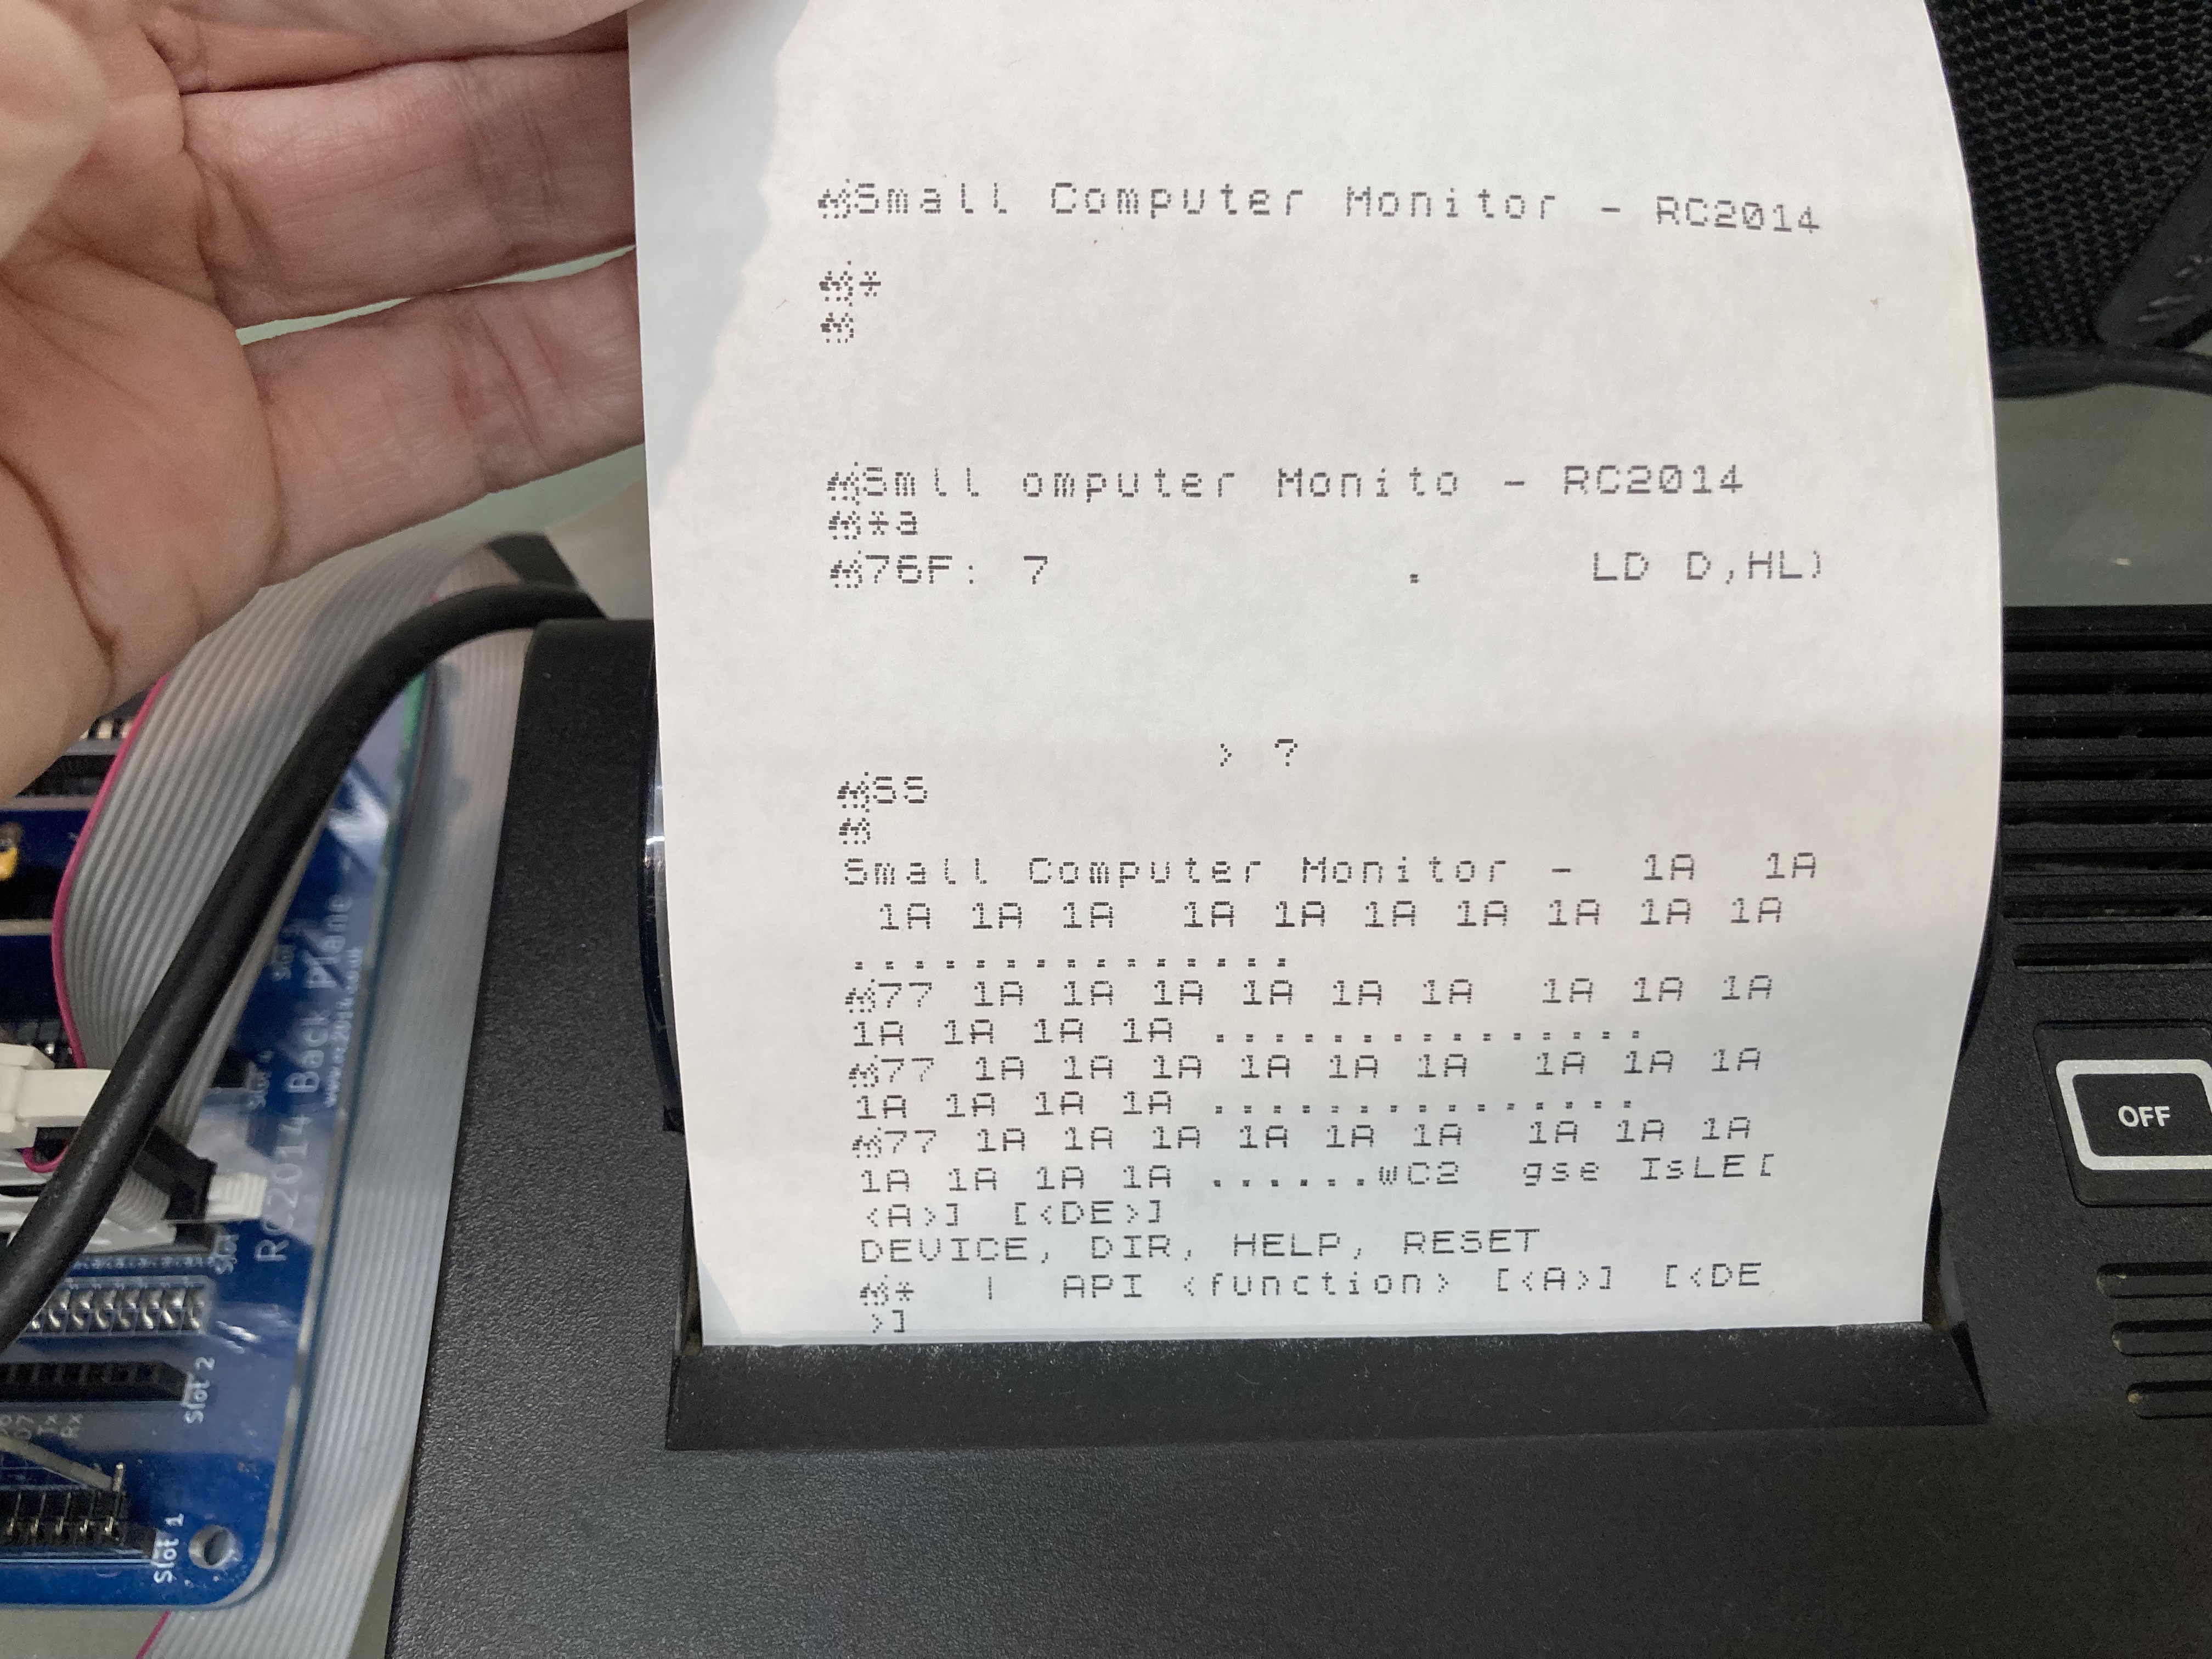
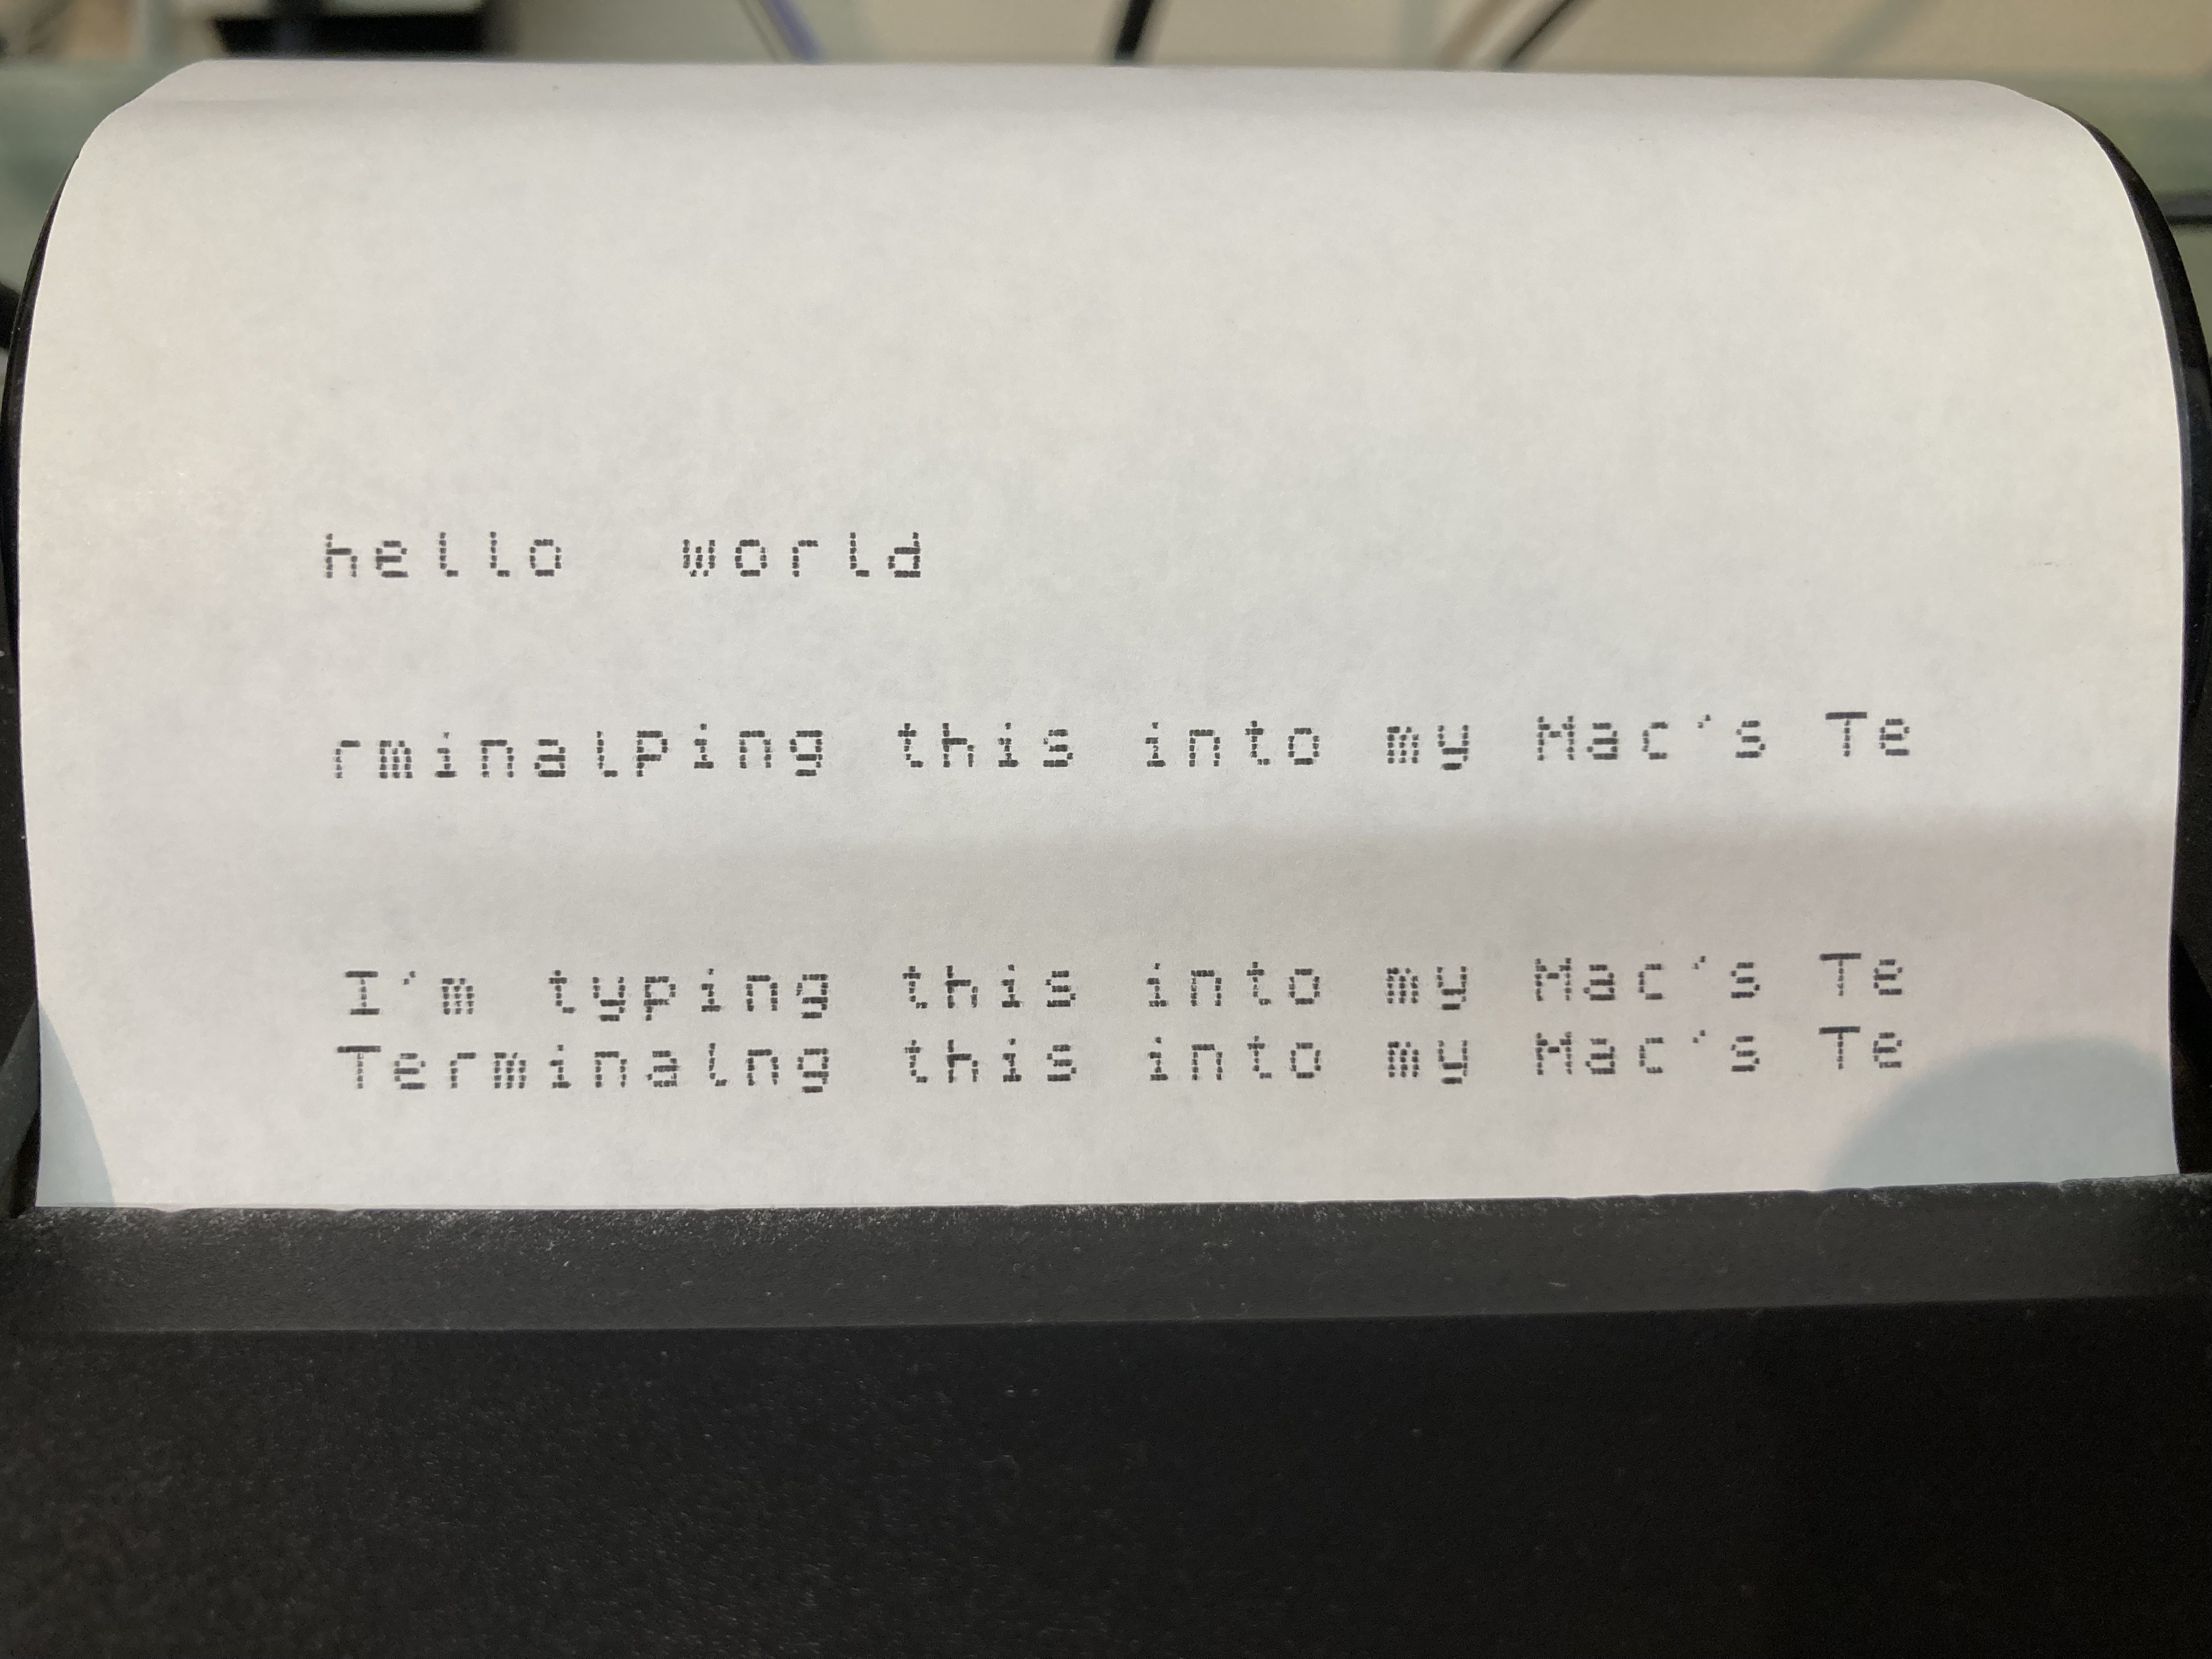
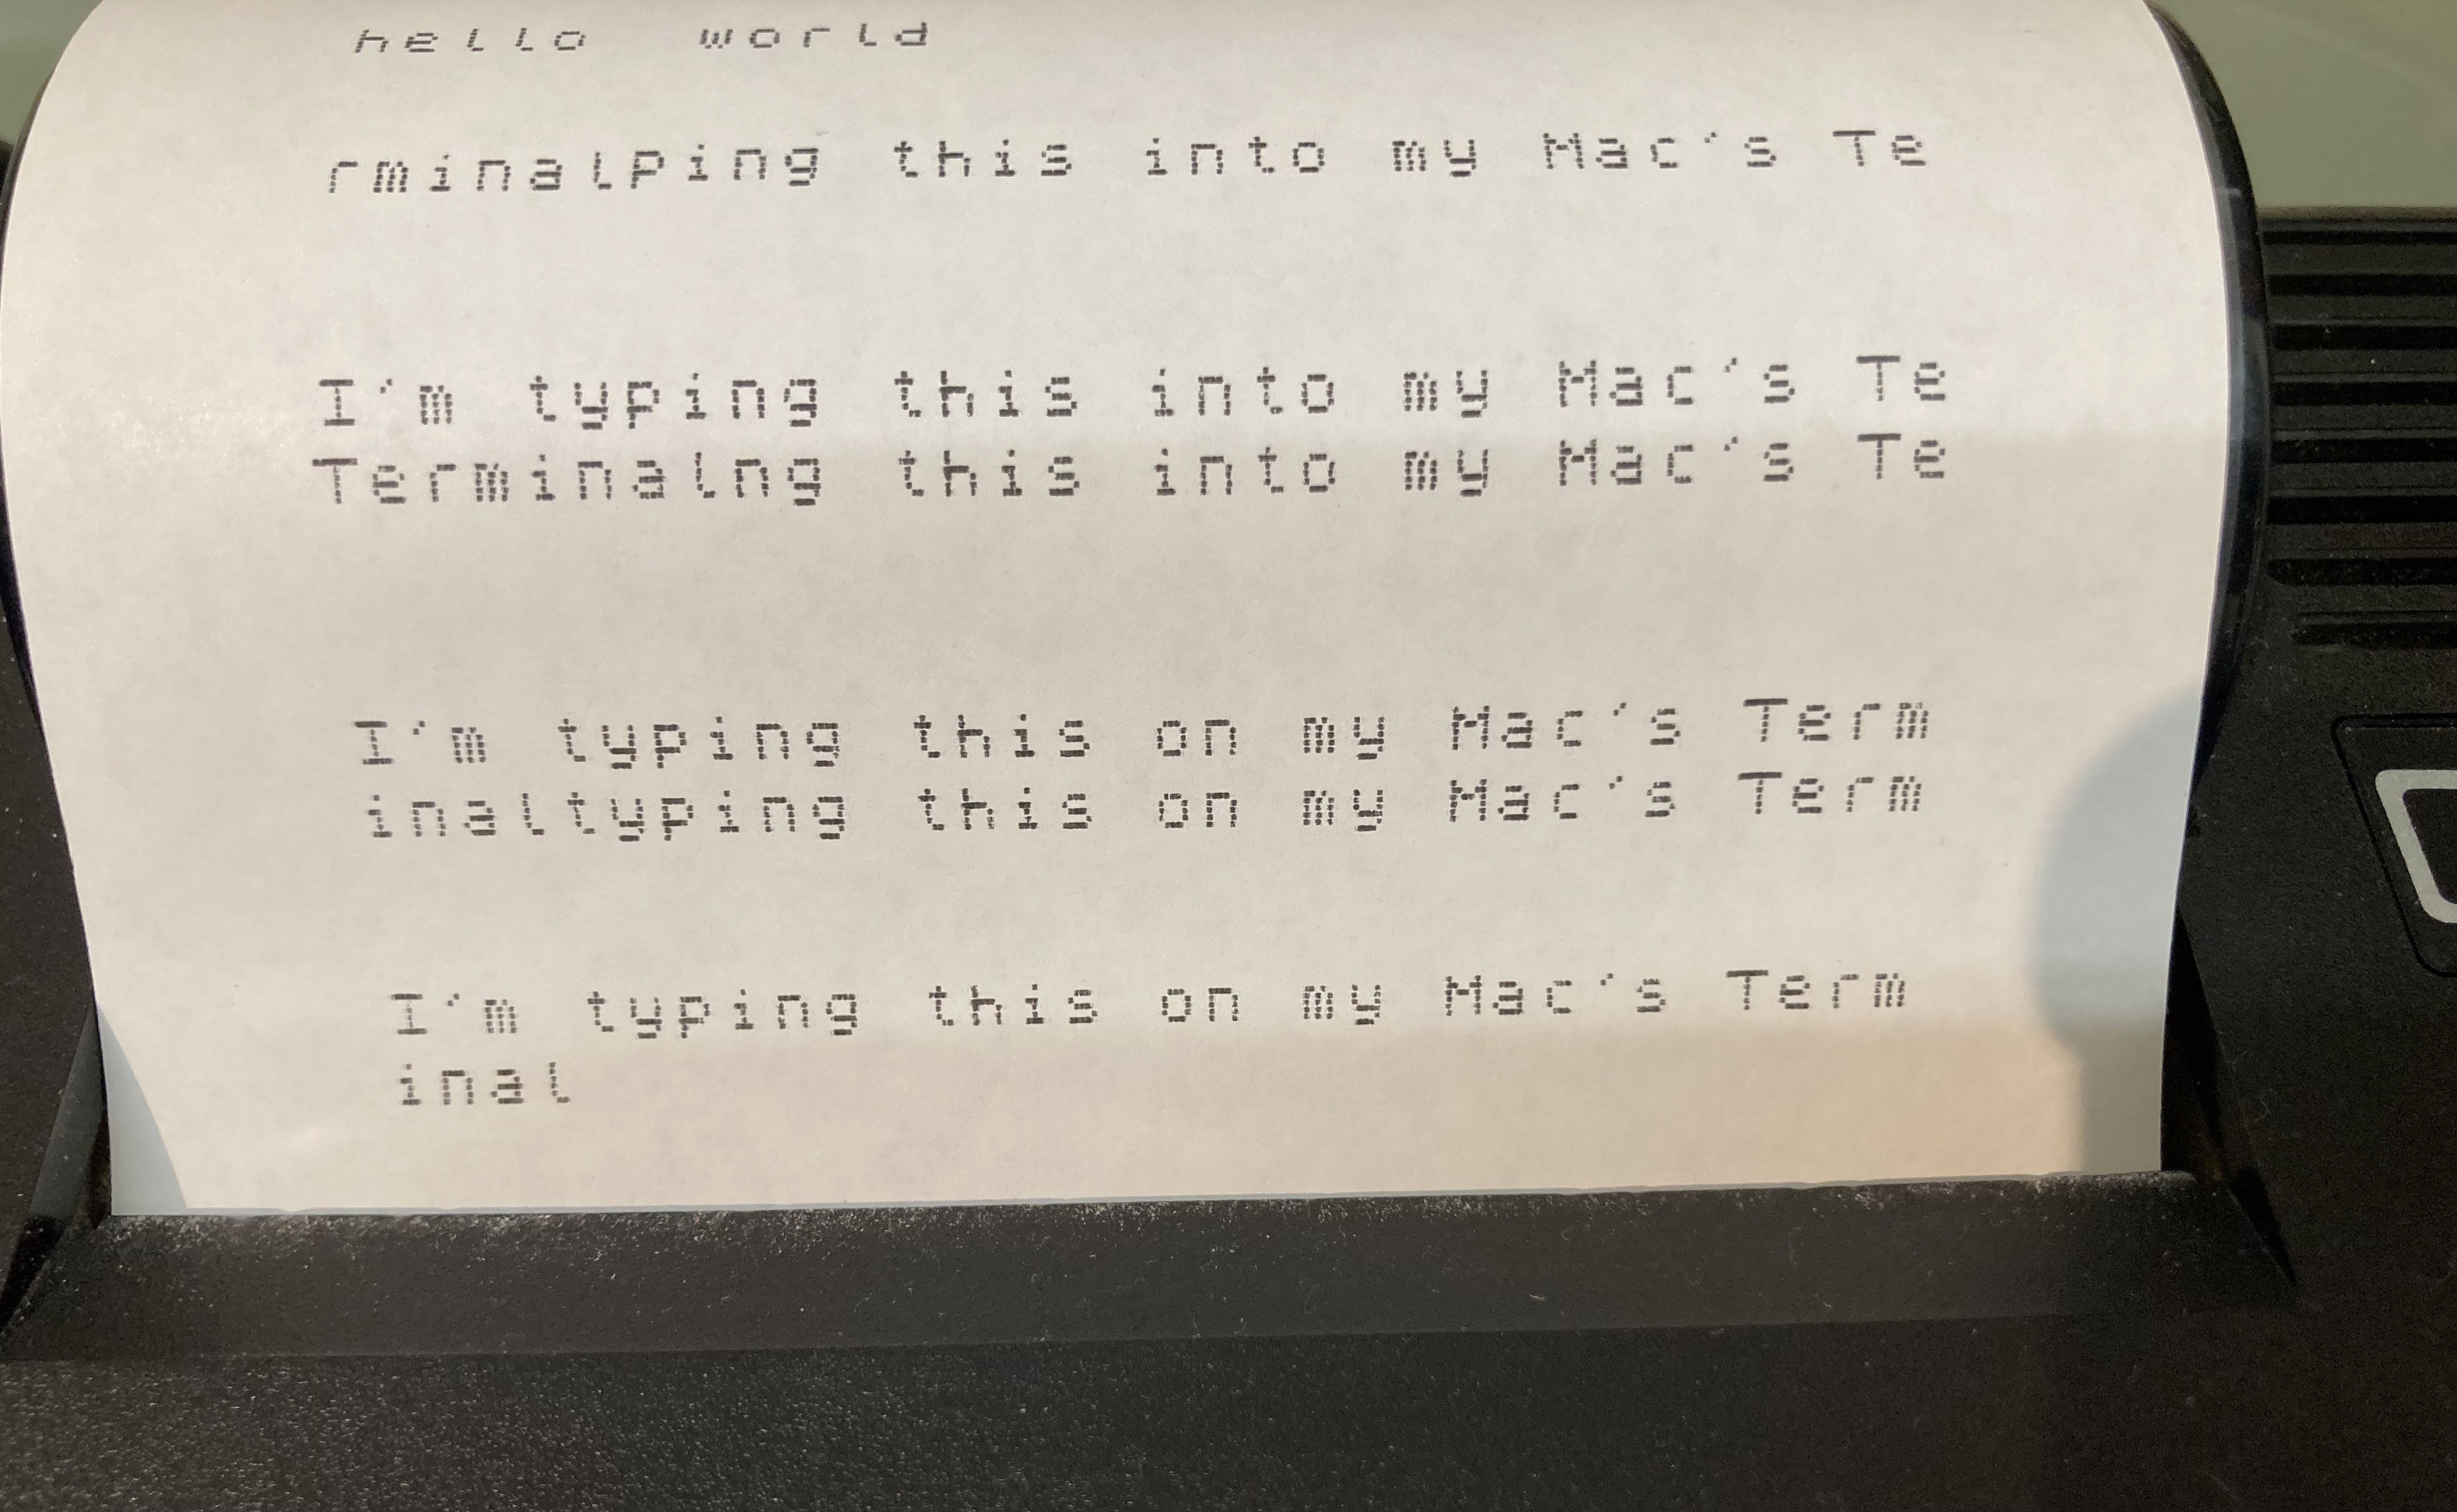
Sargon's output on paper was a mess to start with. Verbose with a lot of repetition.
![]()
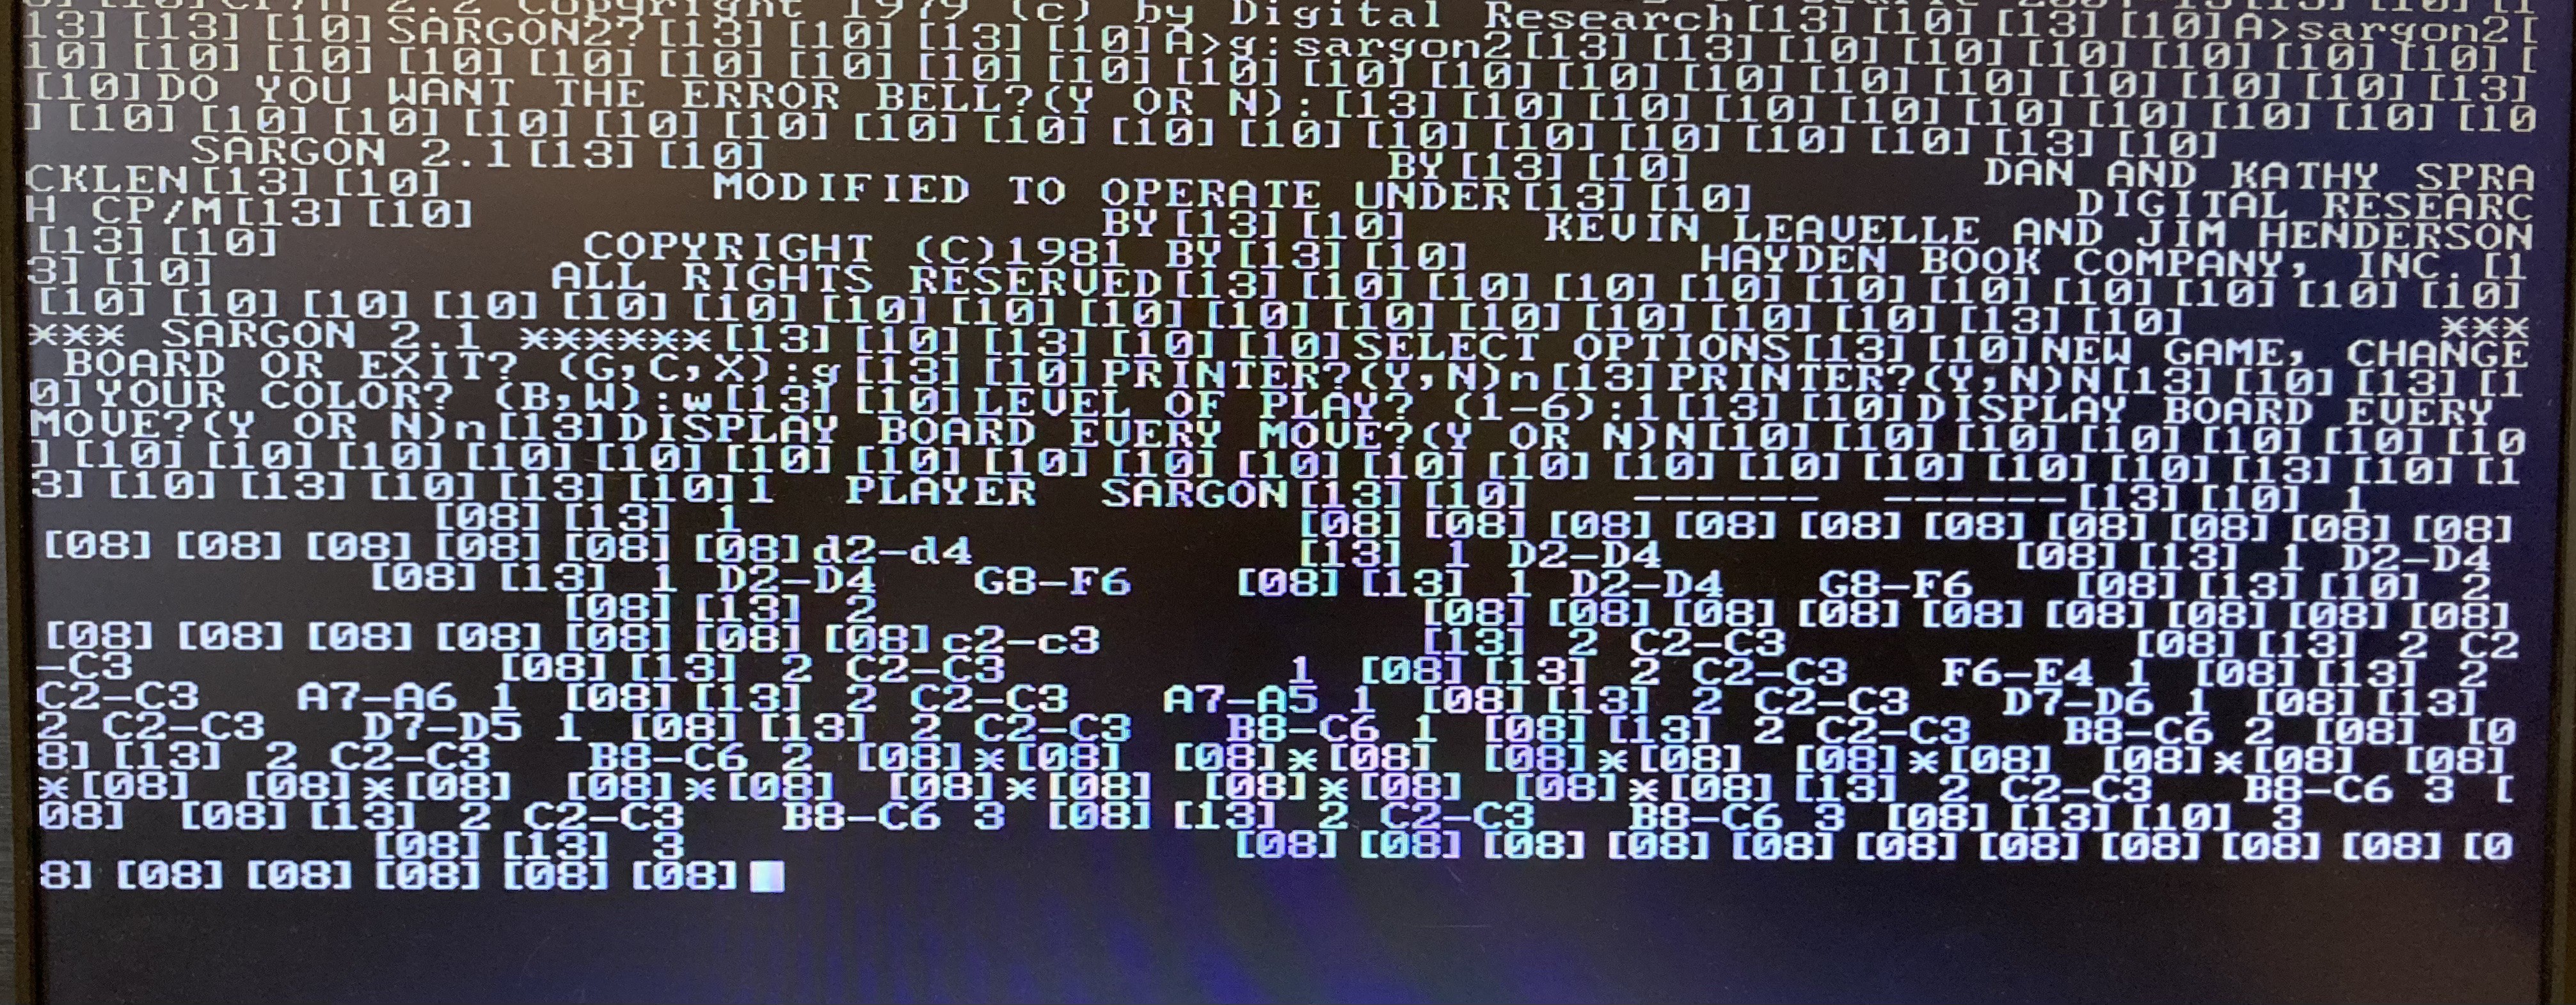
Using a diagnostic tool that allows me to see the actual nonprinting characters being sent, I could see that it's making liberal use of carriage returns, linefeeds and backspaces to format the output.
![]()
For example, when making its own move, it's showing its working by printing the move that it's currently considering, then using a baffling mix of backspaces and CR to go back and overprint with the next possible move (or sometimes just repeat the same thing). This works on a video screen; it acts as a progress indicator as well as giving you the opportunity to see all of the moves that it's considering.
However, with this printer I can't overprint on the same line, even if I want to. It prints pixel row by pixel row and there's no going back.
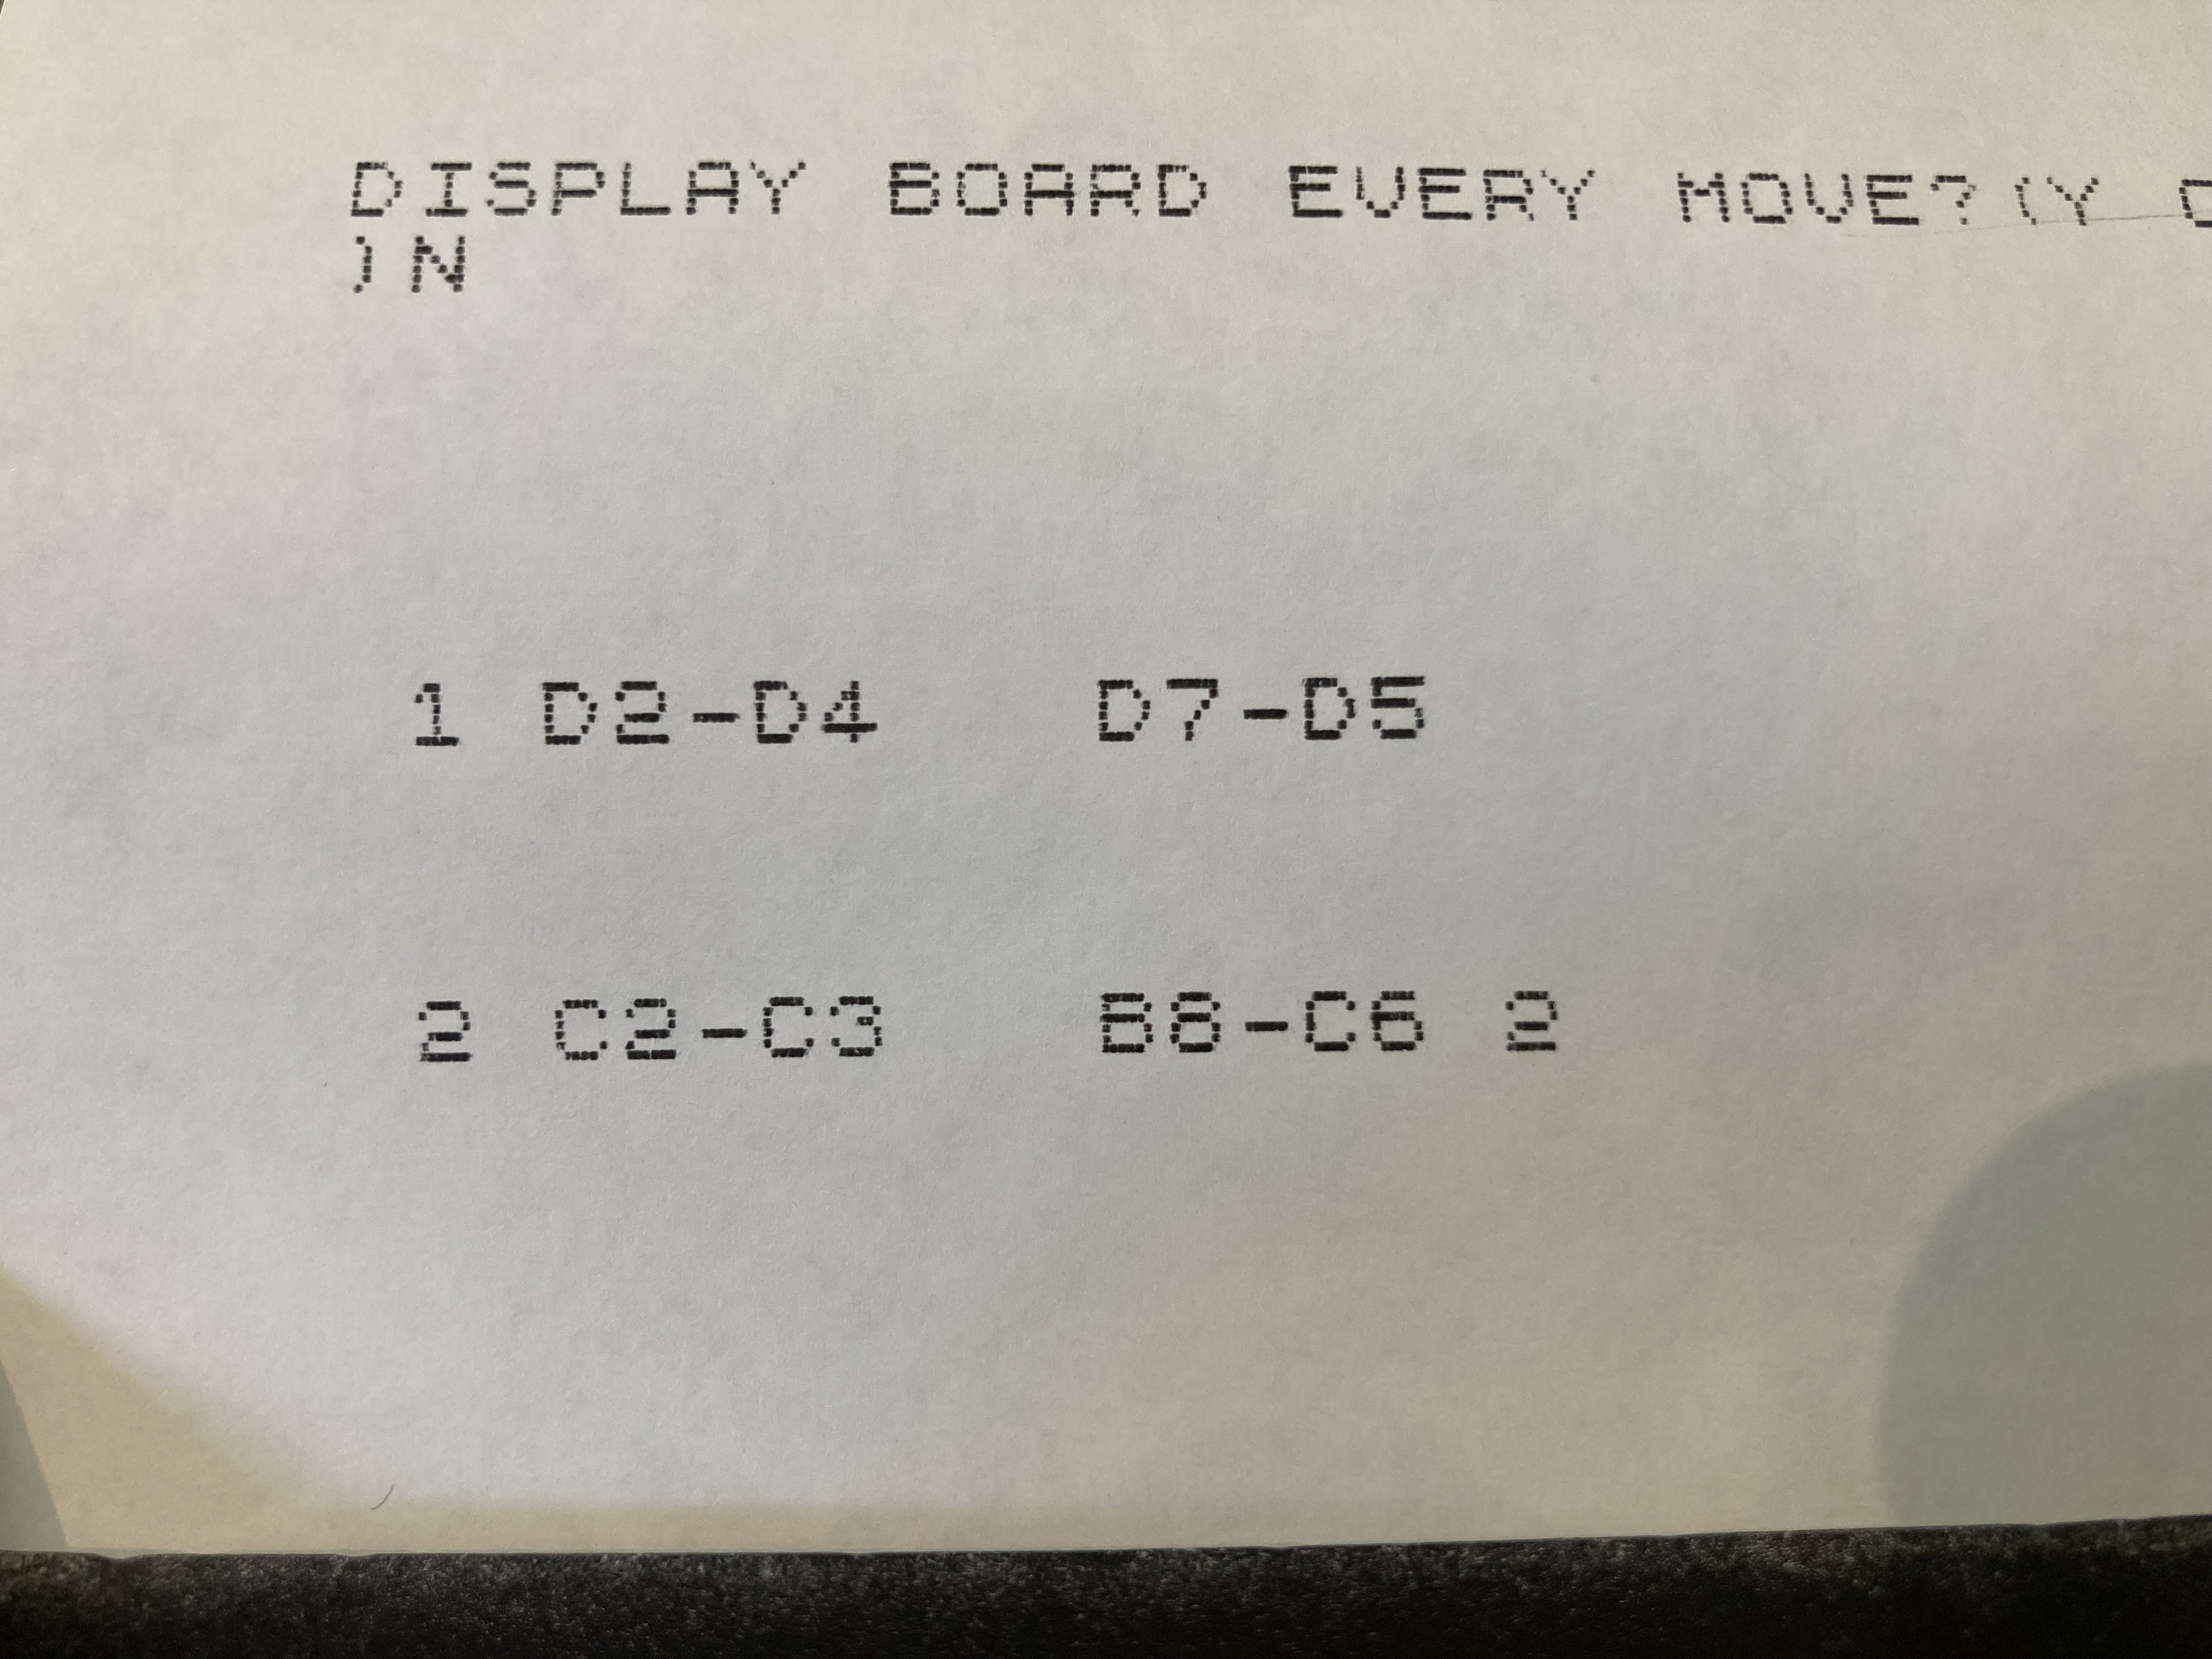
One option is to add the linefeeds and print all of that out so that you can read it all. But I decided it was best to save paper and observe all of the backspaces and carriage returns. my software doesn't actually send anything to the printer until there's a full line (or a LF).
This works nicely and the result is quite neat, just echoing the player's move and showing the computer's chosen move. (Often you have to use the paper-advance button on the printer because the line it has just printed is hidden until it advances another line).
![]()
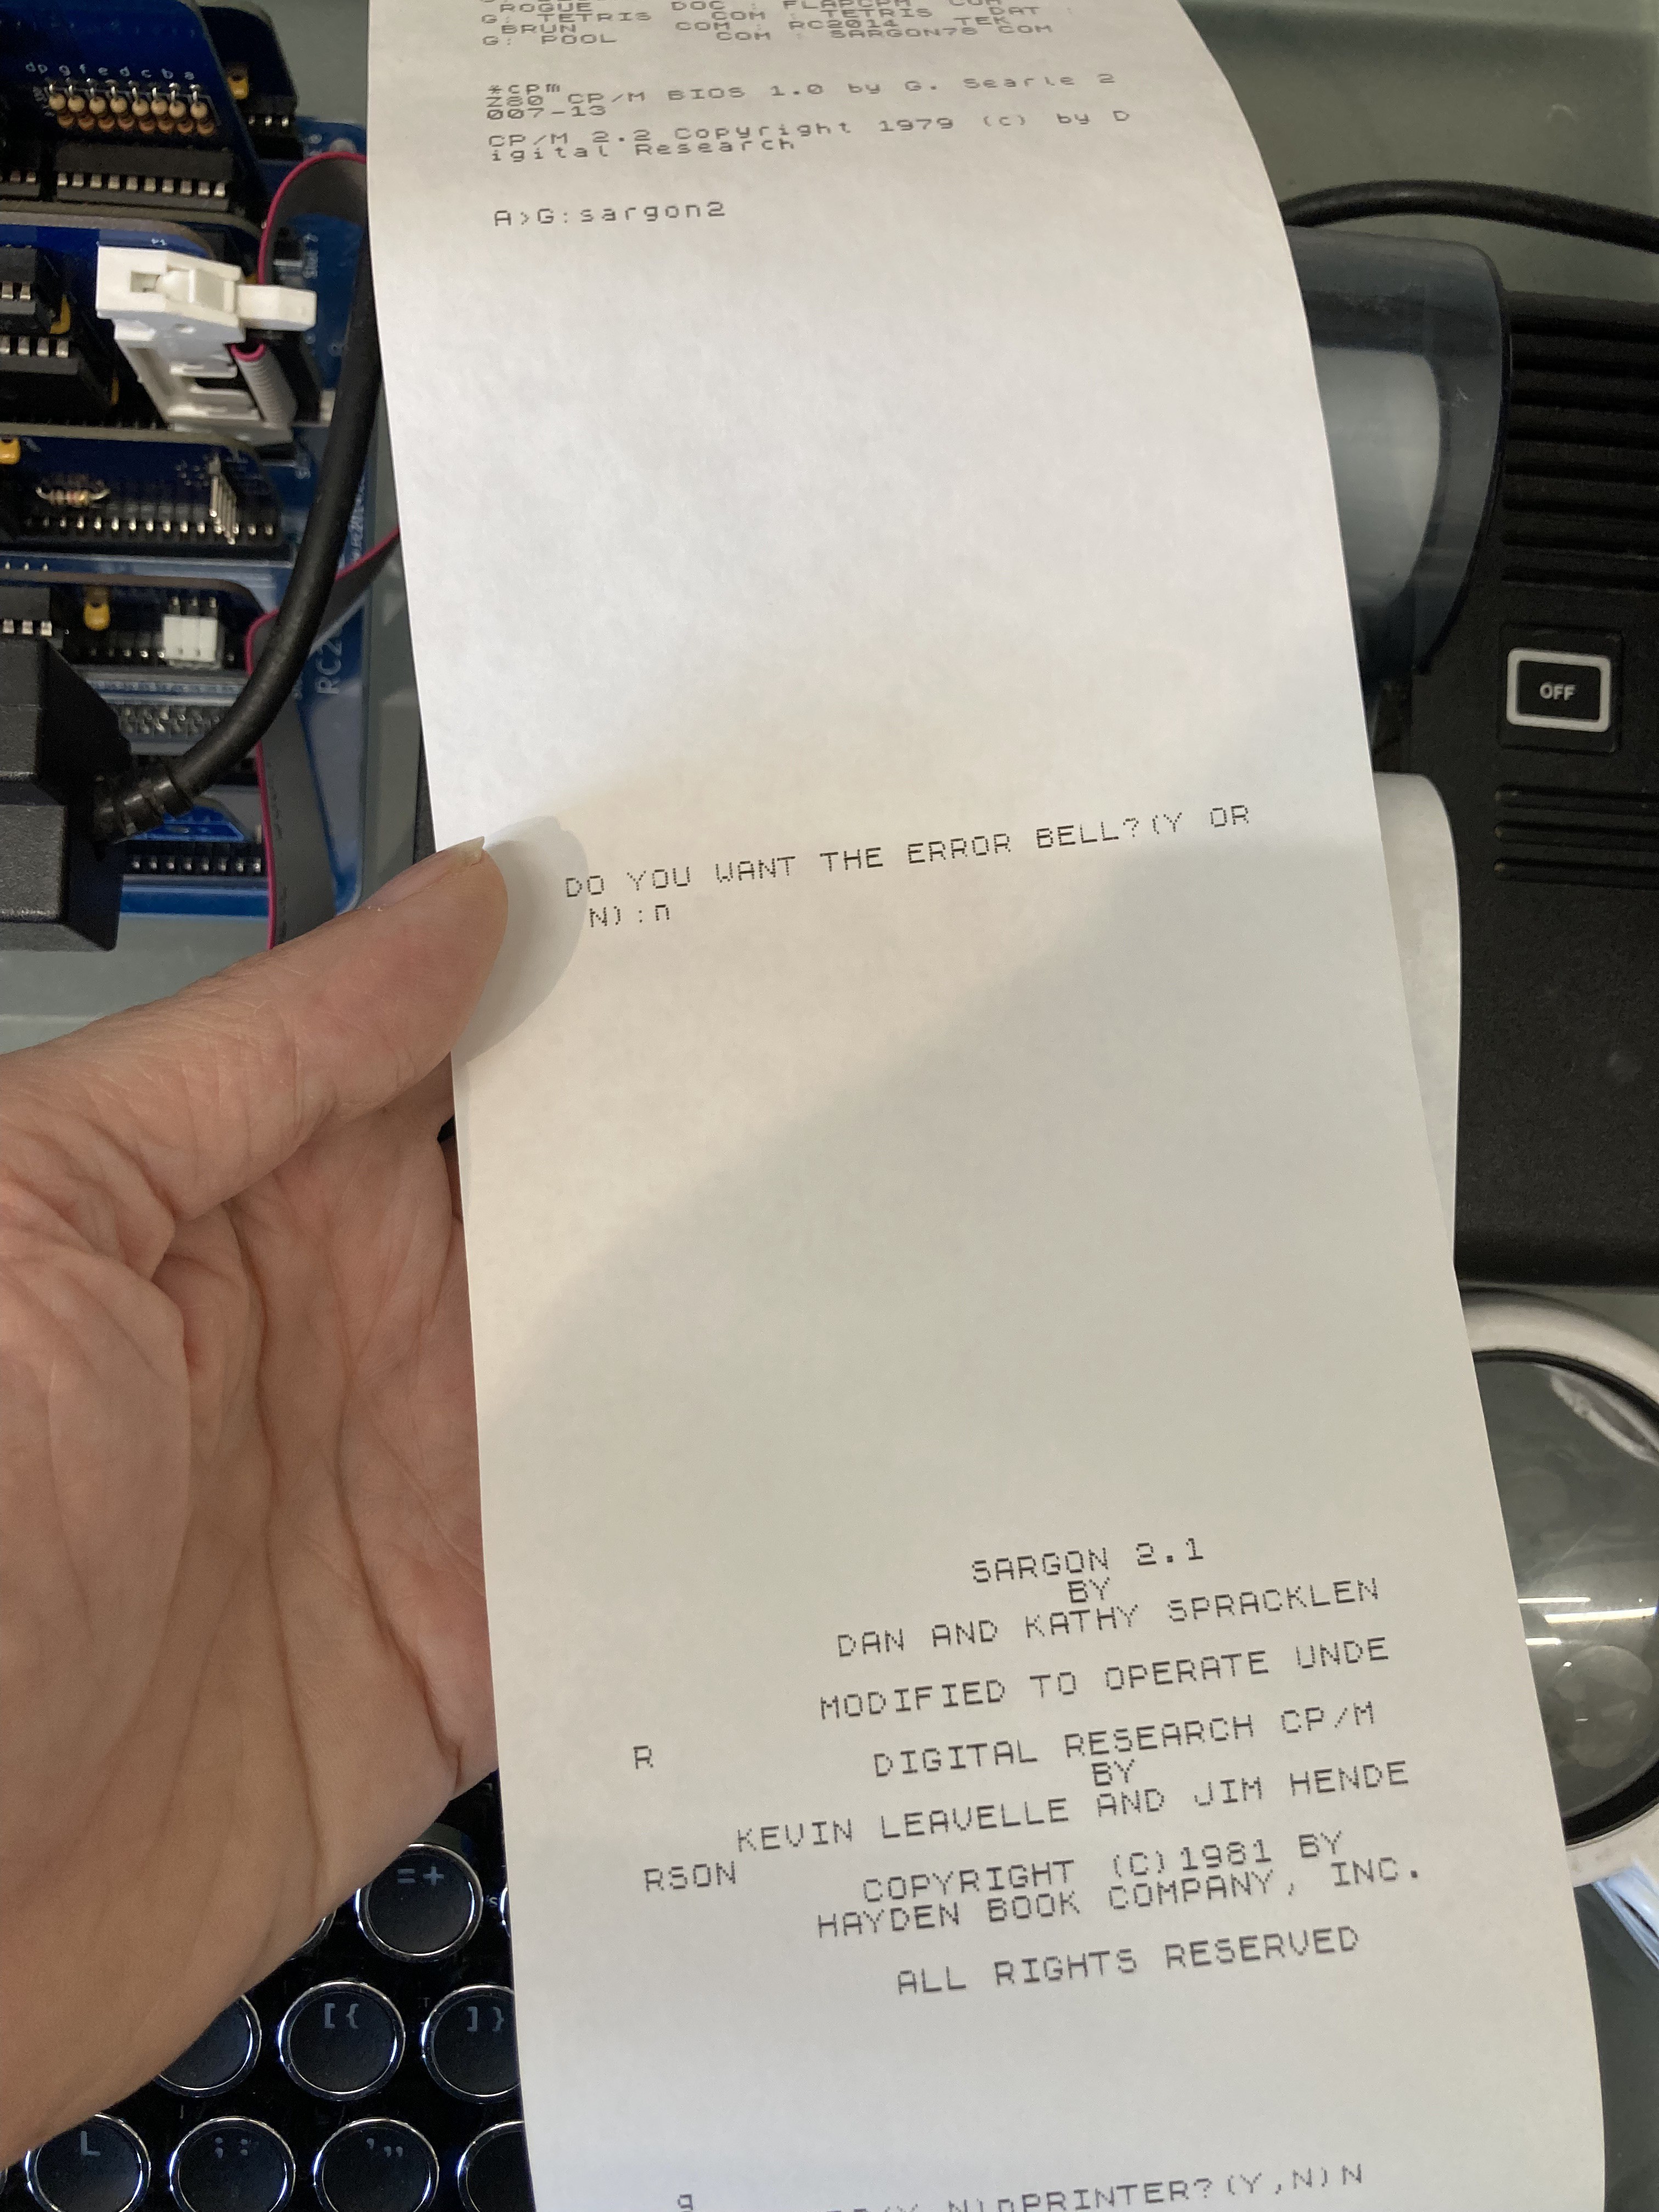
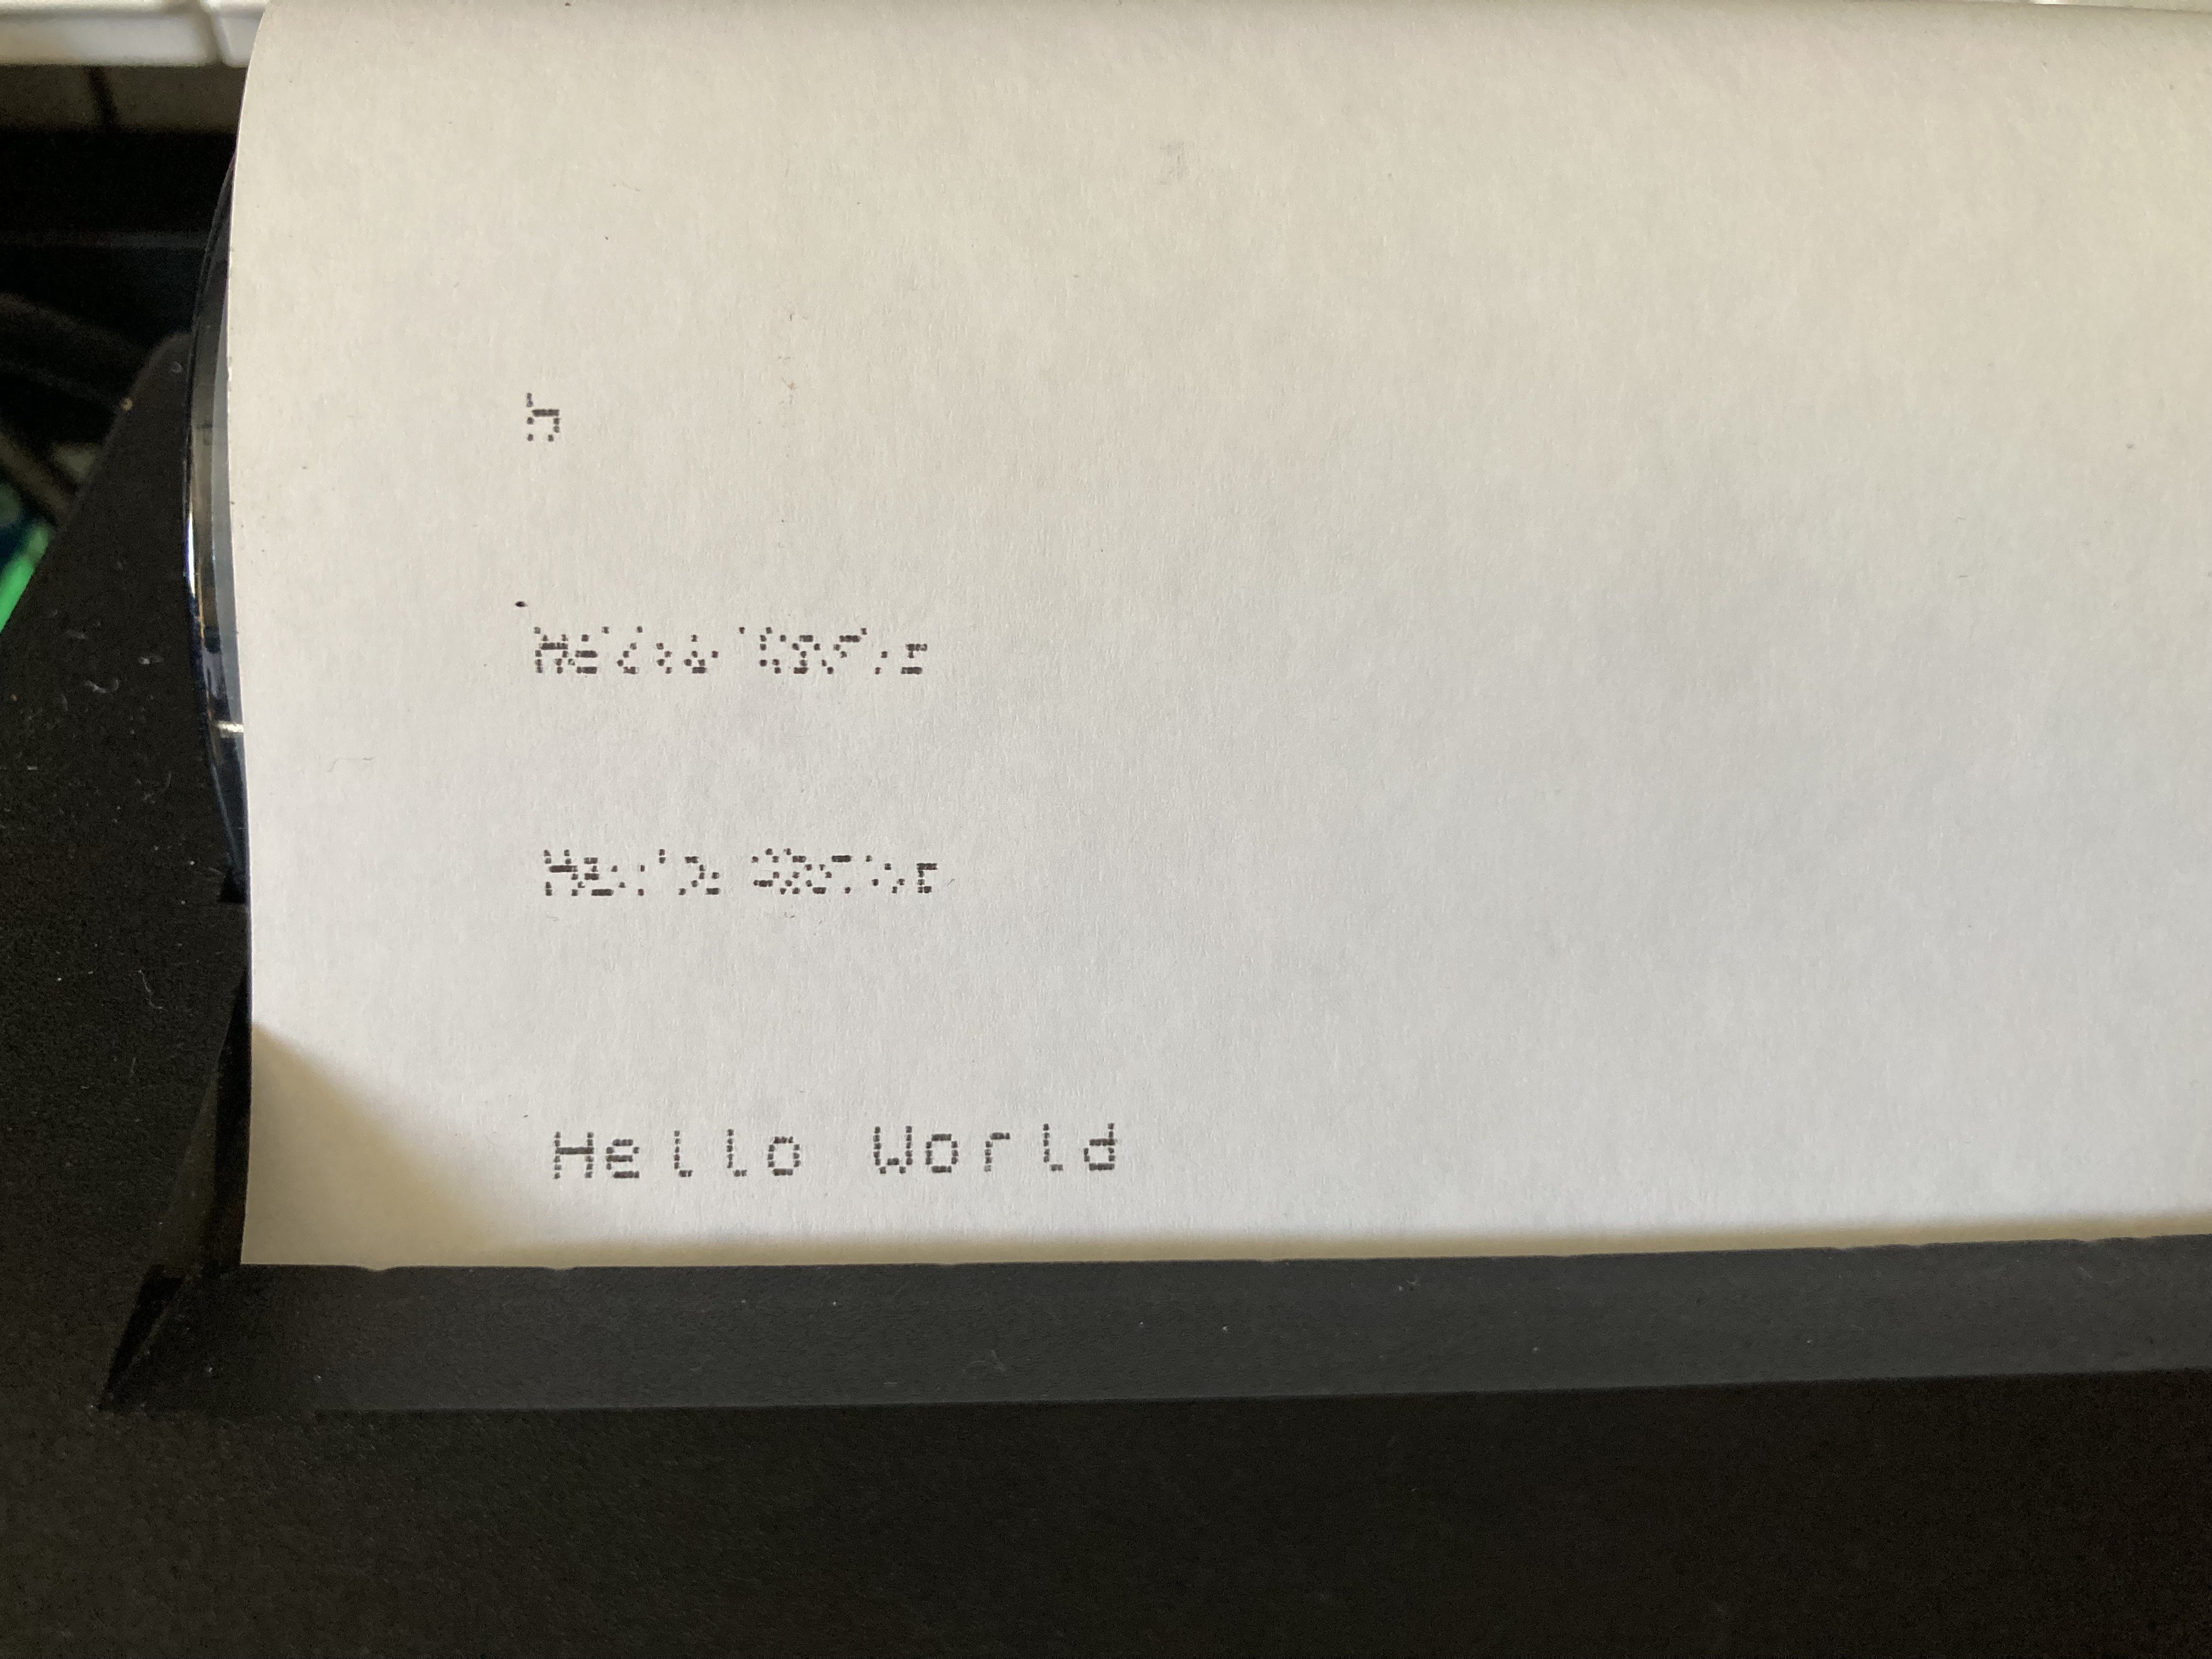
Another issue is that Sargon2 clears the screen three times during startup using a bunch of linefeeds. This is a waste of paper (which is easy to get but isn't cheap).
![]()
I've decided to intercept multiple linefeeds with no printable characters and print a maximum of one empty line at a time. This is a little more tricky than it sounds because of the program flow, but I'll sort that out.
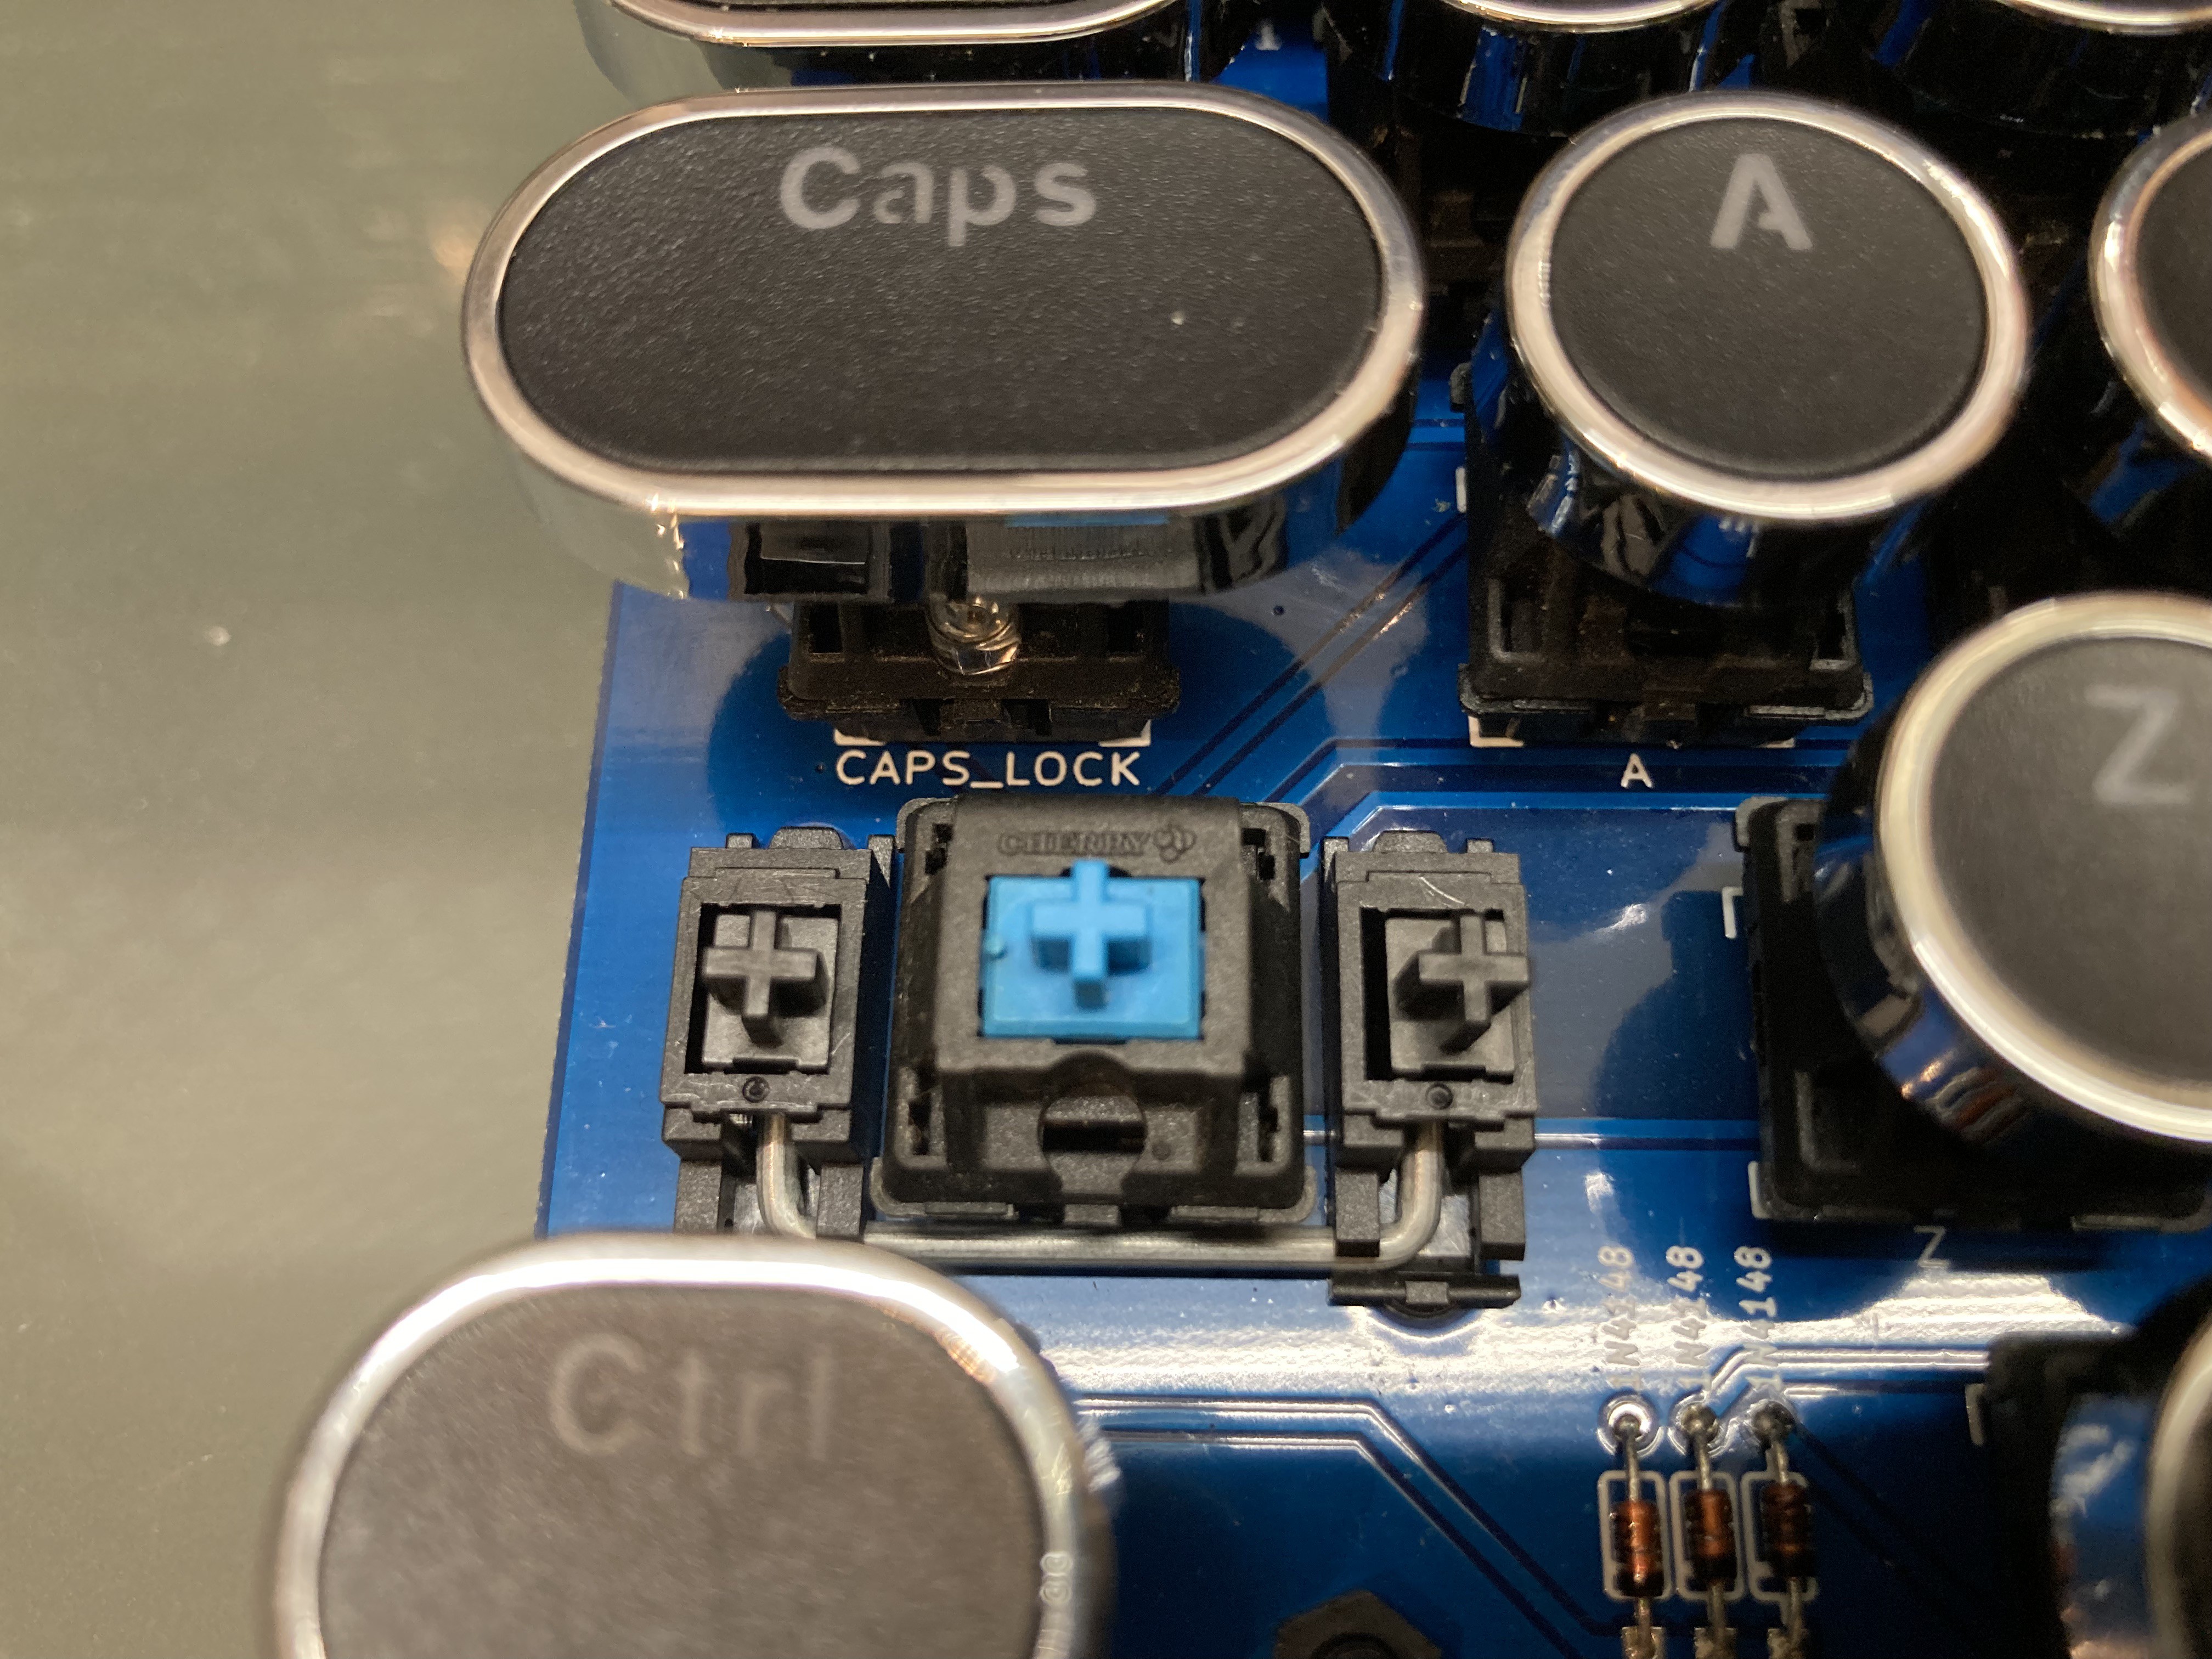
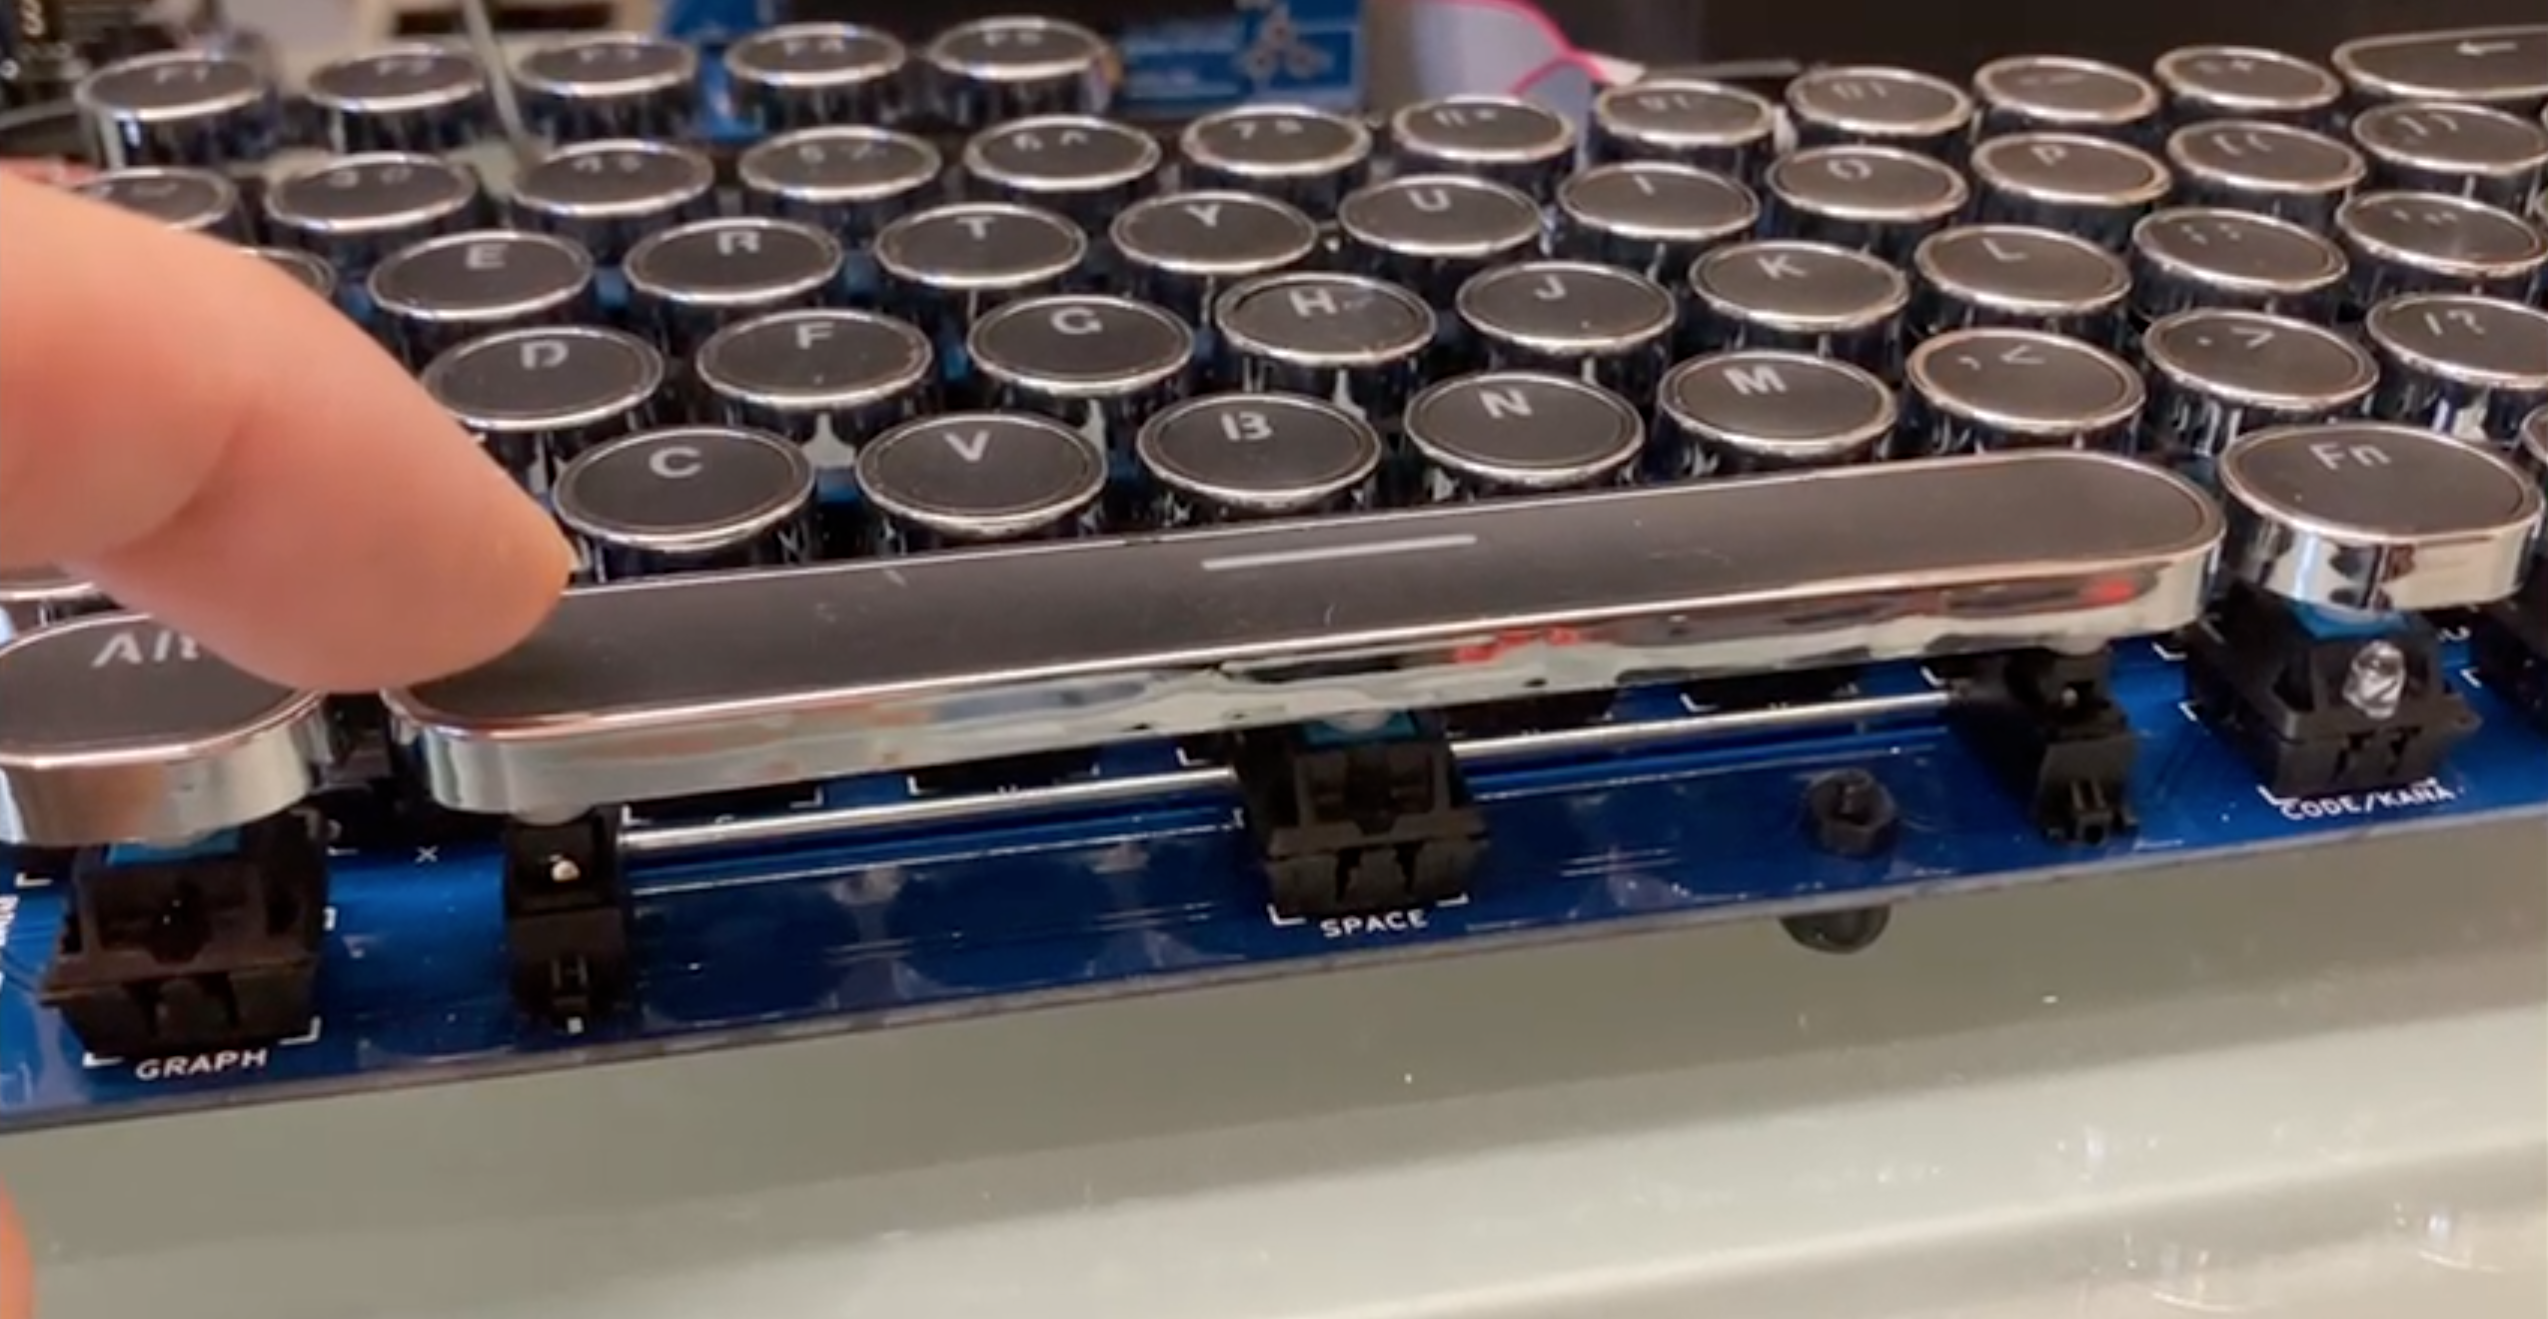
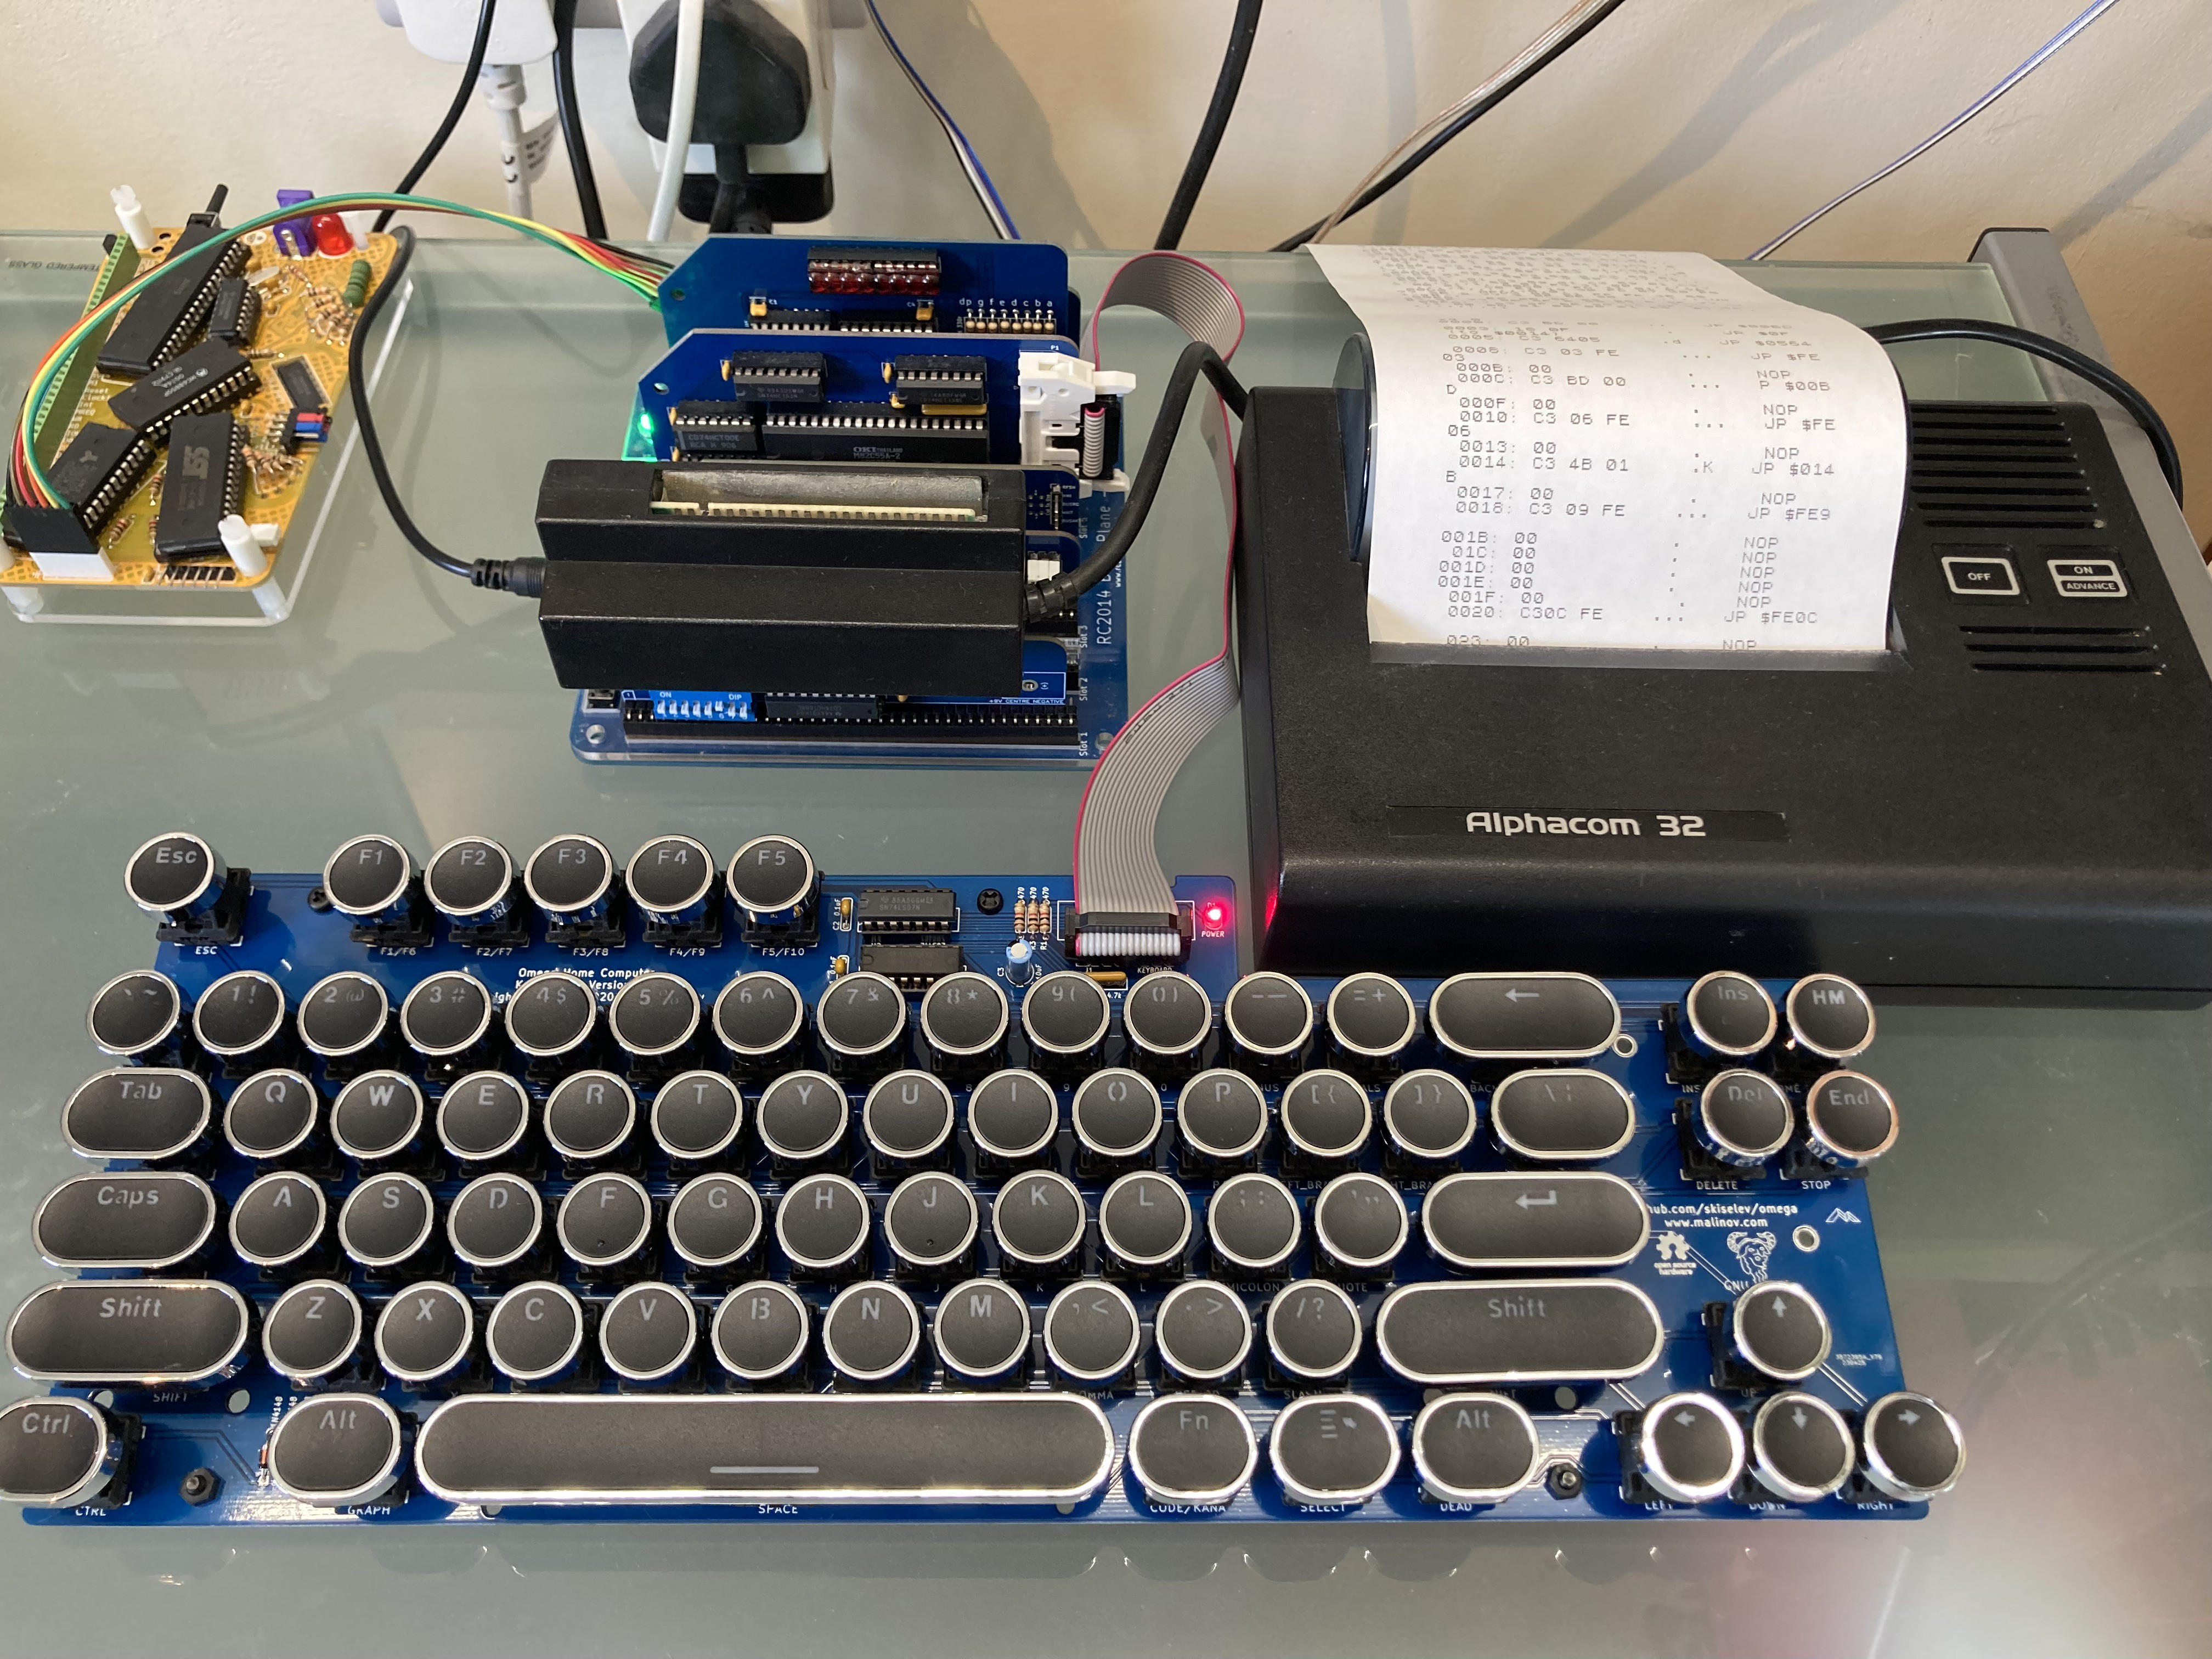
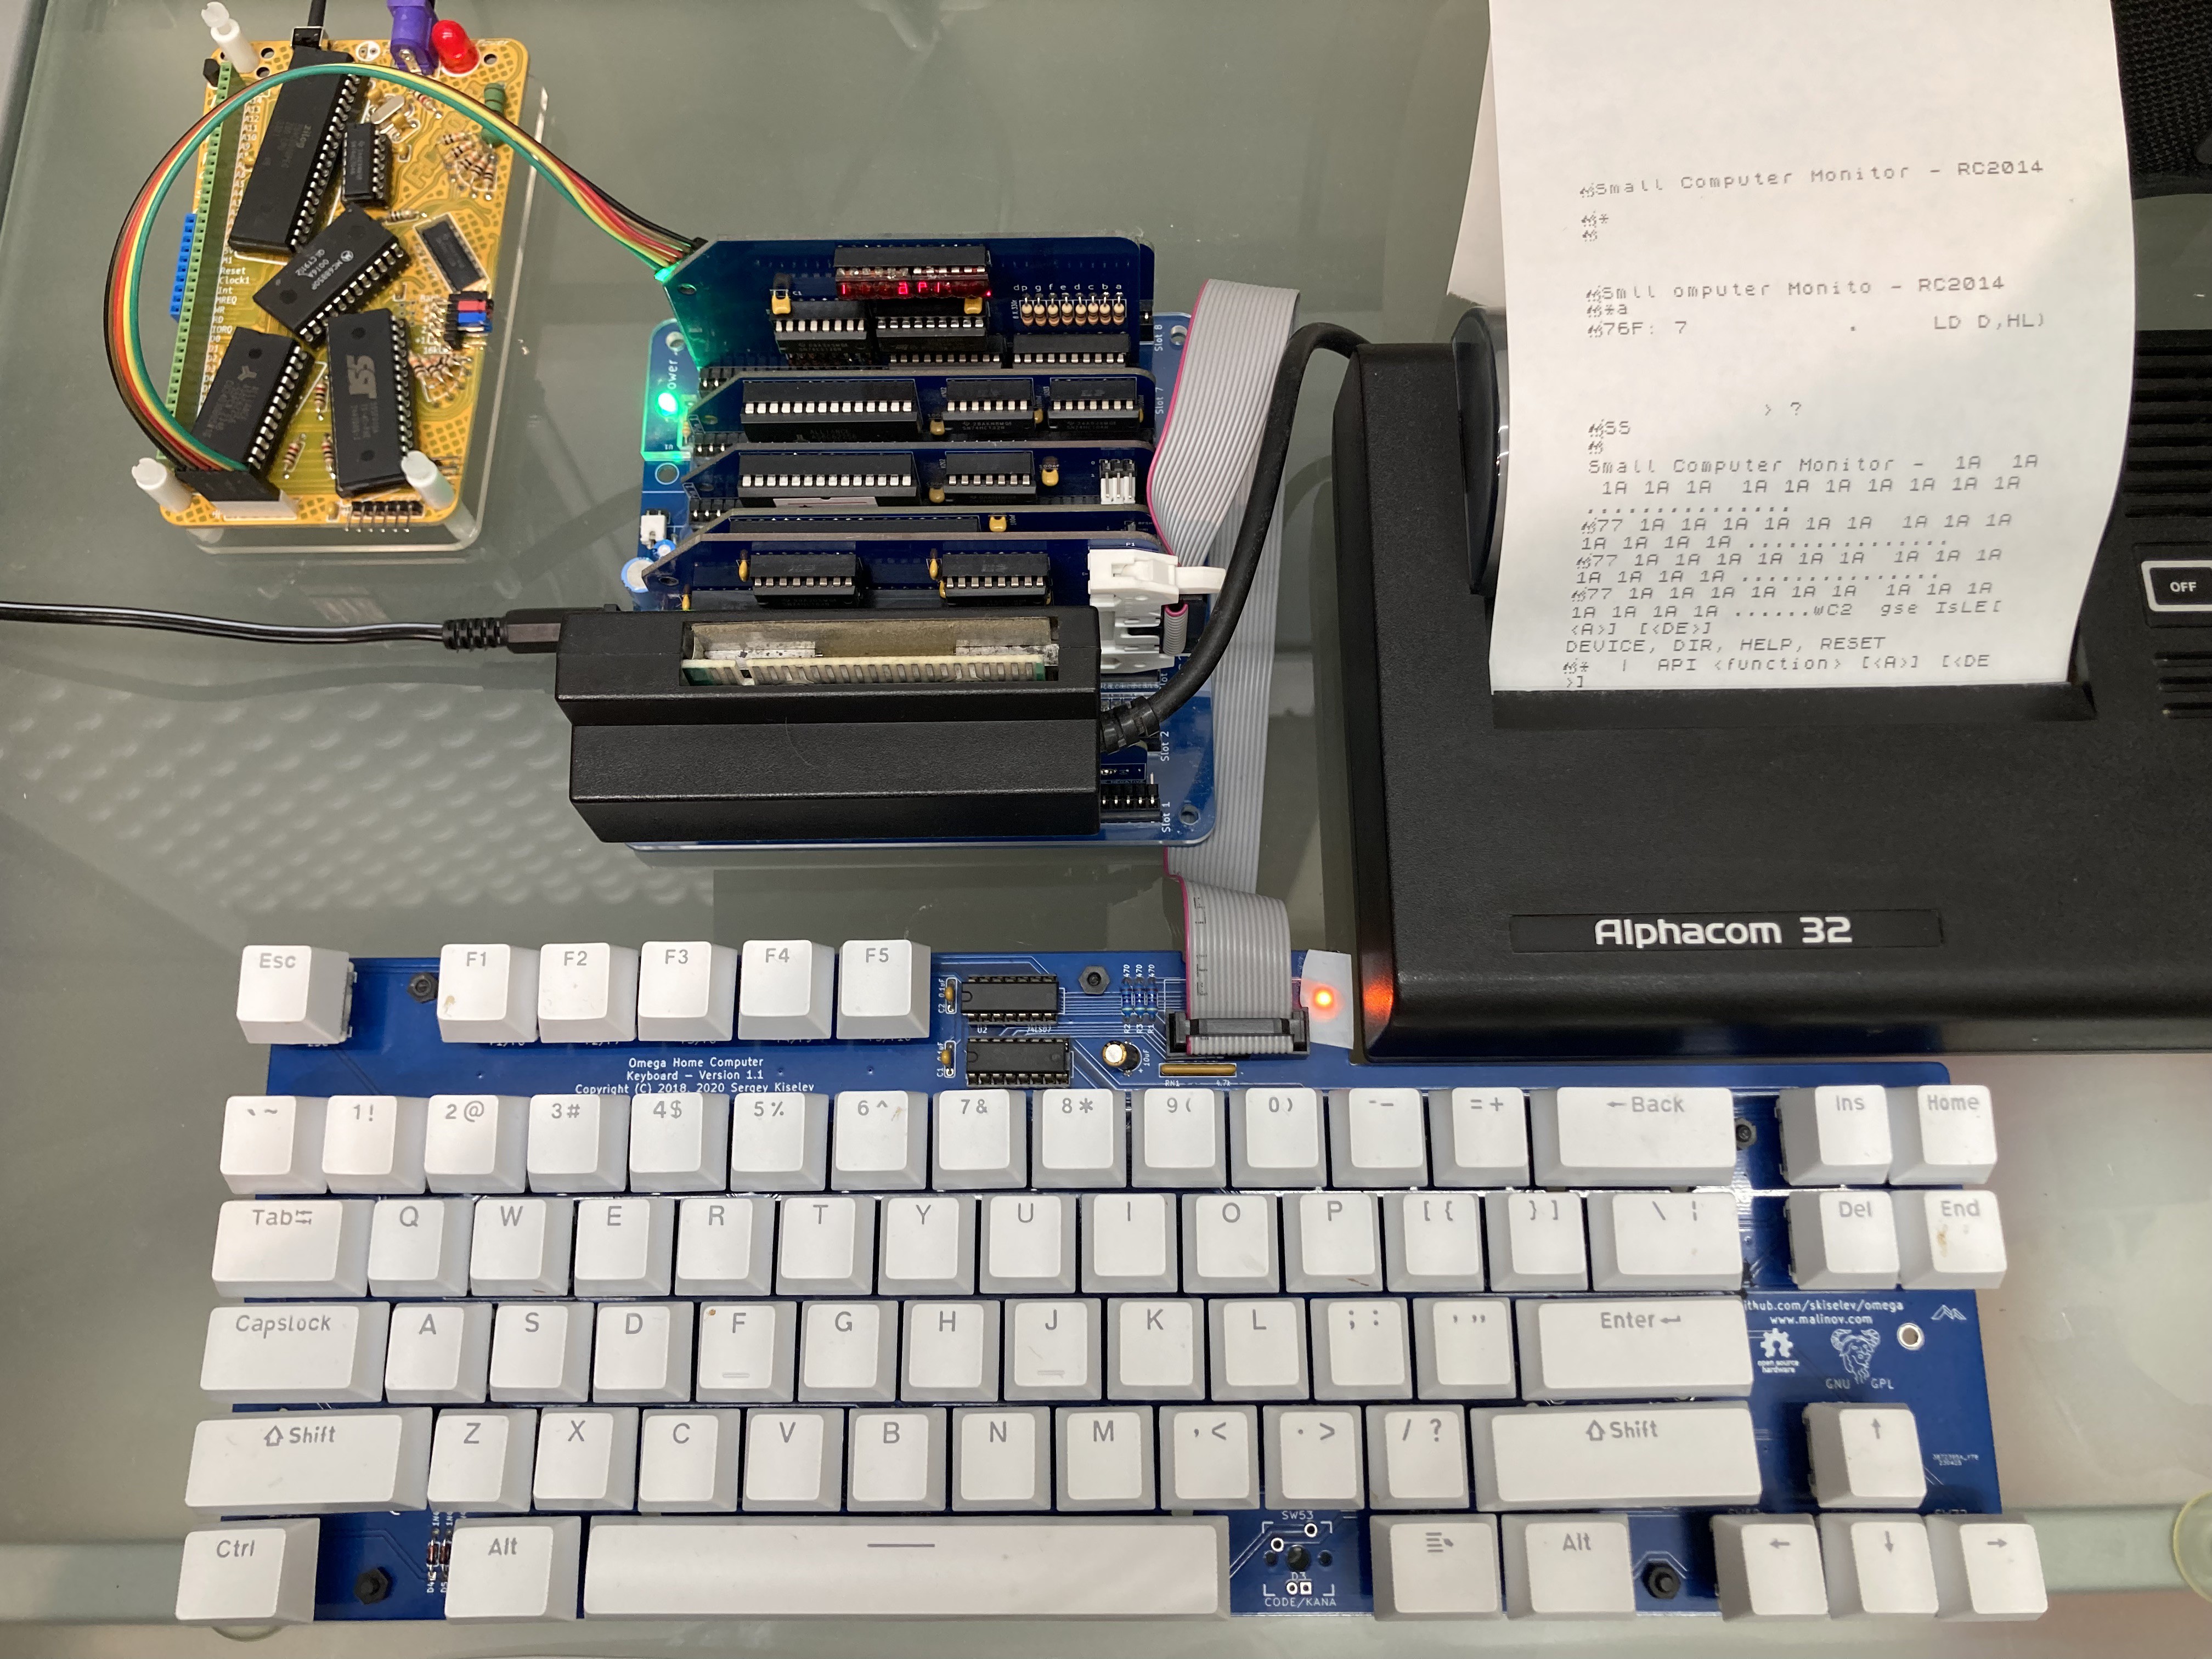
On the hardware side, I've received and fitted the stablisers to my keyboard, which has improved it. I now know more than I wanted to about how these things fit.
![]()
![]()
-
Log 7: new keyboard!
09/11/2026 at 23:23 • 0 commentsFor purely aesthetic reasons, I built another keyboard.
The previous Omega MSX keyboard I built (as shown in previous logs) worked perfectly well but I had another PCB and a couple of things came together. First I spotted a modern gaming keyboard at a local car boot sale which had genuine Cherry blue switches ripe for harvesting. And I found these typewriter-style keycaps at a very low price on Ali Express.
![]()
I haven't yet fitted the stabilisers but I have ordered the right ones and they're on the way.
![]()
The typewriter-style keys really look the part. I'm very chuffed.
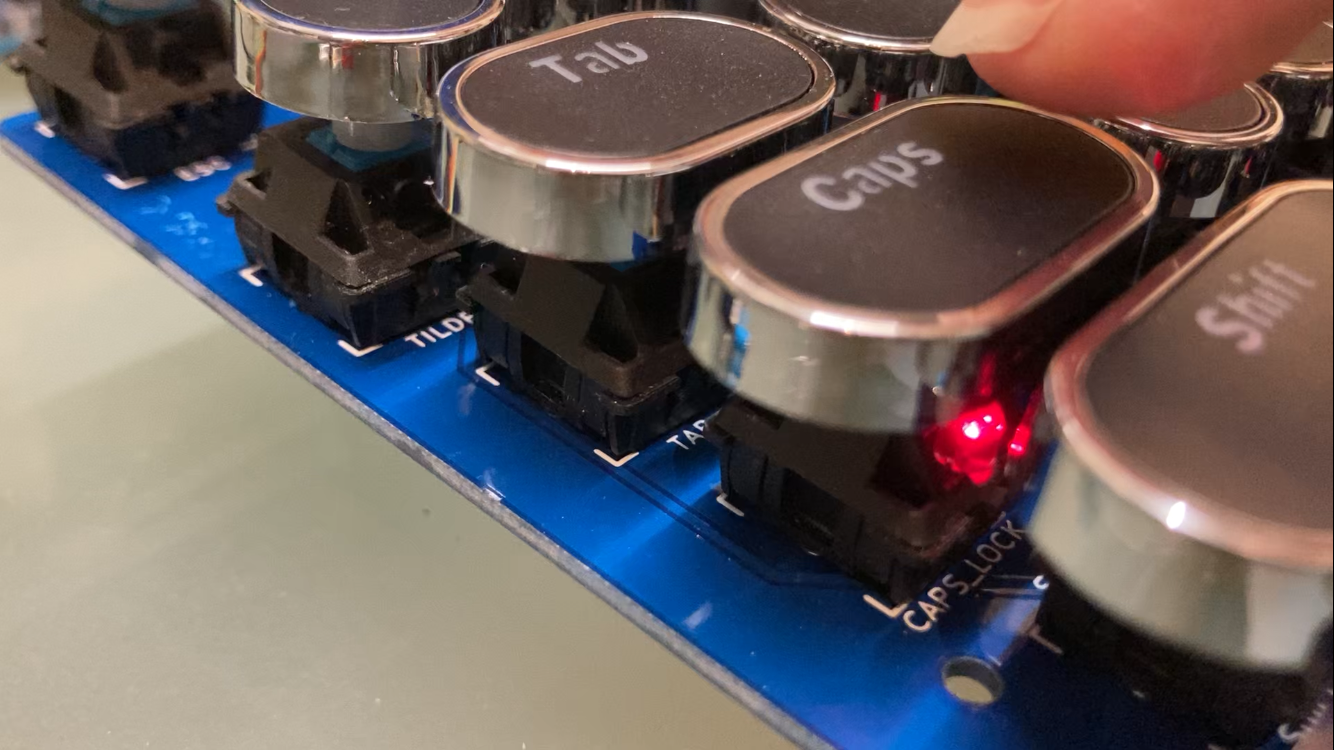
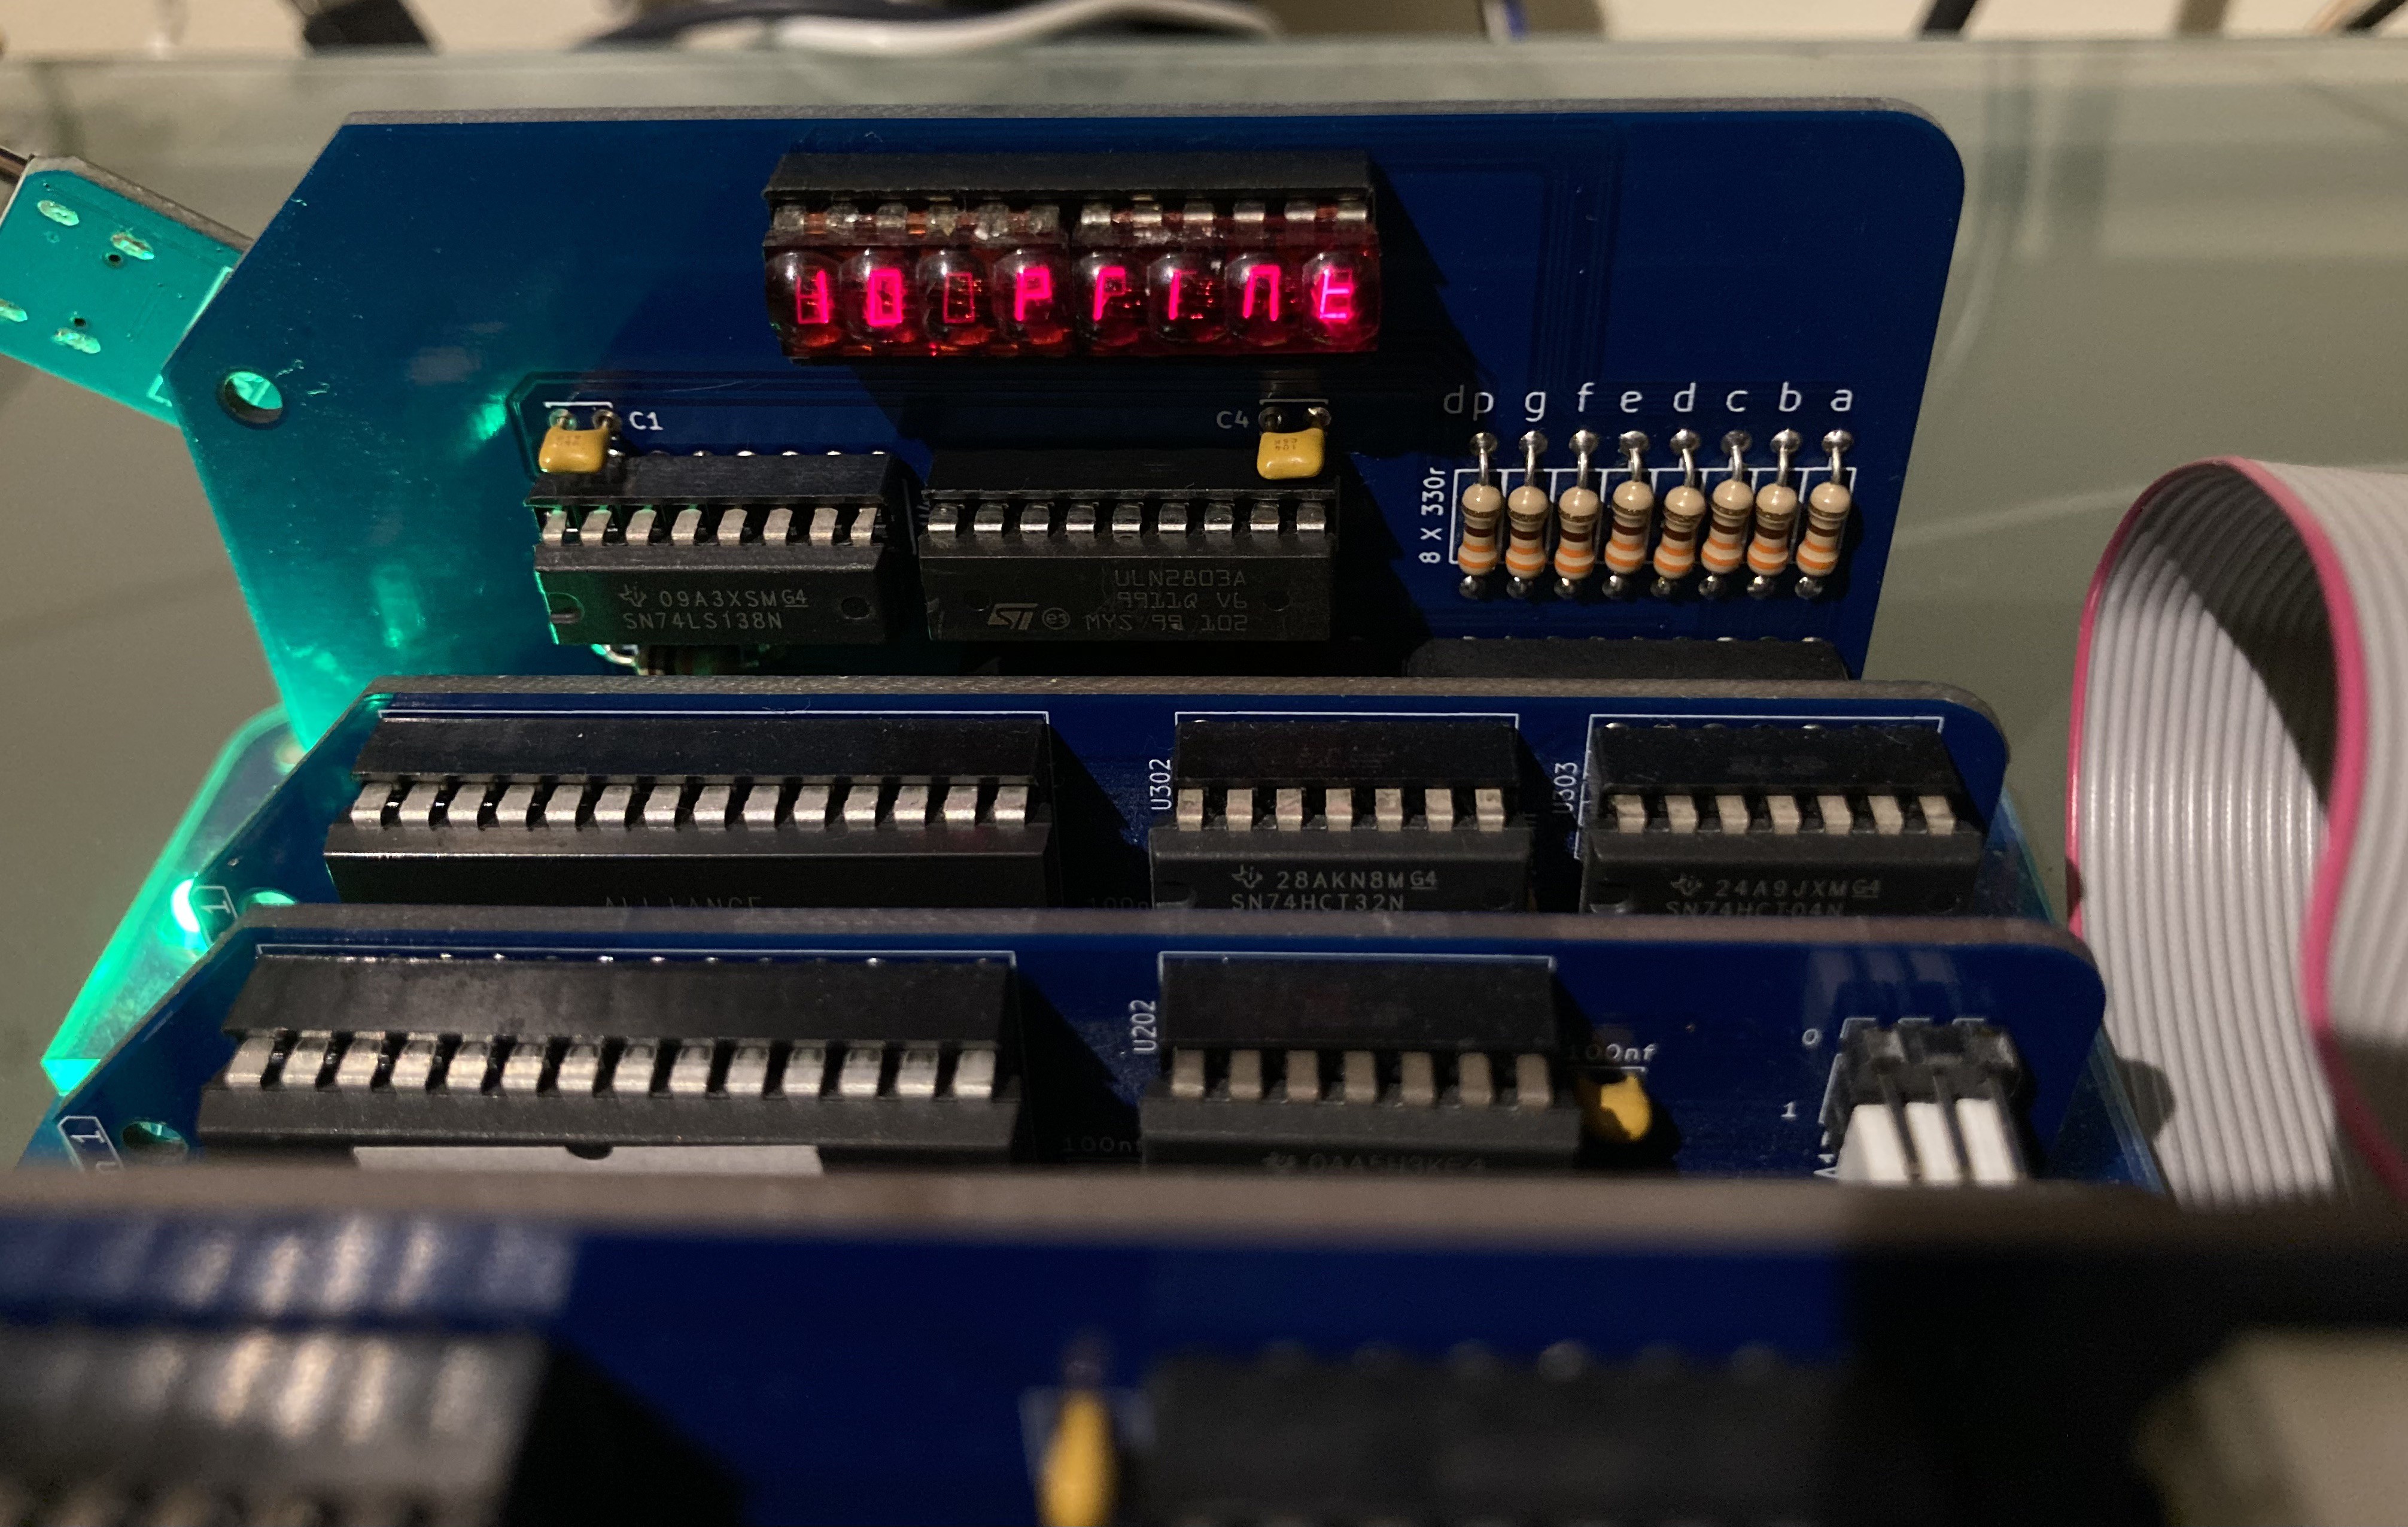
I've spent time getting a couple of other things working; the bubble LED display now scrolls sideways as you type and the caps lock LED now lights. As with modern keyboards, that's under computer control, and so it's up to the host computer (in this case my terminal application) to process the caps lock key, toggle its own variable, light the light and send capital or lowercase letters as appropriate. Everything's working fine, the only frustrating thing is that the keyswitch footprint has the LED in the switch towards the front, but the translucent legend in the keycap is at the top, so it doesn't really catch the light from the LED. I'm thinking of drilling a hole in the keycap for a lightpipe. -
Log 6. Finally!
09/05/2026 at 20:06 • 0 commentsI've been keen to actually be using an RC2014 that is plugged into my teletype.
At the end of the last log I had two-way communication with a terminal emulator (through which I'm still loading the software into RAM and starting it) and it was handling multiple lines of text.
The problem here is that if I plug in the target computer and start everything up, then I don't have my software on the teletype. Attempting to first load the program into RAM, then unplug from the modern computer and plug in the target computer, results in a lot of garbage being sent to the printer, I think because serial lines are floating when nothing's attached. I've been advised that I could add pullup resistors to my serial module to prevent this. This may be a useful enhancement as I get closer to being finished, because it'll allow me to 'hot swap' computers.
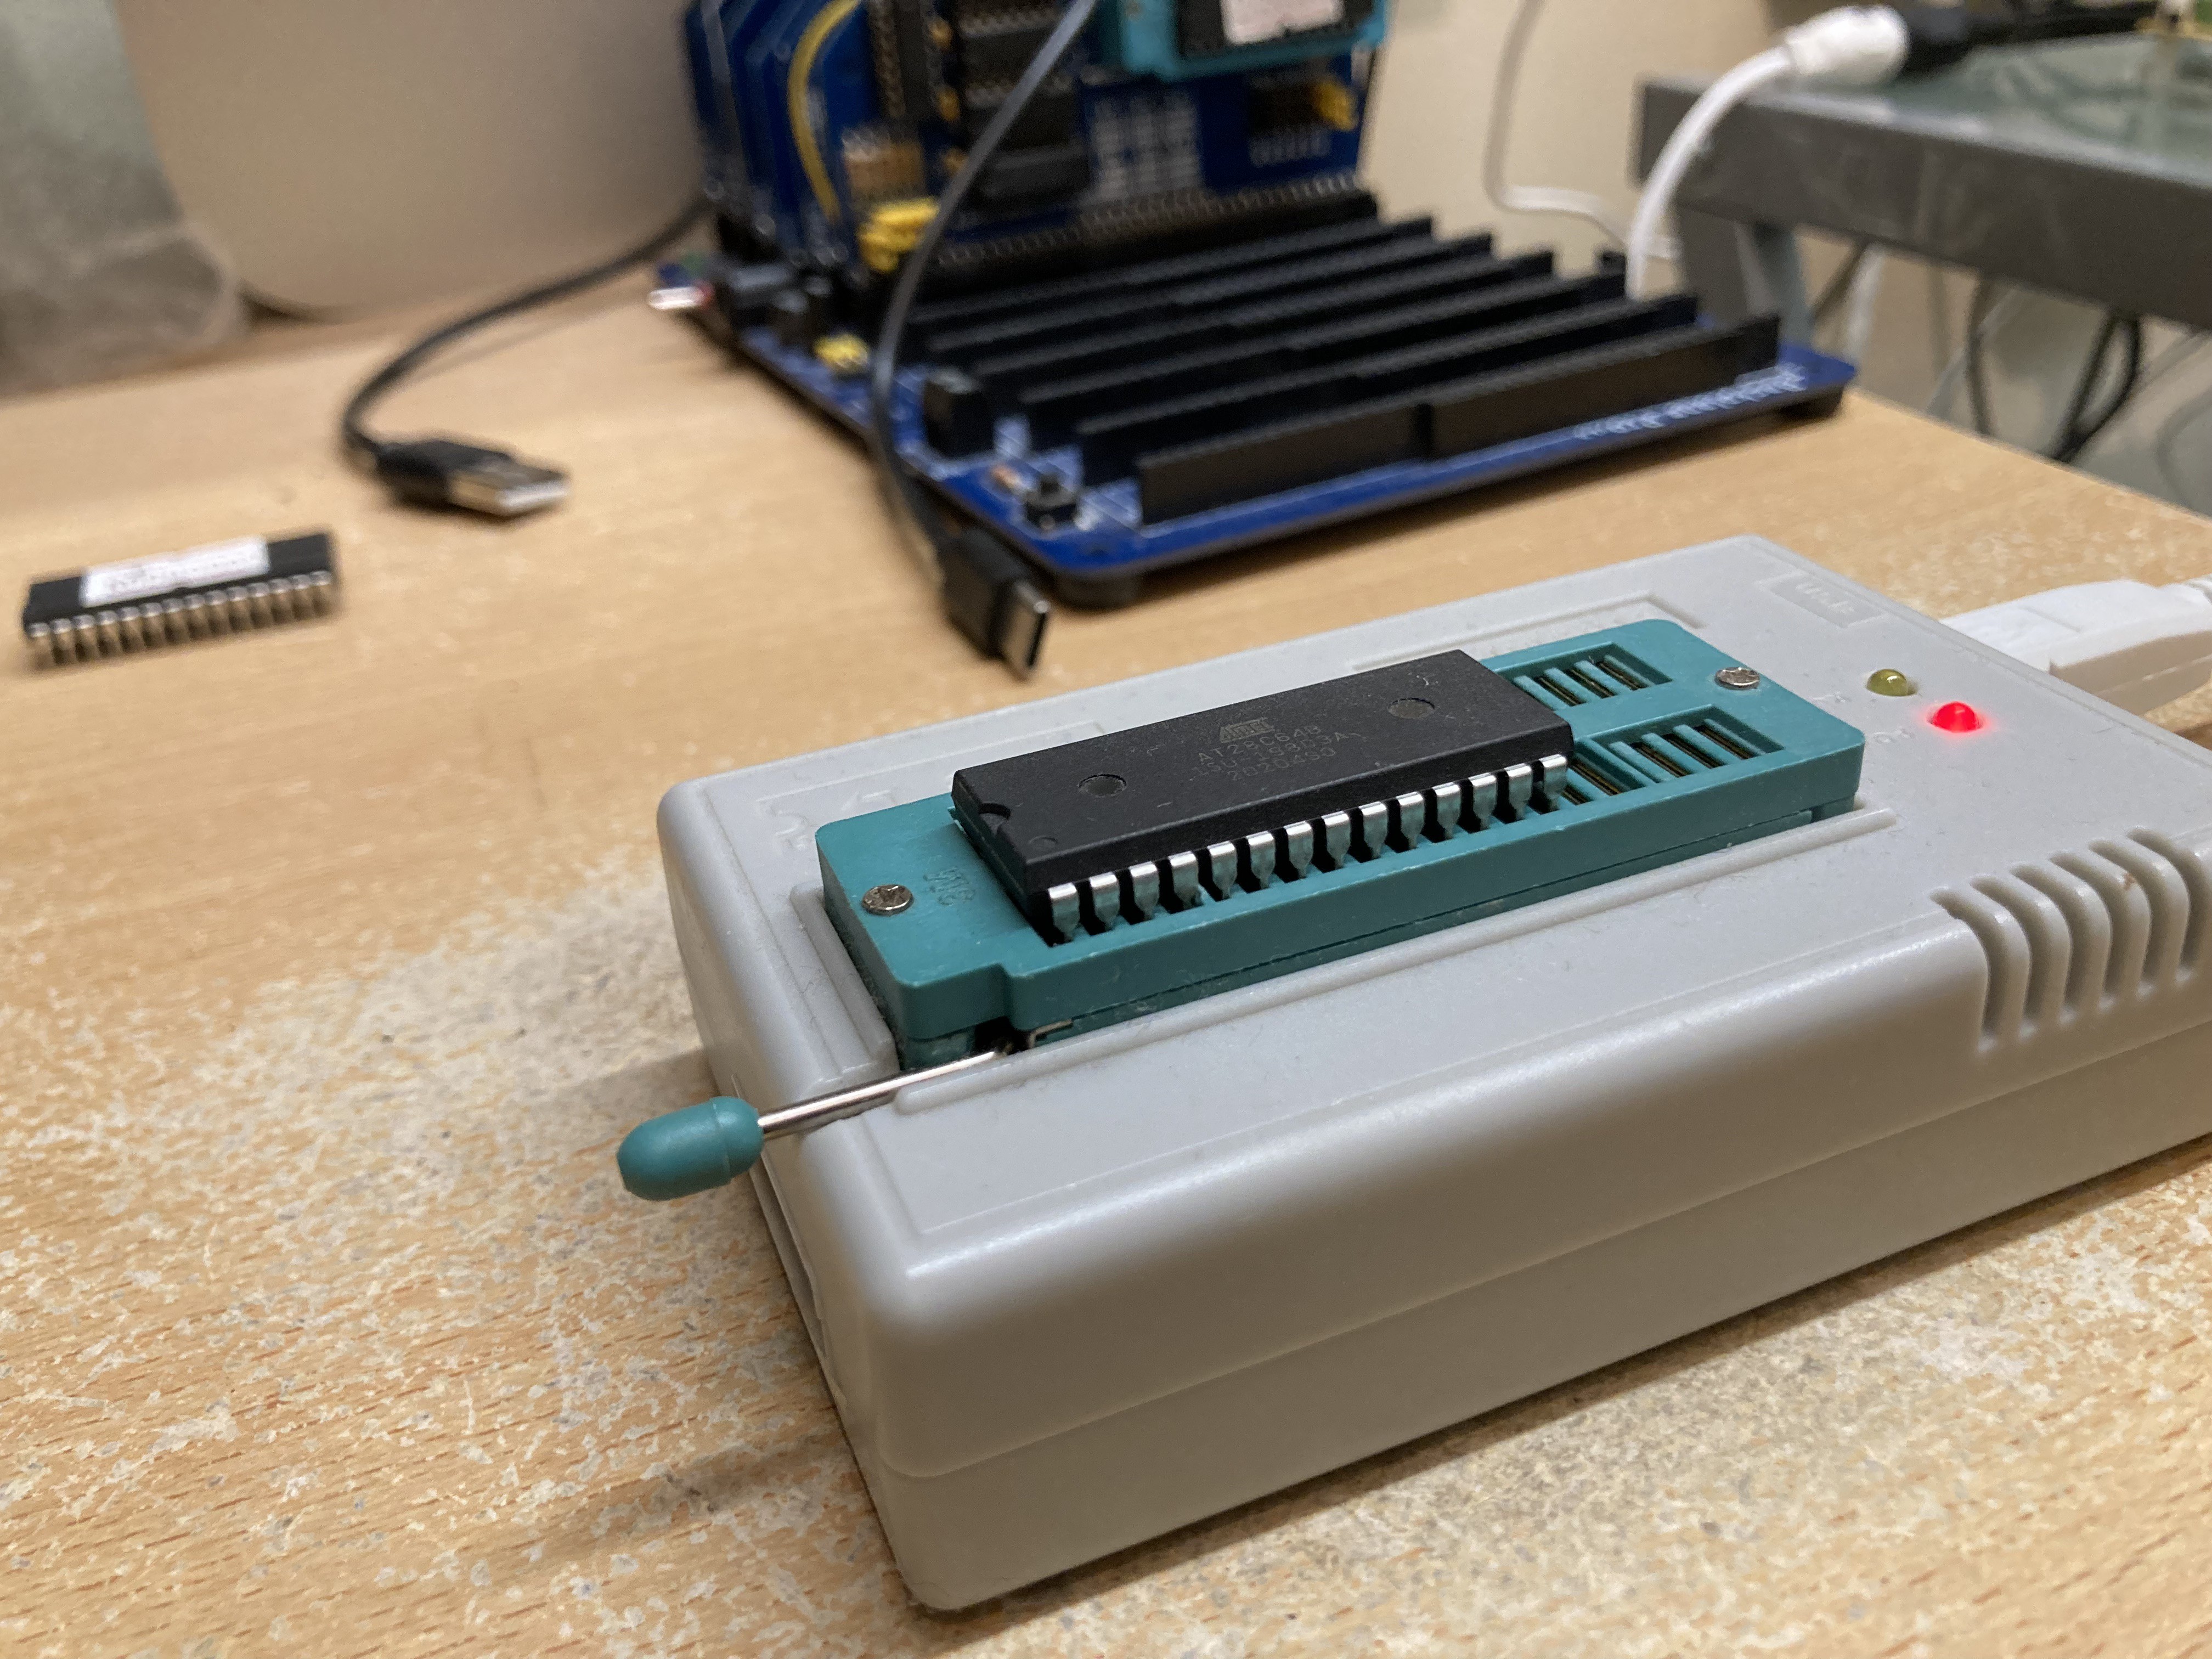
Putting the software onto ROM was something I would have to do sooner or later anyway.
![]()
I was nervous about this. Of course it means that the development loop becomes longer but it also means some reconfiguring. When your whole program is going into RAM, you can have variables where you like and they work. With the program in ROM, any variables have to be in an area of RAM. I'm not using self-modifying code, but that's out too (unless you copy the code to RAM first).
I haven't done this very often. There were things that I had thought of - such as having to set the stack pointer on startup. It turns out that there were multiple things that I hadn't thought of. One is that it isn't enough to reference a variable in RAM, you have to explicitly initialise its value because that RAM will be uninitialised on startup. It's good practice to do this but you don't always bother, especially if you expect to load the software into RAM each time you're going to run it.
With the program almost working, I still wasn't receving serial data. Adding a bit of diagnostic code told me that my interrupt handler wasn't being called.
When you boot into an OS, or even a monitor like SCM, you get so much for free, which you have to implement yourself if you put your own program into ROM.
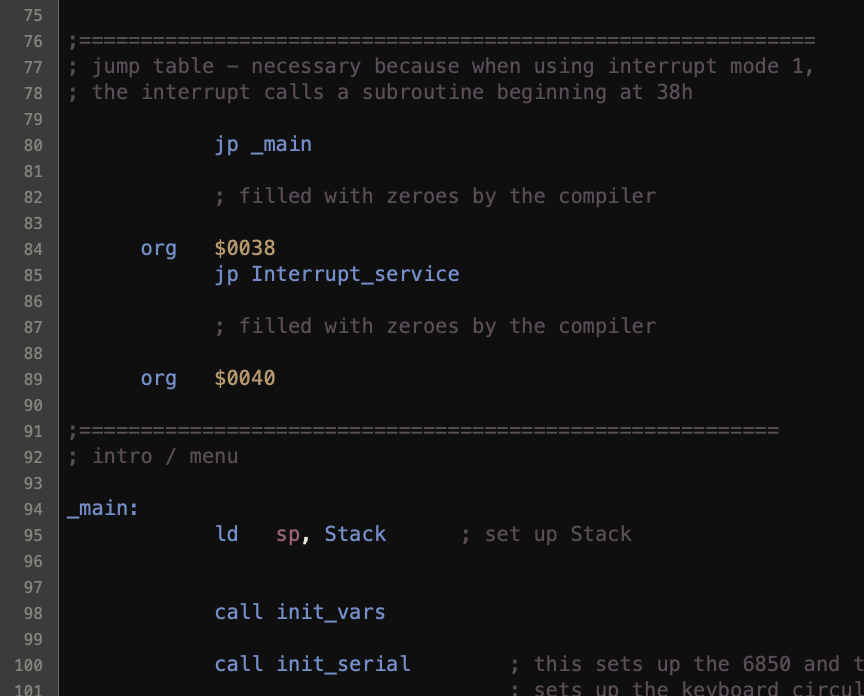
The problem was with the 'reset 38h' vector near the start of memory, which the Z80 uses when a maskable interrupt happens. SCM has a jump table for this and other reset vectors, redirecting to locations high in RAM, which I was still trying to use.
I've been into this before and understood how interrupt mode 1 works on the Z80 - I use it with my MIDI module to handle the incoming MIDI. But I'd forgotten it all and re-used my own code.
One quick refresher course later, and some more work on the code:
![]()
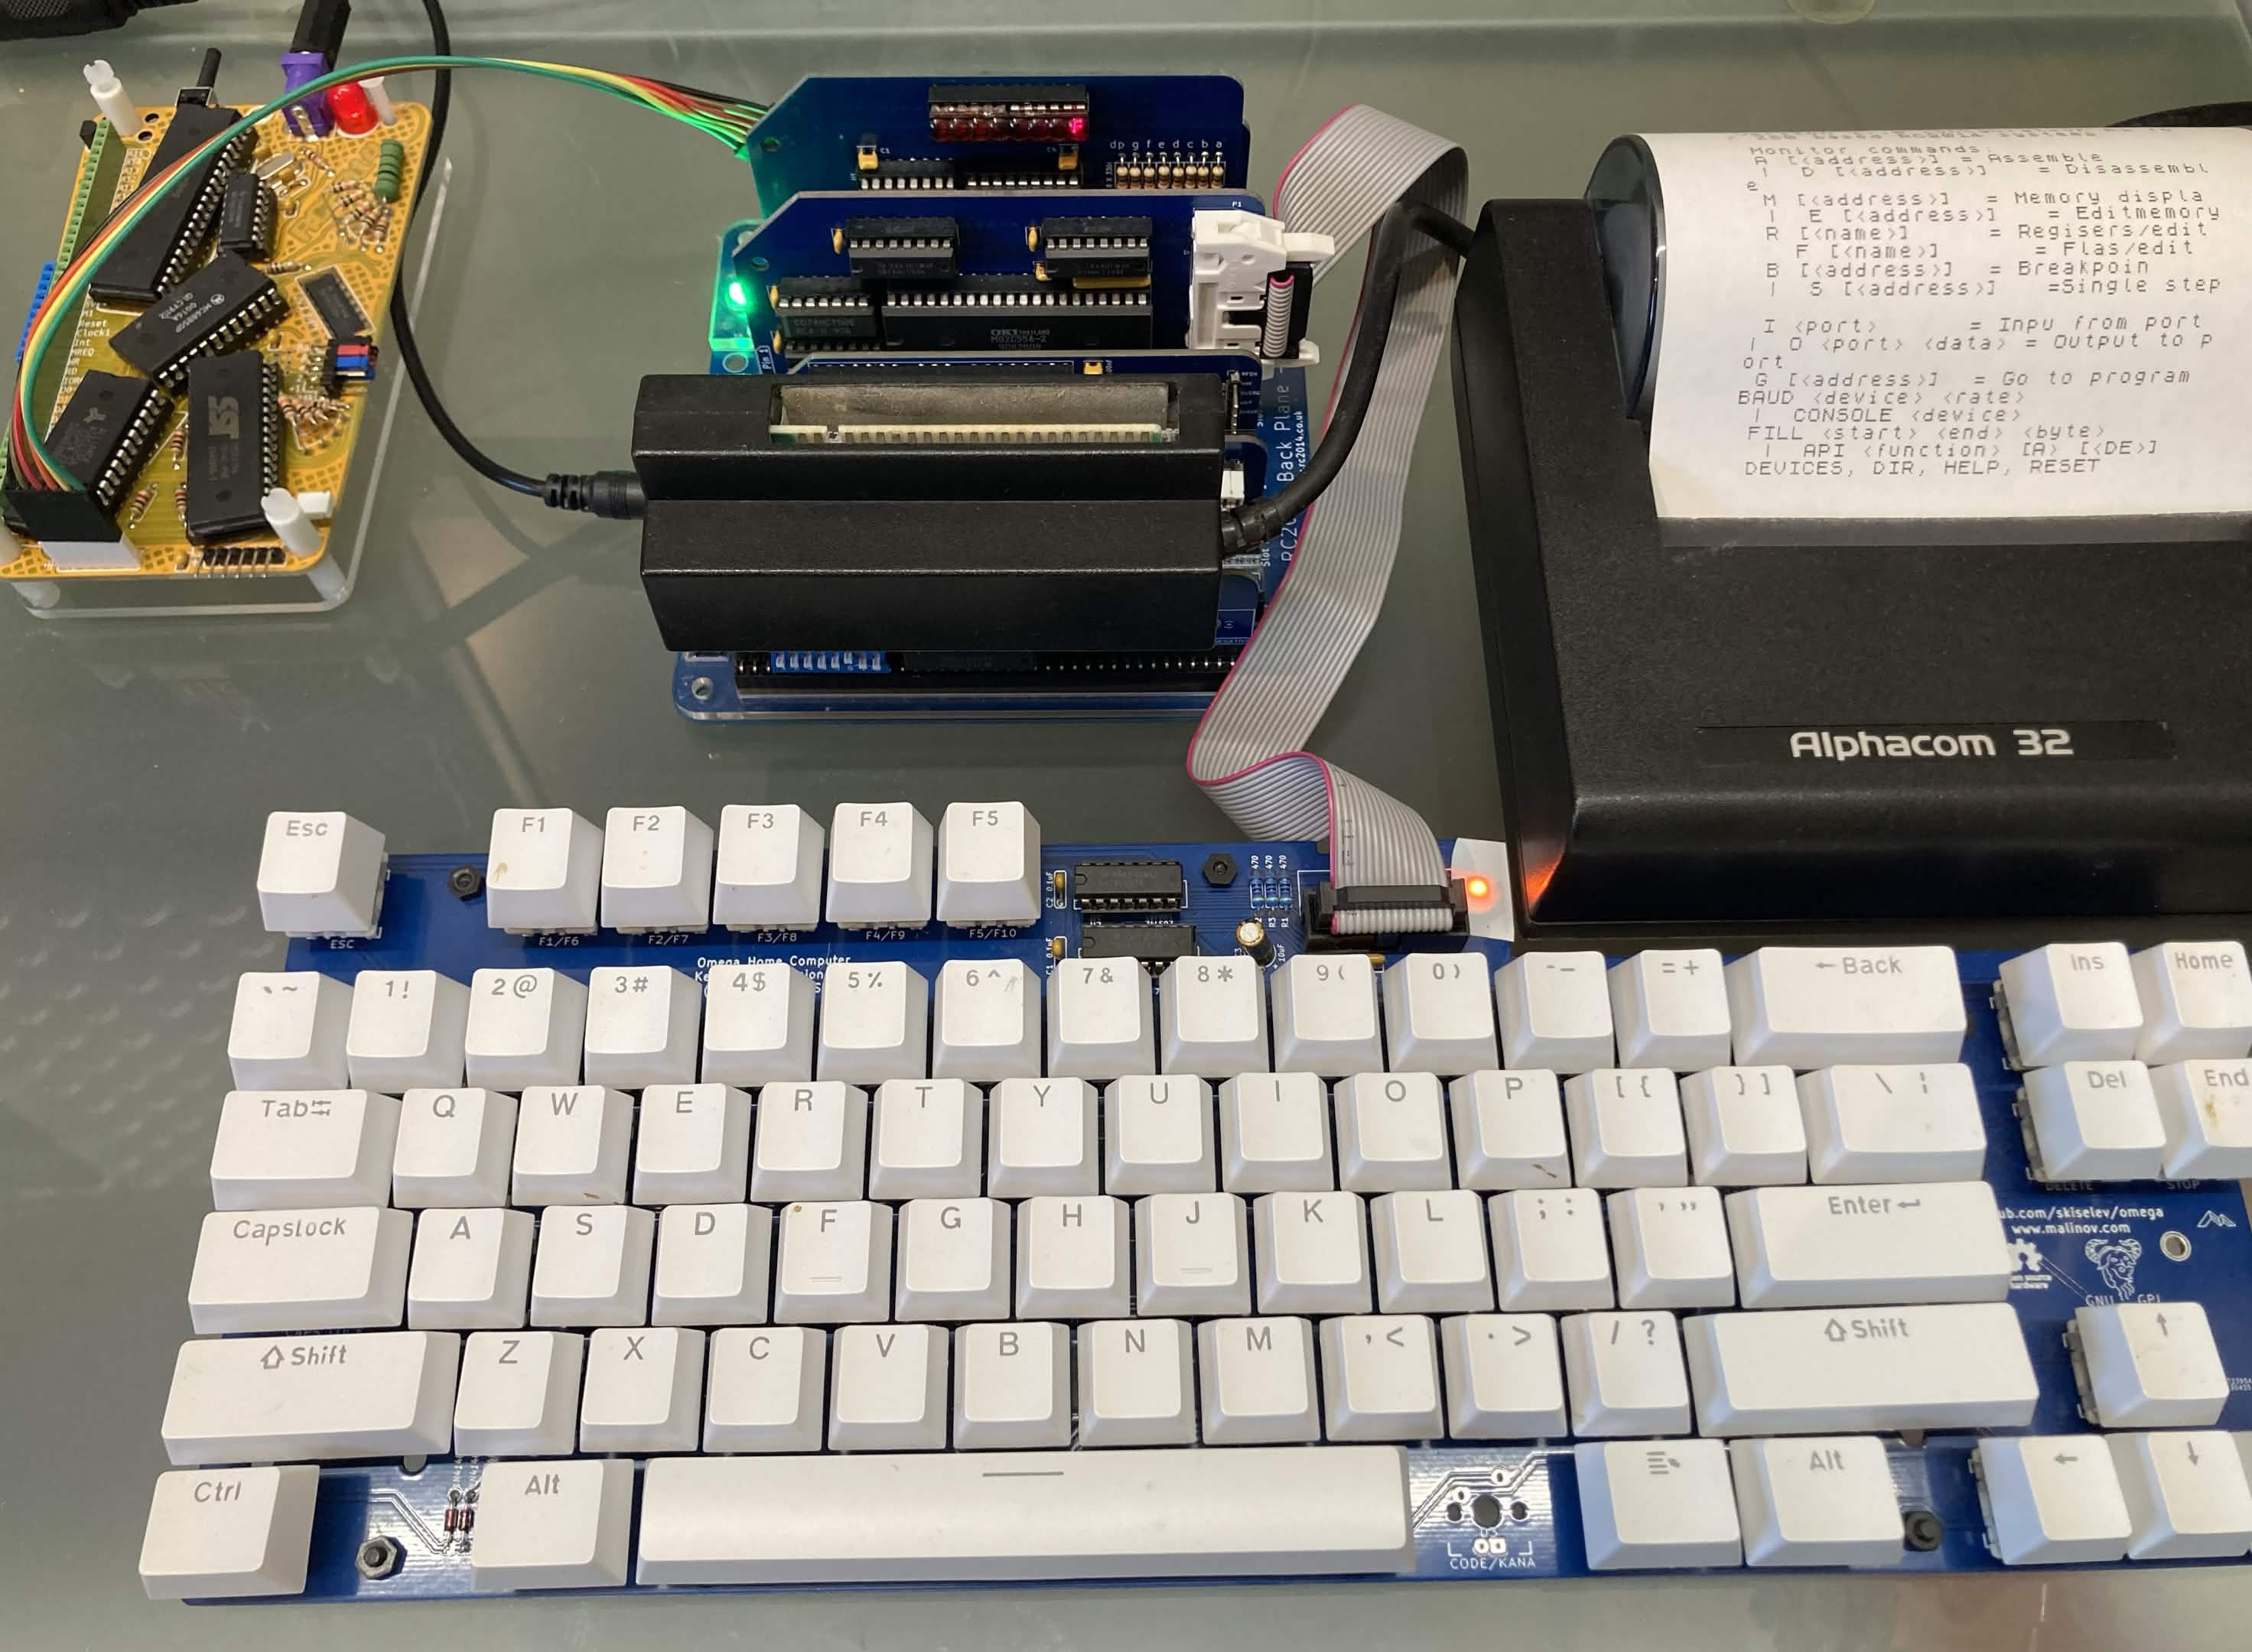
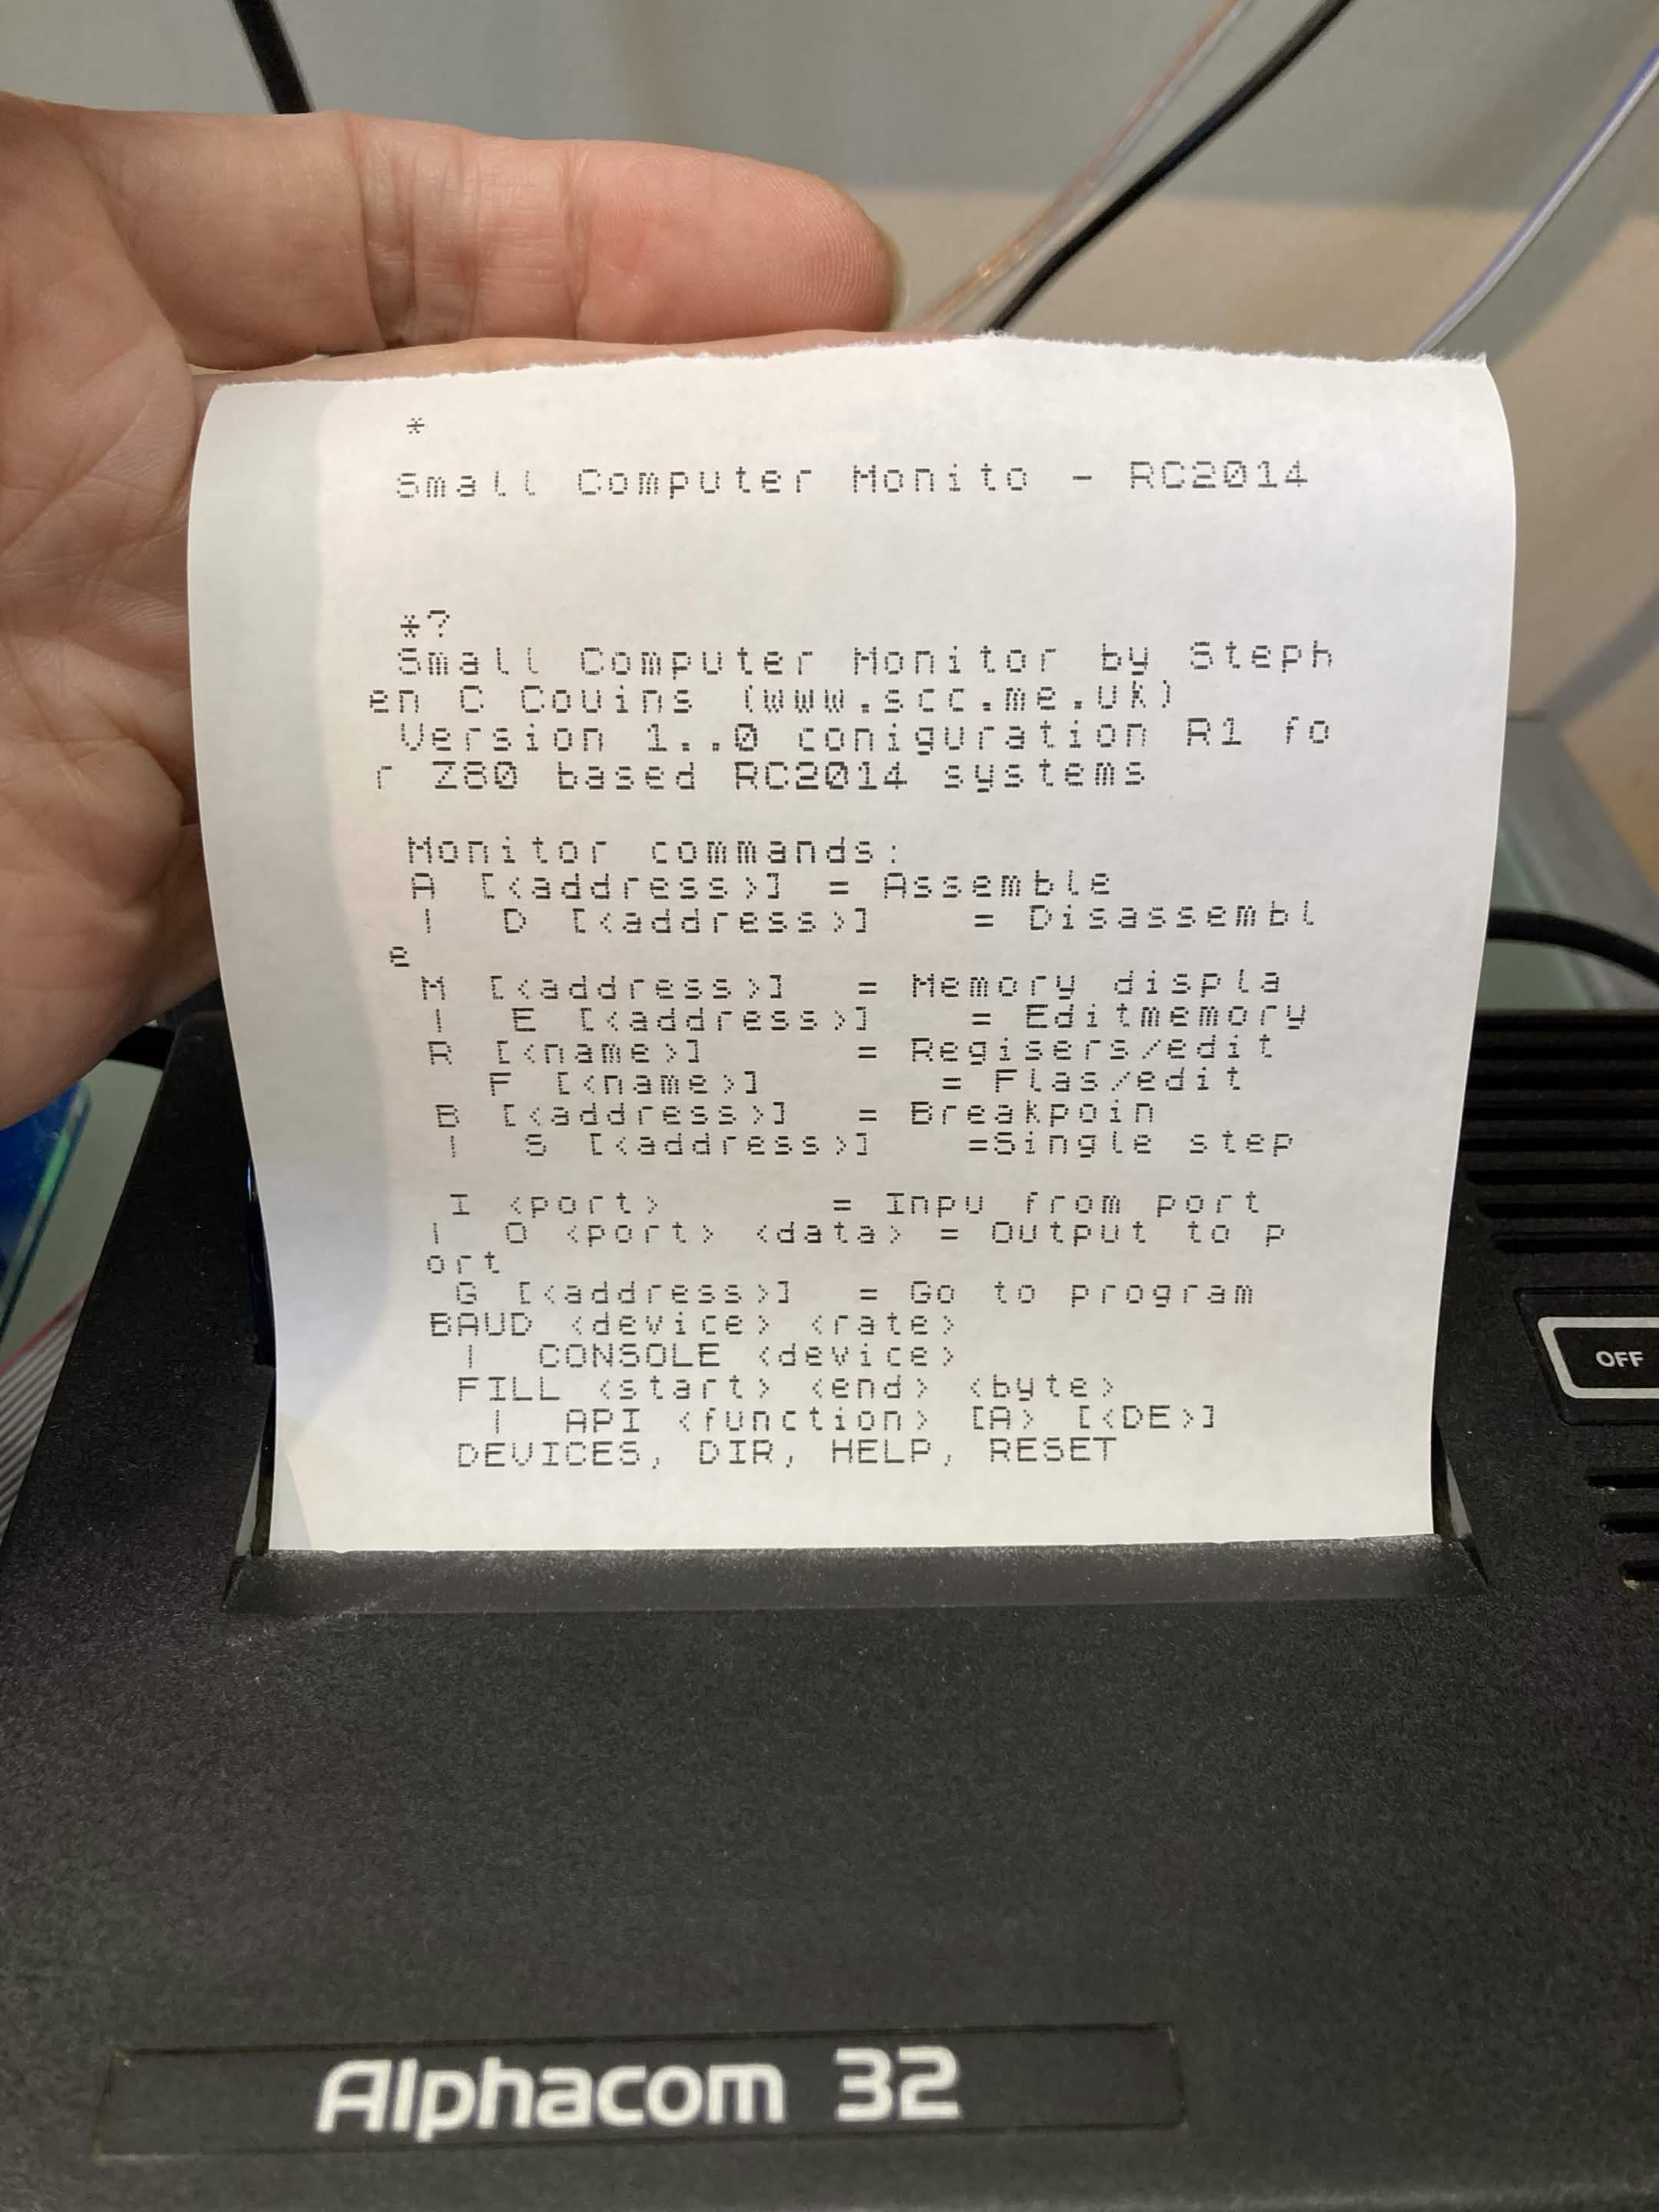
and now we have two-way communication with the computer, in this case my RC2014 Picasso running SCM.
![]()
![]()
It's not perfect. There are some dropped characters. I don't know why. And it's not stable. But this feels like a bigger step forward.
-
Log 5. One step forward, one back.
09/05/2026 at 19:22 • 0 commentsAt the end of the last log I had a computer connected to the teletype and a lot of garbage being printed onto the paper.
This was partly because the memory buffer for the incoming serial was too small and partly because of too many things needing precise timing:
1. When printing, timing is tight and interrupts have to be disabled
2. The serial chip (68B50) can only latch a single received byte. Flow control isn't configured on the teletype side or on some of the RC2014s that I'll want to plug into it and so interrupts have to be used or the chip has to be polled frequently.We have no fancy multi-core technology here, I'm trying to handle this with a single Z80 @ 7.6Mhz. I thought about other serial options, but nothing will buffer the amount of bytes that could arrive in the time it takes to print a line. I thought about a module that could store the line to be sent to the printer and shift it out to the printer using logic. That's an interesting idea but developing hardware is outside the scope of this project.
Strategy one
To get the print routine working I had to introduce a small delay between pixels when writing to the printer. After some T-state counting, this turned out to be long enough (with spare) to check the serial chip and fetch and buffer a byte if necessary.I very nearly got this working but at best had dropped and repeated characters, then the whole thing would lose the plot after a little while. I spent hours on this problem. The solution may have been minutes away or weeks. Who knows.
Strategy two
I had another think about the overall flow of information. Initially I'd been printing a line when the incoming information reached 32 characters or a carriage return received. This inevitably leads to printing and incoming data happening at the same time.This thinking came from early experiments when I had a closed loop - sending my own typing straight from the terminal's keyboard to the printer.
It occurred to me that things work differently when connected to a computer. Data doesn't come one line at a time. On the whole it goes like this:
- computer sends a chunk of data. Anywhere between a single character and a screenful
- then waits for user input.
- user responds with a single key or a single line and presses return.
I'm thinking of this as 'walkie talkie' style. The serial chip is capable of handling data in both directions at the same time and this can happen but *usually* chunks of data are heading one way or the other at one time.So I sketched a flow chart to handle this. While data is incoming, the terminal will just keep buffering until there's a pause. Then print what it has, which may be multiple lines or even a screenful.
A screenful of text (the maximum we can reasonably expect the computer to send at once) will be 1 - 2k depending on what resolution the computer is expecting the 'display' to be. This will require a bigger buffer than I started out with, but that's OK, we've got 32k of RAM. It'll also expect data to go back and forth in chunks and that's OK too. Operating systems and monitors work in this way, as do programming languages like BASIC and FORTH, as do the 'turn based' games and other applications that I can see being usable on this type of terminal.
Changing the program flow and implementing the bigger buffer all took longer than expected (quick to do, slow to troubleshoot).
At the end I had this. It proves that I can send multiple lines of text, buffer everything and print it. (I needed multiple rows of text in short lines!)
![]()
This was pasted into the terminal emulator. At this point I still haven't had a real RC2014 having a meaningful exchange with it. There are still issues there.
It doesn't feel like very much progress for the time spent, but I do feel that everything's on a more solid footing now.
-
A line display and connecting to a computer for the first time
08/31/2026 at 23:39 • 0 commentsOne issue that I've already noticed is that most typing has to be done blind.
This is because the Alphacom can't print character-by-character, just a whole line at a time. (You need to rasterise your line and send 8 pixel lines. The paper transport is one-way. Plus you can't actually see the line being printed, it's covered until the paper scrolls up.)
This is project creep but I think this is an enhancement that will make the project much more usable. I started to think about adding a single-line display so that you can see what you've typed. I've played with various displays for the RC2014 over the years, but one in particular feels right for this project.
A few years ago, Spencer designed a bubble LED display. It's hard to do LED displays justice in a photo but these displays are beautiful and period-appropriate for what I'm doing. The HP 5082-7400 is an early 7-segment LED display packaged as groups of four. The module has two of these for eight characters.
![]()
A 7-segment display won't display an entire character set perfectly with uppercase, lowercase and all the symbols and punctuation, but it'll display them well enough to see what you've typed before you hit return.
At the time I wrote a code 'toolbox' for this module and so it didn't take long to incorporate this into my application.
I had to add another buffer to cache the characters that have been typed (the existing line buffer is a pixel buffer for the printer and therefore stores the characters as bitmaps). I was already planning to switch to a character buffer anyway to enable word-wrapping and make things like backspaces a bit easier. Writing to the printer pixel buffer only needs to happen before sending that data.
Since the display only has eight characters, it needs to scroll horizontally as you type. This works great, here's a quick demo:
So far I've had a modern terminal emulator plugged into this, so that I can type both ways. It was time to try plugging in an(other) RC2014 and see what happens when they're connected serial <-> serial.![]()
Here's my RC2014 Picasso plugged in. Fun fact: This series of RC2014s has a header marked 'keyboard' which is actually another FTDI header but with the rx and tx switched. This allows a very neat connection with a straight-through FTDI extension.
I don't yet have my terminal application in ROM, meaning that I had to first connect to my Mac's terminal emulator and send and start the program in the usual way, before some fairly sketchy swopping of the serial leads to plug in the Picasso. (It currently boots to SCM. I optimistically thought I might even be able to type and run some assembly.) That worked... to a point... but the results weren't an unmitigated success.
![]()
There are some garbage characters - possibly escape sequences or non-printing characters. It's trivial to sort those things out. More importantly there are a lot of dropped characters, particularly when the computer sends multiple lines. I think this is because interrupts have to be disabled while we're sending a line of characters to the printer. I do have an idea that may at least help with that. The worst case scenario is that I can only run programs that are written with this teleprinter in mind. ie for each line of characters written, pause to allow the printer to print.
Rome wasn't built in a day.
-
Working serial
08/25/2026 at 20:00 • 0 commentsI now have serial working on this project.
It's the third major piece in the puzzle. I had procrastinated on this part because I'm a little scared of serial on the RC2014.
I know how it all works, I've dealt with it in other projects, notably my TMSEMU and my MIDI module (the latter handles serial in and out from the MIDI ports as well as the usual terminal connections). But I still find it confusing.
I needn't have been worried. I've already done the work in my MIDI mk2 module and so it was more of a copy / paste exercise.
It sets up interrupts on the 6850 (SCM, the monitor I use on this 32k RC2014, doesn't use interrupts) and installs an interrupt handler that buffers the incoming data.
Now the keyboard scanning routine, which is just done in the main loop, sends a character out to the serial chip when one is typed.
Half the battle is working out how you're going to develop/test this stuff.
I've been working with this RC2014 hooked up to my Mac's Terminal as usual (that's necessary to load the program - eventually it'll be in ROM but while I'm developing I'm loading each new build of the program into RAM in the usual way).
So with this running, I now have the world's worst messenger. Anything I type into my Terminal emulator on the big computer comes out of the Alphacom (after a carriage return) and anything I type on the MSX keyboard appears in the terminal emulator.
The title of this log is 'Working serial' and what that means is that 20% of the work is done and now we're embarking on the harder 80% - finding and fixing all of the problems or things that haven't been taken into account ...
![]()
... such as line-wrapping; the printer needs to print a line and clear the line buffer after 32 characters if no carriage return has been received. (We won't get into word-wrapping at this point, although that shouldn't be too tricky).
![]()
That's better! As you can see it took a few tries!
The printing routine disables interrupts (for timing reasons). So when you reach 32 characters in the line buffer, the printer's going to fire up and print the line - ignoring interrupts from the 6850 while it's working. I expected this to mean the odd lost character or two, but so far that doesn't seem to happen. If it does, then I may have to make calls to the interrupt service routine during those delays in the printer code.
I guess after a little more testing, it'll be time to build this for a ROM and connect this to a (nother) RC2014 to see it actually working as intended.
-
Progress with keyboard scanning and printing
08/23/2026 at 23:36 • 0 commentsHaving proven the concept, the next step is the hard work of knocking the code into shape and I've put a lot of hours into that this week.
(I do it all myself, I've never used any kind of AI help. This is a hobby. I love coding.)
This application has several aspects. I don't know yet how it'll all be structured (buffering, interrupts, that kind of thing) and I haven't thought about the serial i/o yet. I've first focussed on the keyboard scanning and the printing.
Key scanning and mapping
I probably mentioned earlier that I'd be using MSX BIOS code for the keyboard scanning. Actually scanning a keyboard row is really simple, there's very little to it. This is the only part that's straight from the MSX:
![]()
The rest is my own. That's obviously called from a larger chunk of code which loops for the number of keyboard rows (9) and handles the raw data, and then an even larger chunk turns the raw key into an ascii value.
We 'just know' how a keyboard works and don't really think about it. But there are many rules. For example, a 'caps lock' flag needs to be toggled each time the caps key is pressed down. The caps lock LED, which the MSX keyboard can have, is under computer control. A shift flag needs to be set if the shift key is pressed down, and reset when it's released. A letter character needs to be capitalised if the caps lock or shift key is flagged, and other keys need to produce a symbol depending on the state of the shift flag.
I spent some time on the logic for detecting a new key being pressed. When you're typing at speed, you often 'overlap' keys - the new one goes down a fraction before the previous one goes up - and so there's some xor'ing and and'ing to do with previous value and new value to detect a change and then find whether that change is a key up or key down. I've handled button pressing before, but to get this working as smoothly as anyone would expect a keyboard to respond today took some work.
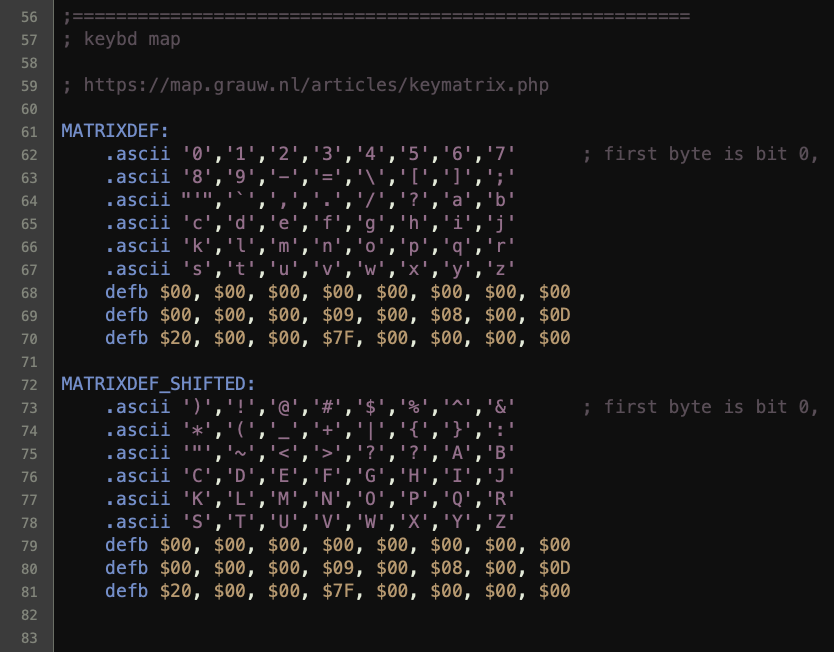
The key mapping on an MSX (defined in early '80s) is surprisingly close to today's keyboards. The MSX allows for various keyboard standards, but because this code will be used within this one project, I don't really need to worry about that, but I've defined it like this for easy future changes
![]()
These are the keyboard matrix rows and bits, and these arrays make it easy for my code to do the lookup (in C, these would be two dimensional arrays, referenced by keyboard row and bit number).
One interesting point to note is that this map has them in alphabetical order. You can tell that the person who wrote this wasn't the same one who'd be laying out the tracks on the keyboard pcb!
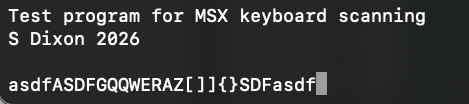
Eventually I could detect key presses, turn all letters and symbols into their ascii value, with caps lock and shift working and send those characters to the console:![]()
Printing
I was very chuffed when I first had Rob's code printing out the RC2014 logo, if a little messy.
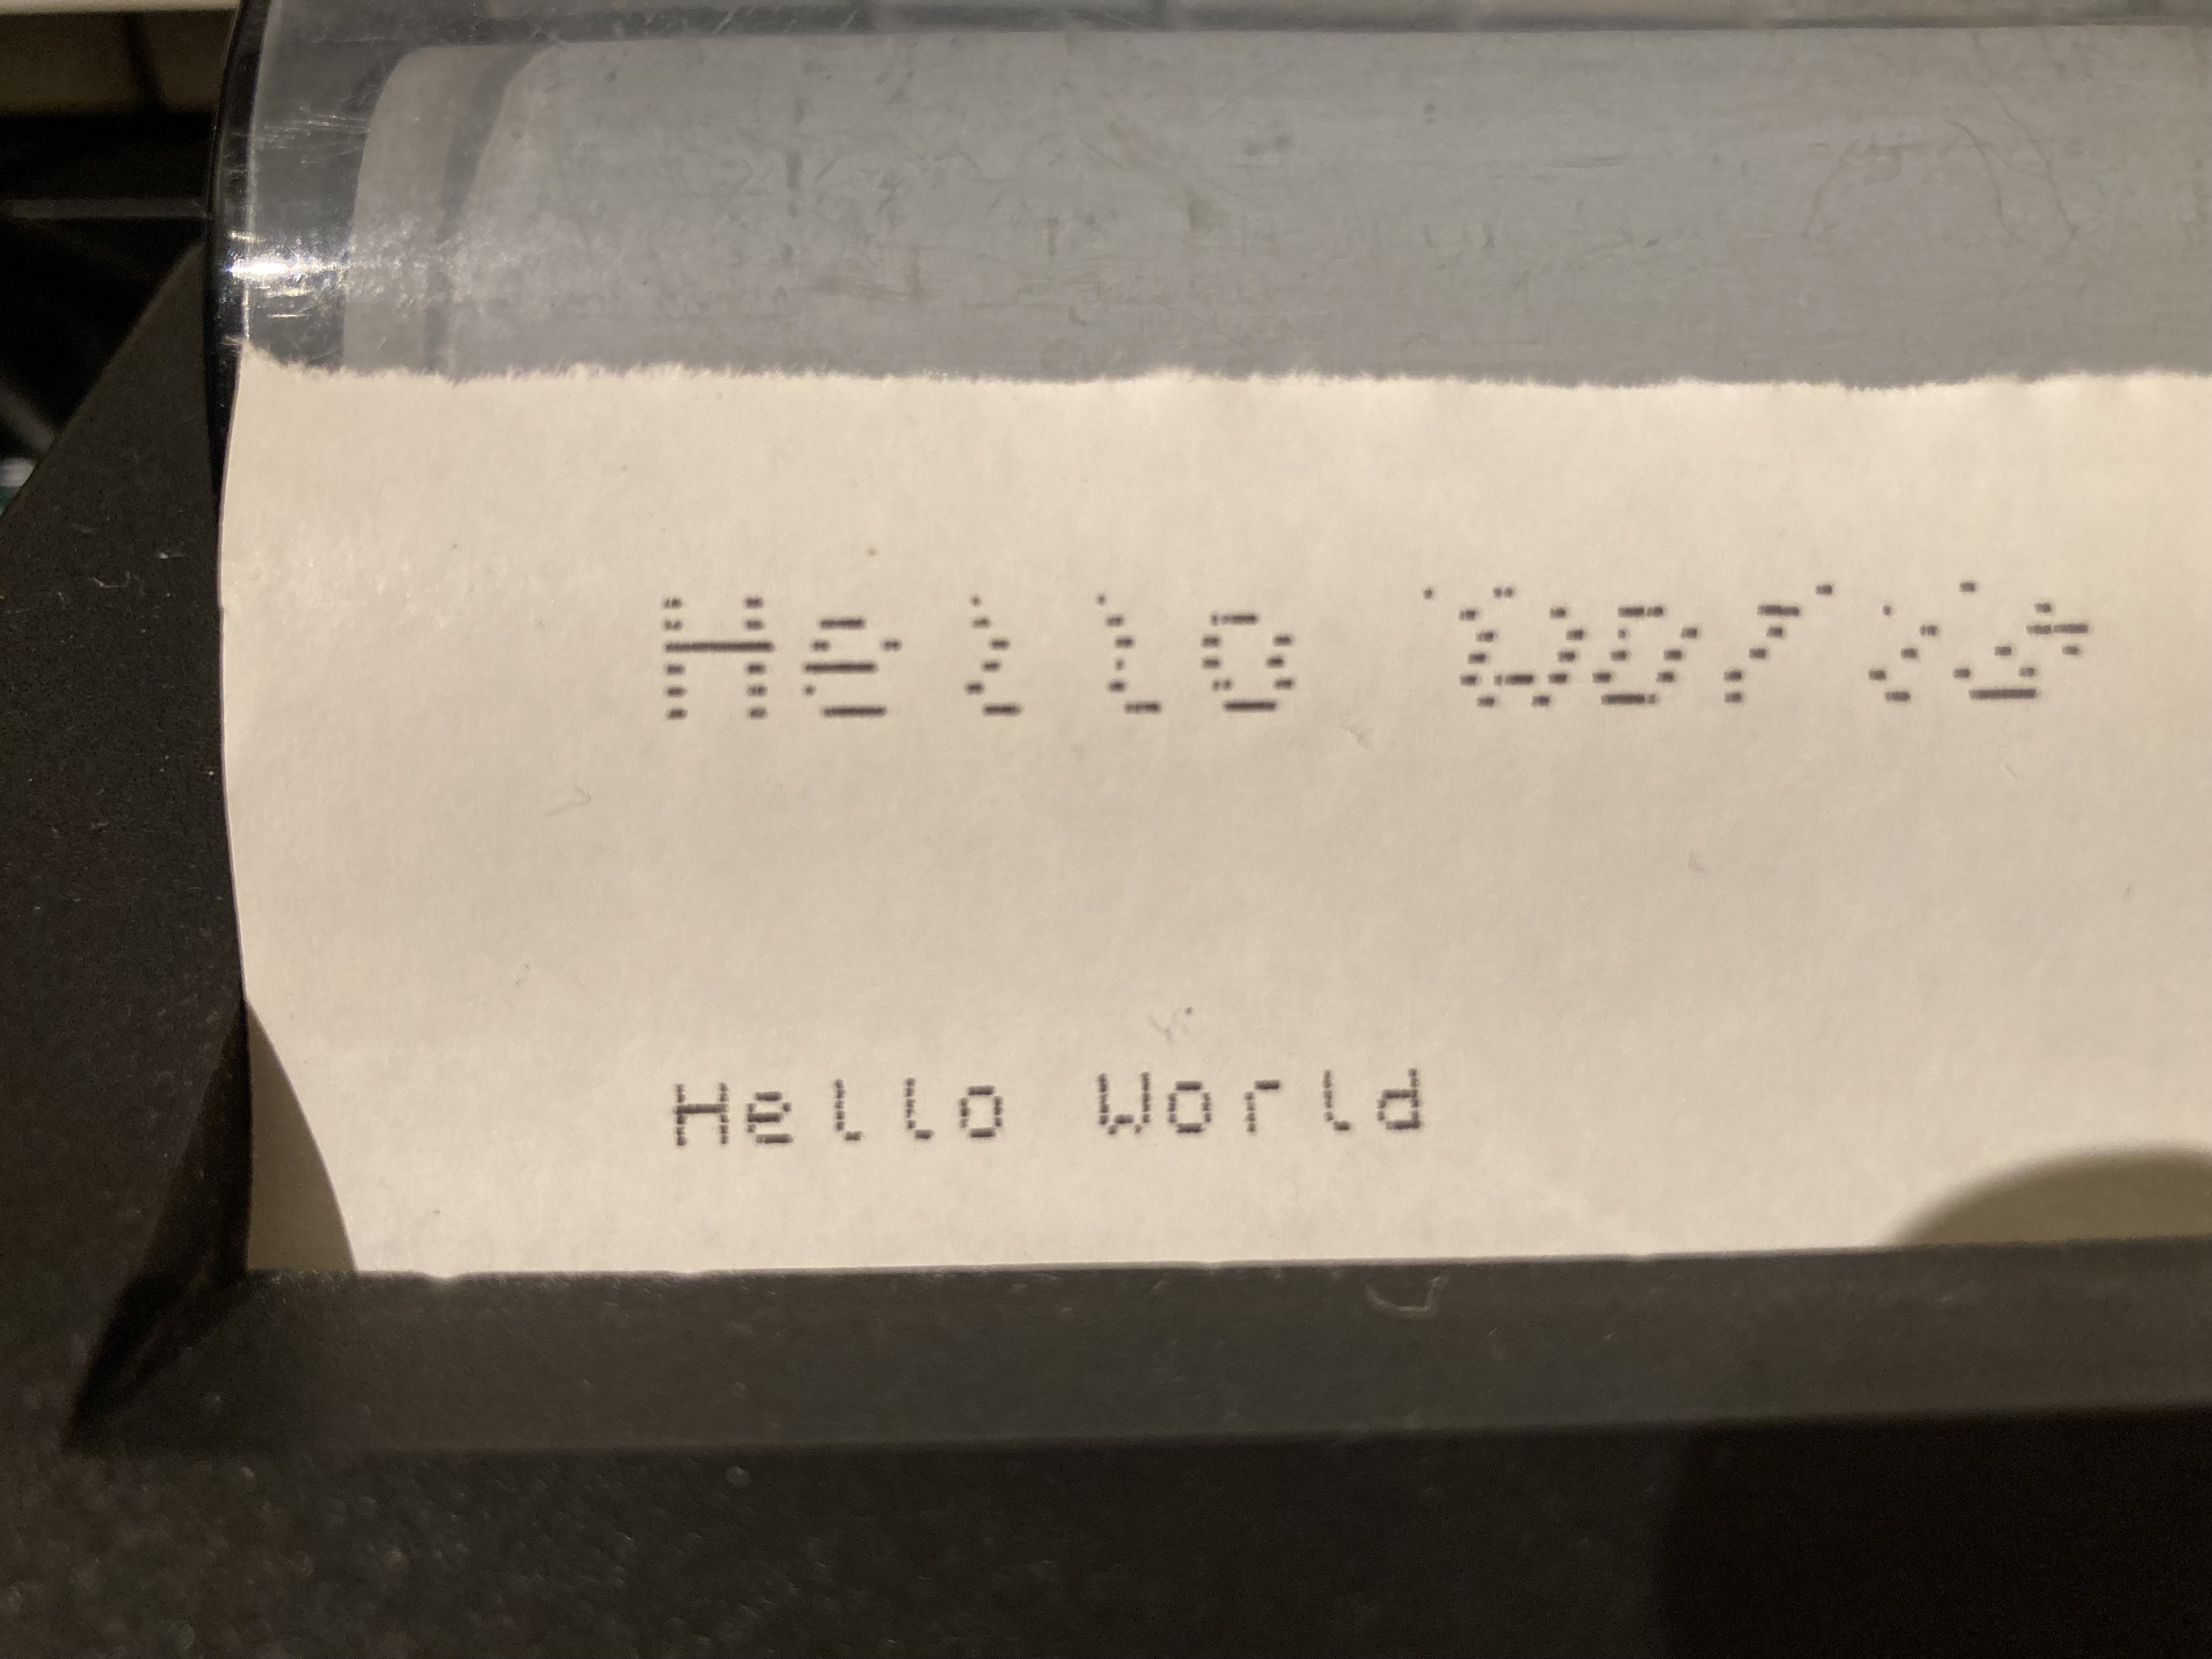
Text had printed out really nicely when using the ZX81. However, after writing some routines to copy character bitmap data into a buffer and send that to the printer using Rob's code, things didn't look quite so good:
![]()
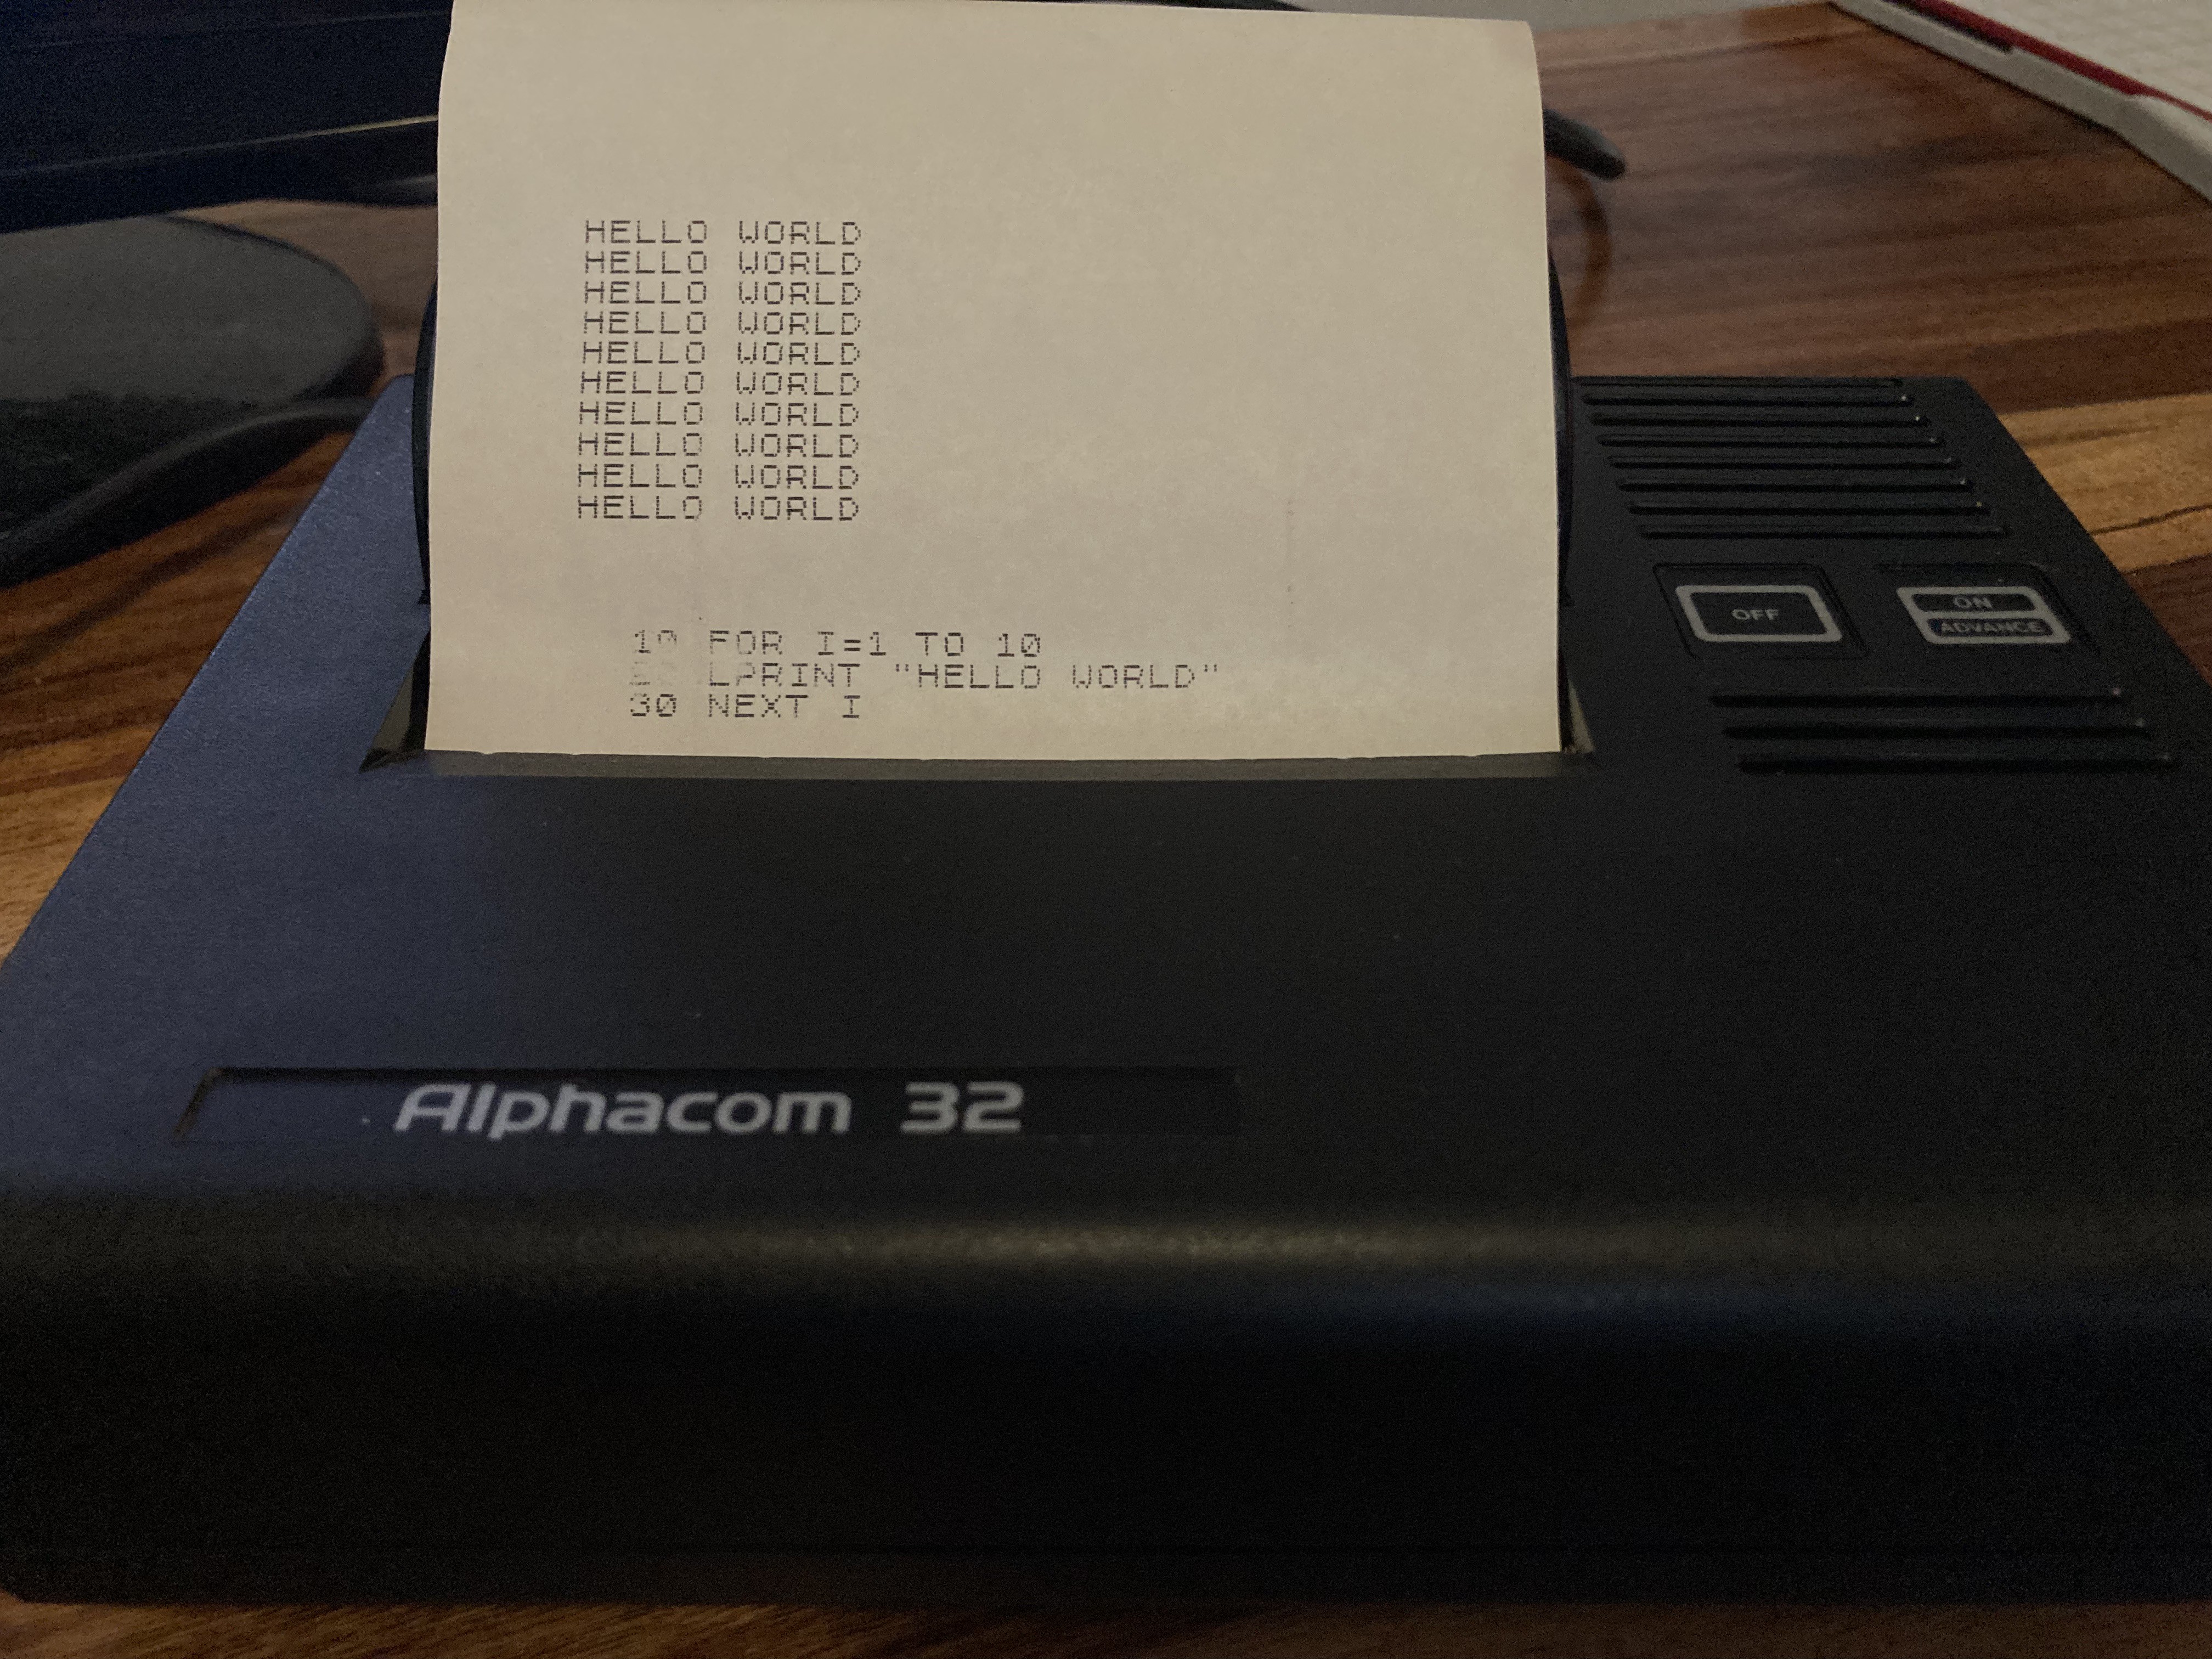
To cut a long story short, the difference turned out to be the speed of the computer. The RC2014 is running at 7.4 Mhz, around twice as fast as the ZX81. The successful 'Hello World' at the bottom of the above photo was printed with the same code, but with the computer's clock halved to 3.7Mhz. At this speed, the RC2014 logo looks a lot better:
![]()
That's not a permanent solution because I'd like my teleprinter to send/receive serial at 115200 (which I almost always use on my RC2014s) and that requires 7.4Mhz clock. I don't want to get into dual clocks.
The code does check the status of the printer and wait for it to be ready before sending a line or a pixel, so in theory the speed of the computer shouldn't matter. But it seems that at the faster speeds, you can jump in ahead of it saying that it's not ready. Or maybe you can't read that status bit on this printer as per the ZX printer which this is supposed to be compatible with. Either way, the timing is important here and we need to compensate for this computer's faster clock.
Rob had already handled this in the outer 'print a line of pixels' loop but not in the inner 'send a pixel' loop.
It took a little bit of experimentation to find the magic number for the smaller pixel delay (too much was nearly as bad as too little) but once dialled in, text started printing very nicely with the computer running at the full clock speed.
![]()
Finally for this log, I wanted to put the keyboard scanning and the line printing routines into a single program and link them so that a carriage return would send a line of typed characters to the printer. Here it is:
Obviously the keyboard won't be sending directly to the printer in the final project, this is just a test. But this is an important milestone and I'm really happy to see this working. It gives a taste of how the finished project will look and feel and I like it.
-
Proof of concept: driving the printer and scanning the keyboard
08/21/2026 at 09:04 • 0 commentsFirst catch your rabbit.
Or in this case, first excavate the Alphacom printer from the attic and make sure it still works.
![]()
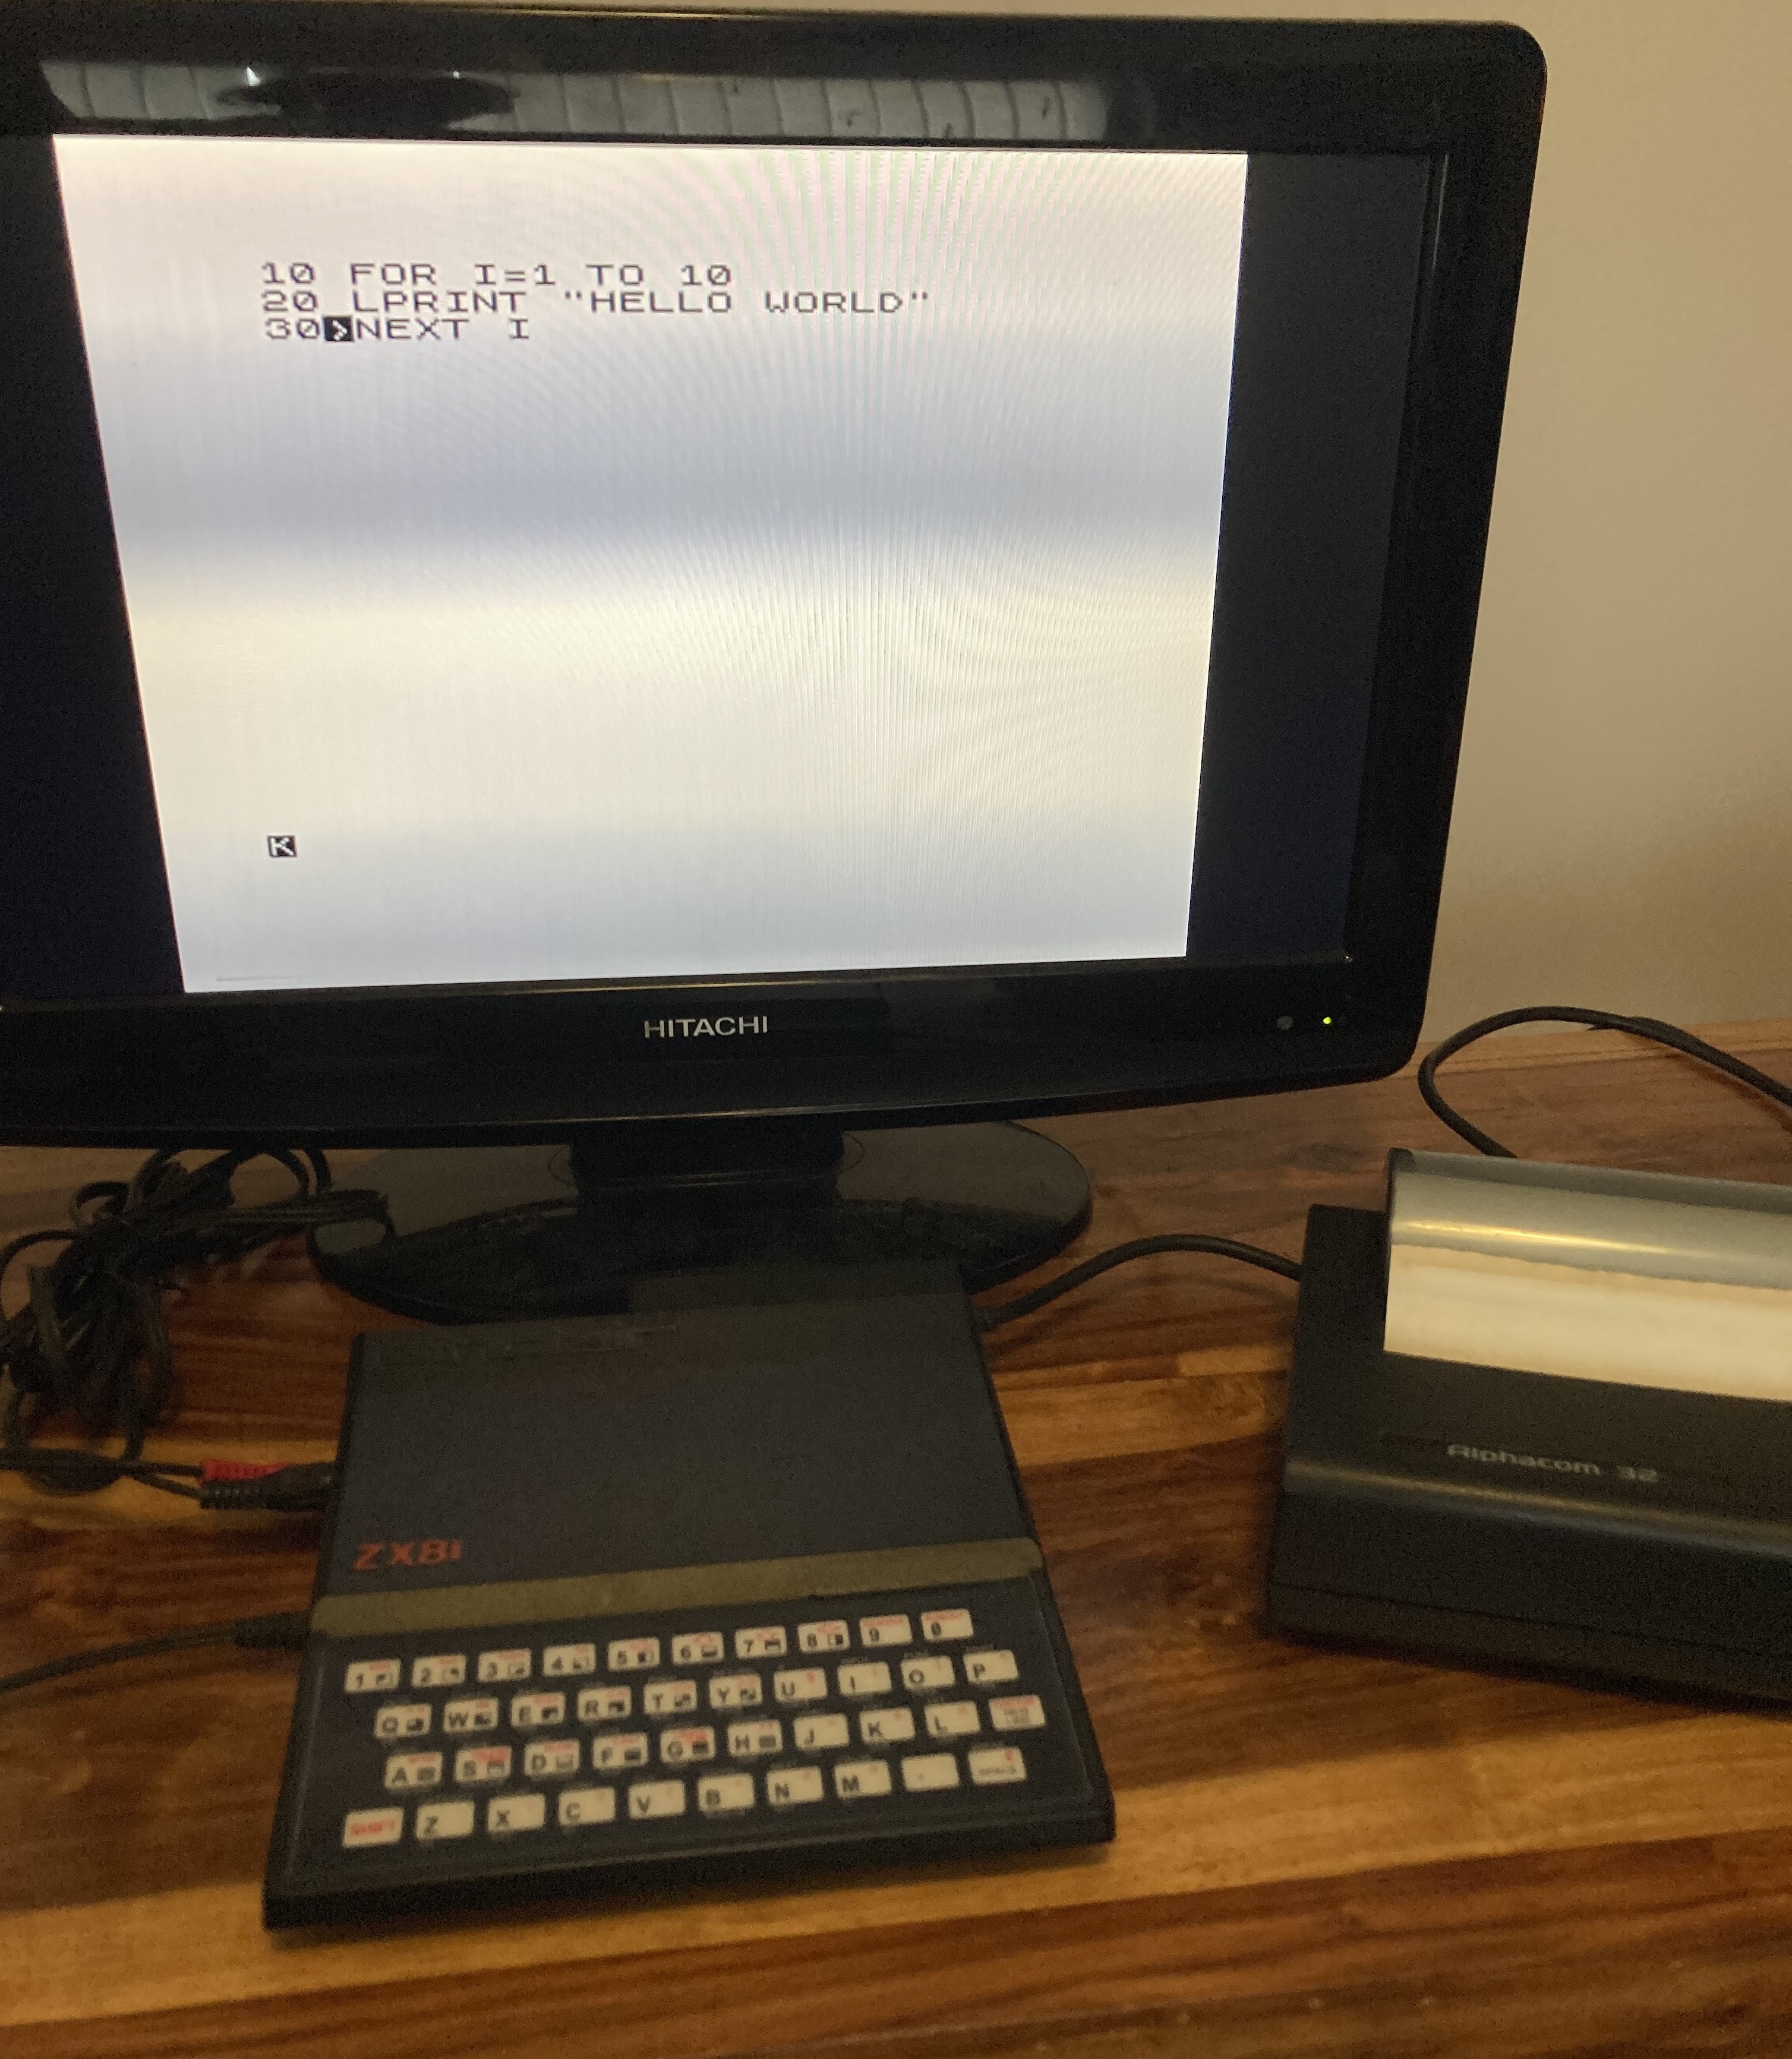
First test is to plug it into a ZX81 as intended and use the LPRINT and LLIST command to send something to the printer. The printer wants a 24V AC supply. I've previously cobbled together an adaptor so that I can use an Acorn Electron brick. This is allegedly 19V AC, which seems close enough and does work.
![]()
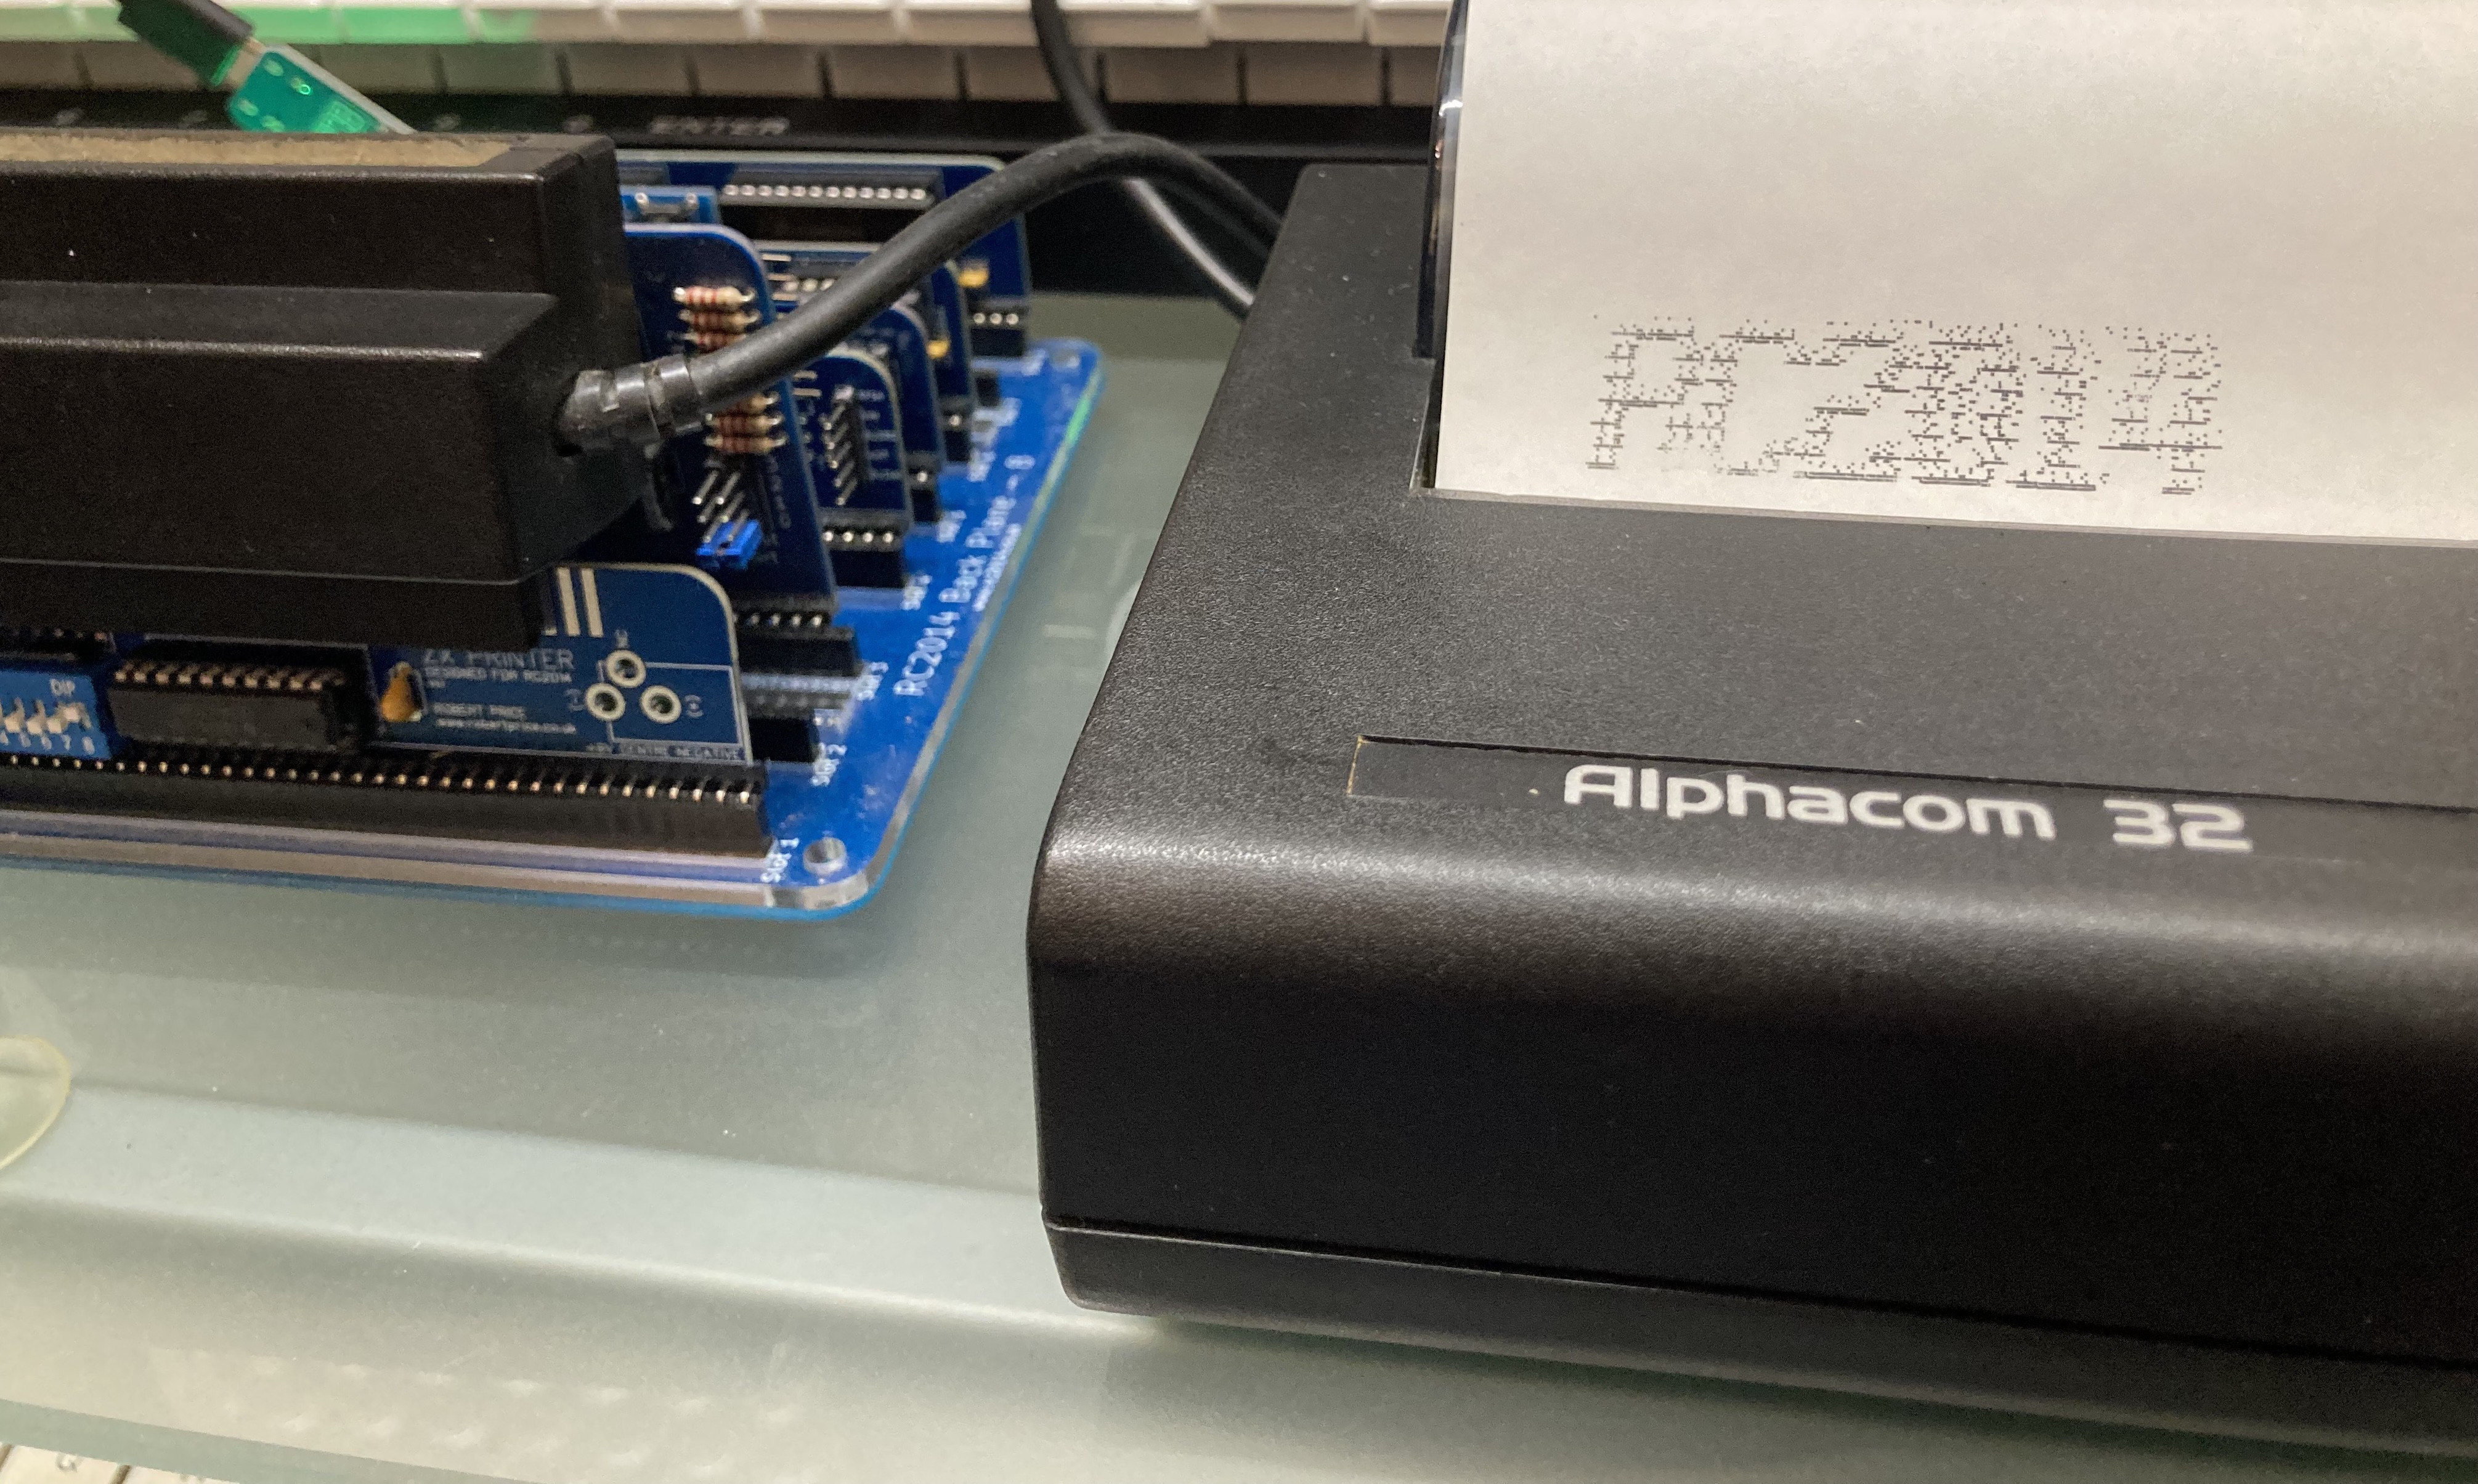
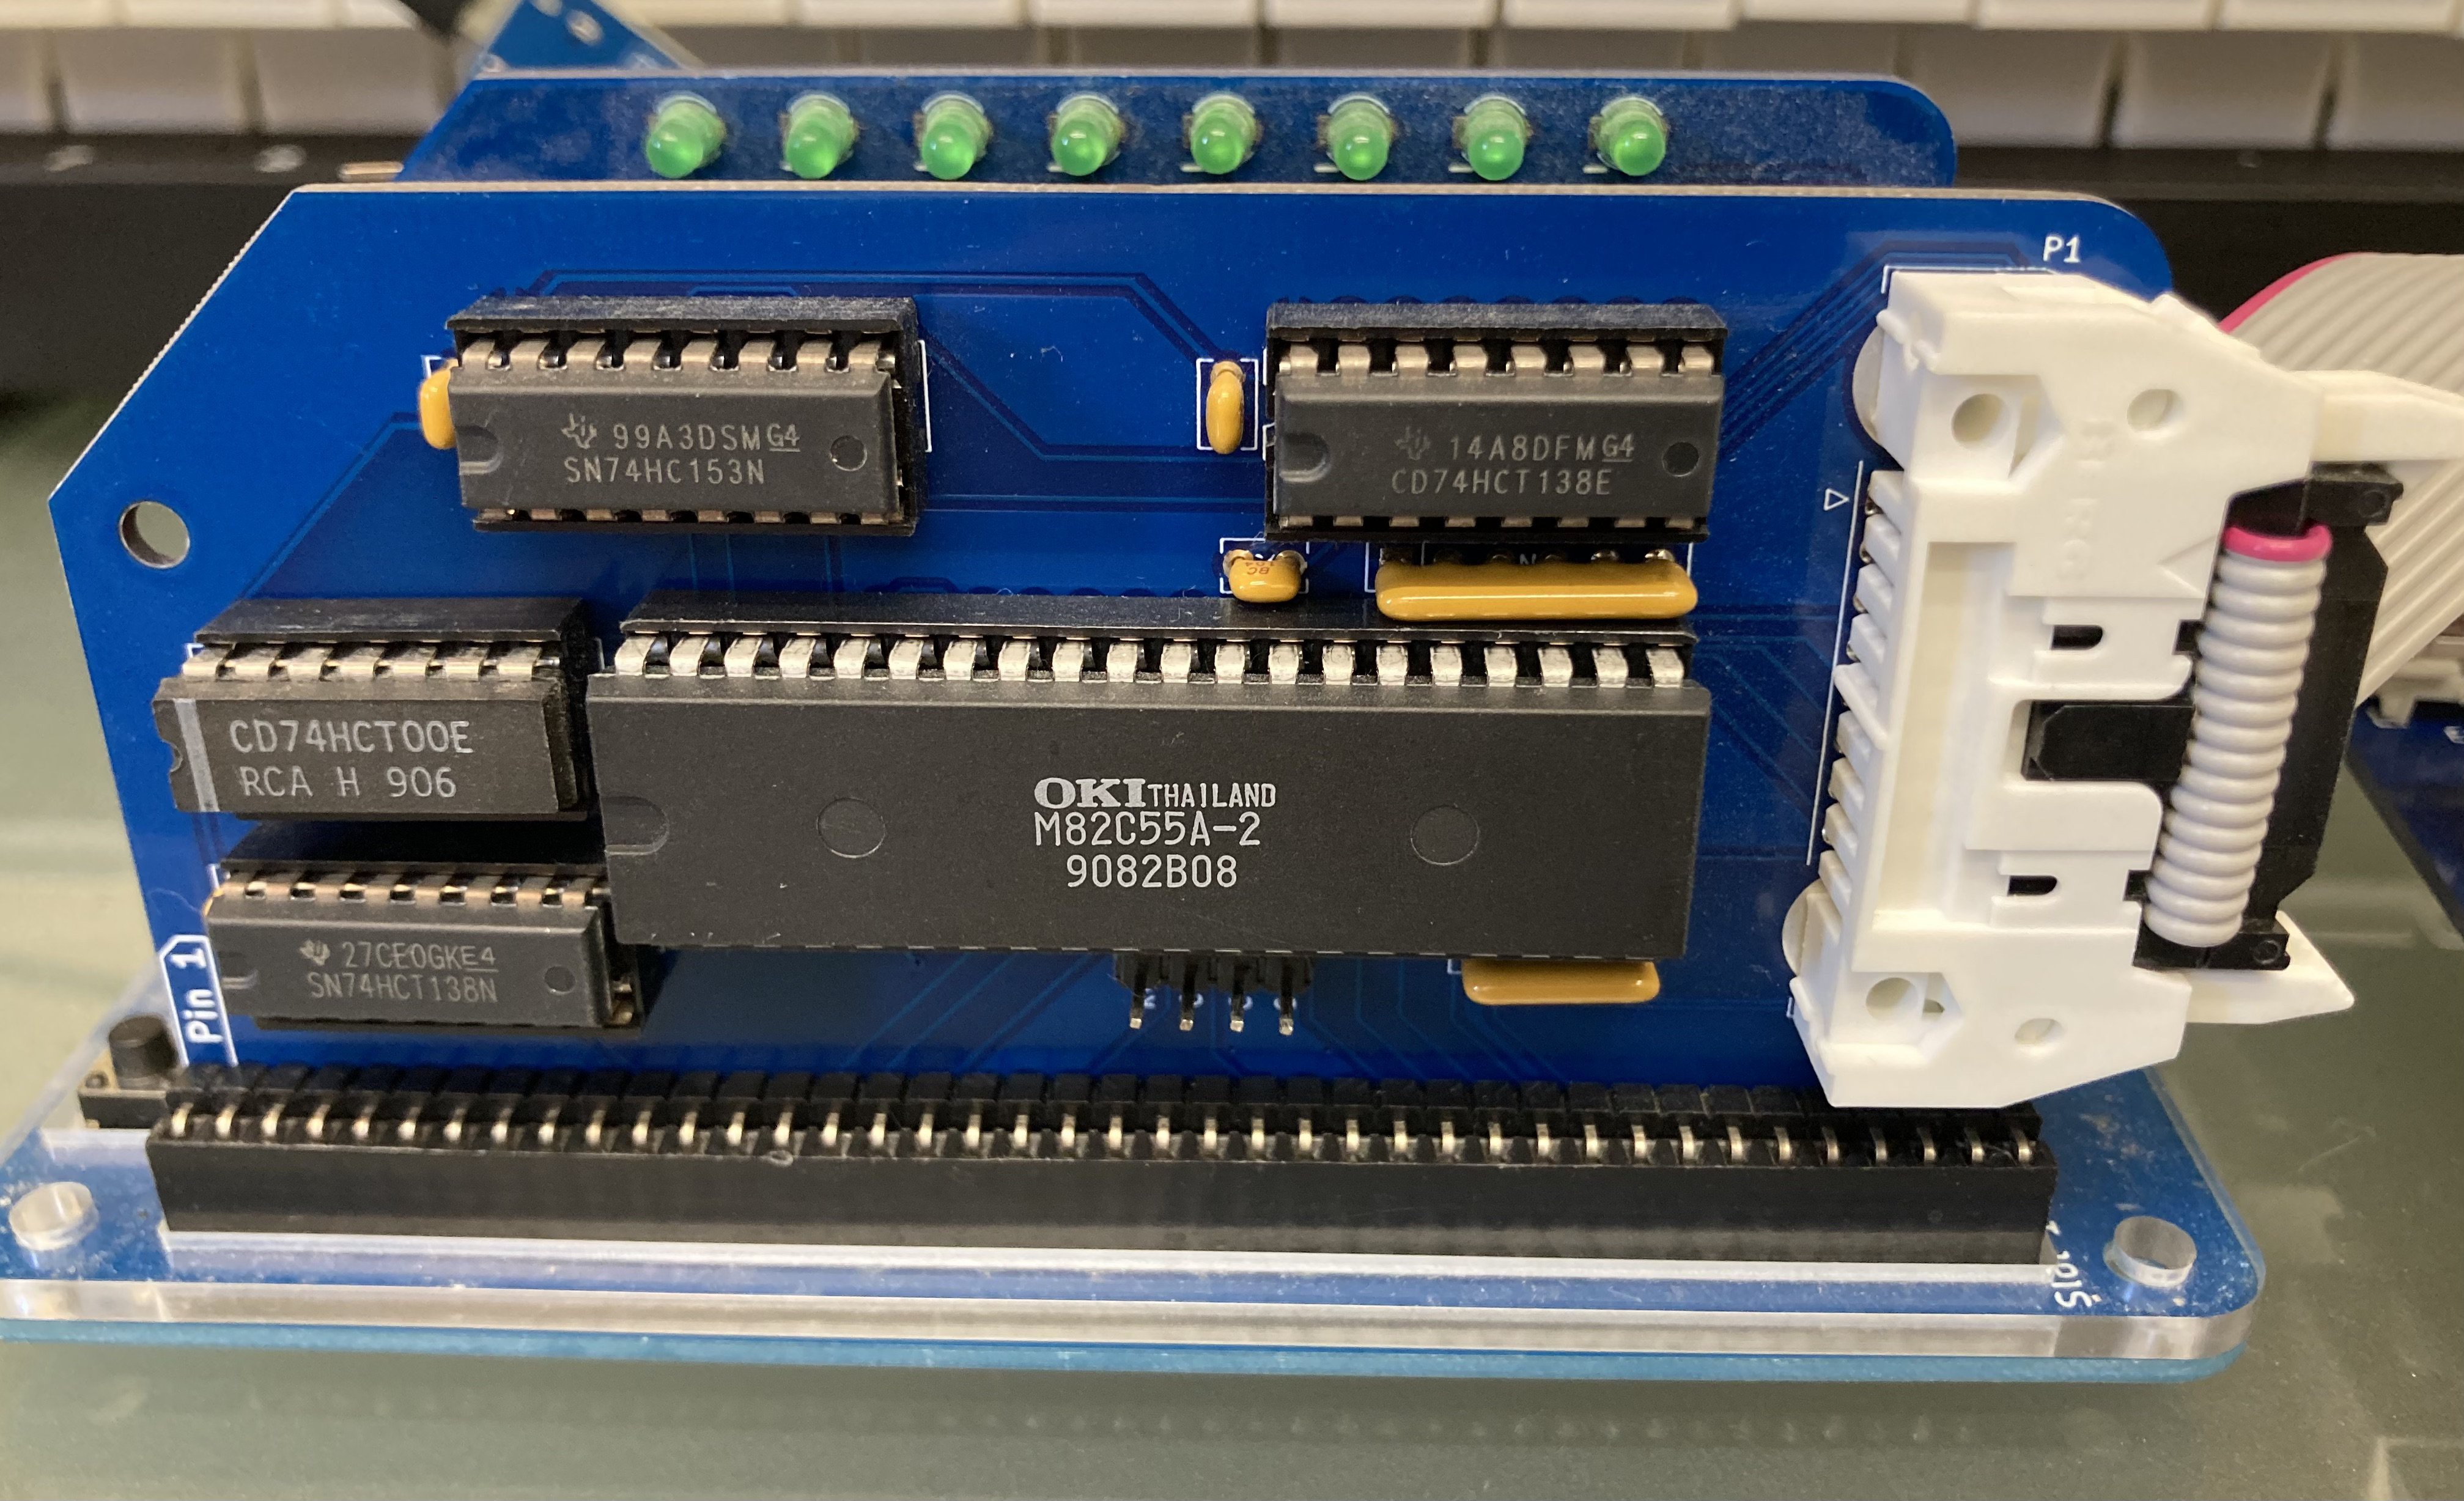
The second test was to build Rob's code and print the RC2014 logo. Thanks to Rob for his Alphacom / RC2014 interface, which allows you to choose a specific port (when connected to a Sinclair computer, the Aplhacom responds on any port where A2 is low).
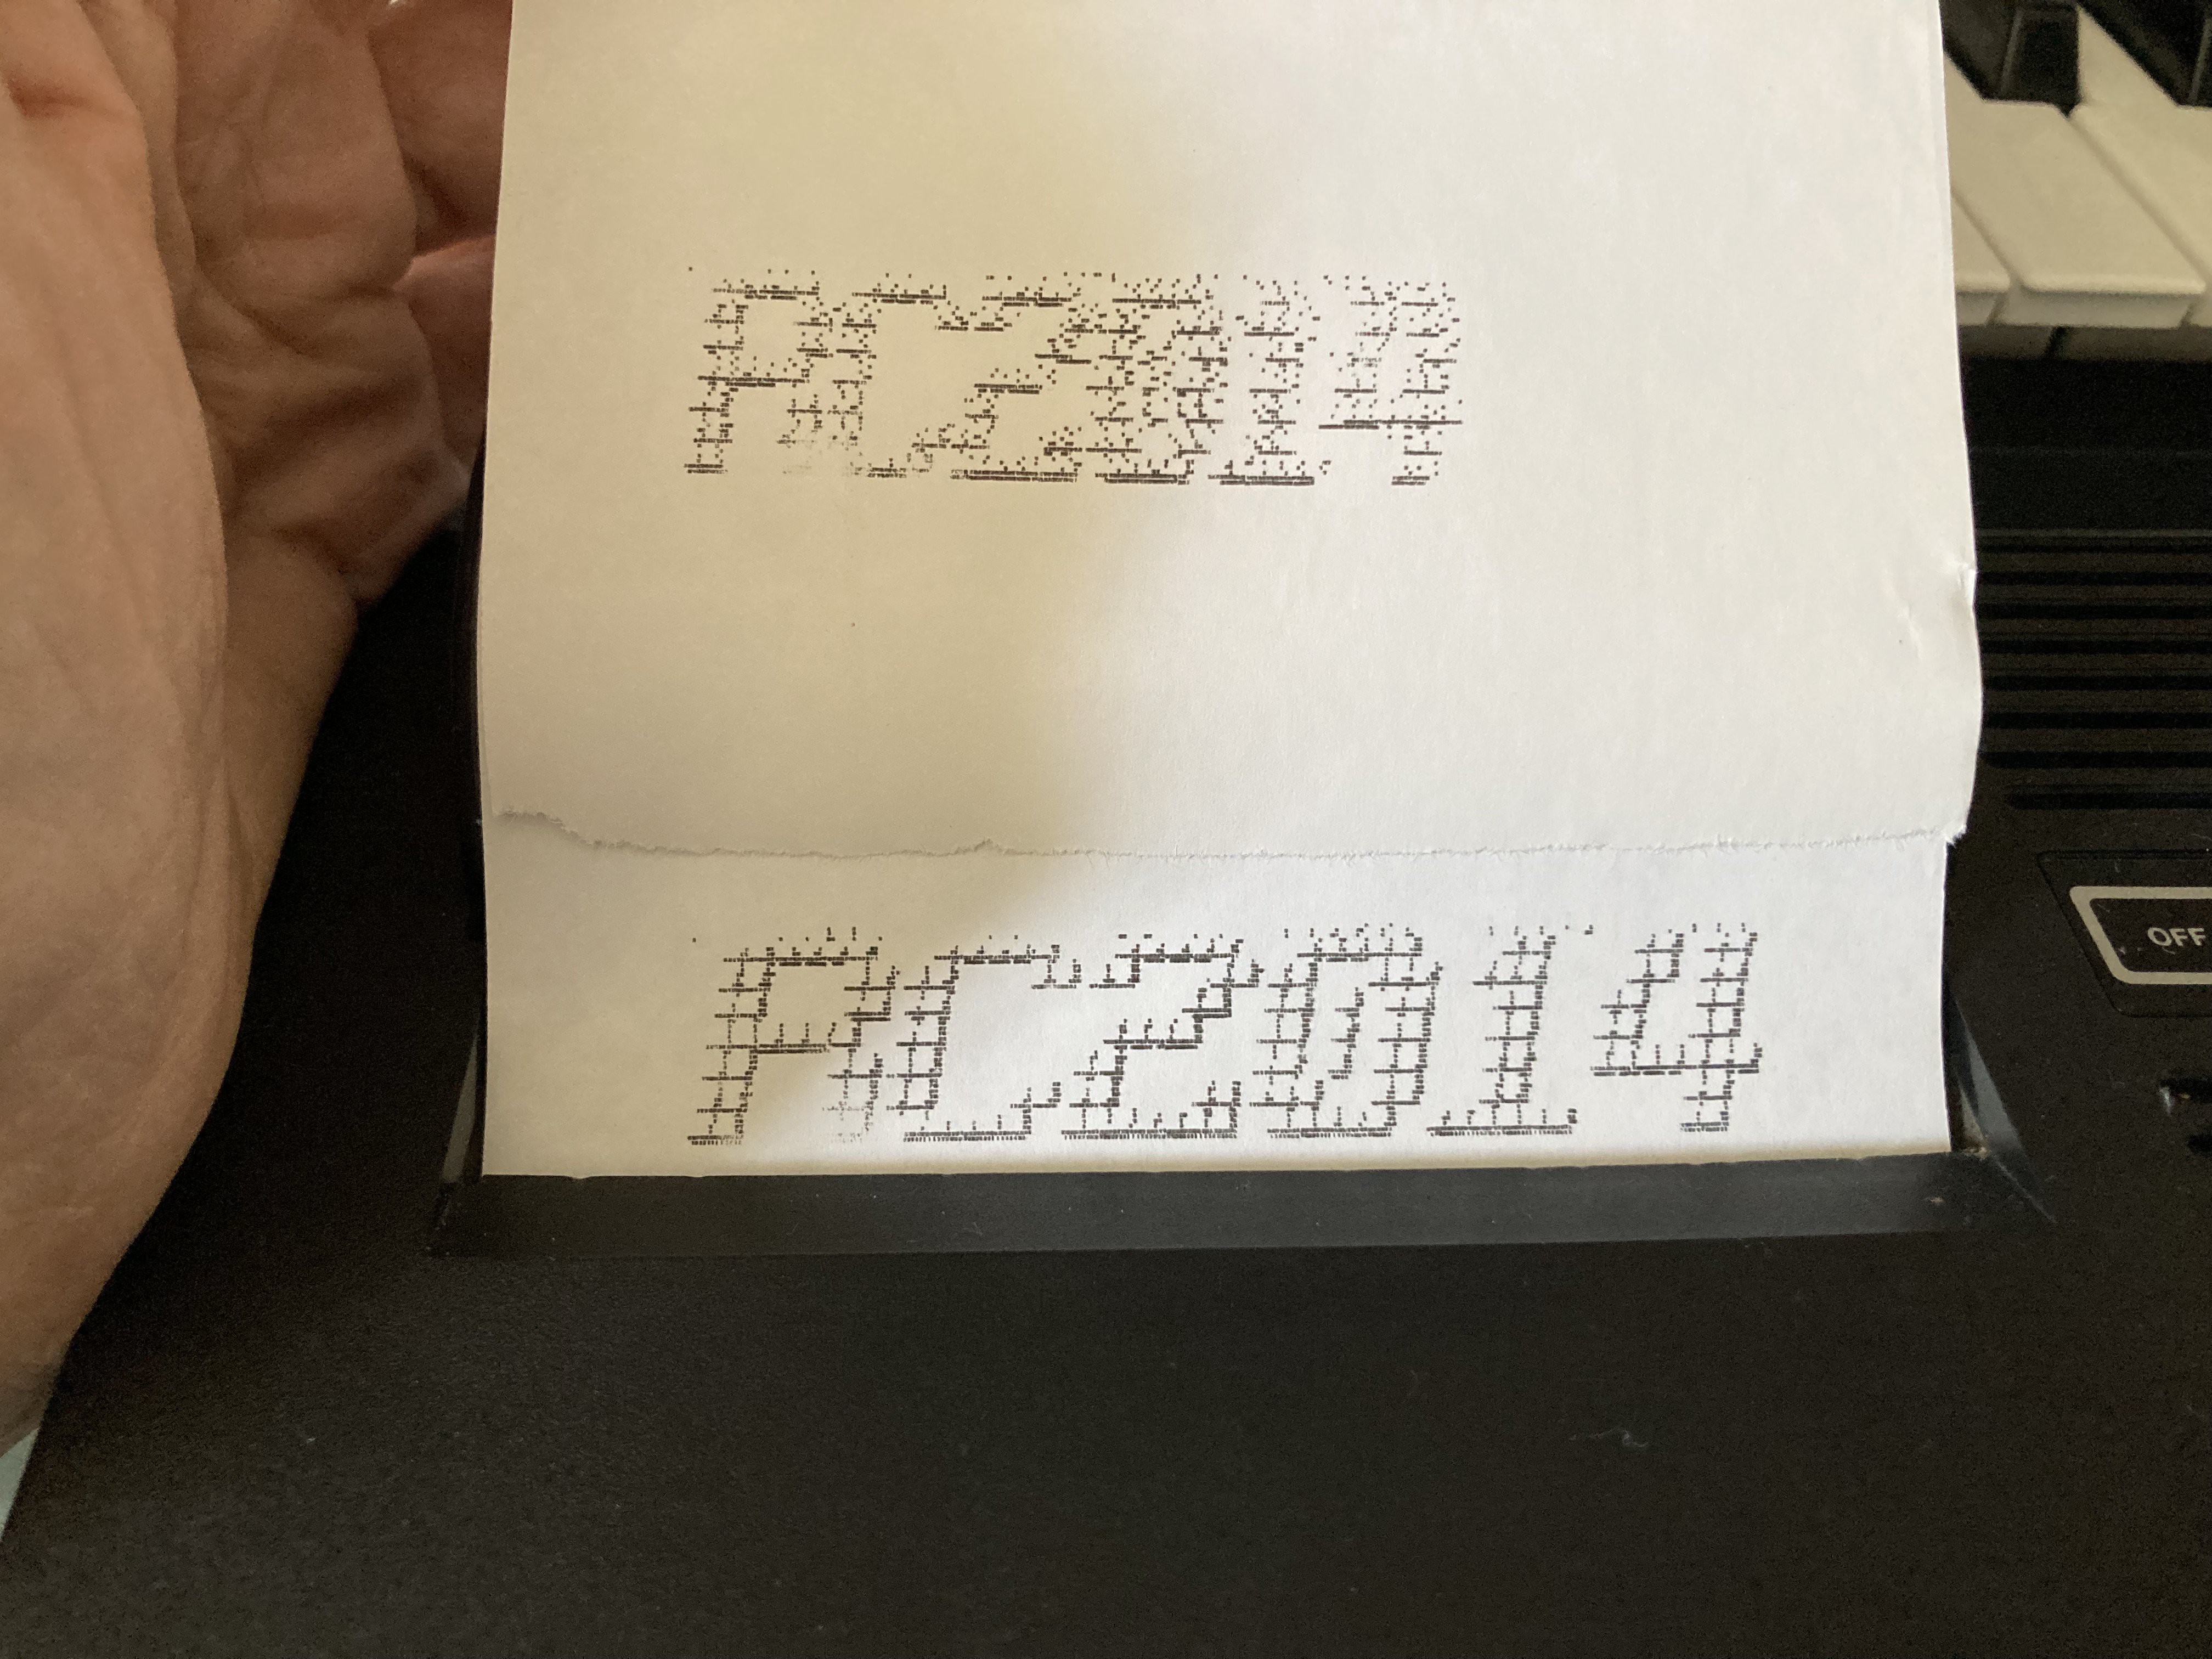
This took longer than it should, partly because I'm using a different compiler to Rob and had to fiddle with his code a little. But in the end, this printed out. Yes, it looks a little messy, but so does Rob's! He says that this is related to the way he scaled and converted the image.![]()
Then I wanted to test whether I could read the MSX keyboard. This wasn't as straightforward as it could have been. I've already built my own MSX PPI module (Programmable Peripheral Interface - for interfacing with the keyboard and doing a few other MSX things. It provides ports for scanning the keyboard). I eventually found the MSX BIOS code which actually does the scanning - specifically a routine that you send a row number and get a value back.
![]()
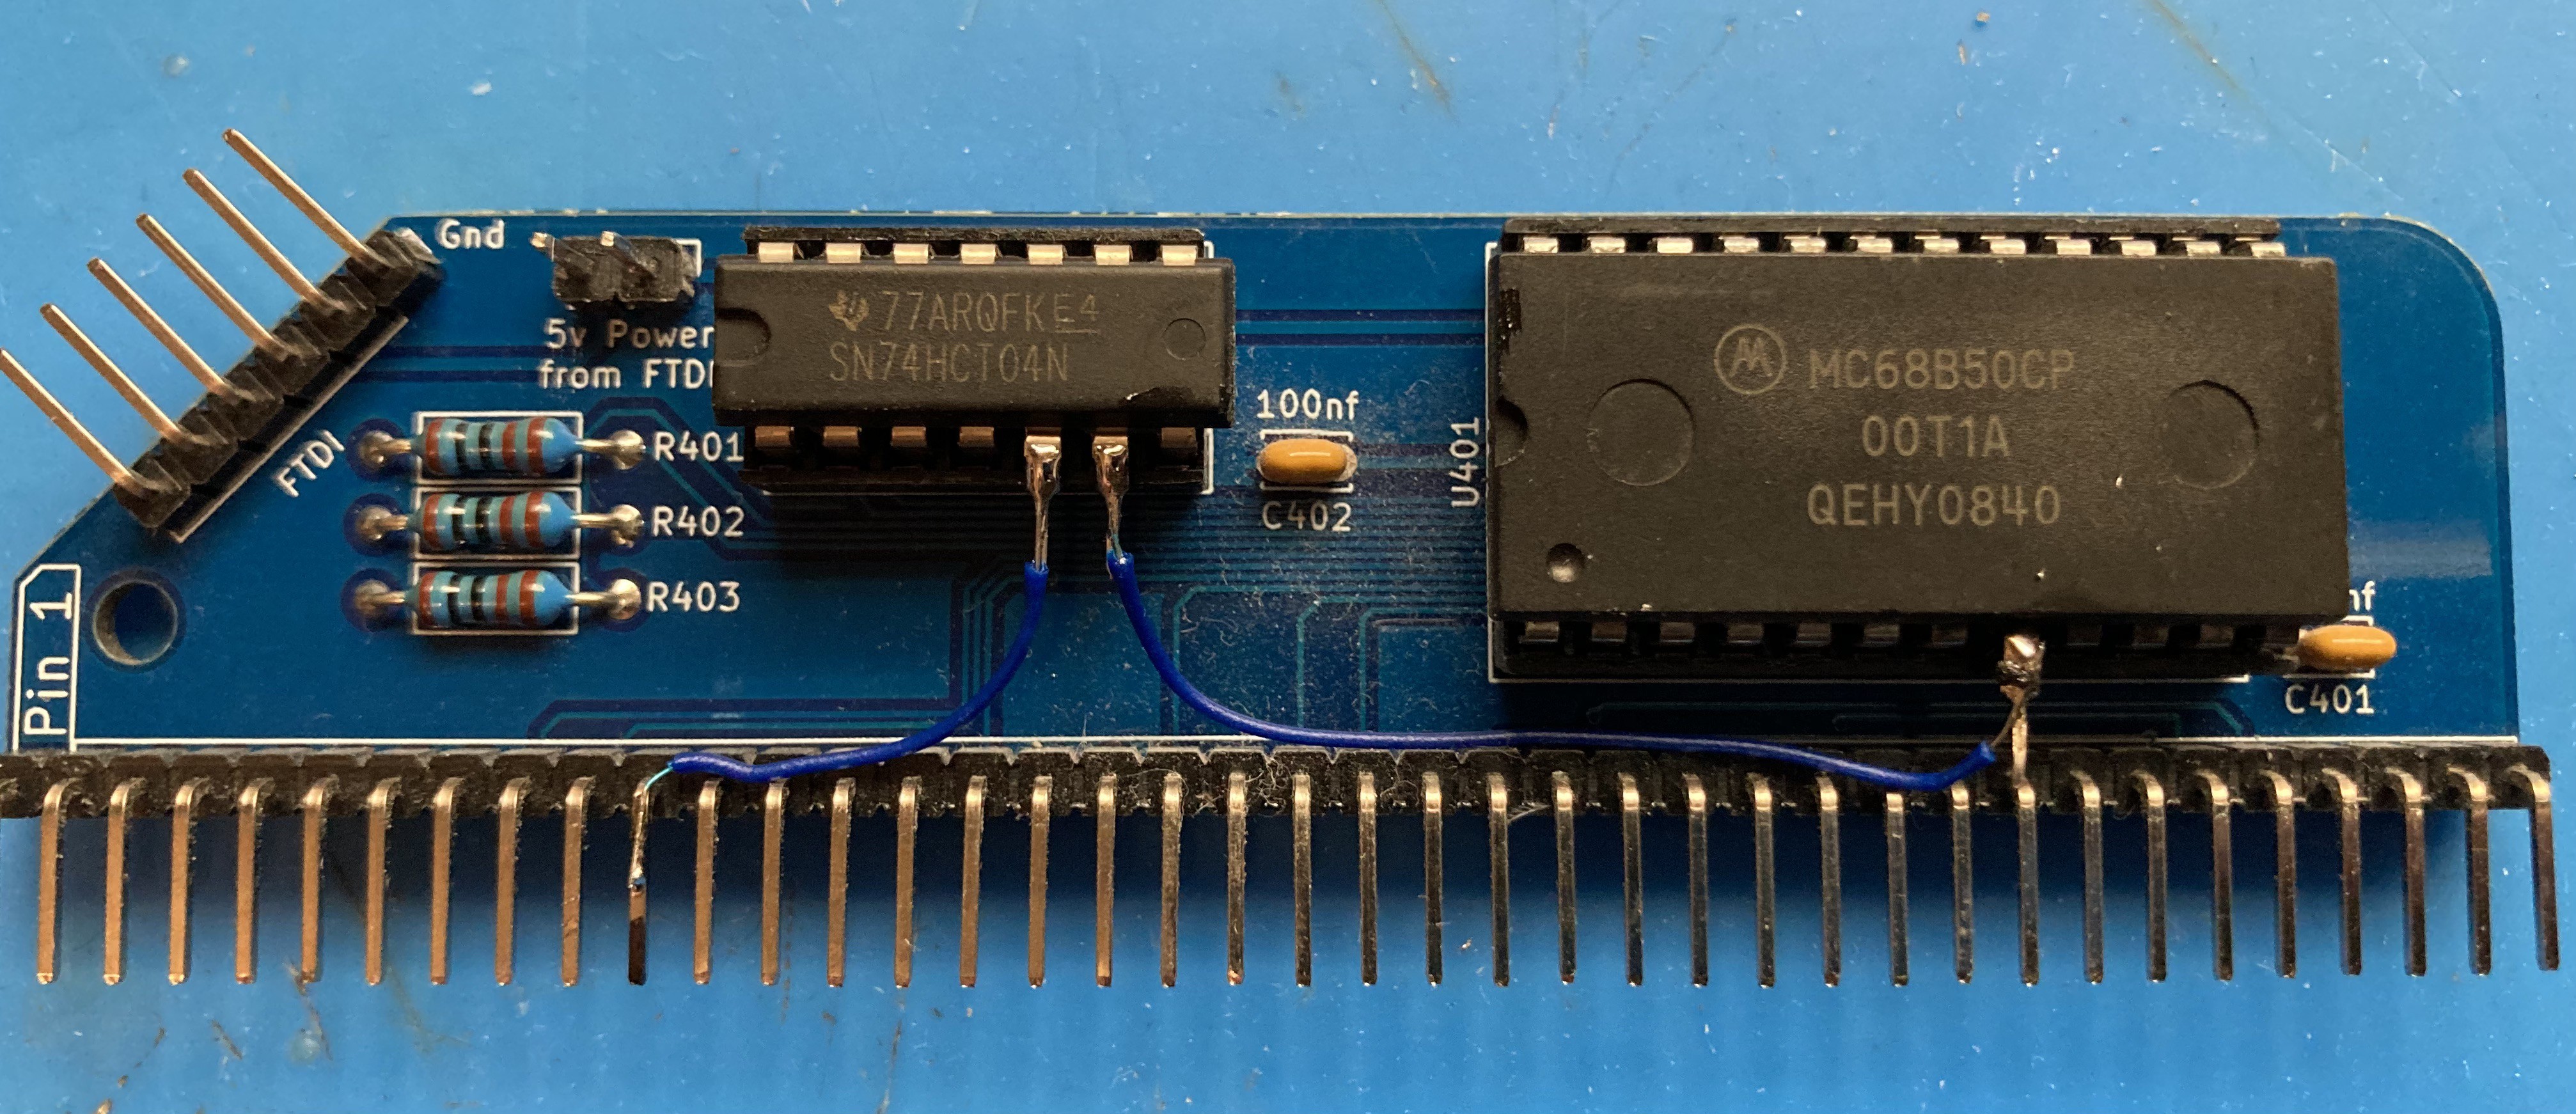
The big problem here is that the RC2014 serial module doesn't decode its port numbers fully ($80 and $81) and clashes with the ports that my PPI module uses ($A8, A9, AA, AB). So the first thing I had to do was to modify my serial module and tighten up the port decoding (specifically taking A5 into account, which is the difference between $8x and $Ax).
![]()
With that done, it wasn't too difficult to scan a single row repeatedly and output the result to my digital i/o and see lights coming on when I pressed keys 0-7.
So now I have working code for an RC2014 classic that can send data to the printer and scan a mechanical keyboard. I've shown that Rob's Alphacom interface module and my PPI module both do what I need. There's now a lot of coding to do.
MCU-less teletype terminal using Alphacom printer
I'd like to build a teletype-style terminal using an Alphacom thermal printer and a decent keyboard that will work with any RC2014