 M. Ż.
M. Ż.

A bit of history first.
The Opus is a grinder made by Fellow, an American company specializing in good-looking, well-working coffee brewing gear. Grinders, electric kettles, mugs, and lately even espresso machines. I bought my 2023 model in 2025 and I was very happy with it, even if for that price (700 PLN, so around 200 USD) I’d expected a bit more.
It served faithfully for a year and then, for no obvious reason, stopped working properly. It behaved as if the motor were choking, losing power. The internet pointed at capacitor problems and certain design shortcomings. My unit was still under warranty, so I decided to make use of that. Somewhat to my surprise, Fellow’s Polish distributor didn’t ask me to send the faulty unit back for repair - they just shipped a new one straight away (the 2025 model, in which you can spot a few subtle changes and fixes). The broken grinder went on a shelf for a few months. What kept me going was the thought: “if it’s only the capacitors, I’ll be able to fix it and have two grinders - profit!”. I was just getting into electronics at the time, so it sounded like an interesting project.
Eventually the thought ripened enough and I got down to taking it apart. Sadly I didn’t photograph the whole process, but the few shots I did take are here.
Teardown
First observation, the moment I started: this thing is wonderfully serviceable! No snap-fits that break off, no housings you have to pry open while risking damage. No hot glue, no components drowned in some strange goo. All you need is a screwdriver (Philips, size 2) and tweezers (bent ones, to make life easier). No instructions, no googling “how to disassemble…”. The further I got into my old grinder, the bigger a Fellow fan I became. So it can be done right, I thought. At the same time I grew increasingly puzzled that the warranty claim got me a new grinder instead of a repair of this one. Business processes are strange, but thanks to that we now have this write-up.
Once all the layers of housing were off (the grinder is Class II per IEC/EN 61140, so the enclosure itself does the protecting and the appliance needs no earth conductor - which is why there were quite a lot of those layers), I found myself looking at the PCBs - modular as well, joined by pin headers, with wires neatly landed in faston terminals. One labeled power board, the other control board.
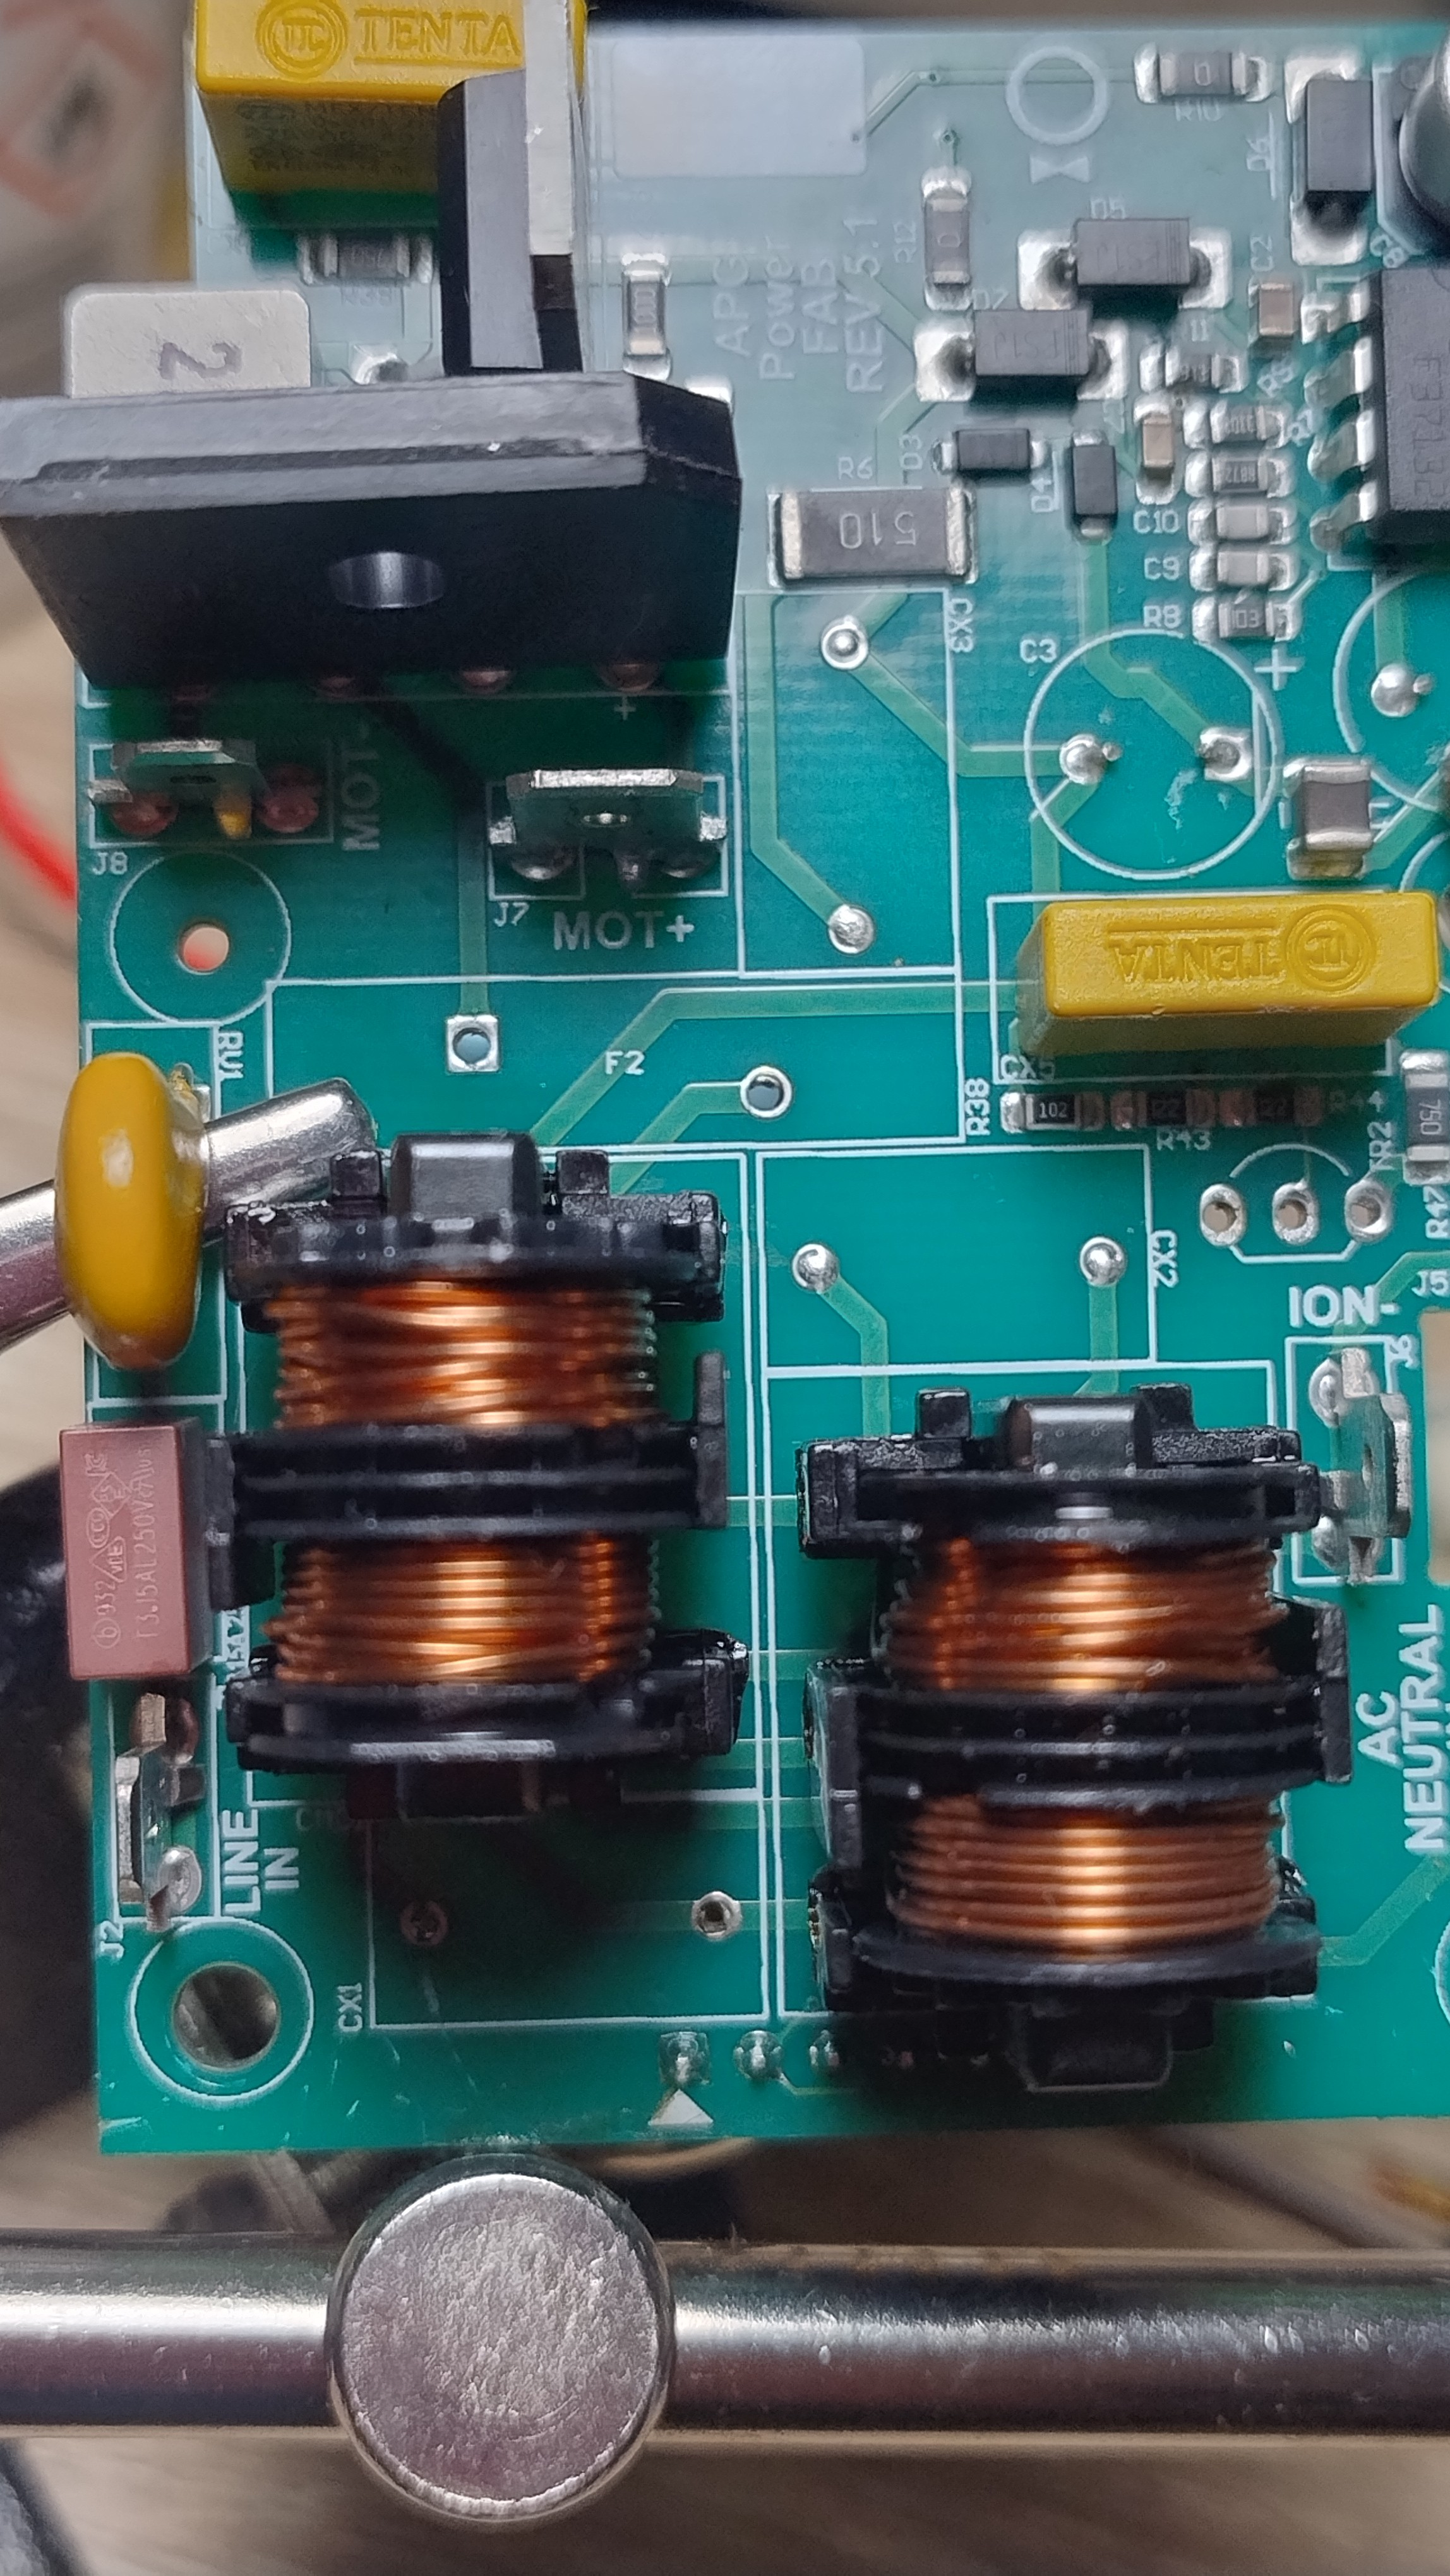
I identified the cause of the failure quickly - two THT electrolytic capacitors (4.7 µF, 400 V) with their legs snapped off. Fellow forgot about one thing: in a grinder that vibrates, relatively tall capacitors will vibrate too, and eventually that breaks their legs off. Some kind of support - a clamp or a bracket - would probably have been enough. And the thought came back: repairing this device is trivial, and I’d really like everything to look like this.
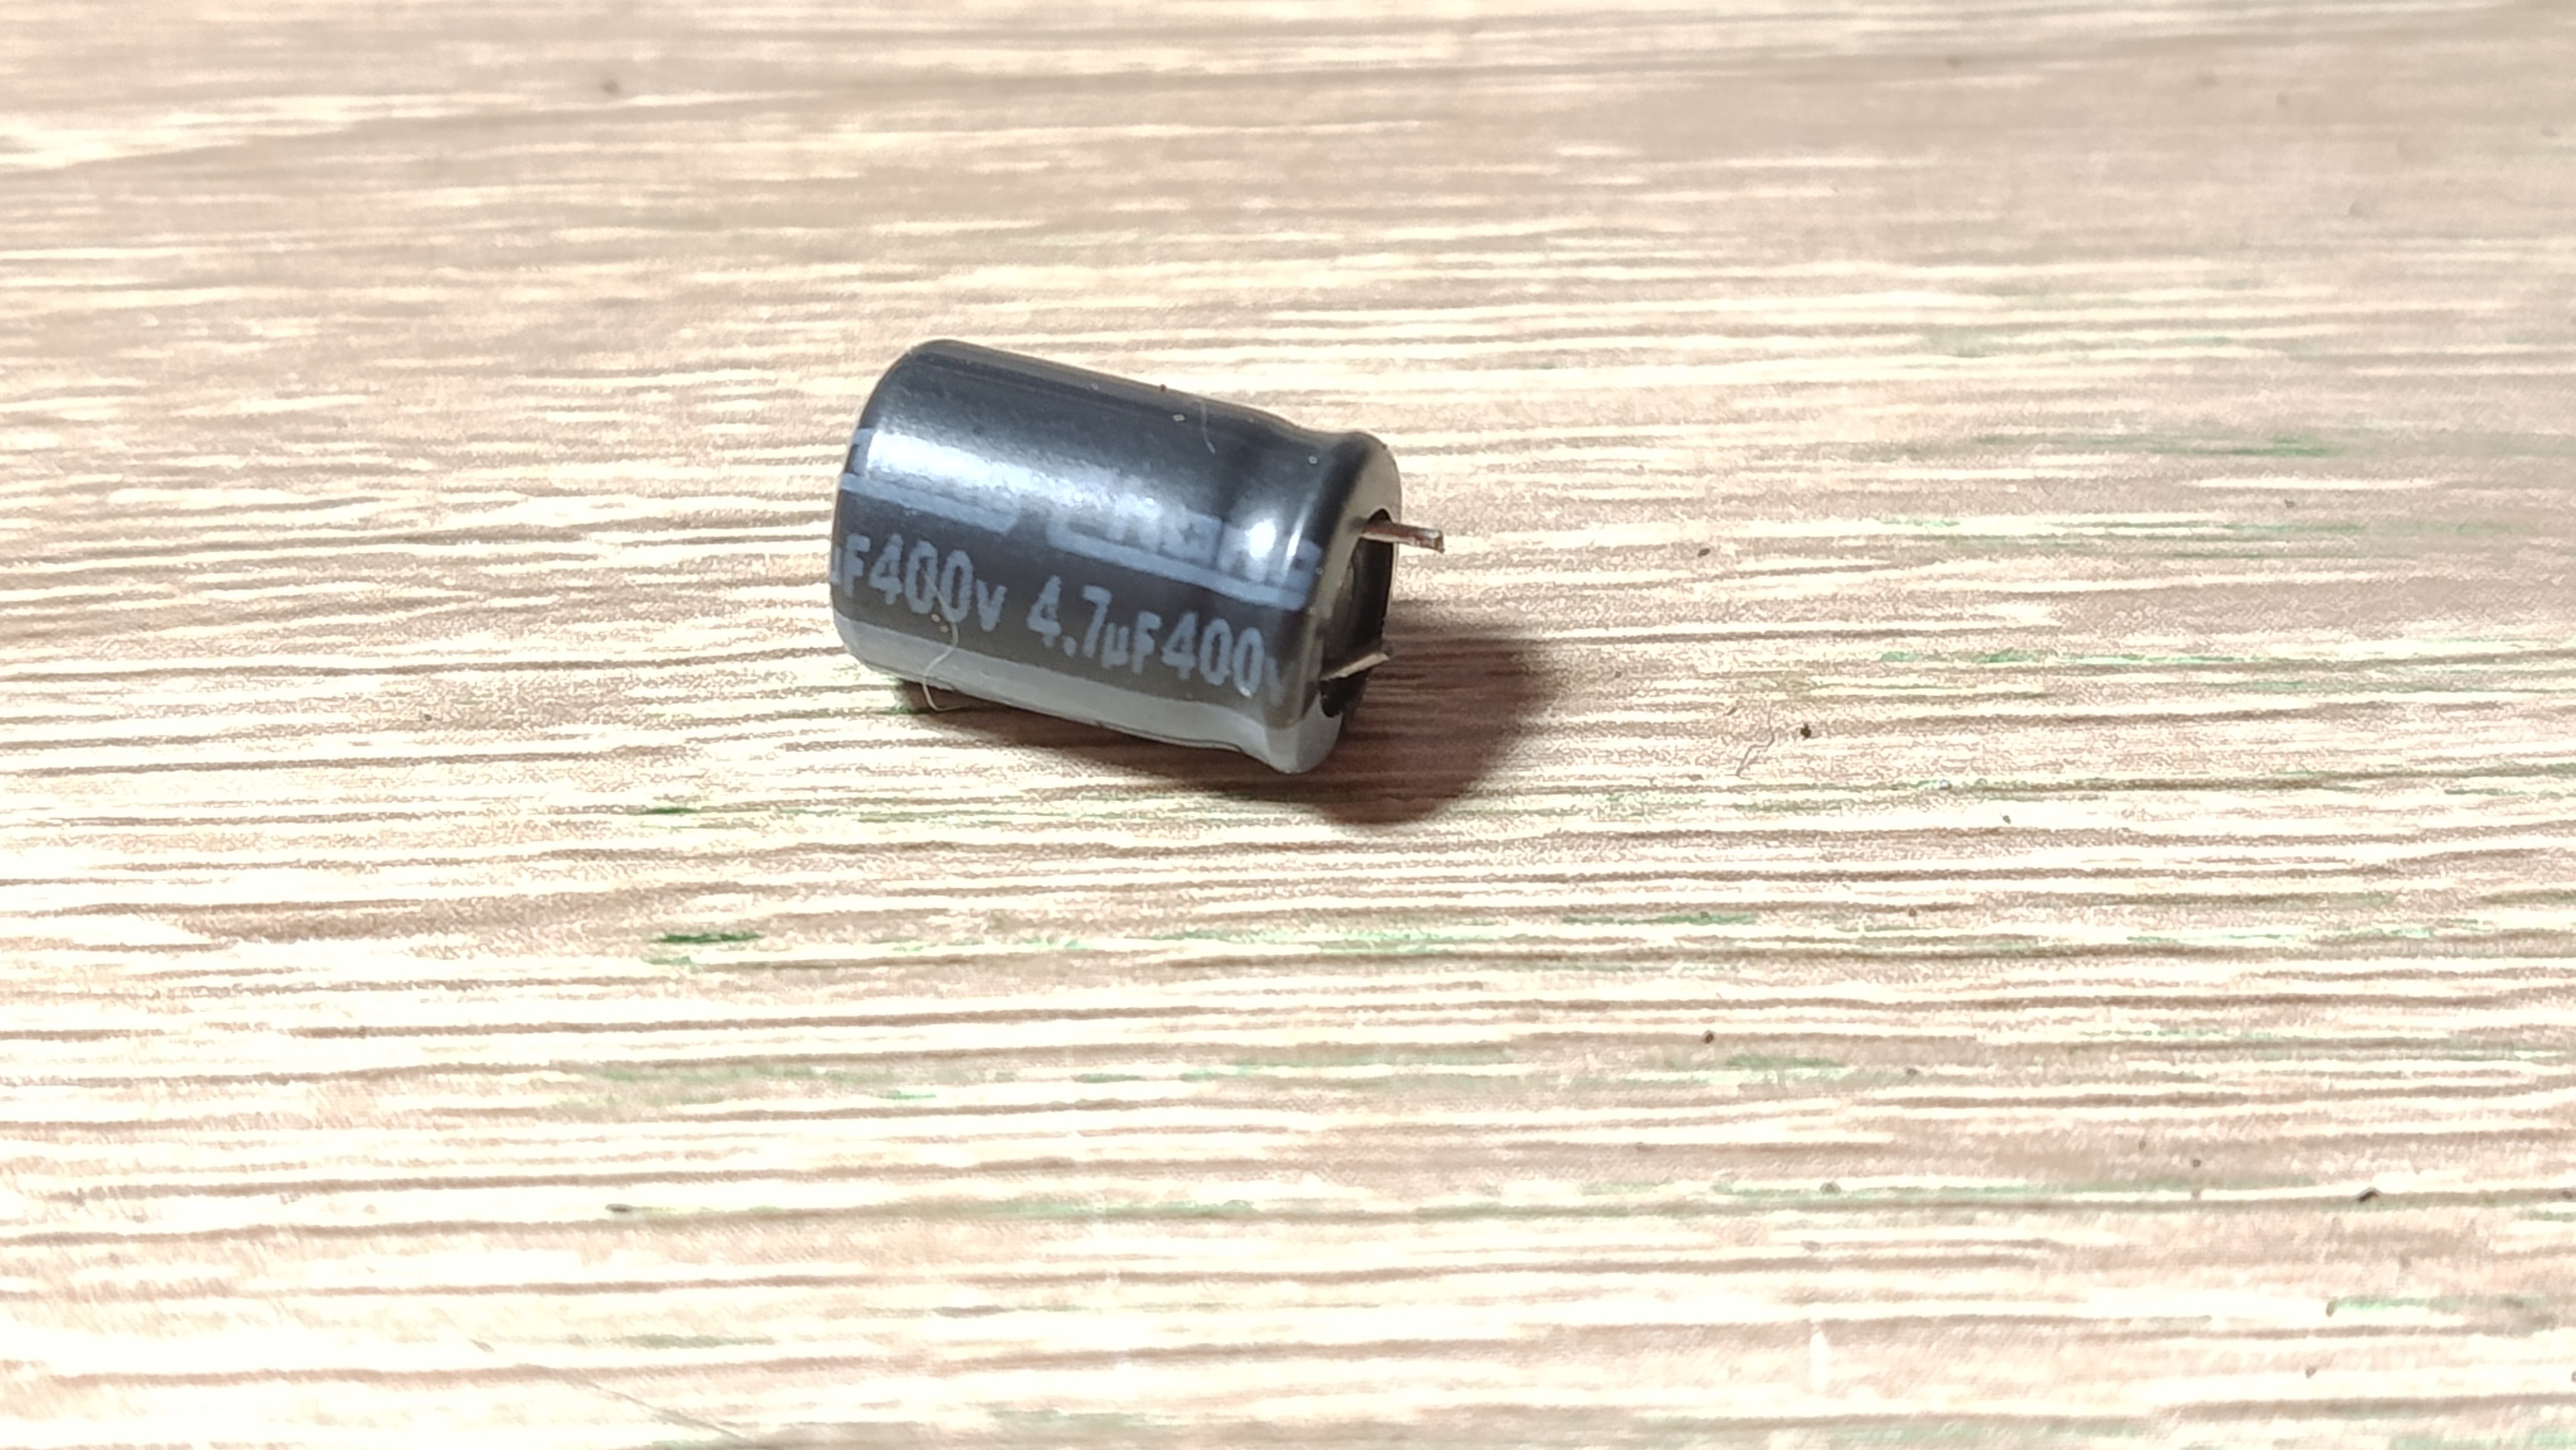
The rest of the power board is a fairly standard non-isolated switching supply built around a VIPER16, with an EMI filter on the input. Nothing that particularly caught my interest. If I’d stopped there I’d probably have a second working grinder by now, but I decided to take it apart all the way. Why? Because I found this.
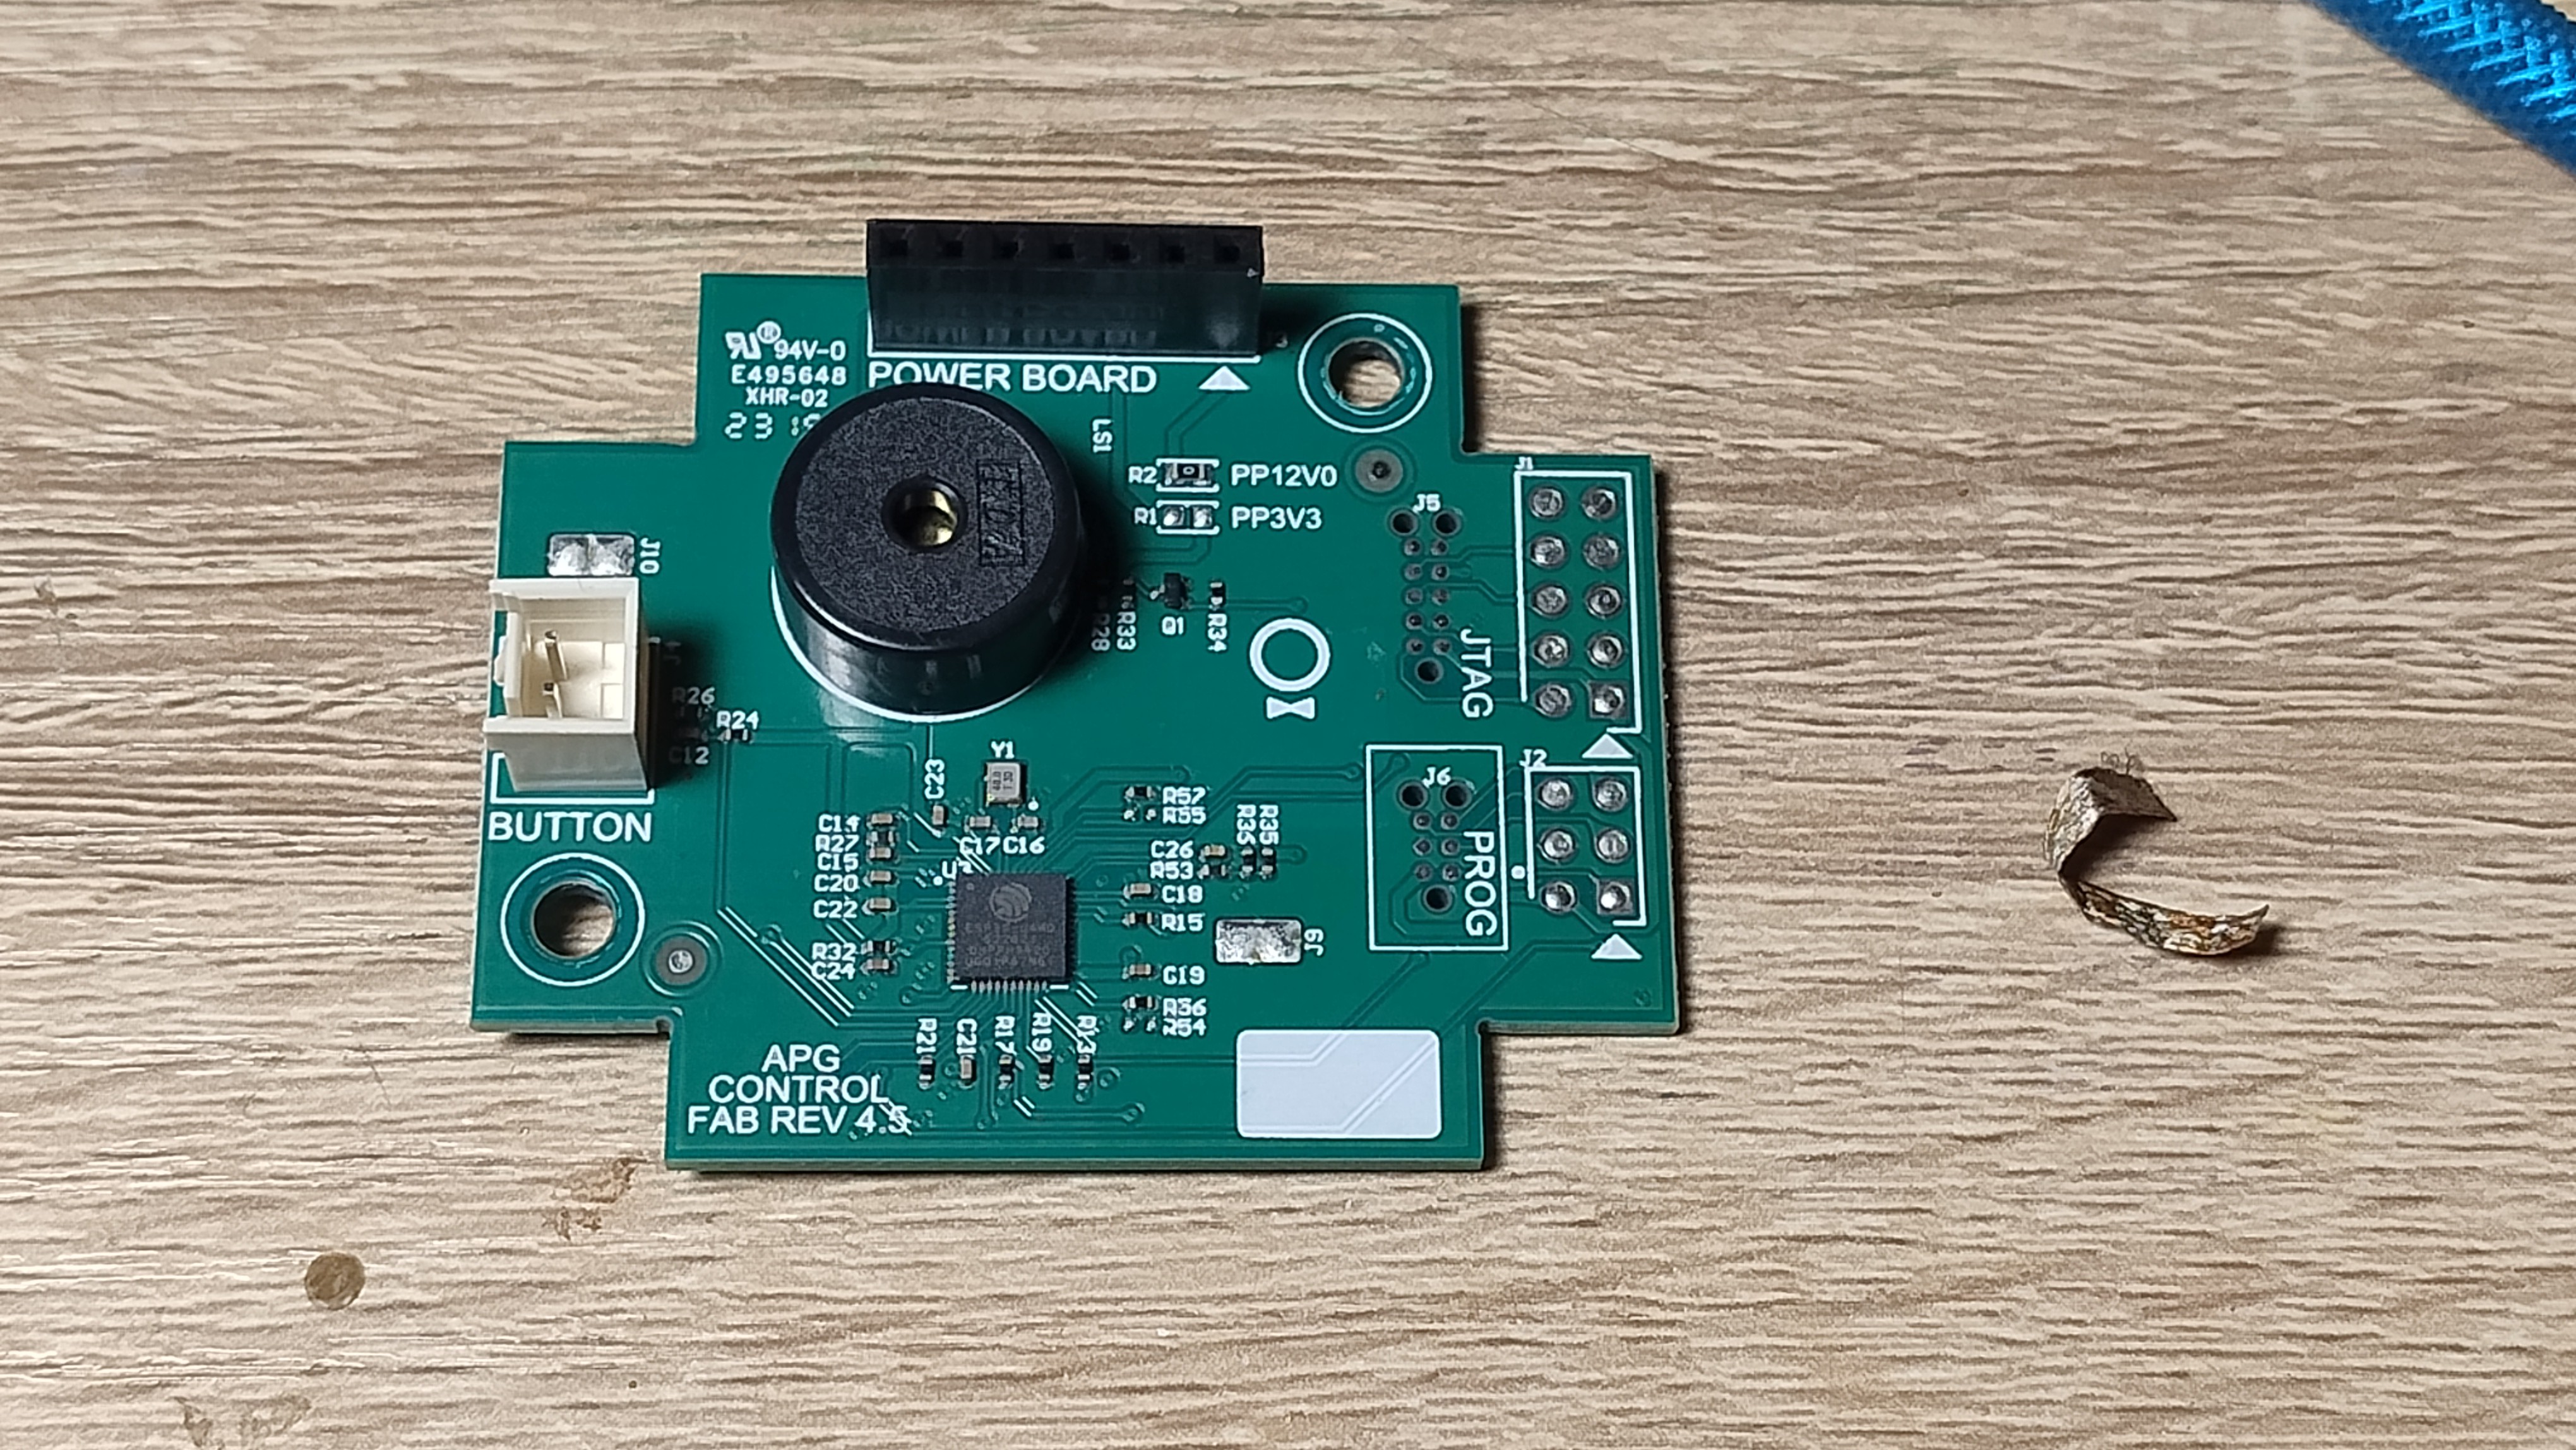
The control board
A control board with an ESP32-U4WDH on it! That meant I could write my own firmware and add interesting and useful (or just interesting) features – let’s say talking to Home Assistant, or remote control over a web socket. Maybe I could collect grinding statistics, or something else entirely. To be clear: even though the chip does Wi-Fi and BT, the grinder has no “smart” features and no app. In my eyes that’s one of its advantages. But if I can add those features on my own terms - that changes things. What encouraged me further were neat and big service pads labeled PROG....
Read more »
 JP Gleyzes
 Jared
Jared
 darkspr1te
 kevinjkrieger