 Arnov Sharma
-
1SCREEN FRAME DESIGN
![]()
![]()
![]()
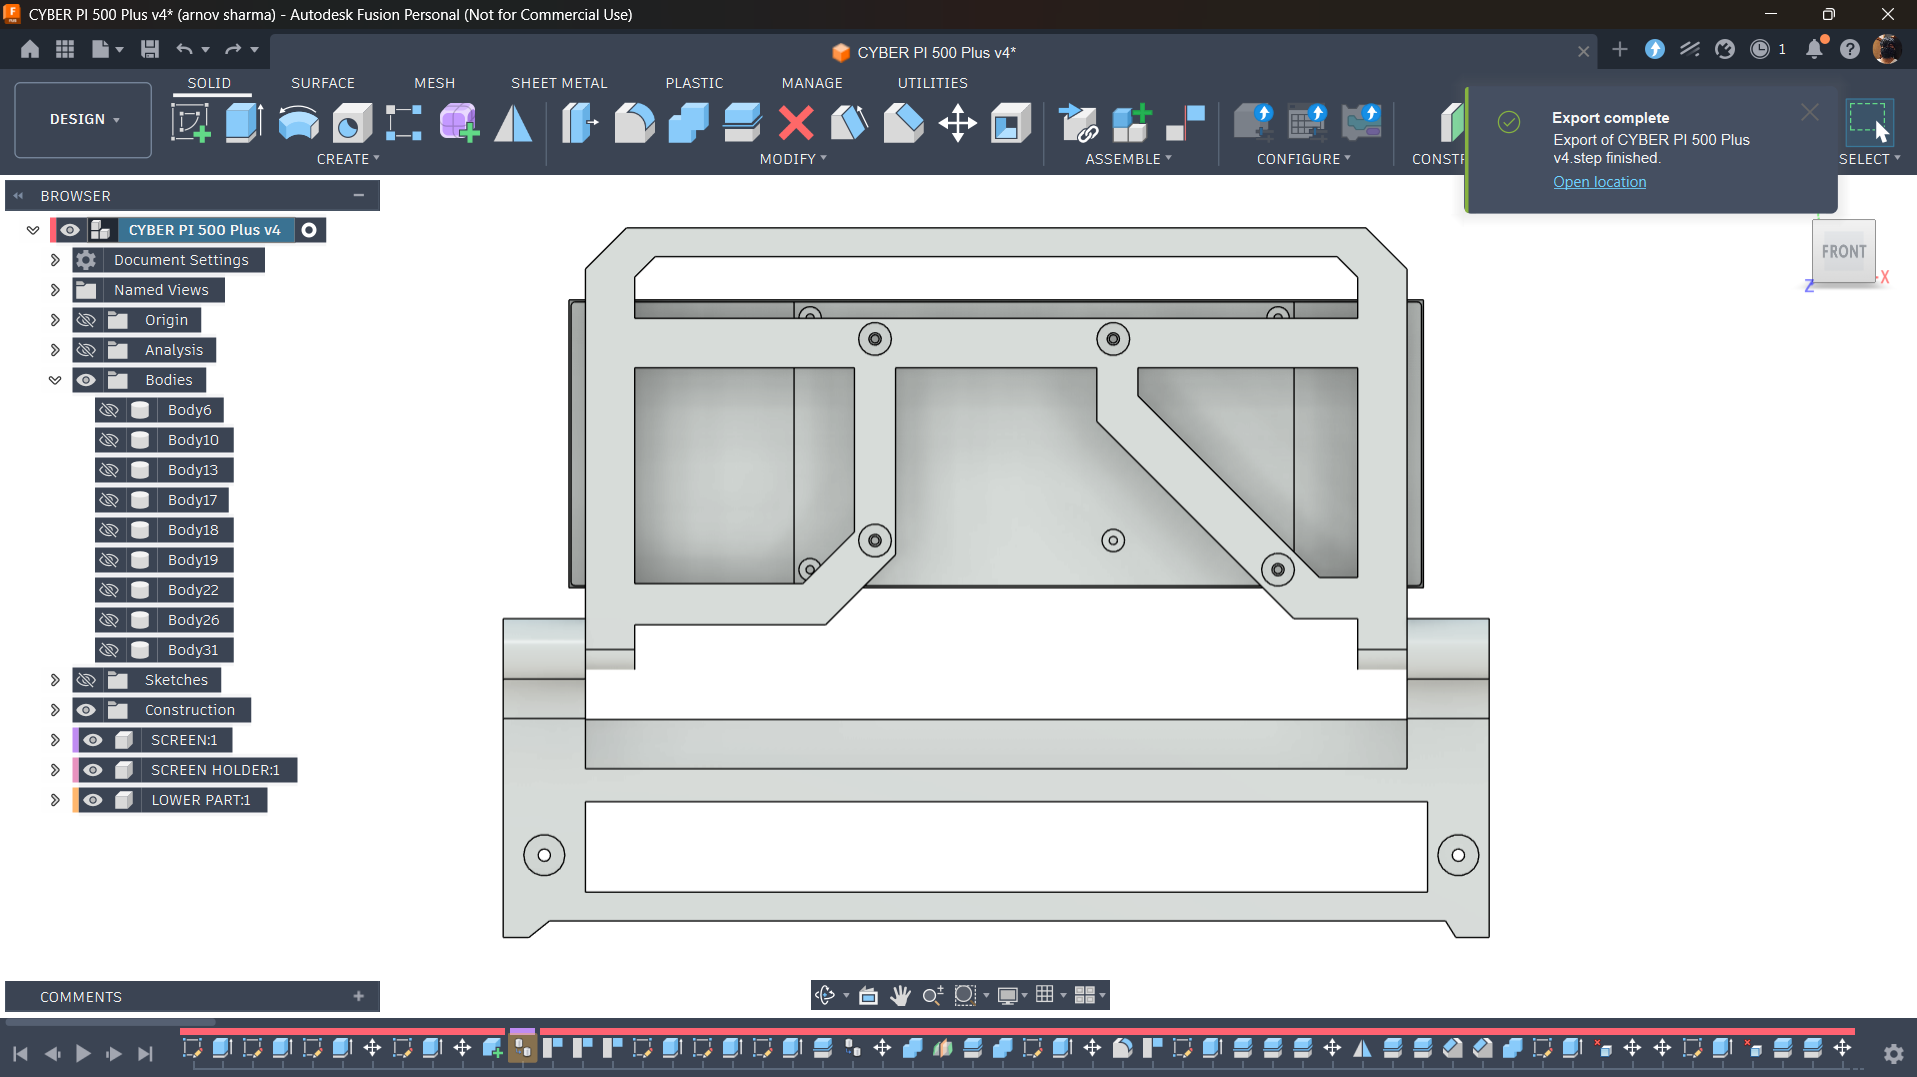
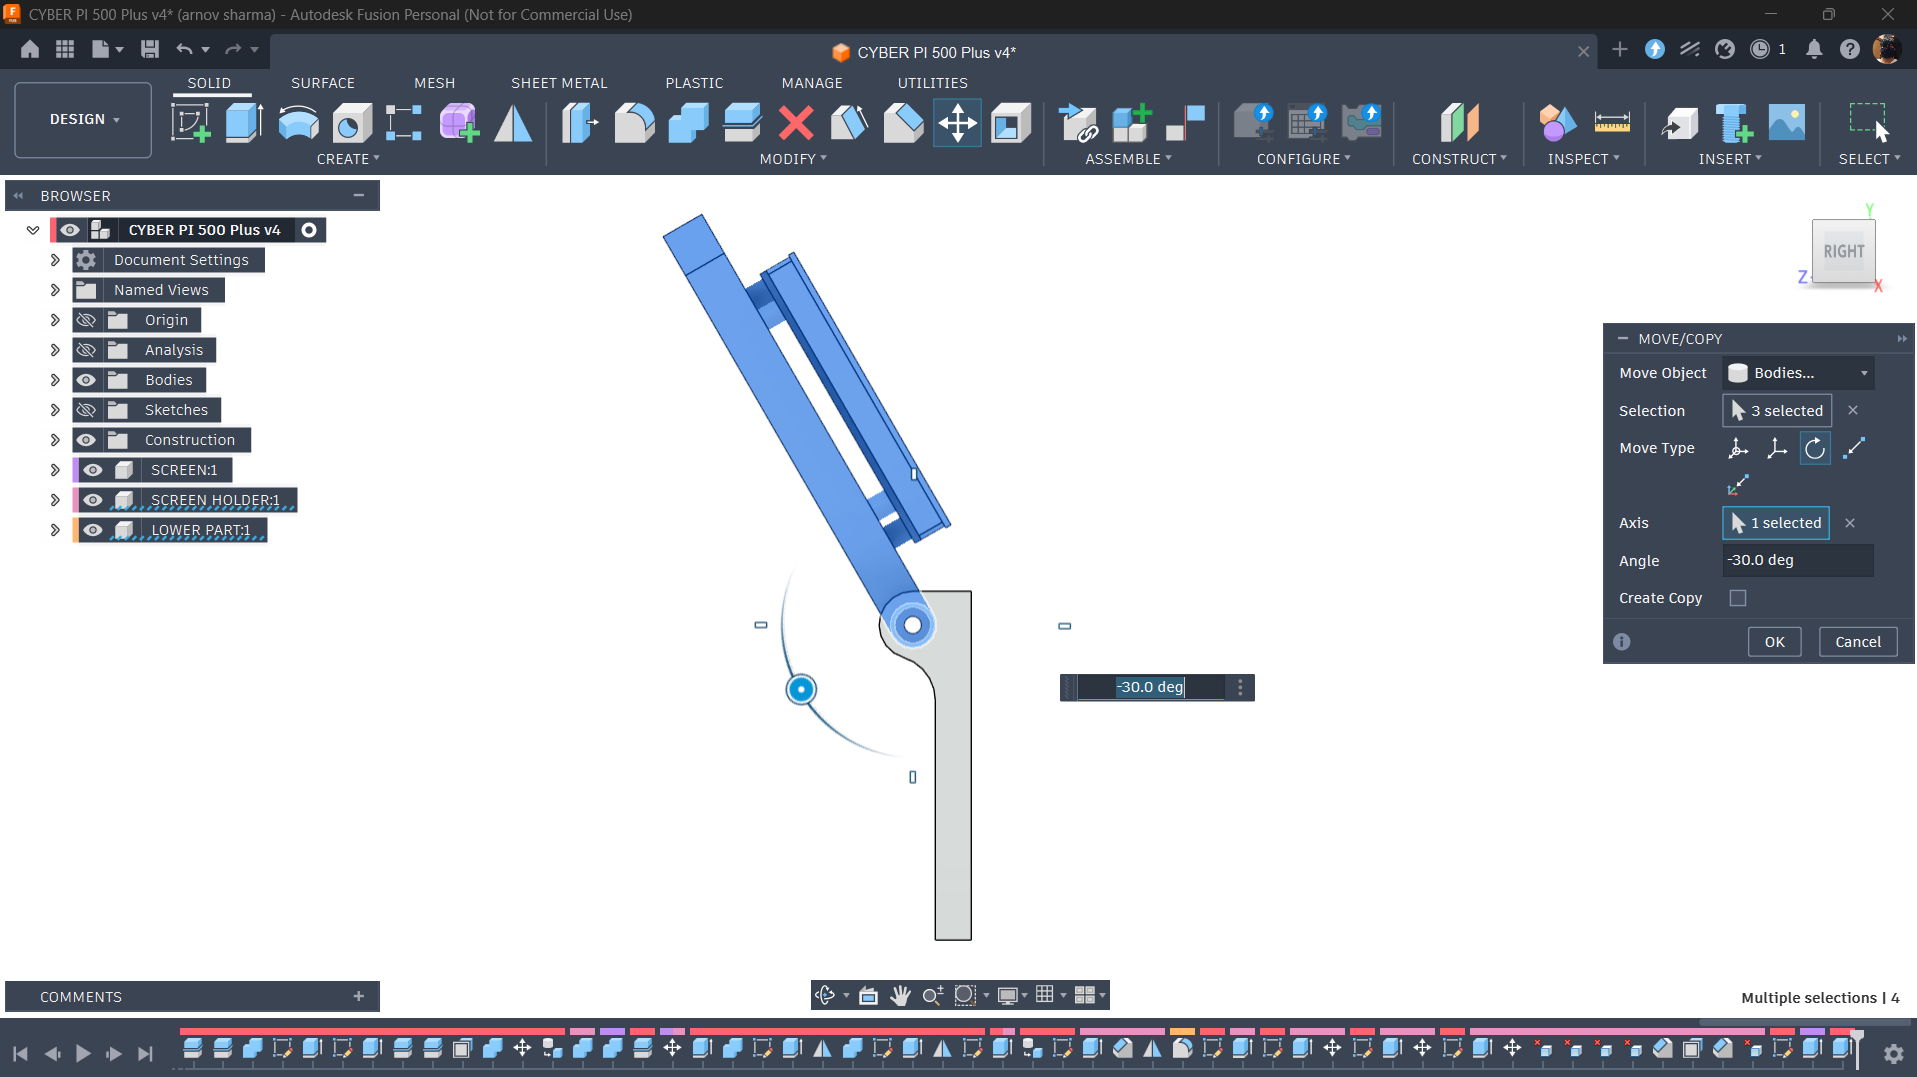
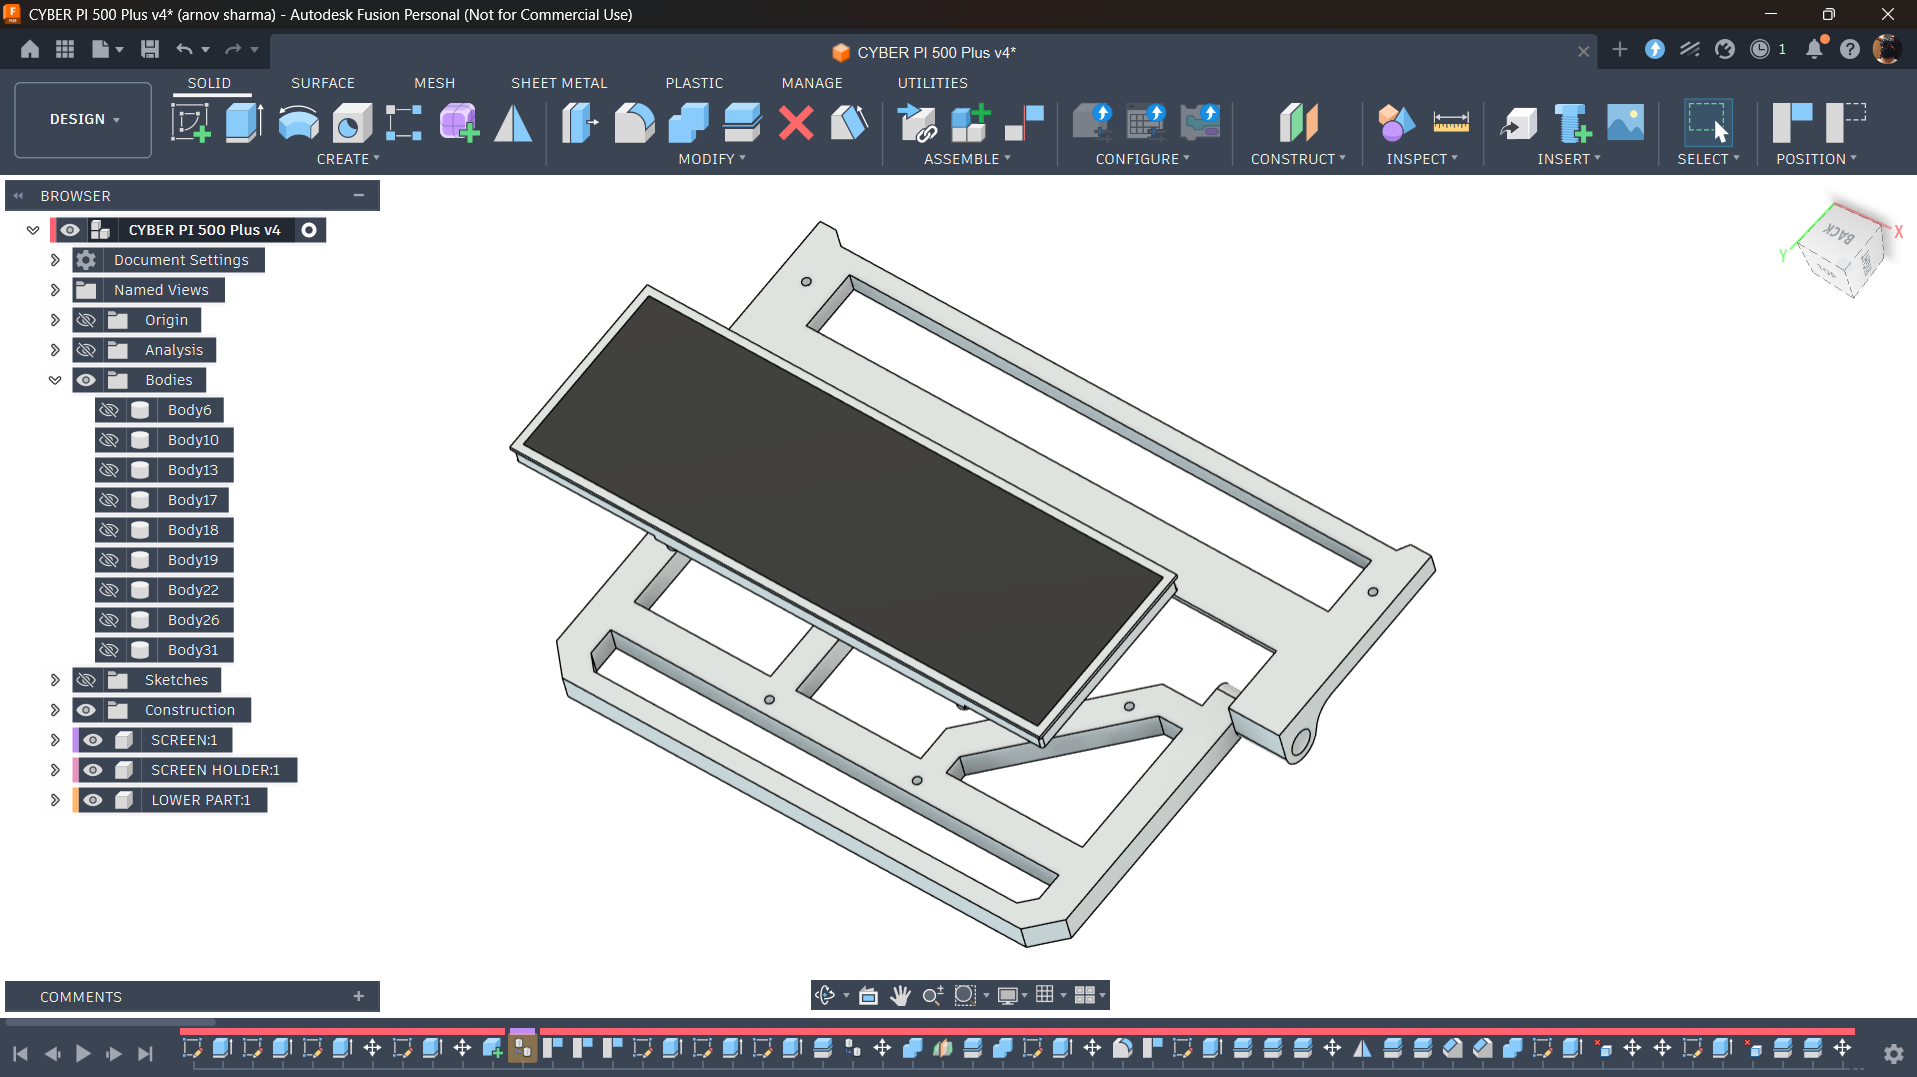
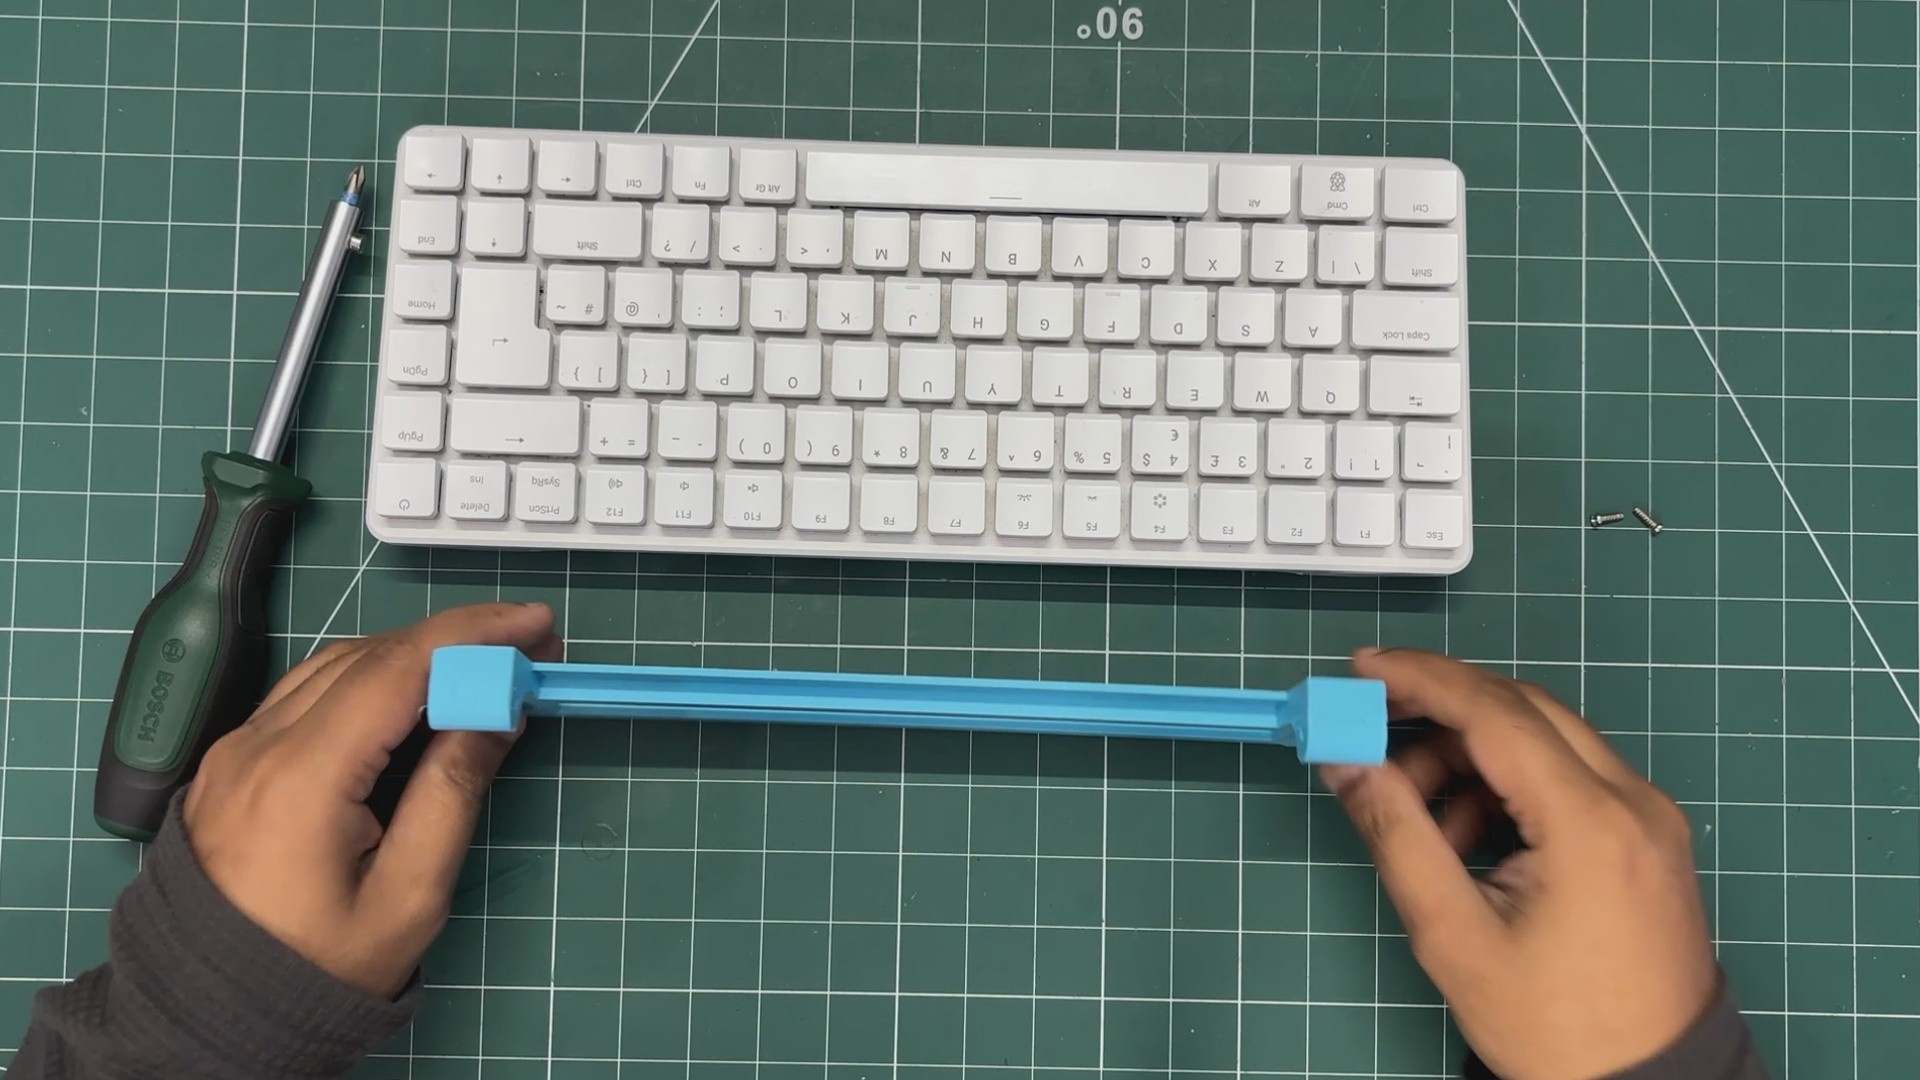
The goal of the frame design was fairly simple: attach the display to the Raspberry Pi 500+ and make it work like a laptop. The challenge was figuring out how to mount everything without an existing CAD model of the Pi 500+ keyboard.
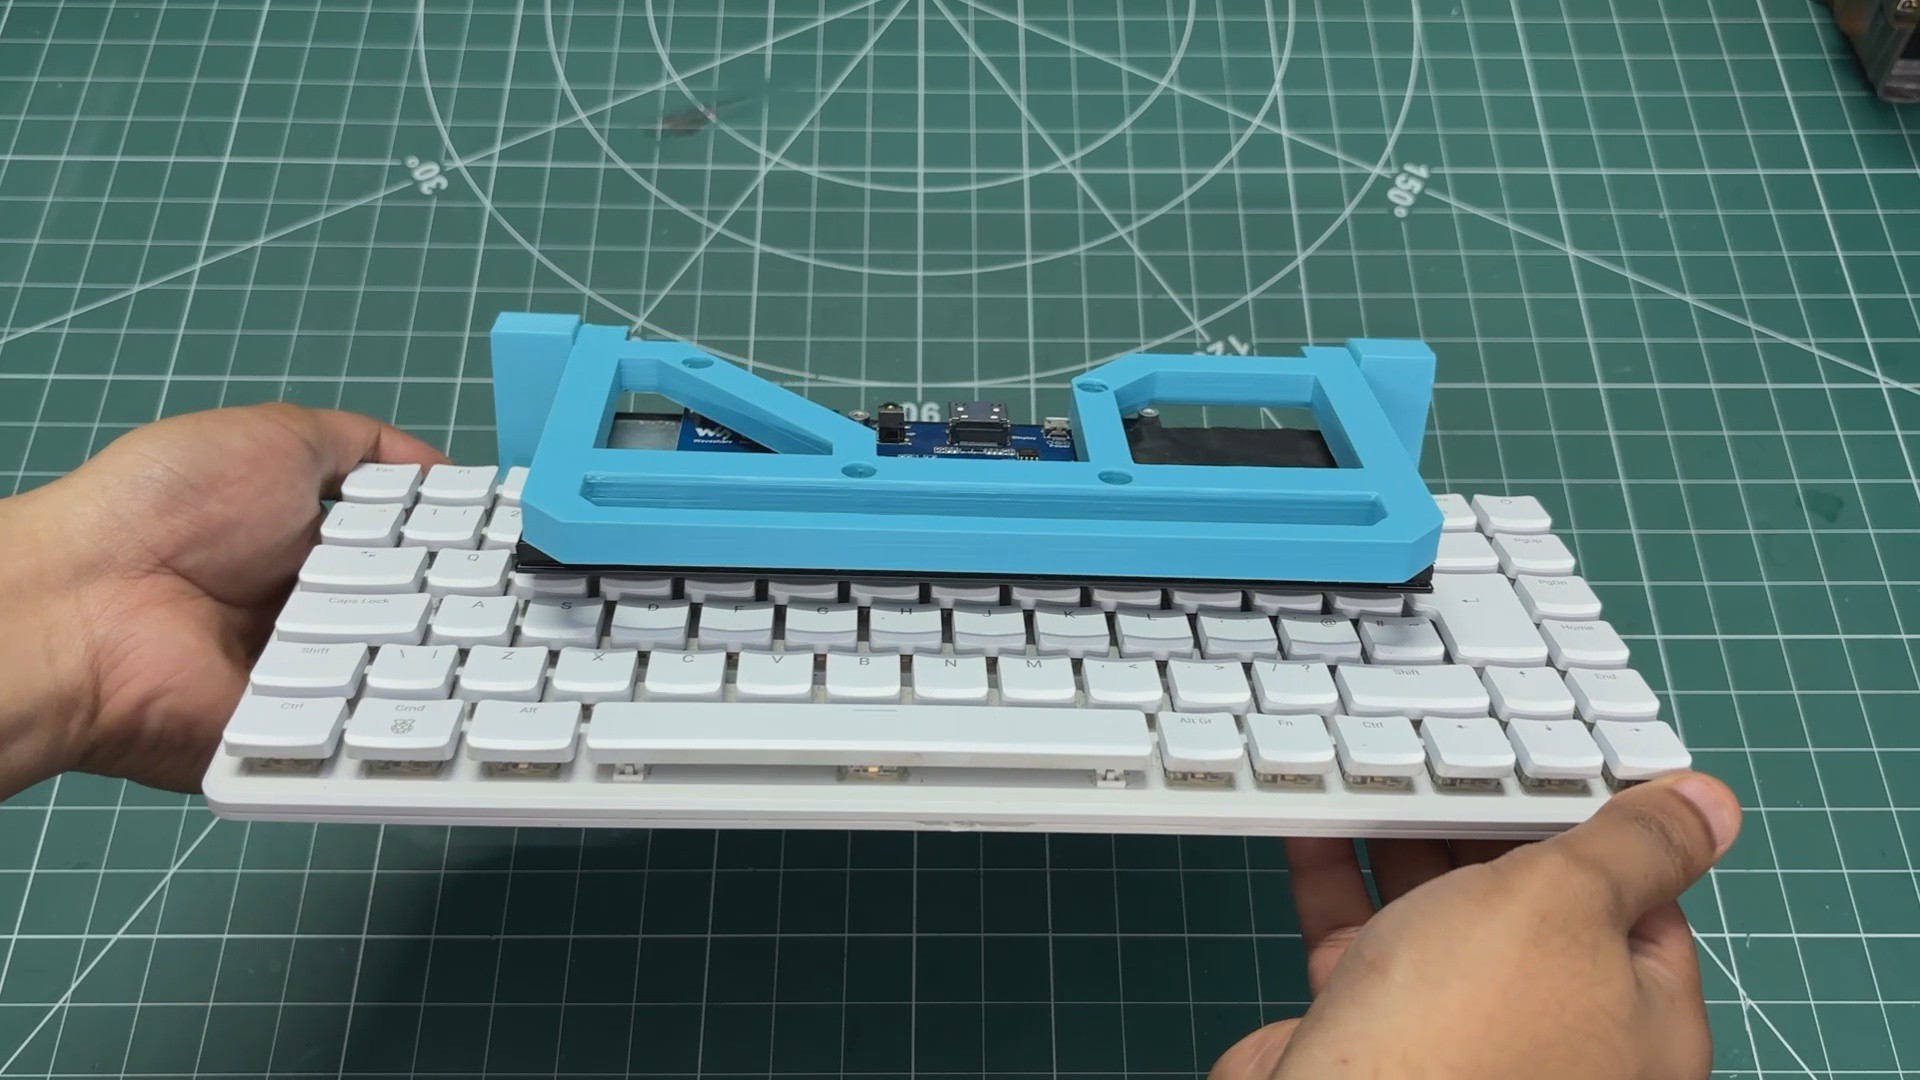
Unfortunately, I couldn’t find a STEP file for the Raspberry Pi 500+, so I had to design the mounting system manually. I measured the available space around the keyboard and I/O ports and designed a custom holder that can be screwed directly onto the Raspberry Pi 500+ body.
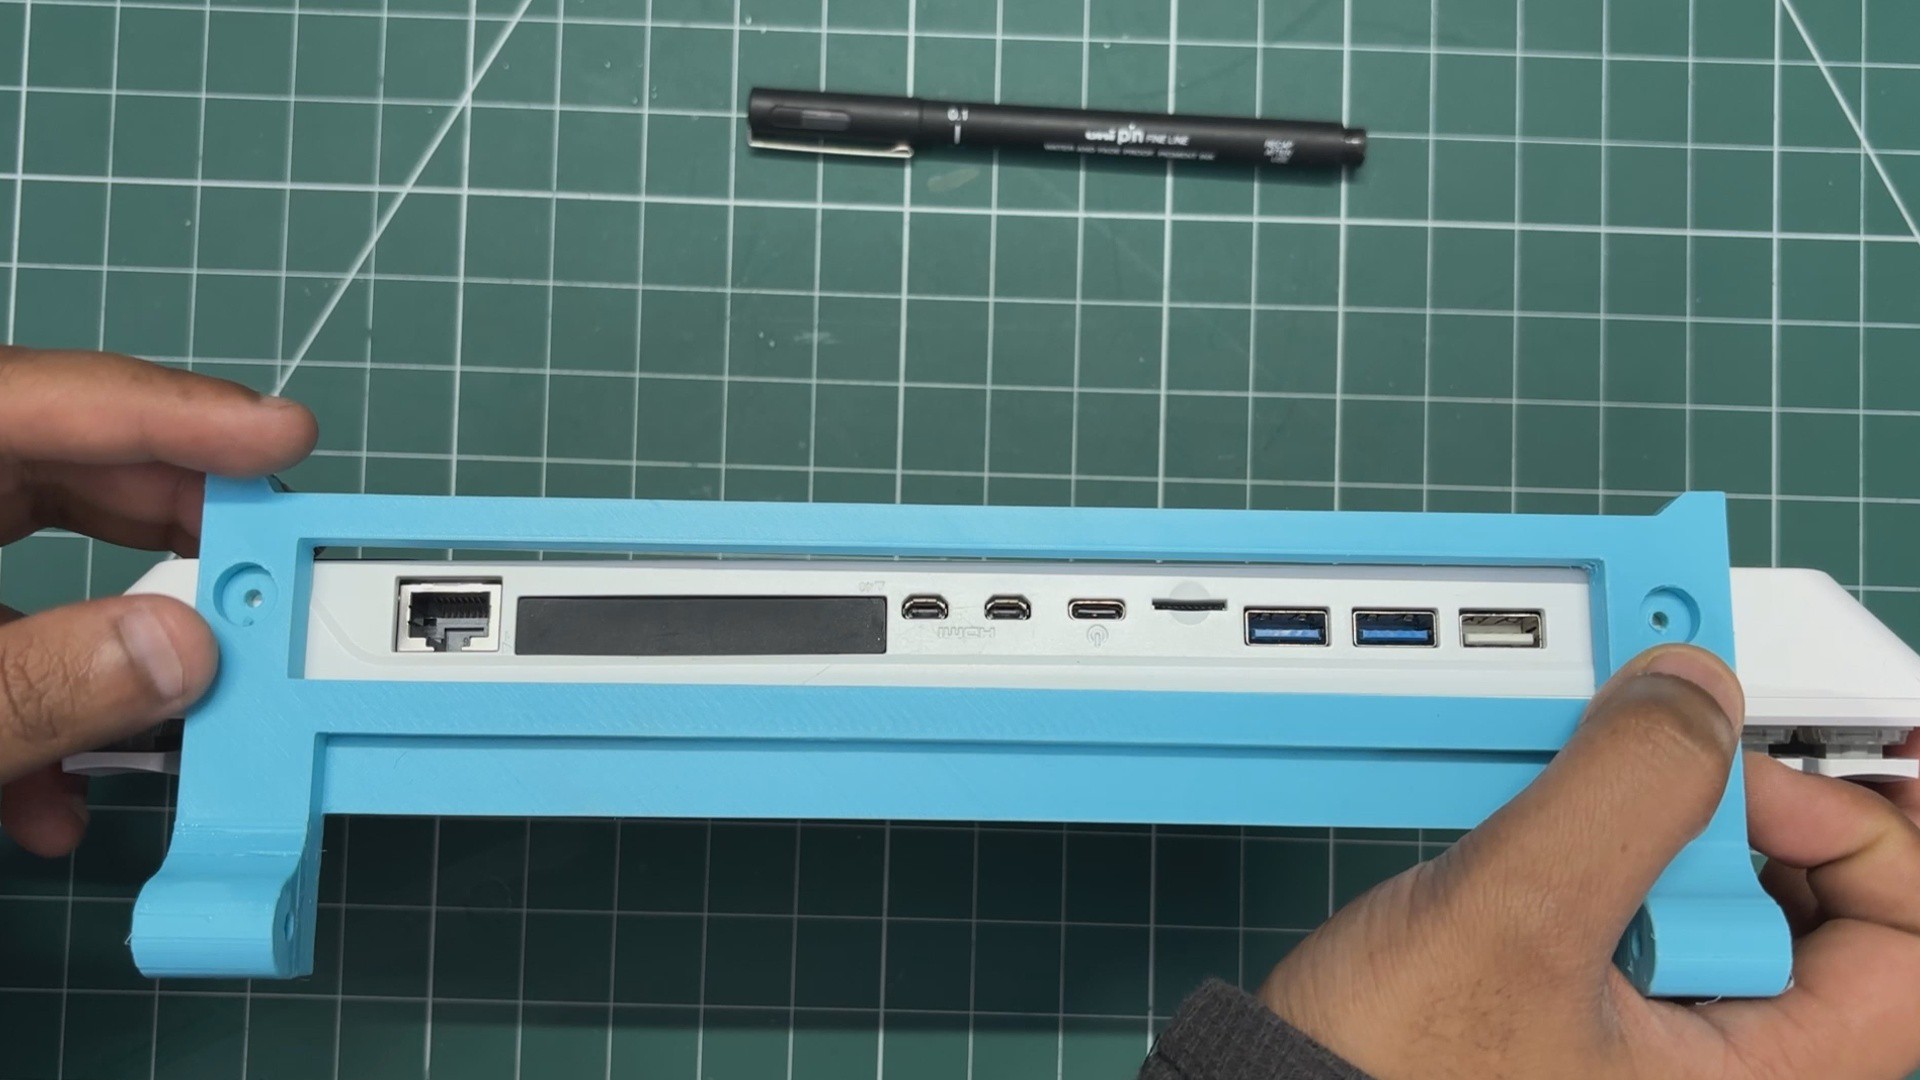
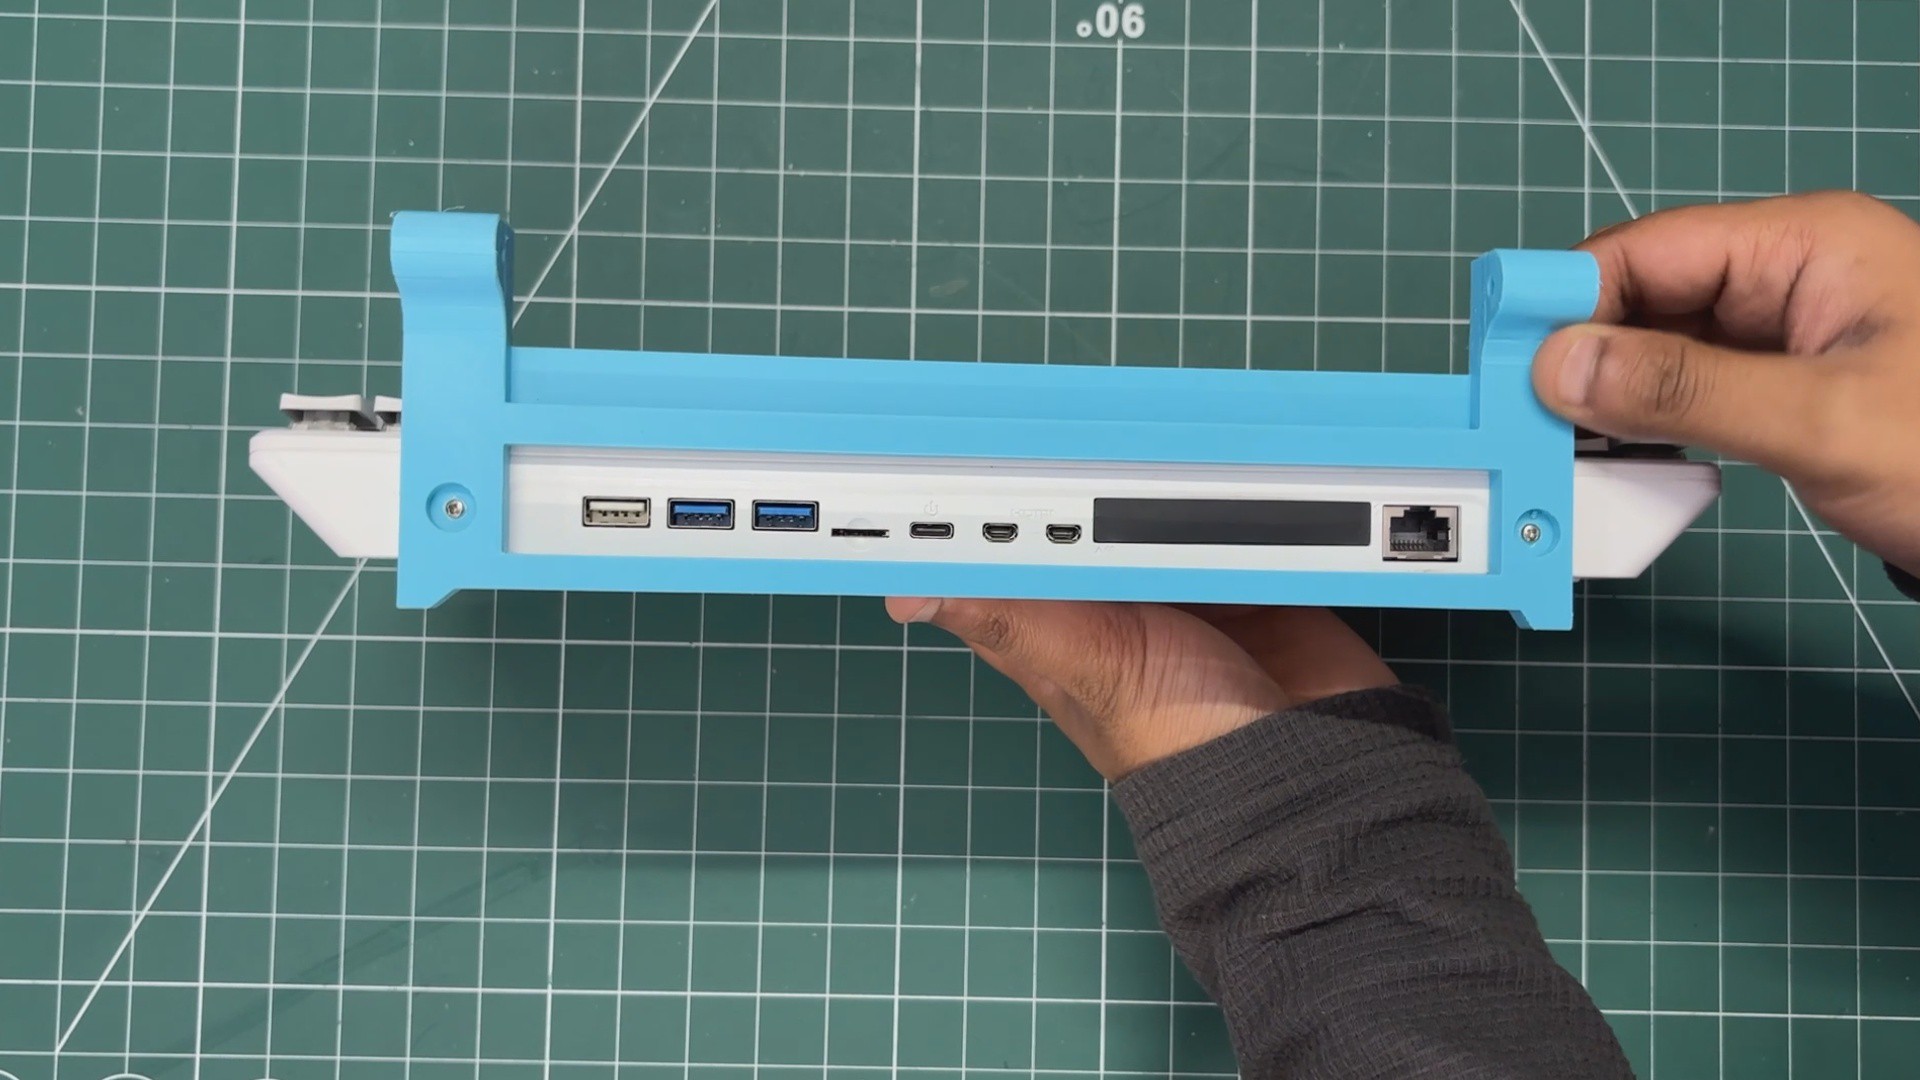
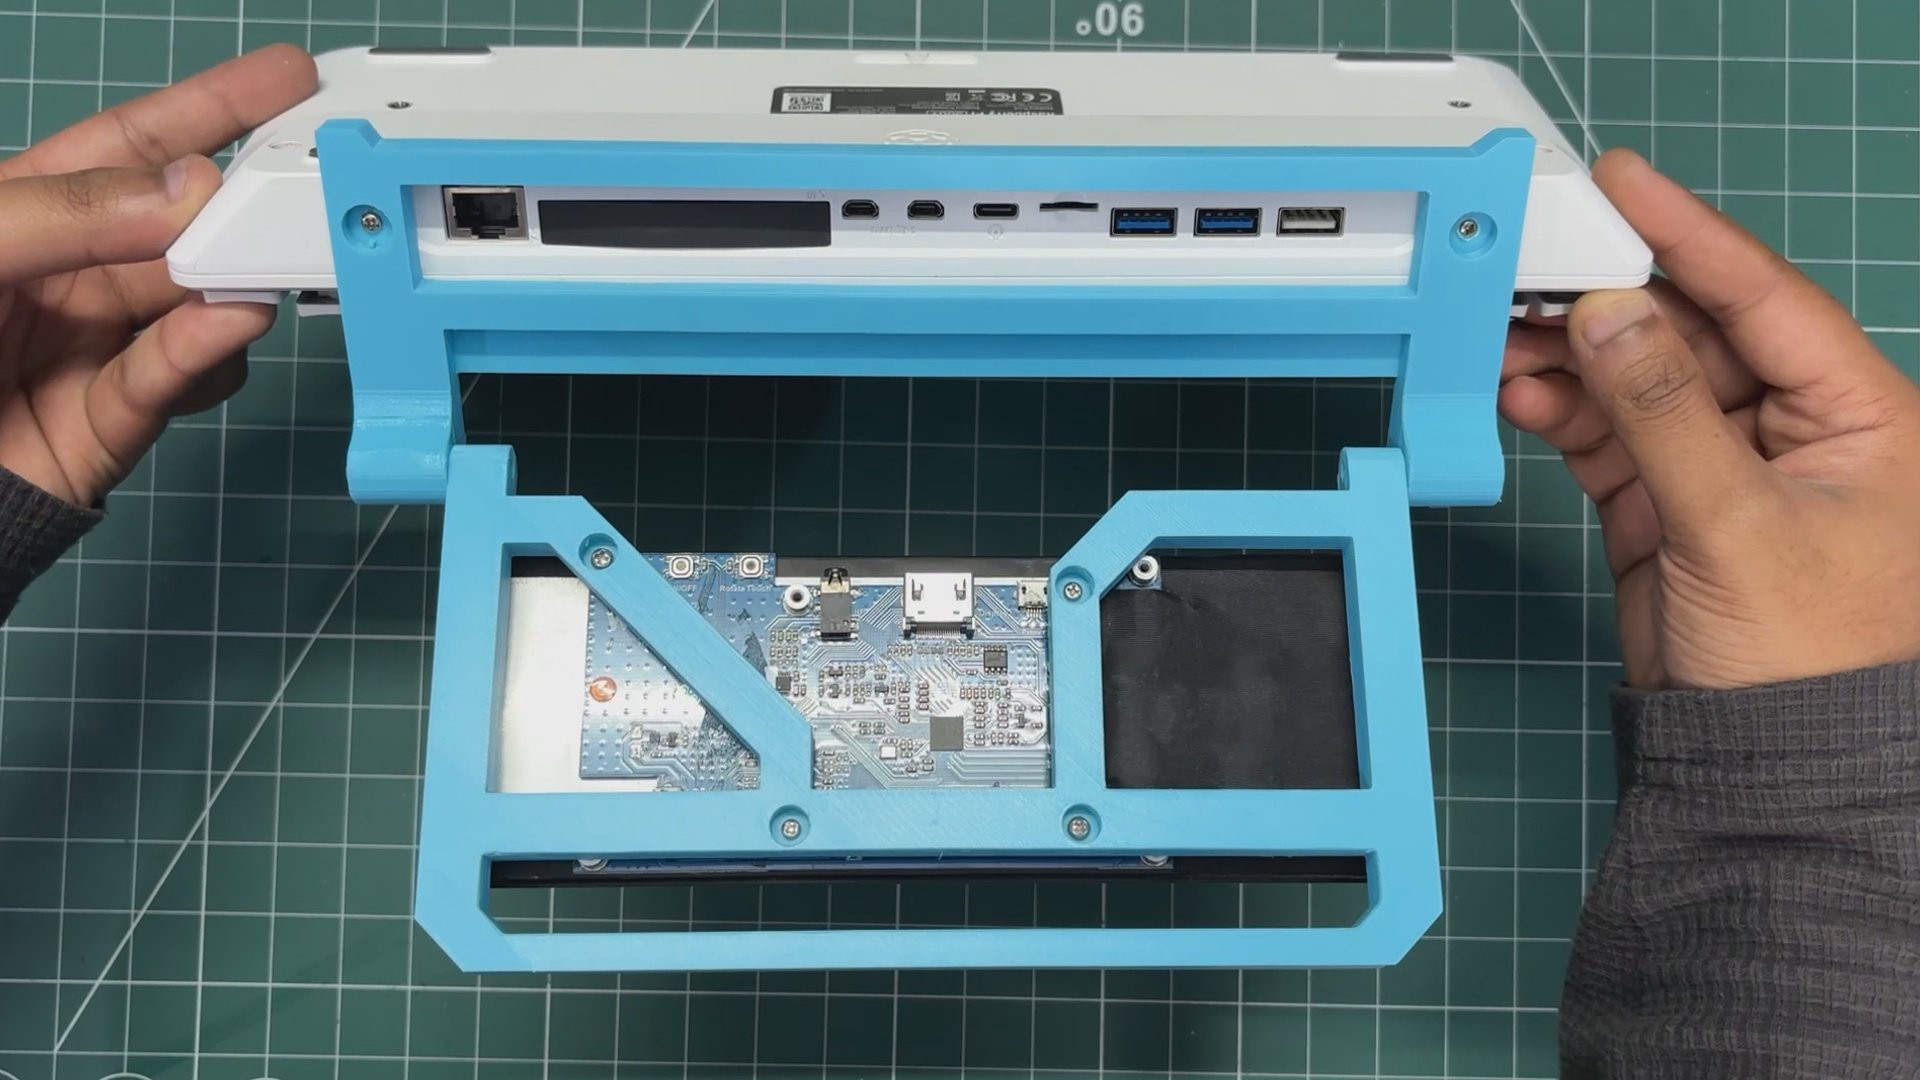
The holder also includes a rectangular cutout that provides access to the I/O ports, so the mounting frame doesn’t get in the way of the Pi's connectivity.
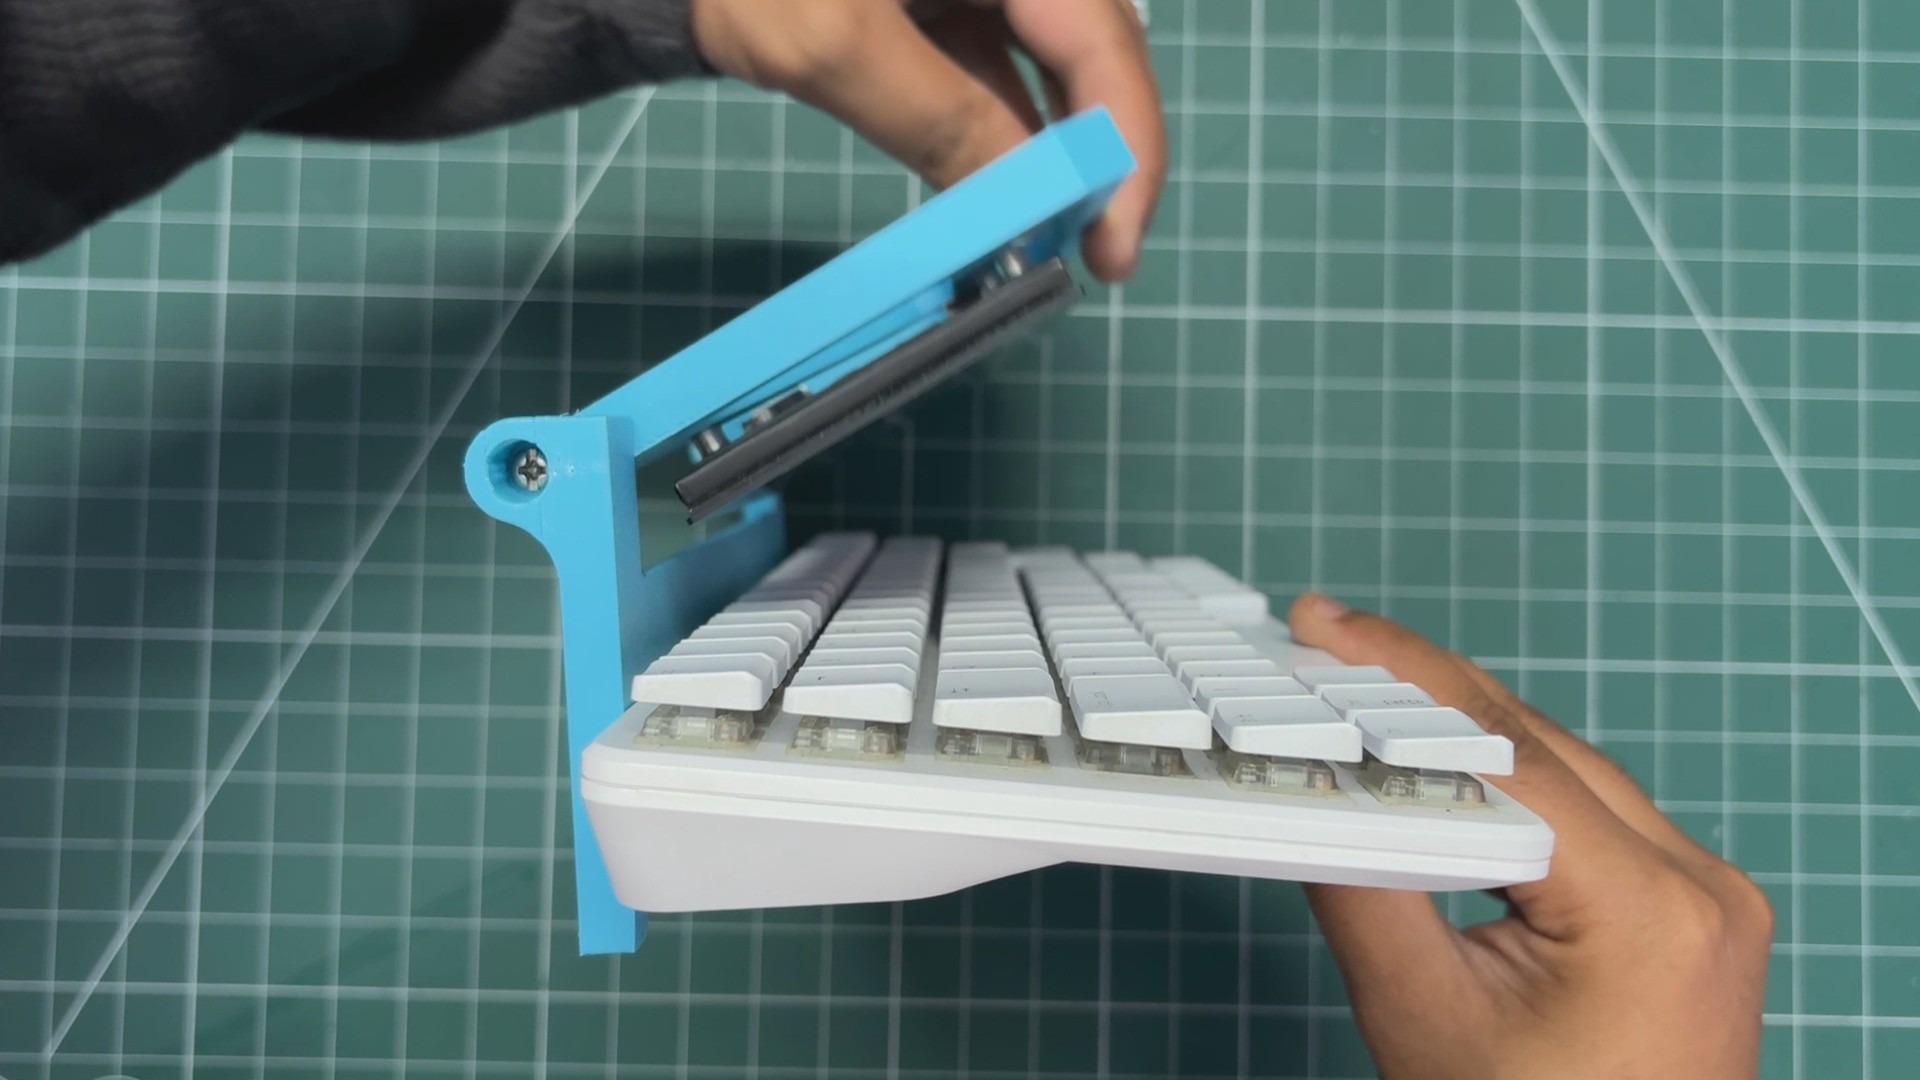
On top of this holder, I added a hinge mechanism that connects to a second frame. The display is secured to this upper frame, while the hinge allows the entire display assembly to move back and forth just like a traditional laptop screen.
-
23D PRINTED PARTS
![]()
![]()
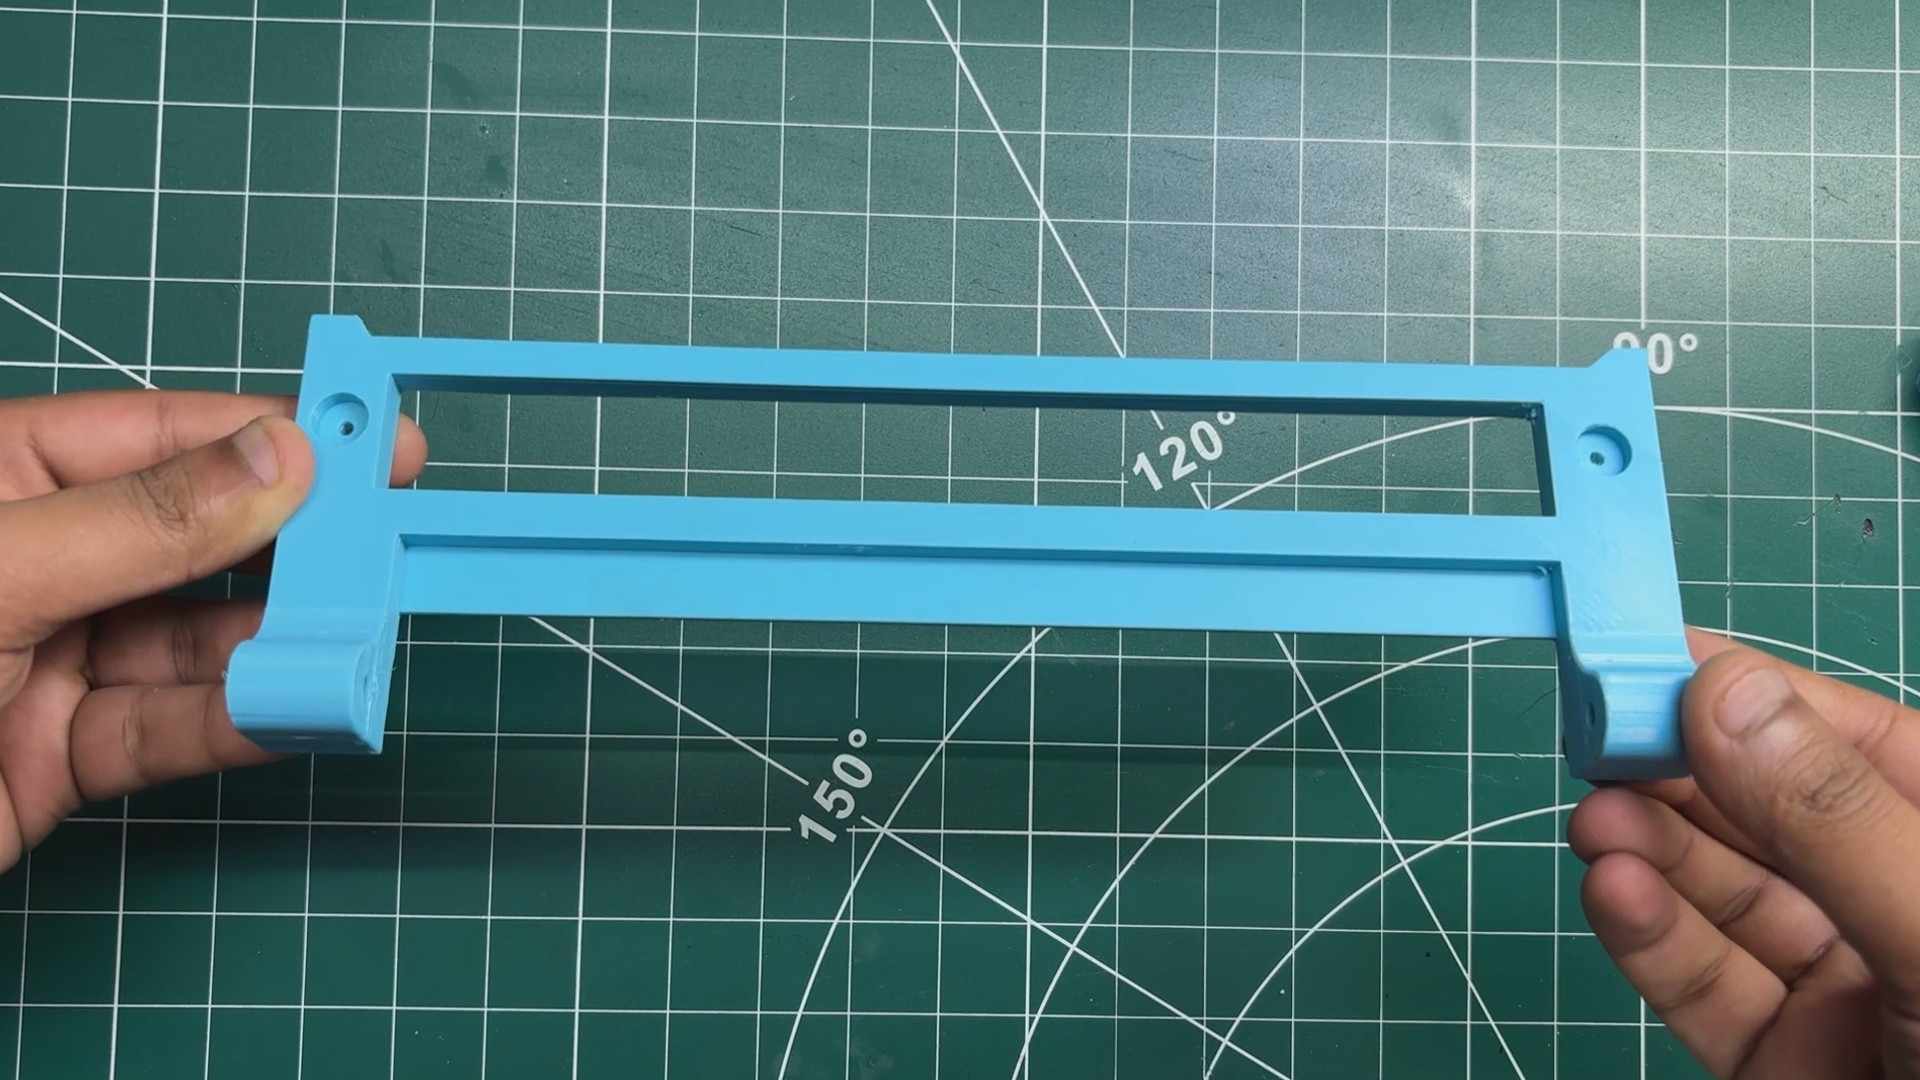
For 3D printing both frame parts, I used Teal Hyper PLA. Both parts were printed with a 0.2 mm layer height using a 0.4 mm nozzle, with 25% gyroid infill.
I was also able to print both parts without any supports, which kept the prints relatively simple while still providing enough strength for the frame and hinge assembly.
Print Settings
- Filament: Teal Hyper PLA
- Nozzle: 0.4 mm
- Layer Height: 0.2 mm
- Infill: 25%
- Infill Pattern: Gyroid
- Supports: None
-
3FRAME THREADED INSERTS
![]()
![]()
![]()
![]()
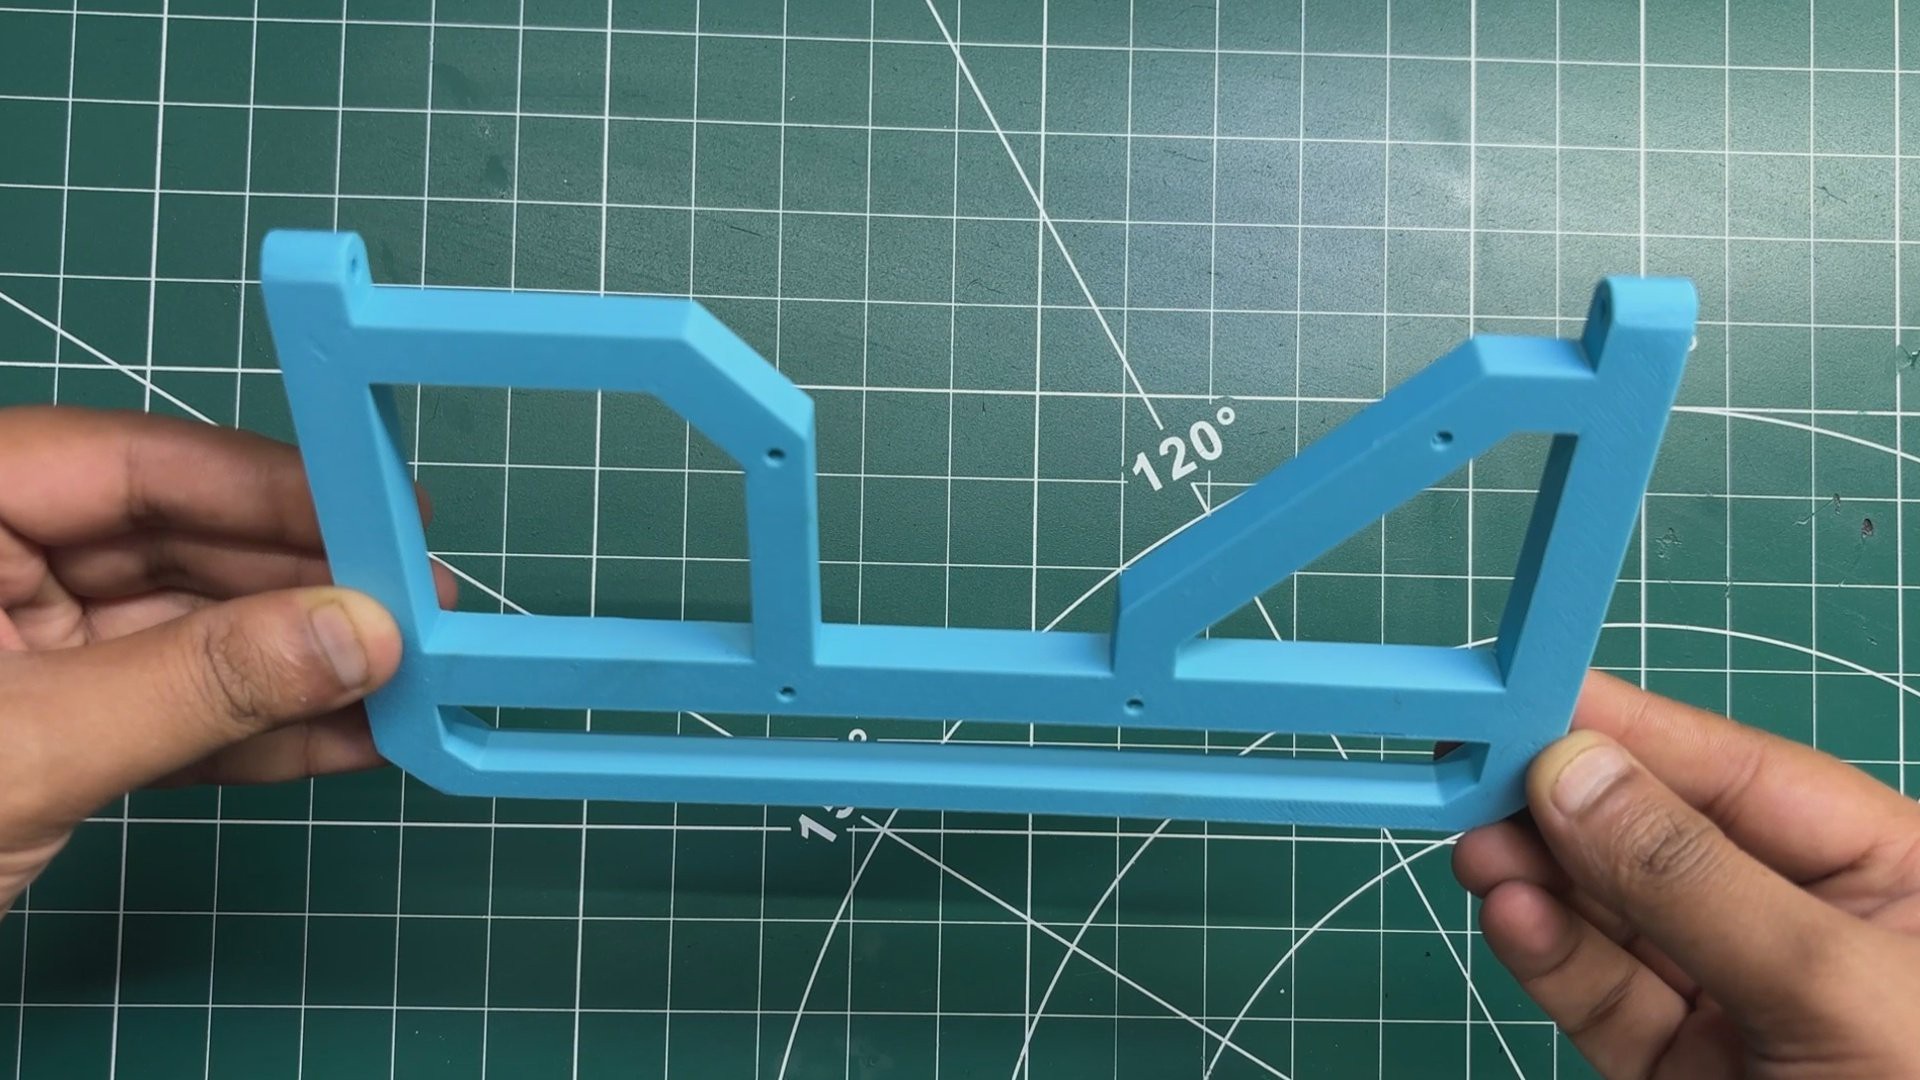
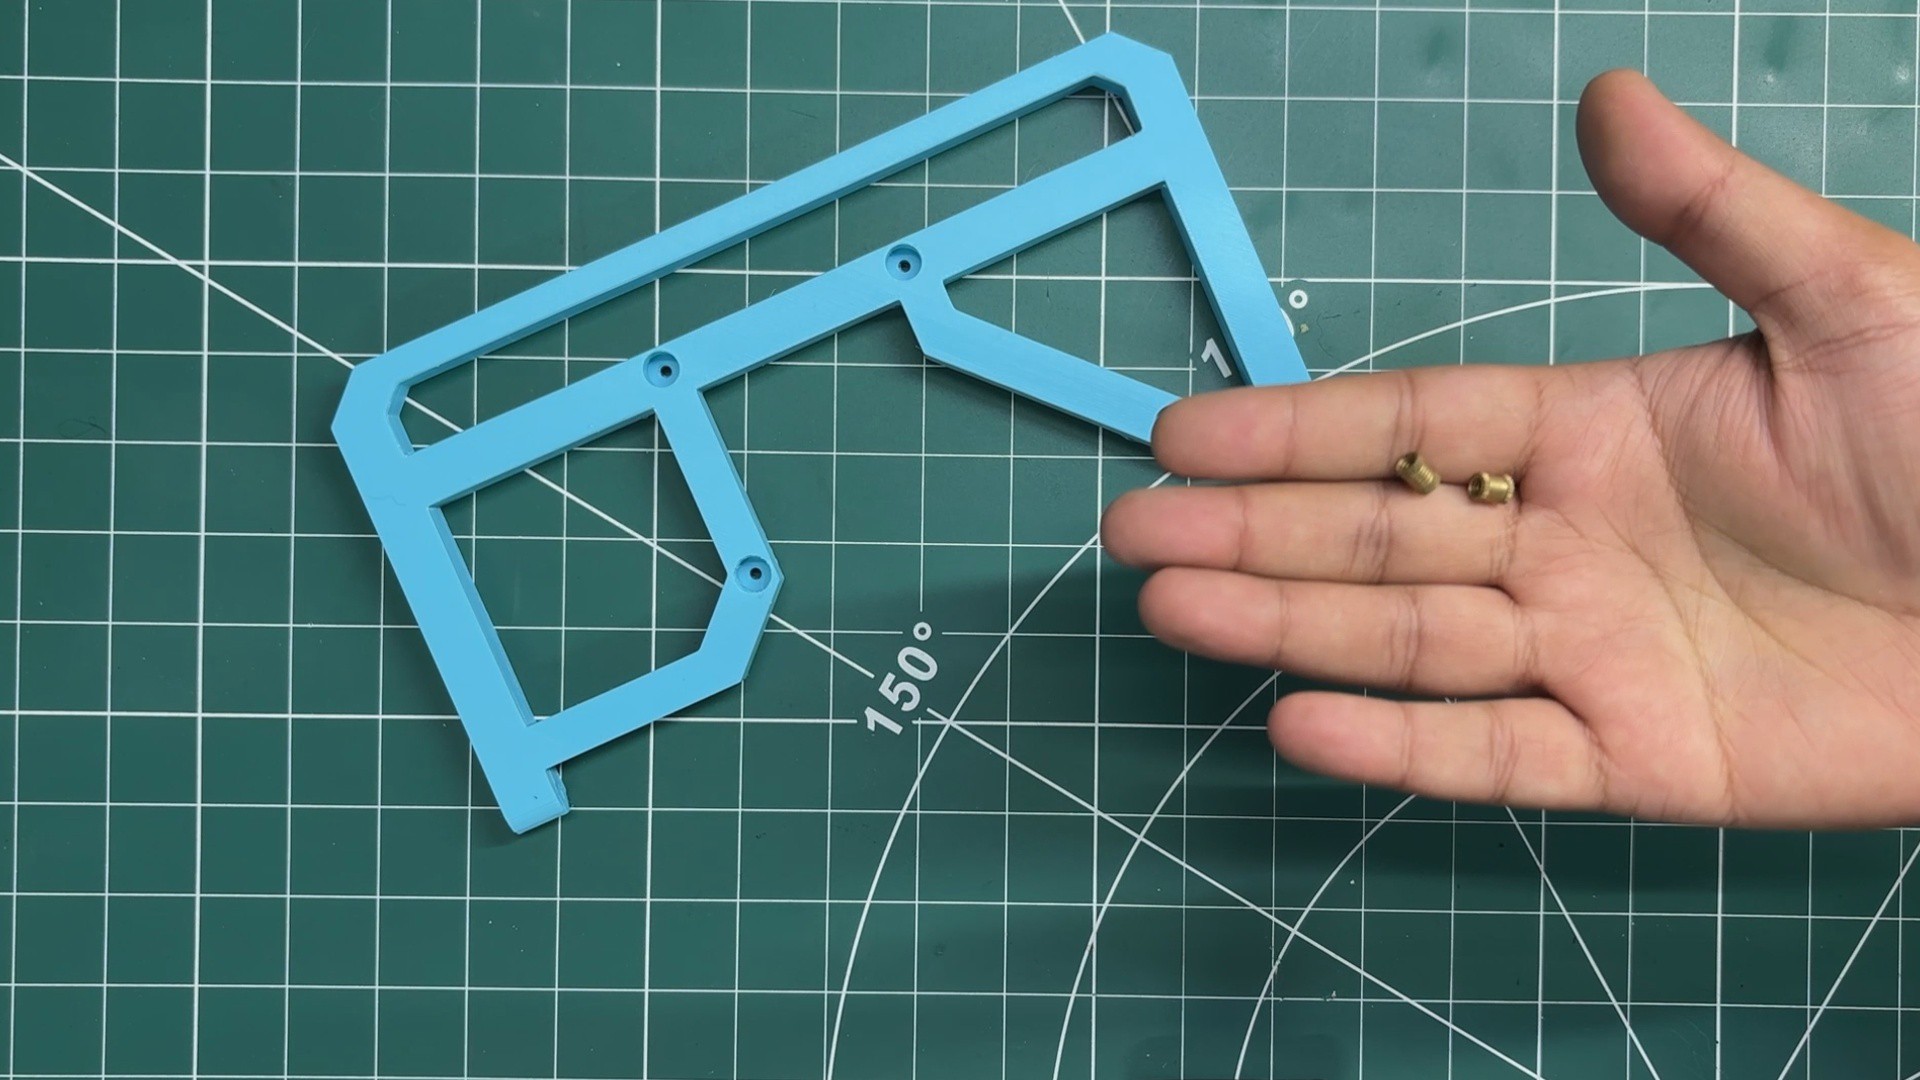
To connect both frame parts securely, I wanted a firm and reliable connection, so I decided to add threaded inserts to the screen holder frame. For this, I used two M3 threaded inserts, one on each side of the frame.
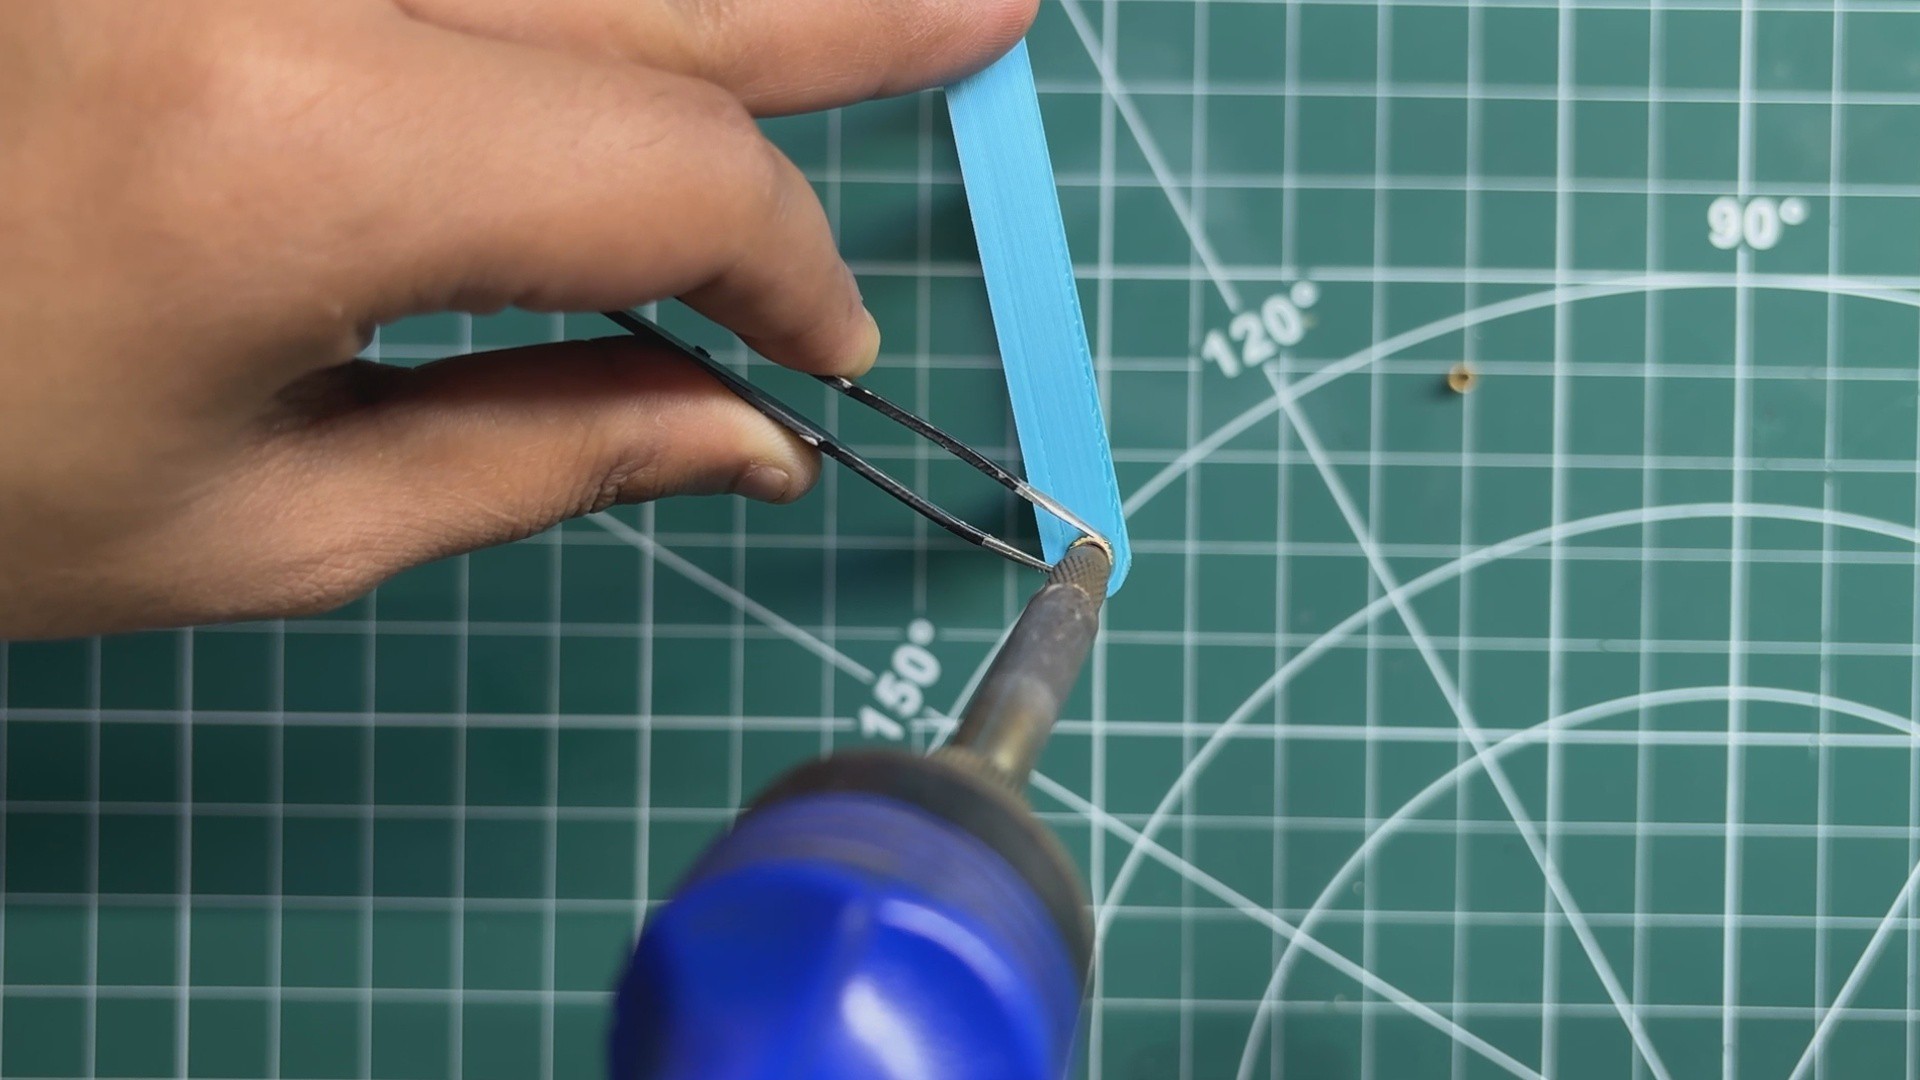
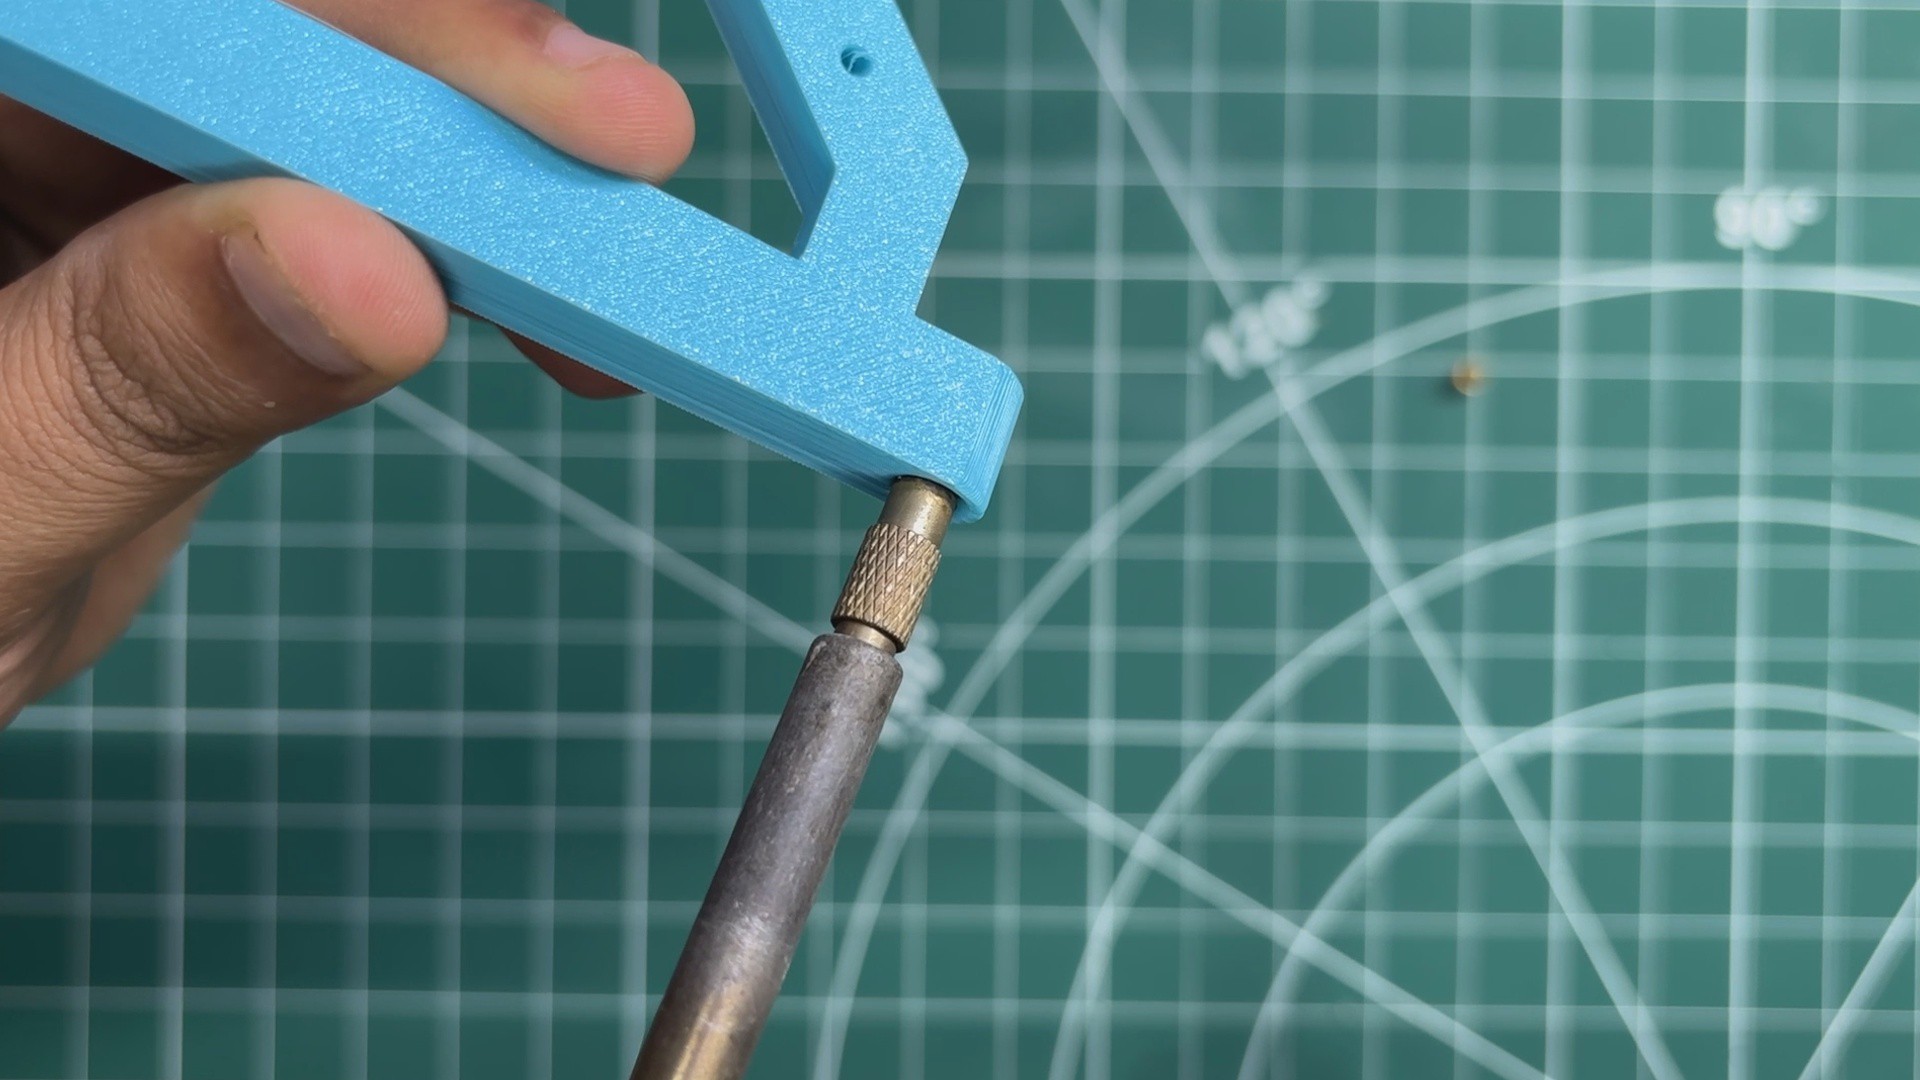
Using a pair of tweezers, I positioned the threaded insert over the mounting hole. I then used a soldering iron set to around 150°C to gently press the insert down into the hole with light pressure.
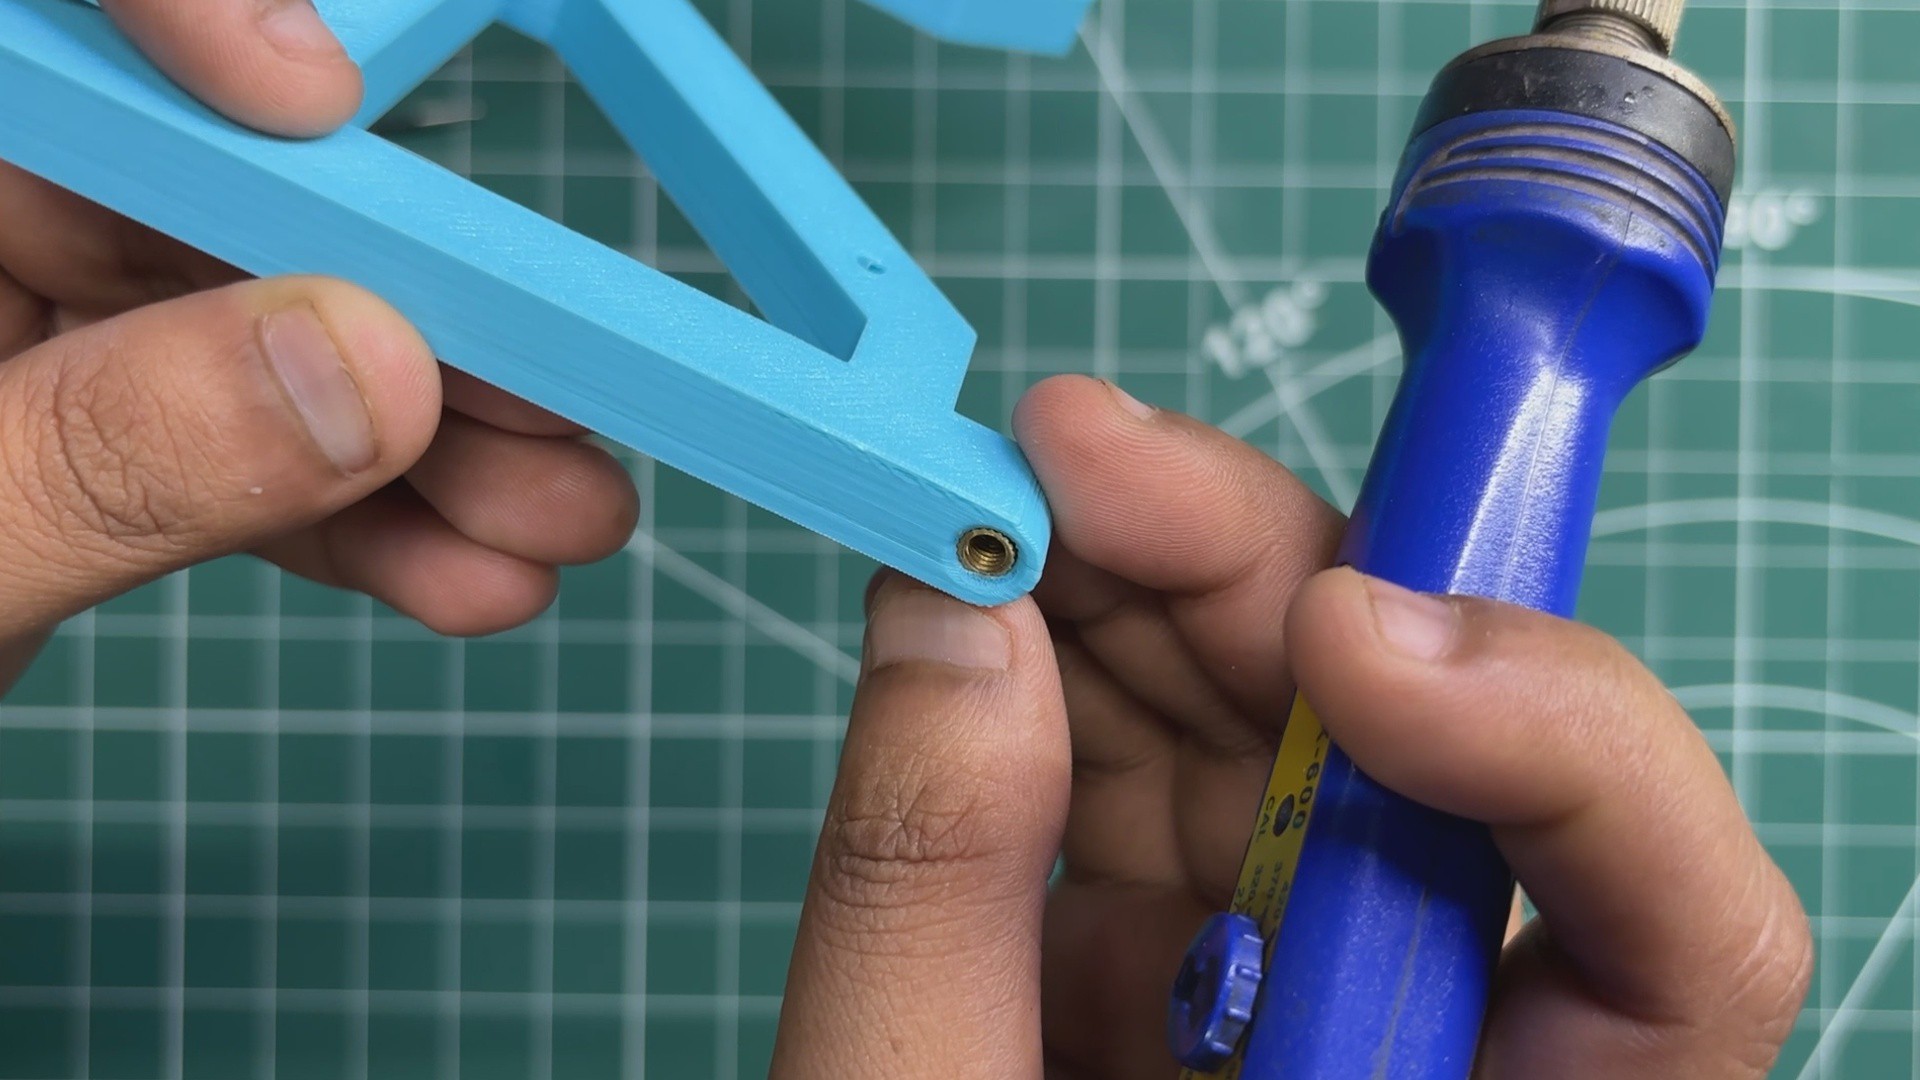
As the insert heats up, the surrounding PLA softens and melts slightly, allowing the threaded insert to slide into position. Once it cools down, the plastic hardens around the insert, locking it firmly in place.
I repeated the same process on the other side of the frame, giving us two secure M3 mounting points for connecting the frame parts.
-
4SCREEN ASSEMBLY PROCESS
![]()
![]()
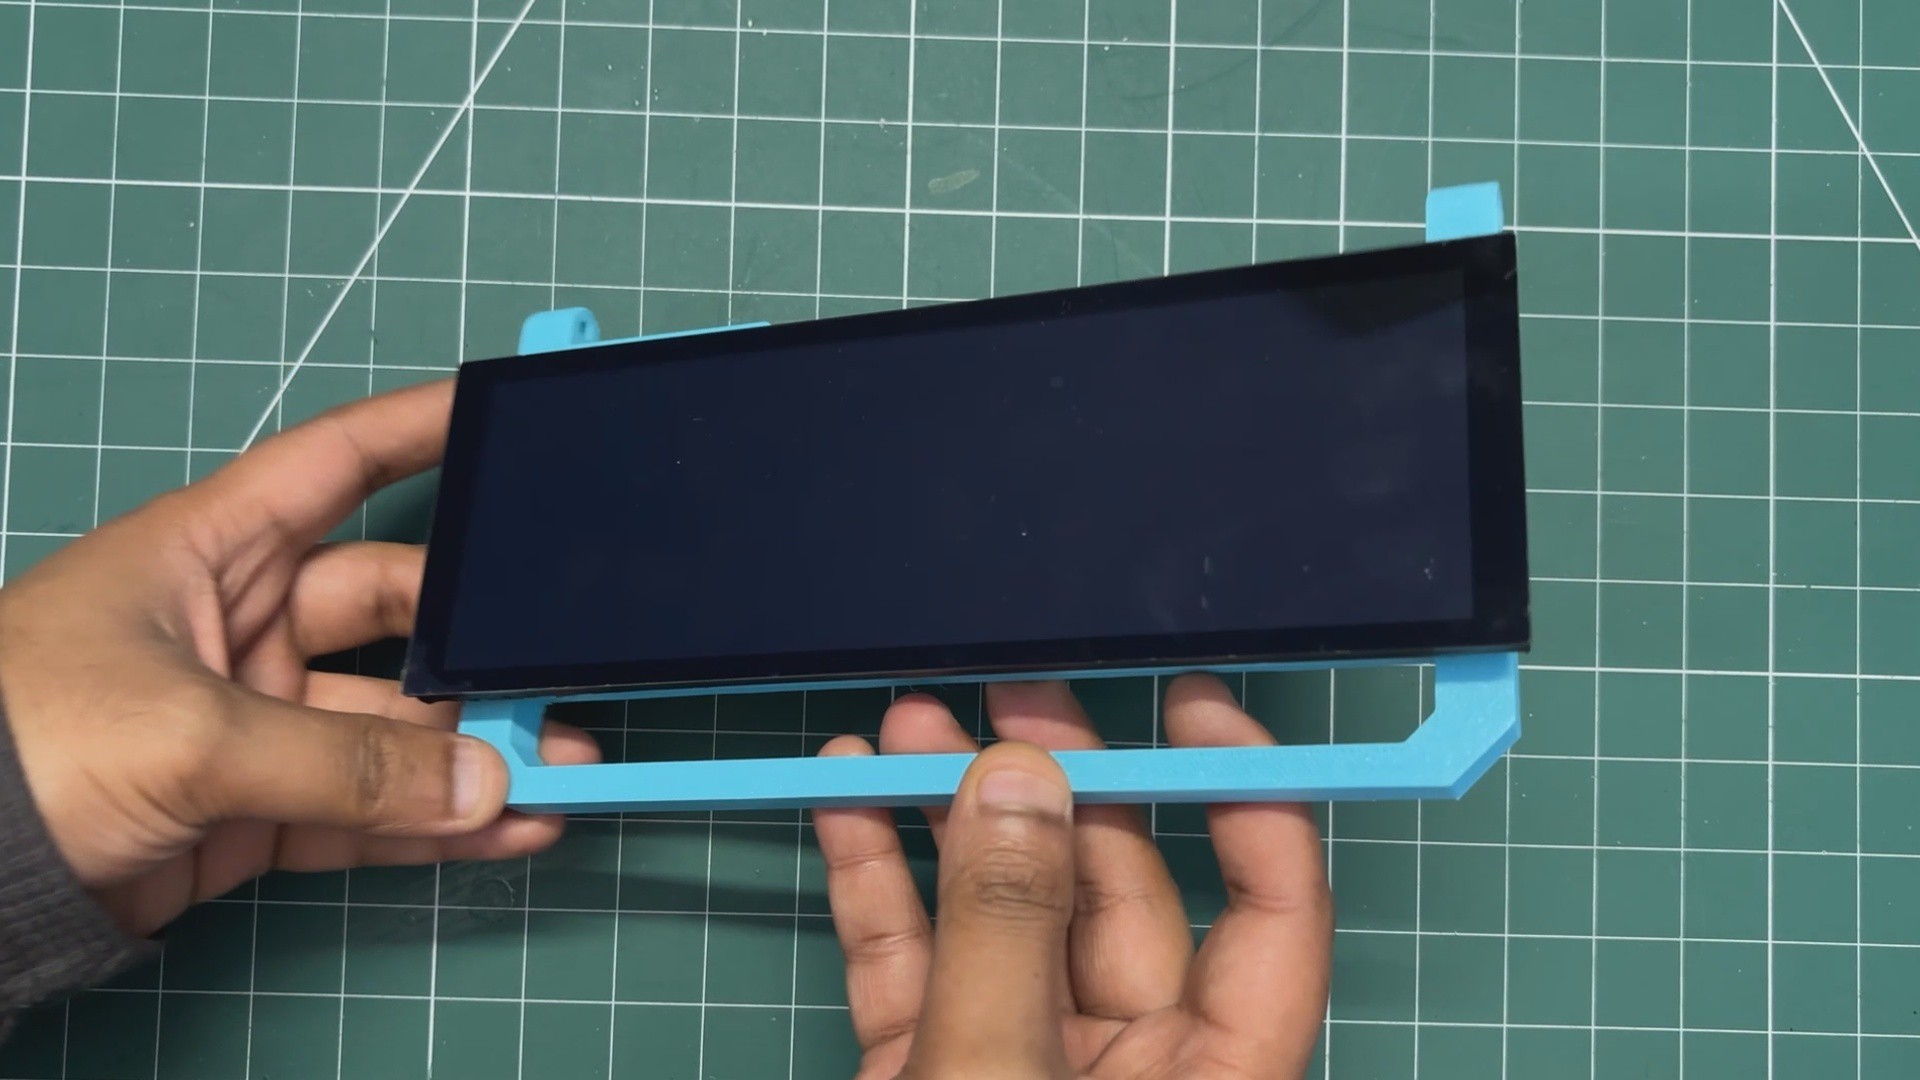
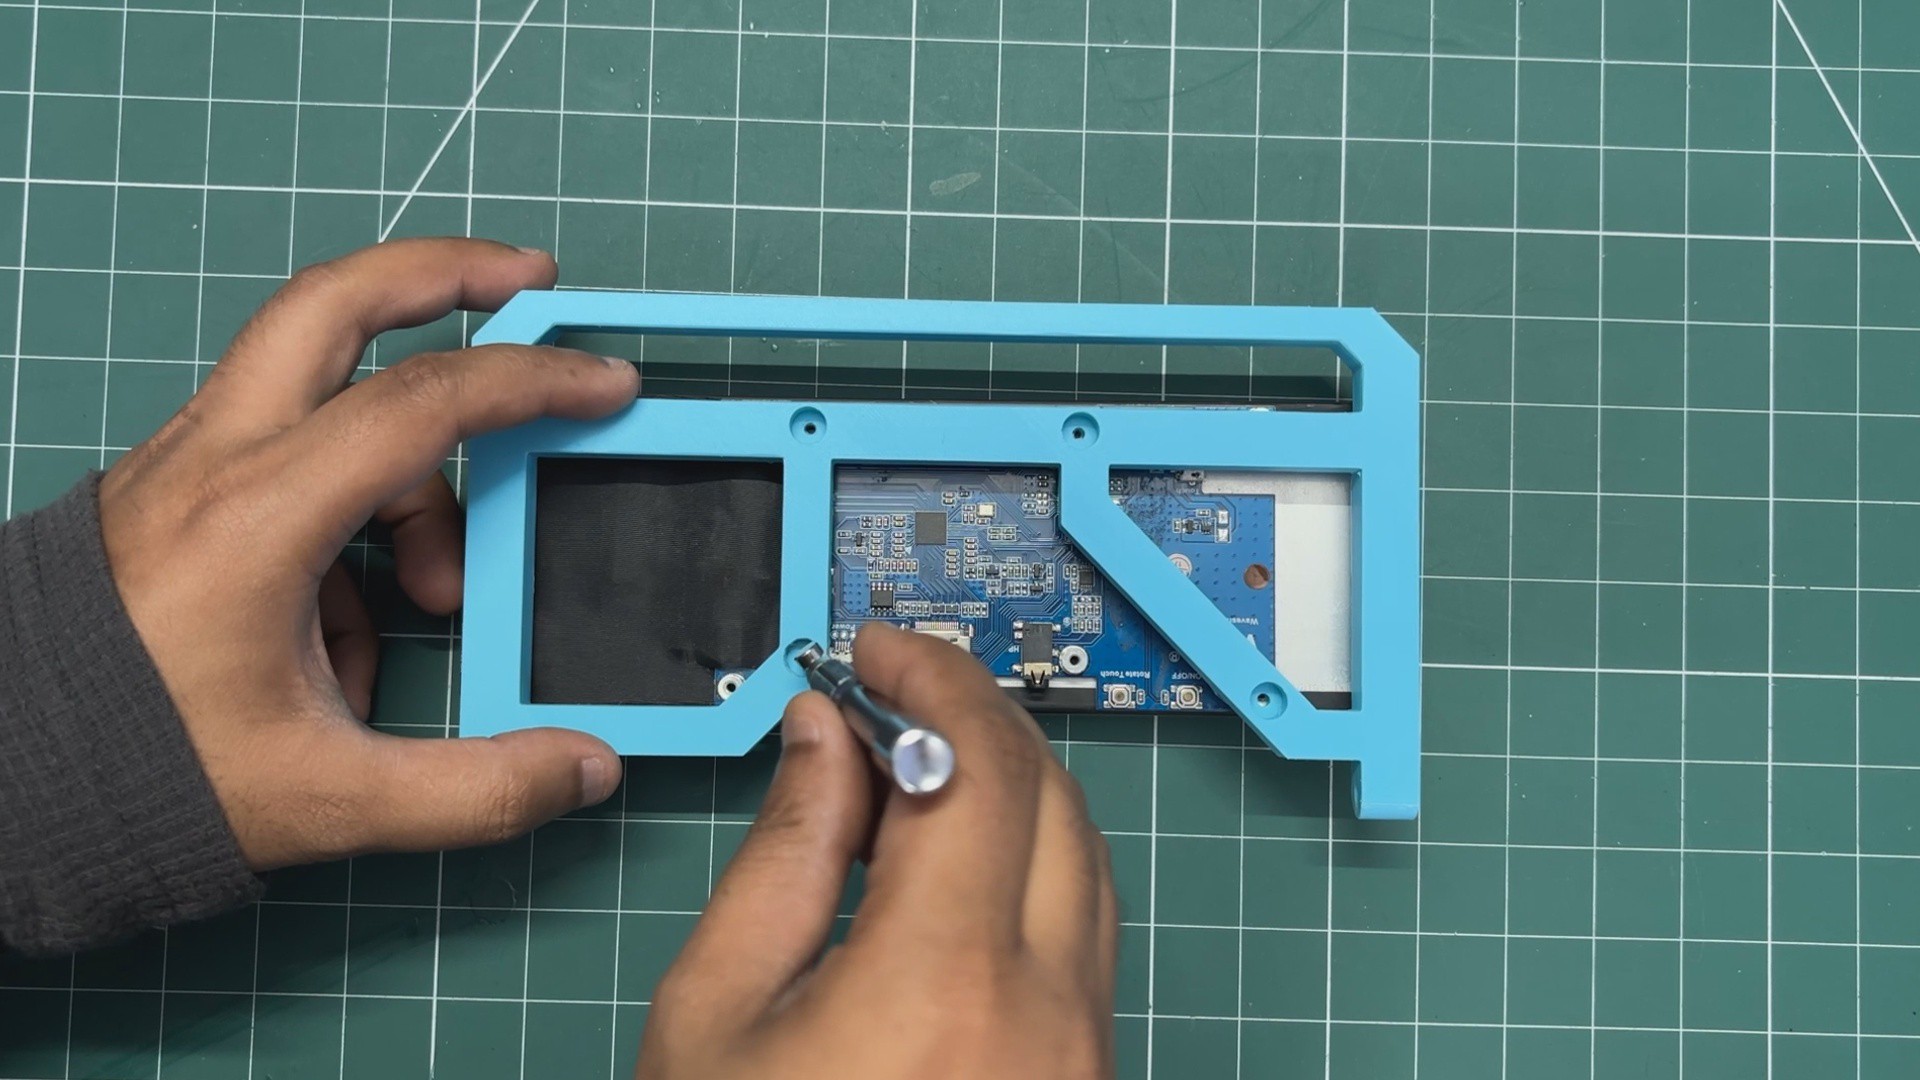
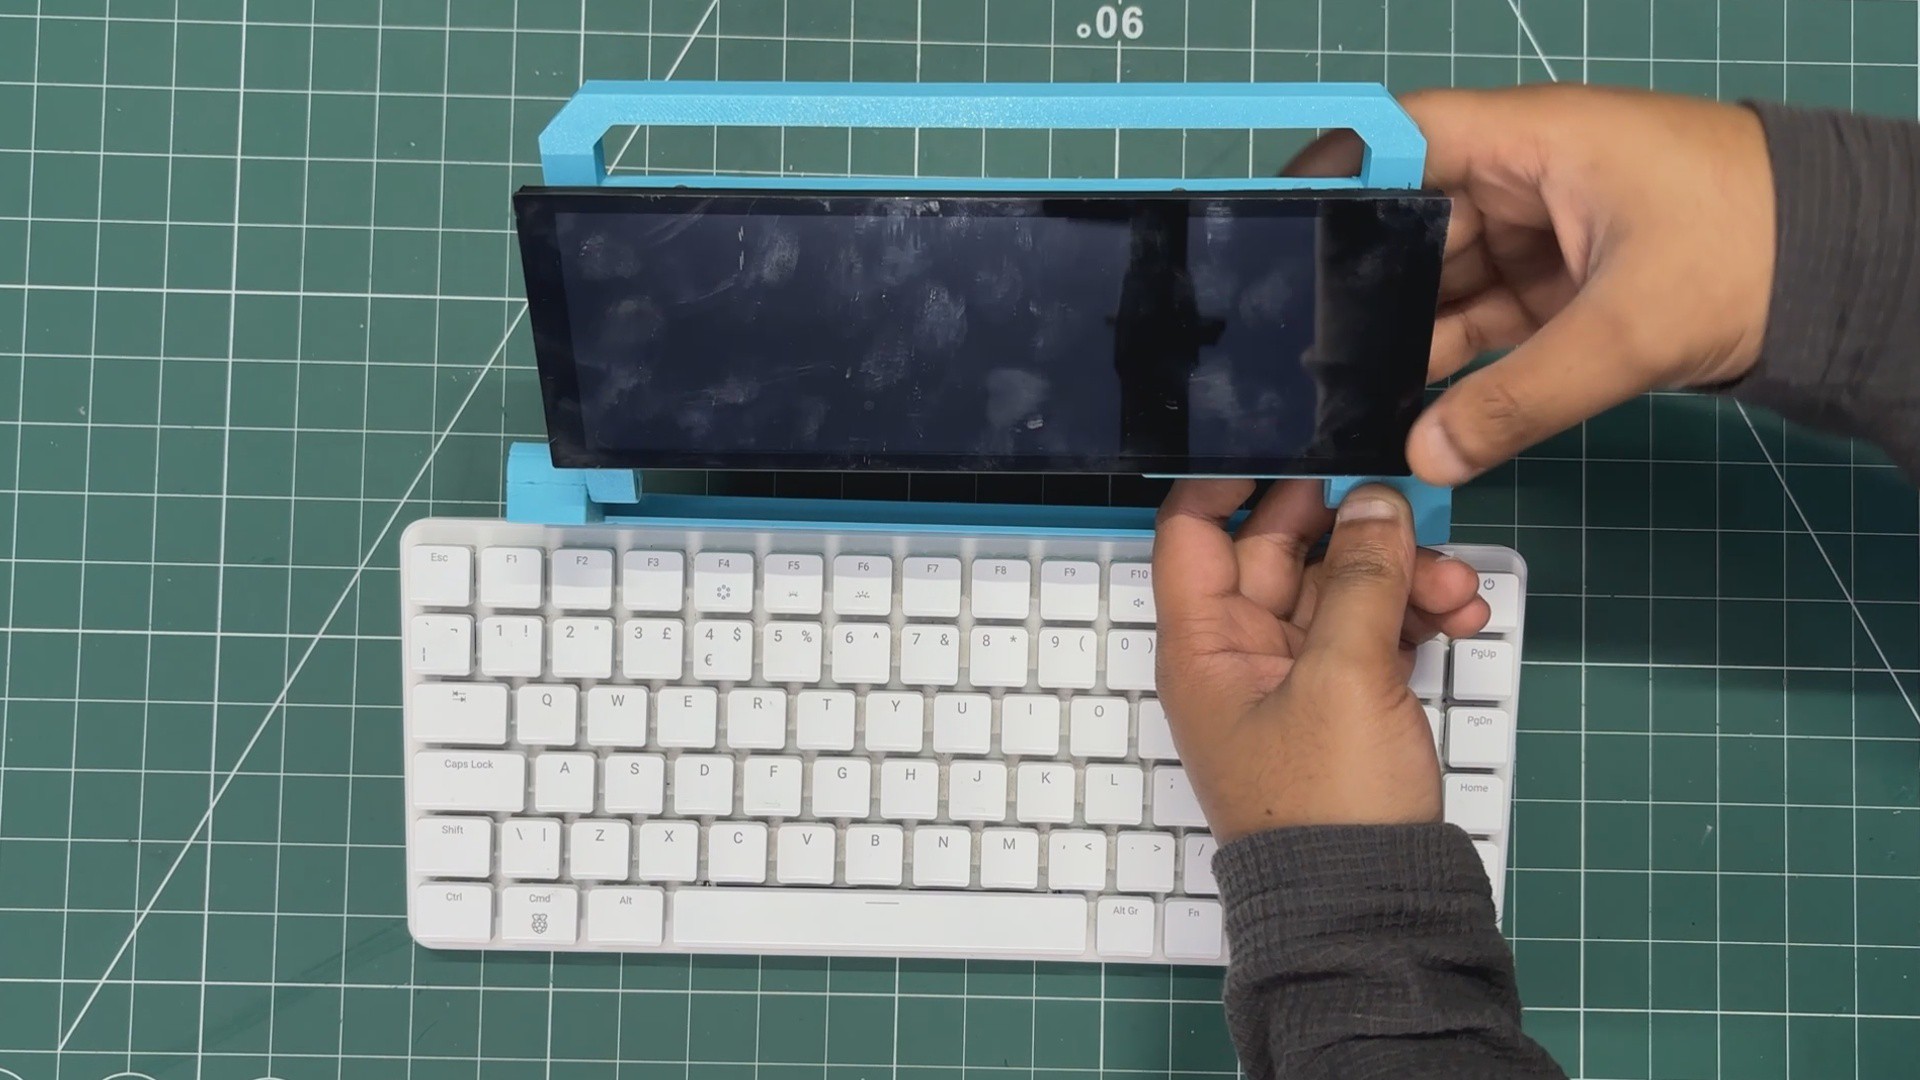
The screen assembly process begins by placing the HDMI display in position over the mounting holes on the frame. We align these holes with the PCB standoffs on the back of the display.
Once everything is aligned, we use four M2 bolts to secure the display firmly to the frame holder.
-
5KEYBOARD HOLDER ASSEMBLY - MARKING
![]()
![]()
![]()
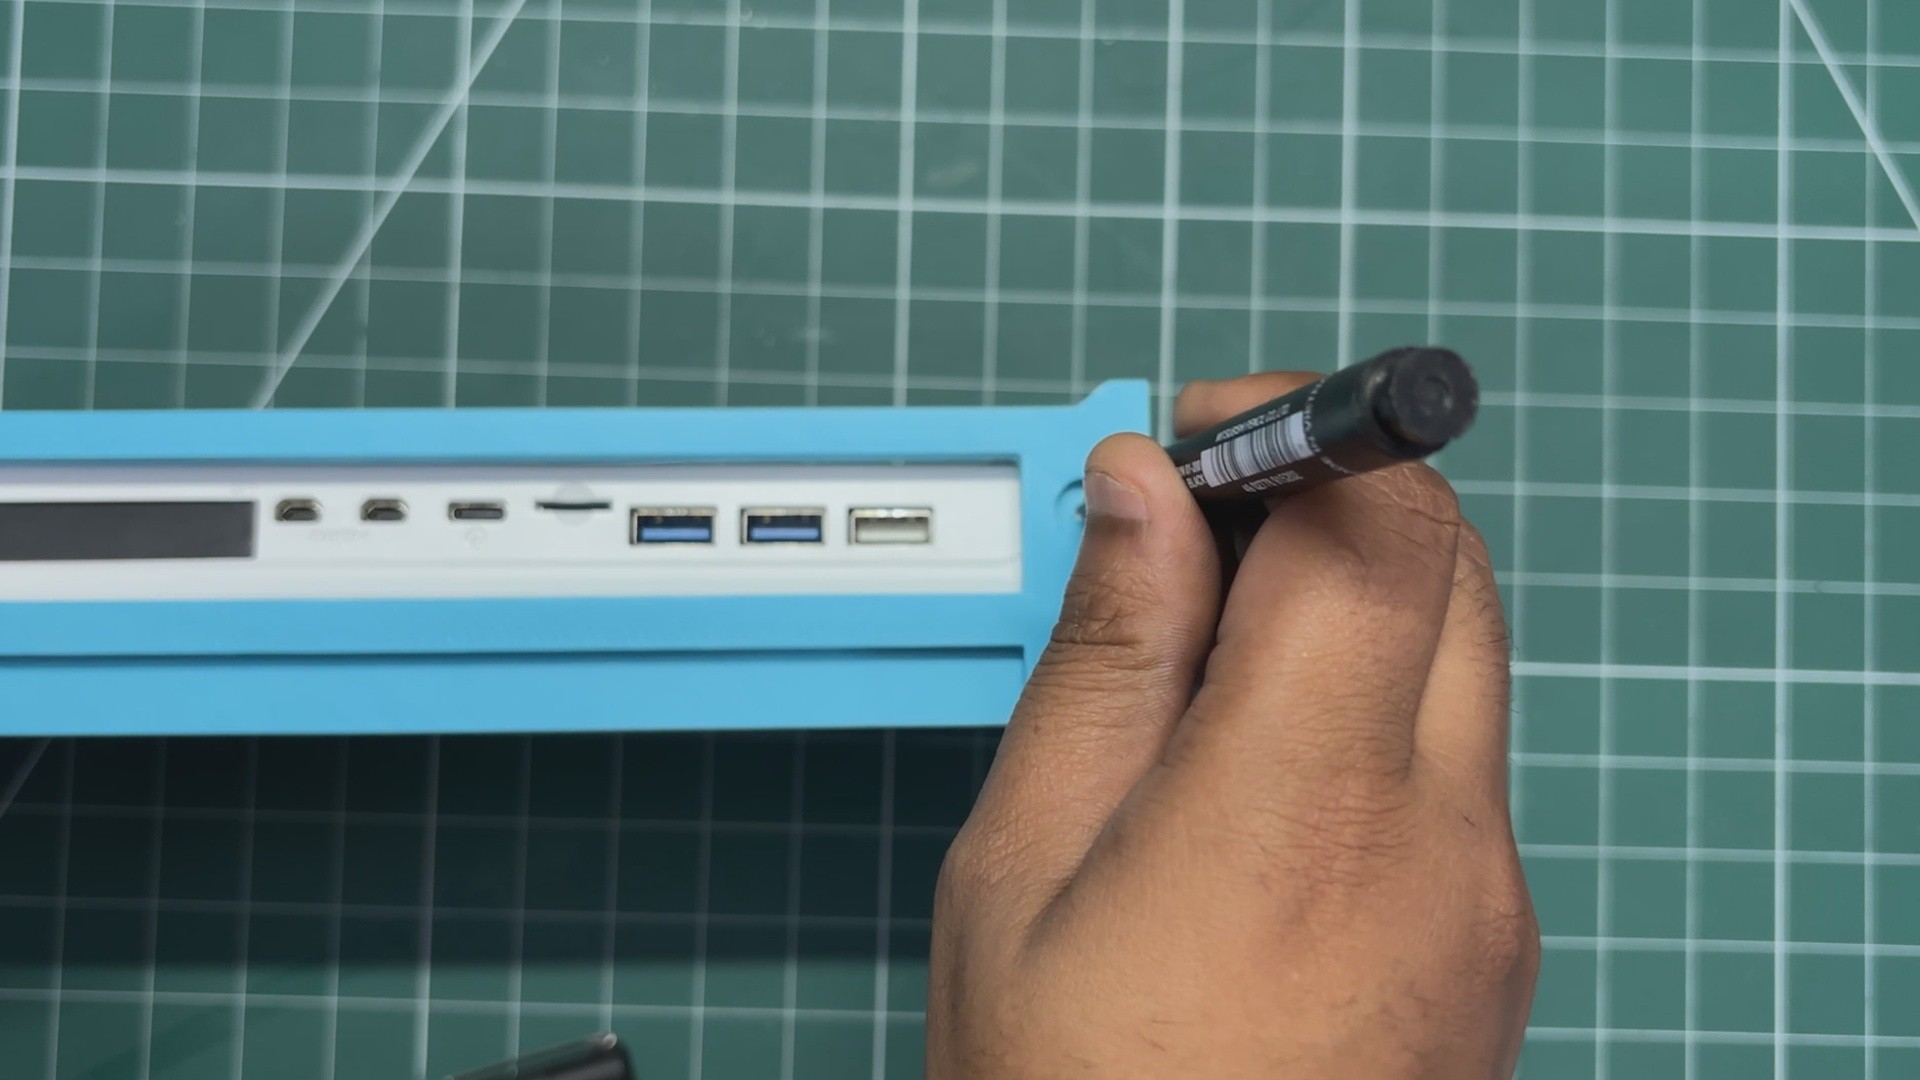
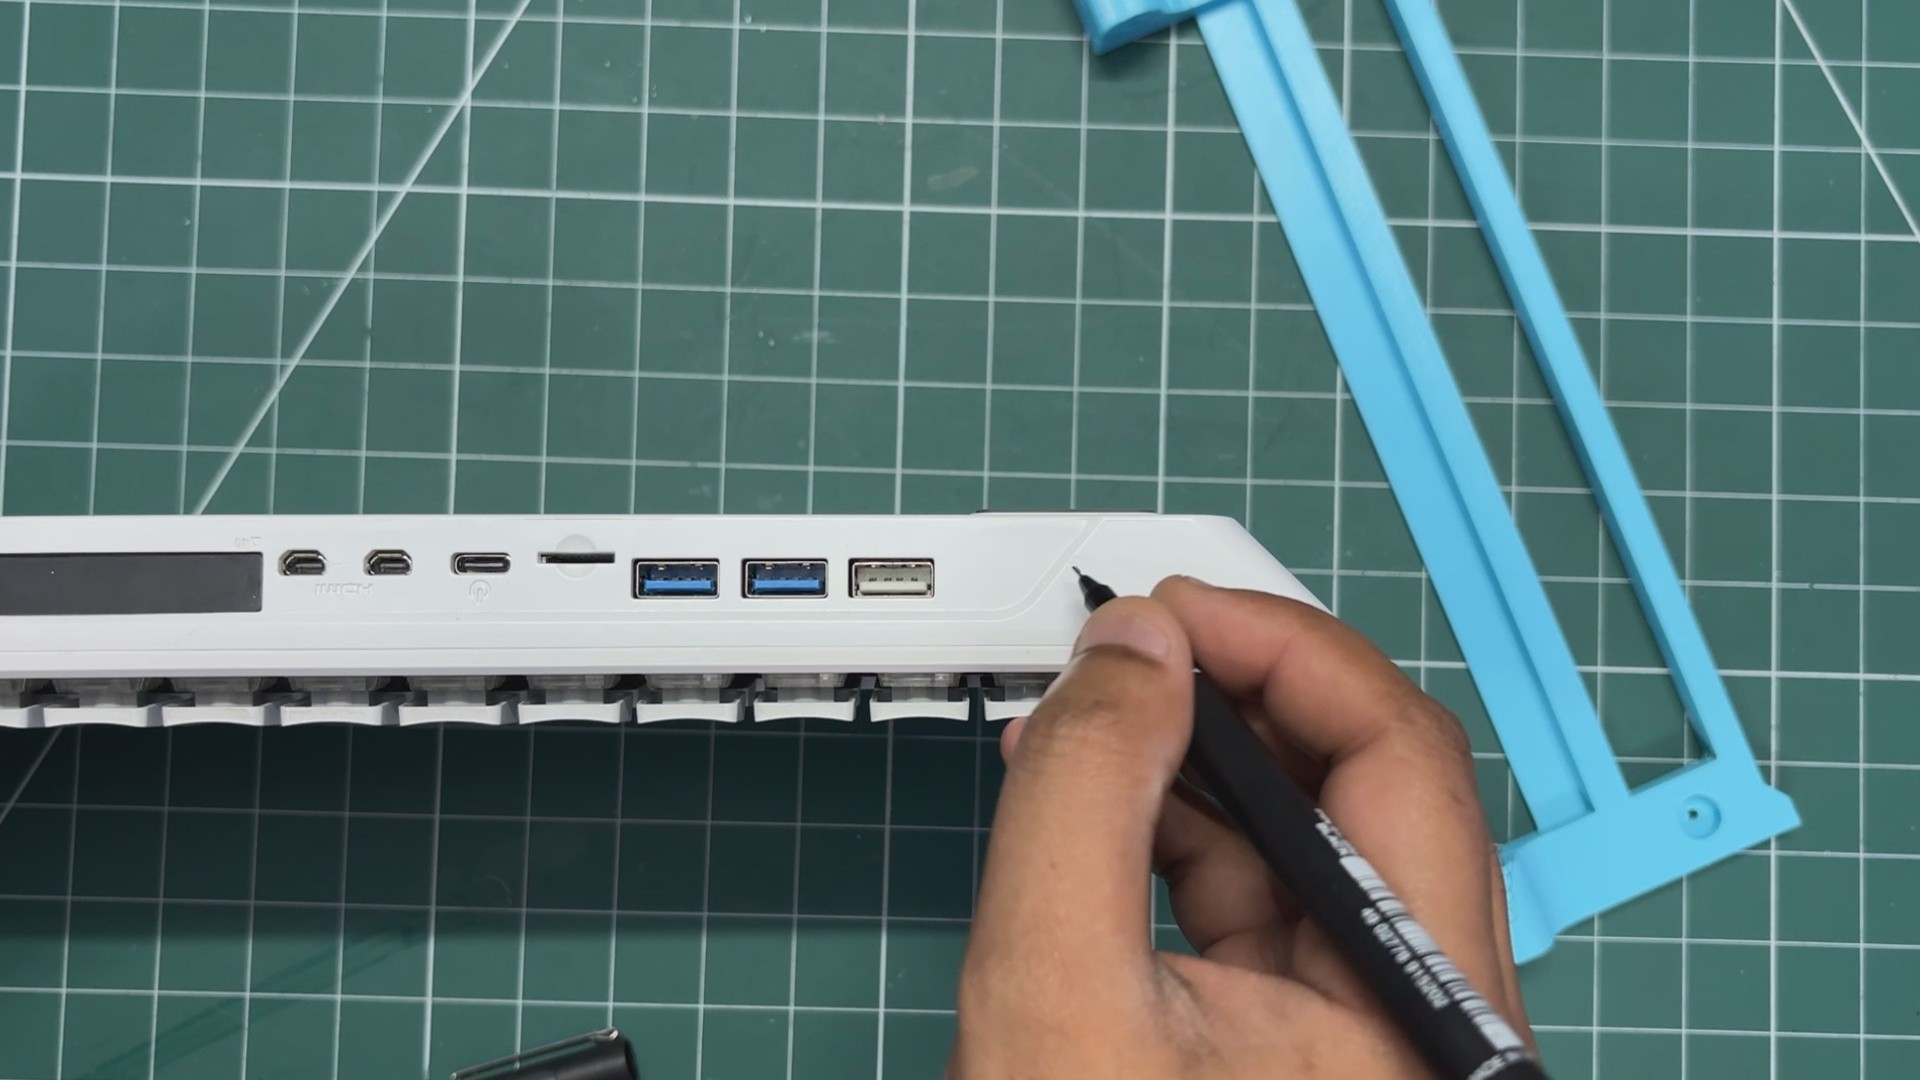
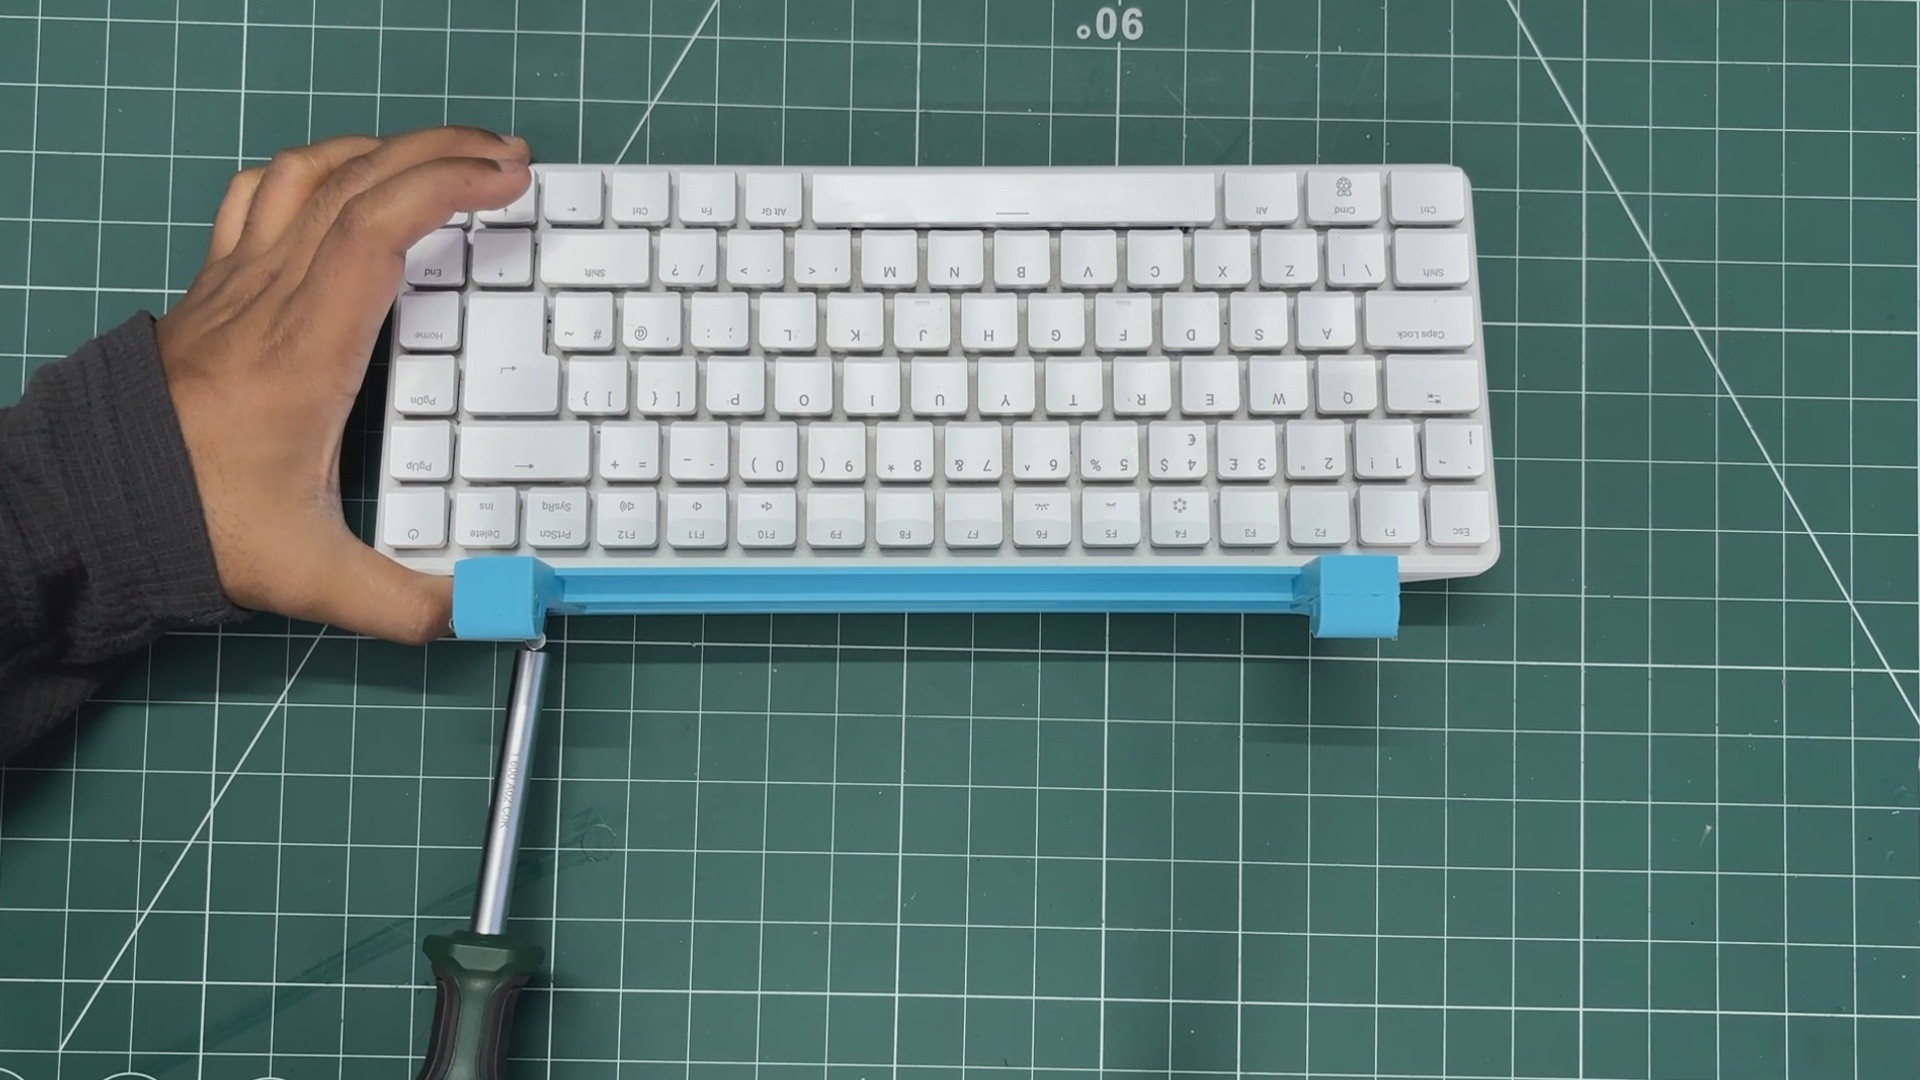
The lower frame is first aligned with the front face of the Raspberry Pi 500+, where the I/O ports are located.
Once the frame was positioned correctly, I used a Sharpie to mark the mounting holes through the holes in the frame.
These markings will be used as a guide for making the mounting holes in the Raspberry Pi 500+ body
-
6KEYBOARD HOLDER ASSEMBLY - MAKING MOUNTING HOLES
![]()
![]()
![]()
![]()
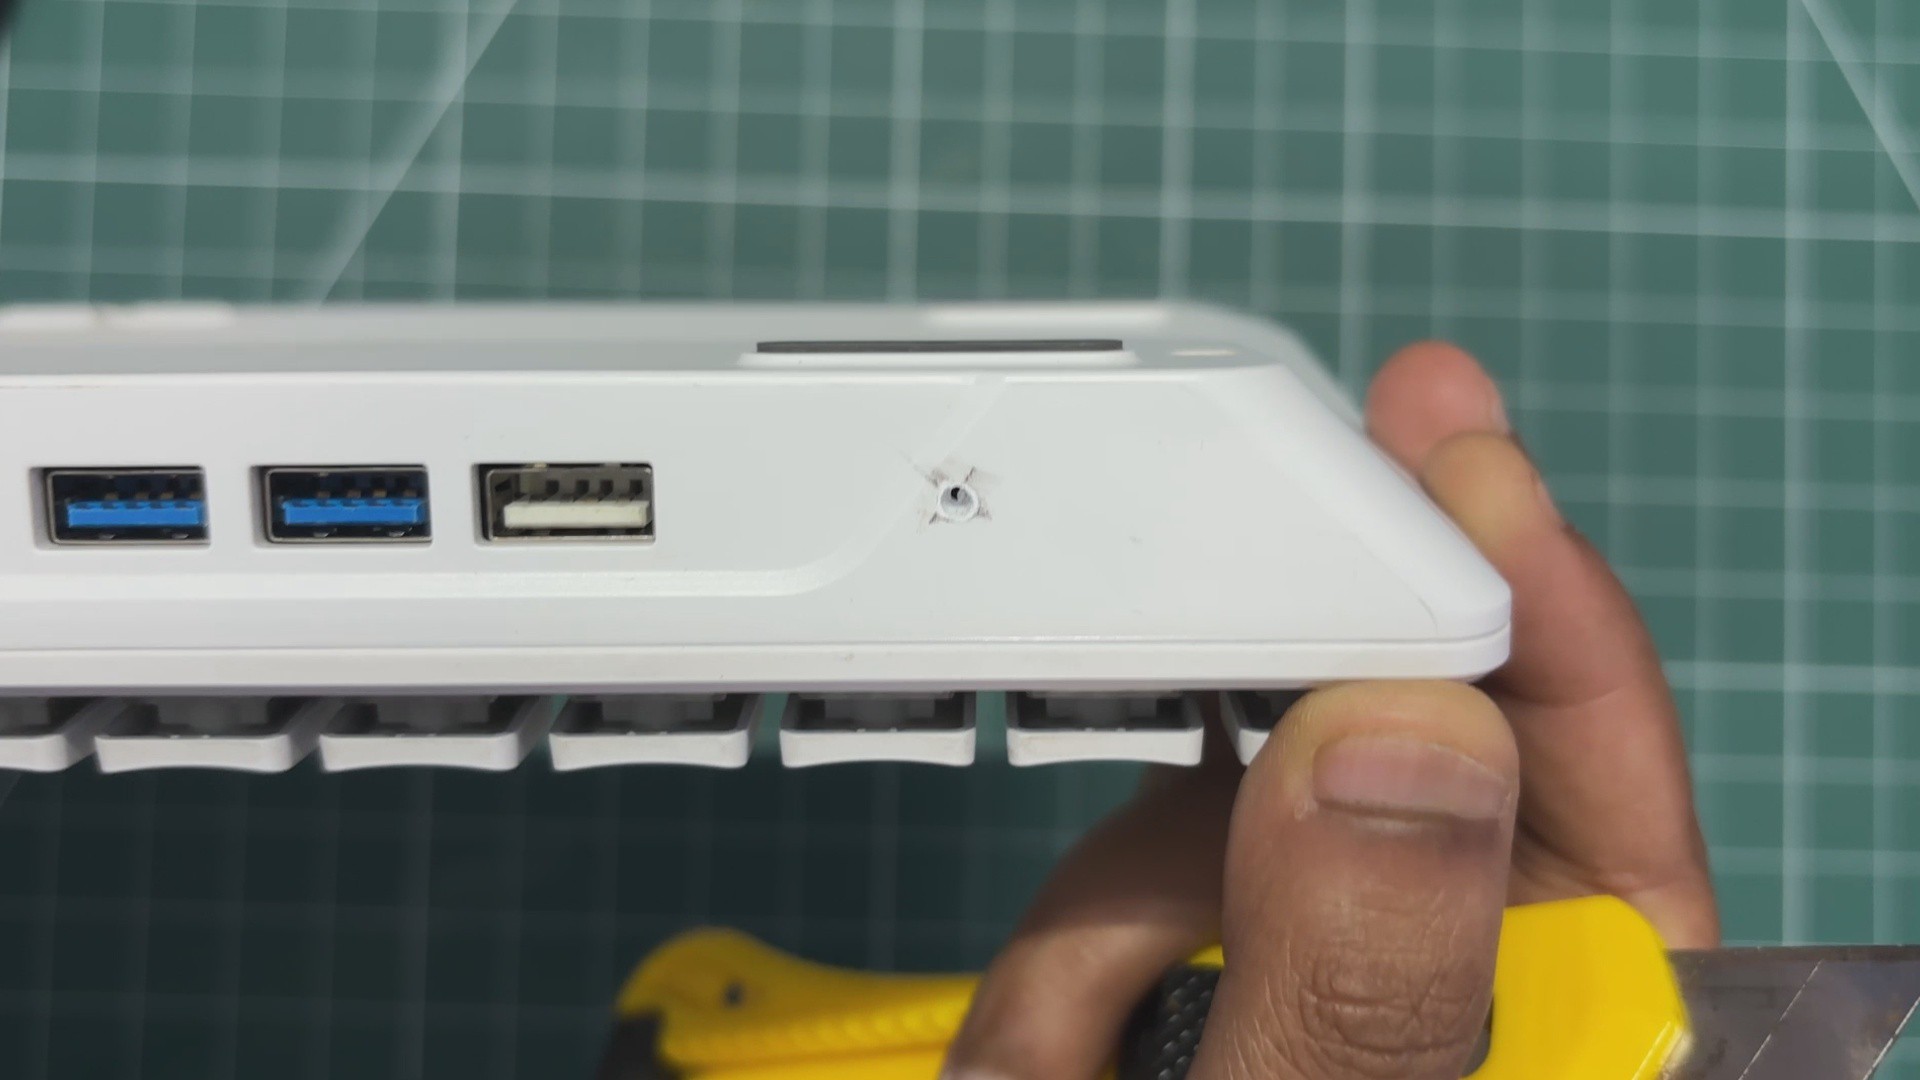
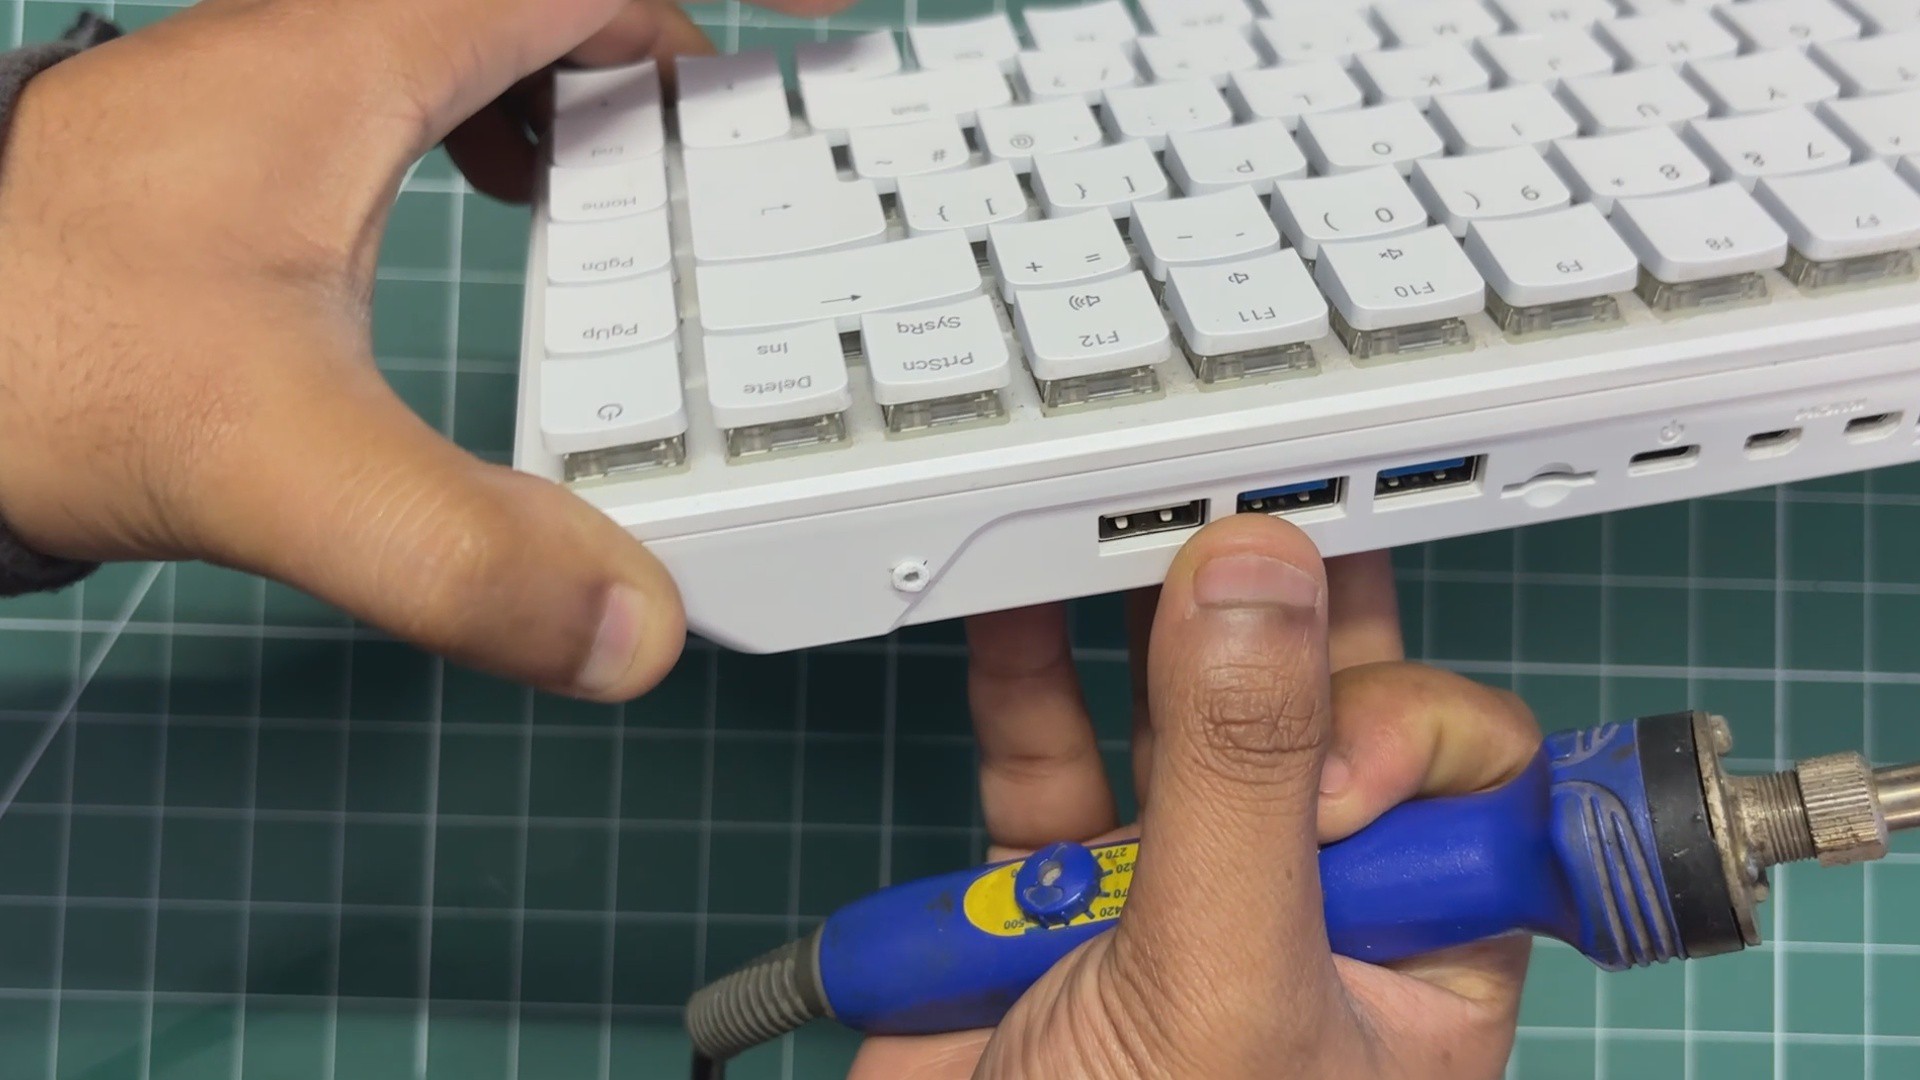
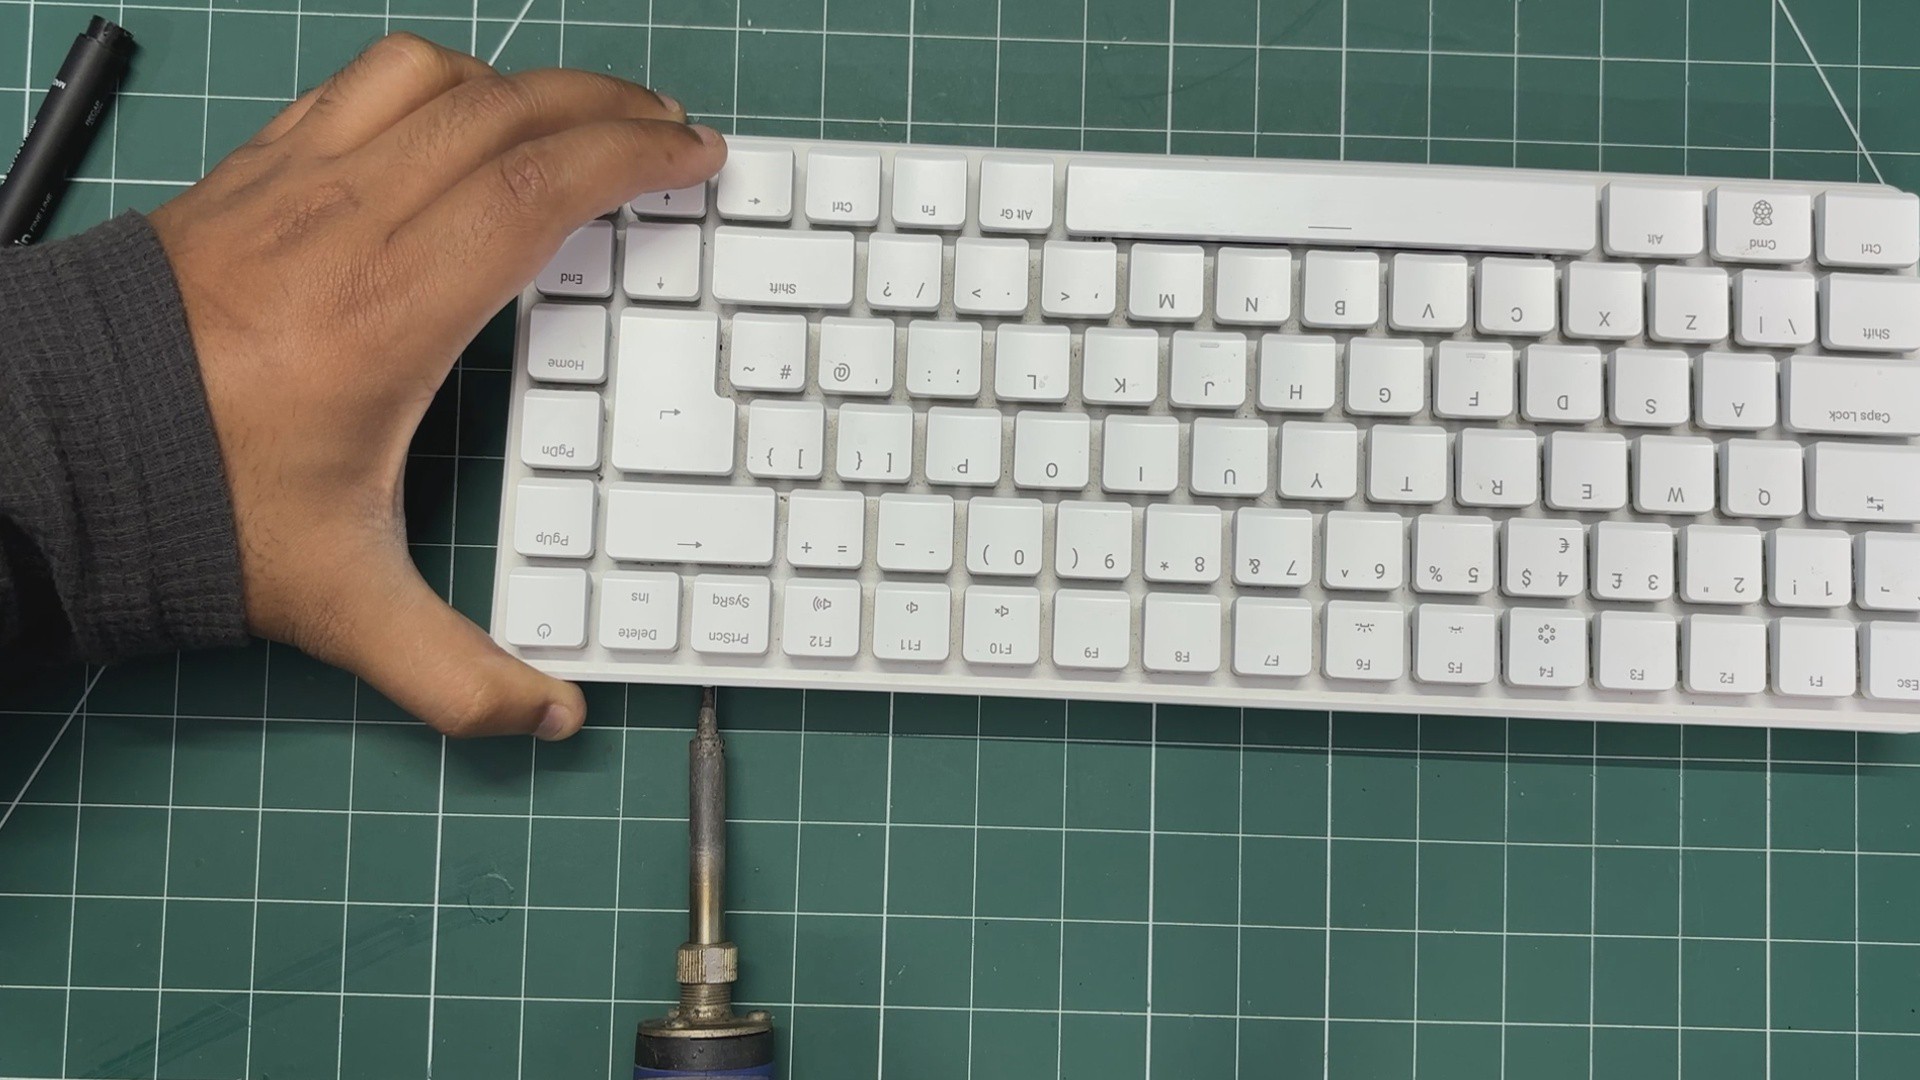
Here’s a rather unconventional way of making the mounting holes. Instead of using a drill, I used my soldering iron with an old tip fitted onto it.
I simply placed the heated tip over the two marked points on the Raspberry Pi 500+ body and gently pressed down to melt through the plastic. We don’t need to go all the way through the body here; around 3 mm of depth is enough for the mounting screws.
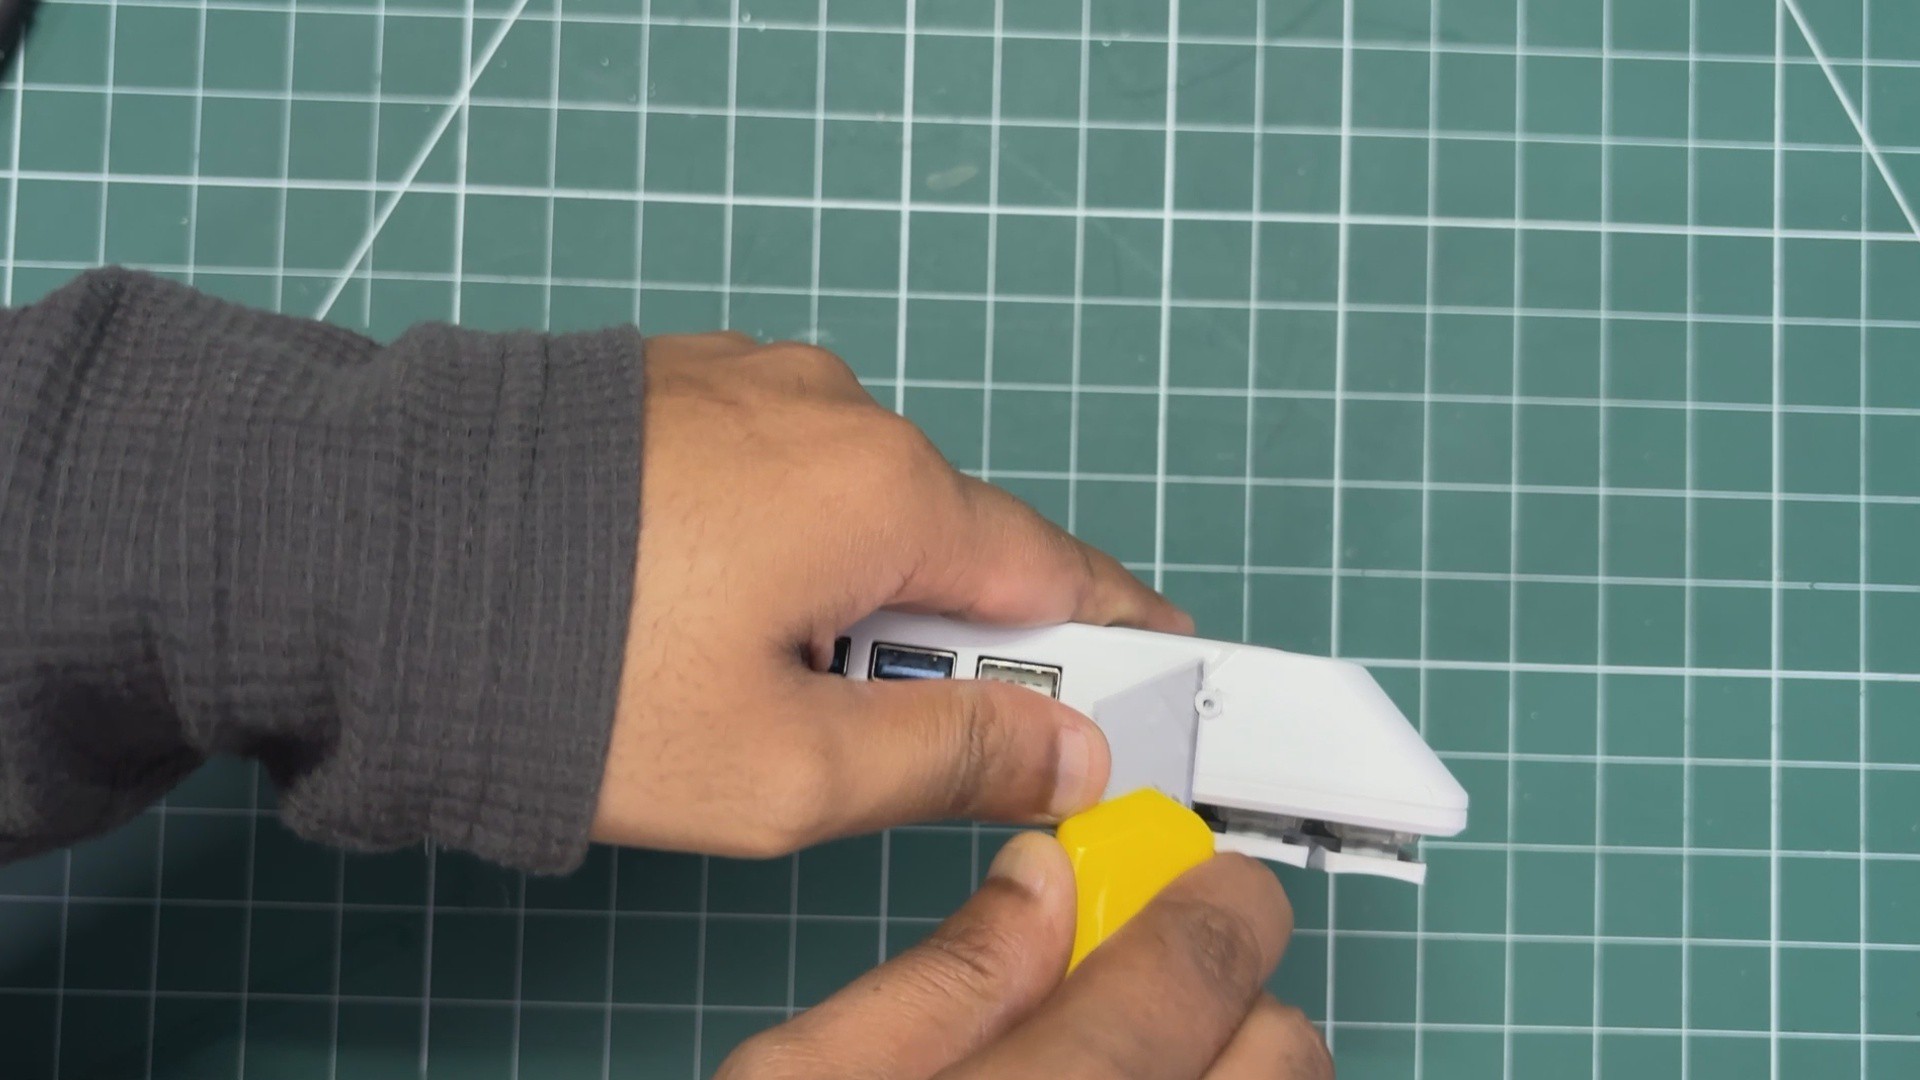
I repeated the process for both marked points. This leaves us with two mounting holes, although there is some melted plastic left around the edges. I cleaned this up using a paper cutter, leaving the holes ready for mounting the frame.
-
7KEYBOARD HOLDER ASSEMBLY - FRAME & PI
![]()
![]()
![]()
Using two M2 self-tightening screws, we joined the lower frame holder with Raspbeery Pi 500 Plus
-
8SCREEN HOLDER & KEYBOARD HOLDER ASSEMBLY
![]()
![]()
![]()
![]()
![]()
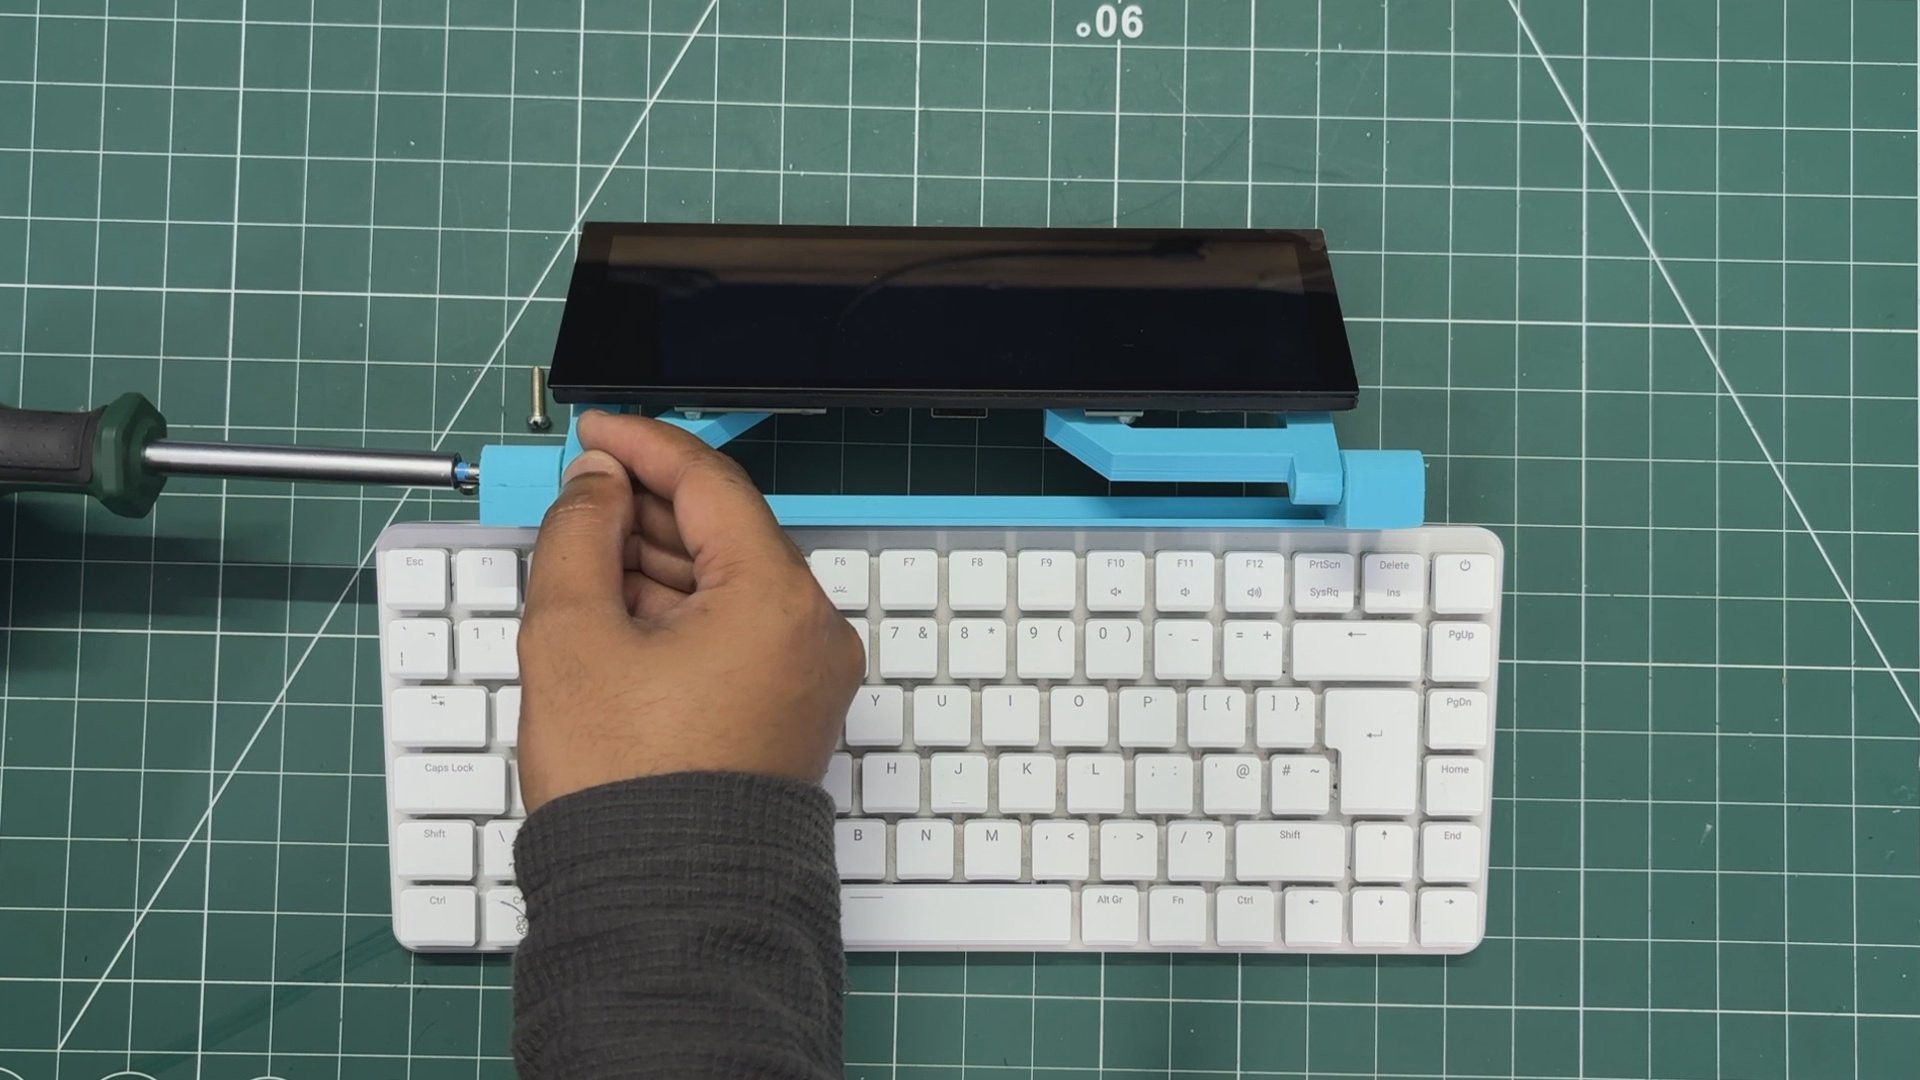
Next, we can join the upper screen frame with the Raspberry Pi 500+. We start by placing the upper frame into the hinge mechanism of the lower frame and aligning the mounting holes.
We then use two M3 bolts to secure both sections together, tightening them enough to give the hinge a firm grip while still allowing the display to open and close.
The result is a sturdy, cyberdeck-style device with a laptop-like folding display. All that’s left now is to make the necessary connections between the display and the Raspberry Pi 500+.
-
9RASPBERRY PI & DISPLAY CONNECTION
![]()
![]()
![]()
![]()
![]()
![]()
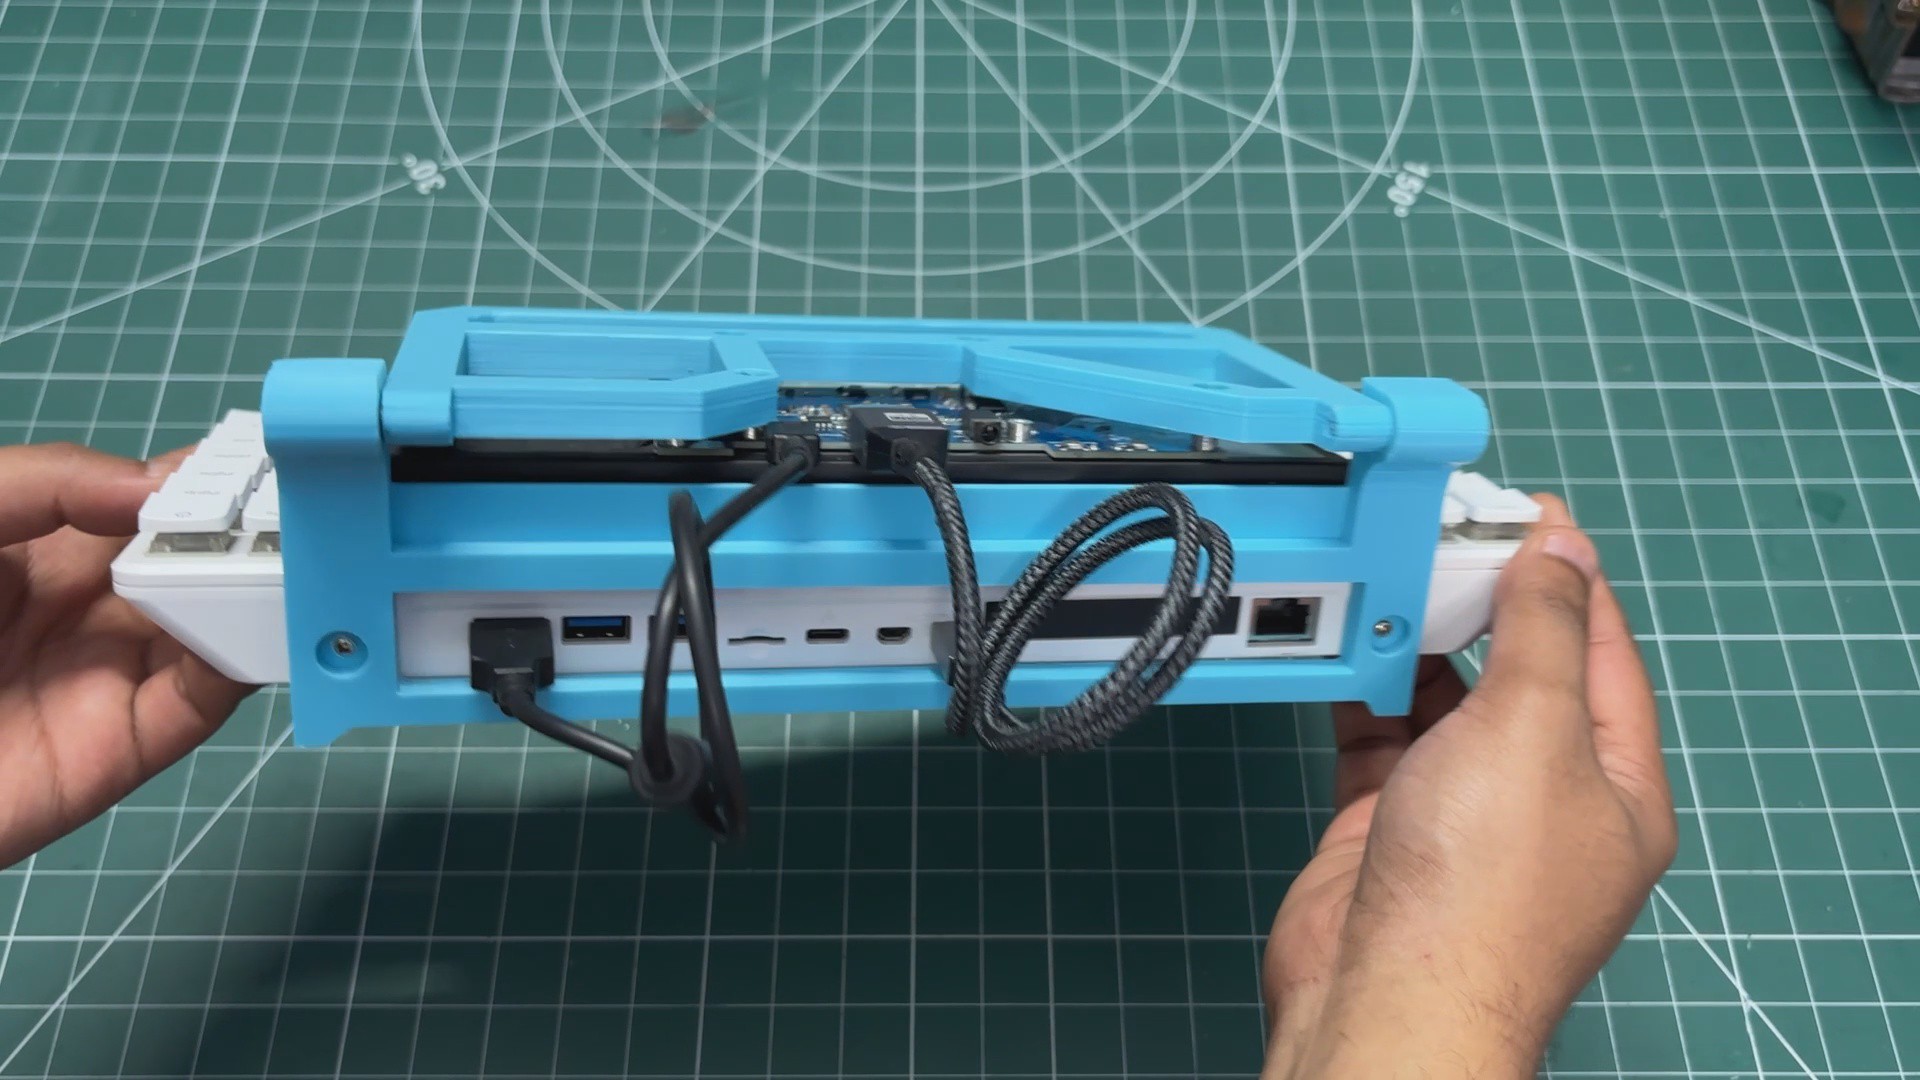
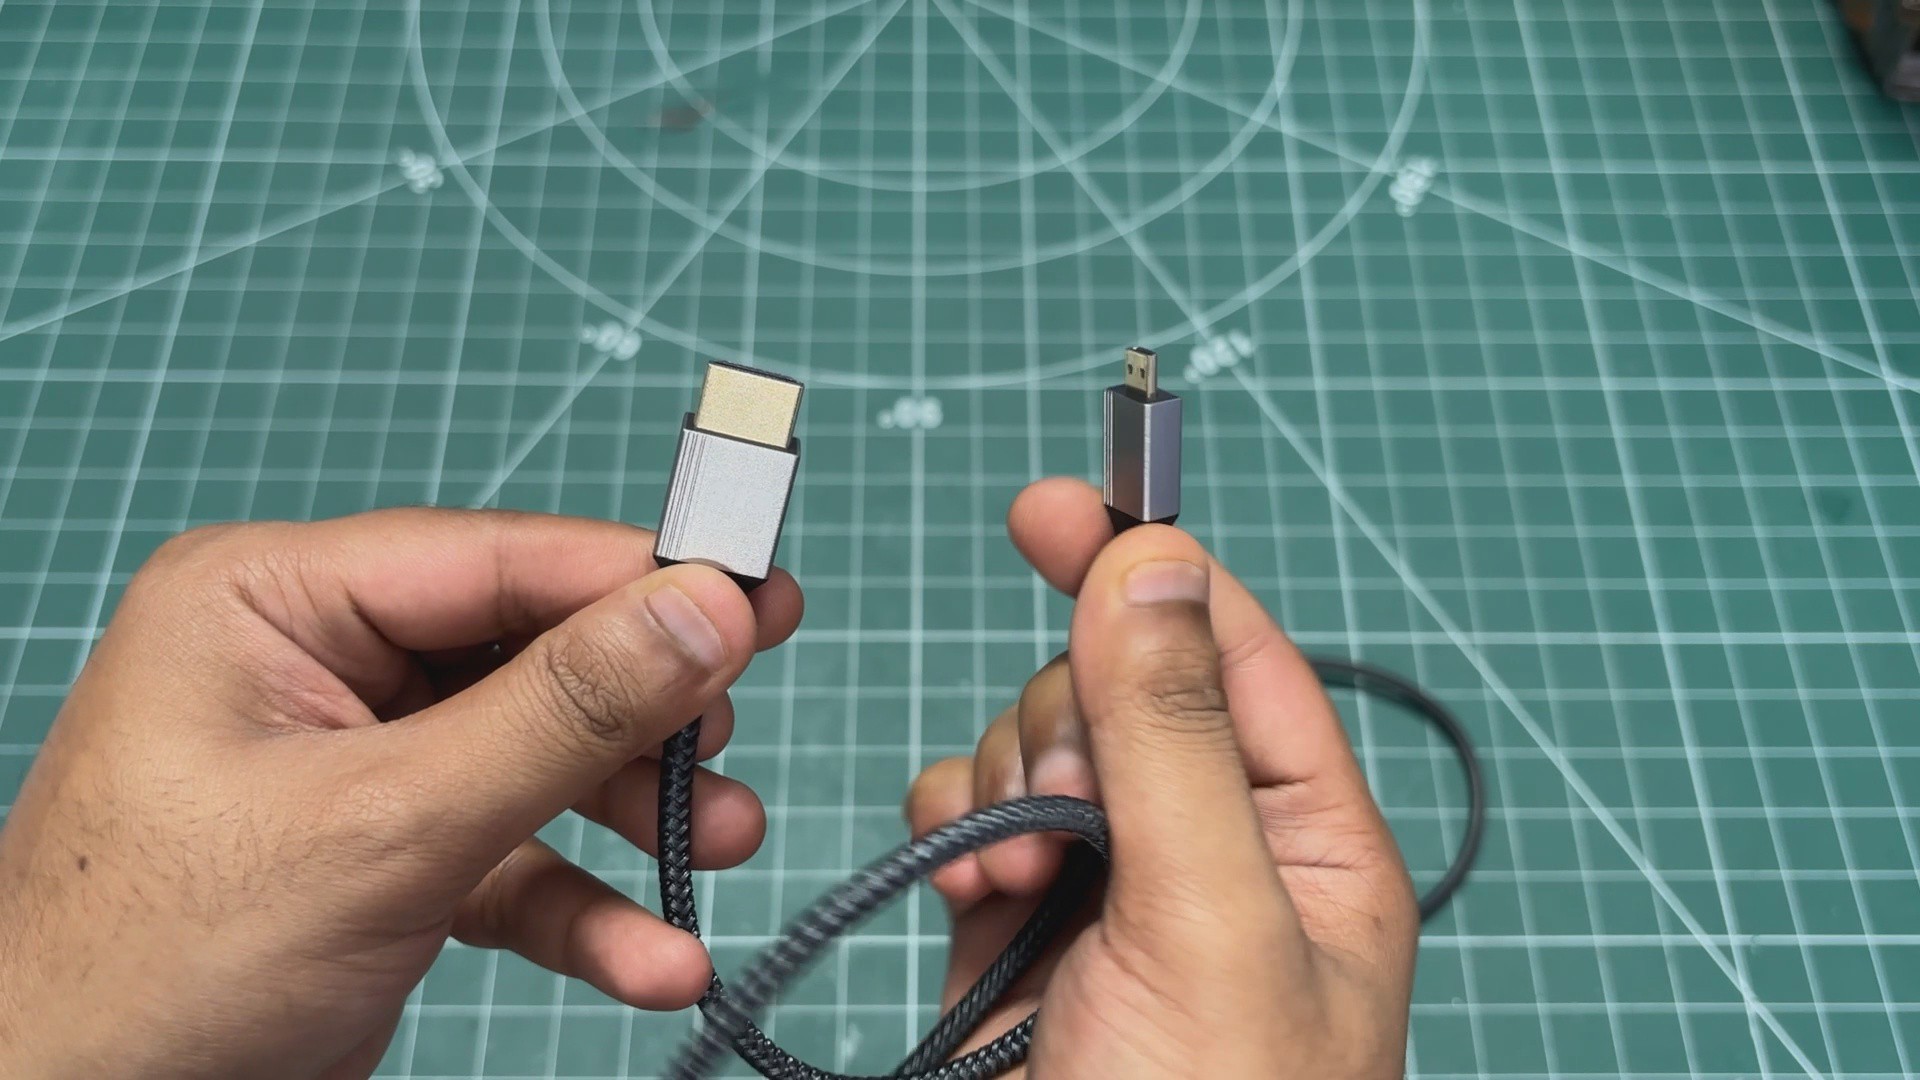
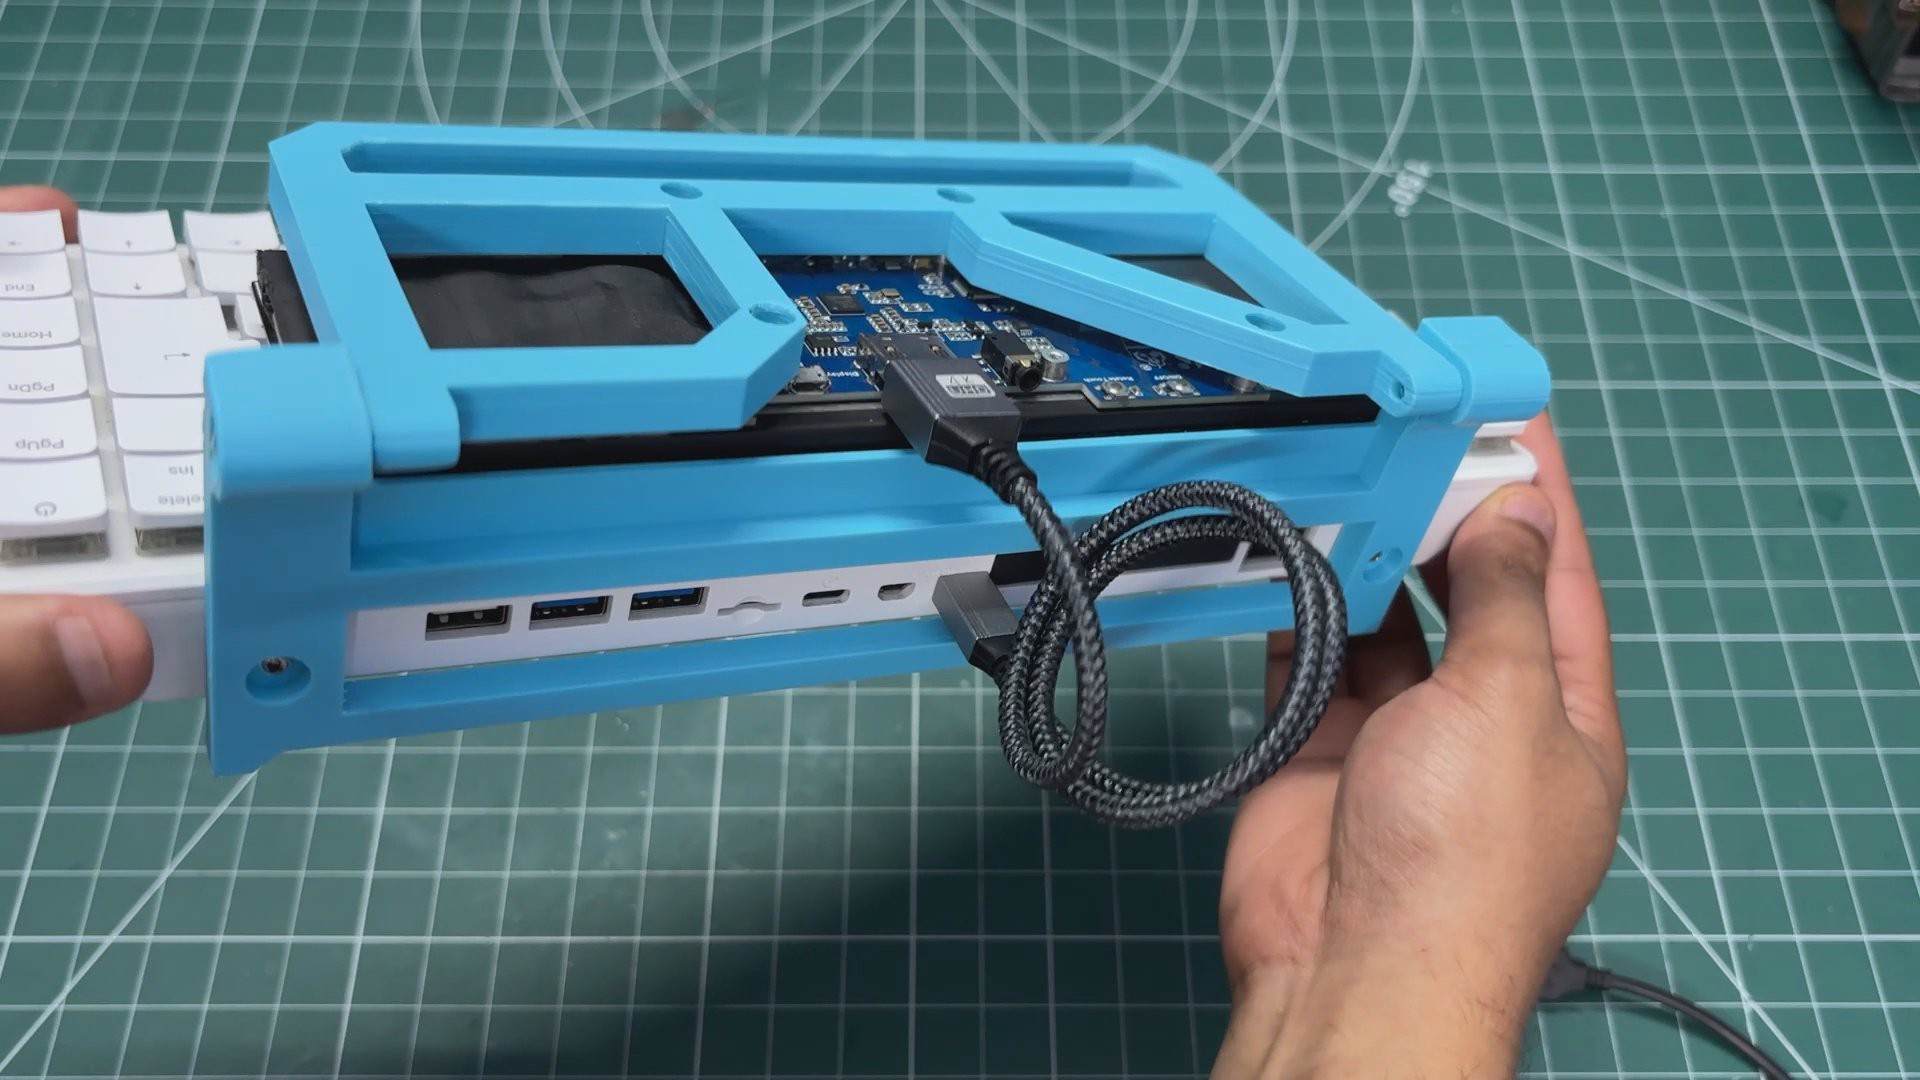
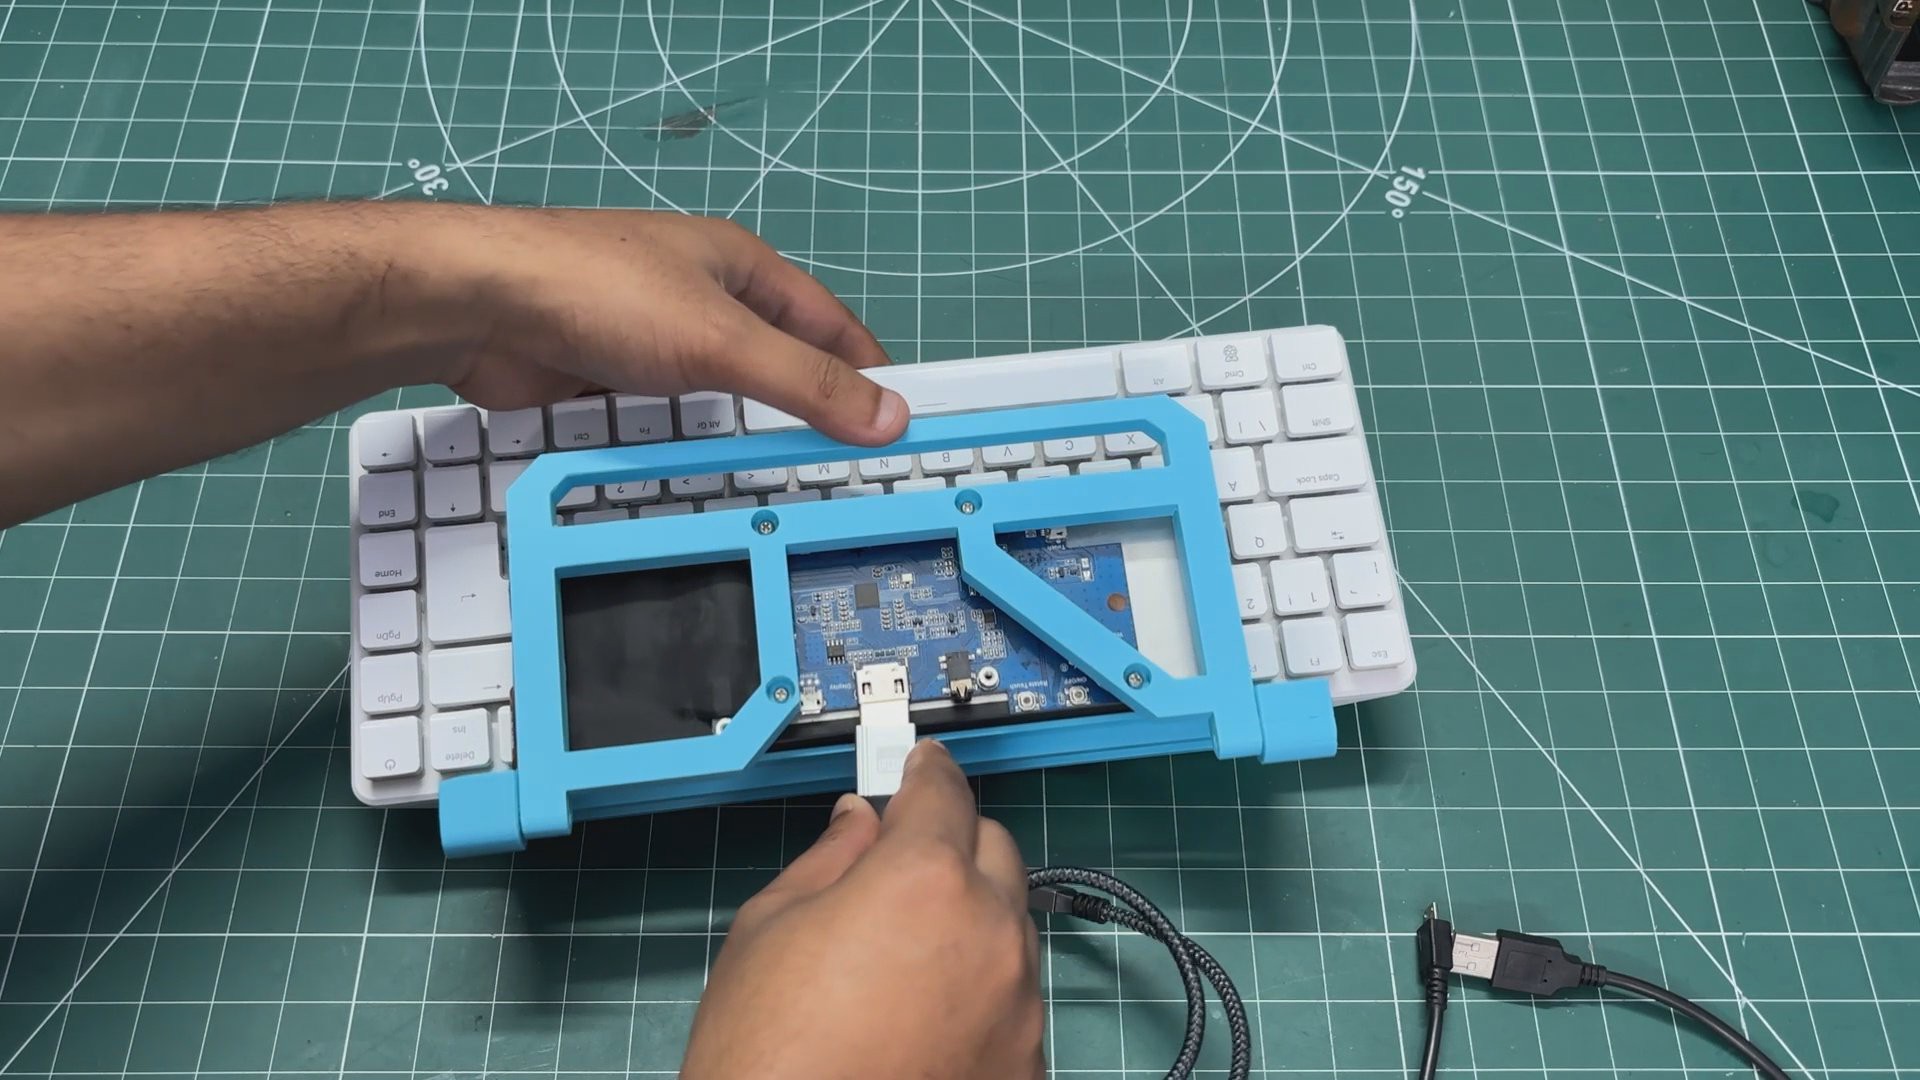
For the display connection, I’m using a short HDMI to Mini-HDMI cable that I already had lying around. It works perfectly for this build, but if you’re recreating the project, I’d recommend using one of those HDMI breakout boards with an FPC connection instead. That would allow the connection to be much shorter and thinner, making the overall setup cleaner.
We simply connect the display to the Raspberry Pi 500+ using the HDMI cable, giving us the video connection.
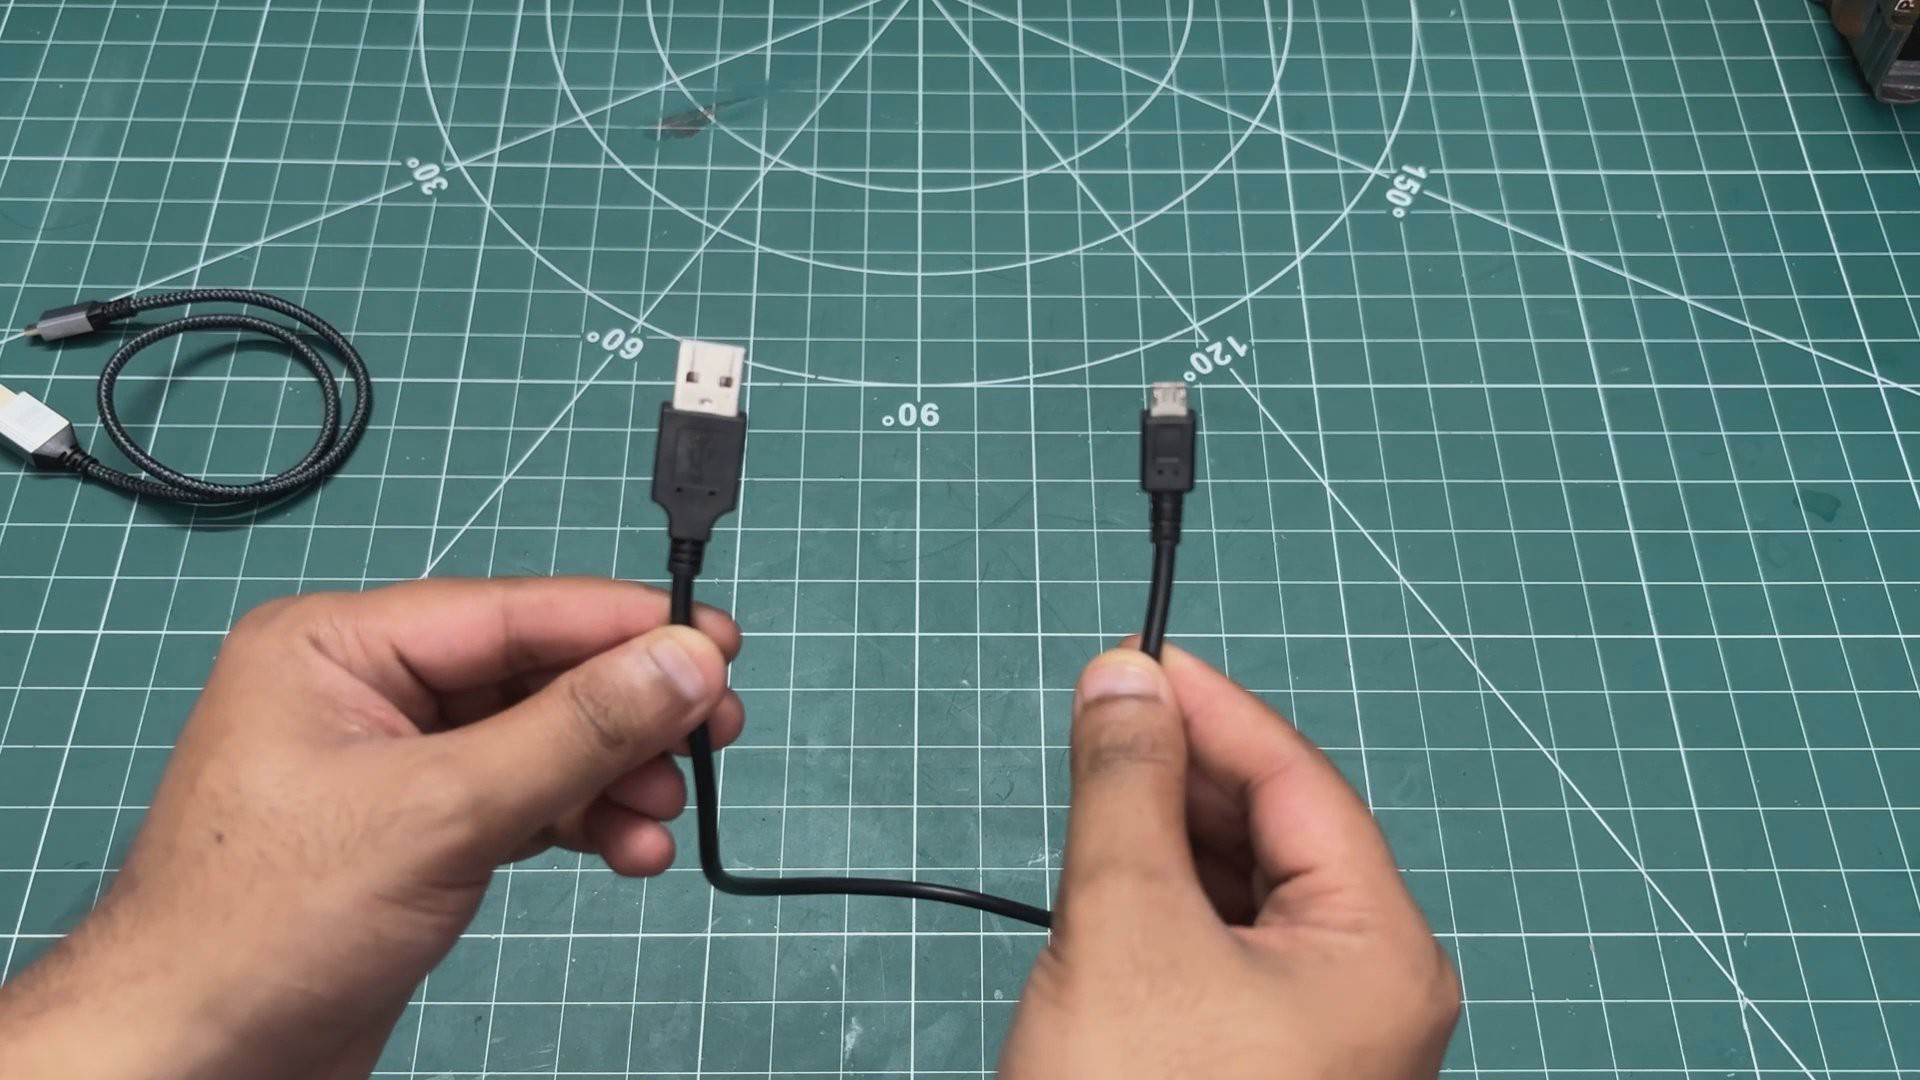
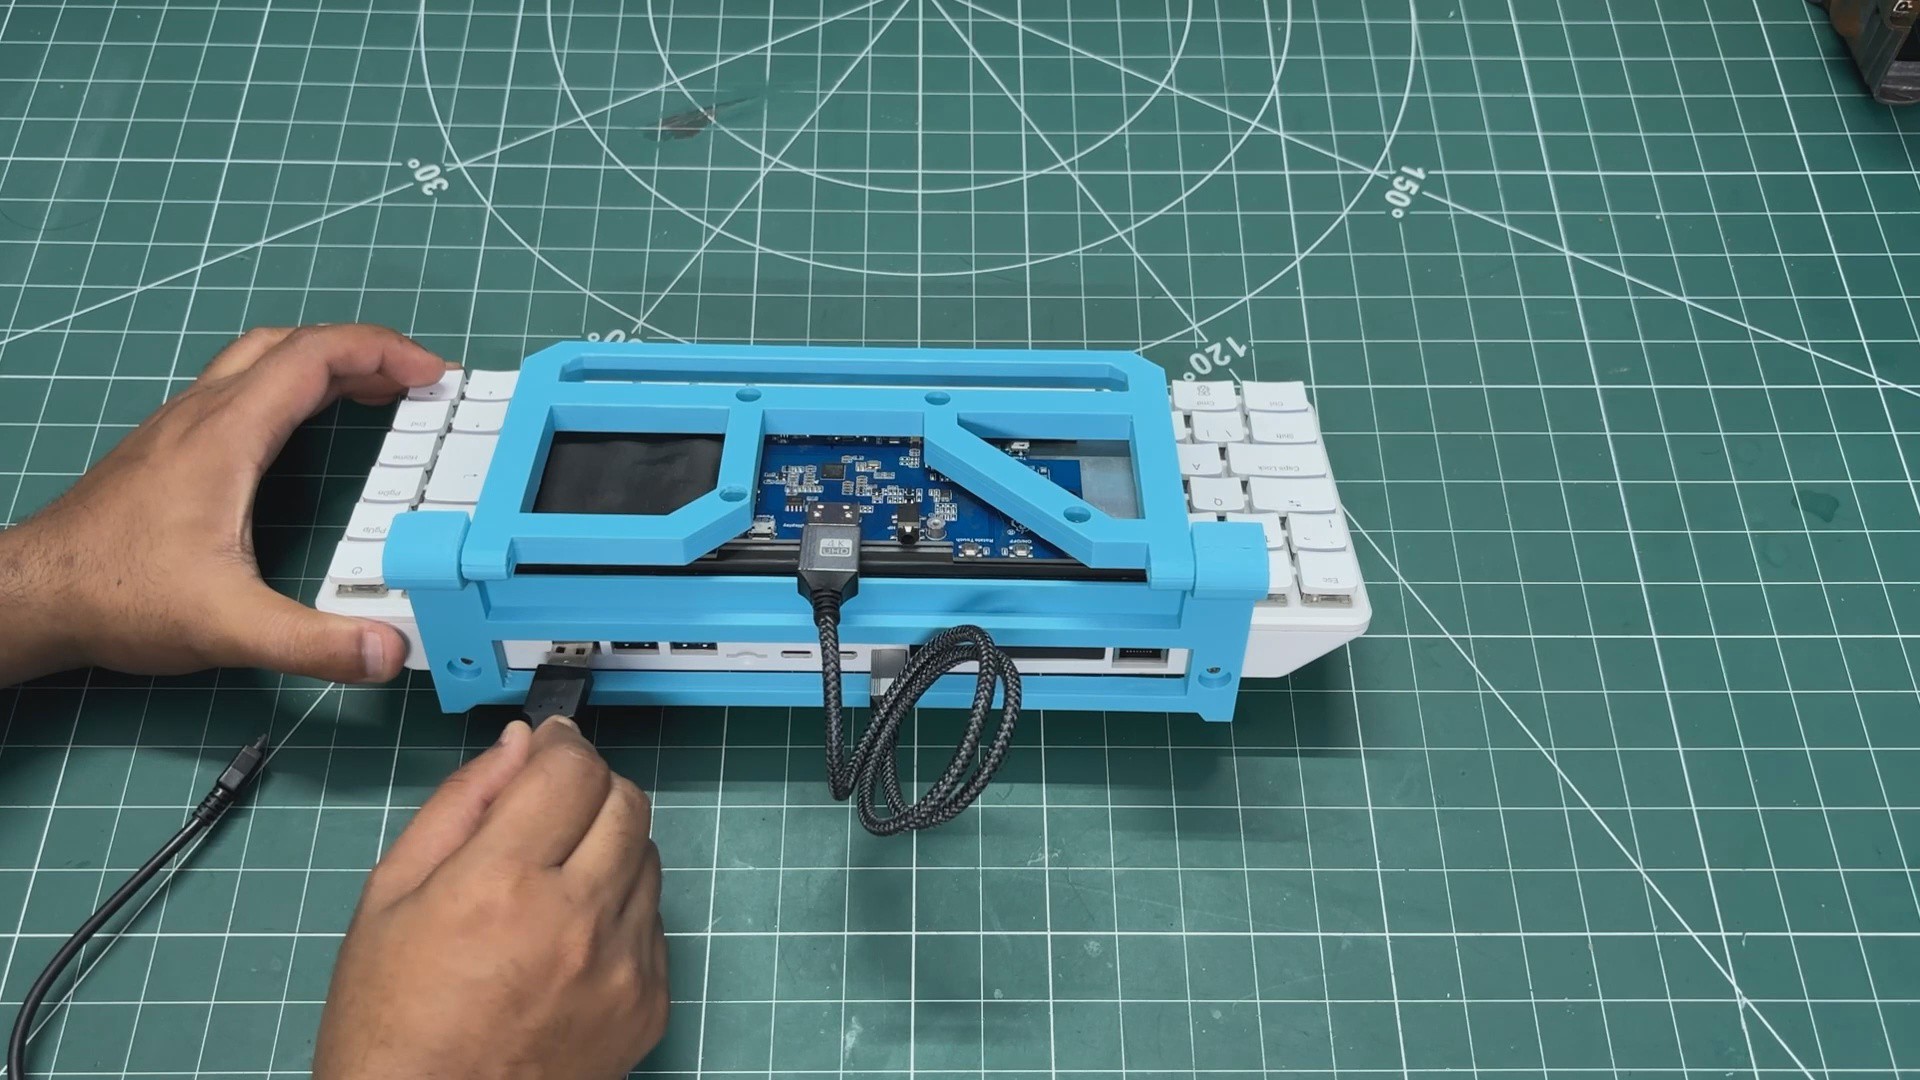
Next comes power. The display uses a Micro-USB port for 5V power, so I used a standard USB cable for this. One end connects to the display, while the other goes into one of the Raspberry Pi 500+’s USB 2.0 ports.
This allows the Raspberry Pi to power the display directly, so we don’t need a separate power supply for the screen.
-
10RESULT
![]()
![]()
![]()
![]()
![]()
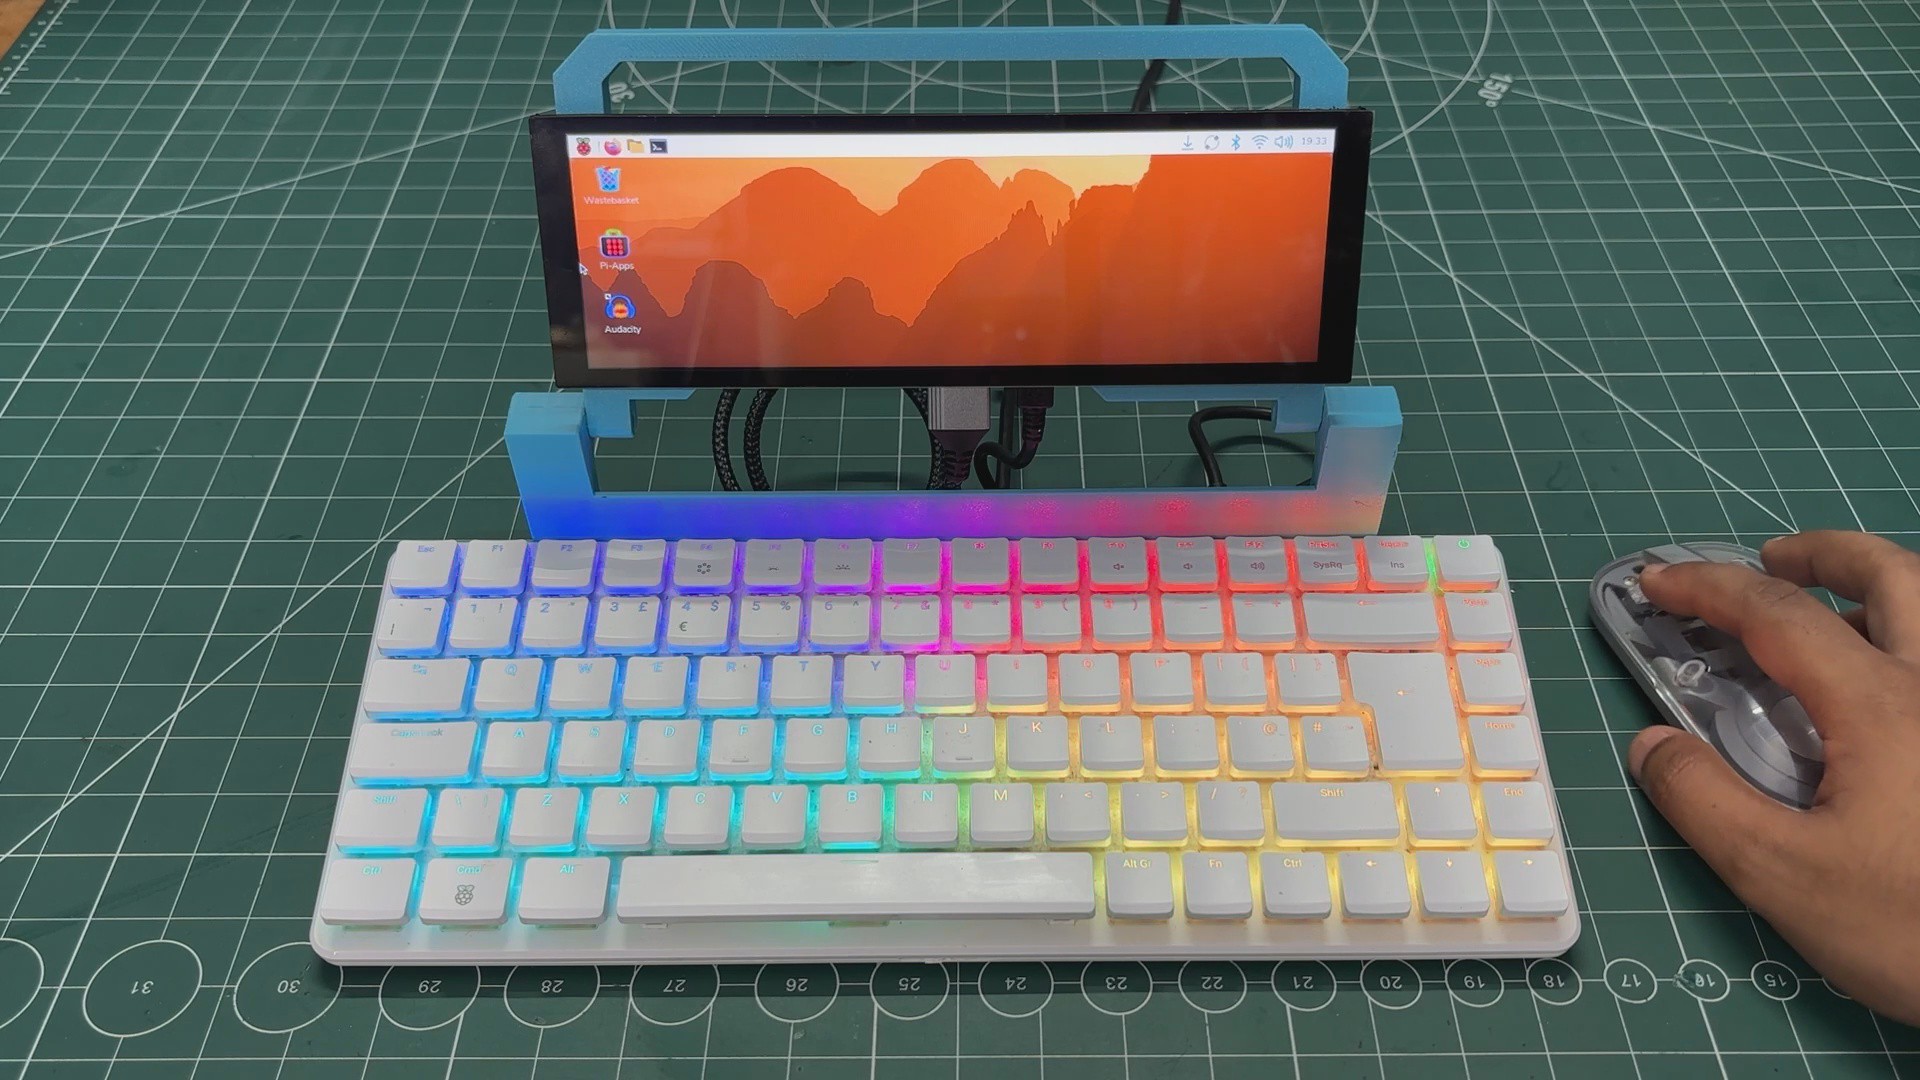
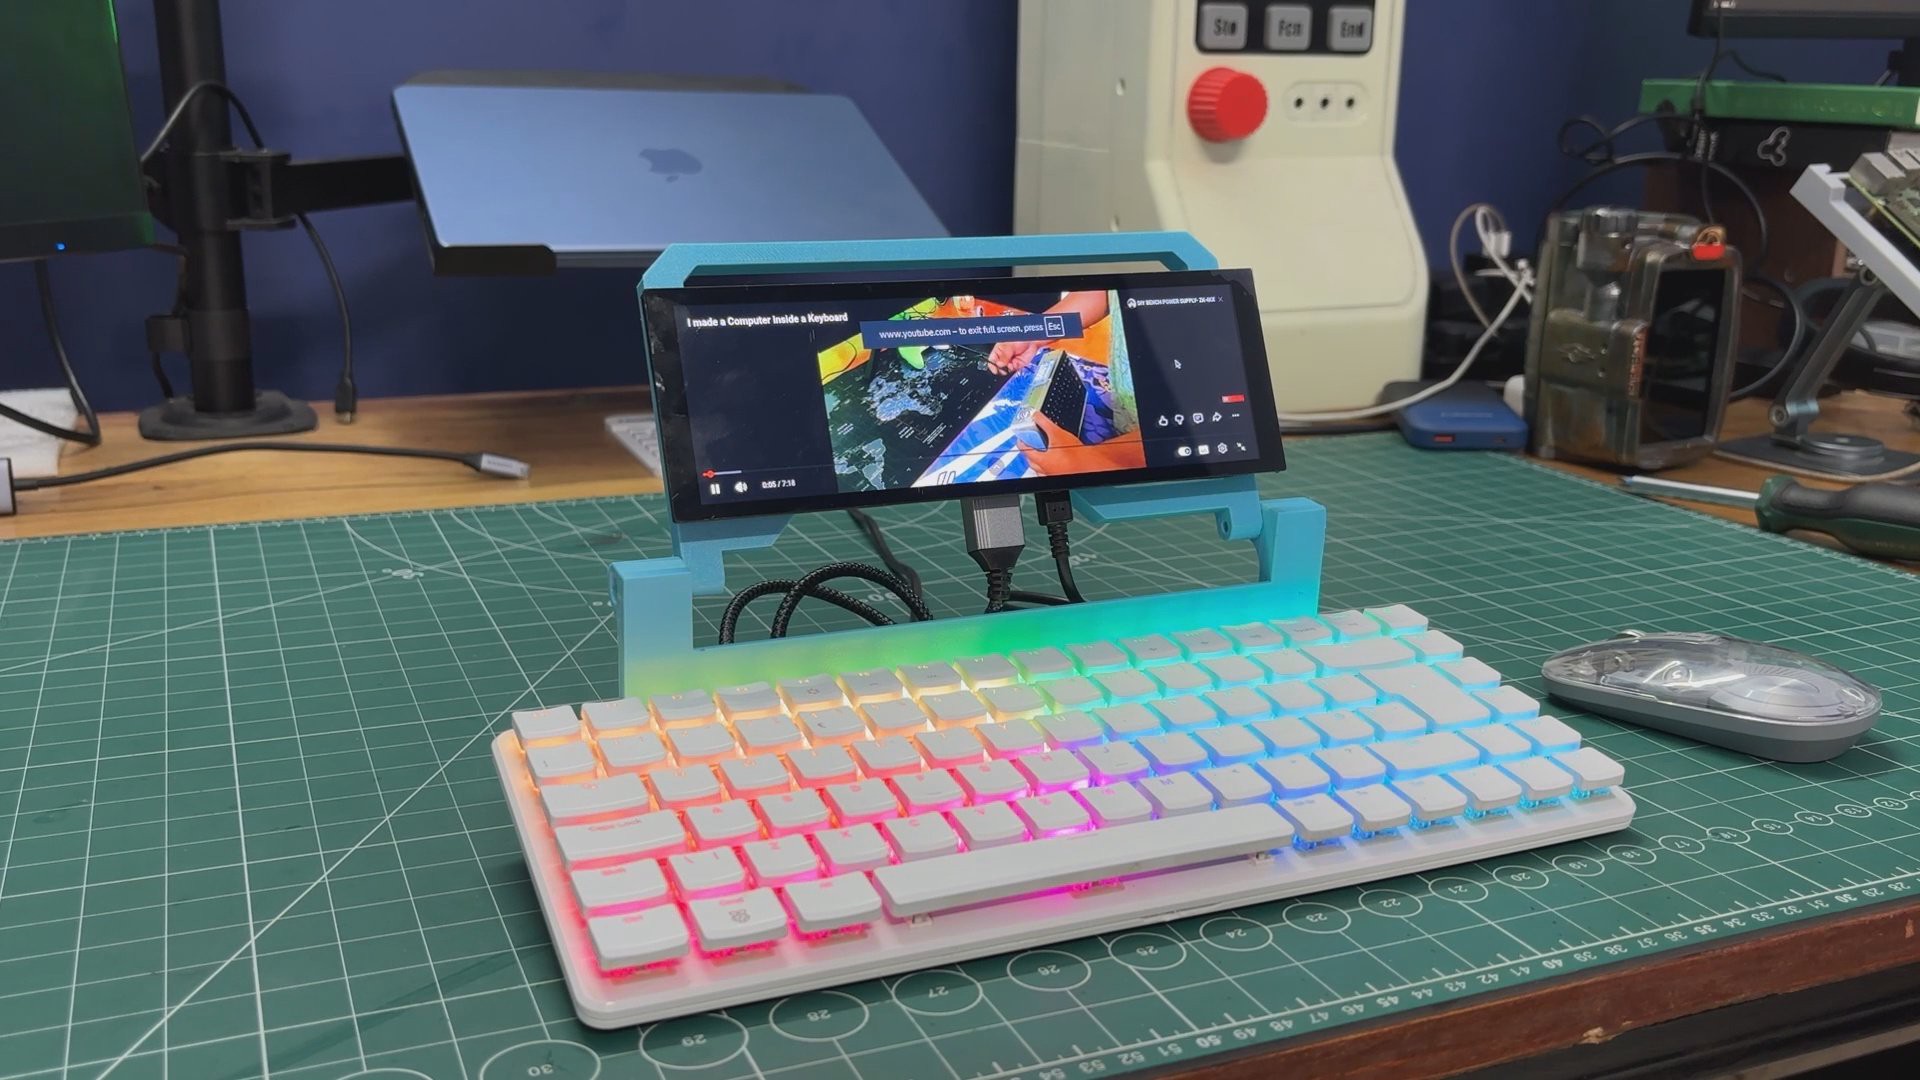
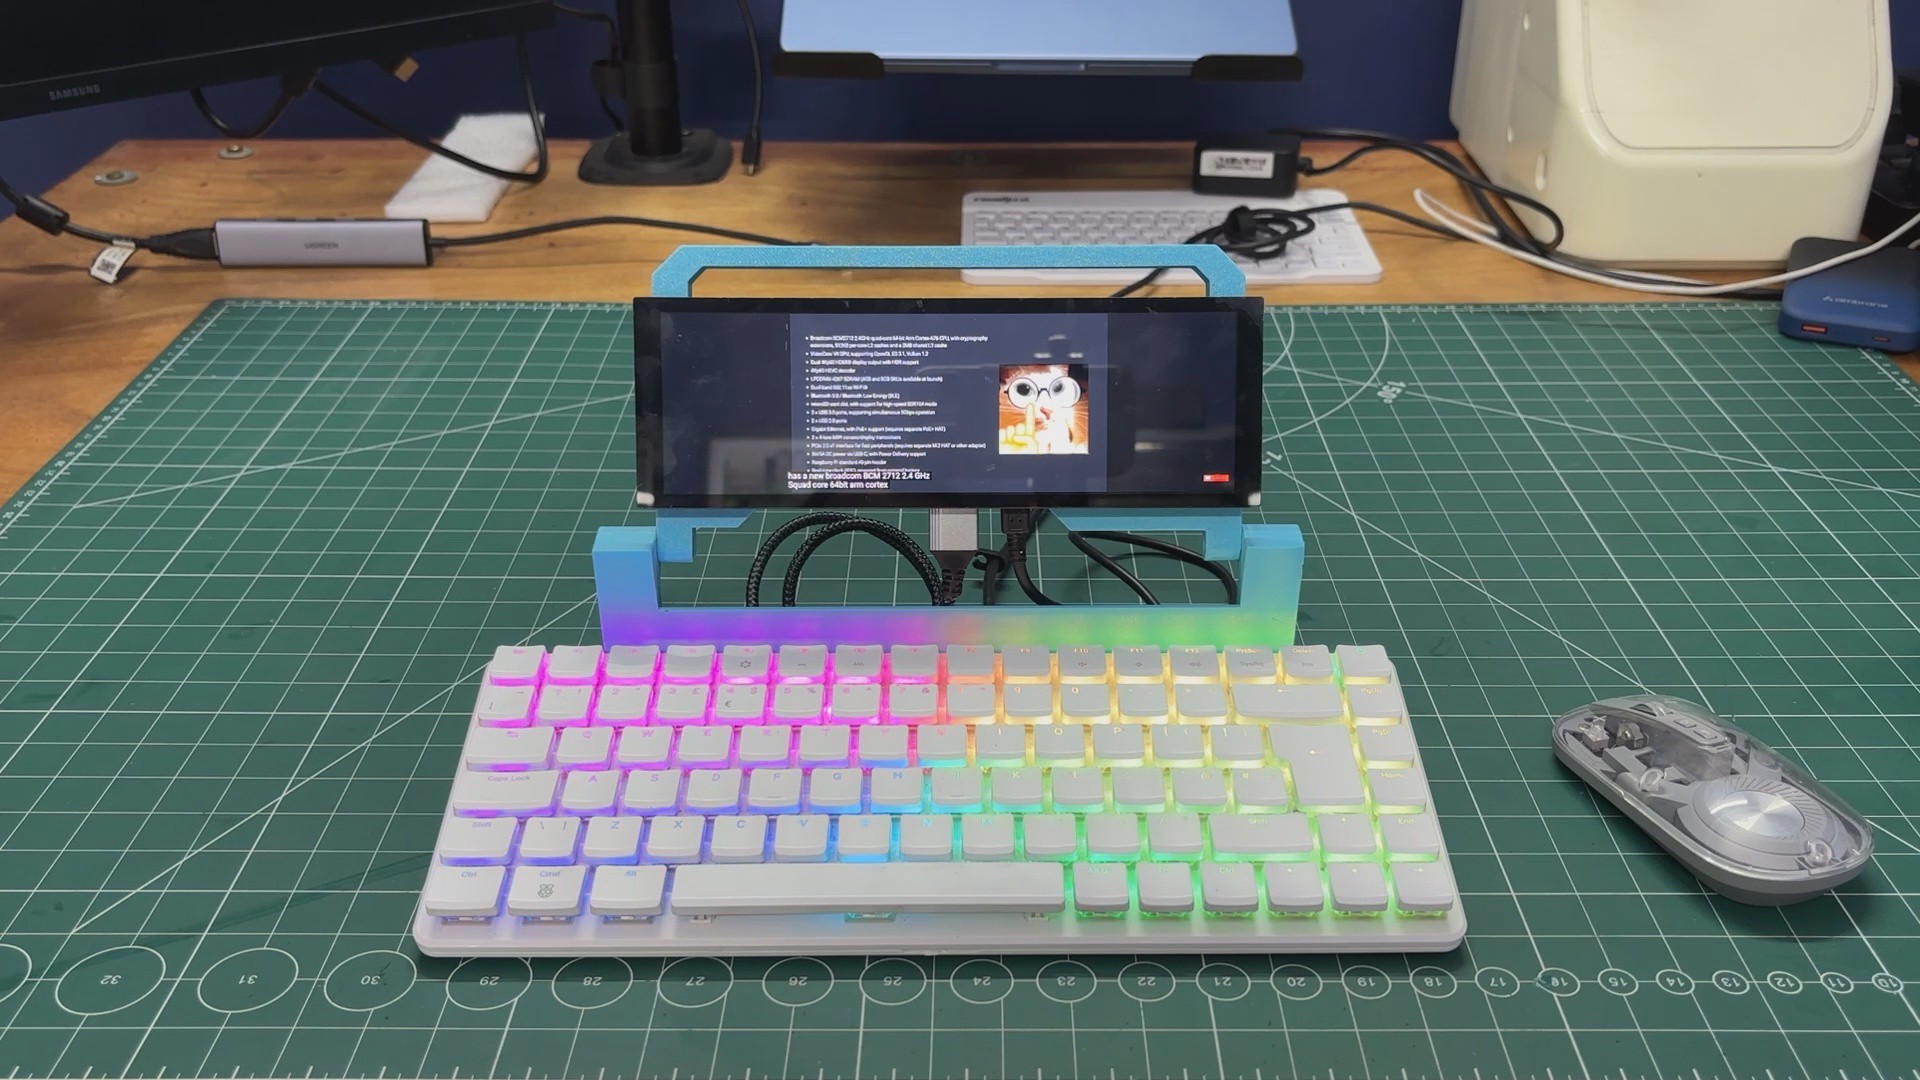
And here’s the final result of this project: the Raspberry Pi 10,000, a compact cyberdeck built by adding a 7.9-inch touchscreen display to the Raspberry Pi 500+.
The best part is that this modification doesn’t take away any of the Pi 500+’s functionality. I can still connect a second, larger display using its two HDMI ports, while the 16 GB RAM configuration makes this a surprisingly capable desktop computer for everyday tasks like browsing, media, and general use.
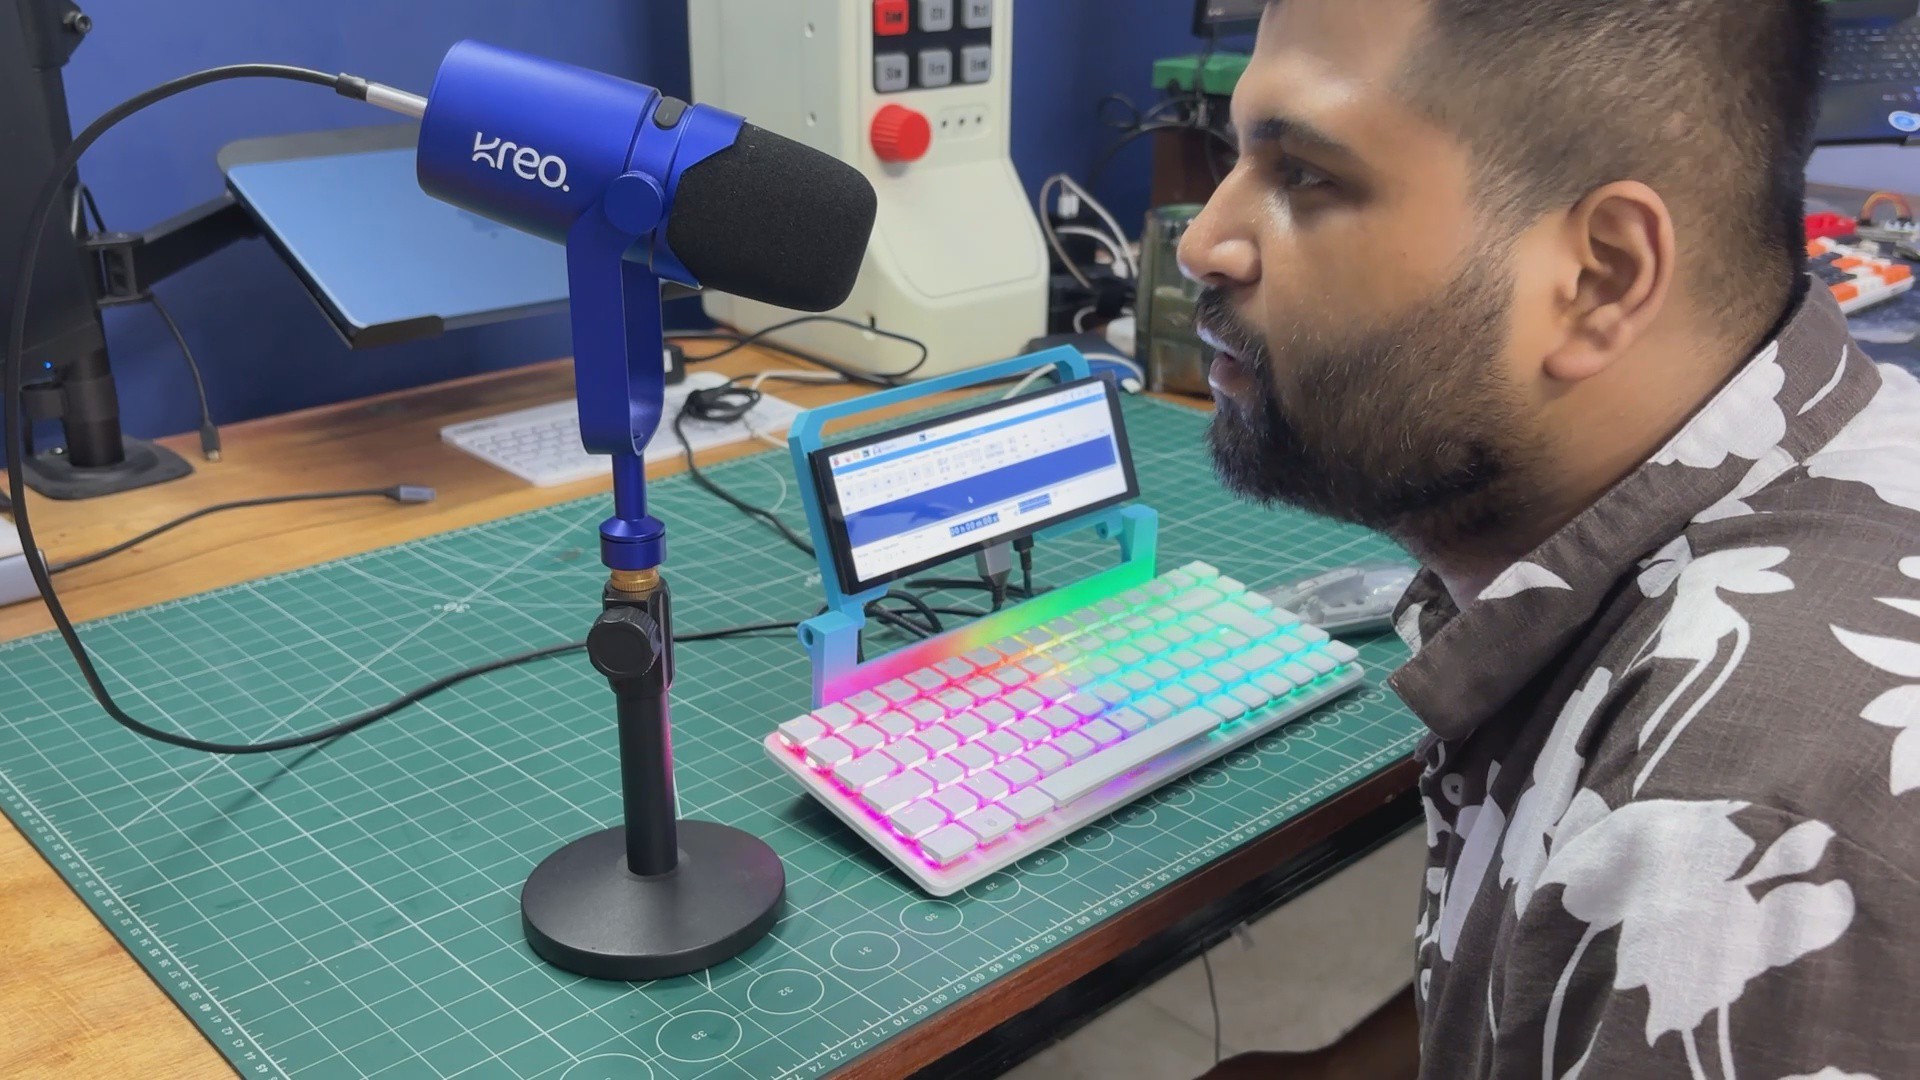
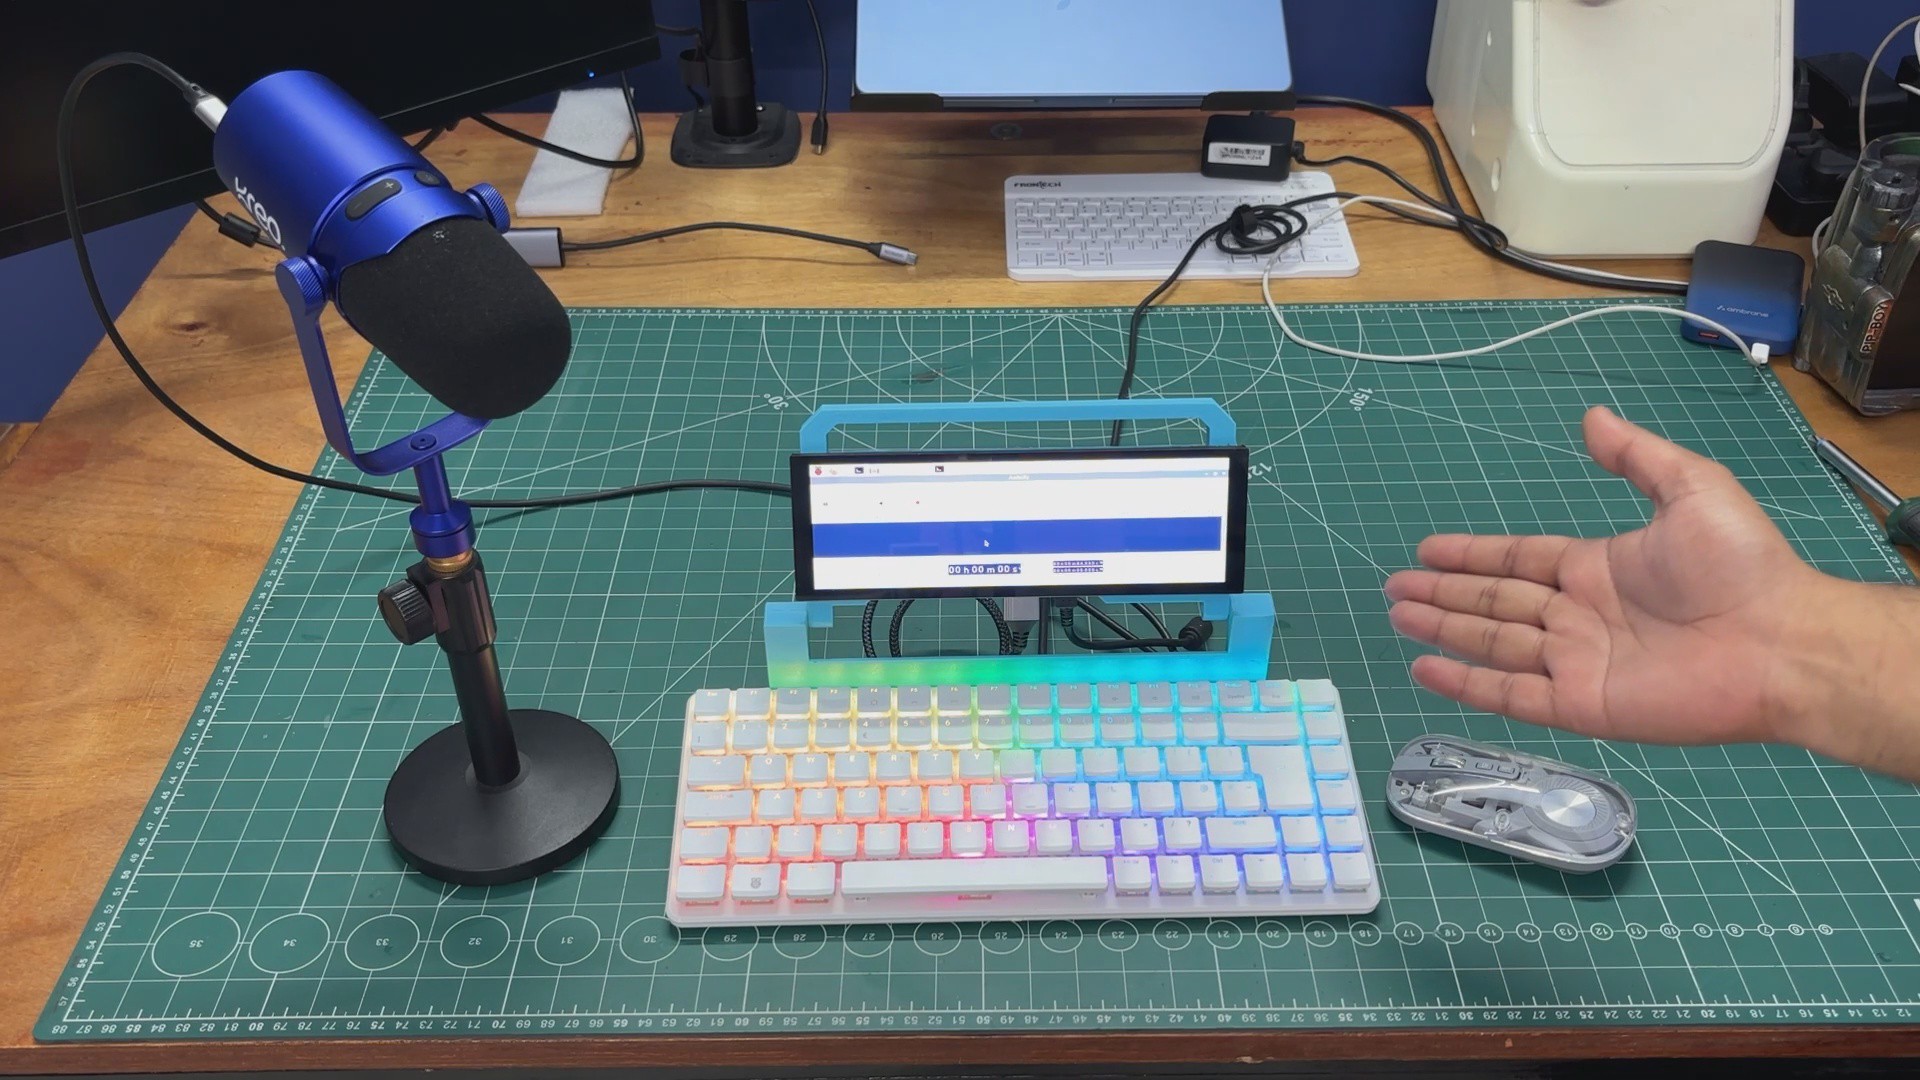
The main reason I built this, however, was to have a dedicated computer for my voice-over recording setup. I had been using my laptop for recording, but its cooling fans can get quite loud. Since the Raspberry Pi 500+ in this setup uses passive cooling with no moving fans, it gives me a completely silent computer for recording.
I loaded up Audacity and have already used the Raspberry Pi 10,000 to record a few voice-over lines for an upcoming project.
And while this wasn’t specifically built as a gaming machine, it turns out it can handle that too. I’ve previously tested it with Minecraft and a few other games, which you can see in the short attached above.
So yeah, it started as a simple screen mod, but I ended up with a surprisingly capable little cyberdeck that I’ll actually be using.
Discussions
Become a Hackaday.io Member
Create an account to leave a comment. Already have an account? Log In.