 KJoh
KJohThe circuit I would use to build the power supply was pretty simple, and would be easy to implement with a single-sided board. Given that, and the fact I had the materials left from previous projects, I tried and eventually succeeded in creating a single-sided layout on a copper-clad board.
I used Inkscape to draw the board. Inkscape is useful for this, as it will accurately maintain and produce output with the correct dimensions. Below is the artwork in its final version:
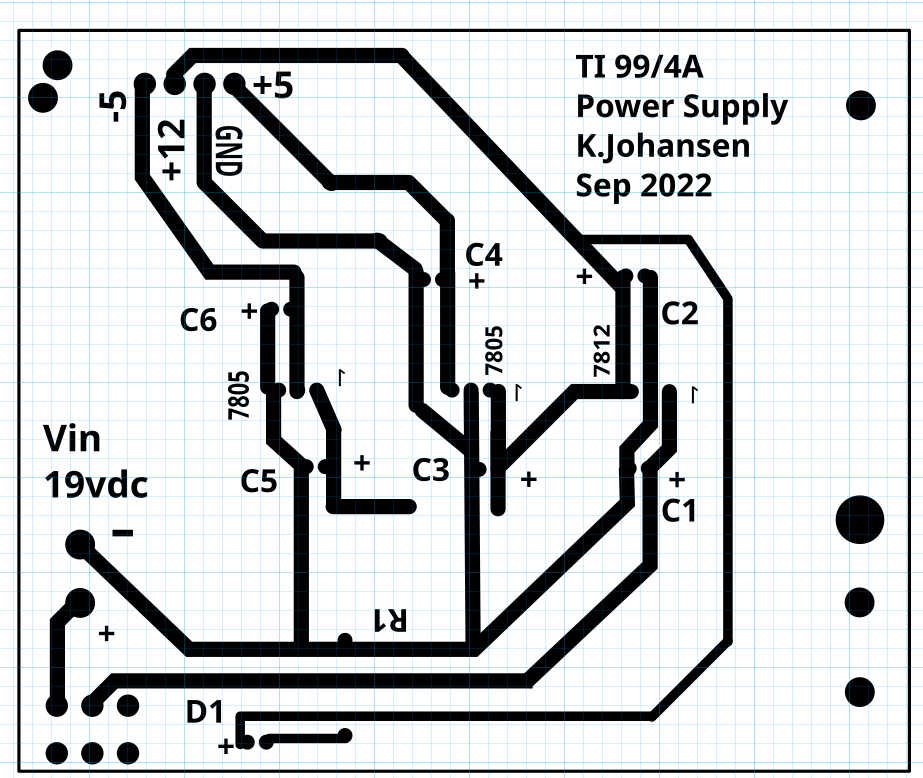
I used the glossy paper/laser printer method to create the mask. You use a household clothes iron to transfer the laser toner onto the board, then use ferric chloride etchant to remove the excess copper.
This took a number of tries, as the ironing method sometimes leaves gaps where they shouldn't be. It eventually worked.
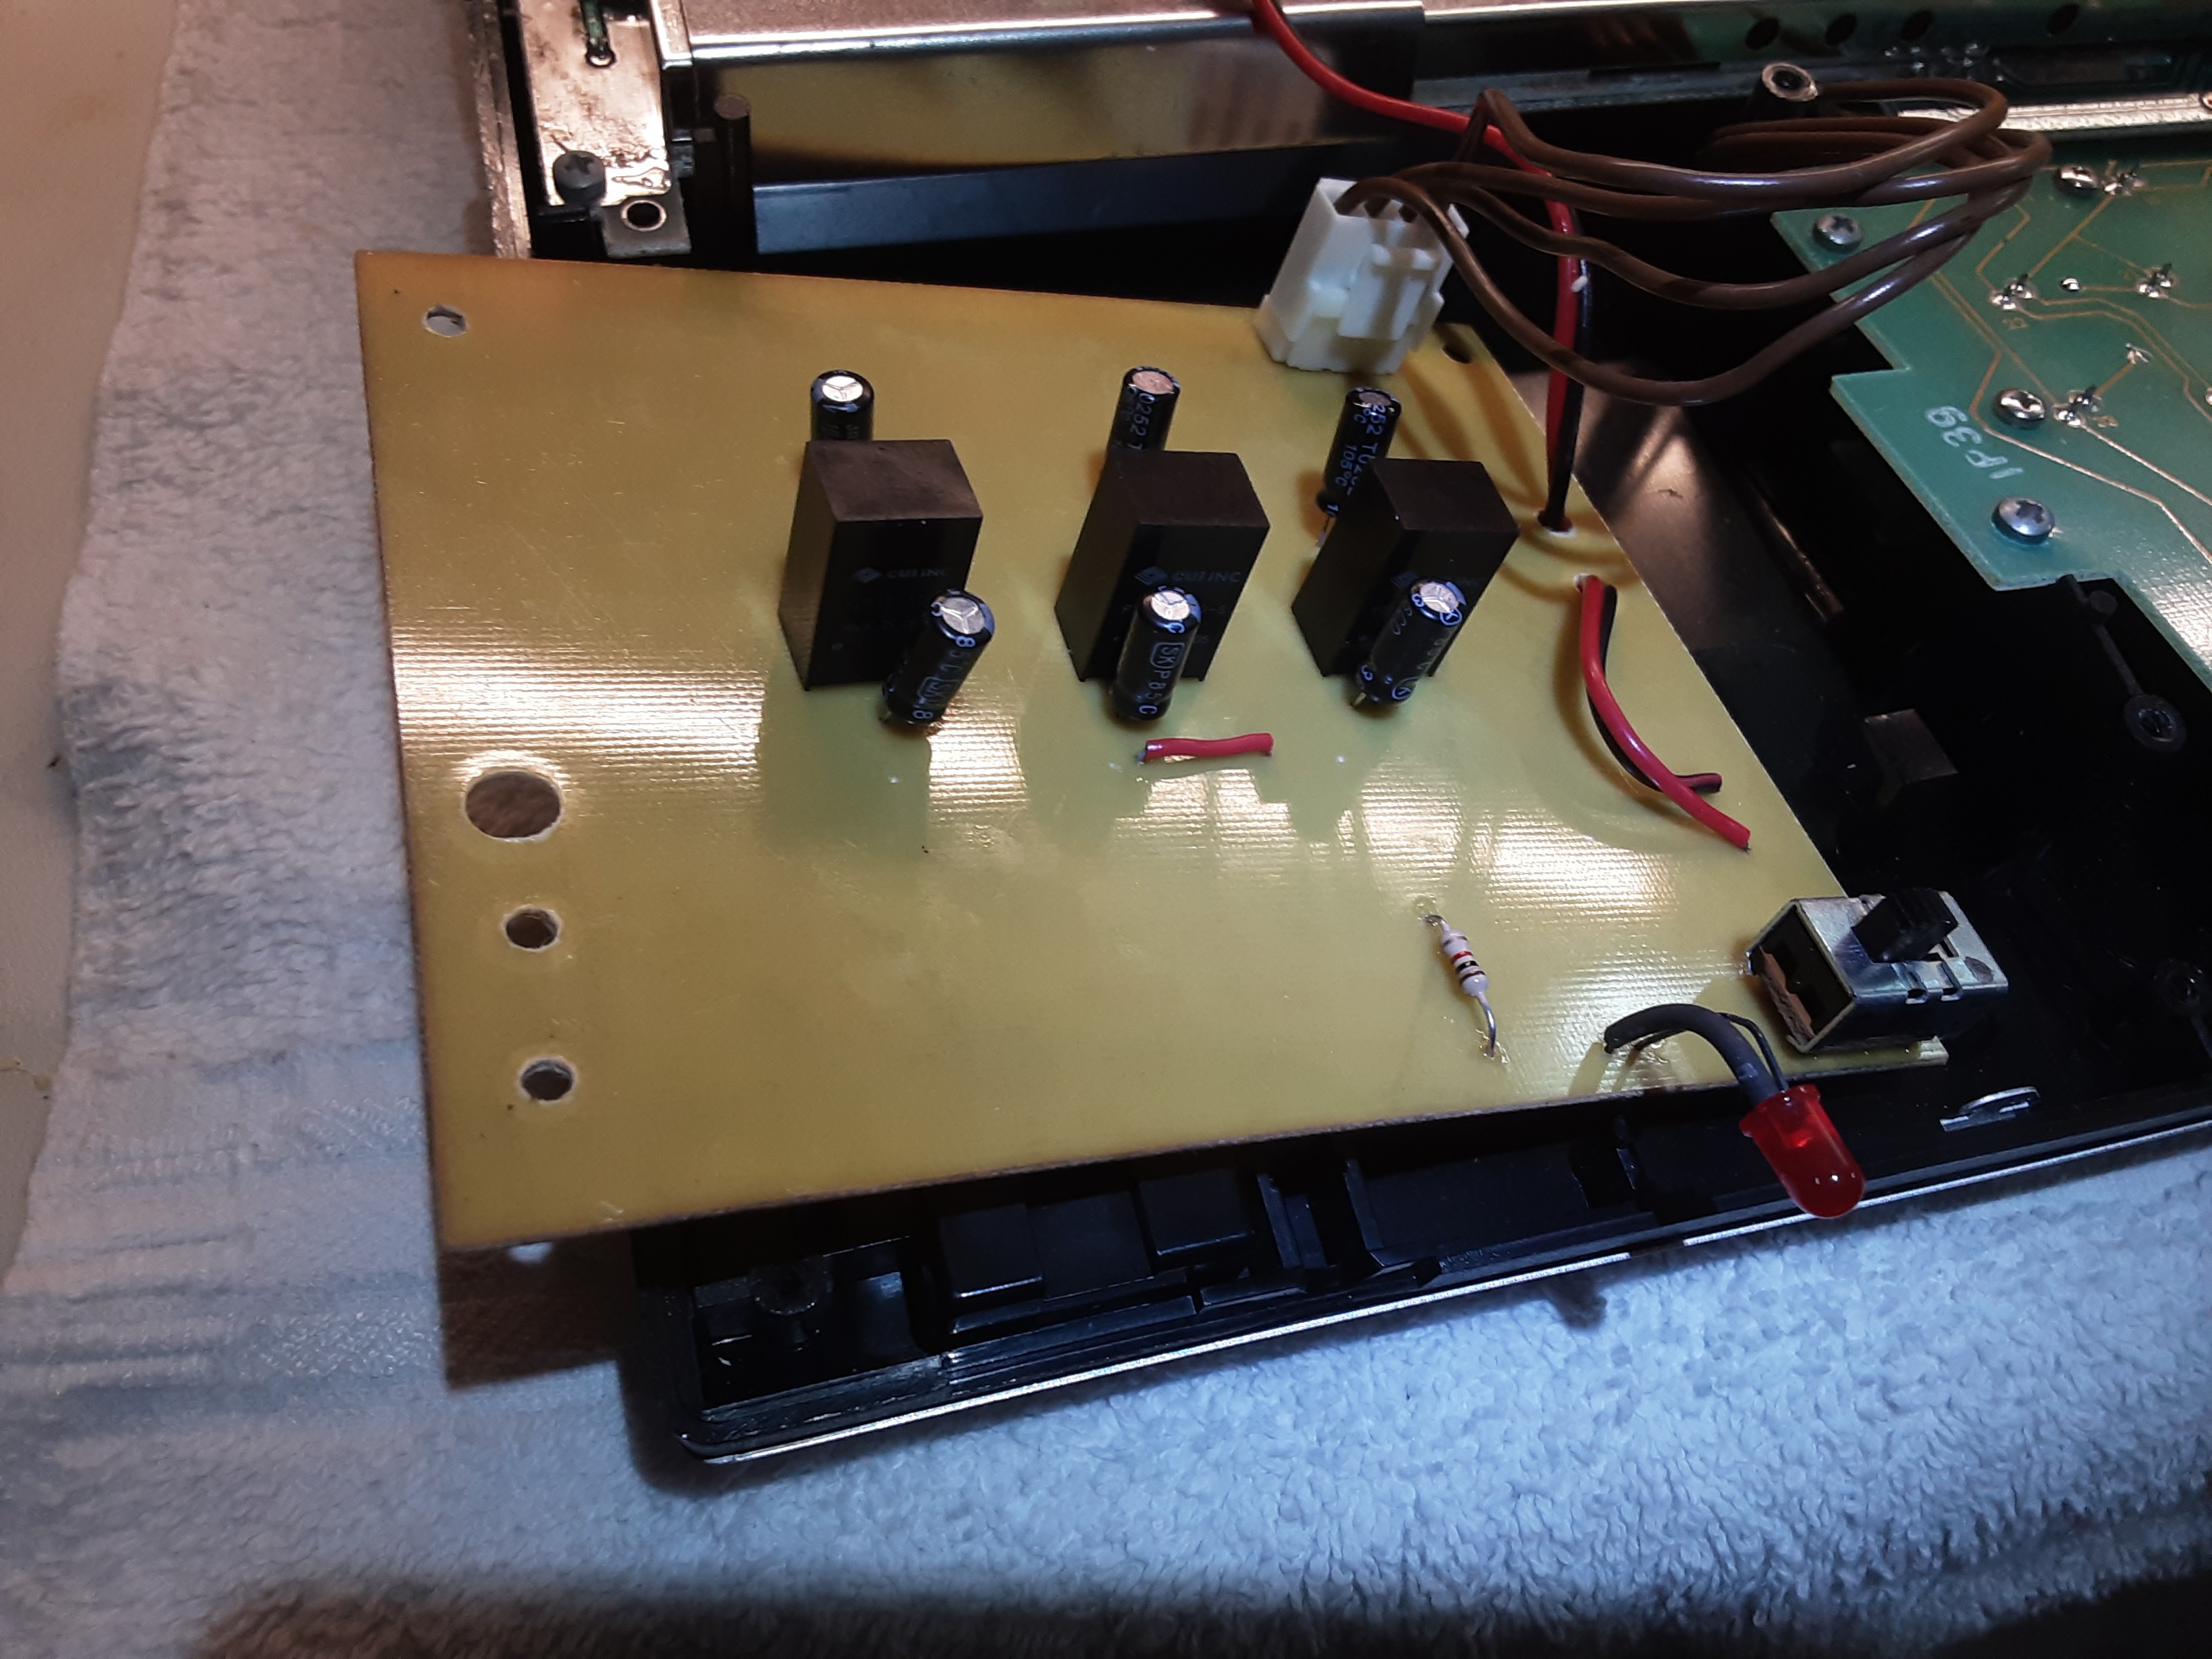
Below is the resulting board, plugged in for testing. As mentioned, the header on the top right and the switch and LED on the bottom right were scavenged from the original PCB.
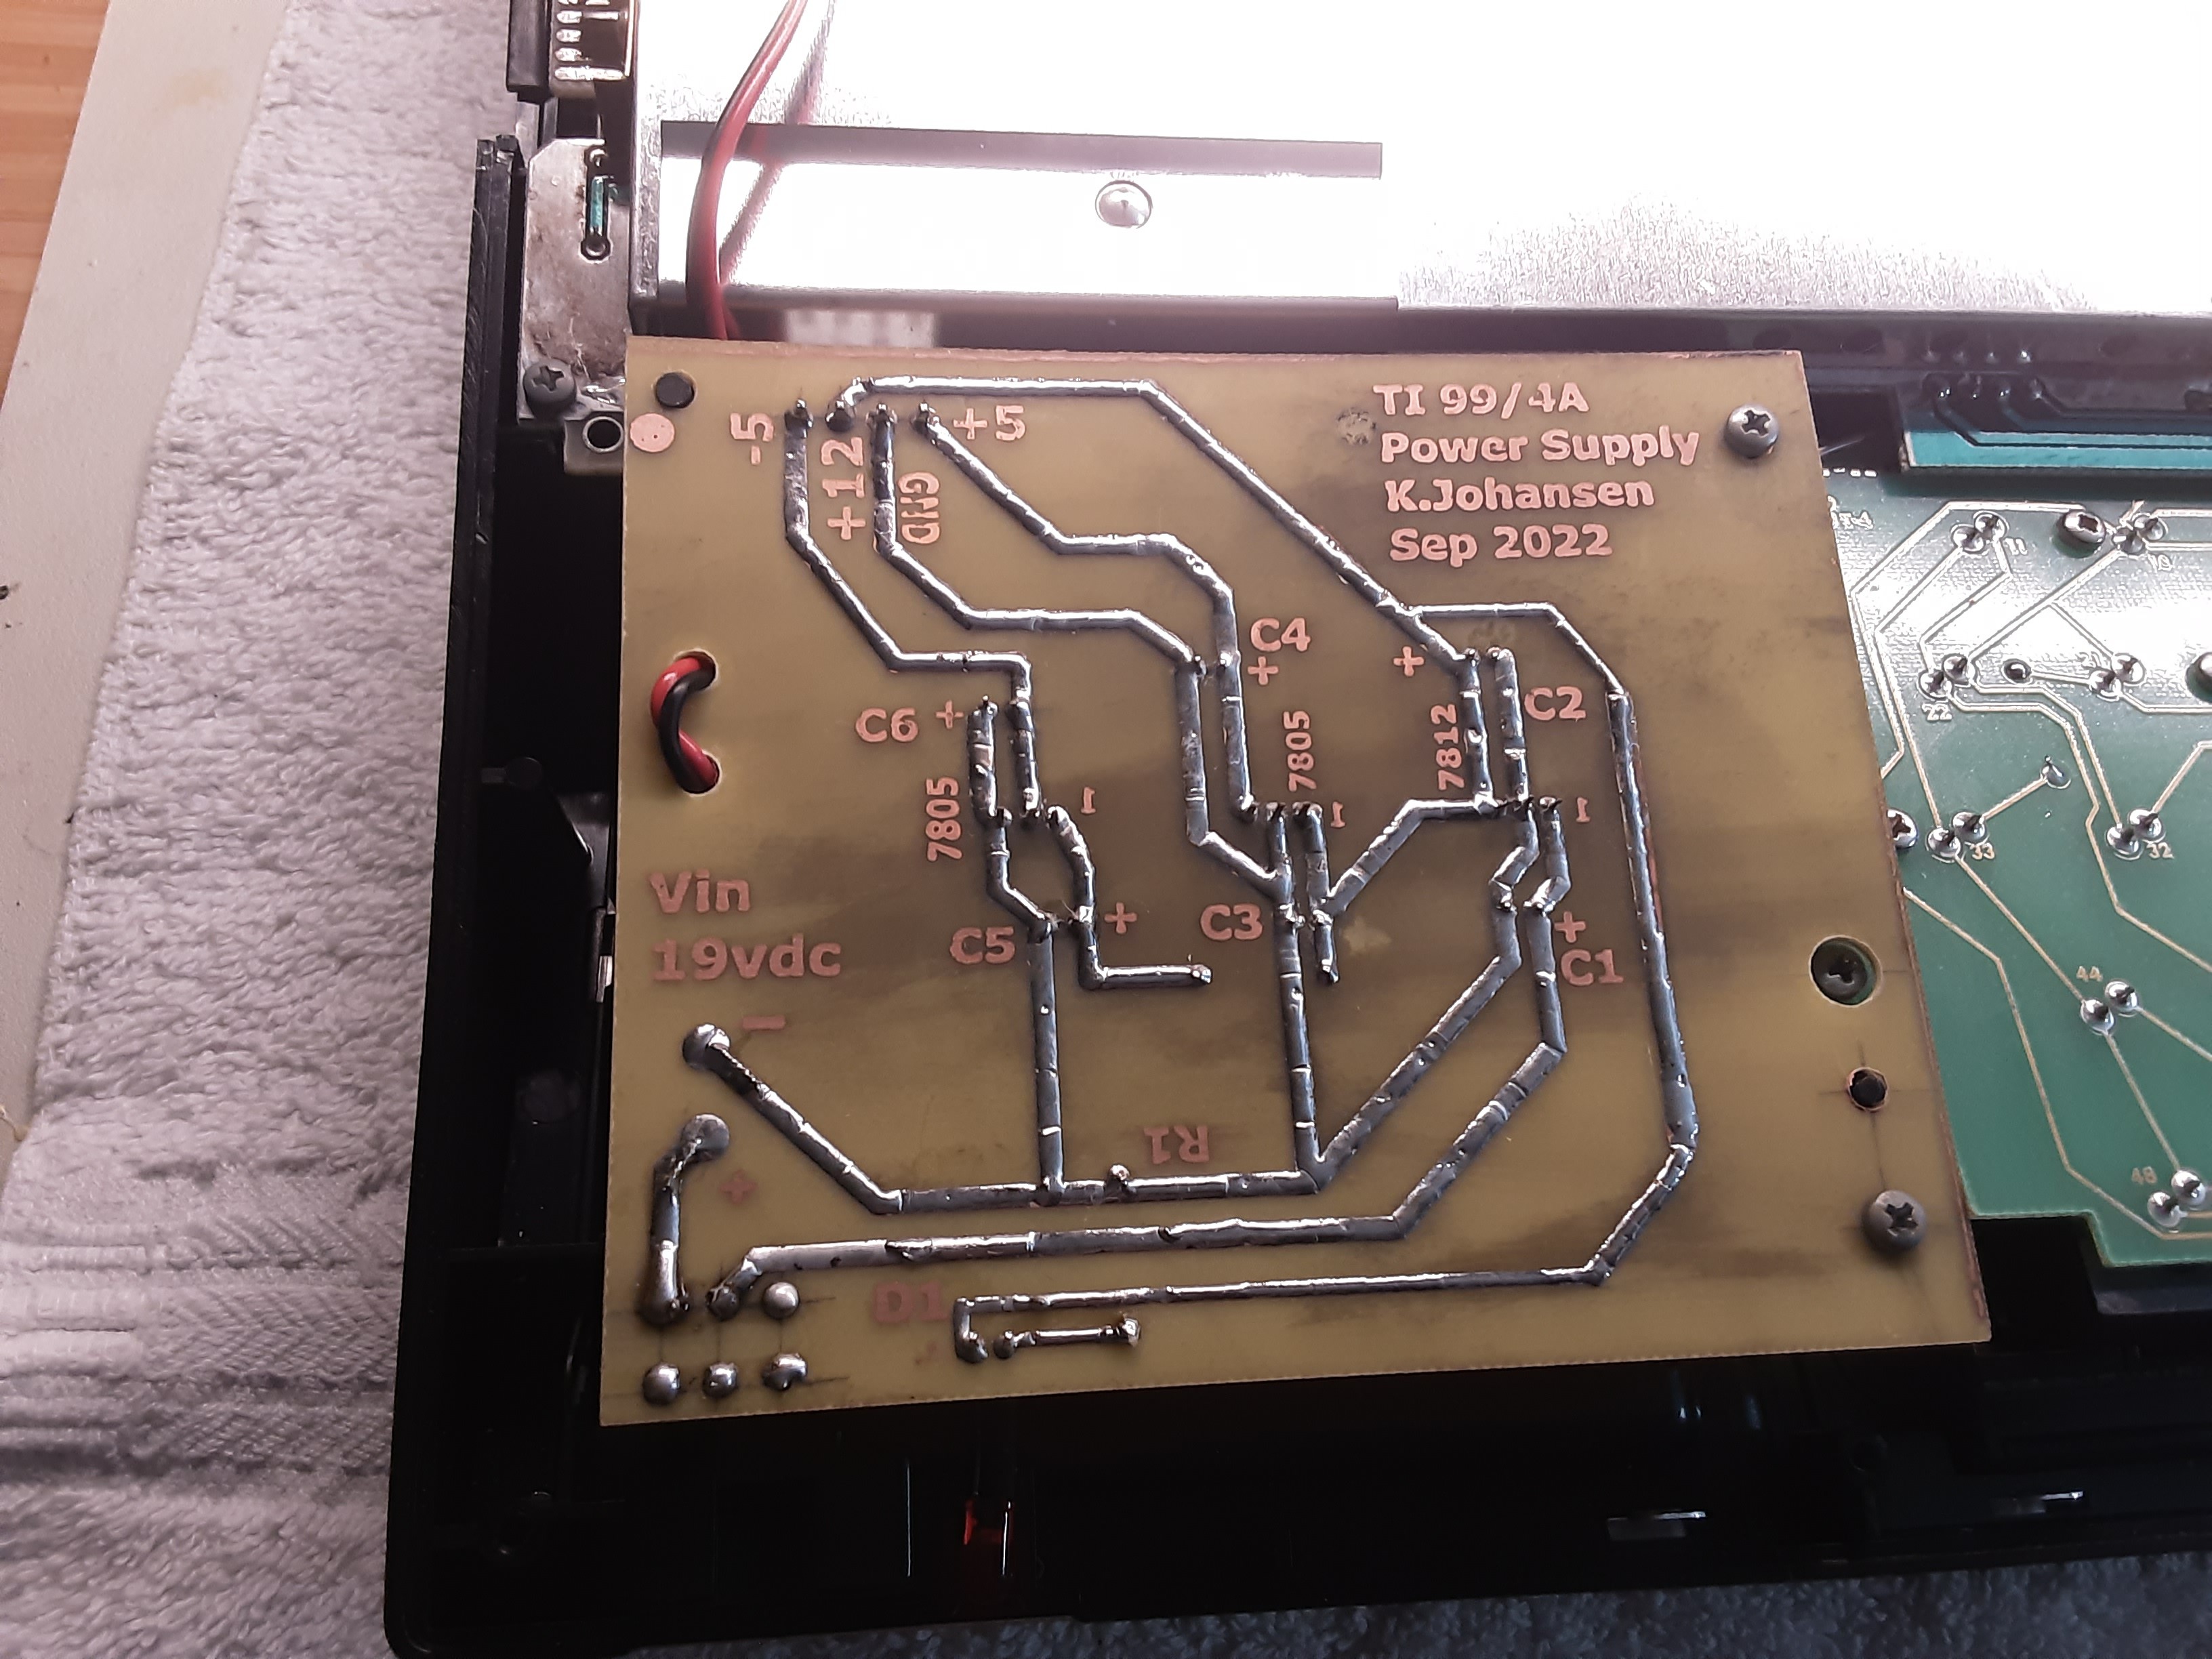
I added lots of solder onto the traces just to boost the current-carrying capacity. Plus, it was a fun and relaxing activity.
Discussions
Become a Hackaday.io Member
Create an account to leave a comment. Already have an account? Log In.