Close
0%
0%

EWNA Hackathon Team 8

ewna team 8

Similar projects worth following
0 followers

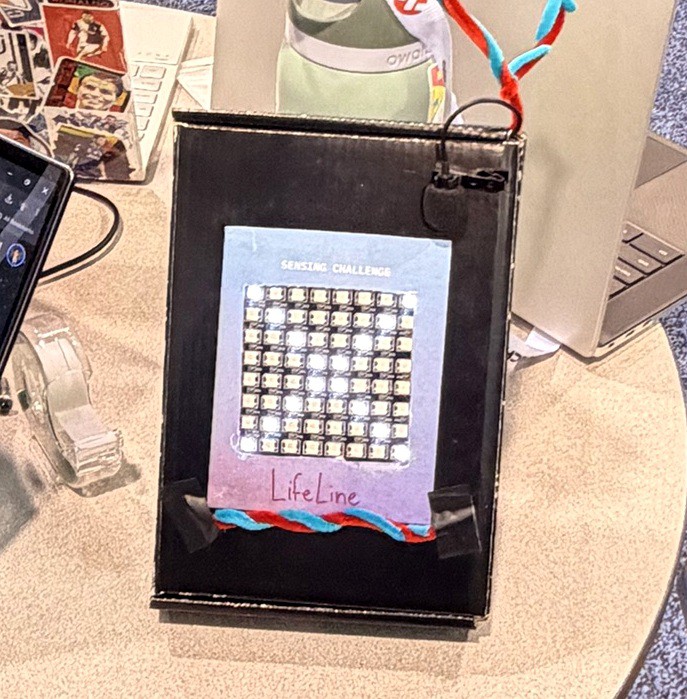
LifeLine, built by Zotduino @ embedded world North America Hackathon for the Sensing Challenge (sponsored by Arduino, Qualcomm, quilter, ASUS).

The problem. Families of elderly relatives who live alone want to know the moment something goes wrong. A camera in the room feels invasive, and sending home audio to the cloud raises privacy concerns.

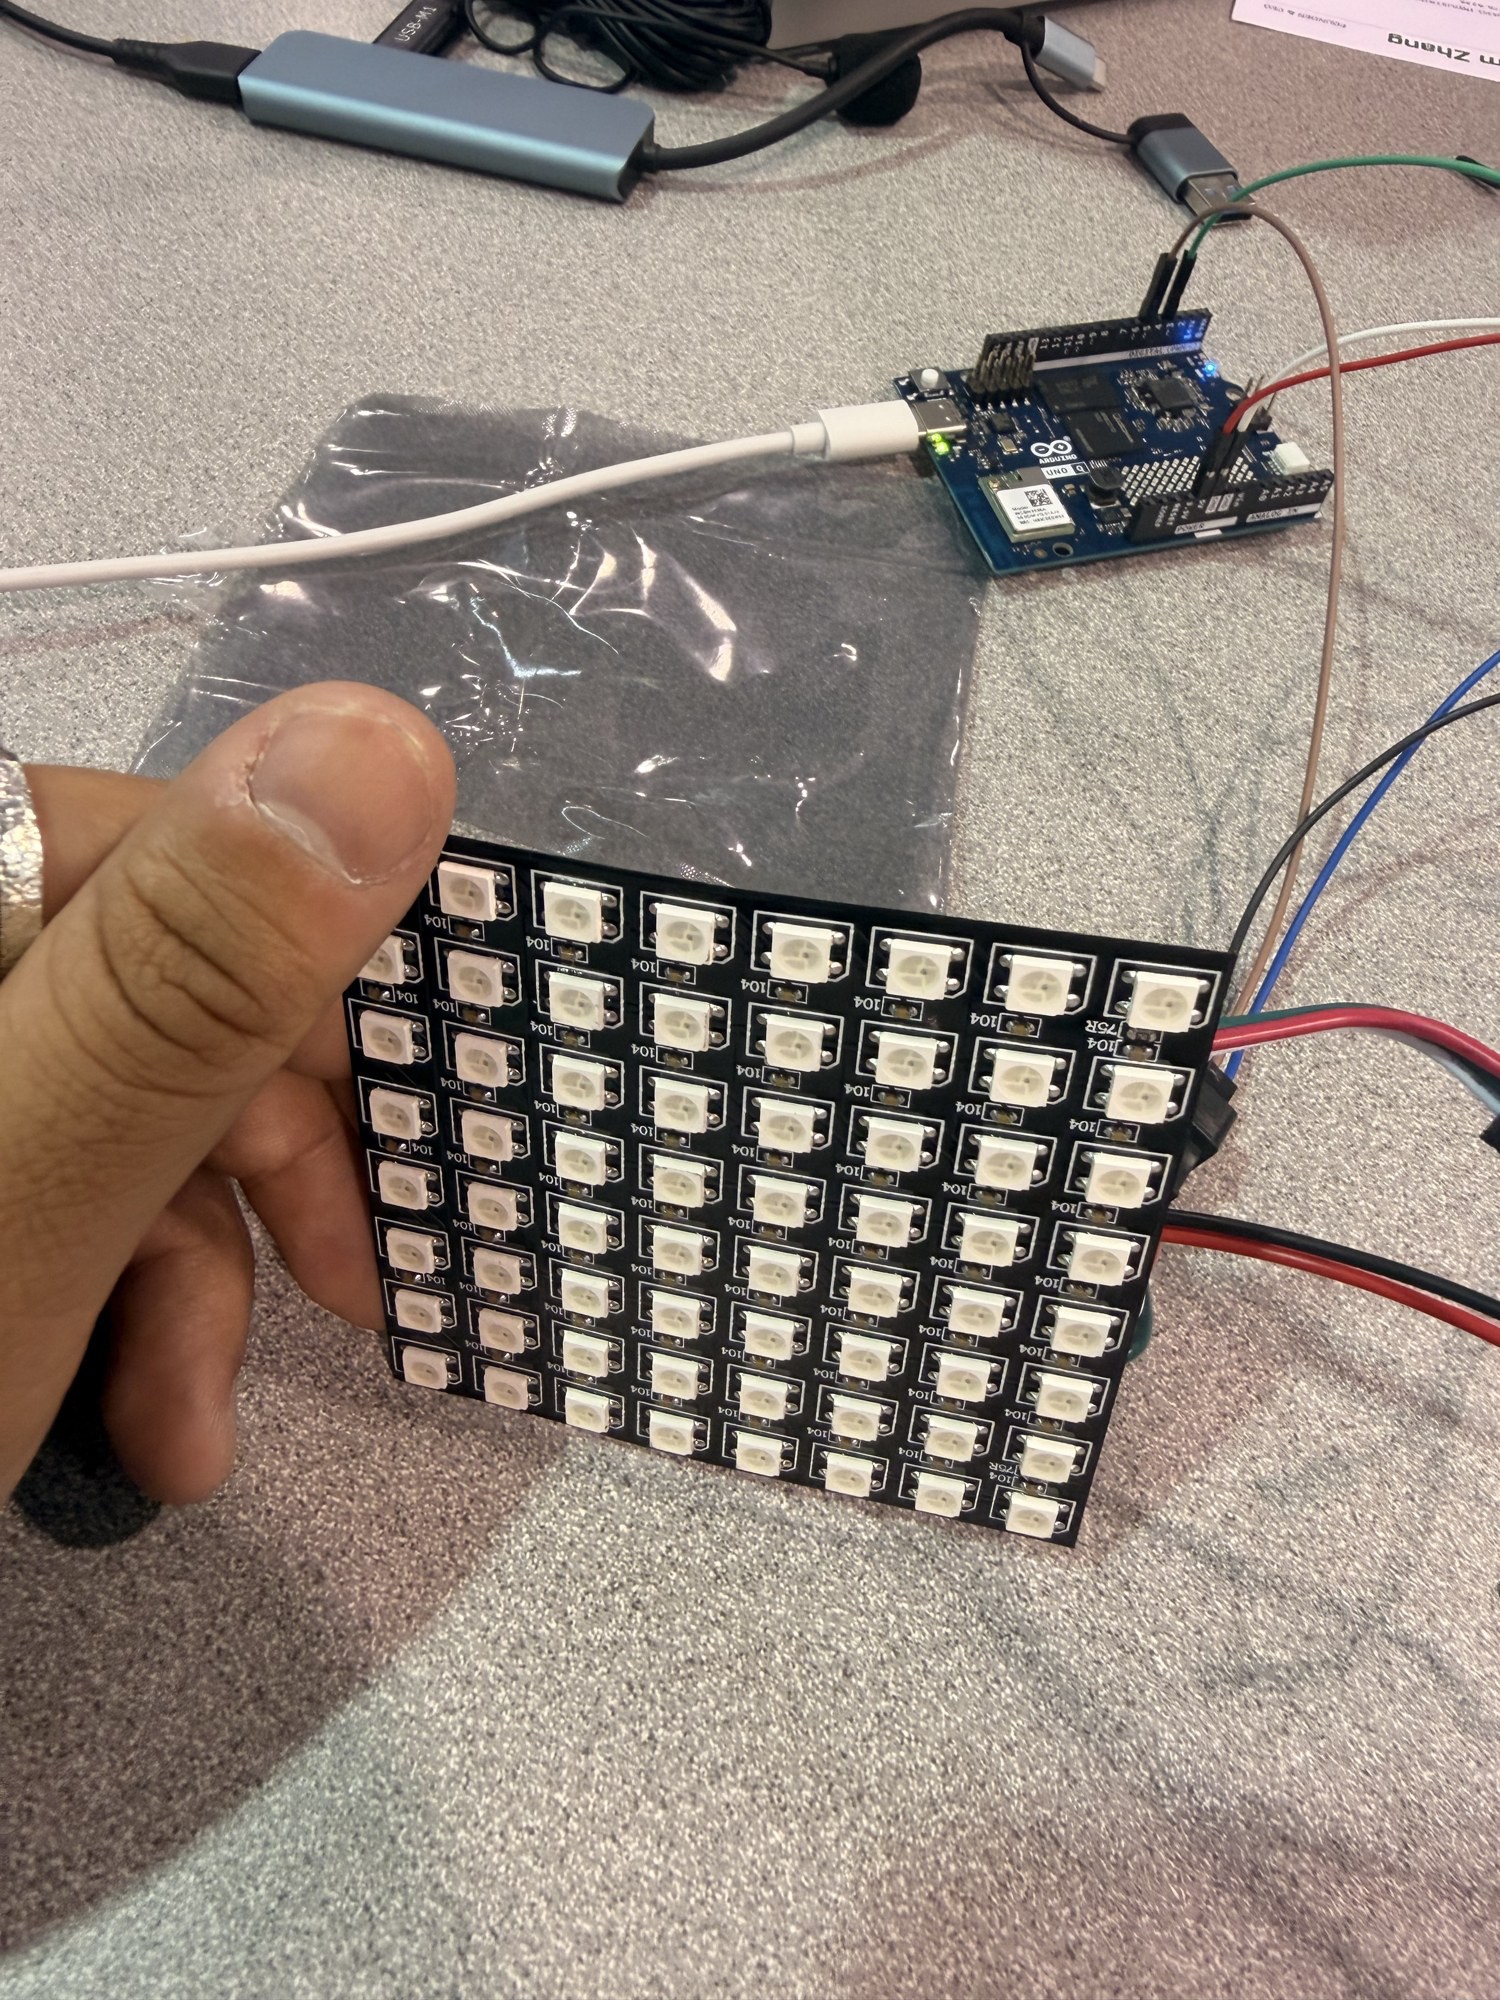
Our solution. LifeLine, a small device sits on a high shelf and listens through a microphone. An audio-classification model, which we trained from scratch, runs on the Arduino Uno Q. When it recognizes a critical sound, such as glass breaking, a fall-like thud, or a fire alarm, it displays an alert icon on an 8×8 LED matrix. The person can see the alert without needing to hear it. Everyday background noise is its own class, so normal sounds don't trigger alerts.

What makes LifeLine different

  • Alert System: Emergency situations alert familiy members and if needed, local authorities and emergency responders.
  • Private by design: Data is only classified, never stored, the model exists locally on the Arduino Uno Q.
  • Our own model: we trained a completely new audio classifier from scratch for this challenge. This makes the model extremely light-weight and performs really well compared to bulky pre-trained models.
  • Visual-first alerts: the LED icon diplays different types of emergency and has an idle animation when nothing is detected, accessible for impaired hearing individuals.
  • Built for a home: LifeLine is a small box that can be placed any where, on top of a shelf, in  a display case, or out of the way. LifeLine integrates smoothly in everyday life.
  • A 10-second cancel window: A safety guardrail to prevent false alarms and dismiss them before family is contacted.
main.py

python code

x-python - 23.57 kB - 09/23/2026 at 20:56

Download

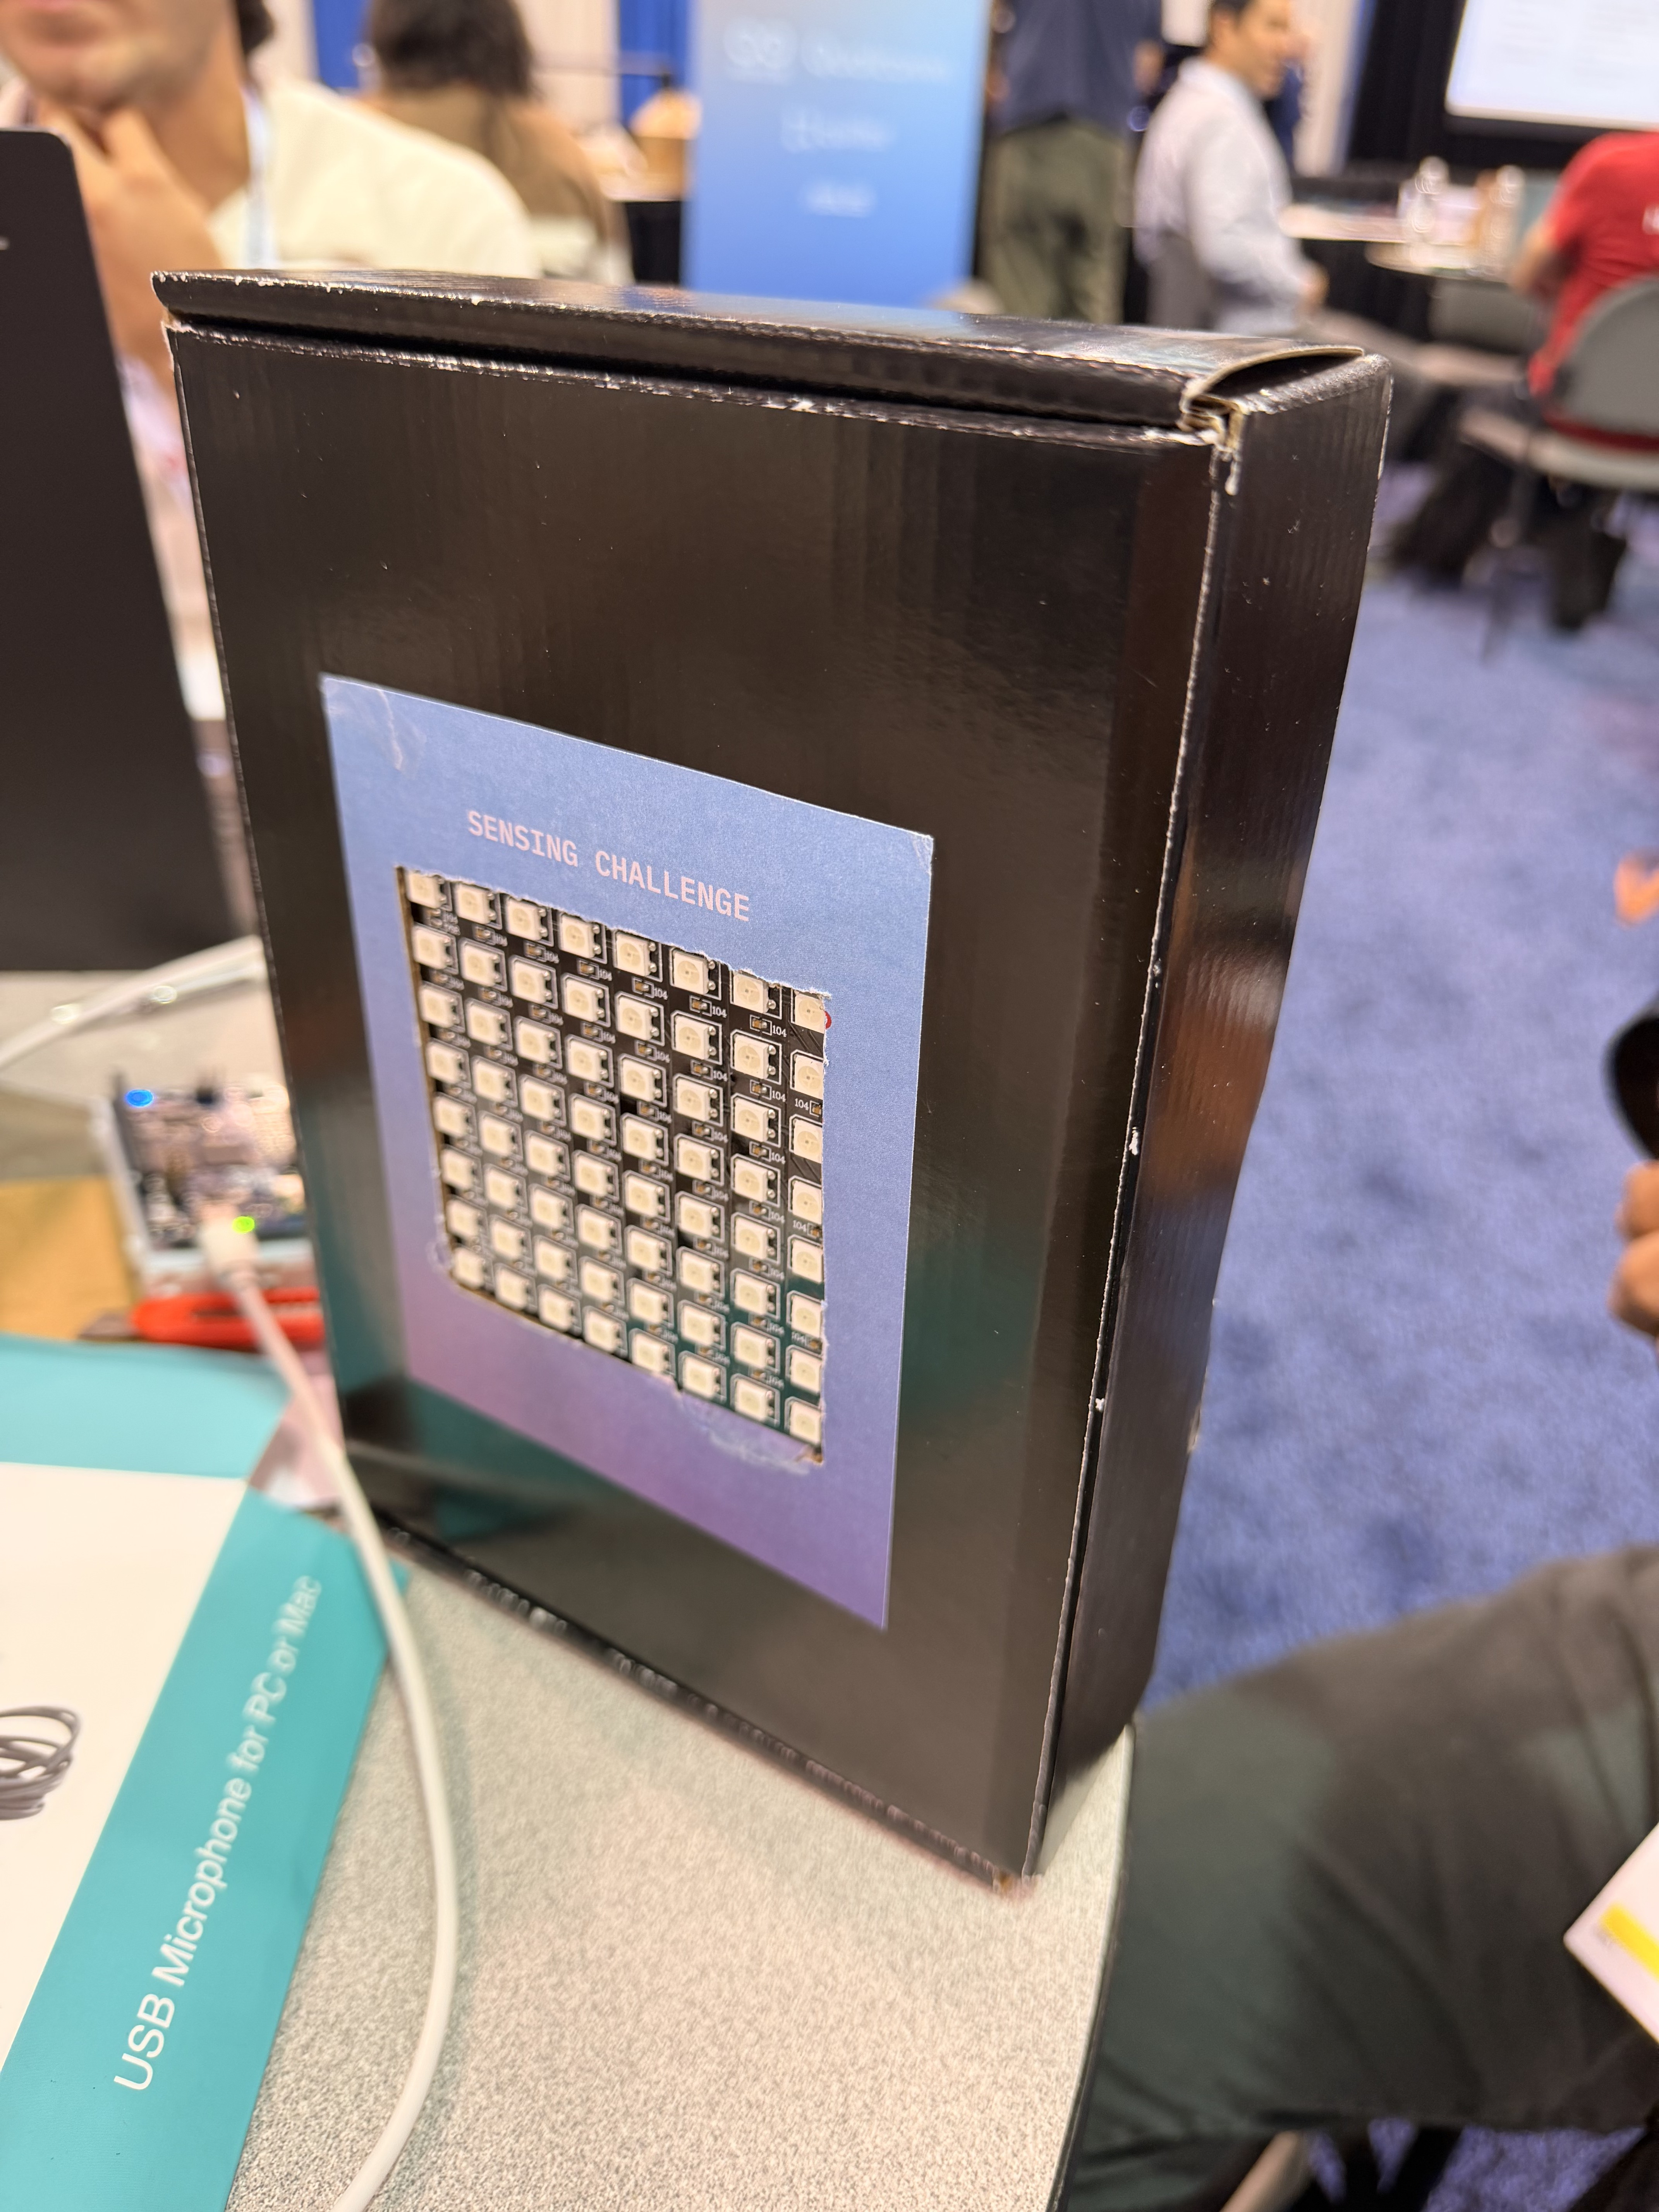
lifeline_device.jpg

Full-functional Device

JPEG Image - 792.45 kB - 09/23/2026 at 19:03

Preview

wiring diagram.png

Wiring for the Uno Q, the 8×8 LED matrix (5V, GND, and DIN to GPIO 6), and the USB microphone connected through a USB hub.

Portable Network Graphics (PNG) - 57.07 kB - 09/23/2026 at 18:14

Preview

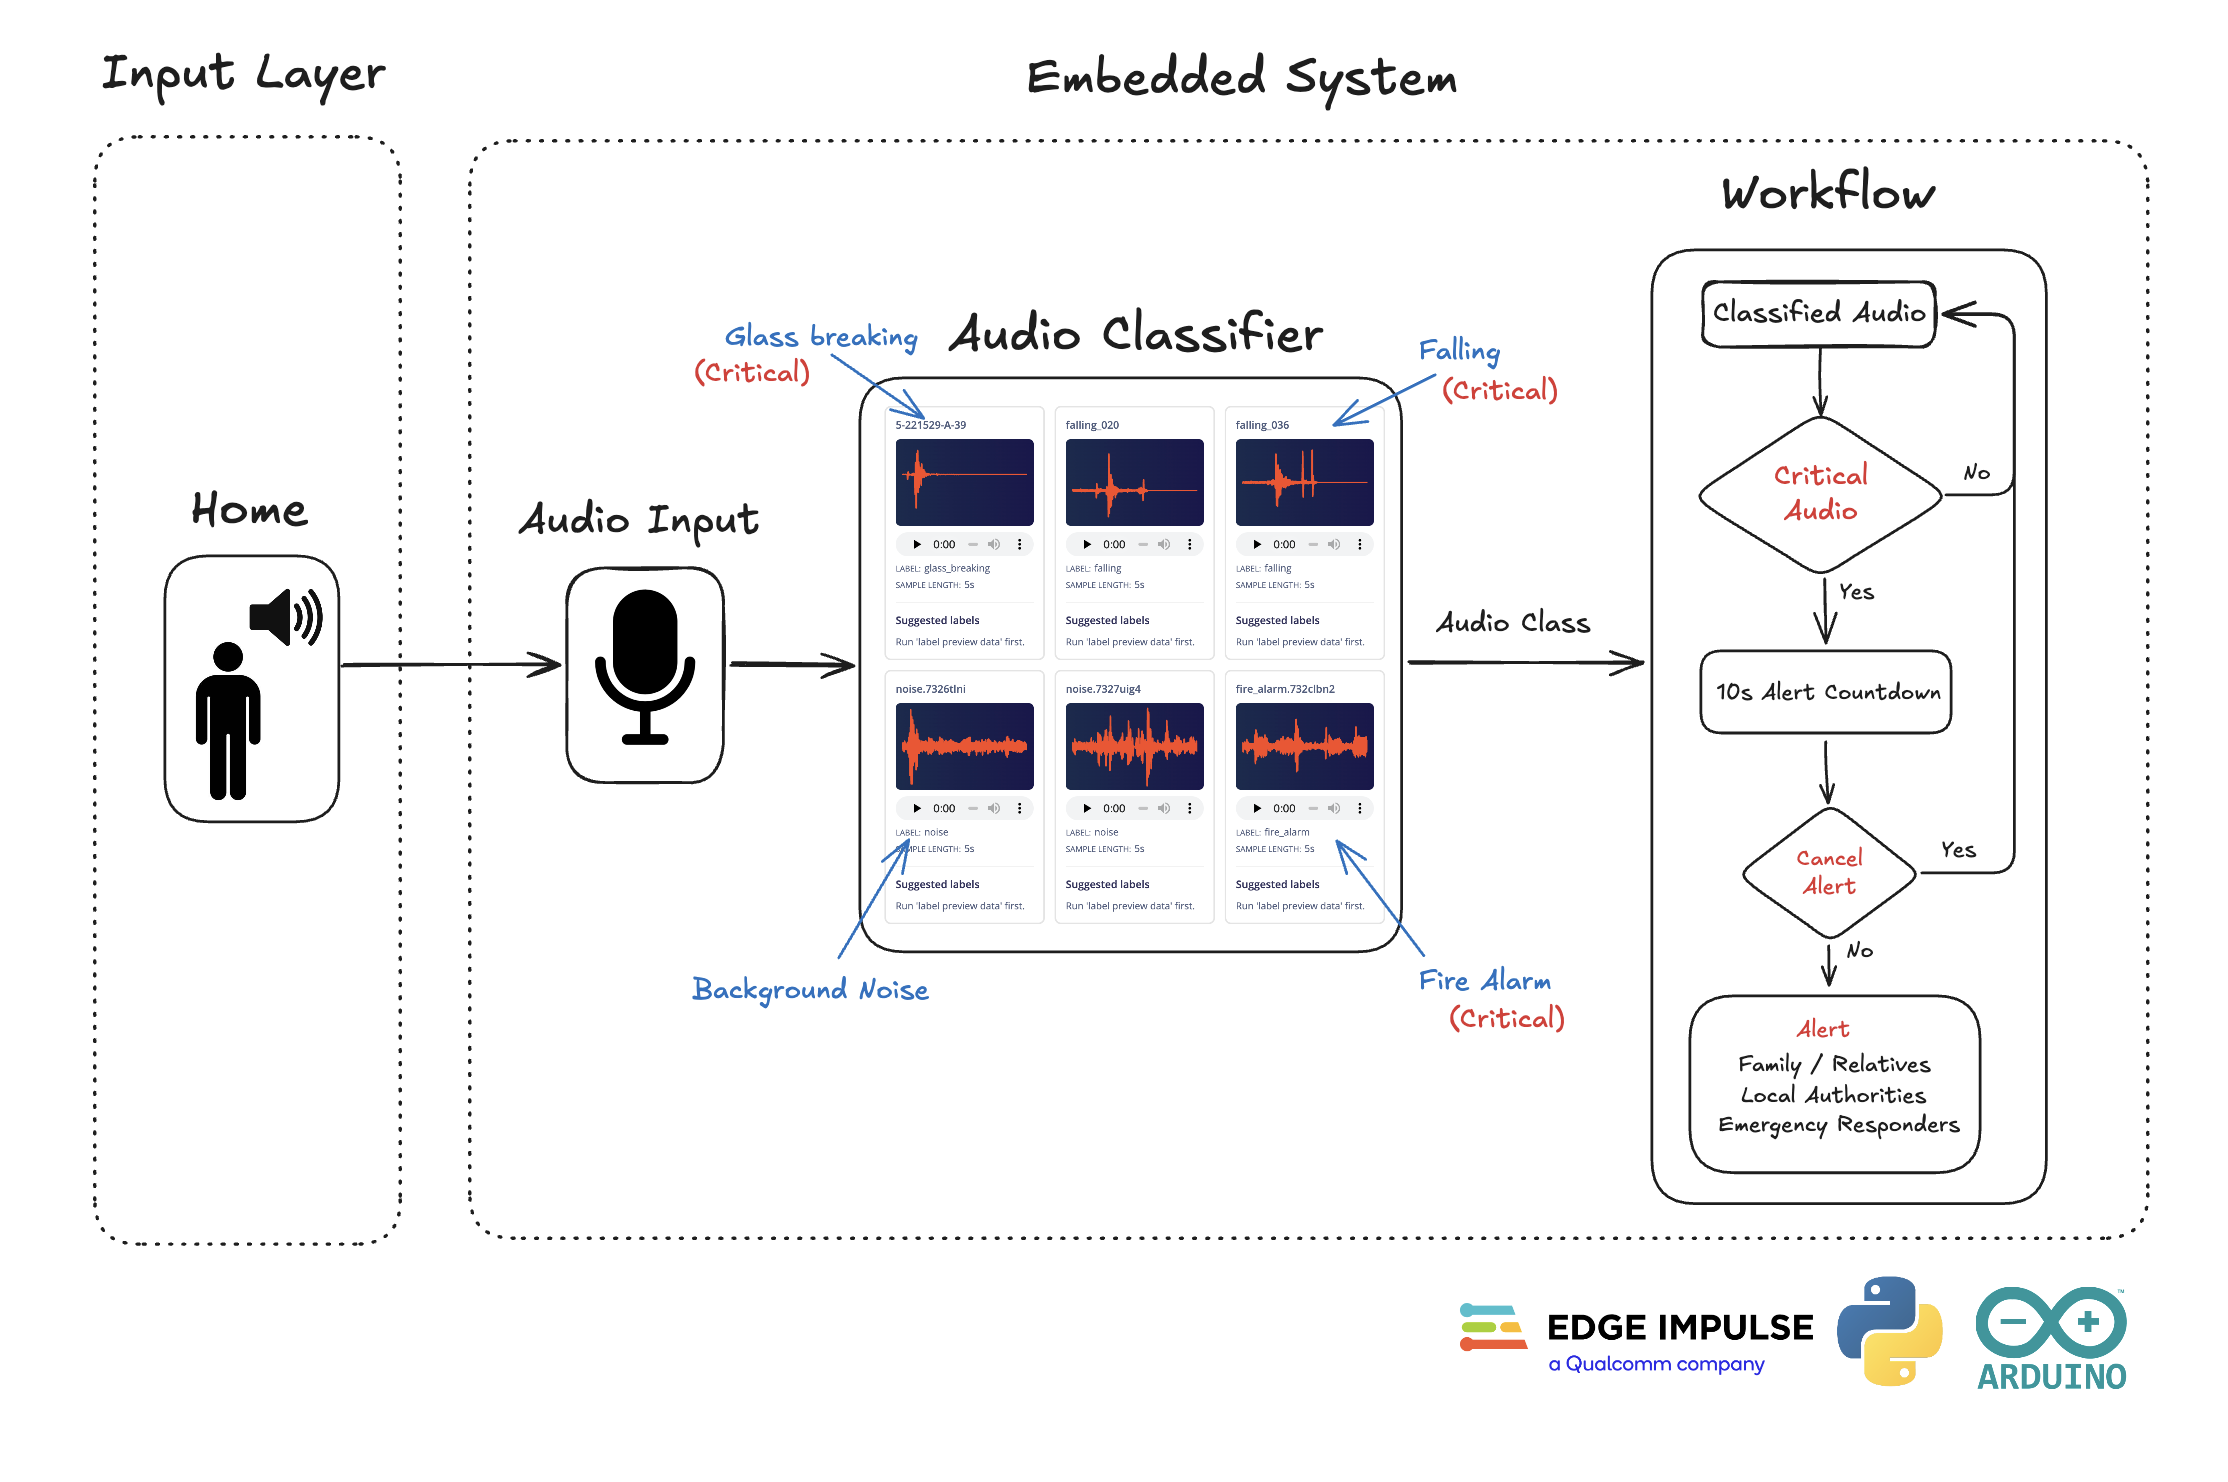
Architecture_Diagram.png

How the system works: audio input, the classifier with its four sound classes, and the alert workflow with the 10-second cancel window and family notification.

Portable Network Graphics (PNG) - 396.78 kB - 09/23/2026 at 18:14

Preview

Lifeline_Schematics.pdf

Tinkercad schematic of the LED matrix connections to the Uno Q.

Adobe Portable Document Format - 3.30 kB - 09/23/2026 at 18:13

Preview

  • 1 × Arduino Uno Q Main board; runs the audio classification model and drives the LED matrix
  • 1 × MOVO USB-M1 Audio input
  • 1 × 10000mAh Power Bank Portable power
  • 1 × USB Hub Power and programming for the Uno Q
  • 1 × 8x8 addressable RGB LED matrix Visual alert icons

View all 8 components

  • Final Testing

    tommyp527 minutes ago 0 comments

    With everything installed in the cover box, we tested the complete system the way it would be used: standing on its own, listening to the room, with no laptop needed to trigger alerts

  • Designing the shelf-top cover box

    tommyp53 hours ago 0 comments

    The loose jumper wires didn't look like something you would put in a relative's home. We designed a small cover box that hides the wiring, looks like a real product, and stands on a top shelf, where the microphone can hear the room and the LED matrix is easy to see.

  • Upgrading the size of the A.I Model and bugs

    tommyp53 hours ago 0 comments

    Title: More falling data helped; glass breaking still struggles

    We added about 25 minutes of falling sounds to the dataset. Falling detection improved a lot, but glass breaking is still frequently misclassified. We think this is a data problem more than an architecture problem.

    The current model is very small: 2 2D CNN layers with kernel sizes of 16 and 8. Ideas to try next:

    • Add more layers, or use larger kernels.
    • Increase the batch size to train faster.
    • Offload training to an external server.
    • Look at outside architectures or pre-trained models.

    After we deployed our from-scratch model, the device labeled every sound as a fire alarm, including glass breaking, falling, and background noise.

    What we found: the fire alarm detection was tied to the 44 kHz audio frequency setting.

    Fix: we lowered the frequency setting from 44 kHz to 18 kHz and retrained the model.

  • More data v2

    tommyp53 hours ago 0 comments

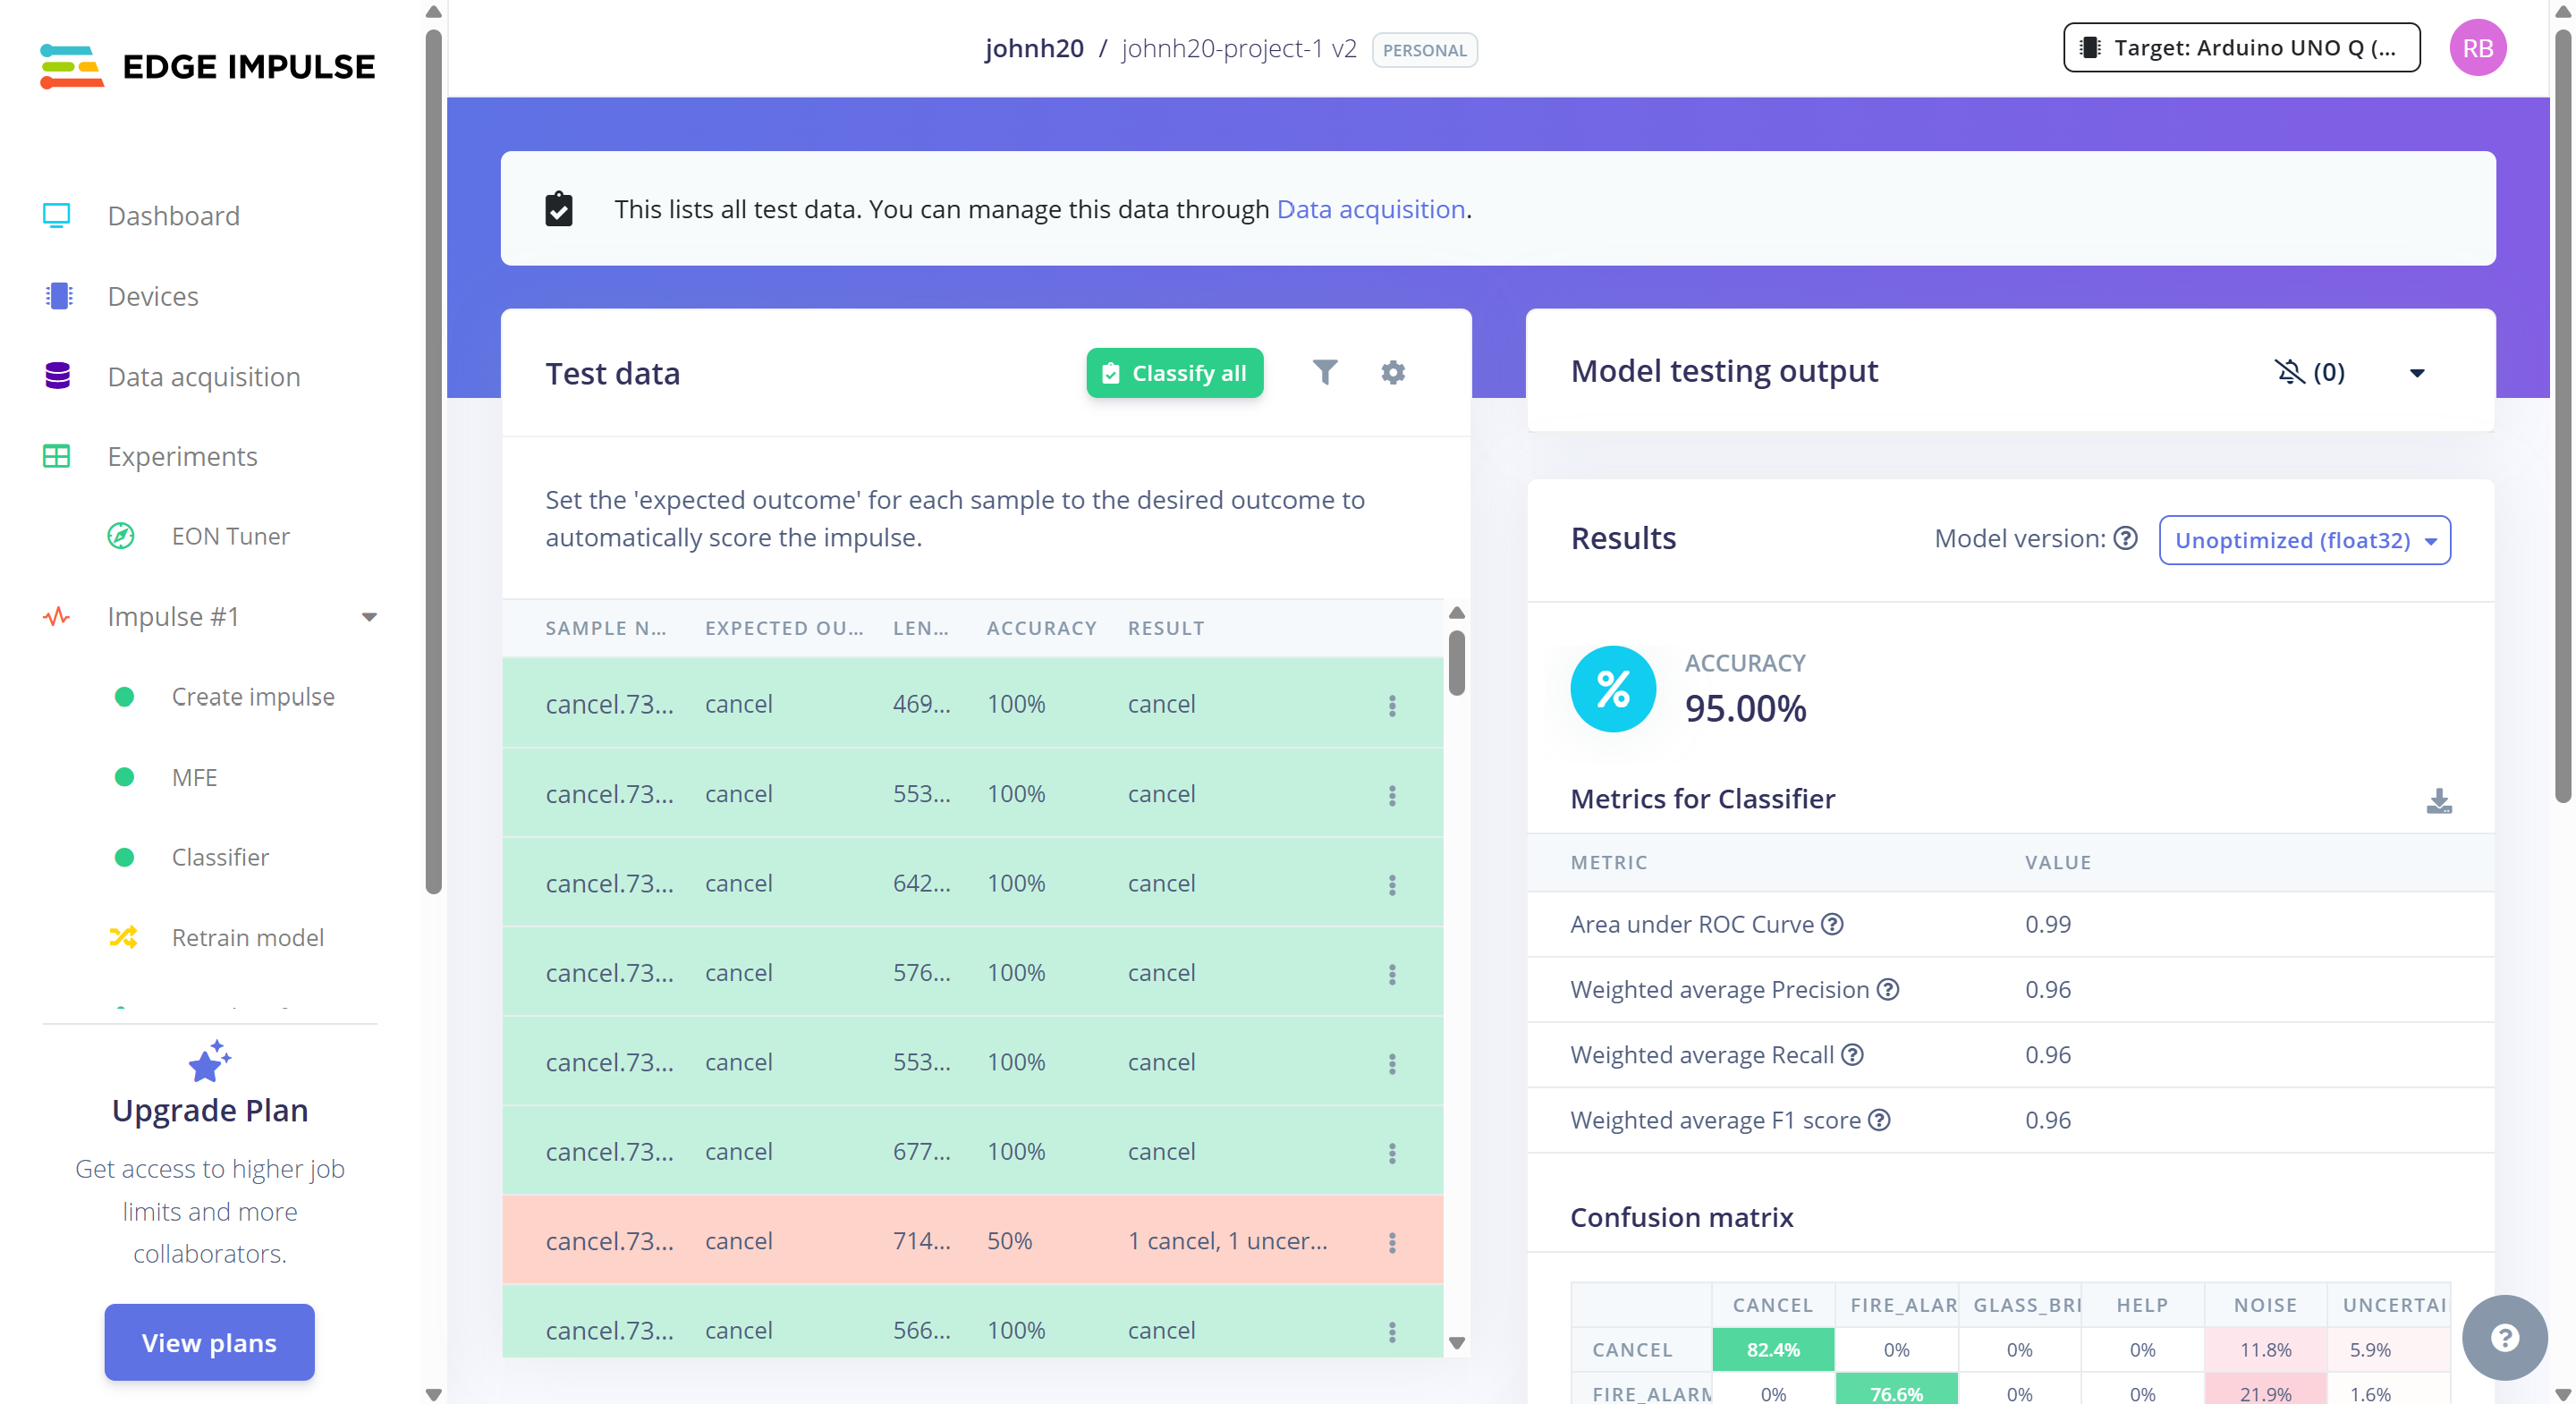
    We are on version 2 of the model (.eim file). In testing, it produces many false positives: it flags sounds as emergencies when they aren't, and it rarely gives correct "nothing happening" results. Our next step is to collect more data and more accurate data.

  • How we came up with the idea

    tommyp53 hours ago 0 comments

    Title: 1 – How we came up with the idea Photos: system_architecture.png

    At Zotduino @ embedded world North America, we chose the Sensing Challenge (sponsored by Arduino, Qualcomm, Quilter, ASUS). The challenge described an elderly relative who lives alone and a family that wants peace of mind, without a camera in the room and without their audio being sent anywhere.

    That framing shaped our goal: a device that listens for emergencies instead of watching for them. We brainstormed sounds that would signal a real emergency for an elderly person living alone, including falling, glass breaking, fire alarms, and cries for help or pain.

    We then made three design decisions:

    • Keep it private. Classification runs on the Arduino Uno Q, so no audio leaves the room and no camera is needed.
    • Make the alert visible. The LED matrix shows an icon for each sound, so the person doesn't need to hear the alert.
    • Keep the build simple. Given the limited tools and time at the hackathon, we narrowed the list to three critical sounds (falling, glass breaking, and fire alarm), plus a background-noise class so that everyday sounds are ignored.

    We sketched the full flow before building anything: home audio goes to the microphone, then the classifier, then a critical-sound check, then a 10-second countdown, and finally a notification to family (see system_architecture.png). We then split into a hardware group and a software group.

  • update: size matters

    johnh2012 hours ago 0 comments

    tested on new dataset (added ~25m of  falling sounds) classifies much better on falling sounds but a lot of misclassifications for glass breaking. seems to be a data issue more than architecture. current model is very small, plan to either change or increase size. kernel size is currentl 16 and 8 for the 2 2dcnn layers, maybe potential for increase layers/kernel size. Batch size also can be increased to improve training speed. Might offload training and optimization to external server. Potentially look for outside model architectures/pre-trained, might split up work later today.  

  • more data

    johnh2014 hours ago 0 comments

    currently on v2 of the eim, looking for more data/accurate data. Many false positives, minimal true negatives

View all 7 project logs

  • 1
    Plan the system and gather parts

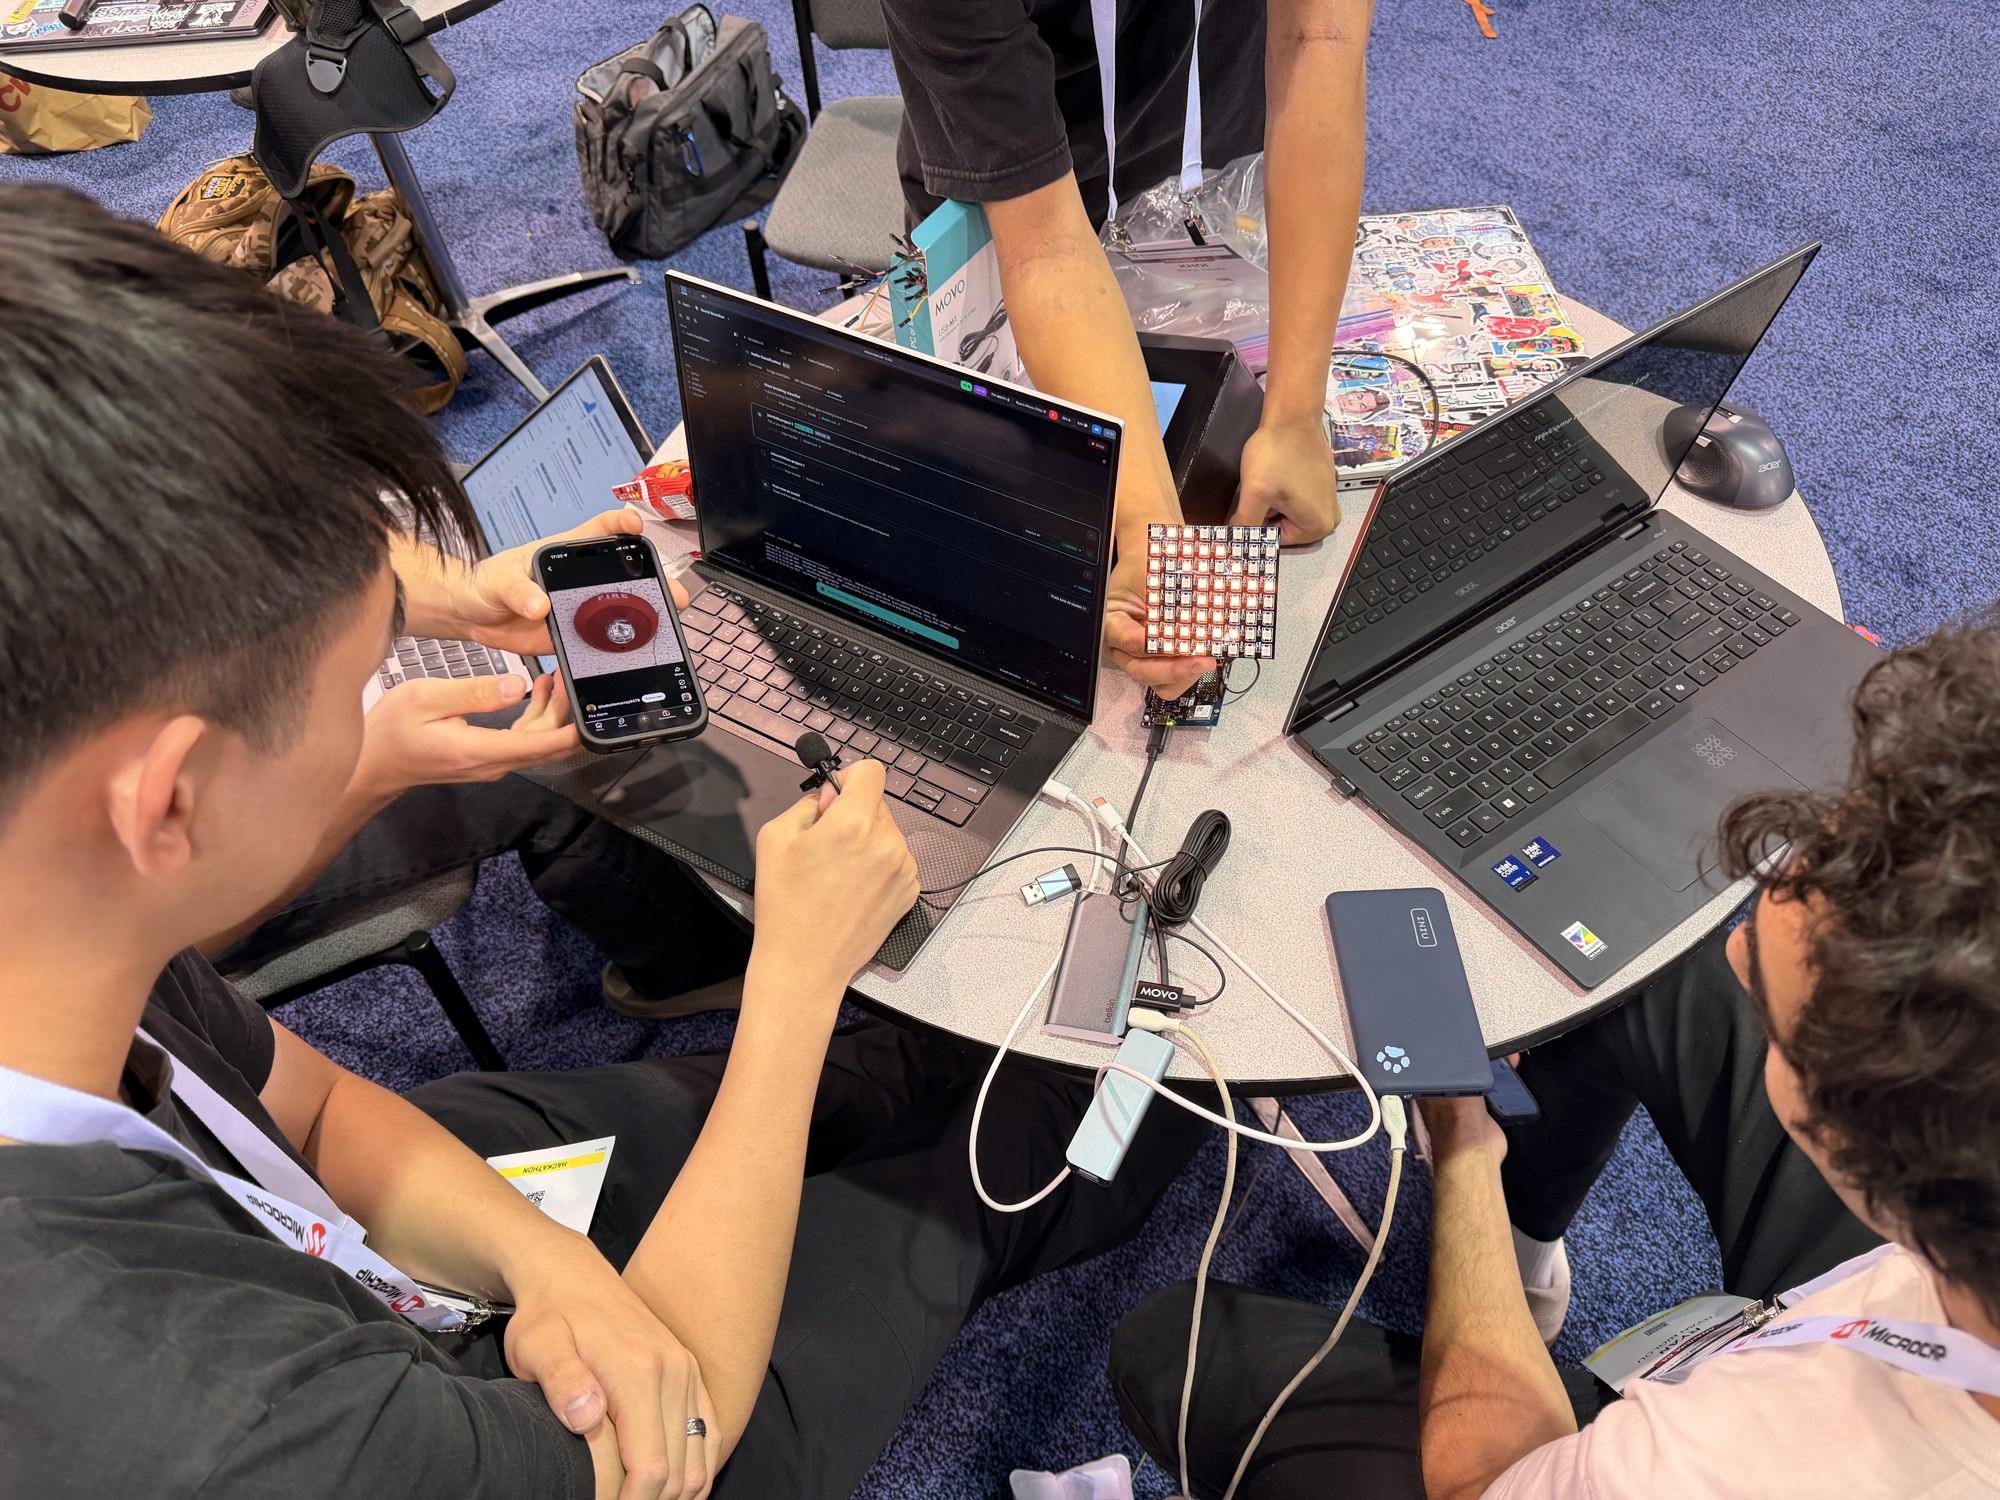
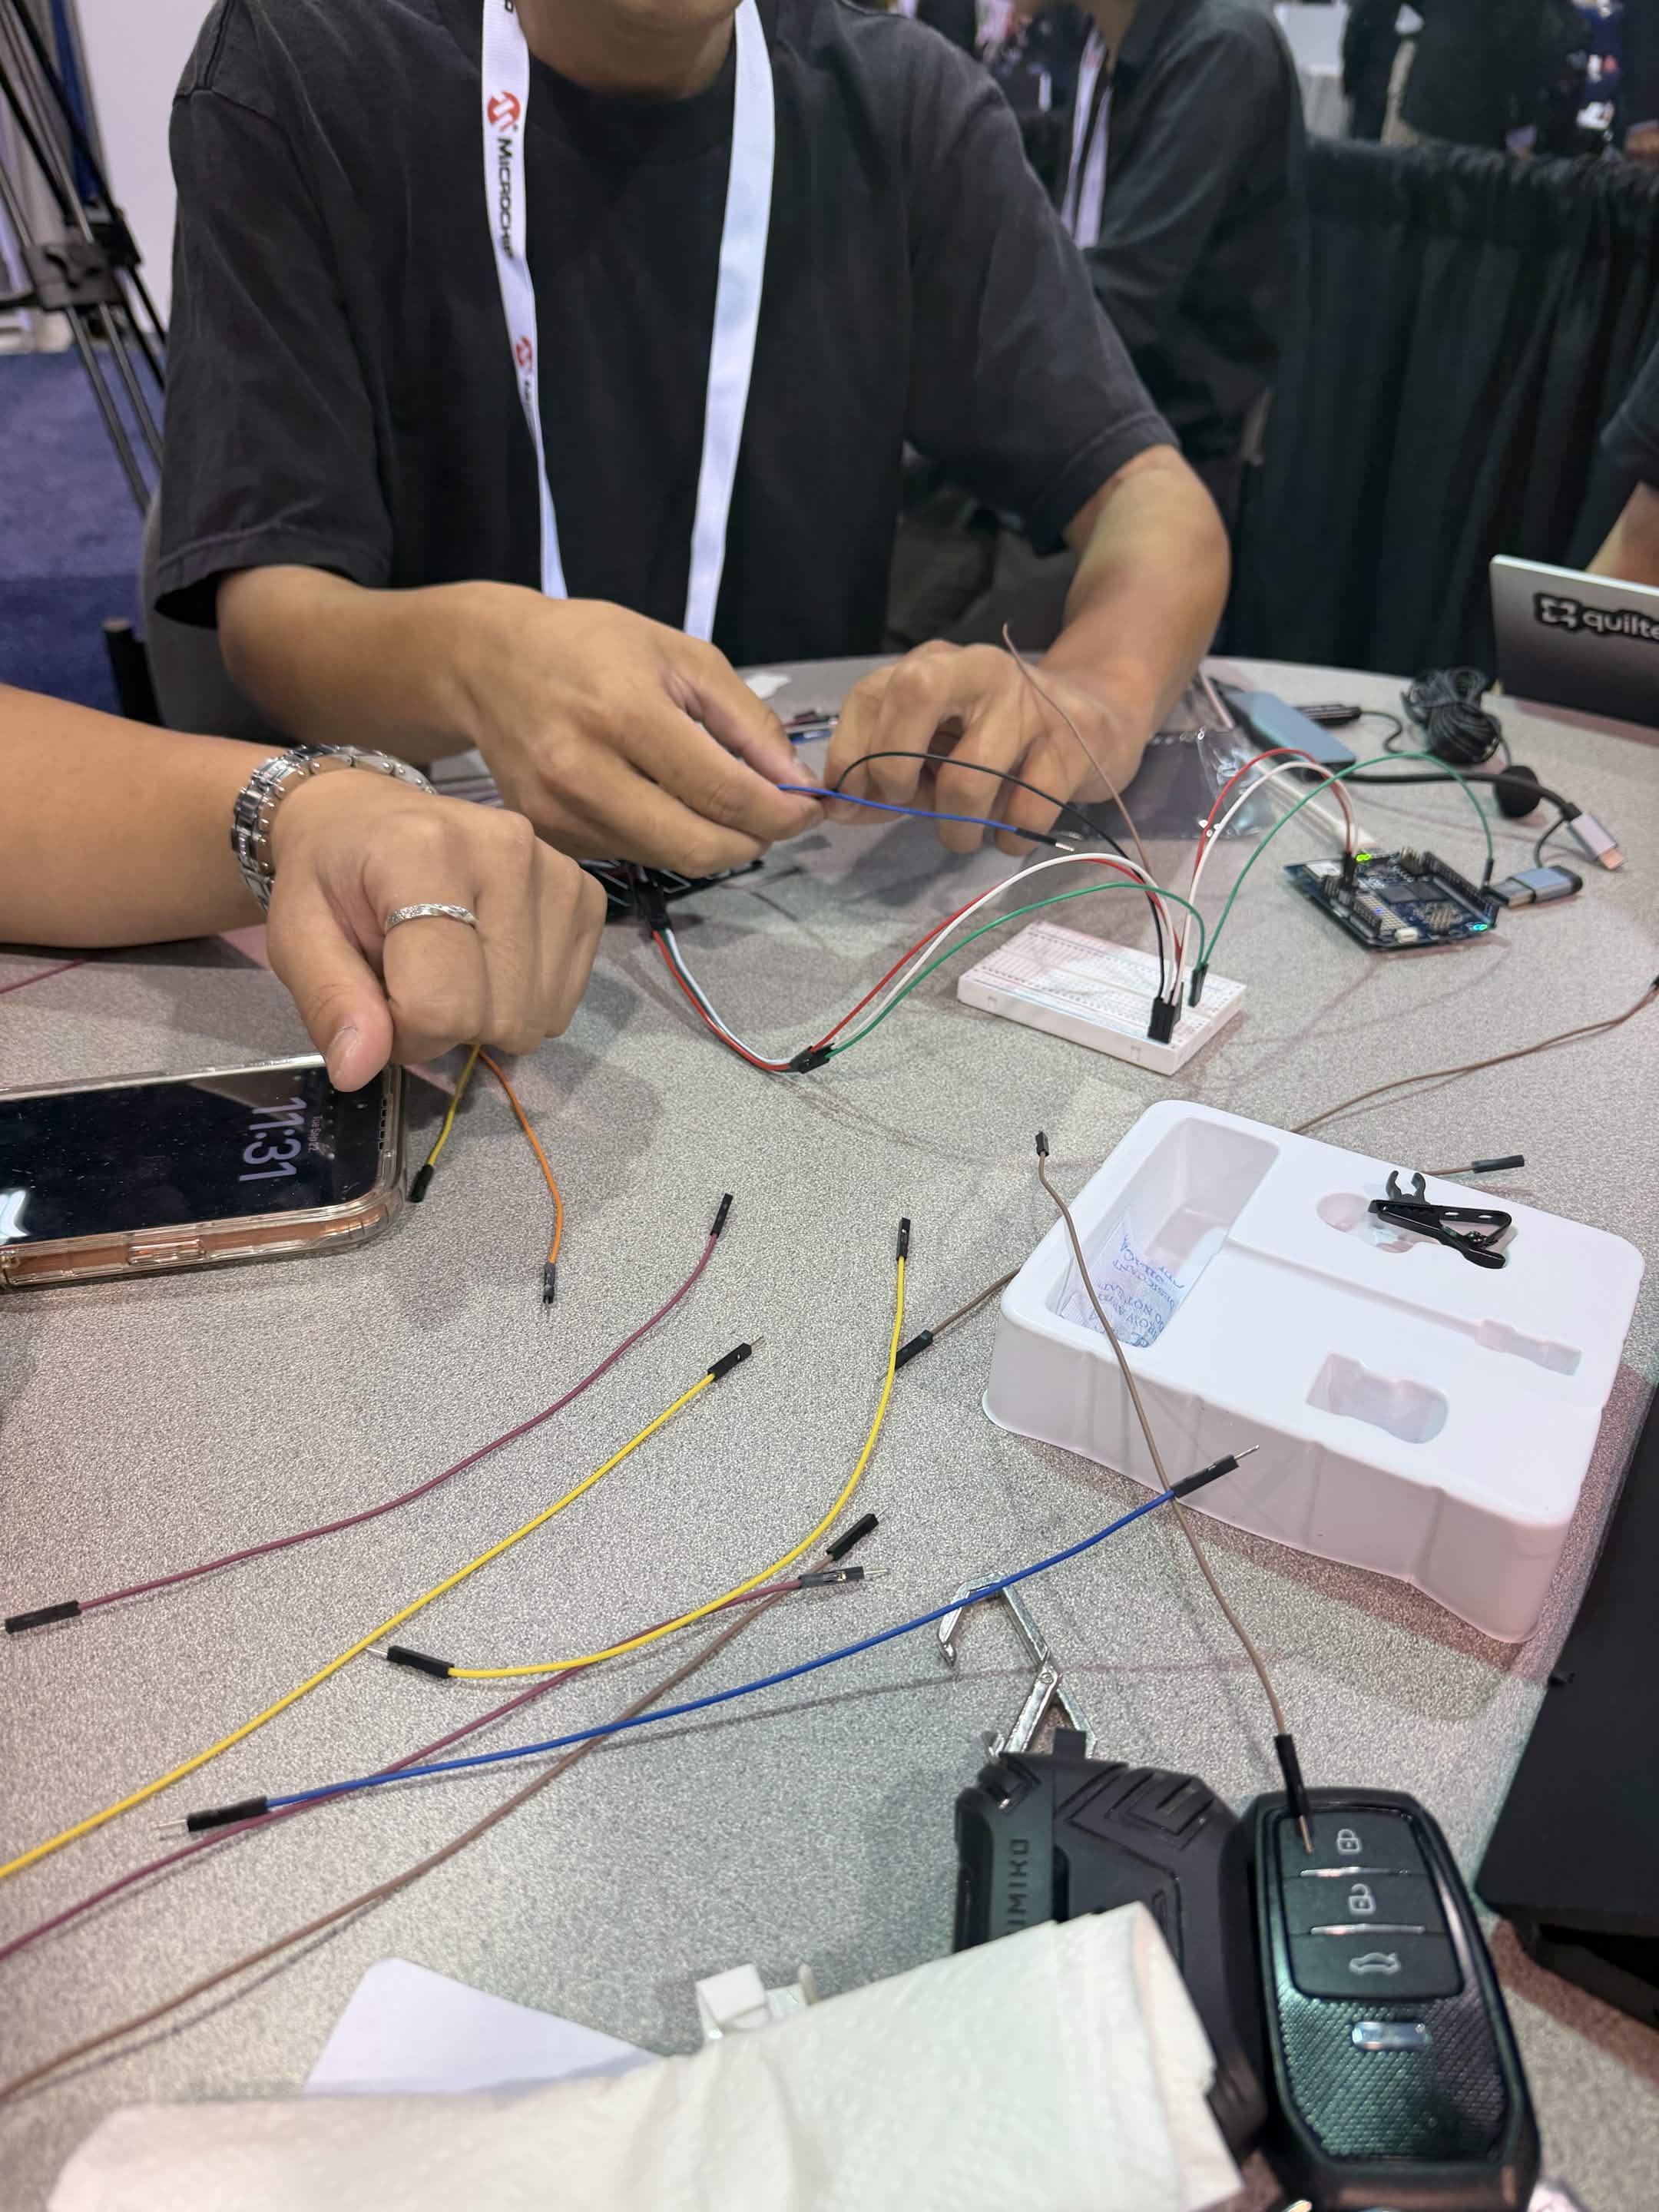
    We started with jumper wires, a USB microphone (MOVO USB-M1), an Arduino Uno Q, a breadboard, and an 8×8 LED matrix. We later added a USB hub, a 10000mAh power bank, and a cover box. 

    We split the team into two groups:

    • Software: train a model to recognize specific sounds, and write the program that shows the matching icon on the LED matrix.
    • Hardware: wire the Uno Q, breadboard, and LED matrix together, then package them in a box.
  • 2
    Wire the hardware
    1. Connect the LED matrix 5V and GND to the breadboard power rails, and connect the rails to the Uno Q's 5V and GND pins.
    2. Connect the matrix DIN pin to GPIO 6 on the Uno Q.
    3. Plug the MOVO USB-M1 microphone into a USB hub, and plug the hub into the Uno Q
  • 3
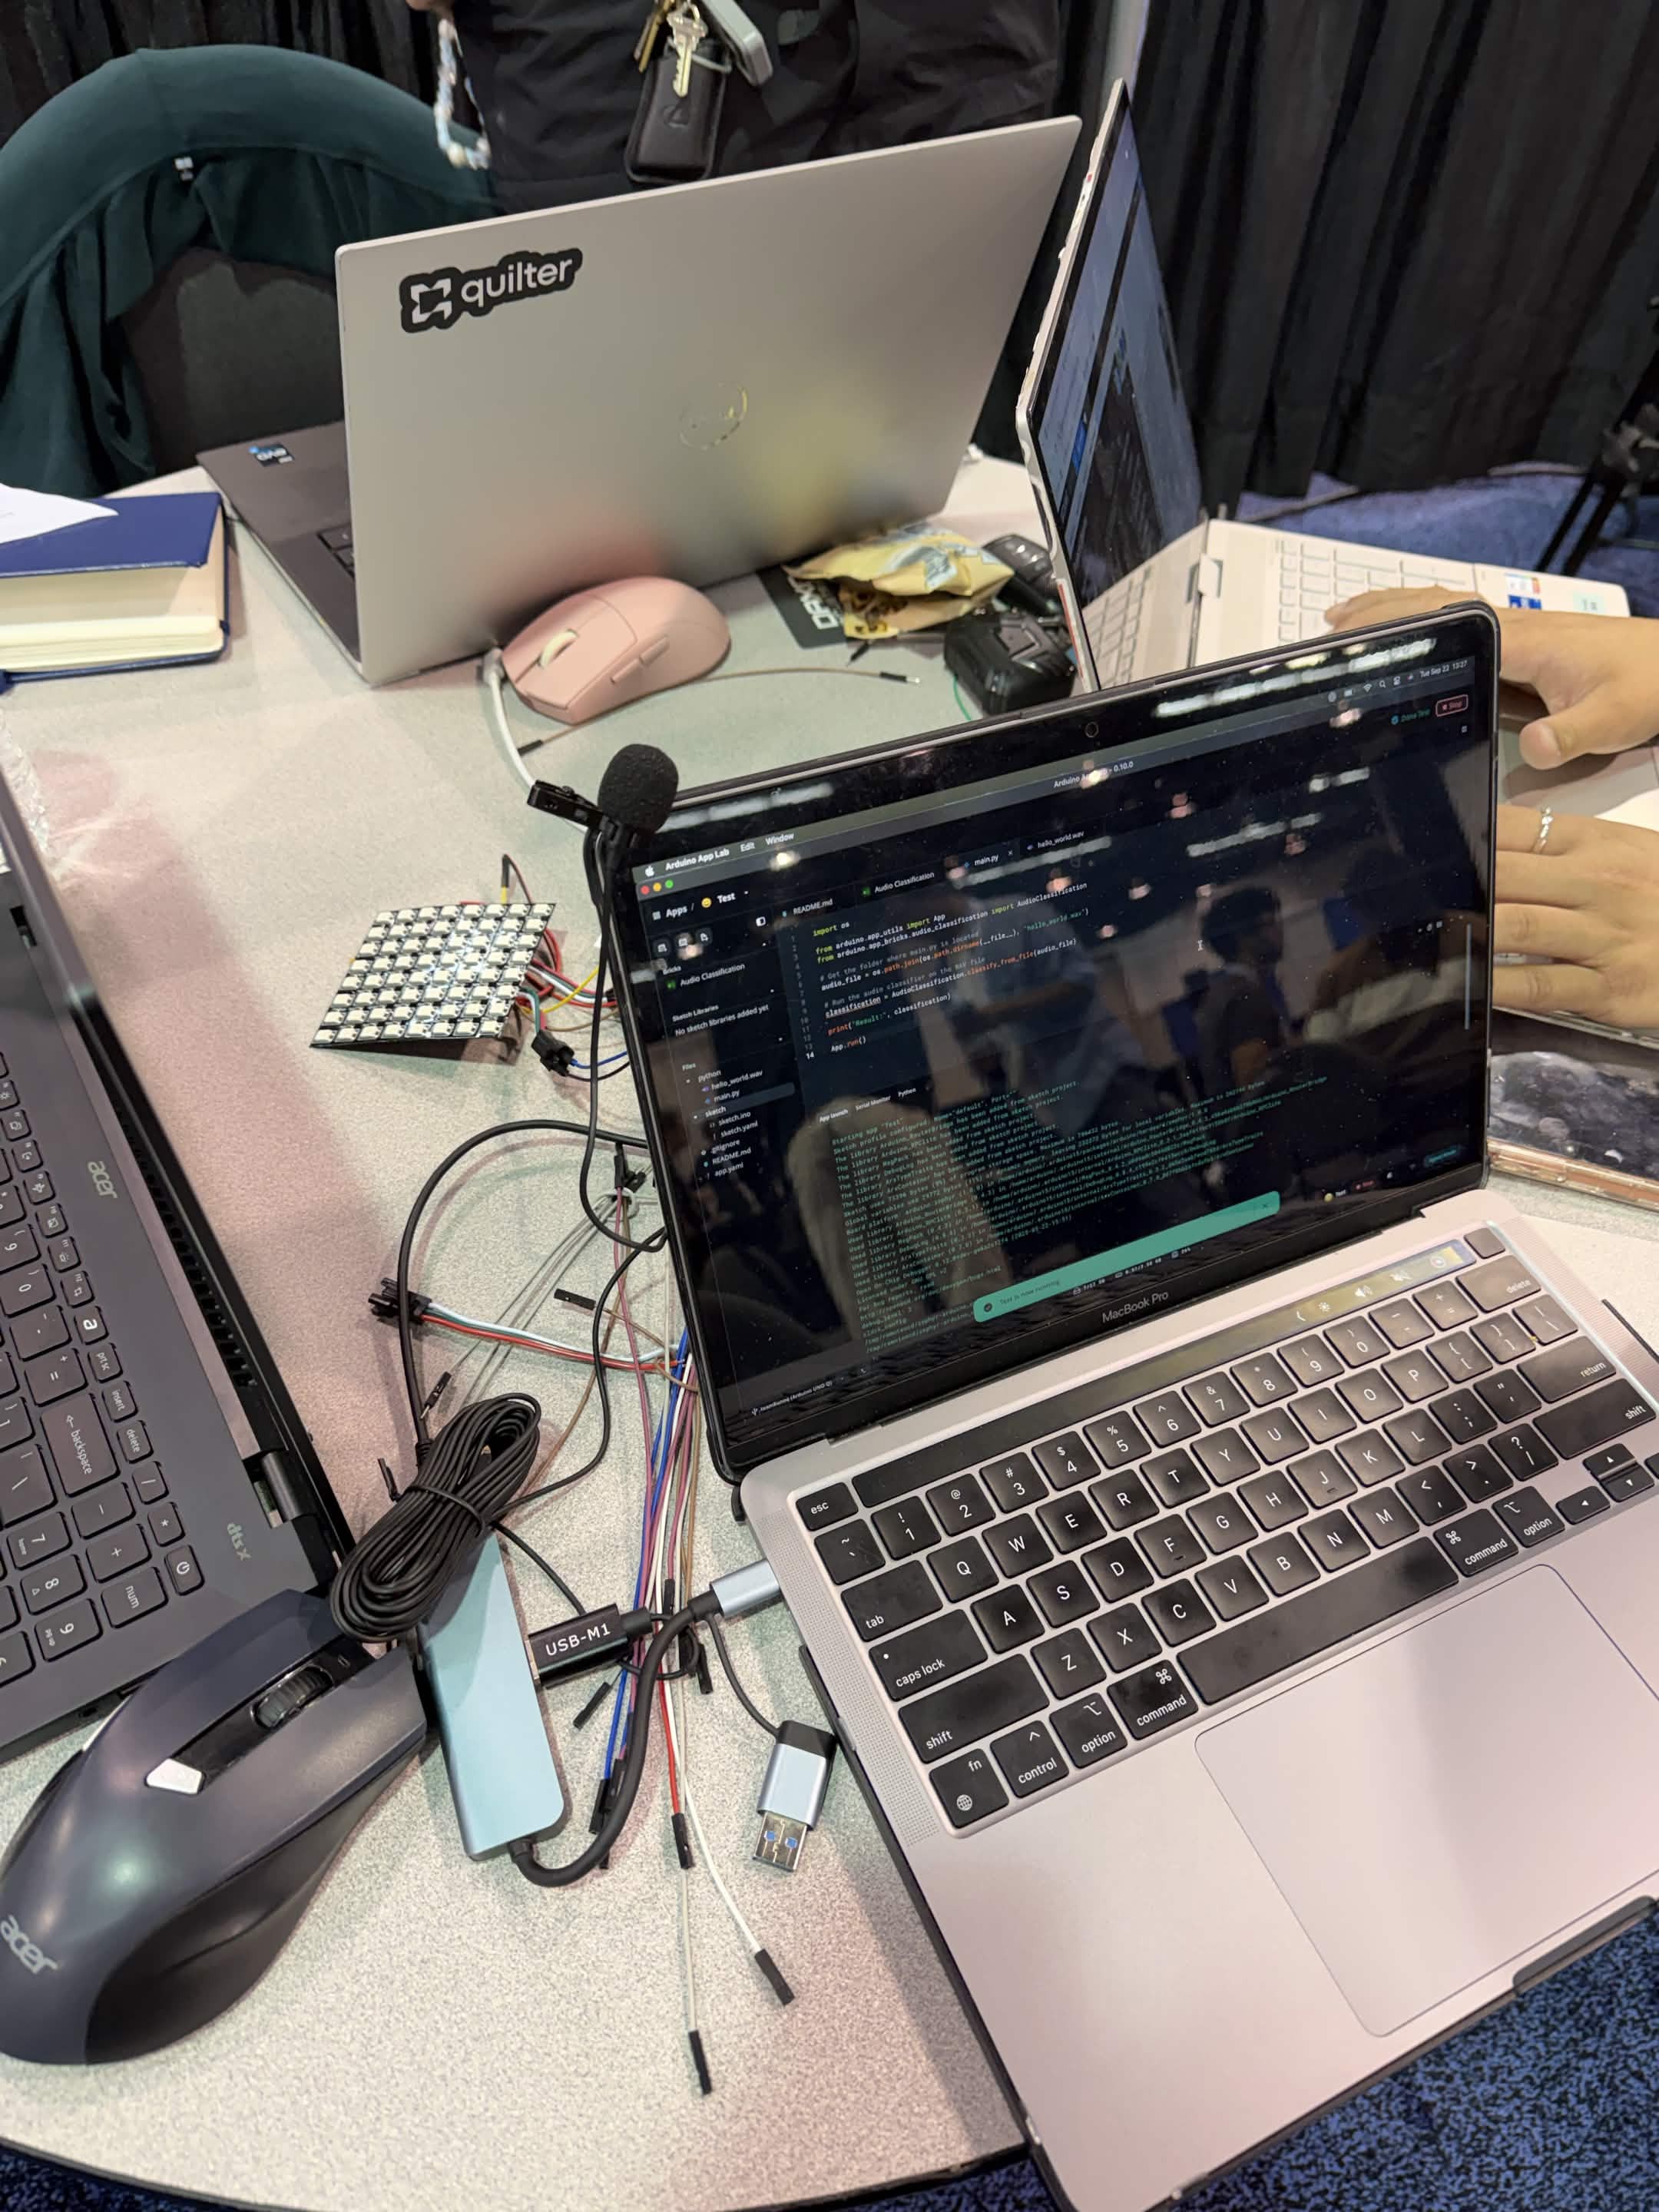
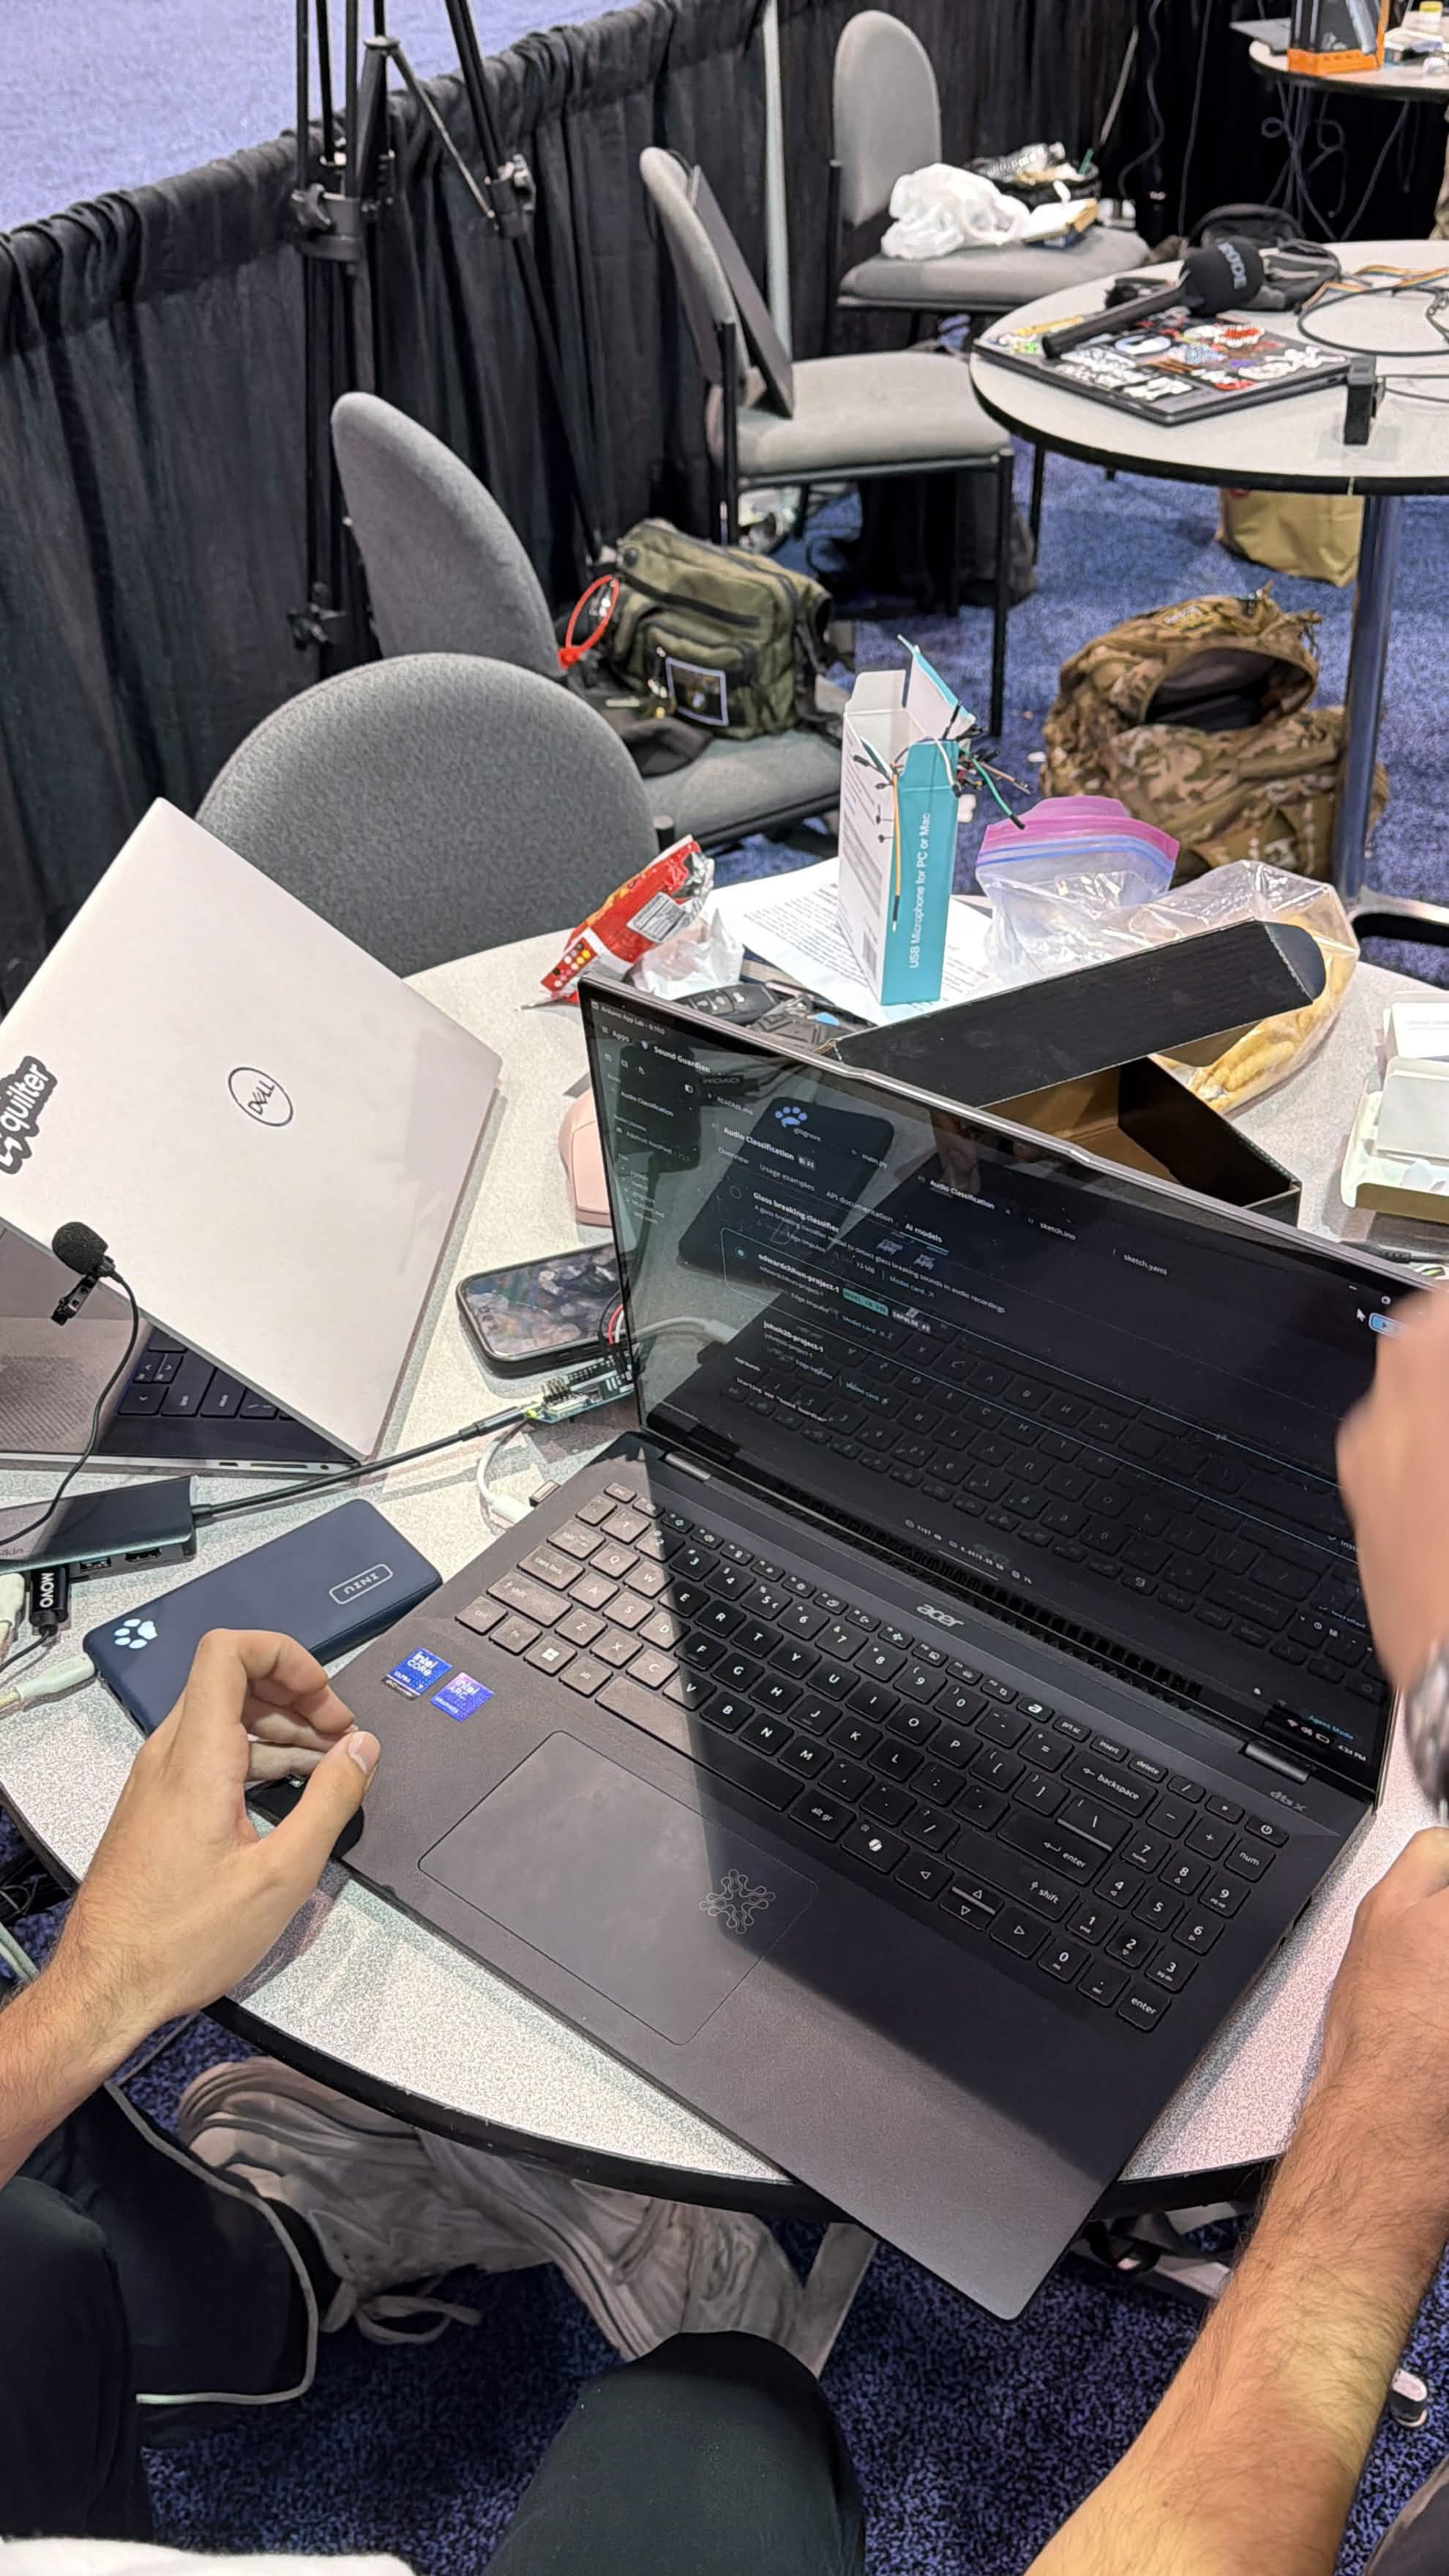
    Load the app in Arduino App Lab
  • Open Arduino App Lab and create a Python app for the Uno Q. 
  • Load the imported .eim model in the app, so the app can read audio from the microphone and classify each sound.
  • Get the basics working one piece at a time: first reading audio from the microphone, then getting a classification result, then showing the matching icon on the LED matrix.
  • Run the app on the Uno Q, test it with sounds, and adjust the code. Repeat until each part works as expected. It took us several rounds of editing and testing to get the basics working.

View all 6 instructions

Enjoy this project?

Share

Discussions

Does this project spark your interest?

Become a member to follow this project and never miss any updates