 johnh20
-
1Plan the system and gather parts
![]()
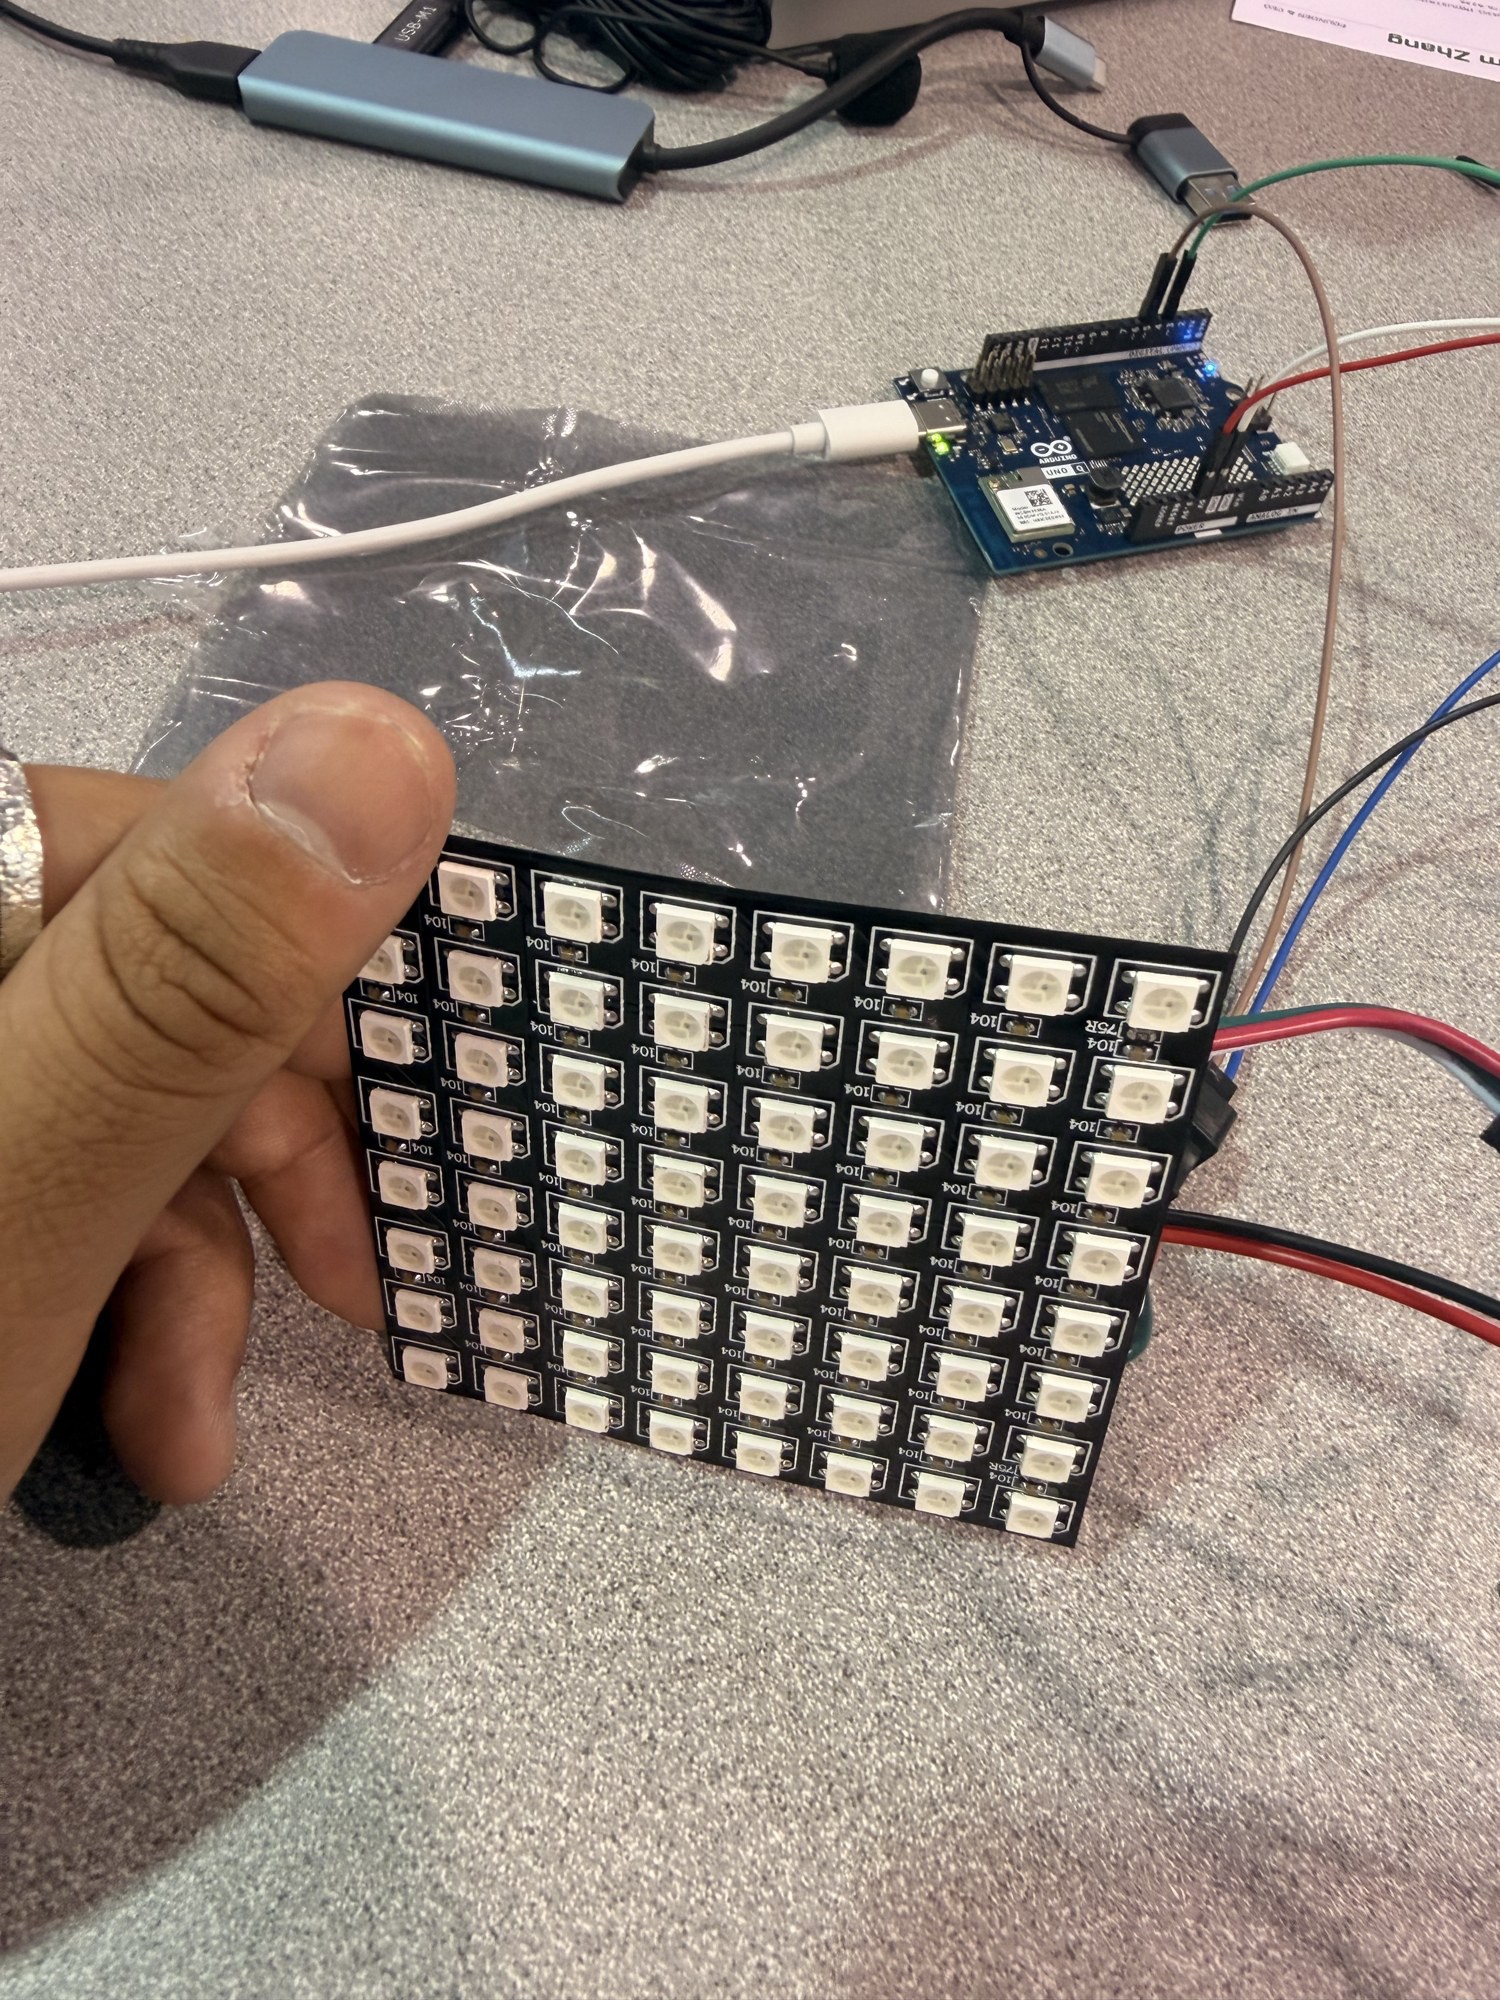
We started with jumper wires, a USB microphone (MOVO USB-M1), an Arduino Uno Q, a breadboard, and an 8×8 LED matrix. We later added a USB hub, a 10000mAh power bank, and a cover box.
We split the team into two groups:
- Software: train a model to recognize specific sounds, and write the program that shows the matching icon on the LED matrix.
- Hardware: wire the Uno Q, breadboard, and LED matrix together, then package them in a box.
-
2Wire the hardware
- Connect the LED matrix 5V and GND to the breadboard power rails, and connect the rails to the Uno Q's 5V and GND pins.
- Connect the matrix DIN pin to GPIO 6 on the Uno Q.
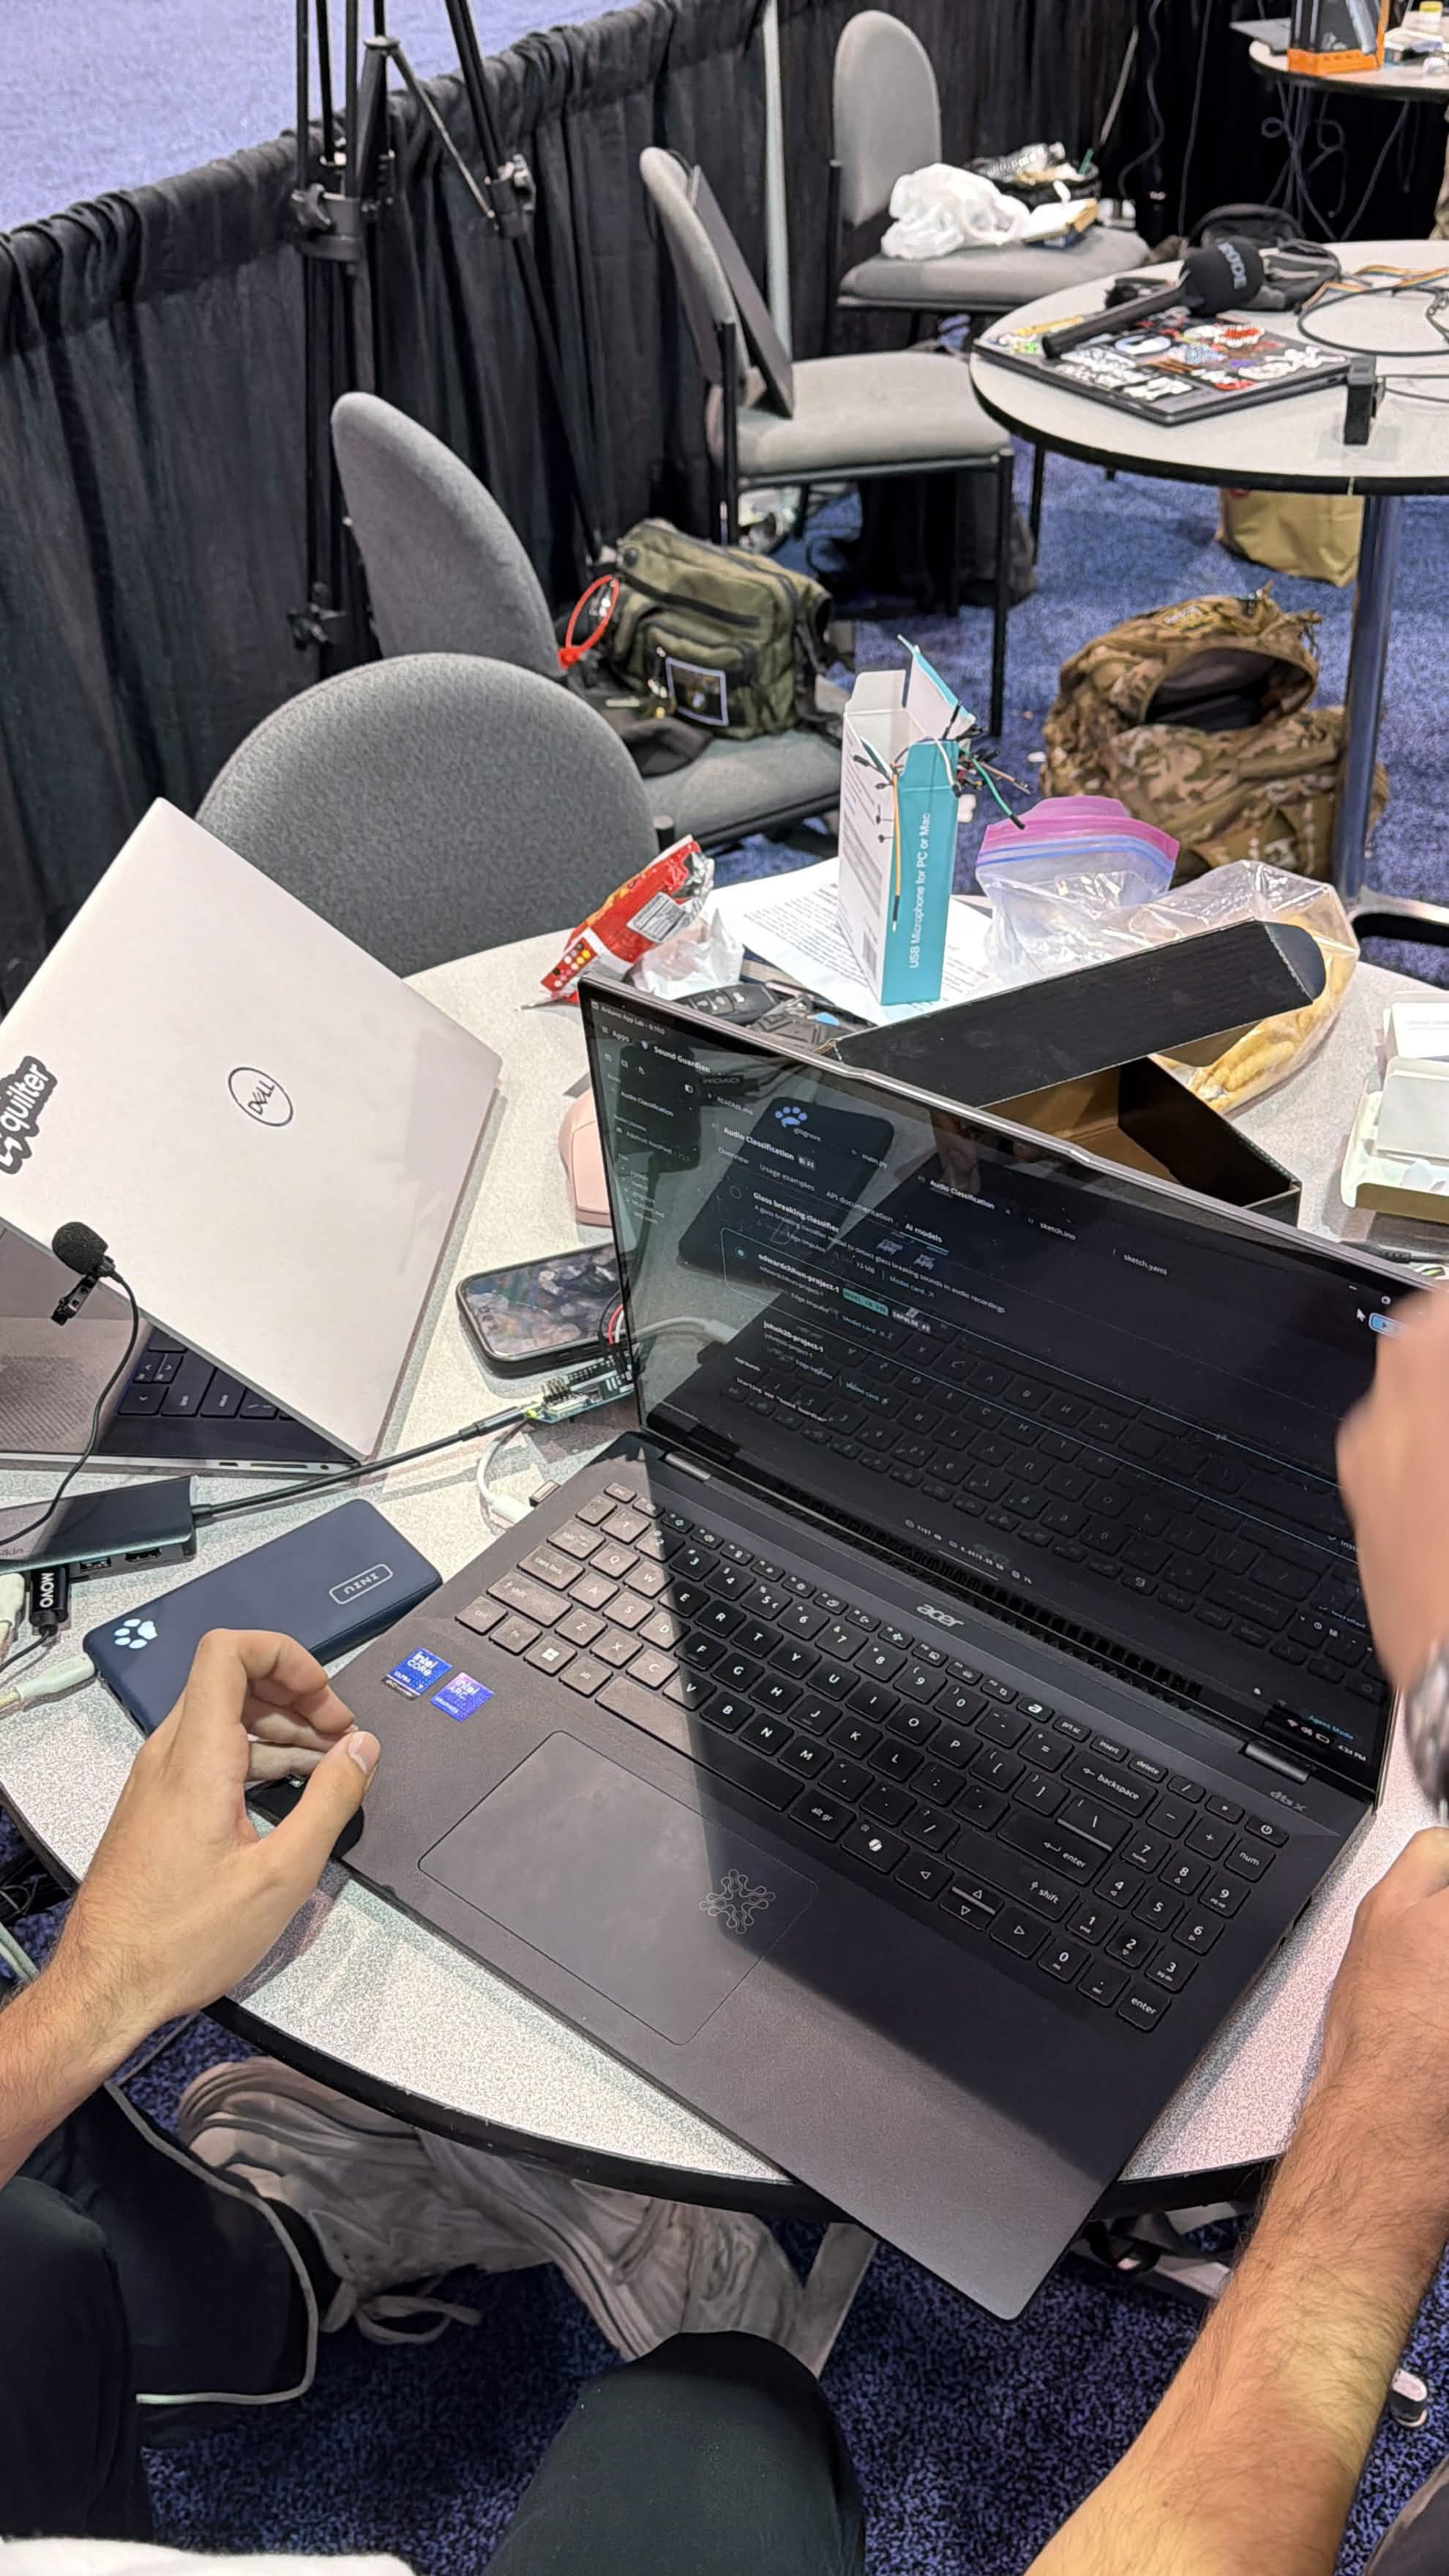
- Plug the MOVO USB-M1 microphone into a USB hub, and plug the hub into the Uno Q
-
3Load the app in Arduino App Lab
![]()
- Open Arduino App Lab and create a Python app for the Uno Q.
- Load the imported .eim model in the app, so the app can read audio from the microphone and classify each sound.
- Get the basics working one piece at a time: first reading audio from the microphone, then getting a classification result, then showing the matching icon on the LED matrix.
- Run the app on the Uno Q, test it with sounds, and adjust the code. Repeat until each part works as expected. It took us several rounds of editing and testing to get the basics working.
-
4Train the audio model and import it into Arduino App Lab
![]()
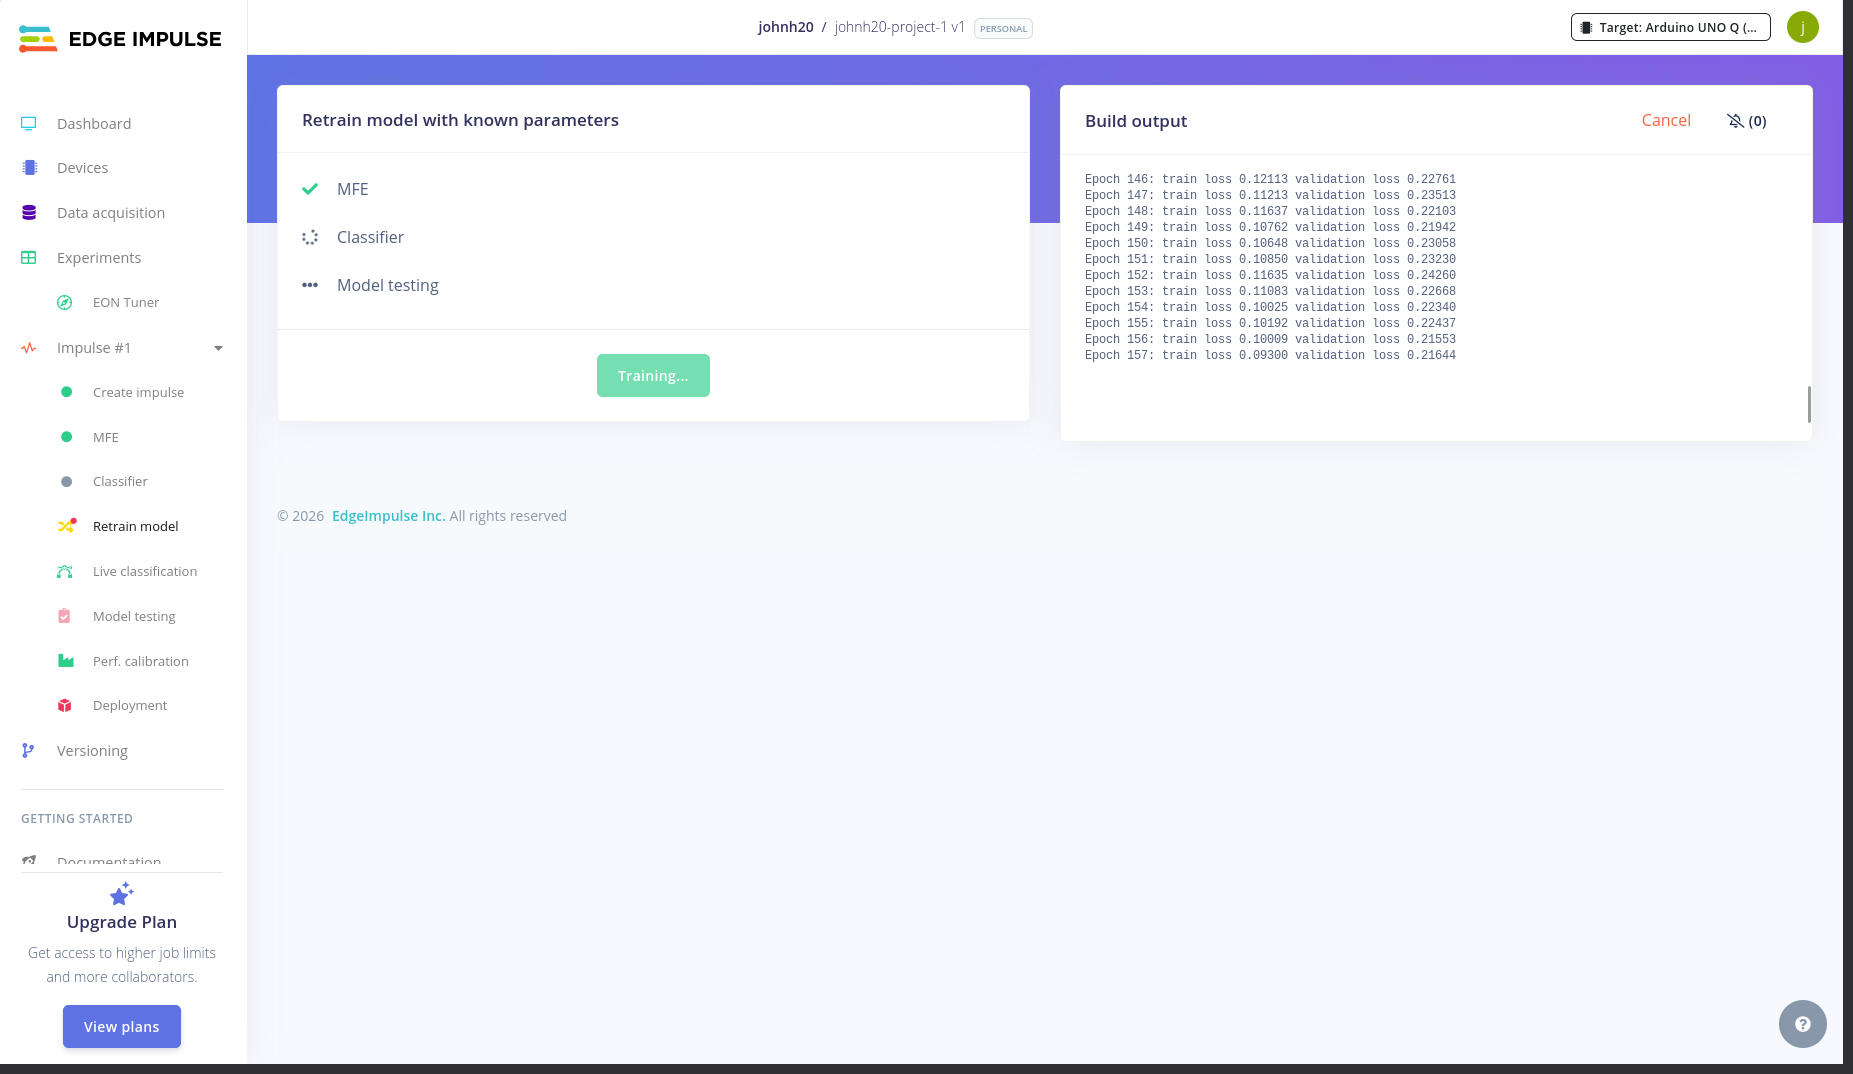
In Edge Impulse, create four classes: glass_breaking, falling, fire_alarm, and noise. Use multiple 5-second audio samples, then we switch to 1-second audio samples
- Set the audio frequency to 18 kHz.
- Collect training data for each class, then train the model.
- Export the trained model for Linux aarch64. This produces the .eim file in the Files tab.
- Before adding the model, run a Hello World model example in Arduino App Lab. This confirms the Uno Q is connected and running code.
- Import the .eim model into Arduino App Lab so the Uno Q can run it.
-
5Upgrade and add features
Once the basics worked, we kept improving the device and adding features, and tested each change on the Uno Q before moving on.
- Improve accuracy. Add more training data, retrain the model in Edge Impulse, and import the new .eim into Arduino App Lab.
- Tune the app. Adjust the Python code so detections respond quickly and alerts show clearly on the LED matrix.
- Add features one at a time.
- Test after every change. Play each sound near the microphone and check that the matching icon still appears on the LED matrix before adding the next feature.
![]()
-
6Integrate, box it up, and test
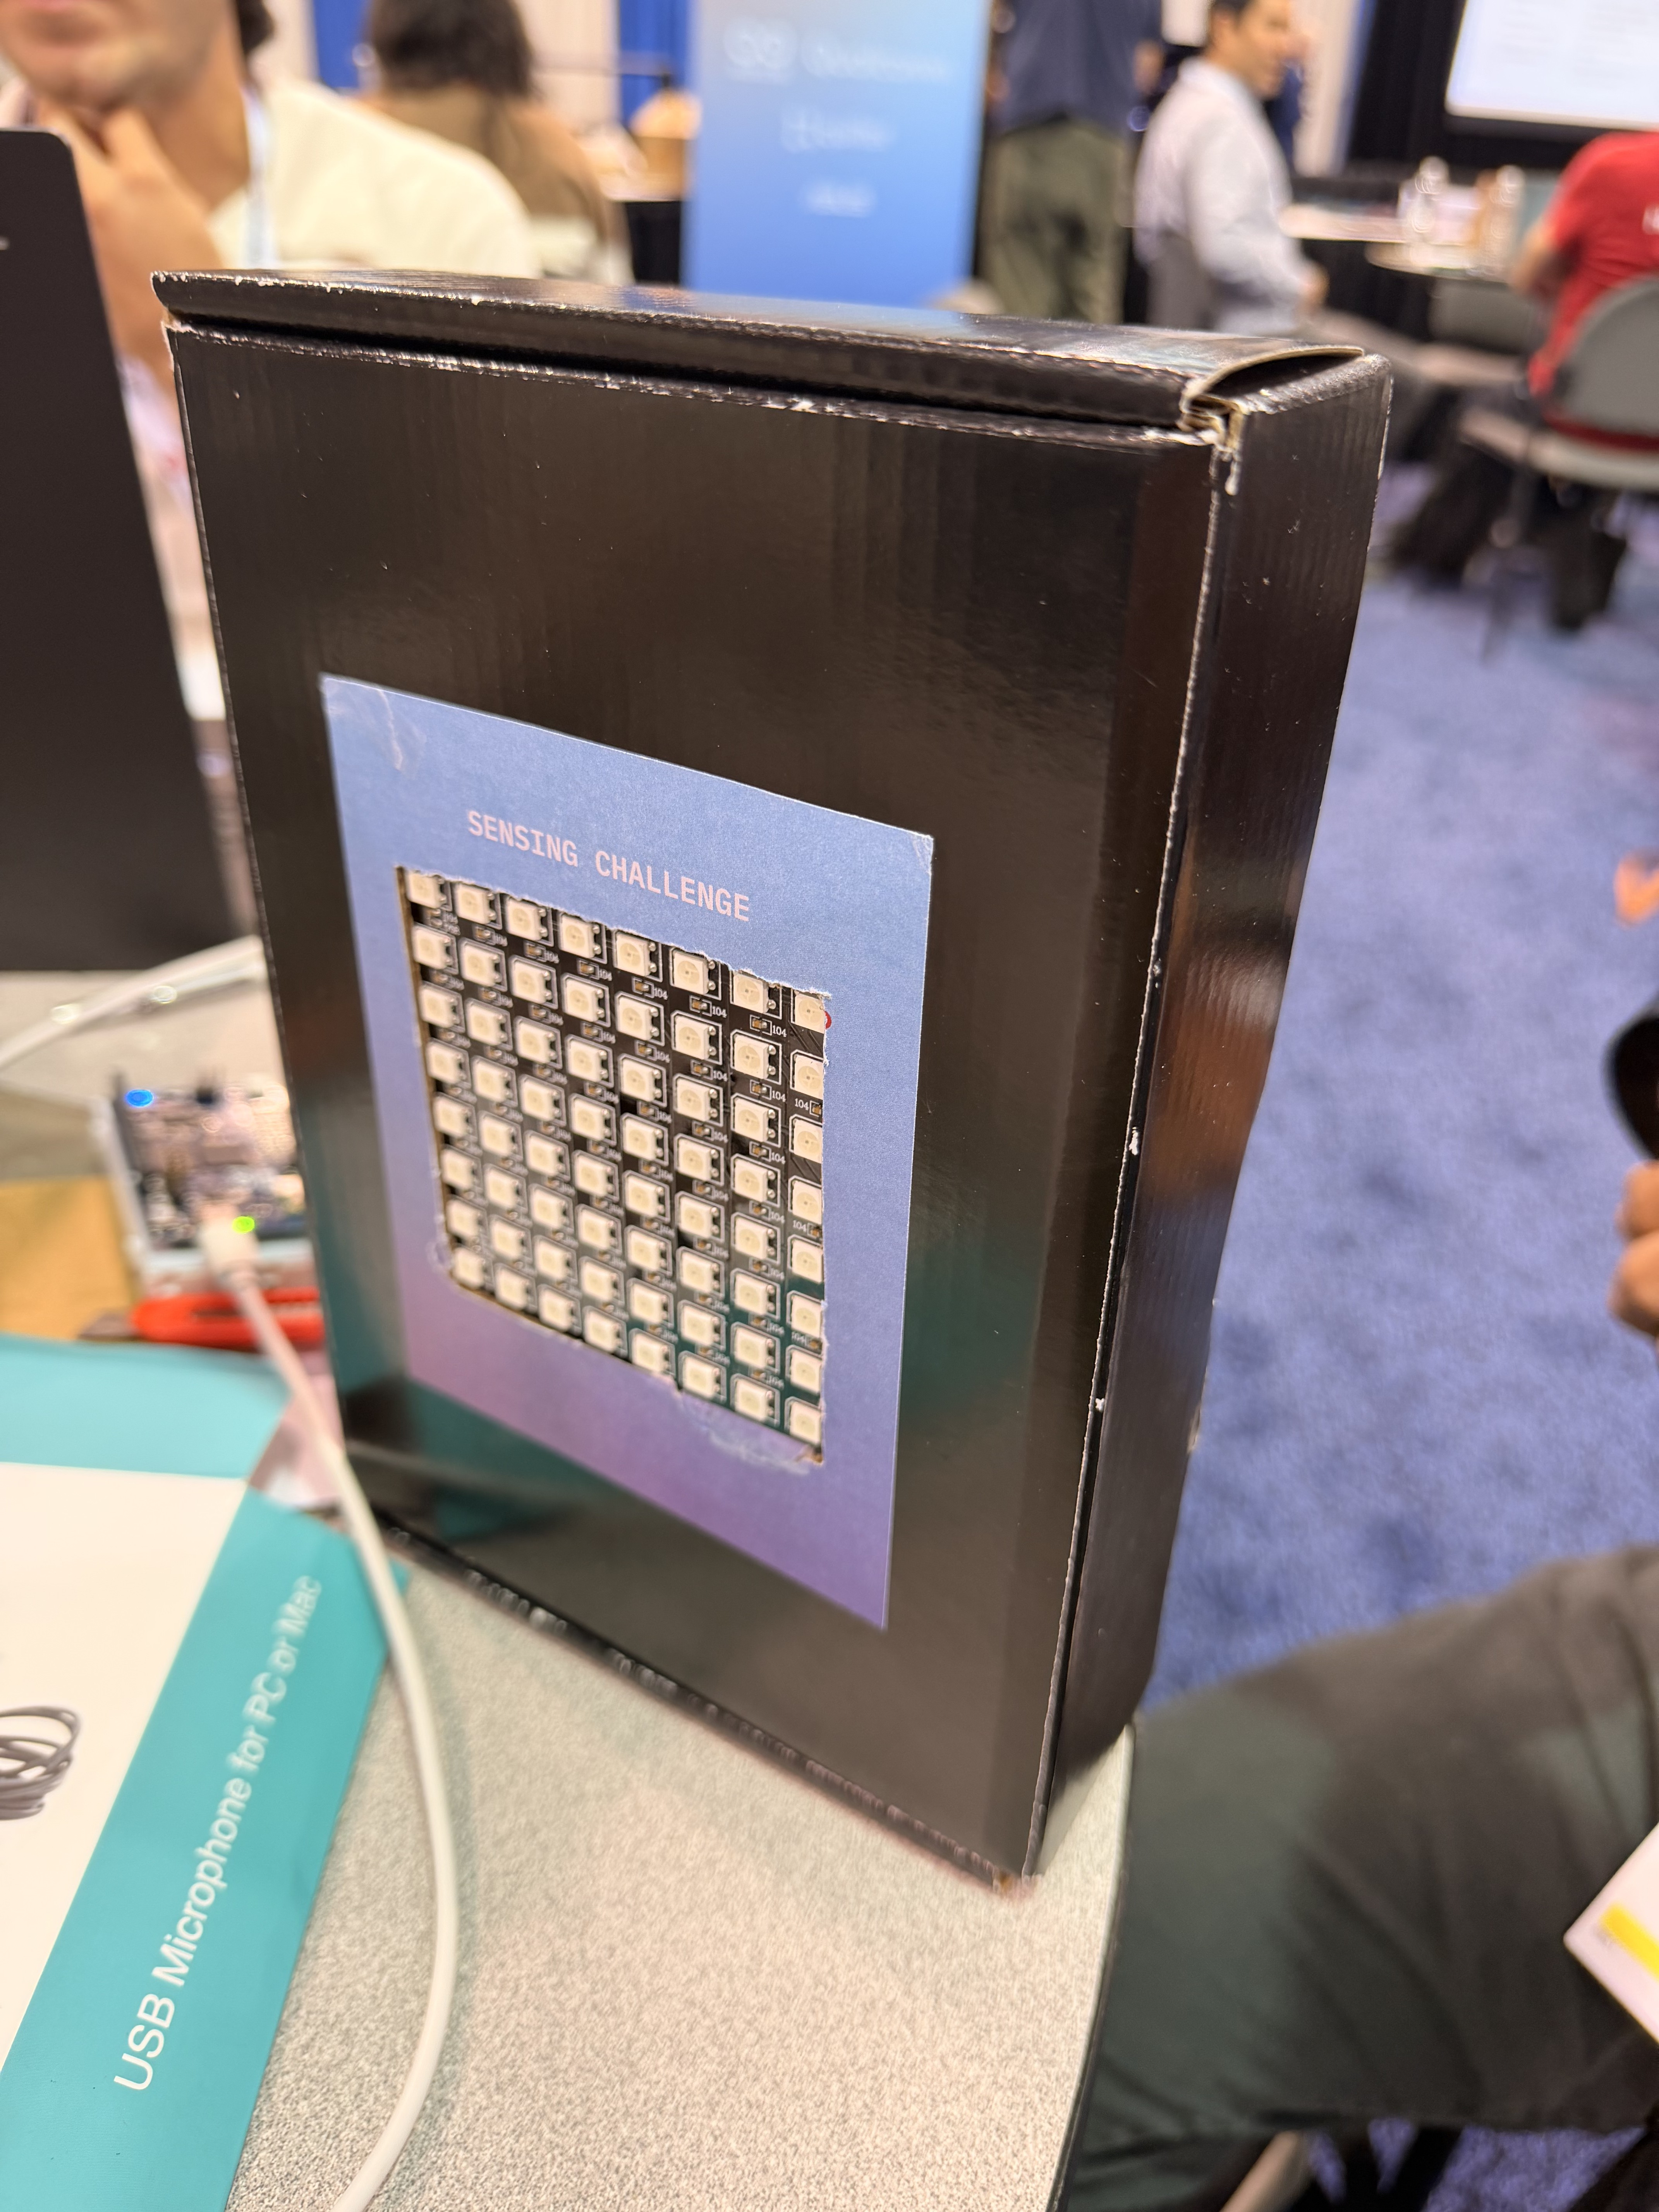
We placed the Uno Q, breadboard, and LED matrix inside the cover box, with the LED matrix facing out and the microphone left uncovered.
To test, we played different sounds, including breaking glass and a fire alarm, and checked that the matching icon appeared on the LED matrix.
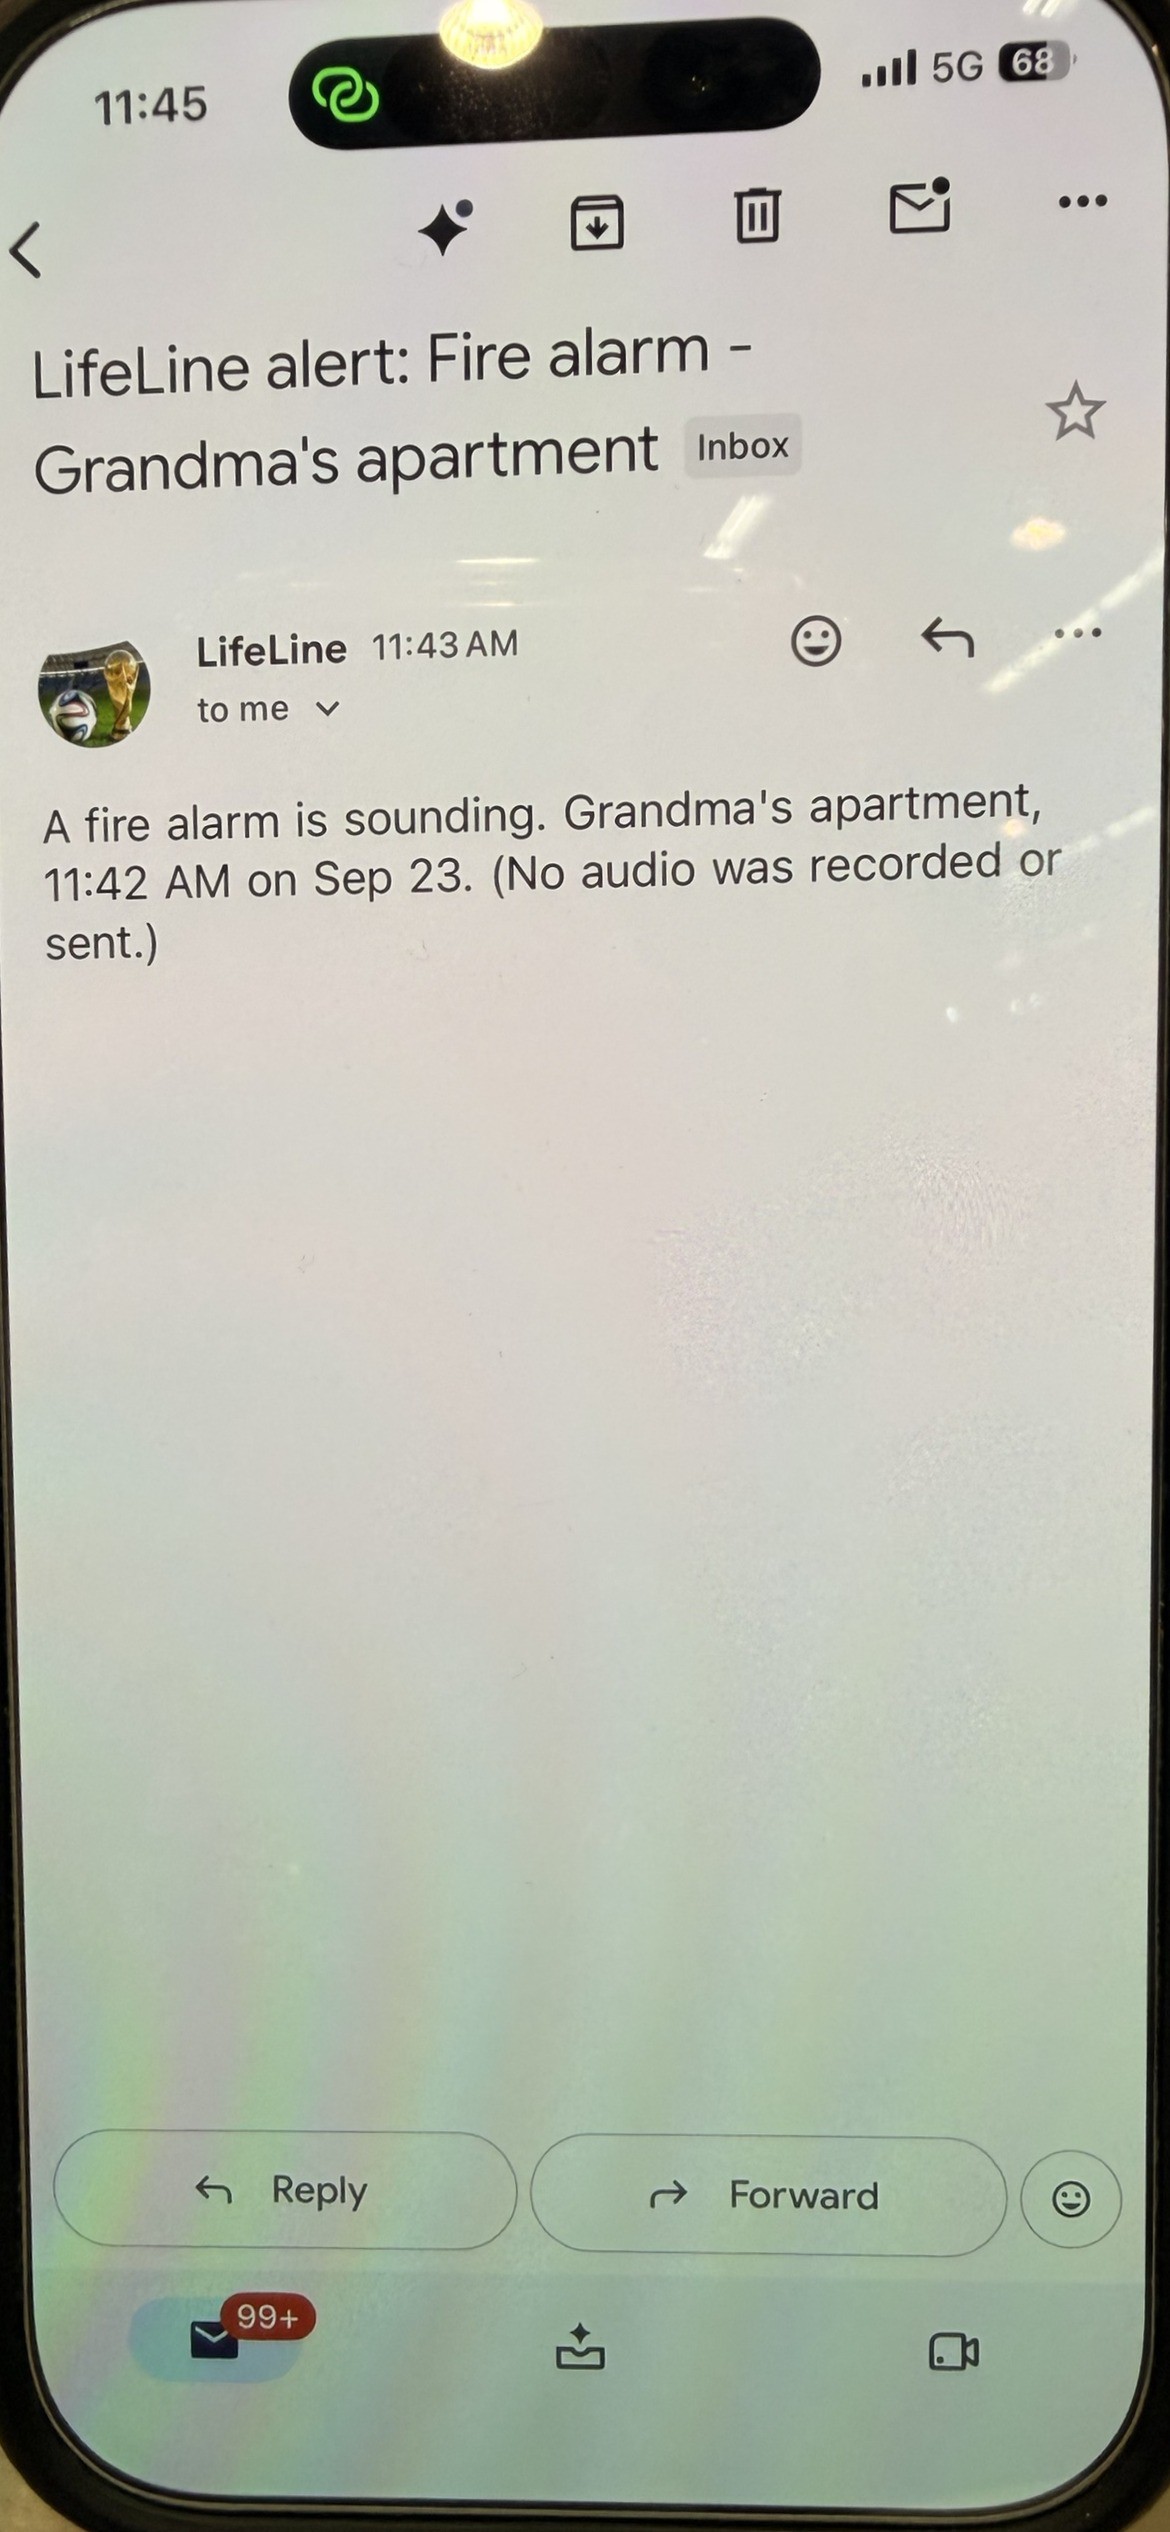
After the main functions worked, we took on the bonus requirement: sending an email and calling when a critical sound is detected.
![]()
Discussions
Become a Hackaday.io Member
Create an account to leave a comment. Already have an account? Log In.