Close
0%
0%

Disabled / Quadriplegic Mouse Concept

Mouse for disabled people after spinal cord injury in cervical region.

......
Similar projects worth following
Problem:

First, I must write that each injury is different. People with high region spinal cord injury(c1-c7 region) suffer for almost whole body paralized. Usually people with c3-c7 have some movements in the upper torso. There is a high probability that they have a functioning biceps. Sometimes some moves in wrists. And almost 100procent cases disabled fingers. But like I said every injury is different.
So with that they have to use mouse. They usually do this with two hands, but its very slow. Imagine: click mouse button, push keybord button, click mouse button, push keybord button. That's the routine. There're some "ball mouse" with moving ball and next to 2 buttons, but isn't too intuitive and tell me how to play with this in games? :)

Solution:

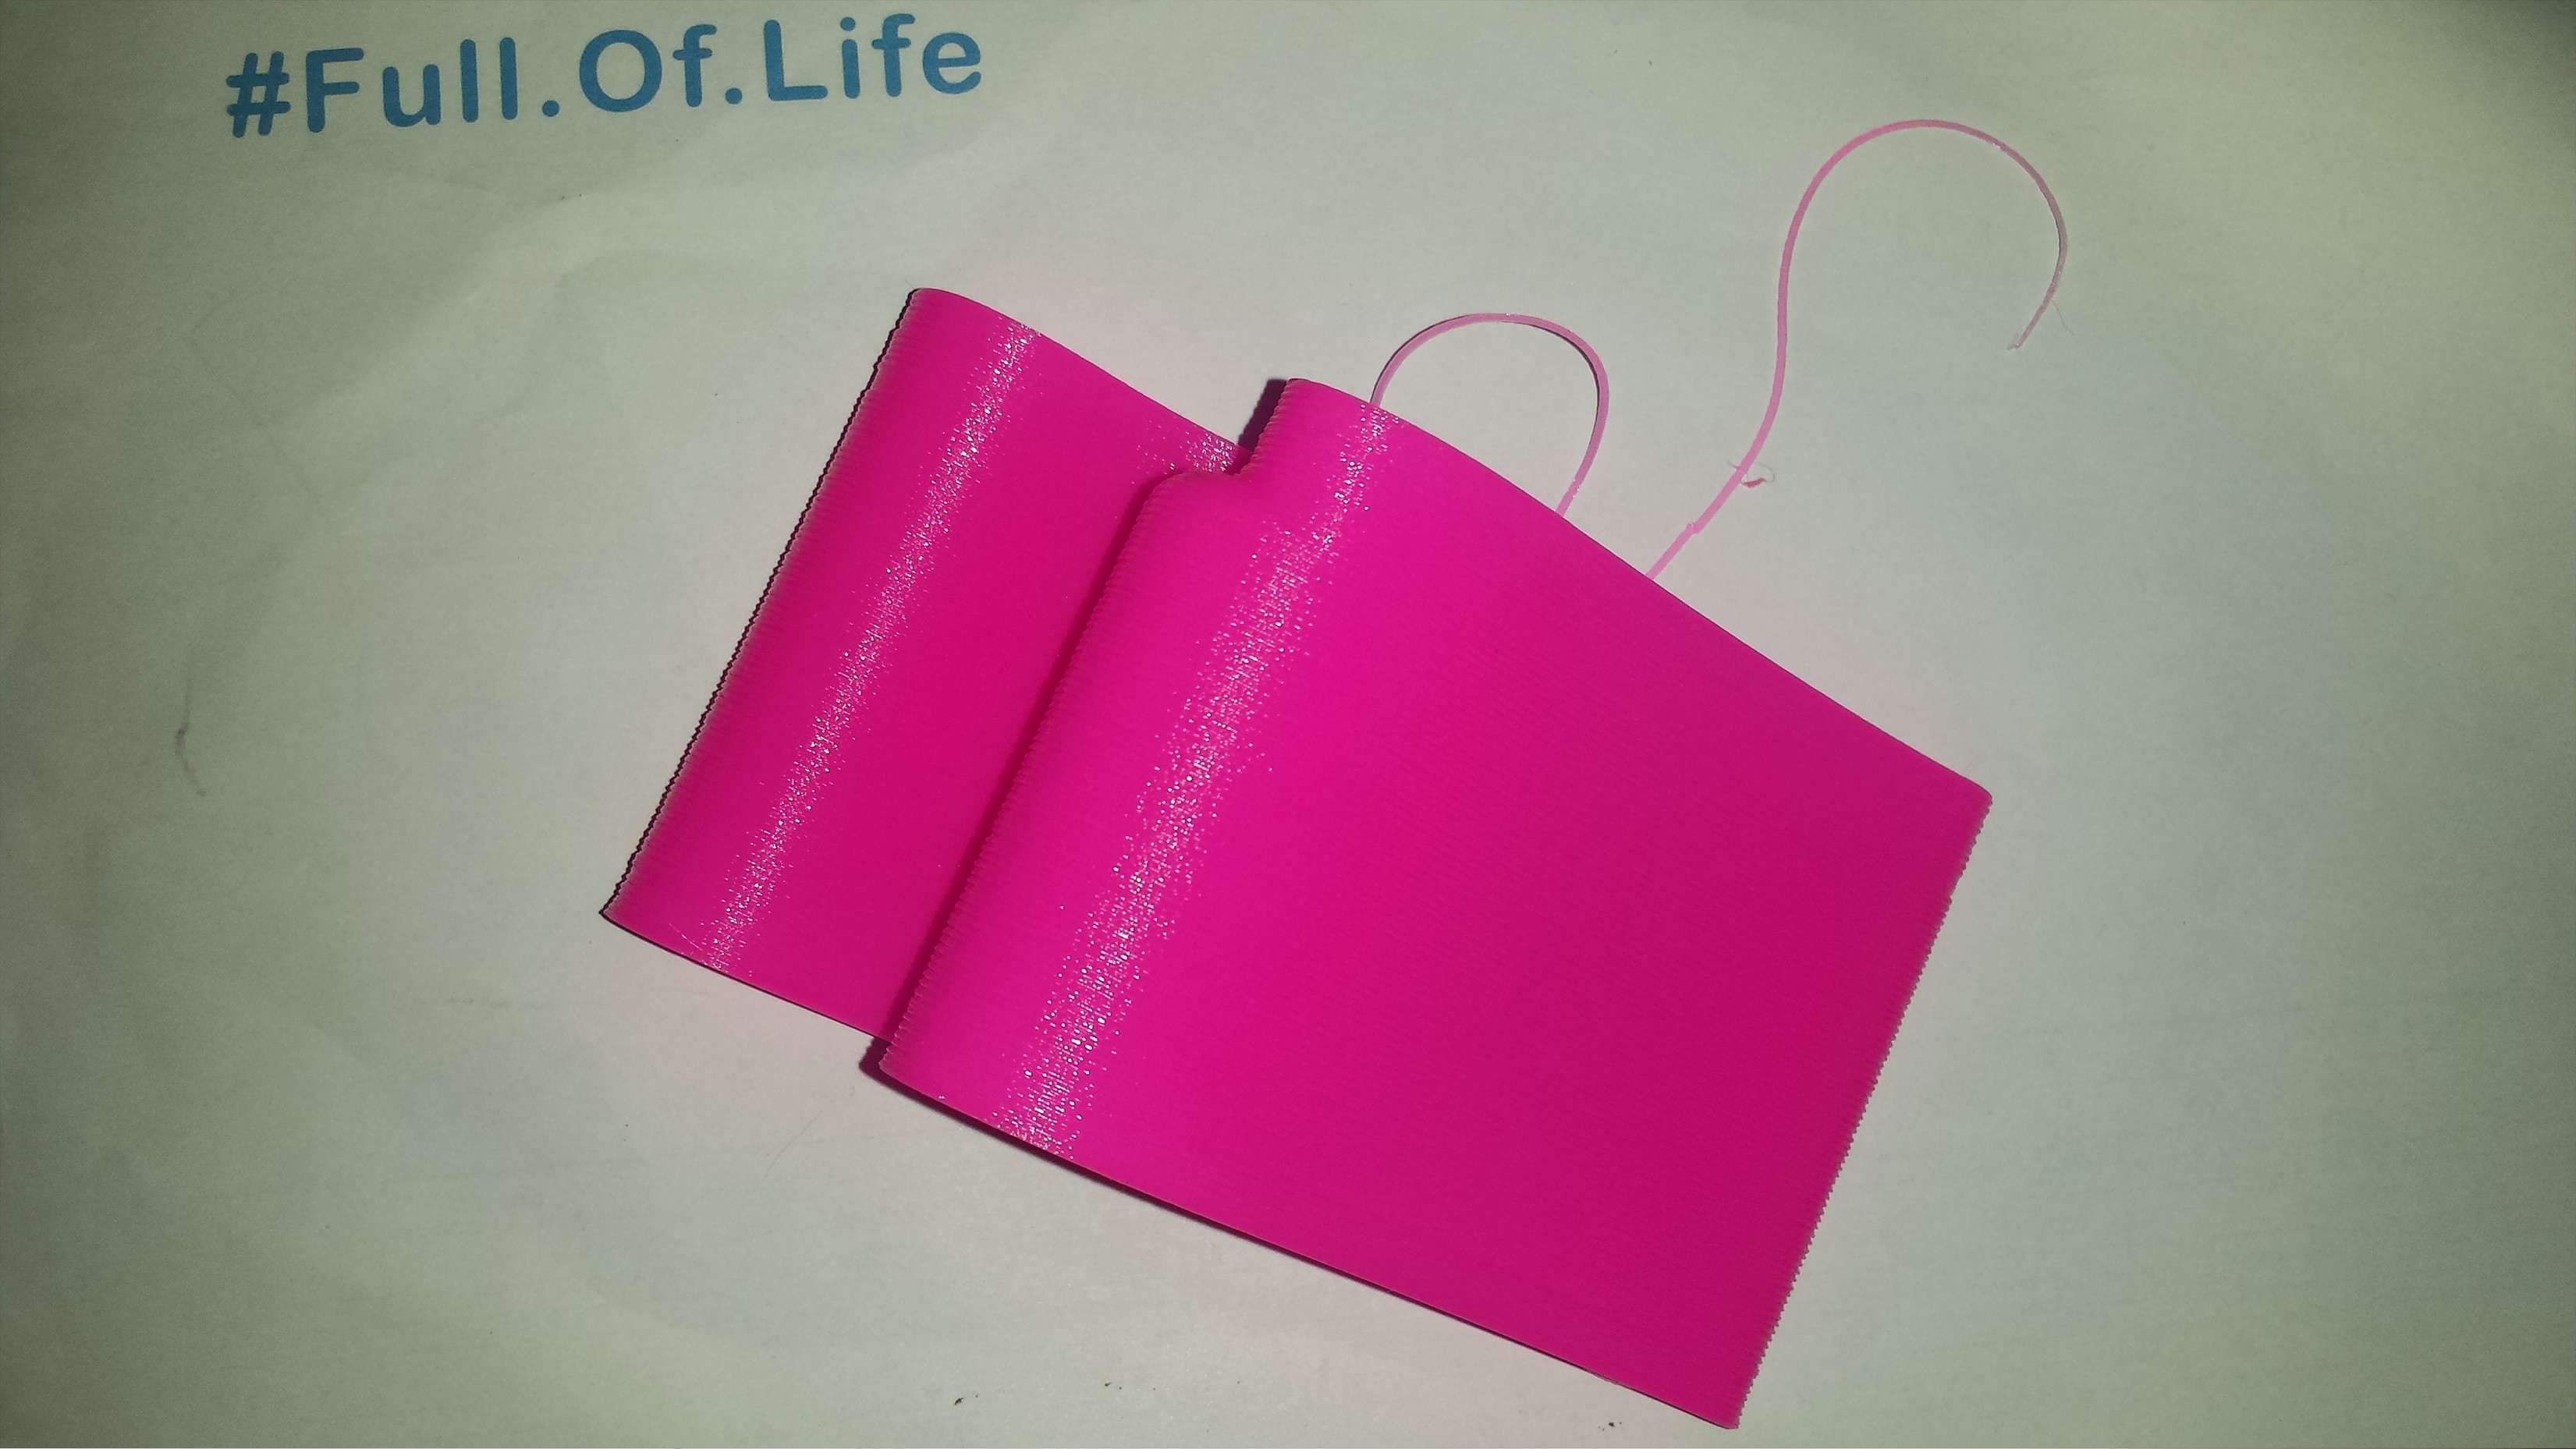
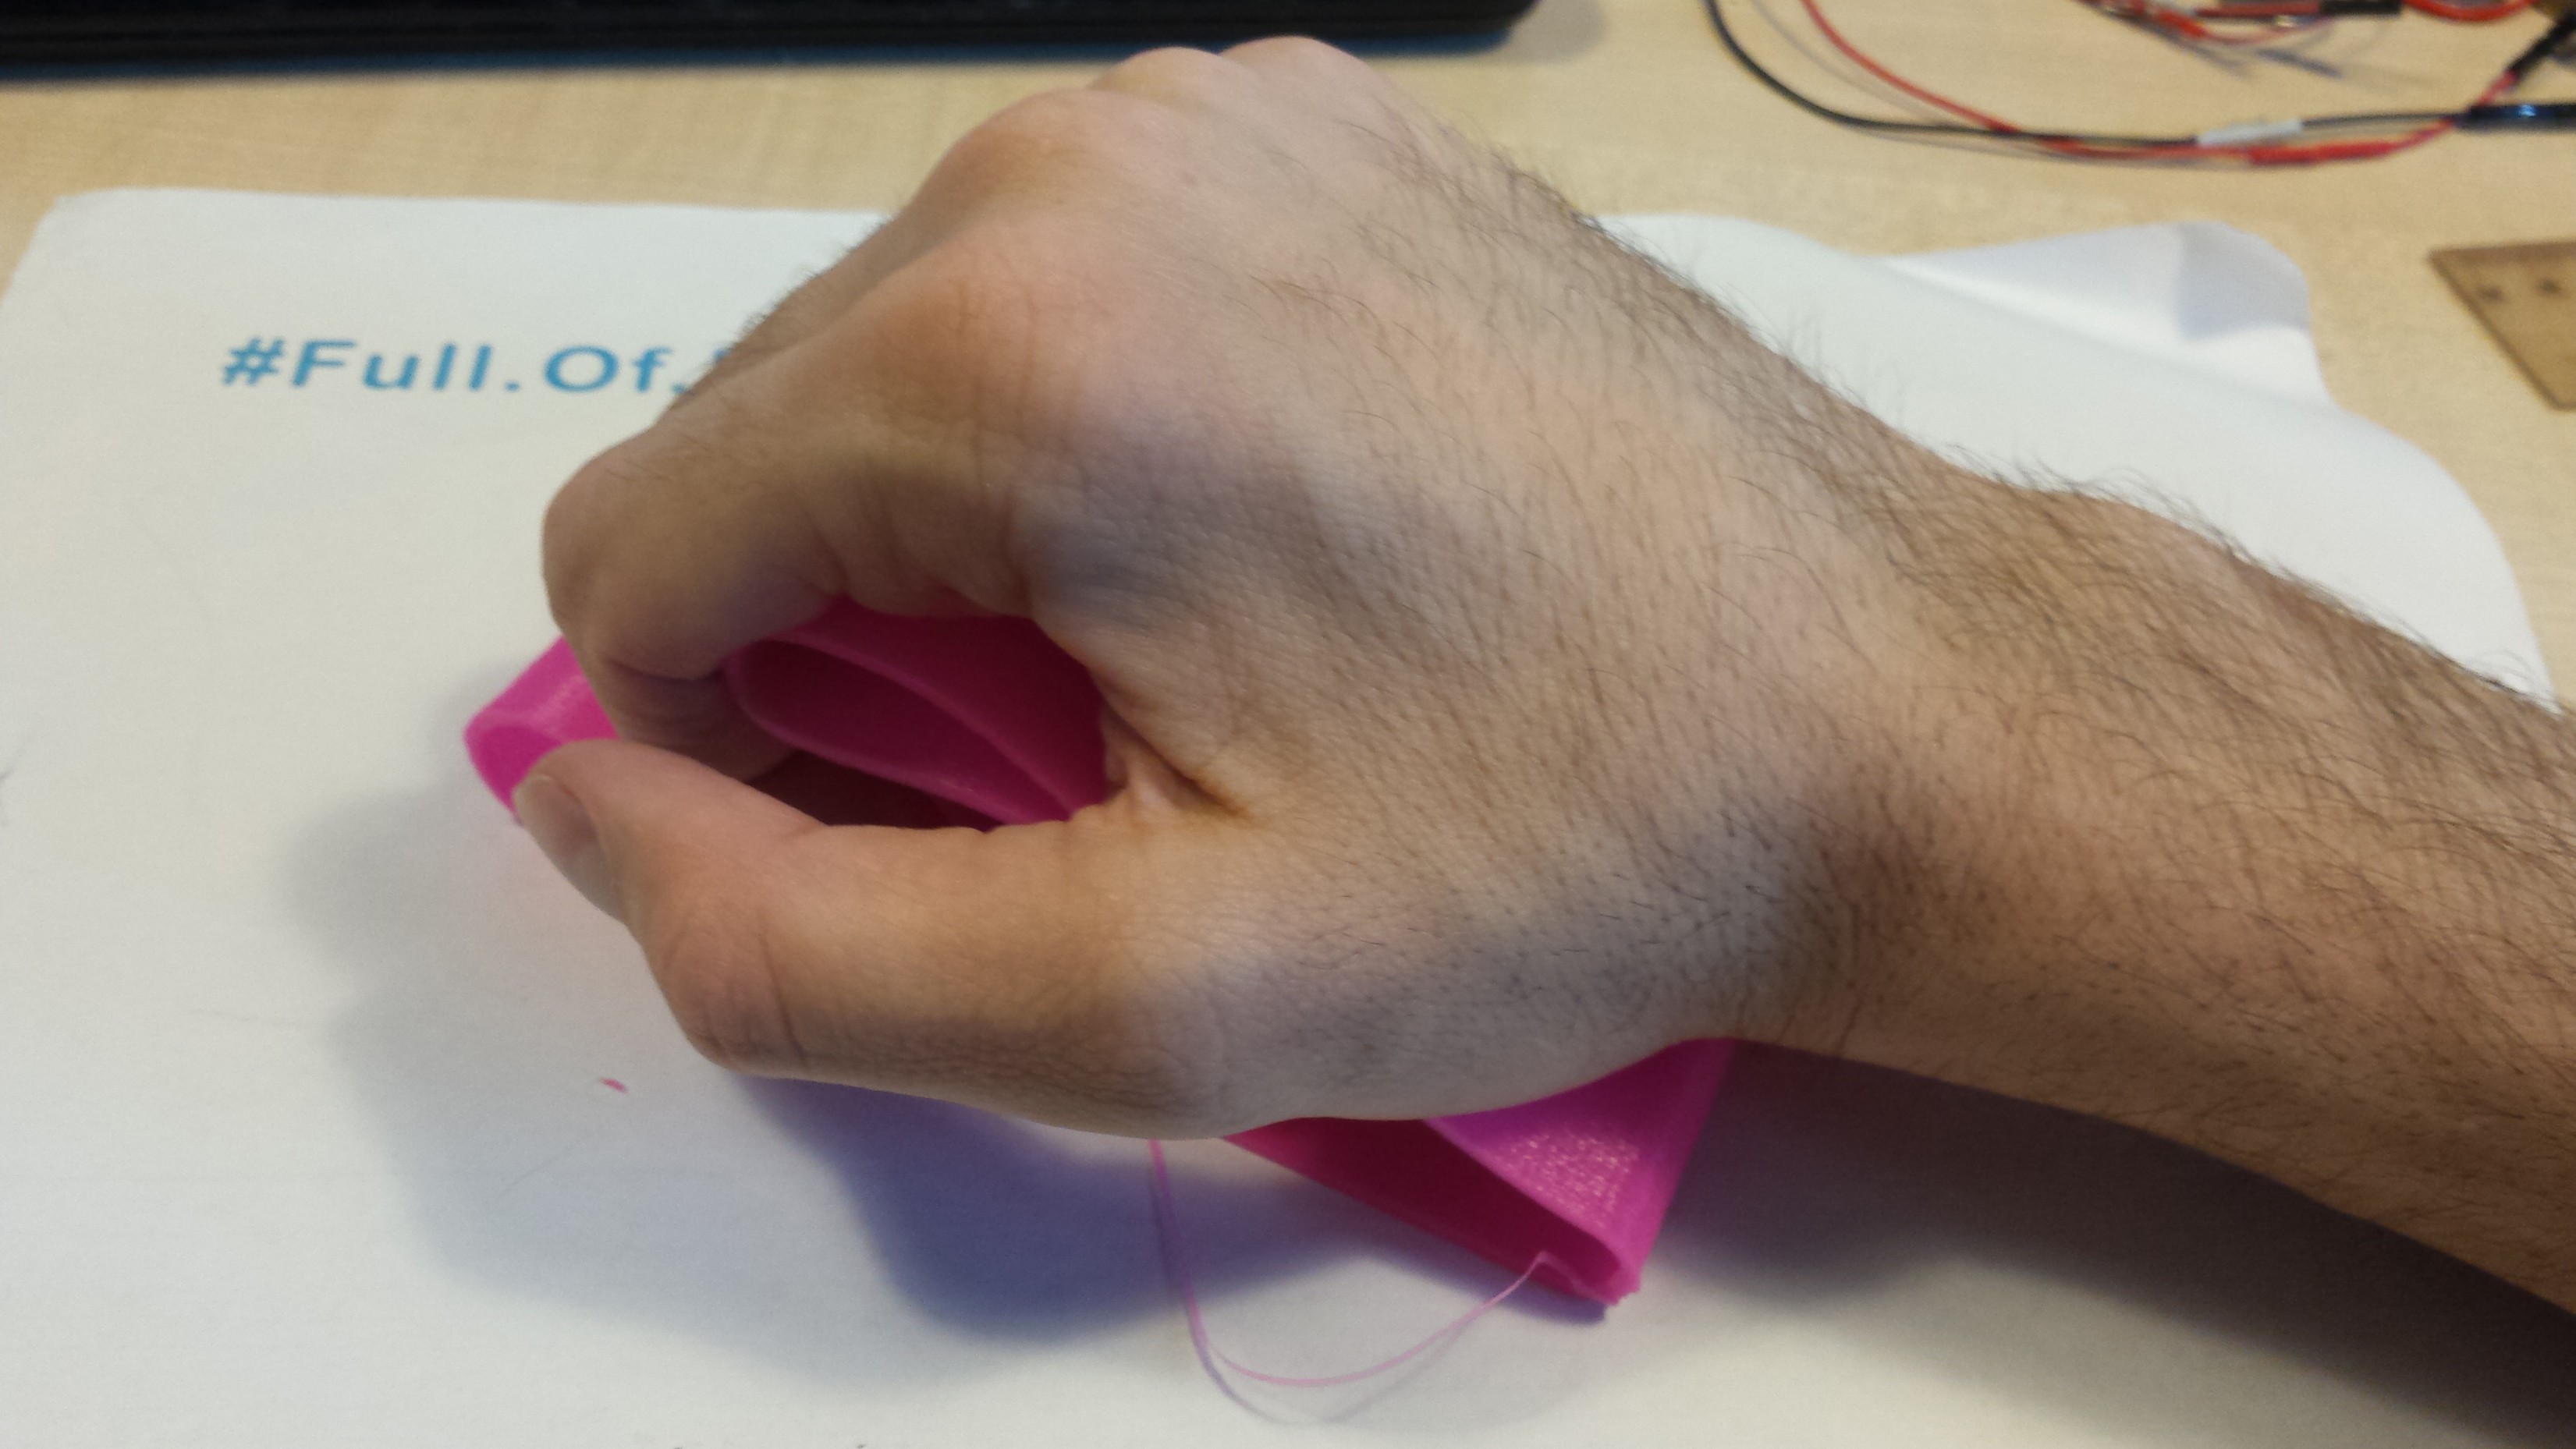
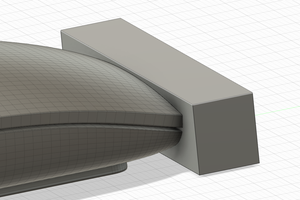
In my conception I moved push buttons to the back of mouse. He or she will be pressing buttons by the pillows near wrists. Mouse "will catch" hand by hook(like on the image) or belt on turnips,

I came up with this idea, because years ago I liked to play CS. Now it's impossible. So I decided to make my own adjustable gaming platform. It will simplify making graphic too(like Photoshop, After Effects or Cinema 4D). I will realize all the work in two projects: Disabled / Quadriplegic Mouse Concept and Adjustable Gaming Platform.

This one - The Mouse will:

  • be 3d printed,
  • using old hardware,
  • have adjustable elements like handler or buttons levels,
  • simple to make for everyone.

I will try to make as many versions as I can imagine.

=== What it gives to the world?: ===

  • opportunity of fun for those, who dont have much,
  • bigger productivity for disabled in computer work,
  • TIME (Disabled are very slow, because every moment they fight with their body. Any saved second is very precious. ).

Assistive mouse 1.0 prototype on Thingiverse
https://www.thingiverse.com/thing:2515768

top_right.stl

Standard Tesselated Geometry - 1.06 MB - 09/03/2017 at 21:55

Download

battery_holder_0_1.stl

Standard Tesselated Geometry - 484.55 kB - 09/03/2017 at 21:55

Download

top_middle.stl

Standard Tesselated Geometry - 349.98 kB - 09/03/2017 at 21:55

Download

top_left.stl

Standard Tesselated Geometry - 725.38 kB - 09/03/2017 at 21:55

Download

button_right_1.stl

Standard Tesselated Geometry - 165.71 kB - 09/03/2017 at 21:55

Download

View all 8 files

  • 1 × 3d prinnter
  • 1 × old mouse electronics
  • 1 × Fusion 360
  • 1 × glue
  • 1 × mouse sliders

View all 5 project logs

  • 1
    STEP 1.0 - Adopting old mouse

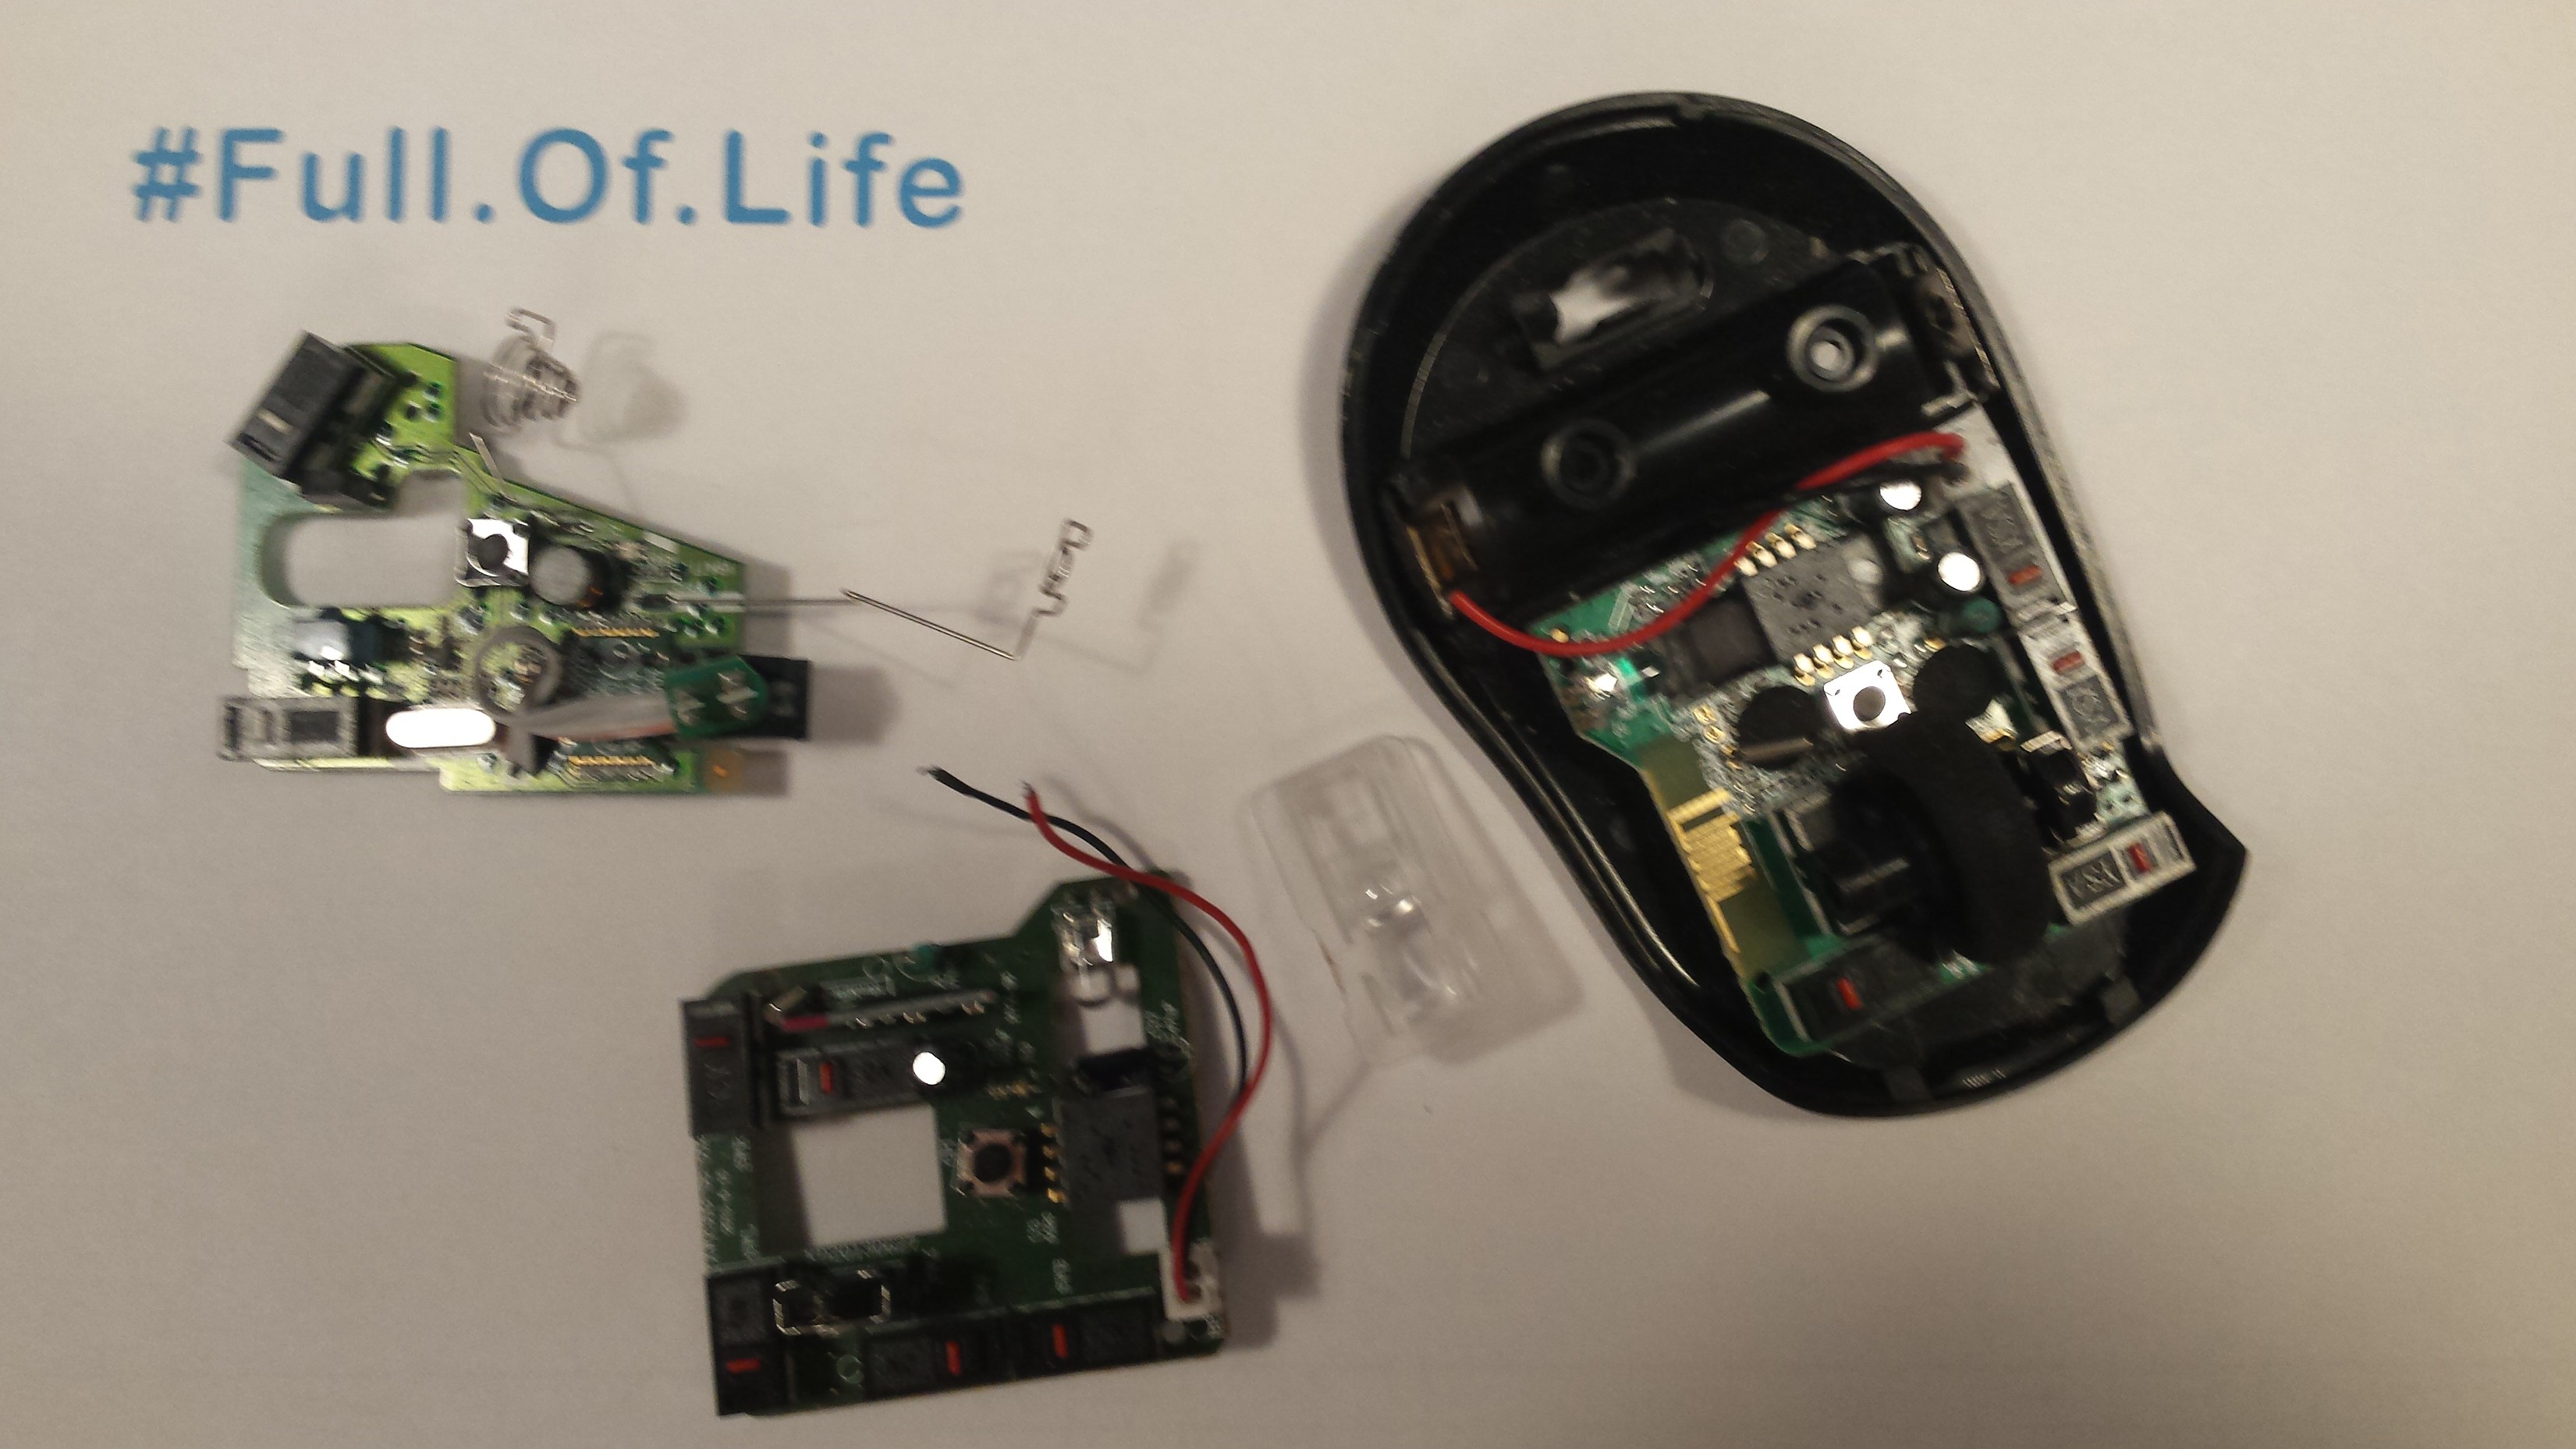
    I had 3 old broken mouse. Two of them was "cheap Chinese" and one Logitech M235. All of them had something broken.  One was totally dead.


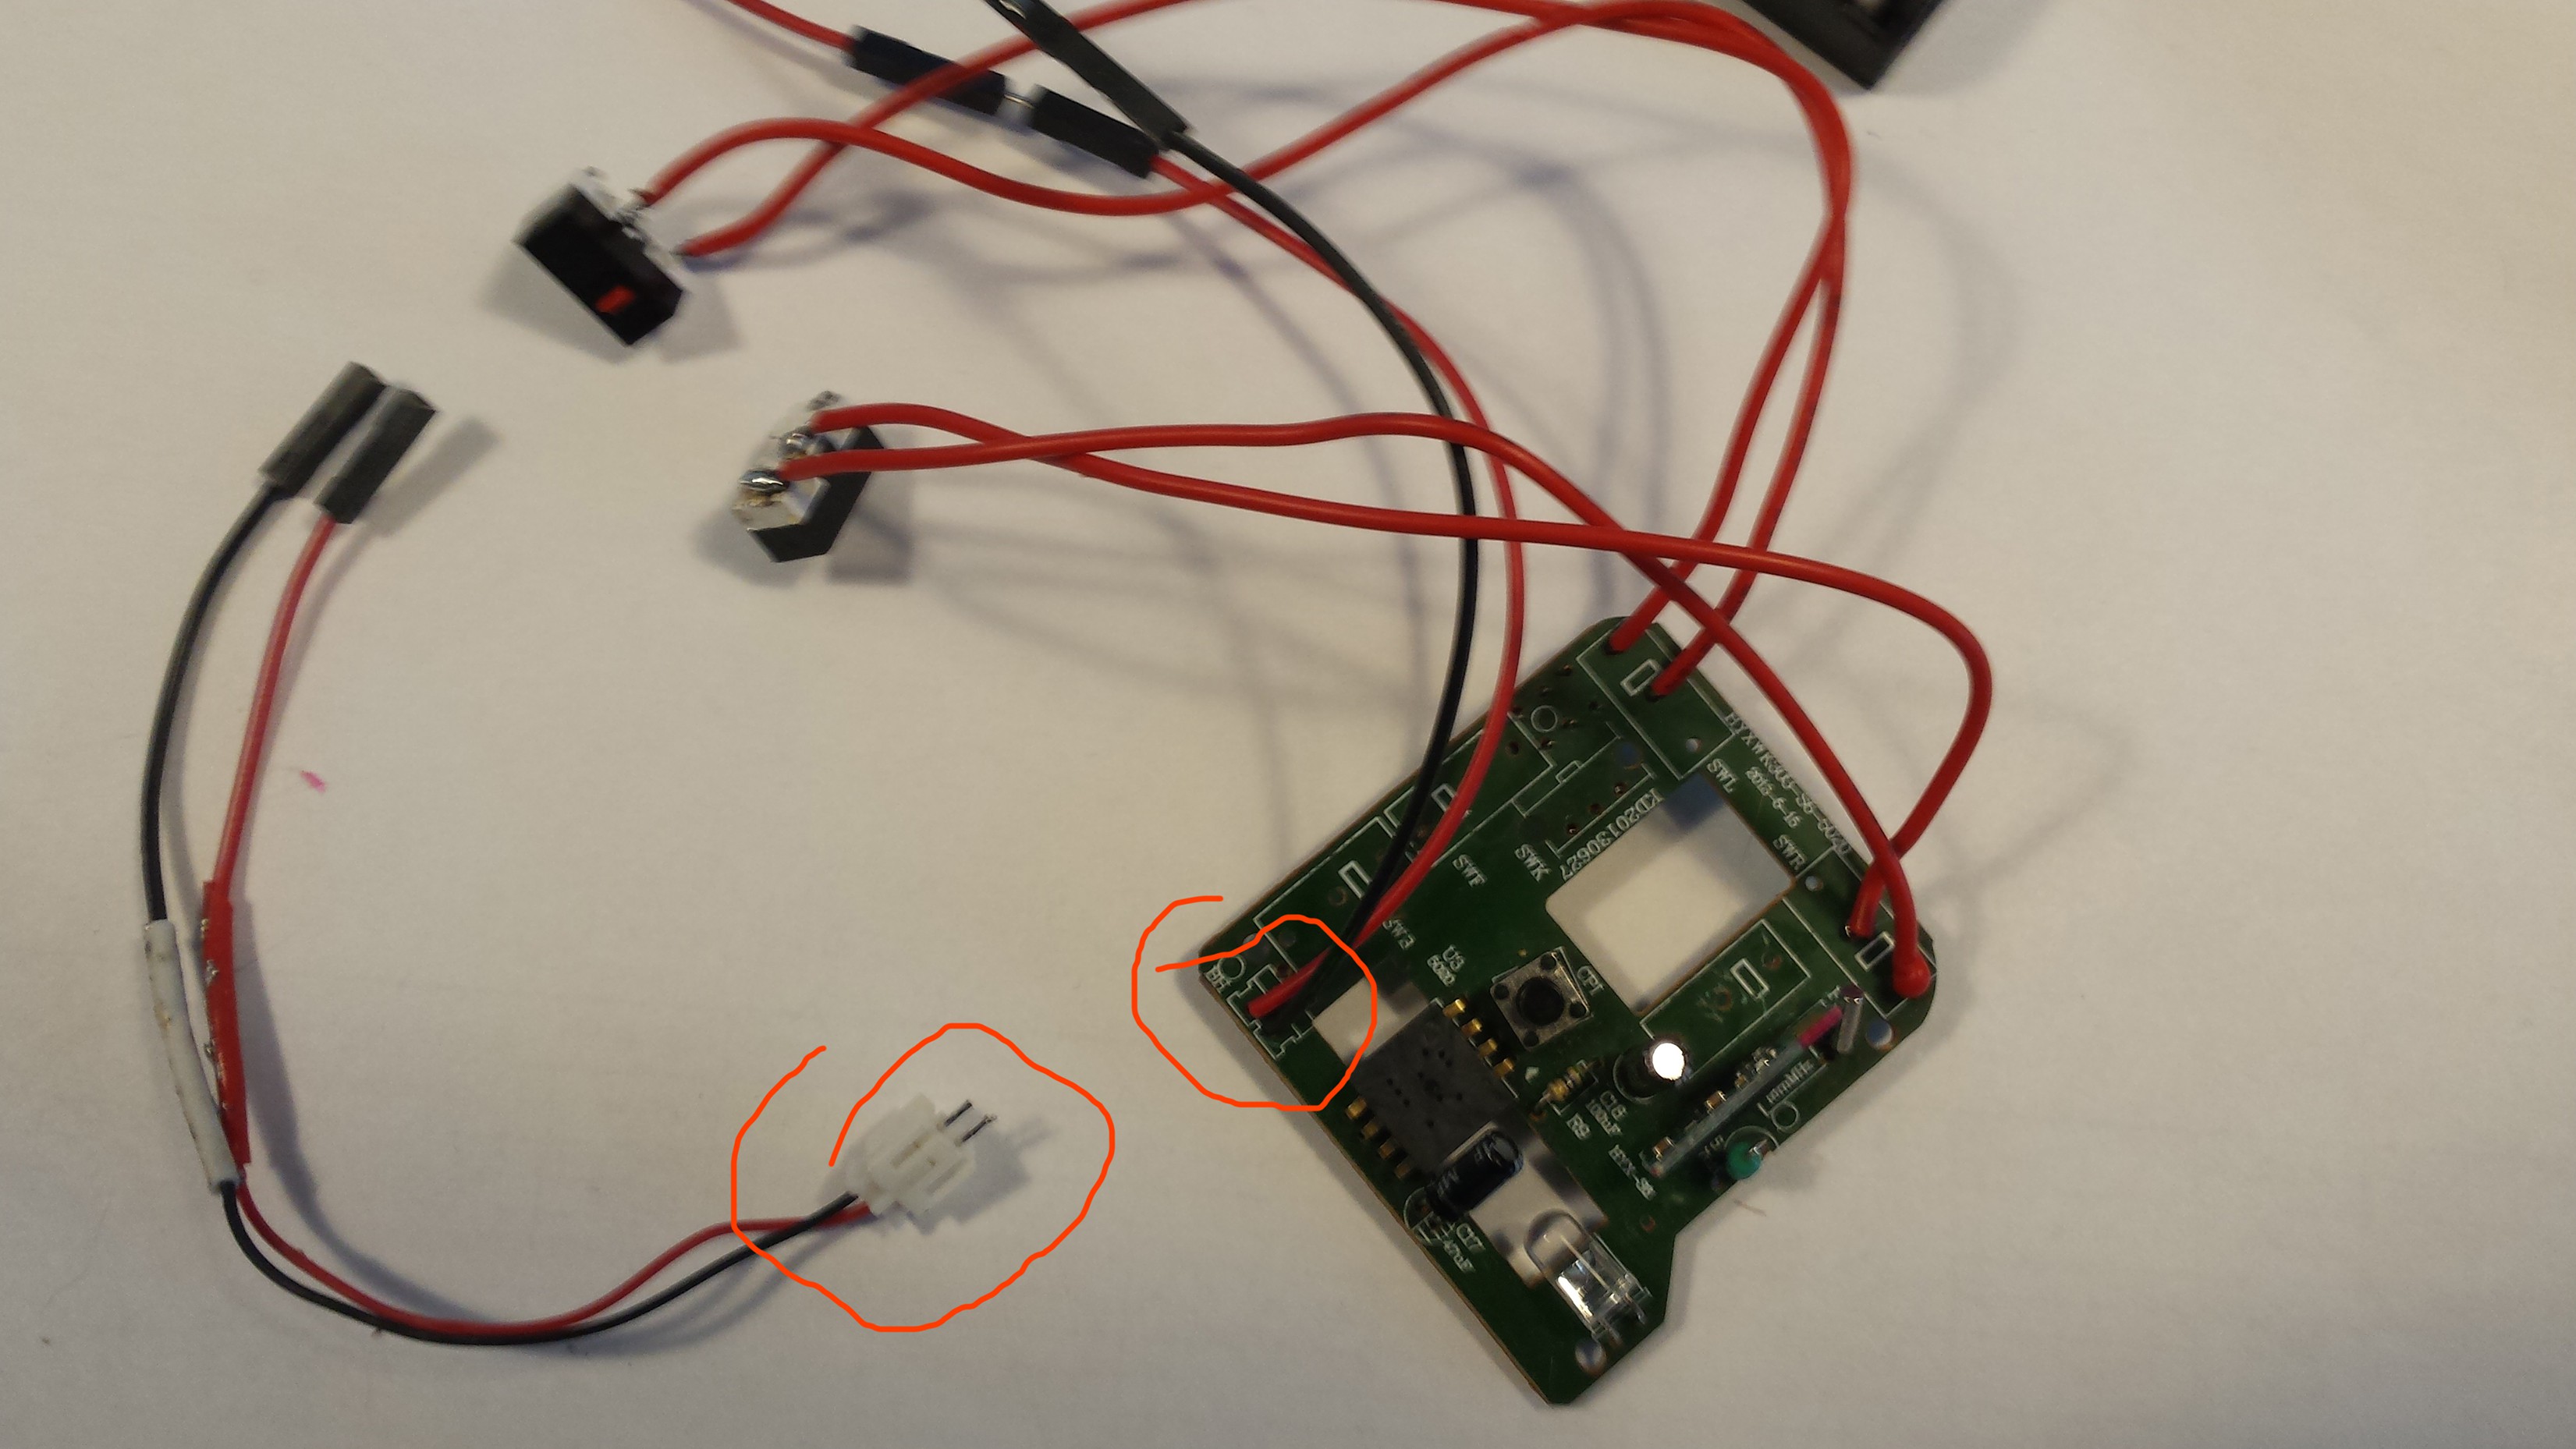
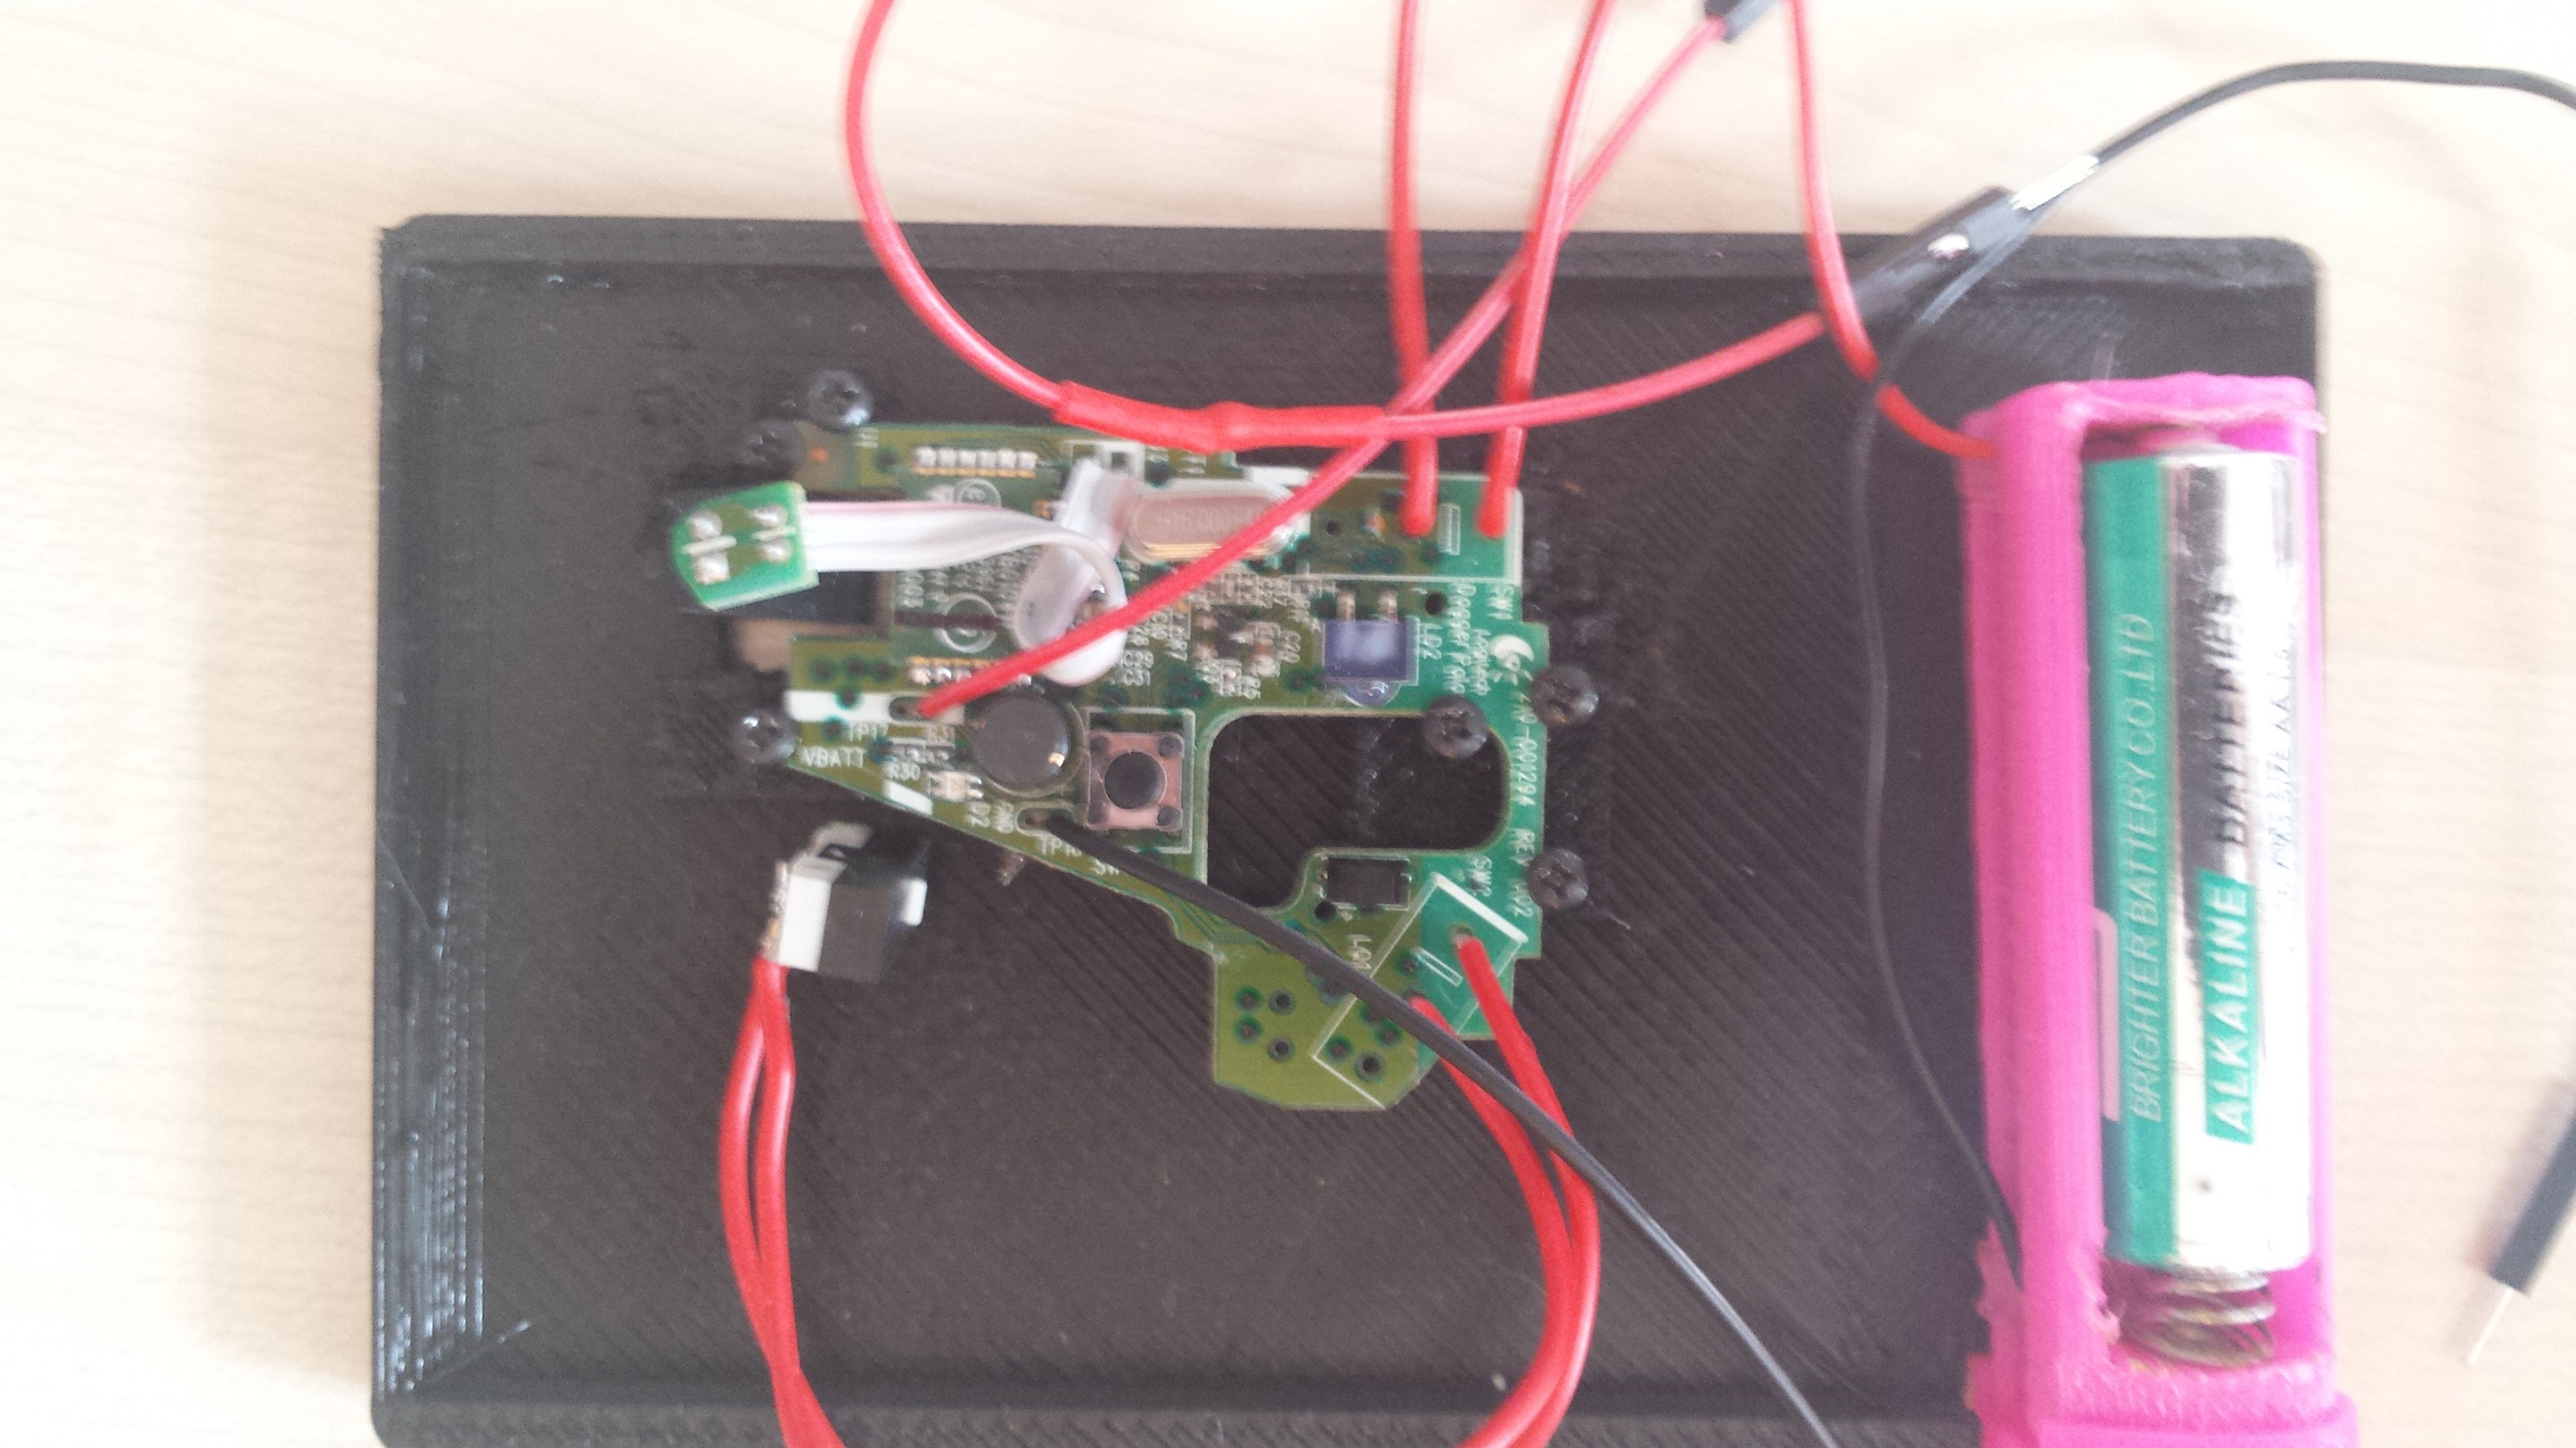
    I took out electronics and I soldered out everything what unnecessary. I took scroll and all buttons.  If You soldering mouse like Logitech You have to look out, because it is very delicate. I got rid of one track from the temperature, but I saved it with glue. Then in I soldered 4  wires in place of left and right button and on the end of them wires I soldered the buttons. But before that, I bent the pins.


    I dont know yet a real shape, so it will be flexible with long wires. At the end I soldered the battery wires. When I finished it was looking like on the picture bellow.


    Next step will be "Looking for best shape".

    Edit:

    I removed fast switch plug, because it took too much space and soldered two wires.

  • 2
    STEP 2.0 - Looking for best shape(basic shape)

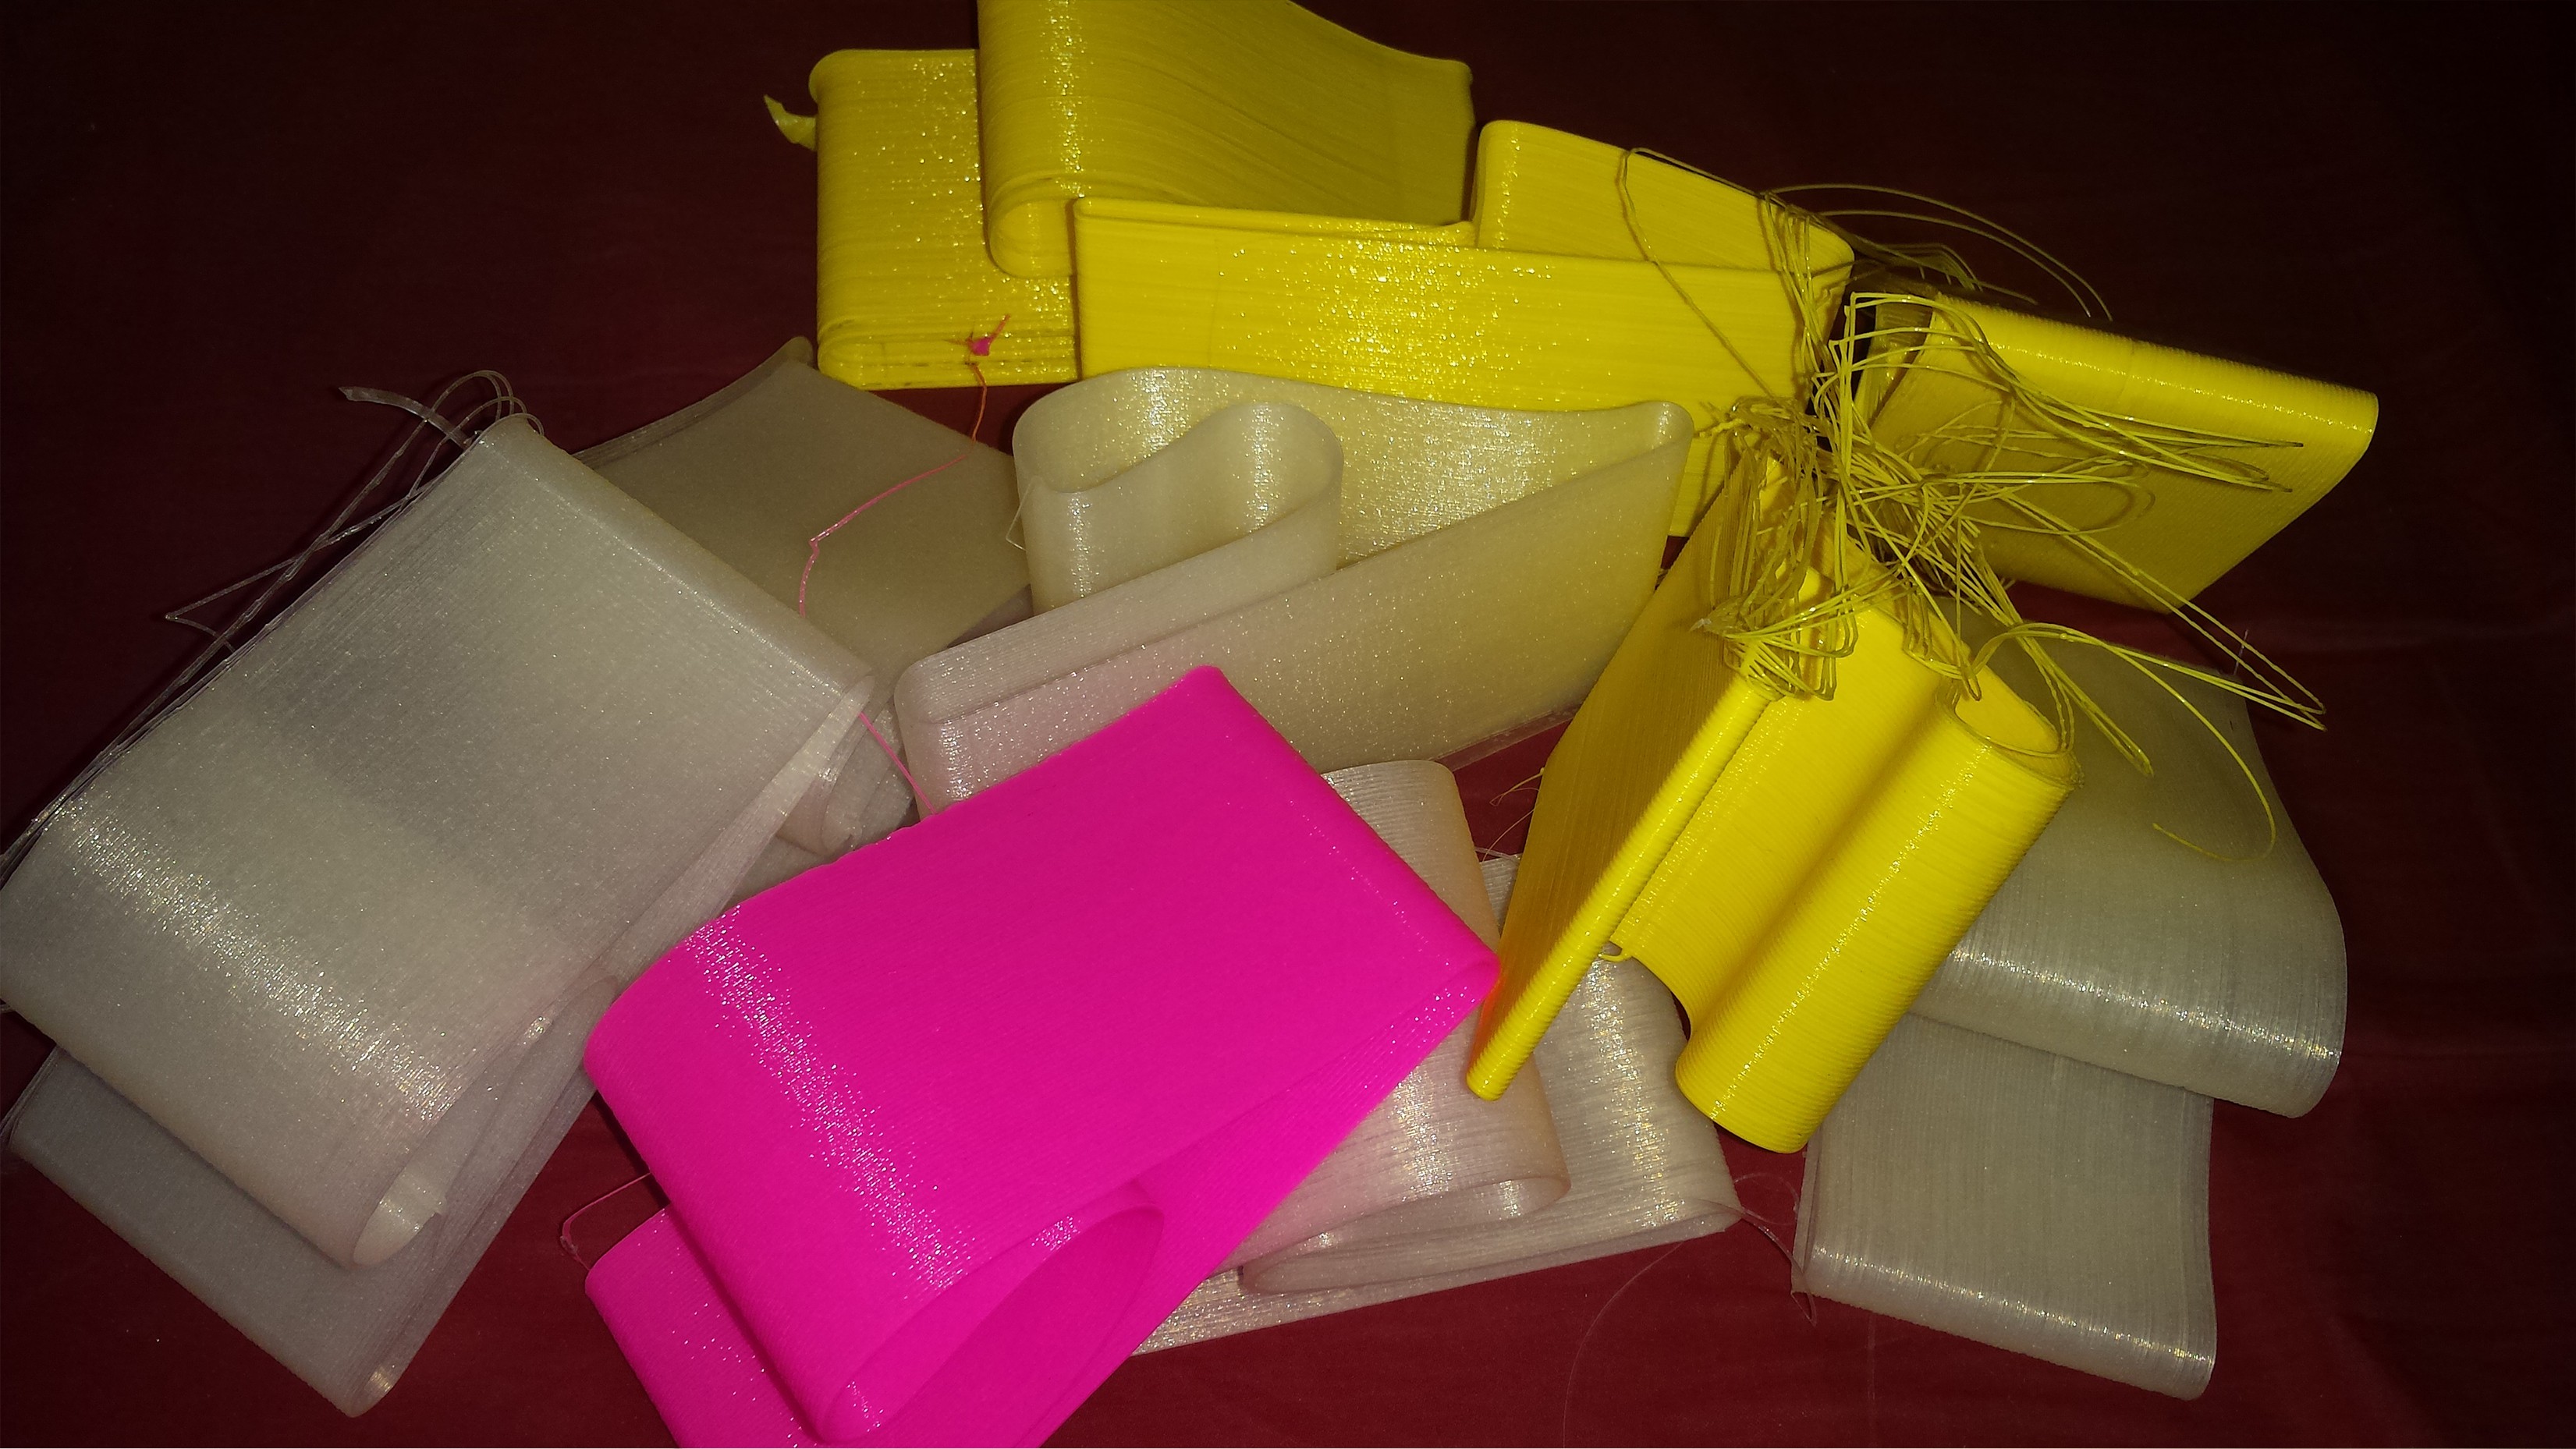
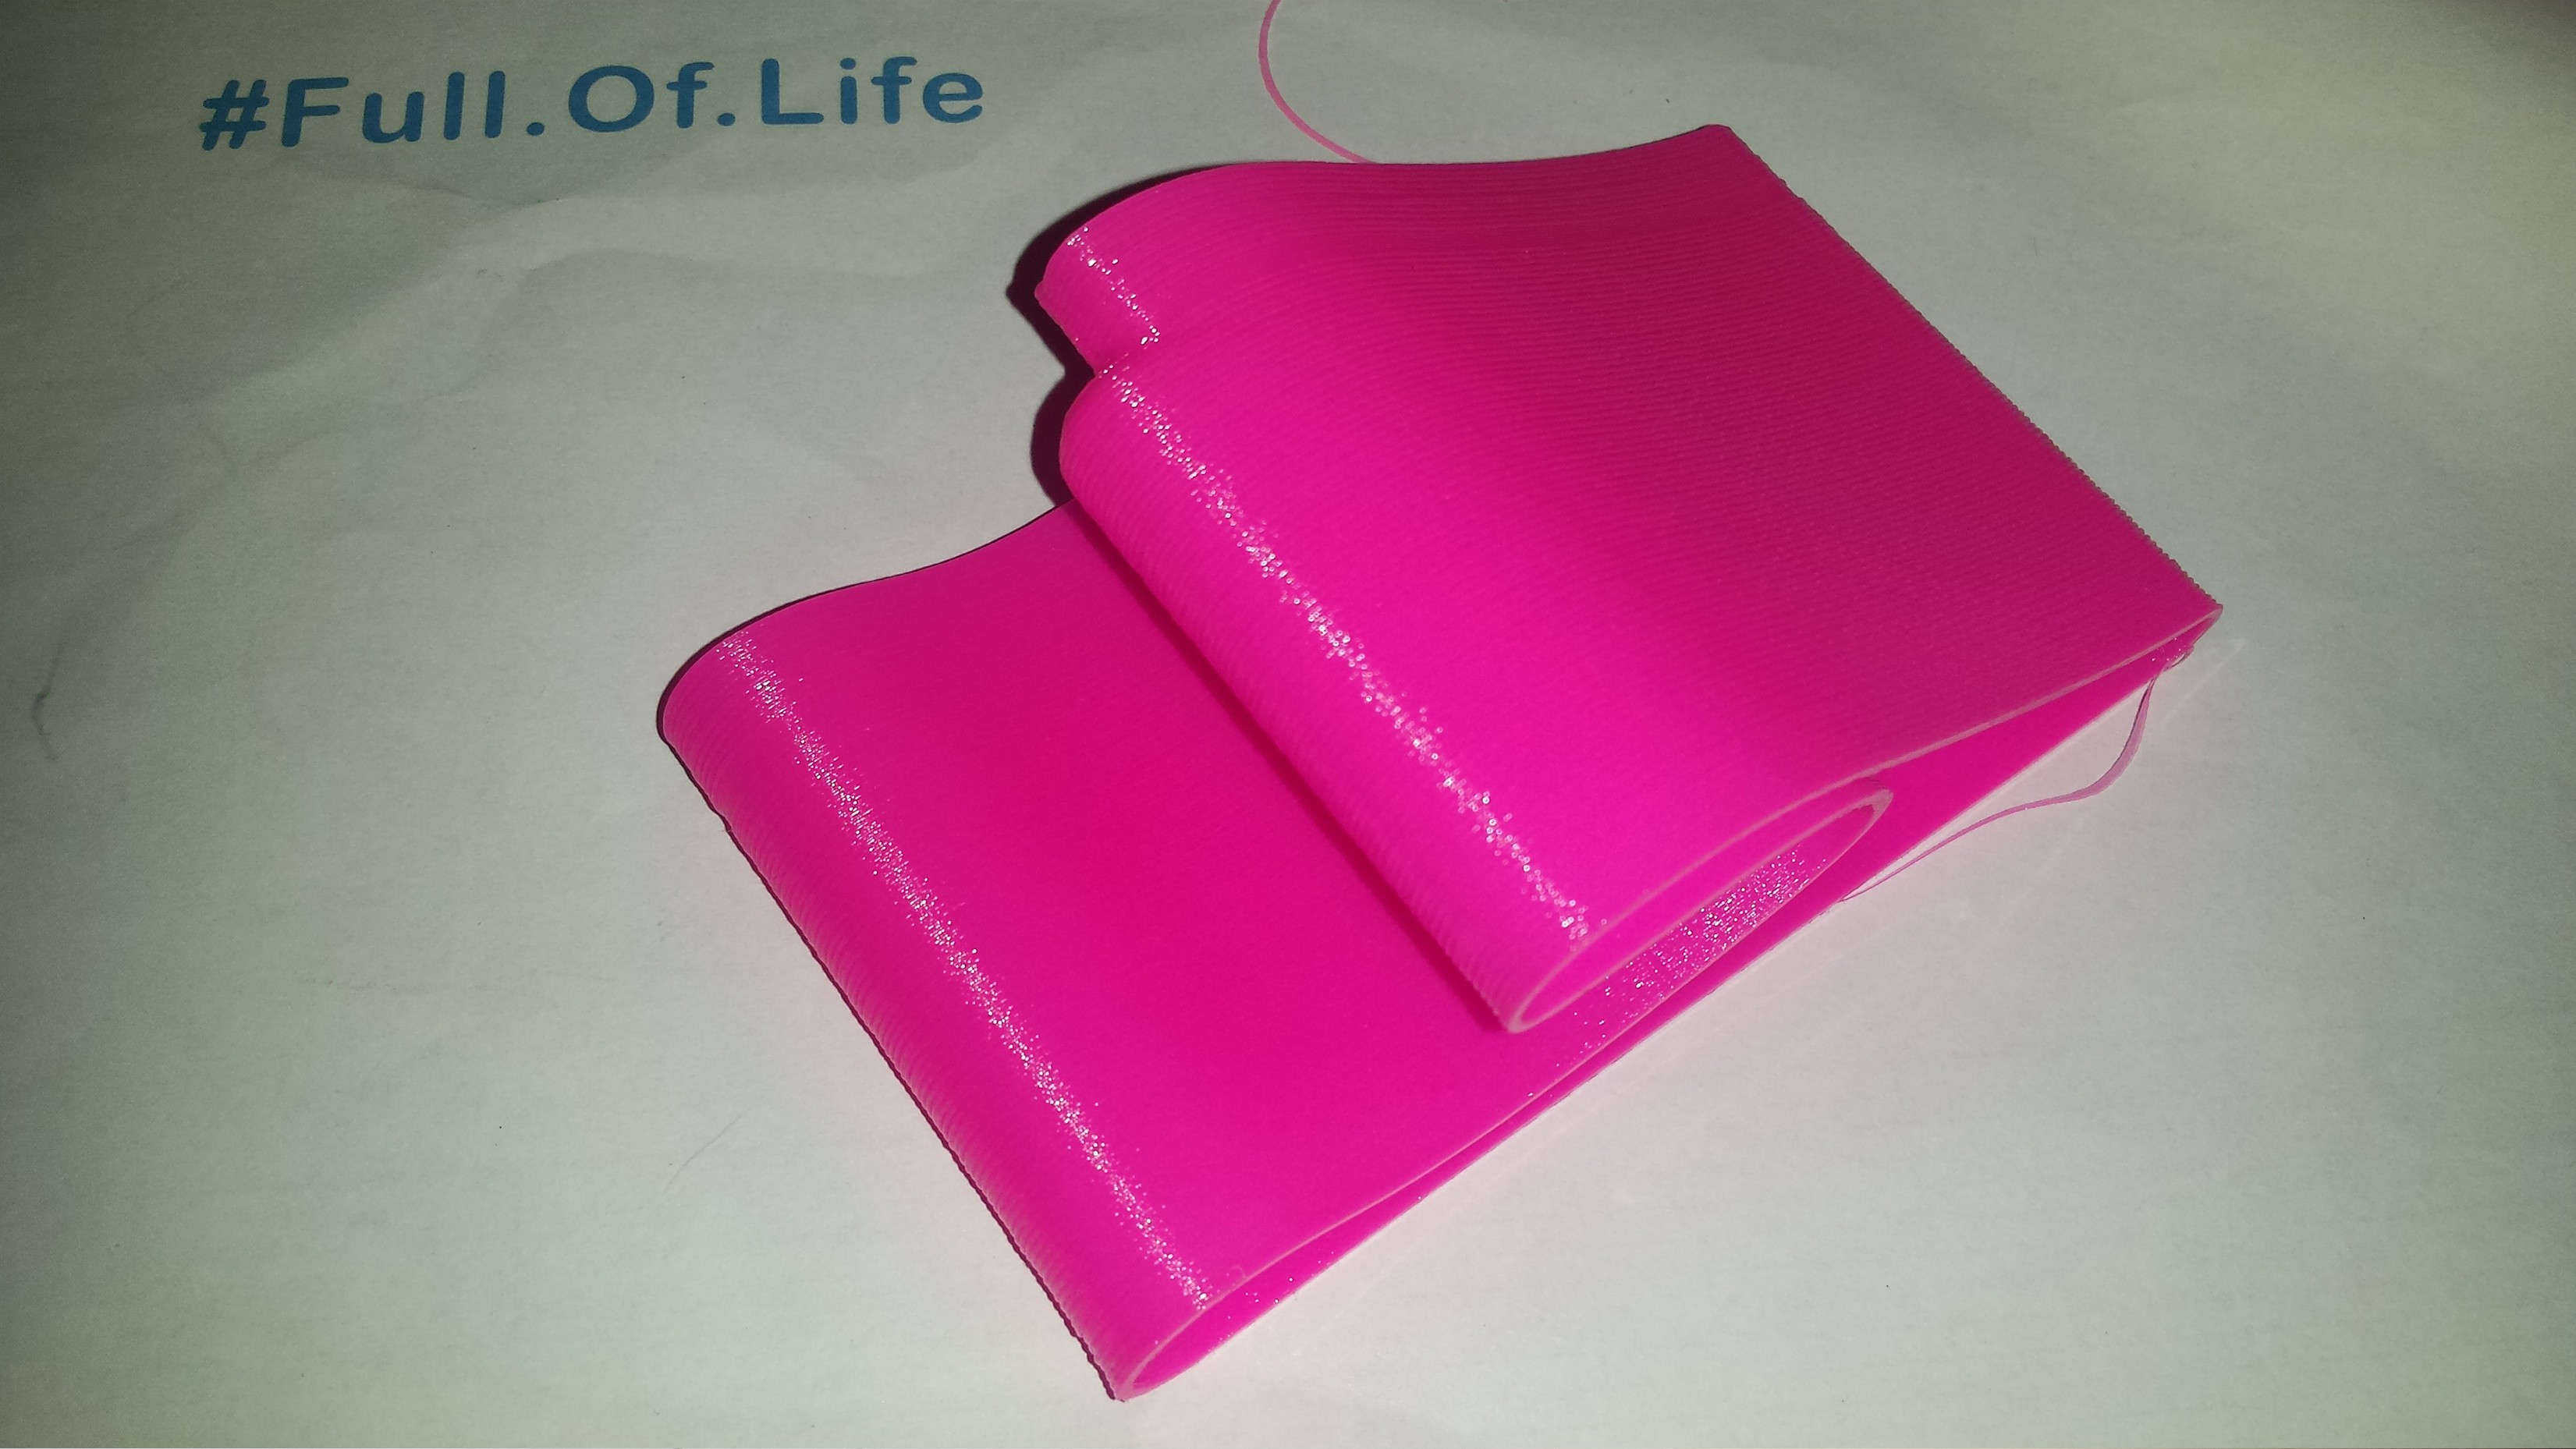
    After many tries ...

    ... finally I've made basic shape. In the future it will be evolve, but for now is enough.

    to be continued...
  • 3
    STEP 3.0 - Mouse bottom and battery holder

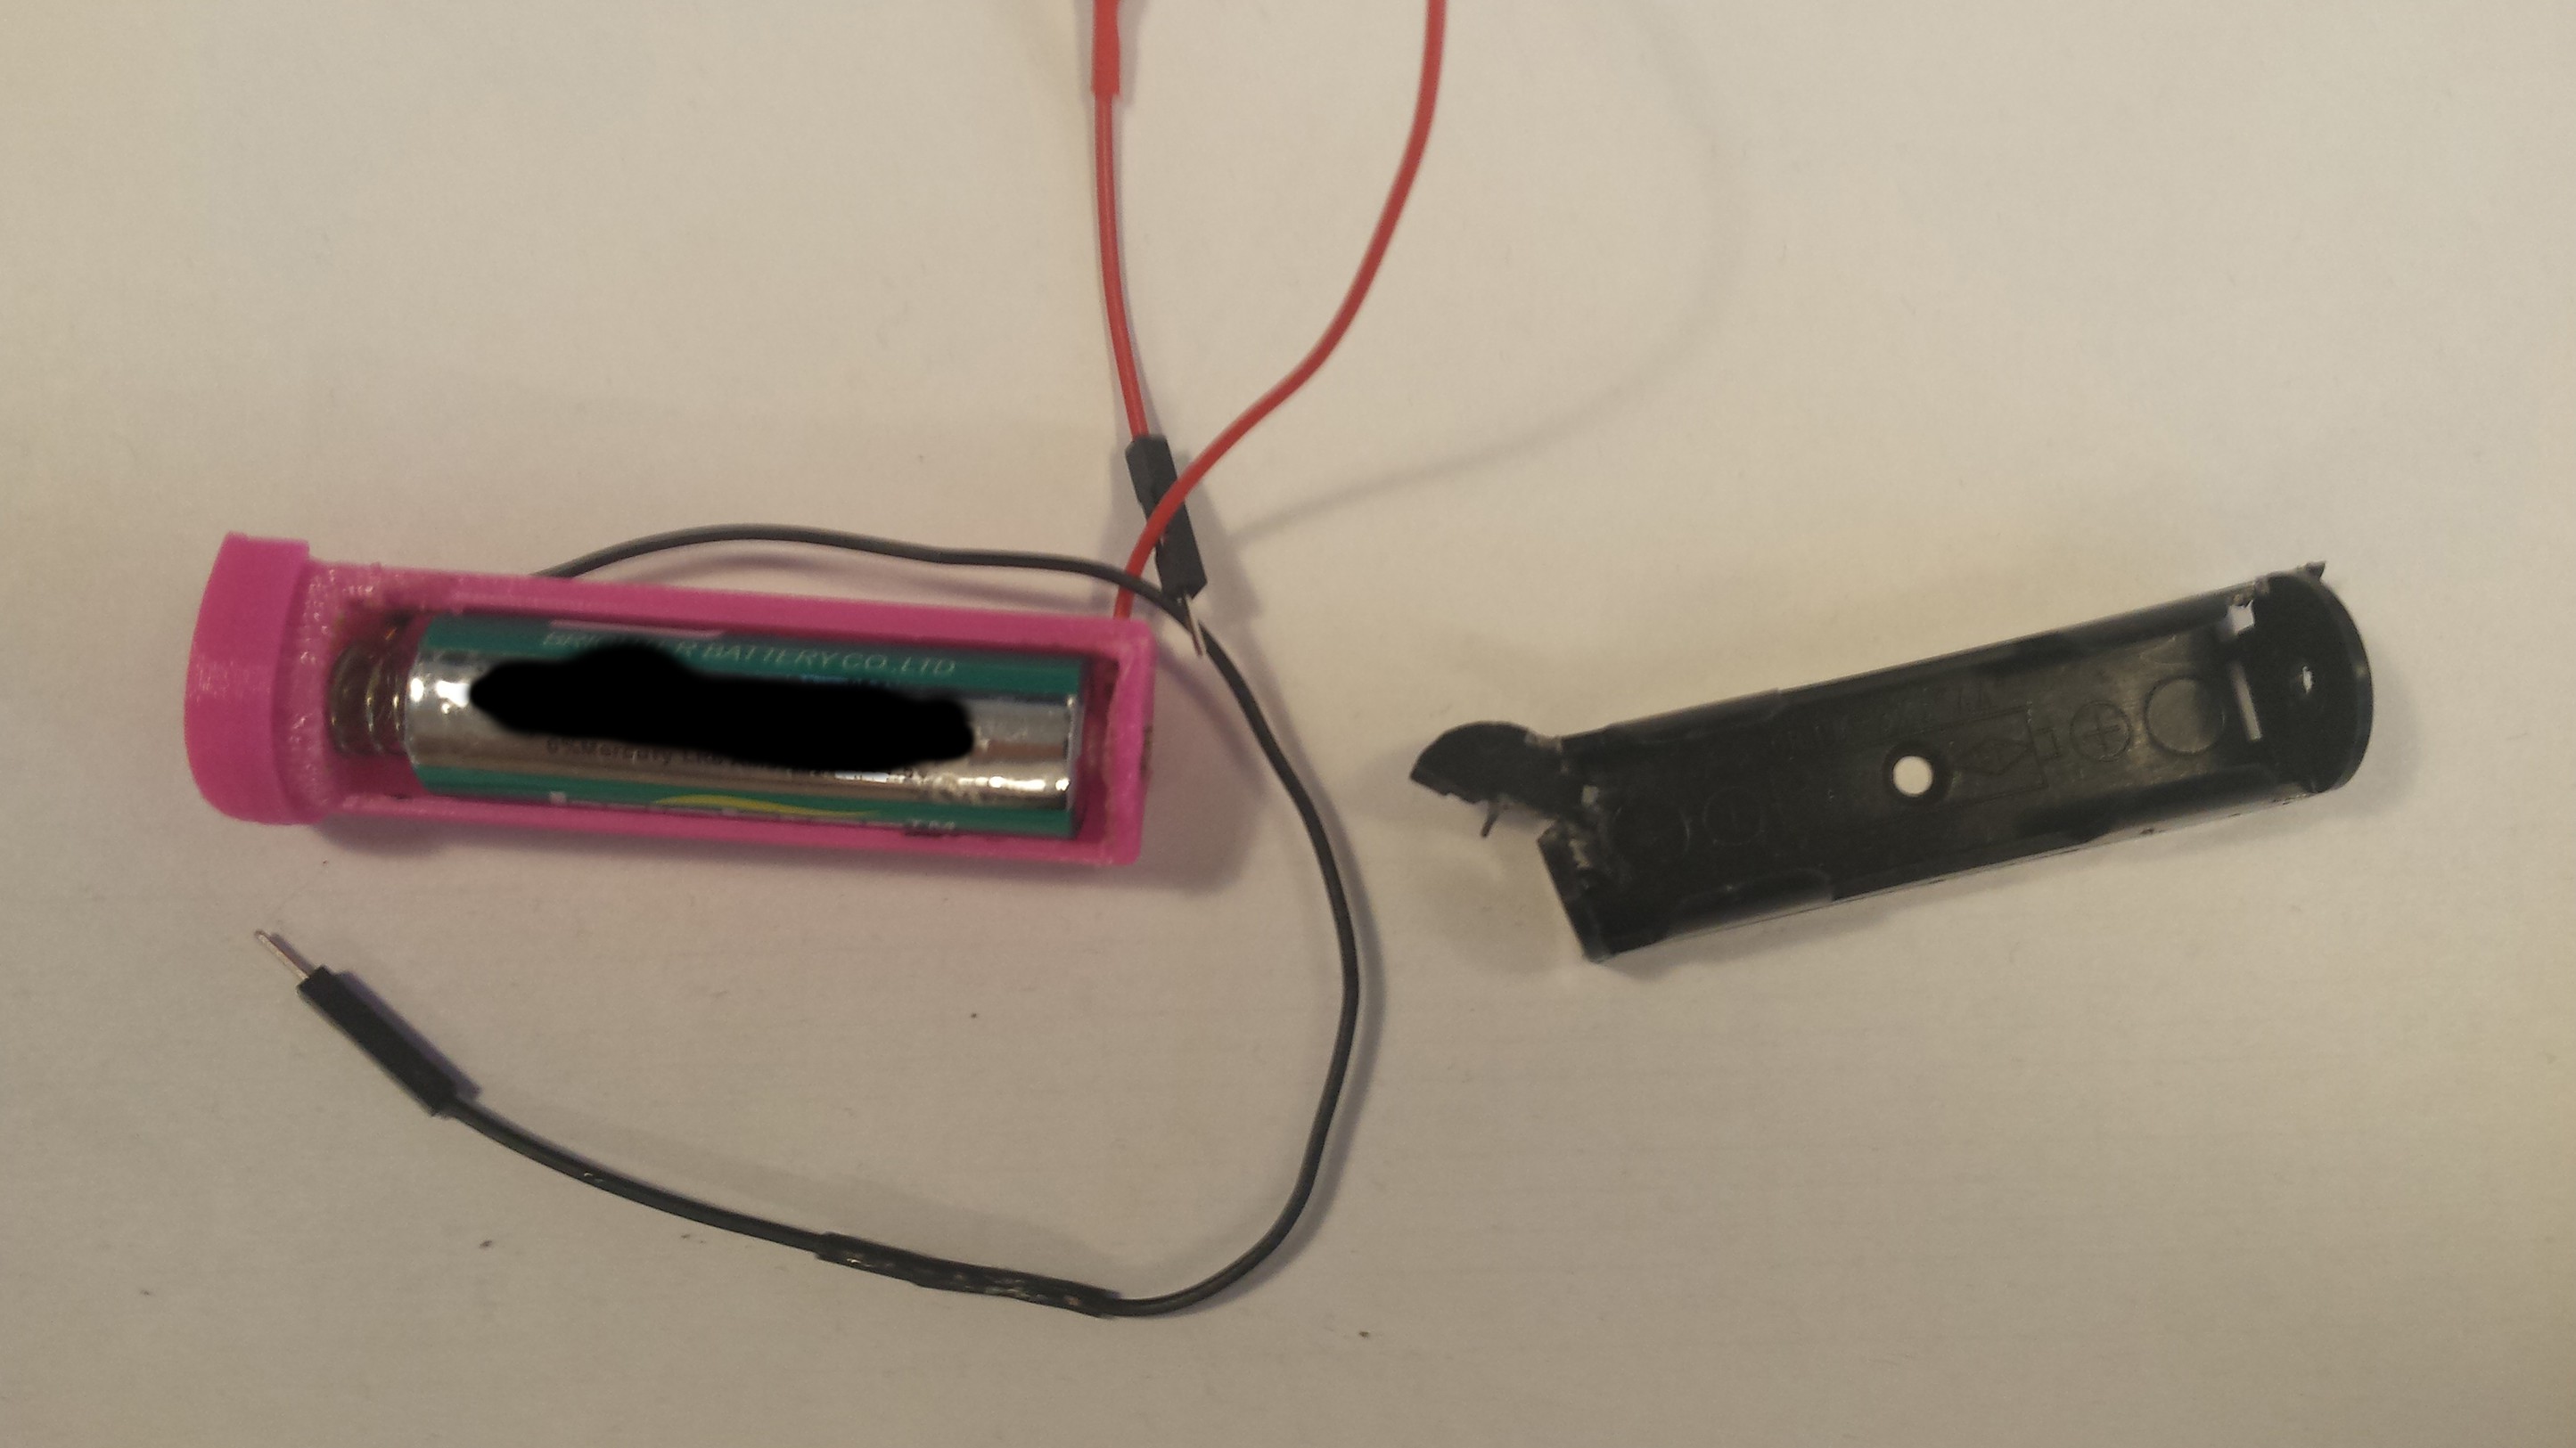
    At the beginning I took "plus" and "minus" form battery holder and put it to my new one.

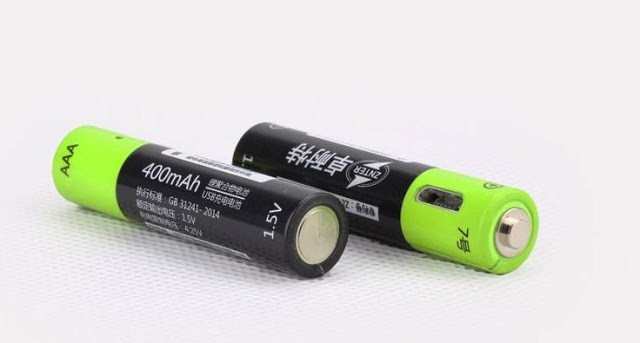
    Then I attached electronics to the bottom of the mouse. I did it in very simple way. I used the 6mm screws. But if You follow You can use even glue. It first prototype so I take what I have. Also in second one I would like to use those usb rechagerable AAA battery, which I found few days ago on Aliexpress.


    Like You see battery will slide  into the mouse. Hope so. ;)

View all 5 instructions

Enjoy this project?

Share

Discussions

Similar Projects

Does this project spark your interest?

Become a member to follow this project and never miss any updates