-
1STEP 1.0 - Adopting old mouse
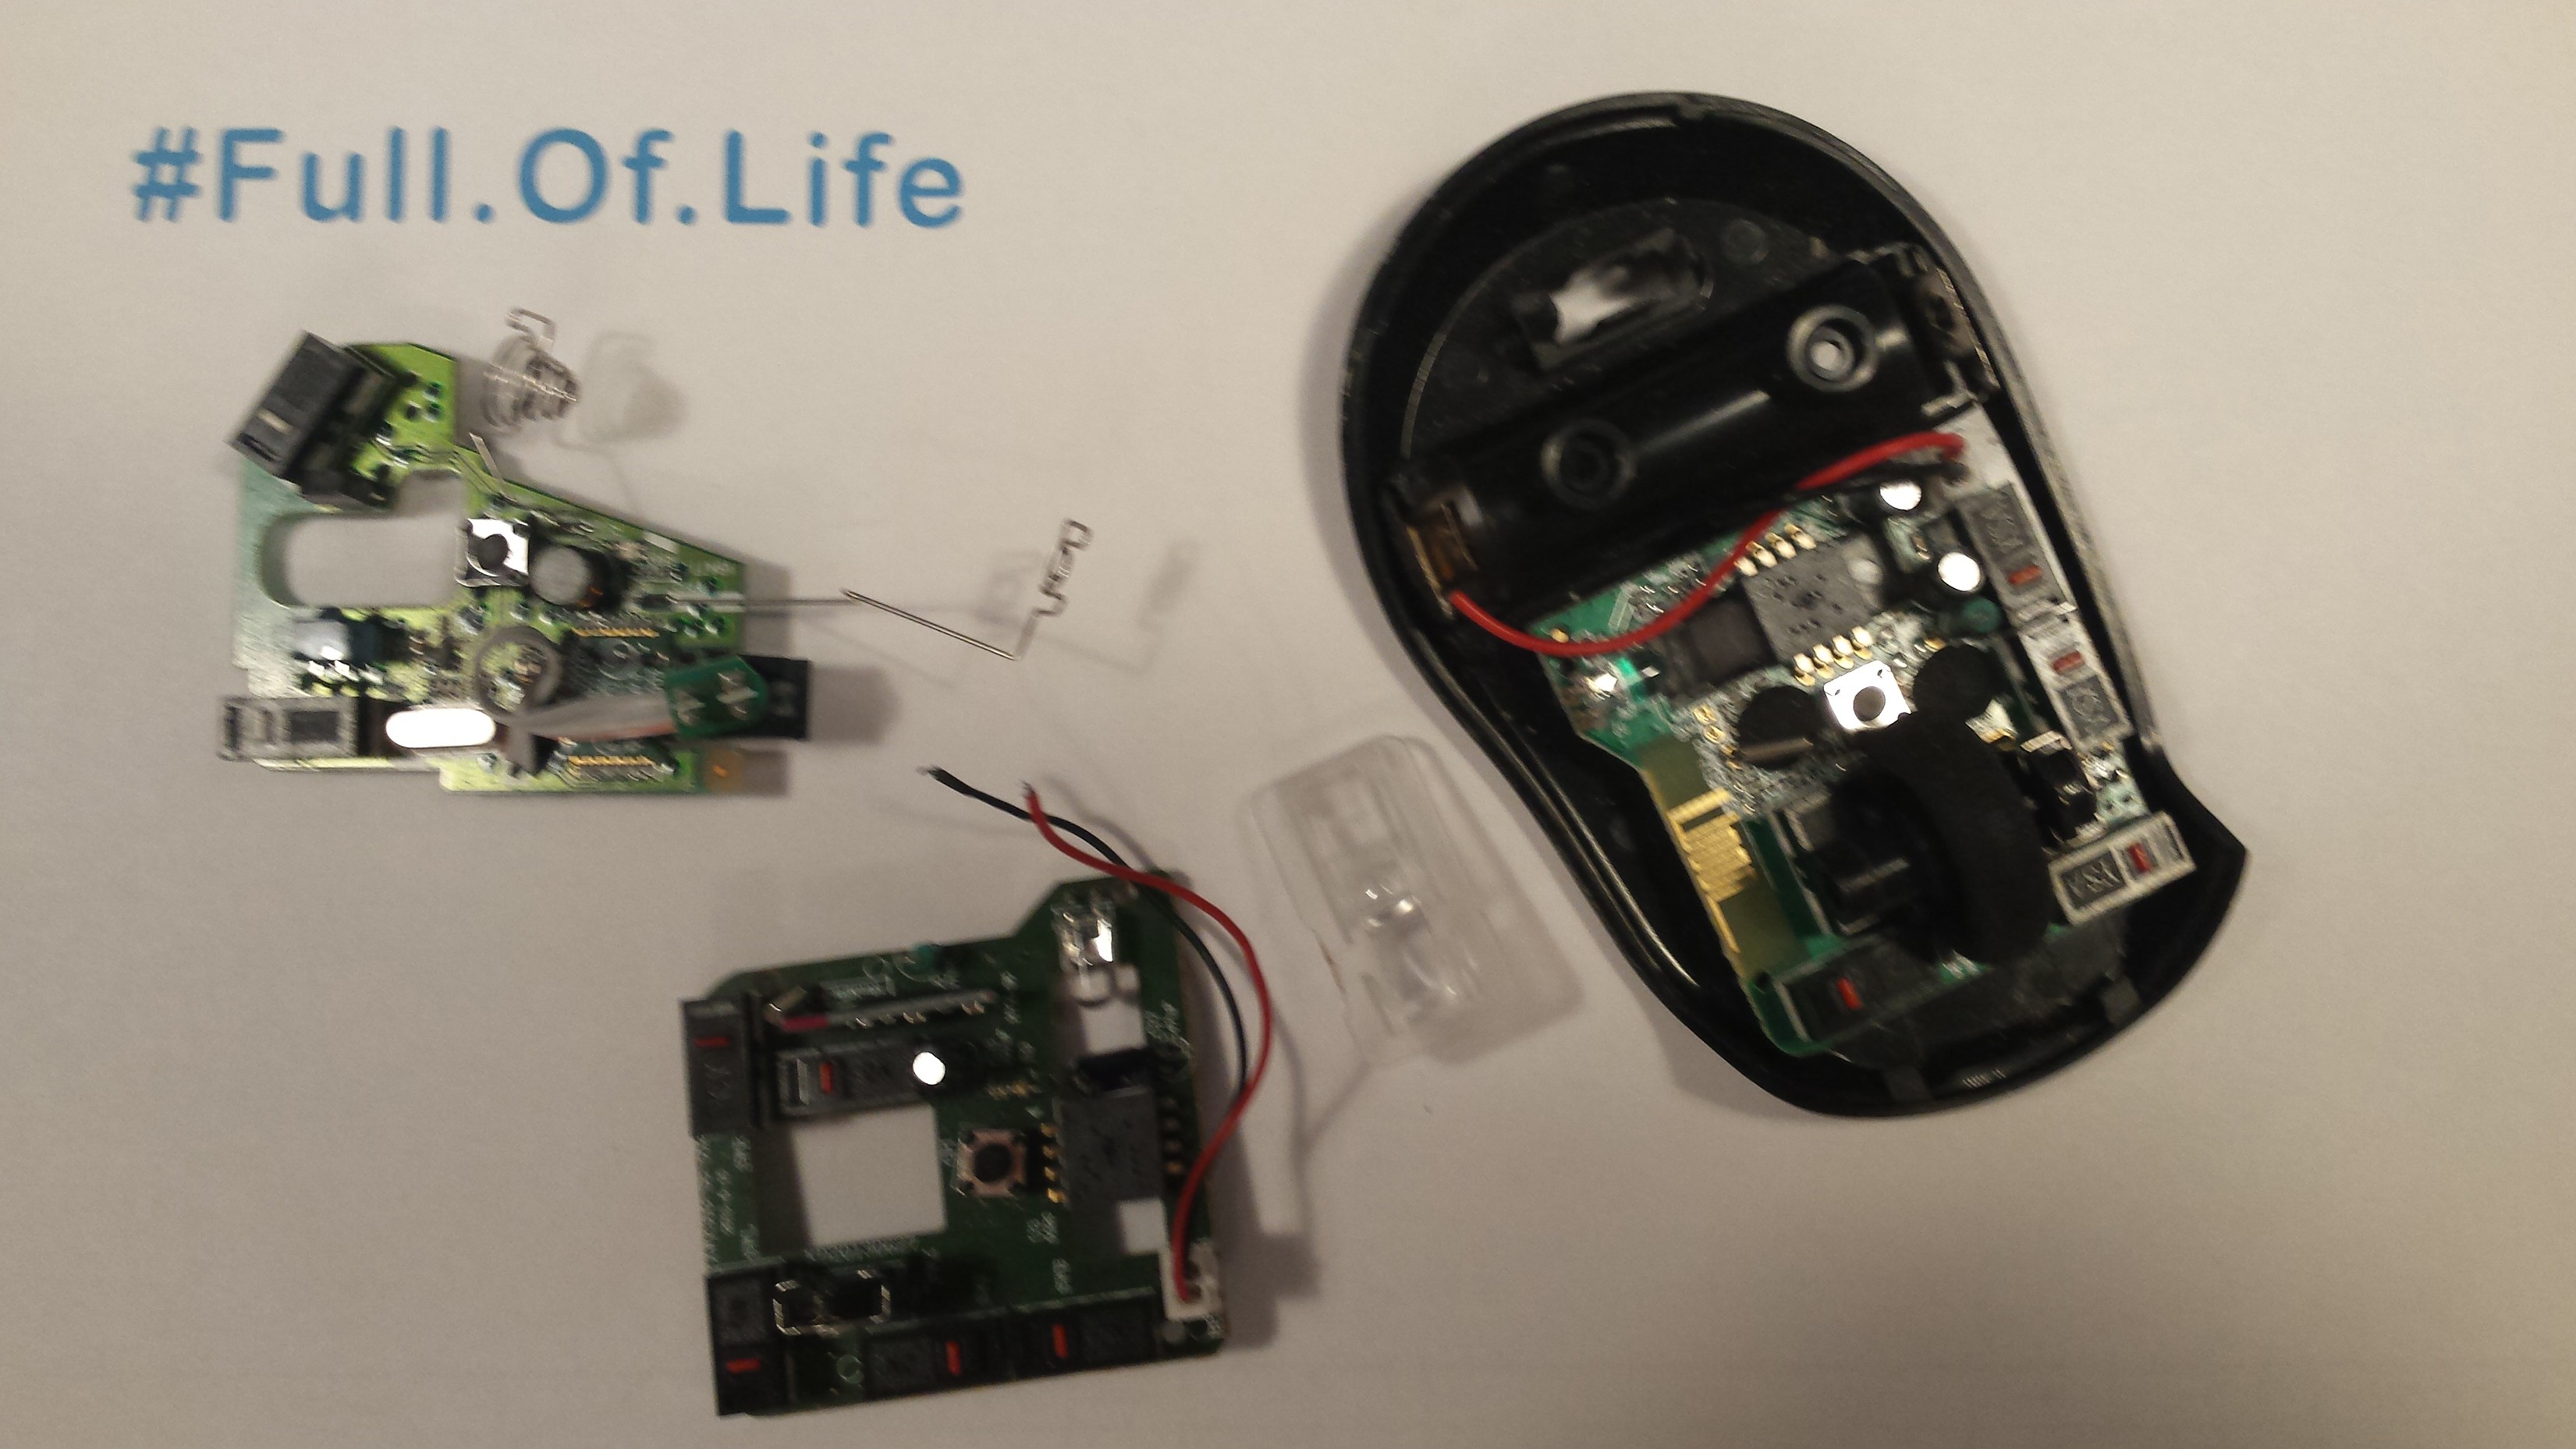
I had 3 old broken mouse. Two of them was "cheap Chinese" and one Logitech M235. All of them had something broken. One was totally dead.
![]()
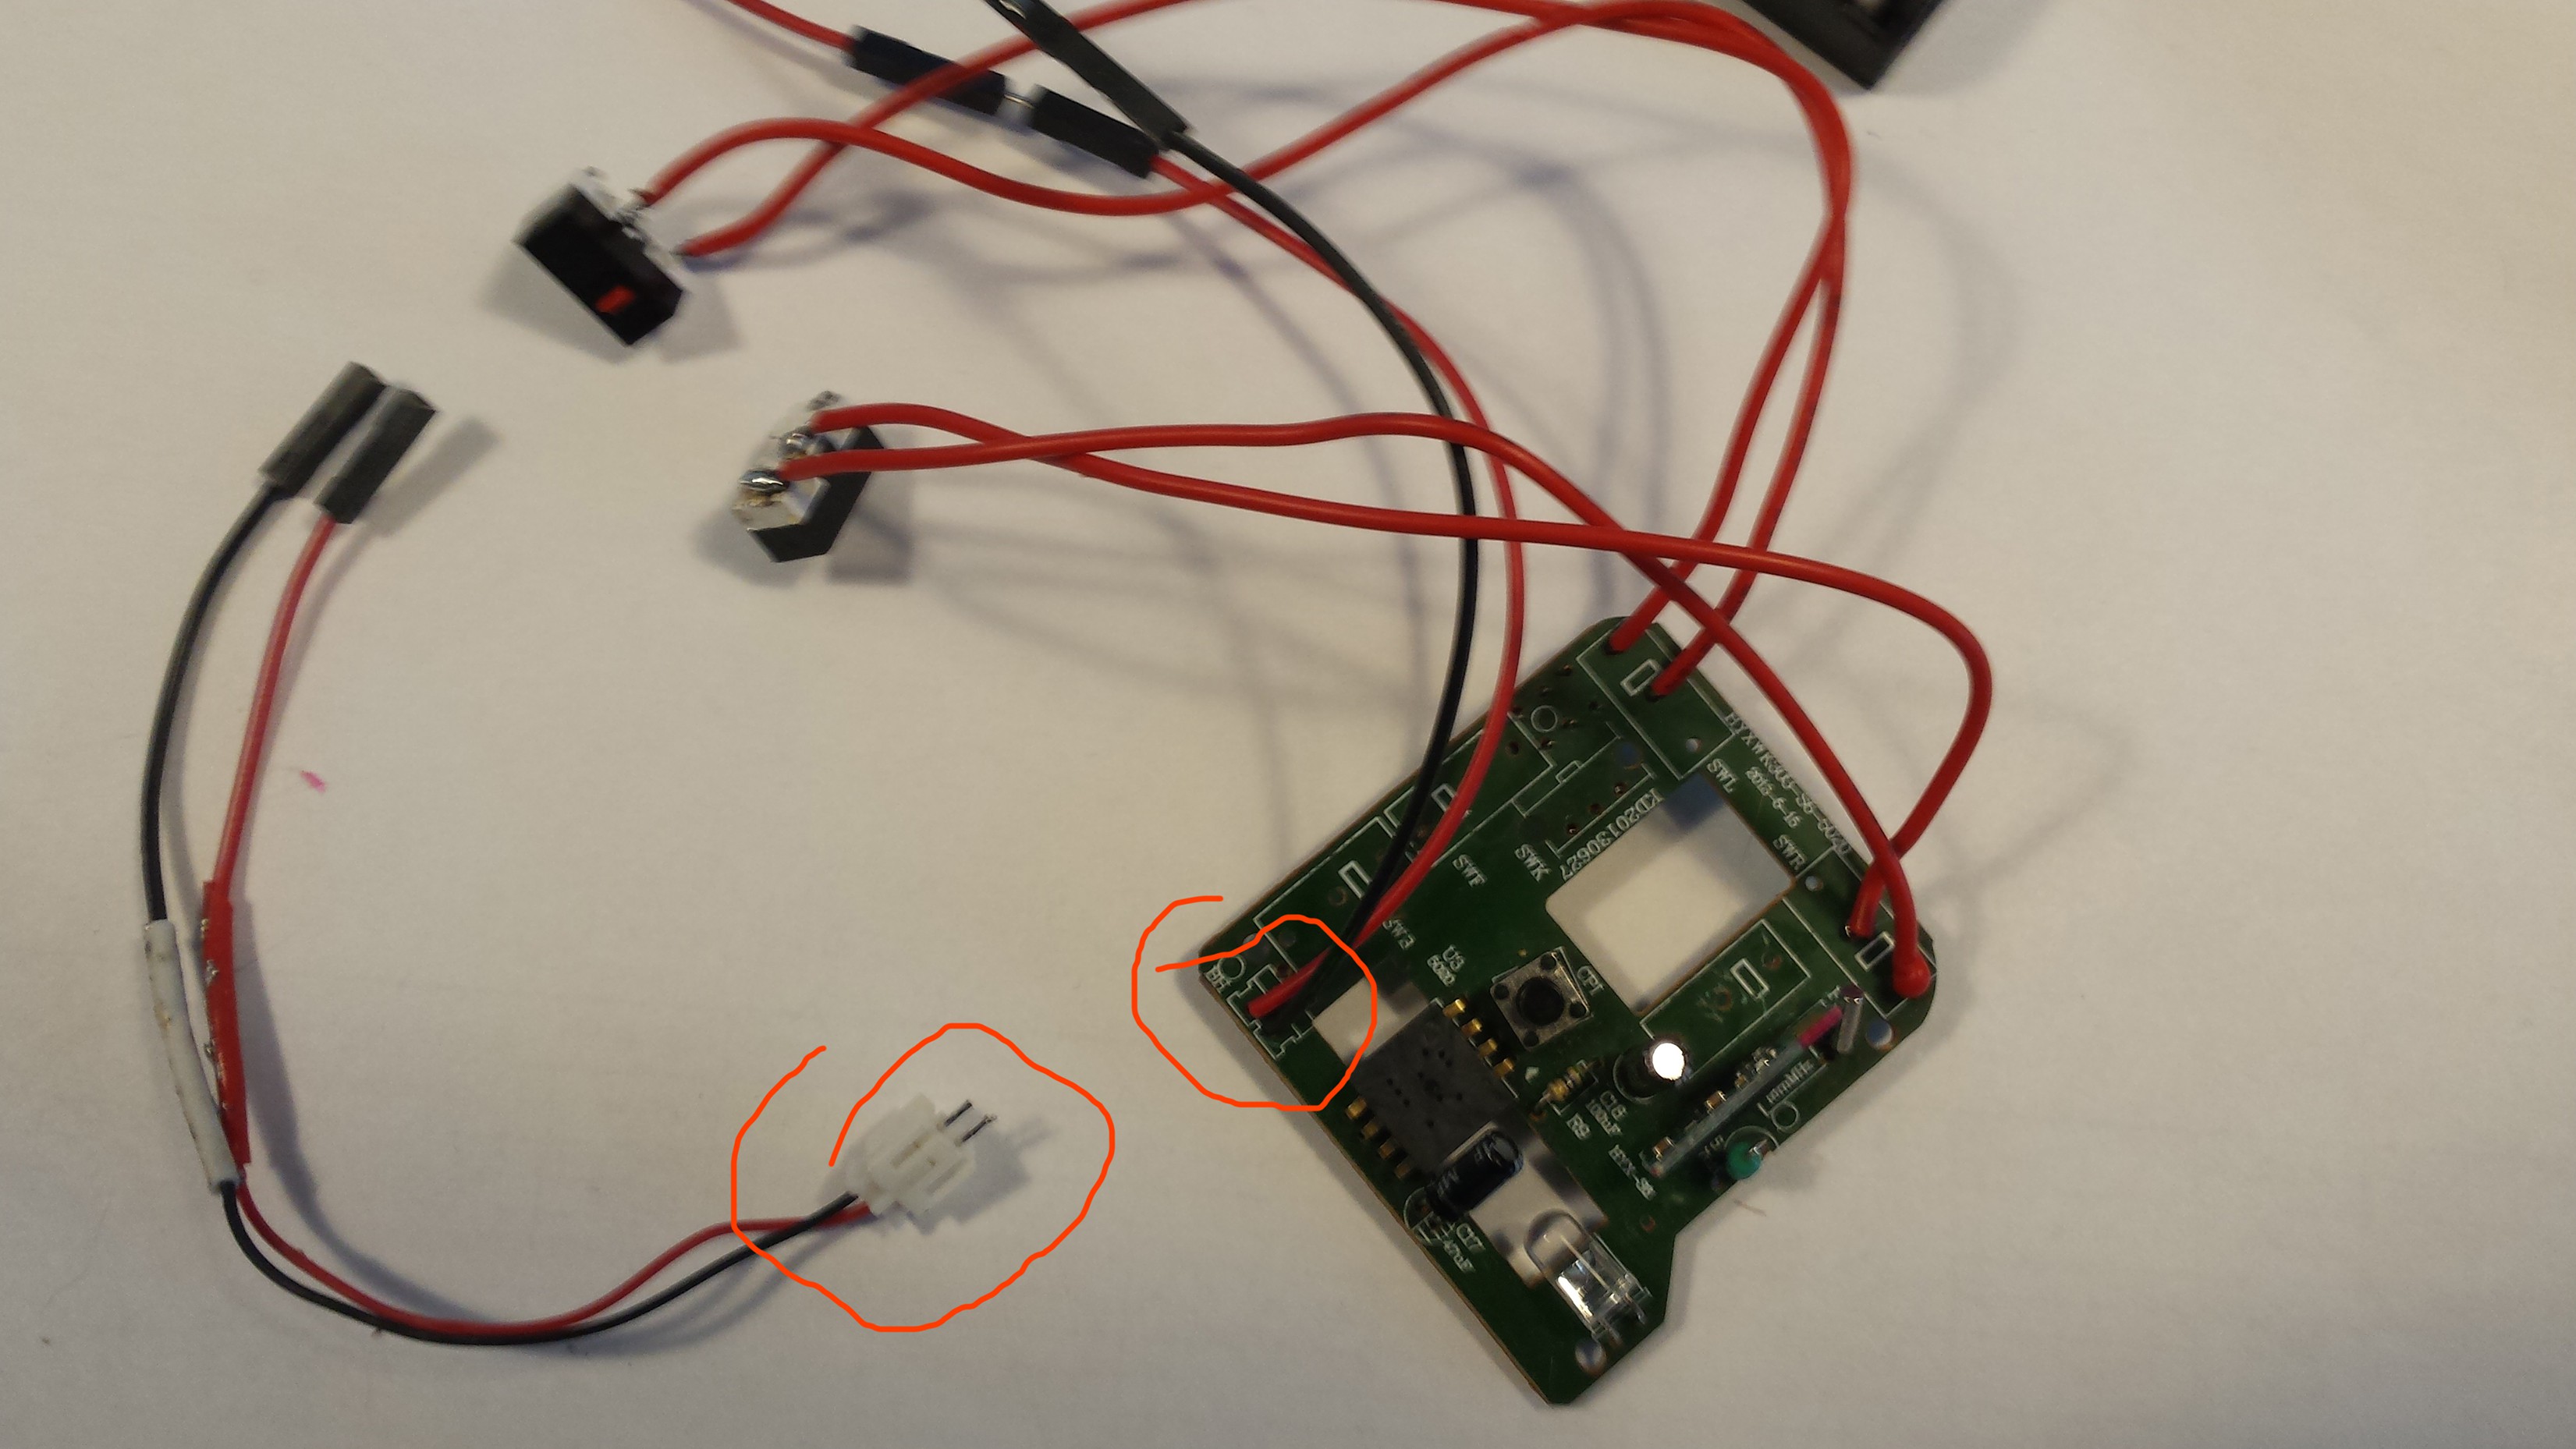
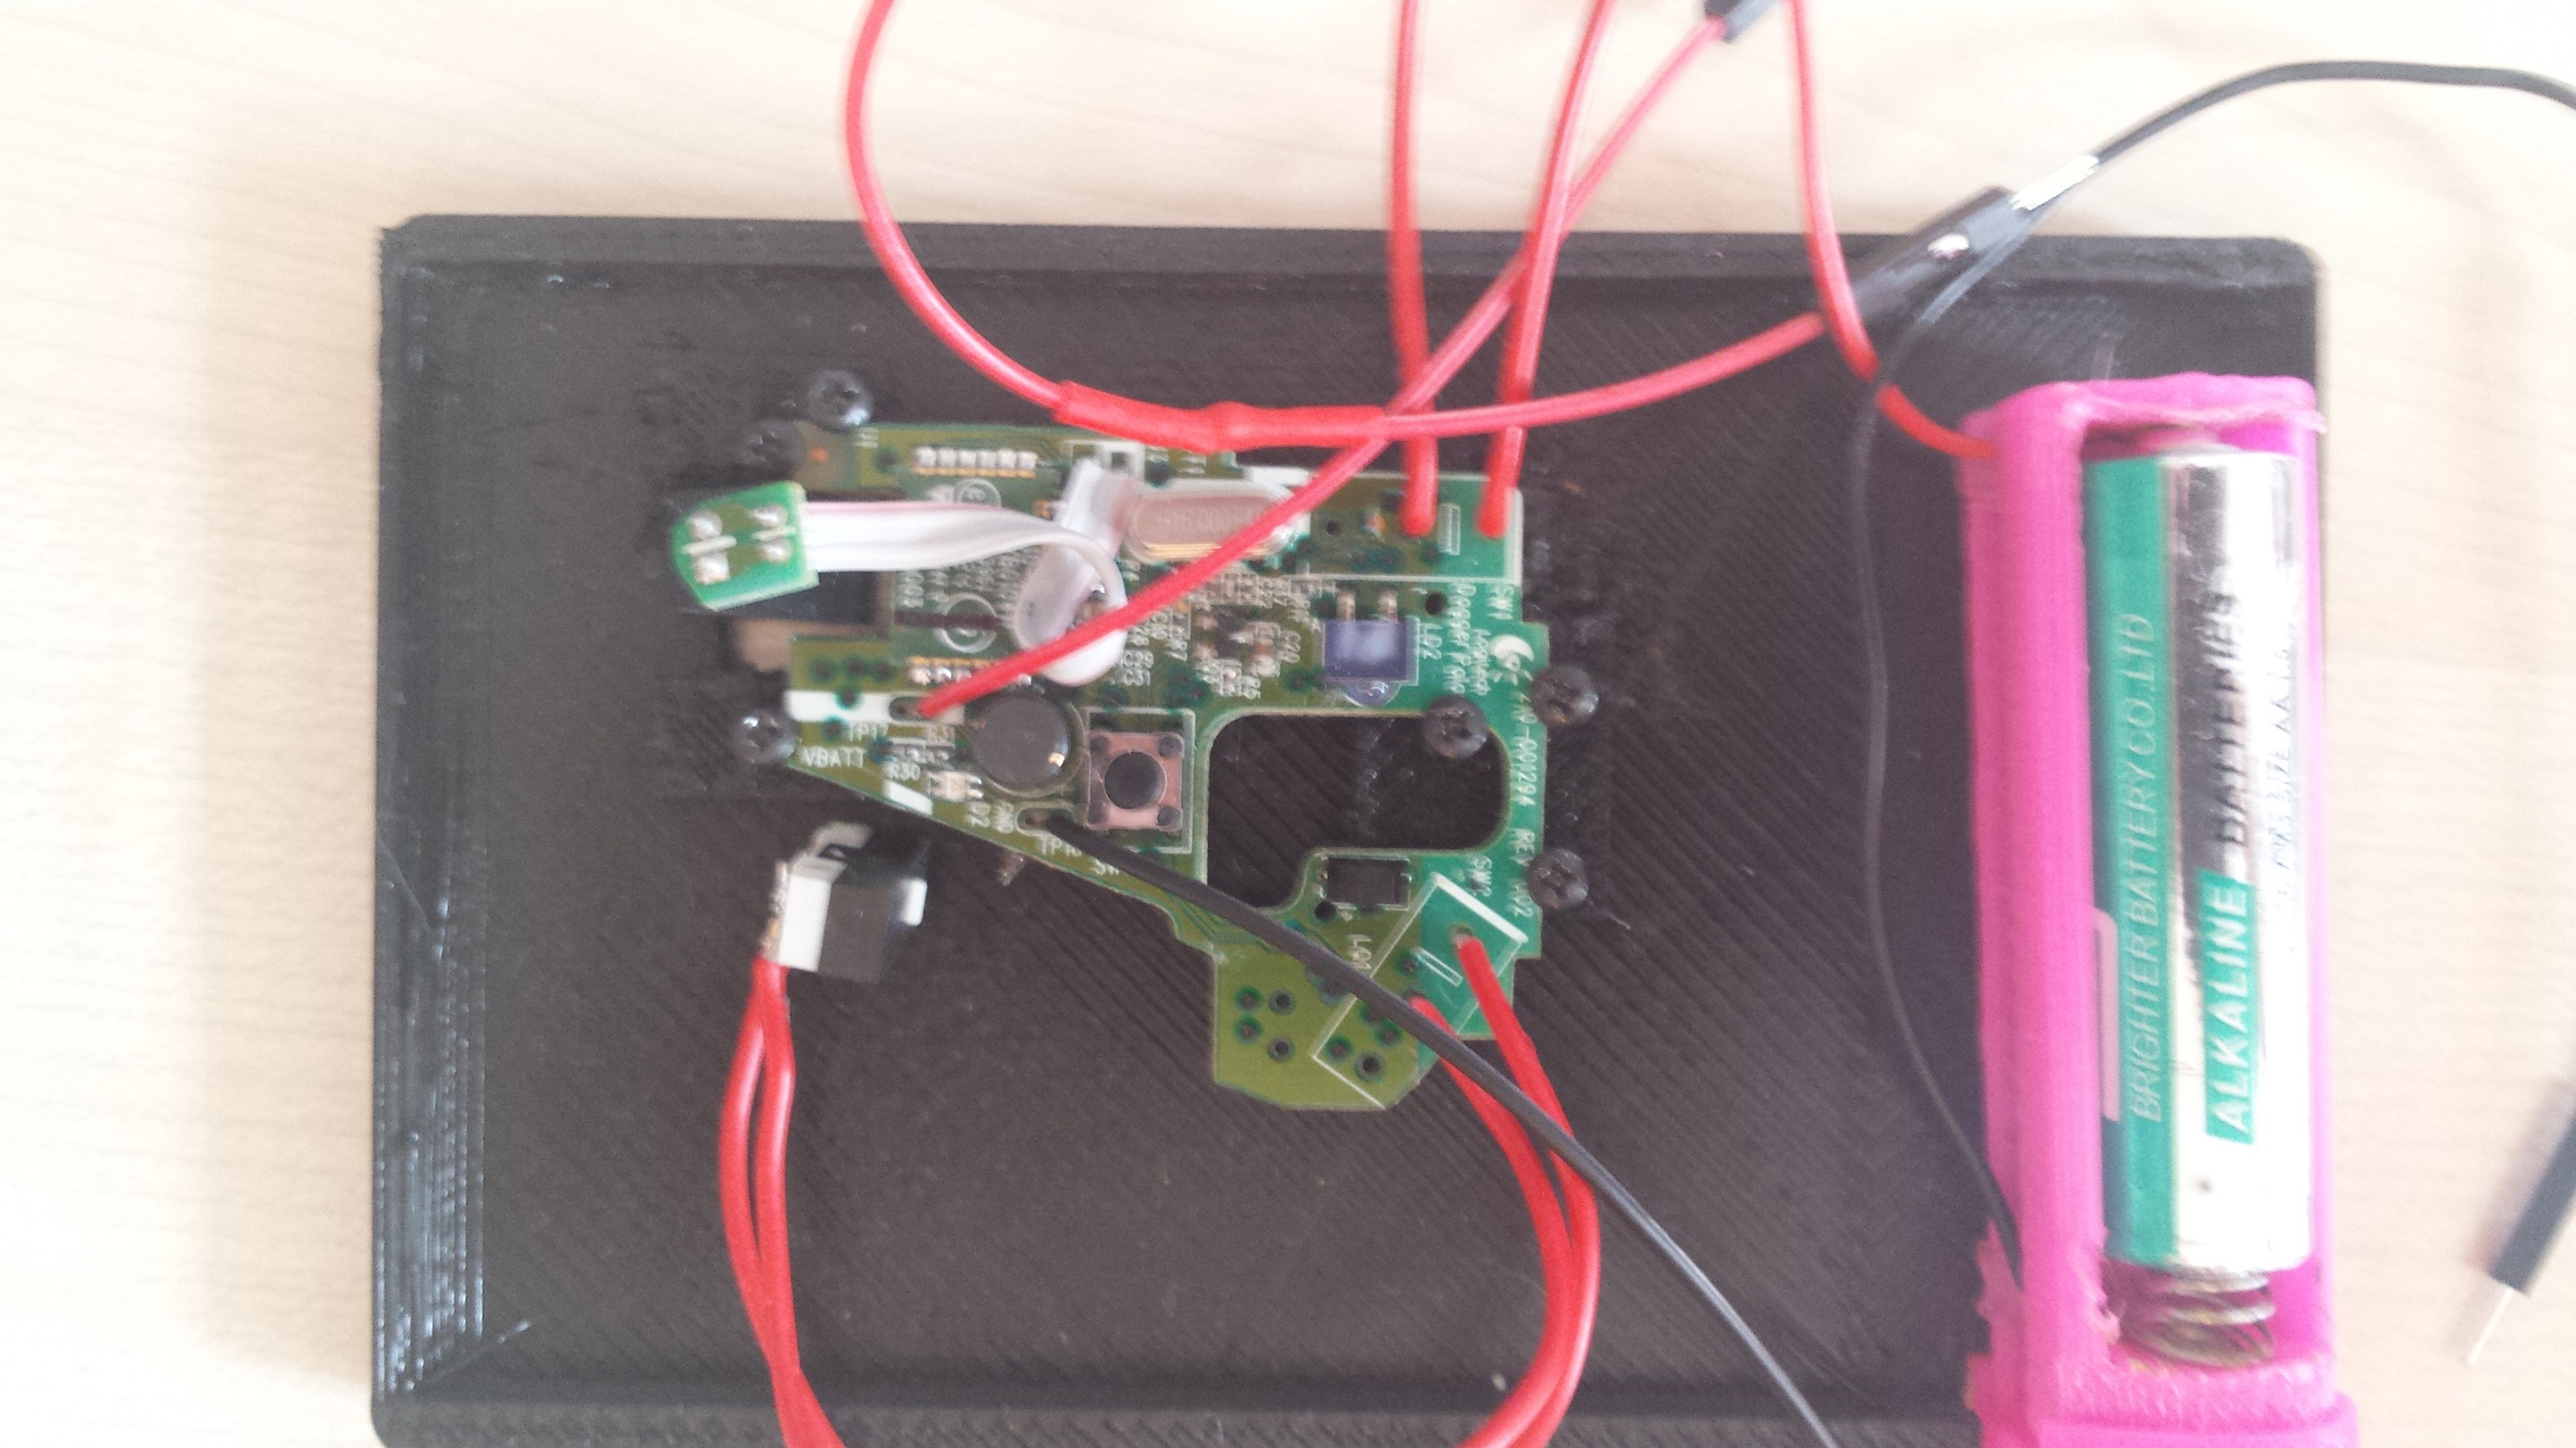
I took out electronics and I soldered out everything what unnecessary. I took scroll and all buttons. If You soldering mouse like Logitech You have to look out, because it is very delicate. I got rid of one track from the temperature, but I saved it with glue. Then in I soldered 4 wires in place of left and right button and on the end of them wires I soldered the buttons. But before that, I bent the pins.
I dont know yet a real shape, so it will be flexible with long wires. At the end I soldered the battery wires. When I finished it was looking like on the picture bellow.
Next step will be "Looking for best shape".
Edit:
I removed fast switch plug, because it took too much space and soldered two wires.![]()
-
2STEP 2.0 - Looking for best shape(basic shape)
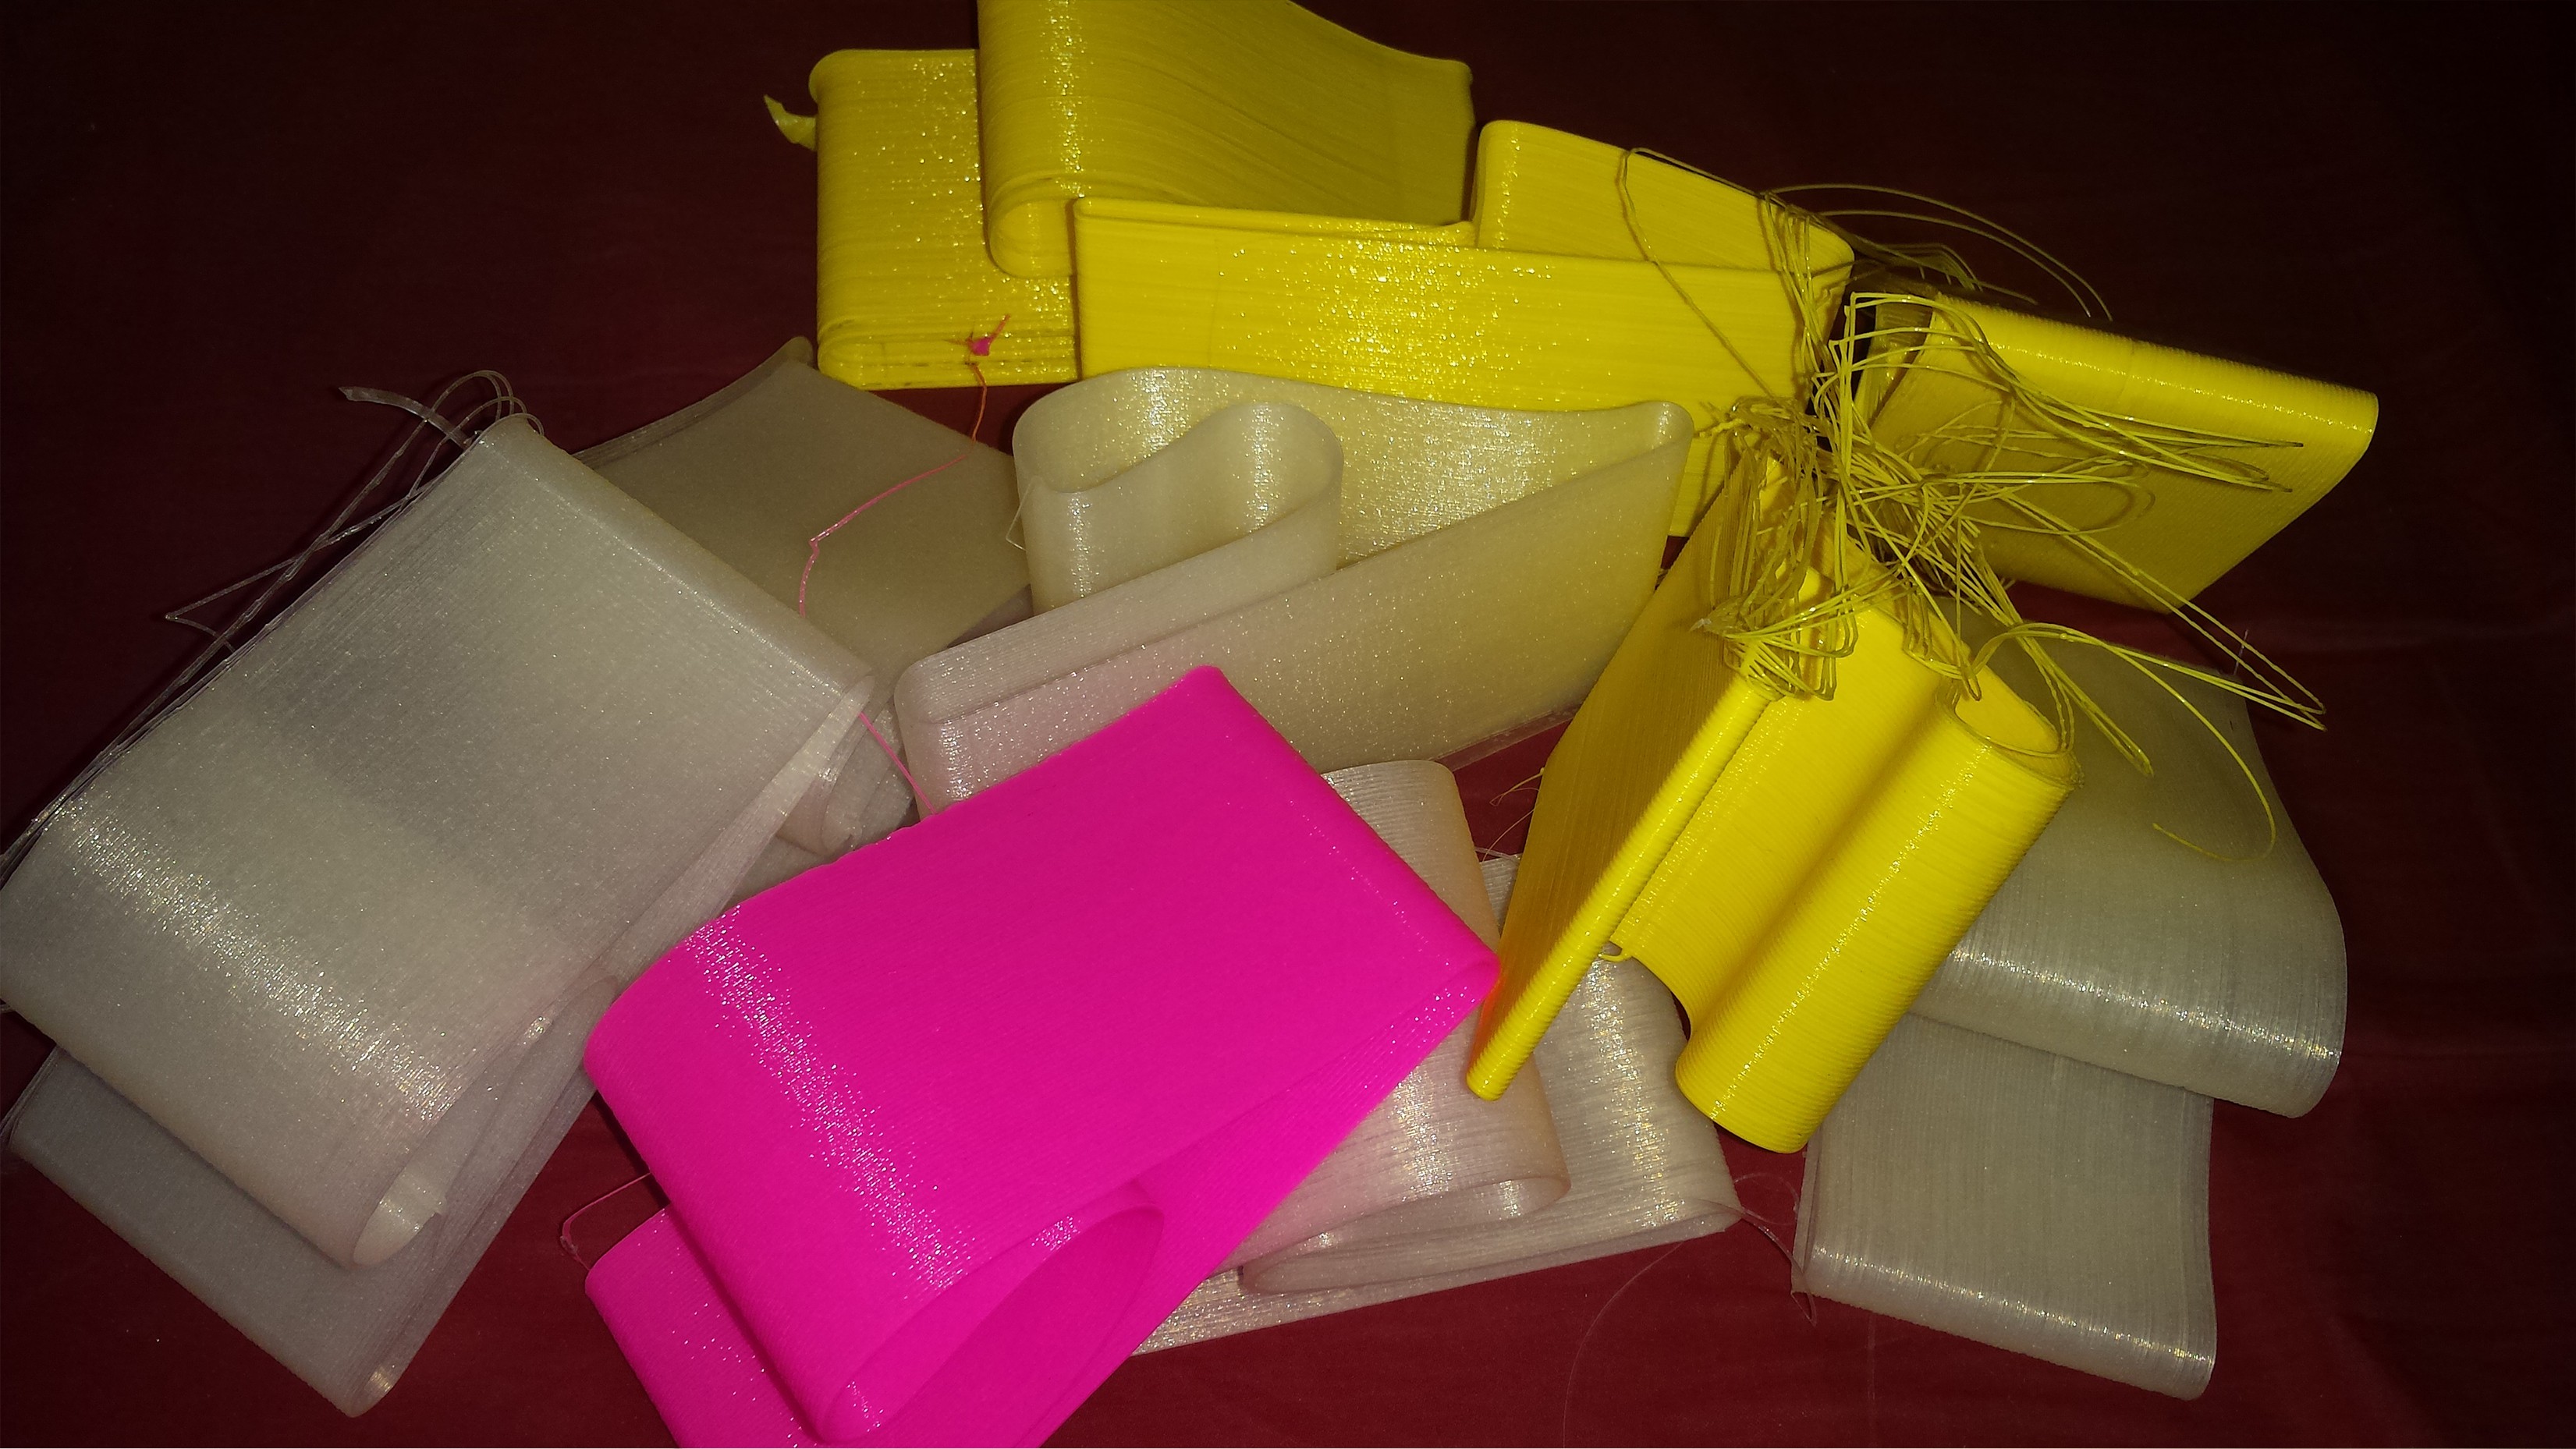
After many tries ...
![]()
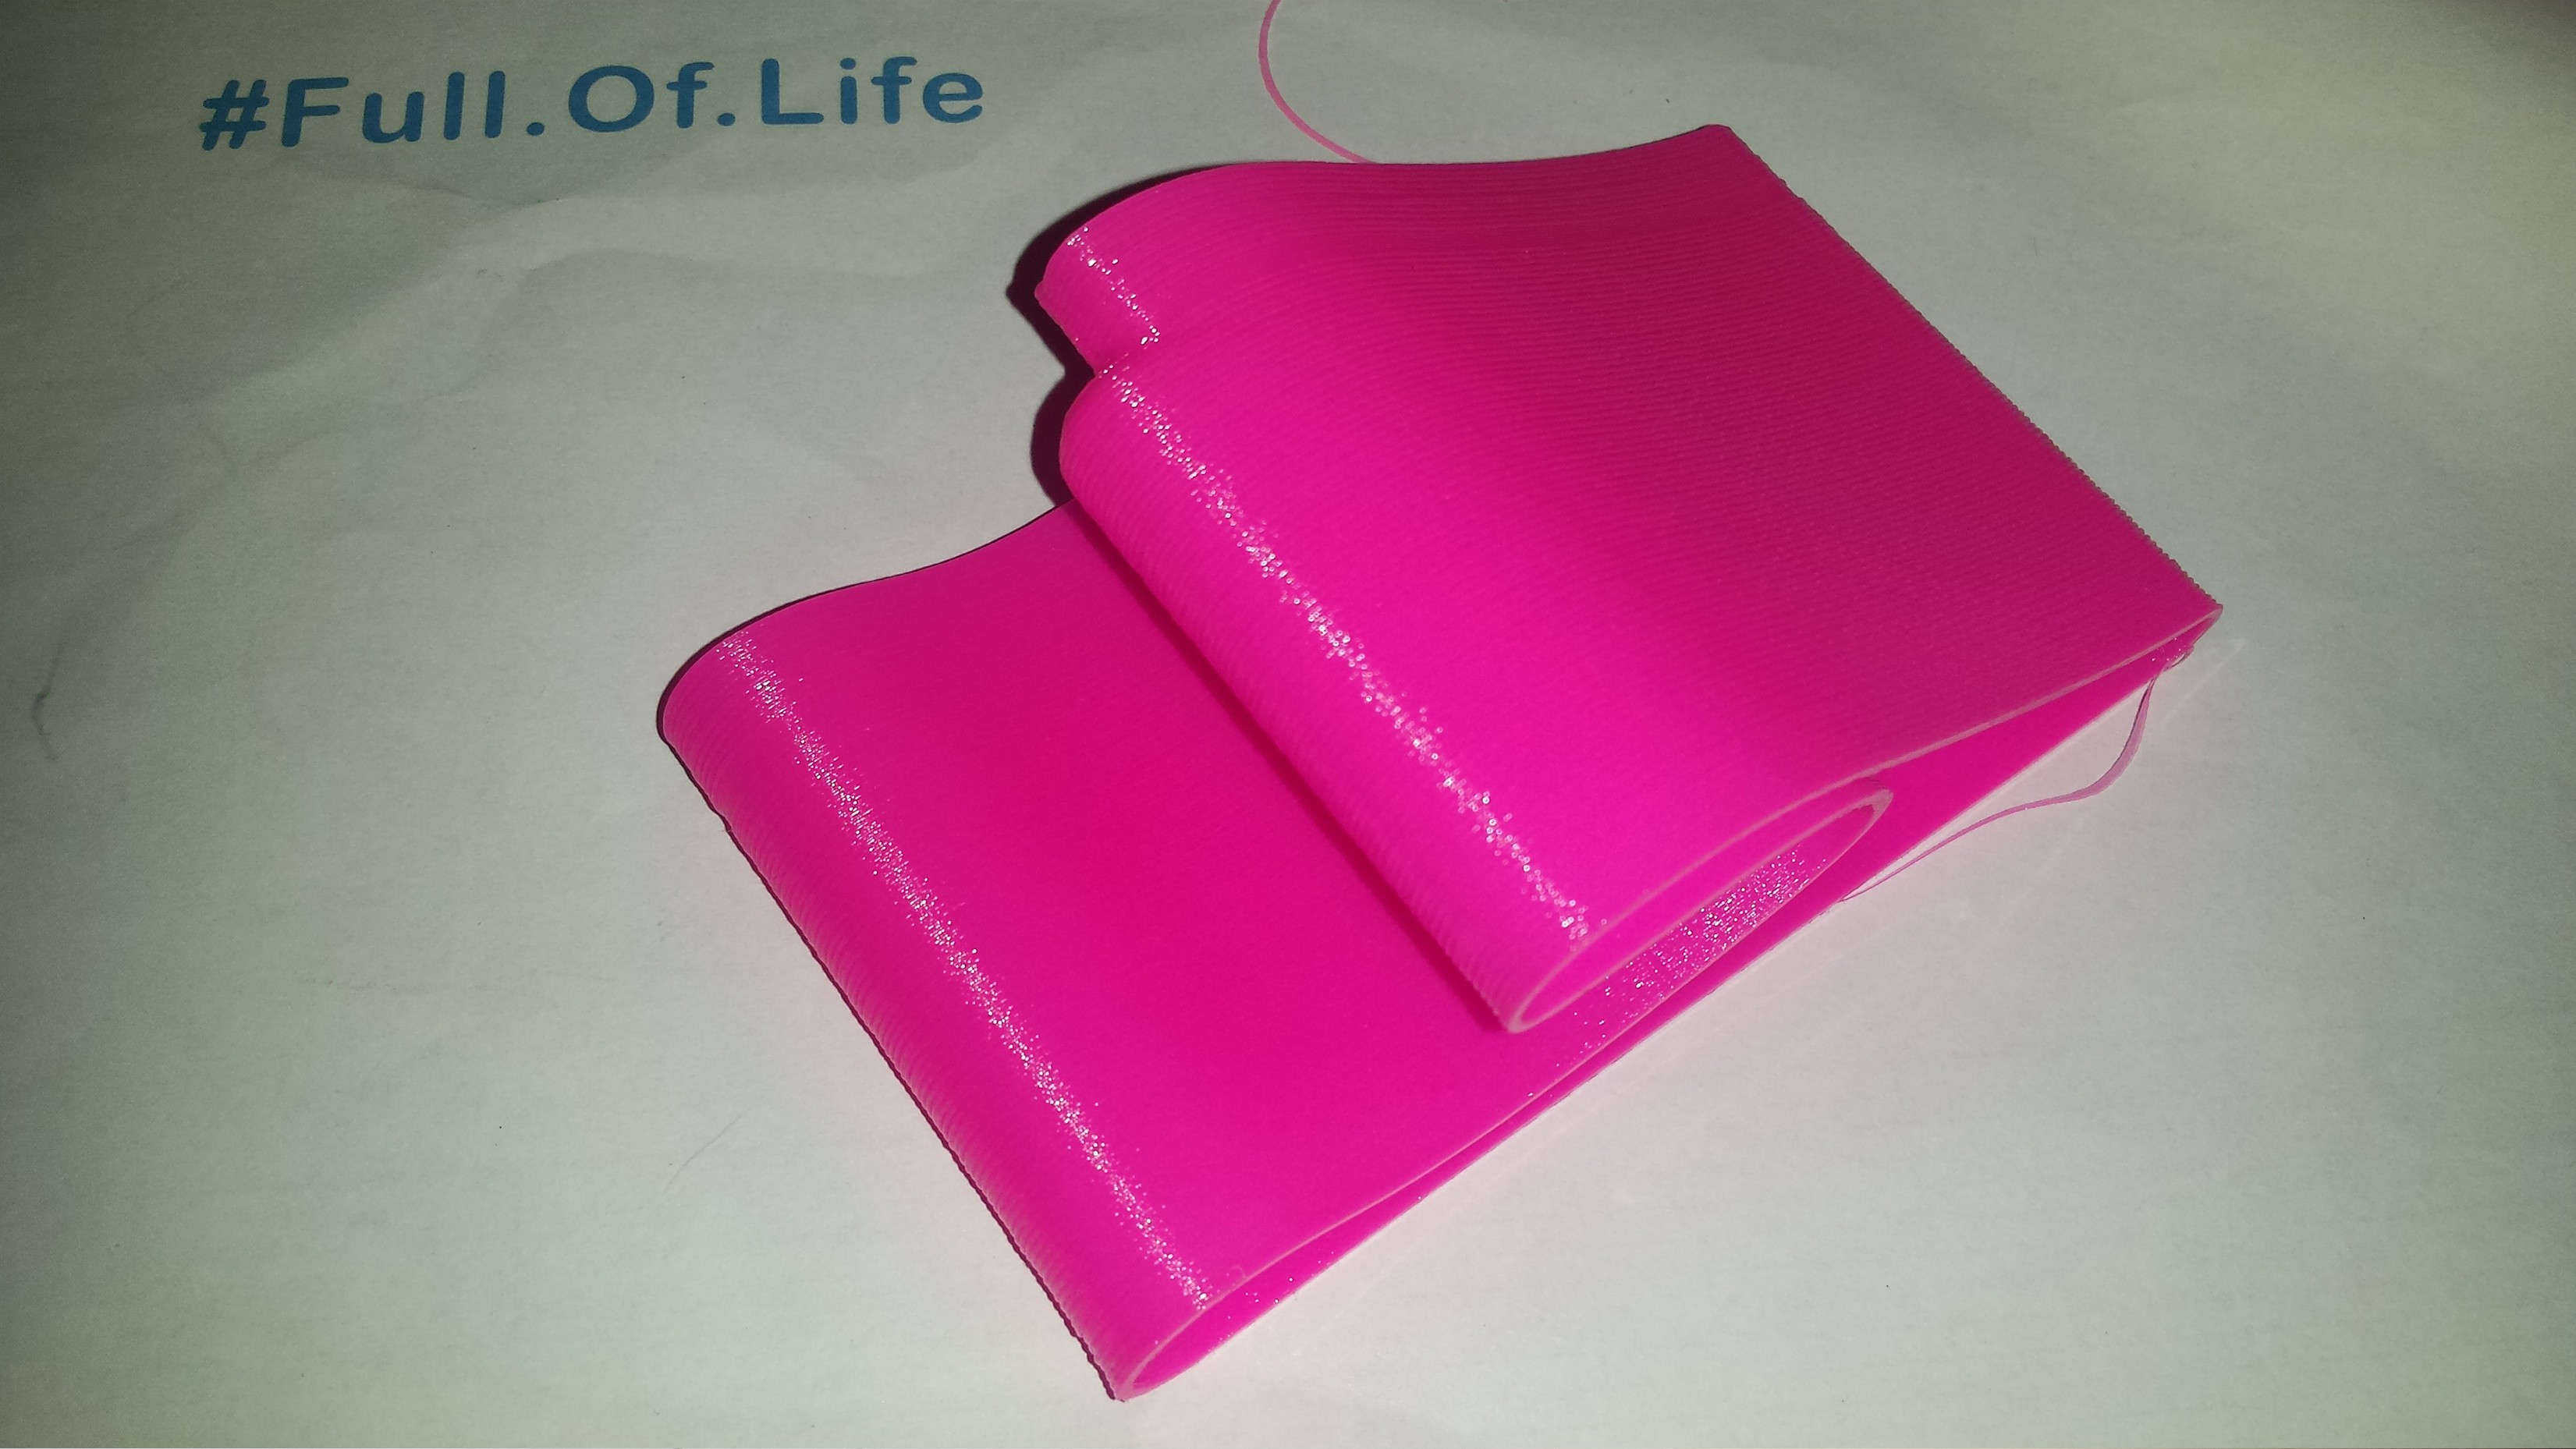
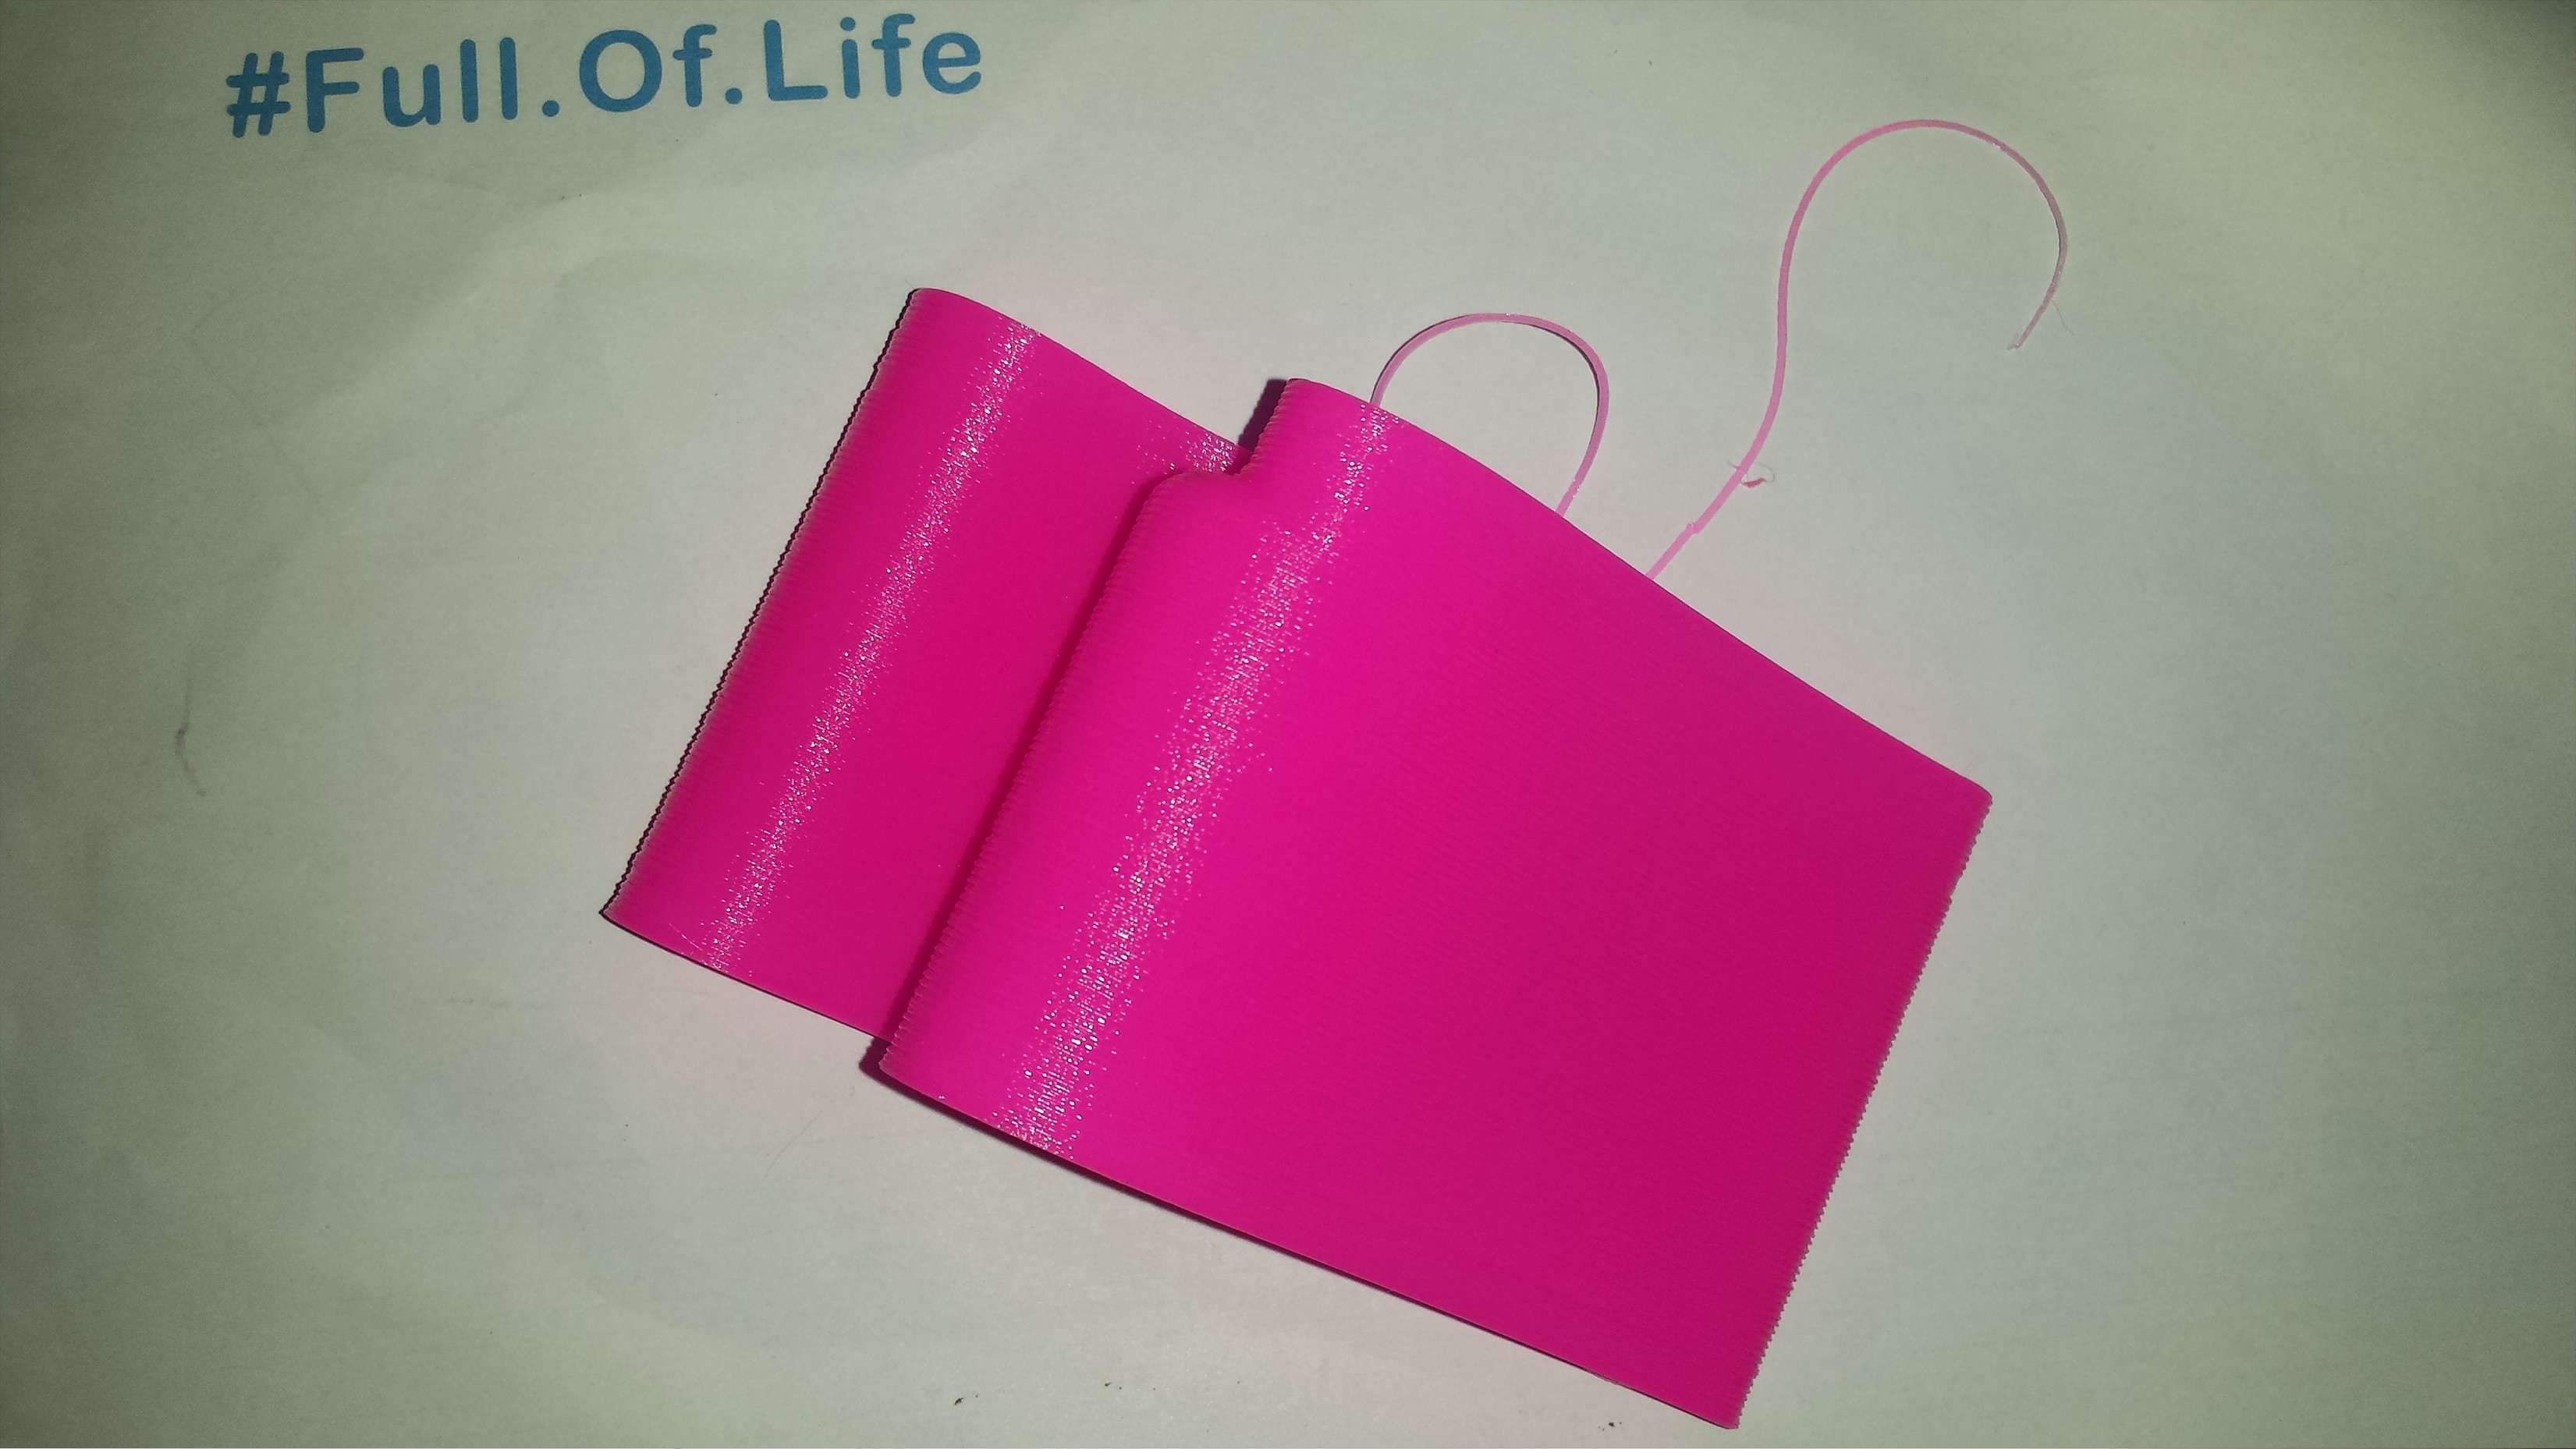
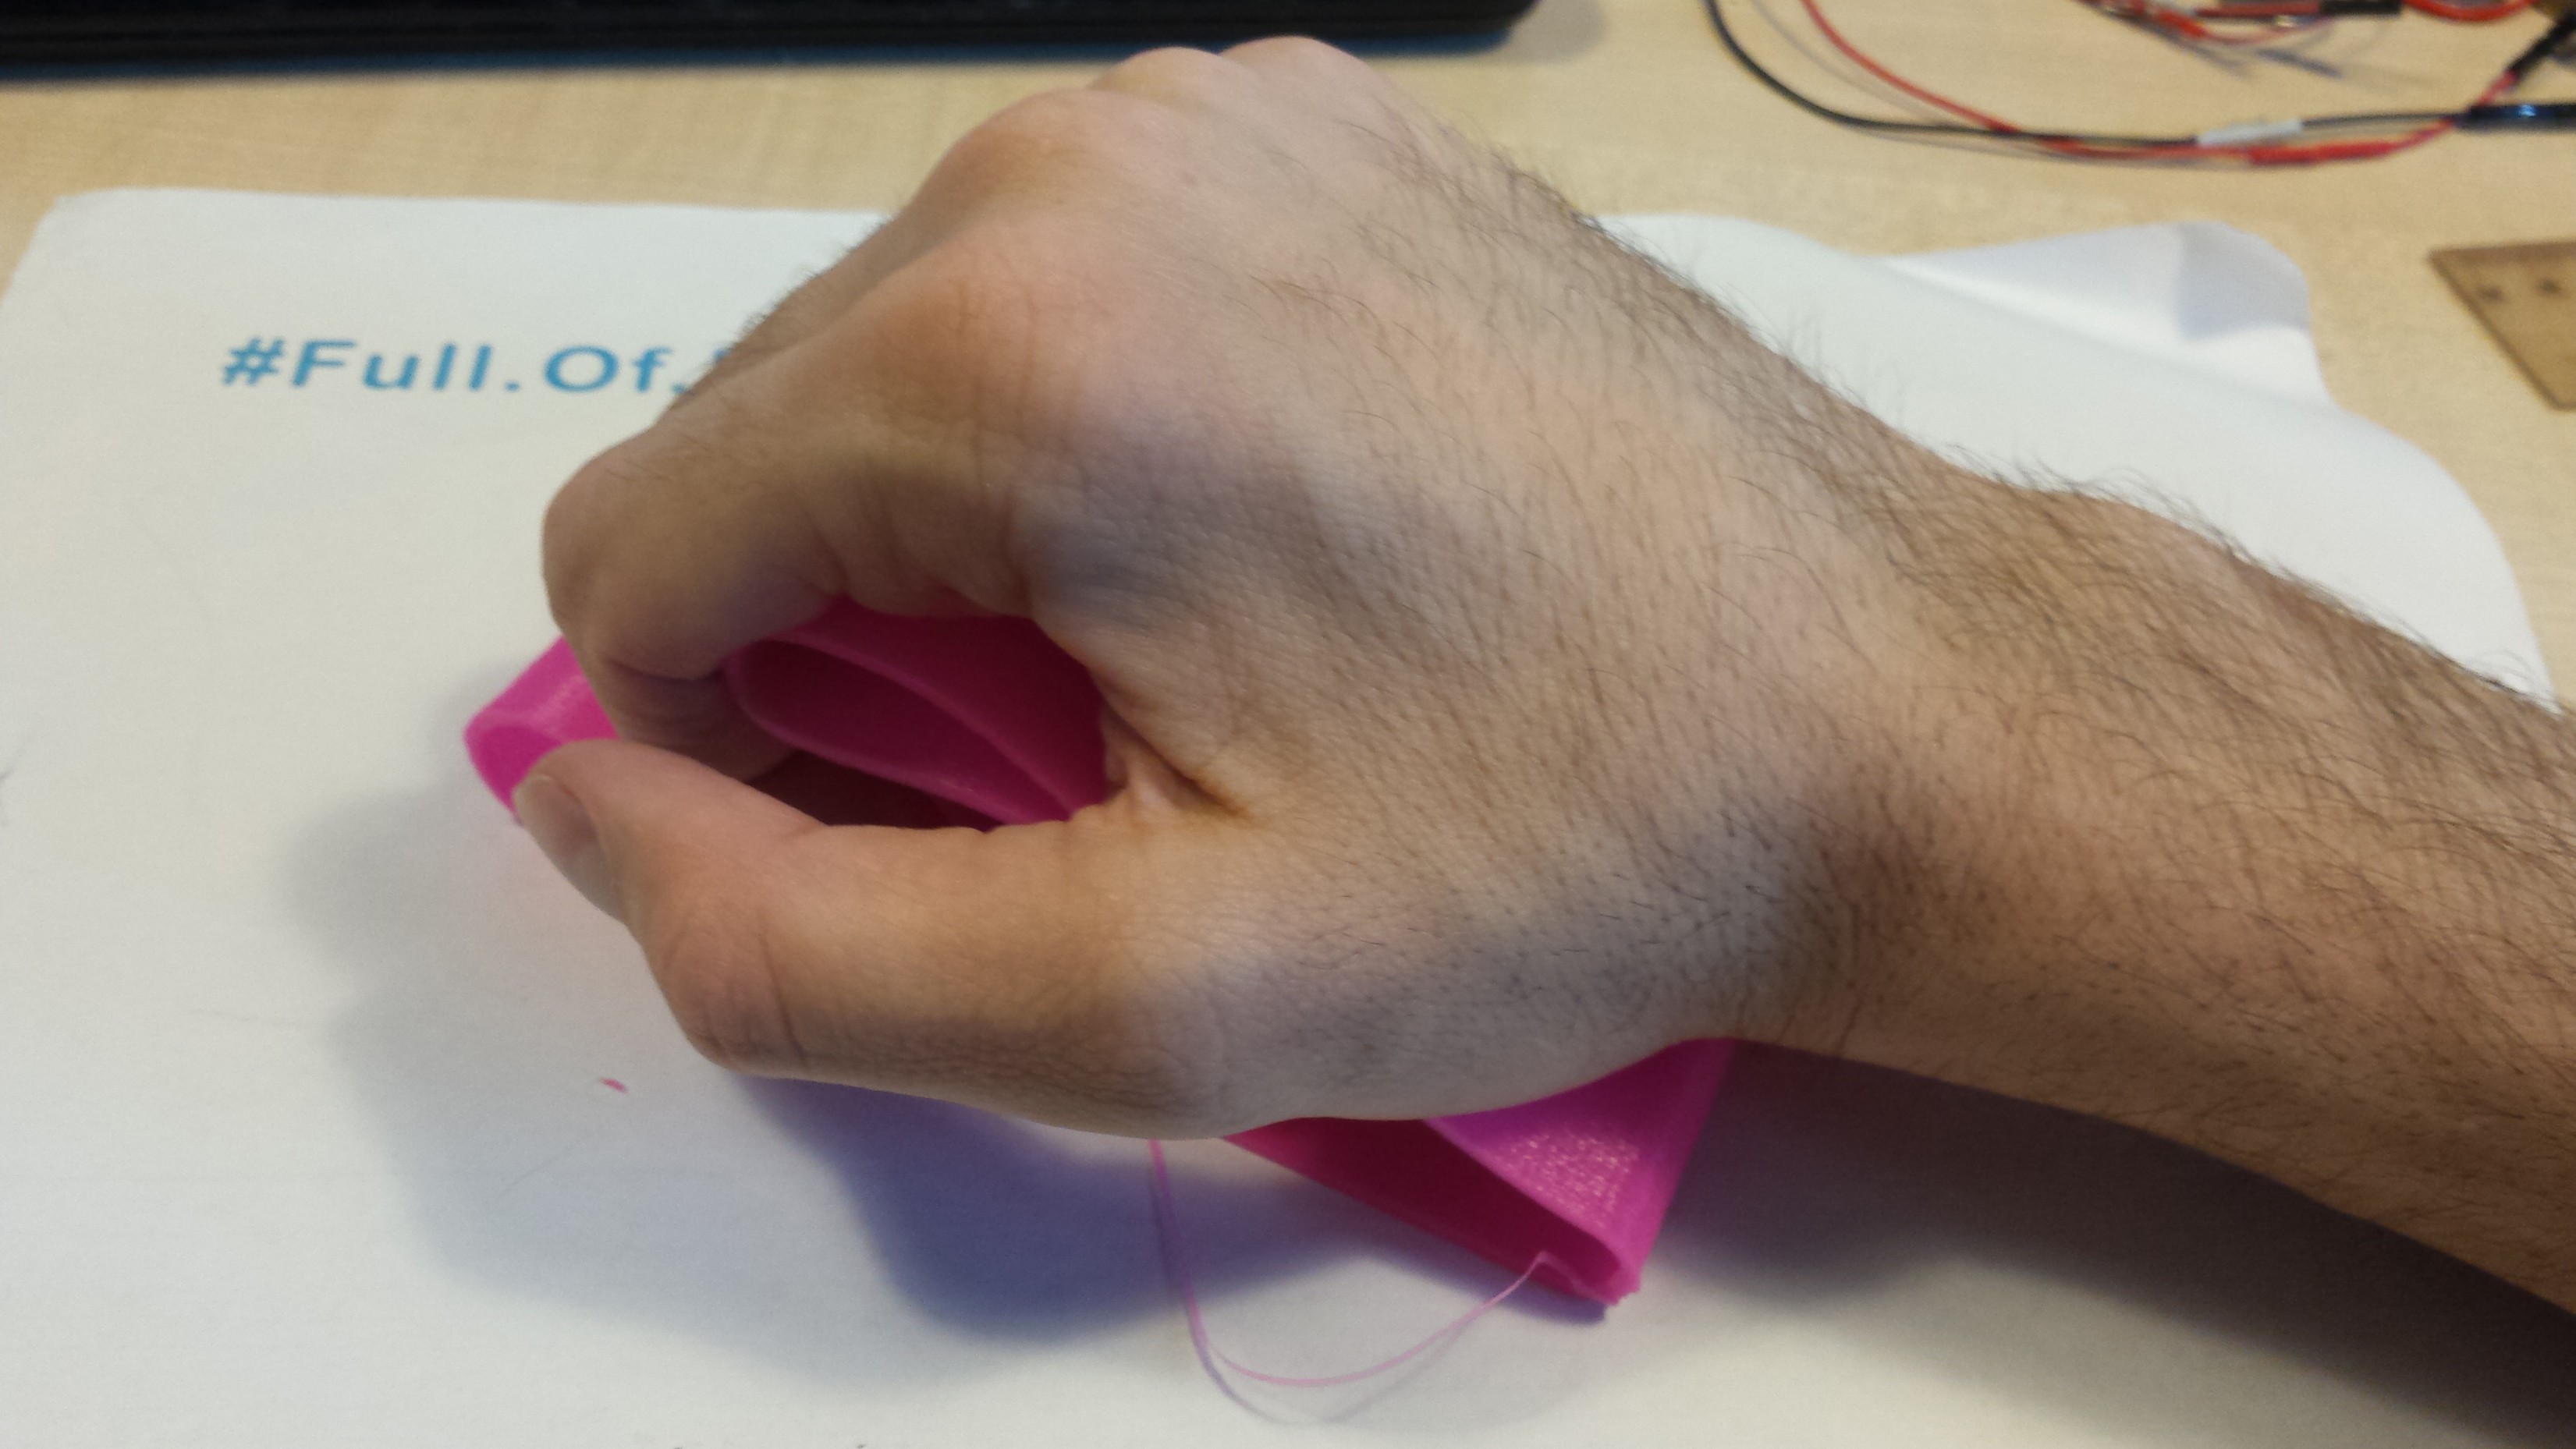
... finally I've made basic shape. In the future it will be evolve, but for now is enough.
![]()
![]()
![]() to be continued...
to be continued... -
3STEP 3.0 - Mouse bottom and battery holder
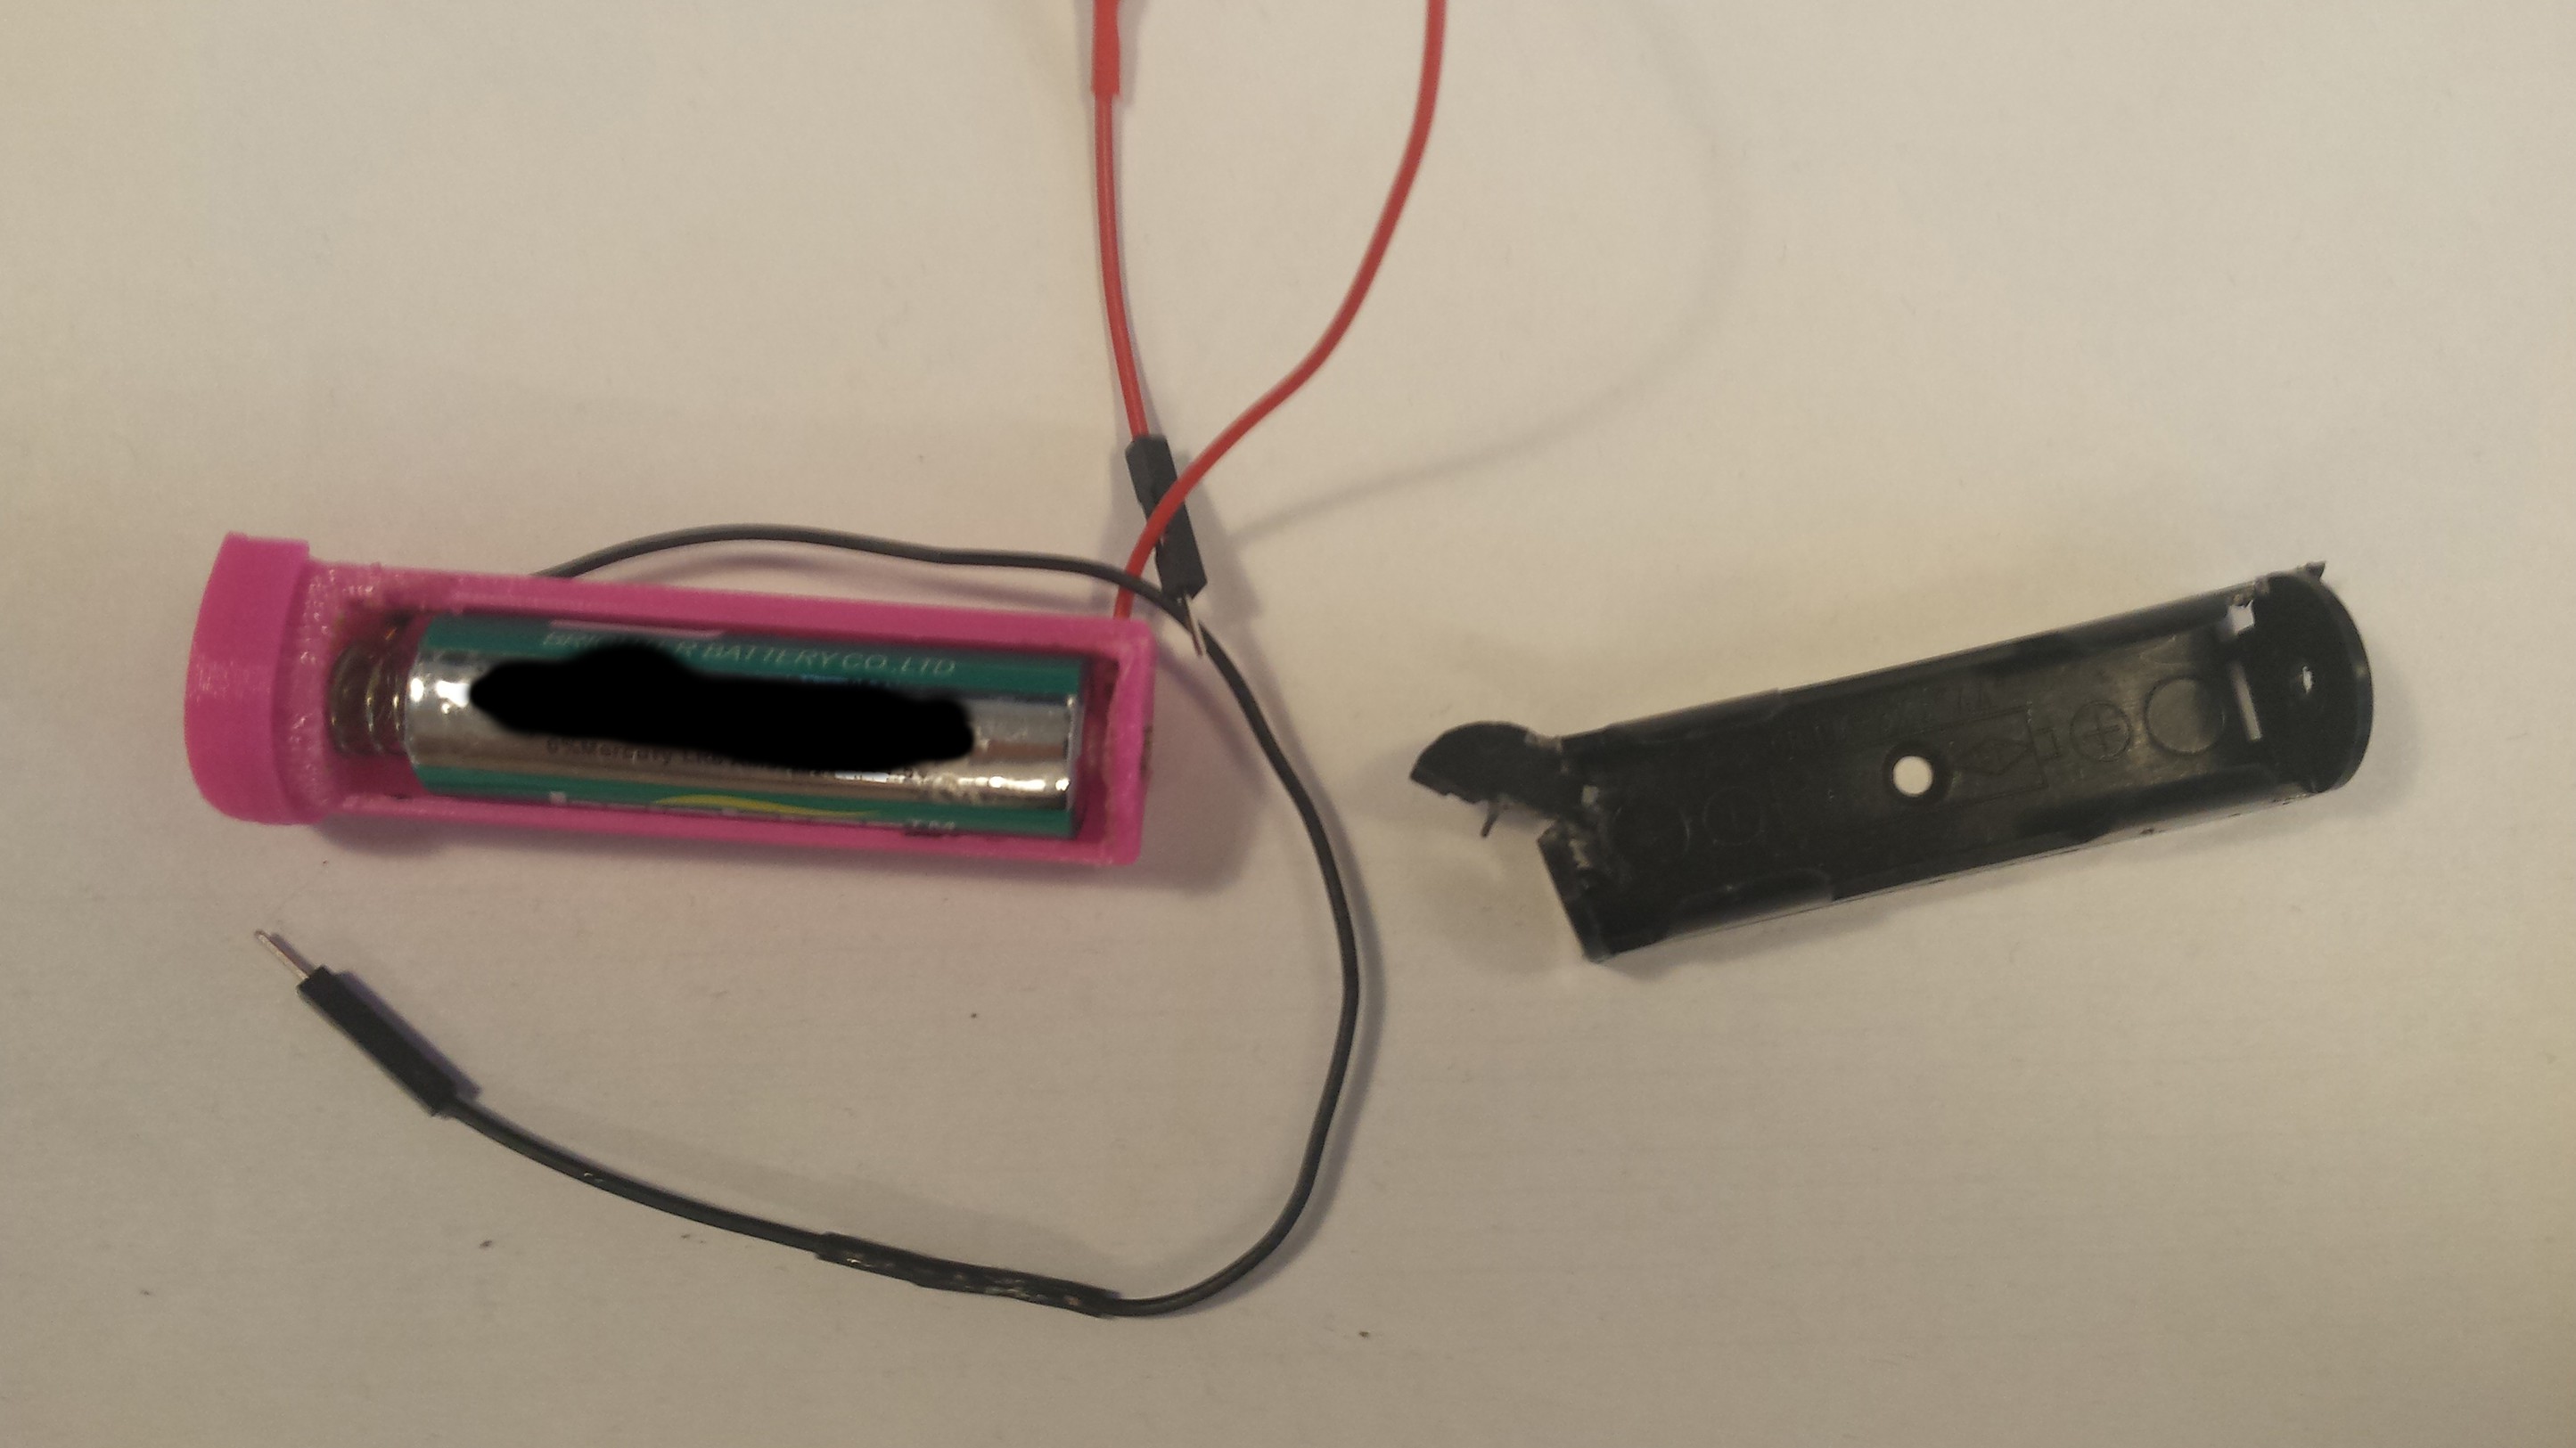
At the beginning I took "plus" and "minus" form battery holder and put it to my new one.
![]()
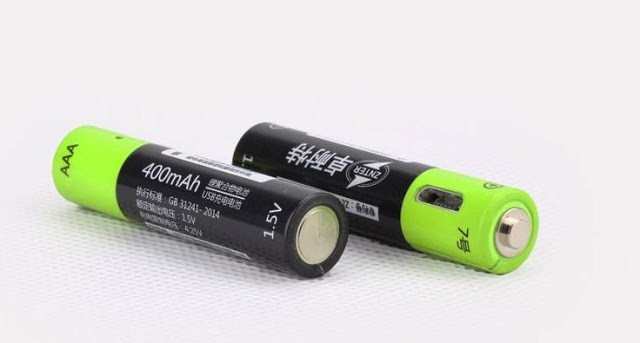
Then I attached electronics to the bottom of the mouse. I did it in very simple way. I used the 6mm screws. But if You follow You can use even glue. It first prototype so I take what I have. Also in second one I would like to use those usb rechagerable AAA battery, which I found few days ago on Aliexpress.
![]()
![]()
Like You see battery will slide into the mouse. Hope so. ;) -
4STEP 4.0 - Buttons
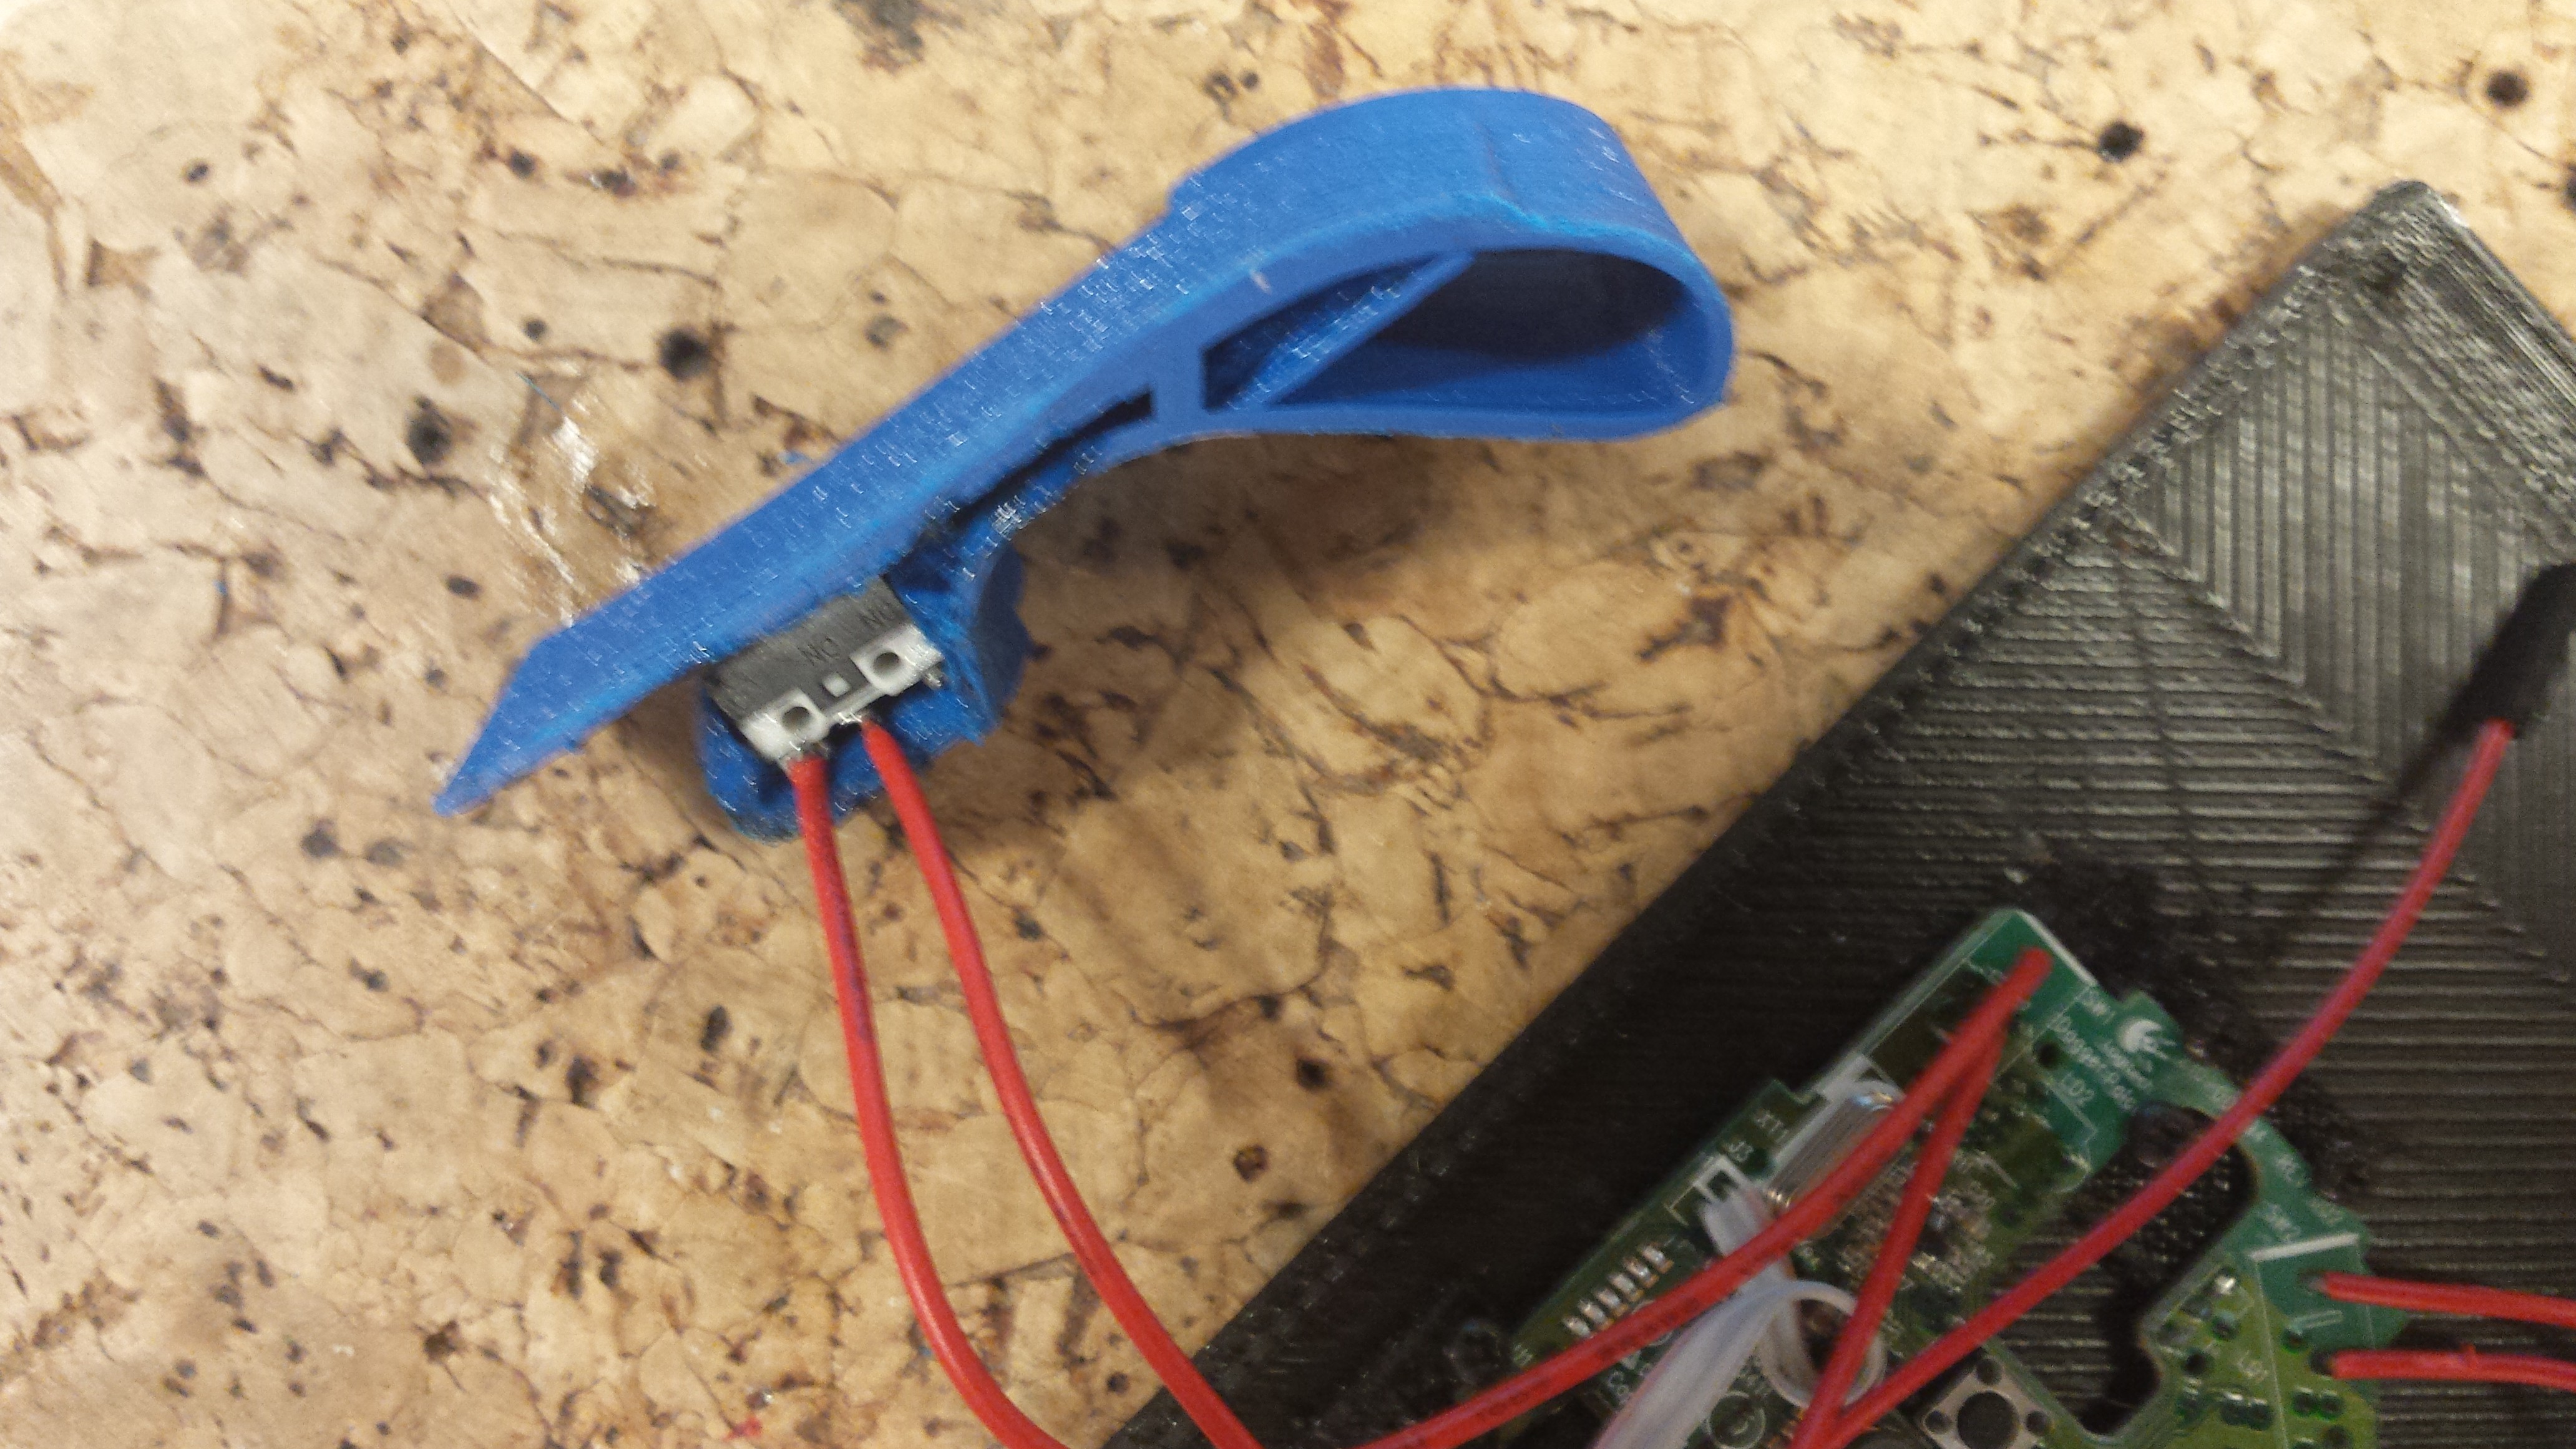
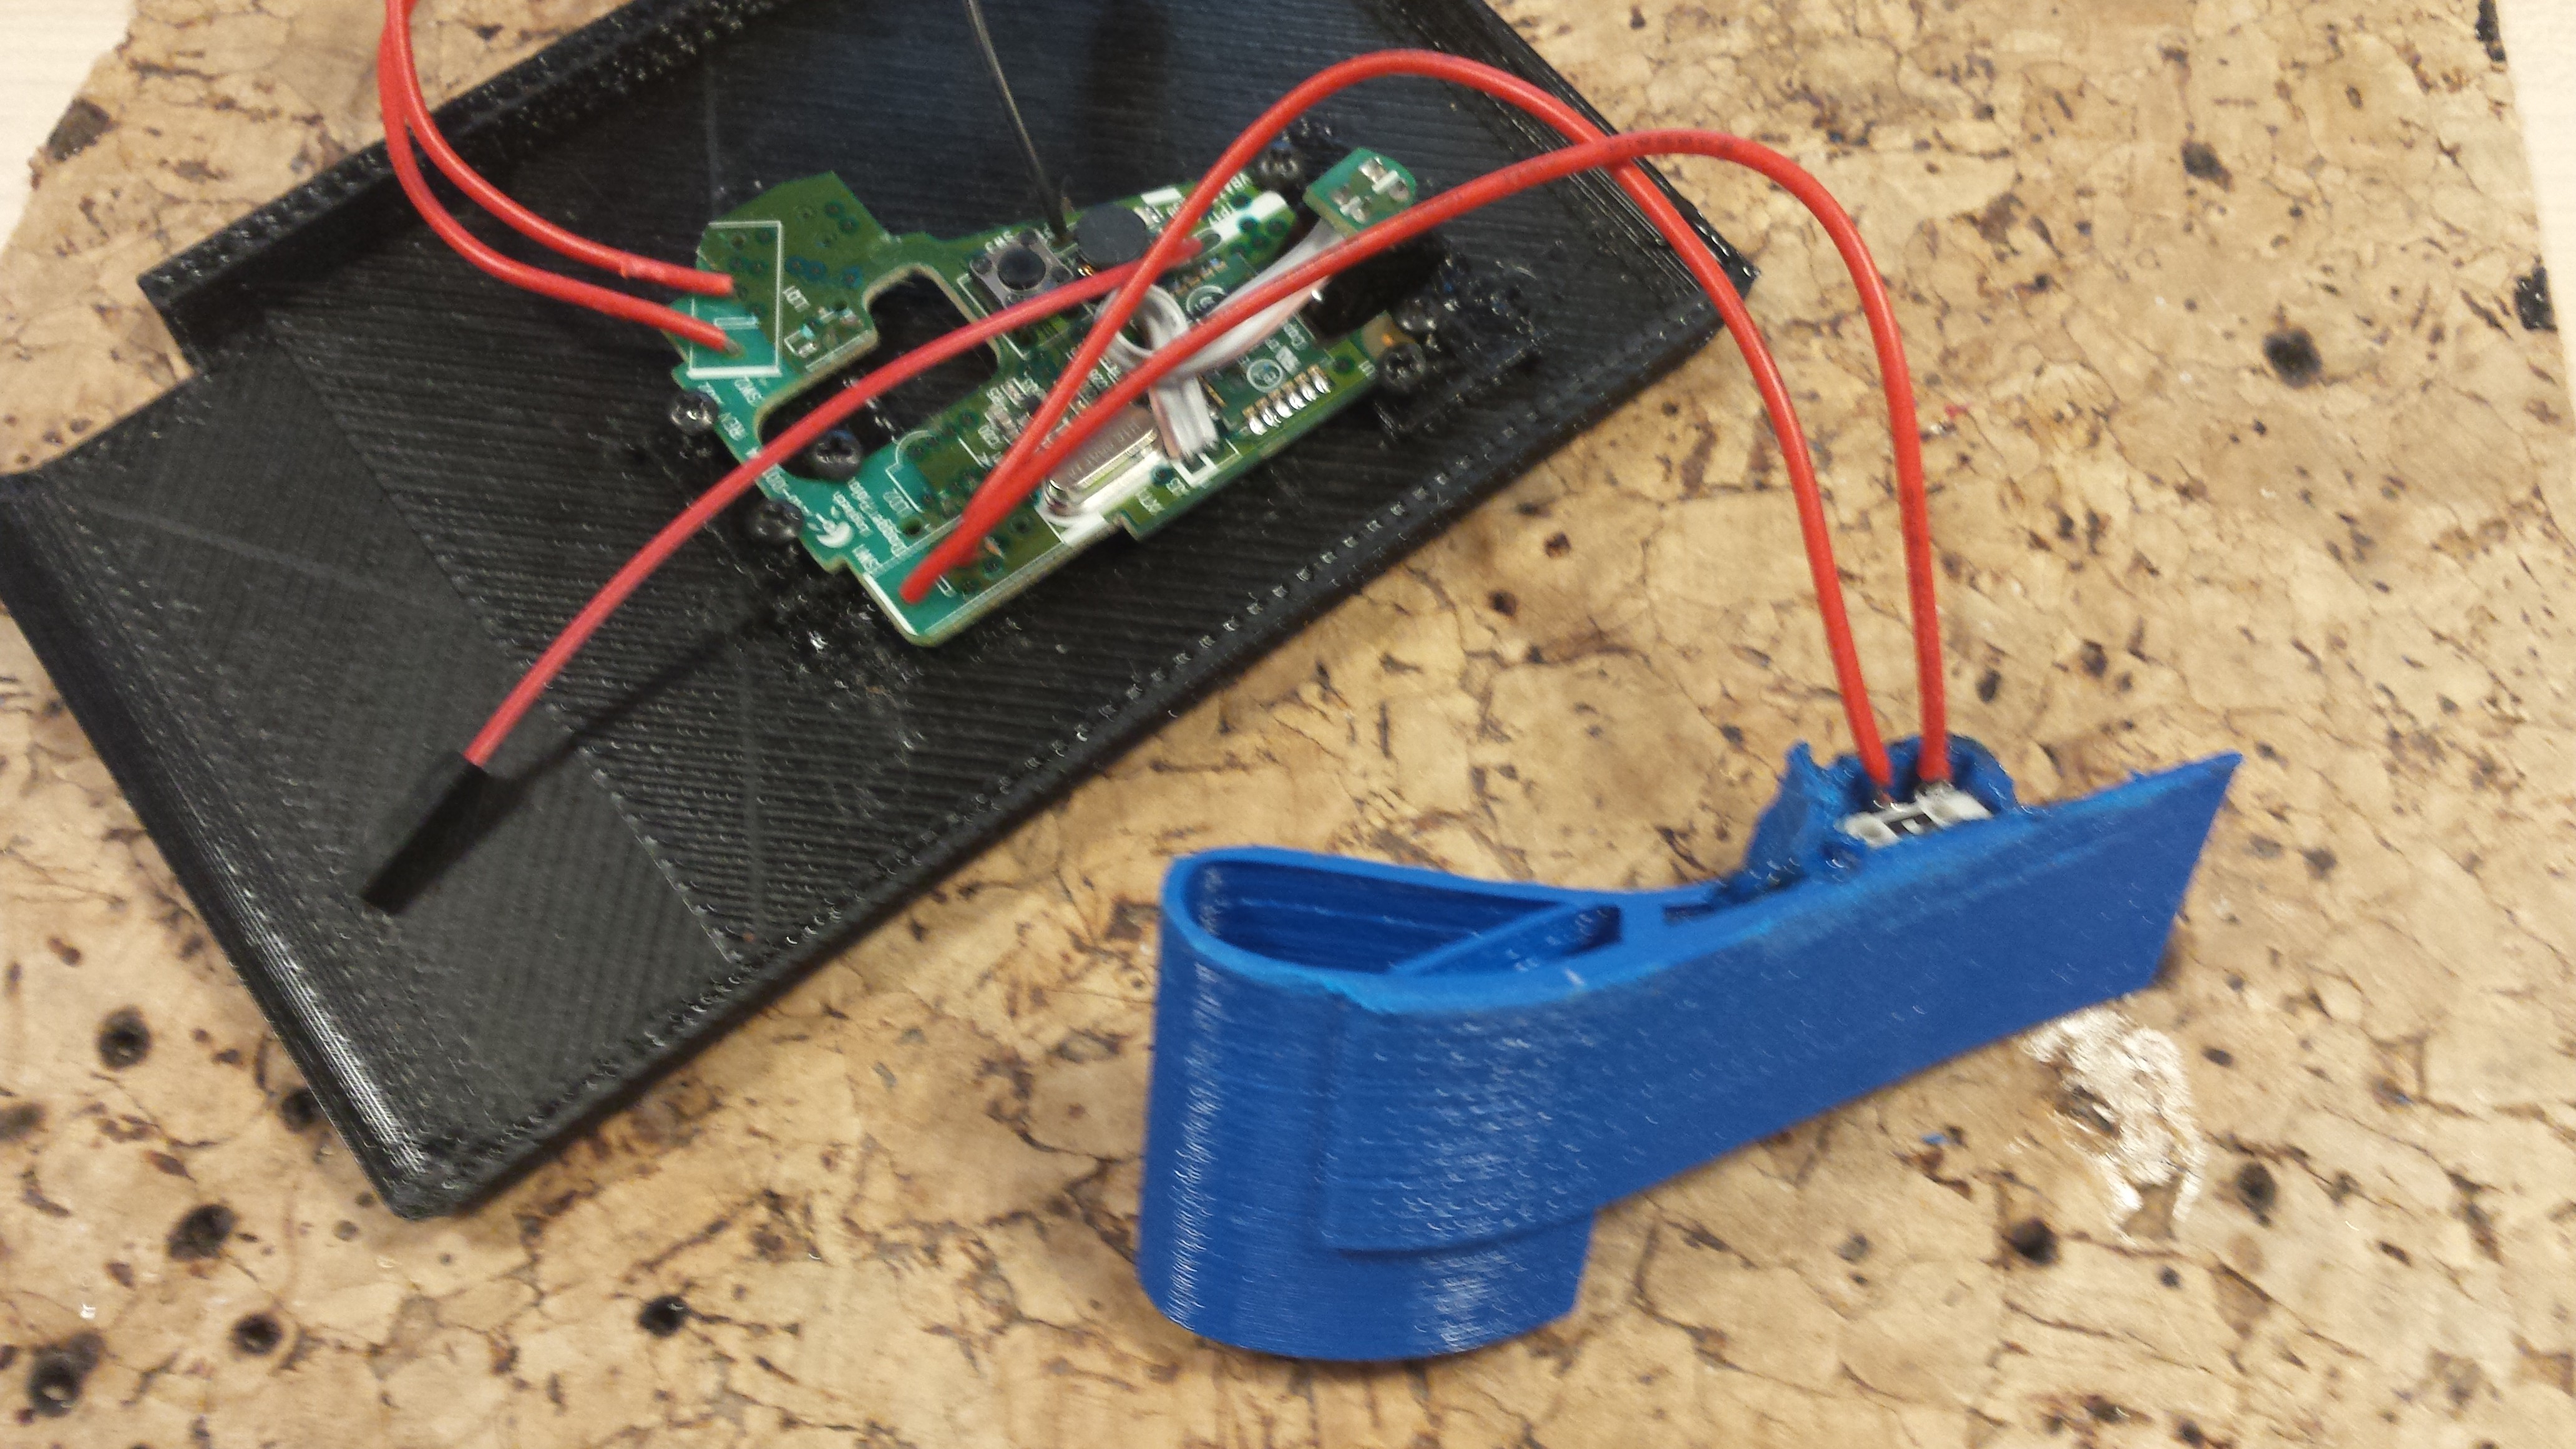
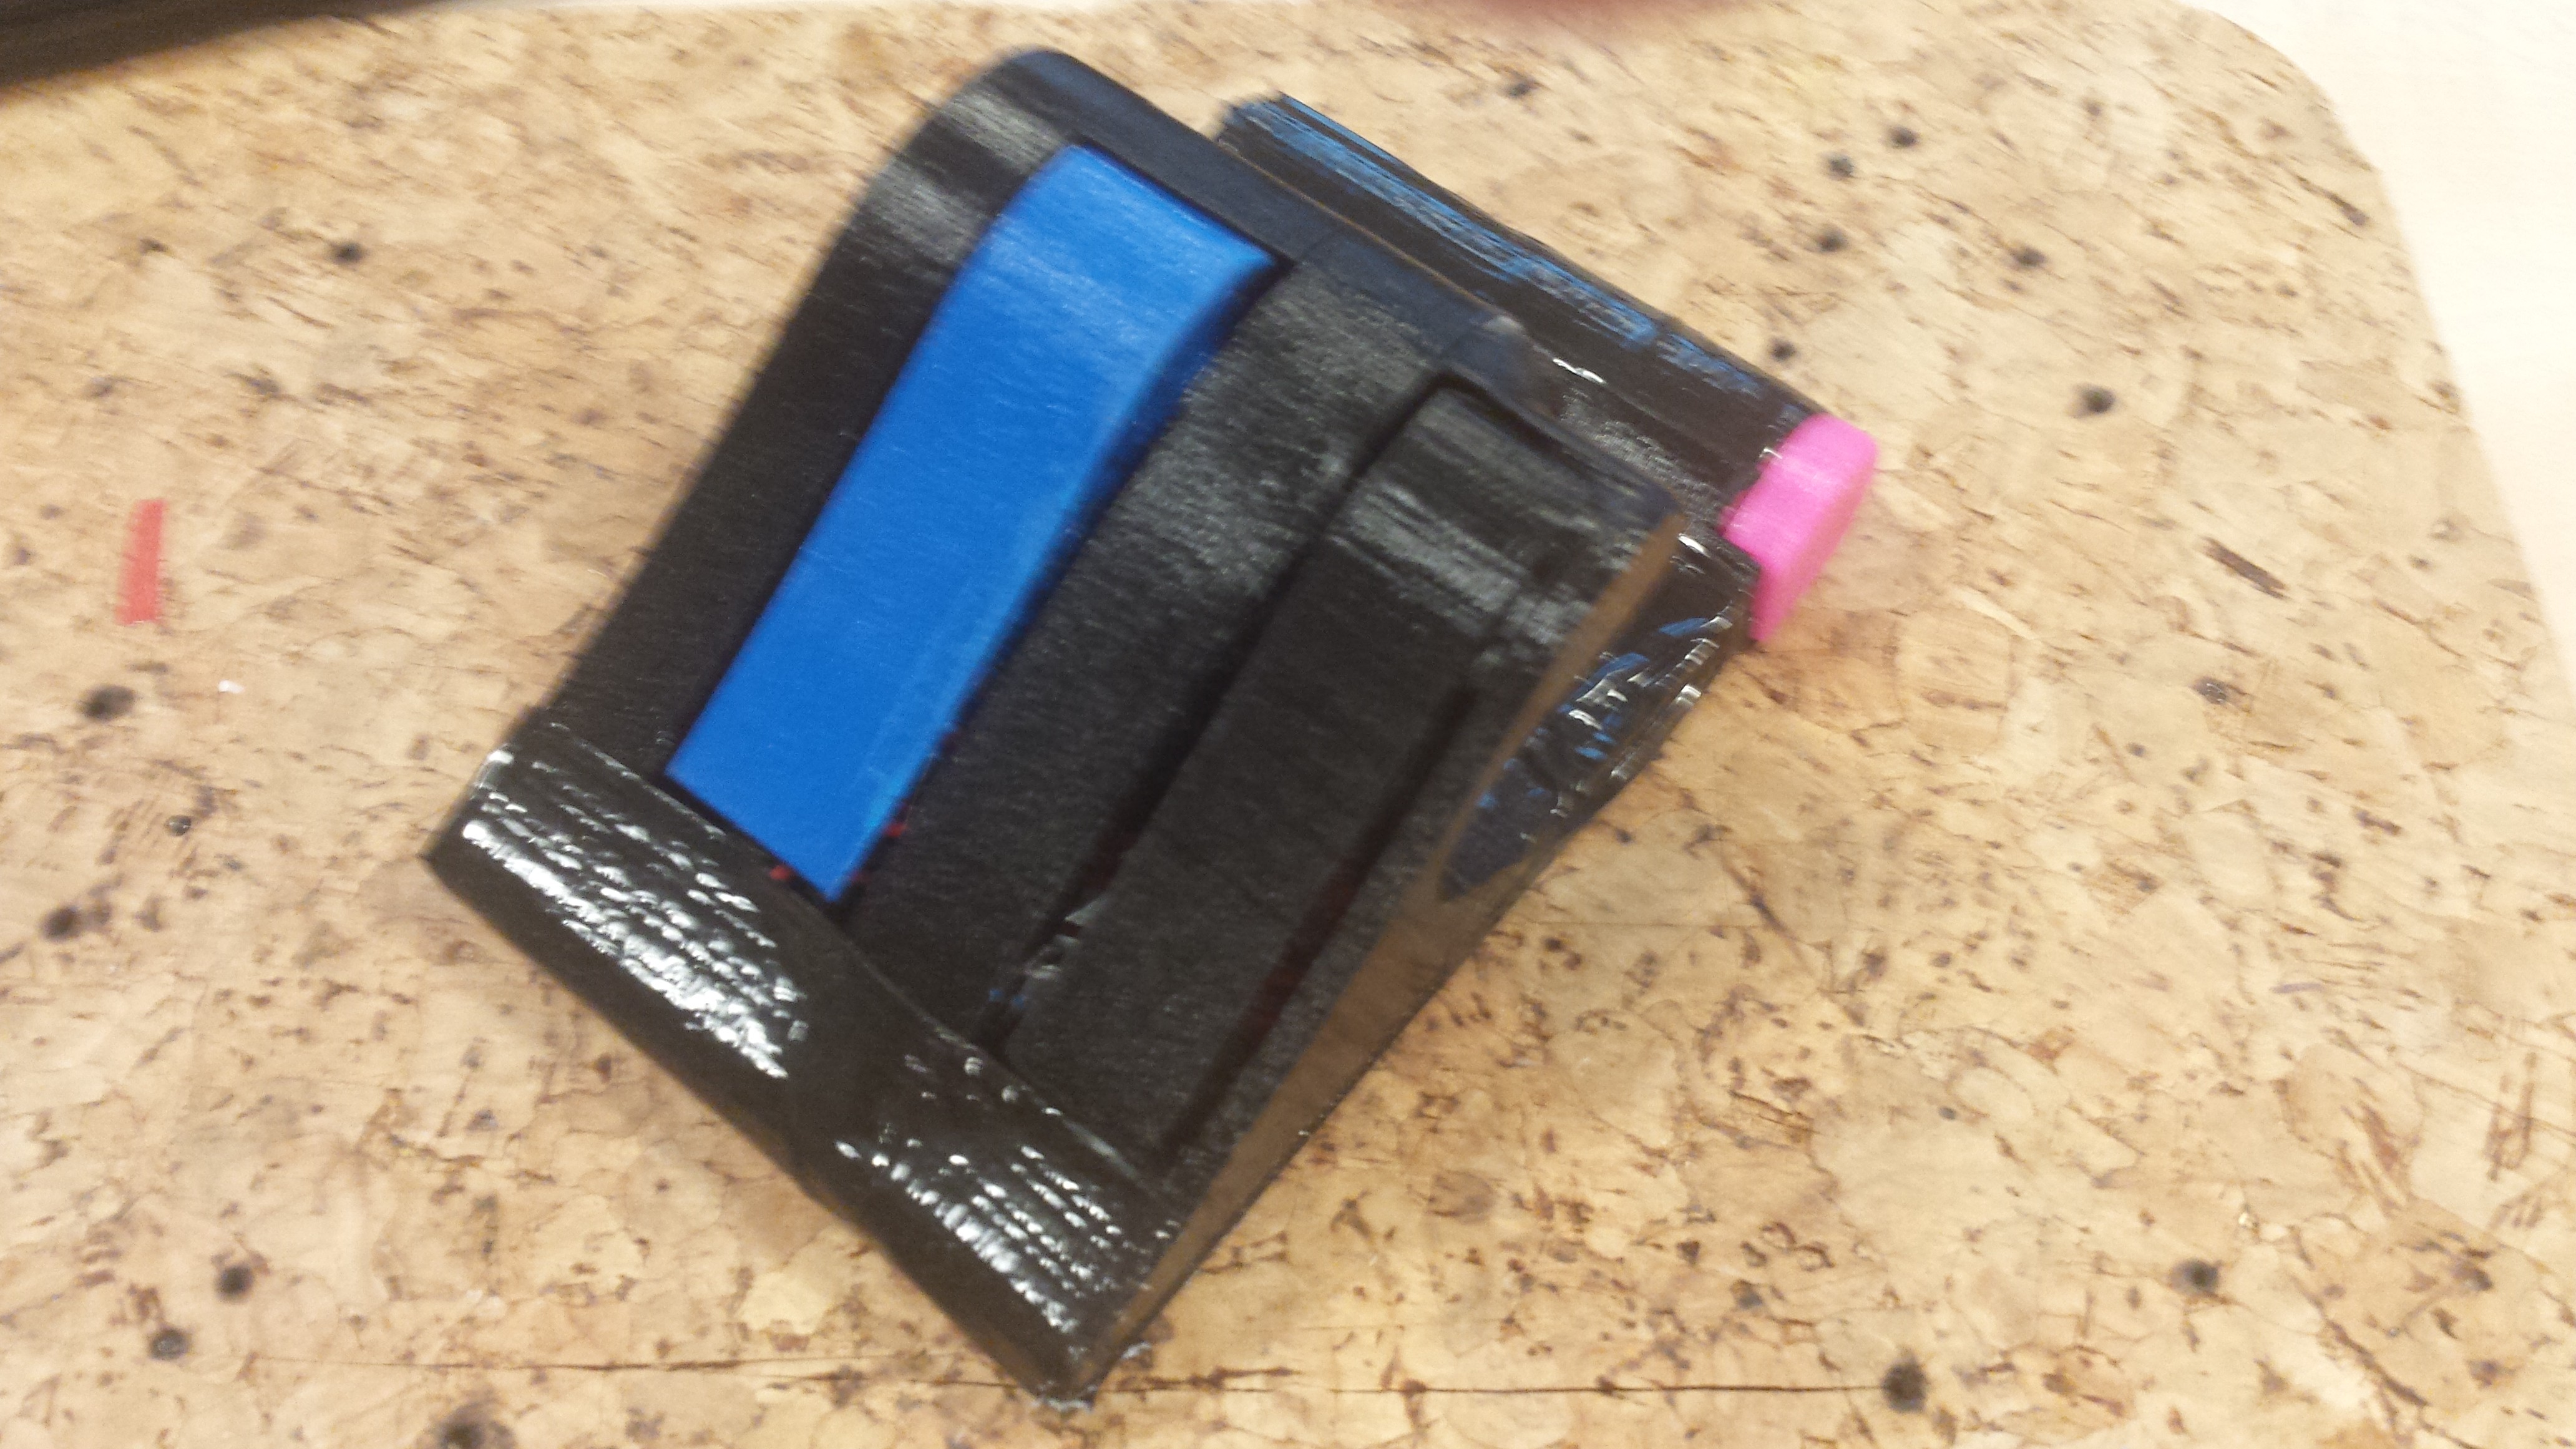
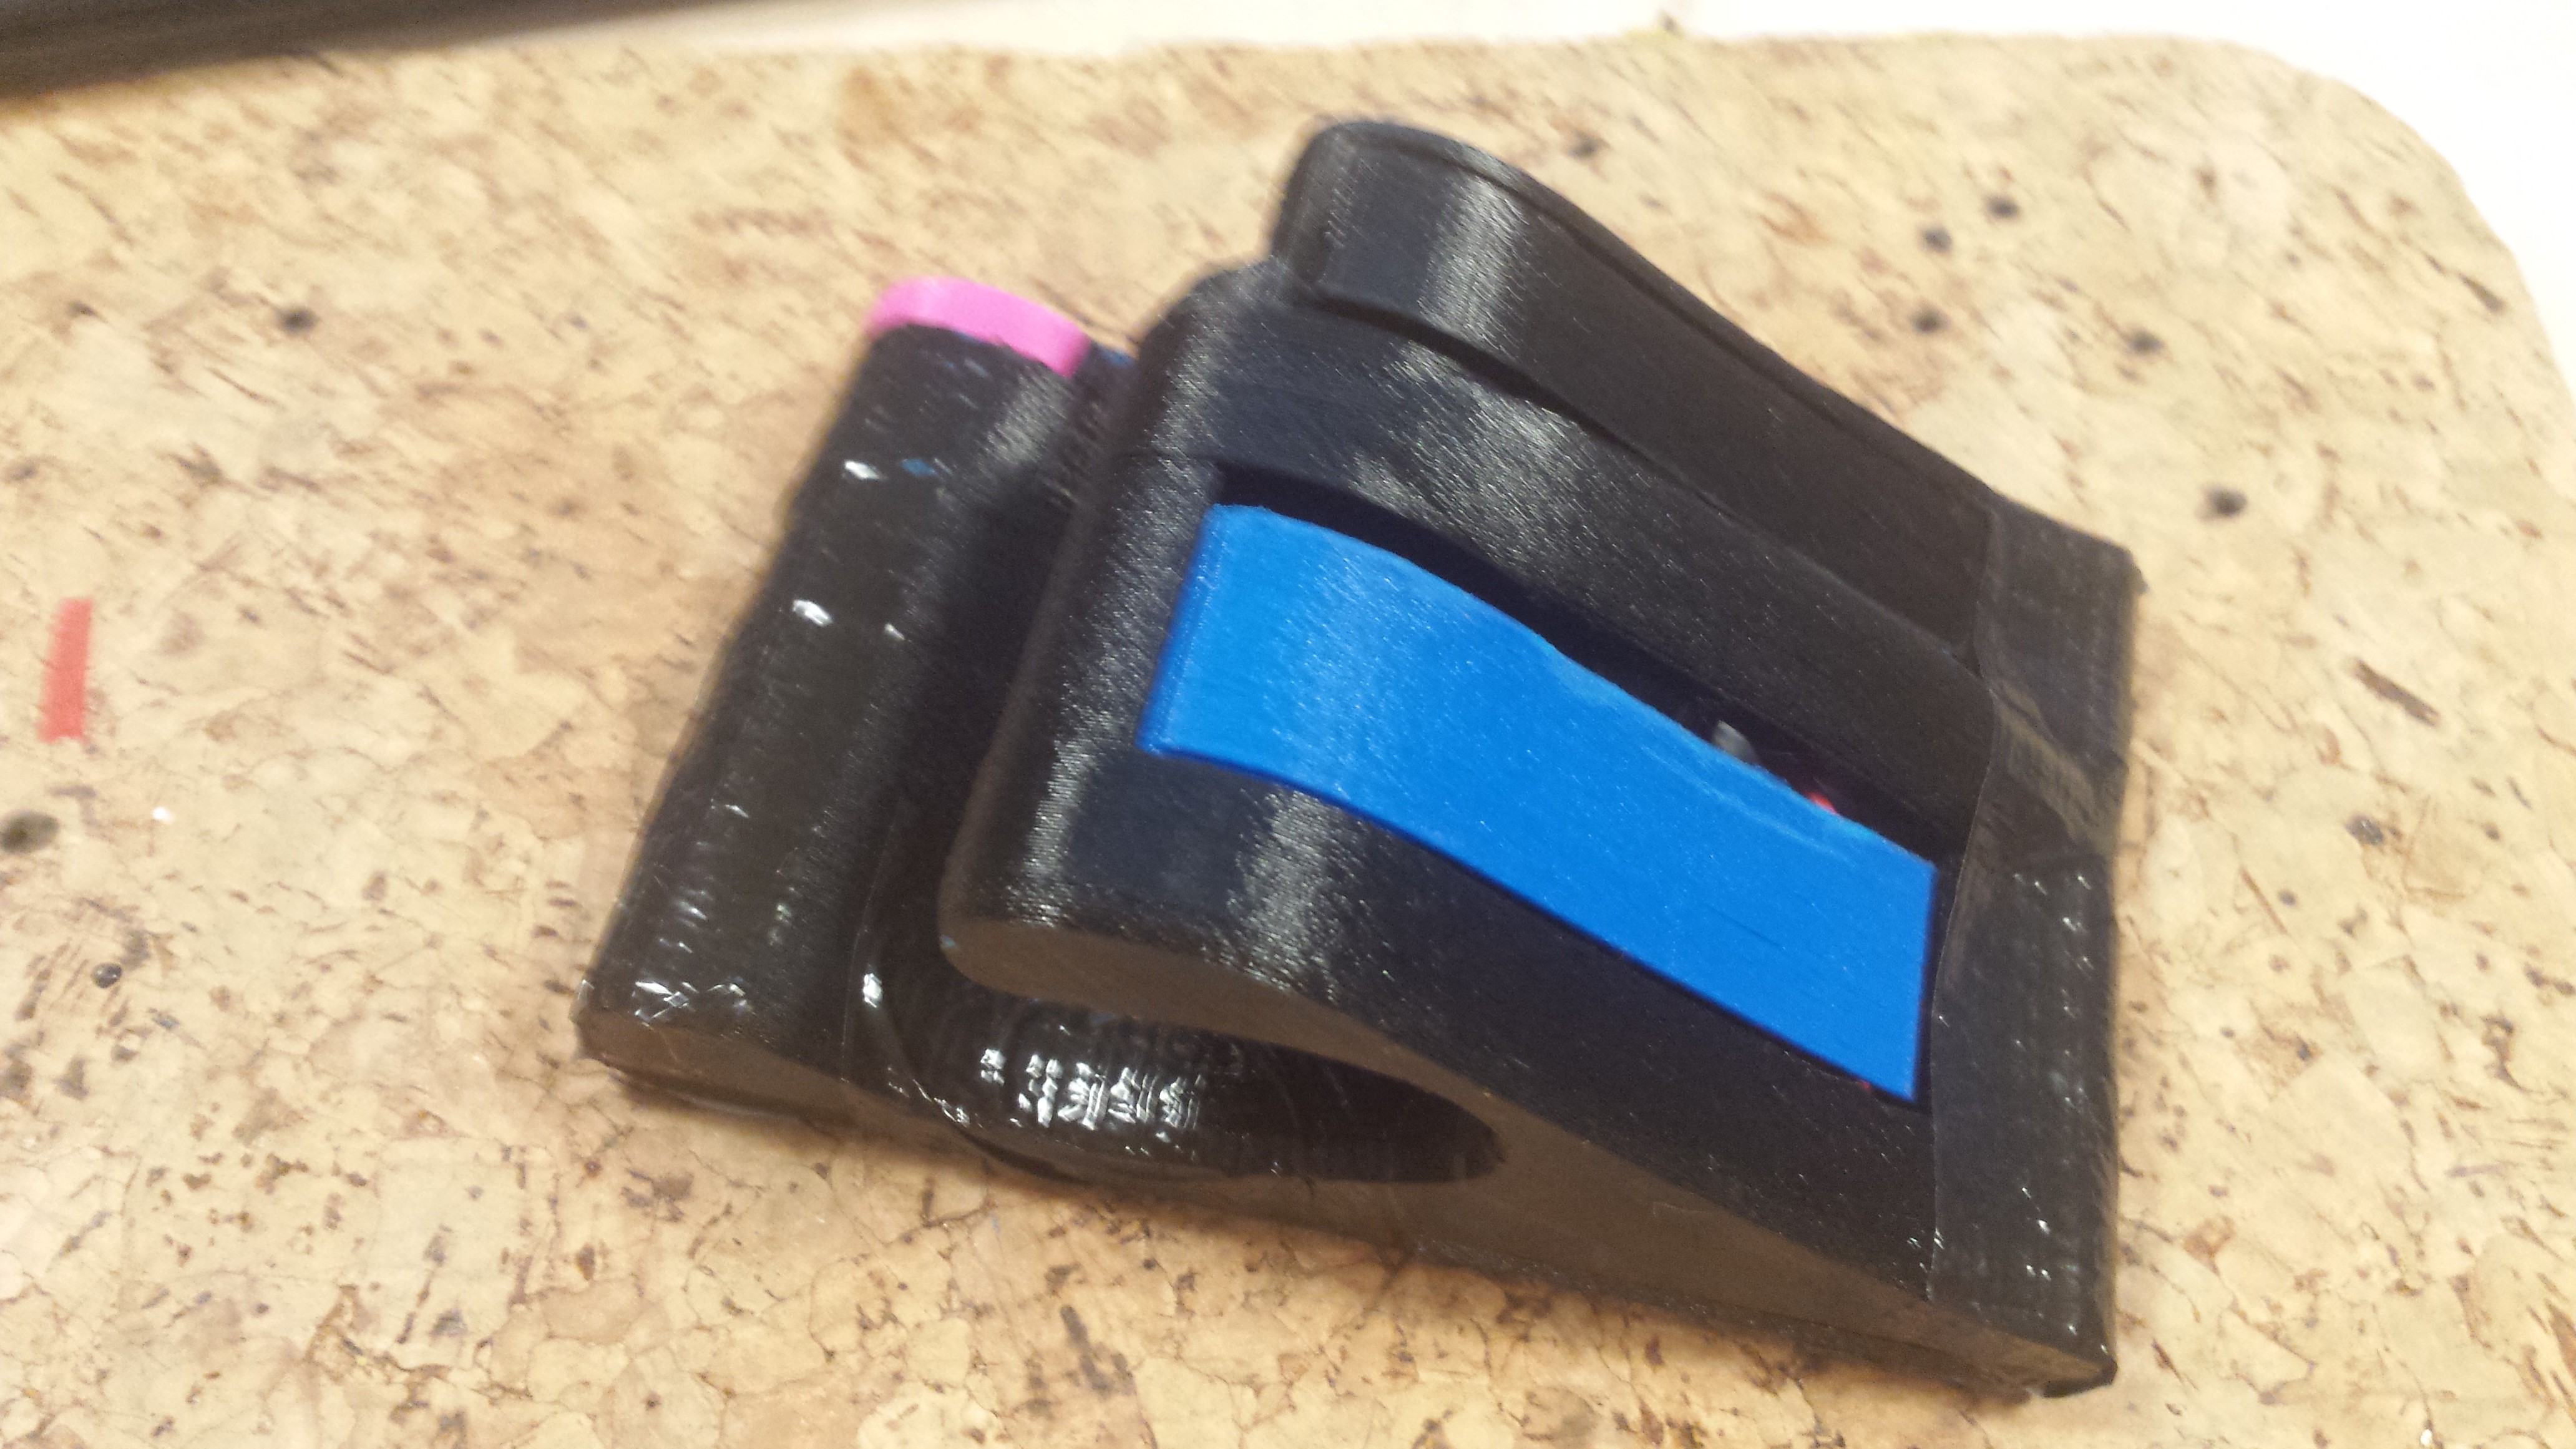
I've made one button on the printer. But definitely 0,8 nozzle is to thick for such element. But it's look like it's working for now. The clicker I attached with glue.
![]()
![]()
No it's time to do second one(it's a little different) and put them to the body.
-
5STEP 5.0 - Last touch
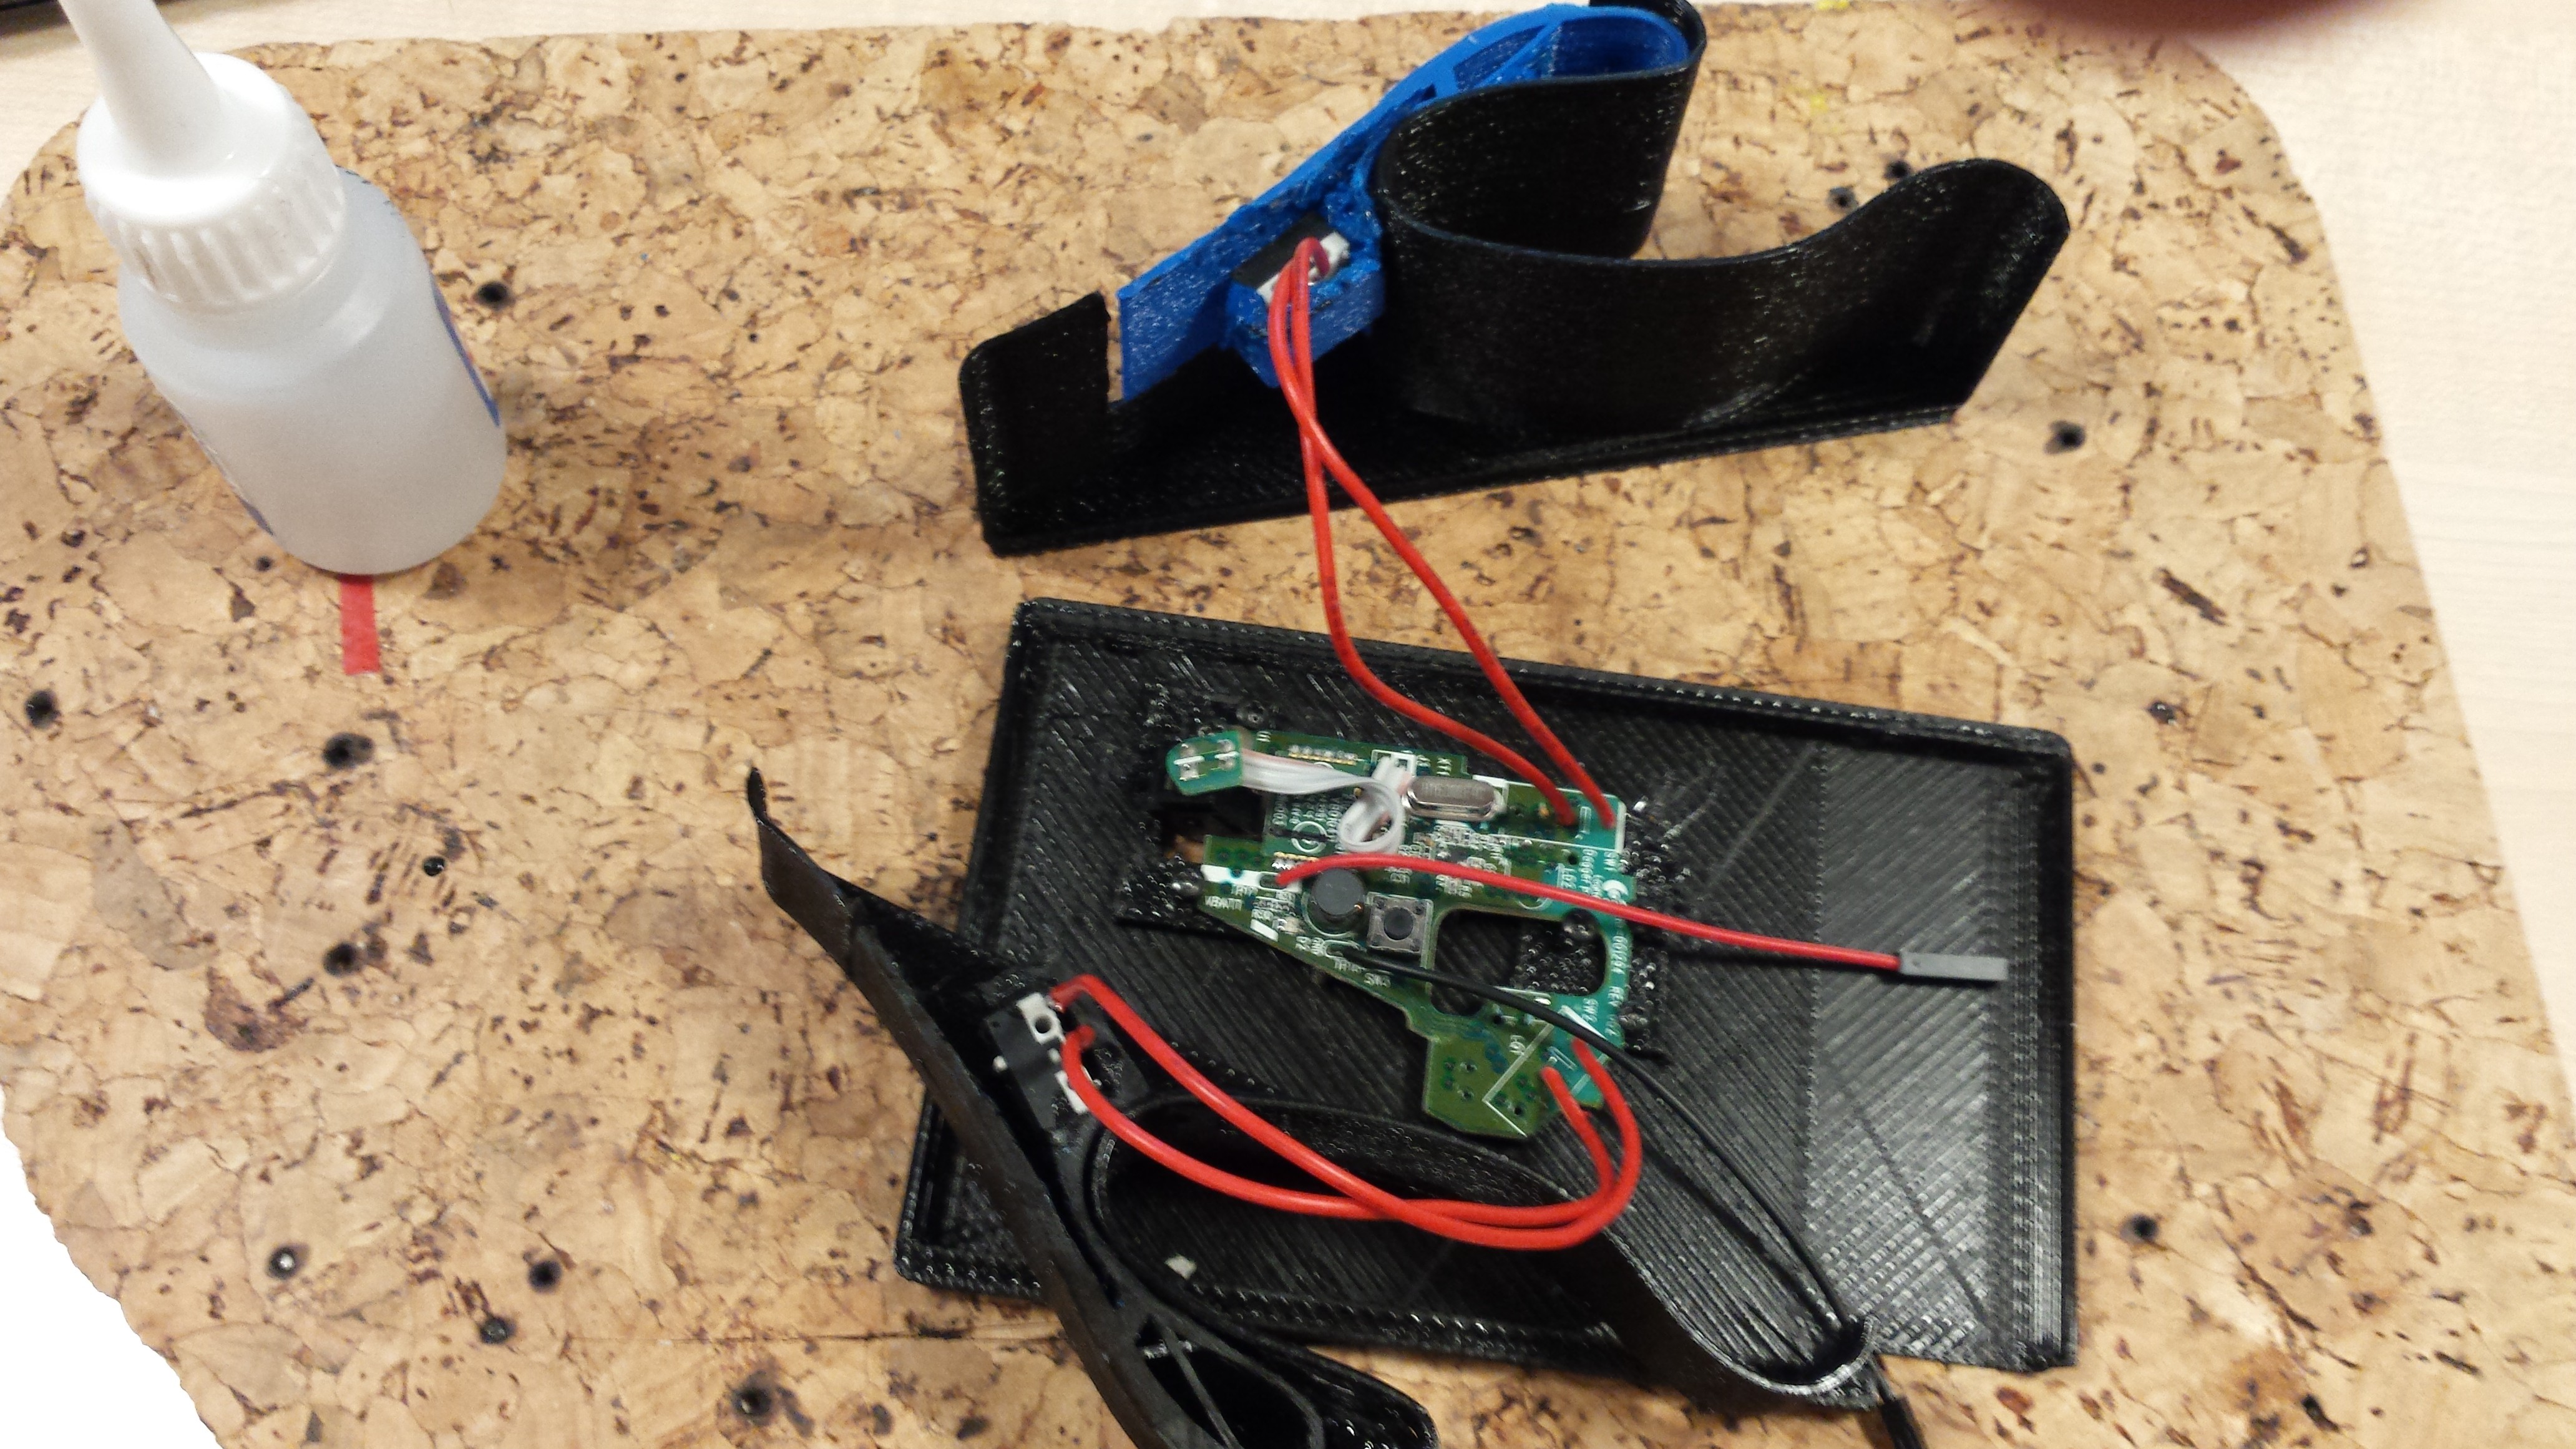
I cut off rest parts from scroll, because they took up too much space. And I glued all part with glue. To mount top and bottom I used a gray tape. This is first prototype so I keep this simple. It's working, idea is good, but for now I know that in Mouse 2.0 I have to change buttons construction(simpler and a little higher), everything should have less parts, battery for accumulator with USB. And definitely I need to use 0,4 nozle in 3d prinnter ...not 0,8 . The bassic shape is good but could be more ergonomic. Mouse 2.0 can also have a rubber or plastic hanlde to hold the hand while lifting.
![]()
![]()
![]()
Disabled / Quadriplegic Mouse Concept
Mouse for disabled people after spinal cord injury in cervical region.
 ...
...
 to be continued...
Discussions
Become a Hackaday.io Member
Create an account to leave a comment. Already have an account? Log In.