Arnov Sharma


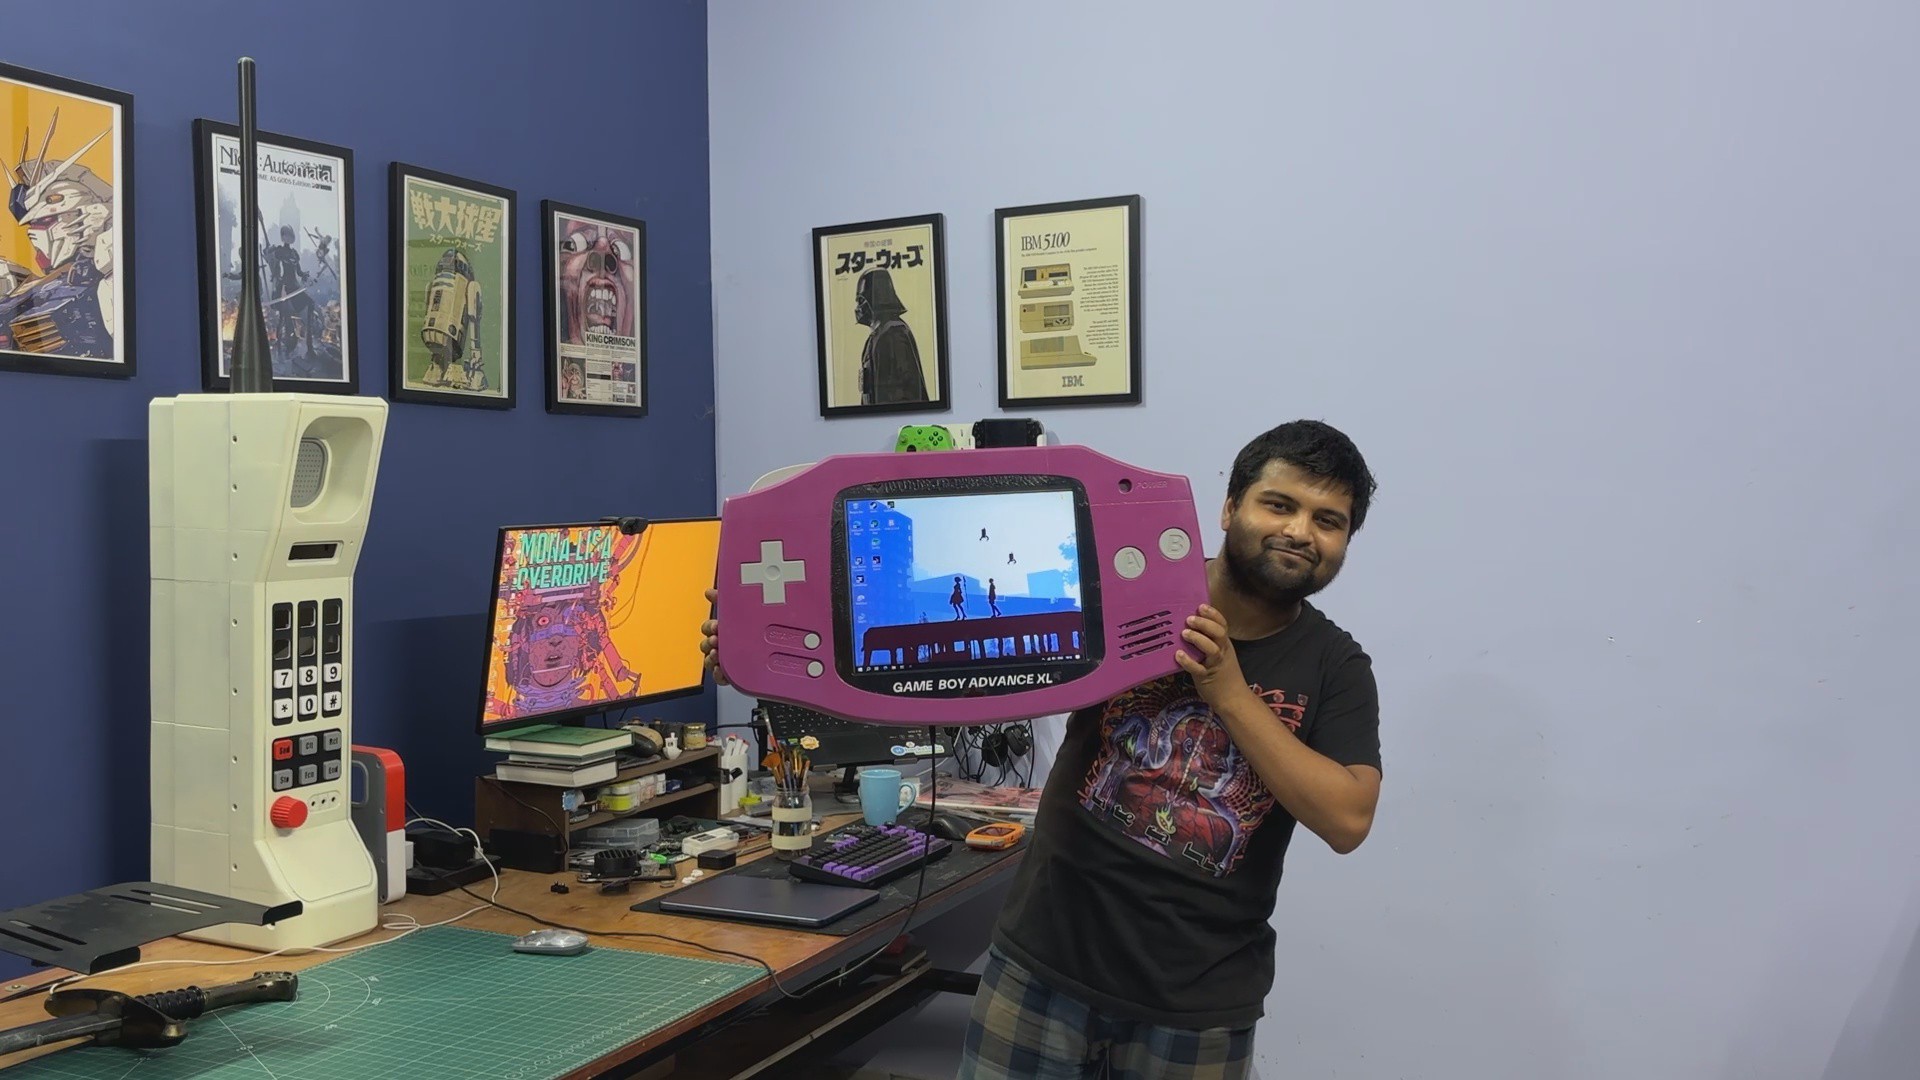
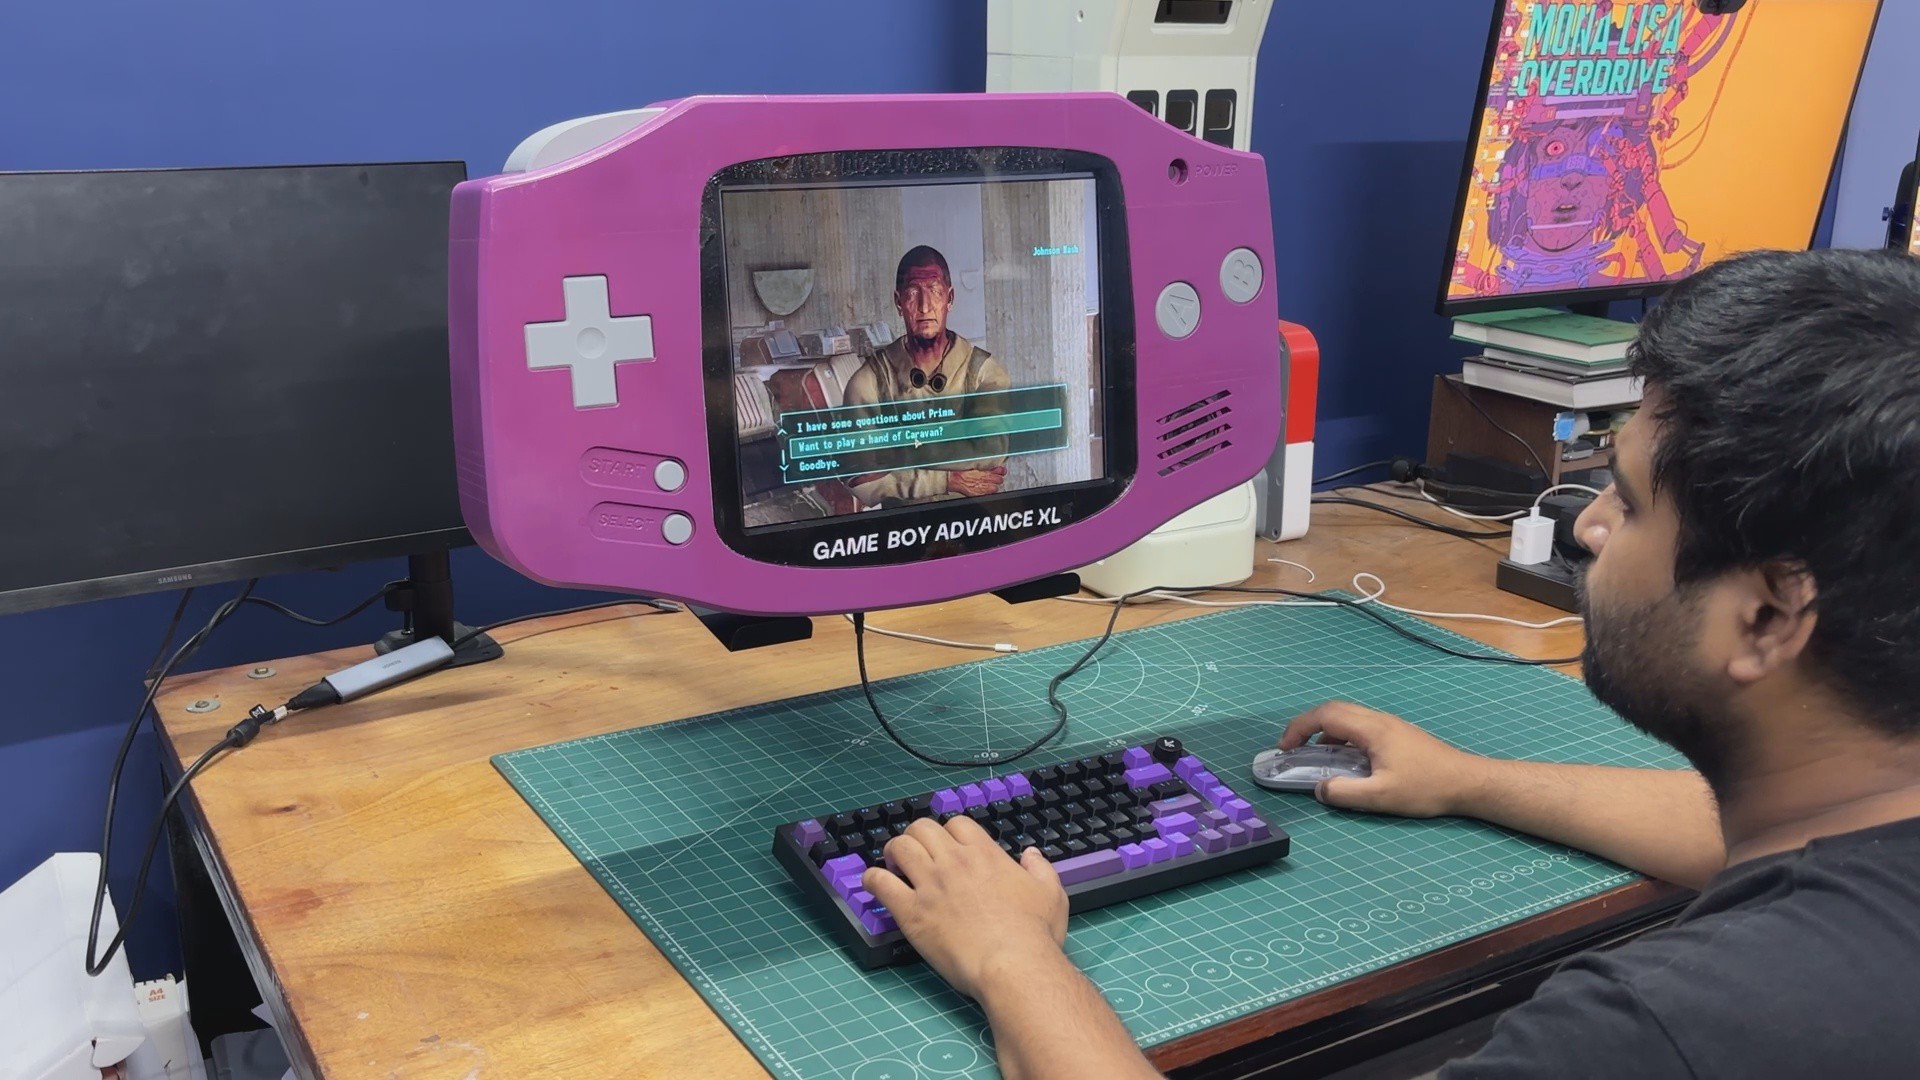
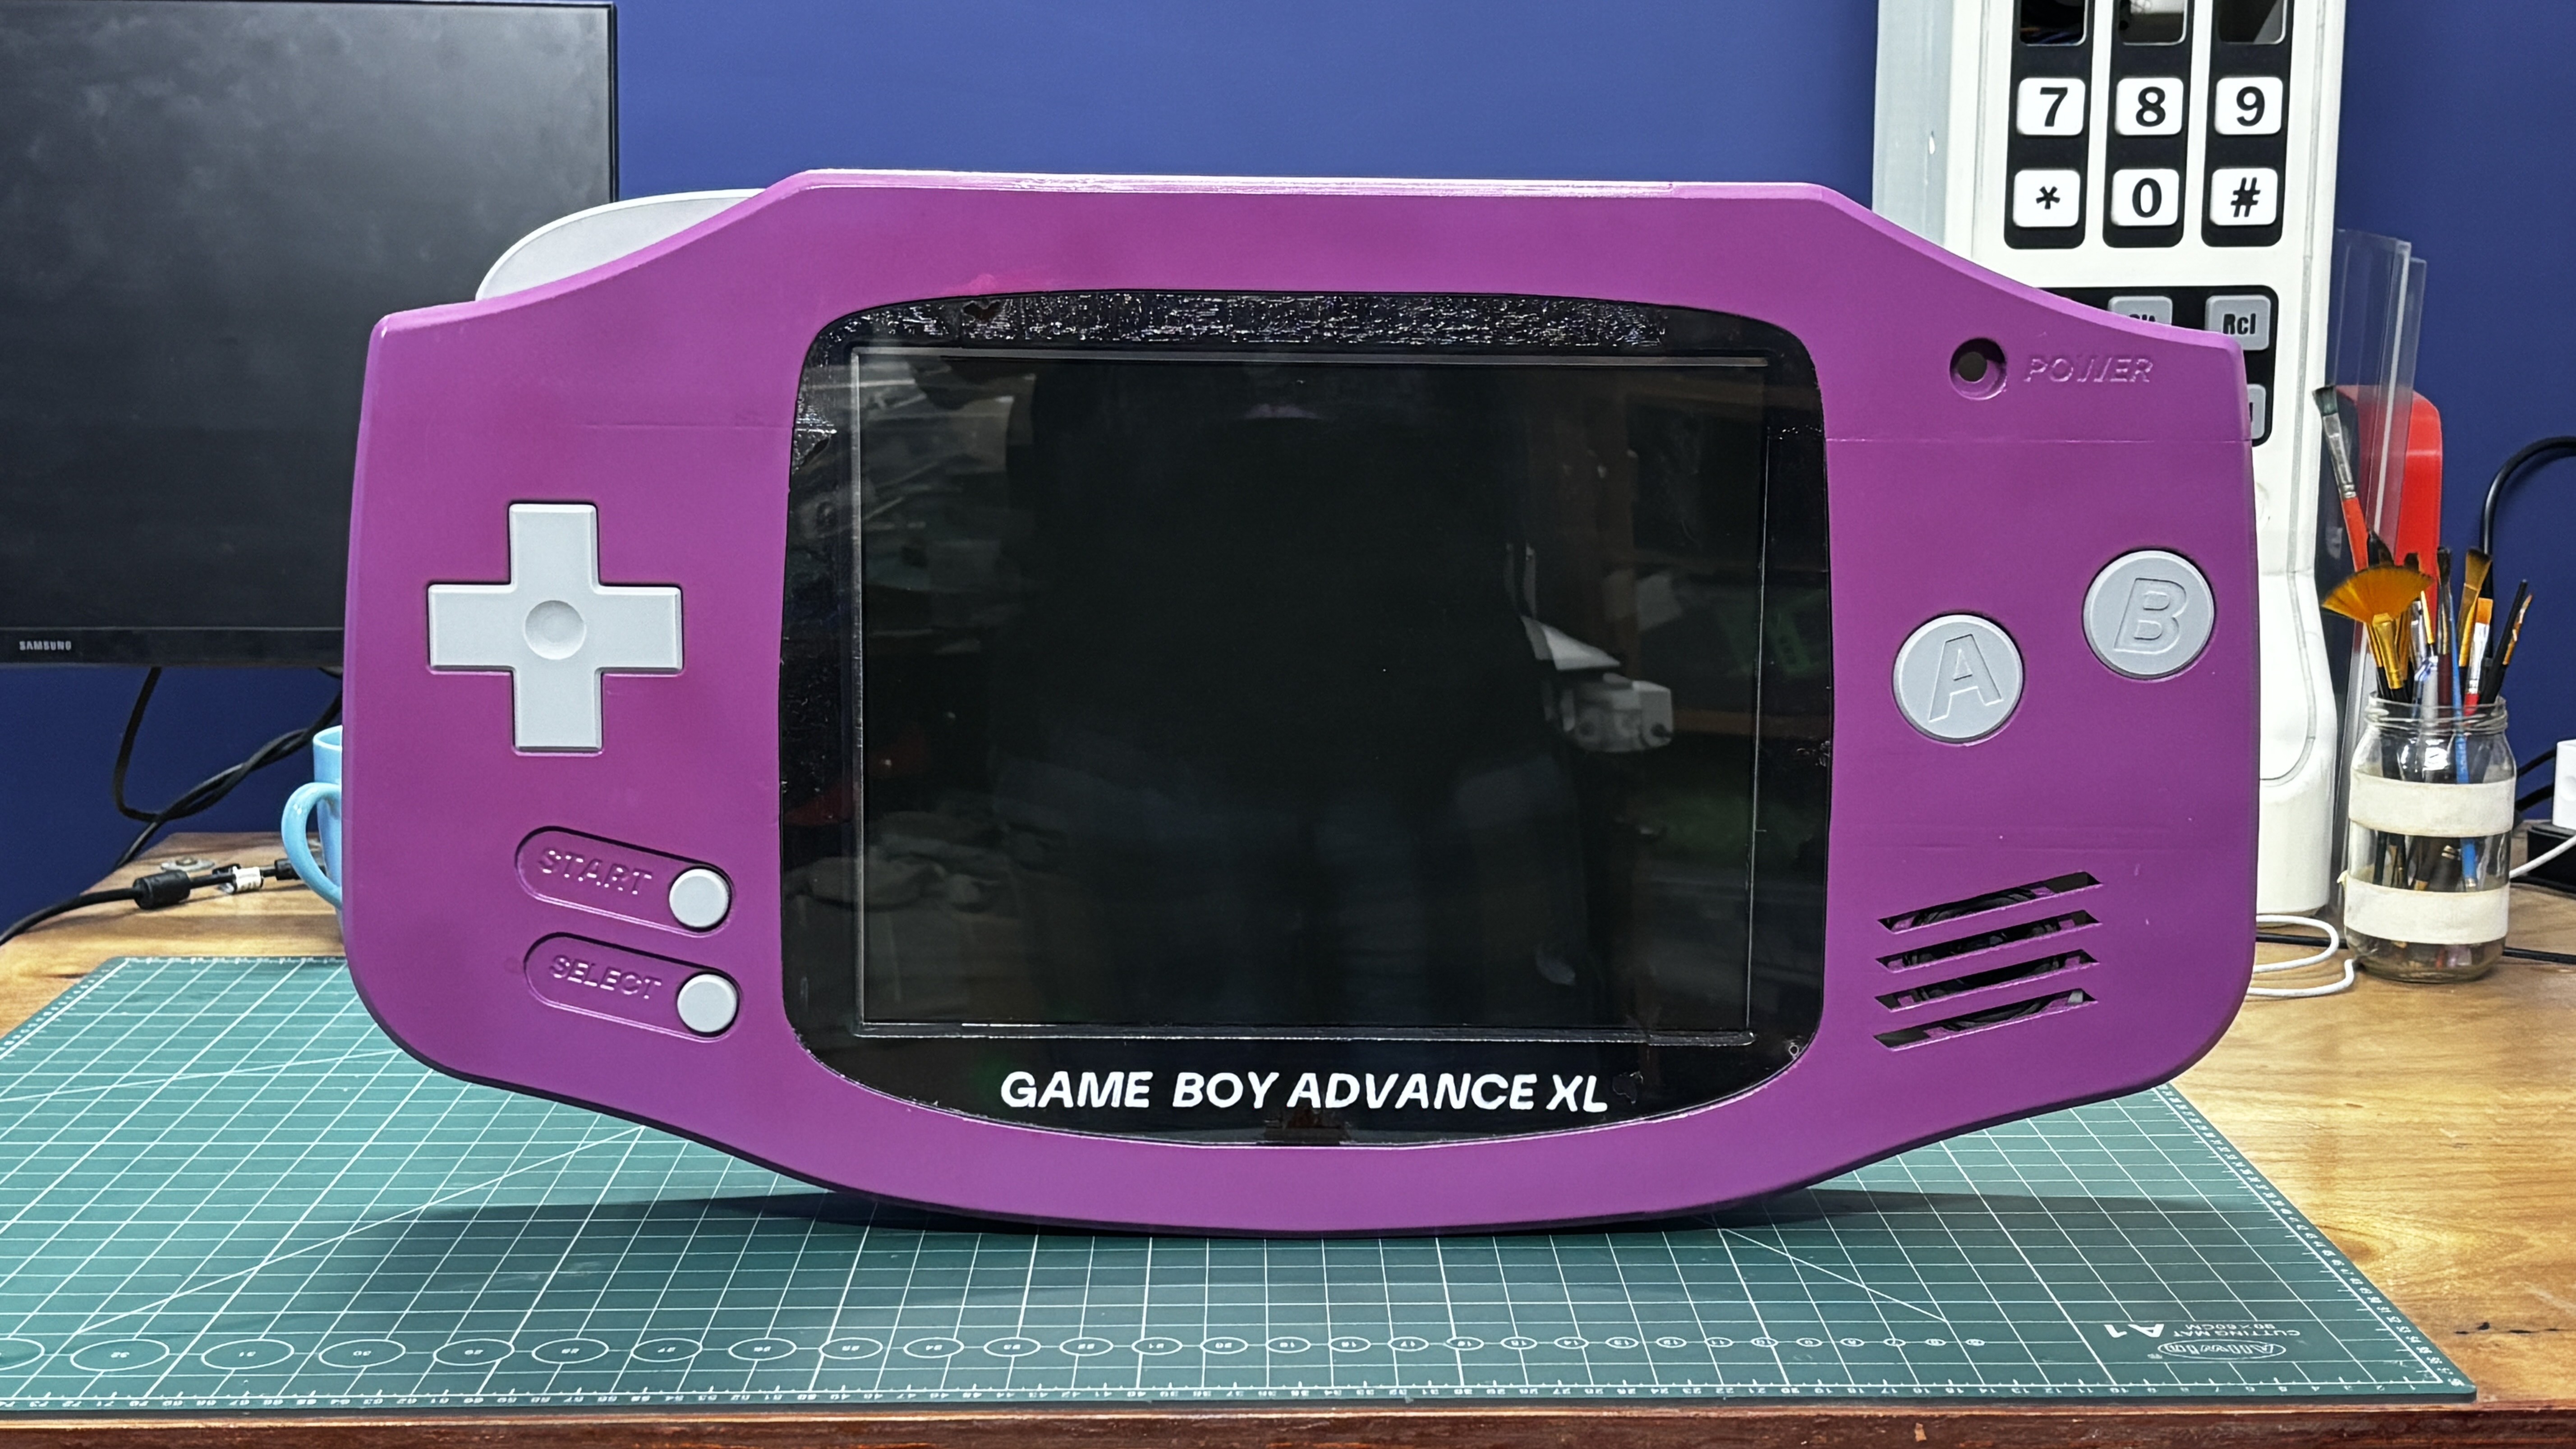
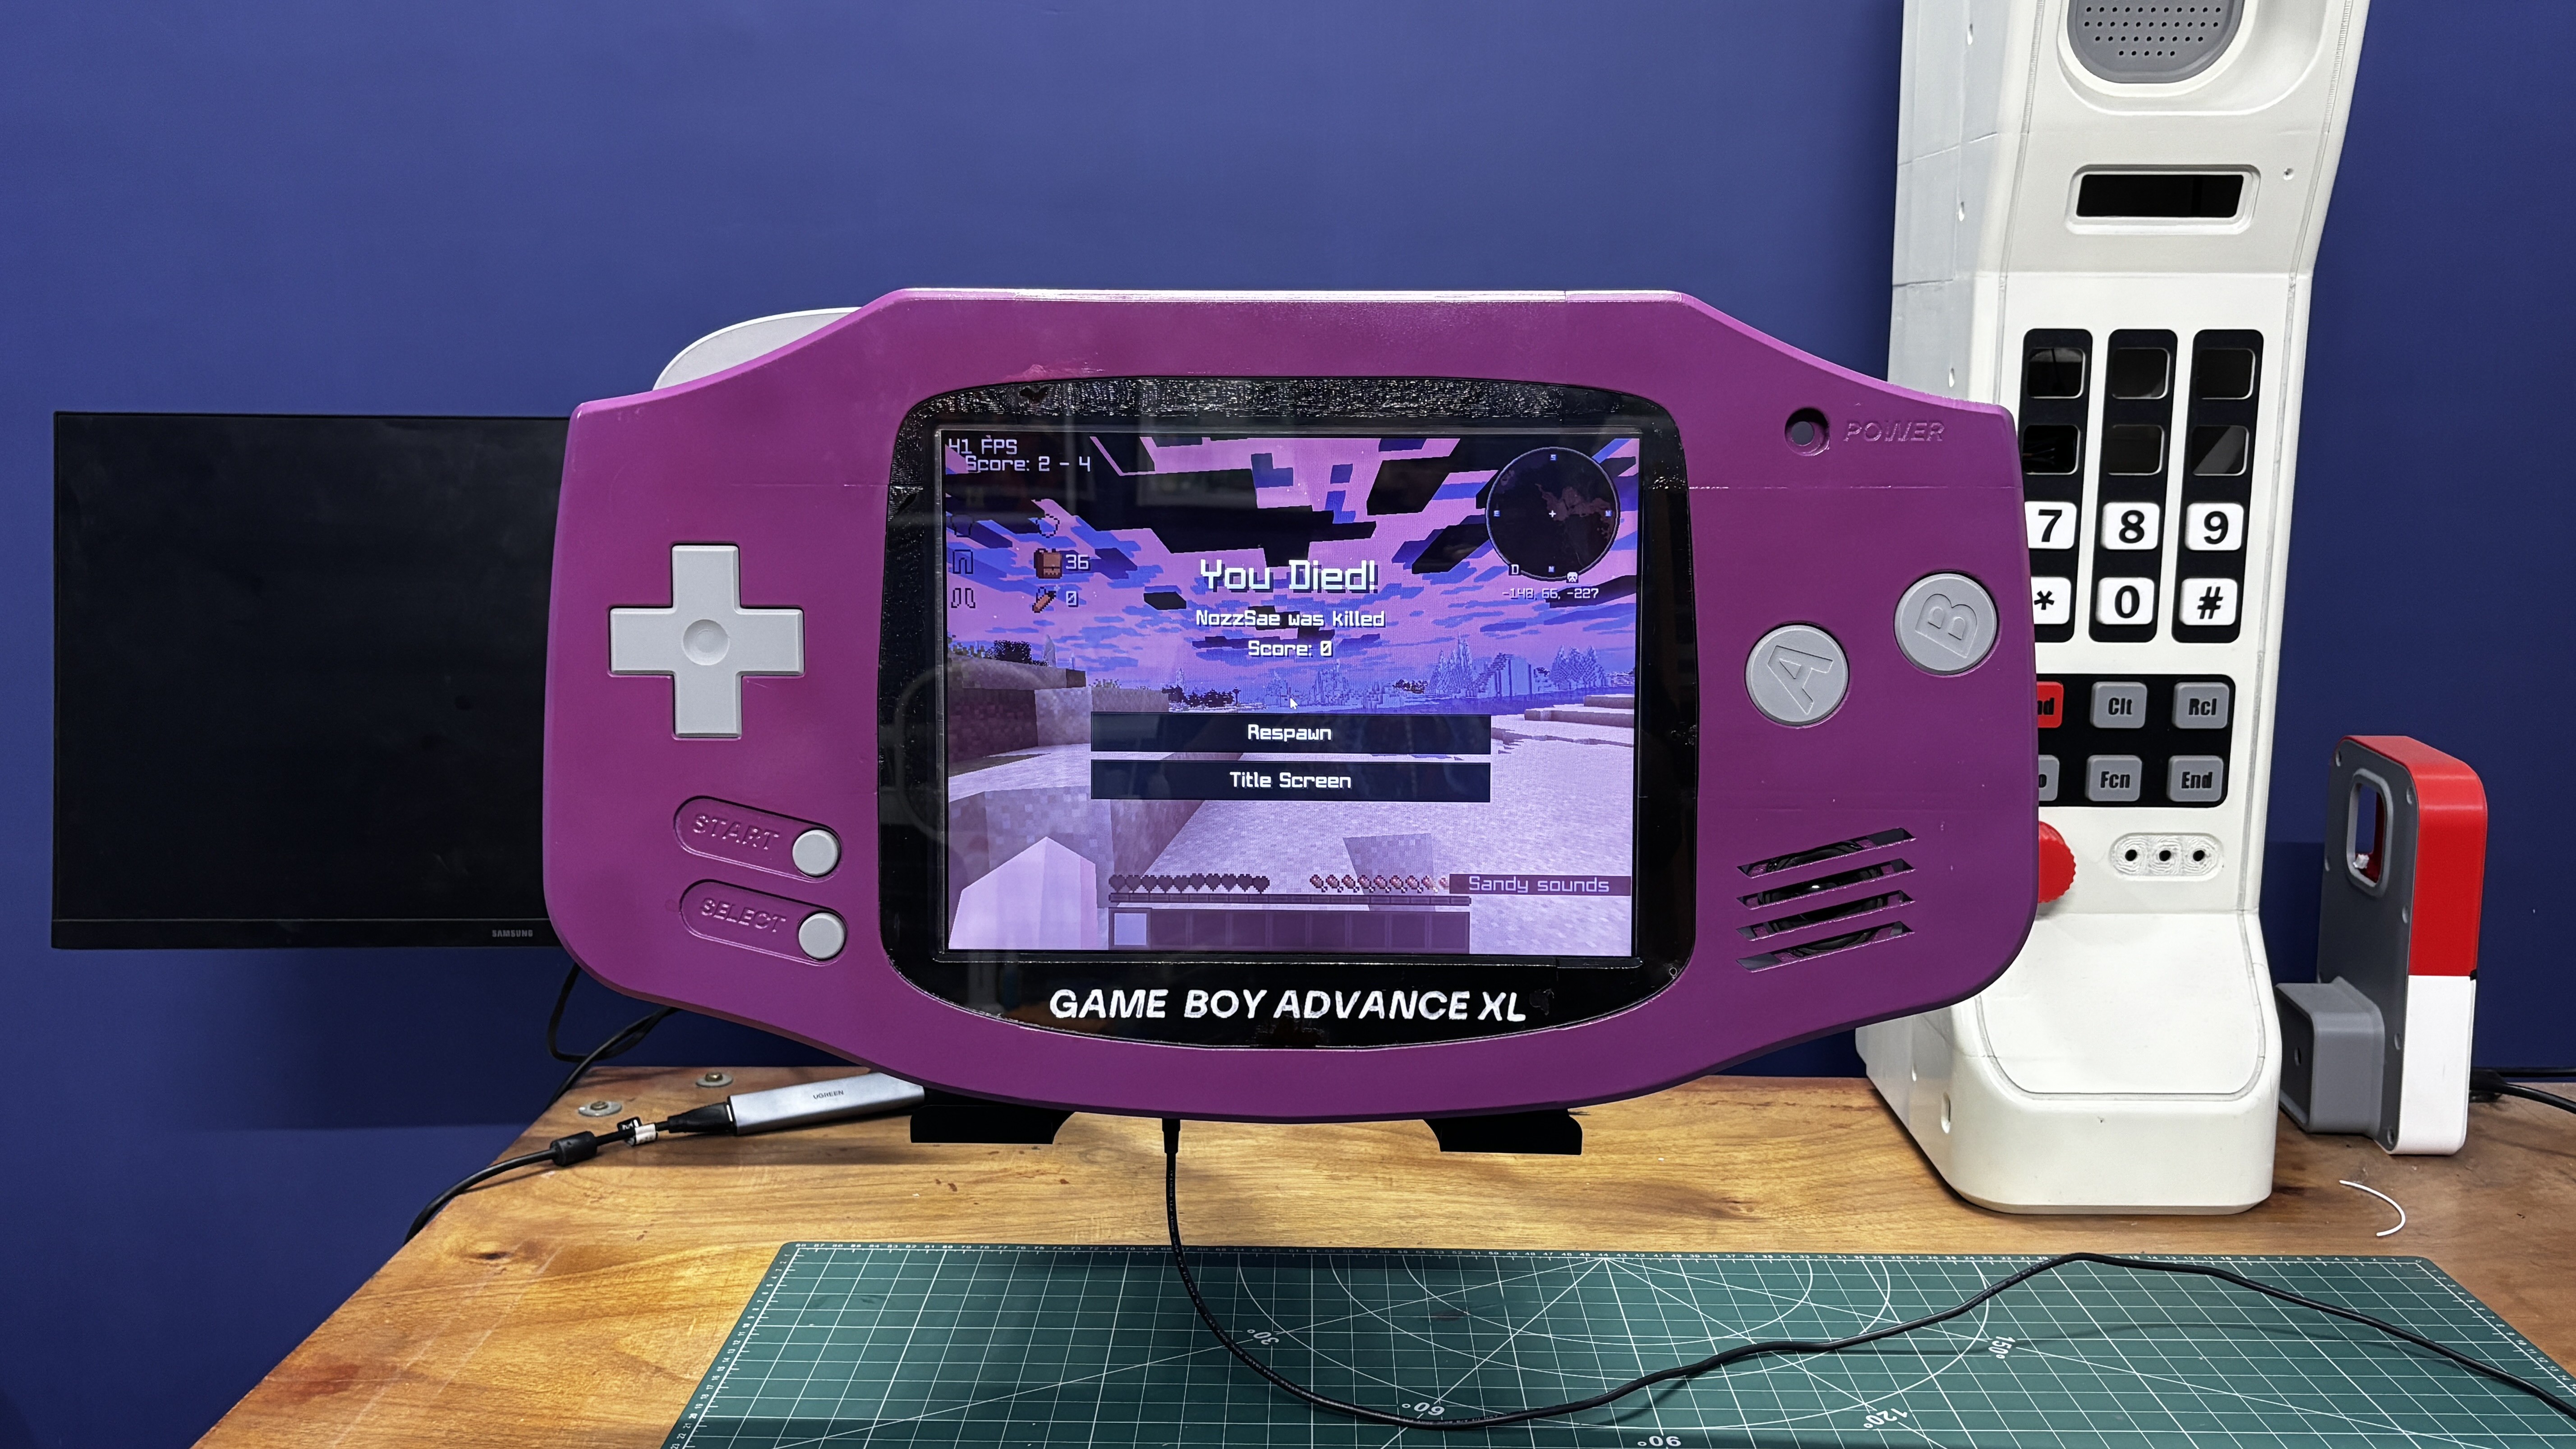
It's powered by a DFRobot LattePanda Mu N305 single-board computer, paired with its Lite carrier board and a massive 15-inch HDMI display salvaged from a PC monitor.
A few months ago, I built the Motorola DynaTAC Max, a giant replica of the iconic Motorola DynaTAC phone. That project got me hooked on building oversized versions of everyday devices, and I knew I wanted to take on something even more ambitious: the Game Boy Advance, in this case.
I've been working on this project for nearly three months, and trust me, it took a lot longer than I expected.
So, what exactly is the Game Boy Advance XL?
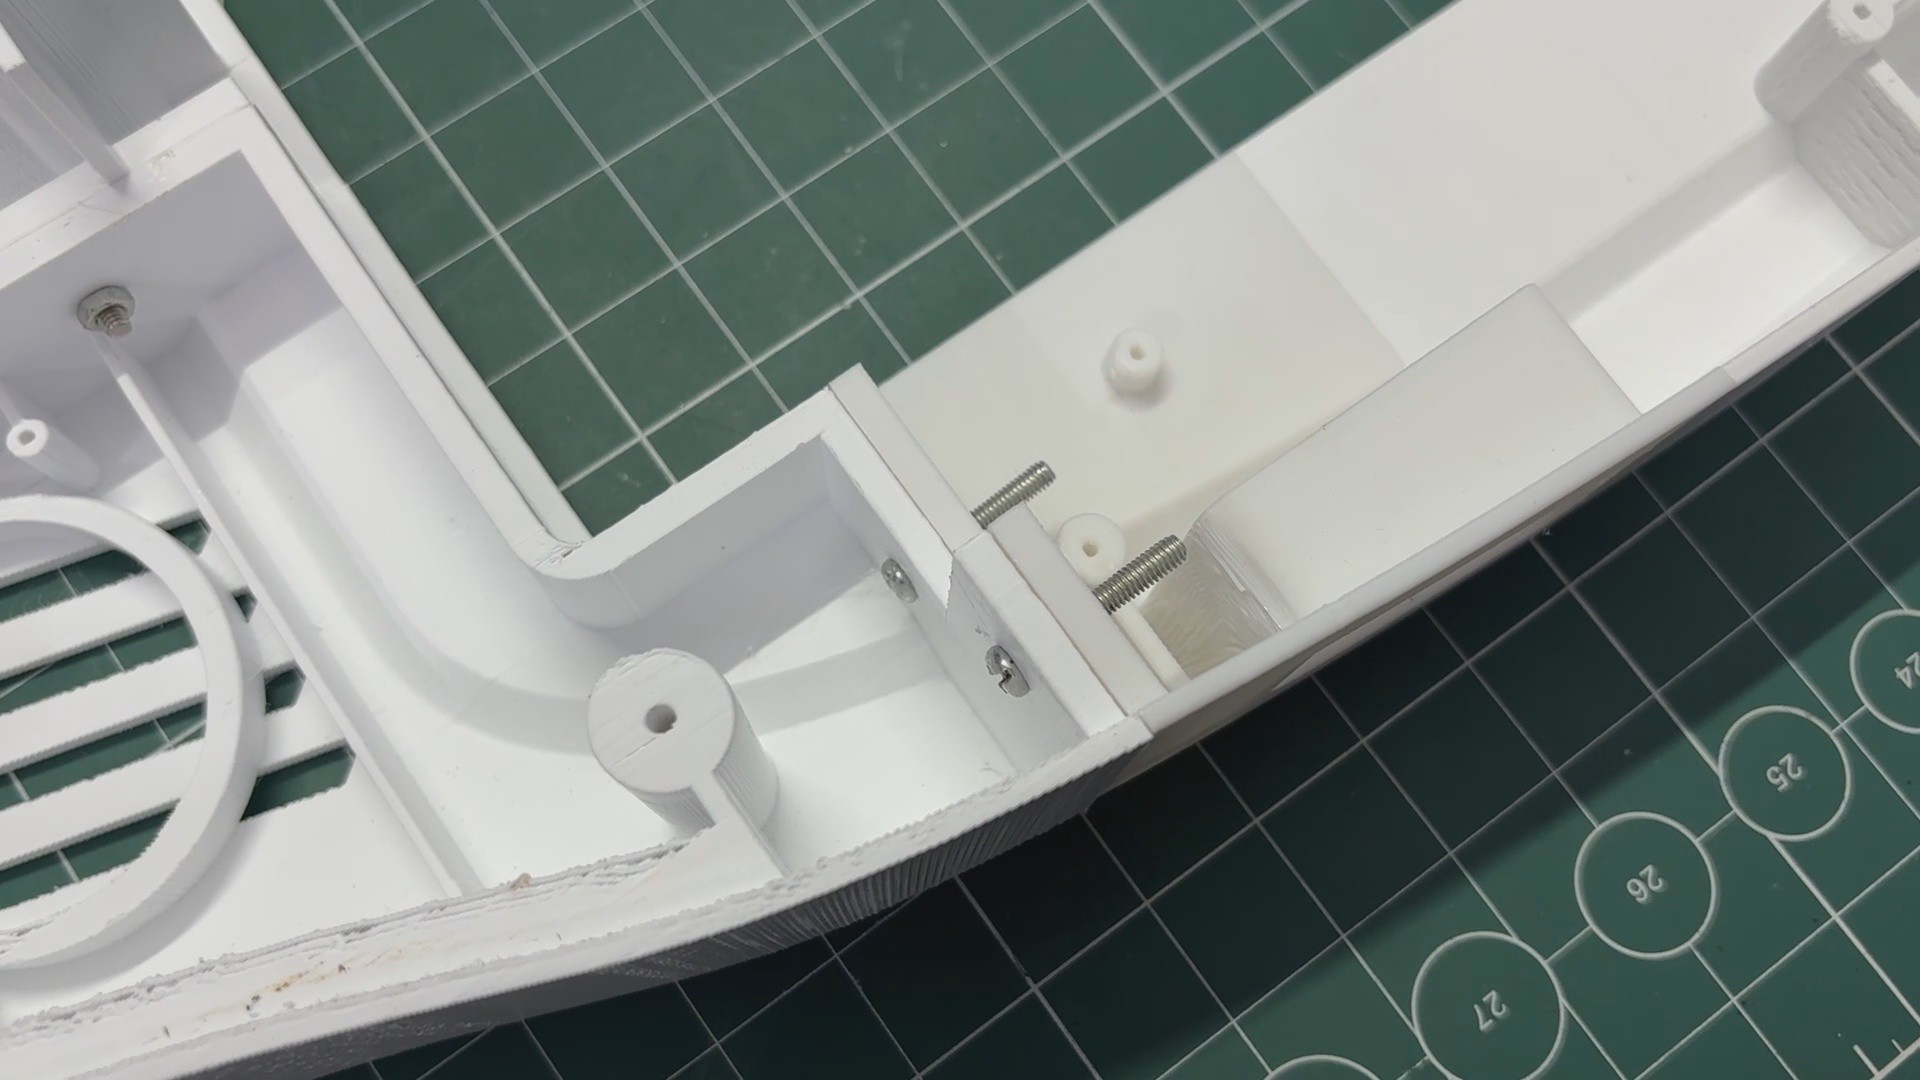
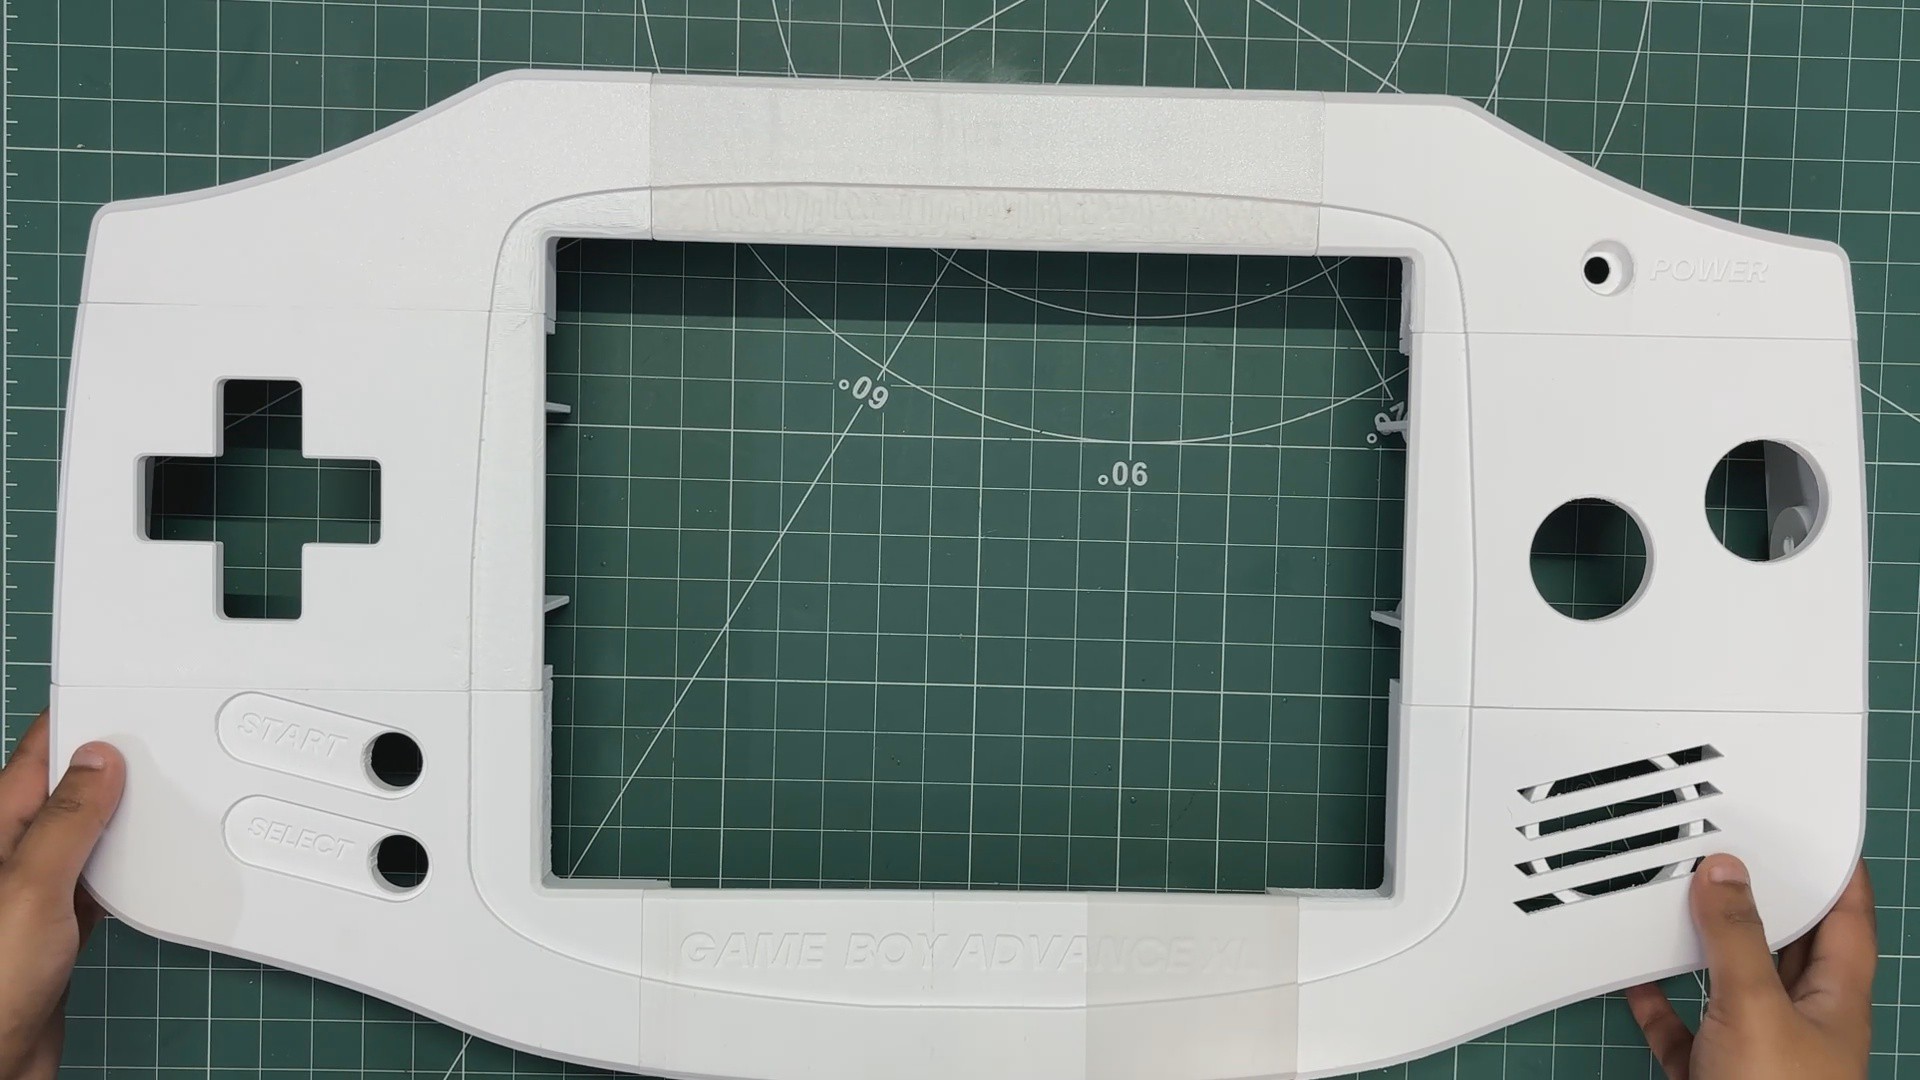
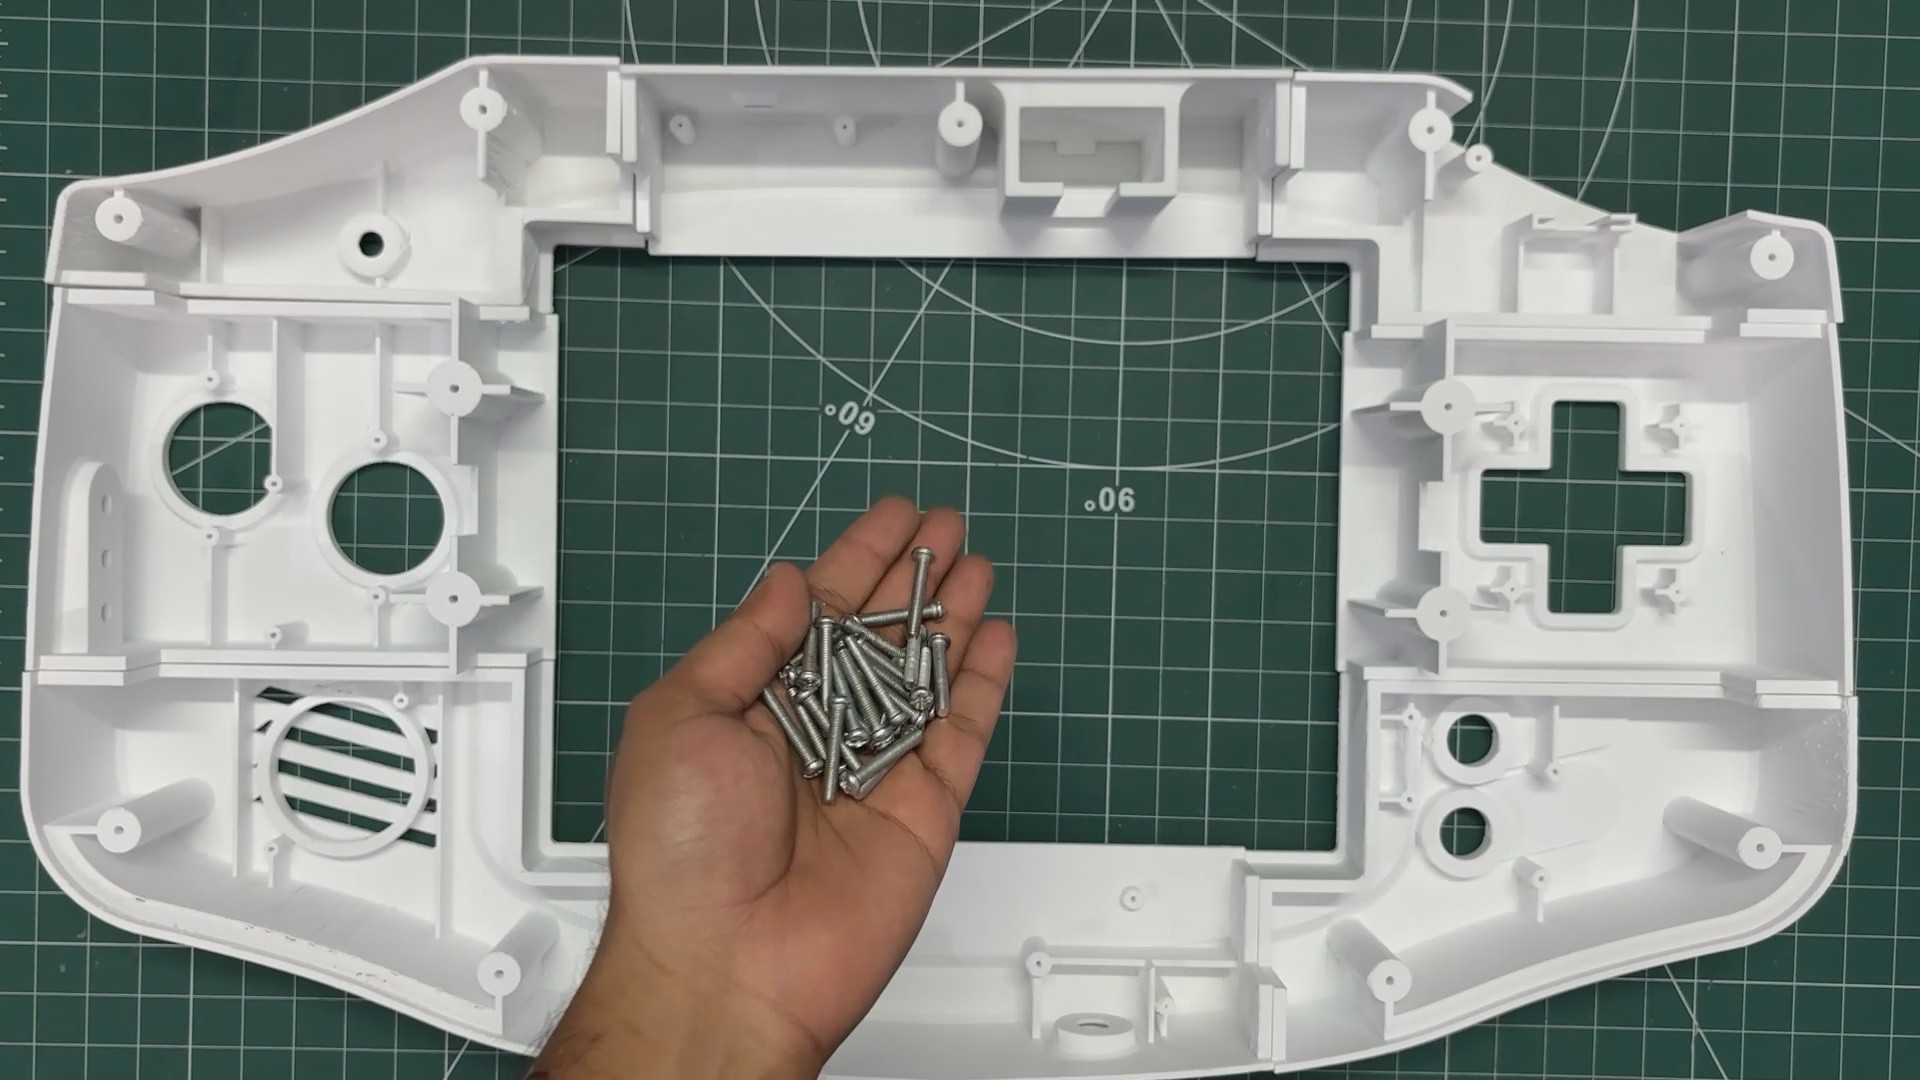
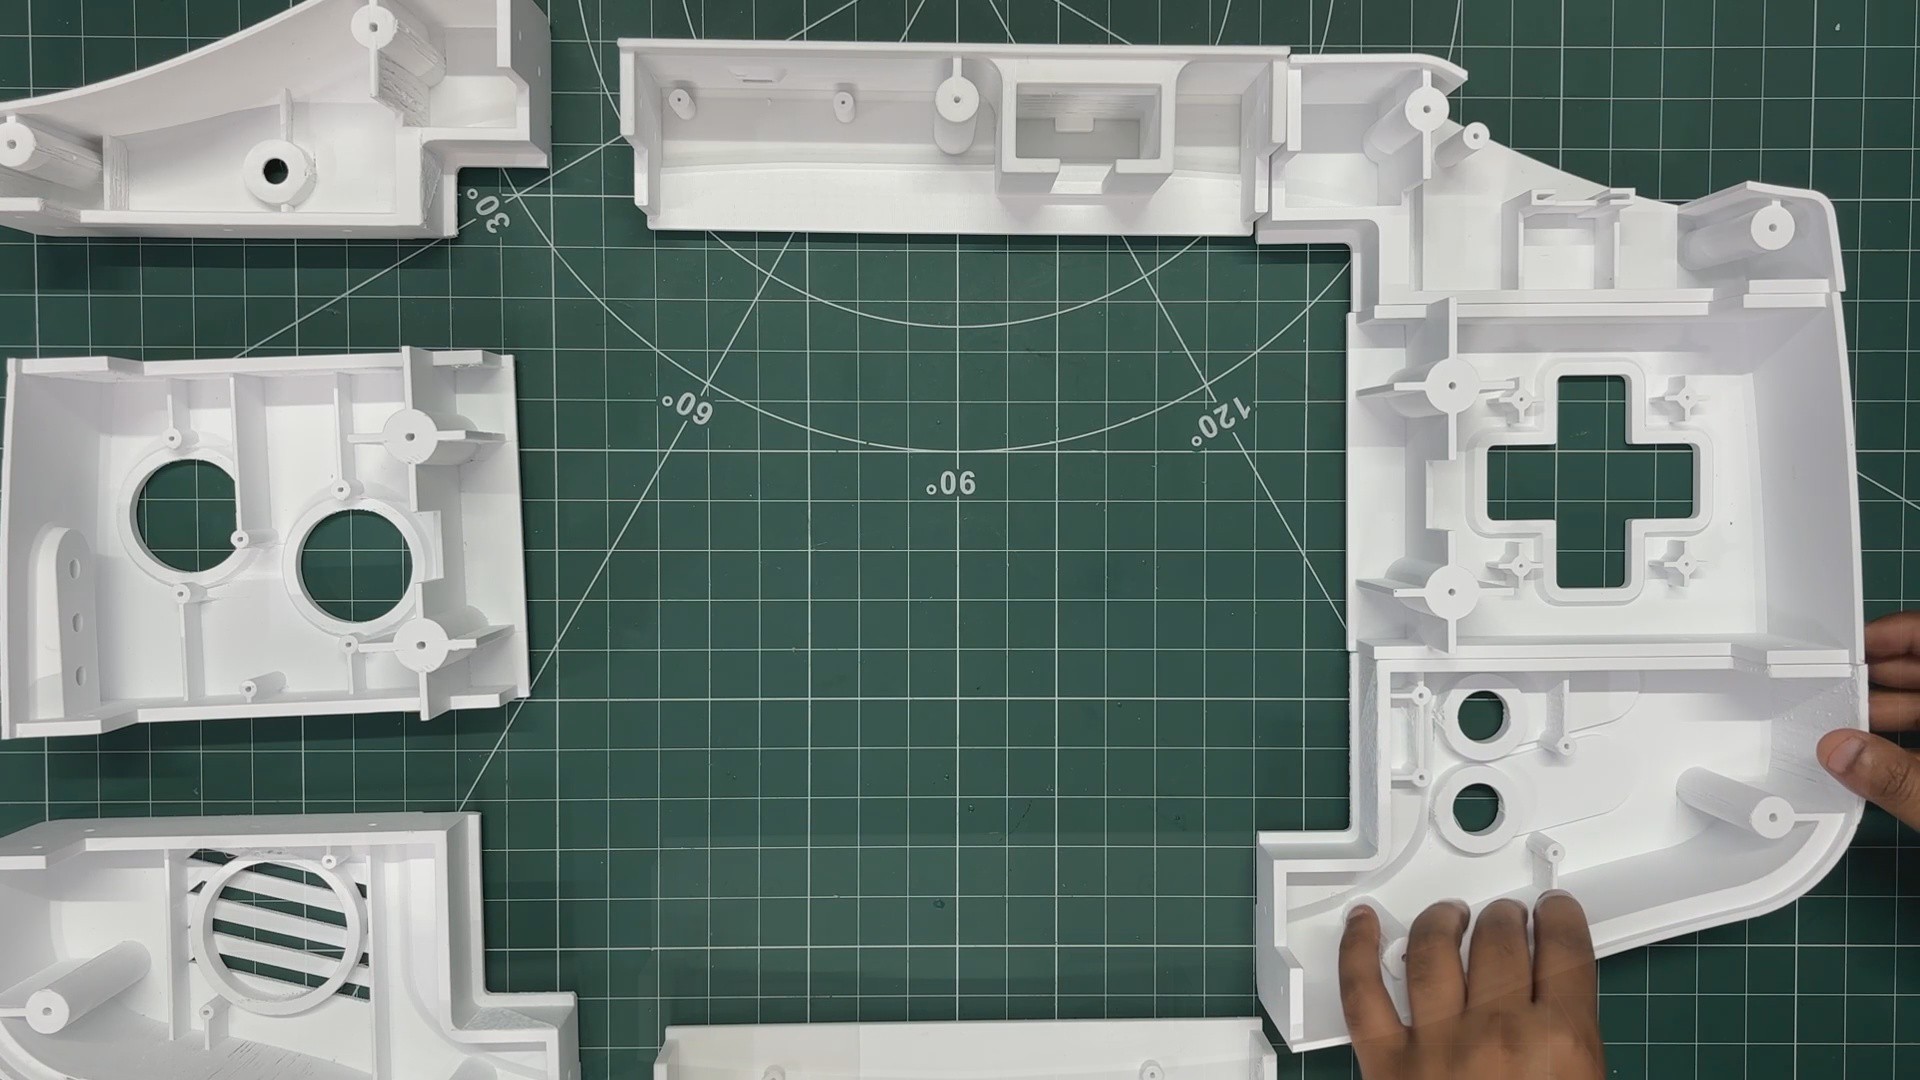
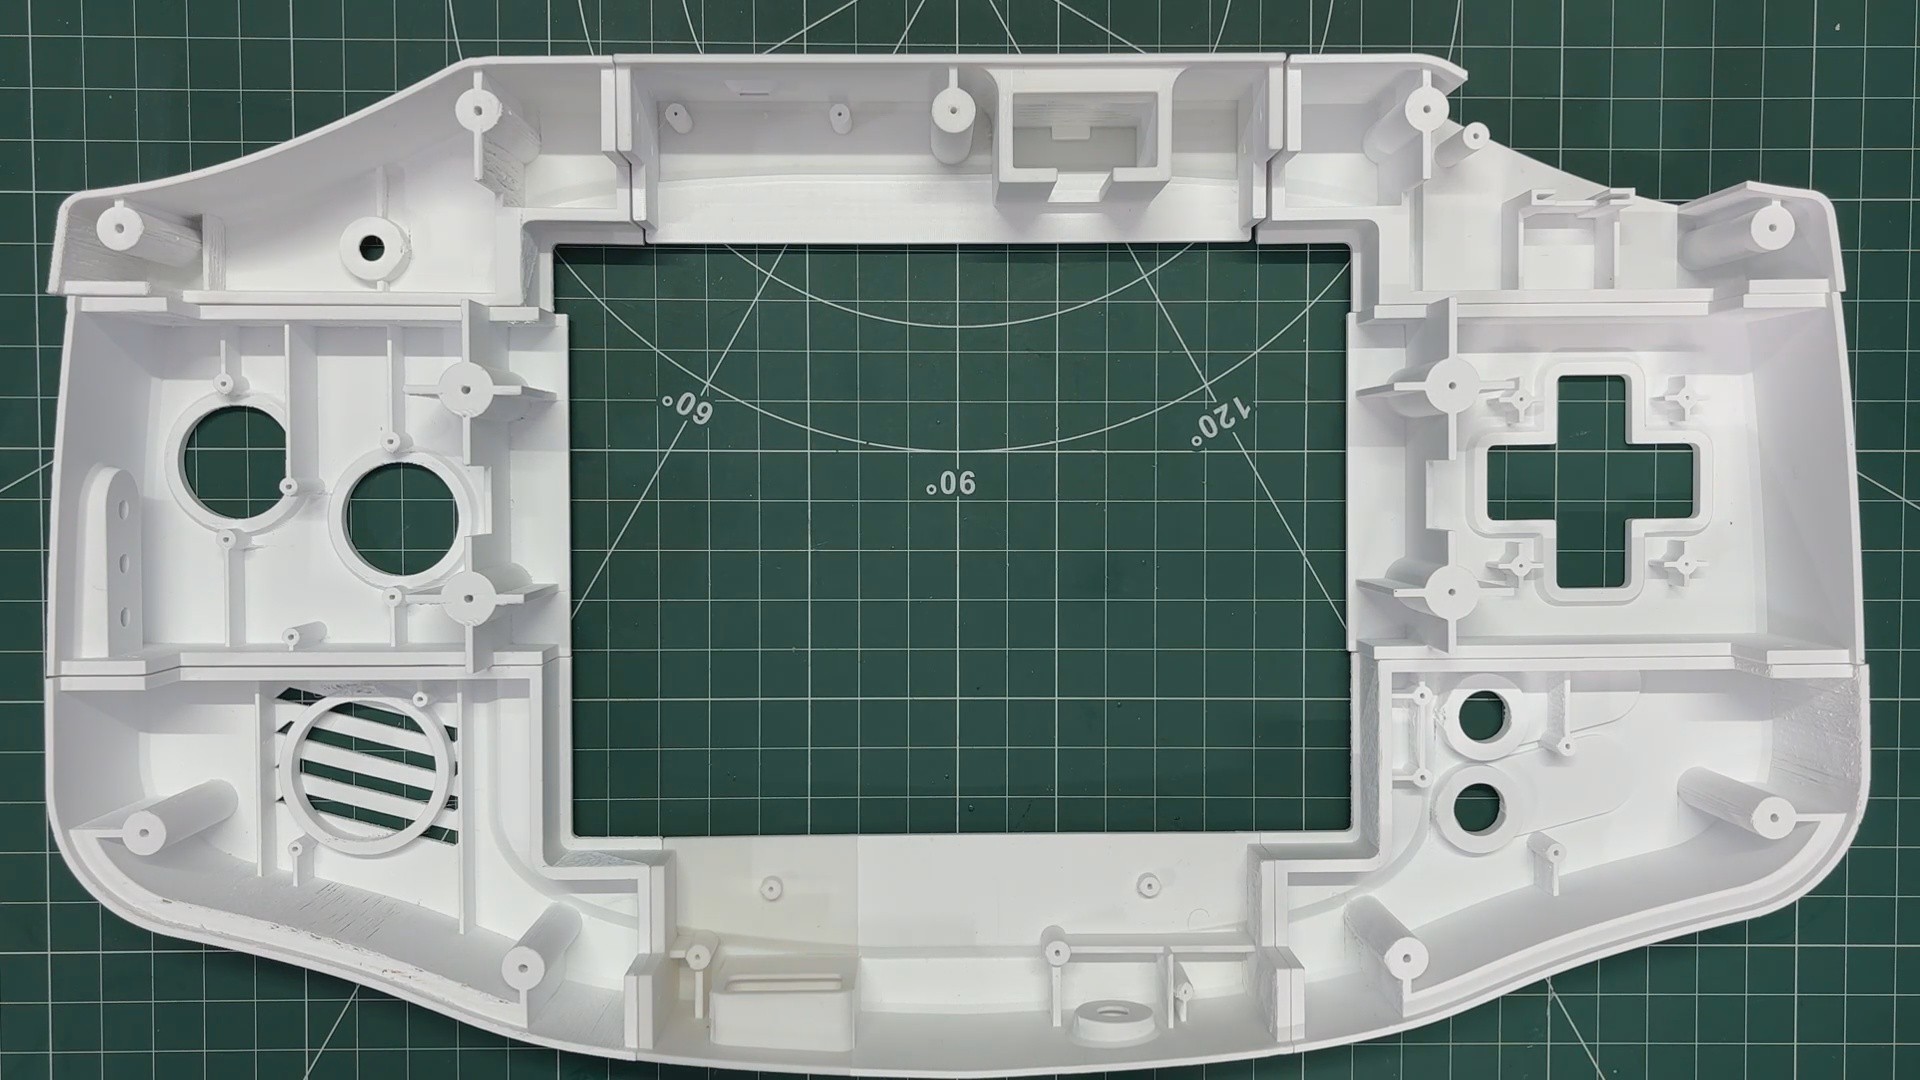
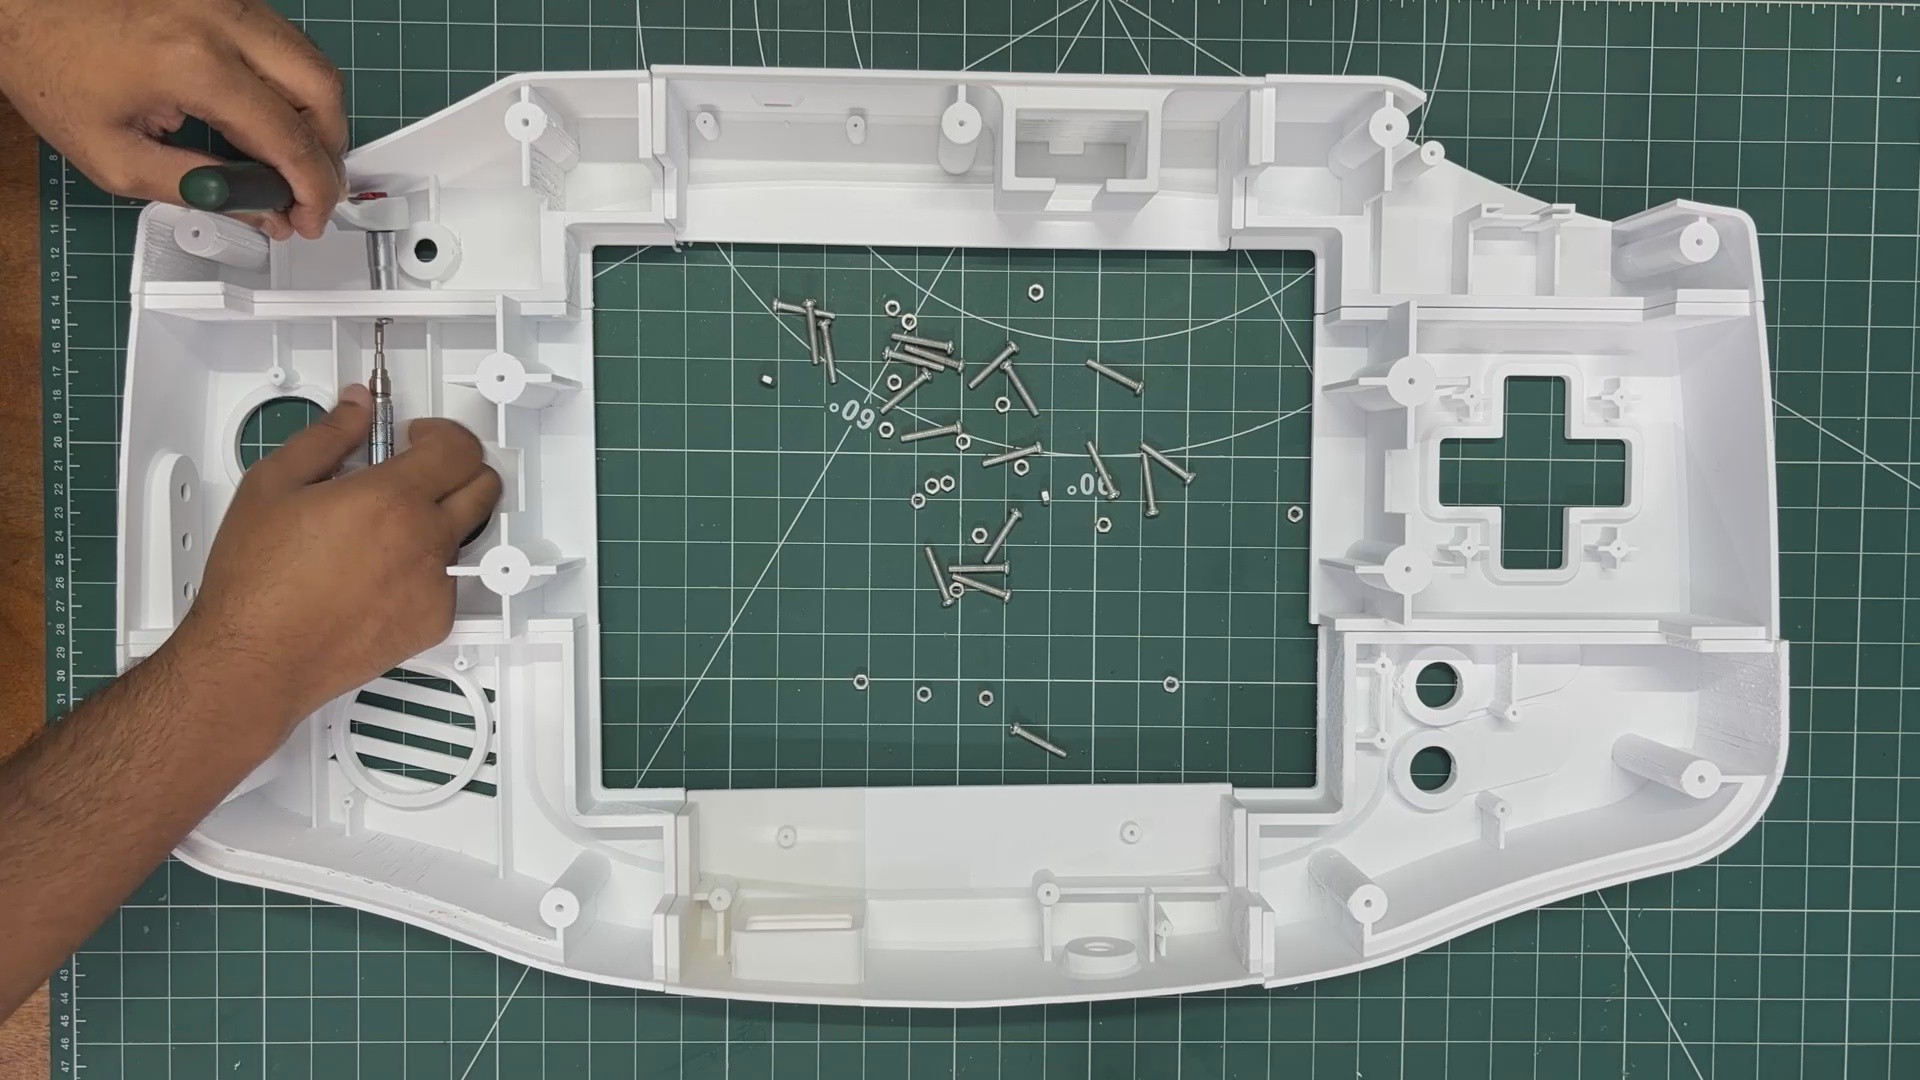
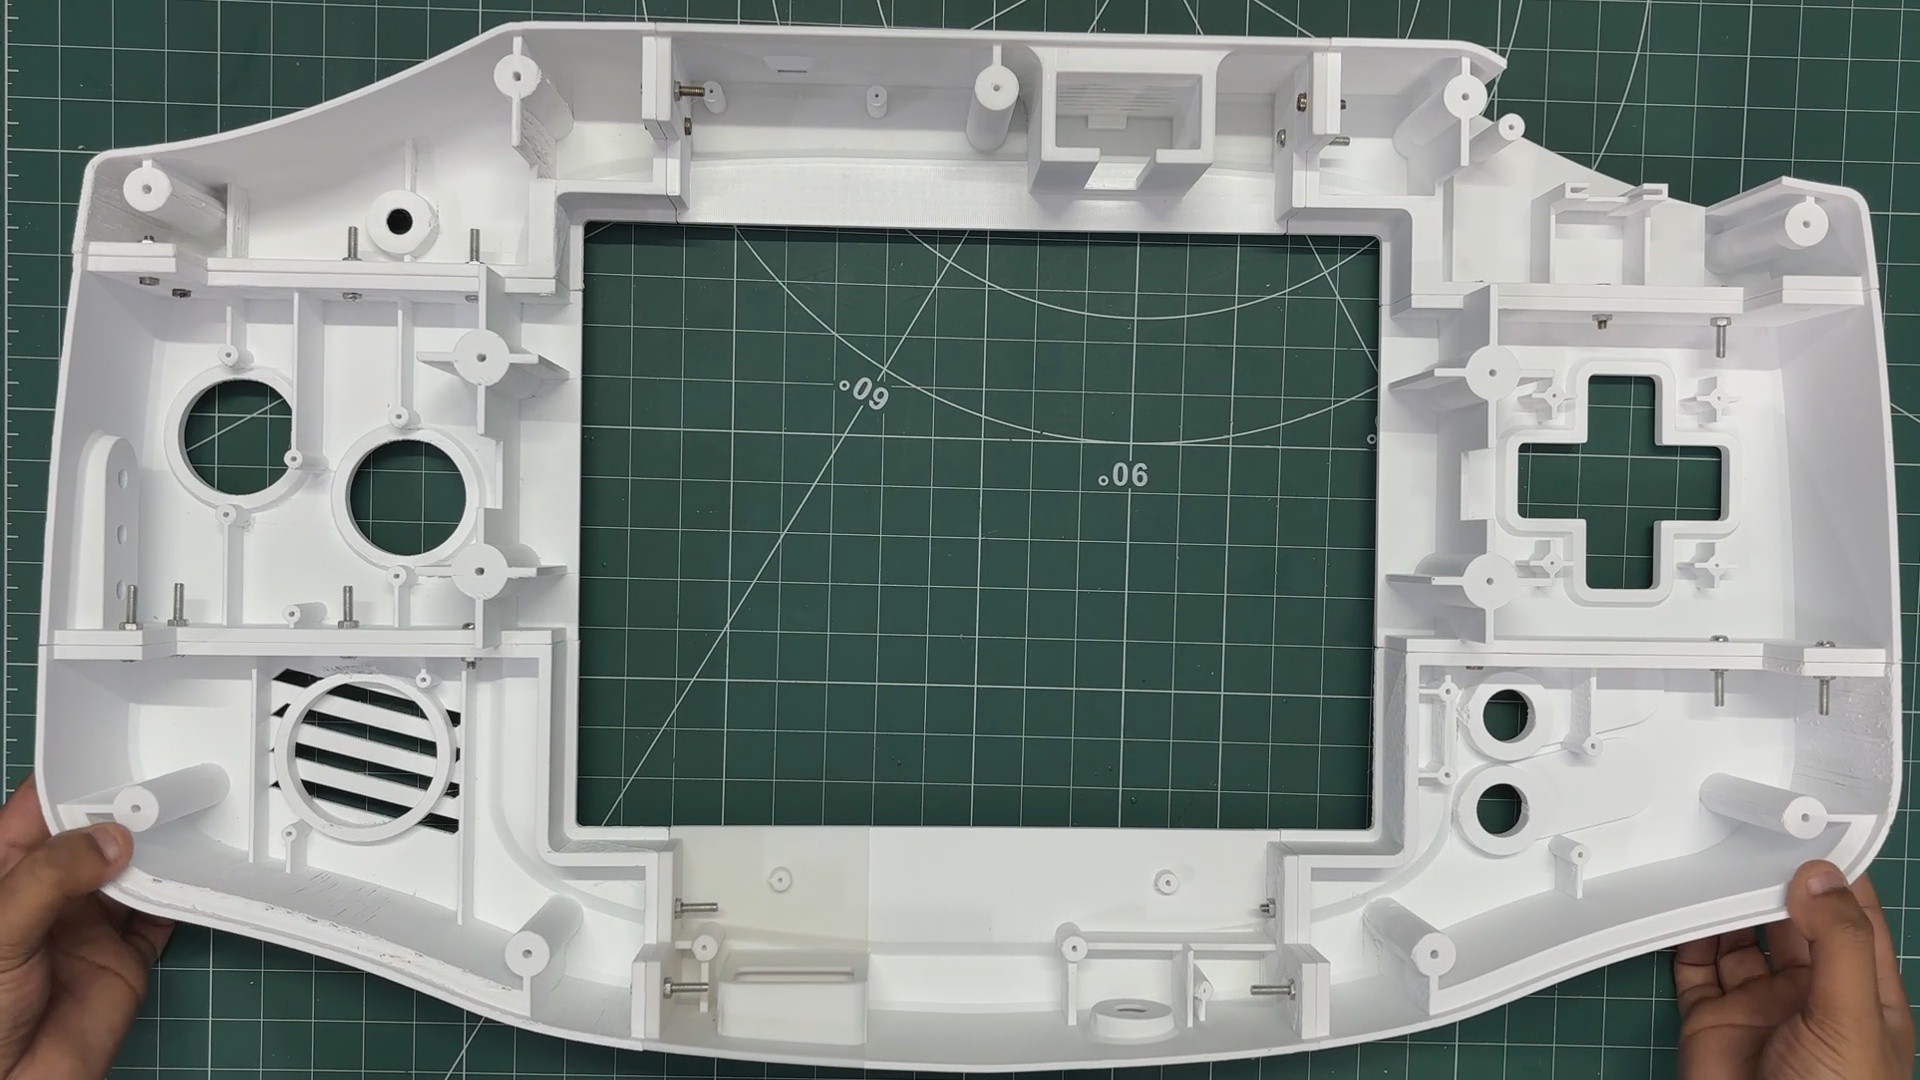
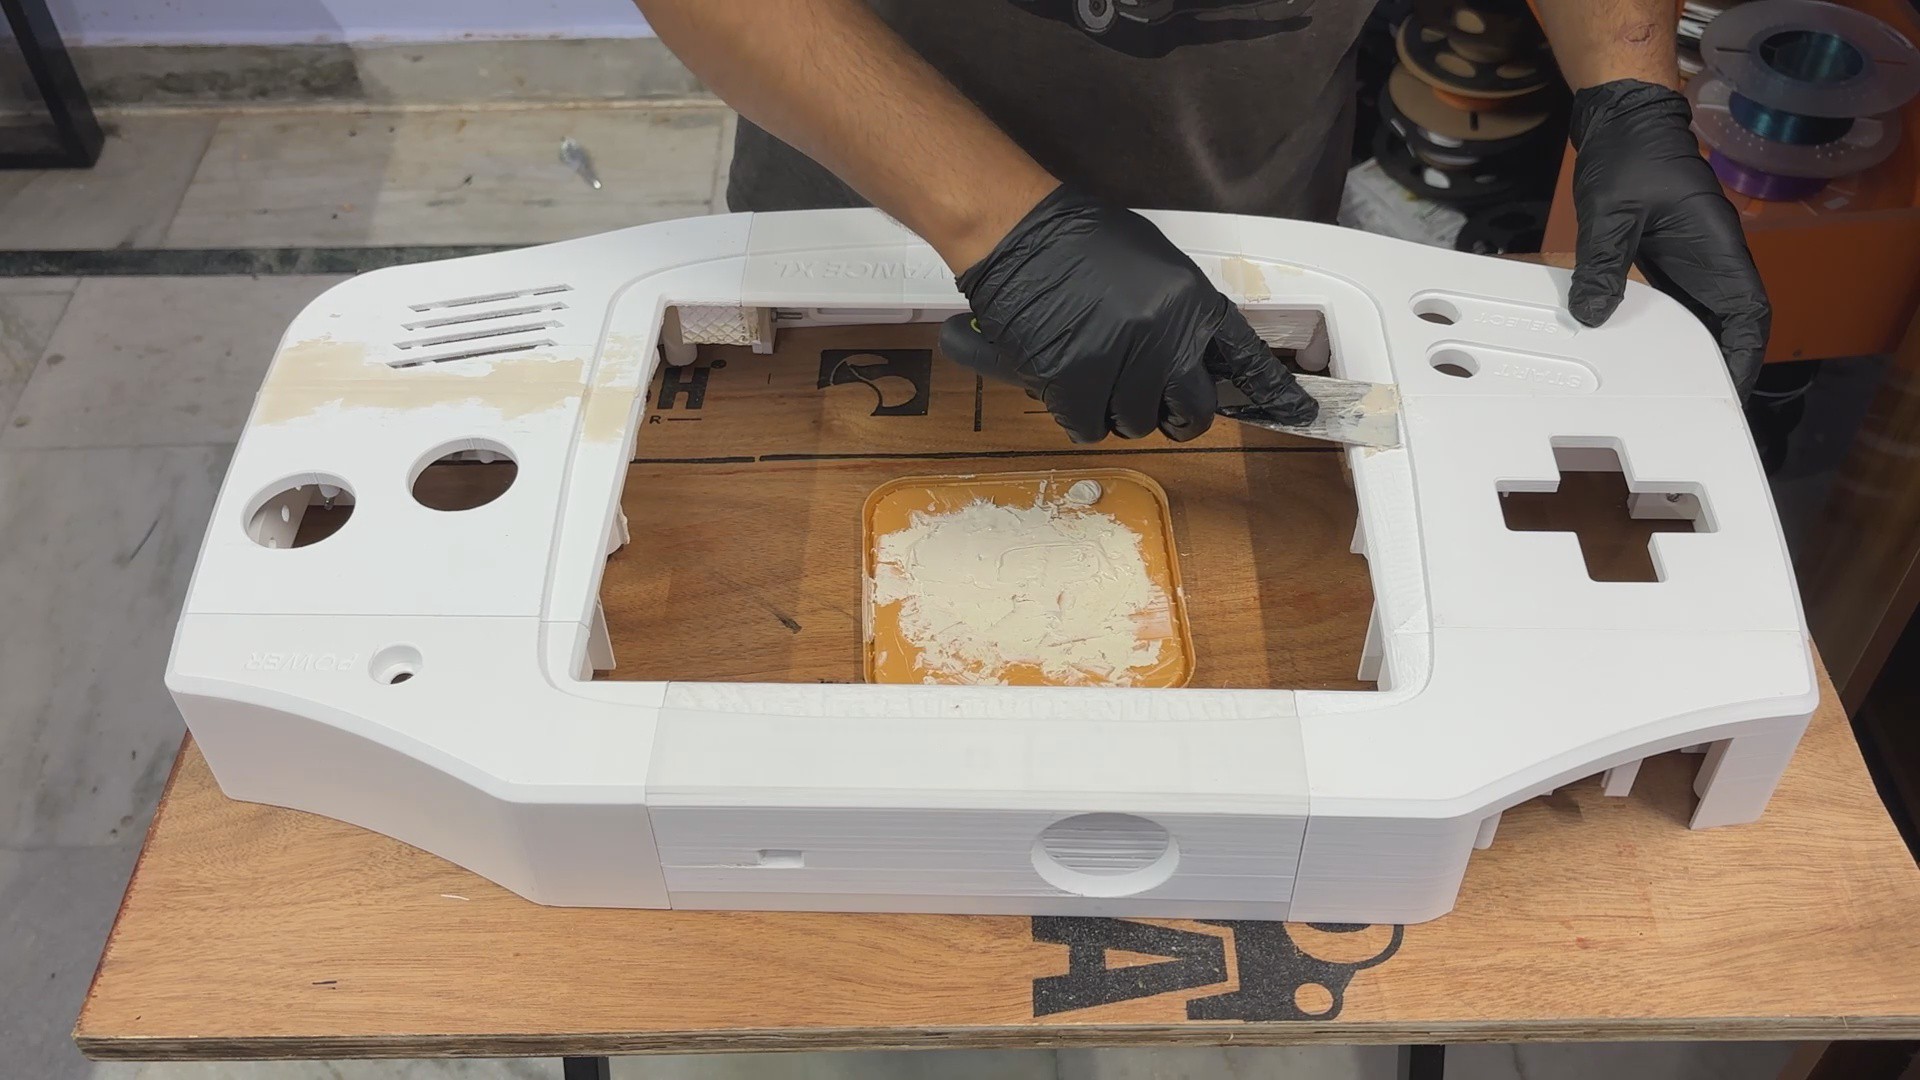
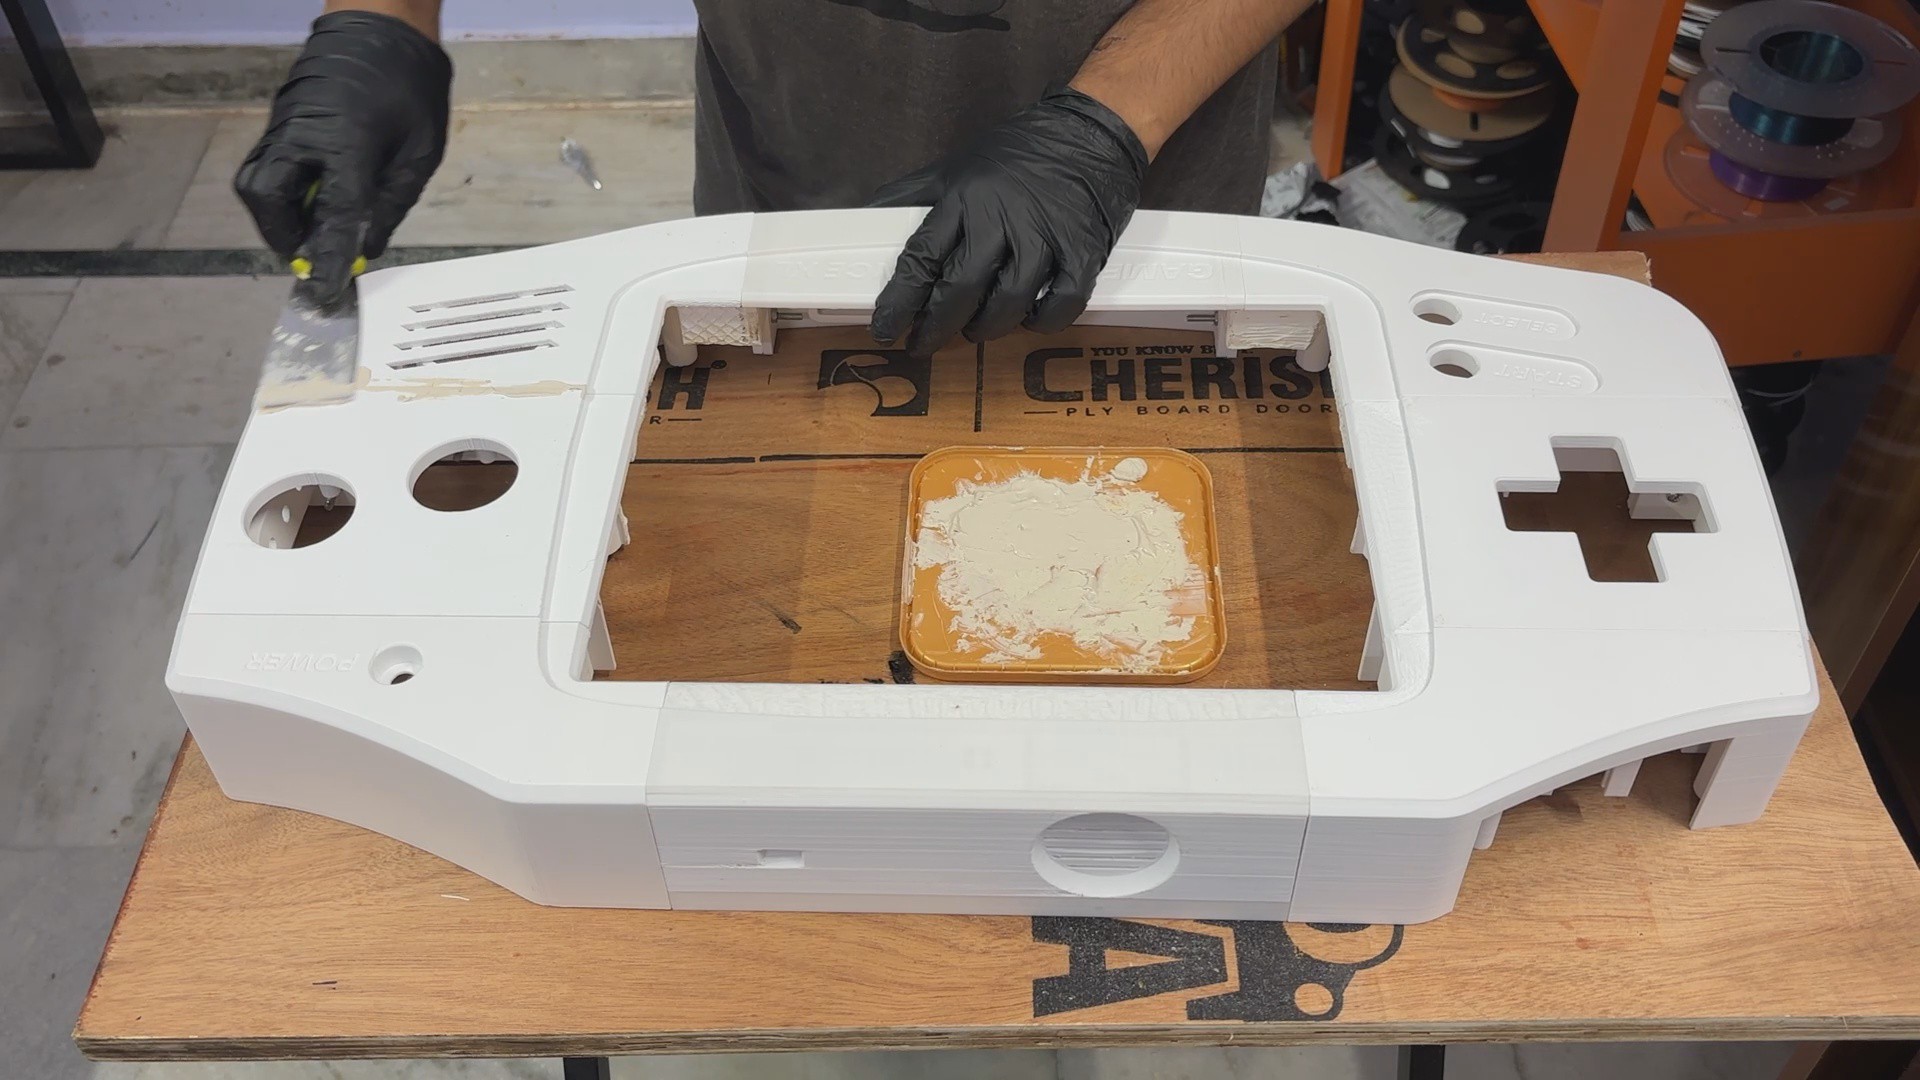
It's a giant Game Boy replica that I built from scratch using 3D printing. The body consists of multiple individually printed parts, all assembled to create this ridiculously oversized handheld console.
But unlike the original GBA, this one is powered by a DFRobot LattePanda Mu with an Intel N305 processor, paired with its Lite carrier board and a massive 15-inch HDMI display salvaged from a PC monitor.
For the controls, I'm using a Raspberry Pi Pico W configured as a Bluetooth game controller. Every button is mapped in Steam to work as the D-pad, A, B, Select, and Start buttons.
There's no onboard battery yet, so the entire device runs on an external 12V, 4A power adapter.
And what can it play?
Well, obviously, we have Pokémon Emerald running through RetroArch, but thanks to the LattePanda Mu, this thing can handle modern PC games, too! I've already tested Fallout: New Vegas, Bayonetta, Nier Automata, and Minecraft on it.
So, this isn't just a giant Game Boy Advance. It's basically a Windows PC disguised as a classic handheld console!
In this article, I'll walk you through the complete build process, from designing and 3D printing the massive enclosure to setting up the hardware, configuring the controls, and getting games running on this oversized beast.
Let's get started.
GAMEBOY ADVANCE
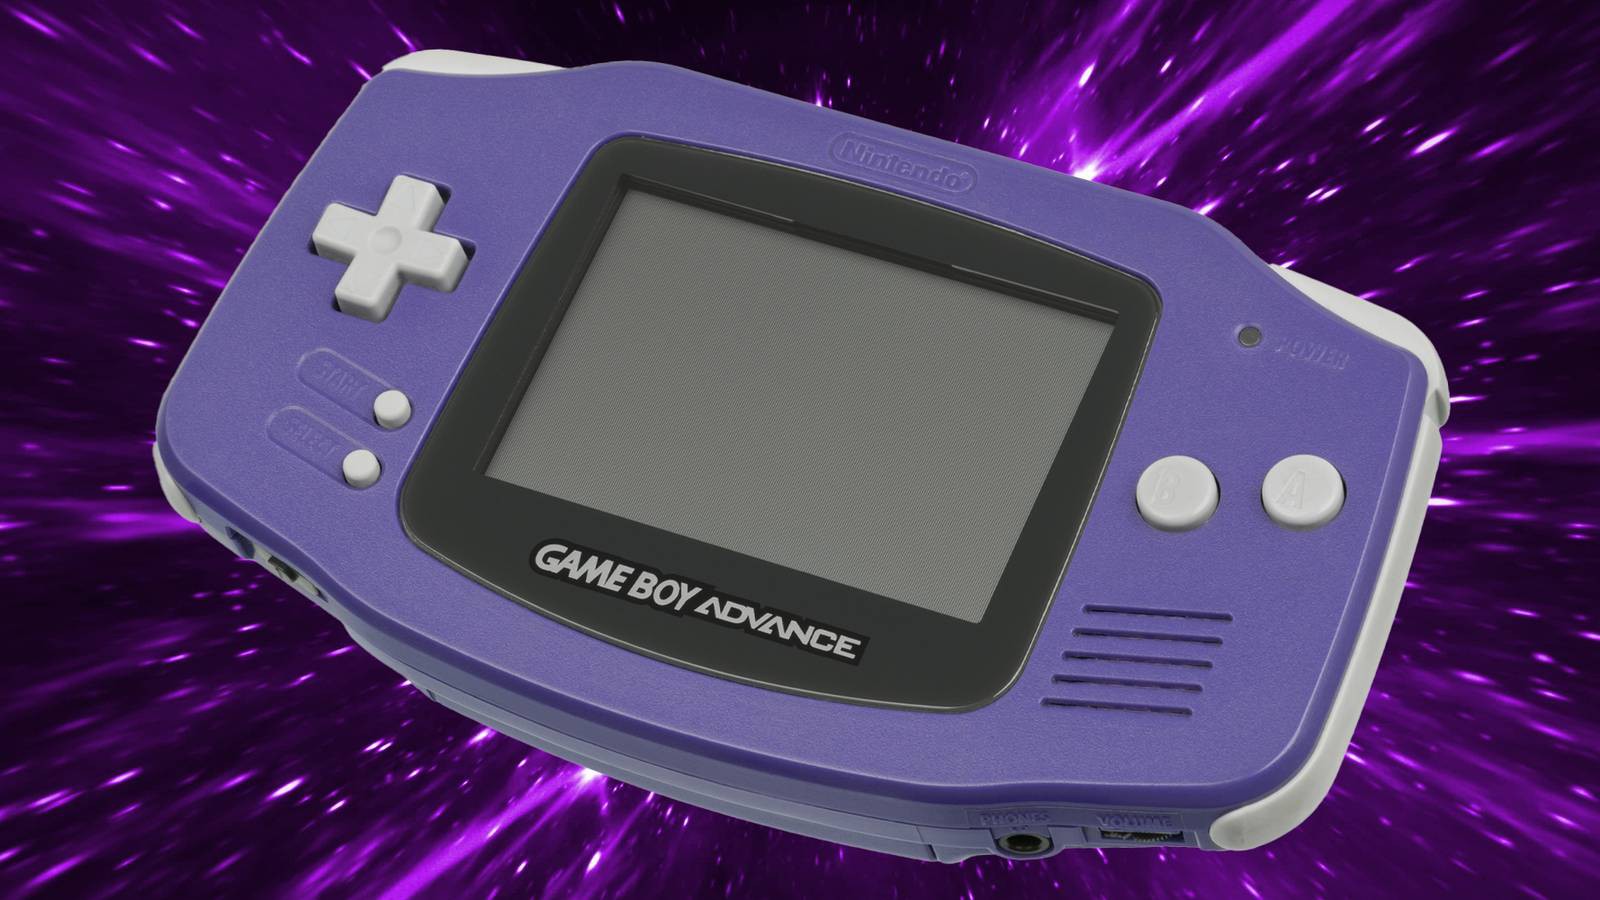
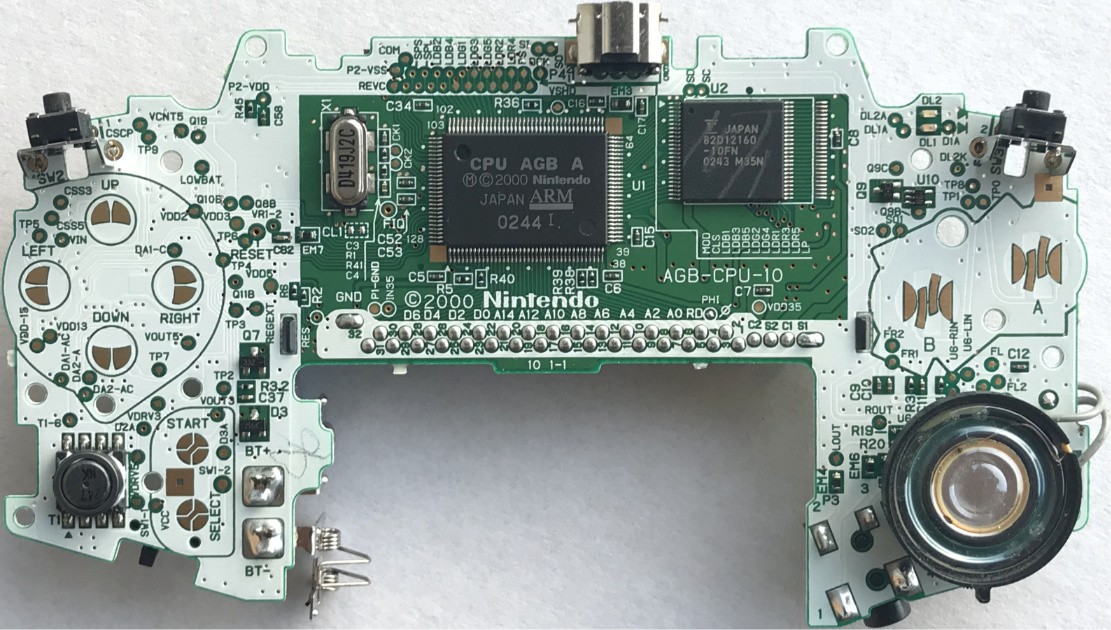
Released in 2001, the Game Boy Advance was a 32-bit handheld gaming console developed and manufactured by Nintendo. It succeeded the original Game Boy and Game Boy Color, bringing a significant leap in graphics, processing power, and gameplay to portable gaming.
The original Game Boy had already established Nintendo as a dominant force in handheld gaming, but the GBA took things to another level. Its landscape-oriented design, shoulder buttons, and improved display made it feel much closer to a home console experience that you could carry in your pocket.
The Game Boy Advance was powered by a 32-bit ARM7TDMI processor running at approximately 16.78 MHz, accompanied by 256 KB of external DRAM and 96 KB of VRAM. It also included 32 KB of internal work RAM and 96 KB of internal graphics memory, along with dedicated hardware for 2D graphics and audio.
Despite its modest specifications by today's standards, the GBA was capable of impressive visual effects, colourful environments, detailed sprites, and surprisingly complex games. Its hardware supported a resolution of 240 × 160 pixels and a colour palette of up to 32,768 colors, making it a substantial upgrade over its predecessors.
One of the most impressive features was its backward compatibility with Game Boy and Game Boy Color cartridges, allowing players to enjoy an enormous library of existing games alongside the new GBA titles.
Even today, the GBA remains popular among retro gaming enthusiasts, collectors, and hobbyists. Its extensive game library and relatively straightforward hardware make it an excellent platform for emulation and DIY gaming projects.
And that brings us to my own project. I always wanted a Game Boy Advance when I was younger but never got one. Years later, instead of buying the original console, I decided to build my own version; only this time, I made it absolutely massive!
HARDWARE- LATTEPANDA MU N305
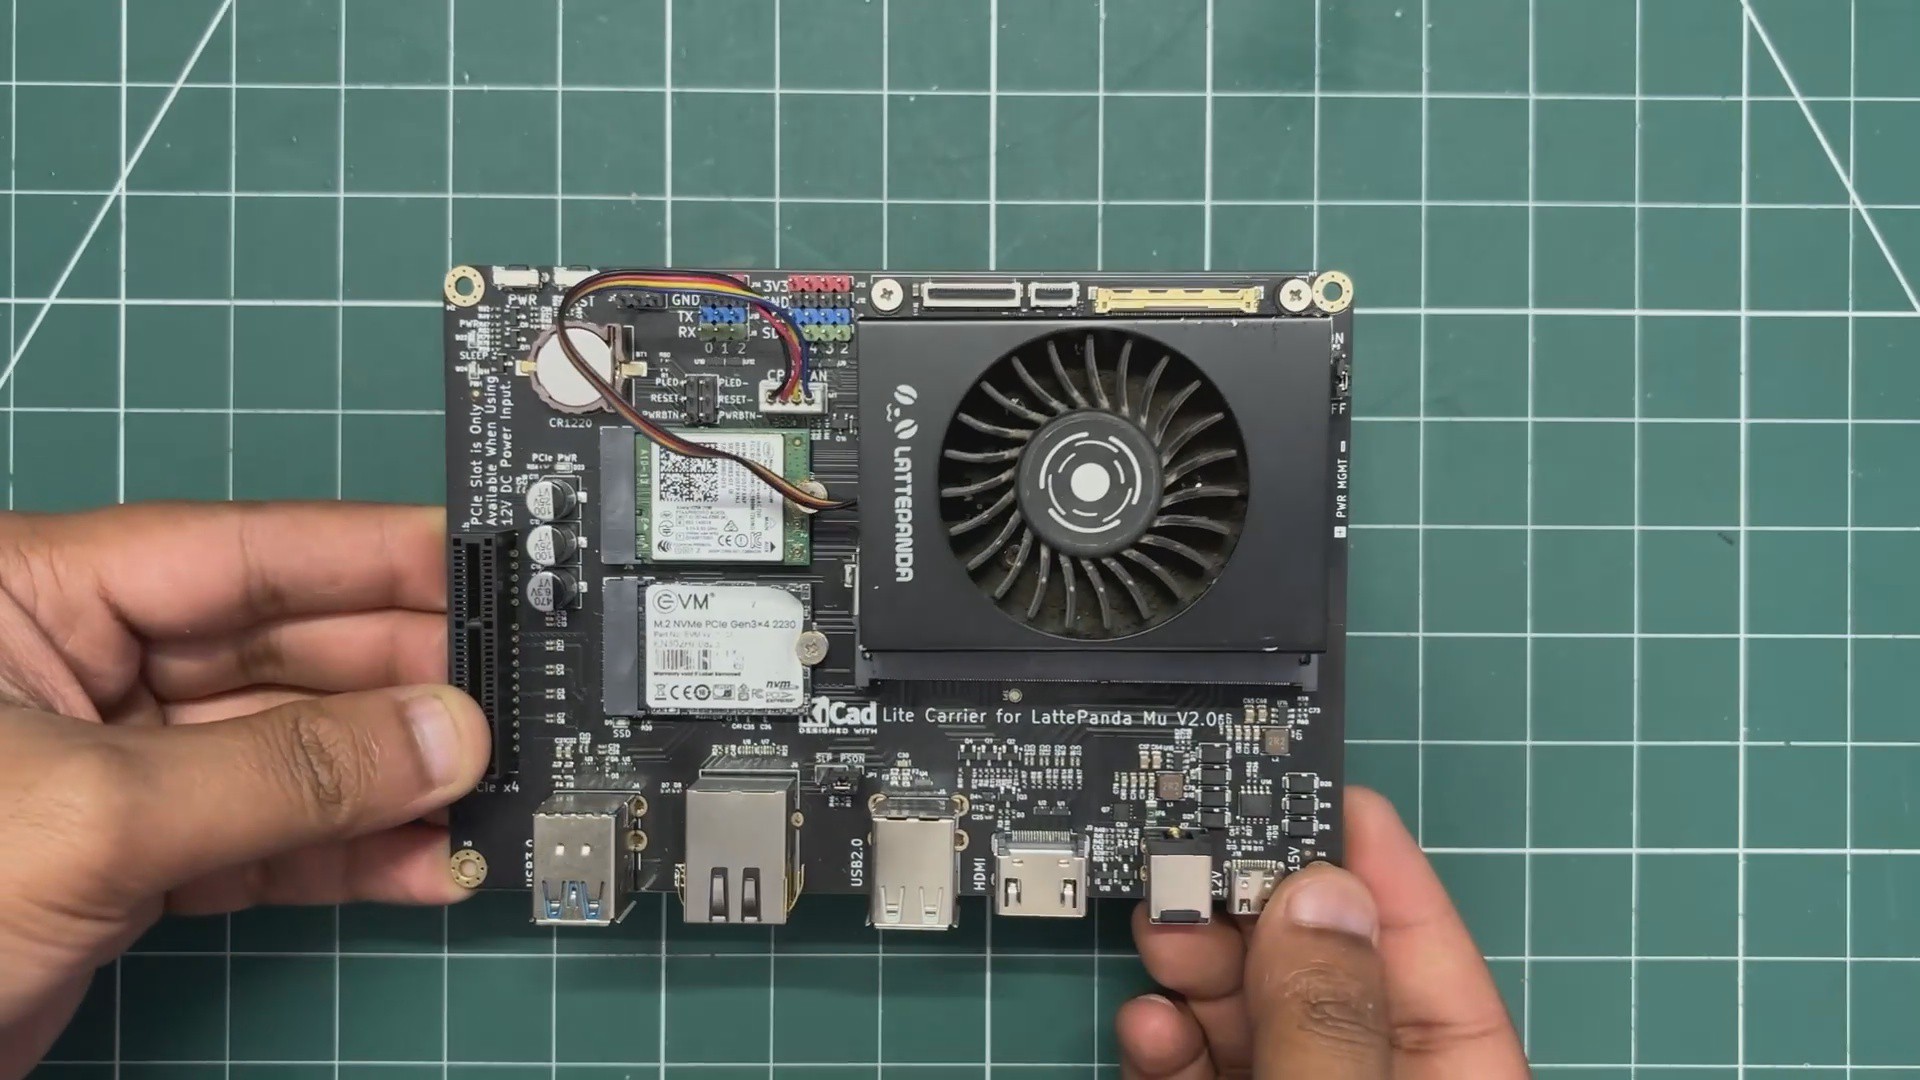
For the brain of this project, I'm using the LattePanda Mu compute module with the Intel Core i3-N305...
Read more »