 Arnov Sharma
-
1MAIN BODY ASSEMBLY
![]()
![]()
![]()
![]()
![]()
![]()
![]()
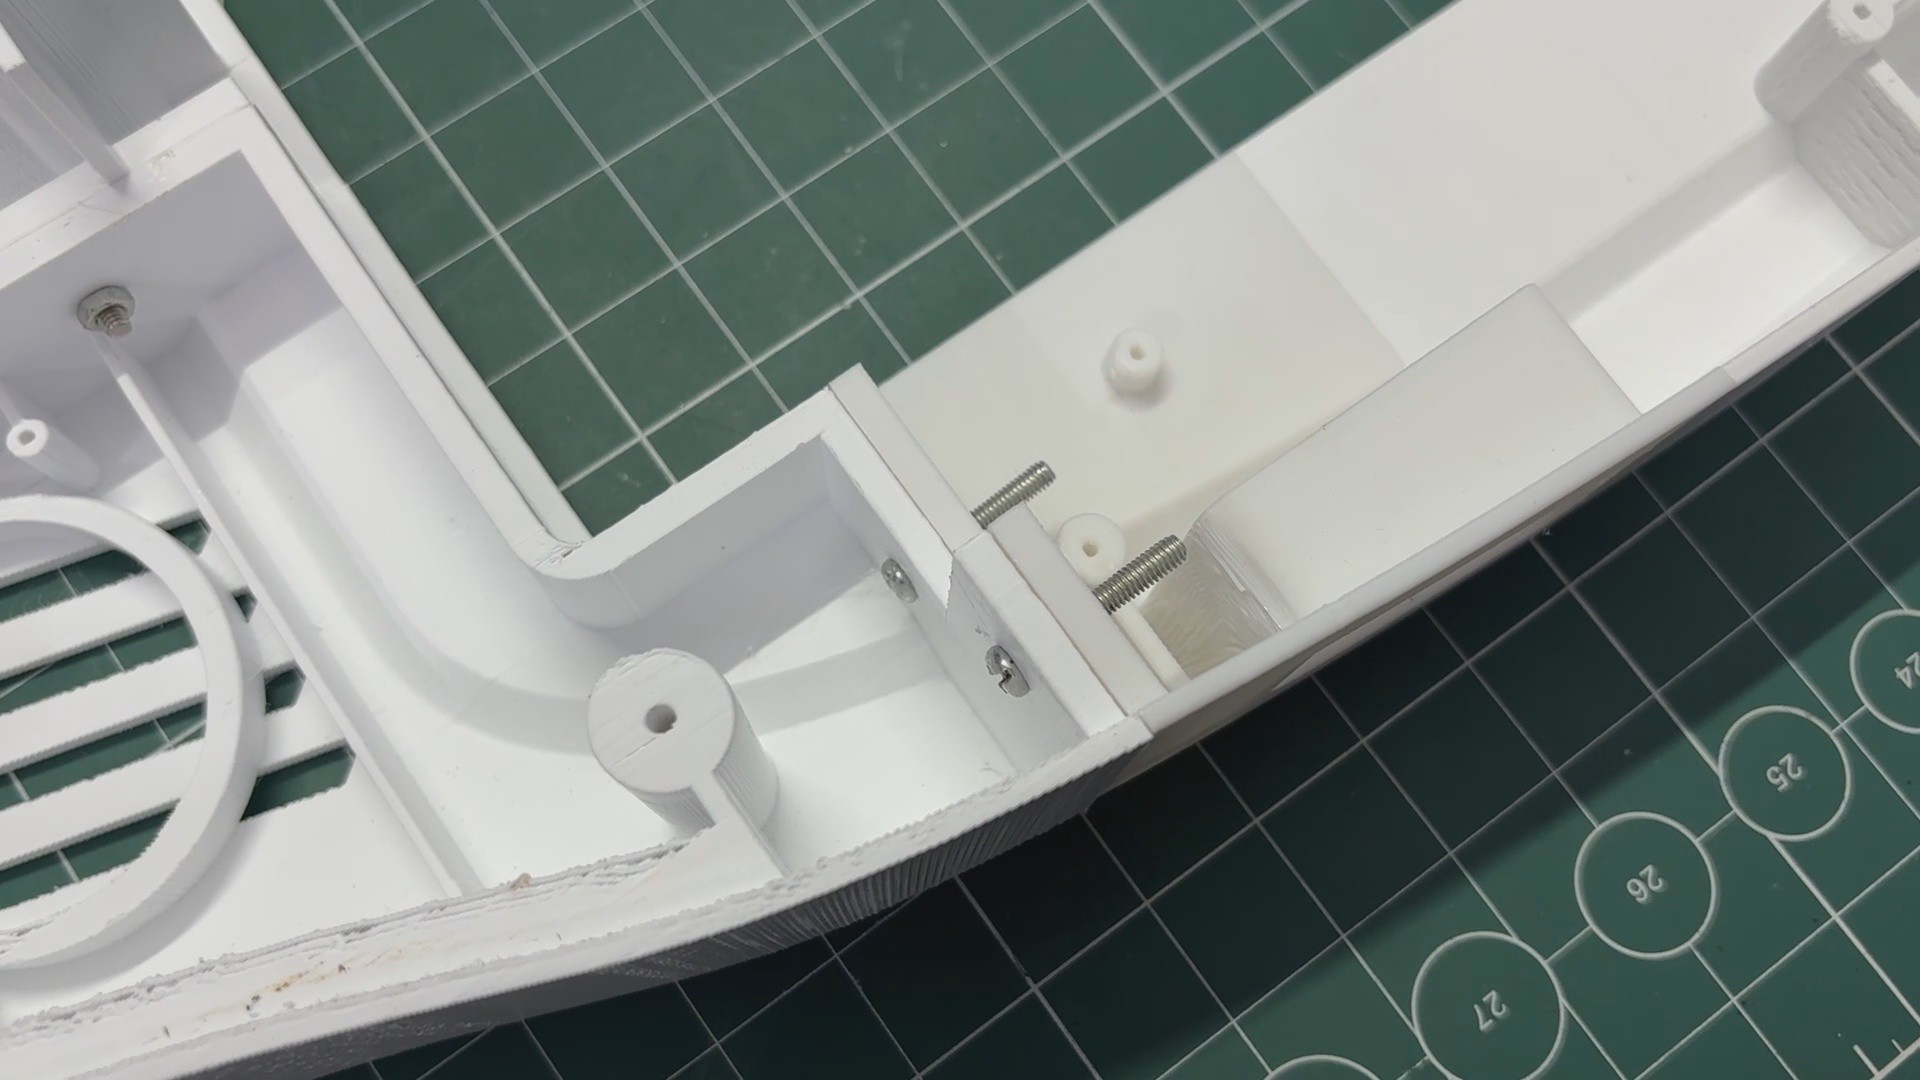
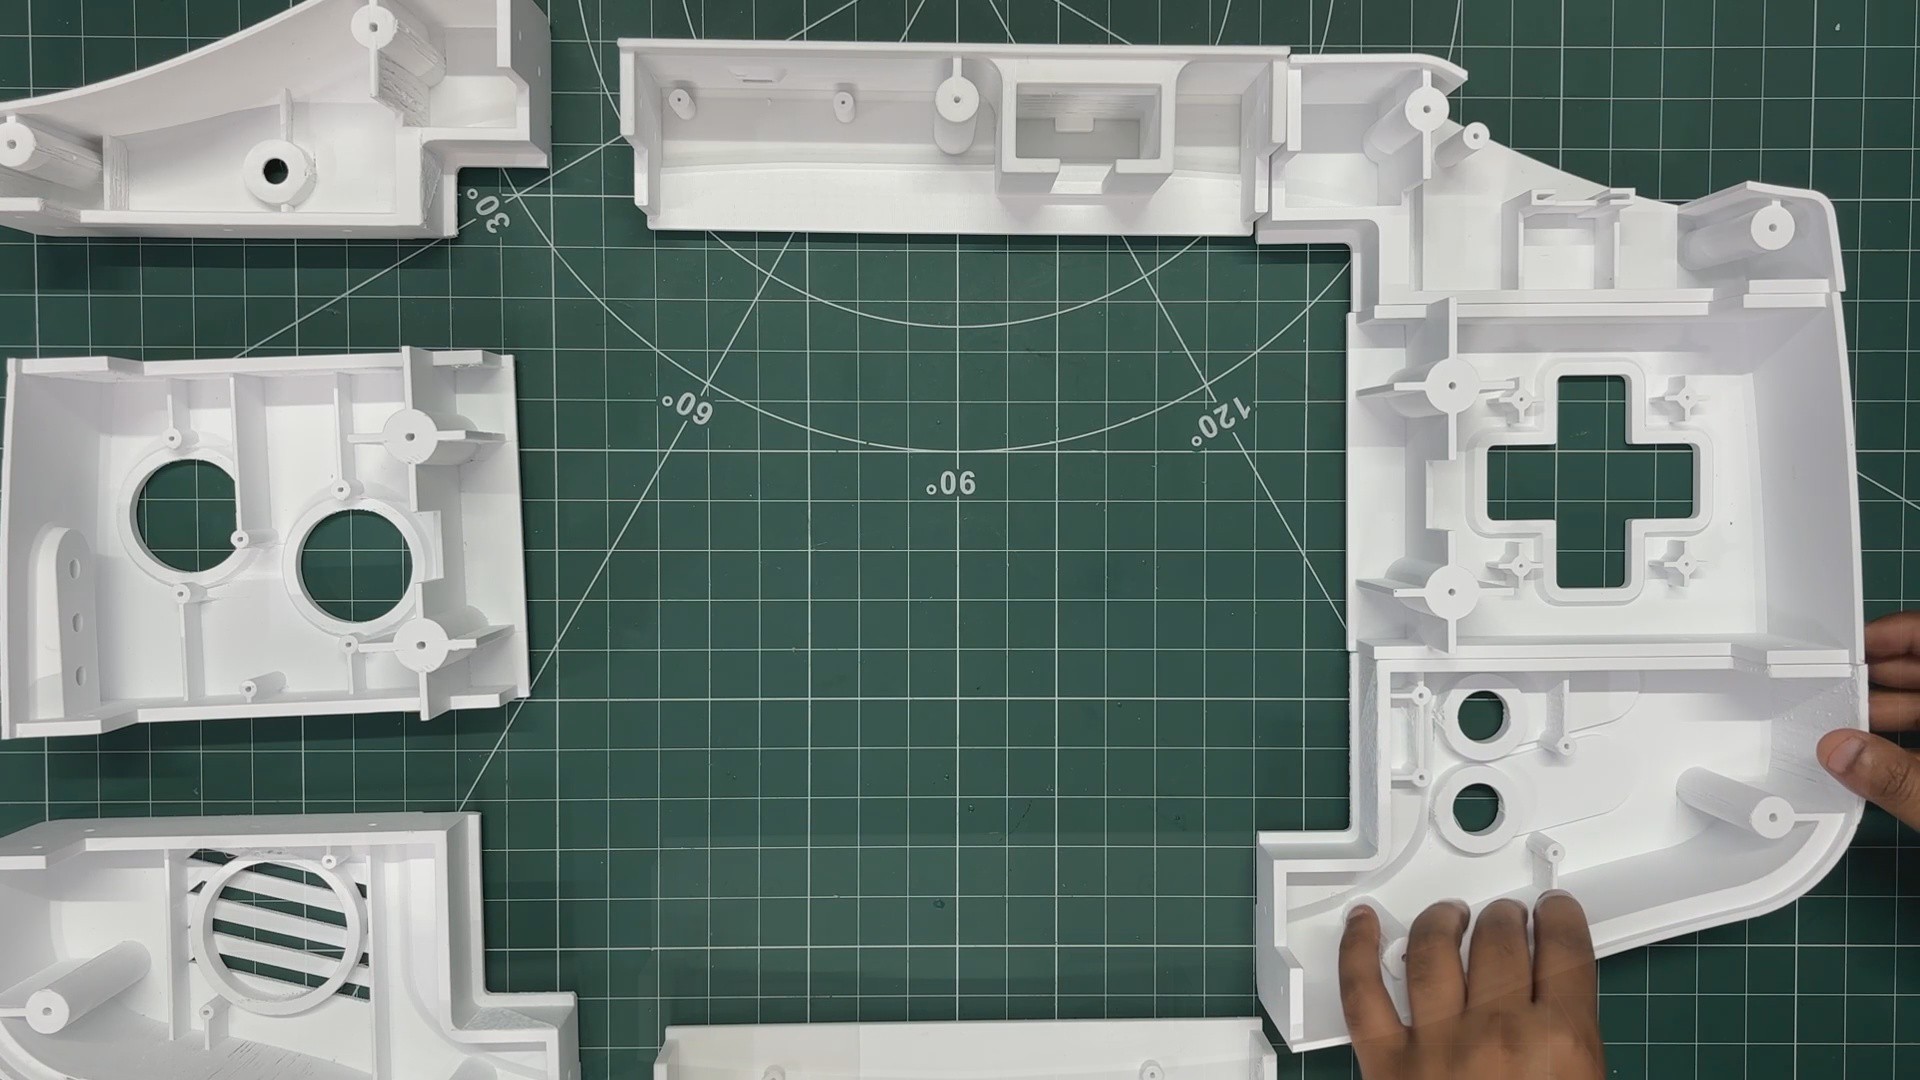
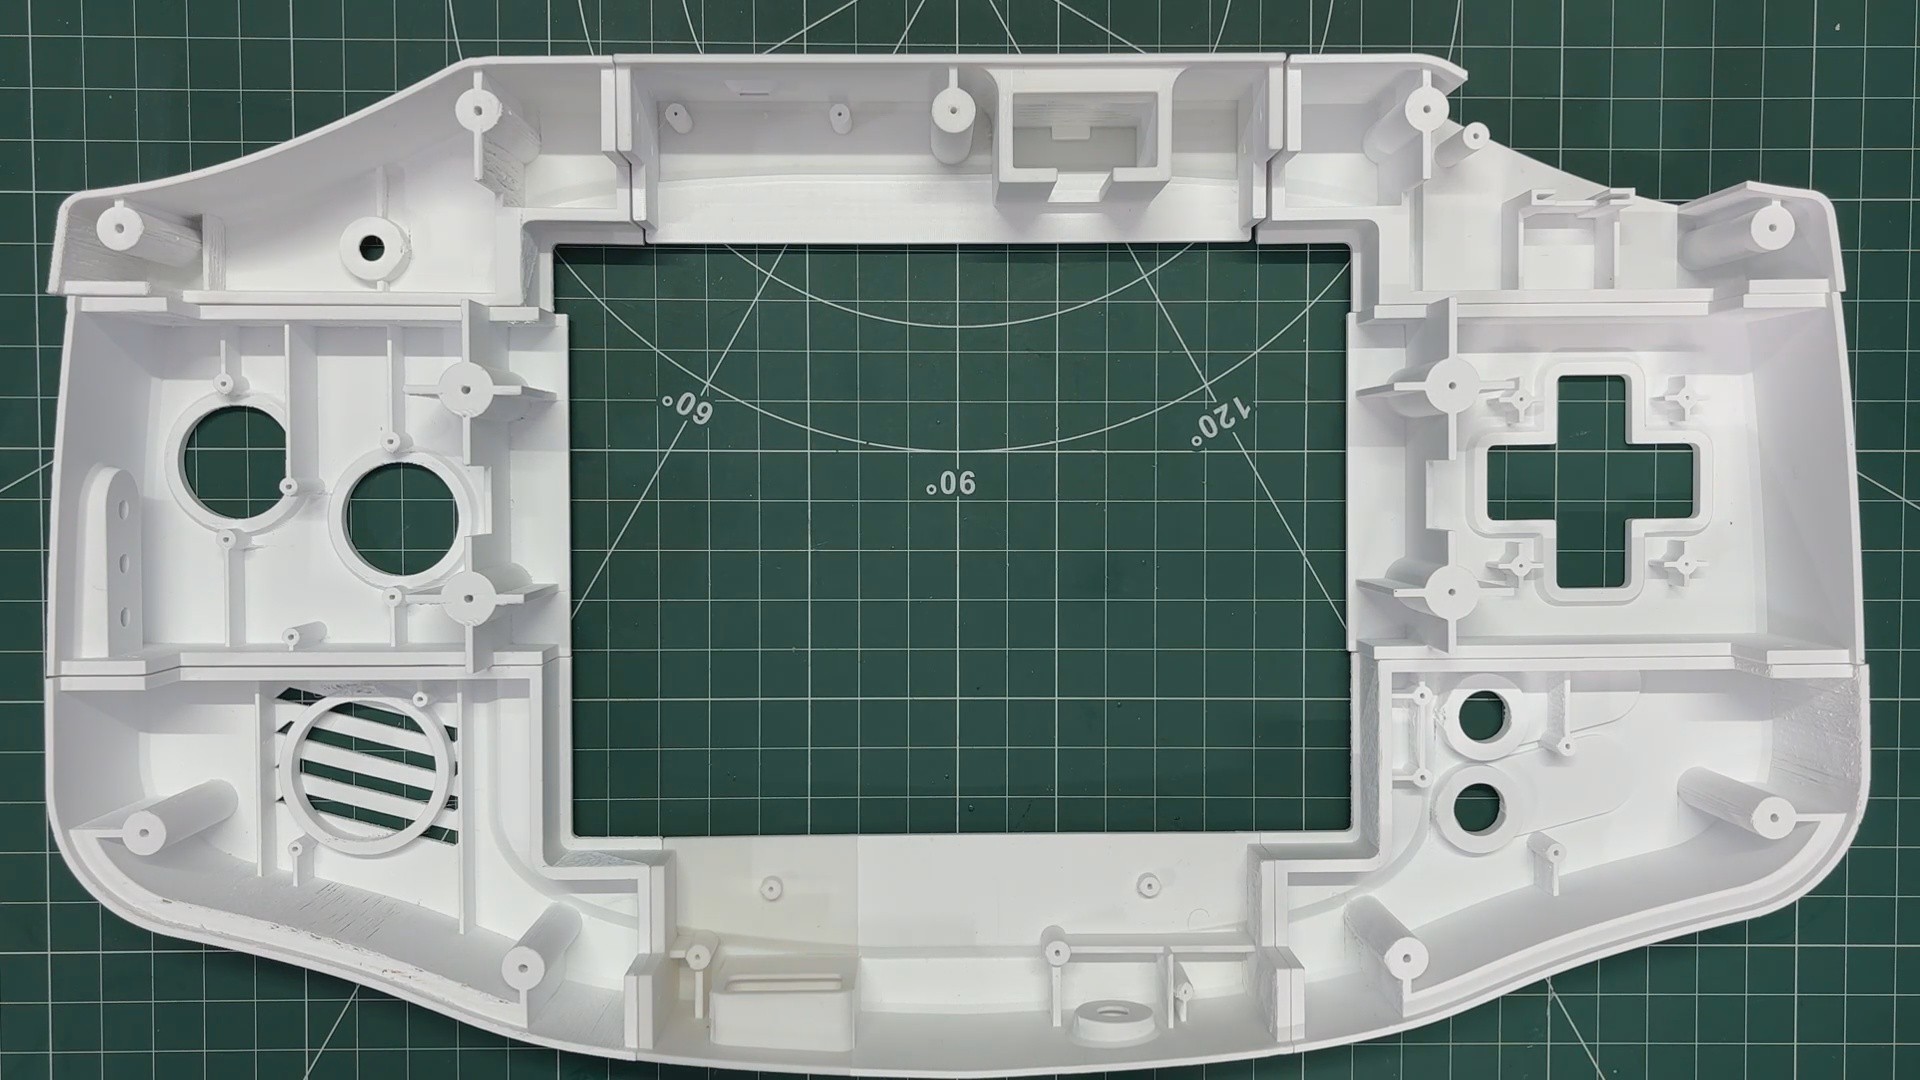
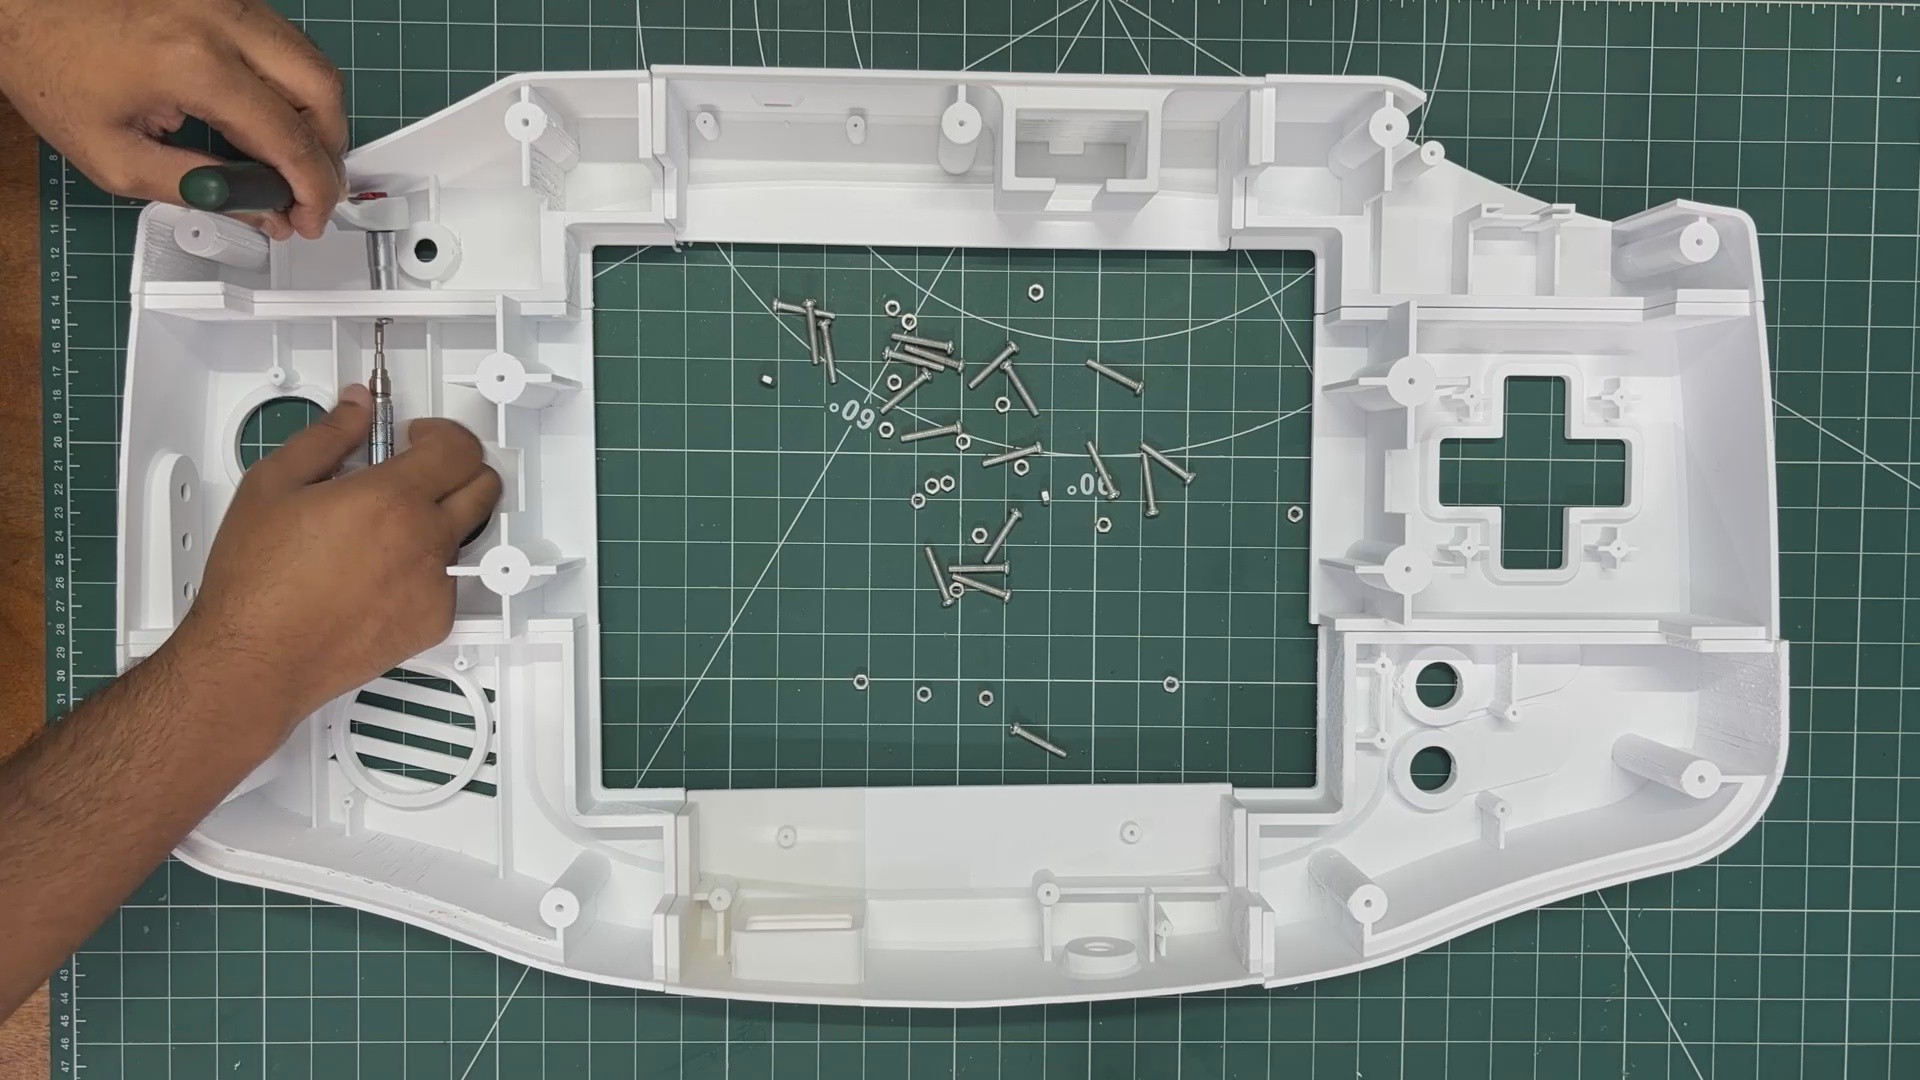
We start the assembly process by positioning all the 3D-printed body sections in their correct orientations. For this step, the parts are placed upside down on the table, with the front face pointing downwards so we can access the mounting holes from the back.
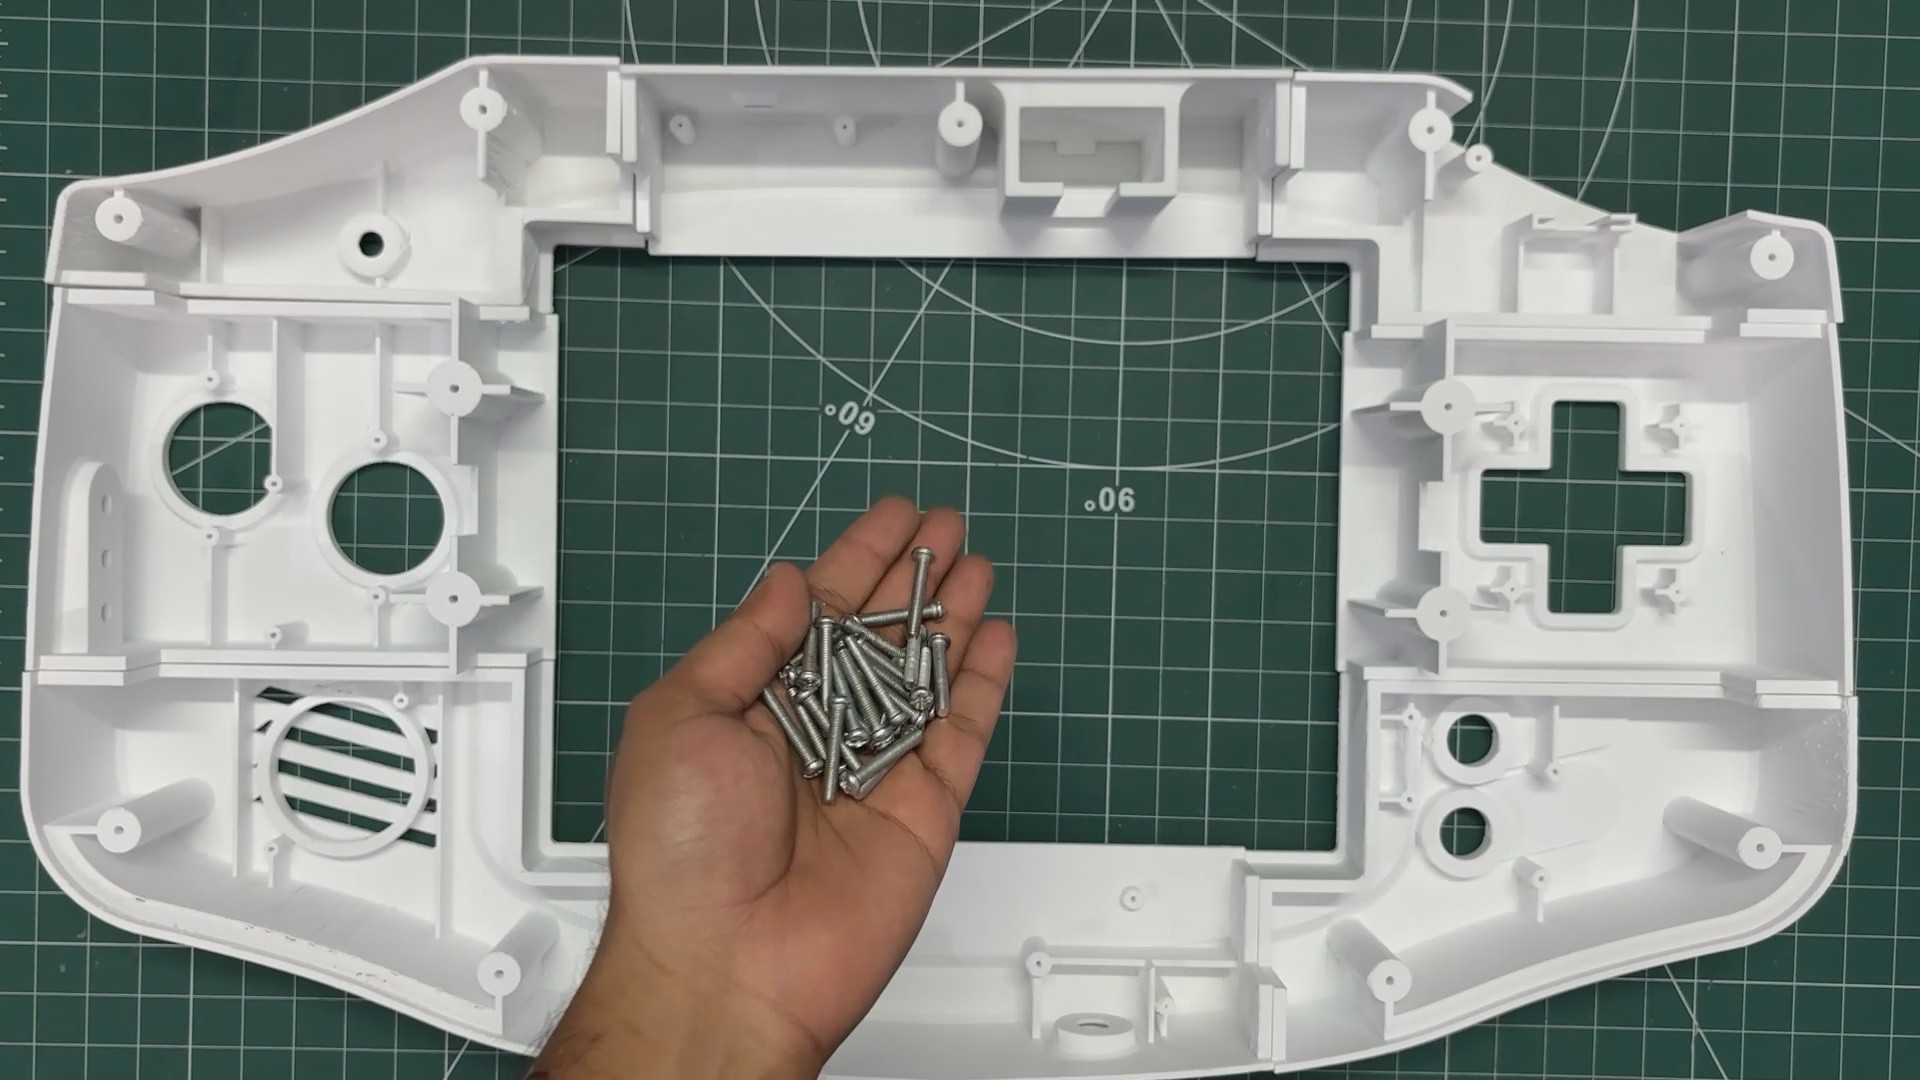
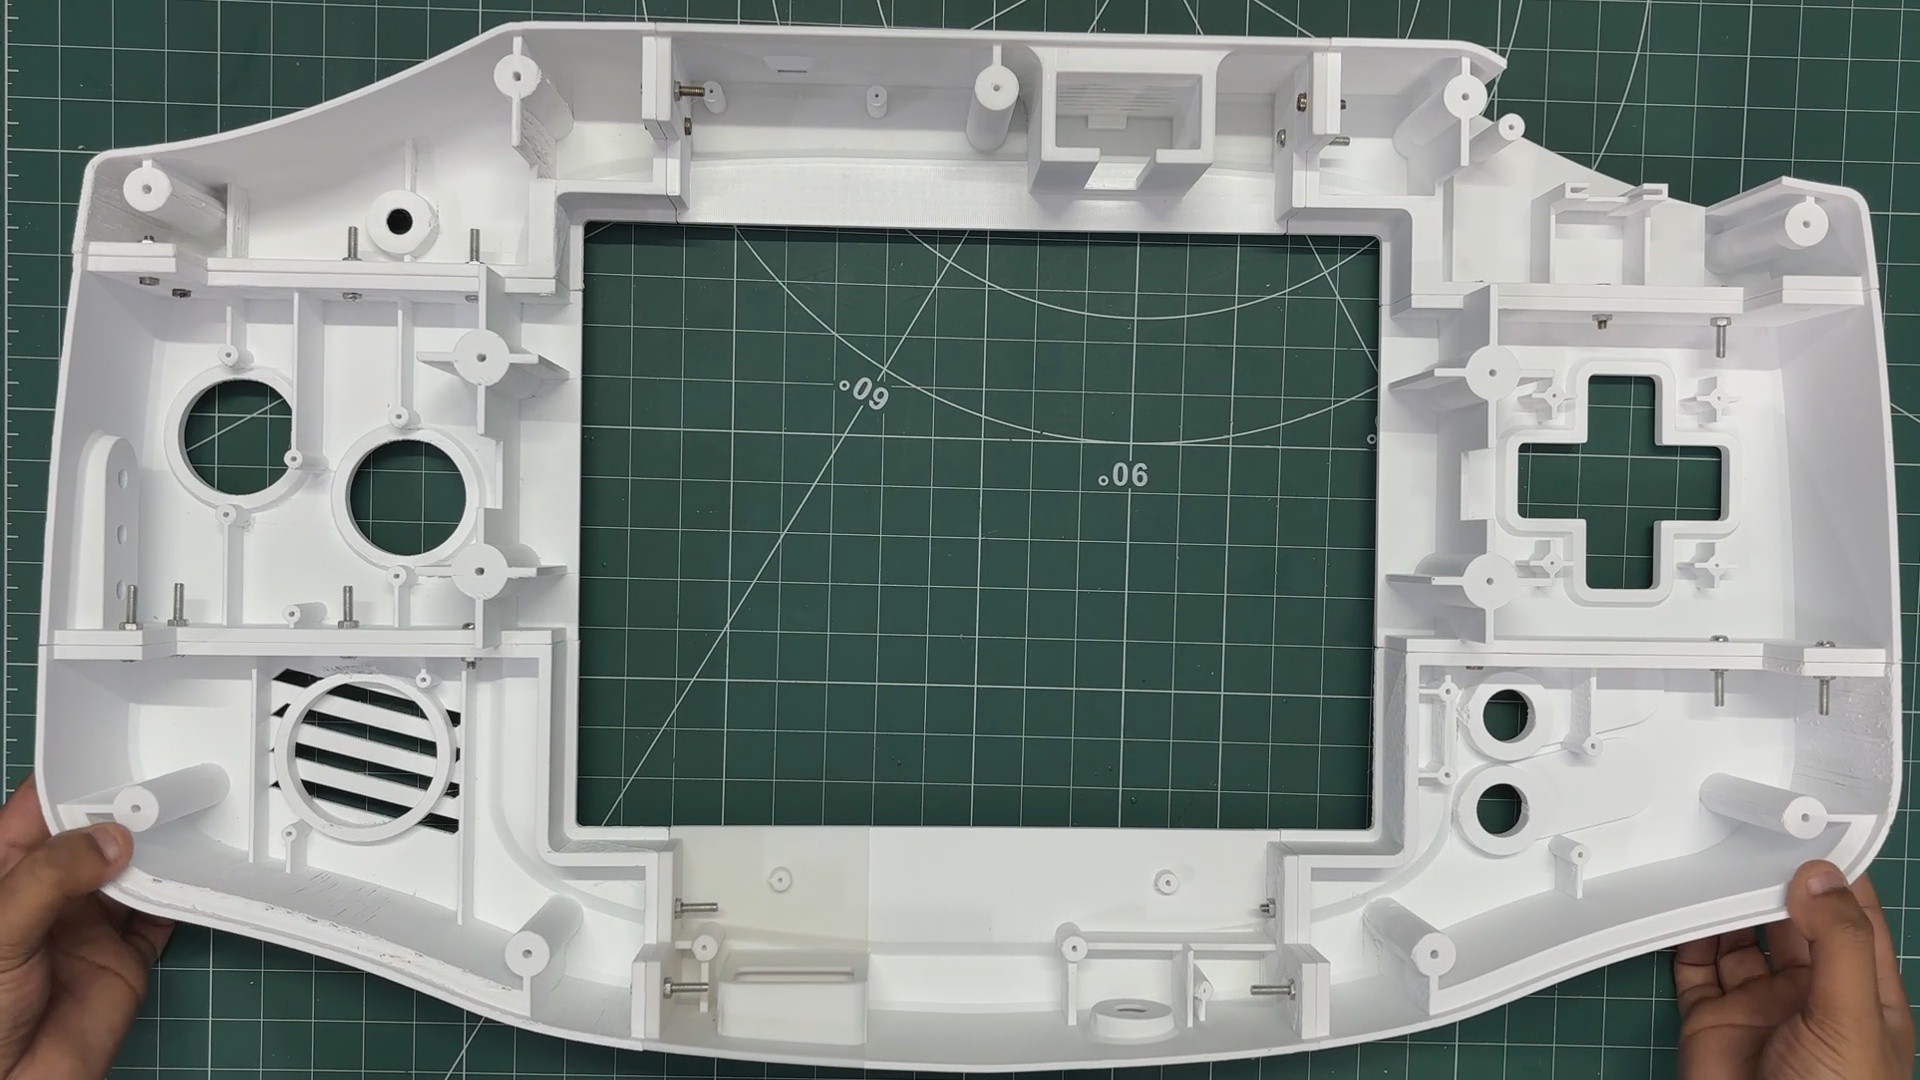
Using M3 nuts and bolts, we fasten each section to the neighboring parts, gradually joining all the individual pieces together. The idea is to secure every section tightly so that the separate prints form one continuous enclosure.
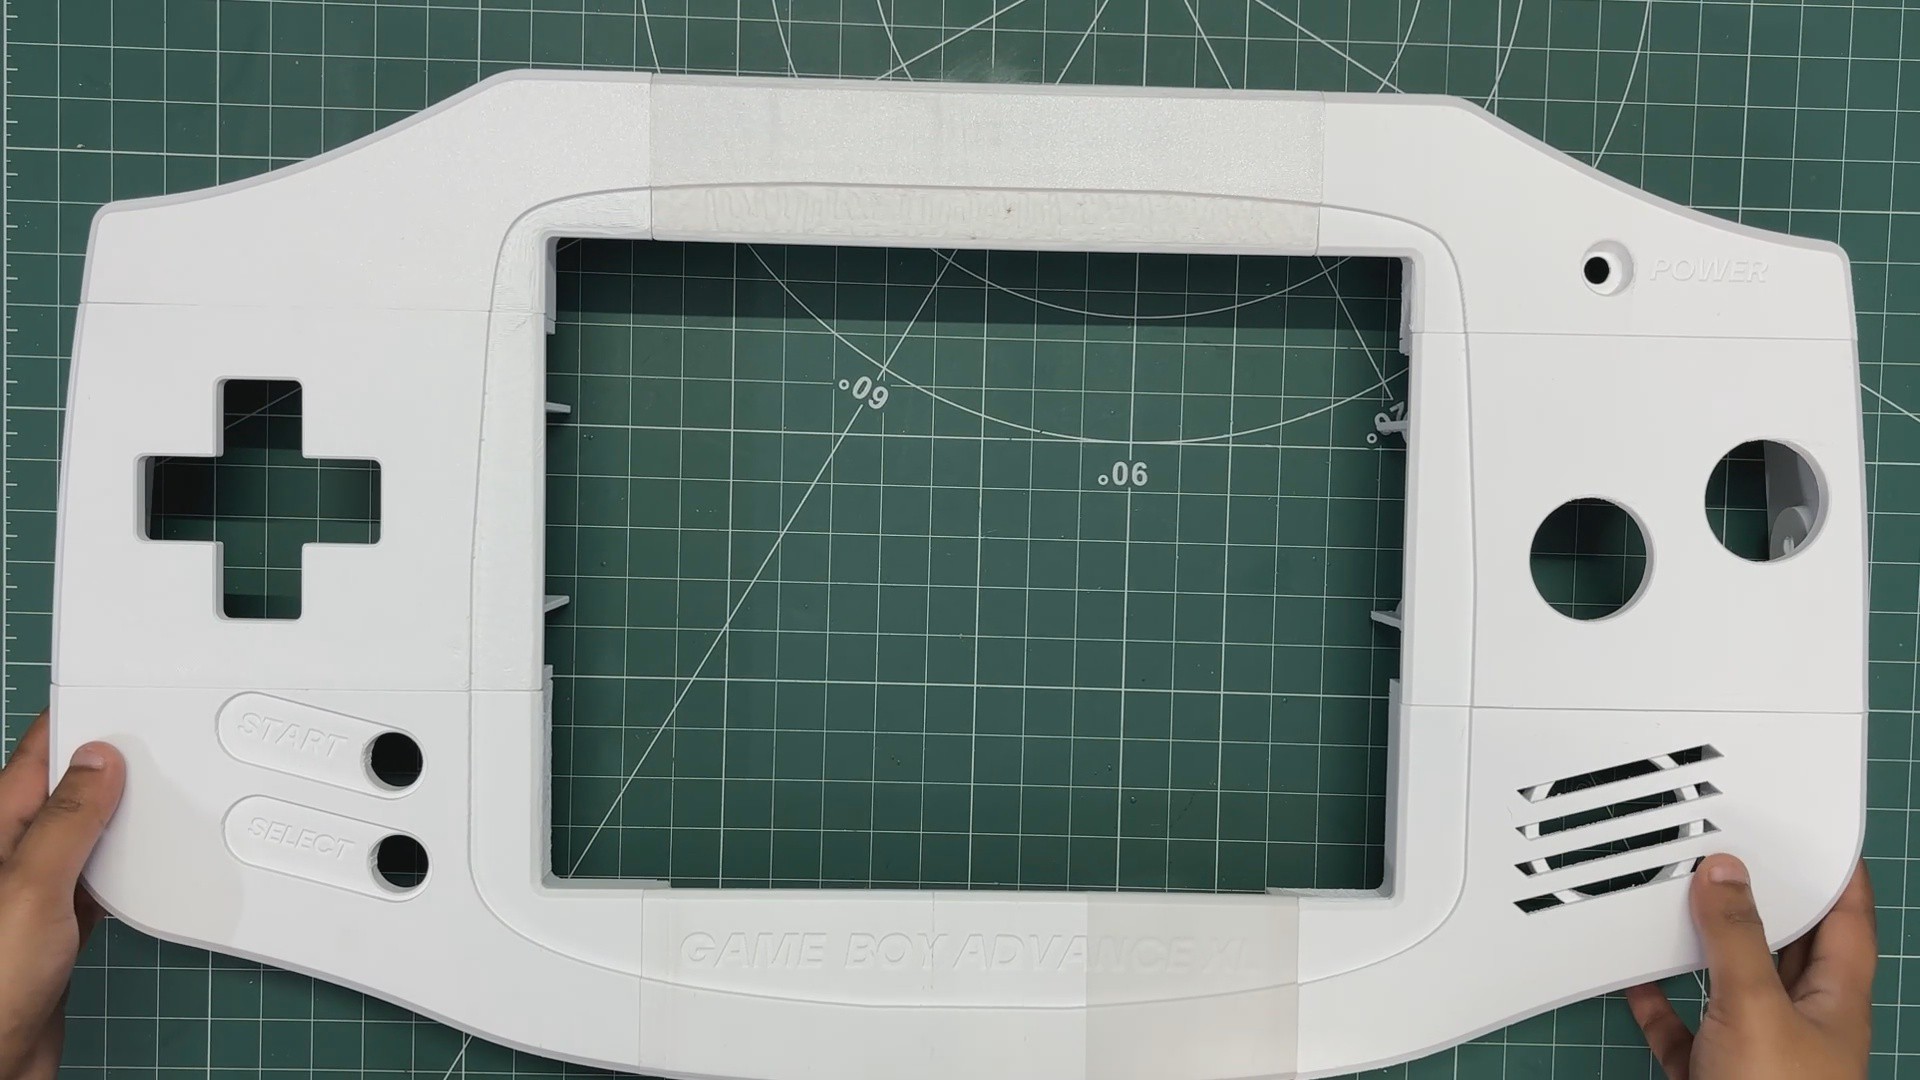
Once all the nuts and bolts are tightened, we end up with a single, solid Game Boy Advance XL body.
-
2BODY FILLER PREP WORK
![]()
![]()
![]()
![]()
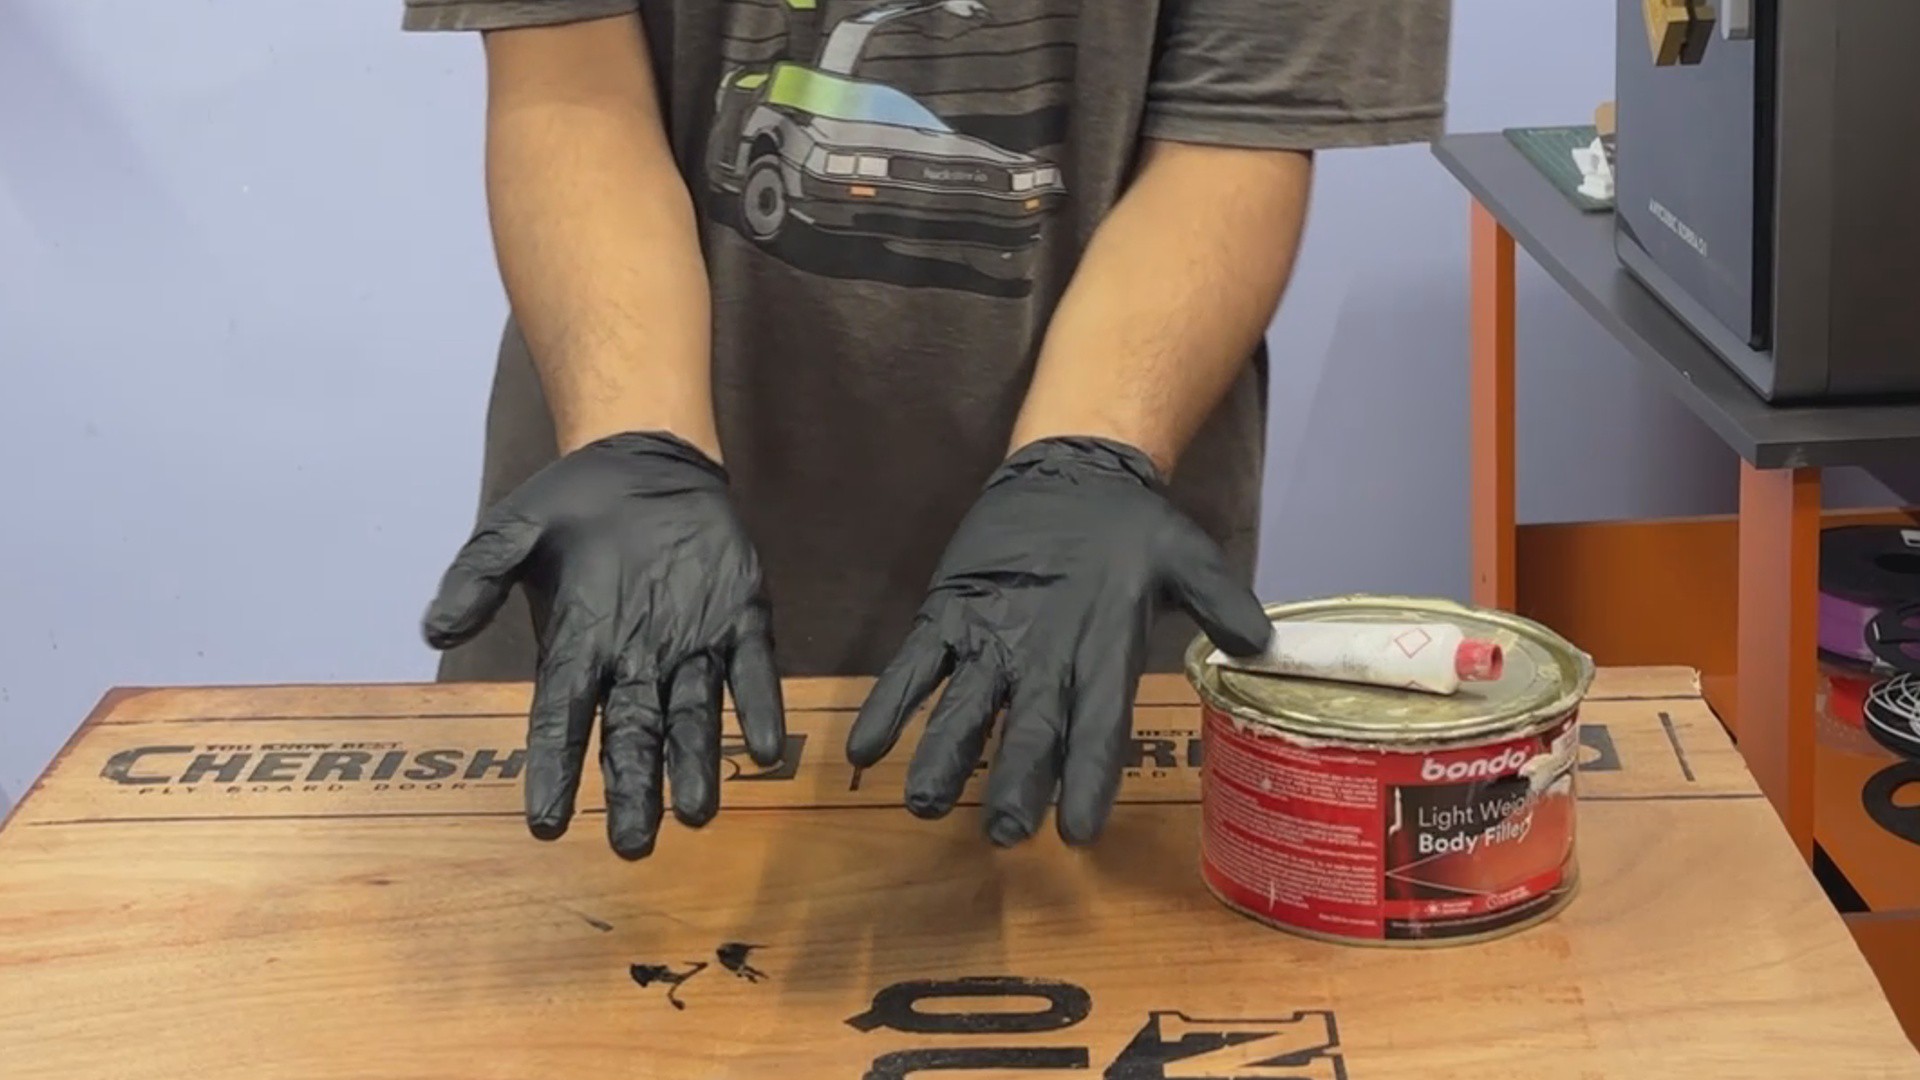
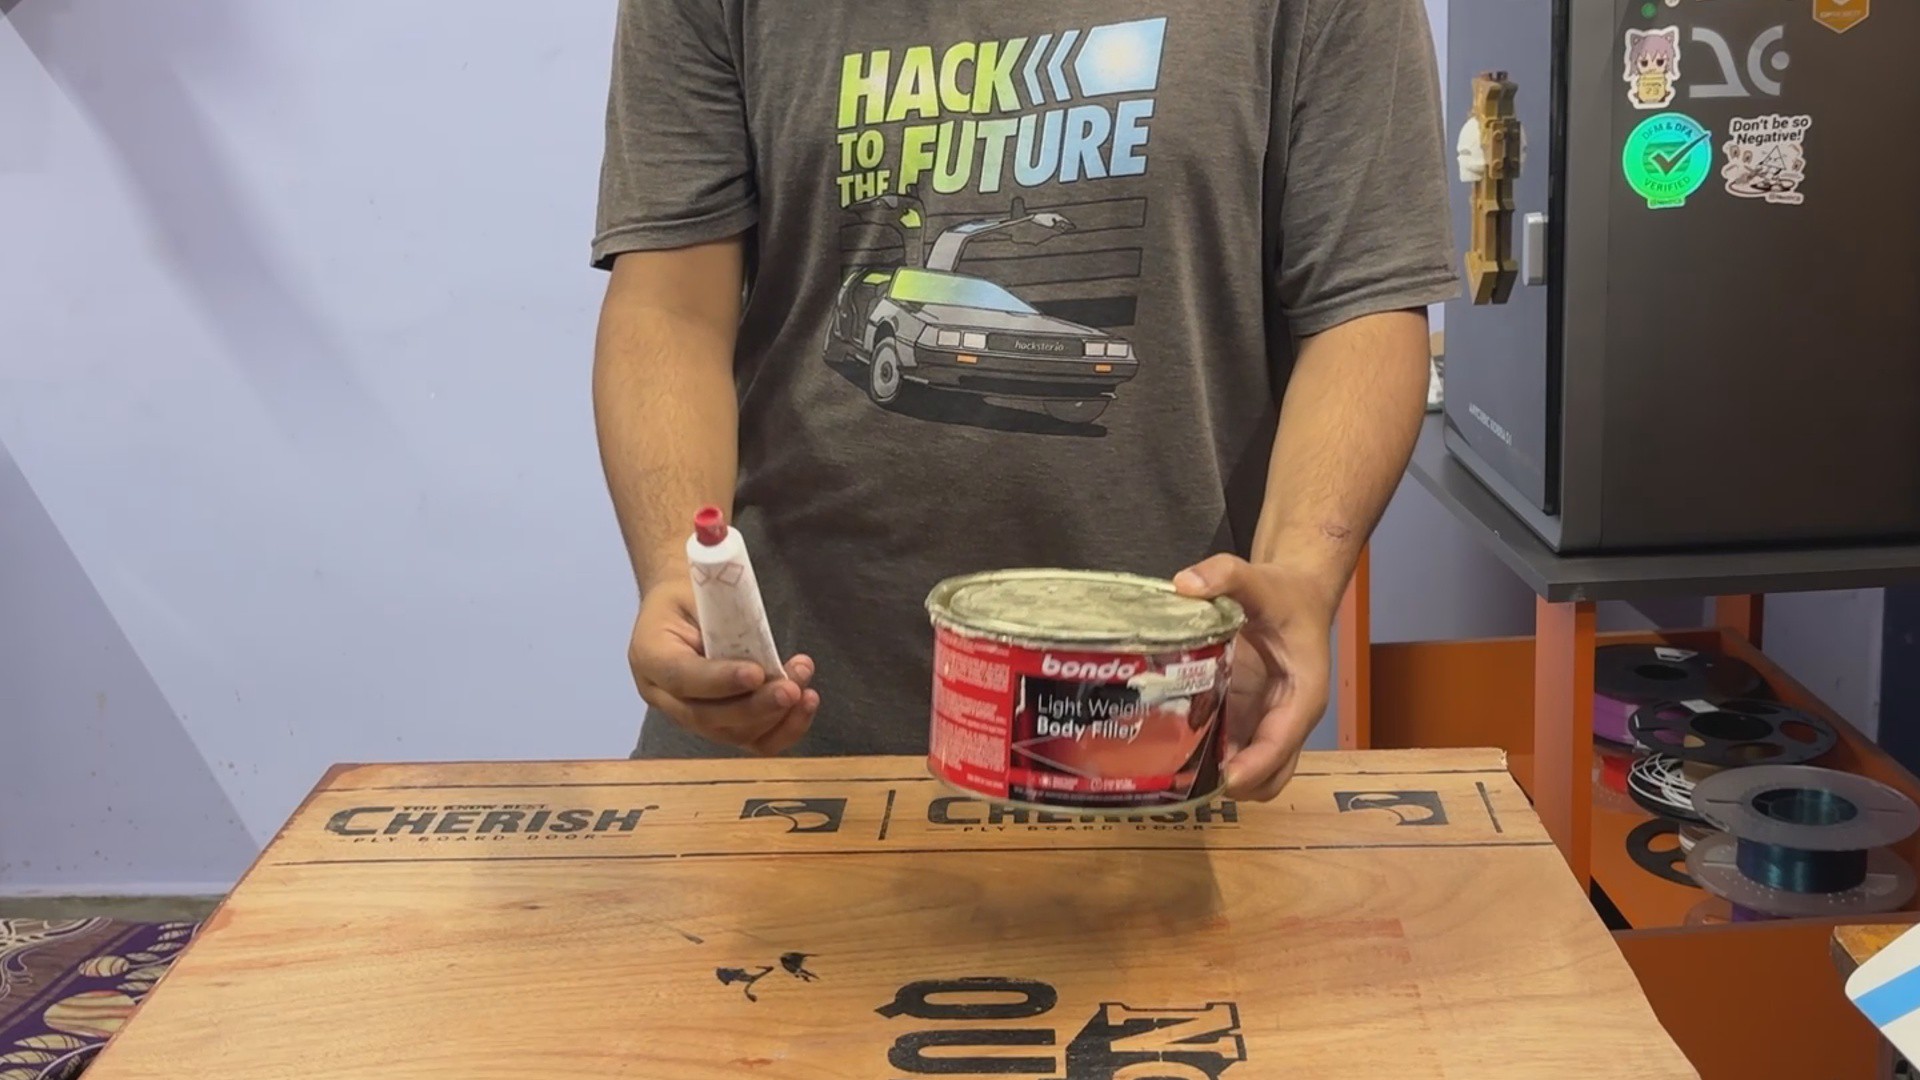
For filler material, we are using a 3M automotive two-part filler, which consists of a filler and a hardener.
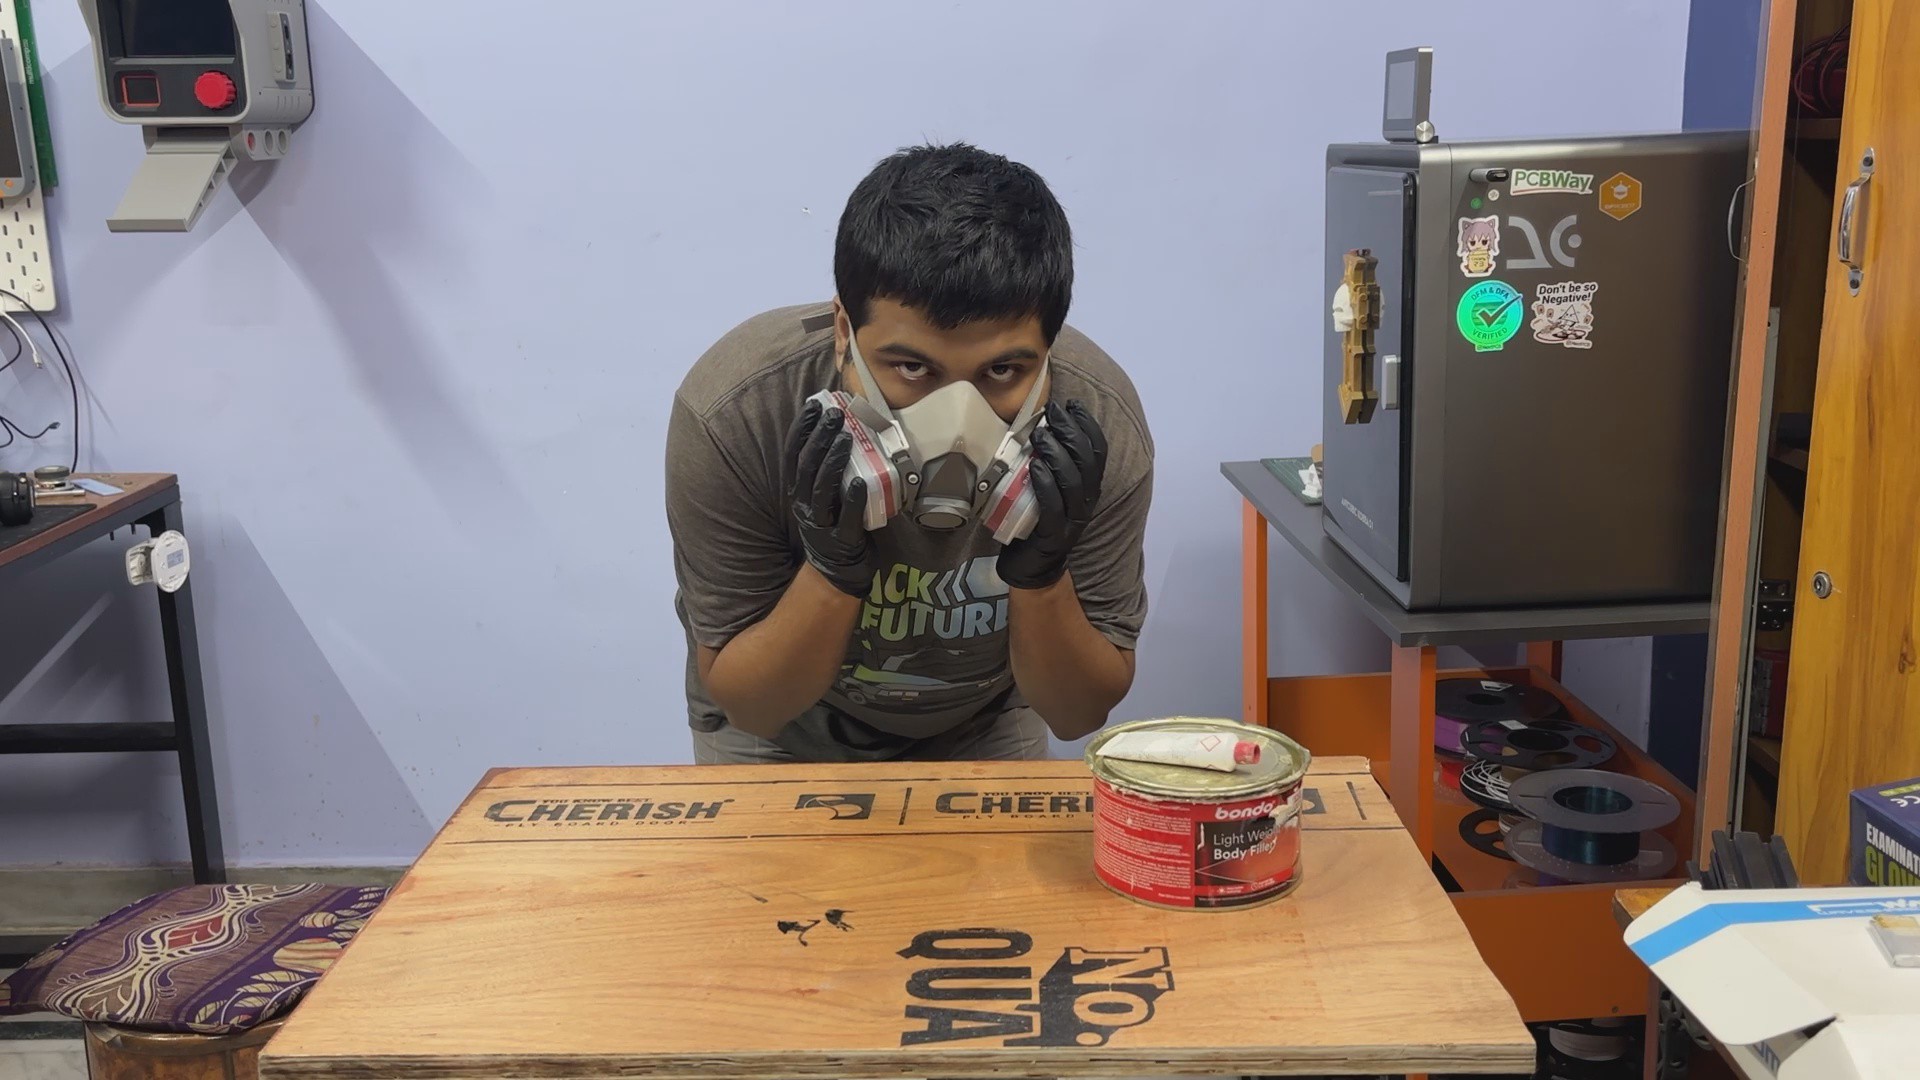
Wearing protective gloves and a dust mask is mandatory for this step, so make sure you put them on before proceeding.
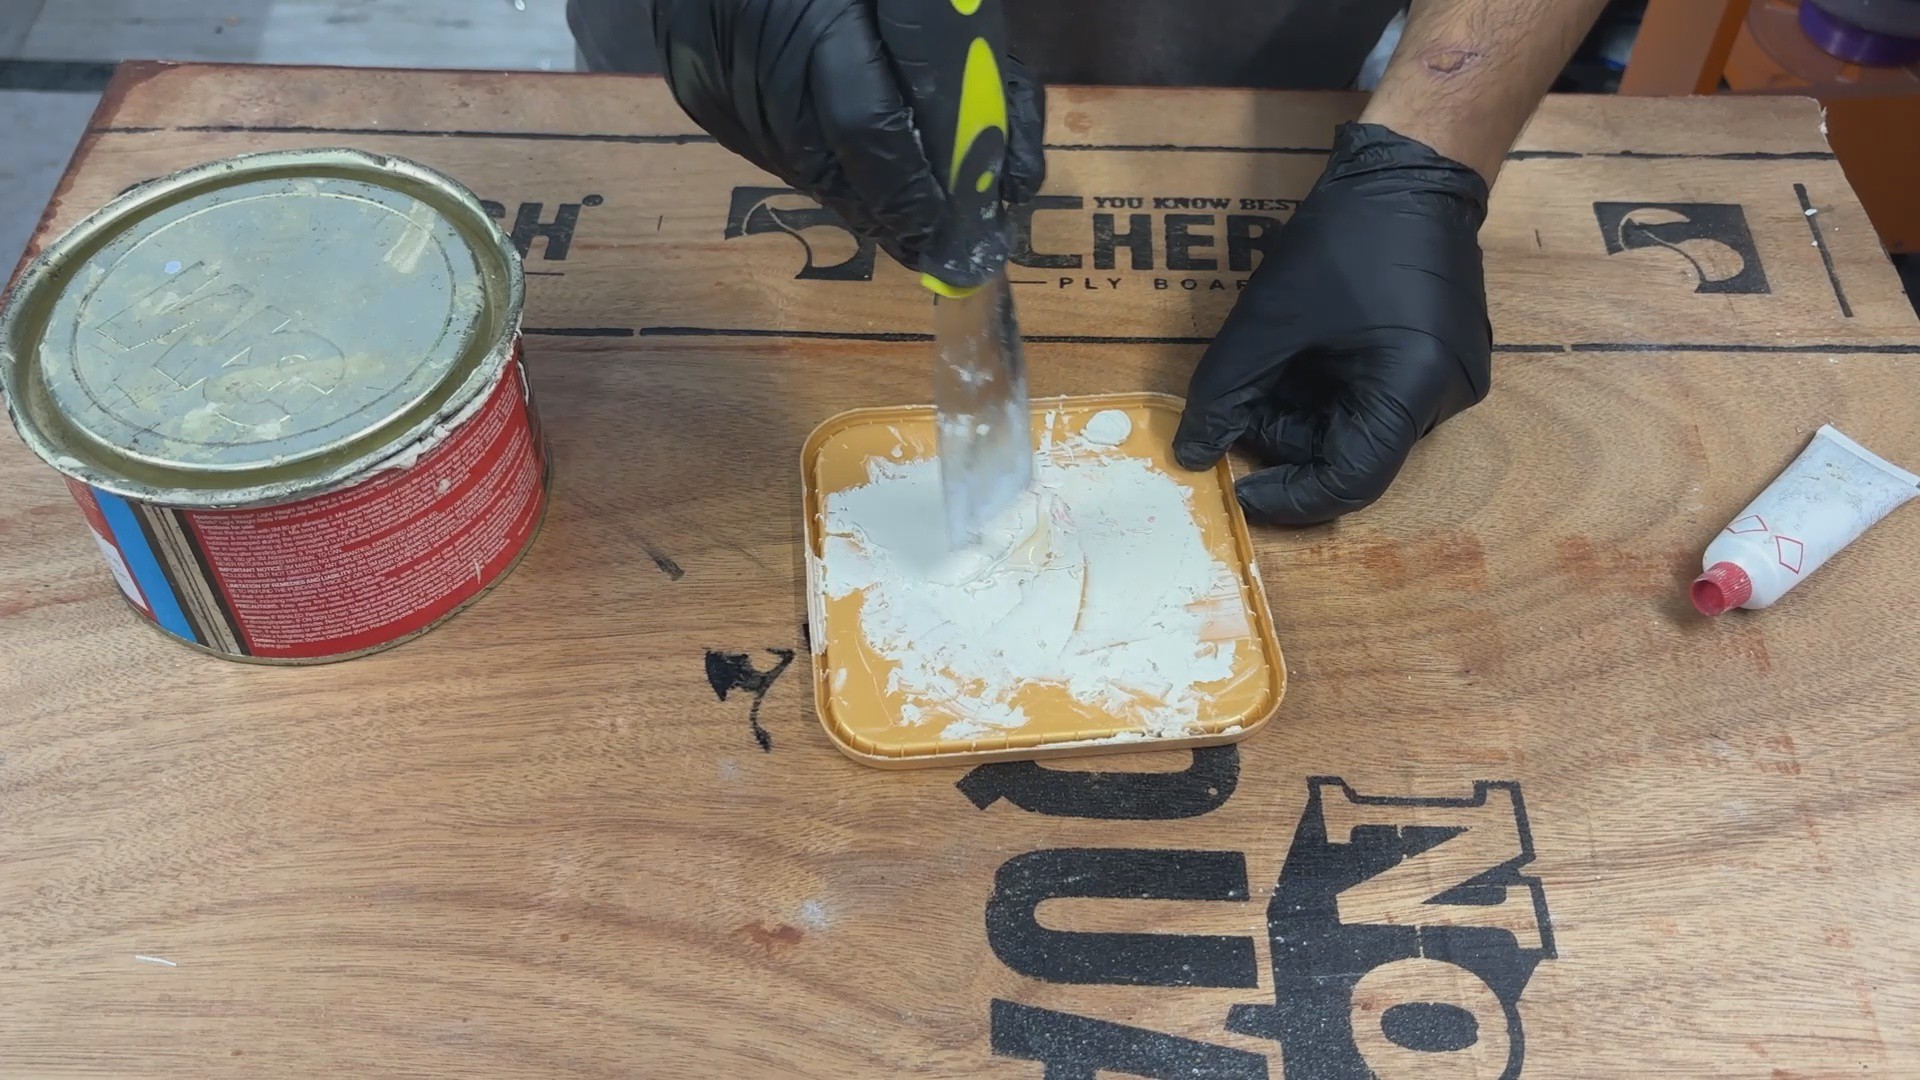
We begin by adding 2% hardener and mixing it thoroughly with filler; we get a compound that can be used to fill gaps, layer lines, and other imperfections on our printed body.
The filler process is an important step before painting. Applying filler to 3D prints, then sanding the surface smooth, followed by primer and paint, results in a finish so clean that it no longer looks 3D-printed at all.
-
3BODY FILLER PROCESS
![]()
![]()
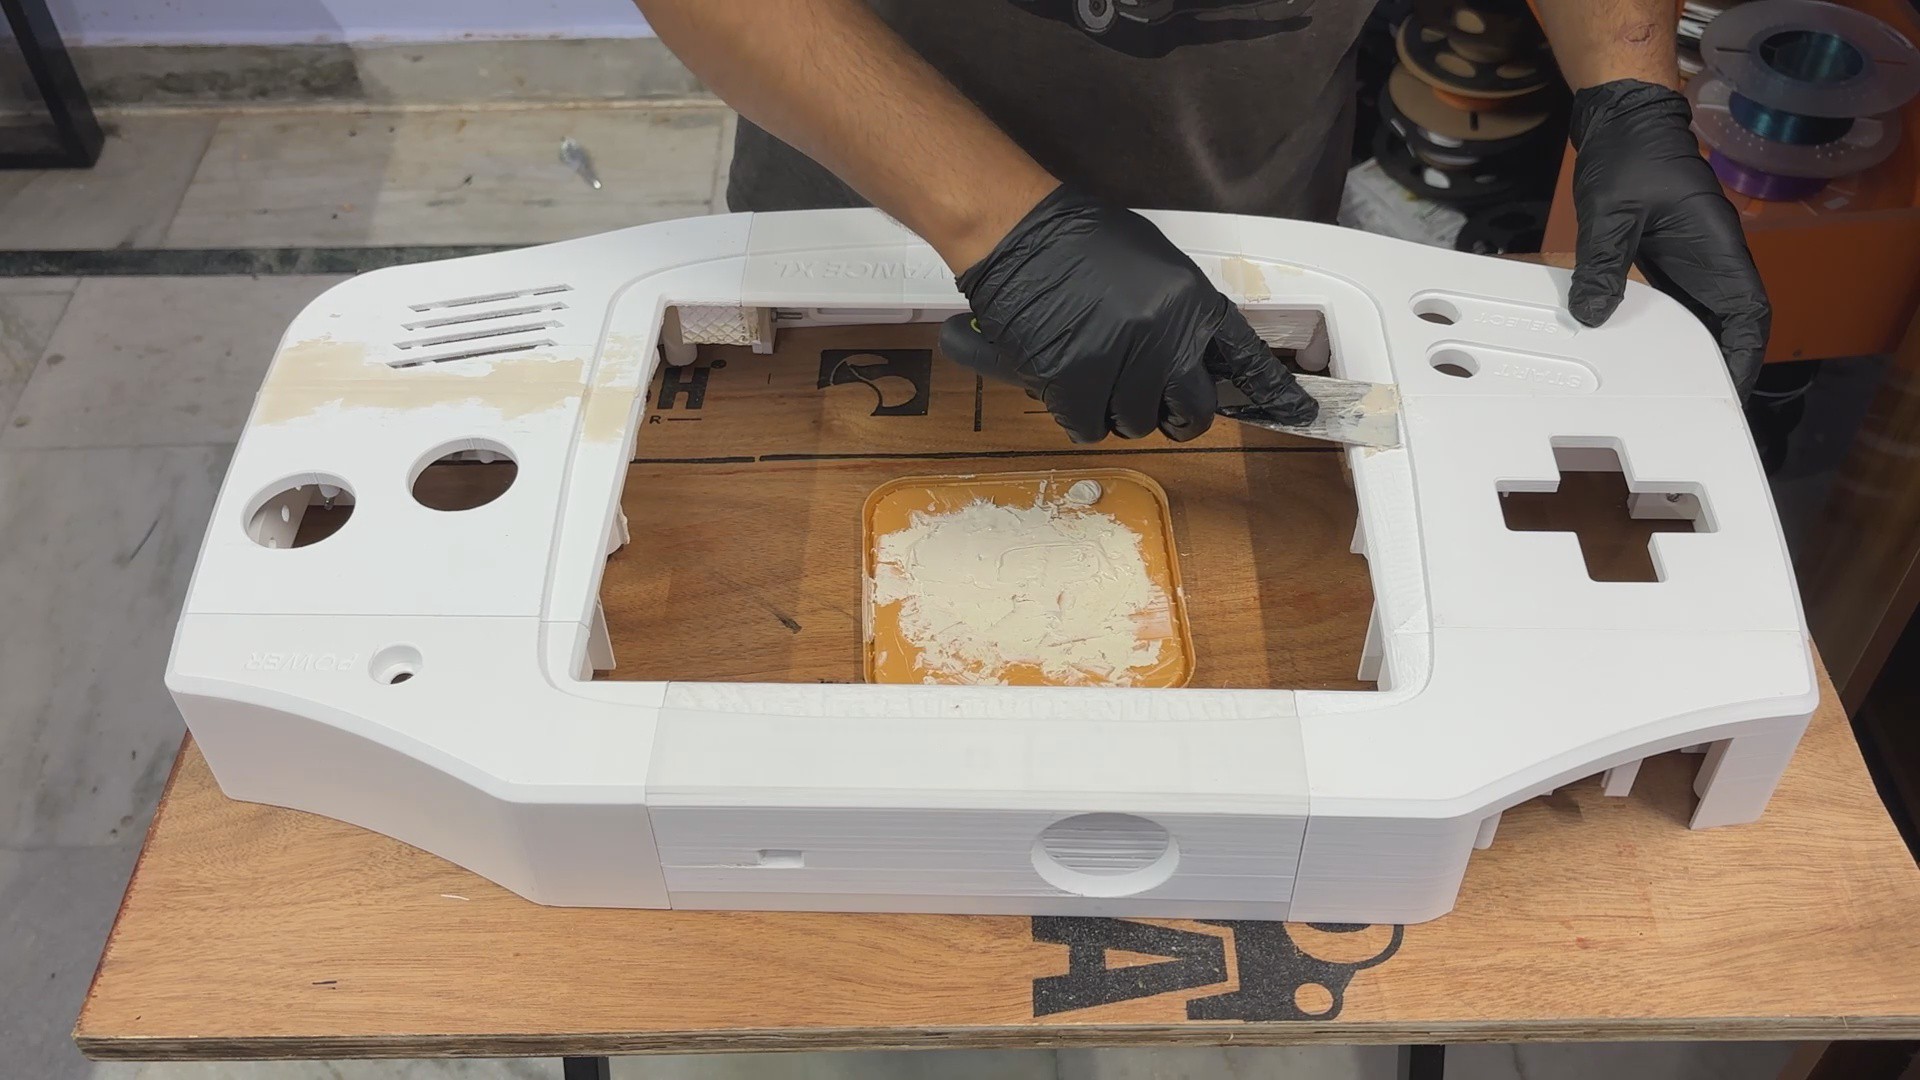
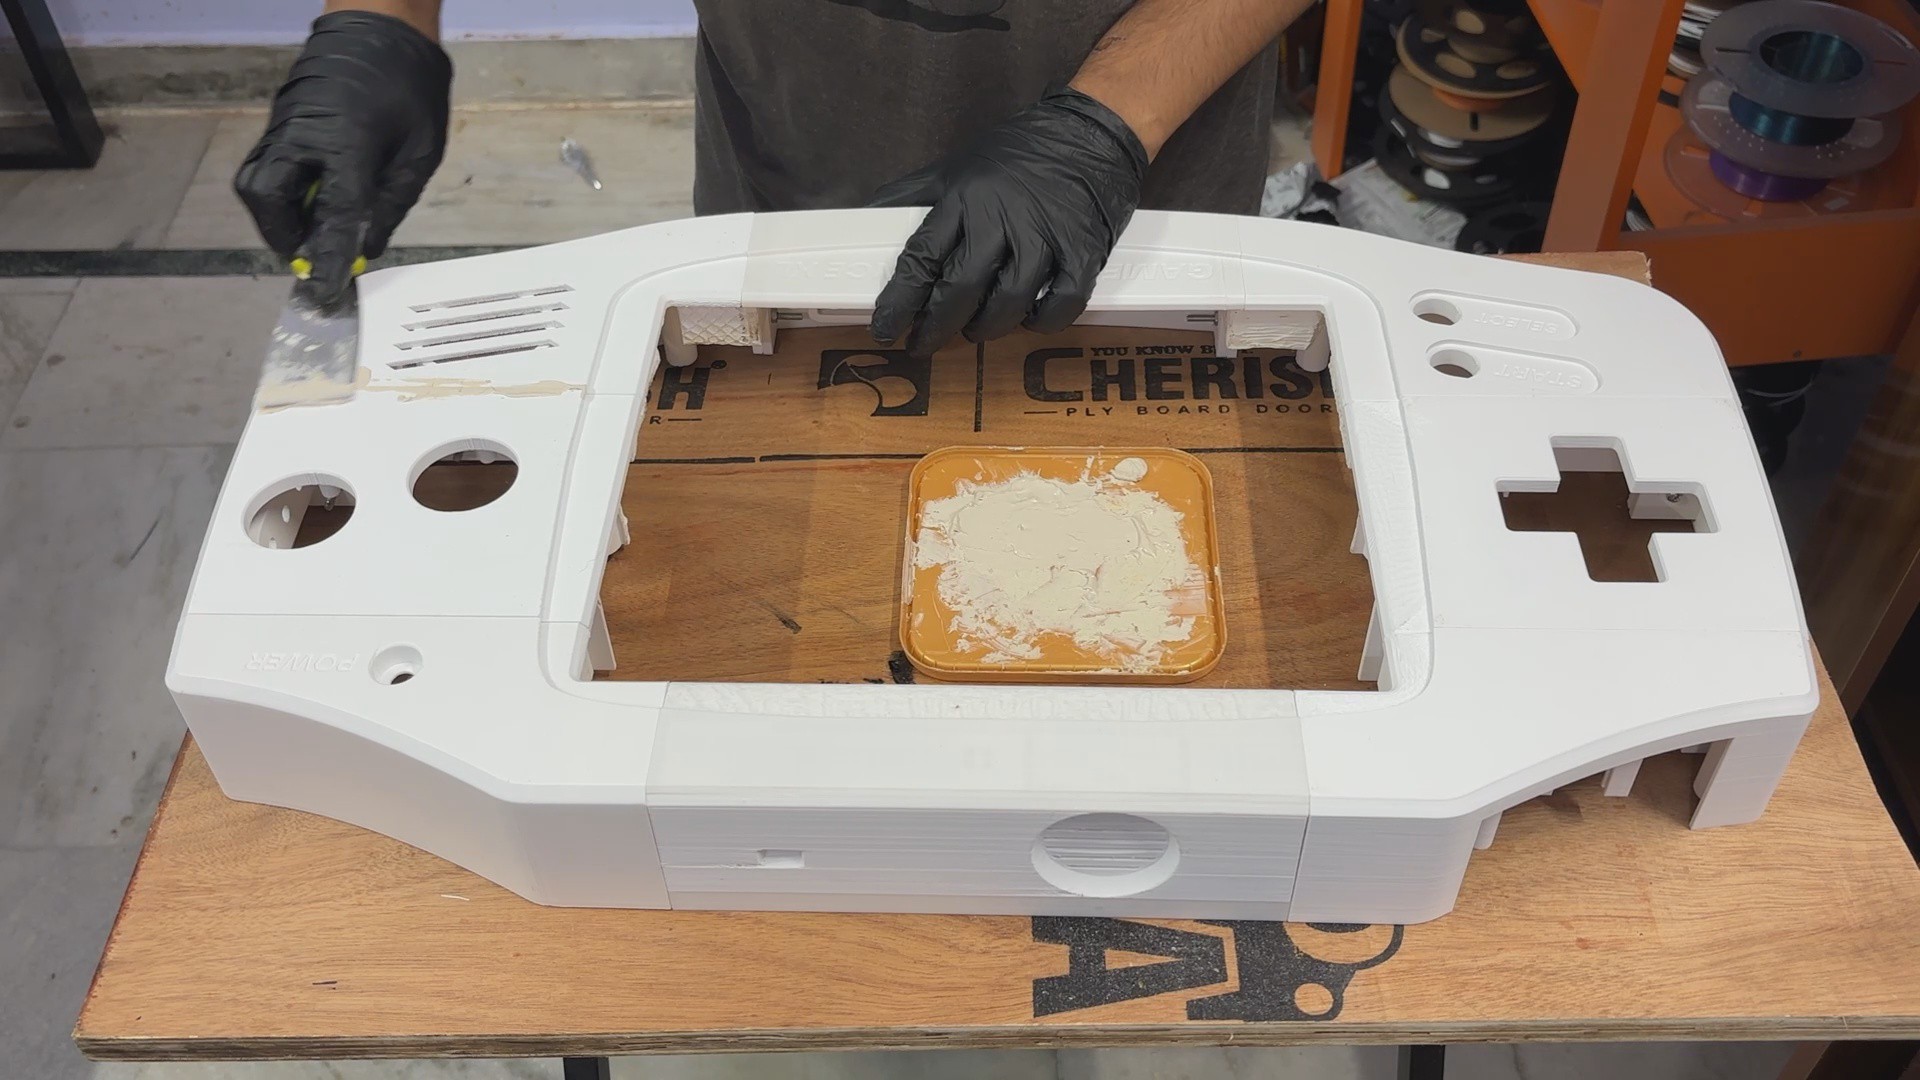
We start by applying filler to the joints between the 3D-printed parts. The idea is to fill any visible gaps, seams, or uneven areas across the enclosure. The filler gets into these gaps and creates a more uniform surface.
We also apply filler to any areas that aren't perfectly even. Once the filler has dried, we'll sand it down to remove the excess material and smooth out the surface, making the joints less visible and giving the entire enclosure a cleaner, more finished look.
-
4BODY FILLER SANDING
![]()
![]()
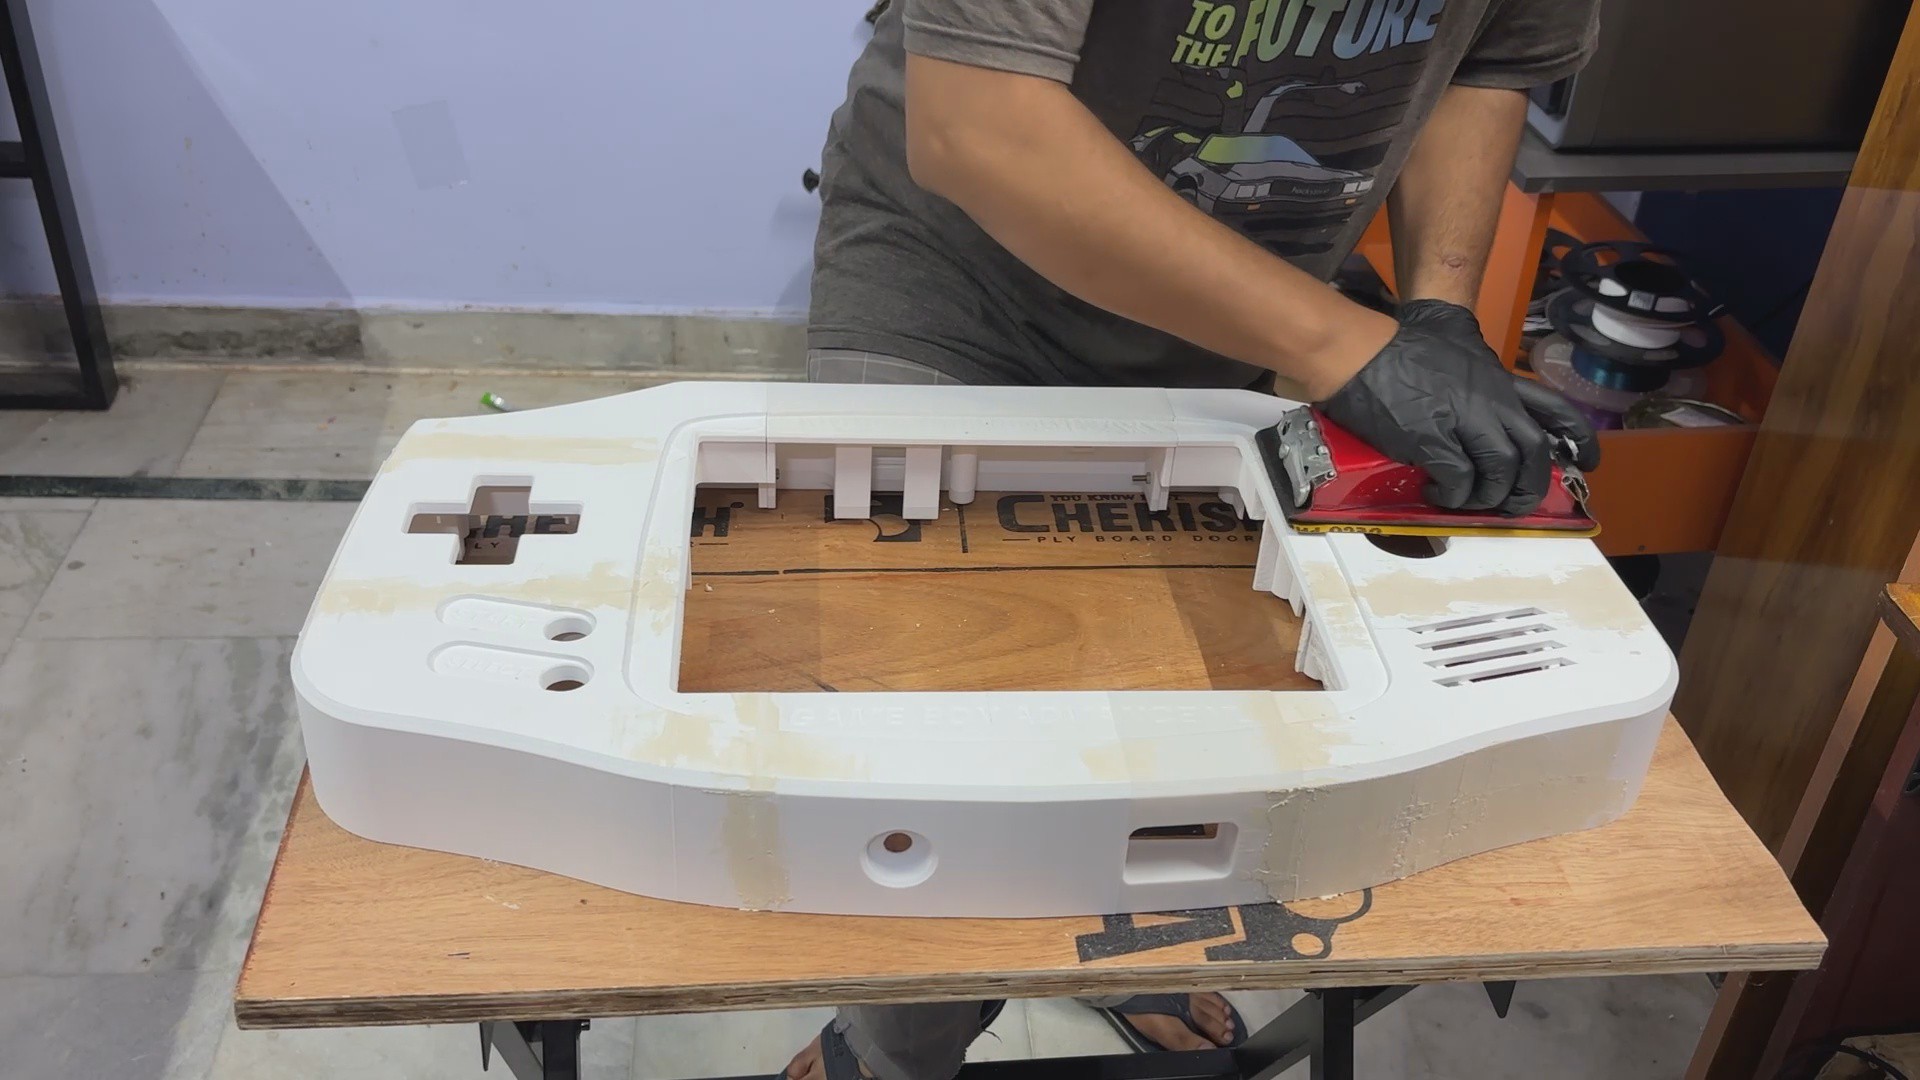
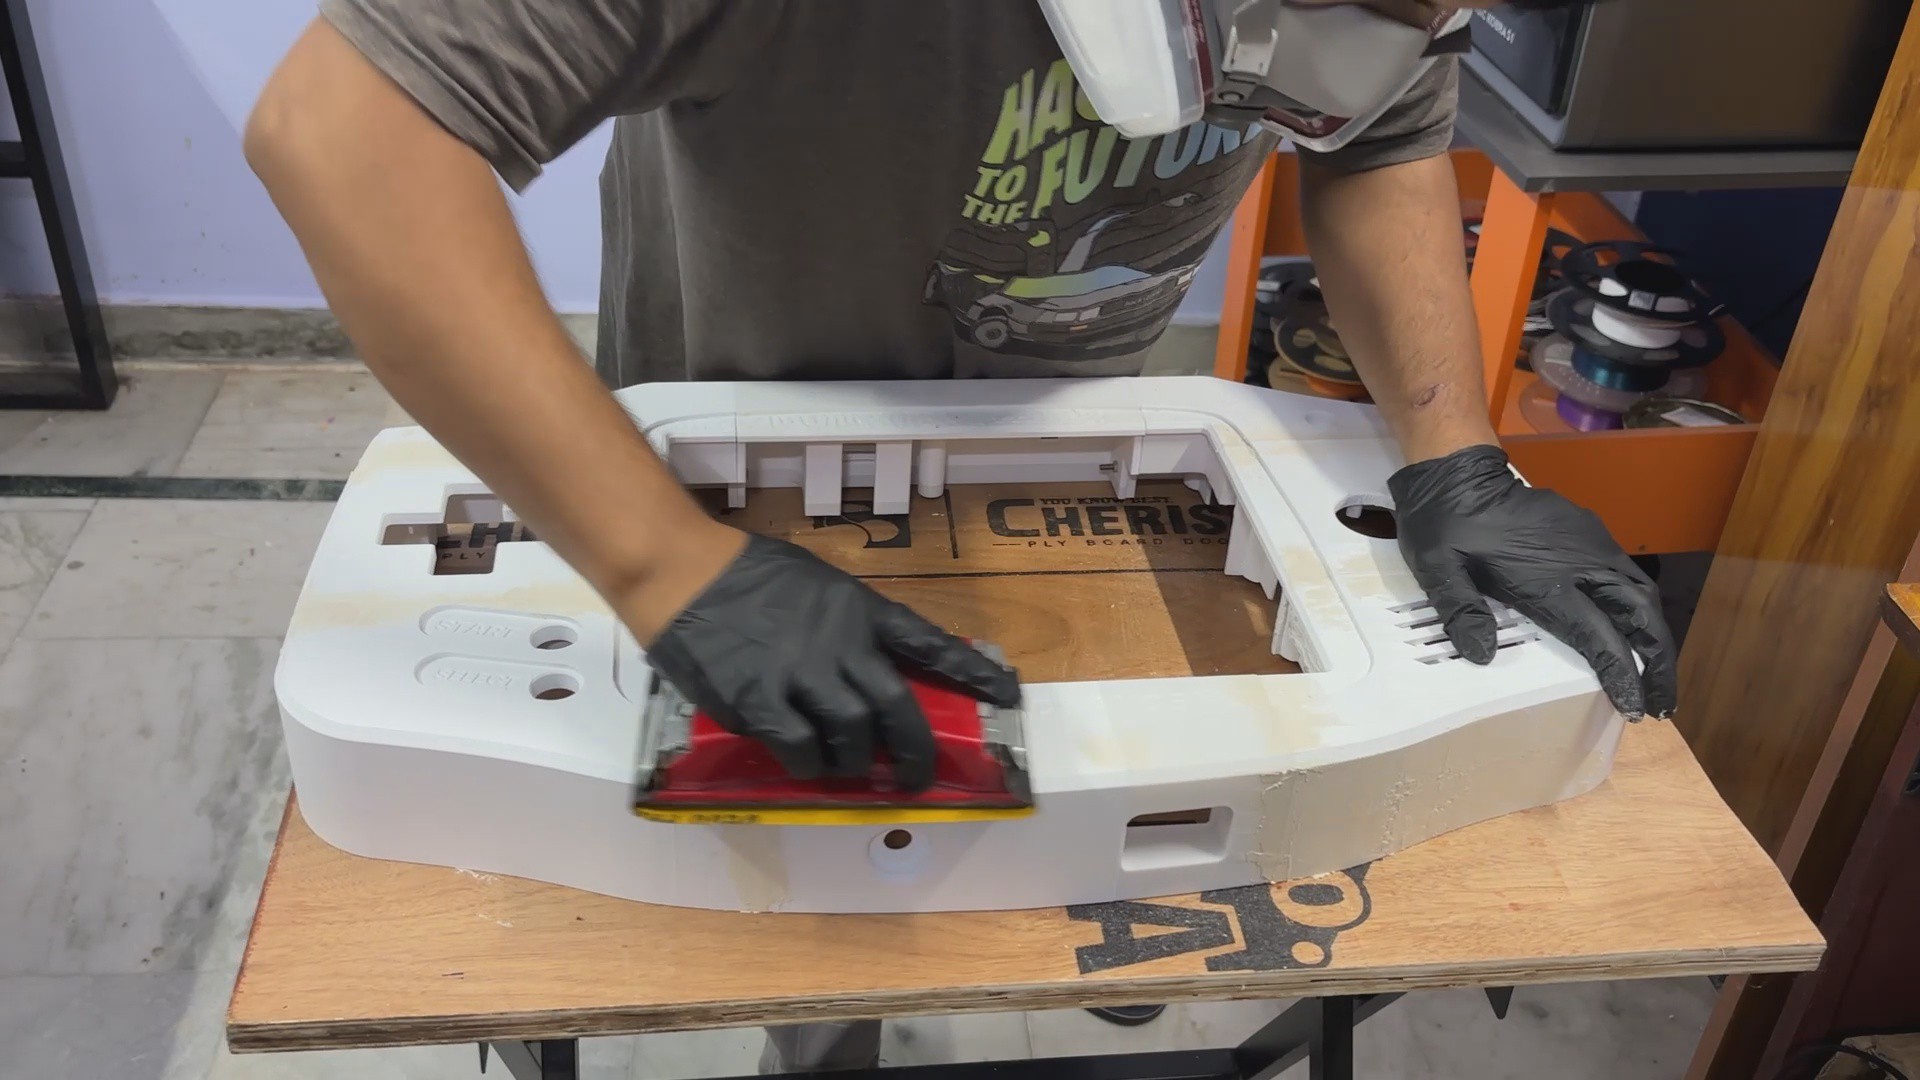
I begin by sanding the top surfaces of the front body, followed by sanding down the gaps between parts that were filled with filler. The edges of the parts with fillets are also sanded.
The goal here is not to sand down the plastic itself, but the added filler. This way, we remove excess filler while keeping the plastic body intact.
Doing this removes the visible gaps between layer lines and evens out the surface.
-
5PRIMER PROCESS
![]()
![]()
![]()
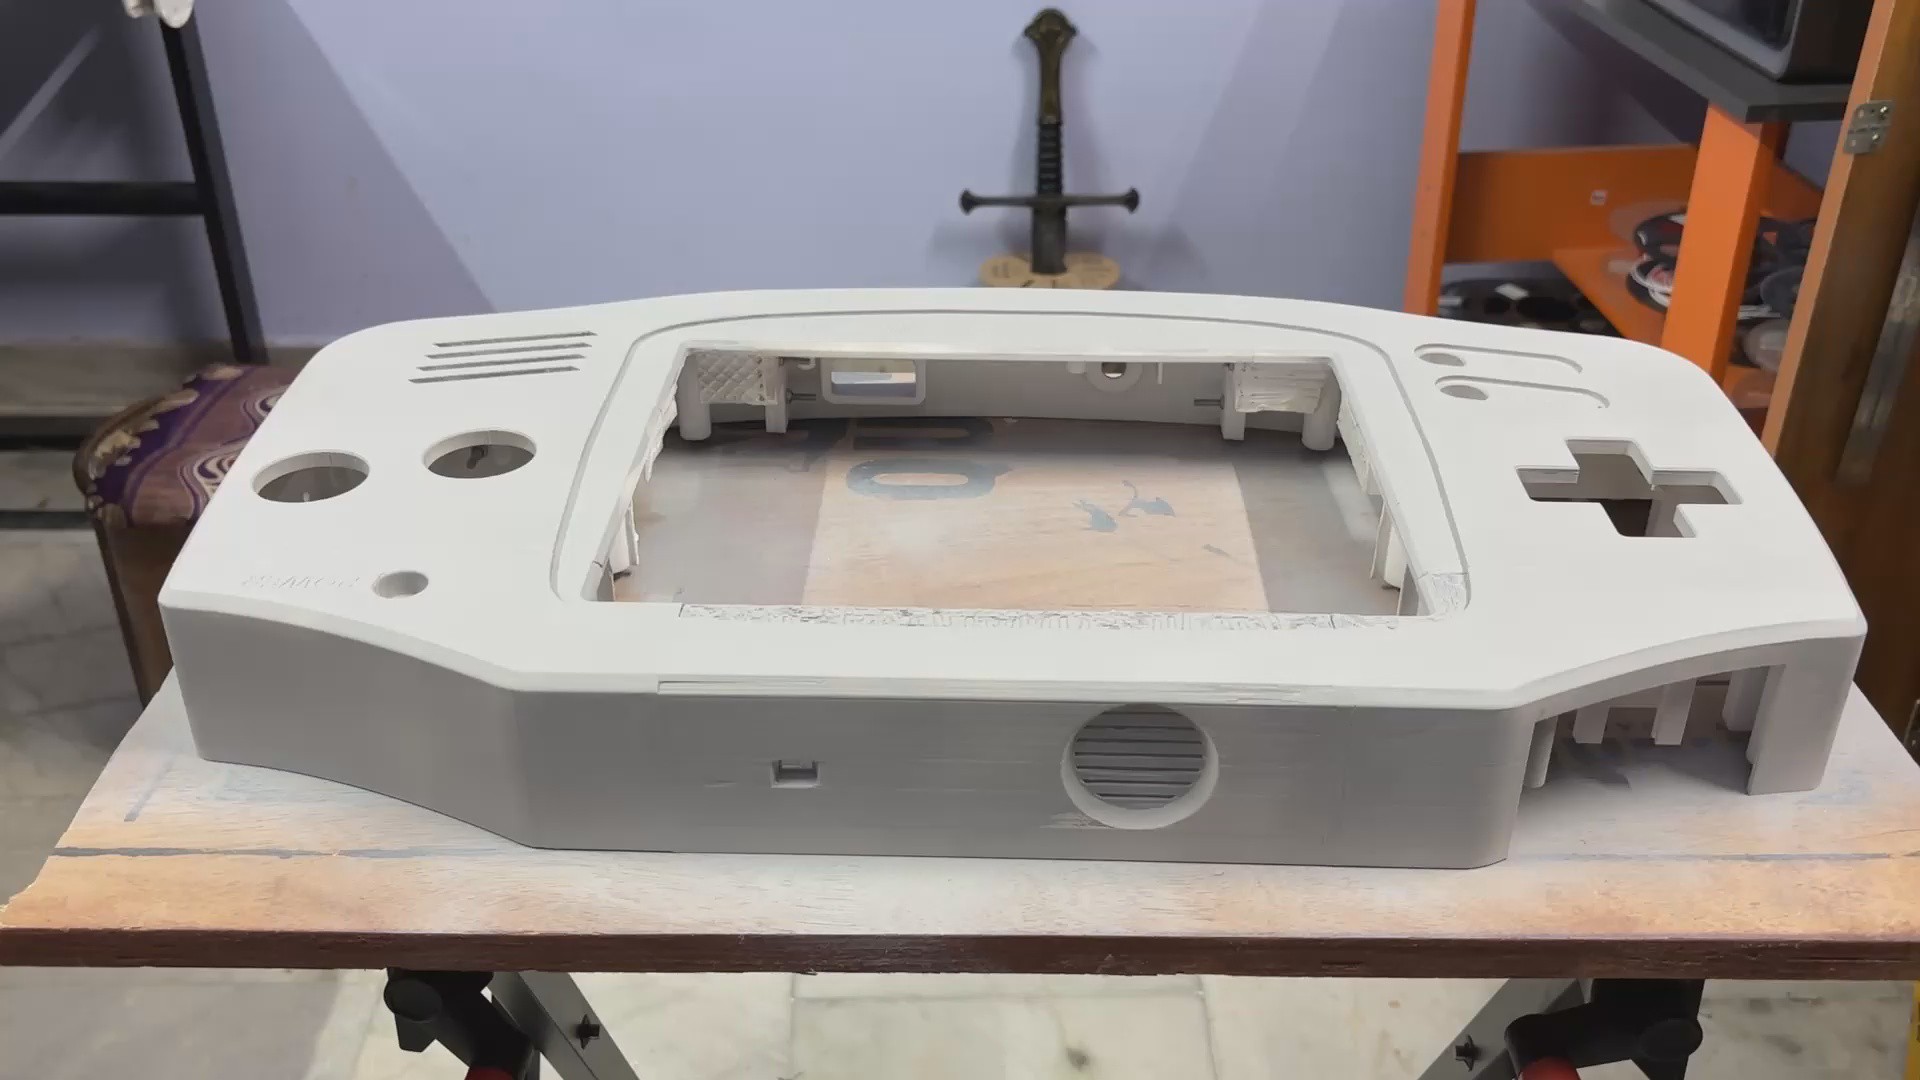
Now comes the priming process, and this one was quite lengthy.
For painting, primer is a mandatory base coat because it helps the paint adhere better to the surface, improves durability, and highlights any remaining imperfections that need fixing.
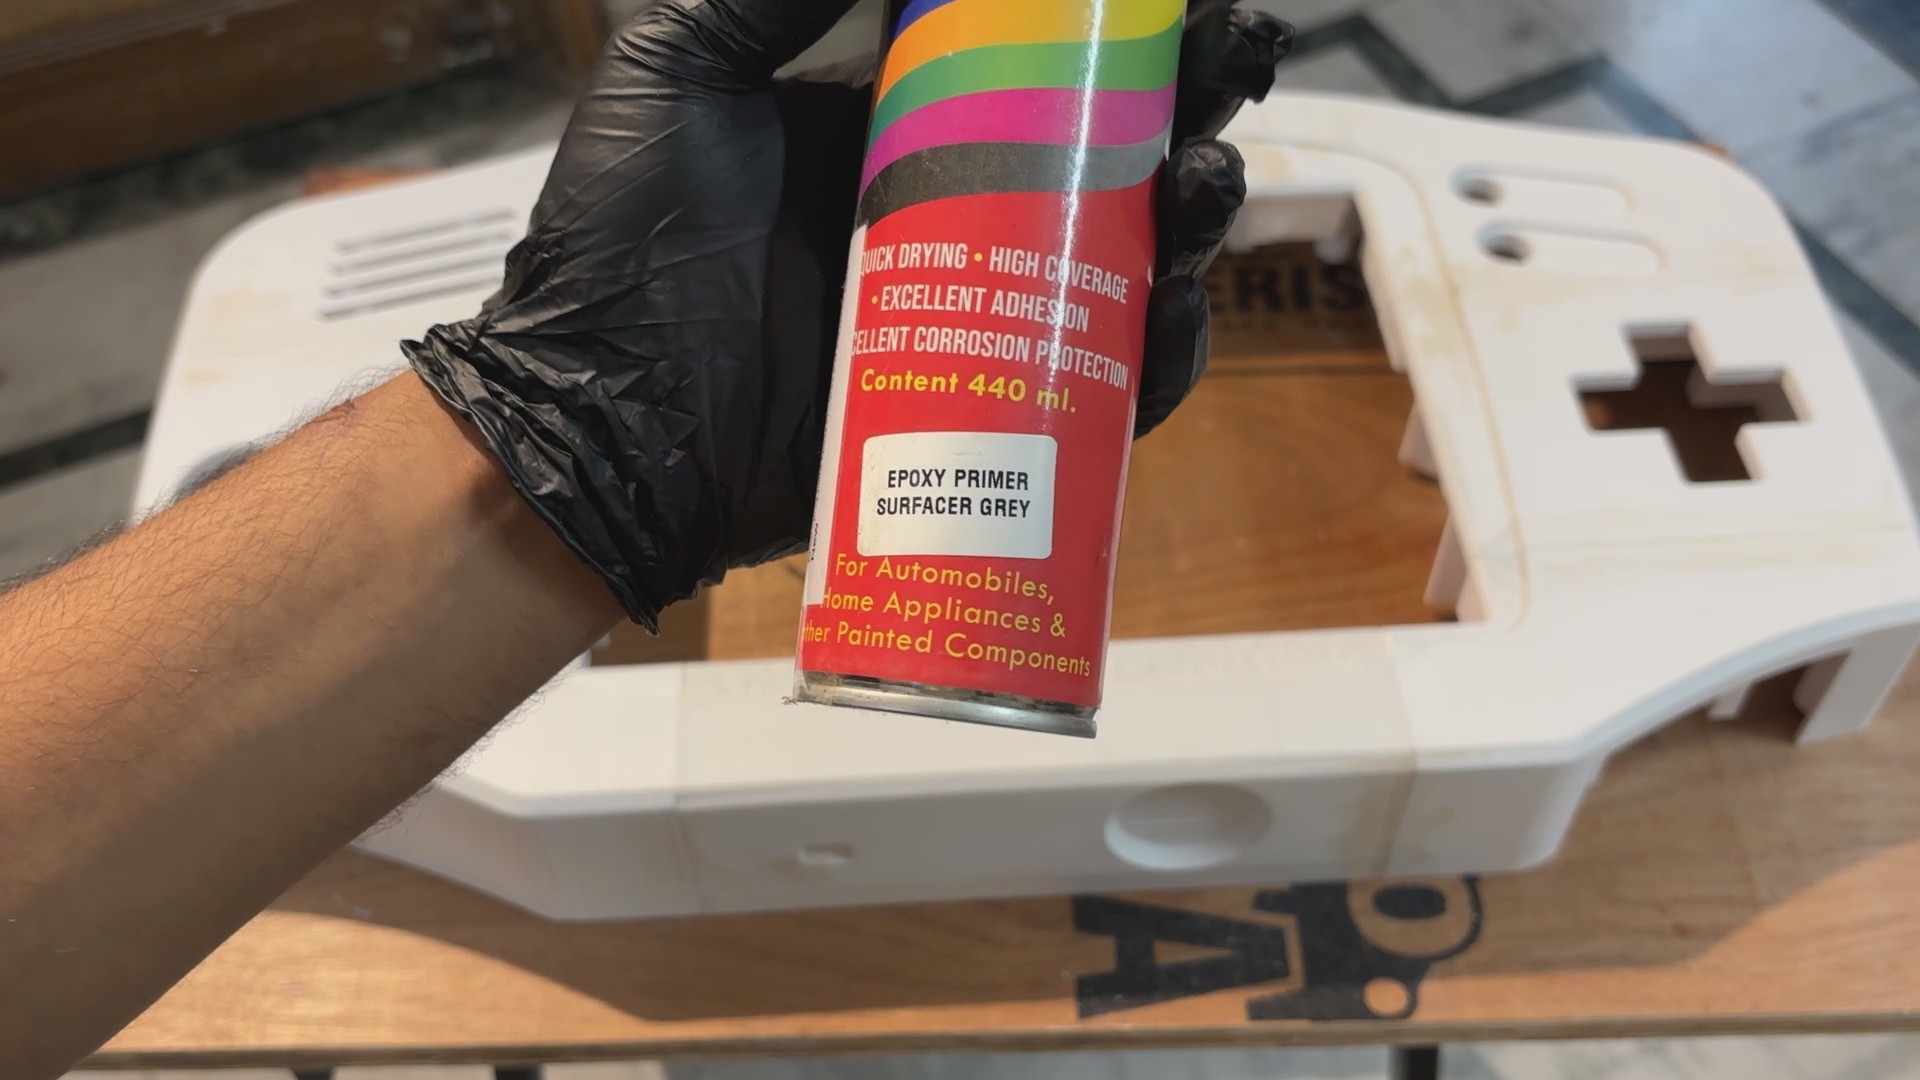
Here, I used a spray primer, which works just like spray paint but is specifically designed as a base layer.
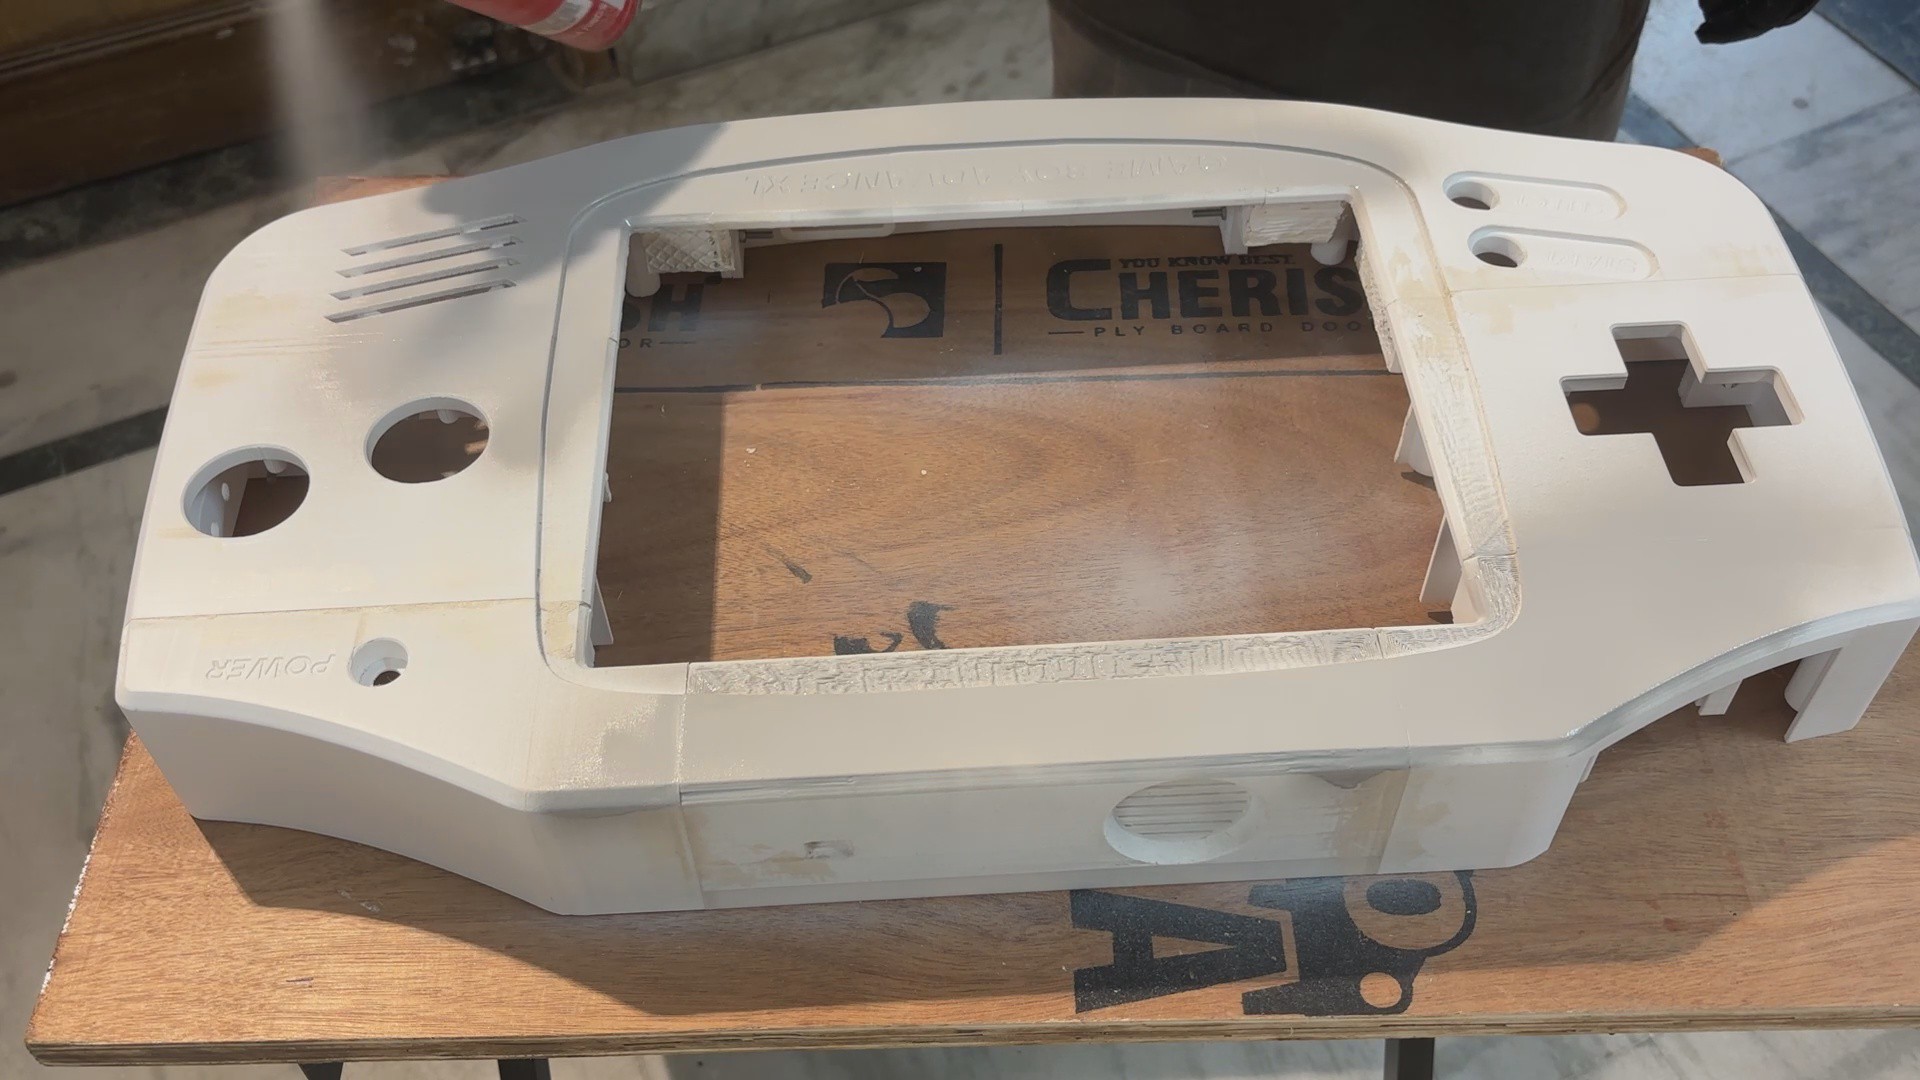
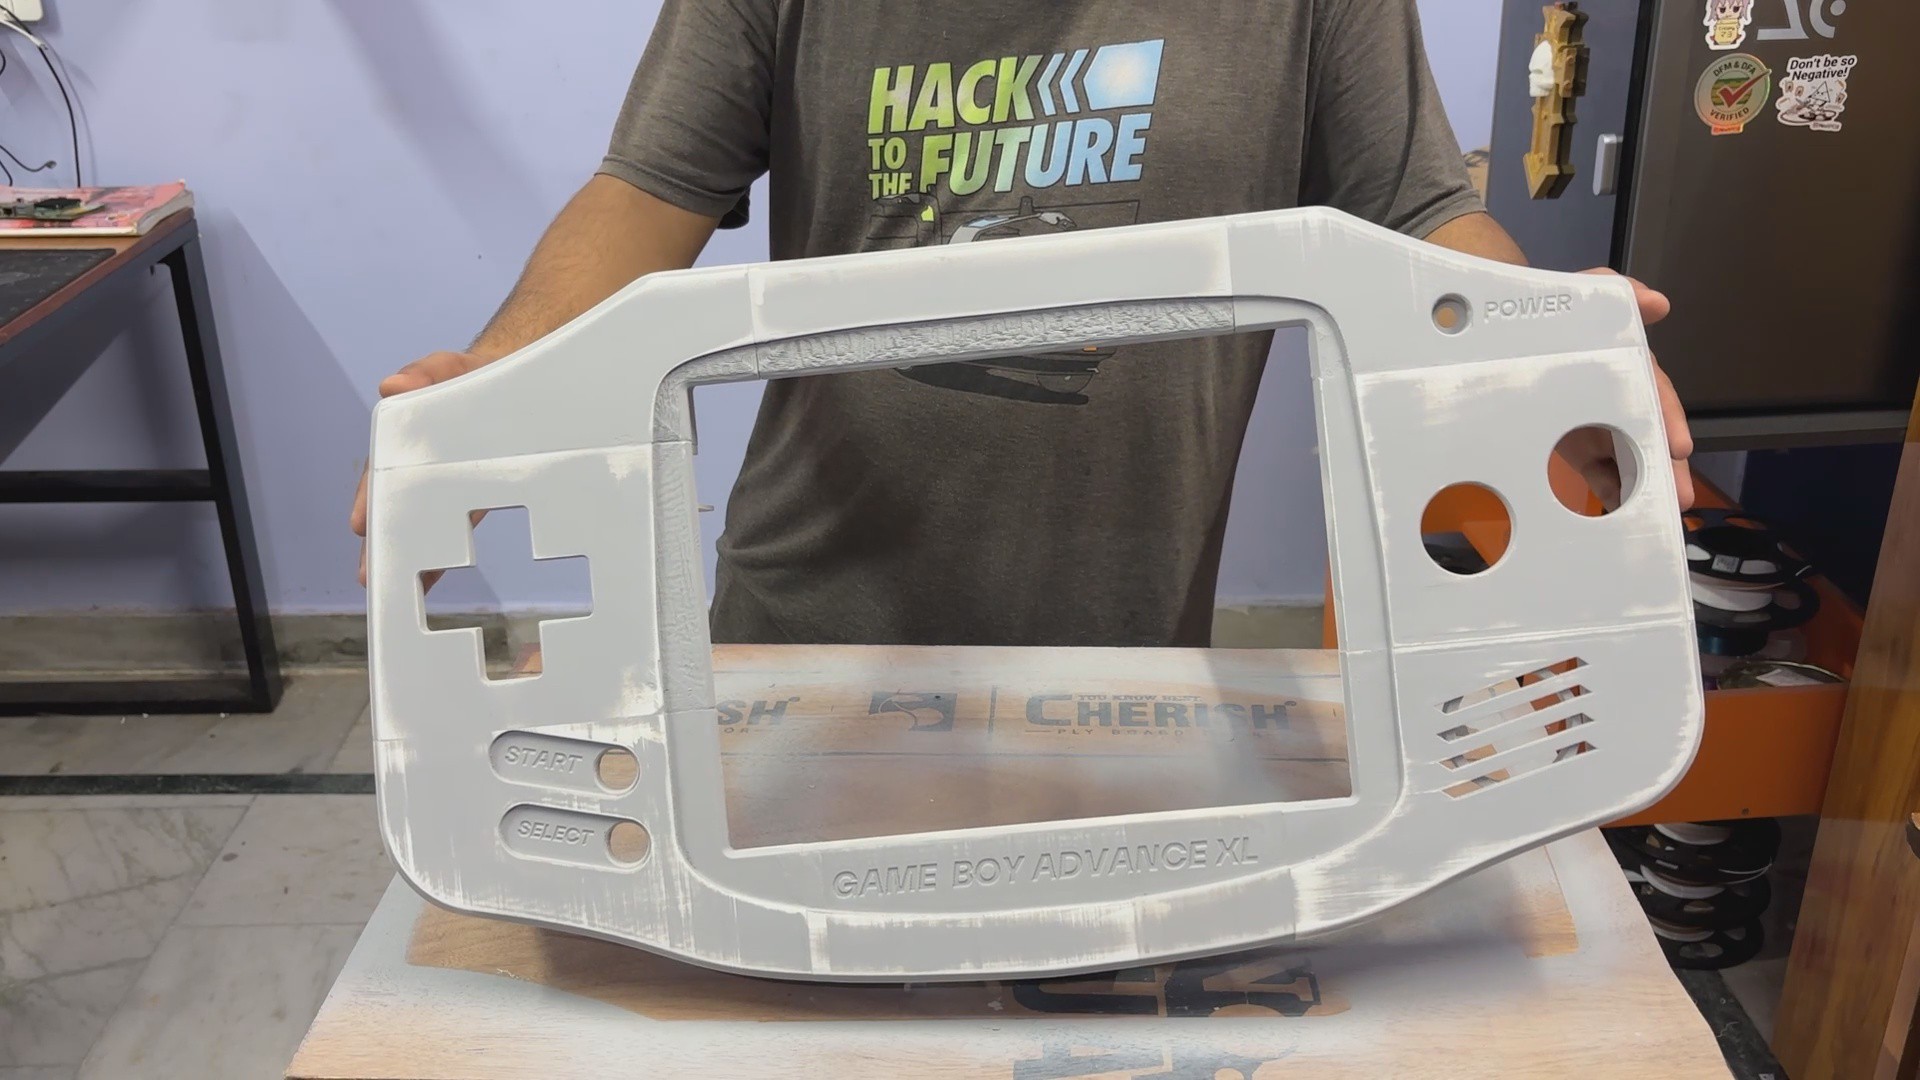
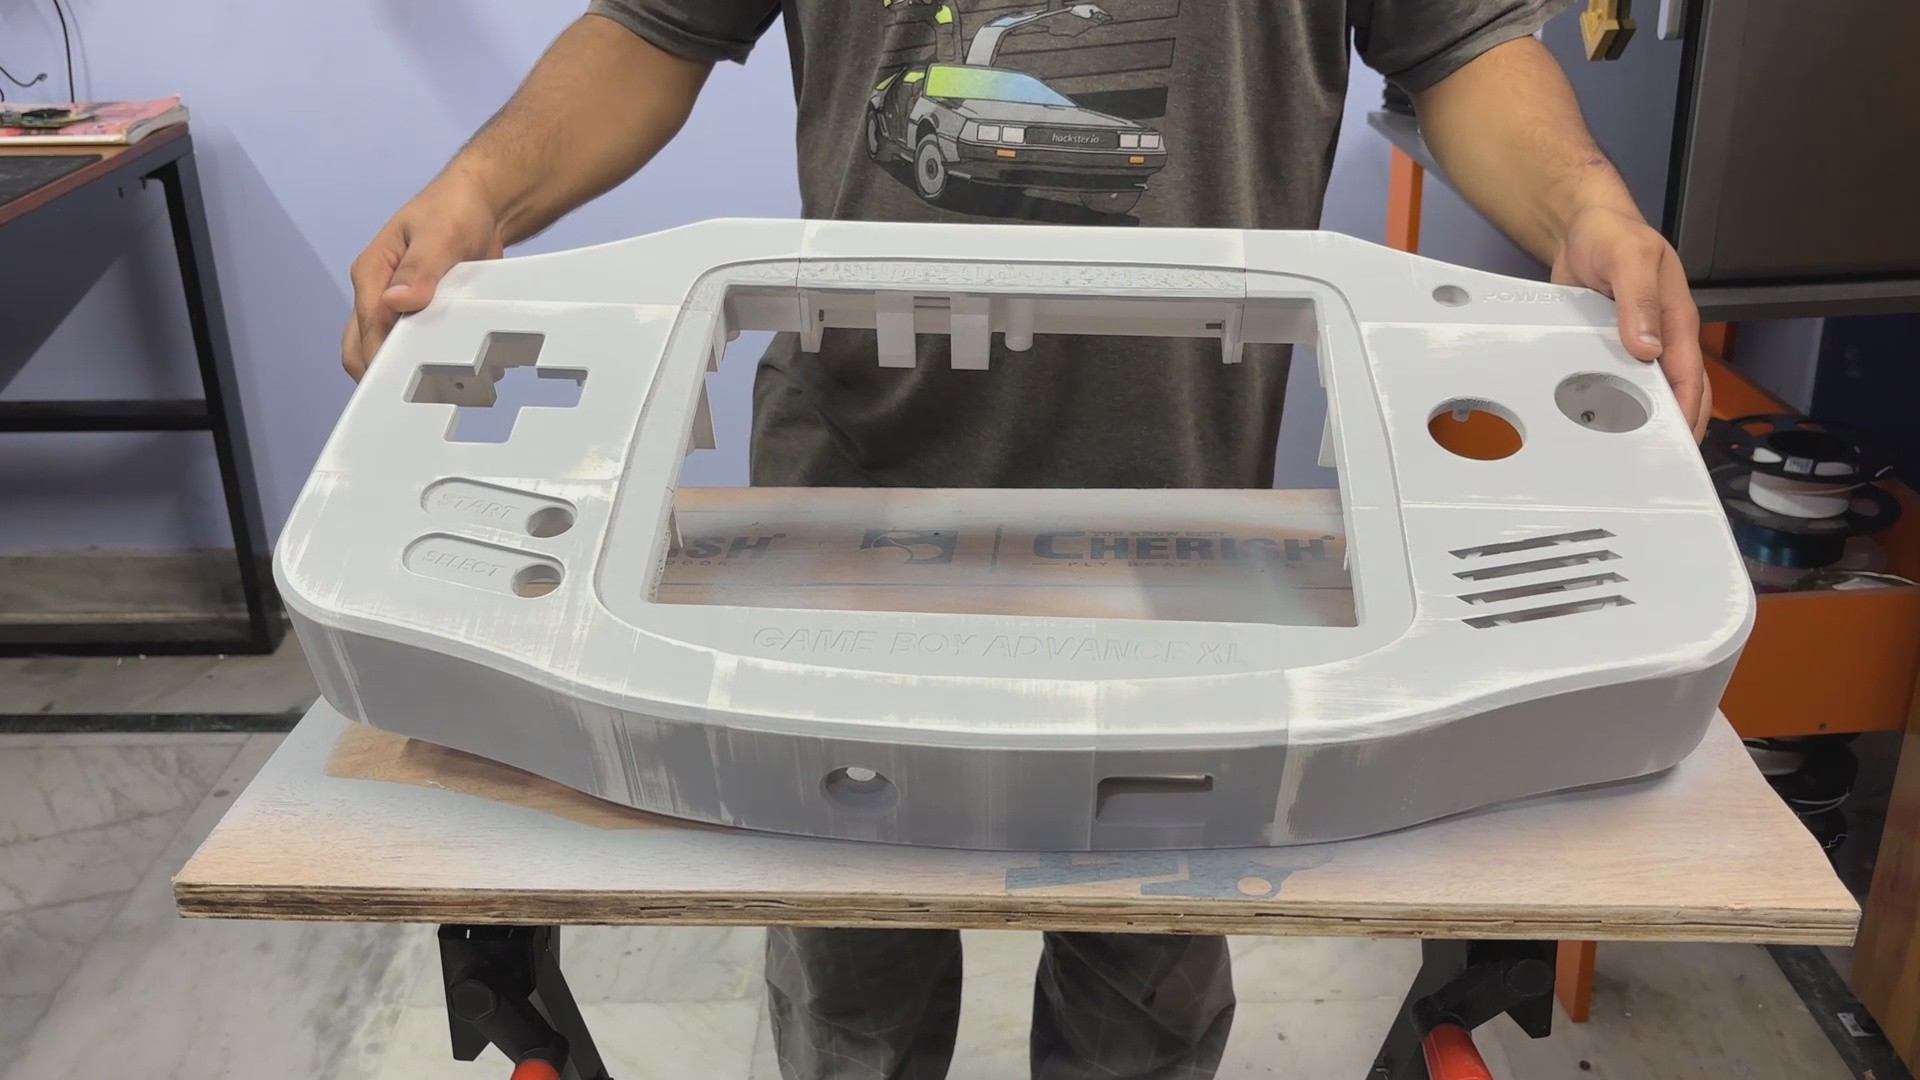
I started by applying light, even coats across the entire body, gradually covering the full surface. After the first coat, I let the primer dry for a couple of hours, then applied a second coat and allowed it to dry again.
Finally, I applied a third coat for a consistent and well-prepared surface.
-
6PRIMER SANDING
![]()
![]()
![]()
![]()
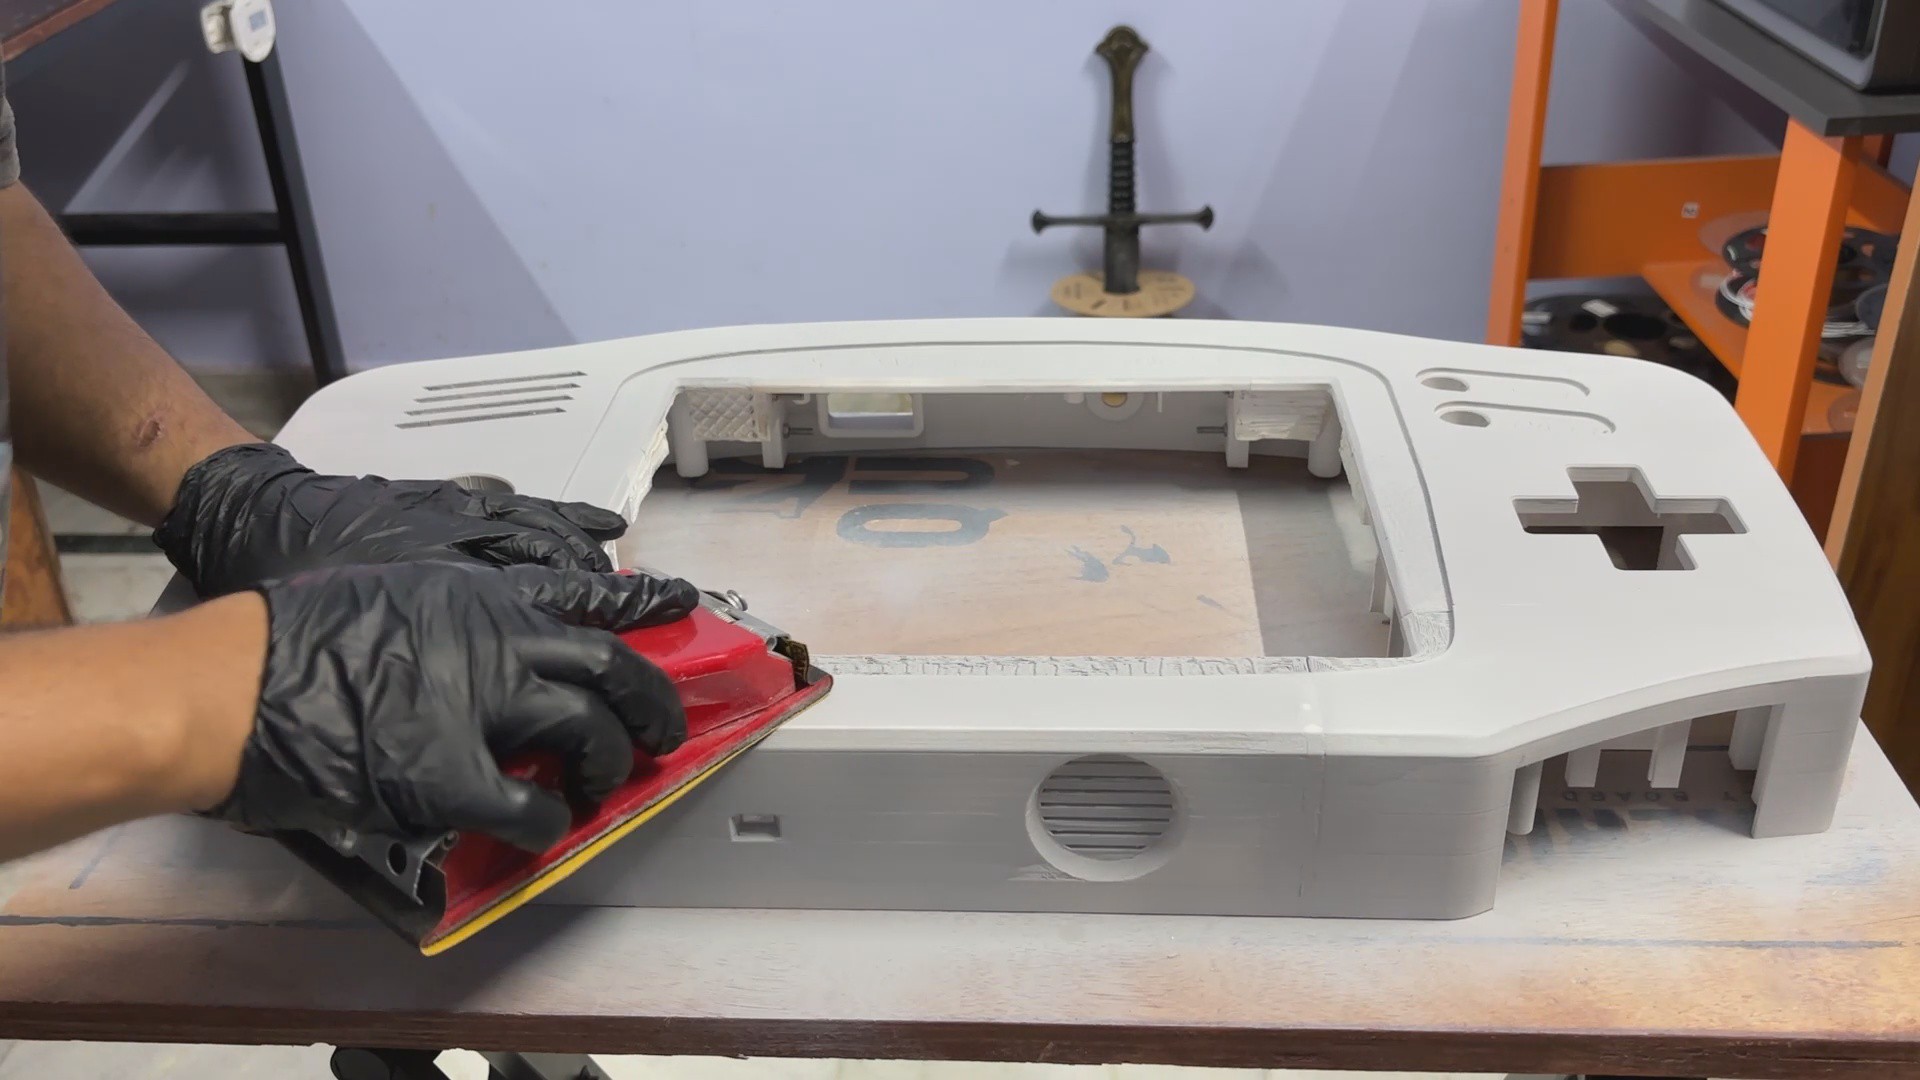
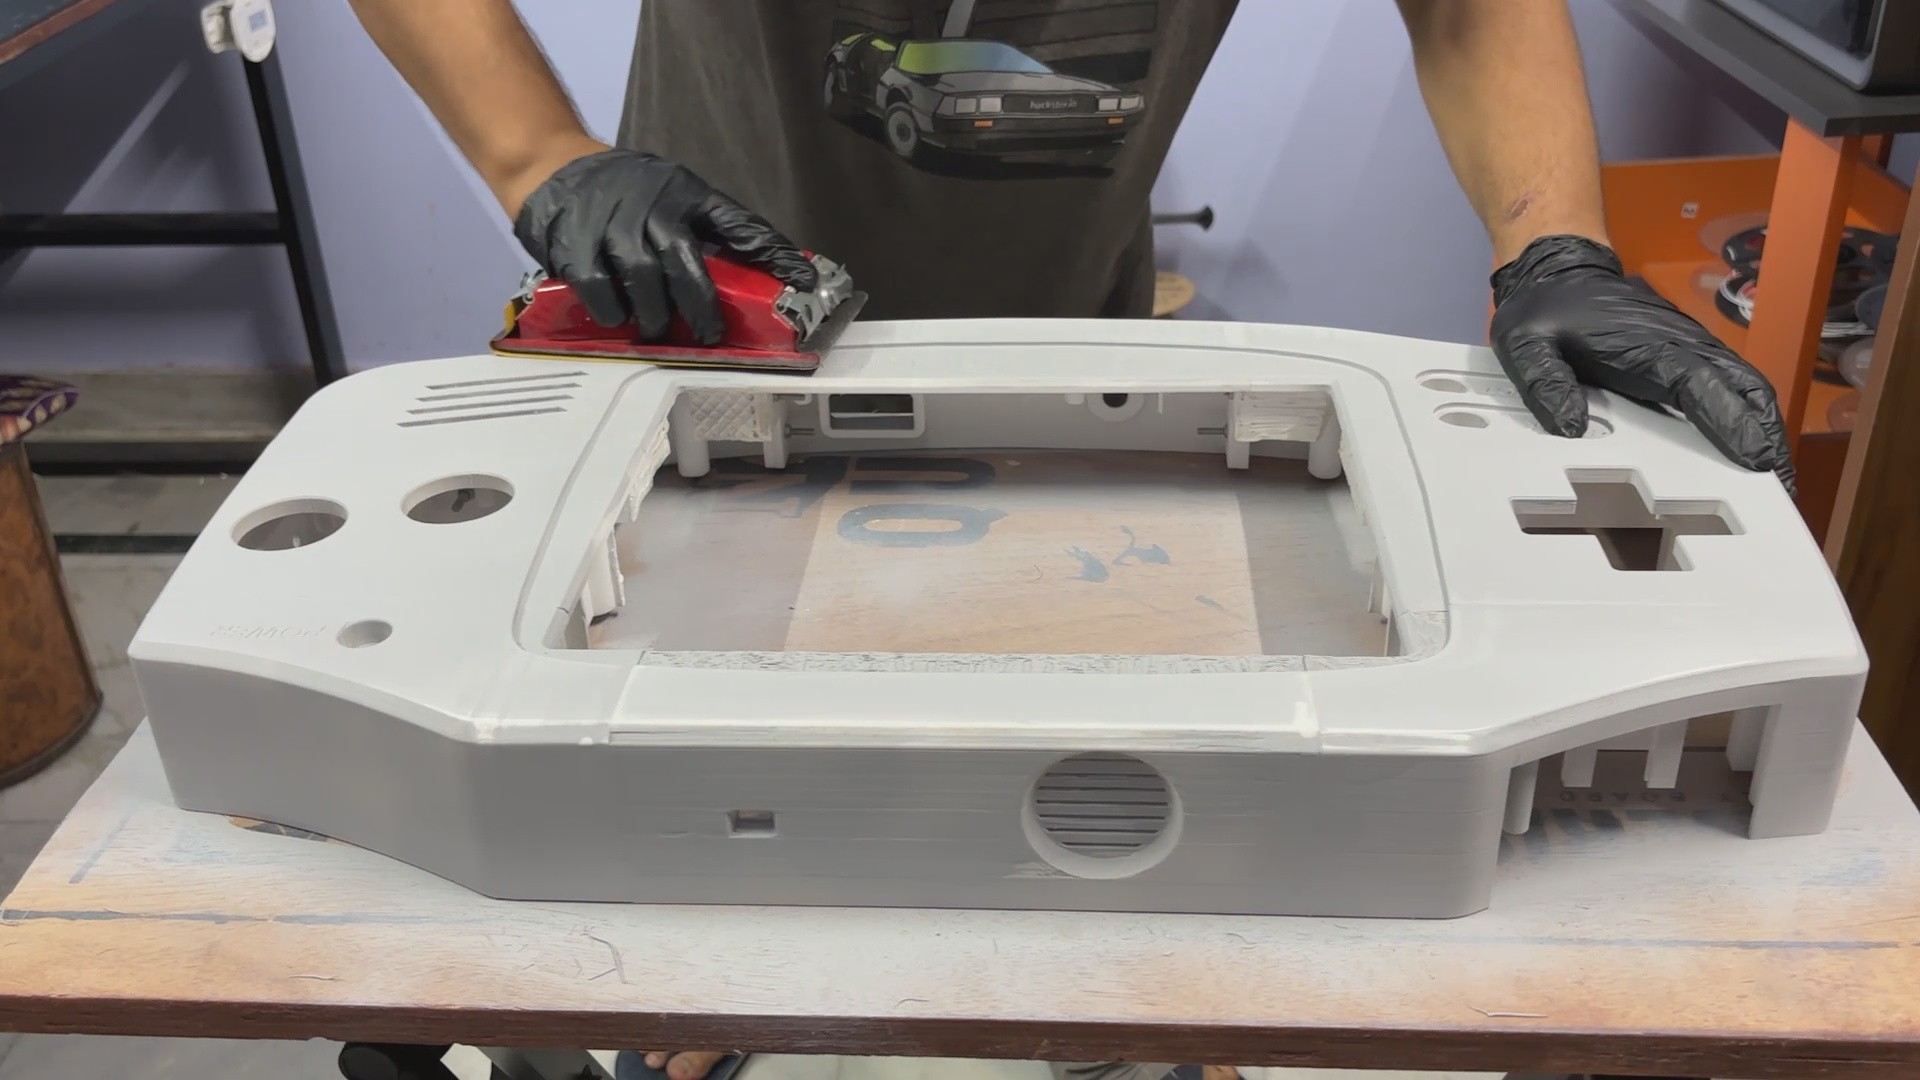
We then use finer-grit sandpaper (150) and begin sanding the main body. The goal here is to sand everything thoroughly, every surface, every face, every edge, and every corner.
This step is done to achieve an ultra-smooth surface, which is essential for painting. A smoother surface allows the paint to adhere evenly and results in a clean, professional finish without visible imperfections or texture.
-
7PAINT PROCESS BODY
![]()
![]()
![]()
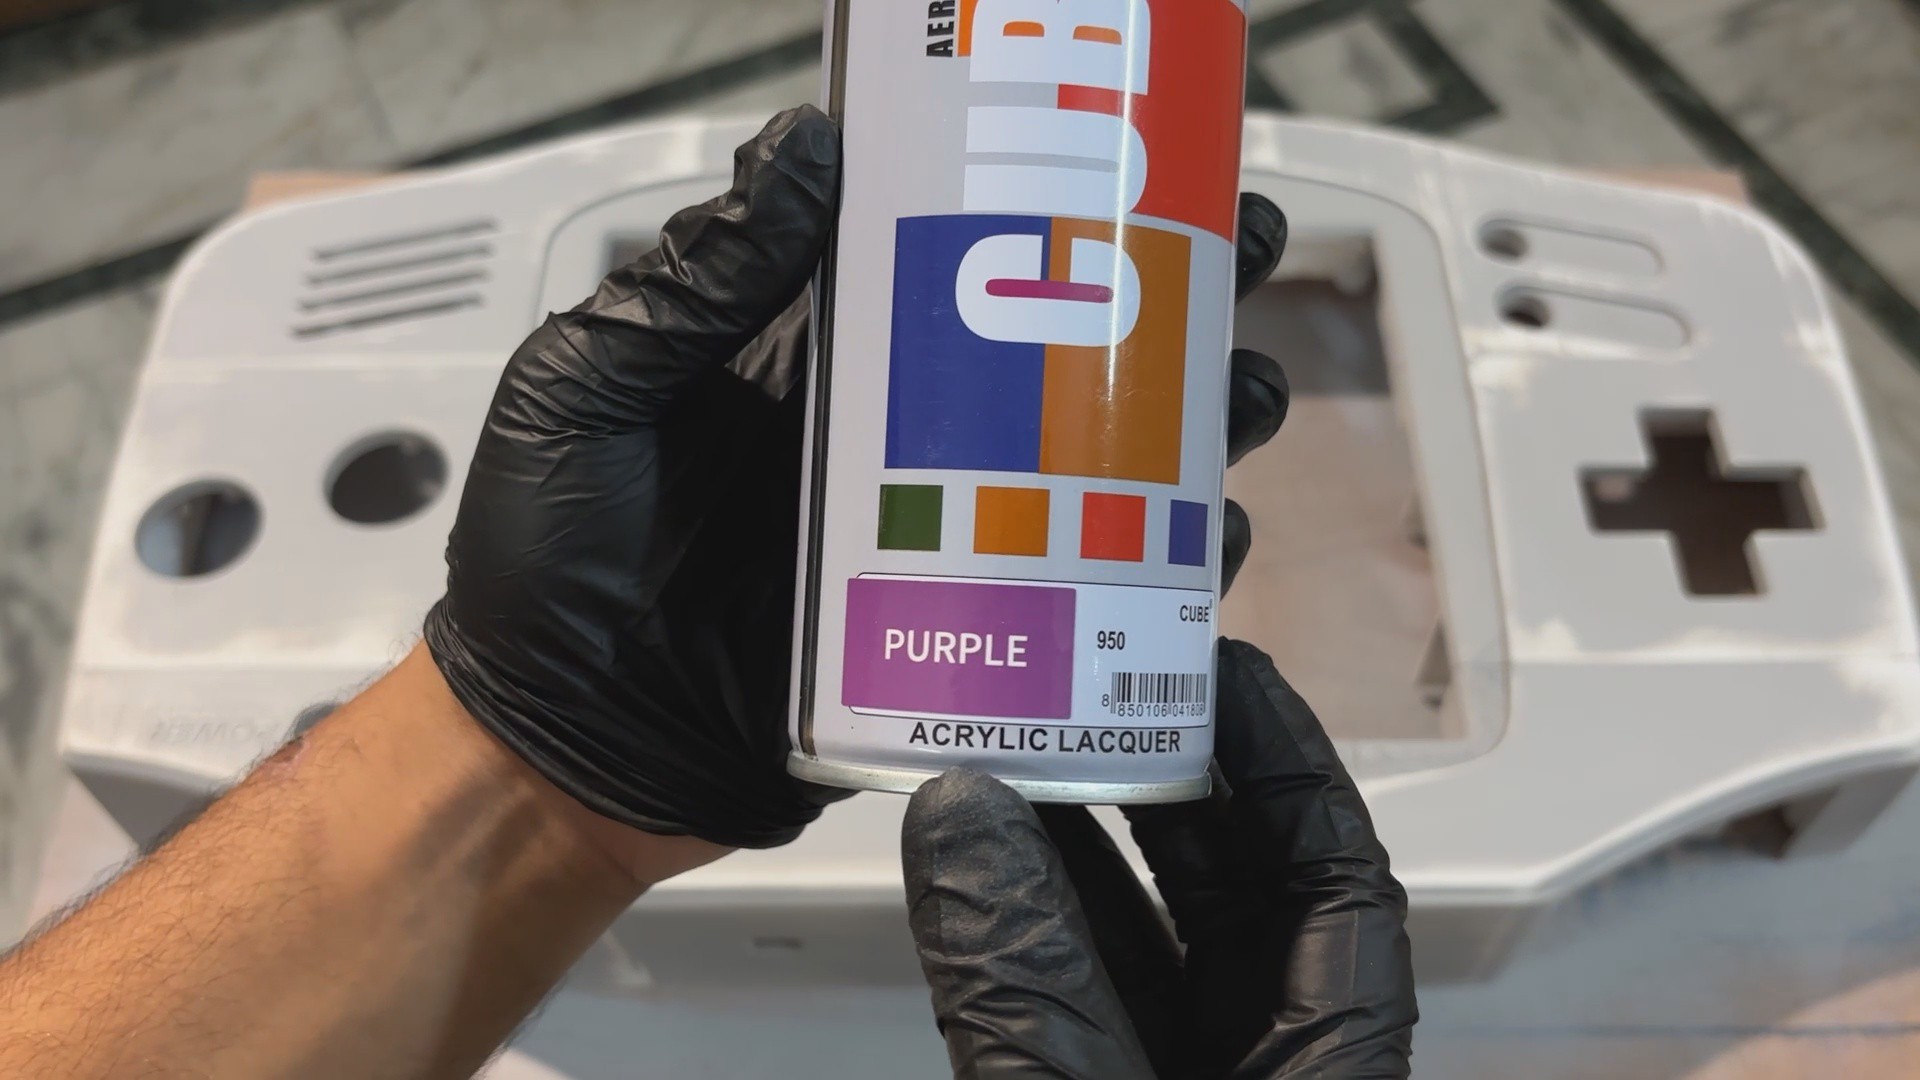
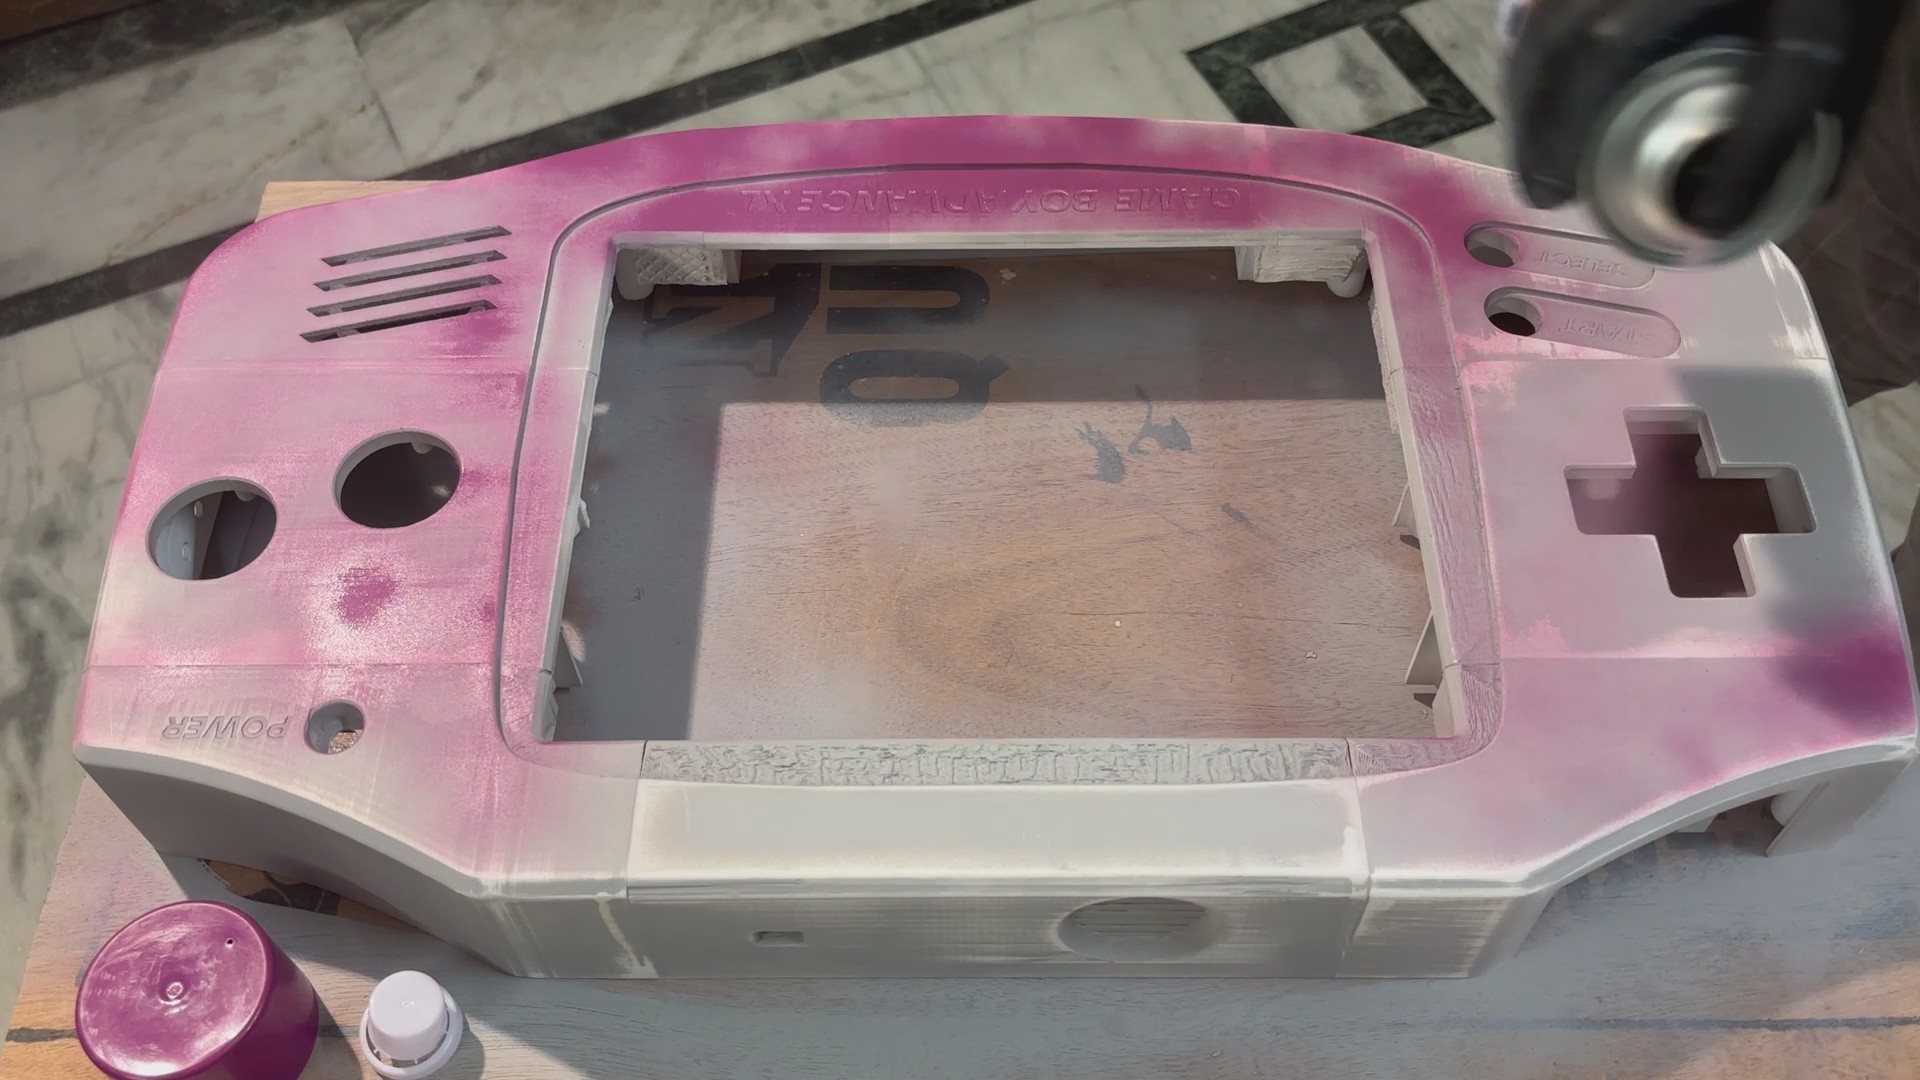
Finally, we begin the painting process, using Purple spray paint, specifically an aerosol paint can.
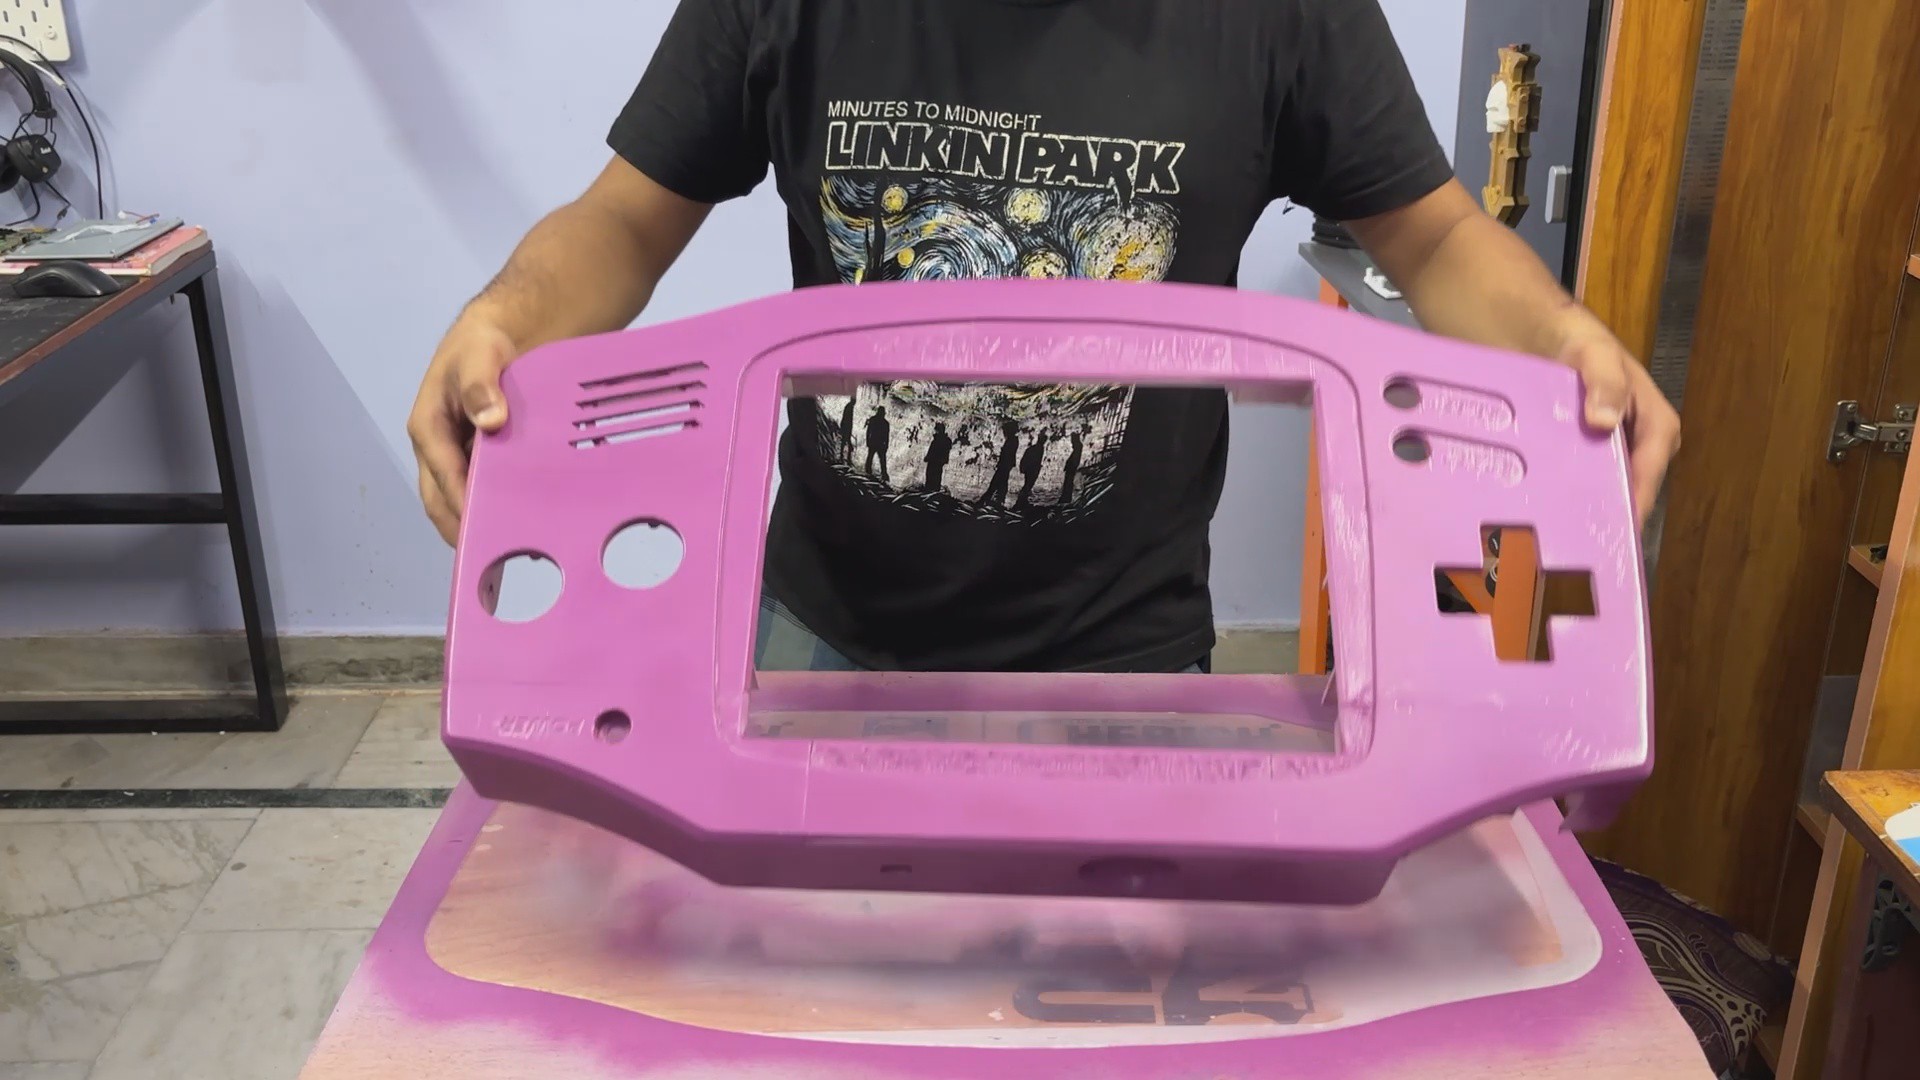
- We slowly and steadily coat the main body with the first coat. The key here is to apply light, even layers across the entire surface.
- After letting the first coat dry, we apply a second coat and then leave the parts for about 3 hours to dry. After that, we proceed with the third coat.
By the third coat, we achieve a refined, properly painted surface that resembles a purple Game Boy Advance body.
-
8BODY DETAIL PROCESS
![]()
![]()
![]()
![]()
![]()
![]()
![]()
![]()
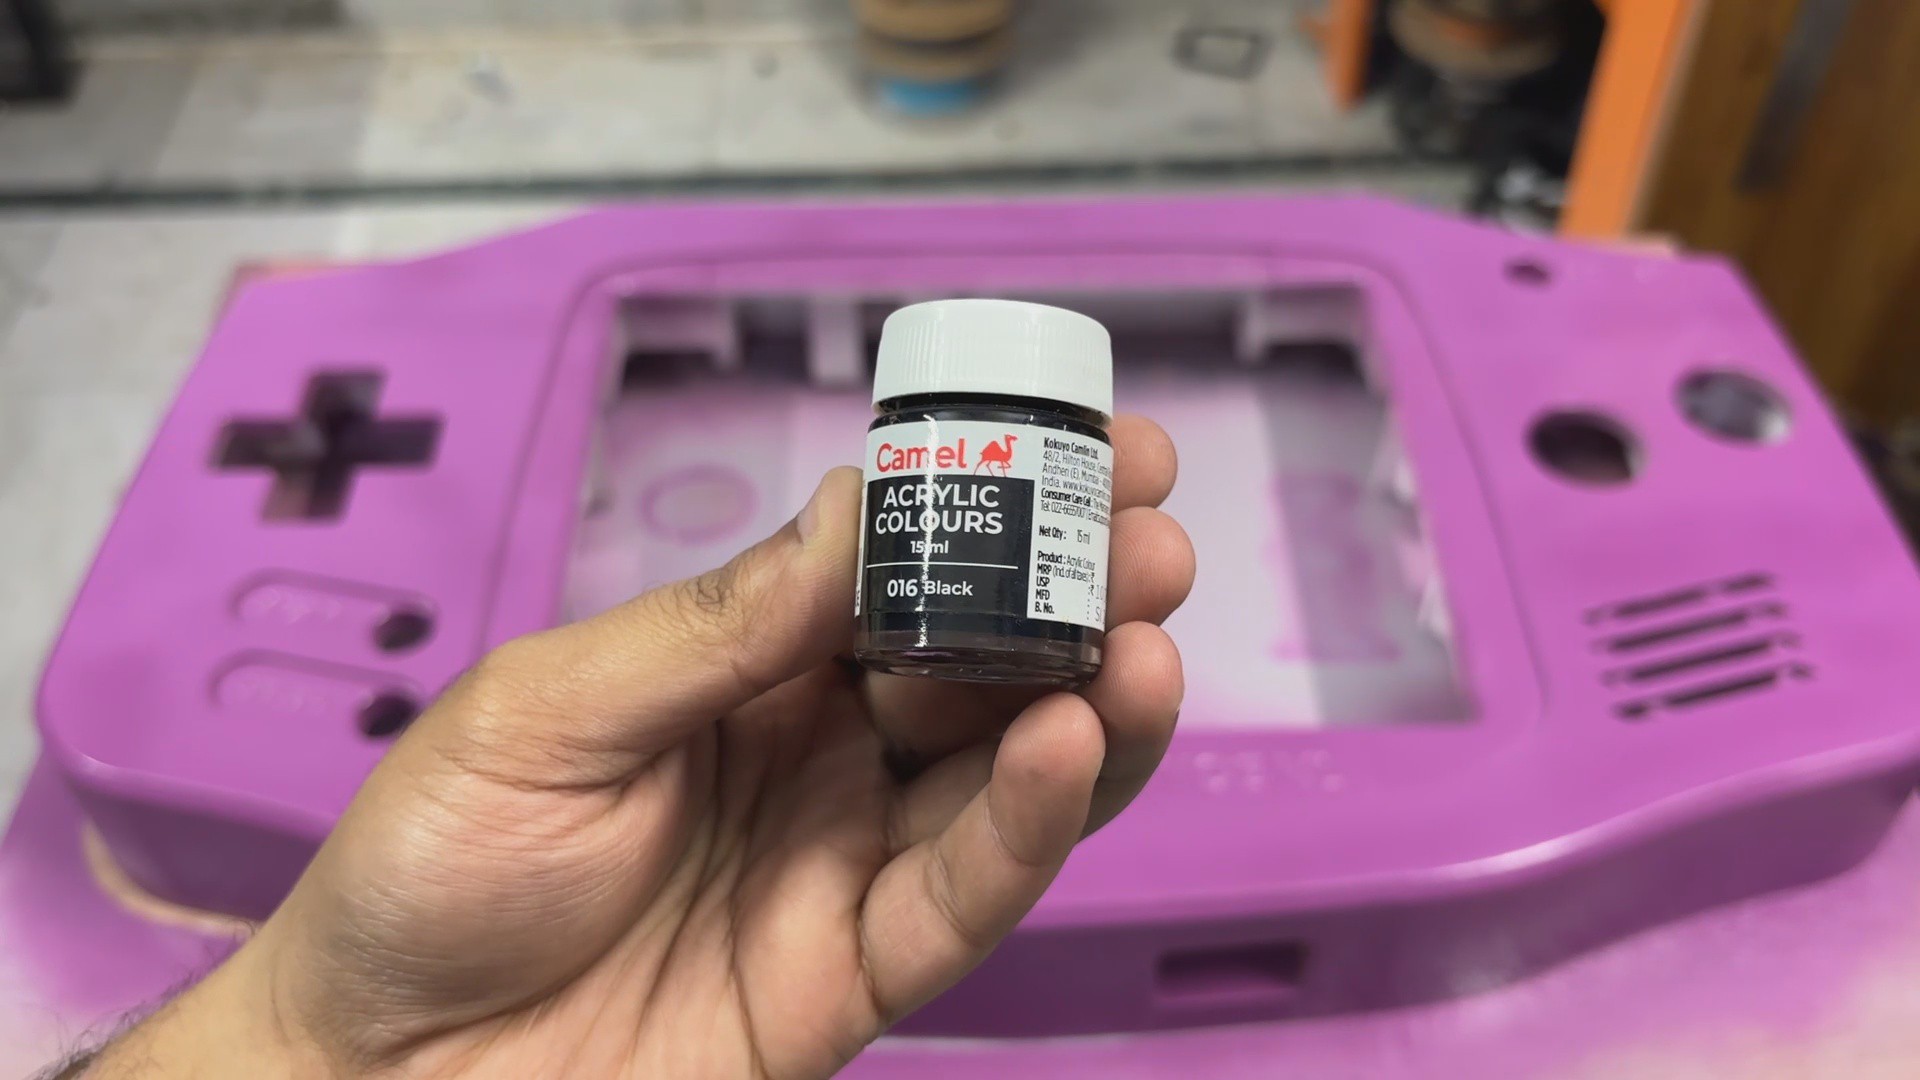
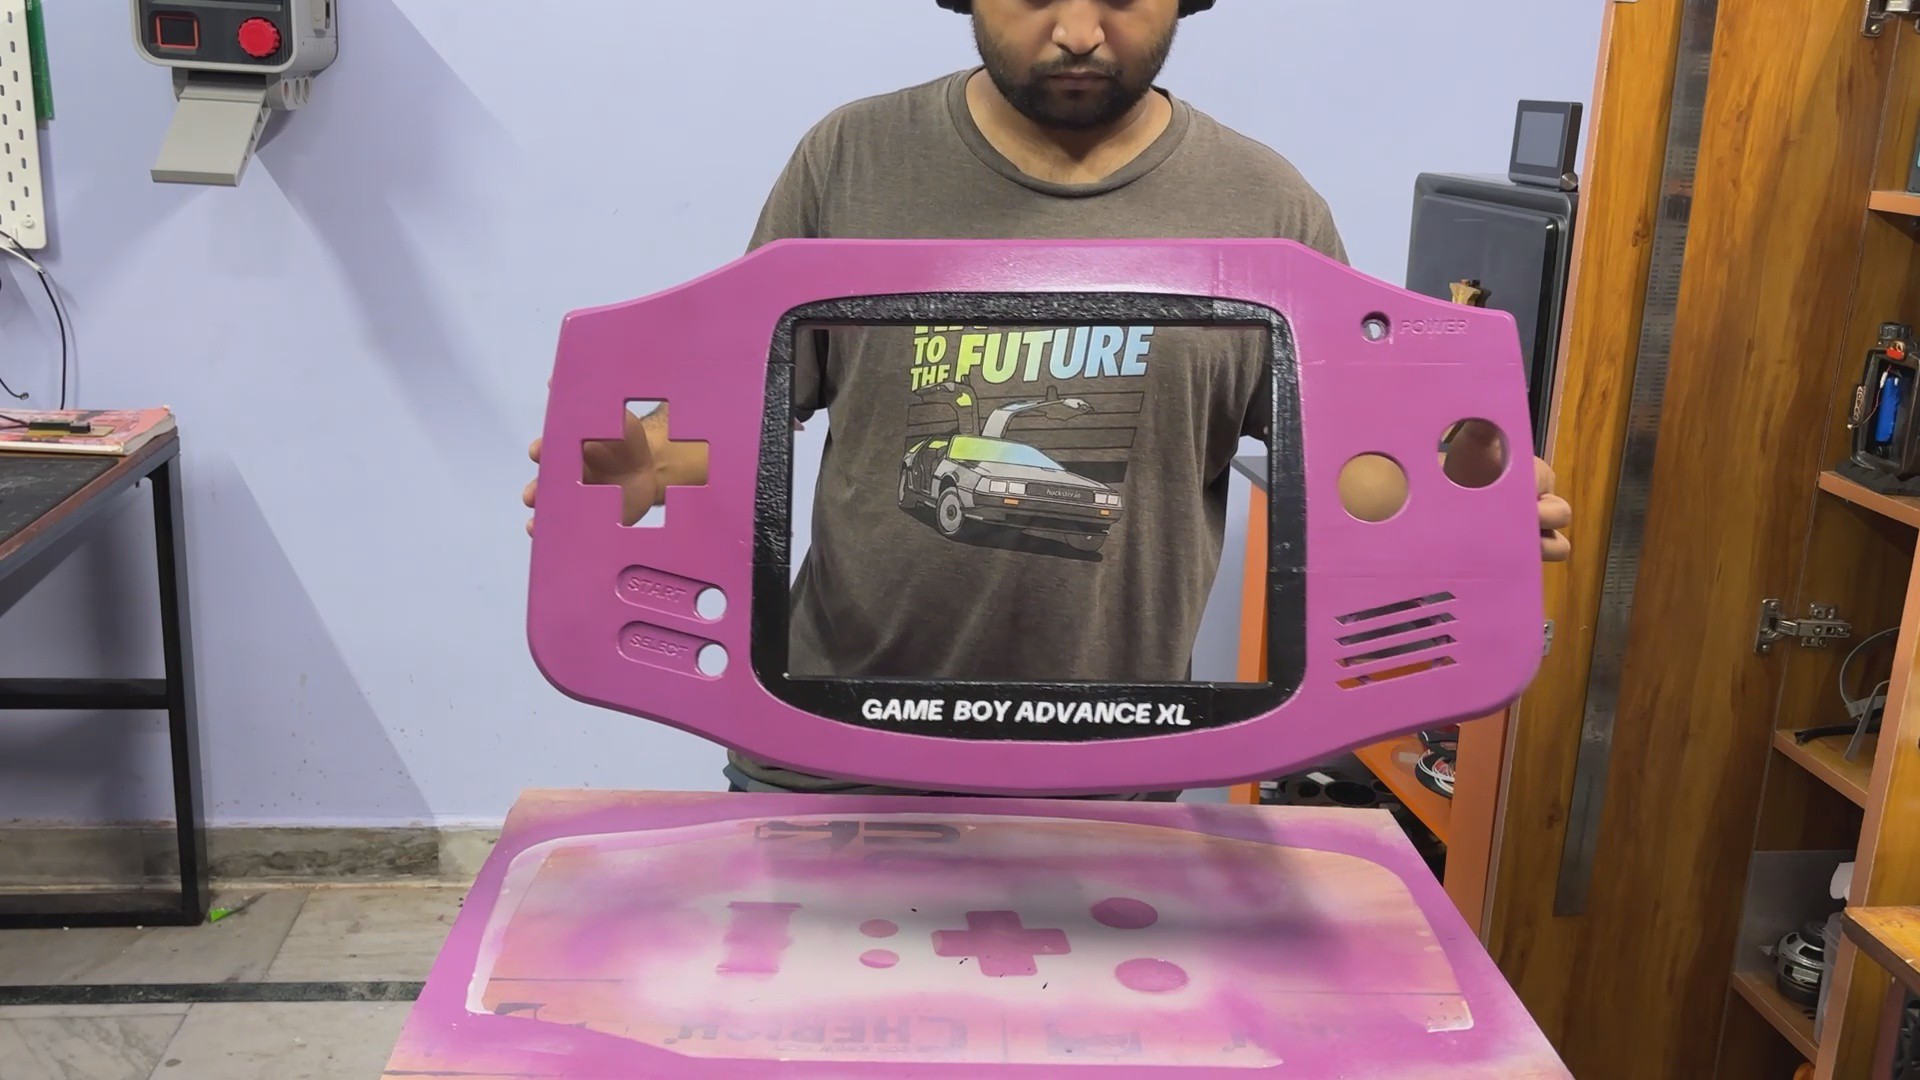
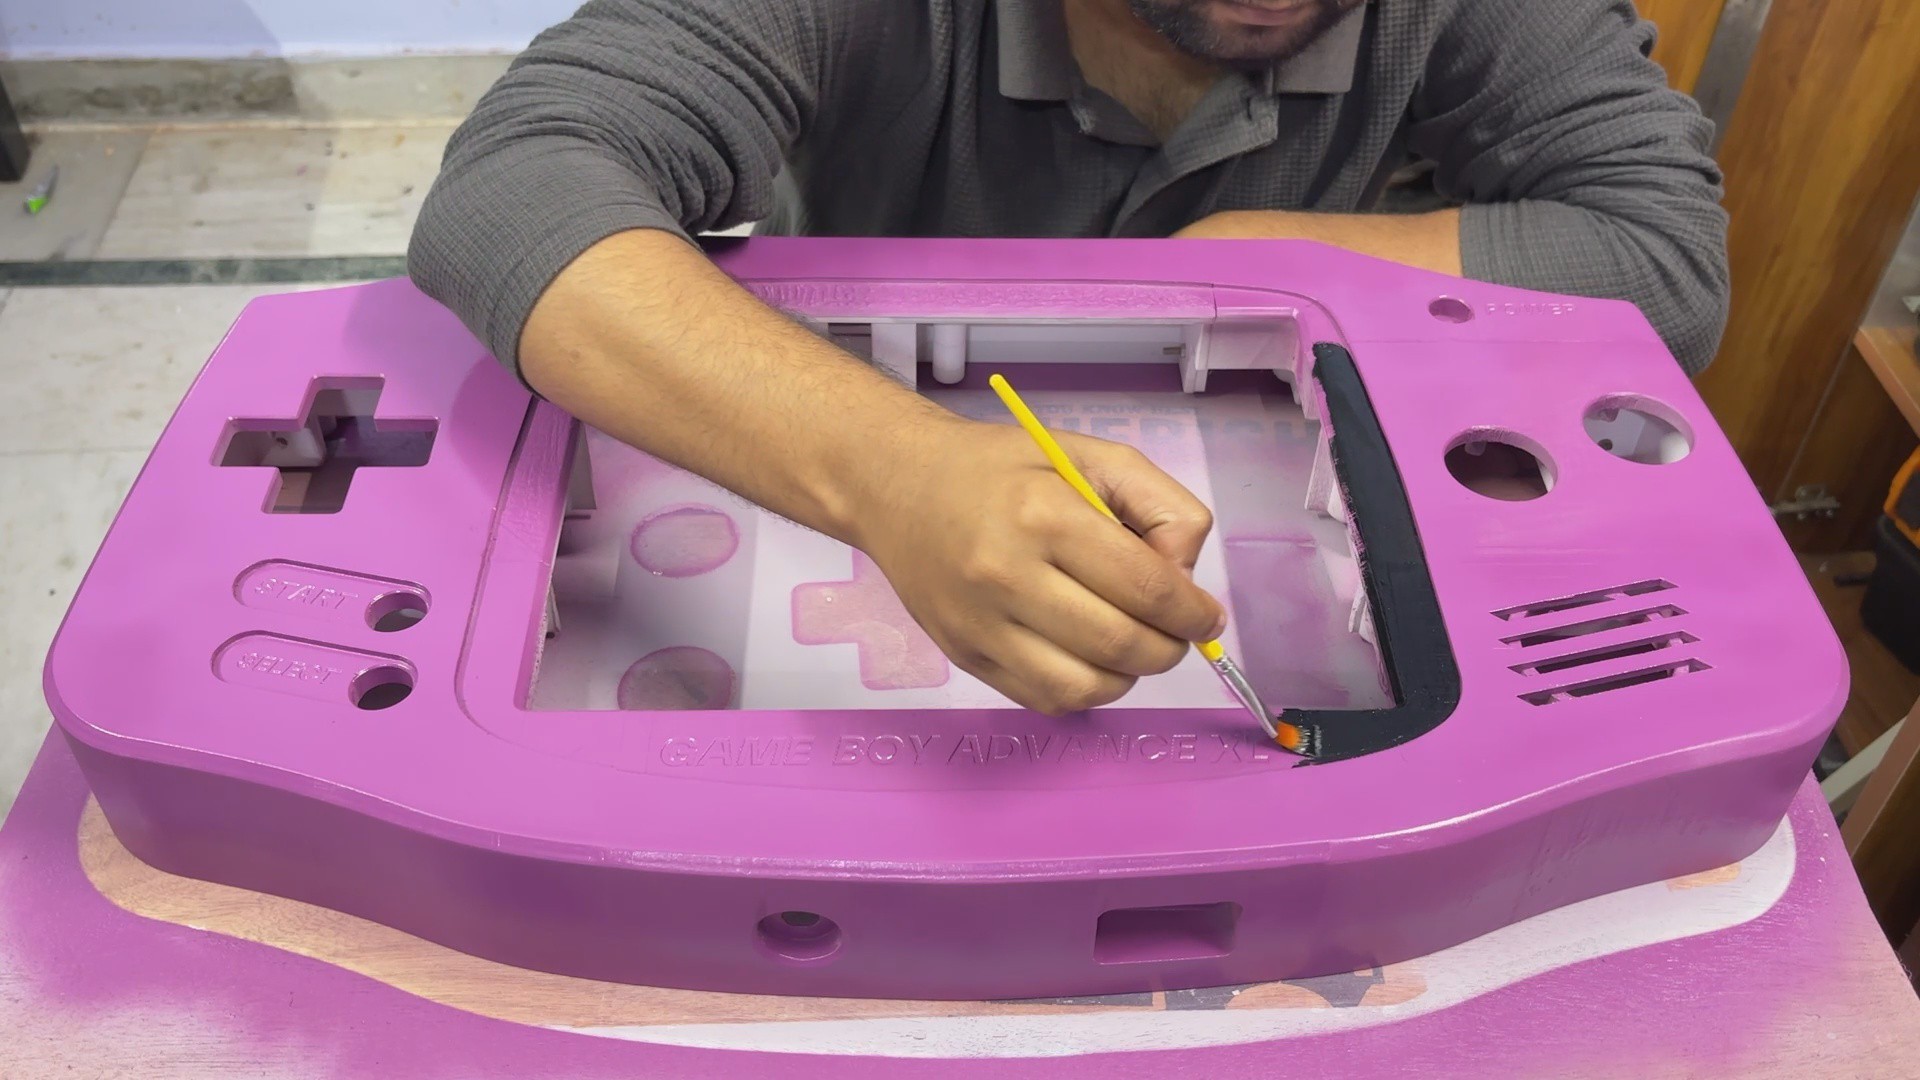
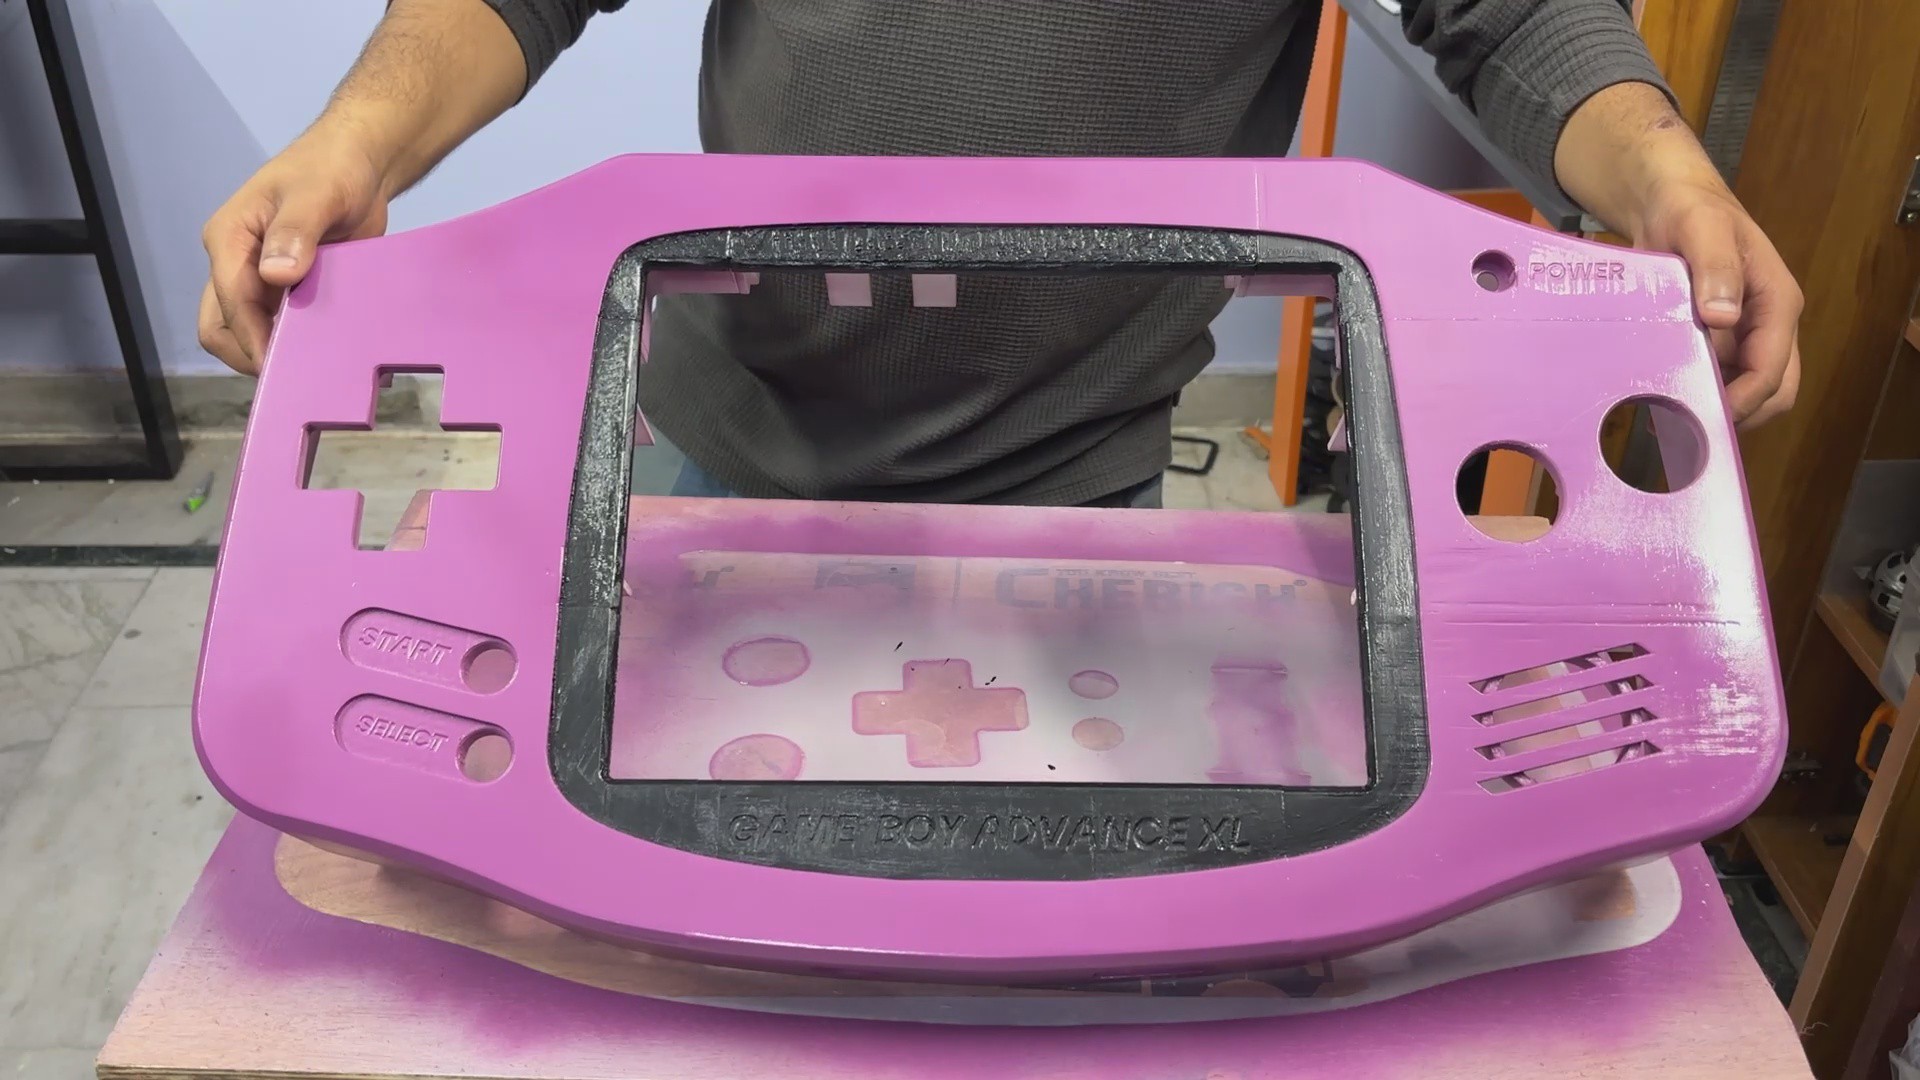
The original Game Boy Advance has a black border surrounding the display, just below the glass mounting area. Since we painted the entire body purple, I had to recreate this detail manually.
For this, I used black acrylic paint and a flat brush to carefully paint the border area.
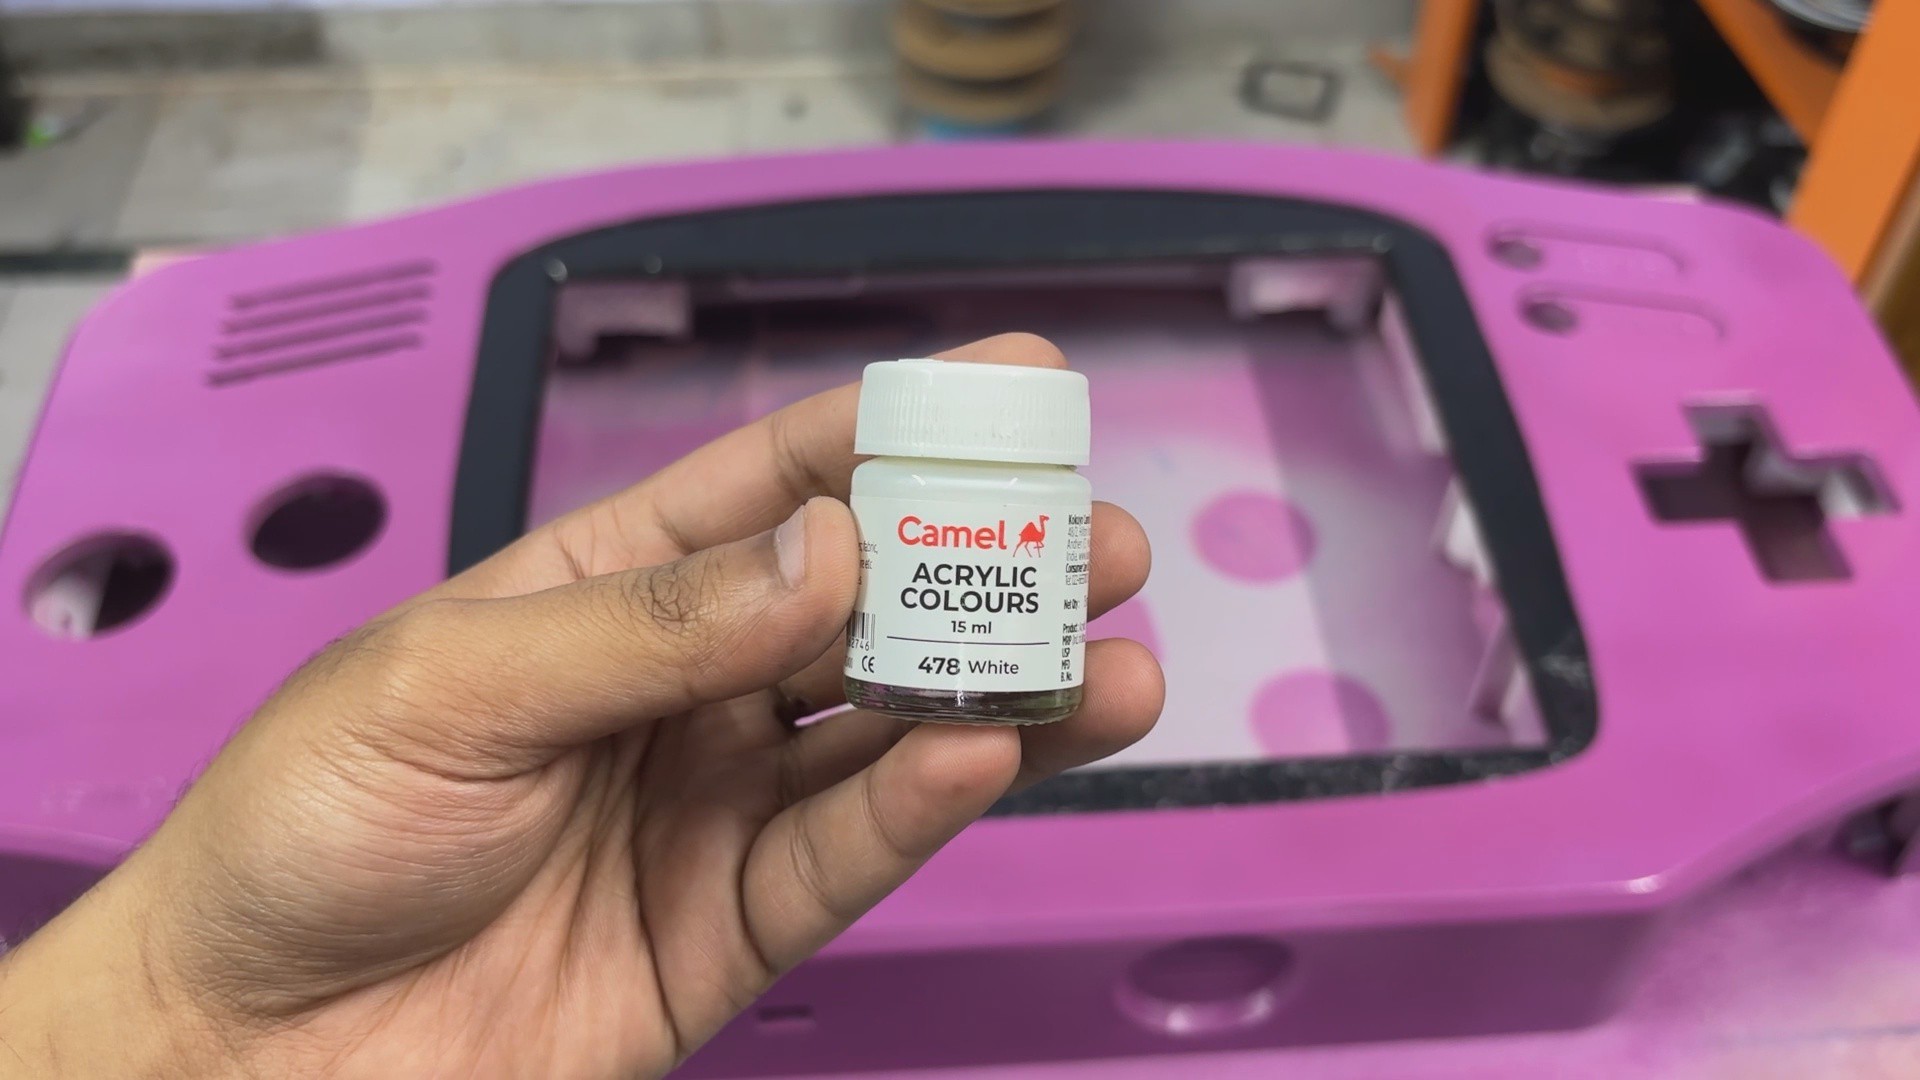
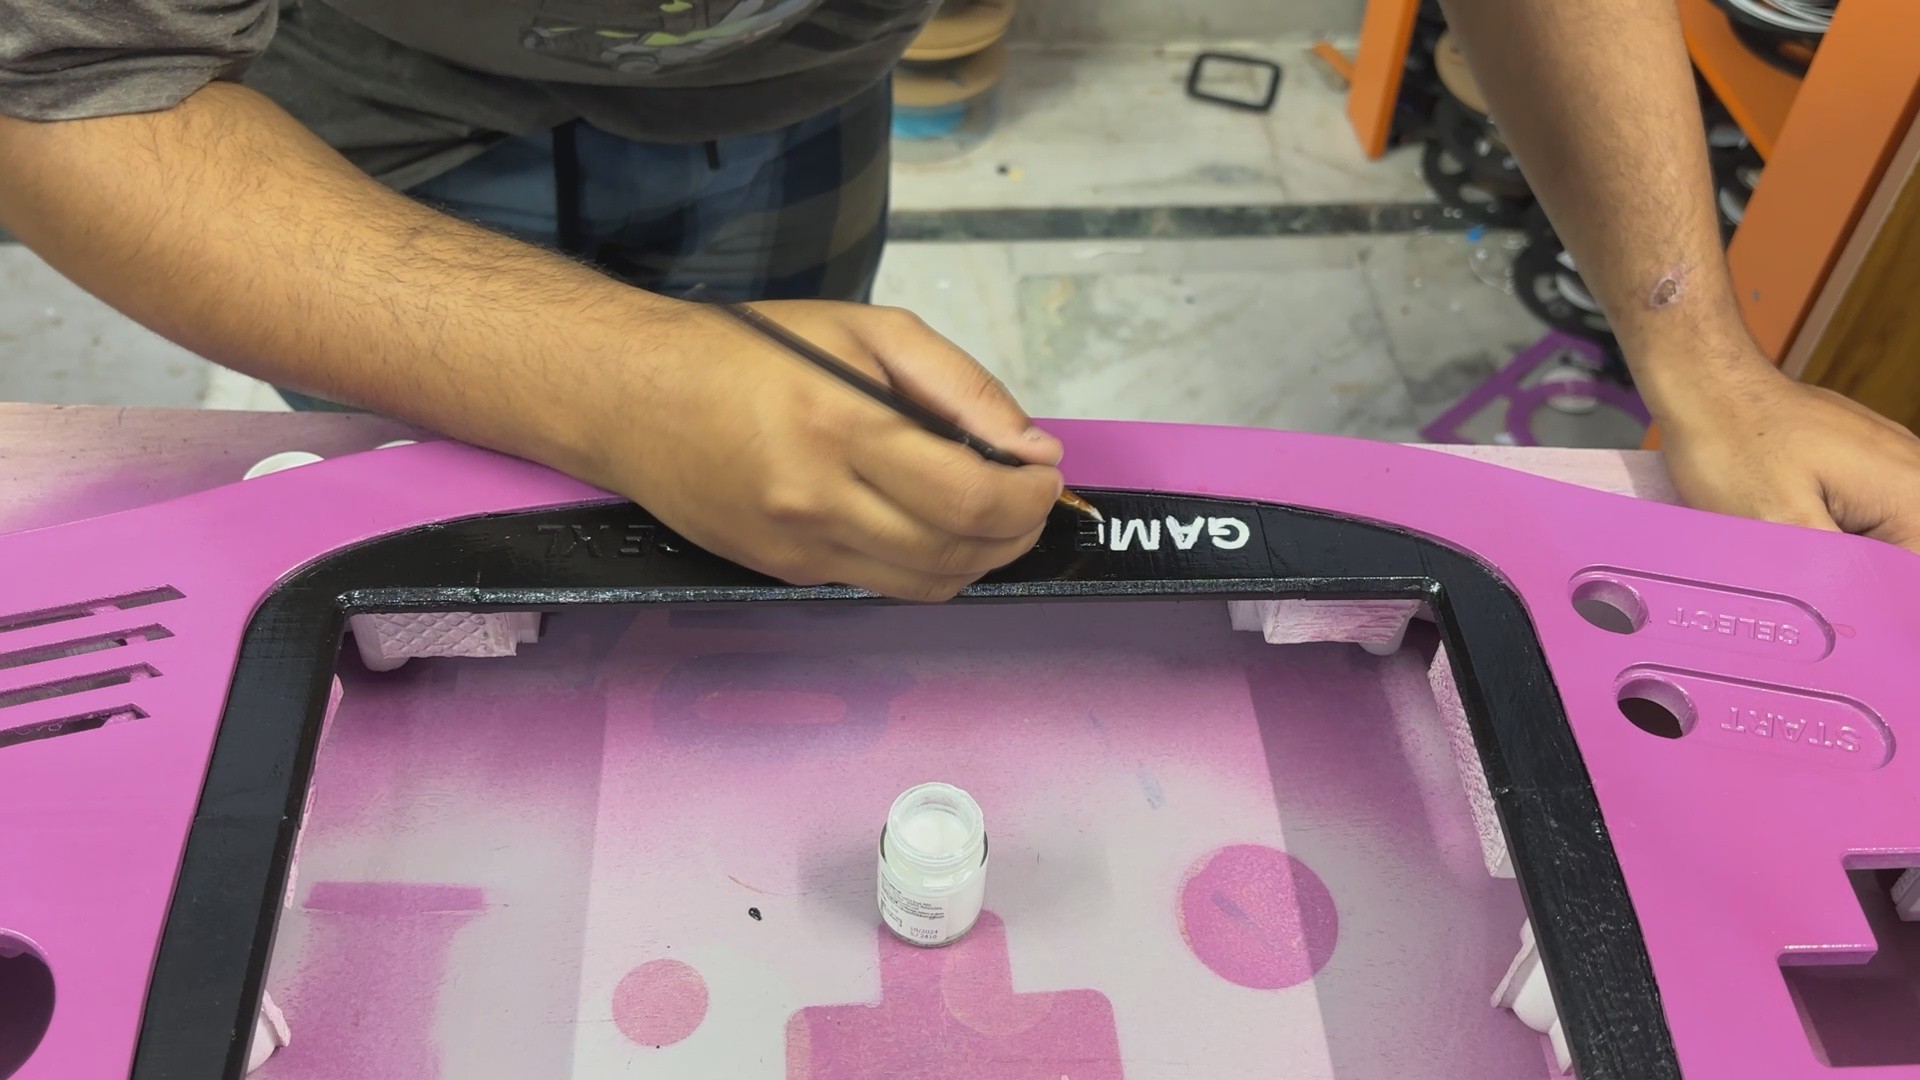
Once the black paint had dried, I moved on to the lettering. Using white acrylic paint and a fine 1 mm brush, I manually filled in the Game Boy Advance XL lettering to replicate the branding found on the original console.
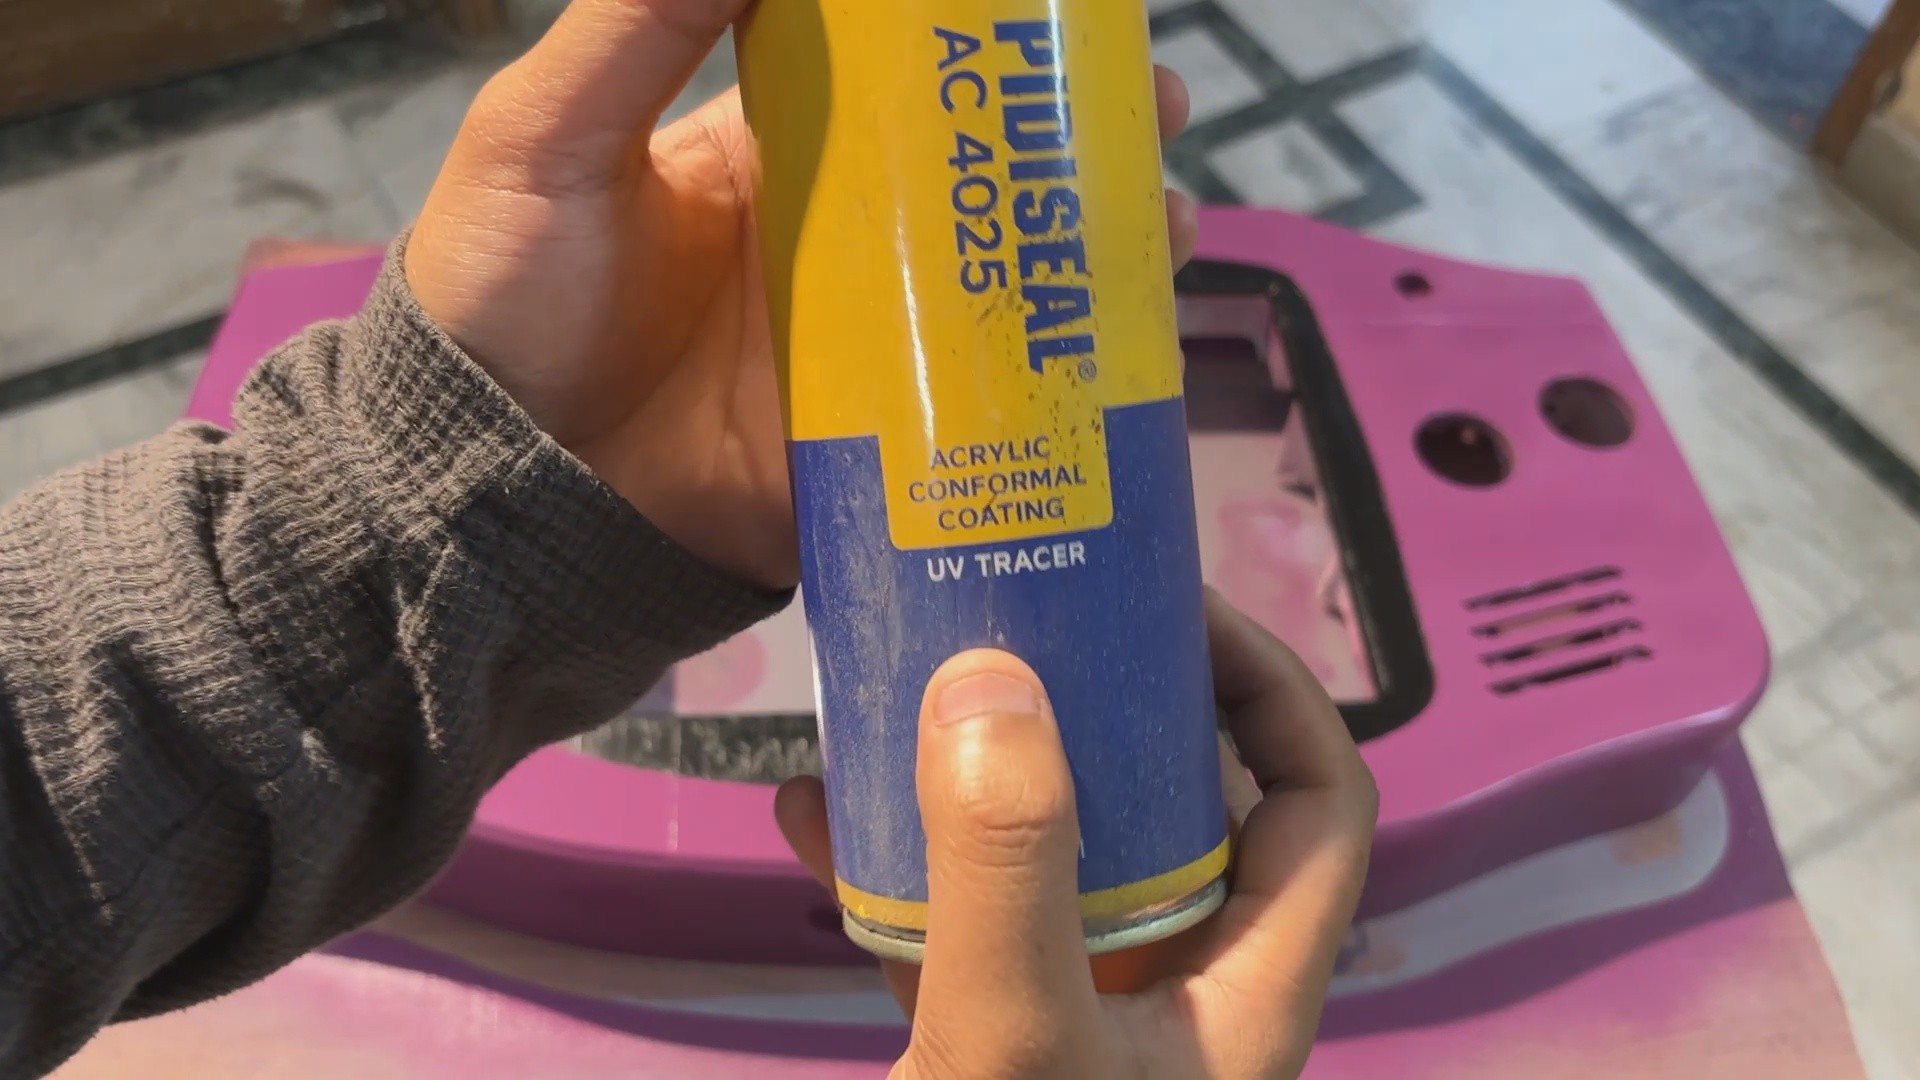
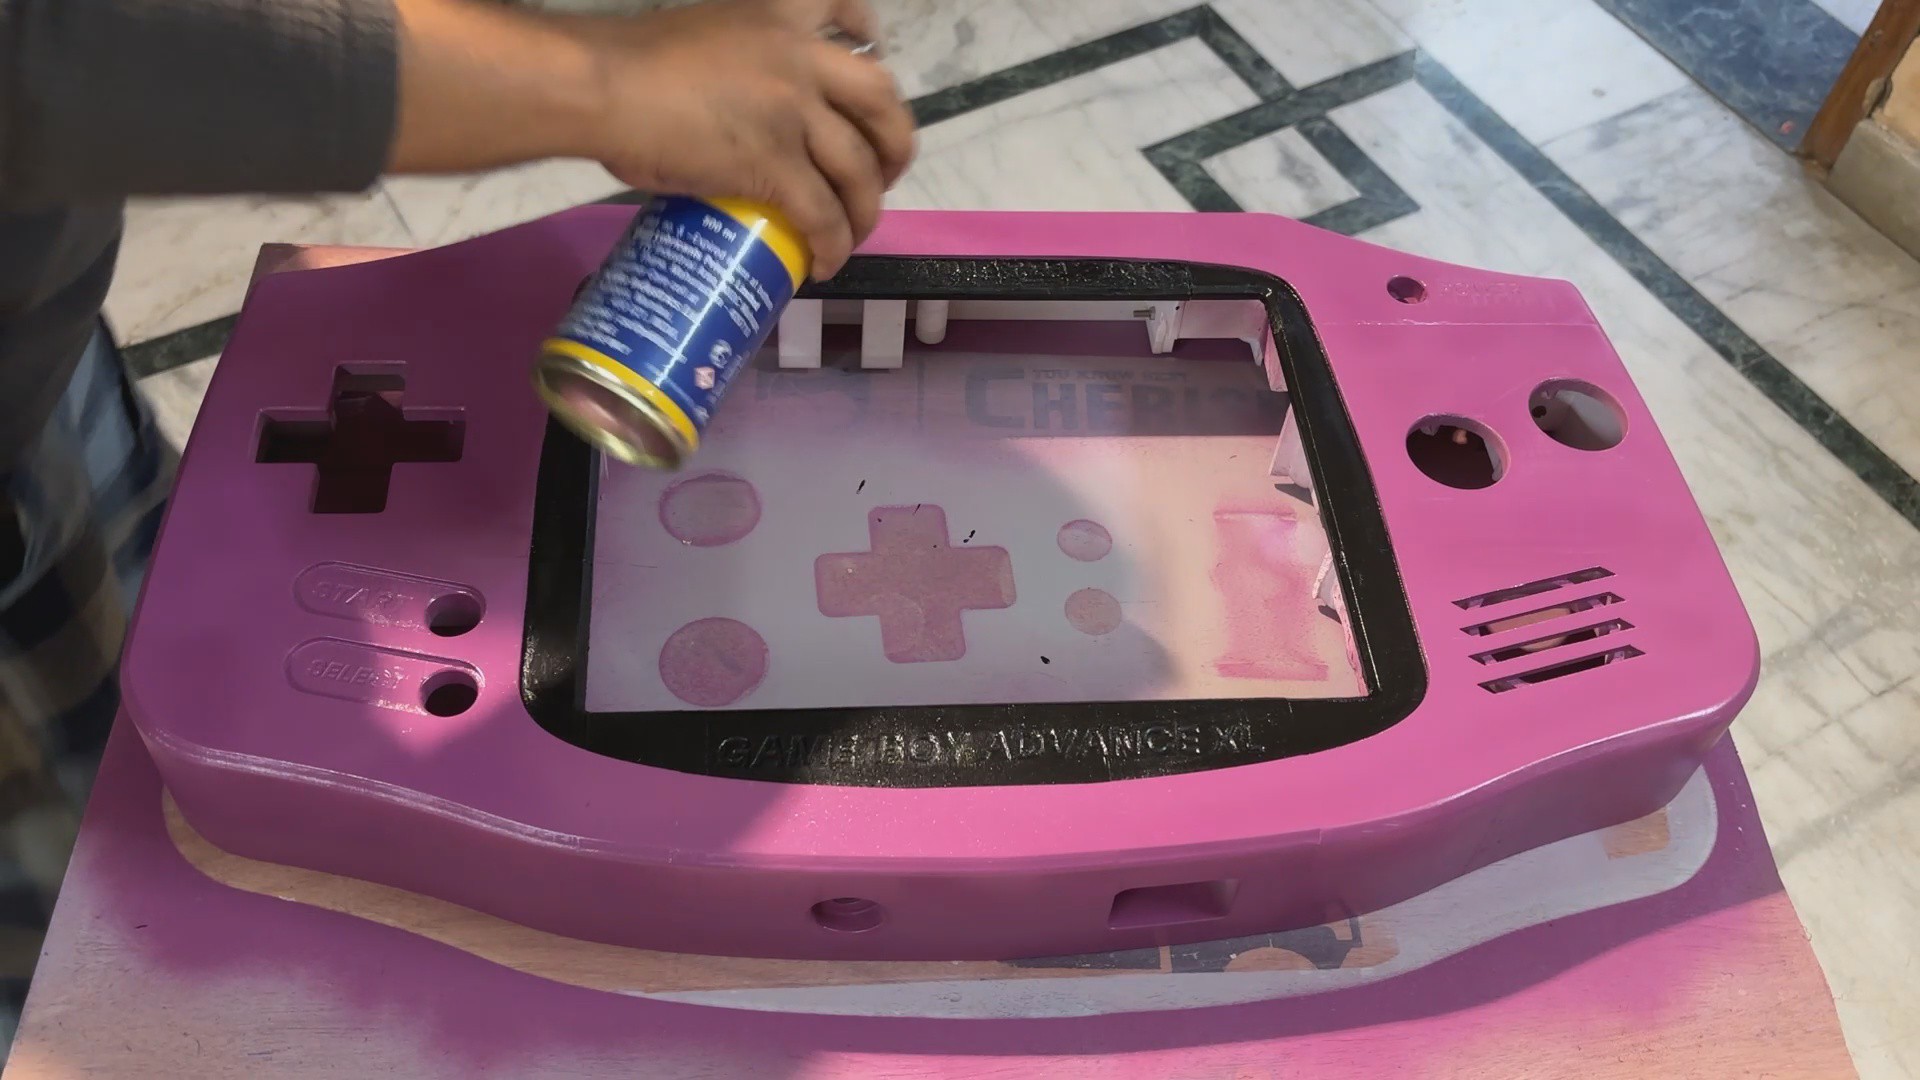
Finally, after allowing all the acrylic paint to dry, I applied a coat of conformal clear coat spray to seal the painted details and protect the finish.
-
9PAINT PROCESS SWITCHES
![]()
![]()
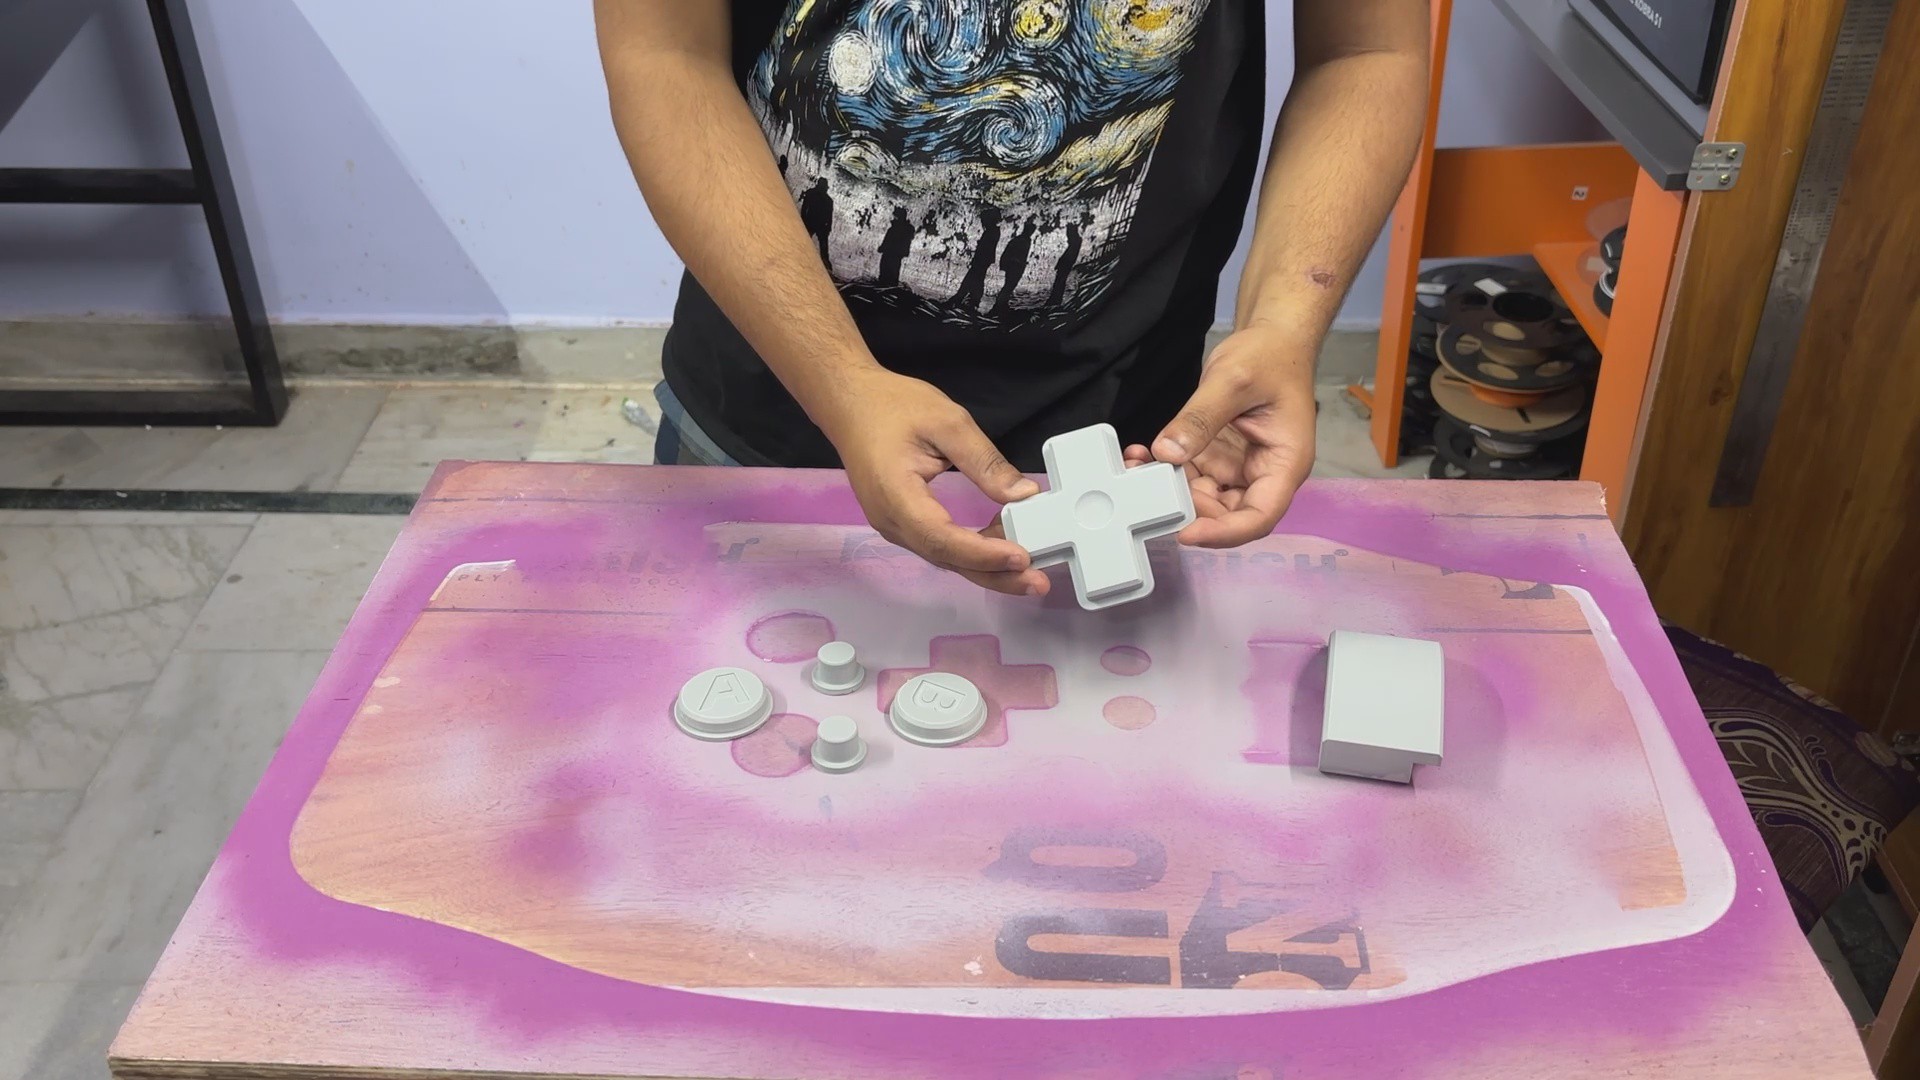
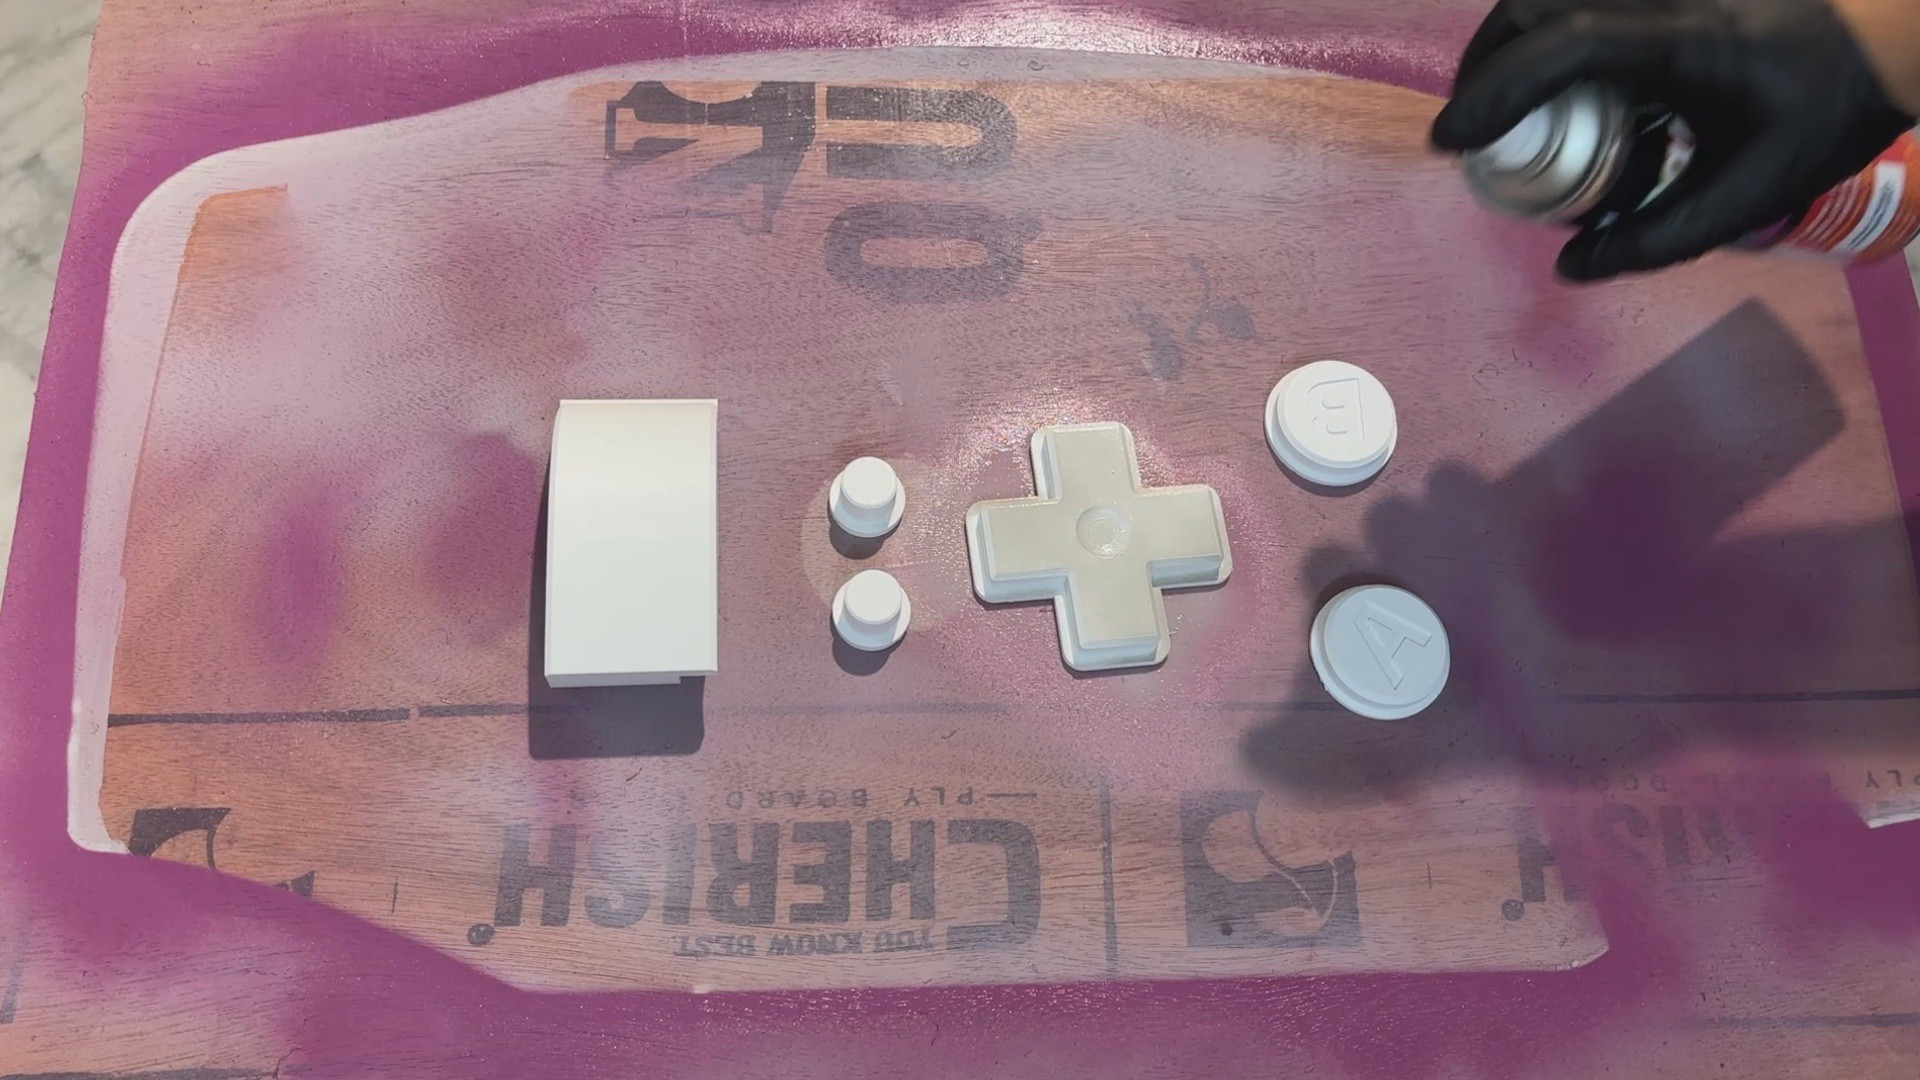
The painting process was fairly simple. We skipped the primer and directly painted the entire body using grey aerosol spray paint.
The buttons were already well-finished, with smooth surfaces and no visible layer lines, so they didn't require any additional surface preparation. We simply applied the paint directly, using two coats and allowing each coat to dry for approximately an hour before applying the next one.
-
10PCB DESIGN- BUTTON BOARDS
![]()
![]()
![]()
![]()
![]()
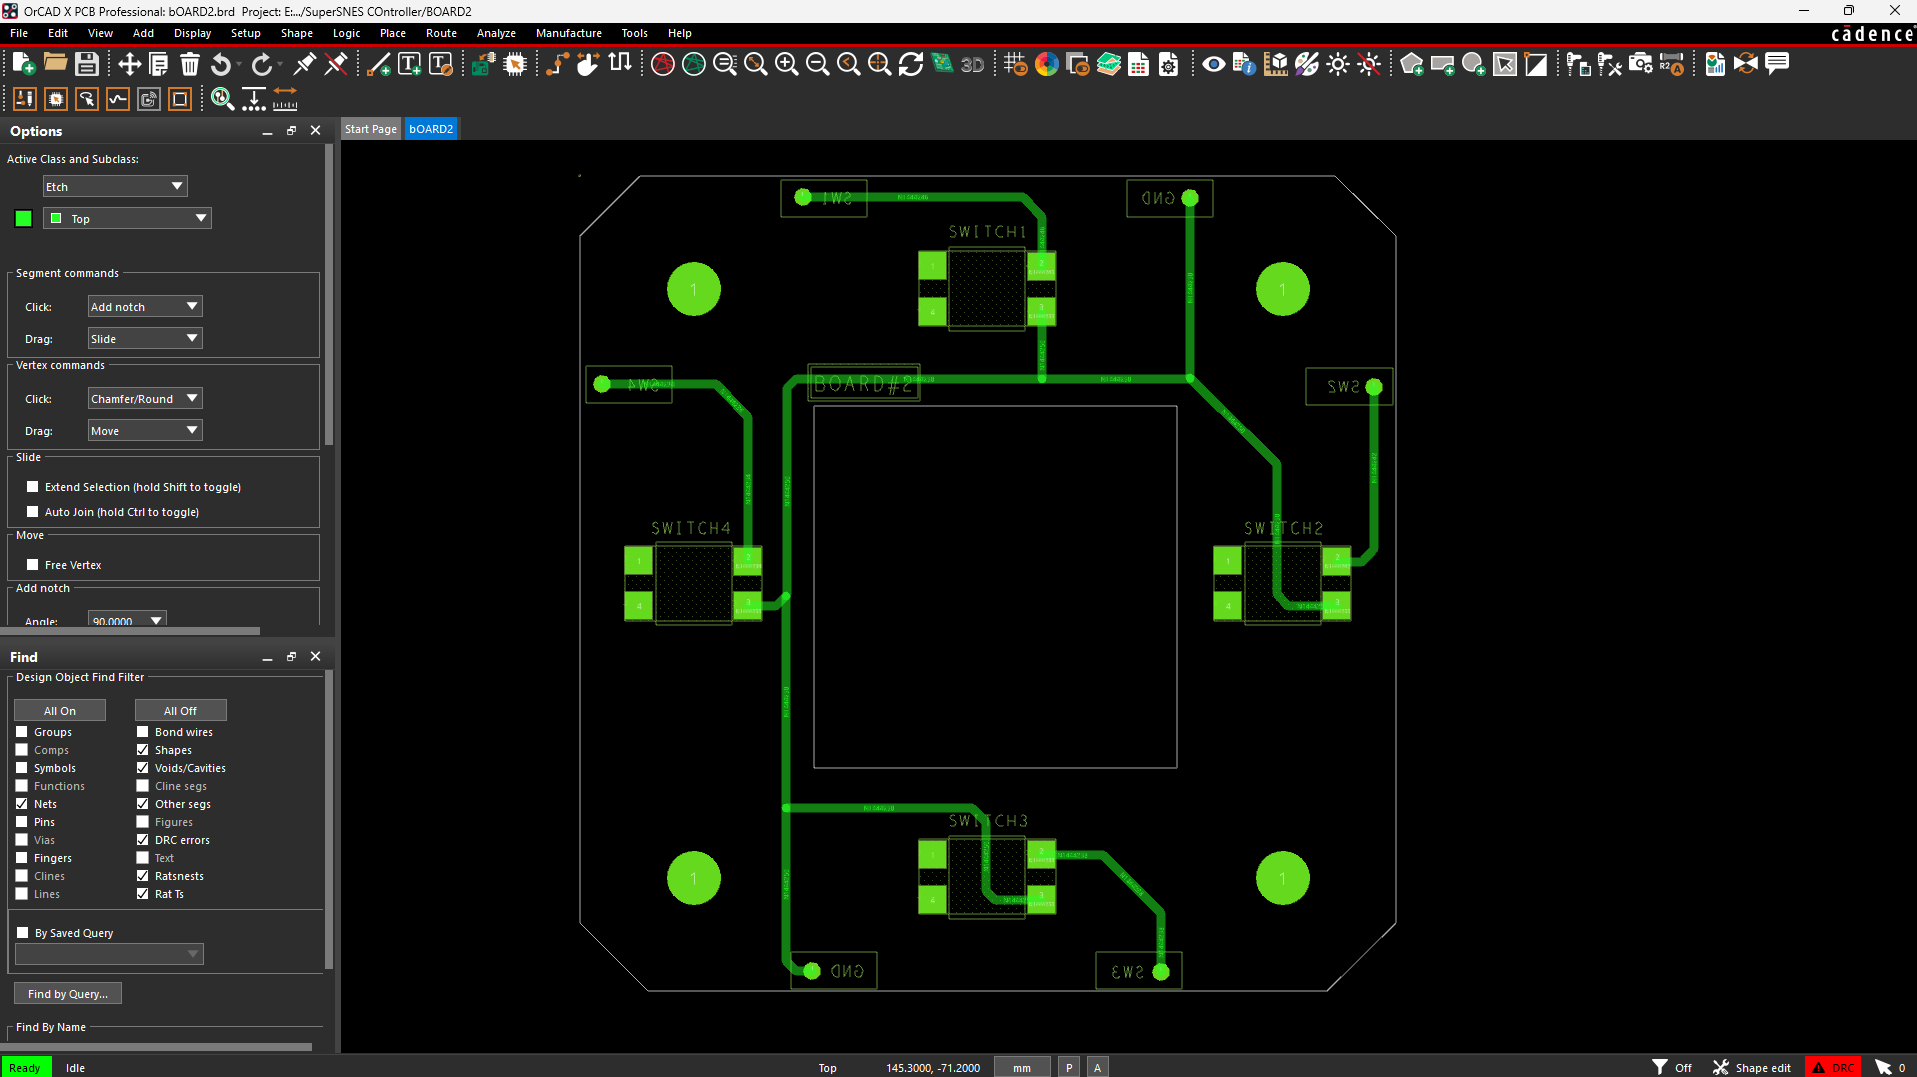
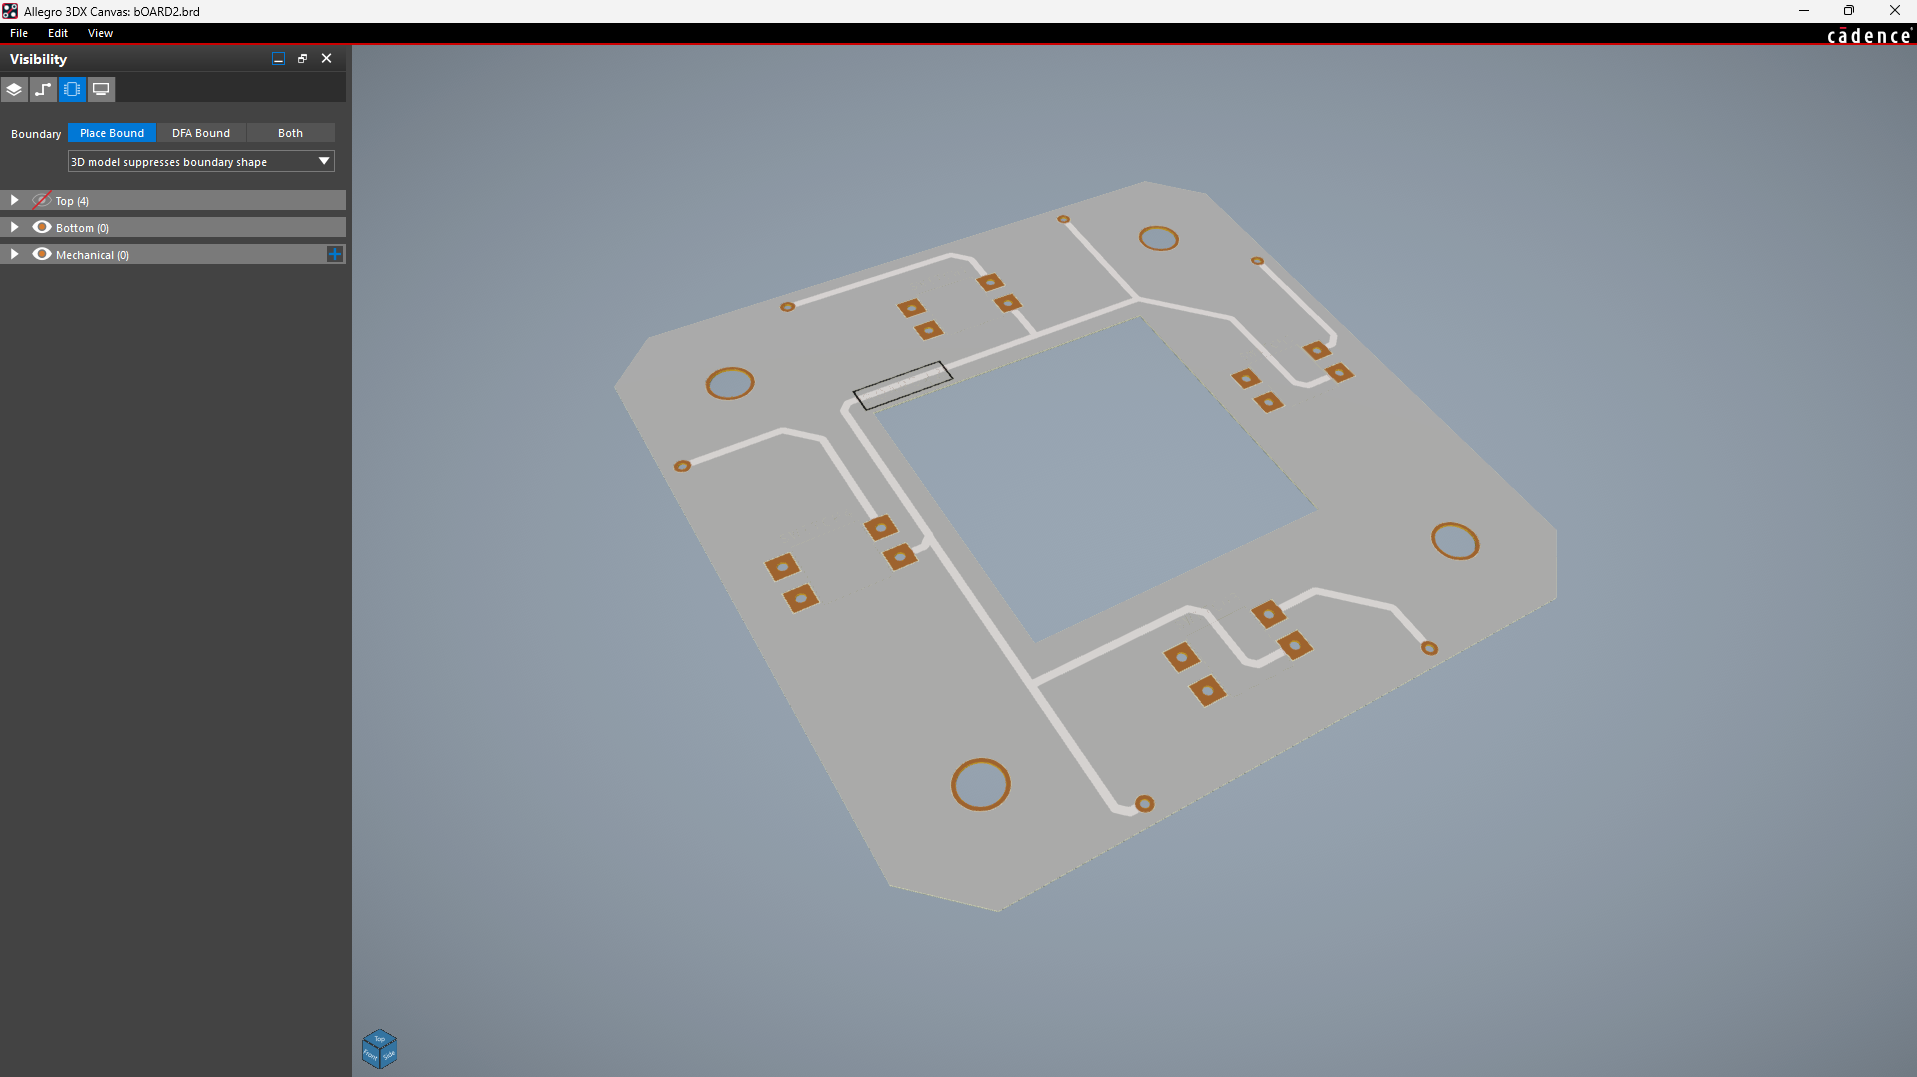
For the button controls, I'm reusing two types of PCBs from one of my previous projects, the SNES Console.
The first is the D-pad PCB, which consists of four individual 12 × 12 mm tactile push buttons, one for each direction. Pin 2 of each tactile switch is connected to a CON1 connector, while Pin 3 is connected to a common GND connection. This allows the Raspberry Pi Pico to read each directional input independently.
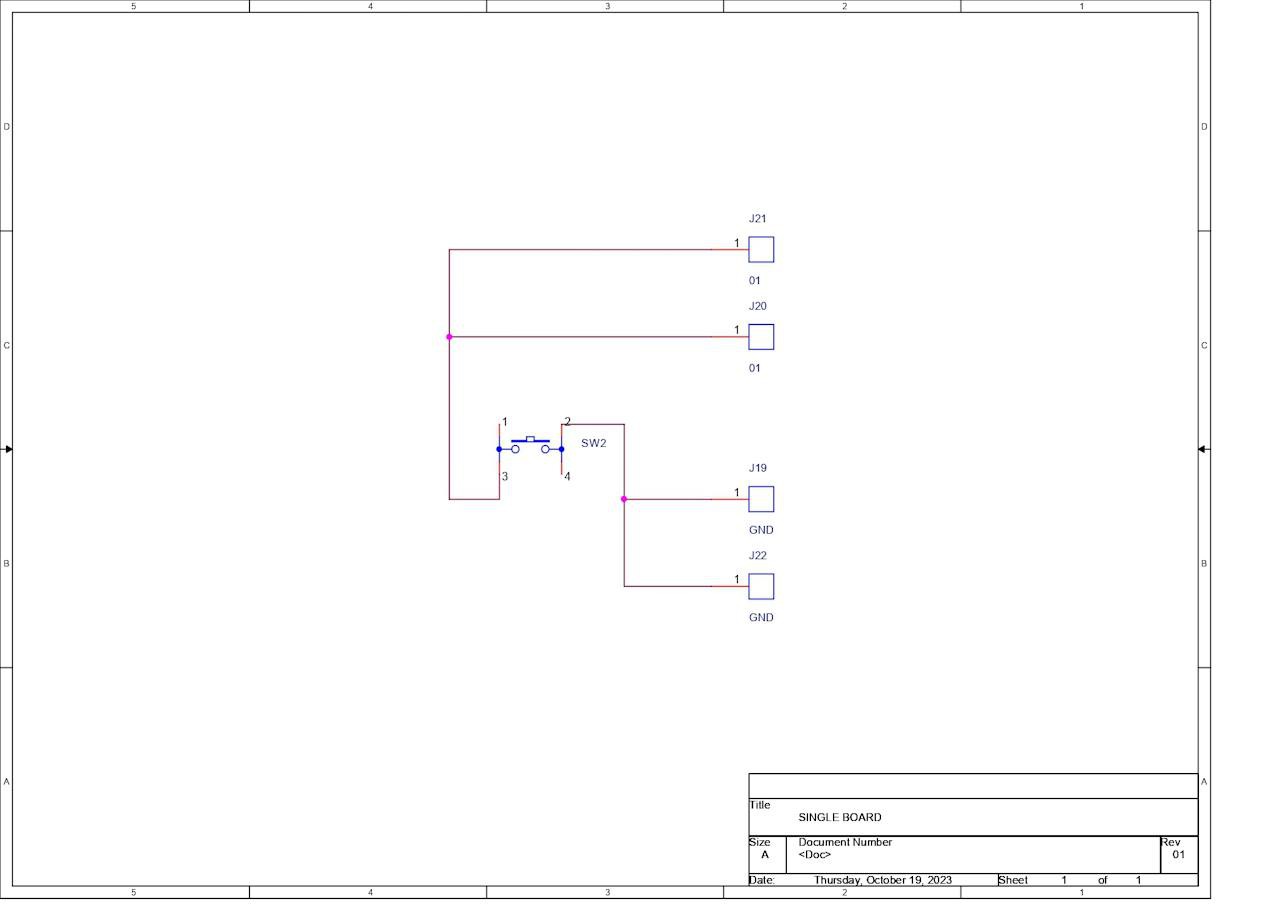
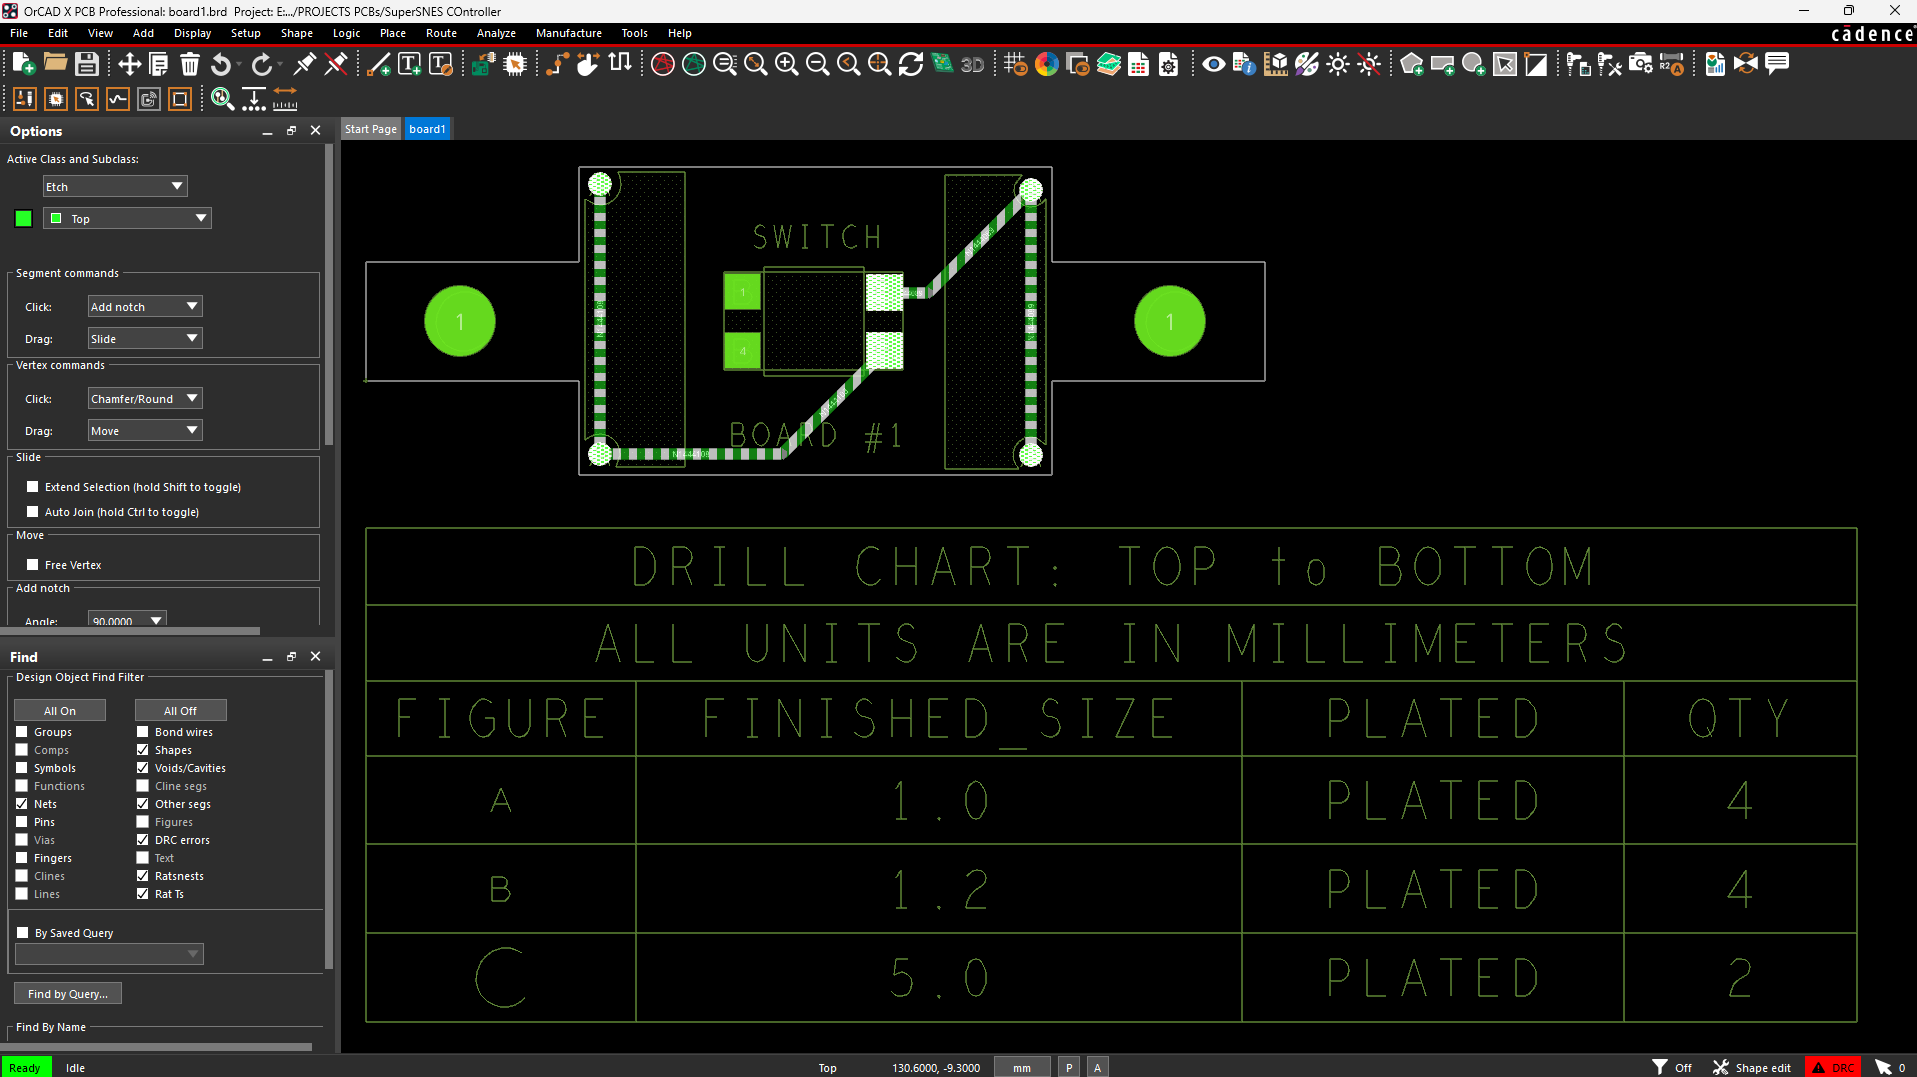
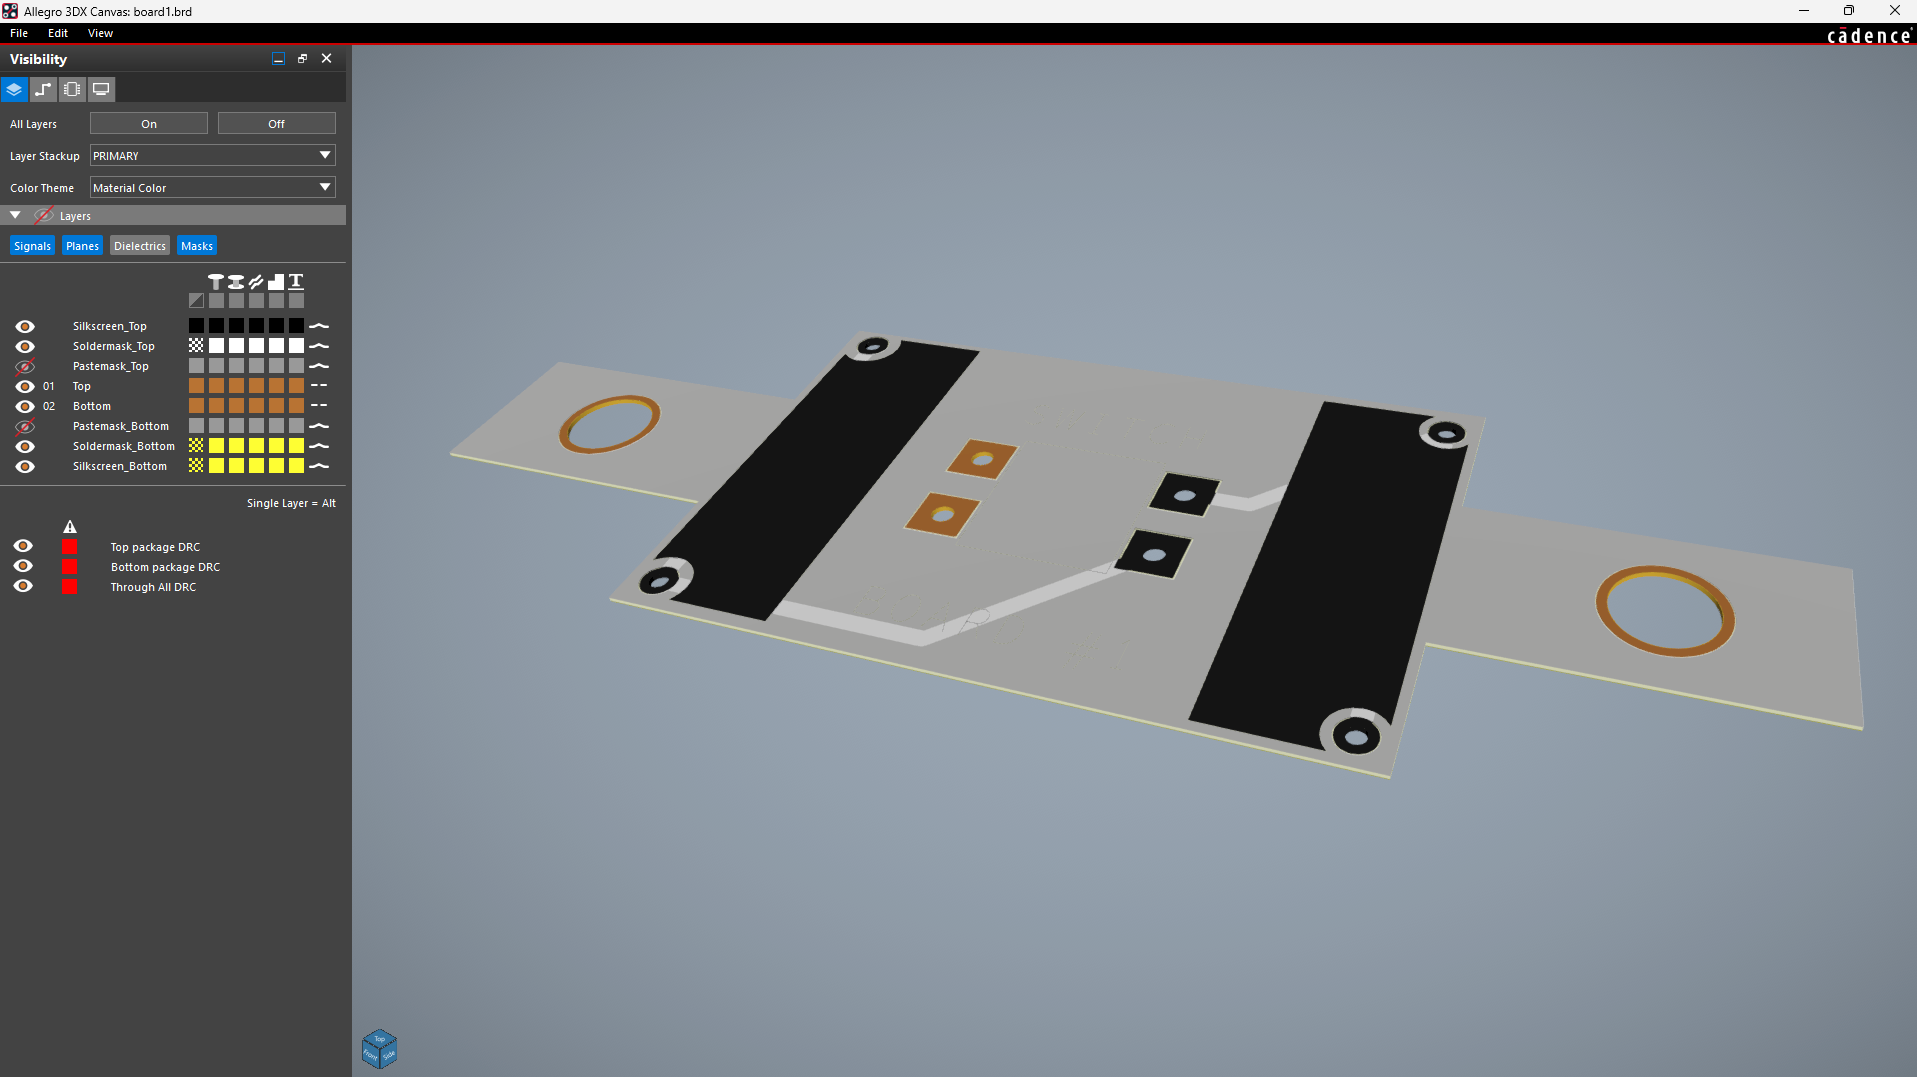
The second type is a single-button PCB, designed for the A, B, Select, and Start buttons. Each board has a single 12 × 12 mm tactile push button with four CON1 connectors.
Here, Pin 3 of the tactile switch is connected to two CON1 connectors, which serve as the signal connections and will be wired to the GPIO pins of the Raspberry Pi Pico. Similarly, Pin 2 is connected to two other CON1 connectors, which serve as the common ground connections.
Game Boy Advance XL
A scaled-up version of the original Game Boy, but not really; the hardware is an SBC running Windows.
Discussions
Become a Hackaday.io Member
Create an account to leave a comment. Already have an account? Log In.