-
1Step 1
Make sure that you have tivaware installed on your computer. The link in the 'links' section will take you to the page to get an executable to install the code, you can type "TivaWare" into the search box in the app center in CCS, and it will also direct you to this page. If you are using linux, then I included a link for what to do with the .exe on that platform.
-
2Step 2
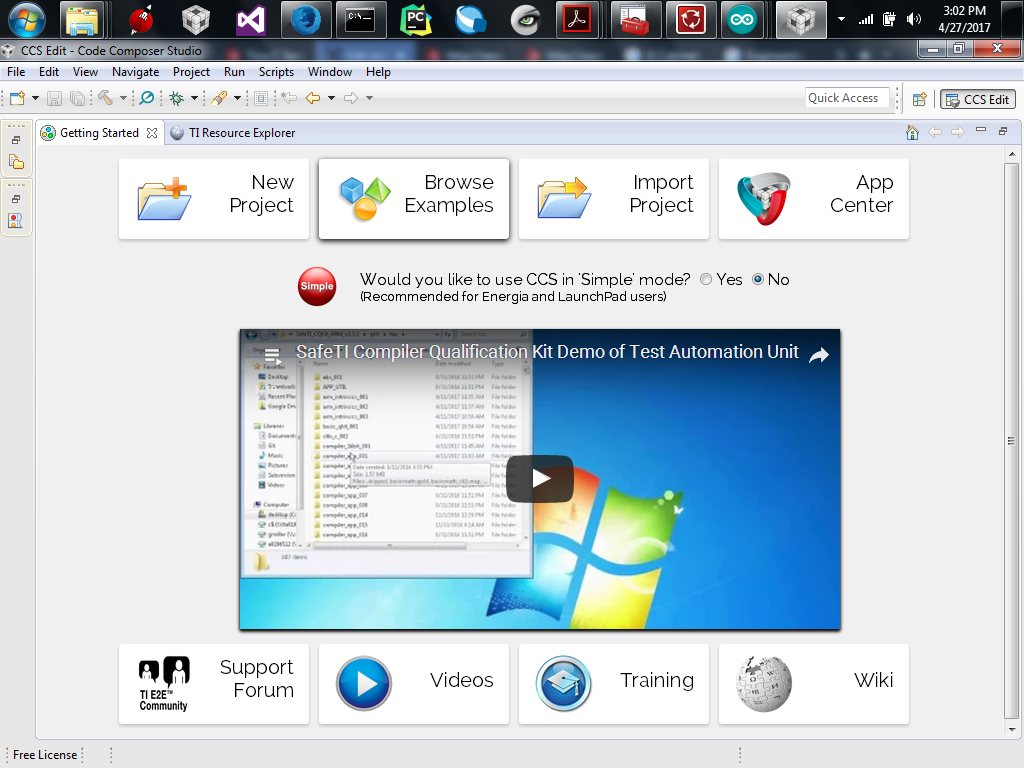
From the getting started page in CCS (You can find this page in the Help drop down at the top if you have previously closed it. It is titled 'Welcome') select 'Browse Examples' and this will open the 'TI Resource Explorer' page.
![]()
-
3Step 3
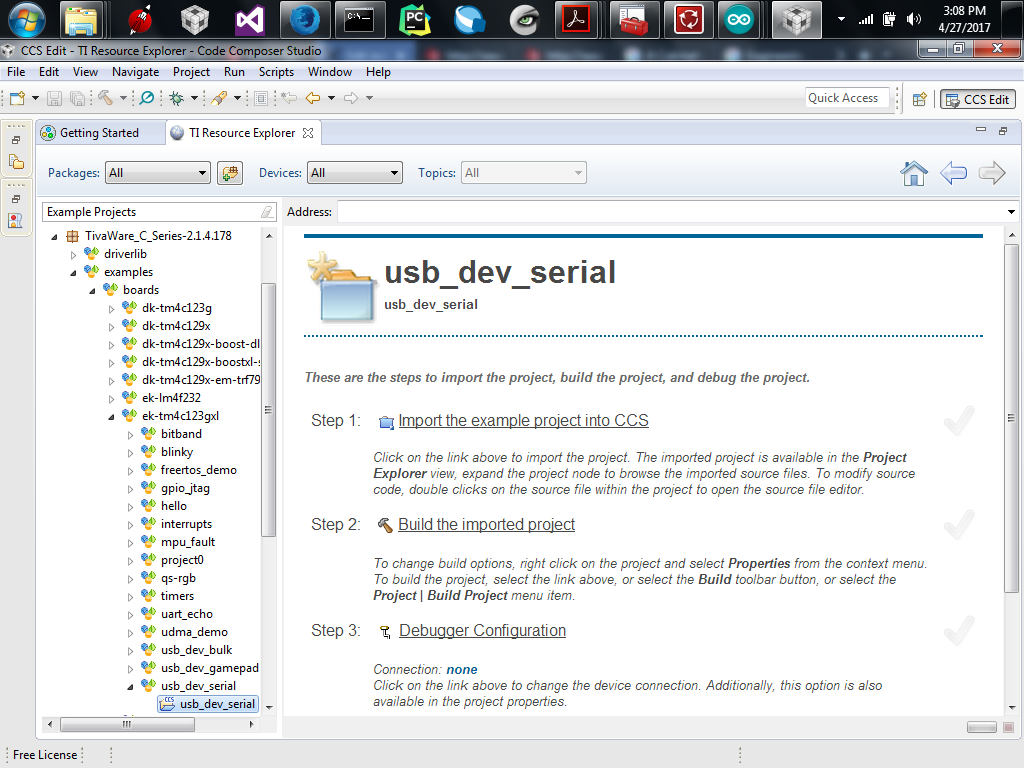
For me, I have both 'TivaWare_C_Series-2.1.2.111' and 'TivaWare_C_Series-2.1.4.178' installed, for this I am going to use 'TivaWare_C_Series-2.1.4.178'. Click the tag for an expanded menu, and select 'examples', select 'boards', select 'ek-tm4c123gxl', and finally select 'usb_dev_serial'. Click on the folder icon from the last expanded menu and a page will come up with 'Import the example project into CCS', click on that link.
Importing the project into CCS will copy the original project into the working directory, so you can feel free to make changes. If something is broken, or you just want to free up the space, you can delete the project and be able to start over later.![]()
-
4Step 4
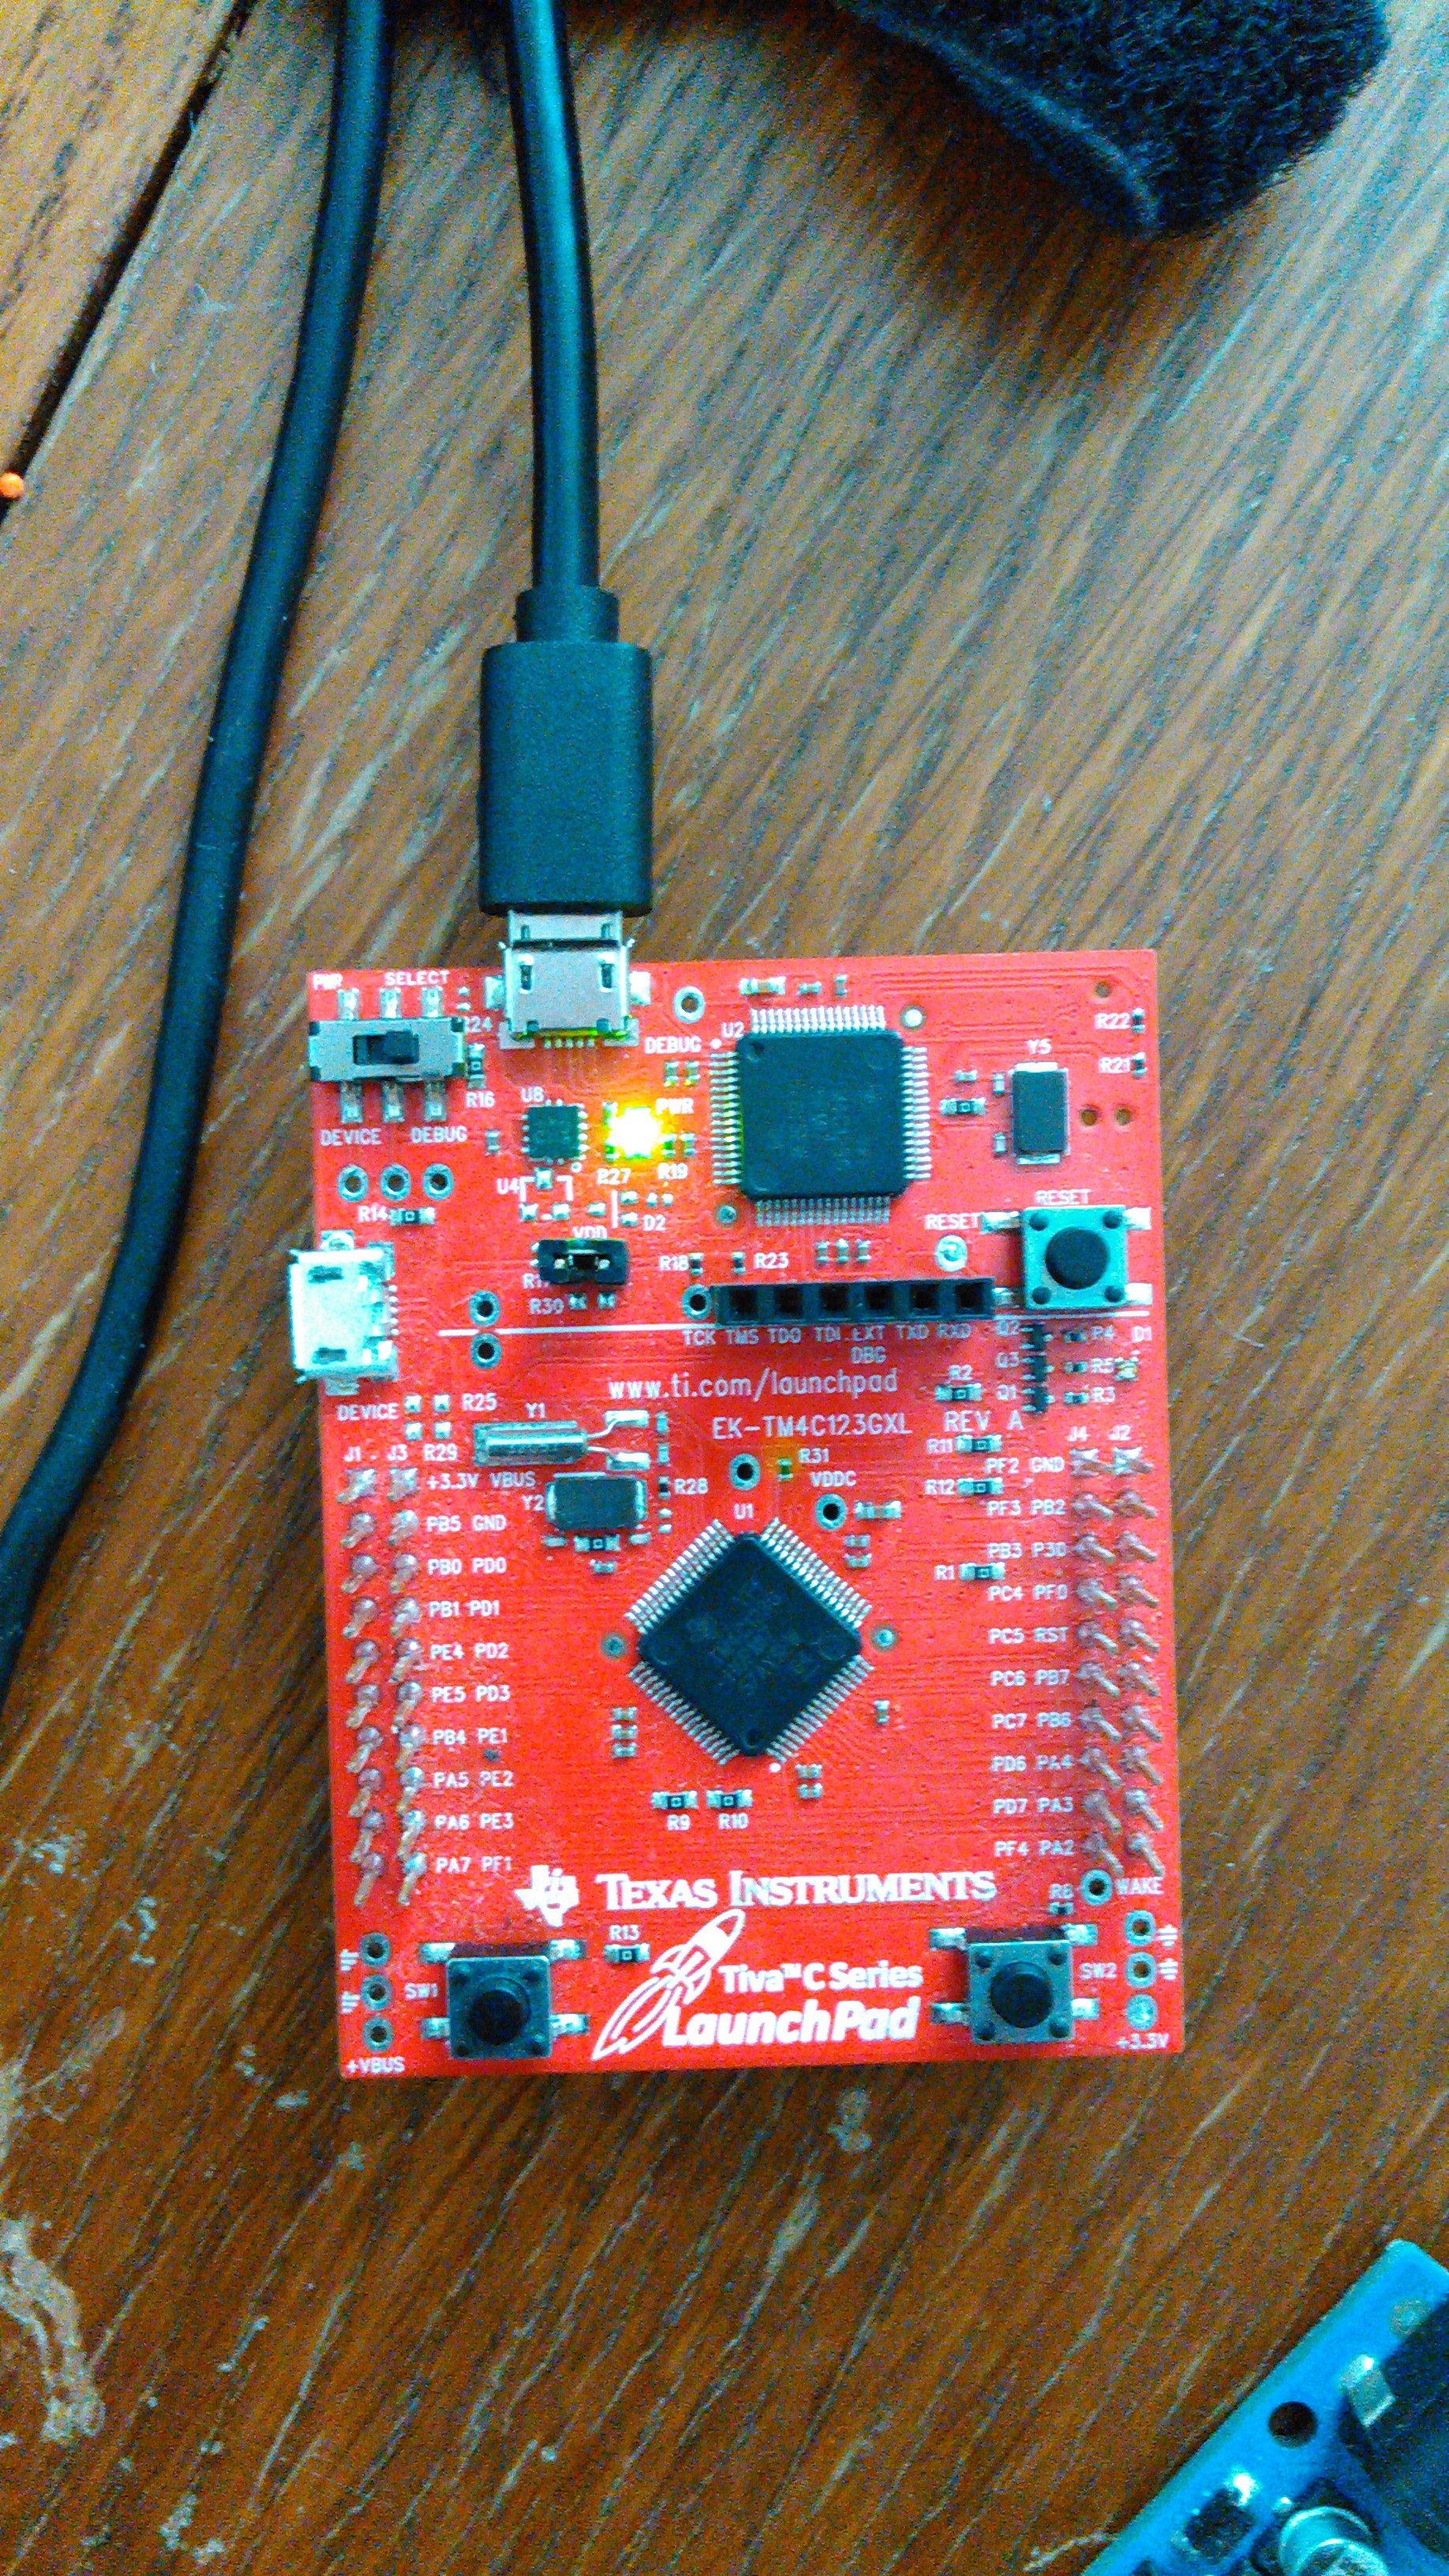
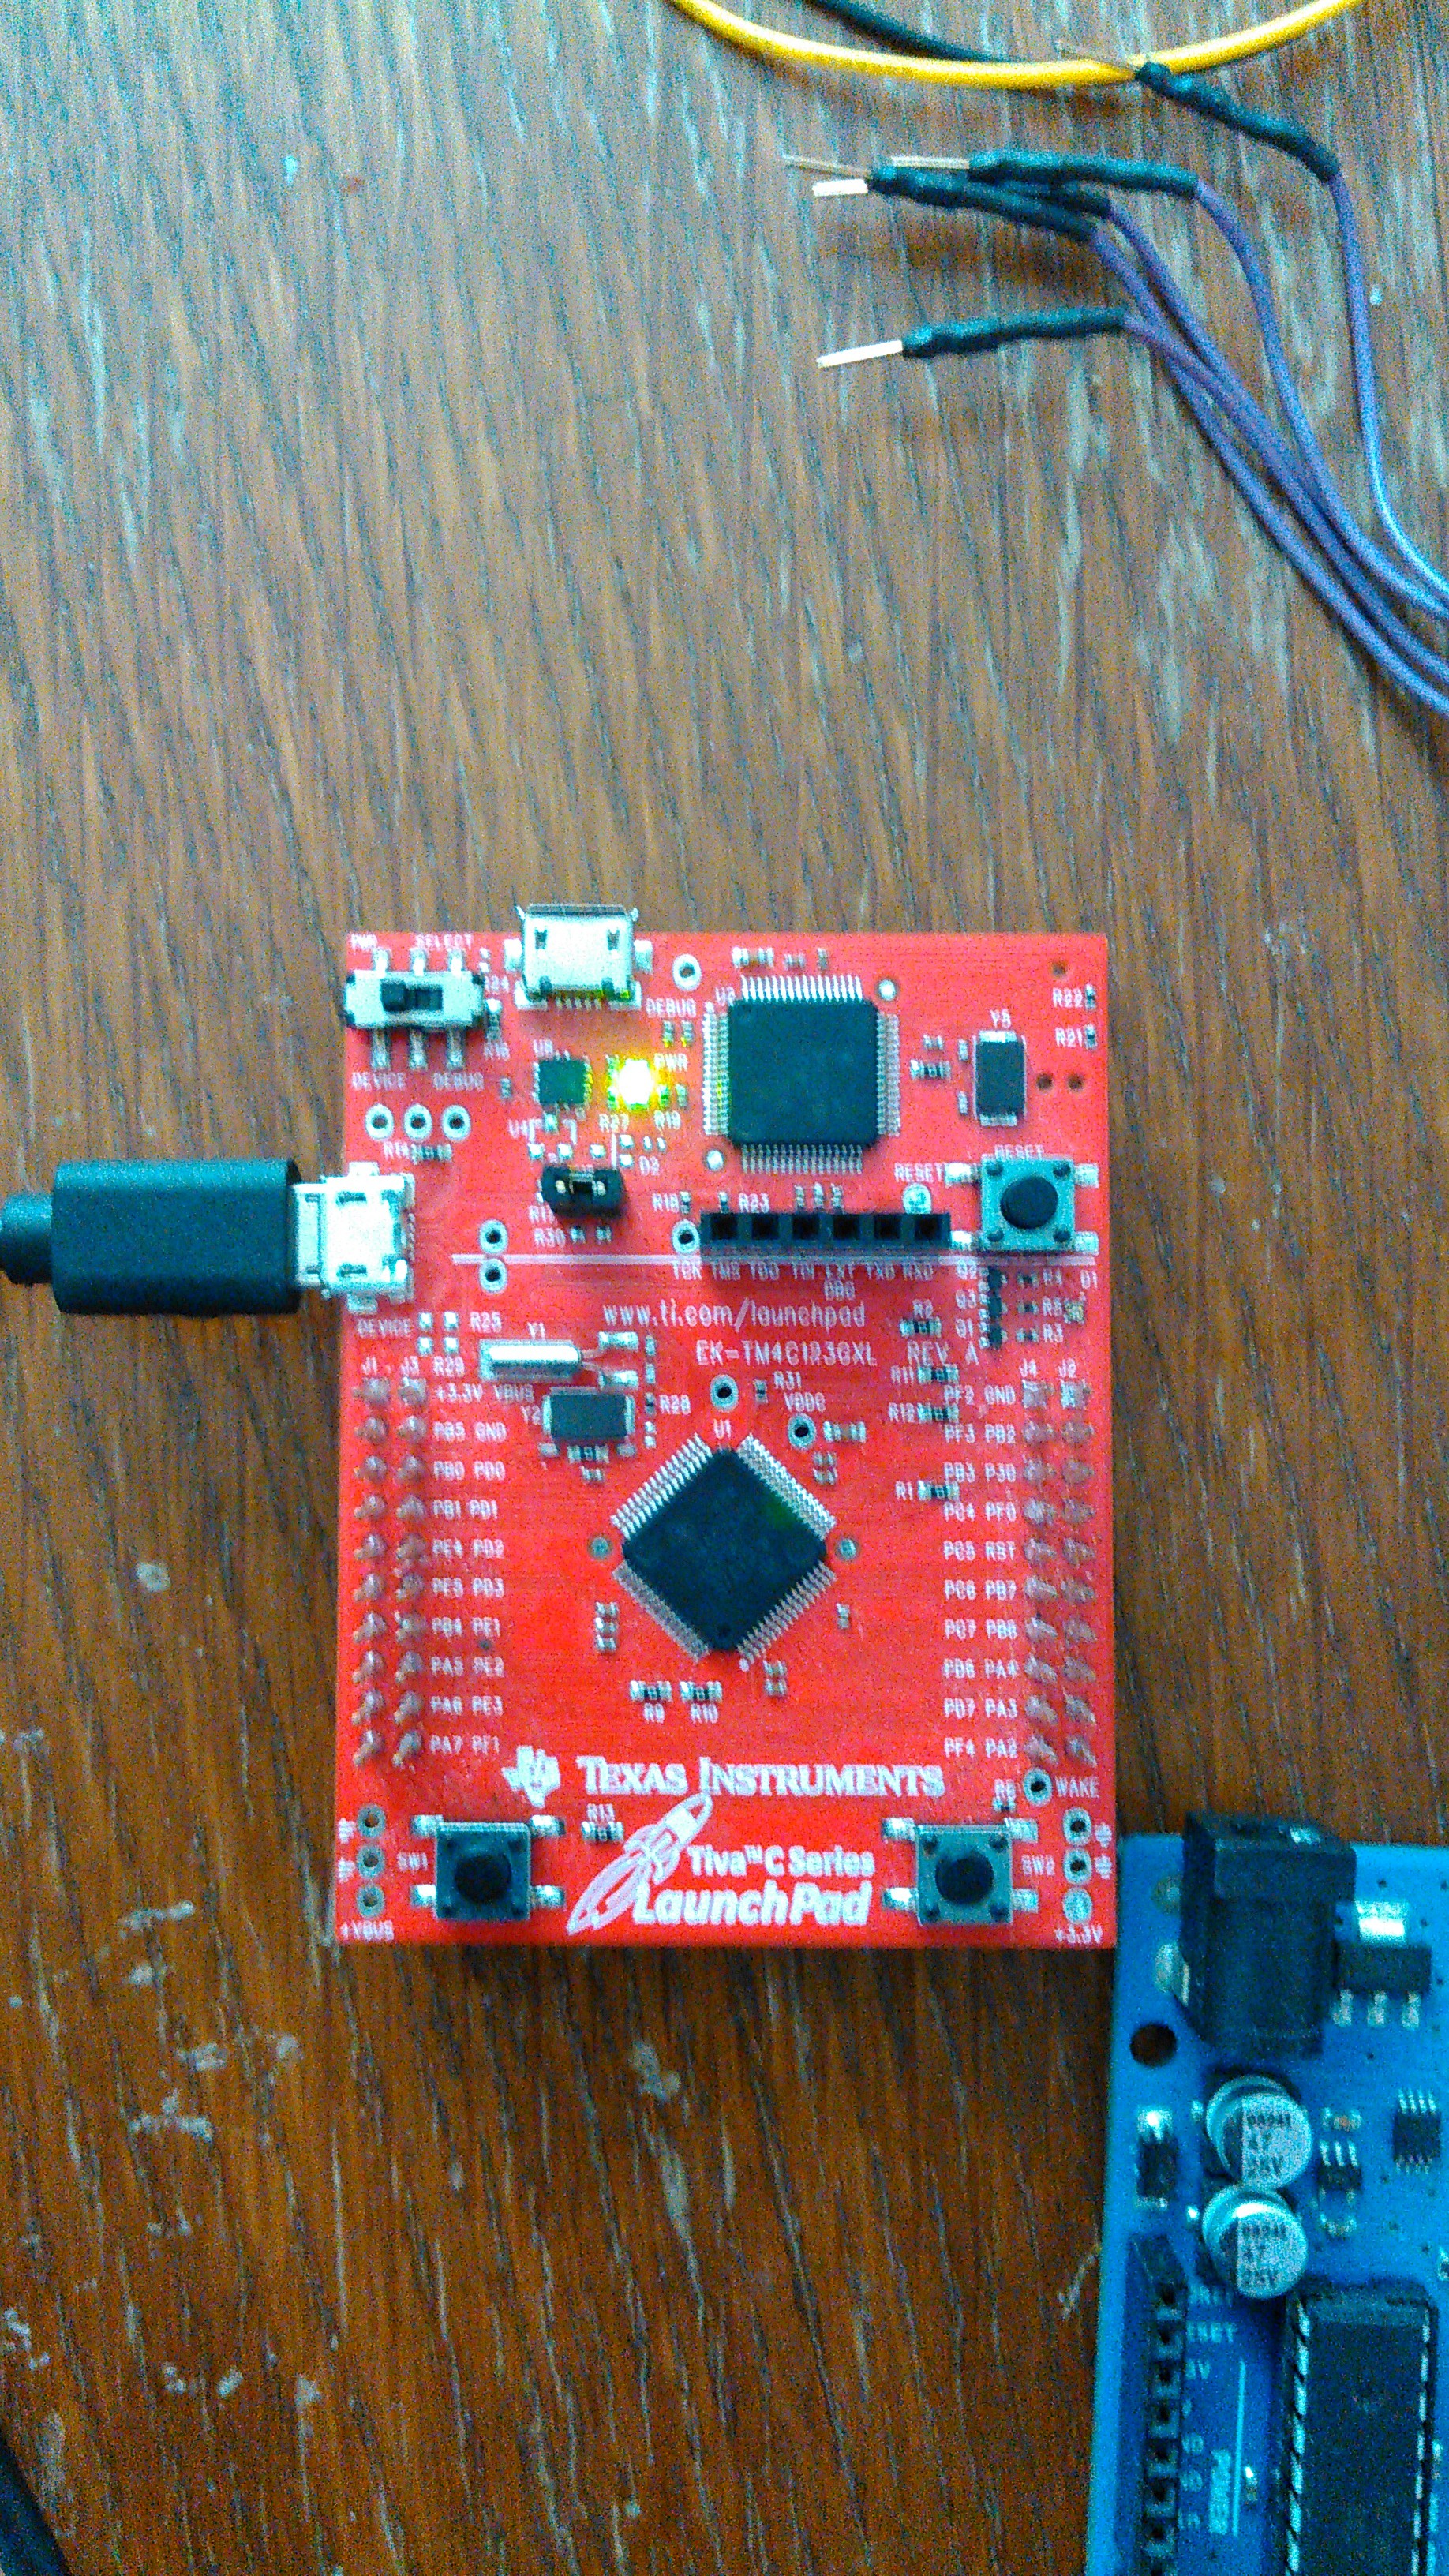
Make sure that you have the USB cable plugged into your computer, and the other end is plugged into the 'DEBUG' port of the microcontroller. Also make sure that the slide switch is set to 'DEBUG'
![]()
-
5Step 5
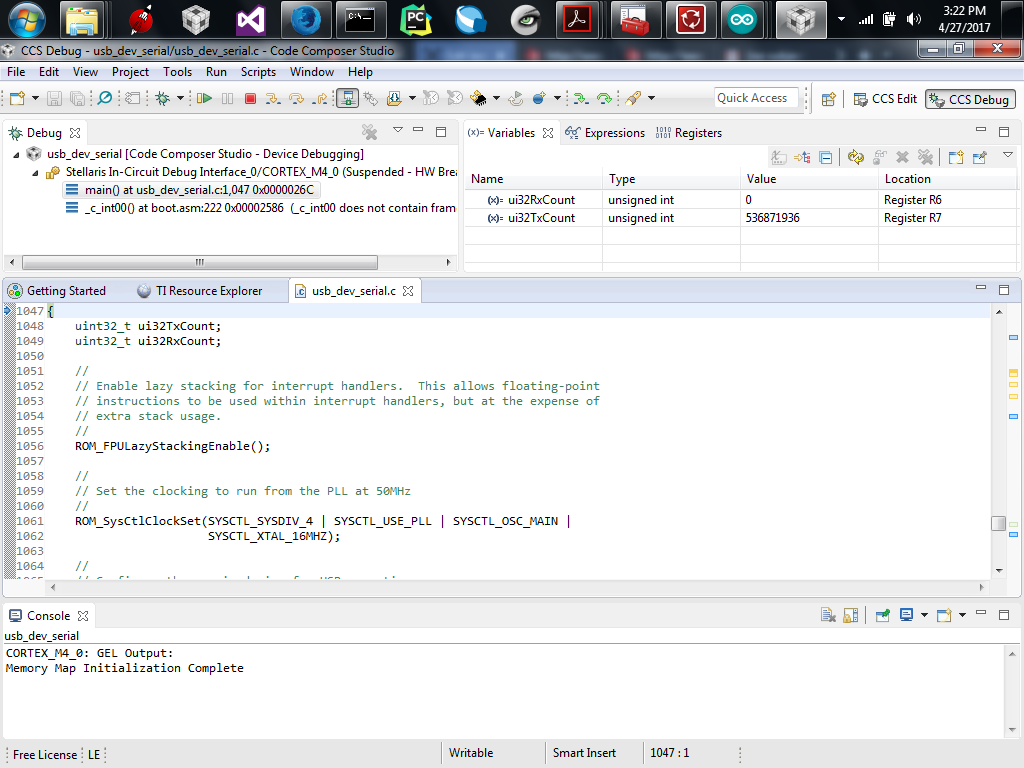
Now, you will need to download the usb_dev_serial.c file from this site and use it to replace the usb_dev_serial.c file that was imported in with the project. Once this is done, right click on the project folder, and select 'refresh'. Once this is done make sure that it is the active project, and run the debug session by either clicking the bug in the toolbar, or right clicking, mouse over 'debug as' and select 'Code Composer Debug Session'.
Once the code has compiled and uploaded, you will be queued to either resume or stop the debug session, you can stop the session at this point.
![]()
-
6Step 6
Now you can disconnect the USB from the 'DEBUG' port on the microcontroller, and connect it to the 'DEVICE' port, and move the slide switch to the 'DEVICE' position.
![]()
Once the microcontroller is back online, and the power led is lit, you should see a prompt saying that windows is trying to install the device drivers, but will tell you that it failed, so open up the device manager, and you will see the 'Virtual COM Port' listed in 'Other Devices'.
![]()
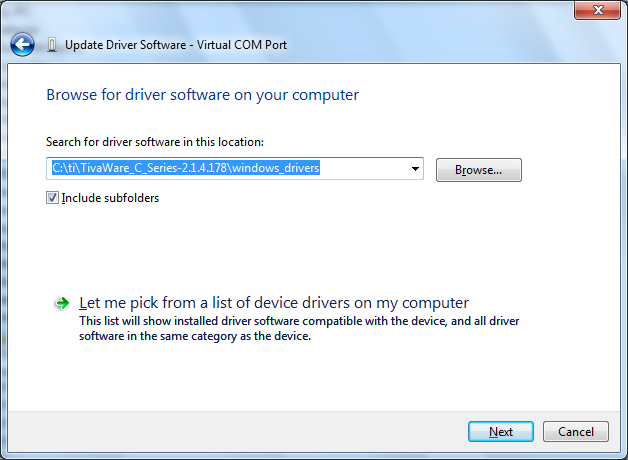
Right click on the 'Virtual COM Port' listing, select 'Update Driver Software', select 'Browse my computer for driver software', and navigate to the install location of the TivaWare sources.
![]()
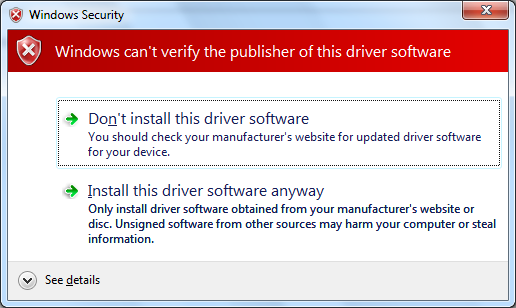
Once you have found the windows_drivers folder and click 'Next' you will be presented with a warning.
![]()
Select 'Install this driver software anyway.
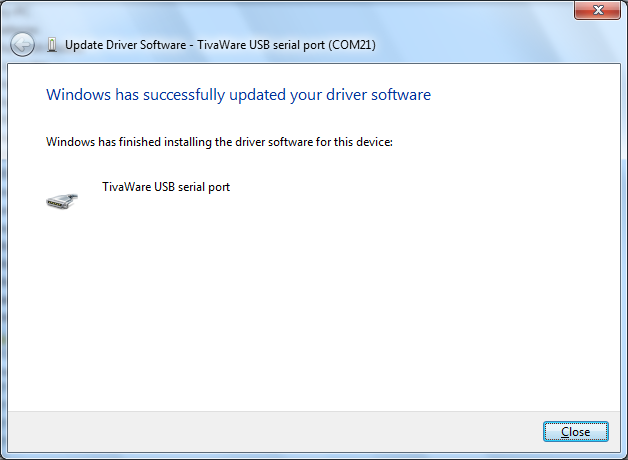
You should then be presented with a success dialog.
![]()
and now you will see the board as a virtual com port in 'Device Manager', under the 'PORTS (COM & LPT)' heading.
![]()
Your port number may vary.
-
7Step 7
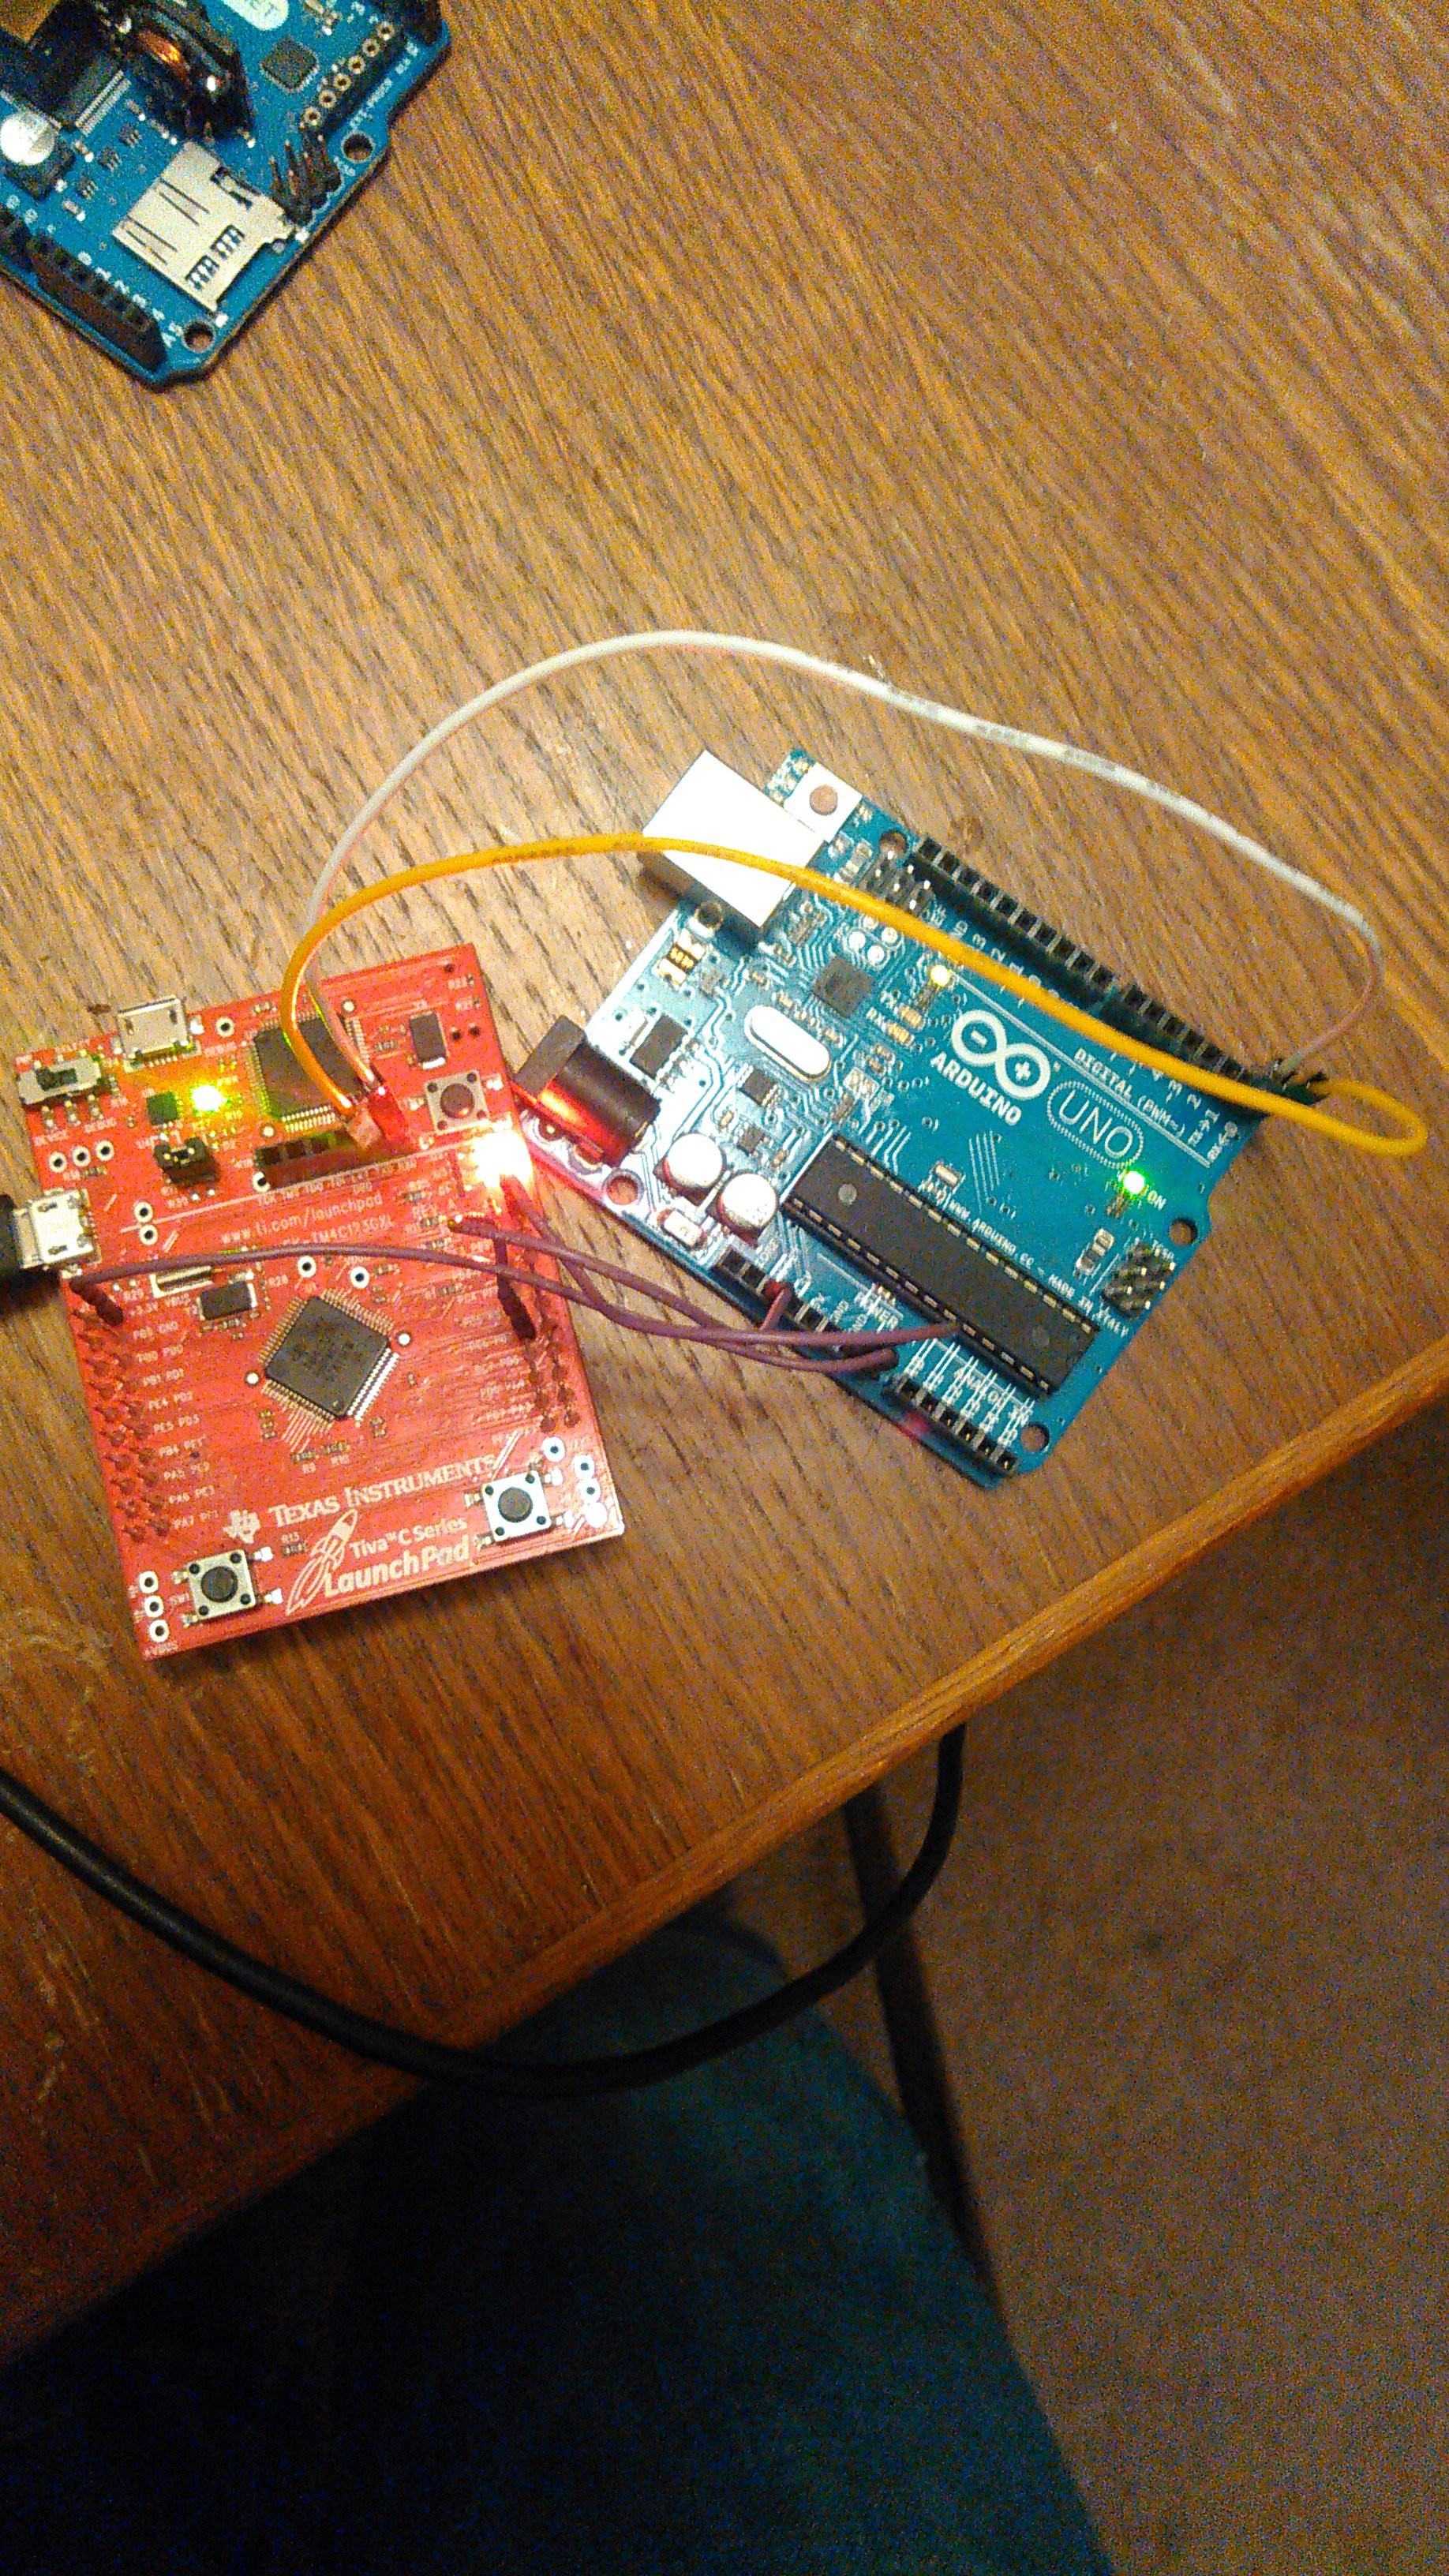
Now, connect the launchpad to the arduino.
Launchpad -> Arduino
VBUS/3v3 -> Vin
GND -> GND
TXD -> RX (DPin 0)
RXD -> TX (DPin 1)
PC6 (Port C, Pin 6) -> Reset
![]()
-
8Step 8
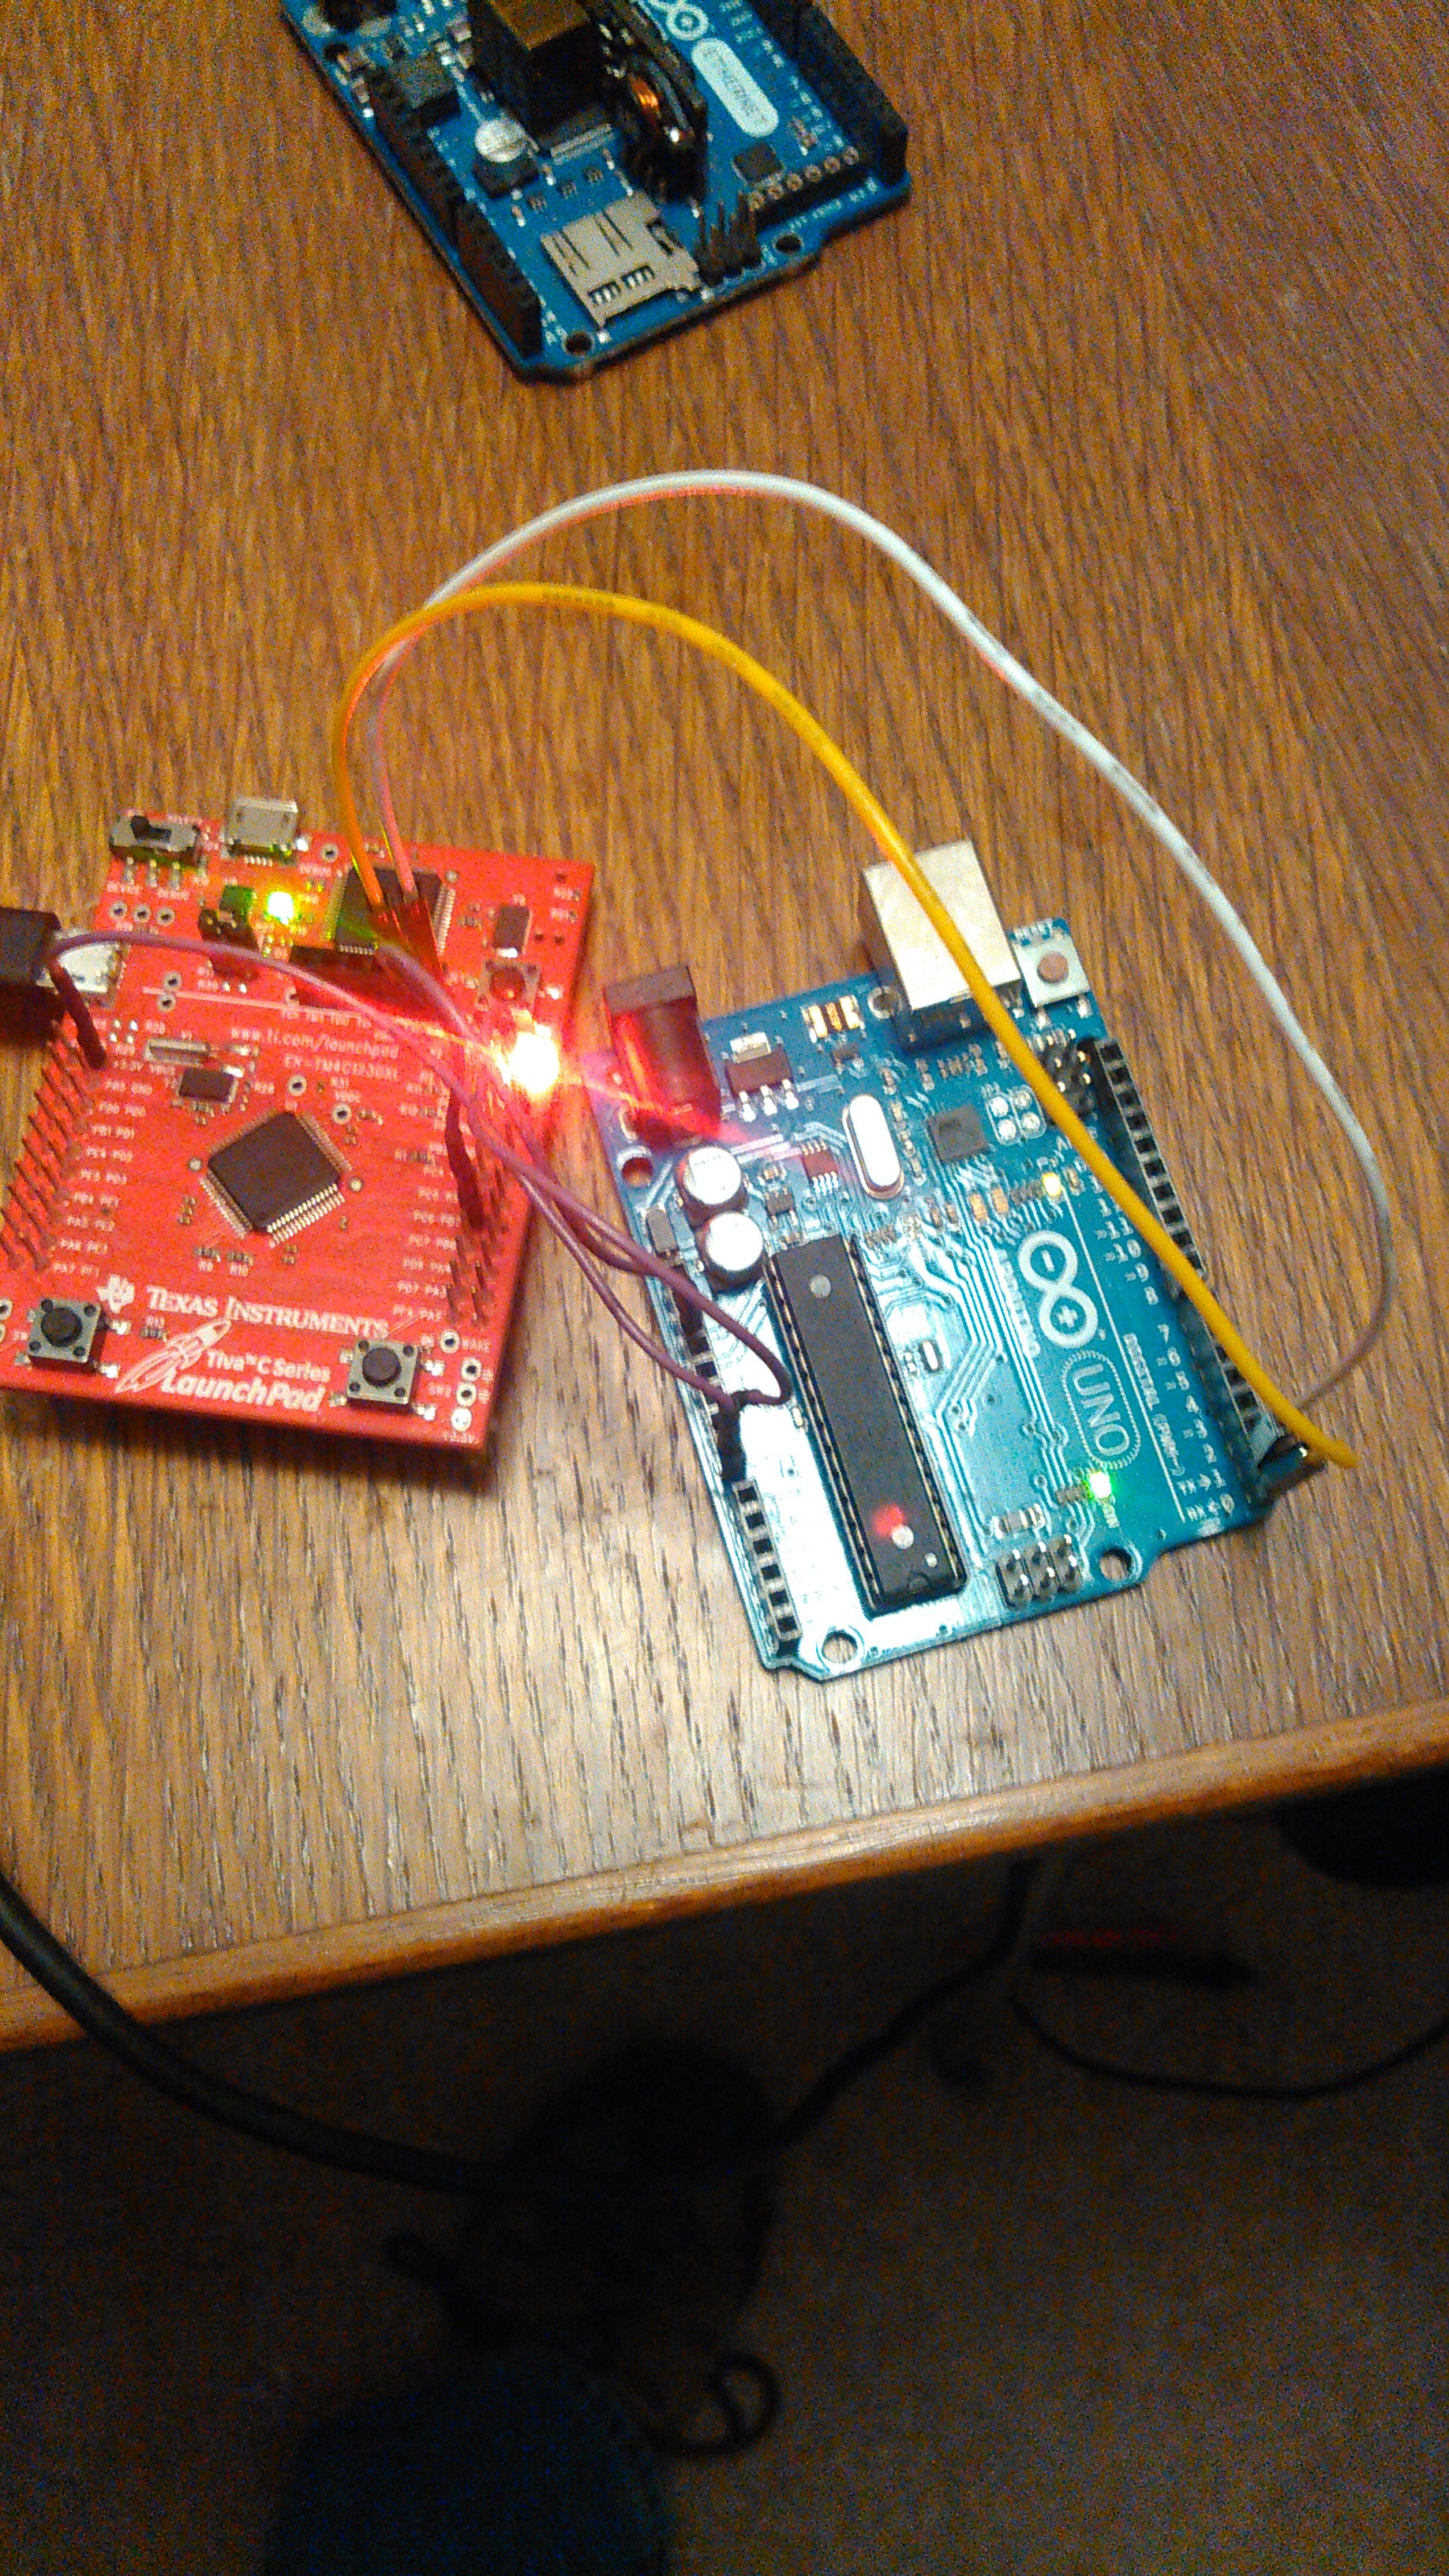
Once the connections have been made you can go to the Arduino IDE. If you want to compile and upload an existing sketch, press the SW1 button on the Launchpad. You should see the red LED light up indicating that the Arduino is in a reset state, and ready to have a sketch uploaded to it
![]()
At this point you should have your Arduino IDE port set to the 'TivaWare USB Serial Port' for me that is COM21. Now you can compile and upload your sketch just as you would if your arduino was connected either via a usb cable or an FTDI USB to UART cable.
... as an aside either I have broken something on my laptop, or the arduino IDE has been broken for several iterations, and I get this message when I go to upload something:
java.io.IOException: Cannot run program "___REMOVE___/bin/avrdude": CreateProcess error=2, The system cannot find the file specified
	at java.lang.ProcessBuilder.start(ProcessBuilder.java:1048)
	at processing.app.helpers.ProcessUtils.exec(ProcessUtils.java:26)
	at cc.arduino.packages.Uploader.executeUploadCommand(Uploader.java:129)
	at cc.arduino.packages.uploaders.SerialUploader.uploadUsingPreferences(SerialUploader.java:207)
	at cc.arduino.UploaderUtils.upload(UploaderUtils.java:78)
	at processing.app.SketchController.upload(SketchController.java:713)
	at processing.app.SketchController.exportApplet(SketchController.java:686)
	at processing.app.Editor$DefaultExportHandler.run(Editor.java:2135)
	at java.lang.Thread.run(Thread.java:745)
Caused by: java.io.IOException: CreateProcess error=2, The system cannot find the file specified
	at java.lang.ProcessImpl.create(Native Method)
	at java.lang.ProcessImpl.<init>(ProcessImpl.java:386)
	at java.lang.ProcessImpl.start(ProcessImpl.java:137)
	at java.lang.ProcessBuilder.start(ProcessBuilder.java:1029)
	... 8 more
An error occurred while uploading the sketch
In order to get around this I went to the preferences, and set the upload output to verbose so that I get this string:
___REMOVE___/bin/avrdude -C___REMOVE___/etc/avrdude.conf -v -V -patmega328p -carduino -PCOM21 -b115200 -D -Uflash:w:C:\Users\jeramy\AppData\Local\Temp\arduino_build_276287/Blink.ino.hex:iand I thengo to cmd.exe andenter the following at the prompt:
"C:\Program Files (x86)\Arduino\hardware\tools\avr\bin\avrdude.exe
" -C "C:\Program Files (x86)\Arduino\hardware\tools\avr\etc\avrdude.conf" -v -V -patmega328p -carduino -PCOM21 -b115200
-D -Uflash:w:C:\Users\jeramy\AppData\Local\Temp\arduino_build_276287/Blink.ino.hex:i
If you have a similar problem, or know of a proper fix, I would like to hear about it in the comments below. Thanks.
-
9Step 9
Now, at this point you should see a flurry of green and blue activity on the Launchpad LED, and then your sketch should be running. You should now have a working board, and if you want, press SW1 and start the process over again.
EK-TM4C123GXL Launchpad FTDI replacement
Using the EK-TM4C123GXL Launchpad as a replacement for the FTDI USB to UART cable
 jlbrian7


Discussions
Become a Hackaday.io Member
Create an account to leave a comment. Already have an account? Log In.