-
Log #129: Kooga Prototype
06/11/2017 at 18:28 • 0 commentsBuilding the Kooga
I'm still waiting for the ESP8266 I ordered, so while I was hanging on that I put a POC prototype together.
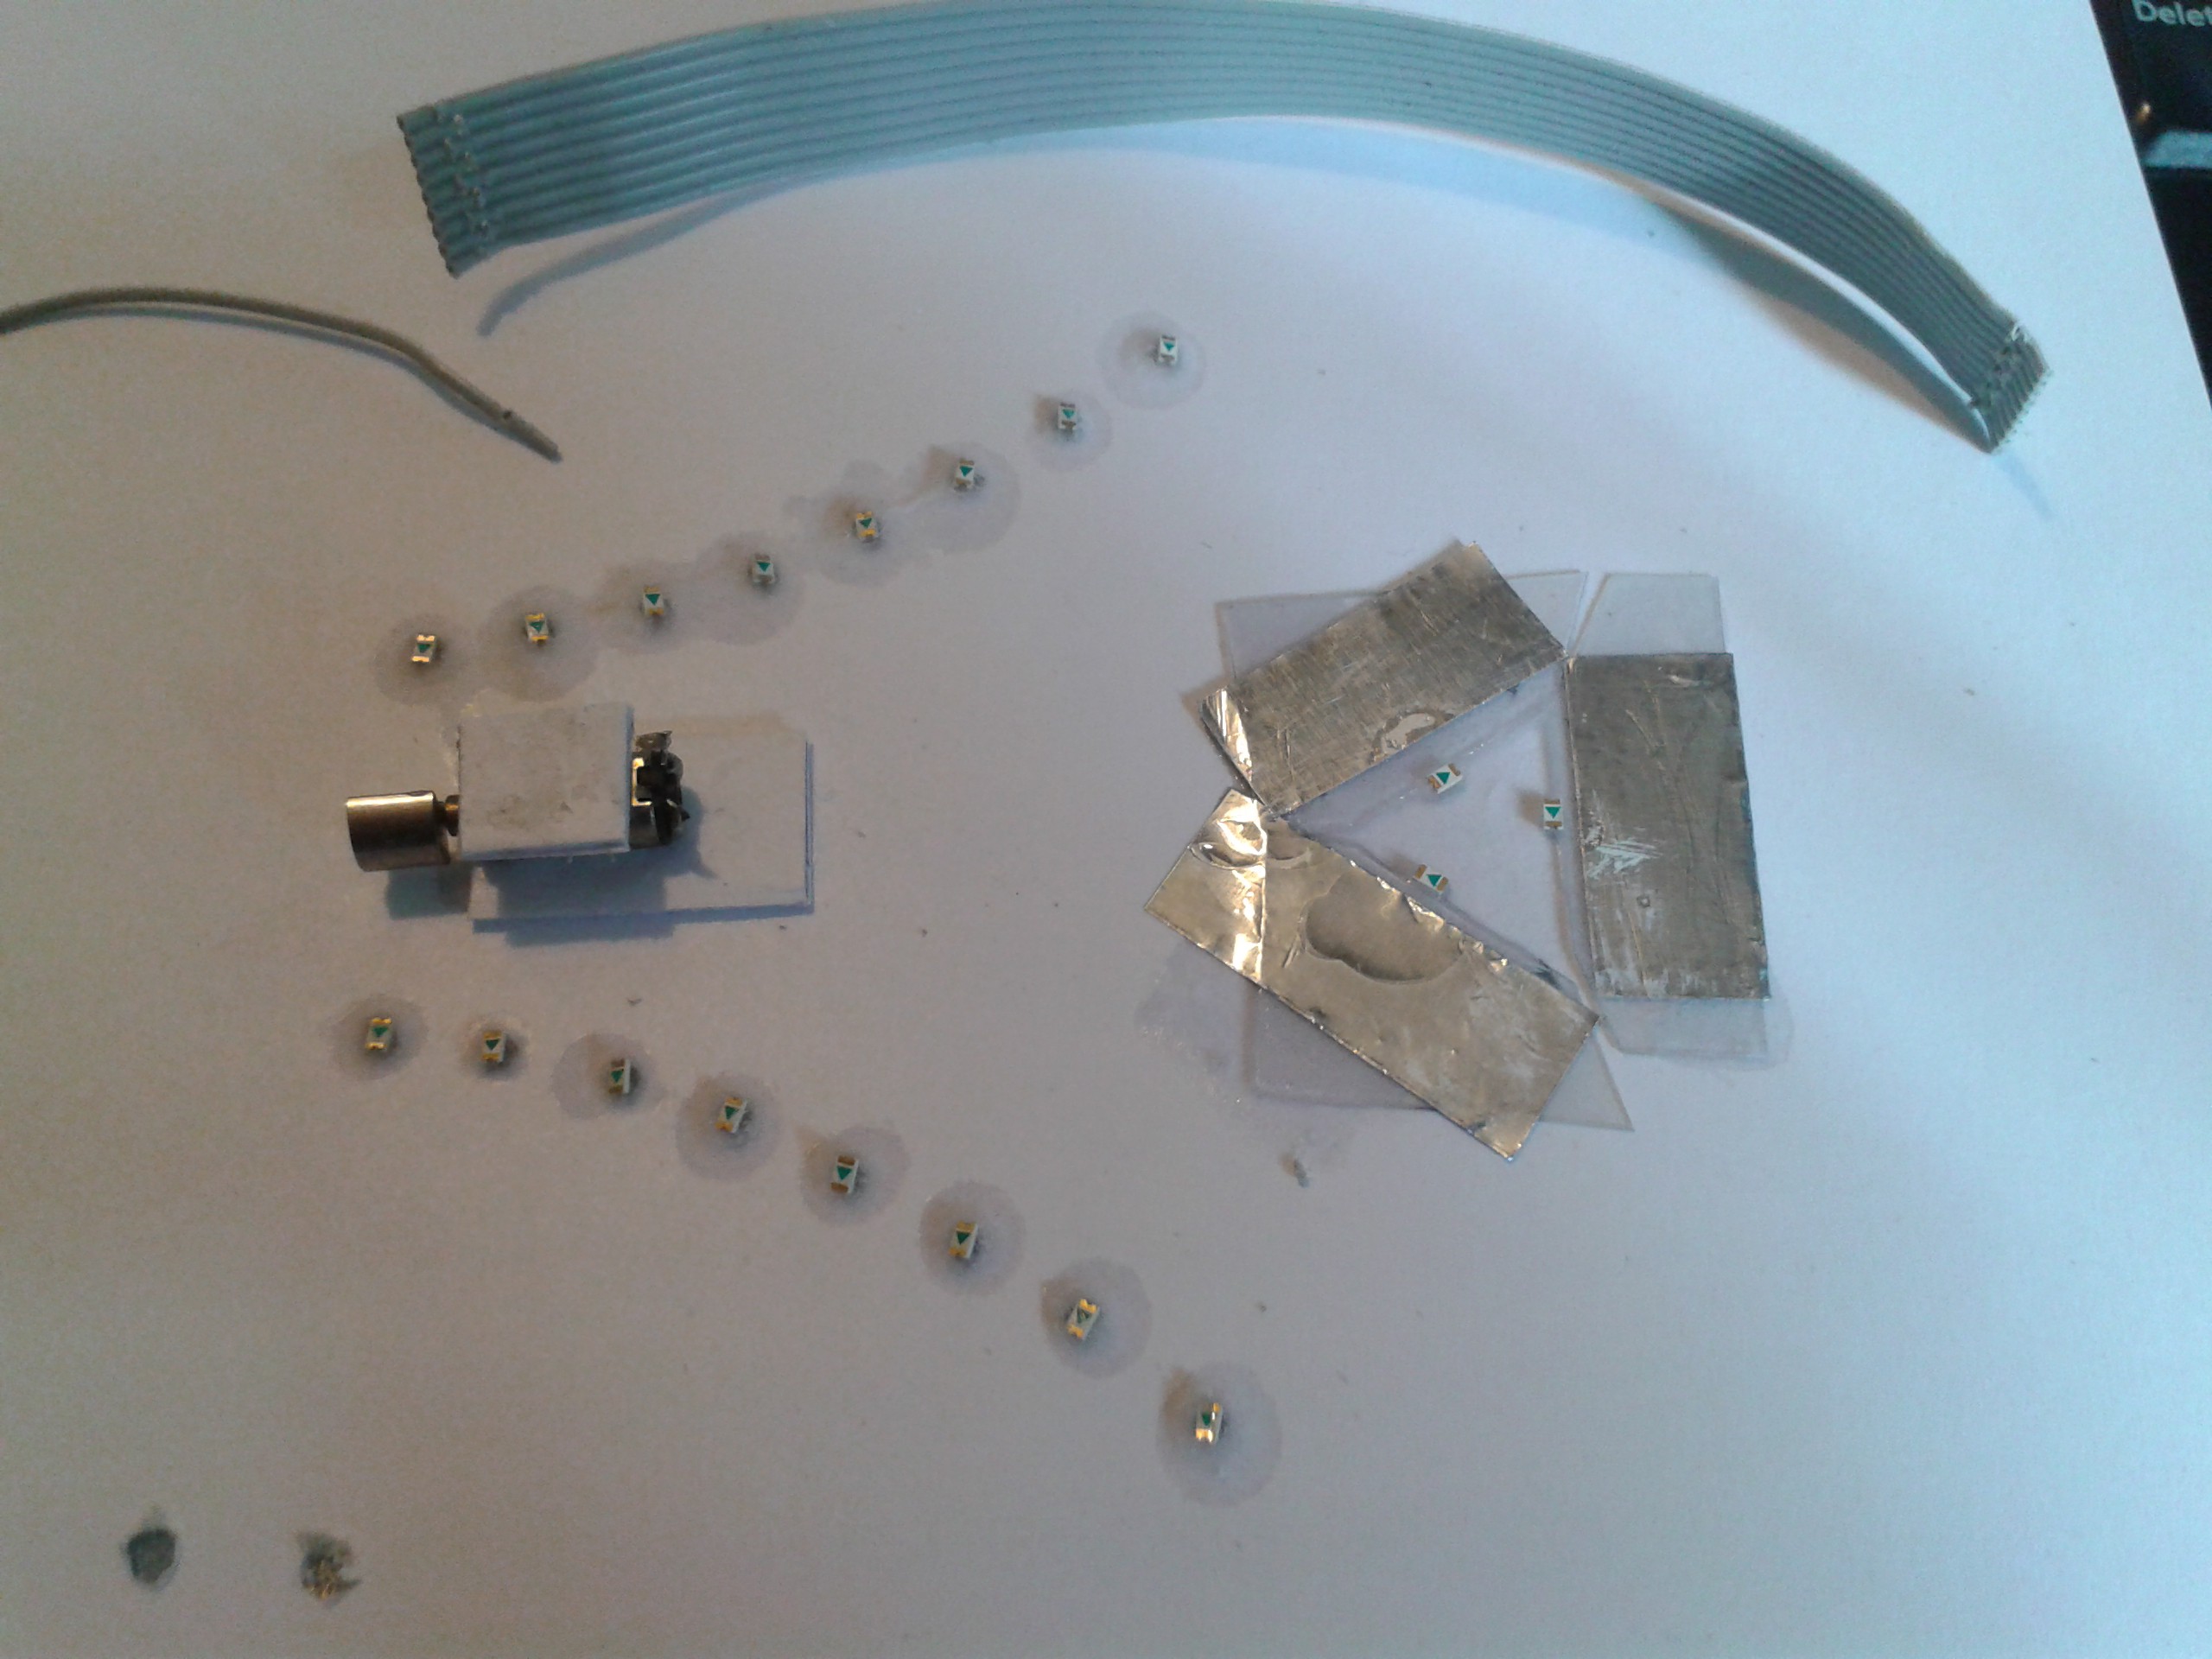
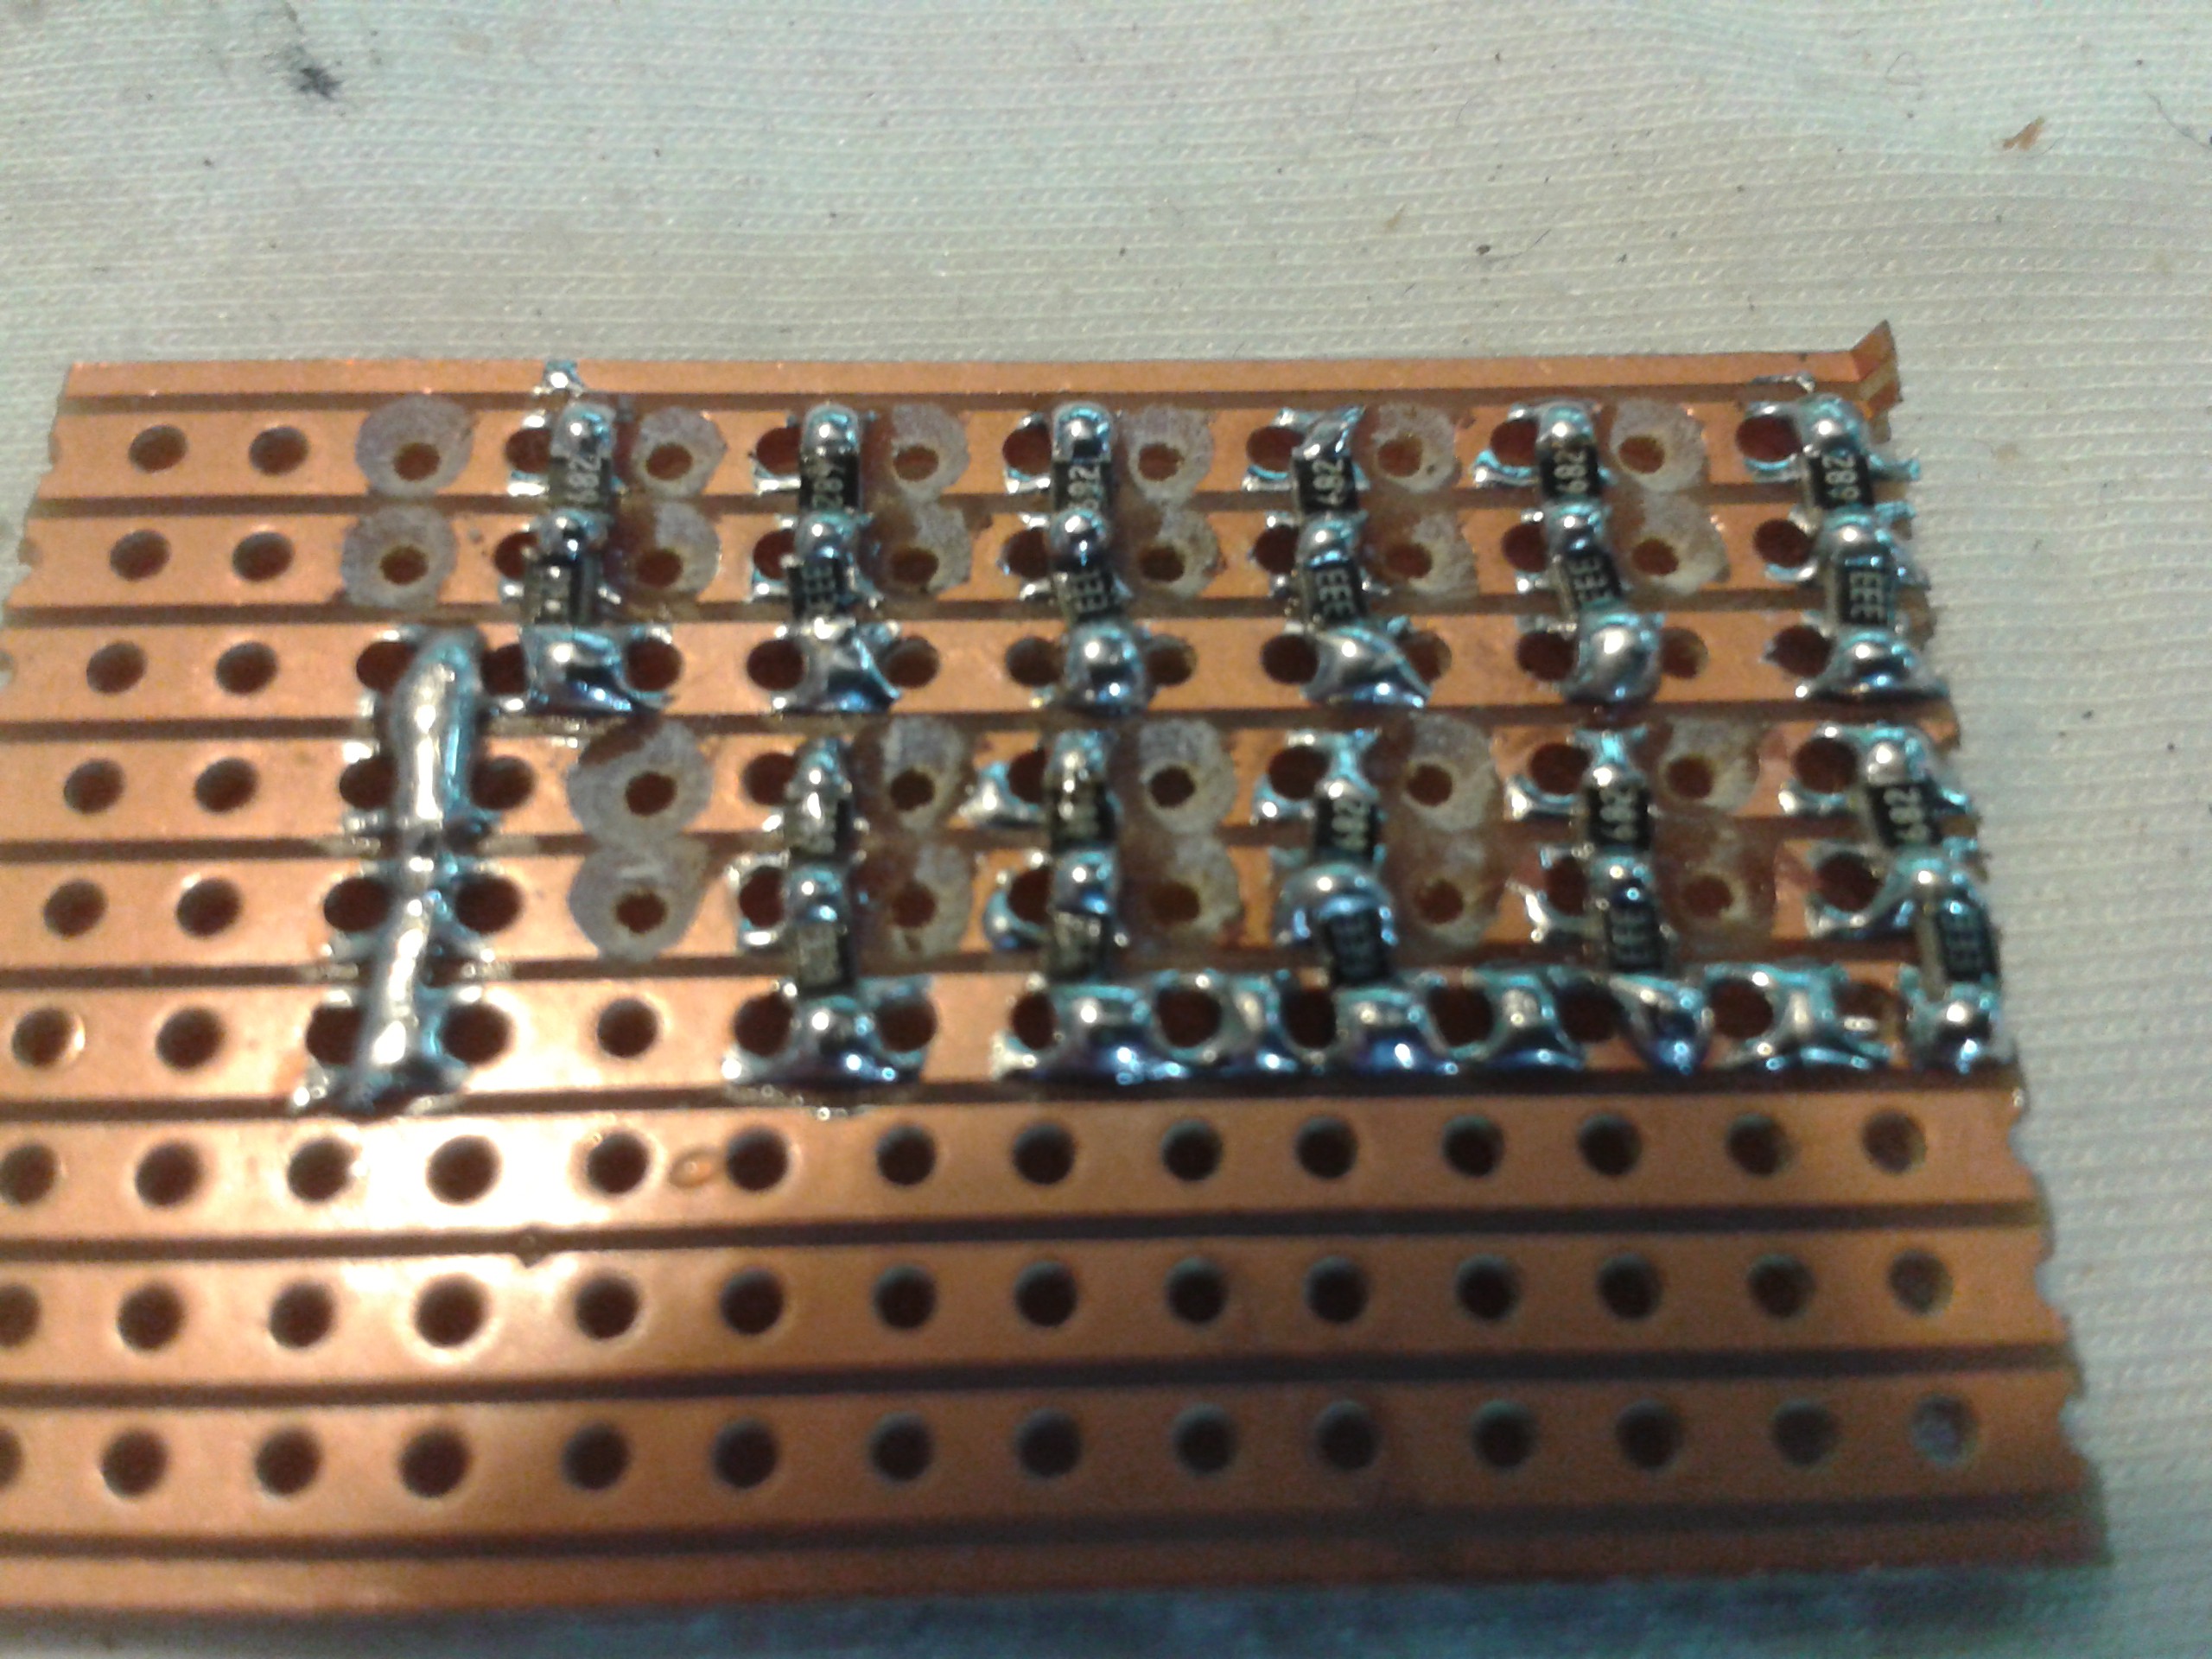
Using an Arduino to drive 805 LEDs is the closest I can get to a NeoPixel strip as well, so I've used 8 LEDs for the Landing Strip and a further 3 for the badge. One more to drive the Host Signalling and thats an Arduino maxed out.
![]()
The badge is constructed using waveguides. The front surface of a thin piece of transparent plastic is roughened, and a LED set into the edge. A piece of reflective foil behind it makes sure a lot of the light crossing the plastic horizontally gets scattered and trapped by the rough surface where it is visible.
I've used superglue to interface the LED directly with the waveguide itself to maximise the light transfer.
![]()
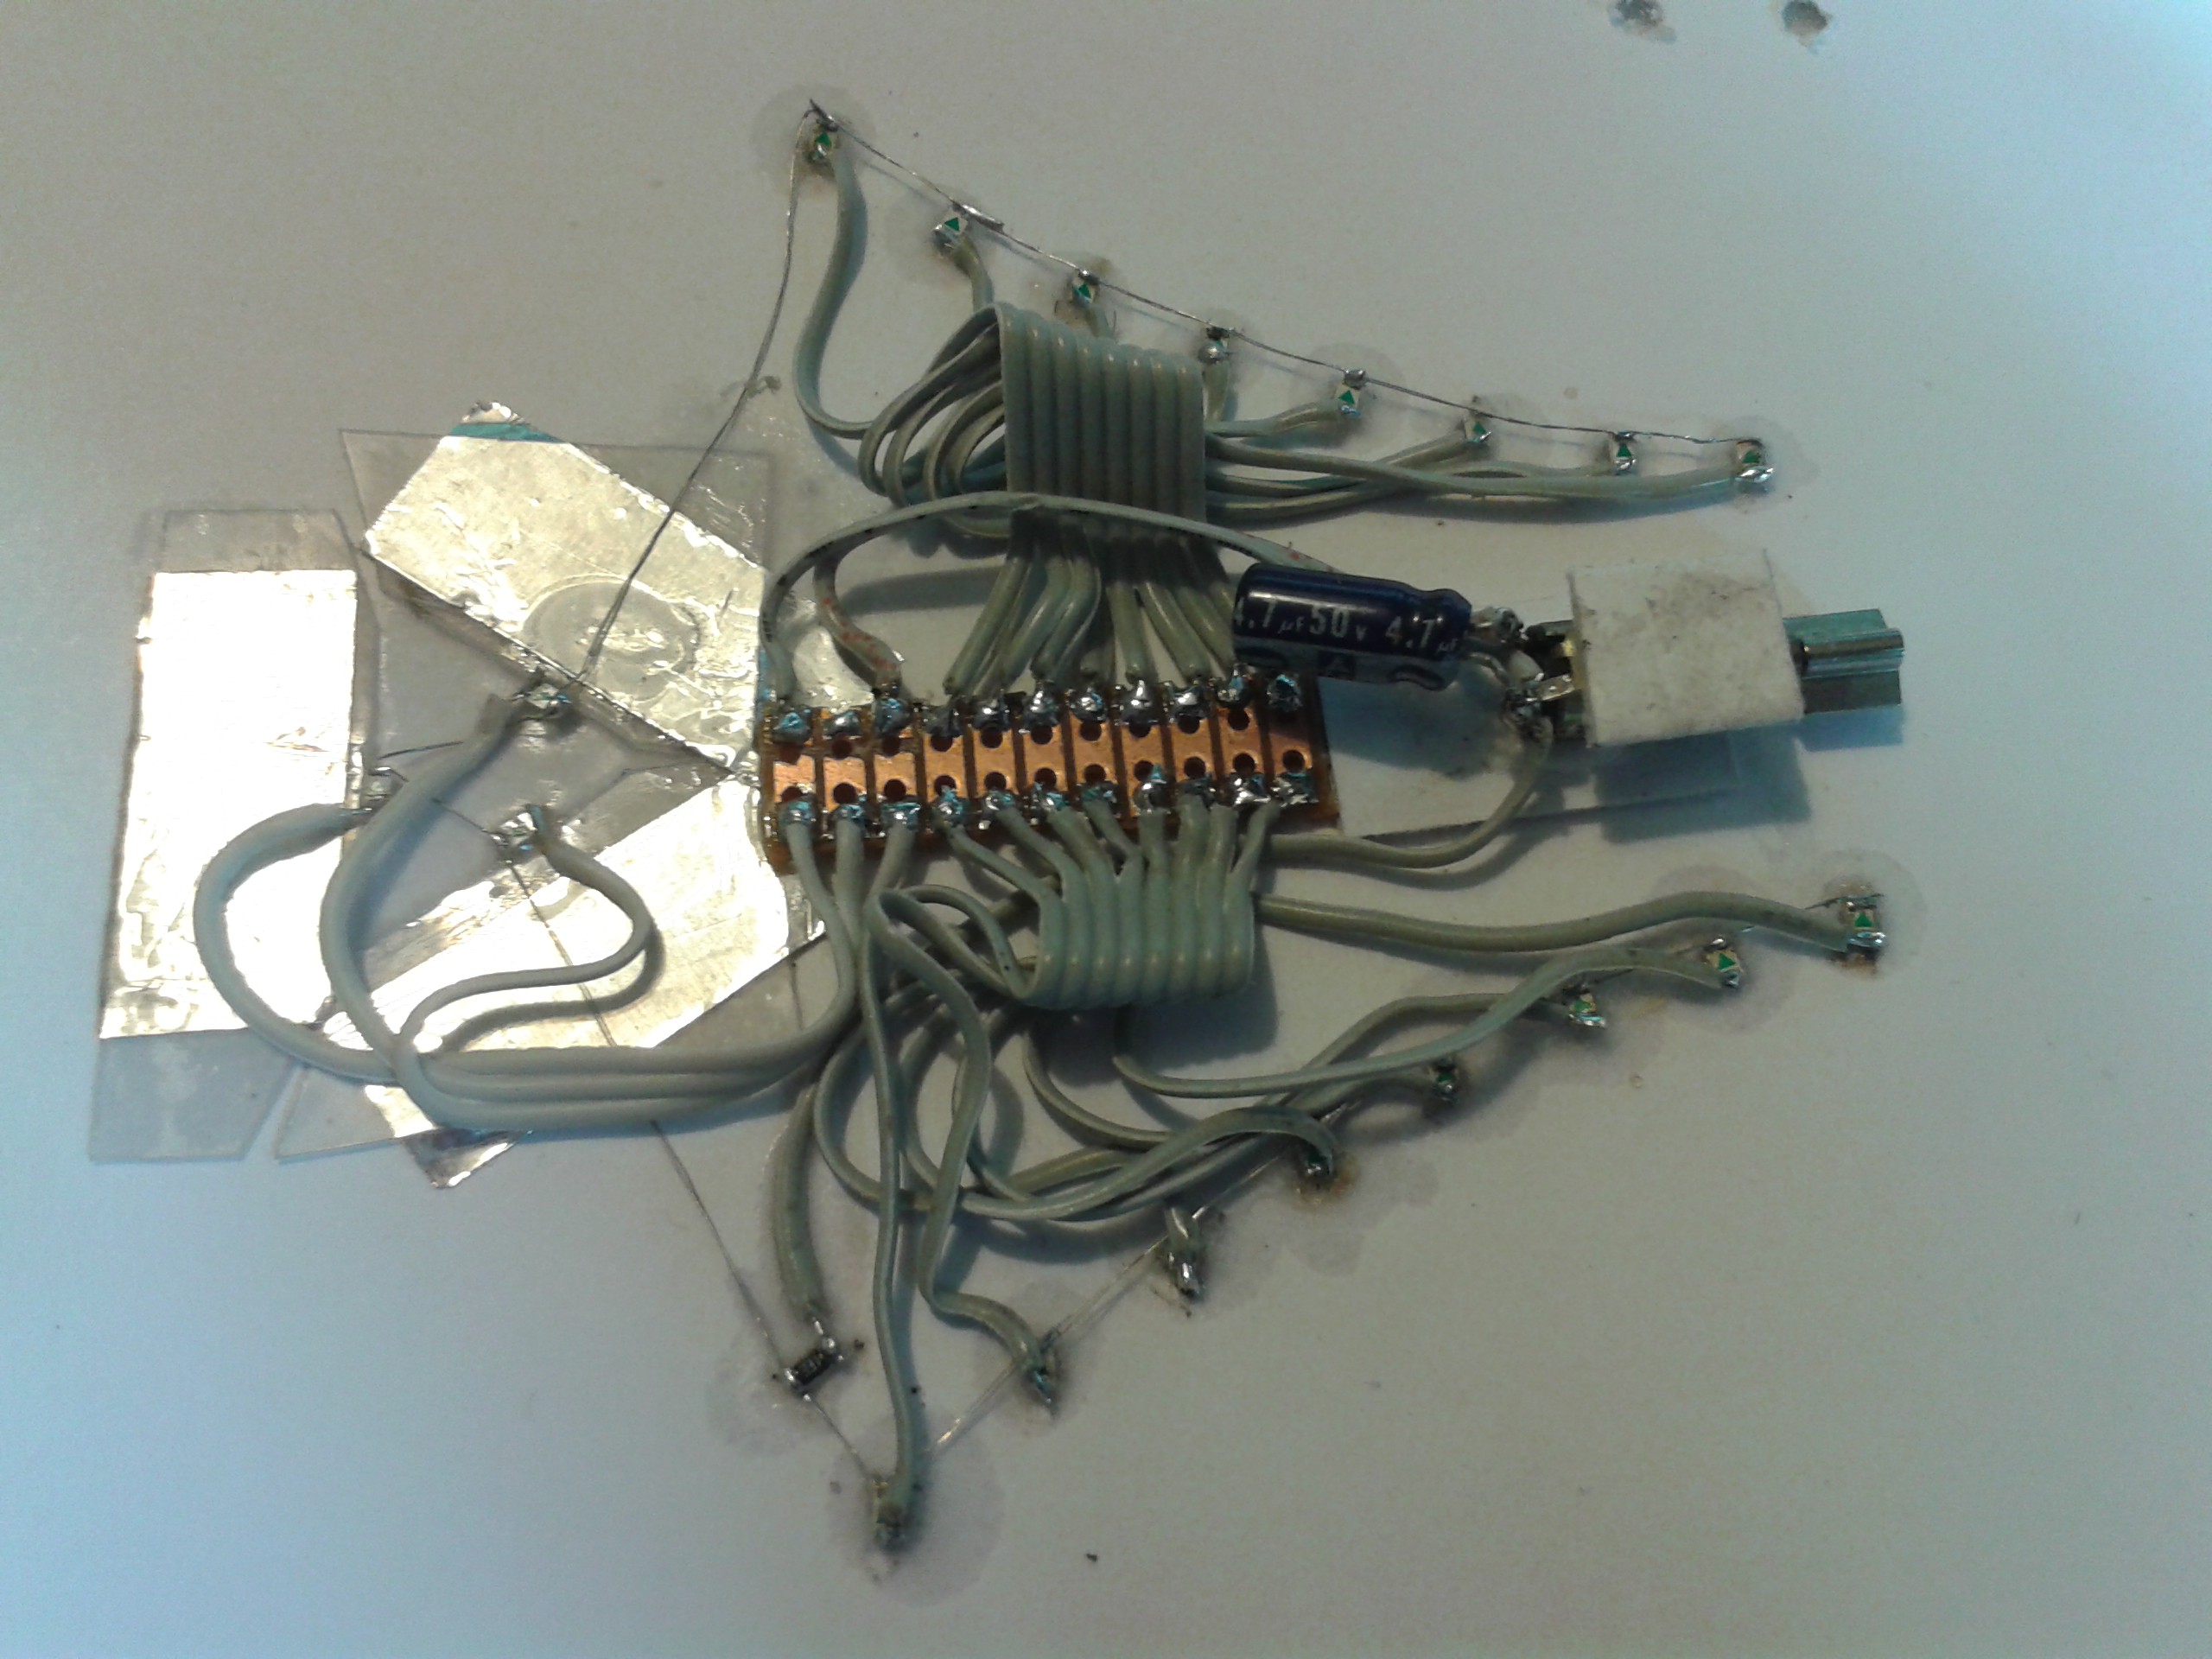
Wiring in all the grounds, adding series resistance and a buffer/flyback for the motor. Normally a suppressor would be much smaller and a ceramic type. Here I'll be driving the motor with PWM so a larger buffer is best.
![]()
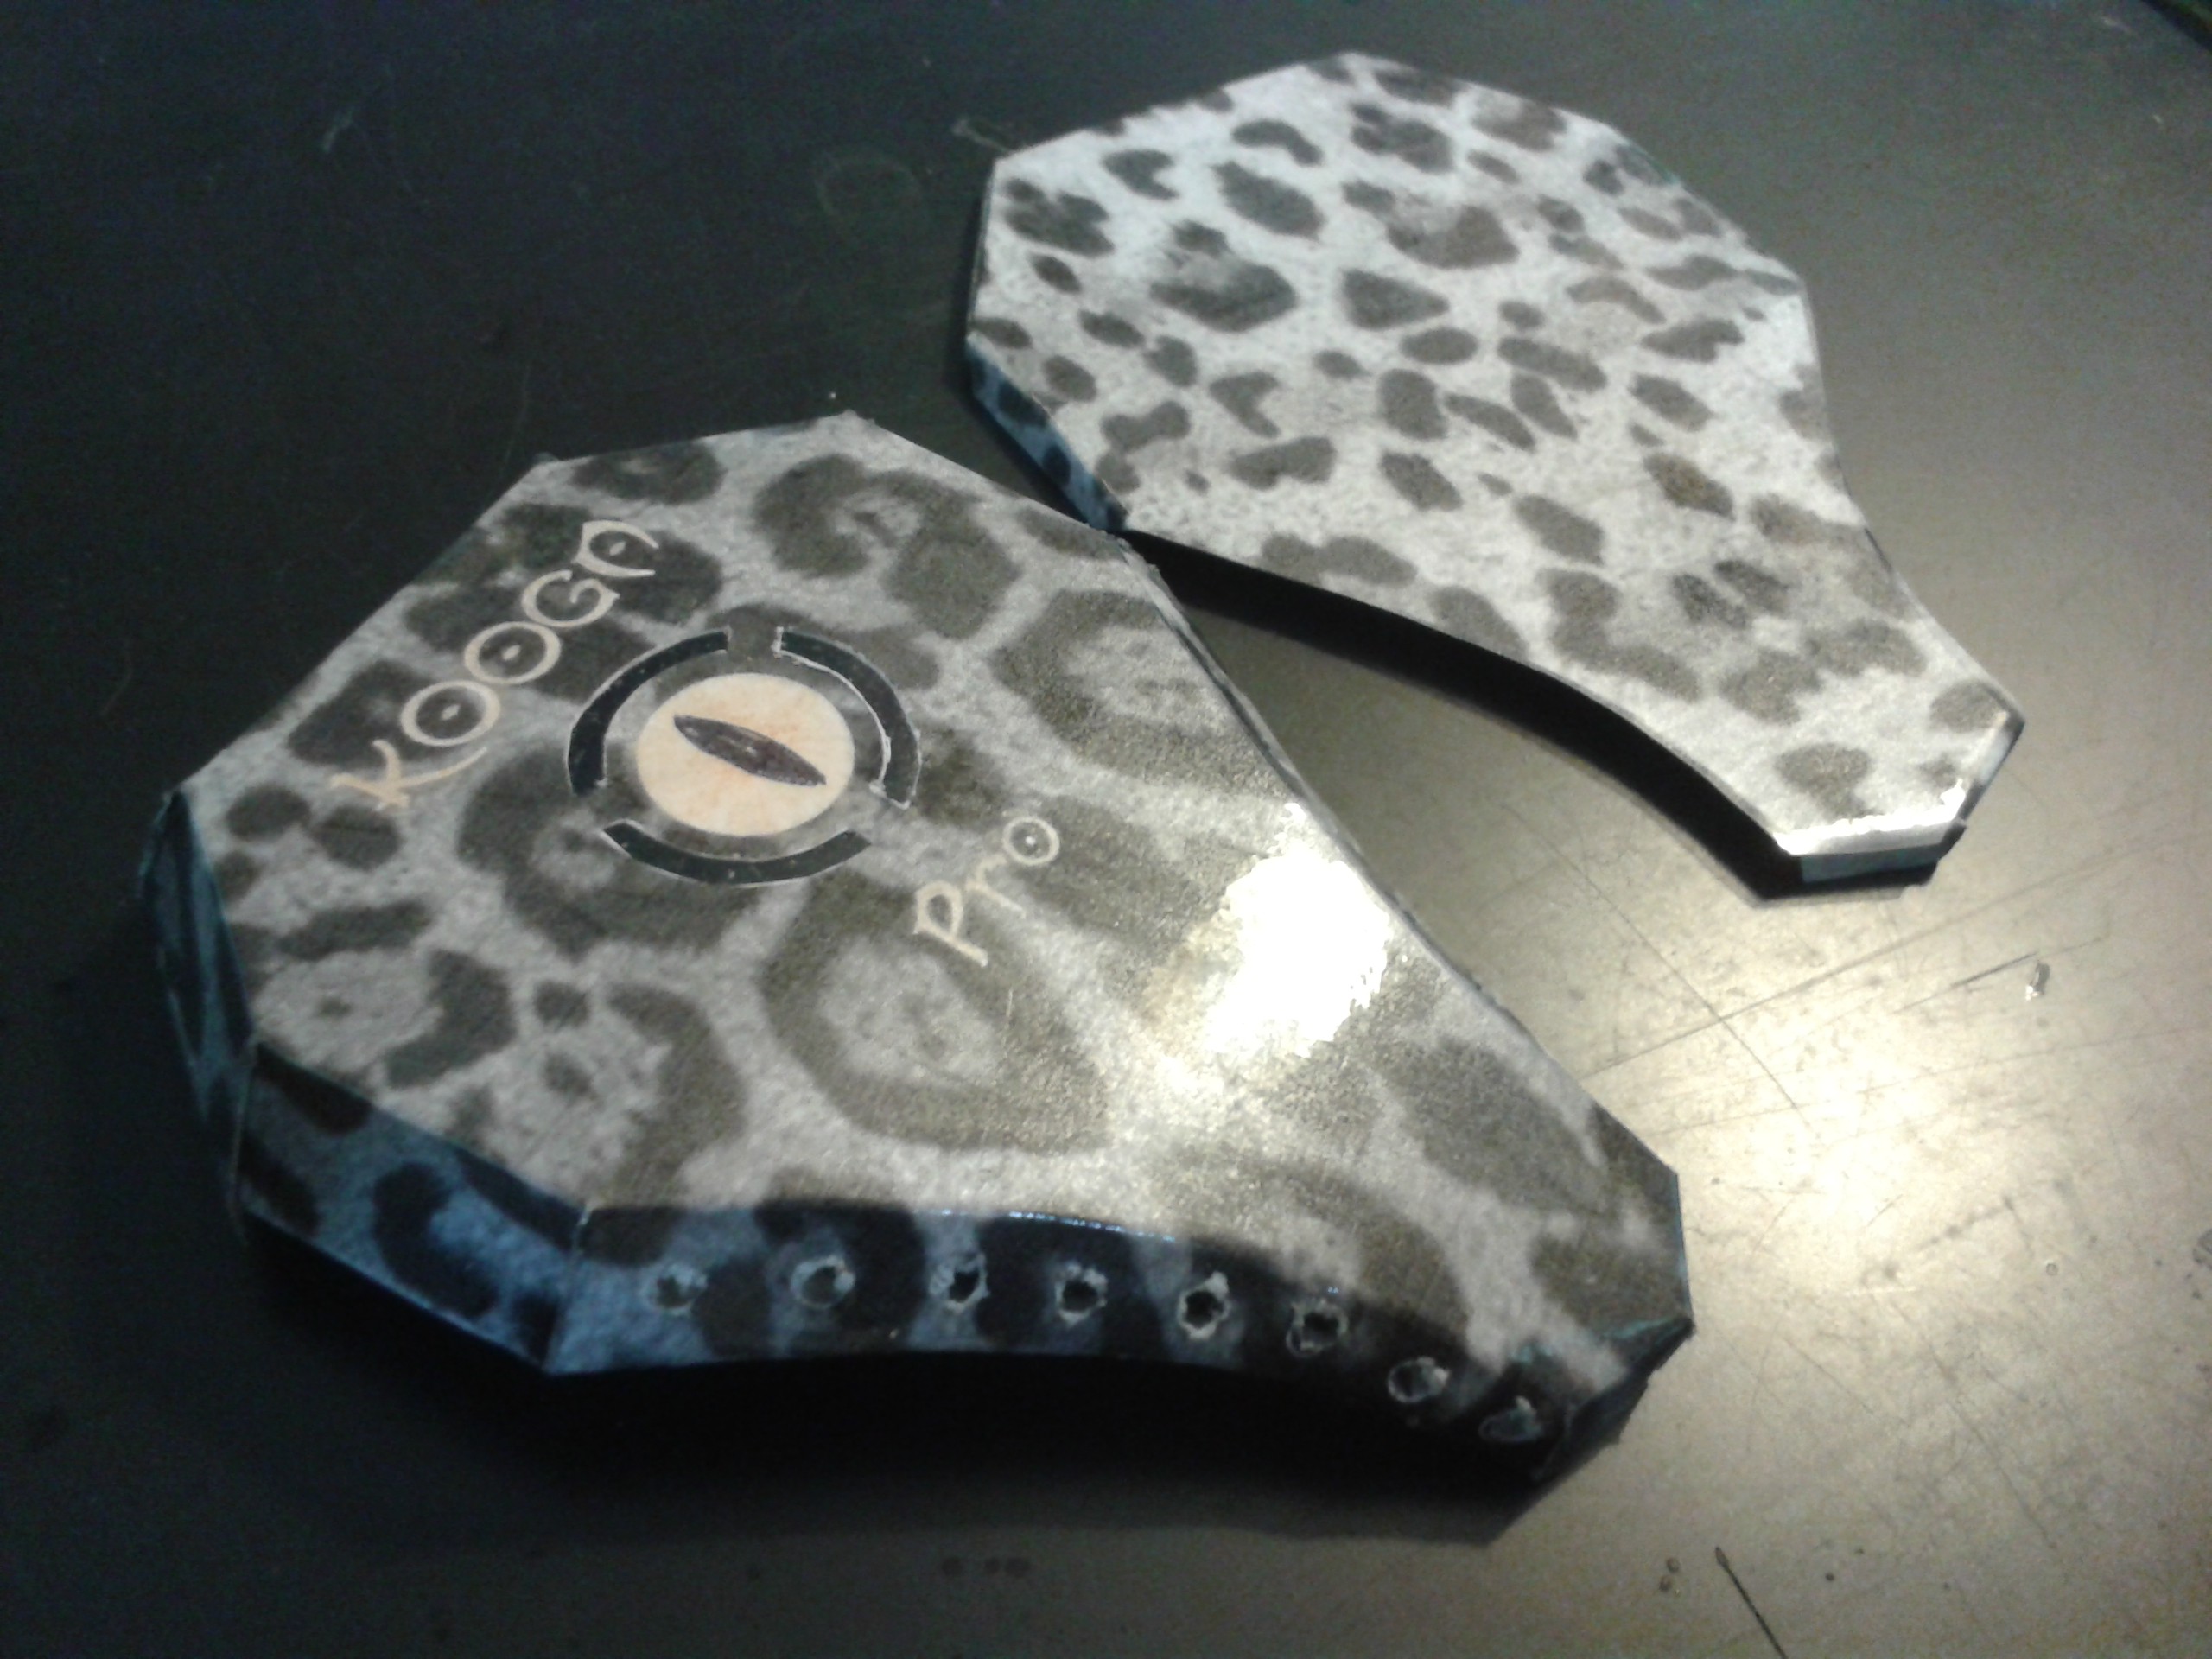
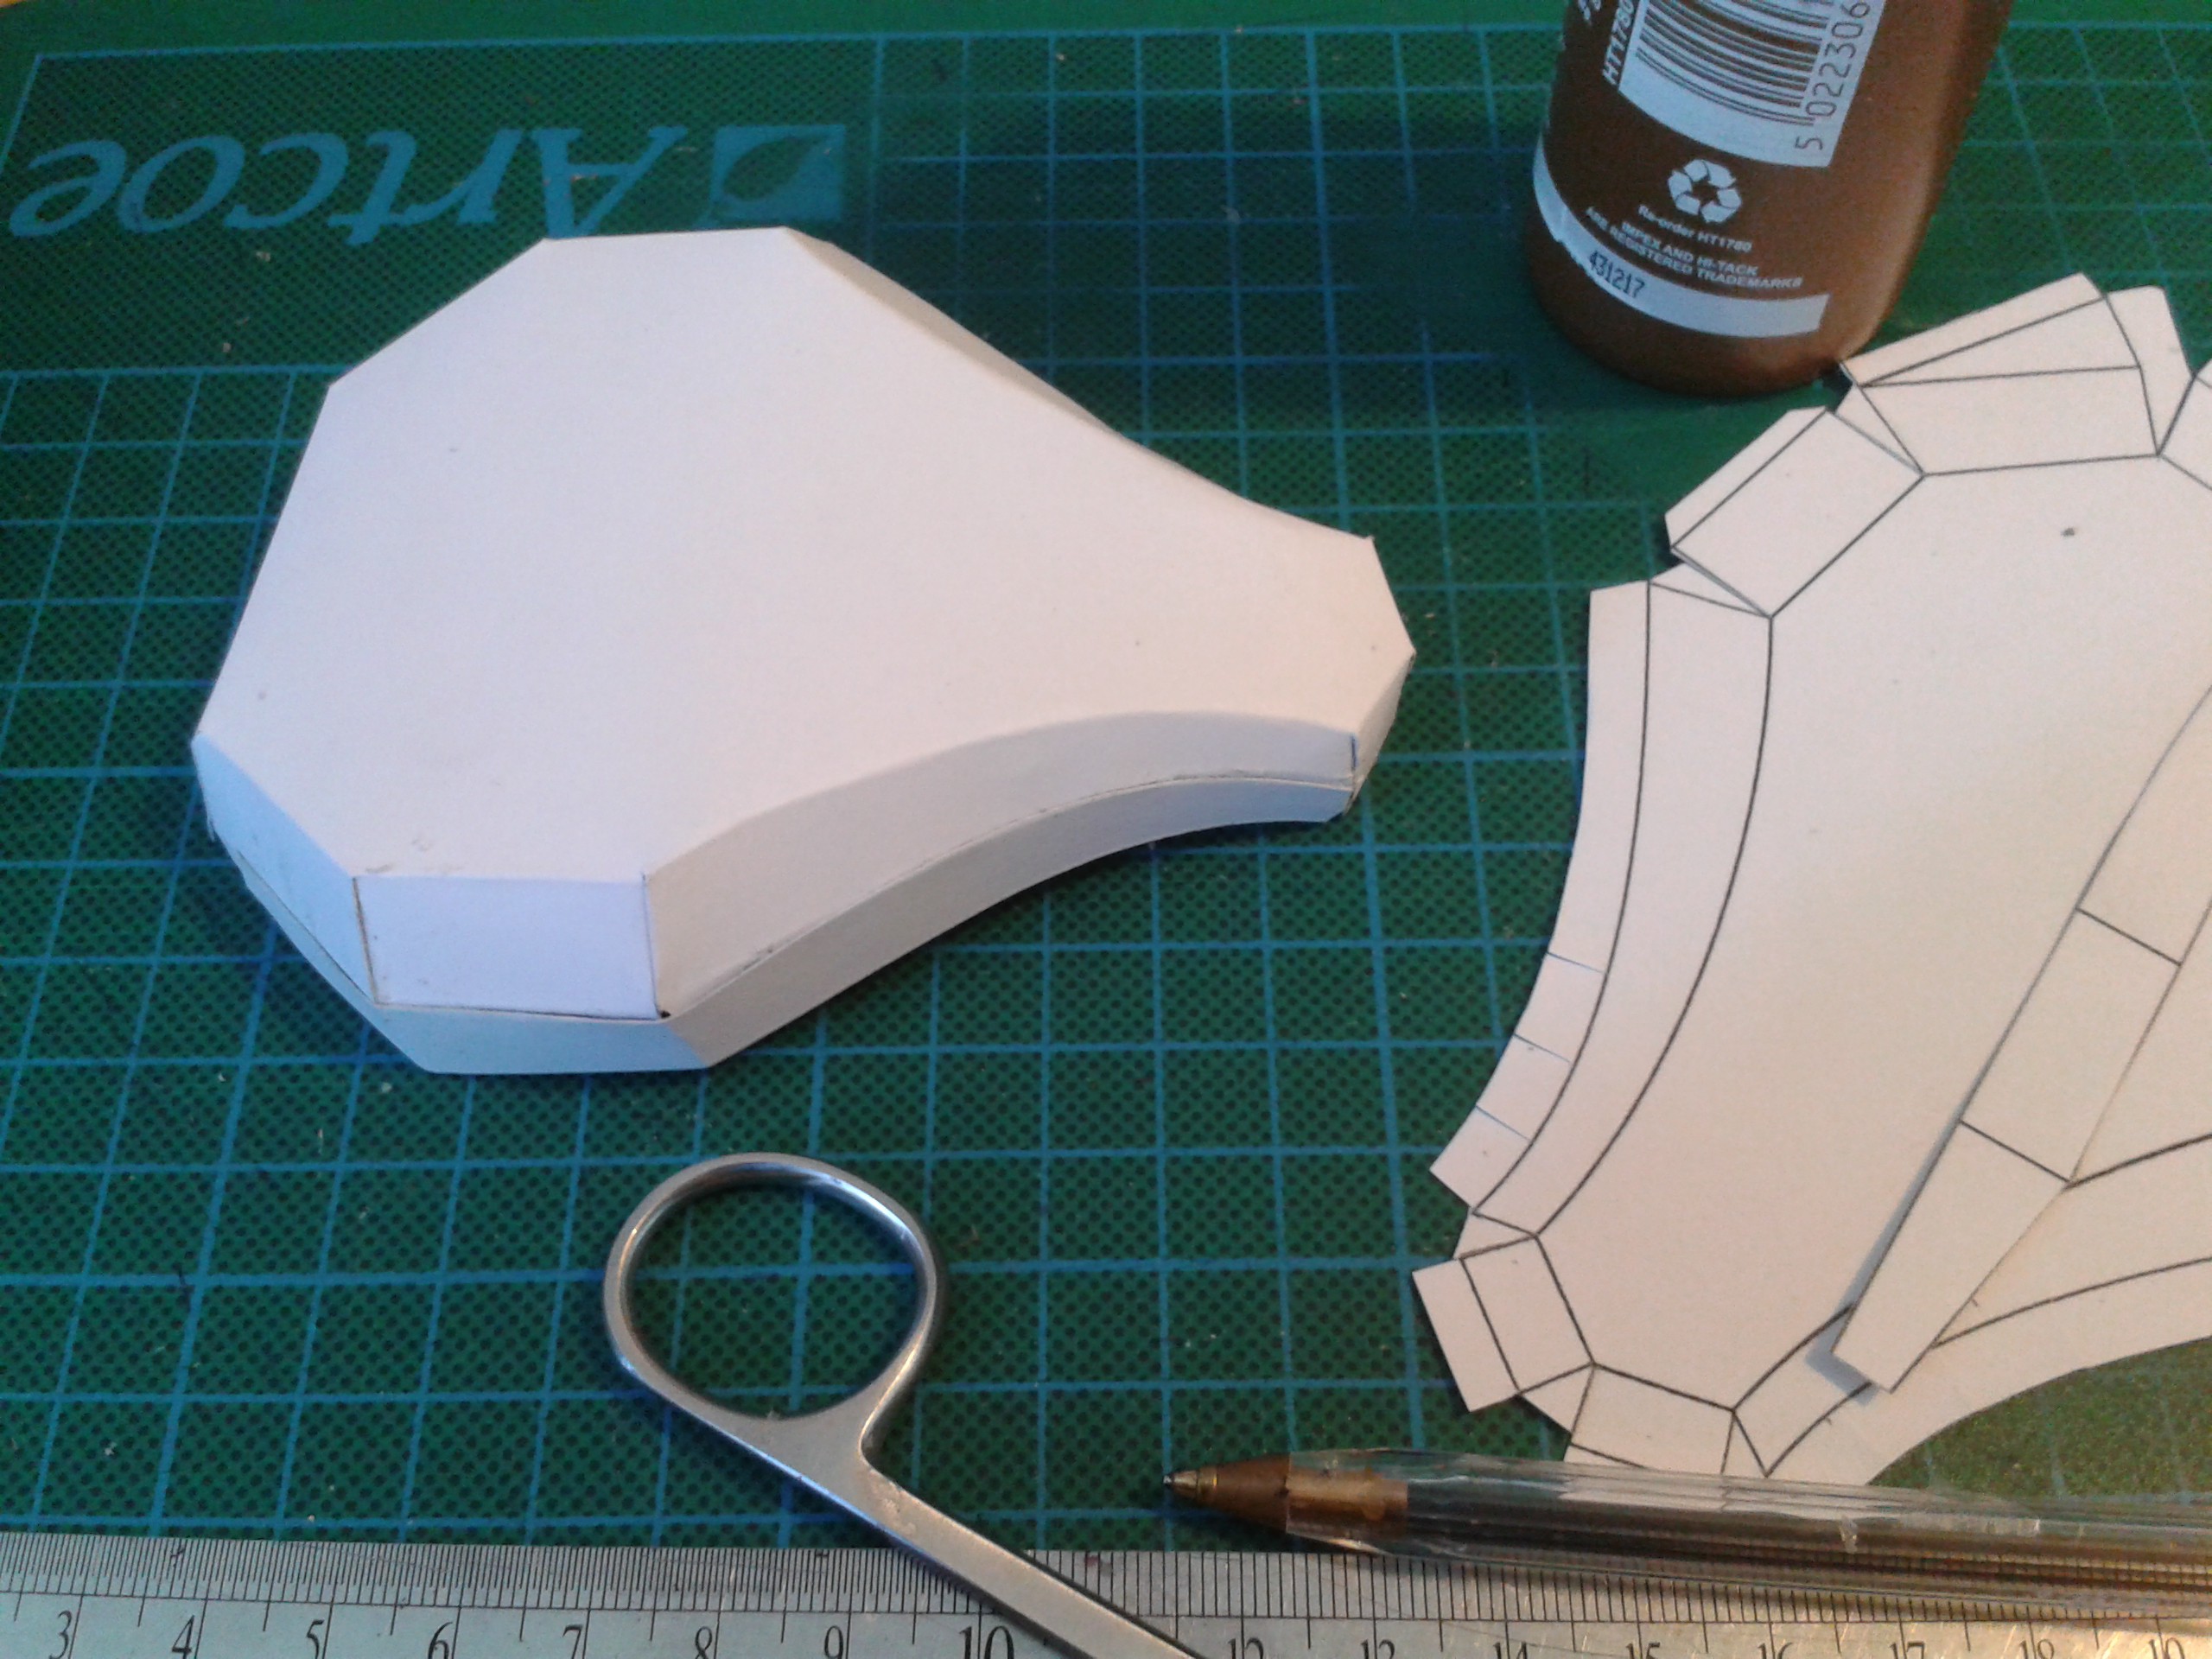
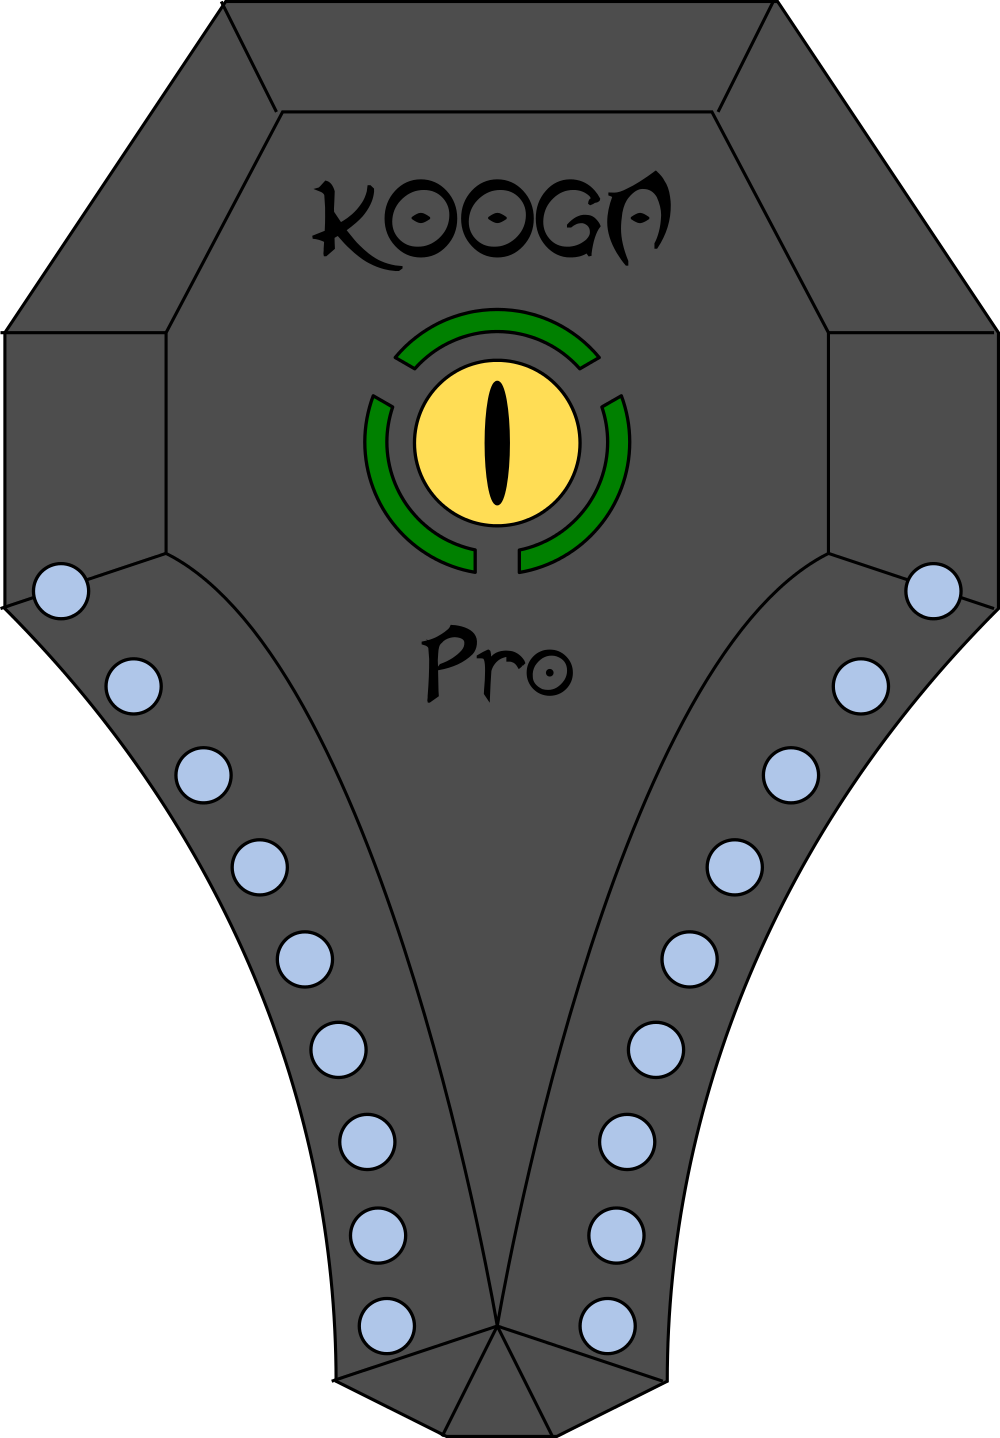
The case is double-printed with the folding template on one side and the Kooga design on the other and coated with sticky-back plastic before folding so it stretches evenly over the curved surface.
I managed to get quite a shine on that.
![]()
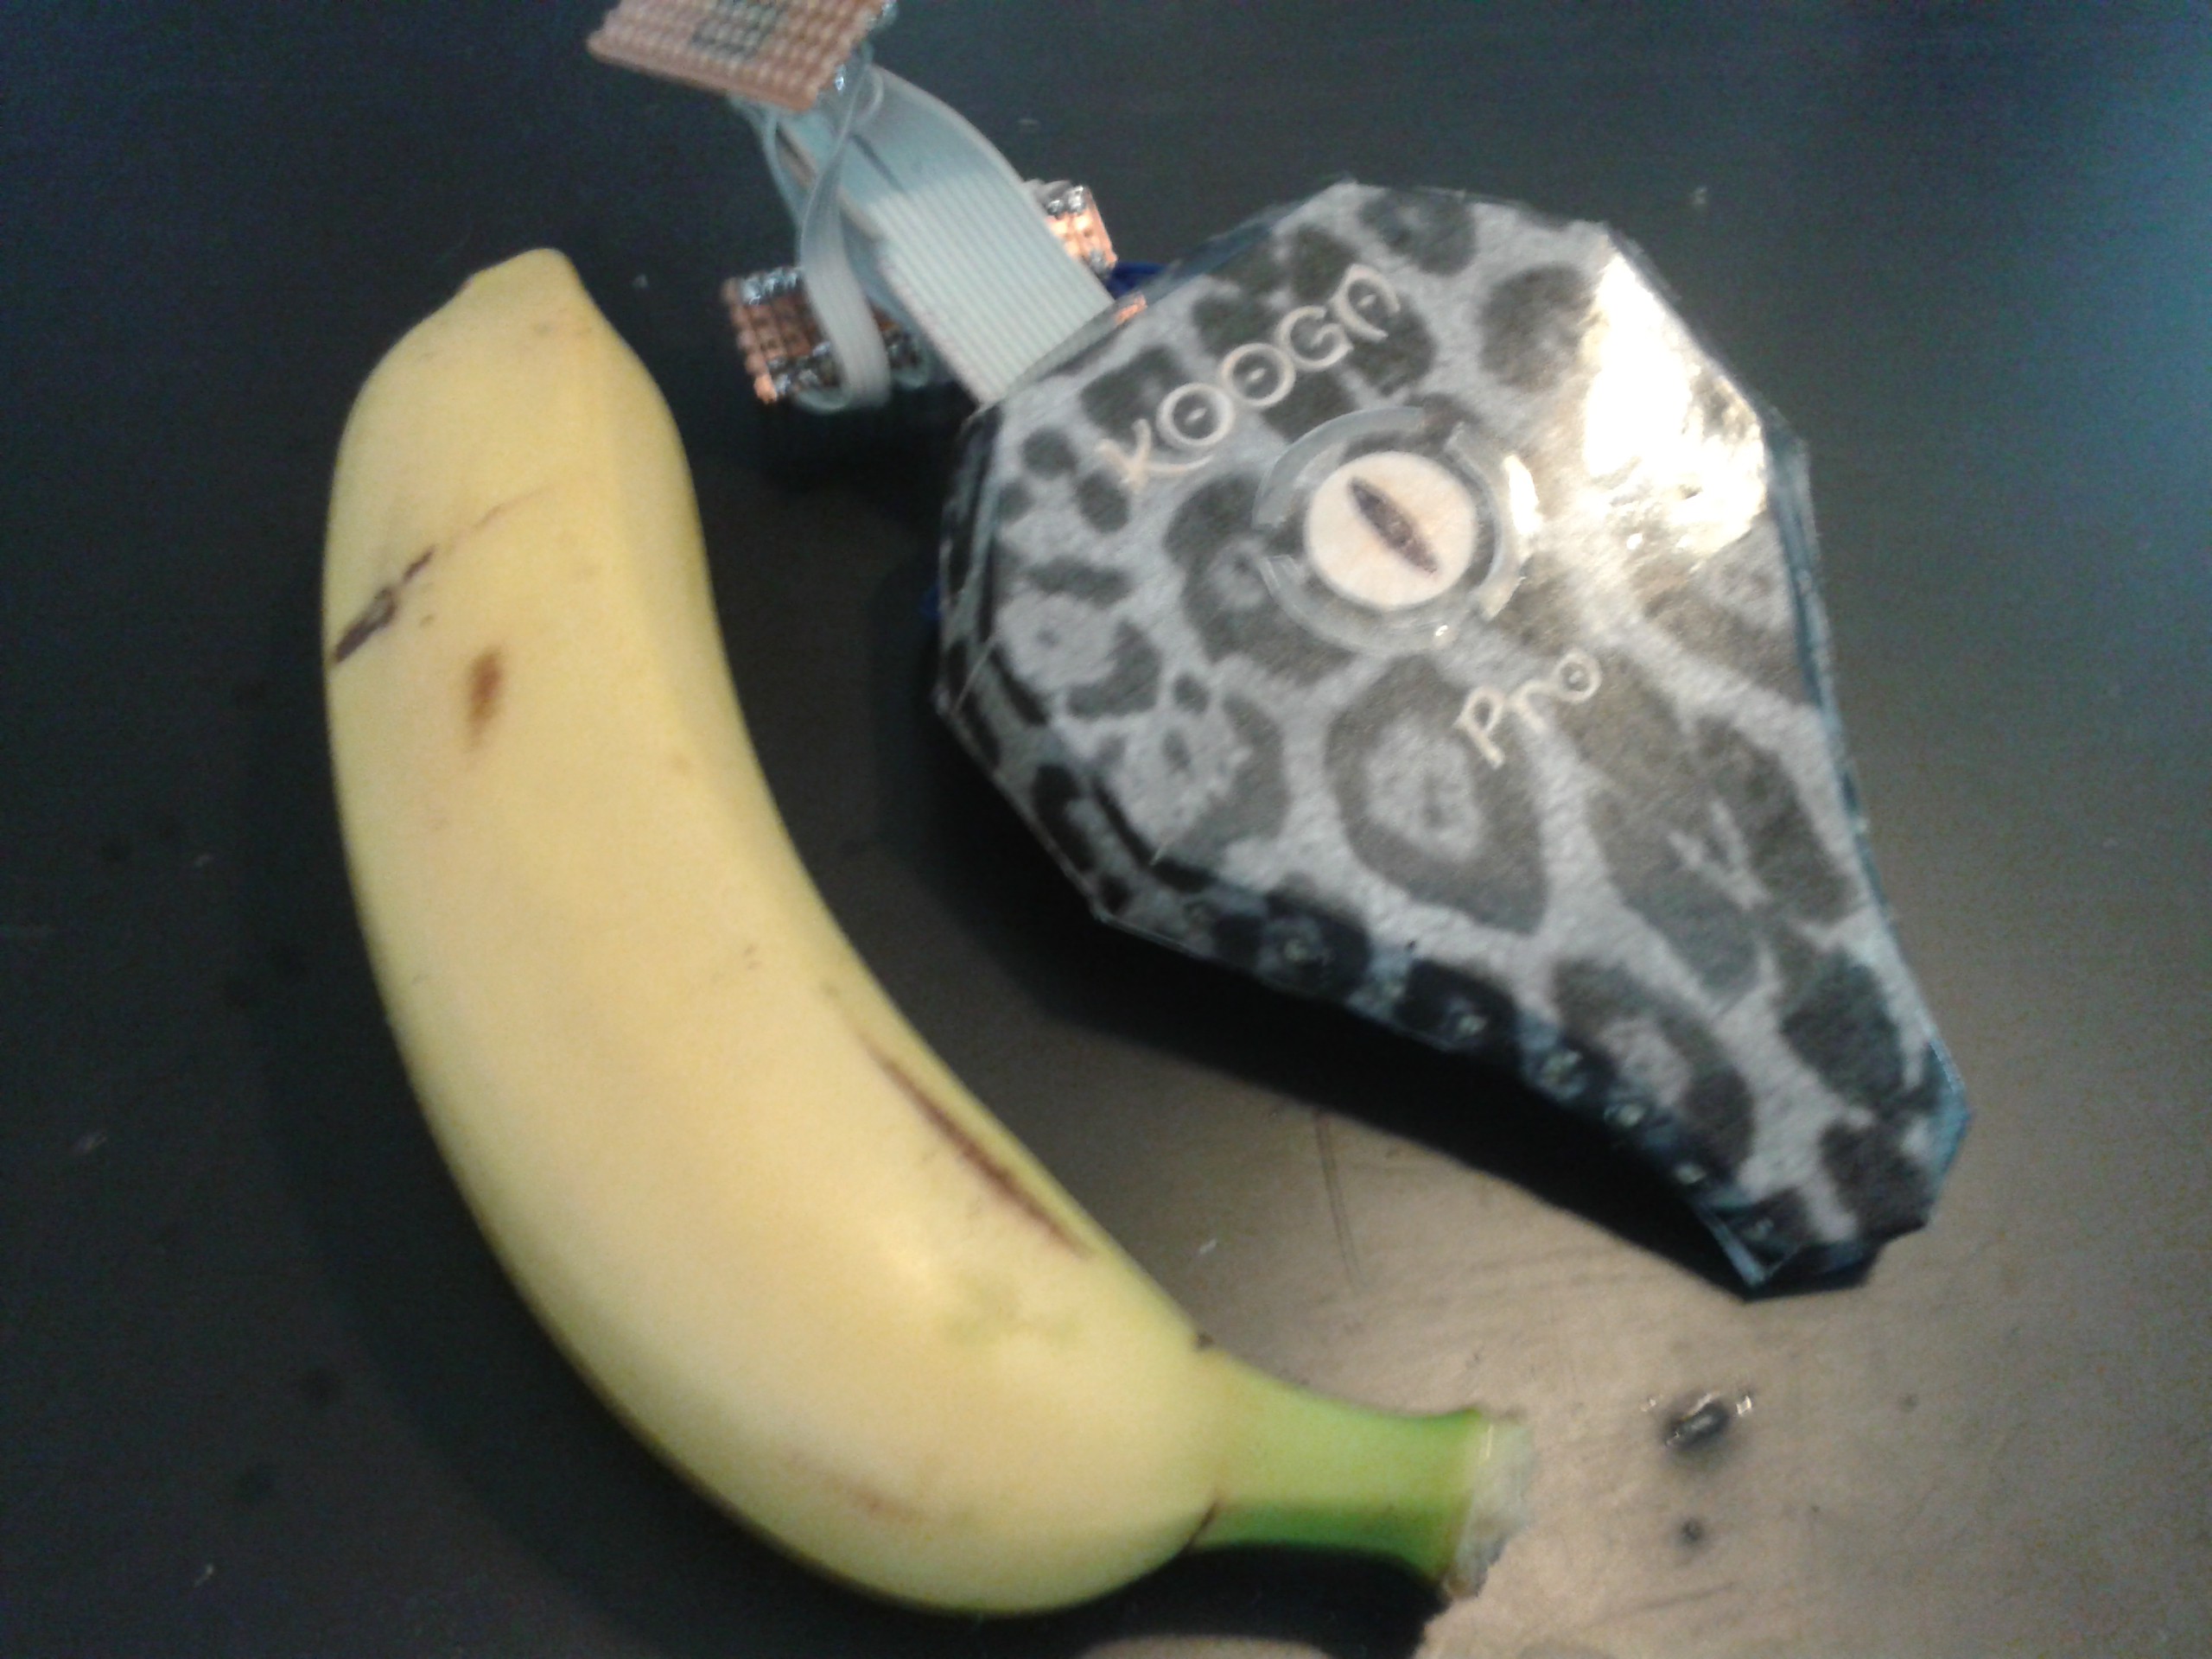
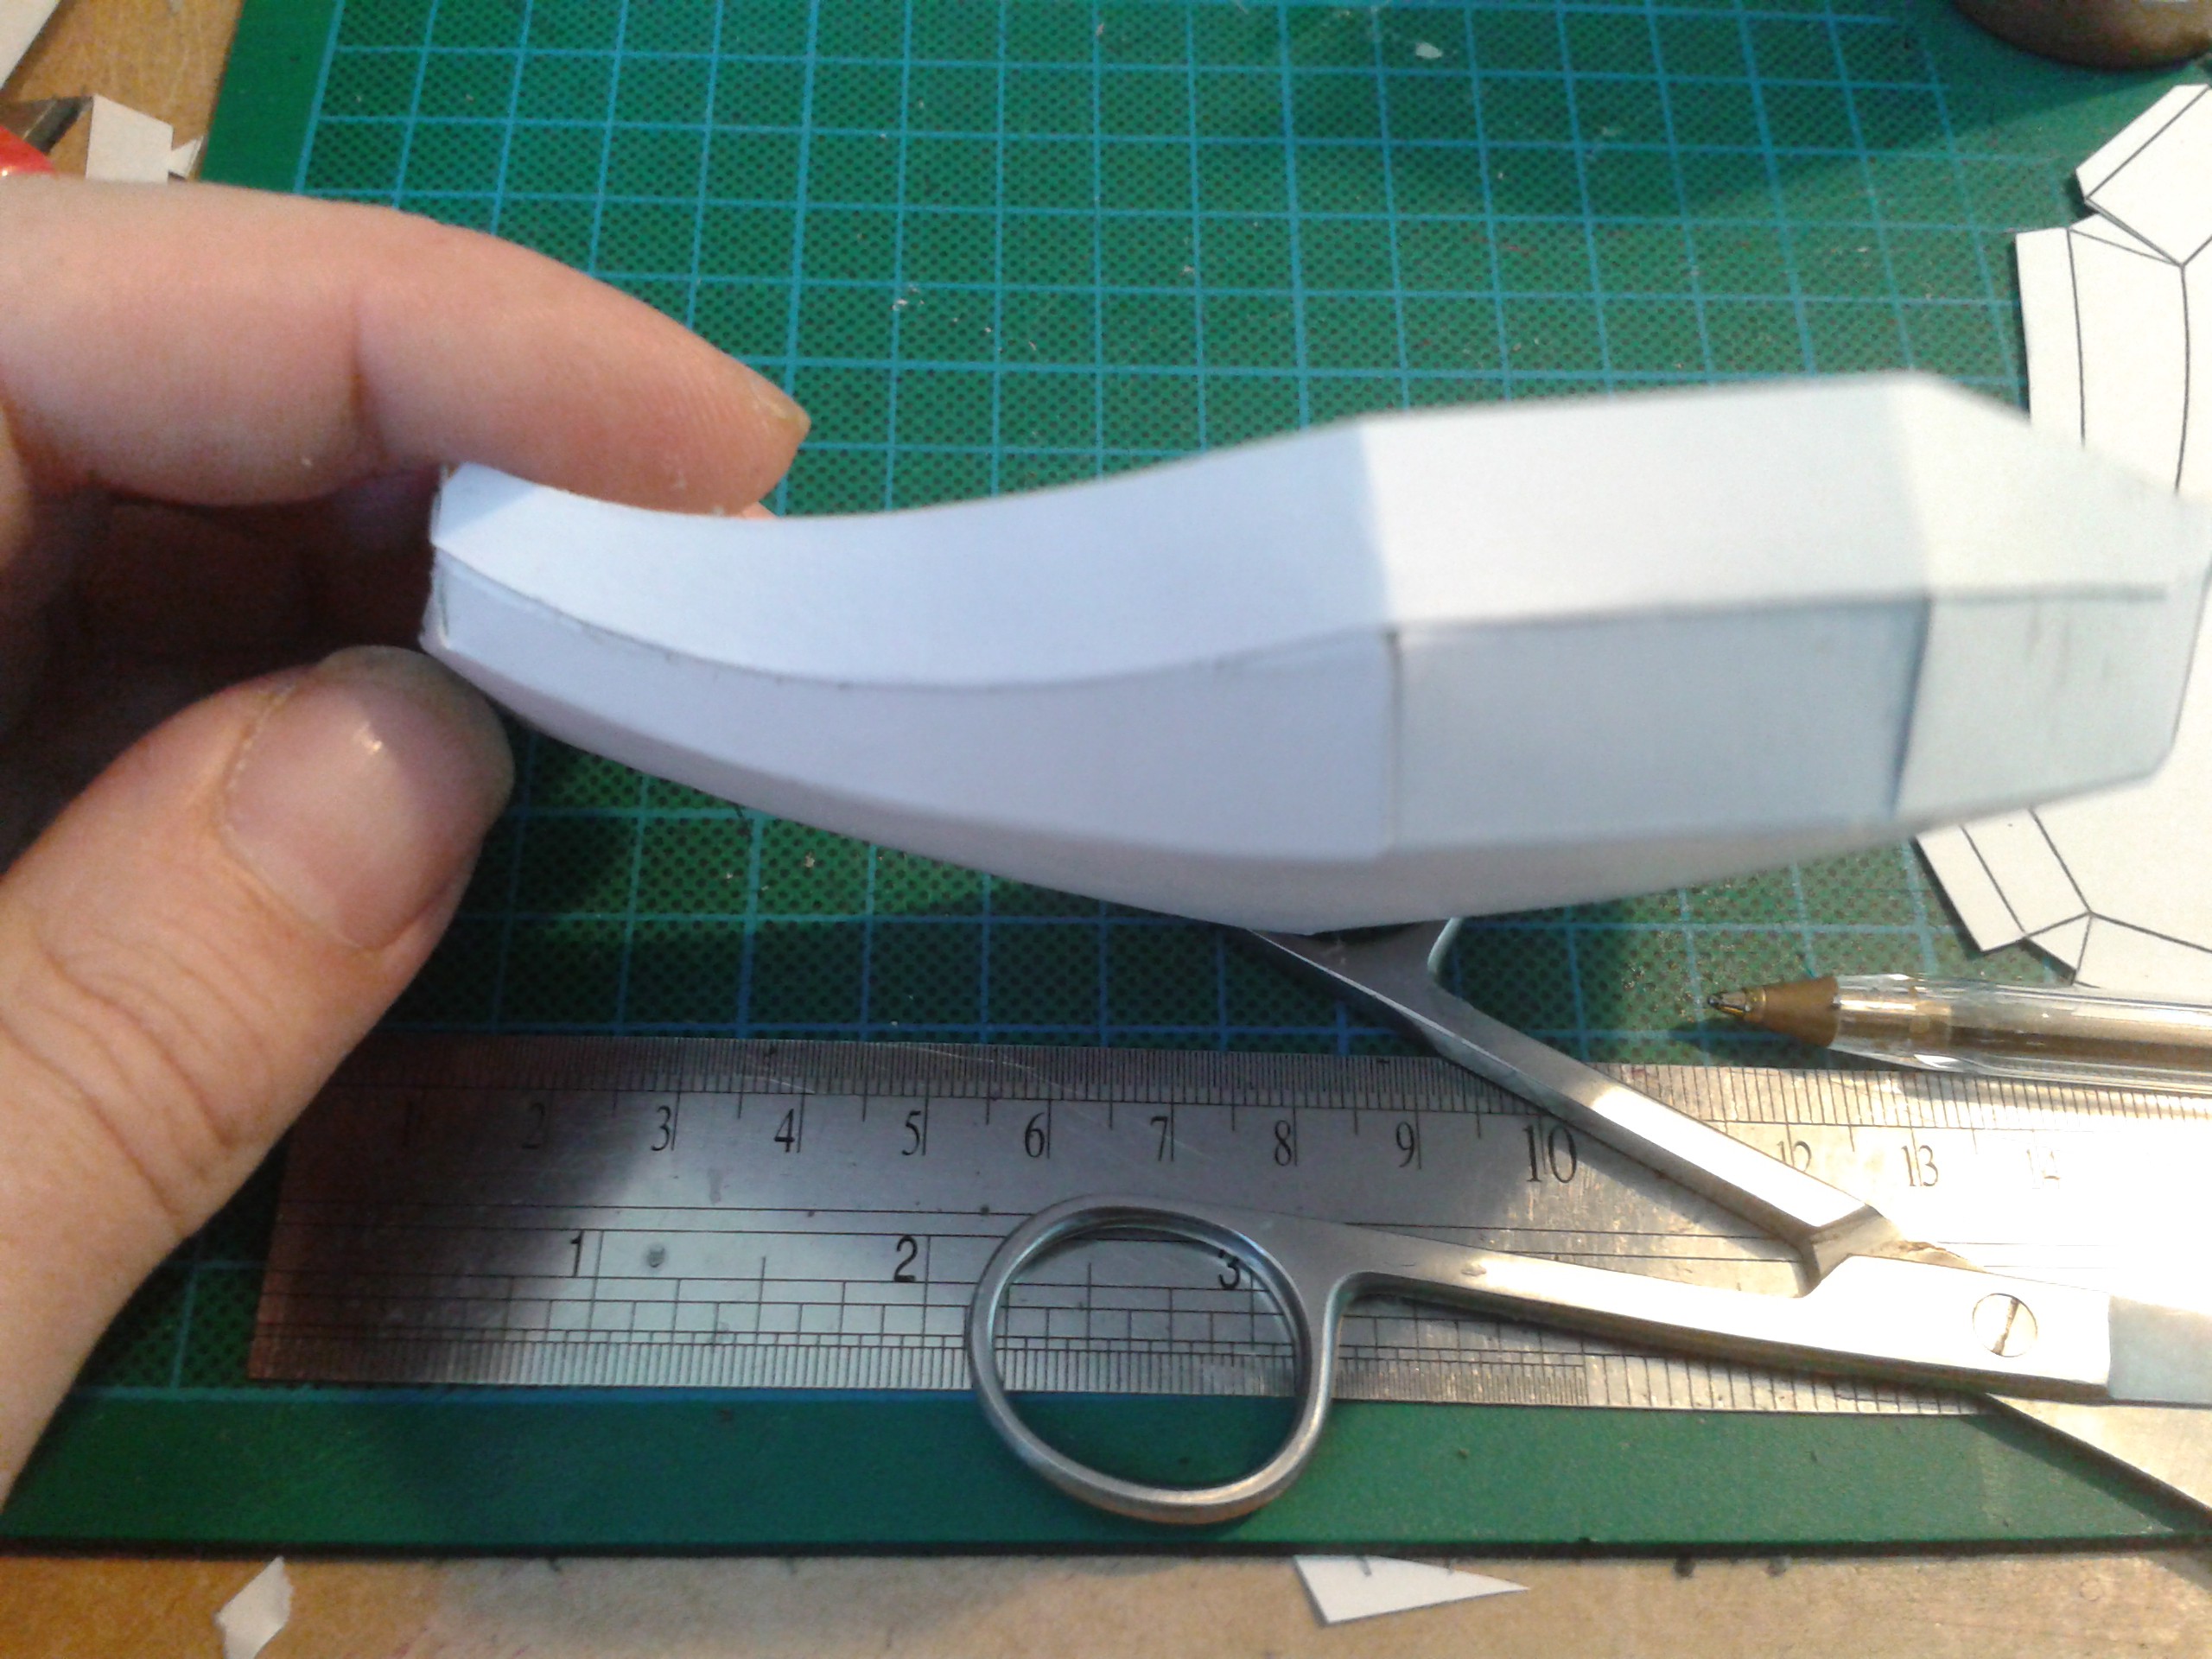
The obligatory banana for scale. Note that this is a fun-size banana for testing. I've never used a banana before so I started with a small one.
I need to swap out one of the badge LEDs which doesnt work and one of the Landing Strip seems to have packed up too, it worked during testing.
I also had a bit of trouble matching the LED drive current. I ordered bright white 805s and got green, so I just shrugged and used them. Unfortunately the white ones are 3V 30mA, and the green ones are 1.8V 20mA so I wound up building a divider after blowing the first print up. Oops...
![]()
I originally had a 330ohm series resistor in it (Vs=5V - Vf=1.8V / i=20mA : R = 160) which should have been fine but it blew using 3V to test them. So I built a divider using 6.8K and 3.3K resistors and shunted the power I needed instead. I'll work on this...
There is also a capacitive touch sensor behind the badge to turn it on and personalise the vibes, it isnt enabled yet...
-
Log #128: Internet of Thongs
05/15/2017 at 00:39 • 0 commentsIt has become increasingly easy to connect almost anything to the internet these days, and with the Internet of Things almost anything can be connected.
![]()
Not everything that can be connected, should be connected though...
Internet of Condoms: "Find something that shouldnt be connected to the internet and design a robust application for it."
![]()
The specifications
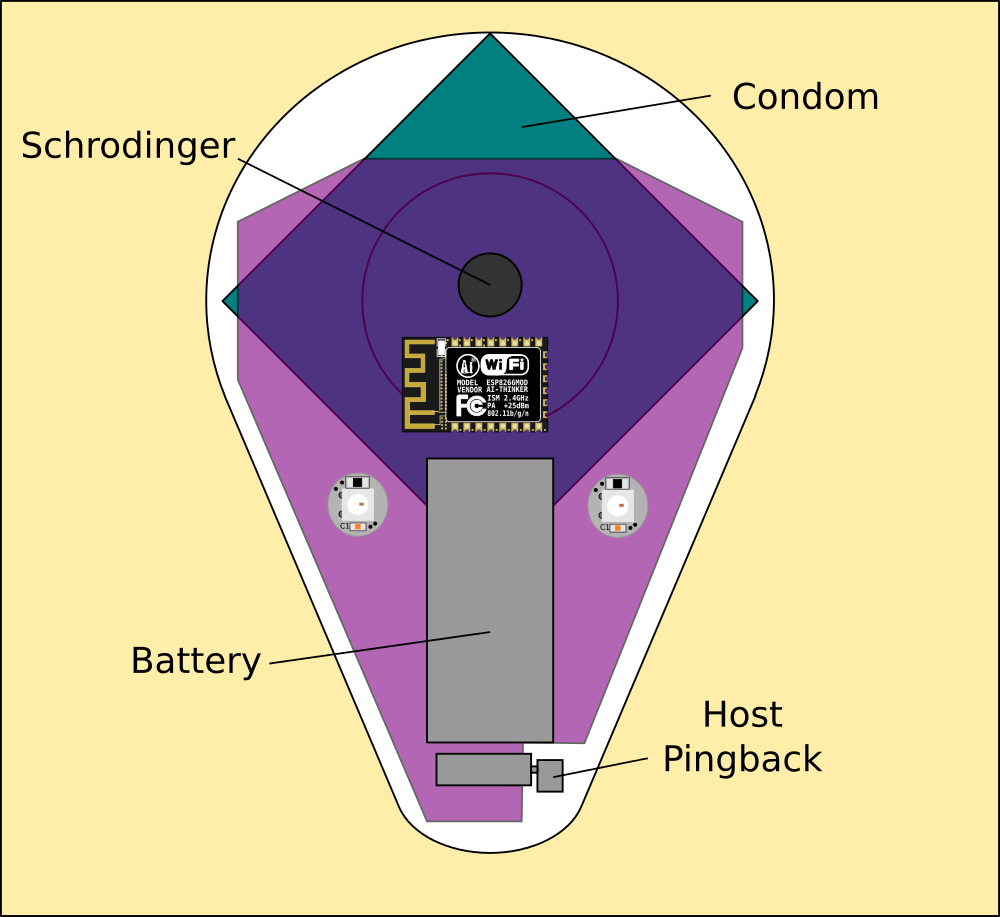
The device contains a Schrodinger Protection Layer. For your complete safety, should the expiry be reached, a small explosive charge inside the condom decreases your chance of getting lucky with it to zero. Regular updates are sent using the power of Tweeter.
![]()
Internet of Thongs (ioThong) connects wirelessly to other Internet of Thongs devices as a companion to your favourite dating service. Hook up and track down a host interface using haptics alone with Beacon to locate and signal another ioThong.
Beacon also connects to your BedPost to send status updates using the power of Tweeter. Enjoy a wide range of online activity such as Ratings, History and of course Automatically Installed Defense System Anti-Virus.![]()
Its a lot safer than going to the clinic, where you might actually catch something you werent expecting.
Firmware
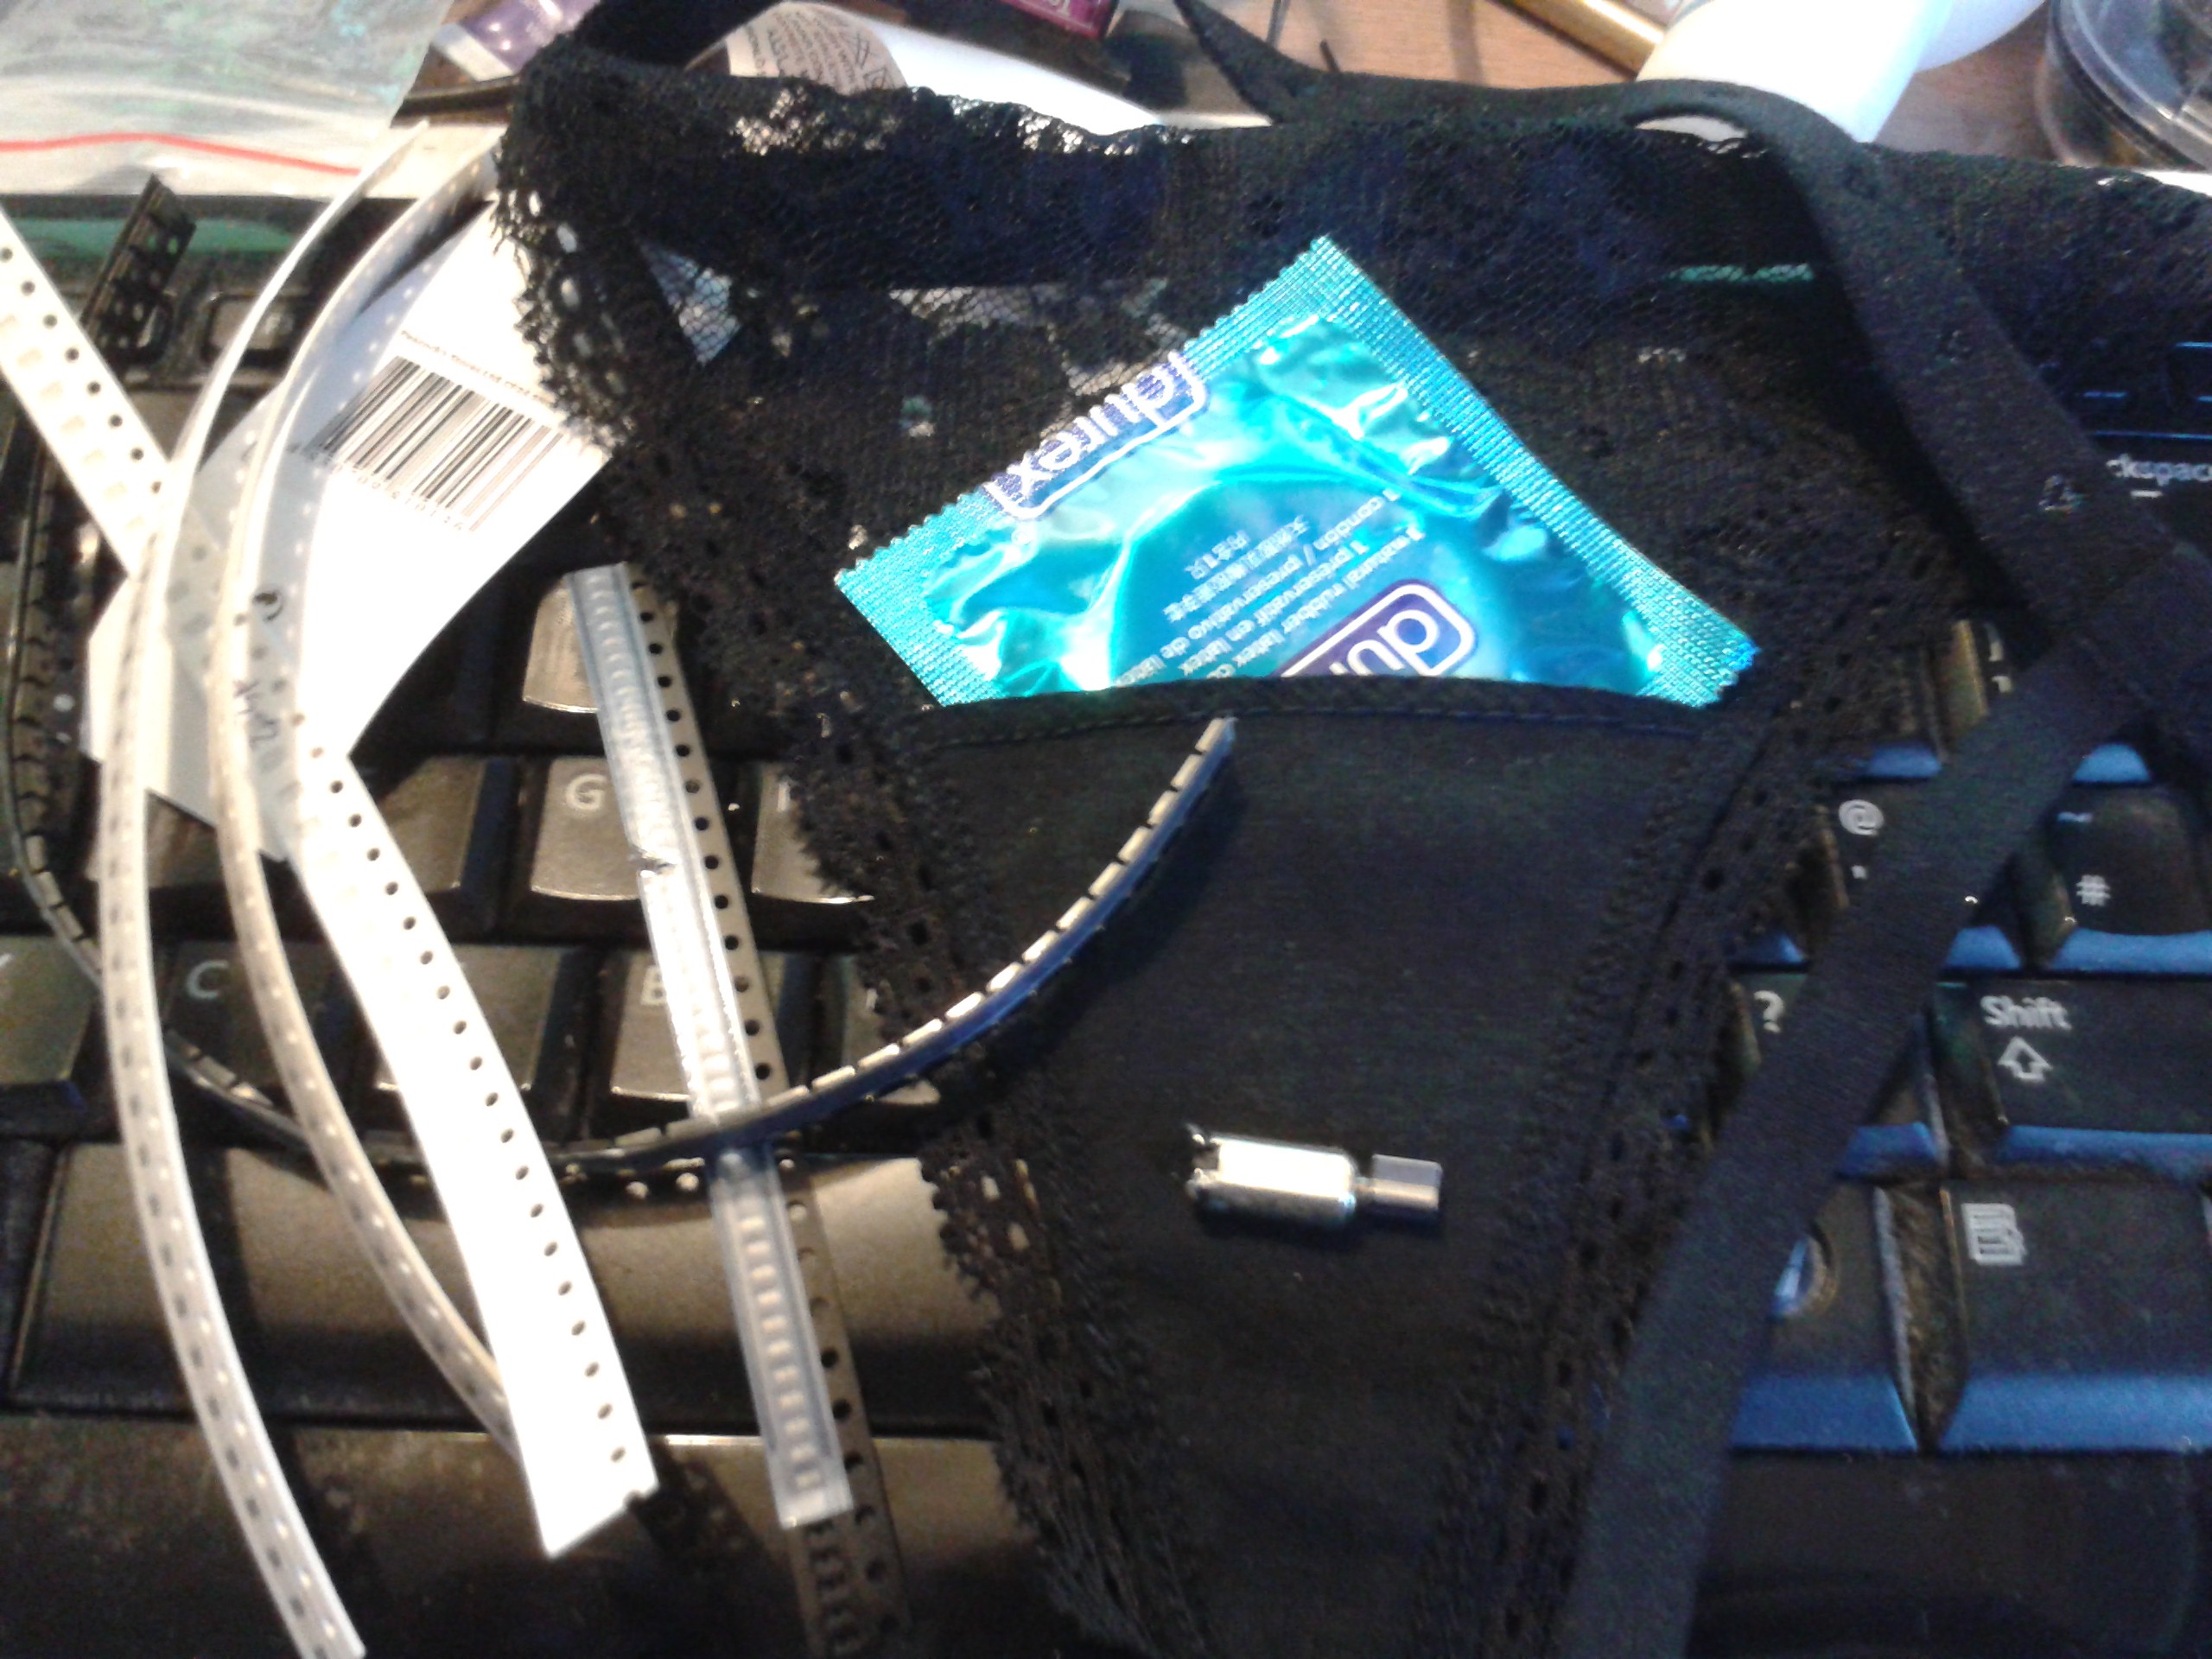
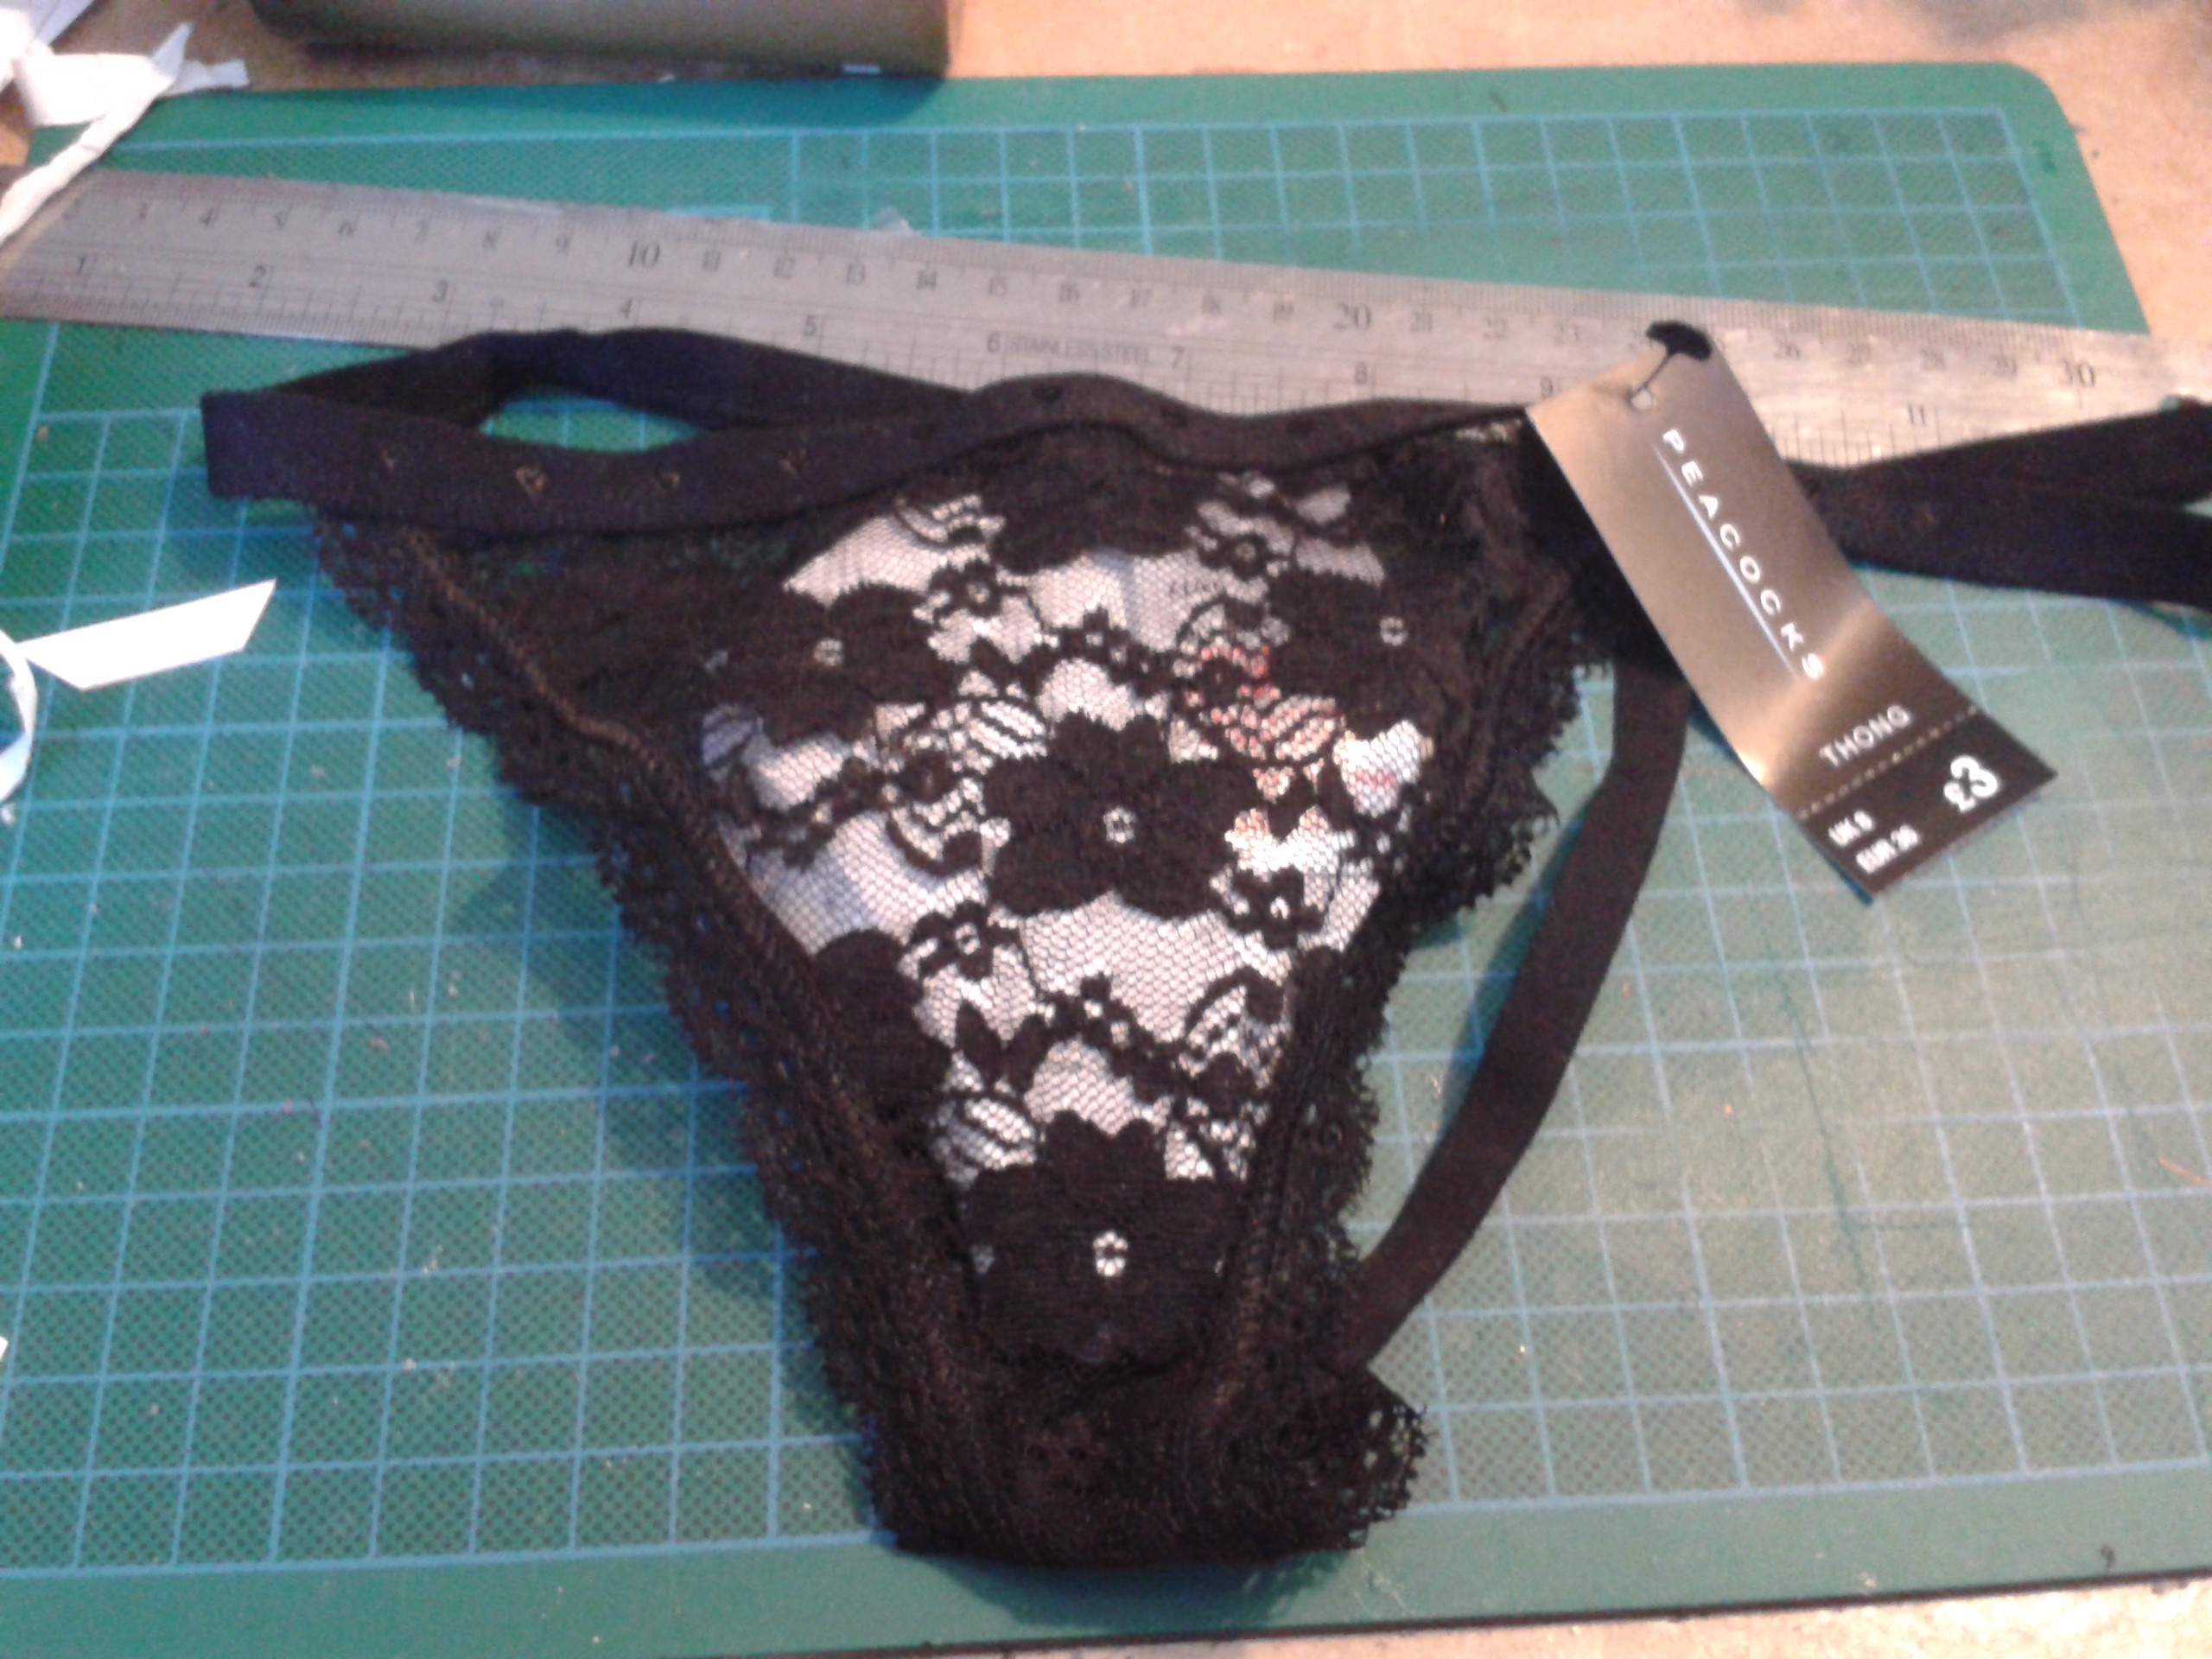
All the parts needed to make the prototype, using an Arduino of course. Some LEDs, resistors, a pager motor for signalling the host and the thong of course. I risked life and limb for this, you'd think in this enlightened day and age an old codger could rummage through the ladies underwear section uncontested.![]()
If only she knew what I really had on my mind.
Style it out
![]()
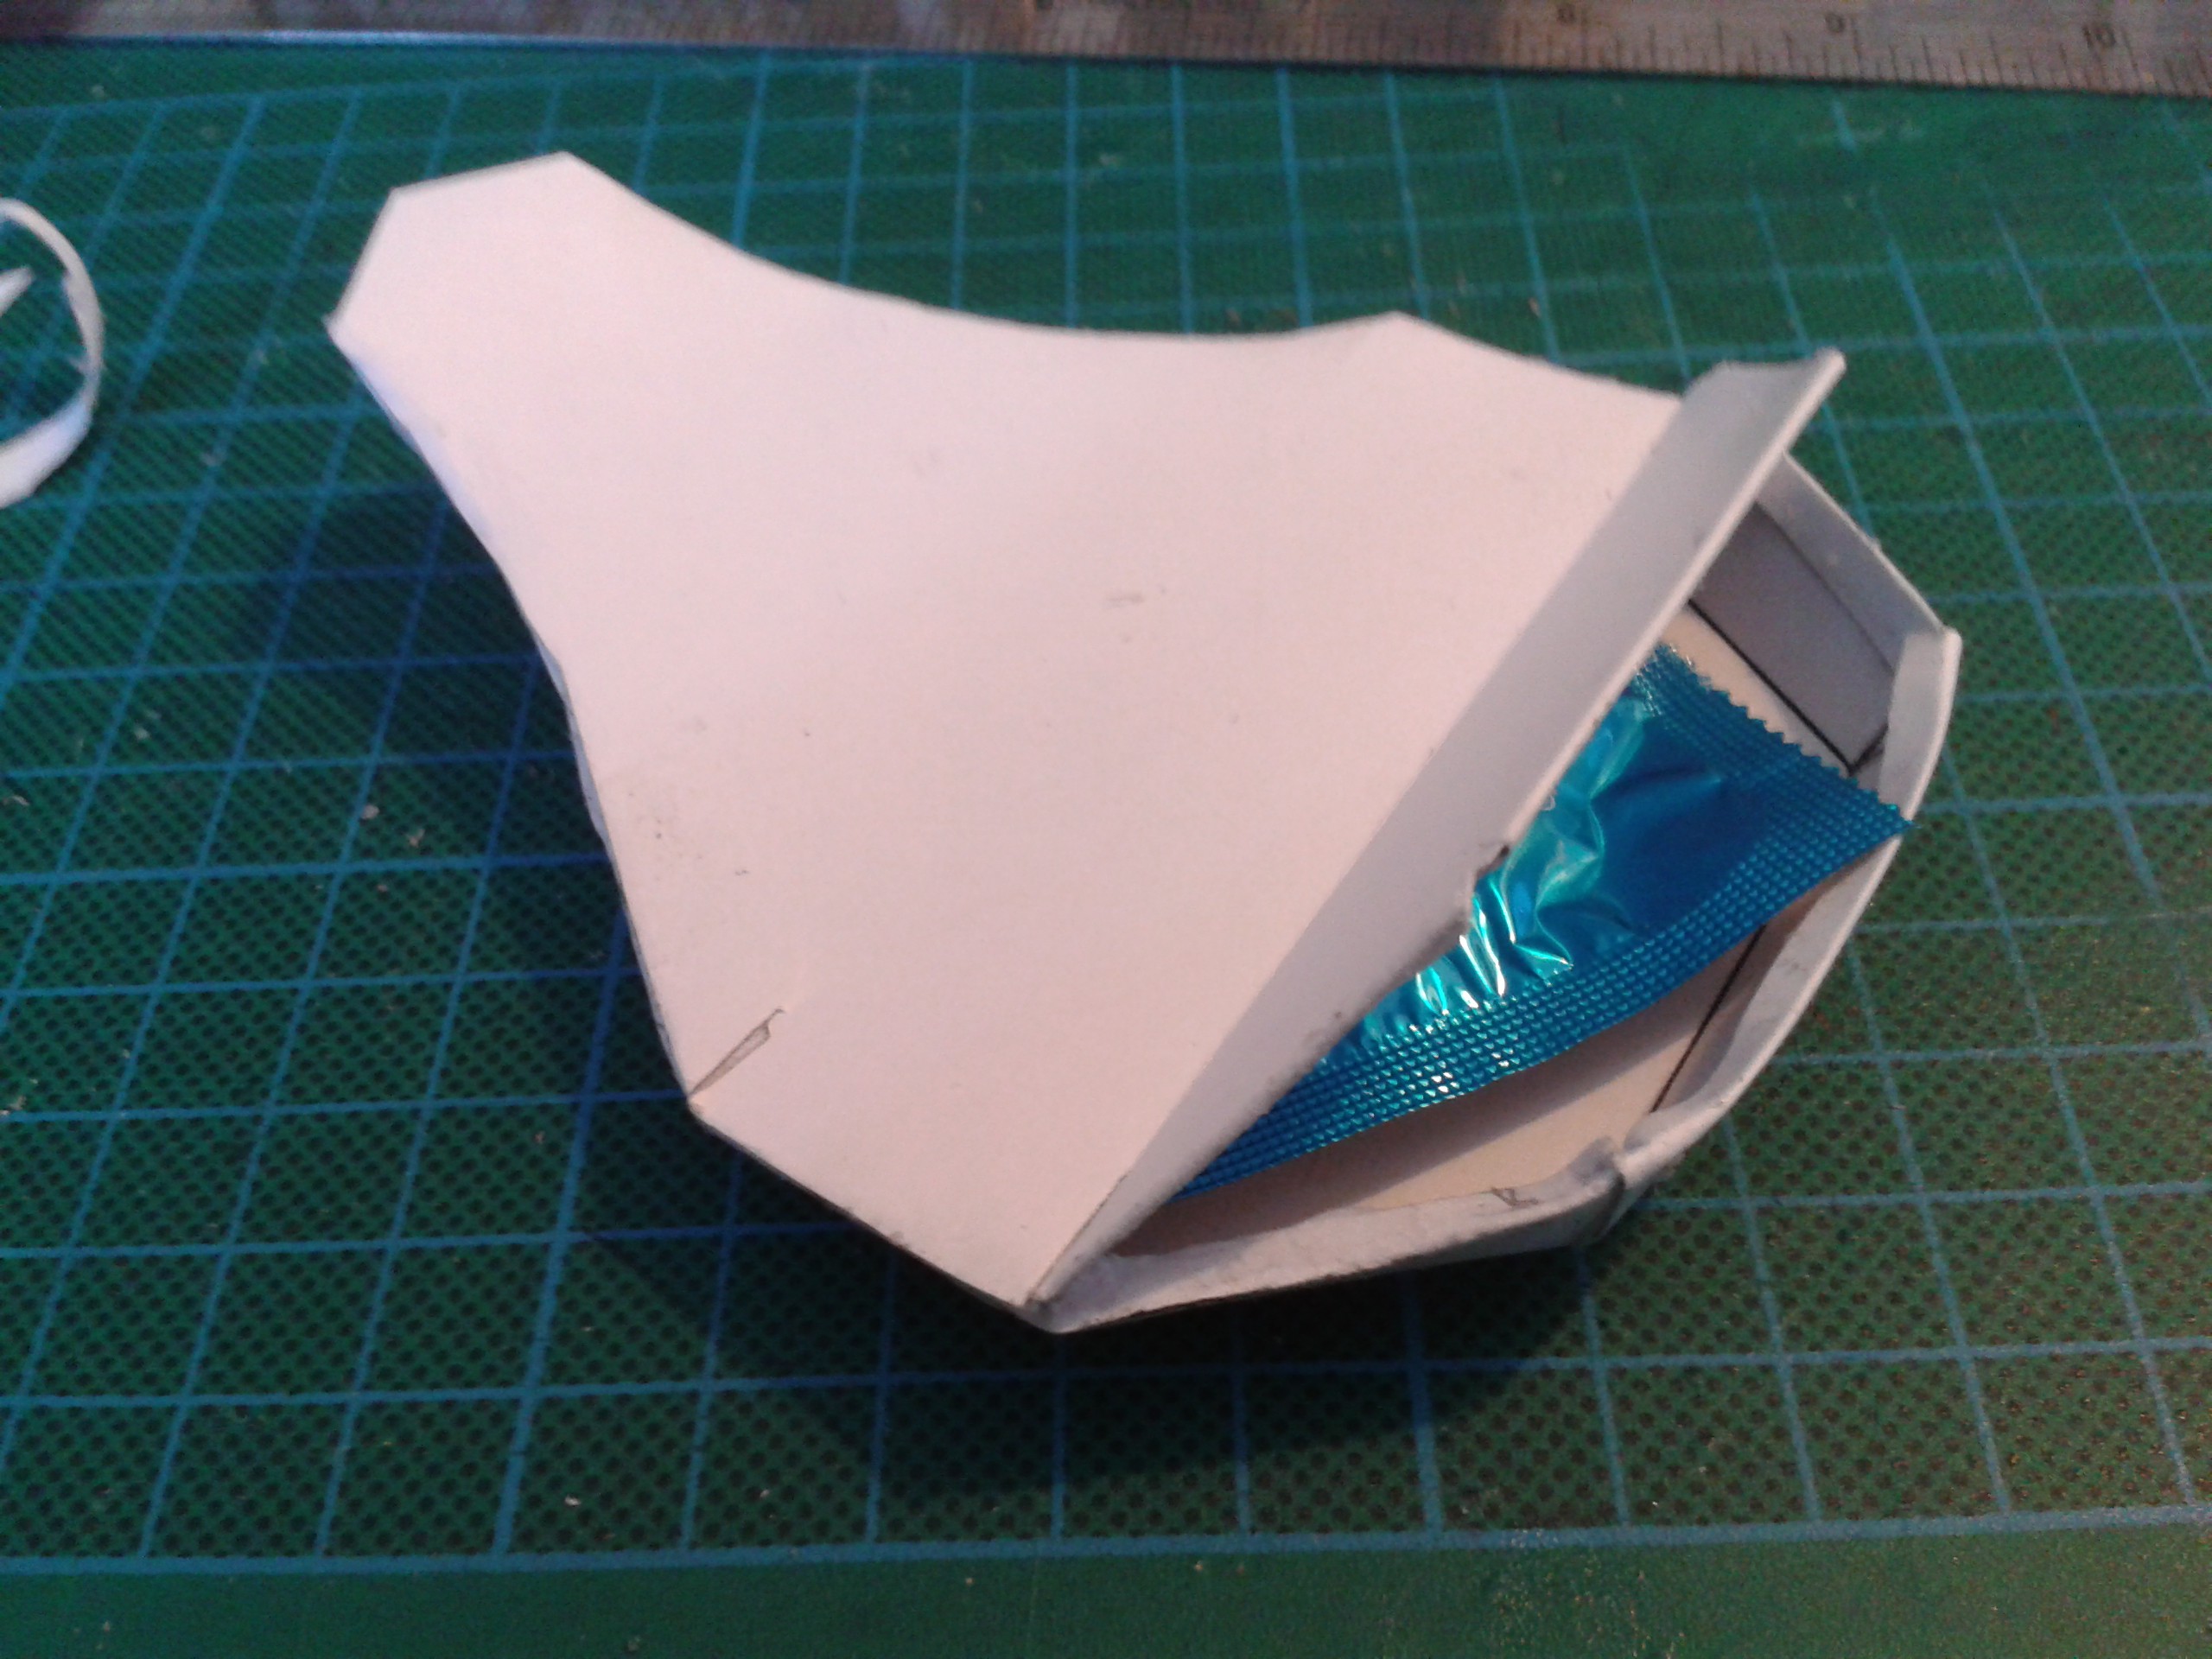
Safely back home, a quick bit of prototyping to get the case worked out. Ergonomics meant that it had to be curved, and fit comfortably. All the signalling hardware had to fit and be in the right place, which called for a nice tight integration.
![]()
It took a couple of fumbling attempts but I got there in the end.
![]()
![]()
![]()
That takes care of finding a host interface, the next problem is port orientation. To facilitate this Internet of Thongs includes a Landing Strip which activates when two Thongs wirelessly sync up to the same charging station and switch to intimate mode. Two rows of strobes light the way to touchdown.
Product Styling And Placement
We are now ready to deploy our research units in the field. We've chosen a mature market to penetrate with our dynamic toolset.
![]()
Interfacing
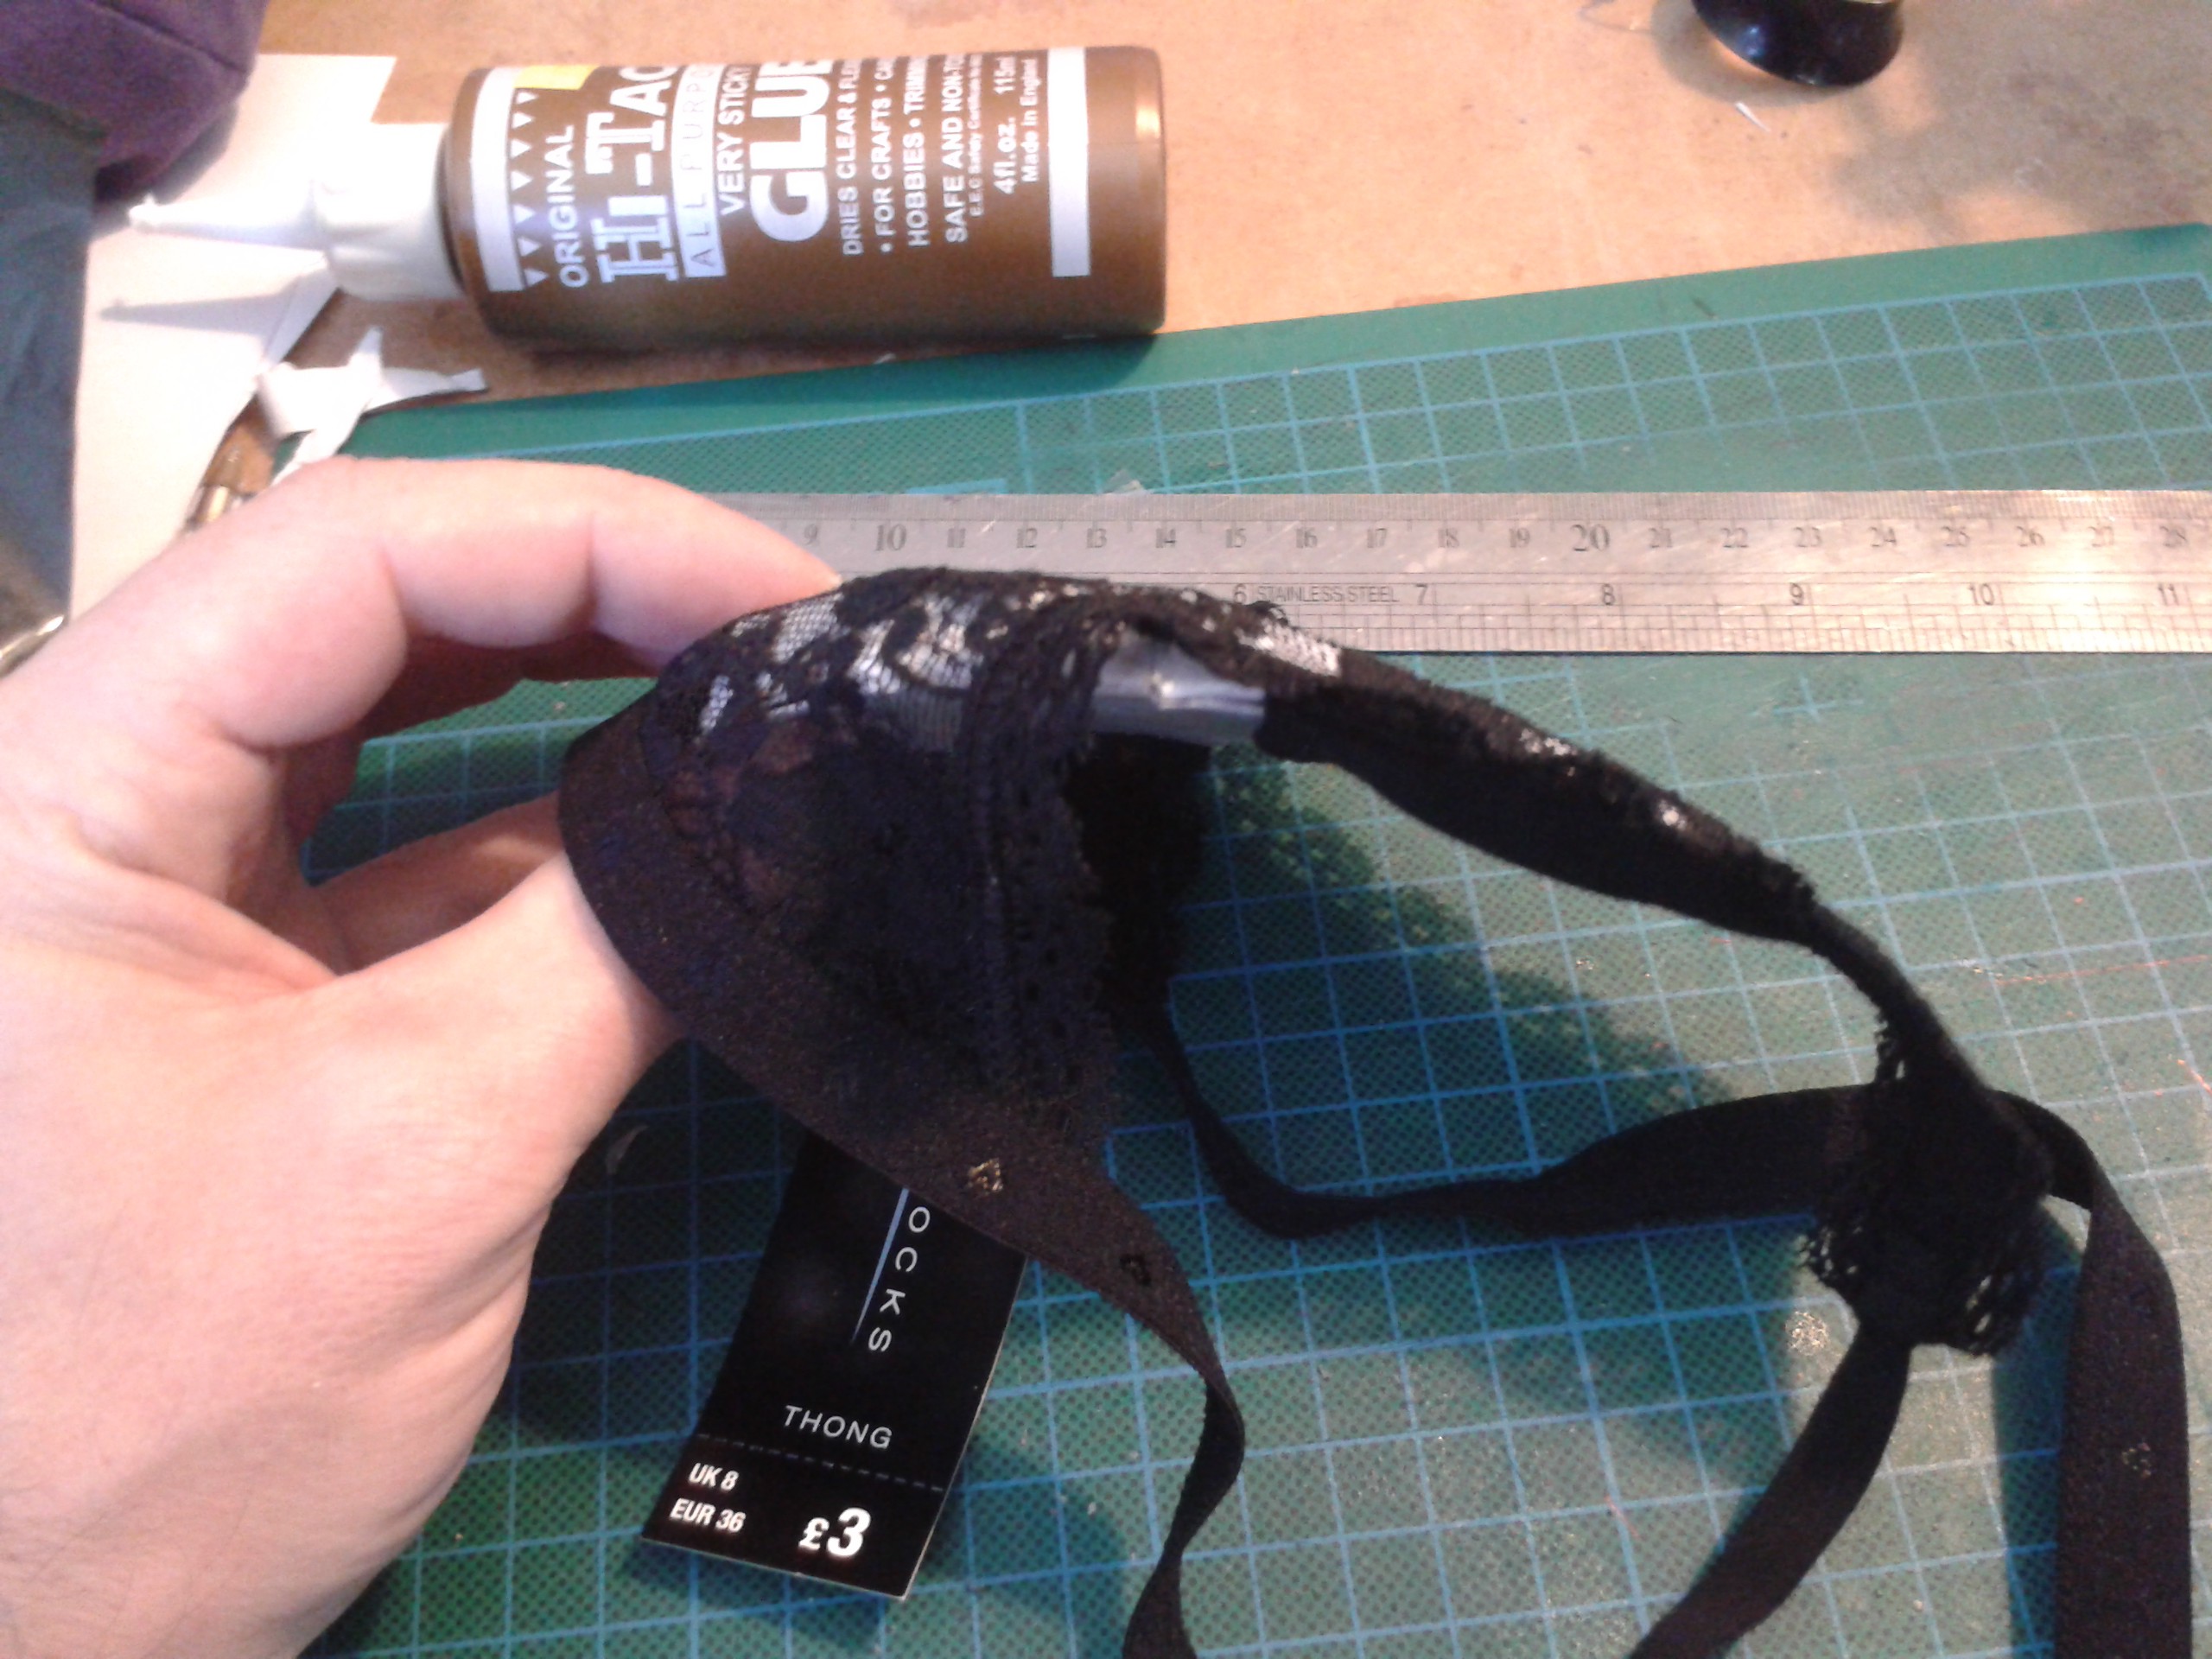
While a halter thong seems simple enough, there's a lot goes into it unless its lacy or rubbish, possibly both. You get what you pay for...
![]()
Female Size 12 (UK) is approximately the same as 30" waist, 30" leg in male sizes, about average so I've scaled the design on that for the prototype.
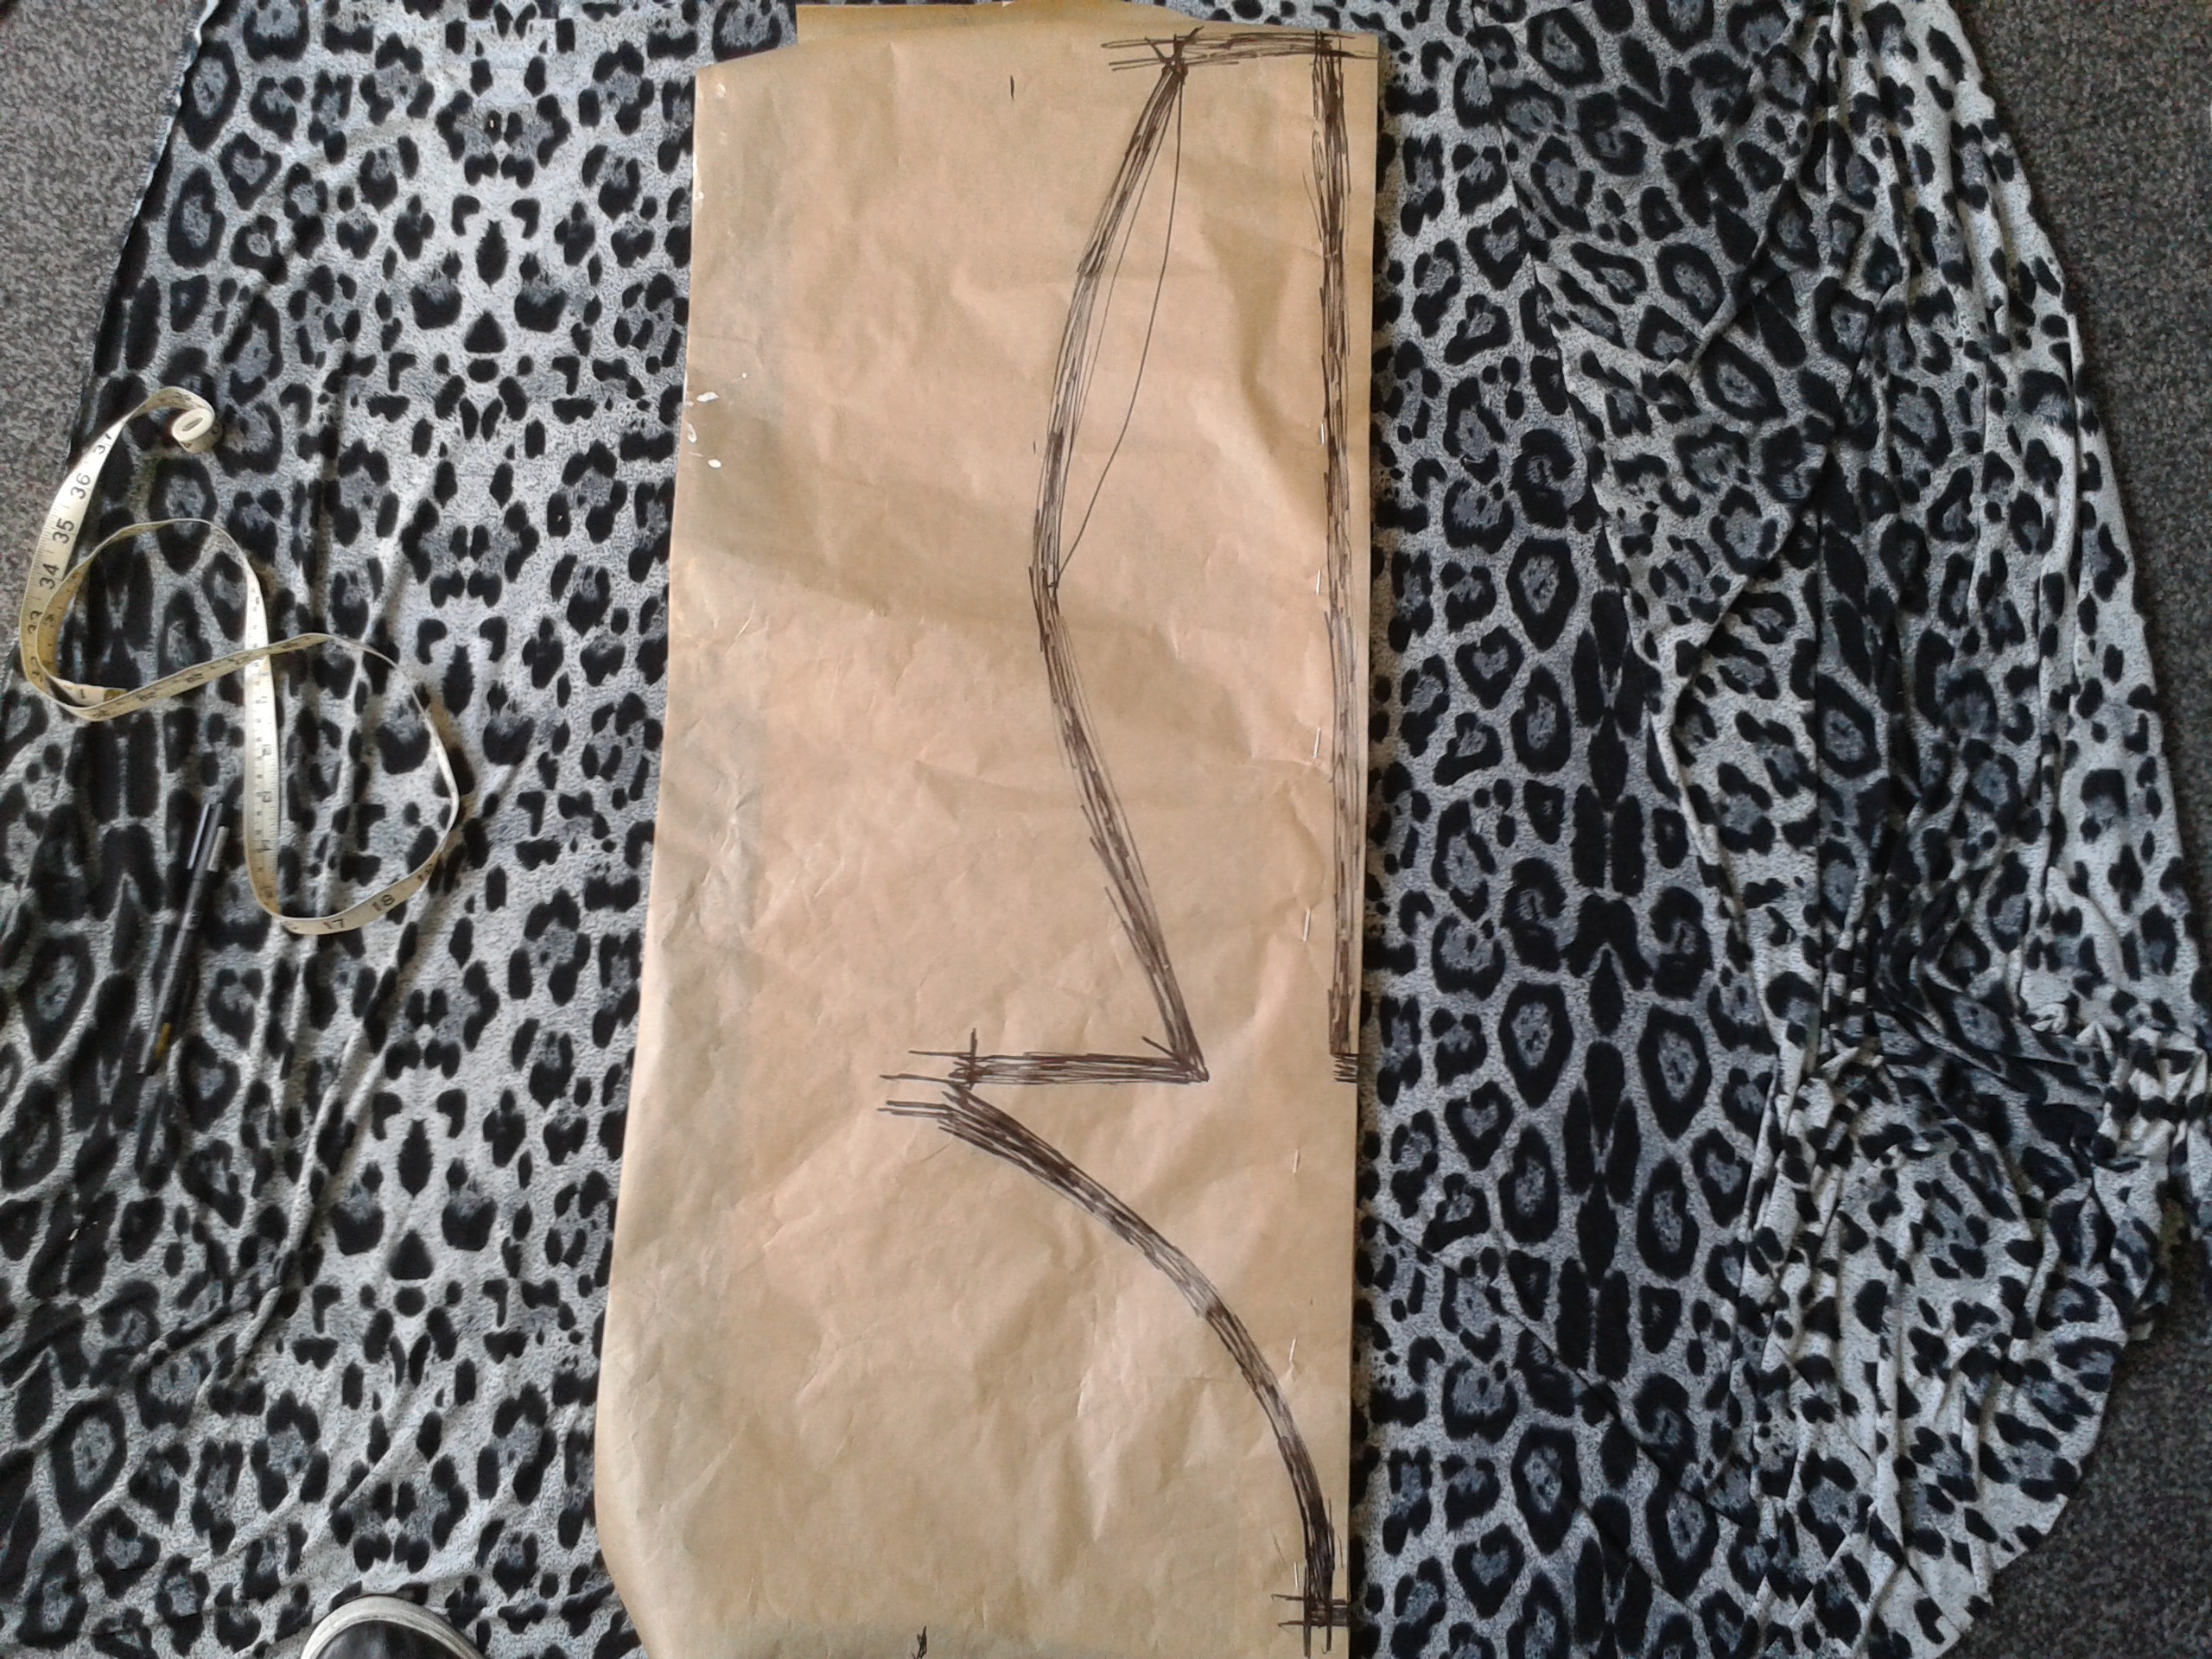
The body is luckily divided equally into its dimensions, clothes design basically encloses each part using a set of rules. 30" waist means a 30" torso as well as inside leg, making that easy. All you have to do is draw the outline because the fabric stretches enough to accommodate the curves of the female form. The Mankini version of this will need darted seams to allow room in the basement...
![]()
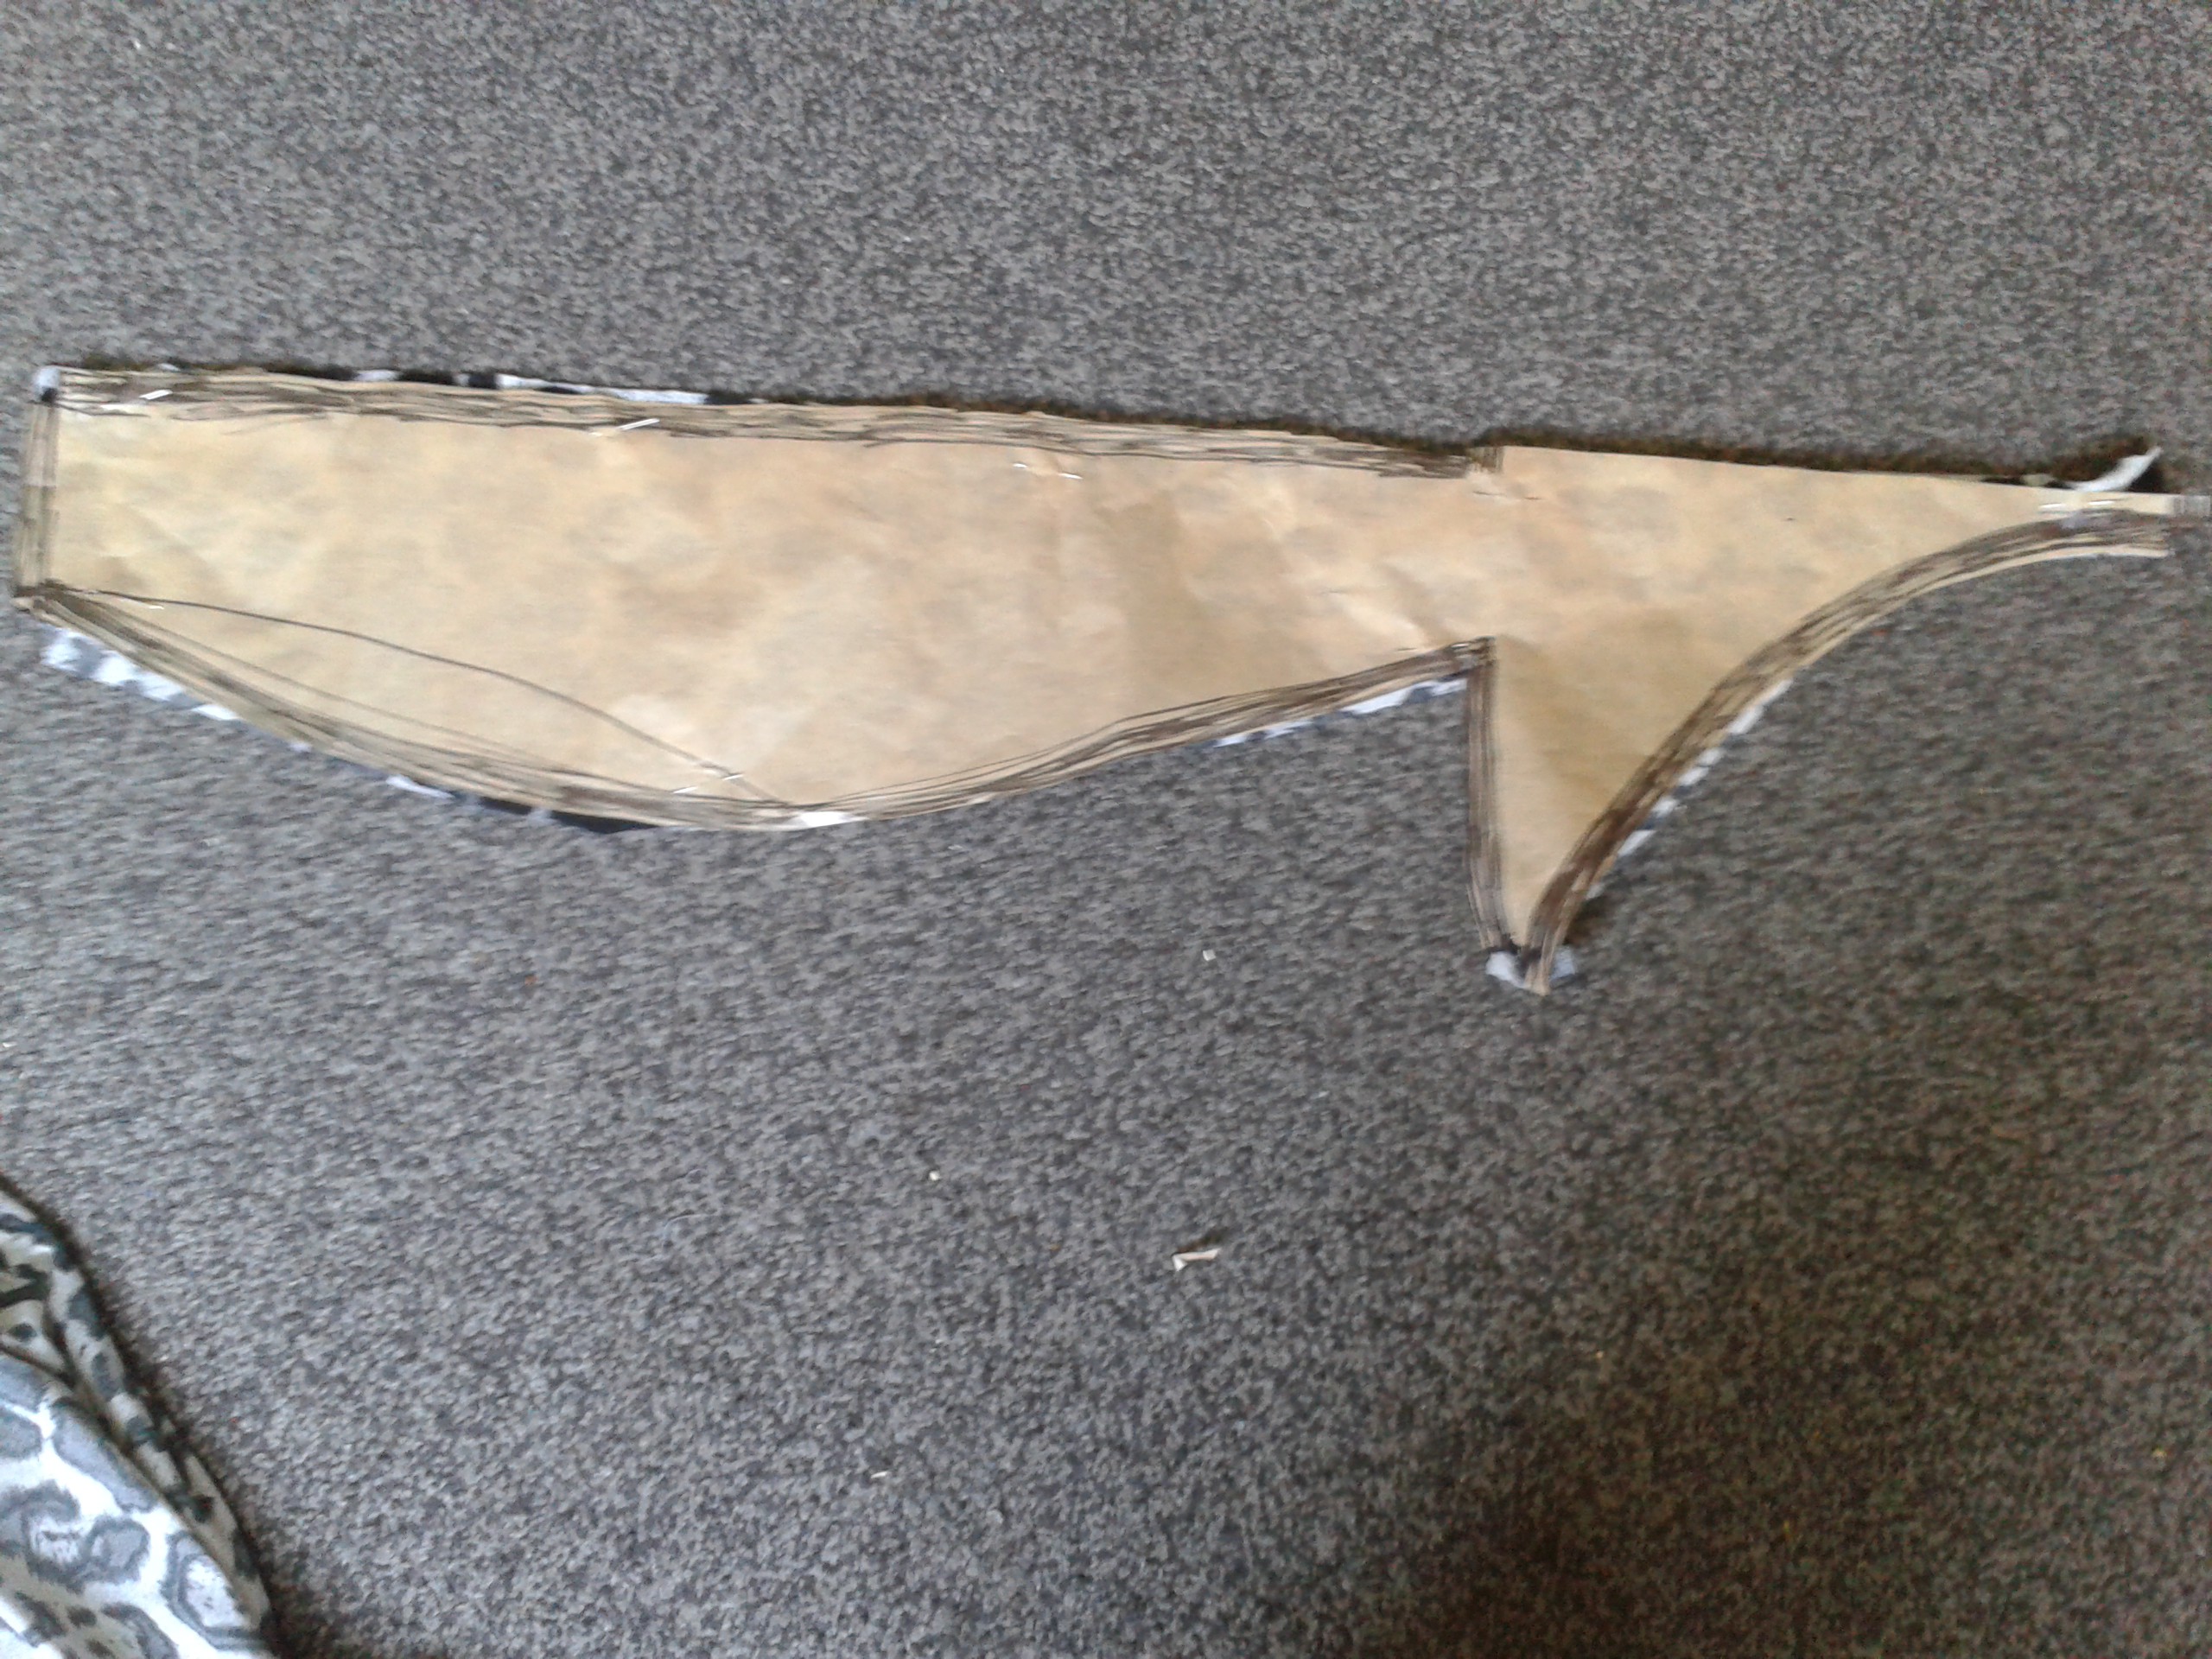
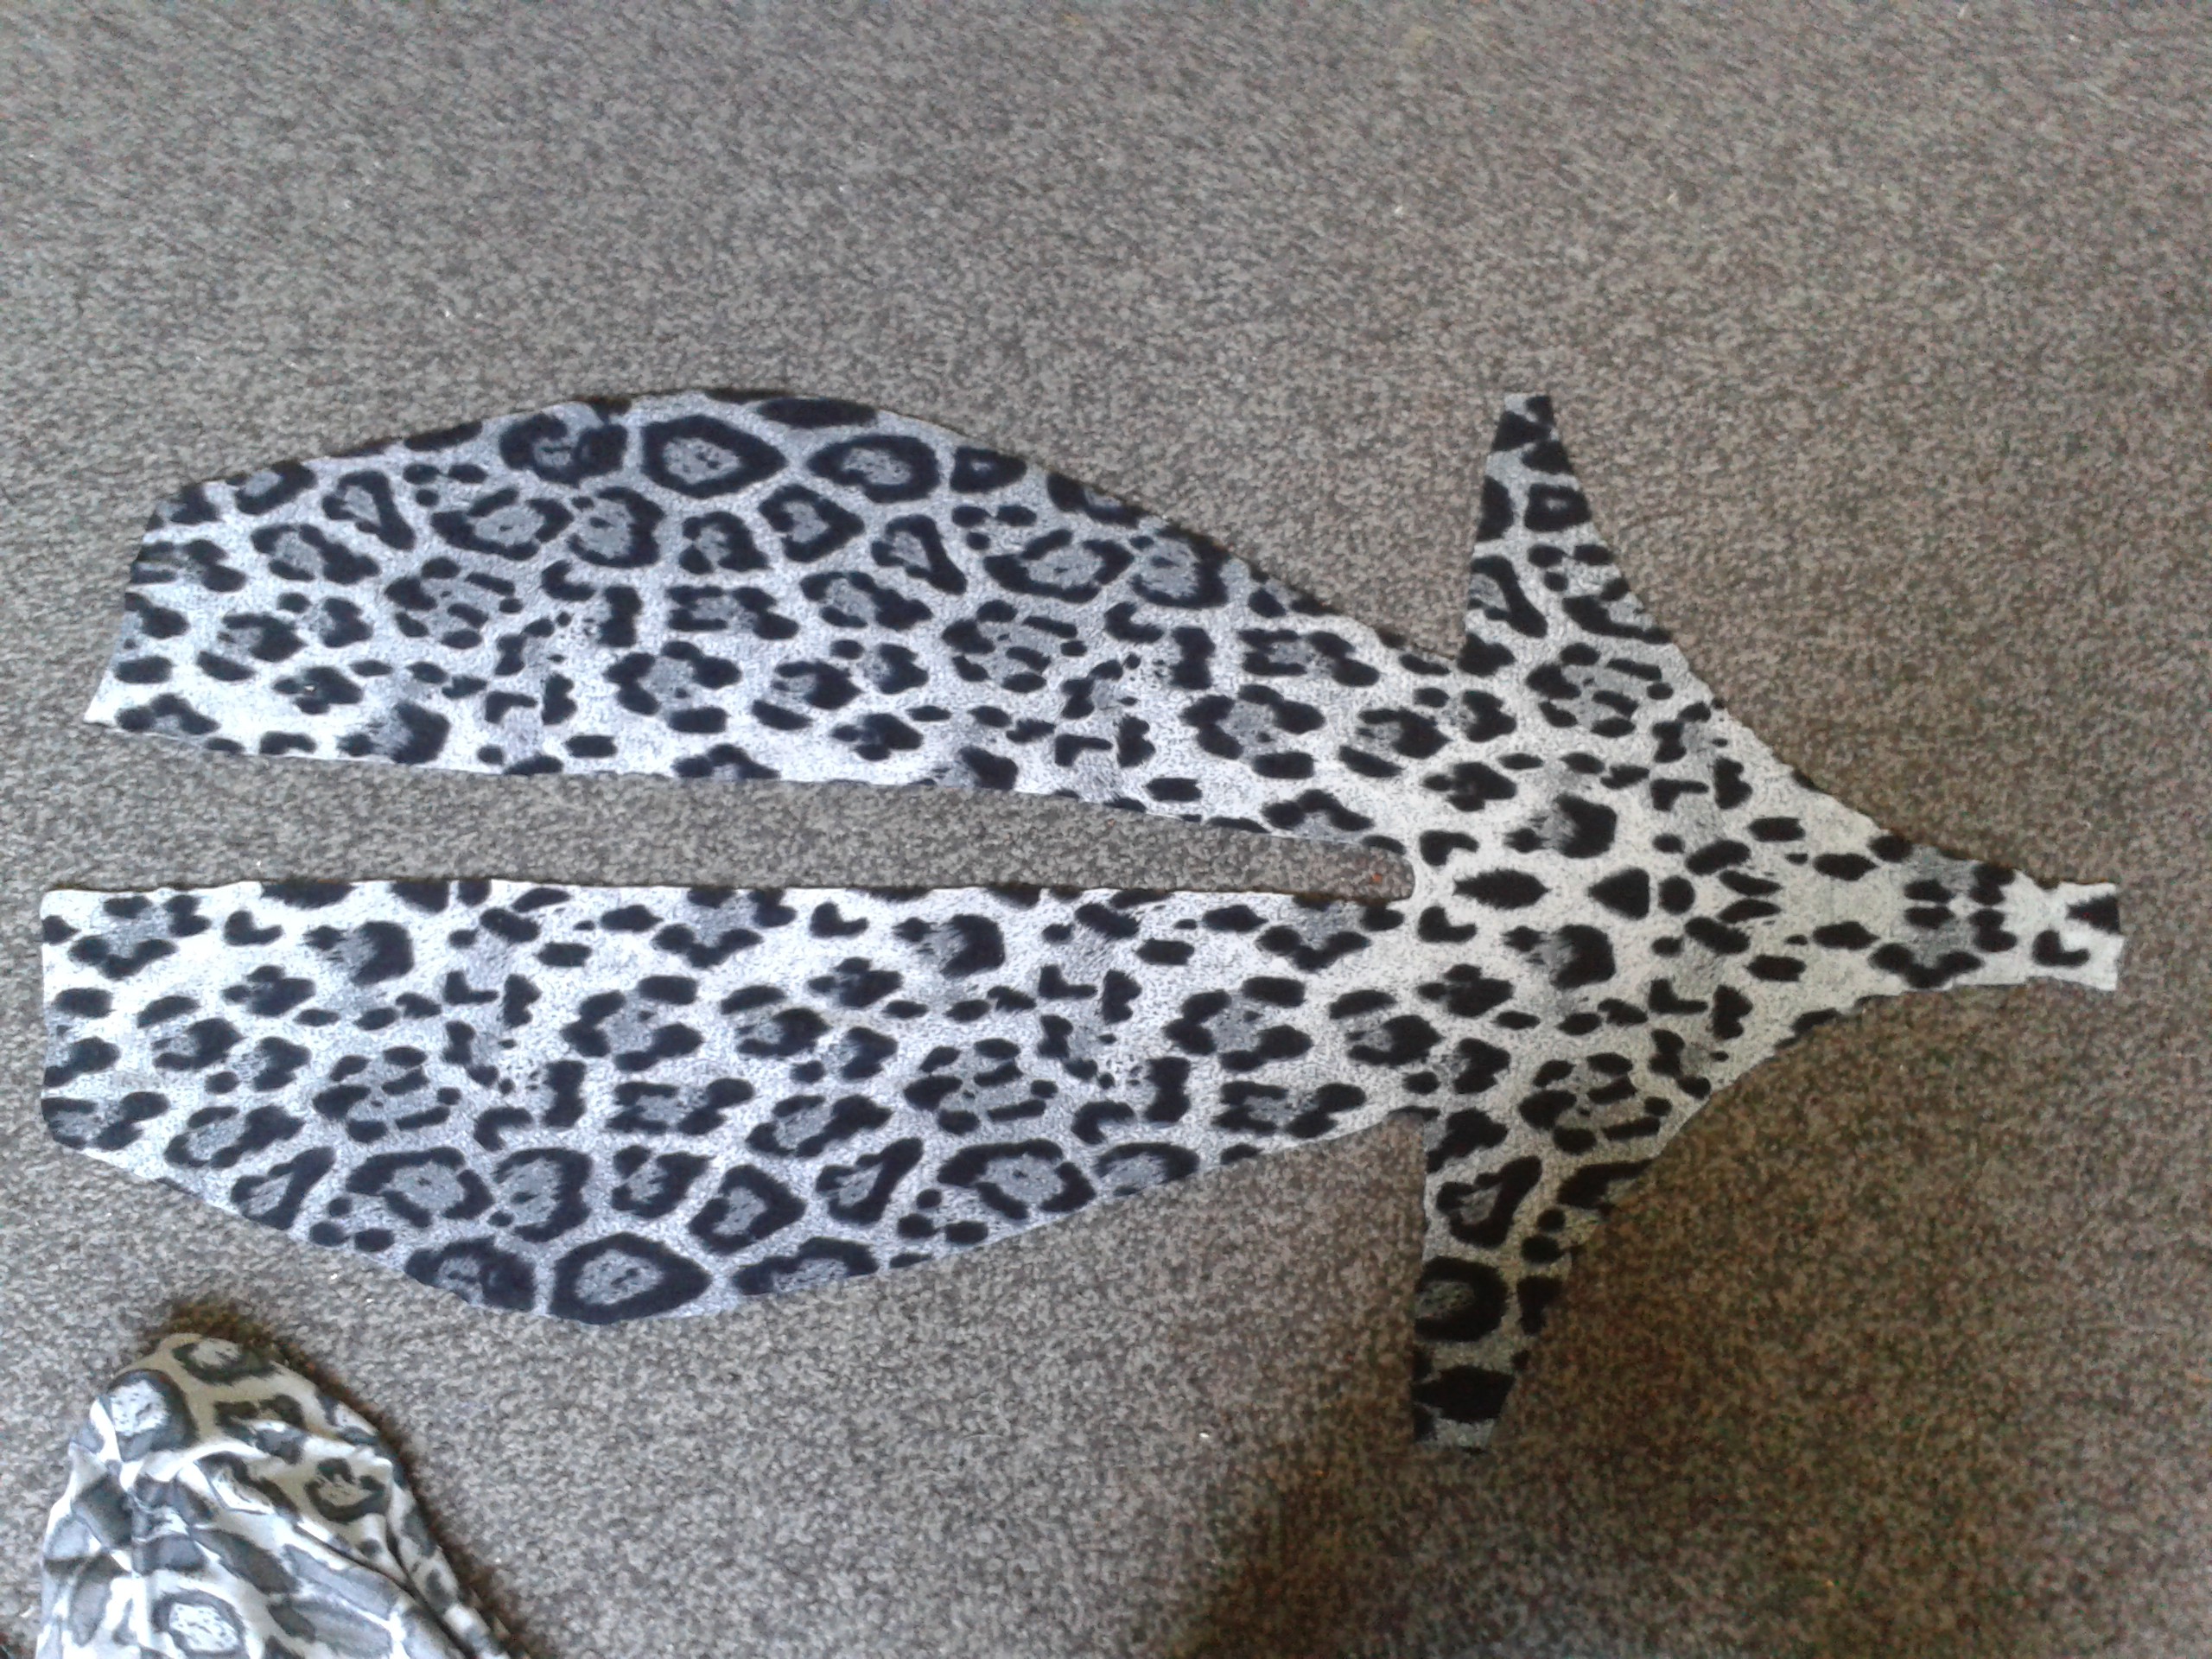
The fabric is folded in half along the centre of any patterning or along the grain and the template pinned to it, then it is cut out.
![]()
Leaving a symmetrical shape and pattern using a half-template. Extra fabric is allowed for the hems, which fold back under themselves twice to hide the raw edges.
![]()
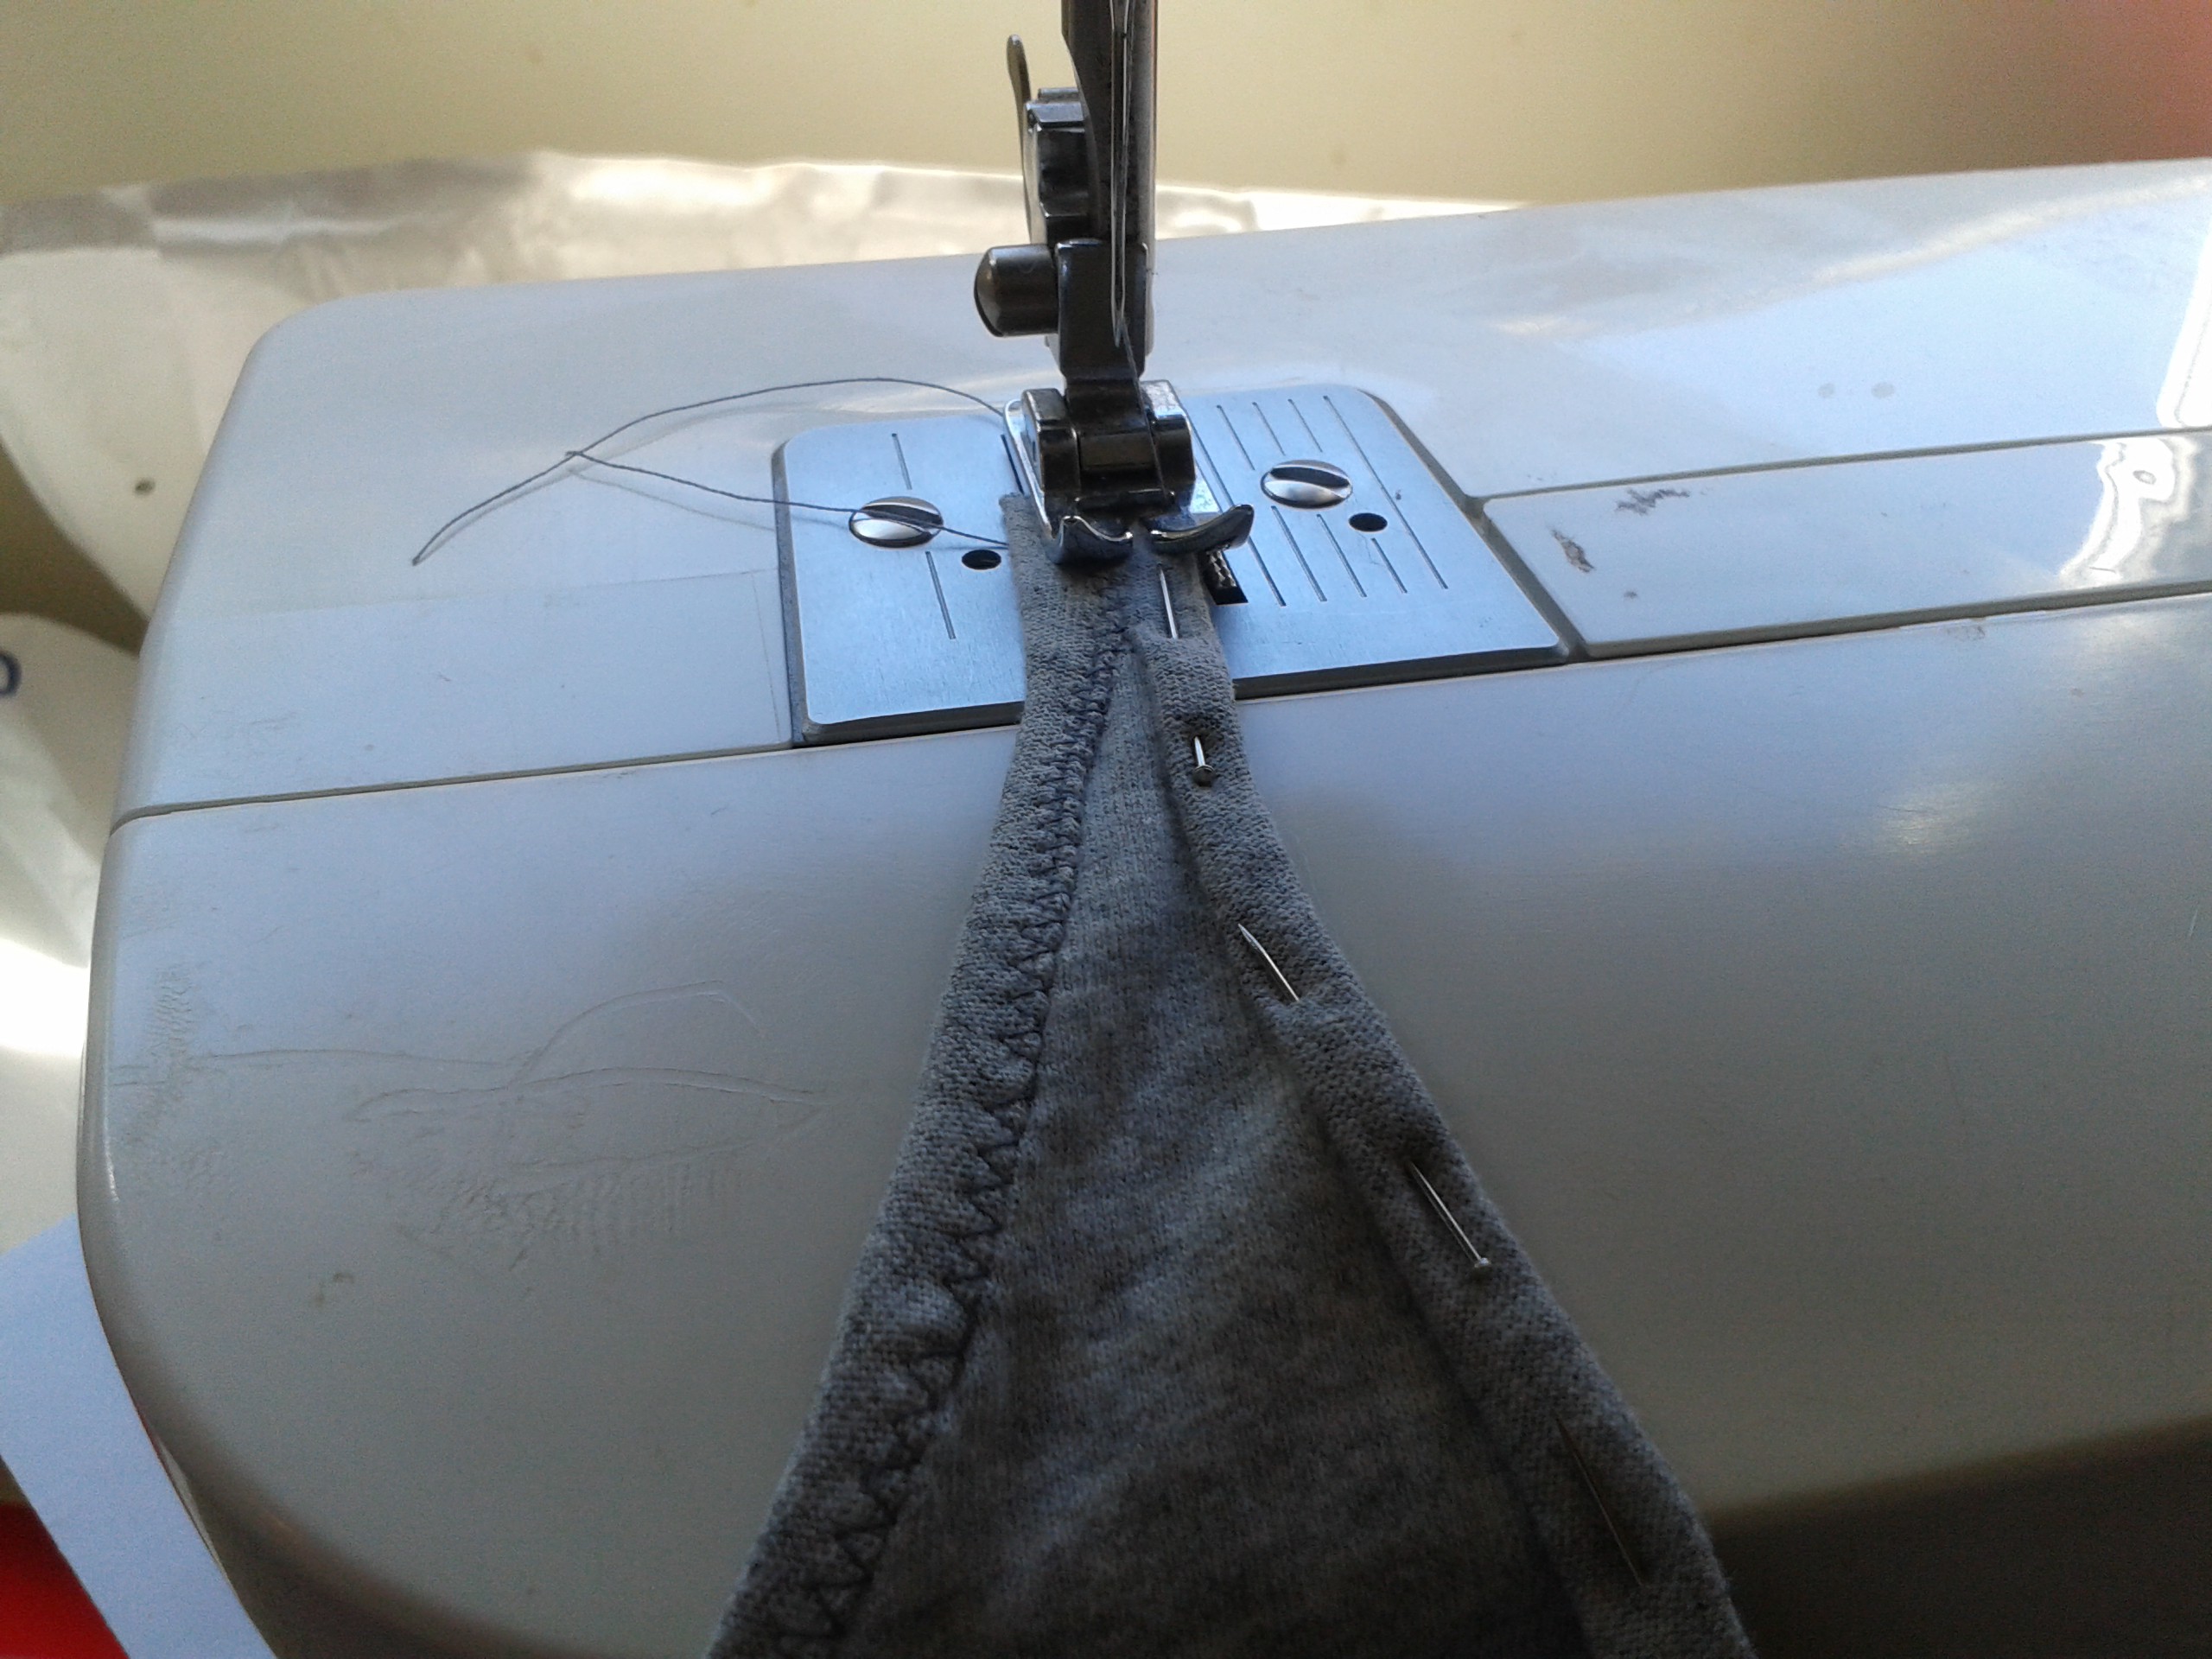
The hems on stretch fabric are handled differently to ordinary fabric. Because a line of stitching normally cant stretch because it is formed of two lines of thread twisted around each other, seams are done using a zig-zag pattern that expands linearly.
![]()
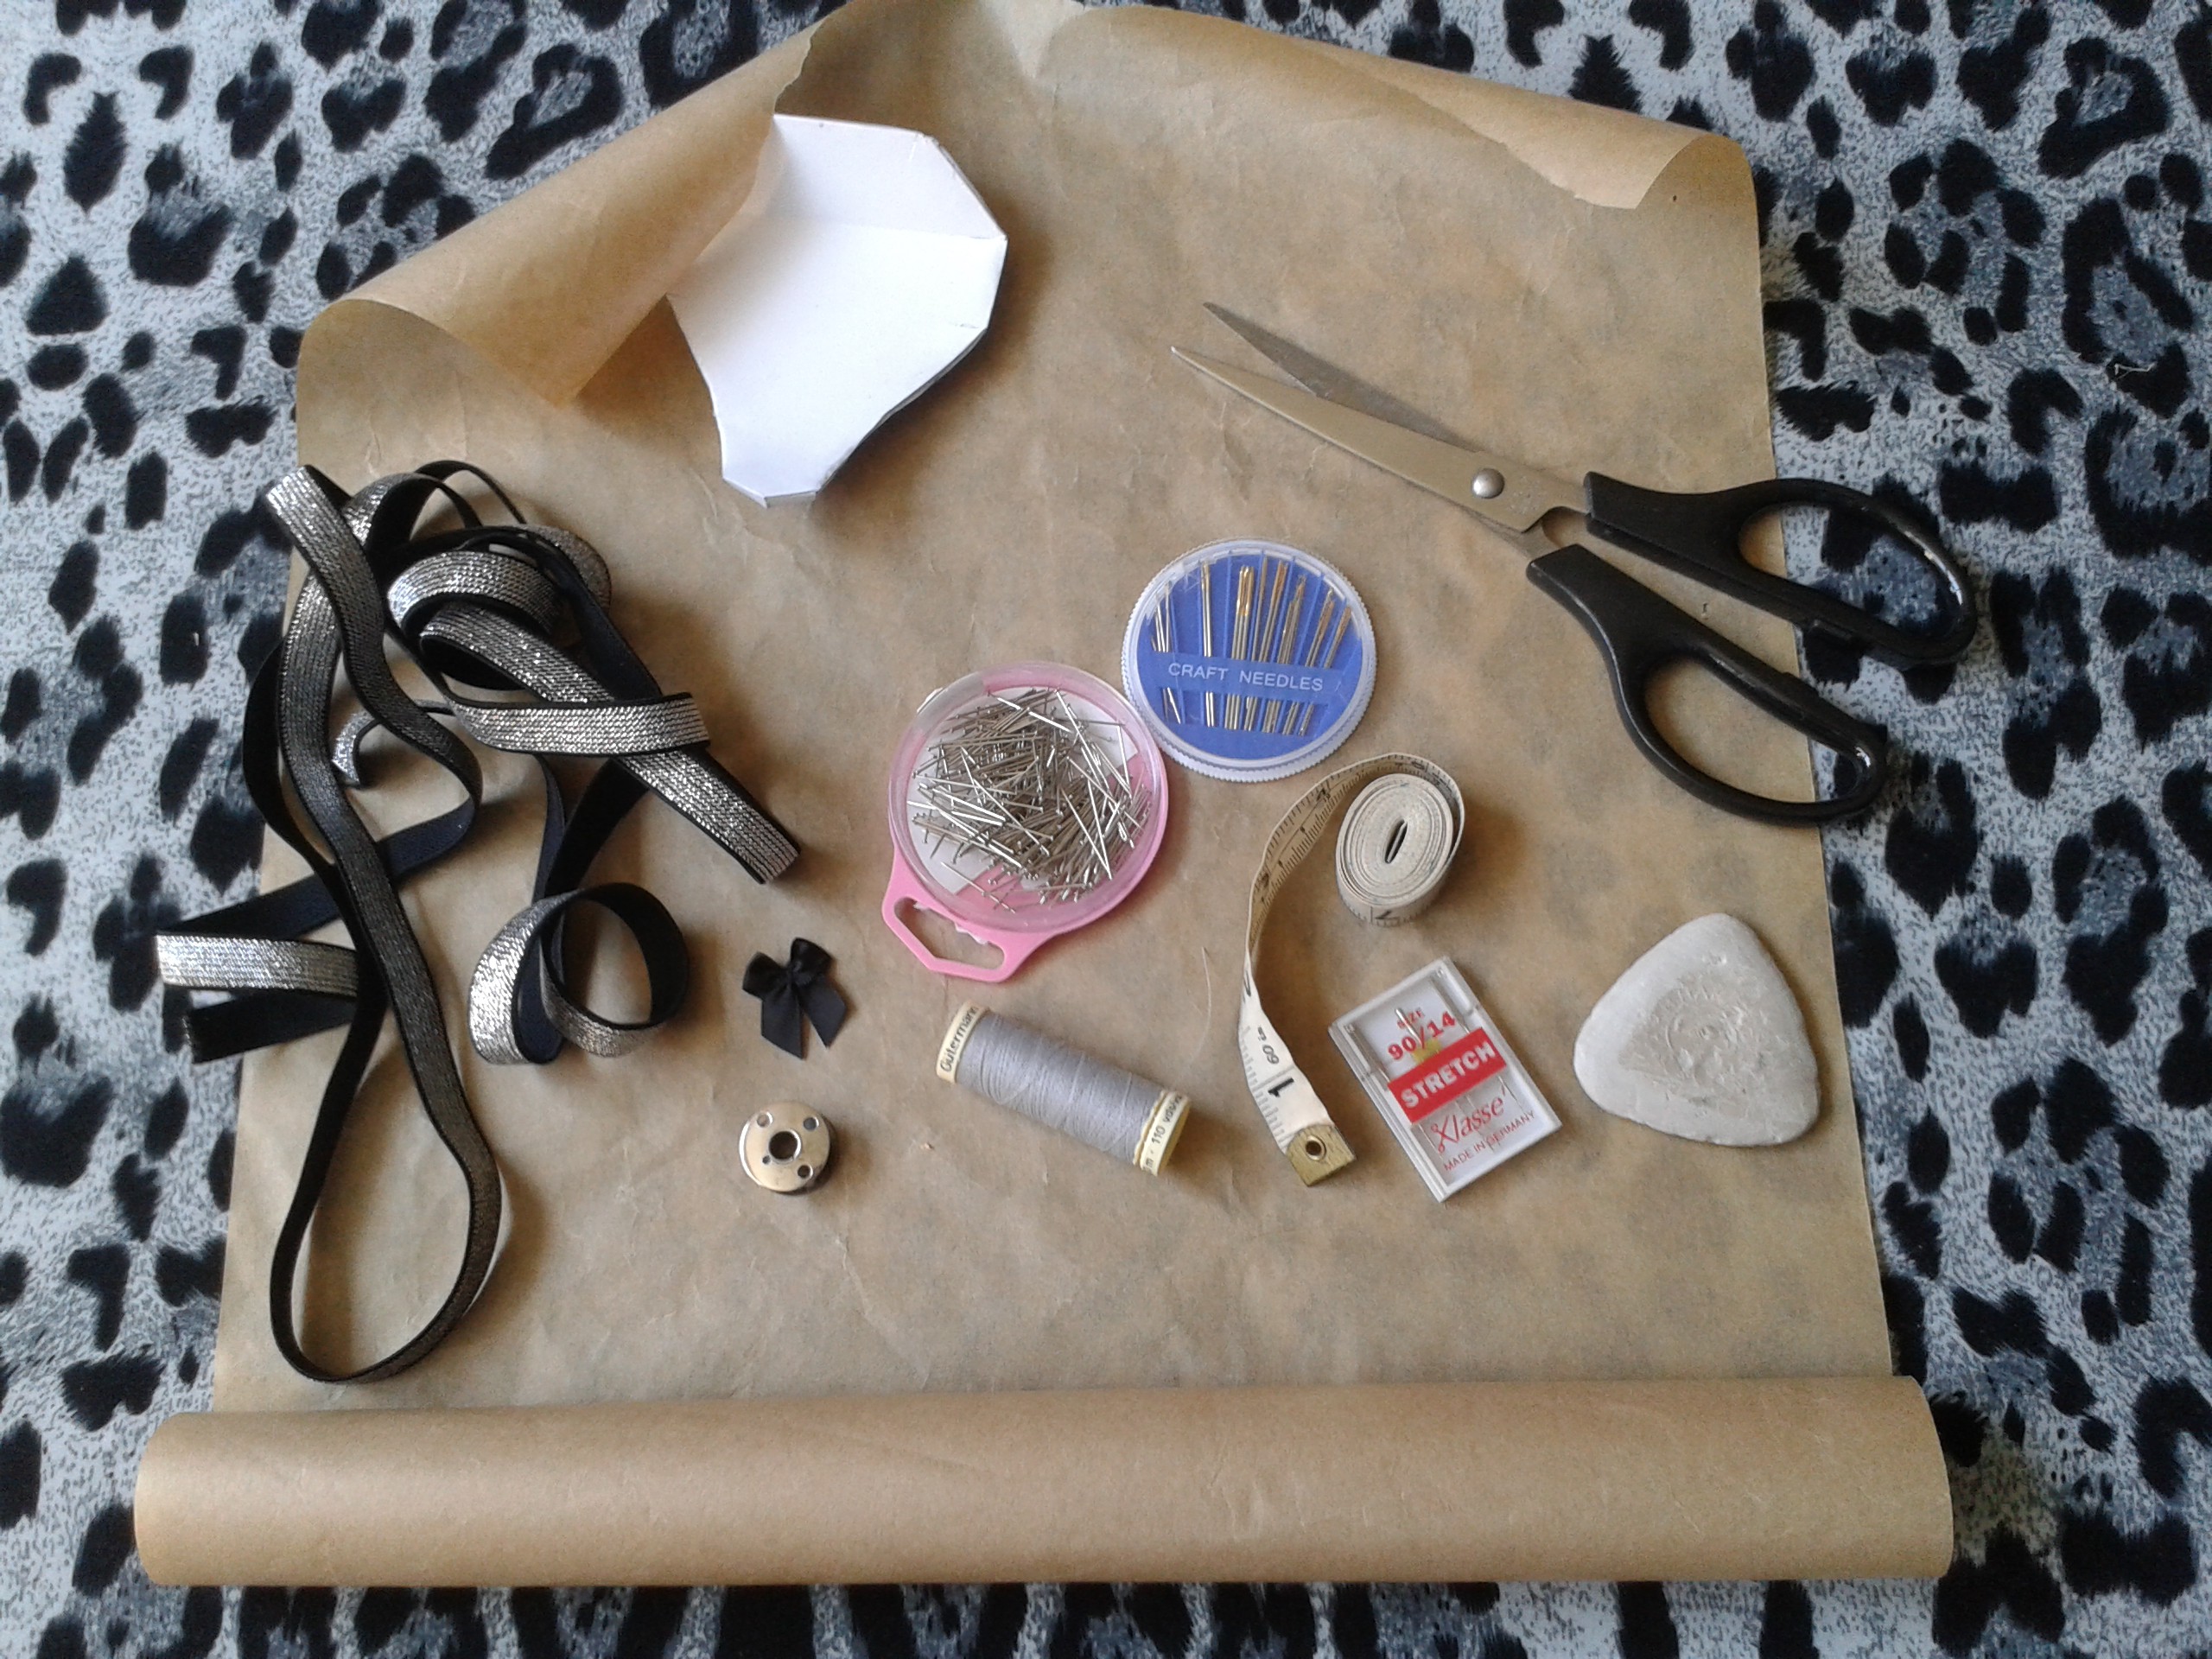
Same goes for the interfacing. Intimate clothing generally is lined with a plain cotton fabric, plus Internet of Thongs needs a pocket for the Kooga.
![]()
Finally all the parts are brought together and stitched together hiding the raw edges of the fabric with folds as it is attached. Details are added last of all.
![]()
Dont forget to tidy up the ends of the threads. Commercial clothes invariably have a loose end or two. :-)
-
log #105: dildo finished
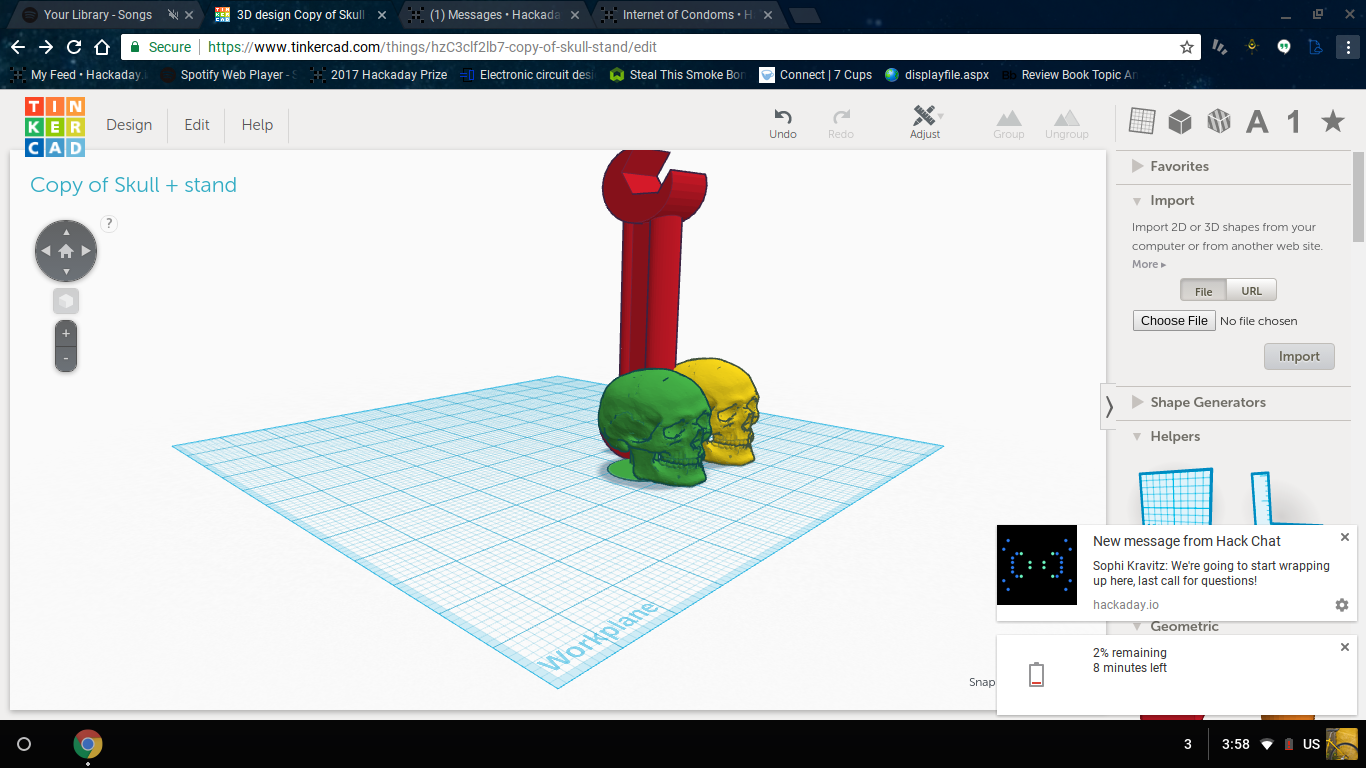
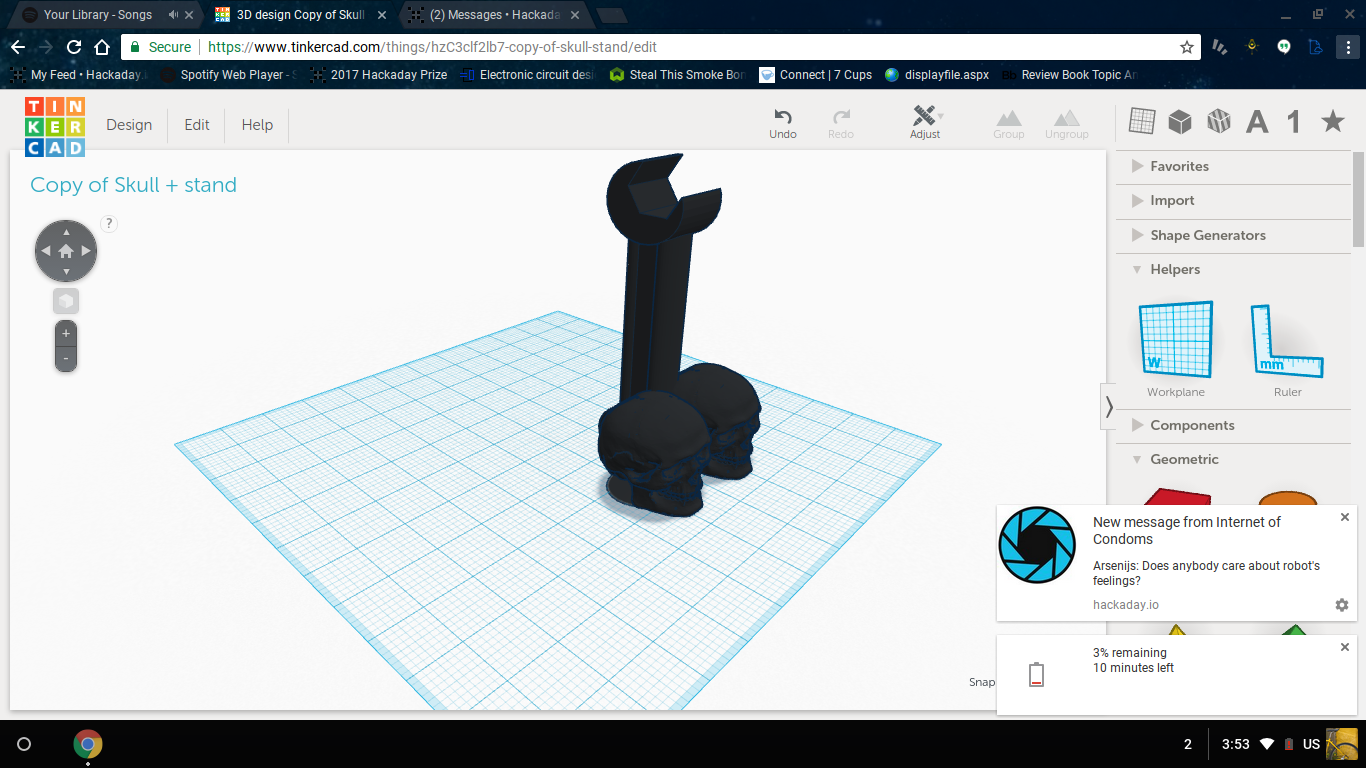
05/05/2017 at 20:17 • 3 commentsi went a different direction with it, big shout out to marcus and lars busack on tinkercad! it prints out to 6'' with 2'' square nuts. i couldn't get it to be even on 1''. i even remixed it into a hippie toy for @Arsenijs. the .stl files are under "files" :D. here they are:
![]()
![]()
note the insensitive comment from @Arsenijs in the bottom right
PS: we'd love some good feedback from users :D
-
Log #89 - CondomBoard specifications
05/03/2017 at 00:59 • 0 comments- Size: about 50x50mm (size of condoms I have, could be a little larger if required)
- Layers: preferrably a single 2-layer PCB, for easier ordering at the usual suspects in China
- Connections:
- debug UART
- MicroUSB for charging the battery
- temperature sensor connector
- two Neopixel strip connectors (without VCC, only DATA+GND)
- battery connector
Components:
- ESP-12, no doubts
- Some kind of ADC setup to measure the
- EPIC - with some space around to apply gunpowder on top of it
- One WS2812 on the board
- Battery charger IC
- Vibromotor
- Microphone - using I2S, like this one
- I2S DAC for the tweeter (what the hell, we have a tweeter? I guess that's happens when project contributors edit the description =D )
Something else? I need ideas, I'll draw the first board as soon as I'll have some free time.
-
Log #43 - project progress
05/02/2017 at 23:12 • 0 commentsI ordered 15 EPICs, @M.daSilva ordered 10. There'll be tests, and after that there'll be cake.
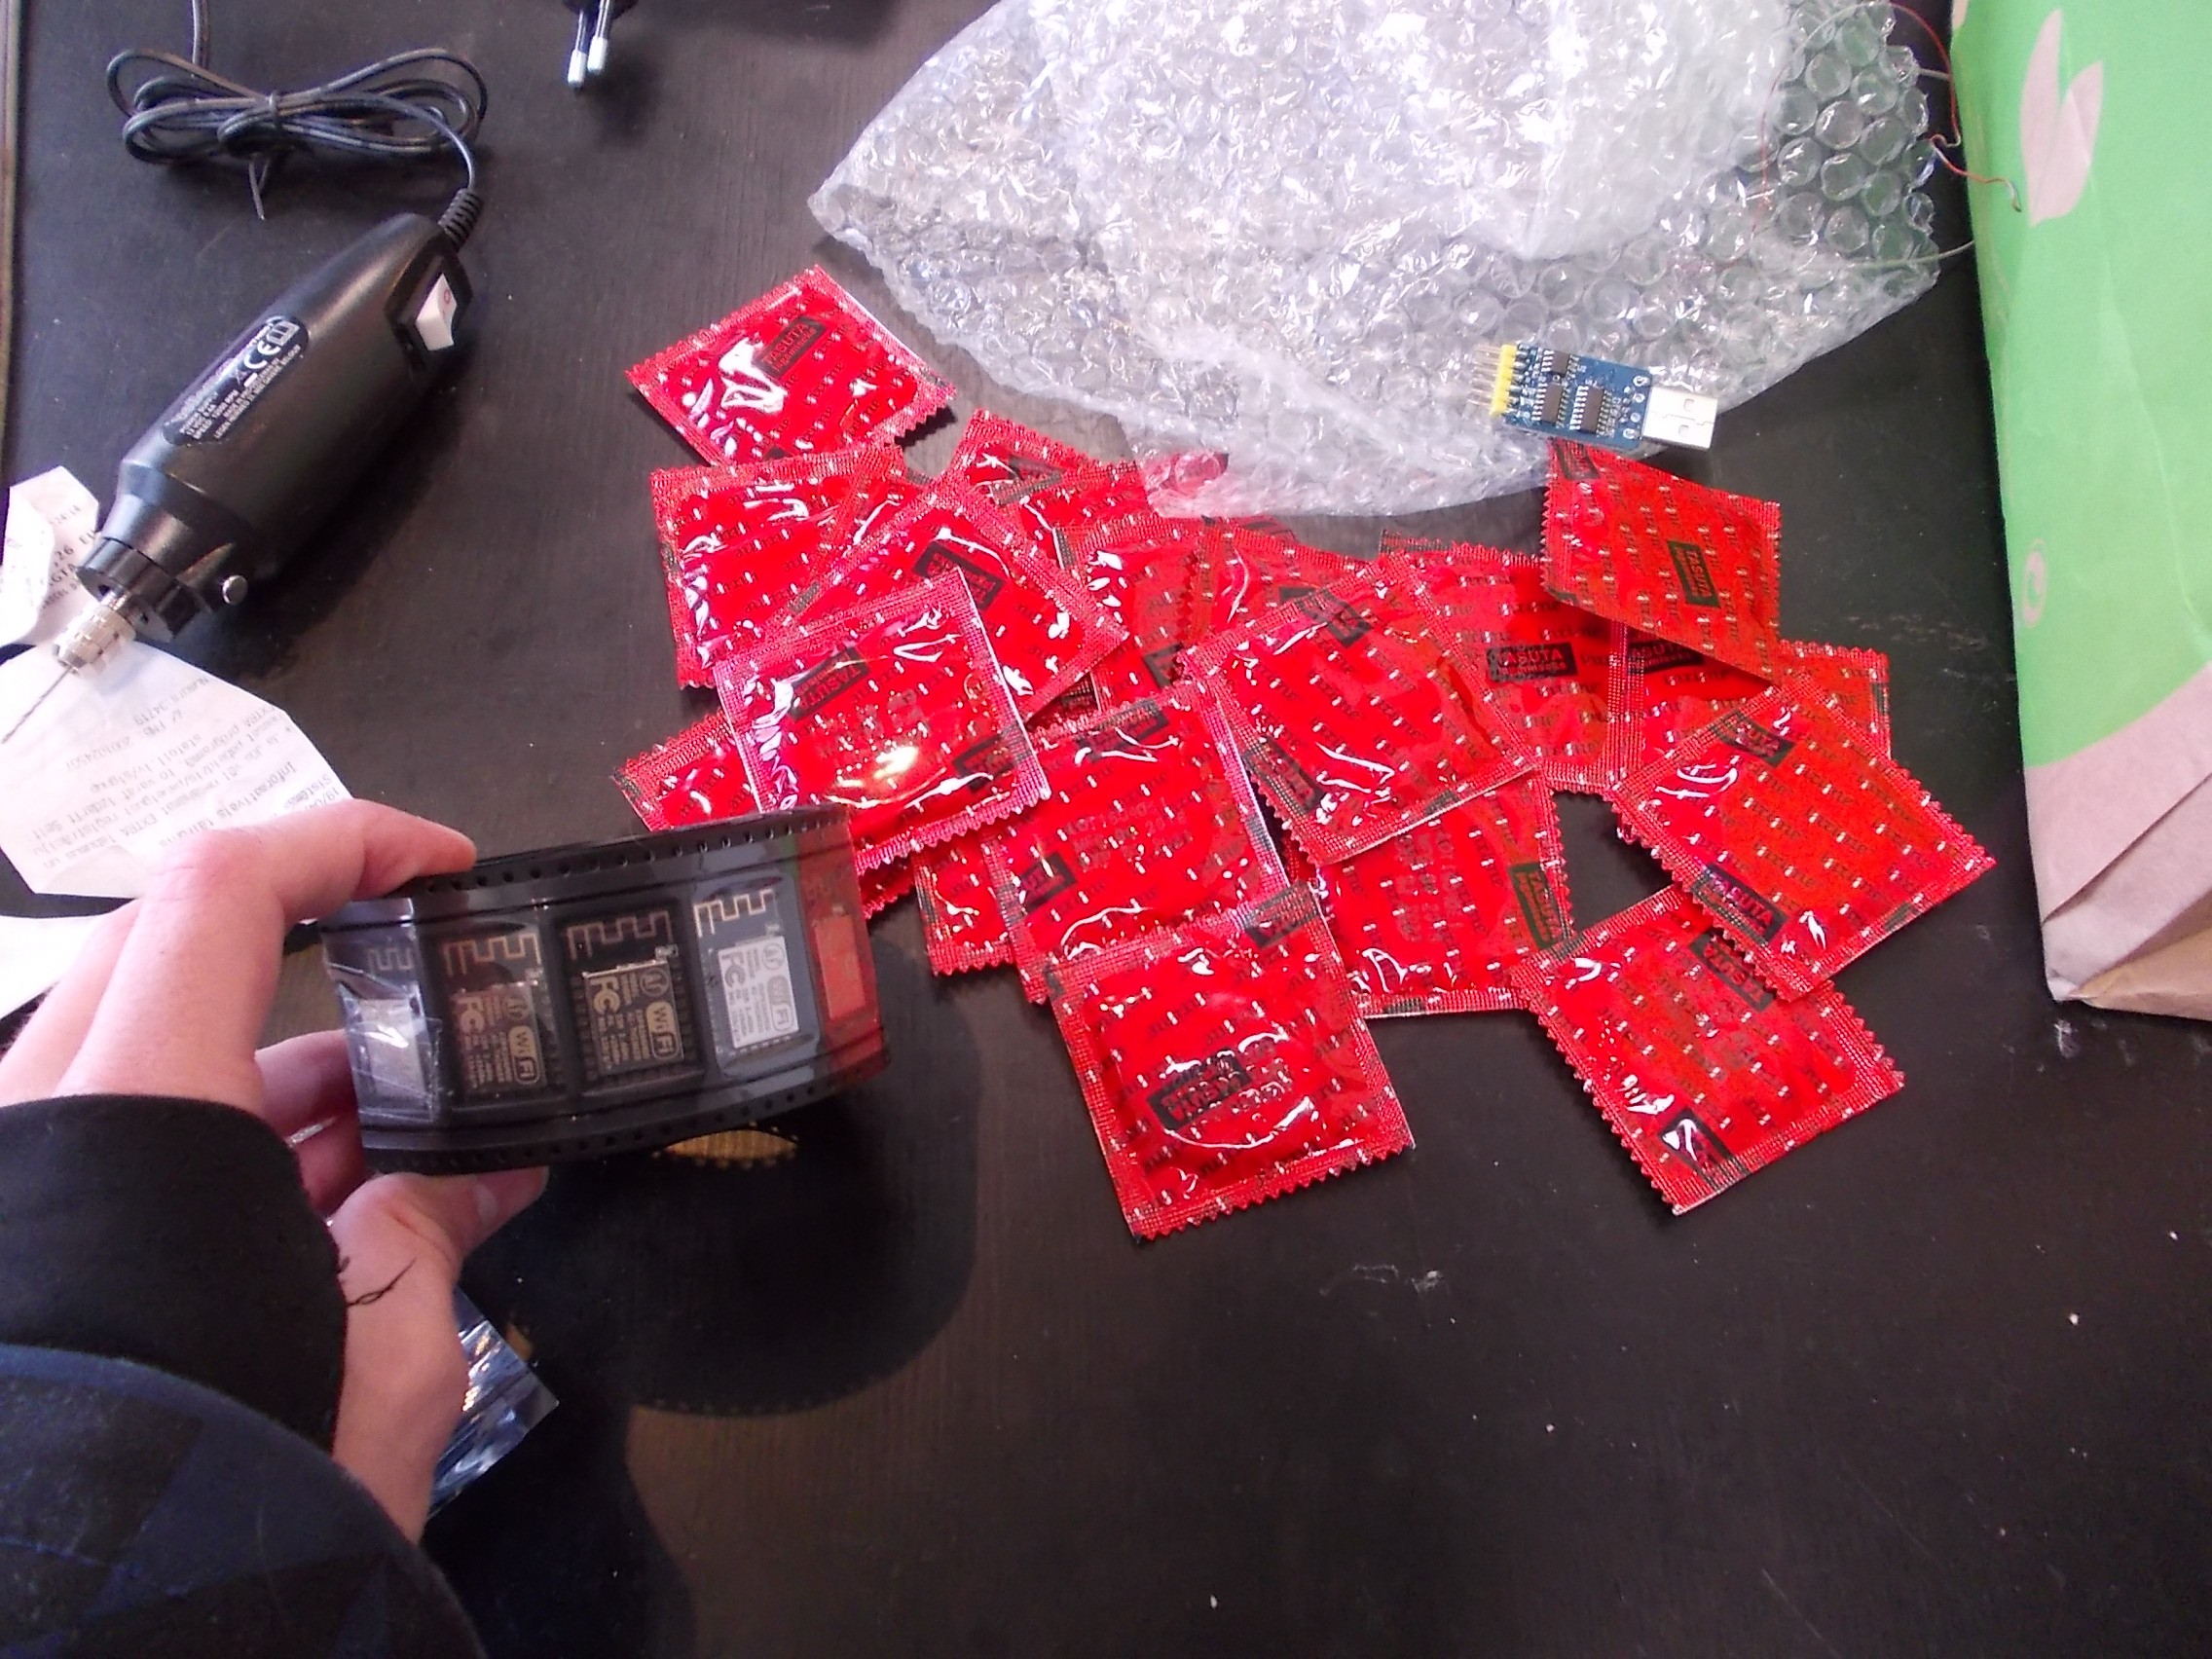
We also got some components (the tape has 50 ESP-12, and I didn't count the condoms because there's more than I'll use anyway).
In other news, we're searching for a Tinder expert:
-
Log #2: bye-bye!
05/02/2017 at 13:46 • 13 commentsOkay, so we need to find a way to destroy the condom effectively and swiftly. Why?
![]()
We've got a few possibilities:
- Use a laser. Pew pew. May need more power than we can afford. But it's cool.
- Pierce it mechanically. Needs small motors.
- Blow it up. I like it, it can be done with miniaturization in mind: a Vishay MEPIC igniter, a bit of black powder and some epoxy for containment might just do it. We contacted Vishay for the igniters.
Vishay e-mails
Soo we sent a well-thought email to Vishay, clearly explaining our motivations and the final aim of our project:
Dear Sir, dear Madam

I'm writing to you to express our interest in the EPIC and MEPIC igniters.
We're hobbyists from Europe developing miniature pyrotechnic devices for recreational purposes (i.e. small-scale remotely-operated fireworks), and the (M)EPIC igniters seem like an easy way to implement a reliable, reproducible ignition source in an extremely small package.
Can you please give us more information on the pricing and availability of those components? We've tried looking into local distributors, they don't seem to stock those parts.

Best regards,
To which they promptly answered:
Good morning,

Thank you for your inquiry and interested to Vishay solutions and to become direct supply customer with your demands.

you could check distribution stock on our website:


http://www.vishay.com/search?query=mepic*&type=inv&search-inventory-submit.x=37&search-inventory-submit.y=7

For EPIC I can`t found stock, sorry.

You can use this datasheet link when communication with your chosen distribution partner:

http://www.vishay.com/company/contacts/

Mit freundlichen Grüßen / Best regards

Bianca Reinel

POS Analyst
Progress!
-
Log #1
05/02/2017 at 01:06 • 2 commentsYo the actualest of Dragons here, working on the dildo in tinkercad, i was wondering if anyone had spec requests. Any feedback would be appreciated! thx
 Arya
Arya