 Alana B
-
1Step 1
More details are in the project logs, but here is the overview.
Buy all materials. Measure and pencil in an 7 by 10 grid on the inside back of each poster. Cut the neopixels into strips of 10 pixels each and glue them to the inside back of the poster, centered in the grid lines. Make sure to ALTERNATE the direction of each strip so that it flows up and down. Cut two holes at the start and end of the strip so that the strip can connect to power.
![]()
-
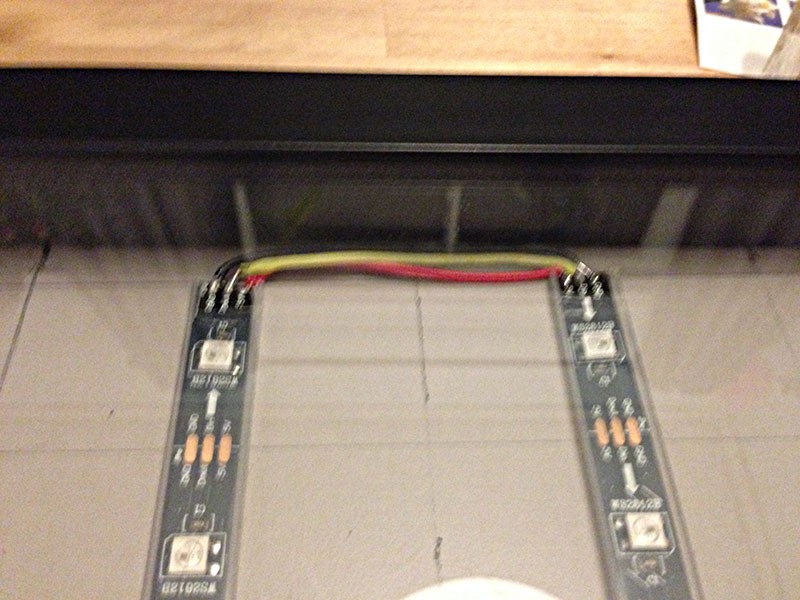
2Step 2
Solder the neopixel strips back together so that they form one long strip snaking up and down. For each break, join 5v to 5v, data to data, and ground to ground. Optionally, cover each end with hot glue to help secure the wires in place. Make sure the wires are short enough so that the frame can still close.
![]()
-
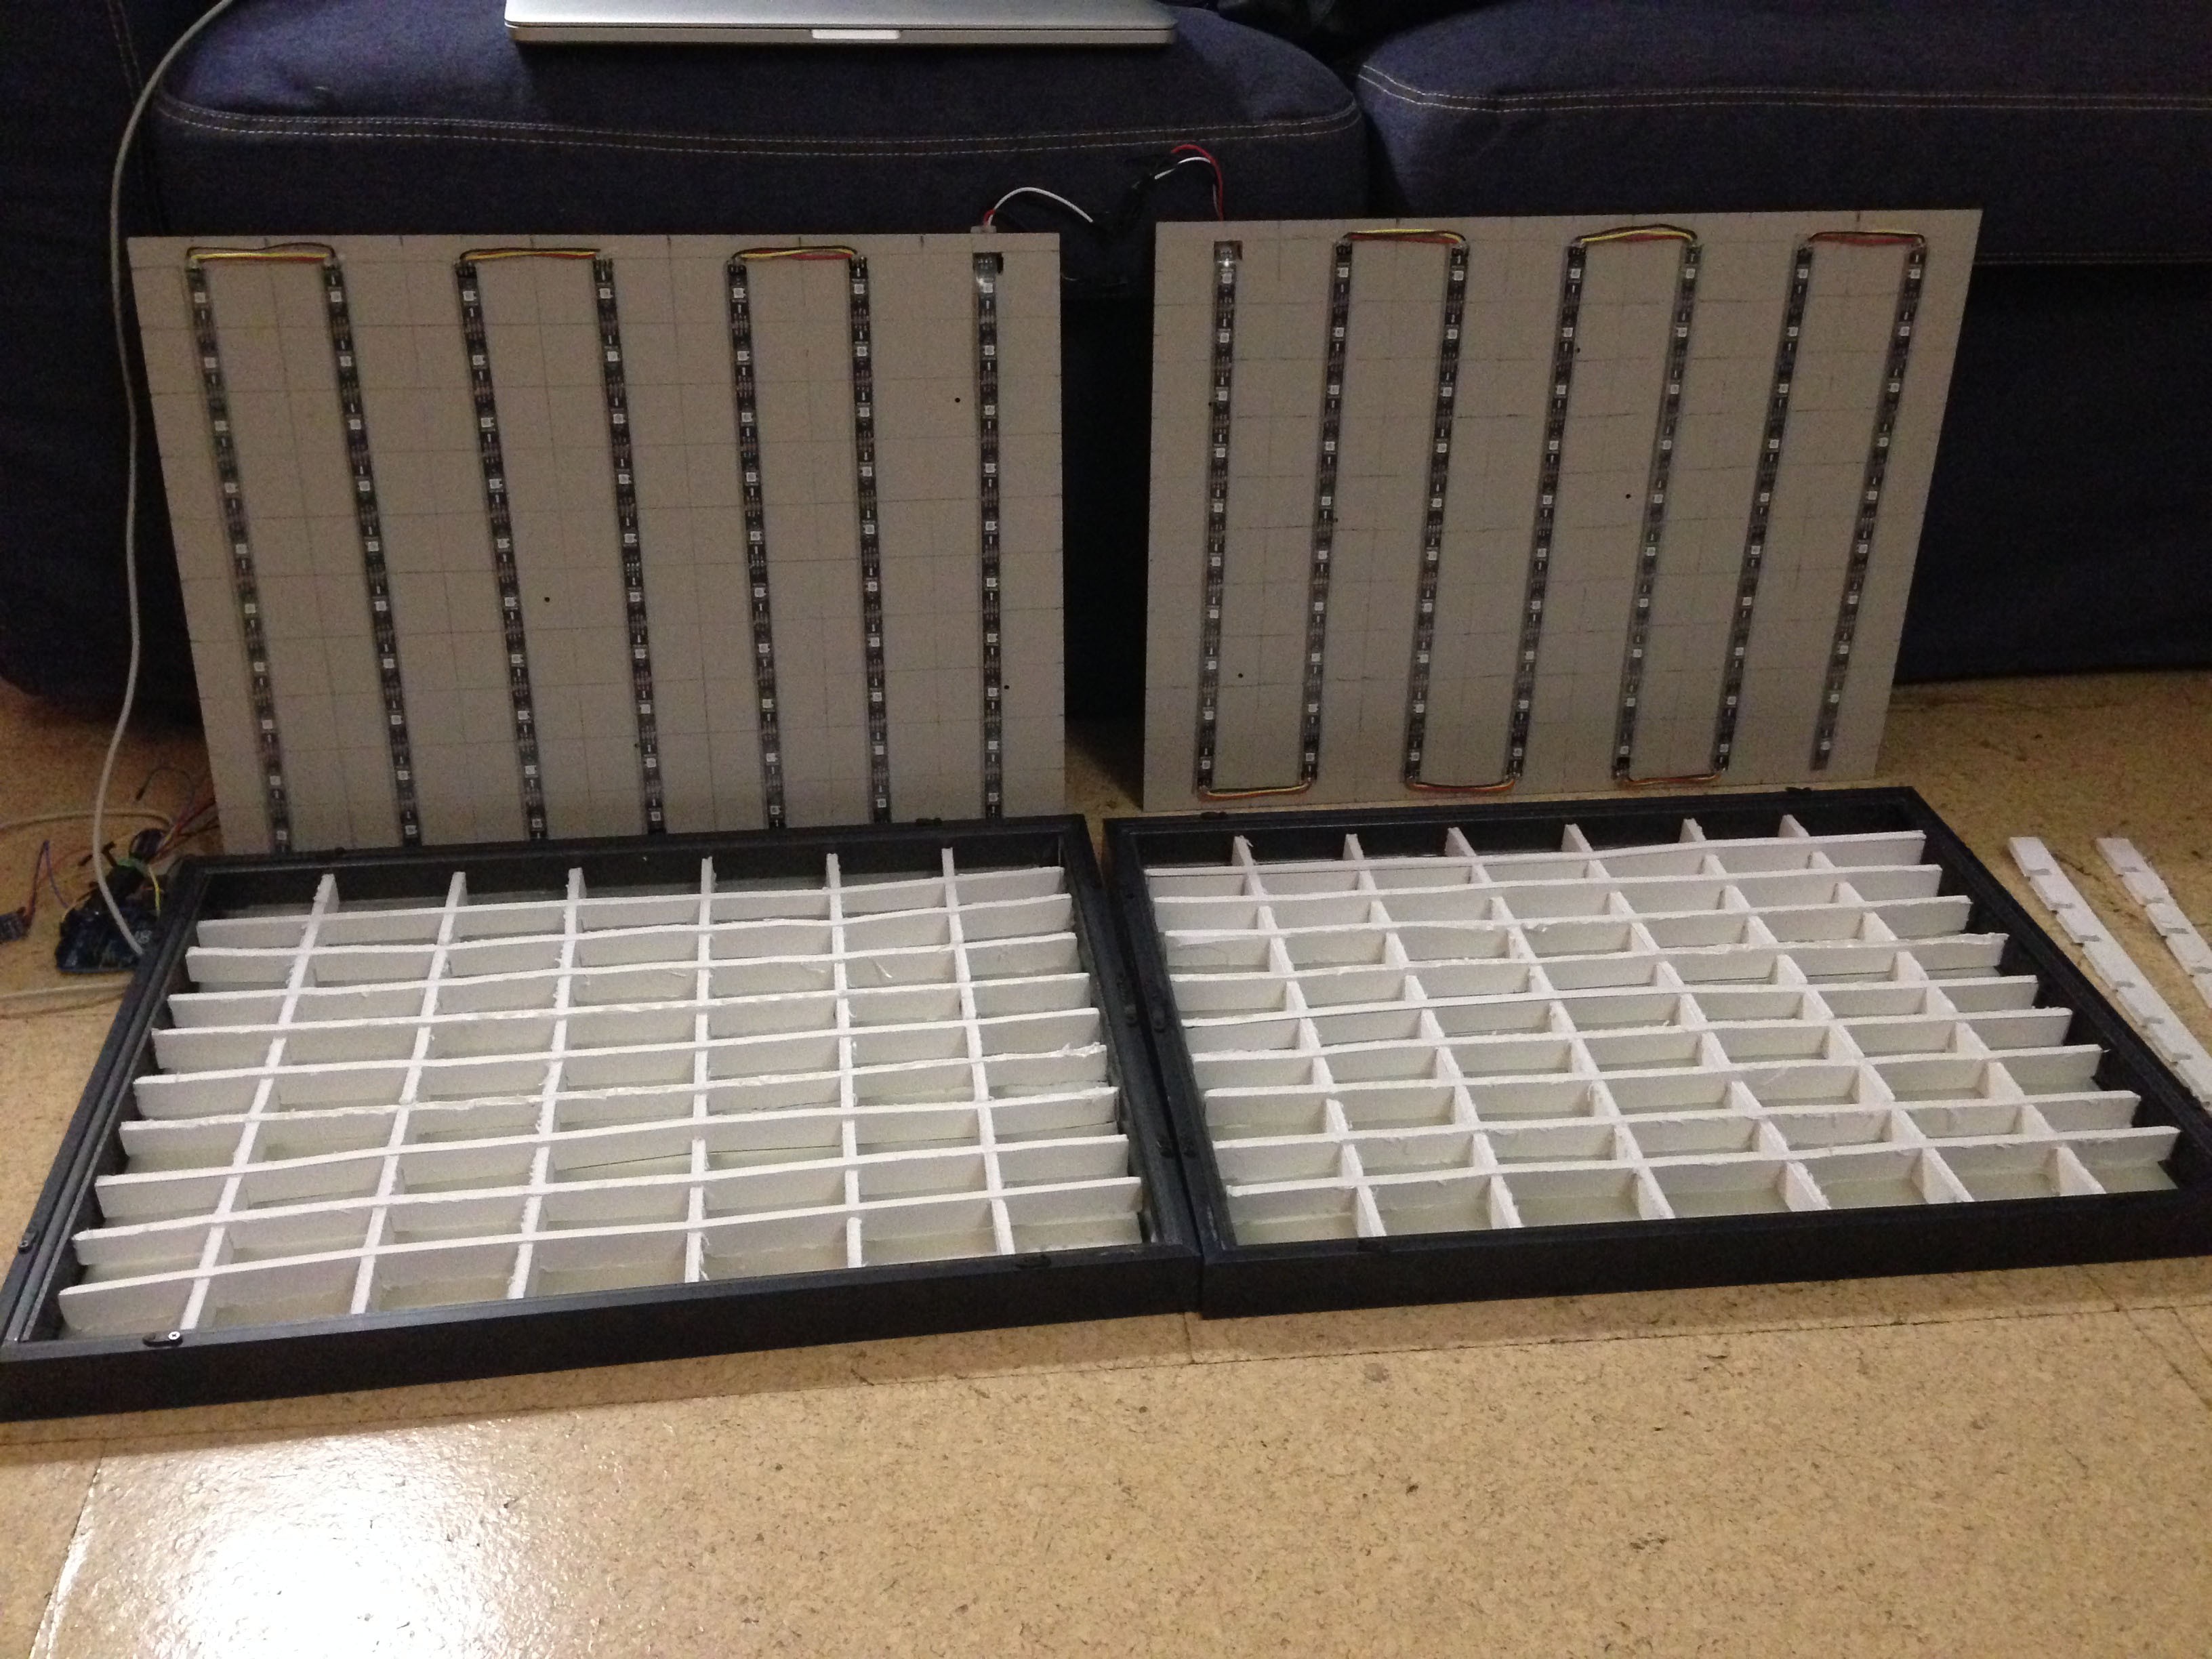
3Step 3
Measure the inside of the poster frame and cut 30 ((6 + 9) x 2) dividers from the foam art board to fit perfectly between each strip and each row of LEDs inside the posters. Cut notches the width of the foam board and half-way deep at each intersection to allow the rows and columns to join. A bandsaw or laser cutter works well for this.
![]()
-
4Step 4
Optionally solder JST connectors between the two posters so you can disconnect them easily.
-
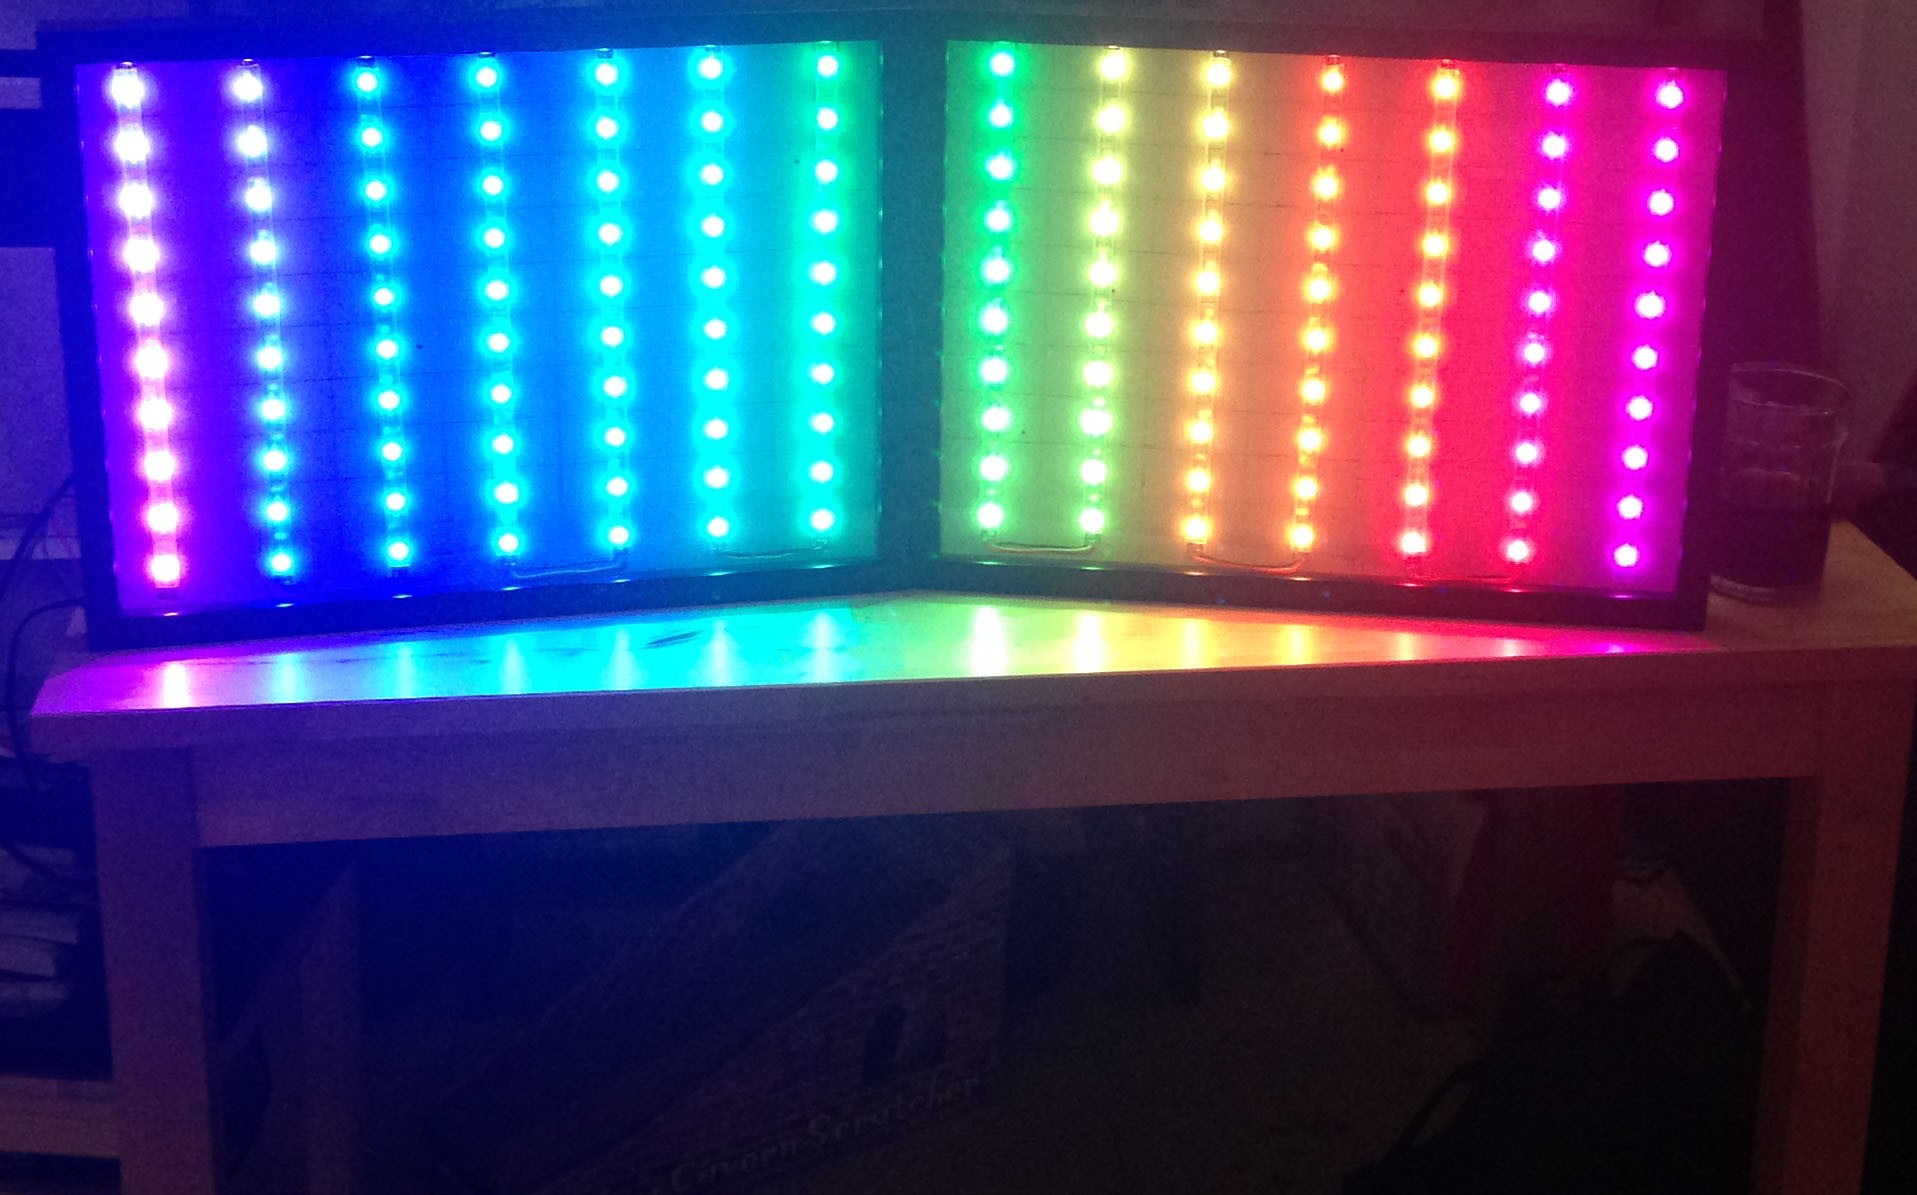
5Step 5
Close the frame and load Adafruit's neopixel examples on the Arduino. Solder a wire from the data pad on the neopixel to pin 6 on the Arduino, another to the power supply, and ground to both ground on the power supply and ground on the arduino. Try running Adafruit's strand test to make sure all the LEDs light up. Follow this tutorial for more info.
https://learn.adafruit.com/adafruit-neopixel-uberg...
![]()
-
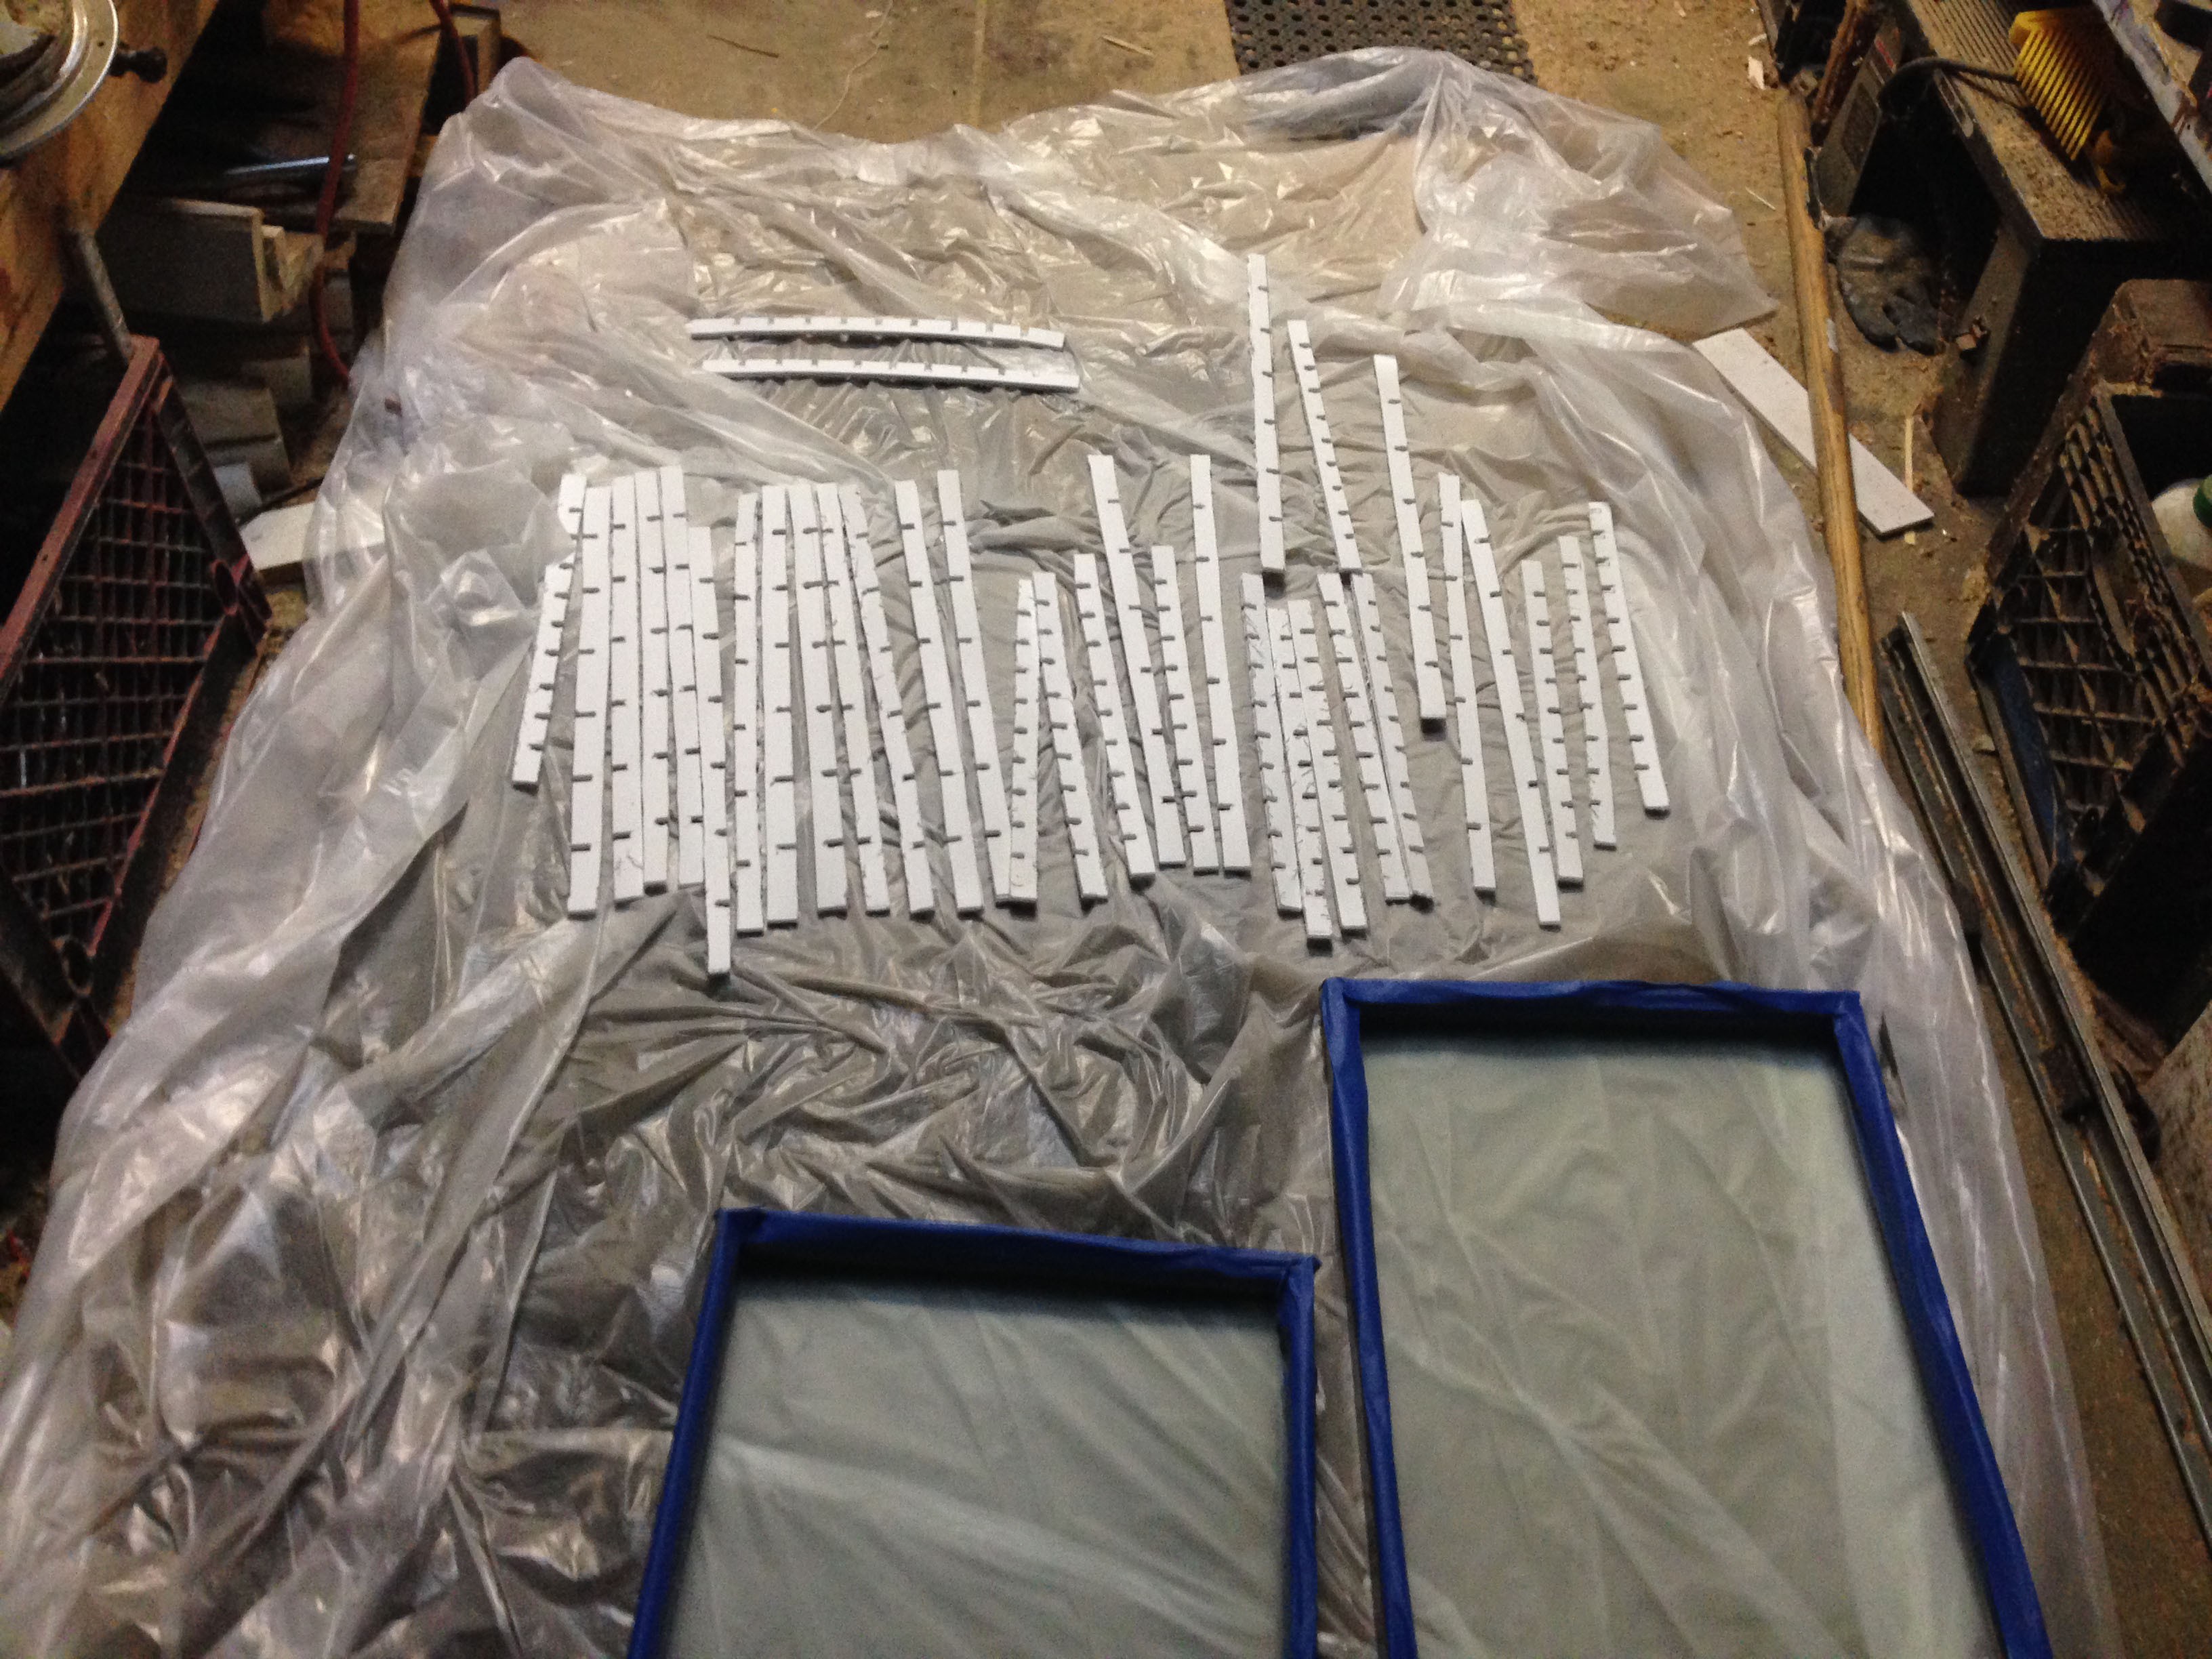
6Step 6
Spray both sides of the dividers with the reflect-all. Shake well and spray from a distance. Mask the poster frame with painter's tape, and spray the inside with the gloss paint. Let it dry and repeat for several layers until you run out of gloss. Let it all dry overnight.
![]()
-
7Step 7
More to come. See the project log for the circuit, and grab the source code from the github link. Print out the mount and the lid for the electronics from the STLs in the github repo.
Poster VU
A giant VU-meter housed in two poster frames with mic and line input and sensitivity and brightness knobs, powered by arduino and neopixels.

Discussions
Become a Hackaday.io Member
Create an account to leave a comment. Already have an account? Log In.