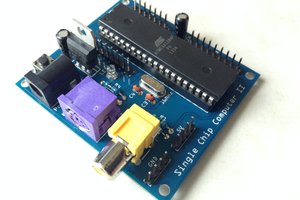
This project is a homebrew 8bit computer which runs a BASIC programming language known as TinyBASIC Plus (TBP for short) and can easily be assembled at home. It generates composite video which is supported by many screens (such as TVs) and reads PS/2 keyboard input. Many GPIO pins are available allowing connections to components such as LEDs, potentiometers, sensors and much more. A L7805 regulator is used to make the system more flexible with the power supply which can be used (compared to using no regulator at all) to power the system such as a 9V wall-mounted transformer or a 12V battery. Over 7KB of SRAM is available for writing TBP programs and an 8KB EEPROM card (connected to the storage header) can be used to save full size programs; the ATmega 1284P also has 4KB internal EEPROM available for saving programs to. The system was designed in KiCAD and the following image shows the schematic:

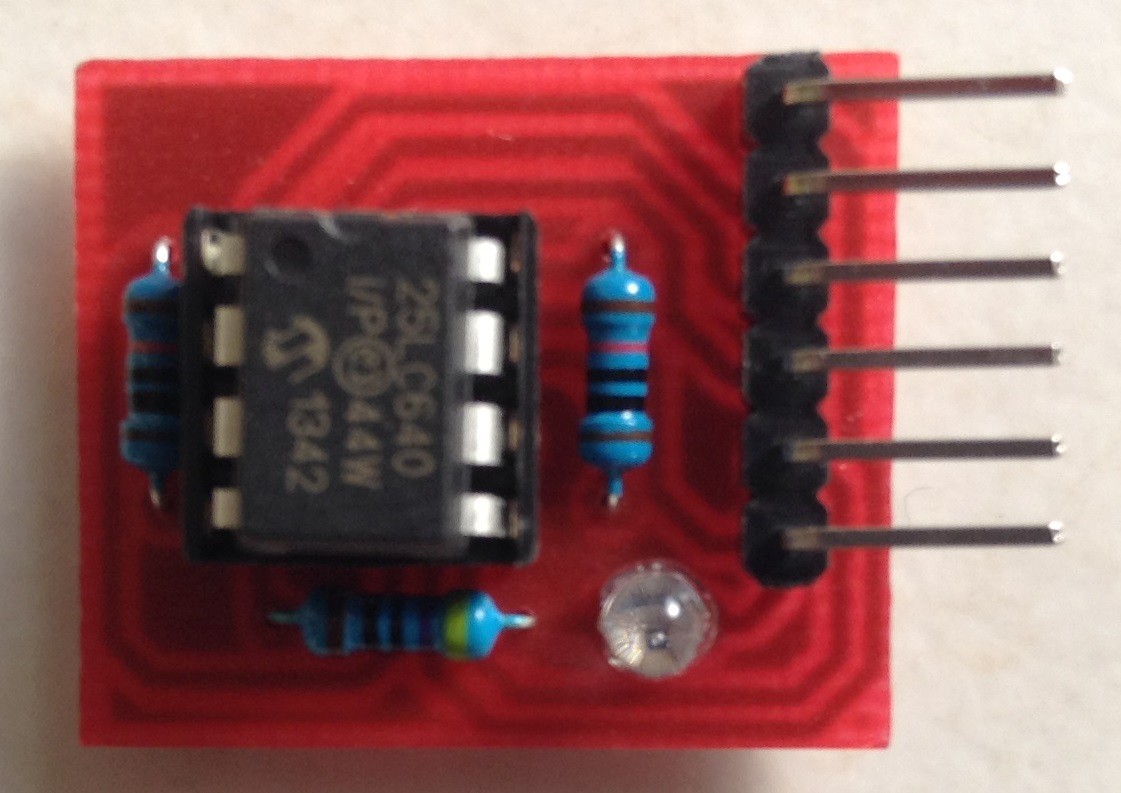
Optionally, a small PCB (EEPROM Card) containing a 25LC640 EEPROM IC can be connected to the system to allow full size programs to be saved. These cards simply connect using a male and female pin header making them easily removable. A header is present on the PCB allowing the user to select which EEPROM to save BASIC programs to (internal or EEPROM card). These cards can be used to transfer BASIC programs between computers, allow other devices (such as an Arduino) to program the cards or to allow full size programs to be saved. The following images show one of the EEPROM cards which was created using the milling process on 0.8mm red PCBs:
The following image shows the schematic diagram for the EEPROM storage cards:

The following image shows the storage header pinout which is used to connect the EEPROM cards to the computer:
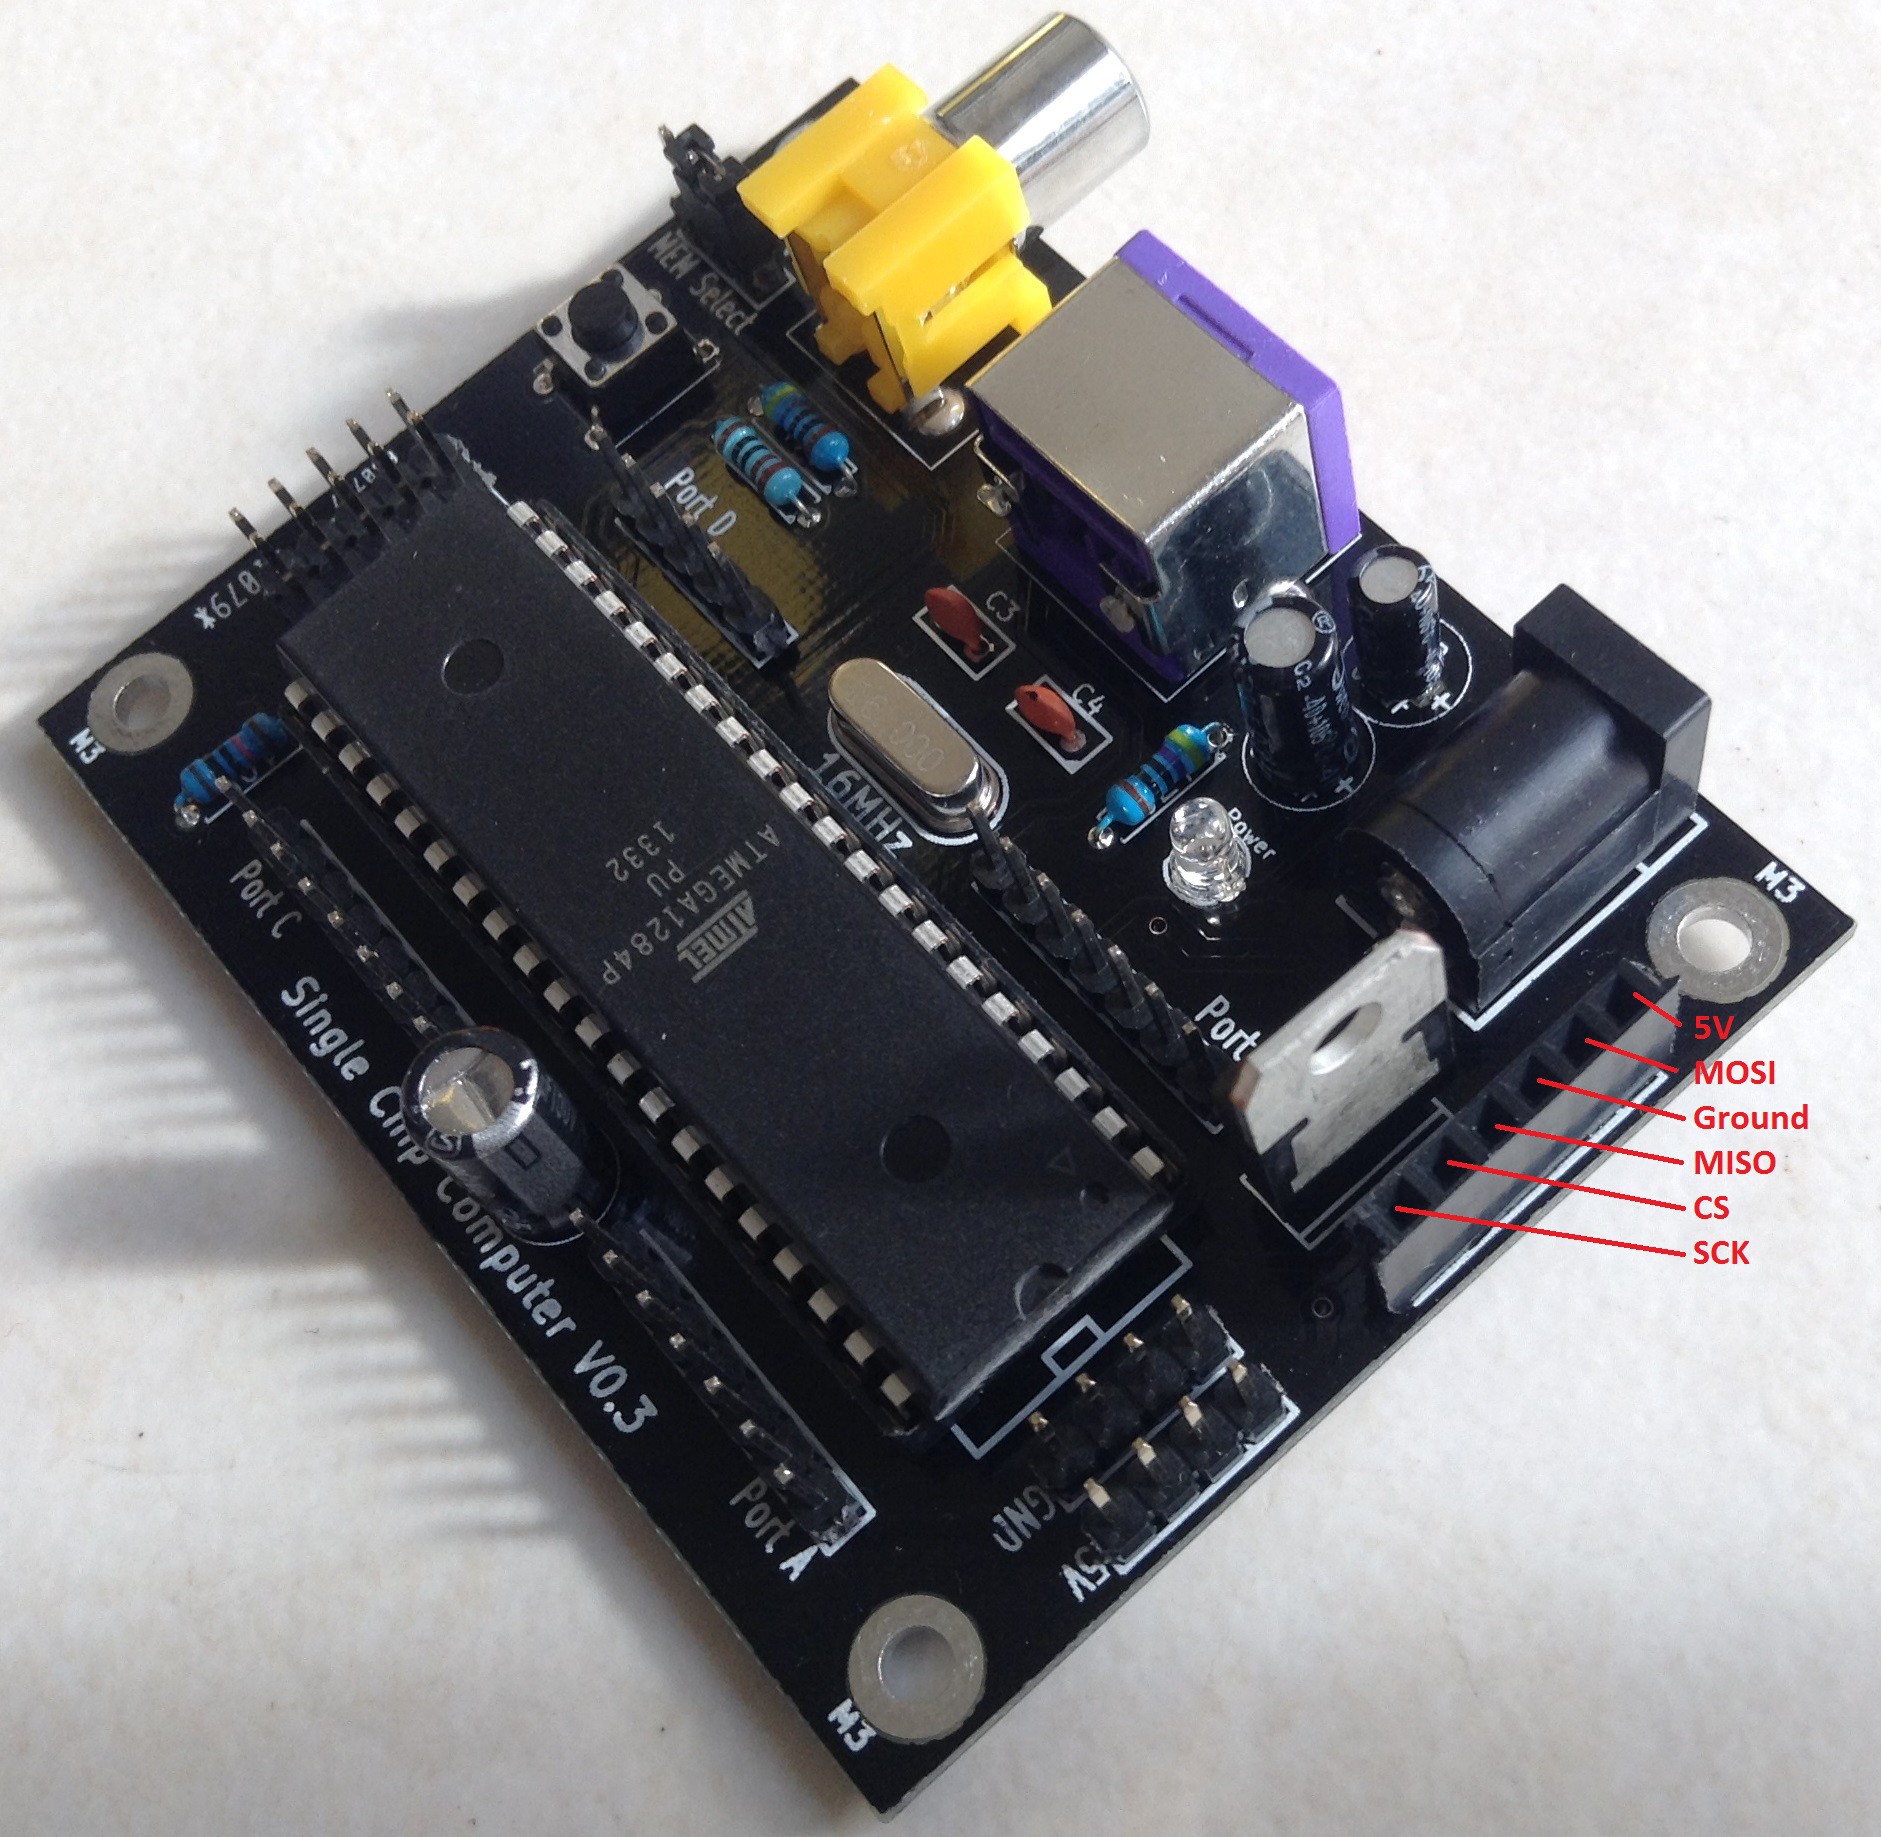
PCBs for the single chip computer (V0.3) are available to buy from me through eBay by clicking the "Purchase PCBs" link at the side of this page. The EEPROM card PCBs can be easily made at home using the photo-etching process or if there is enough interest in these EEPROM card PCBs, I will get some manufactured and also put those up on eBay. The "EEPROM Card Files" link goes to a RAR archive which contains the artwork for the EEPROM storage cards (in an .oxps file), the gerber files and the schematic diagram for the storage cards.
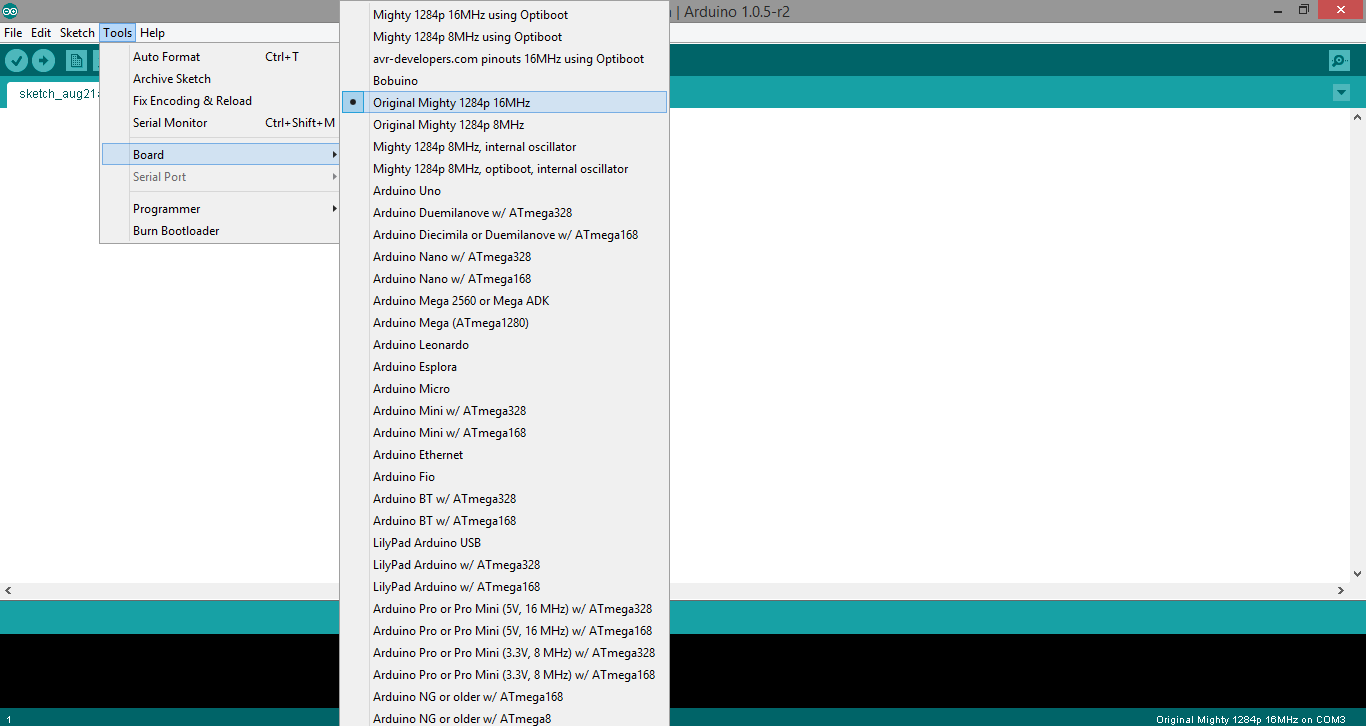
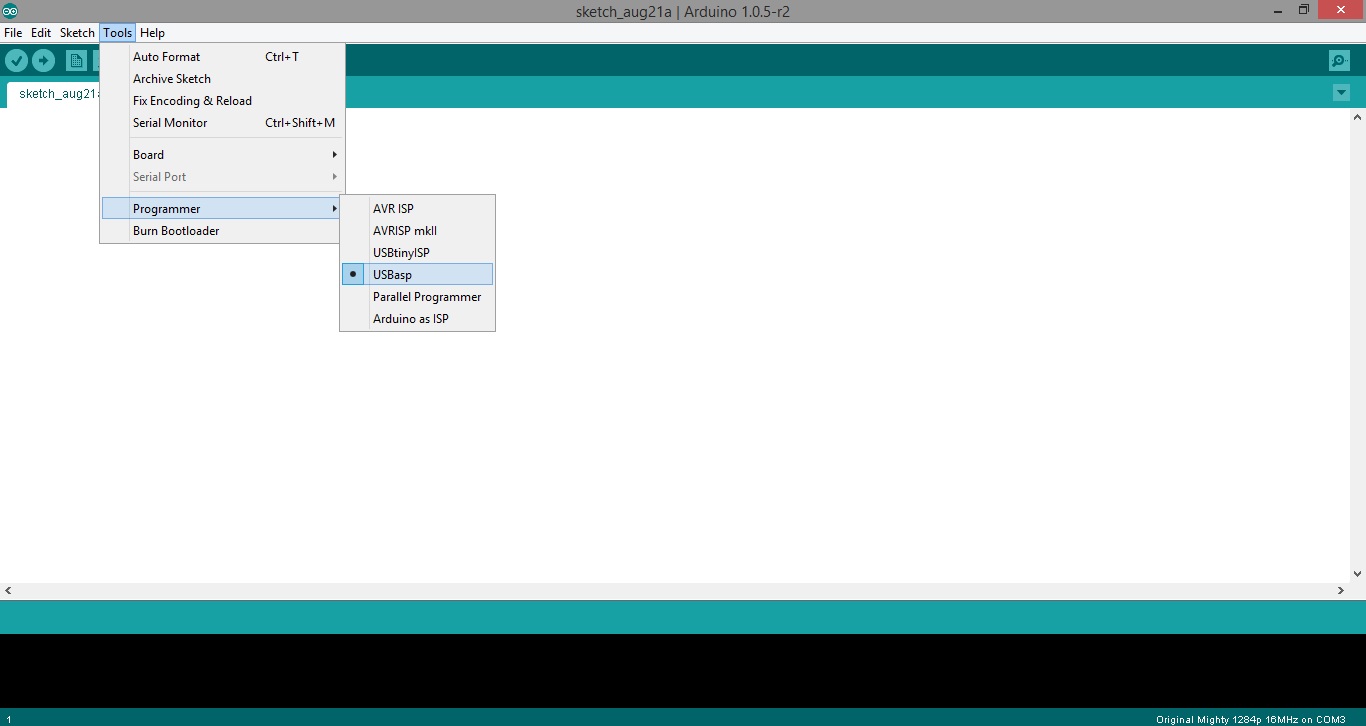
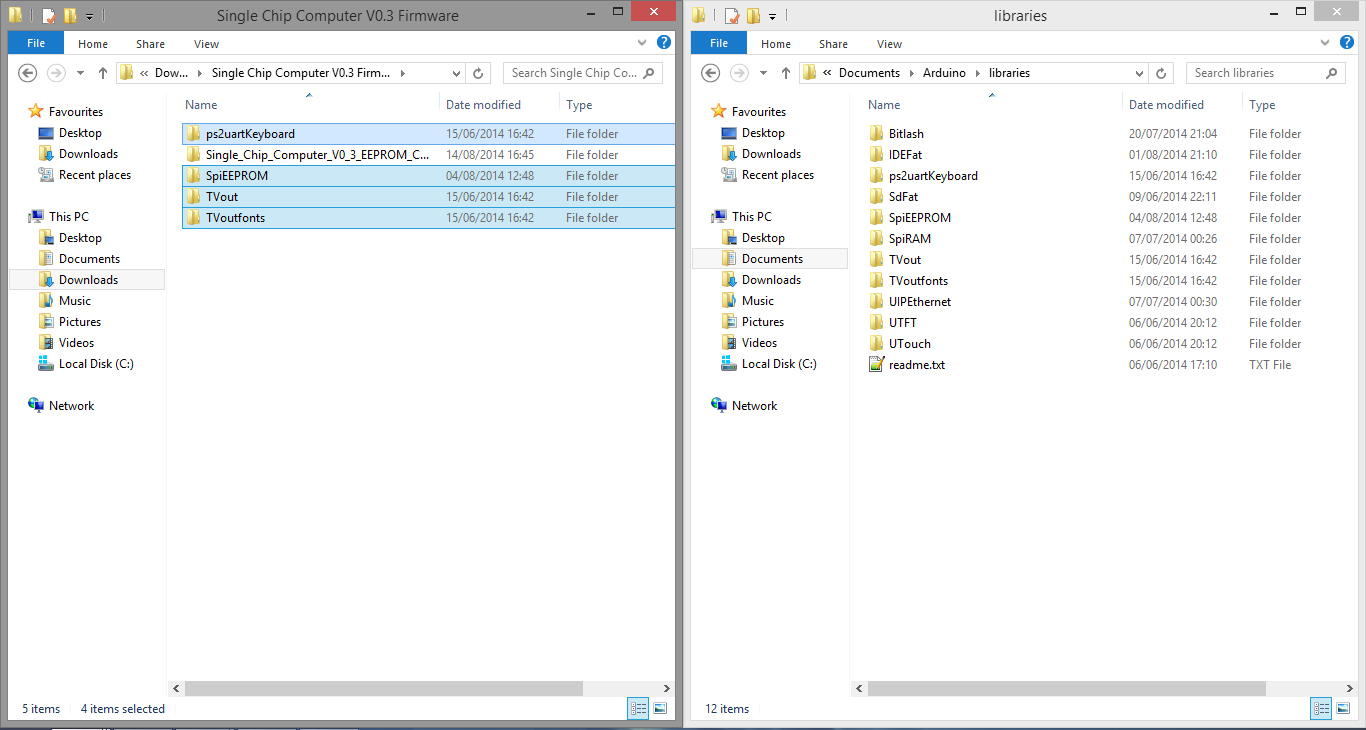
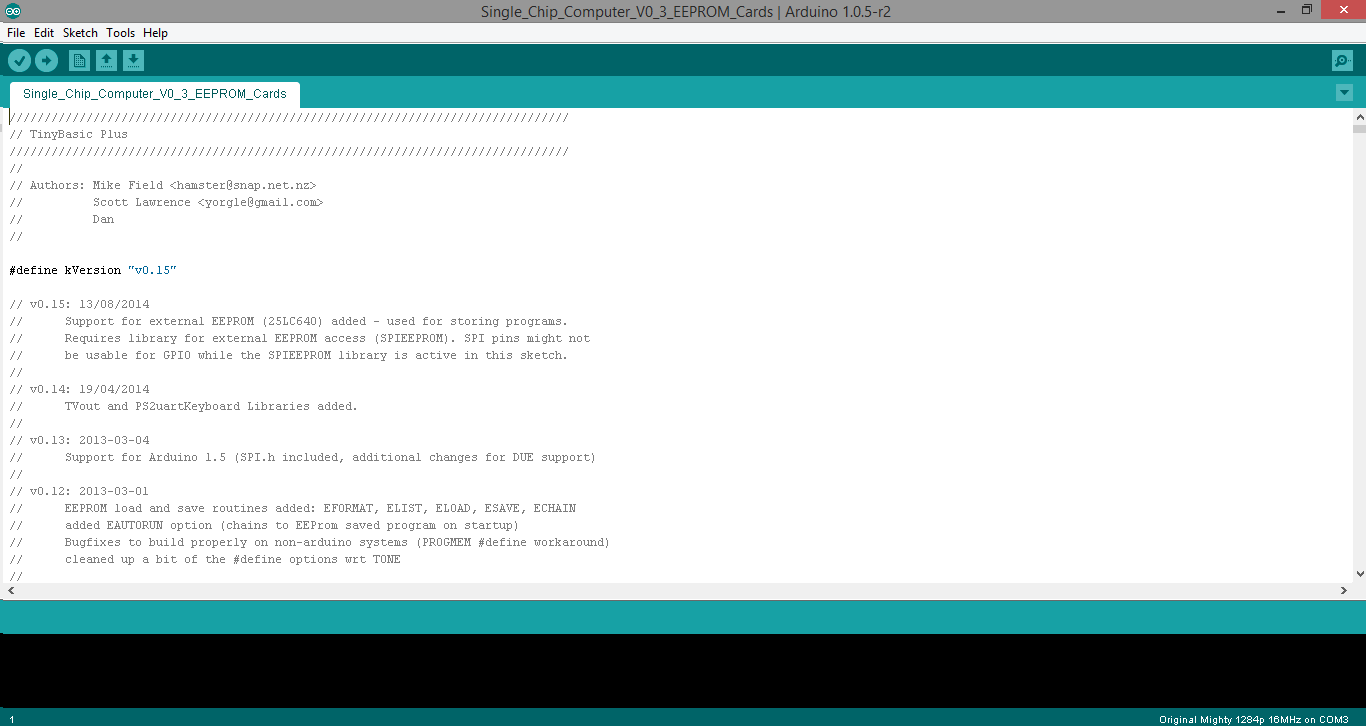
The "Firmware" link on this page goes to a RAR archive which contains the TinyBASIC Plus sketch, the TVout library, the PS/2 keyboard library and the SPIEEPROM library (note, the library folders need to be put into the Arduino IDE libraries folder [within documents on windows]).
Once all the components from the component list have been gathered (note, the male pin headers on the component list can be created by cutting down a long male pin header strip), they can all be soldered into place and the system is then ready for use. Simply connect a TV, PS/2 keyboard and power source such as a PP3 battery or wall-mounted PSU. If an EEPROM card is connected, set the jumper to the 'C' position to allow BASIC programs to be saved to the card or if internal EEPROM is going to be used, set the jumper to the 'I' position (note, the jumper is the same as the type used for IDE hard drive pins used to select master or slave mode so they can easily be found within old computers).
 Dan
Dan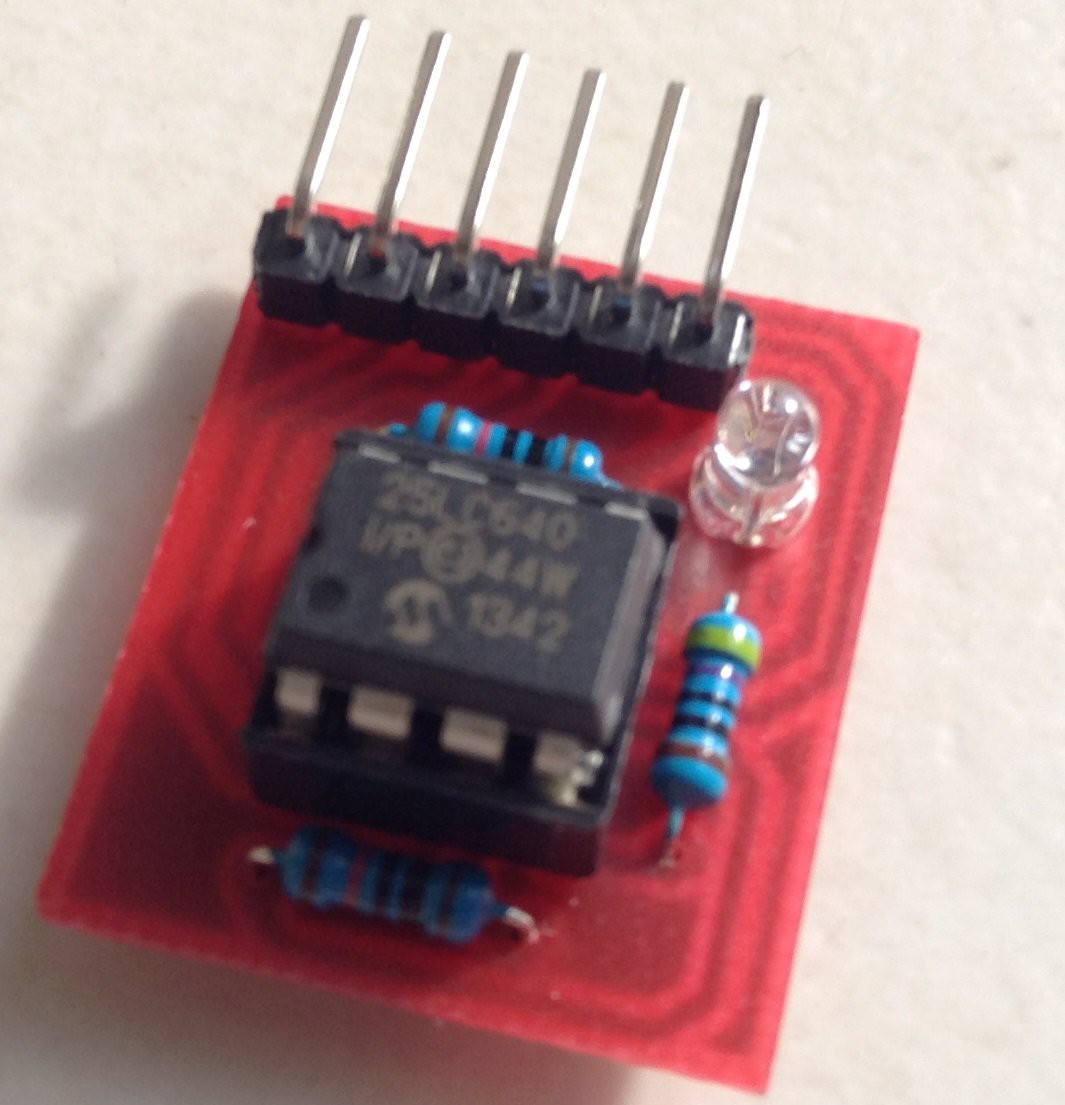





 Jacob Hahn
 C. Scott Ananian
 Sanjit Sarda
What sort of resolution does the video have and is it NTSC or Pal? I might buy a board and try it.