-
Better hardware
08/21/2018 at 01:25 • 0 commentsActual version is running very well, but it is hard to replicate, because of the calibration :
this part of the build is not documented, because I don't really know how to replicate the calibration process (the visual tool I used back in the days is overly innacurate. It worked for me once but I could not release it)...
So I decided to build a new version of the device, with no need for calibration.
Still bluetooth, still battery-powered, but without the usb-related fonctions (joystick, serial output).
The new device will only have a 9-dof IMU, a microcontroller, a bluetooth transponder, a status LED and a 1000mah lipo and charging circuit (providing +20h running time). Using a custom, real PCB, and a 3d printed enclosure built to fit every headphones on the market (using rubber bands of course :D ).
Parts are currently on their way, please wait 3-4 weeks for them to get home, and me to build a beta-version (alpha is working already)
-
Running very well
07/21/2018 at 01:38 • 0 commentsHi...
I did not update this project until now, because... well... it works well and I almost forgot about it while gaming, it is so obvious for me now. I could not play some games without it, including Elite: Dangerous, War Thunder and Asseto Corsa... This device is a must for sim games ! Looking around has no price !!!
But I don't forget my fellow gamers, so I give you a new video, and my source code.
-
Case completed
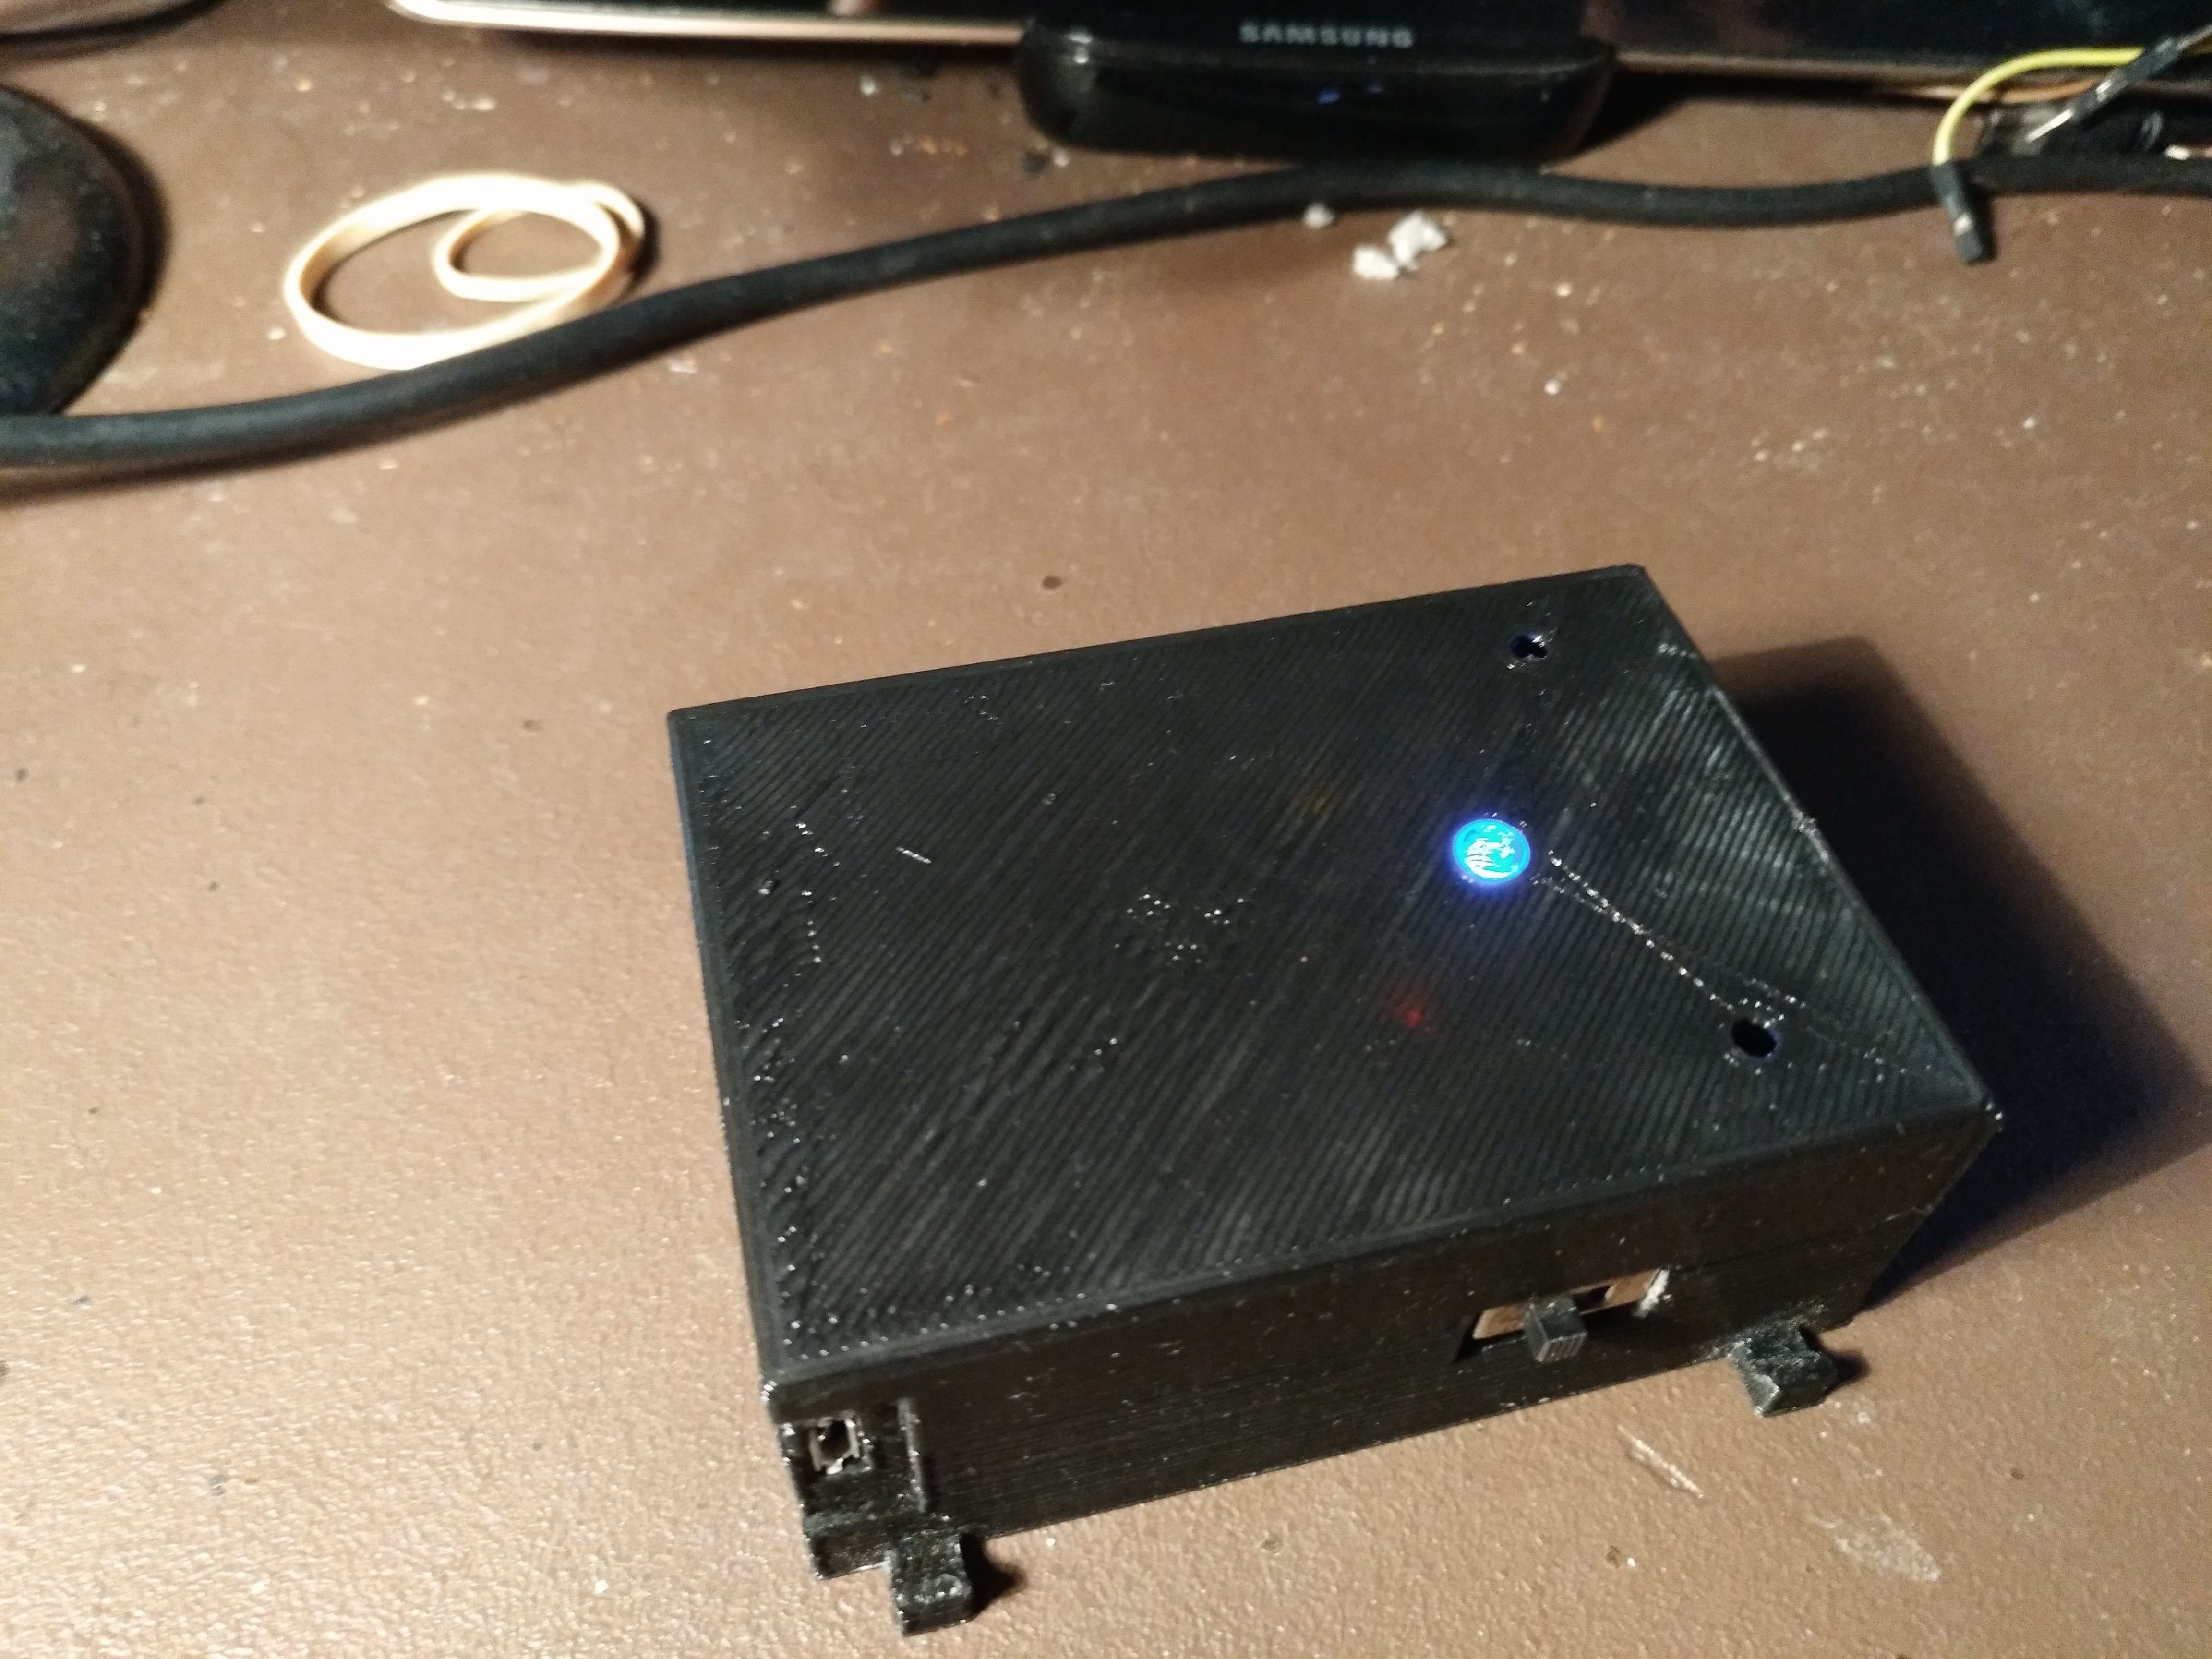
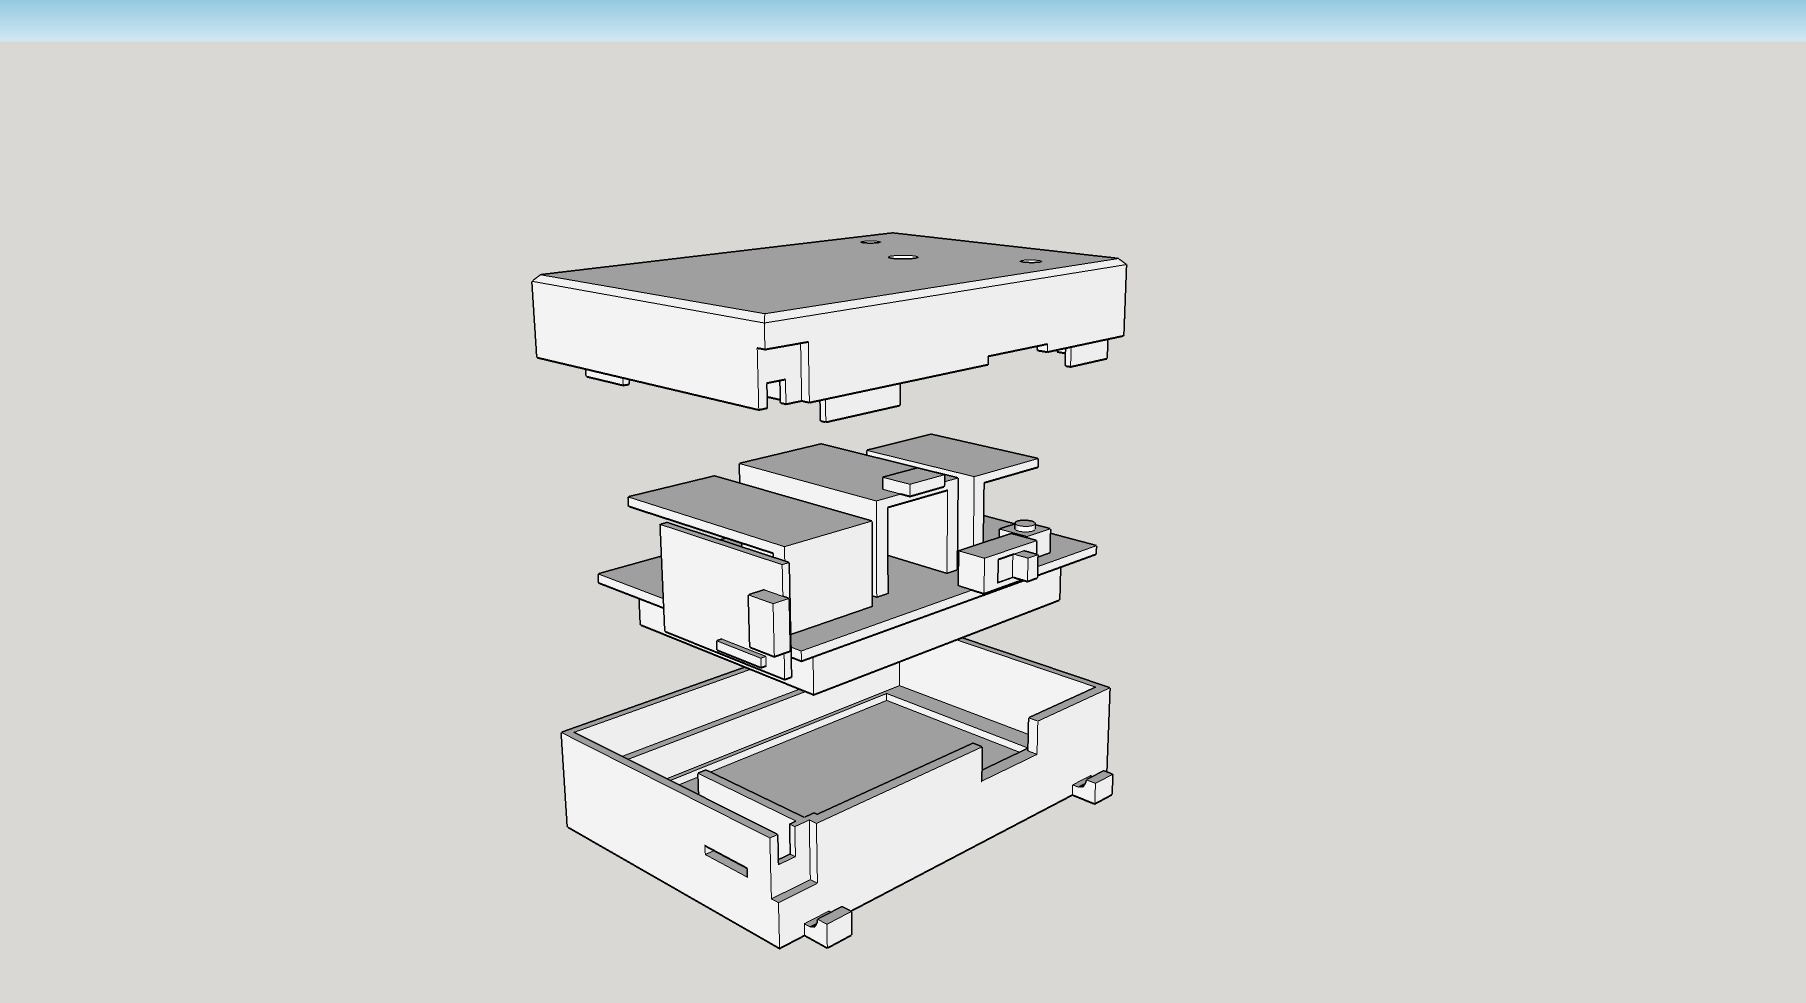
05/26/2017 at 10:32 • 0 commentsThe device's case 3D model is now complete and printed :
I did not add buttons yet (only holes) because I don't use them actually : I recenter the device using a VoiceAttack voice command, and the case needs to be open to use the 2 other modes. I may add them including micro-USB and serial pins door access later if I ever need them.
STL 3D files have been included in the files section.
Edit : I also added the Sketchup file if someone ever need it.
-
Hand crafting the PCB
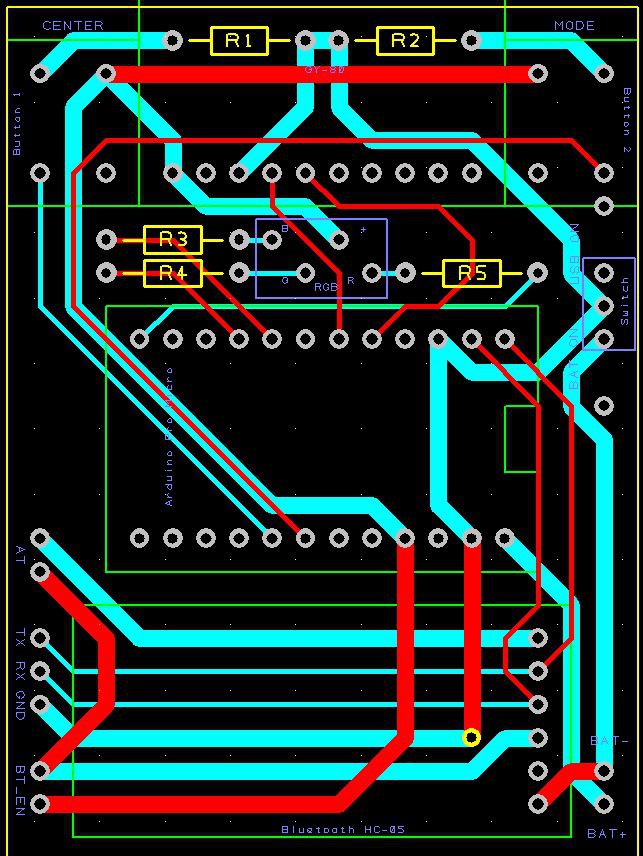
05/25/2017 at 14:49 • 0 commentsI added the 2 PDF I used to build the circuit on a 24x18 perfboard. There is one file for the top layer, and another file for the bottom layer.
Usually, I print the 2 files at 1:1 scale, and simply follow the drawings. This time, I glued the top layer drawing on the perfboard prior to routing, so it was very easy and gives a nicer look.
Here is the view of the PCB in DesignSpark. It is a 2 sides PCB with large traces, so it should be very easy to manufacture.
Head Tracker
This devices tracks your head in video games, wirelessly and in 9 DOF. And it could be used in standalone projects.
 Arcadia Labs

