 artist_edge
-
1Step 1
Physical Build instructions
- Affix LED strips to the square tubing on all sizes. Make sure that they leads are available to attach to the square Test4 PCB.
- Attach Strips to assembled Test4 PCB>
- Attach tube end cap to large pig feed tube.
- Slide LED square tube inside of the larger pig feed tube.
- Affix assembled motor board
- Attach 2nd end cap.
- You may need to dremel out tiny area in end cap to access on/off switch.
-
2Step 2
Basic device programming instructions
- Each tube will need to have it's own identifying number in the system. Yes, you could label them but on a dark stage your dancers can pick up the wrong tube ruining your vision. You'll need to encode that. Once you've programmed the number in, when it turns on, the tube will display the number of bands for the number of the device.
-
3Step 3
Individual Tube Updating
TBD
-
4Step 4
Preparing the Music for the stage
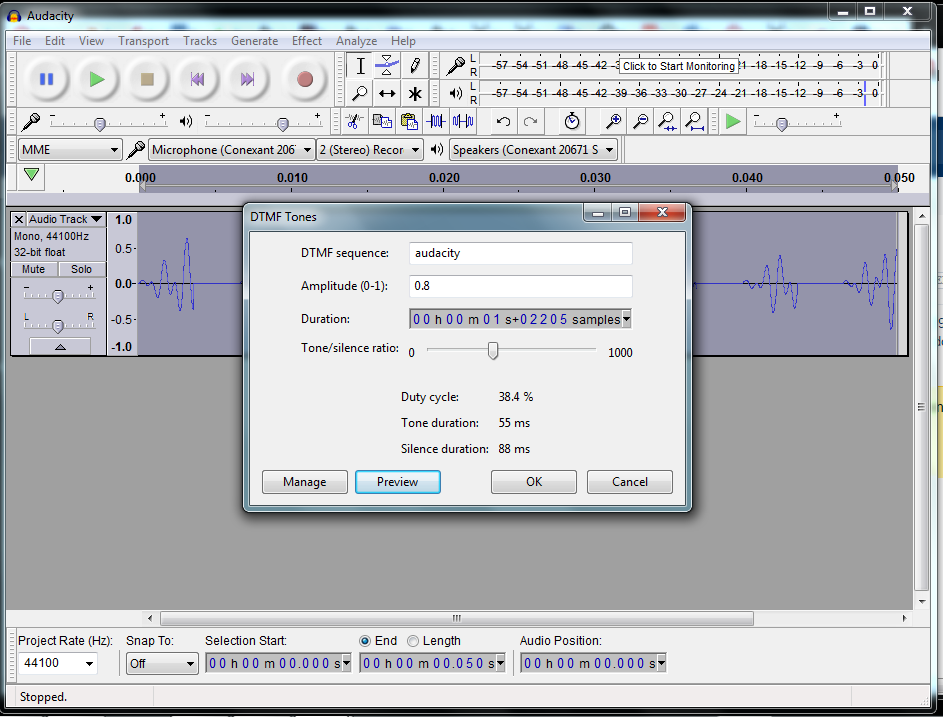
- Using your favorite Audio Work Station program (Audacity is free and does this well), open your music file as a new project.
- At the beginning of the music piece between audible sound is heard, place 4 DTMF tones at the start of pulse width of 50ms. To do this, select the Generate -> DTMF Tones from the top menu.
![]()
-
5Step 5
Preparing for Stage Setup/Tech Rehearsal
- Your central music player will have one Eval Mote attached to it.
- Setup staged Eval Mote off the ground and able to provide good RF coverage for all tubes and central music player.
- Turn on each of the motes once placed.
- Turn on the tubes. They should start their bootloader light show and then id their number. Place the tubes in their starting positions on/off stage.
- When the music starts with the DTMF tones, the devices should show their opening pattern. If the music stops, the tube patterns will cease and dim.
The system is now ready for a full run.
Programmable Light Props for Theatrics
Music-Synchronized light sticks that work in difficult RF environments like theaters for intense artistic applications.
Discussions
Become a Hackaday.io Member
Create an account to leave a comment. Already have an account? Log In.