 ptrav
ptrav-
1Print the body parts
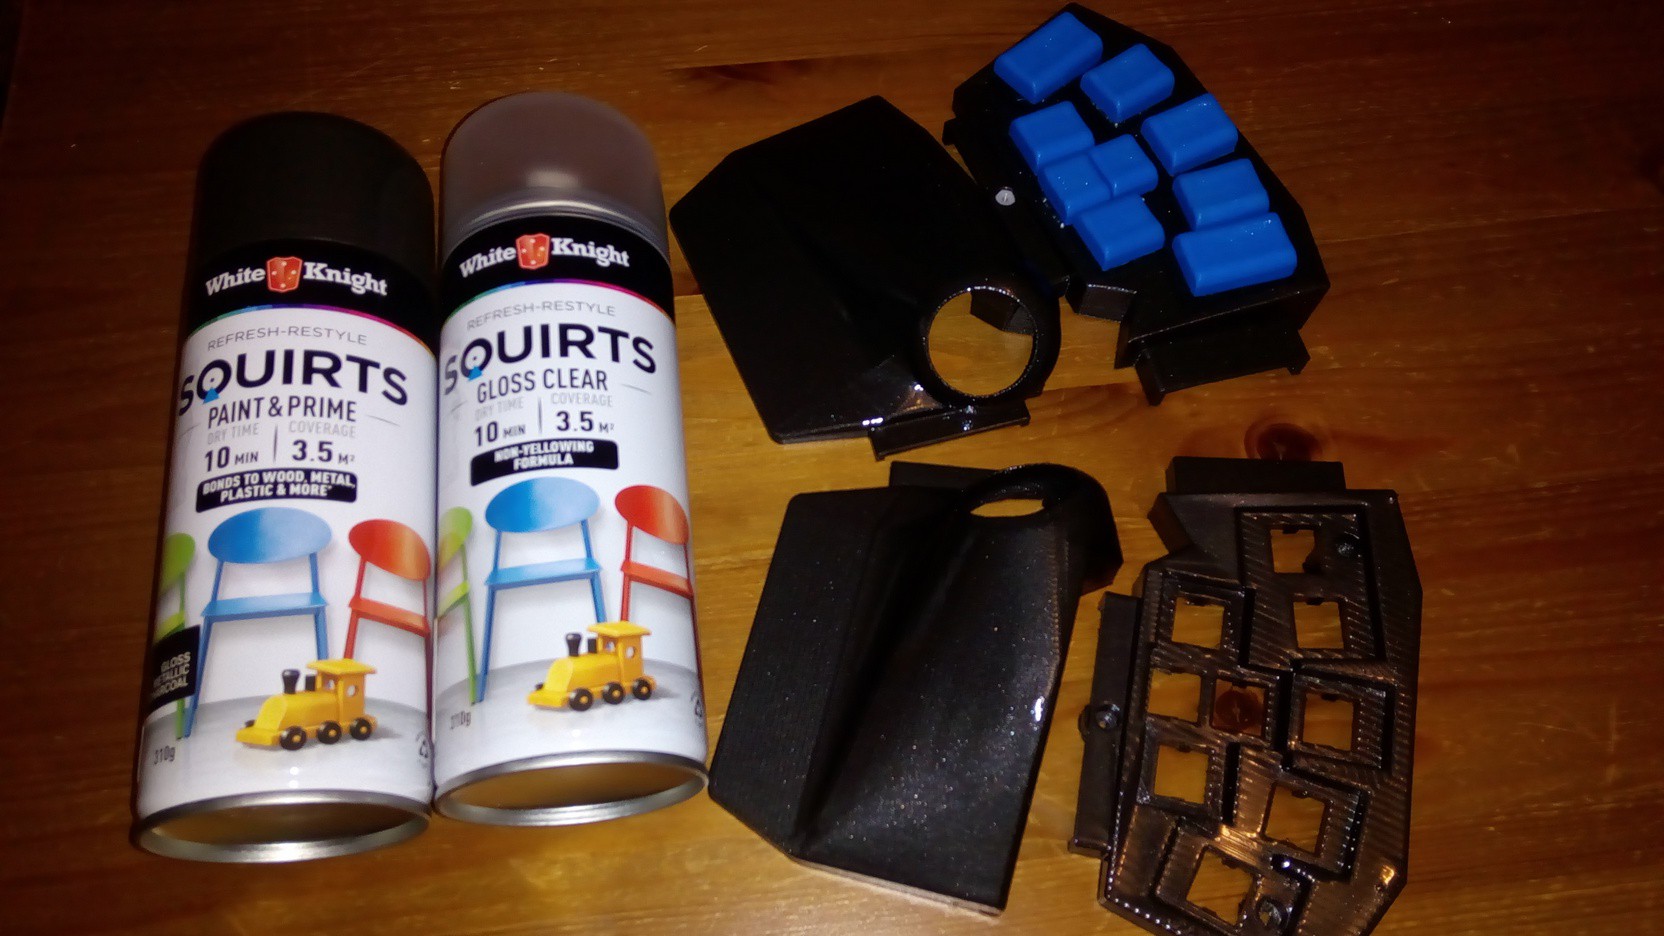
In order to accommodate the smaller printers, the body is composed of 6 parts: 2 wrist supports, 2 key holders, 1 center cover, and 1 base. On a 200x200 printer, each wrist support - key holder pair may be printed simultaneously, I will eventually release a combined STL, yet to be tested.
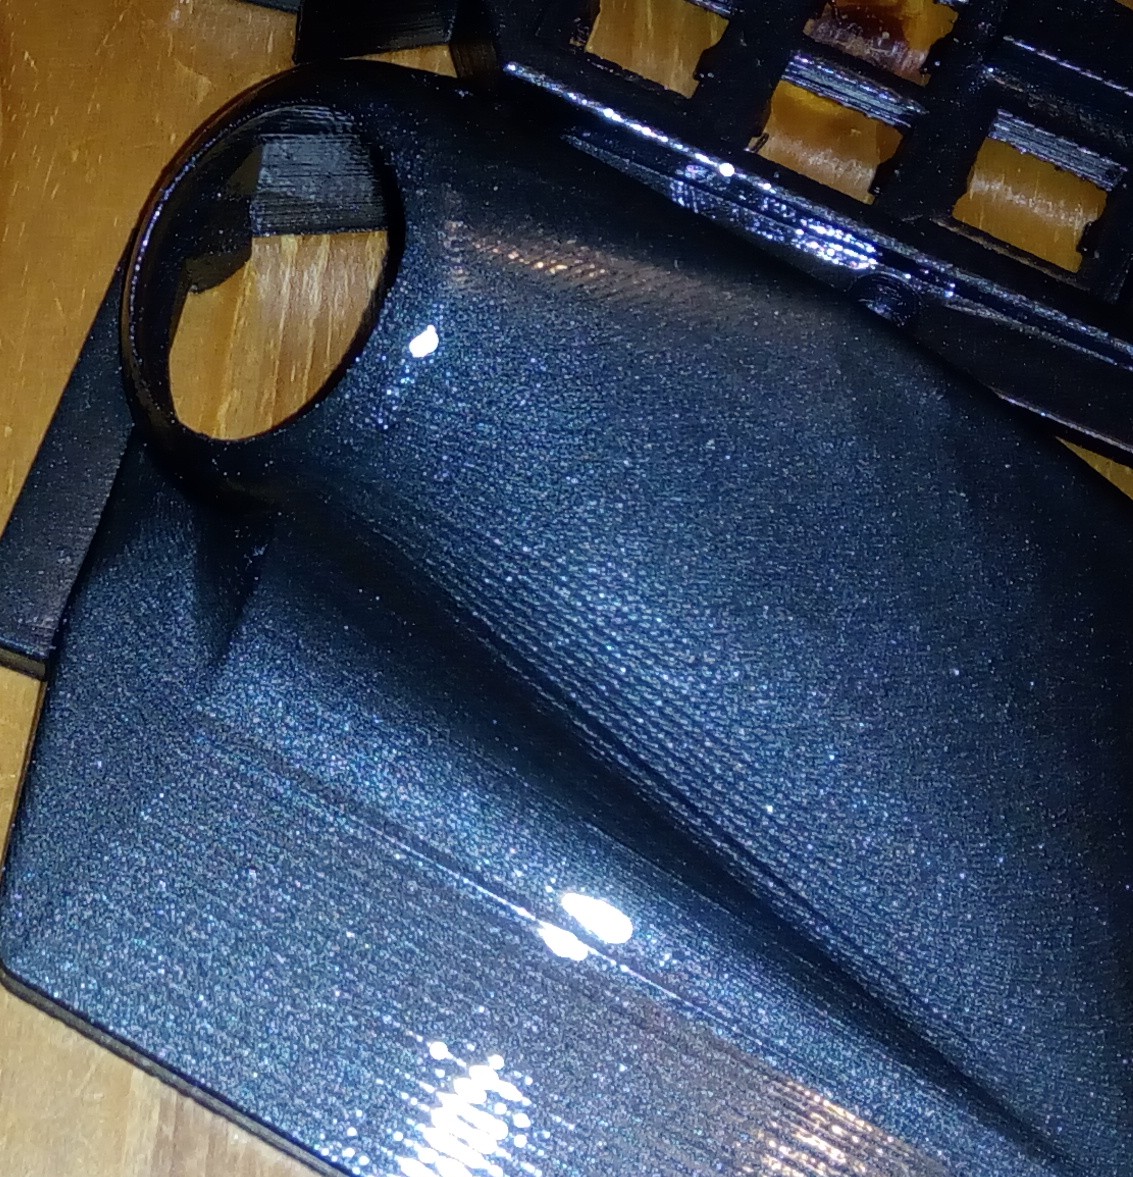
The current files have been tested using Cocoon Create PLA filament. I used the step of 0.2 mm, which produced satisfactory results with no filing. Instead of using epoxy for coating, the prototype have been coated twice with the White Knight charcoal paint (it has nice glitter in it and hides dust, which will eventually settles on any keyboard). The third coating was a clear gloss.
![]()
![]()
-
2Print and assemble buttons
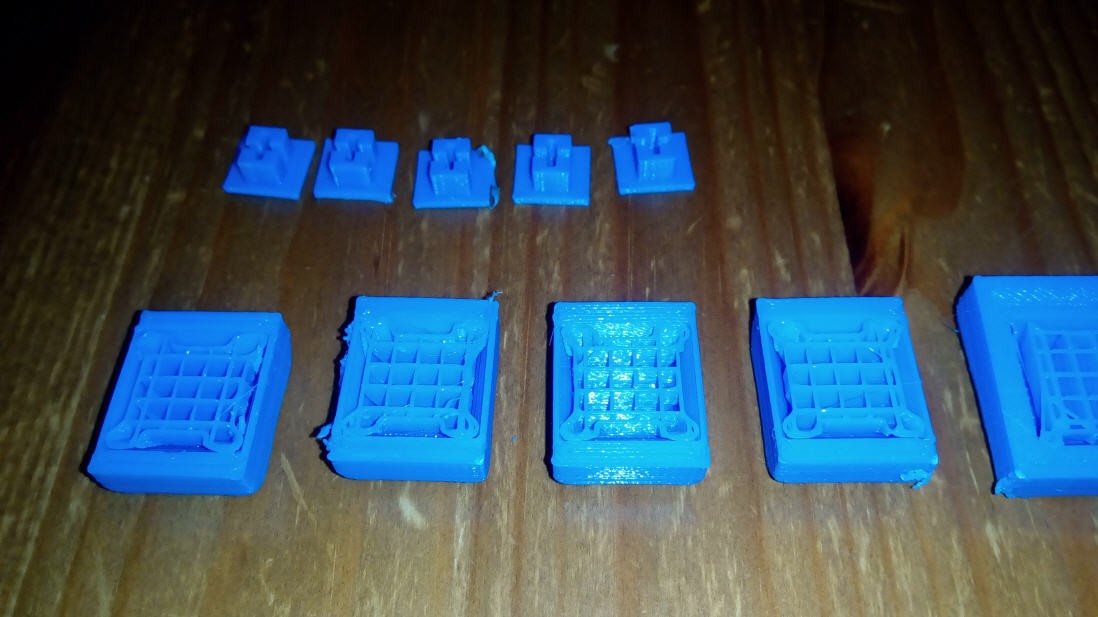
The project requires two joystick caps and 24 key caps. The technique is pretty much the same for all.
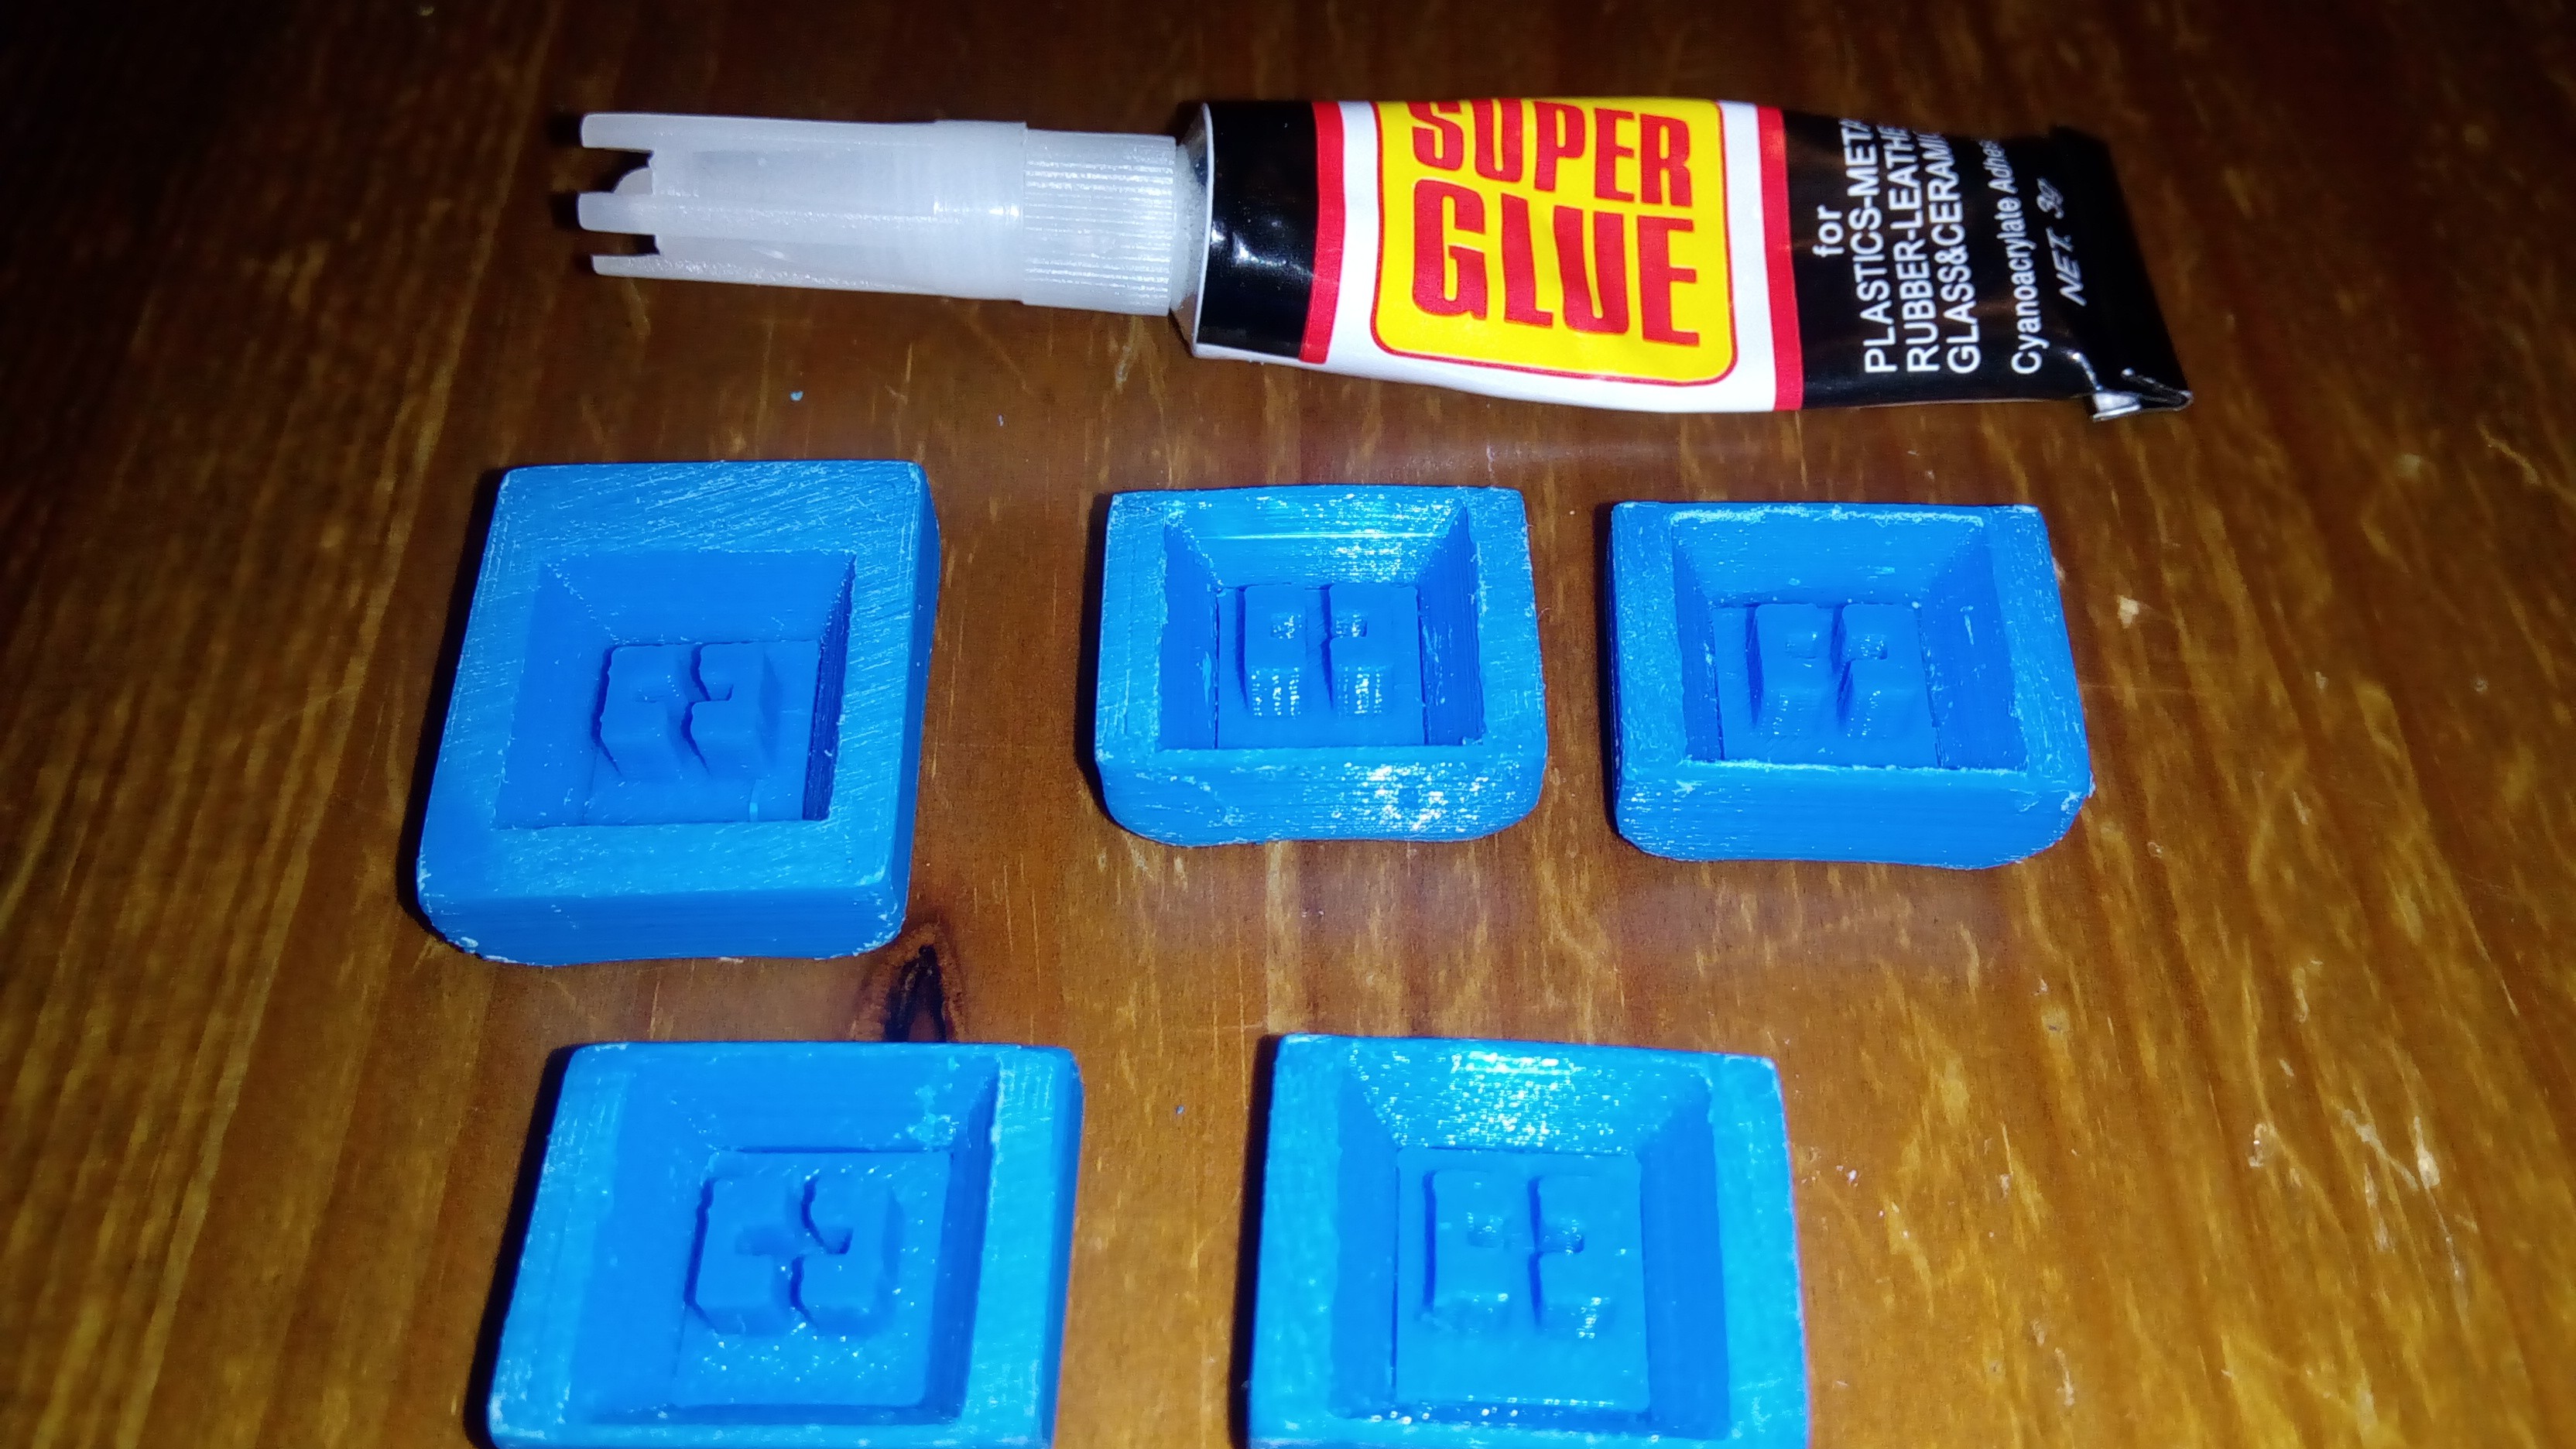
1. Print the cap, studs and painting sticks
![]()
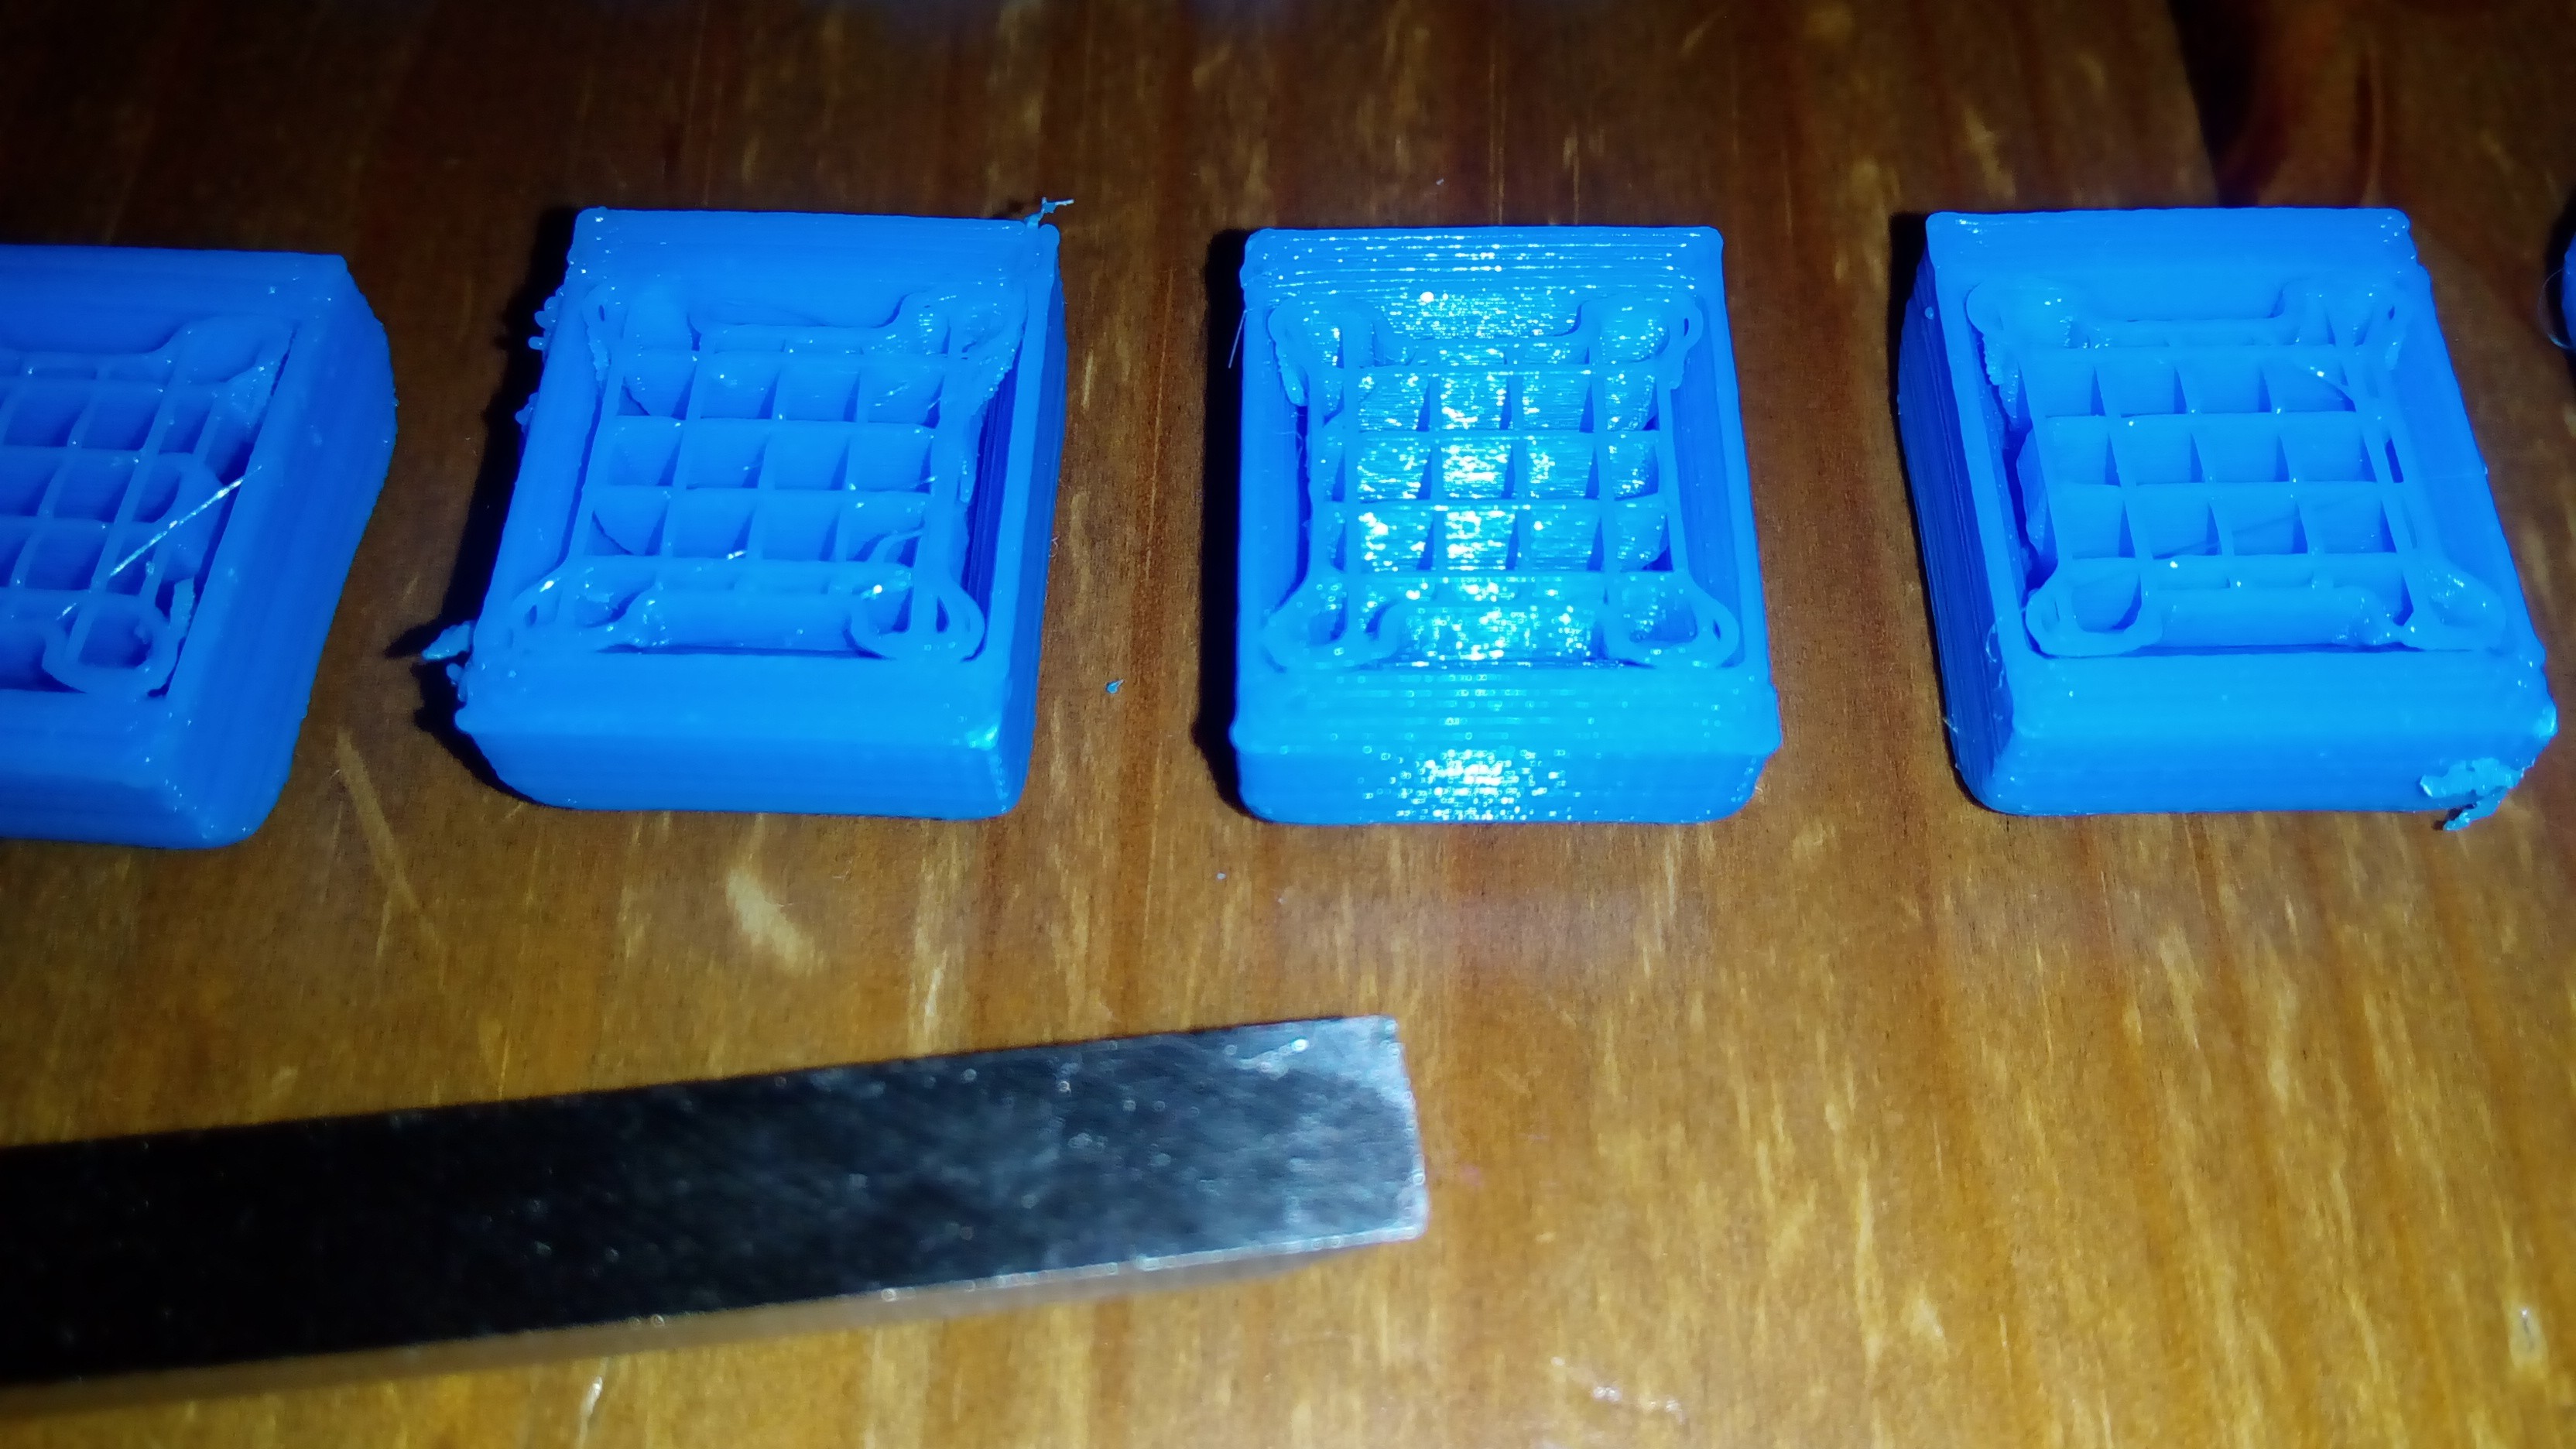
2. Remove supports with 6 mm chisel
![]()
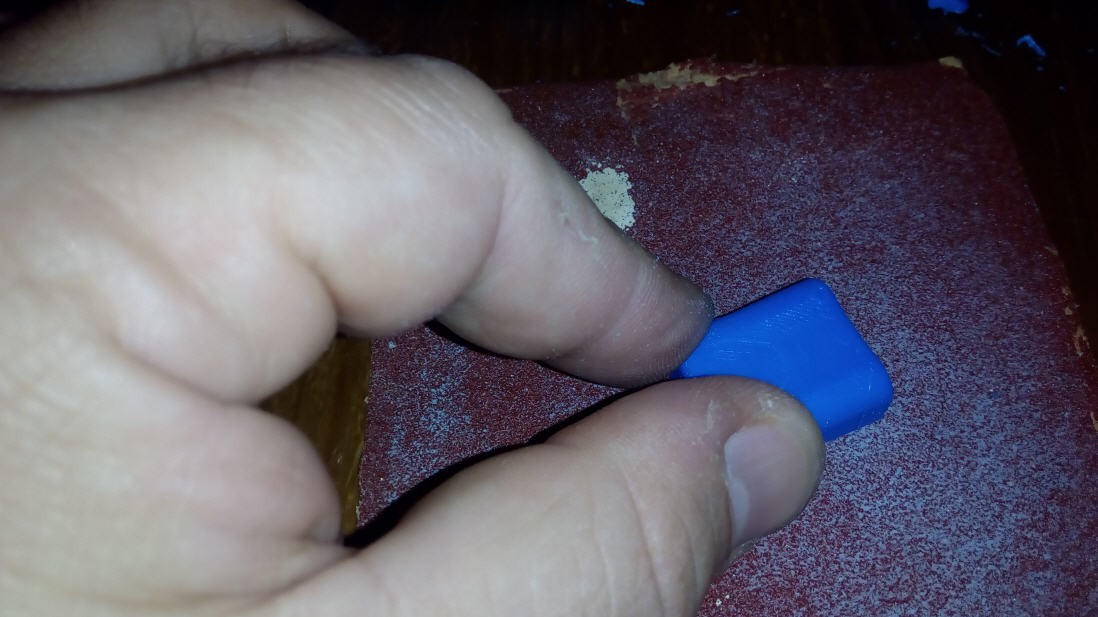
3. Polish caps with 150 and then 600 sandpaper
![]()
4. Glue studs
![]()
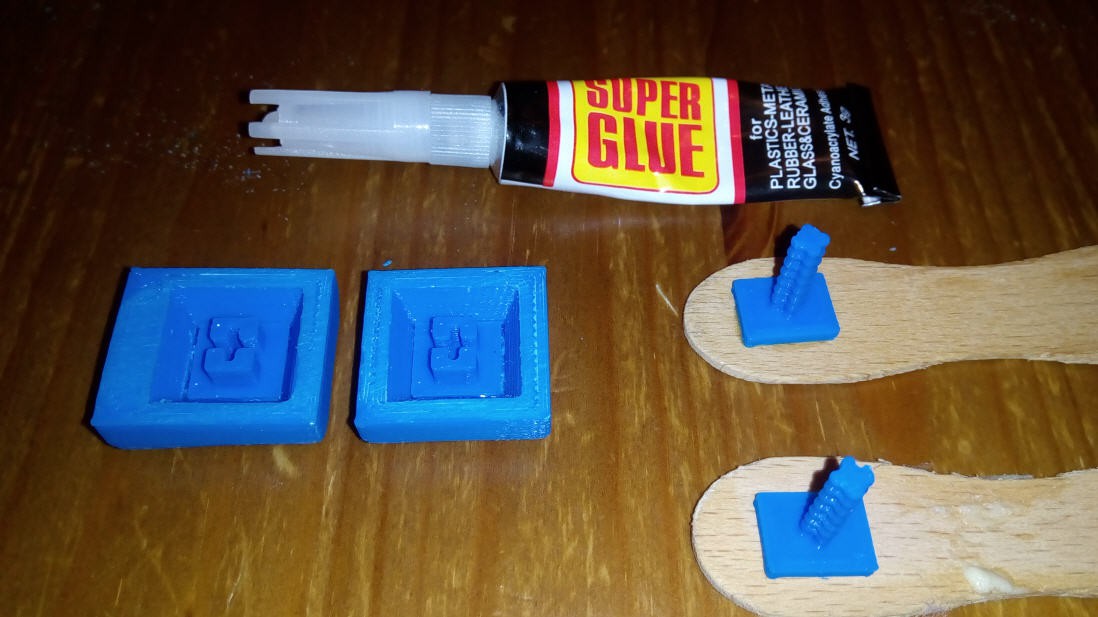
5. Glue painting sticks to some used popsicle or ice cream sticks
![]() 6. Spray paint. I used 3 layers of transparent coating.
6. Spray paint. I used 3 layers of transparent coating.![]()
Chording Hybrid Keyboard
Based on experience with the previous chording keyboard, fully 3D printable version with two joysticks.
 6. Spray paint. I used 3 layers of transparent coating.
Discussions
Become a Hackaday.io Member
Create an account to leave a comment. Already have an account? Log In.