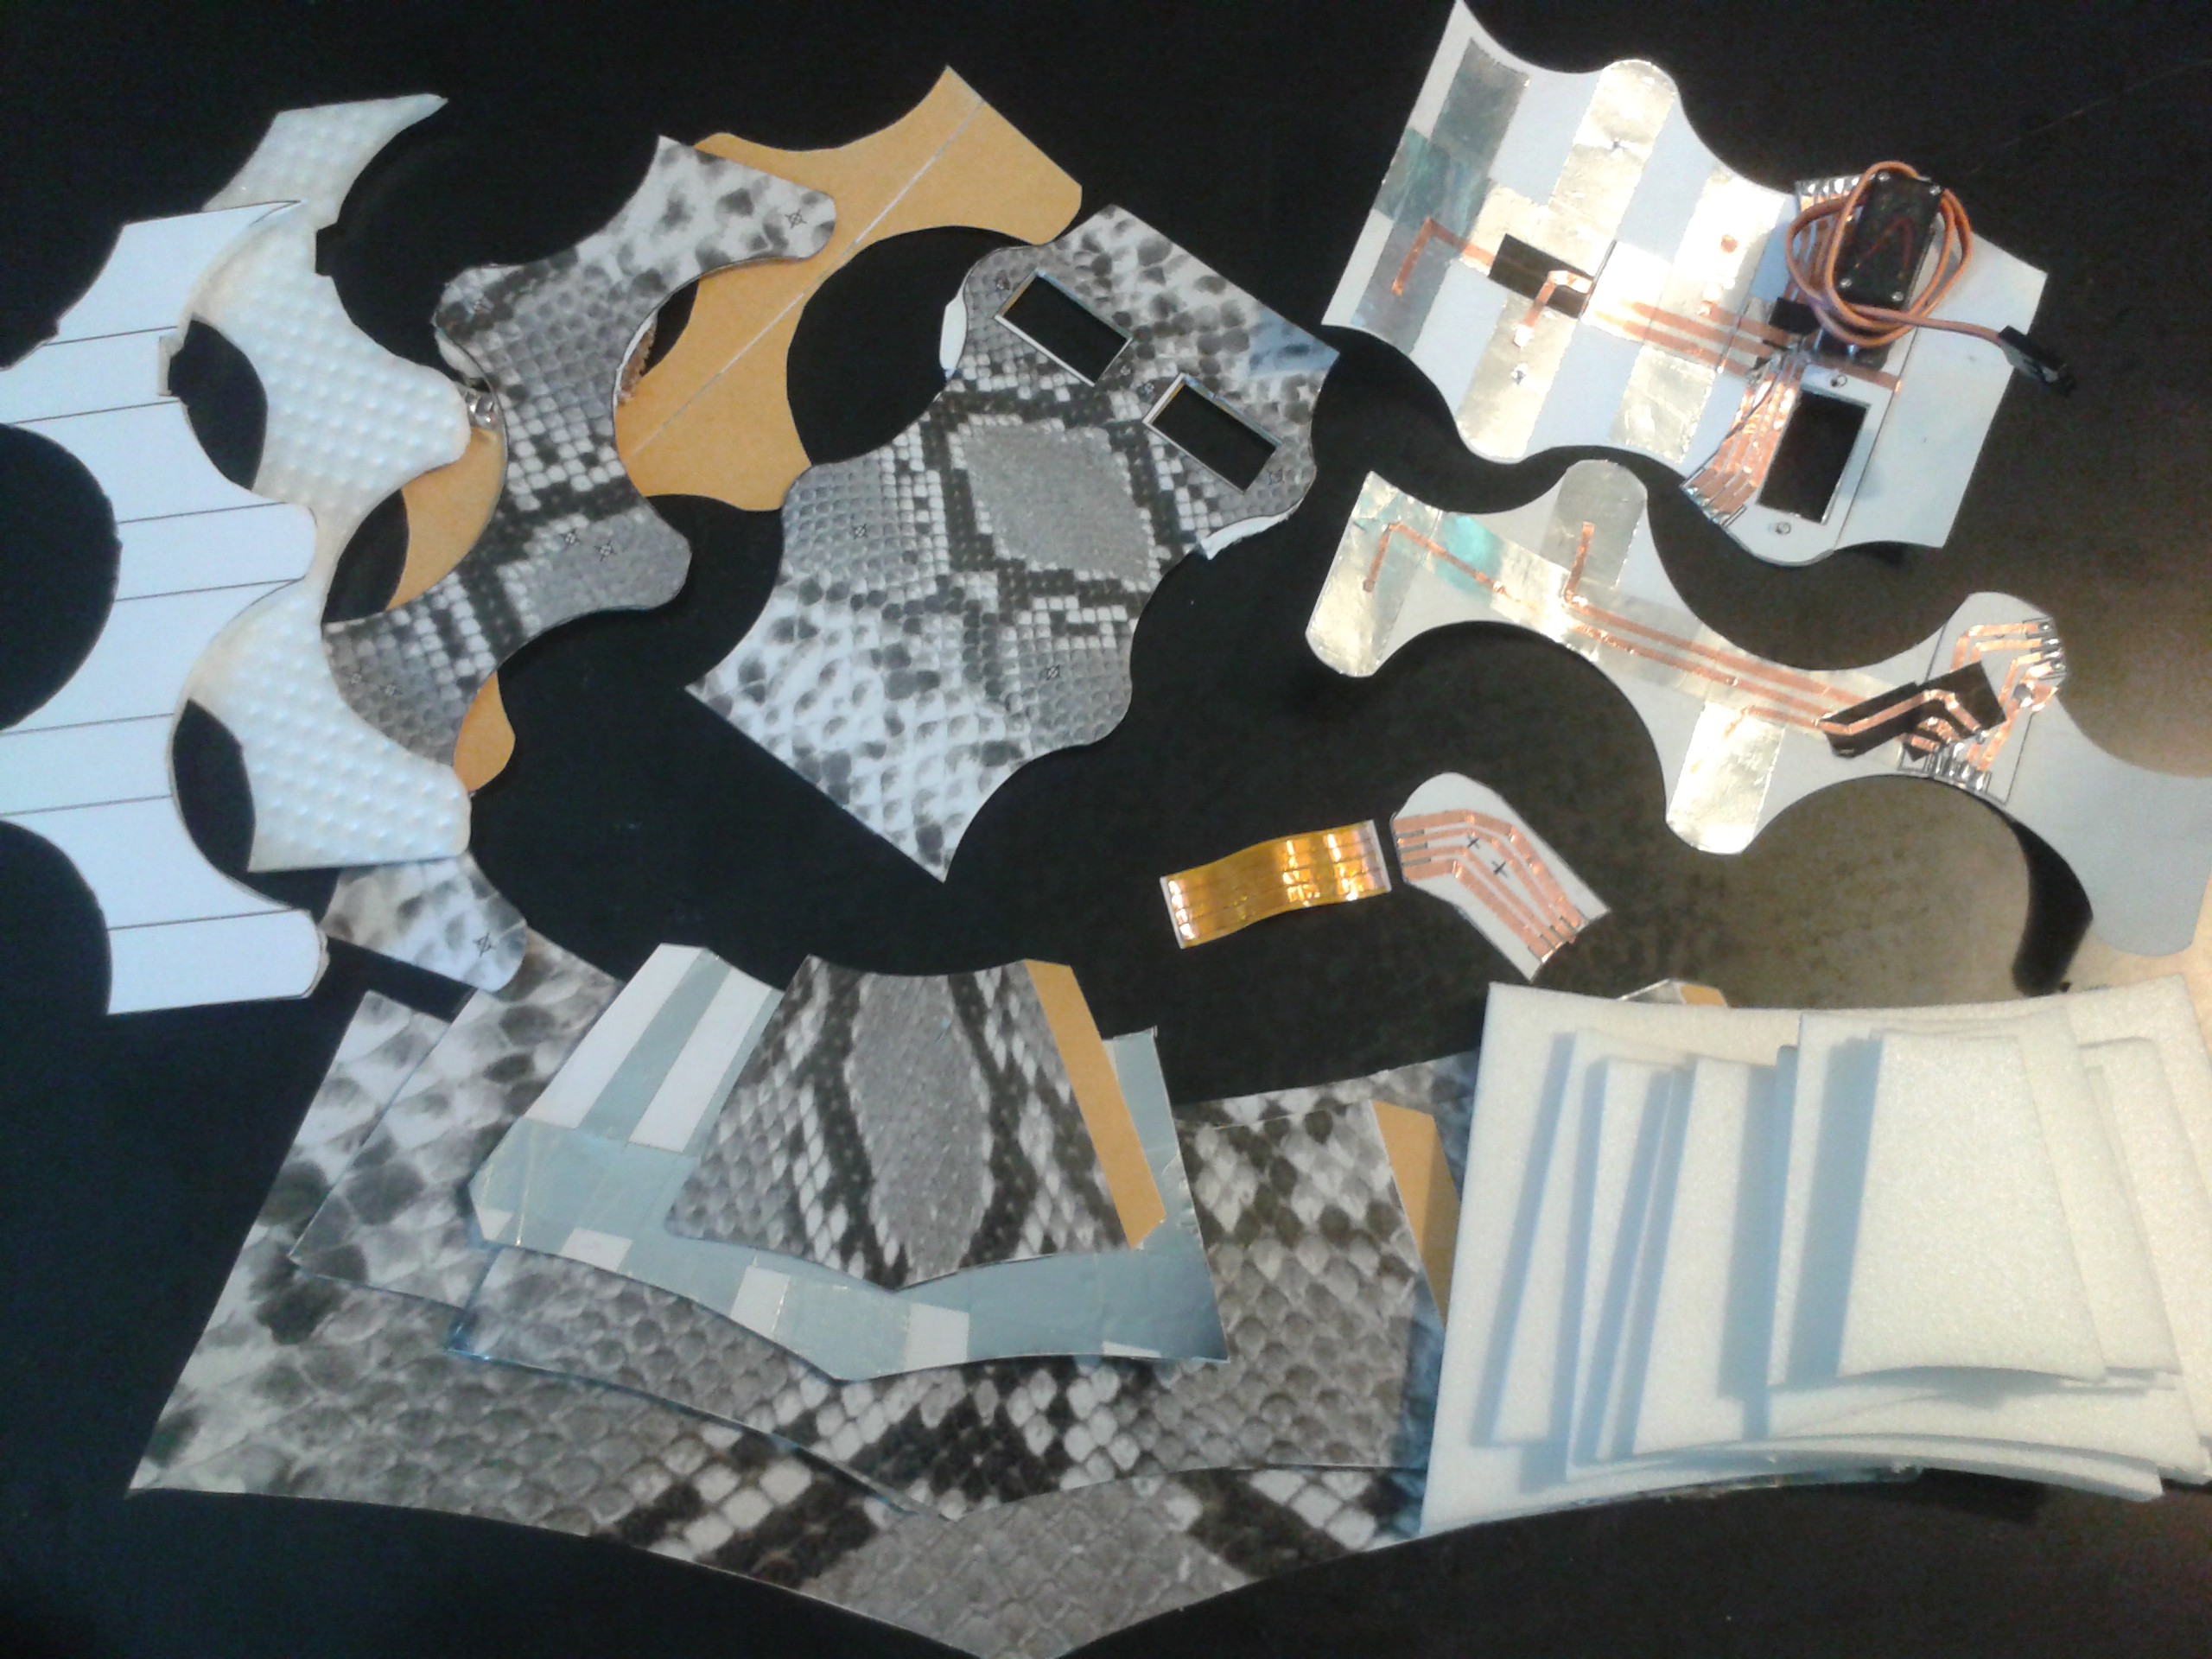
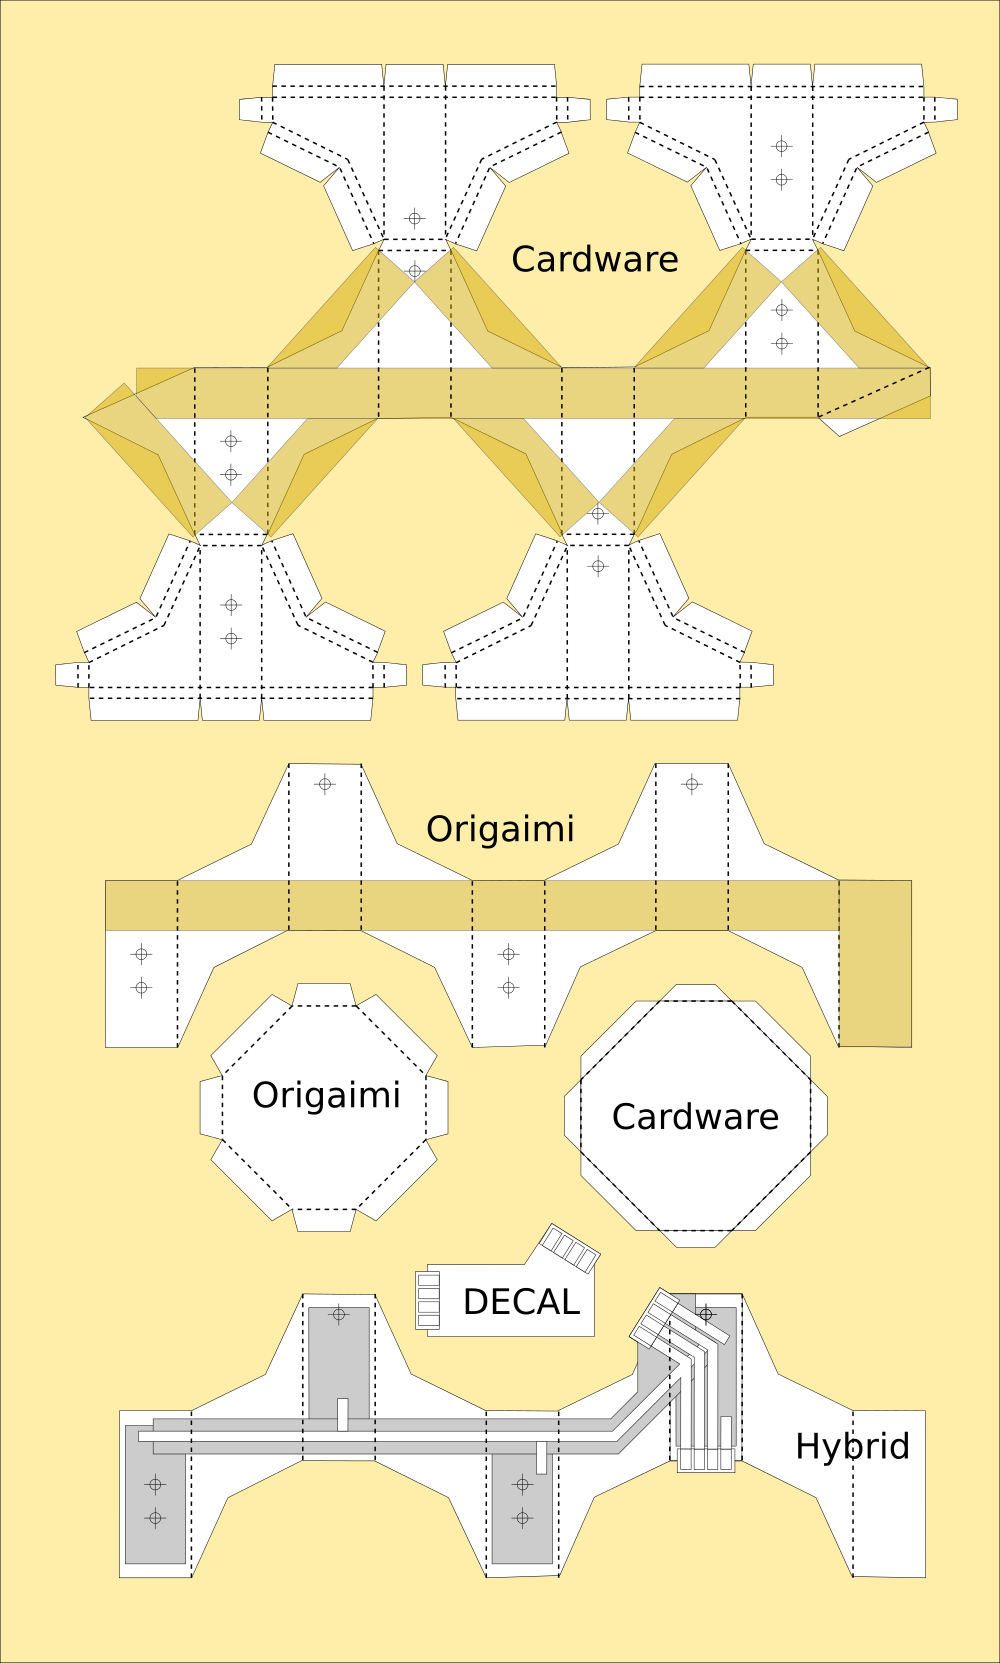
Further to the concept of #Cardware, DECAL leverages environmental resources for construction. Many lessons have been learned from the project.
- Complex folds and numerous tabs to locate are gone
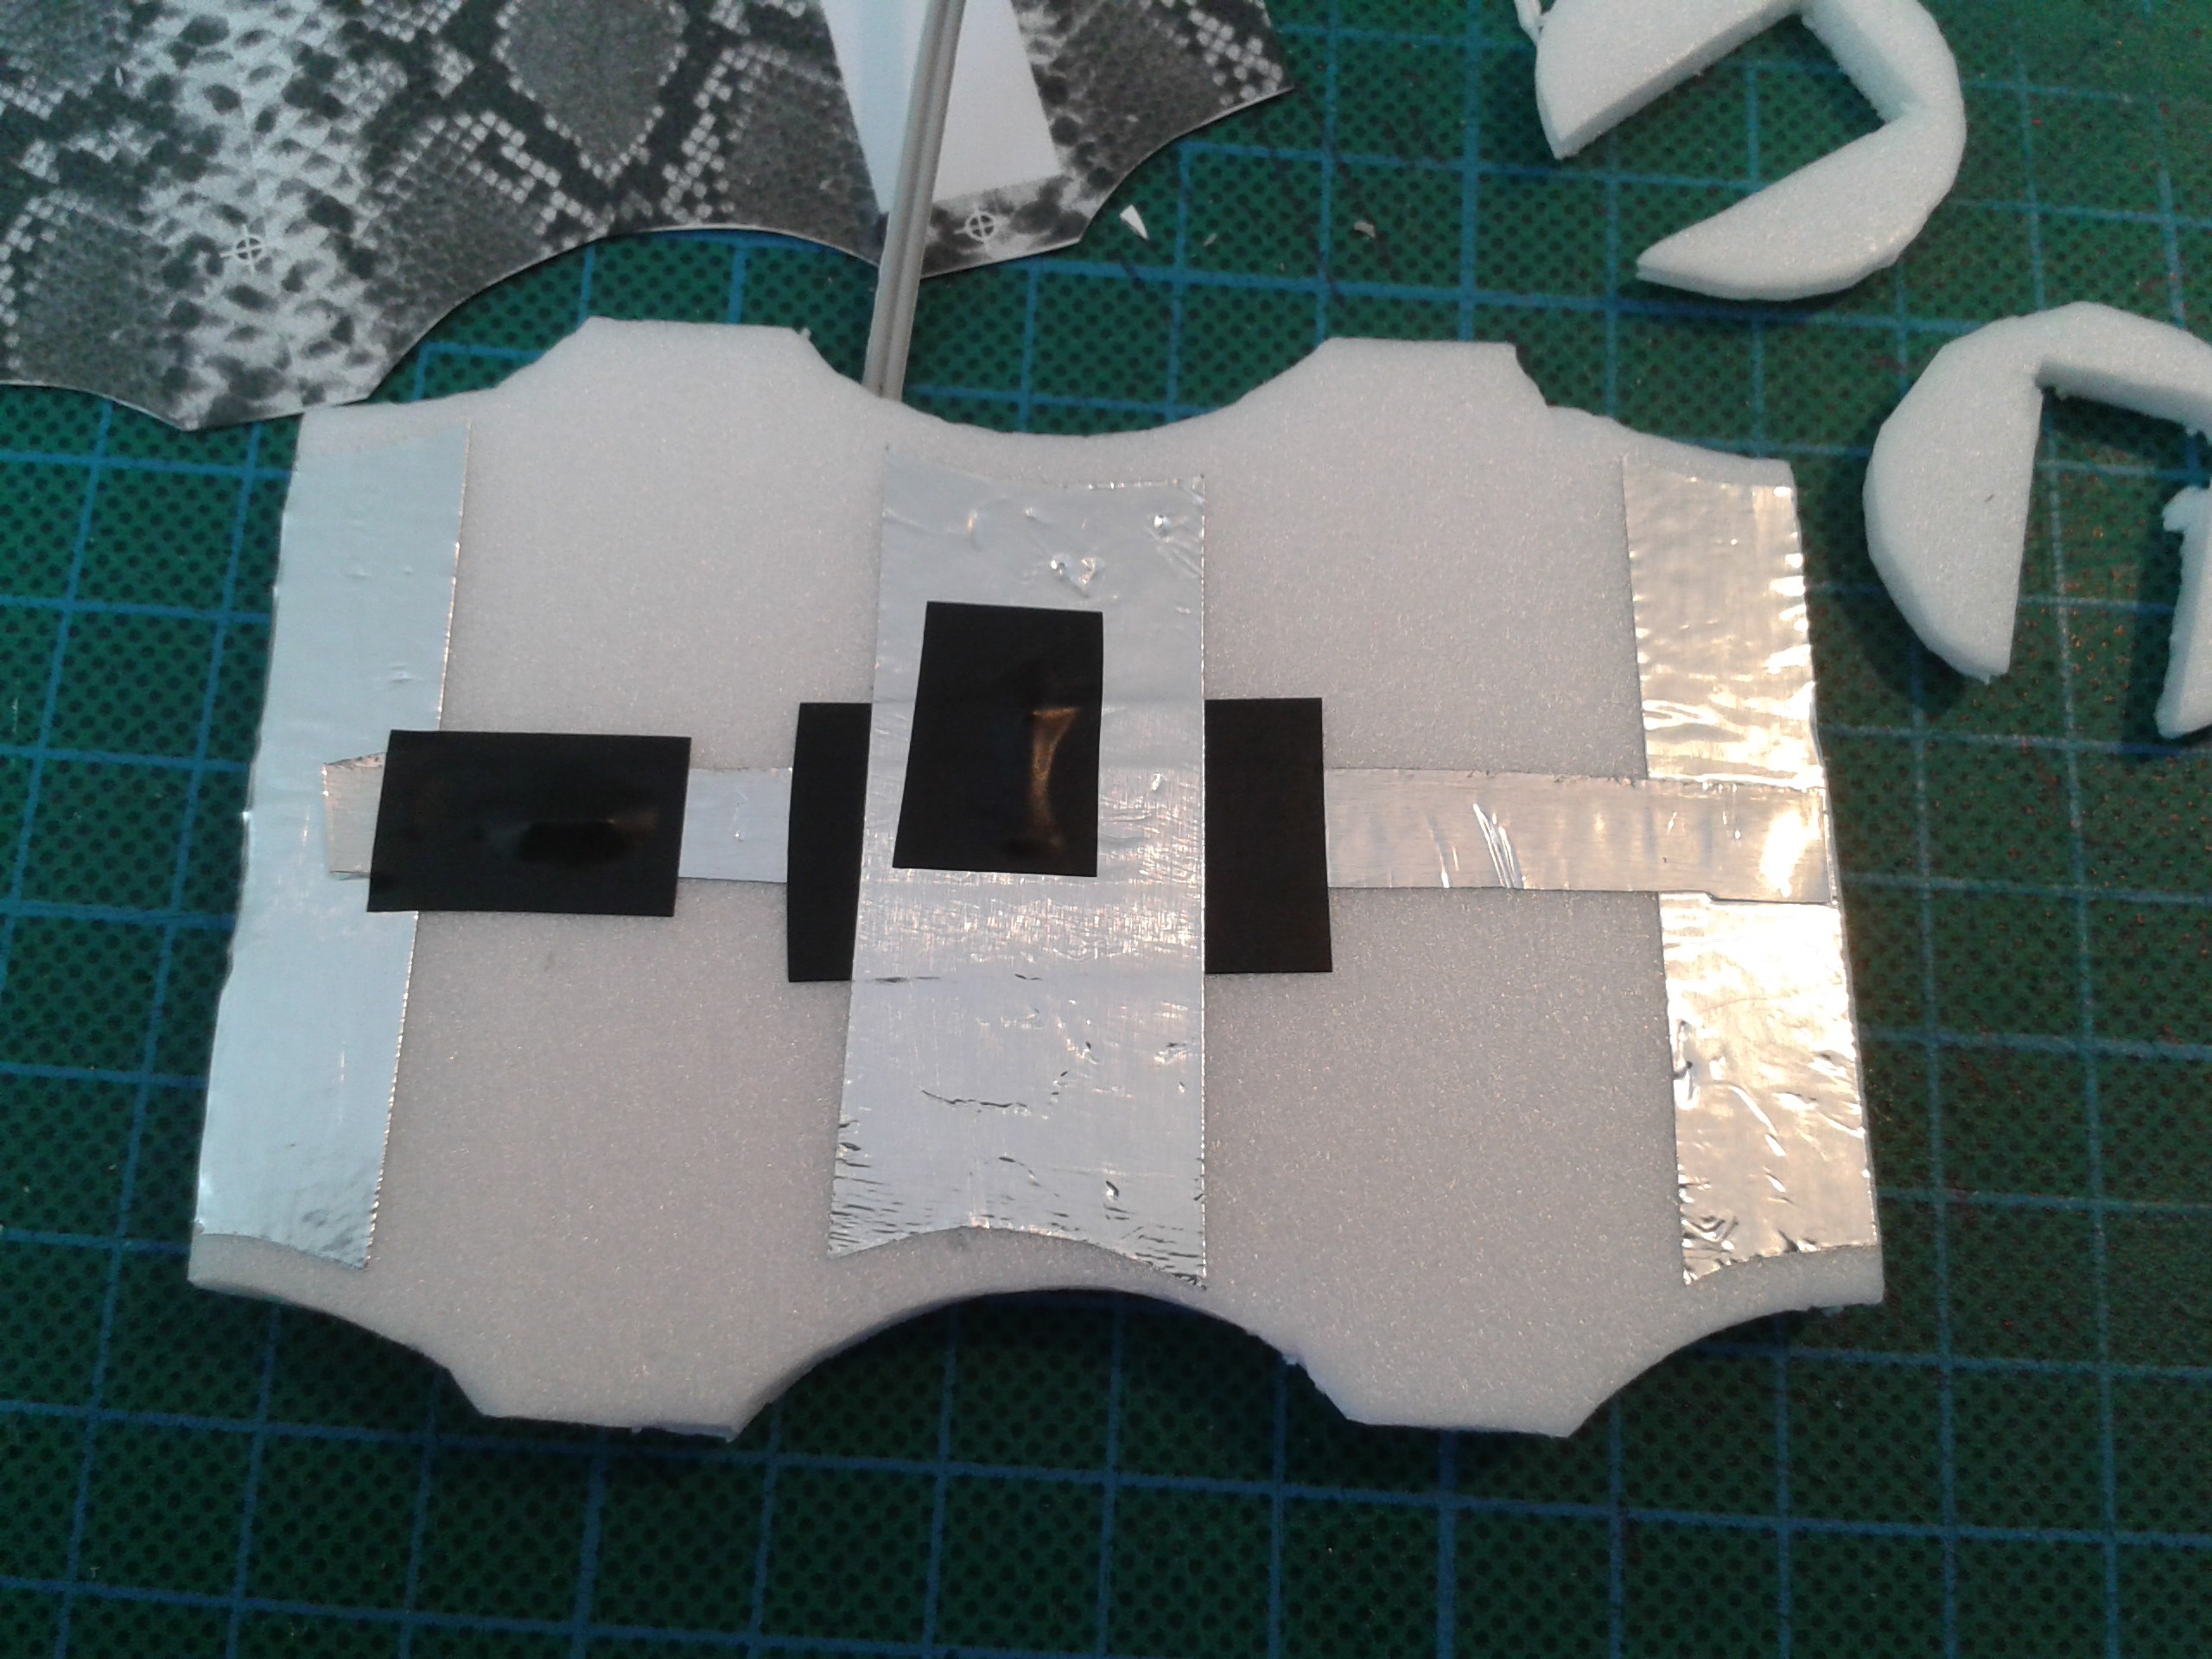
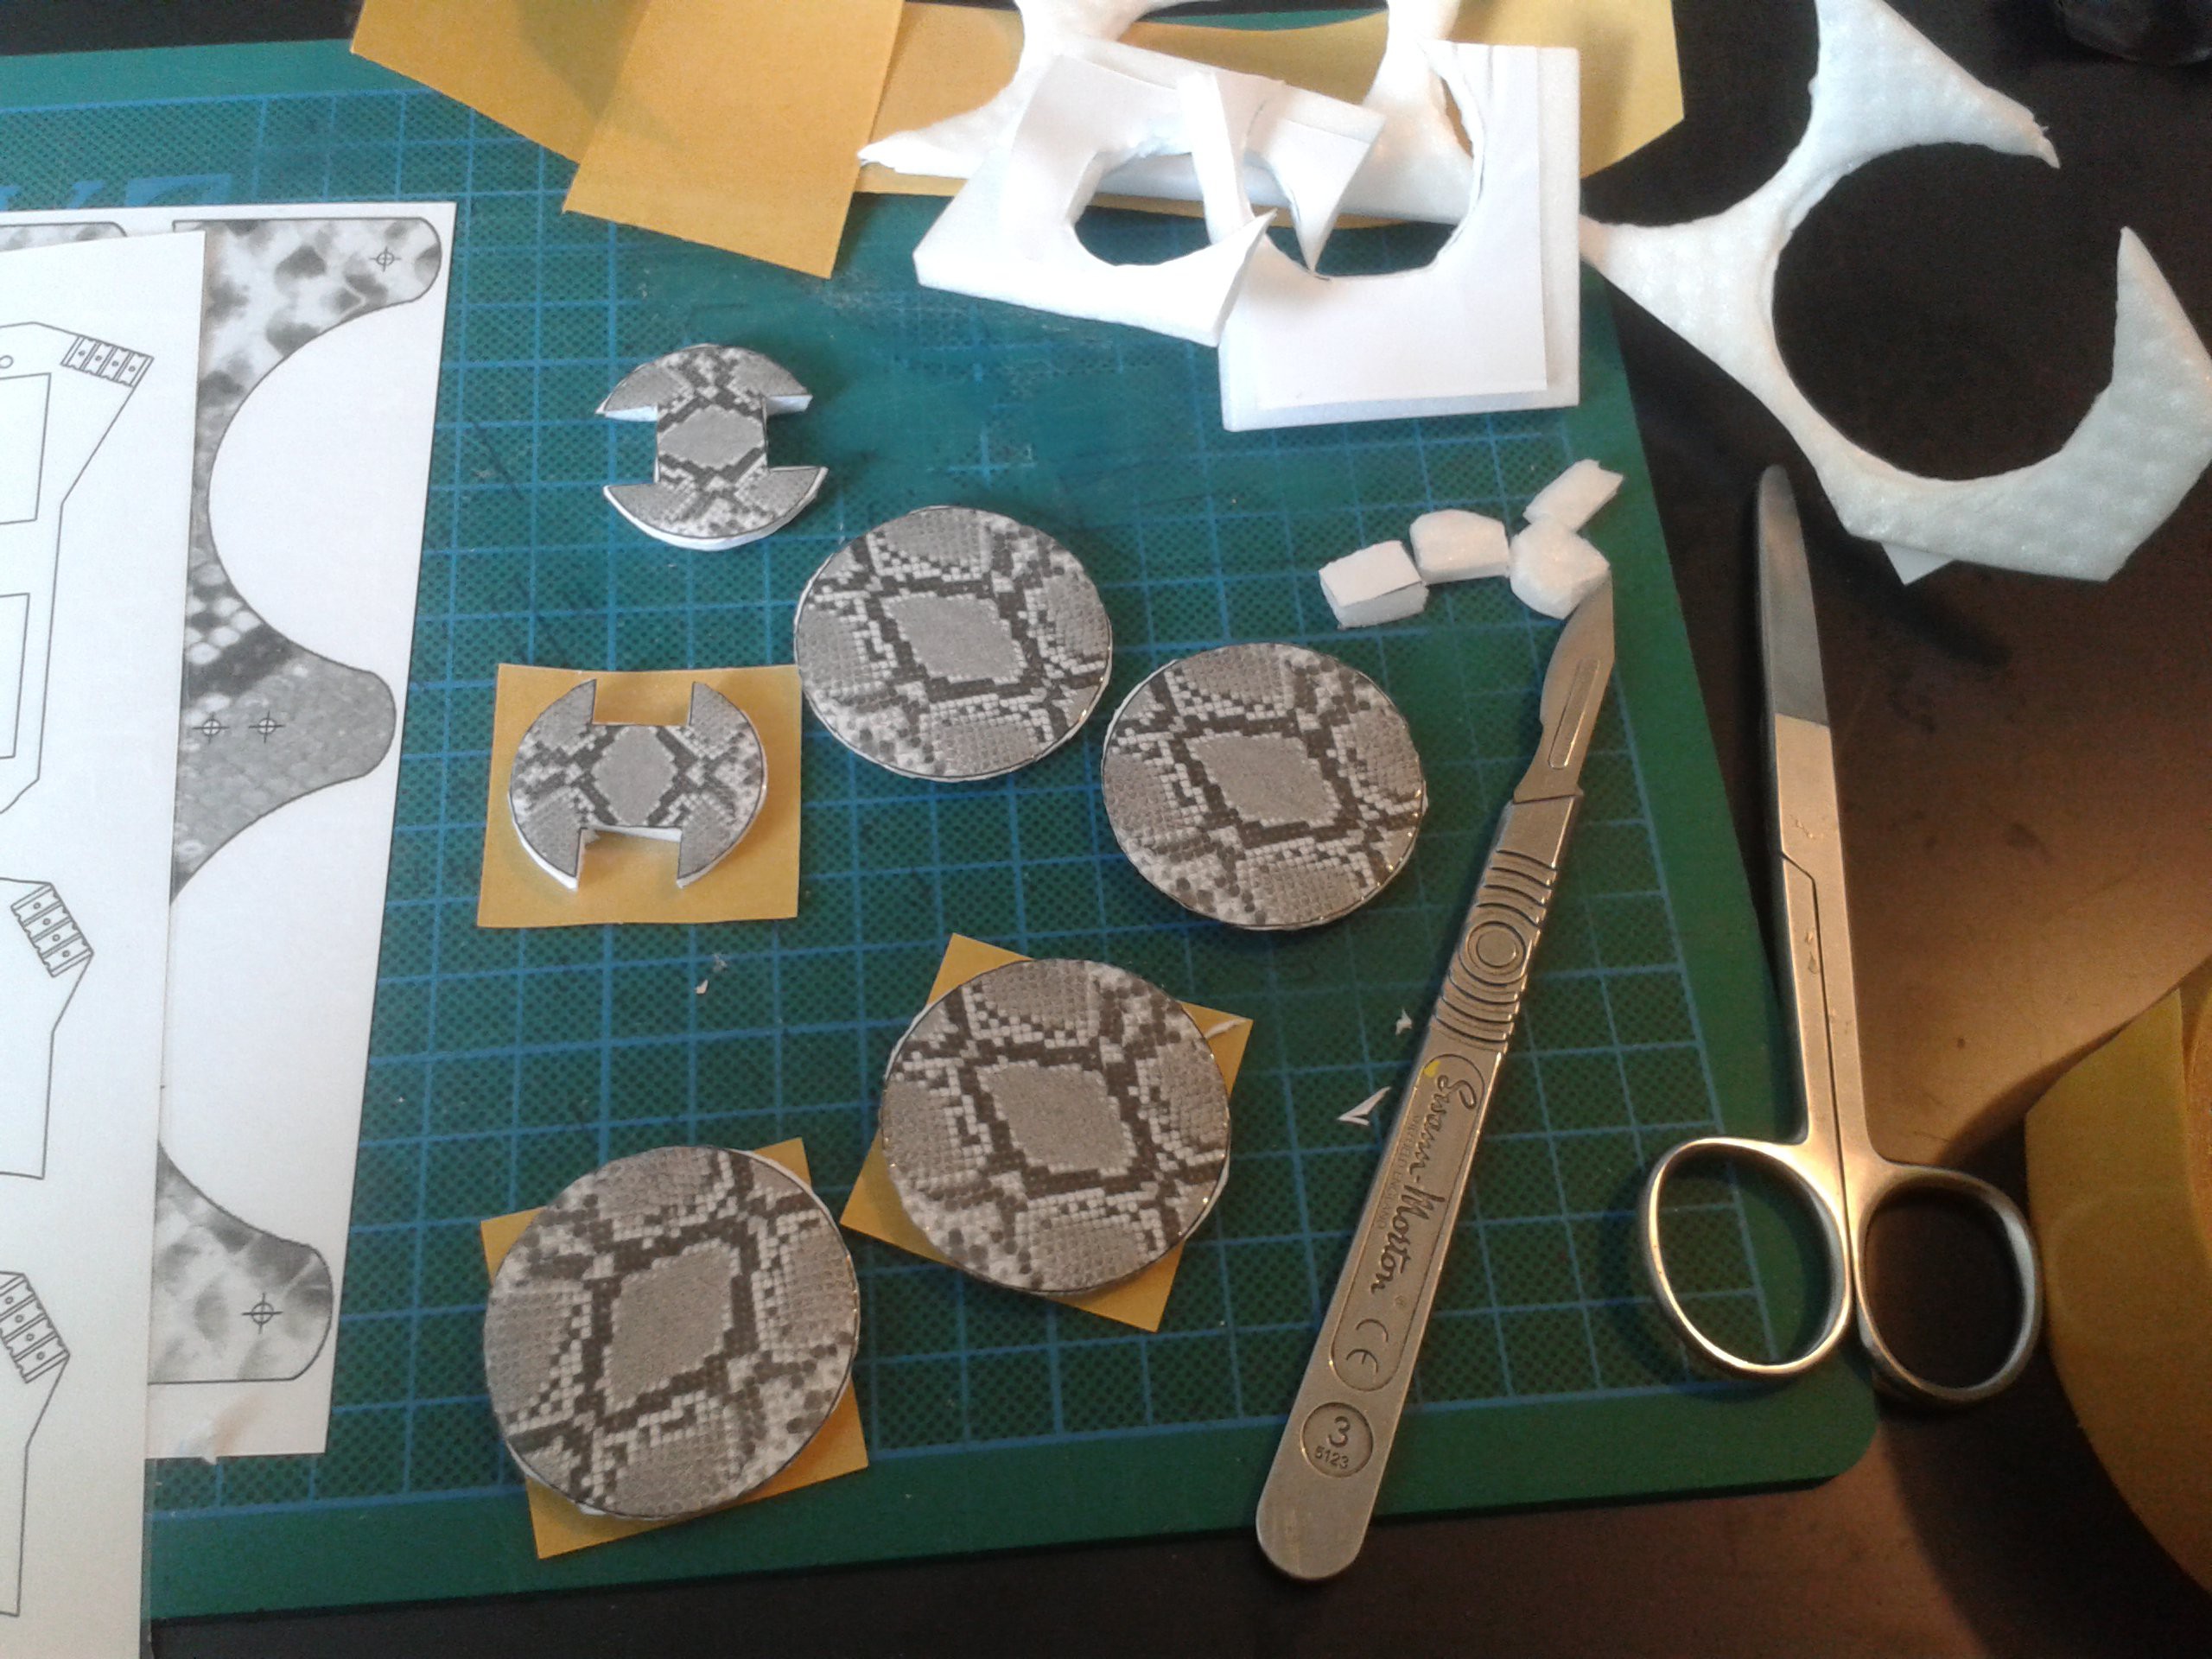
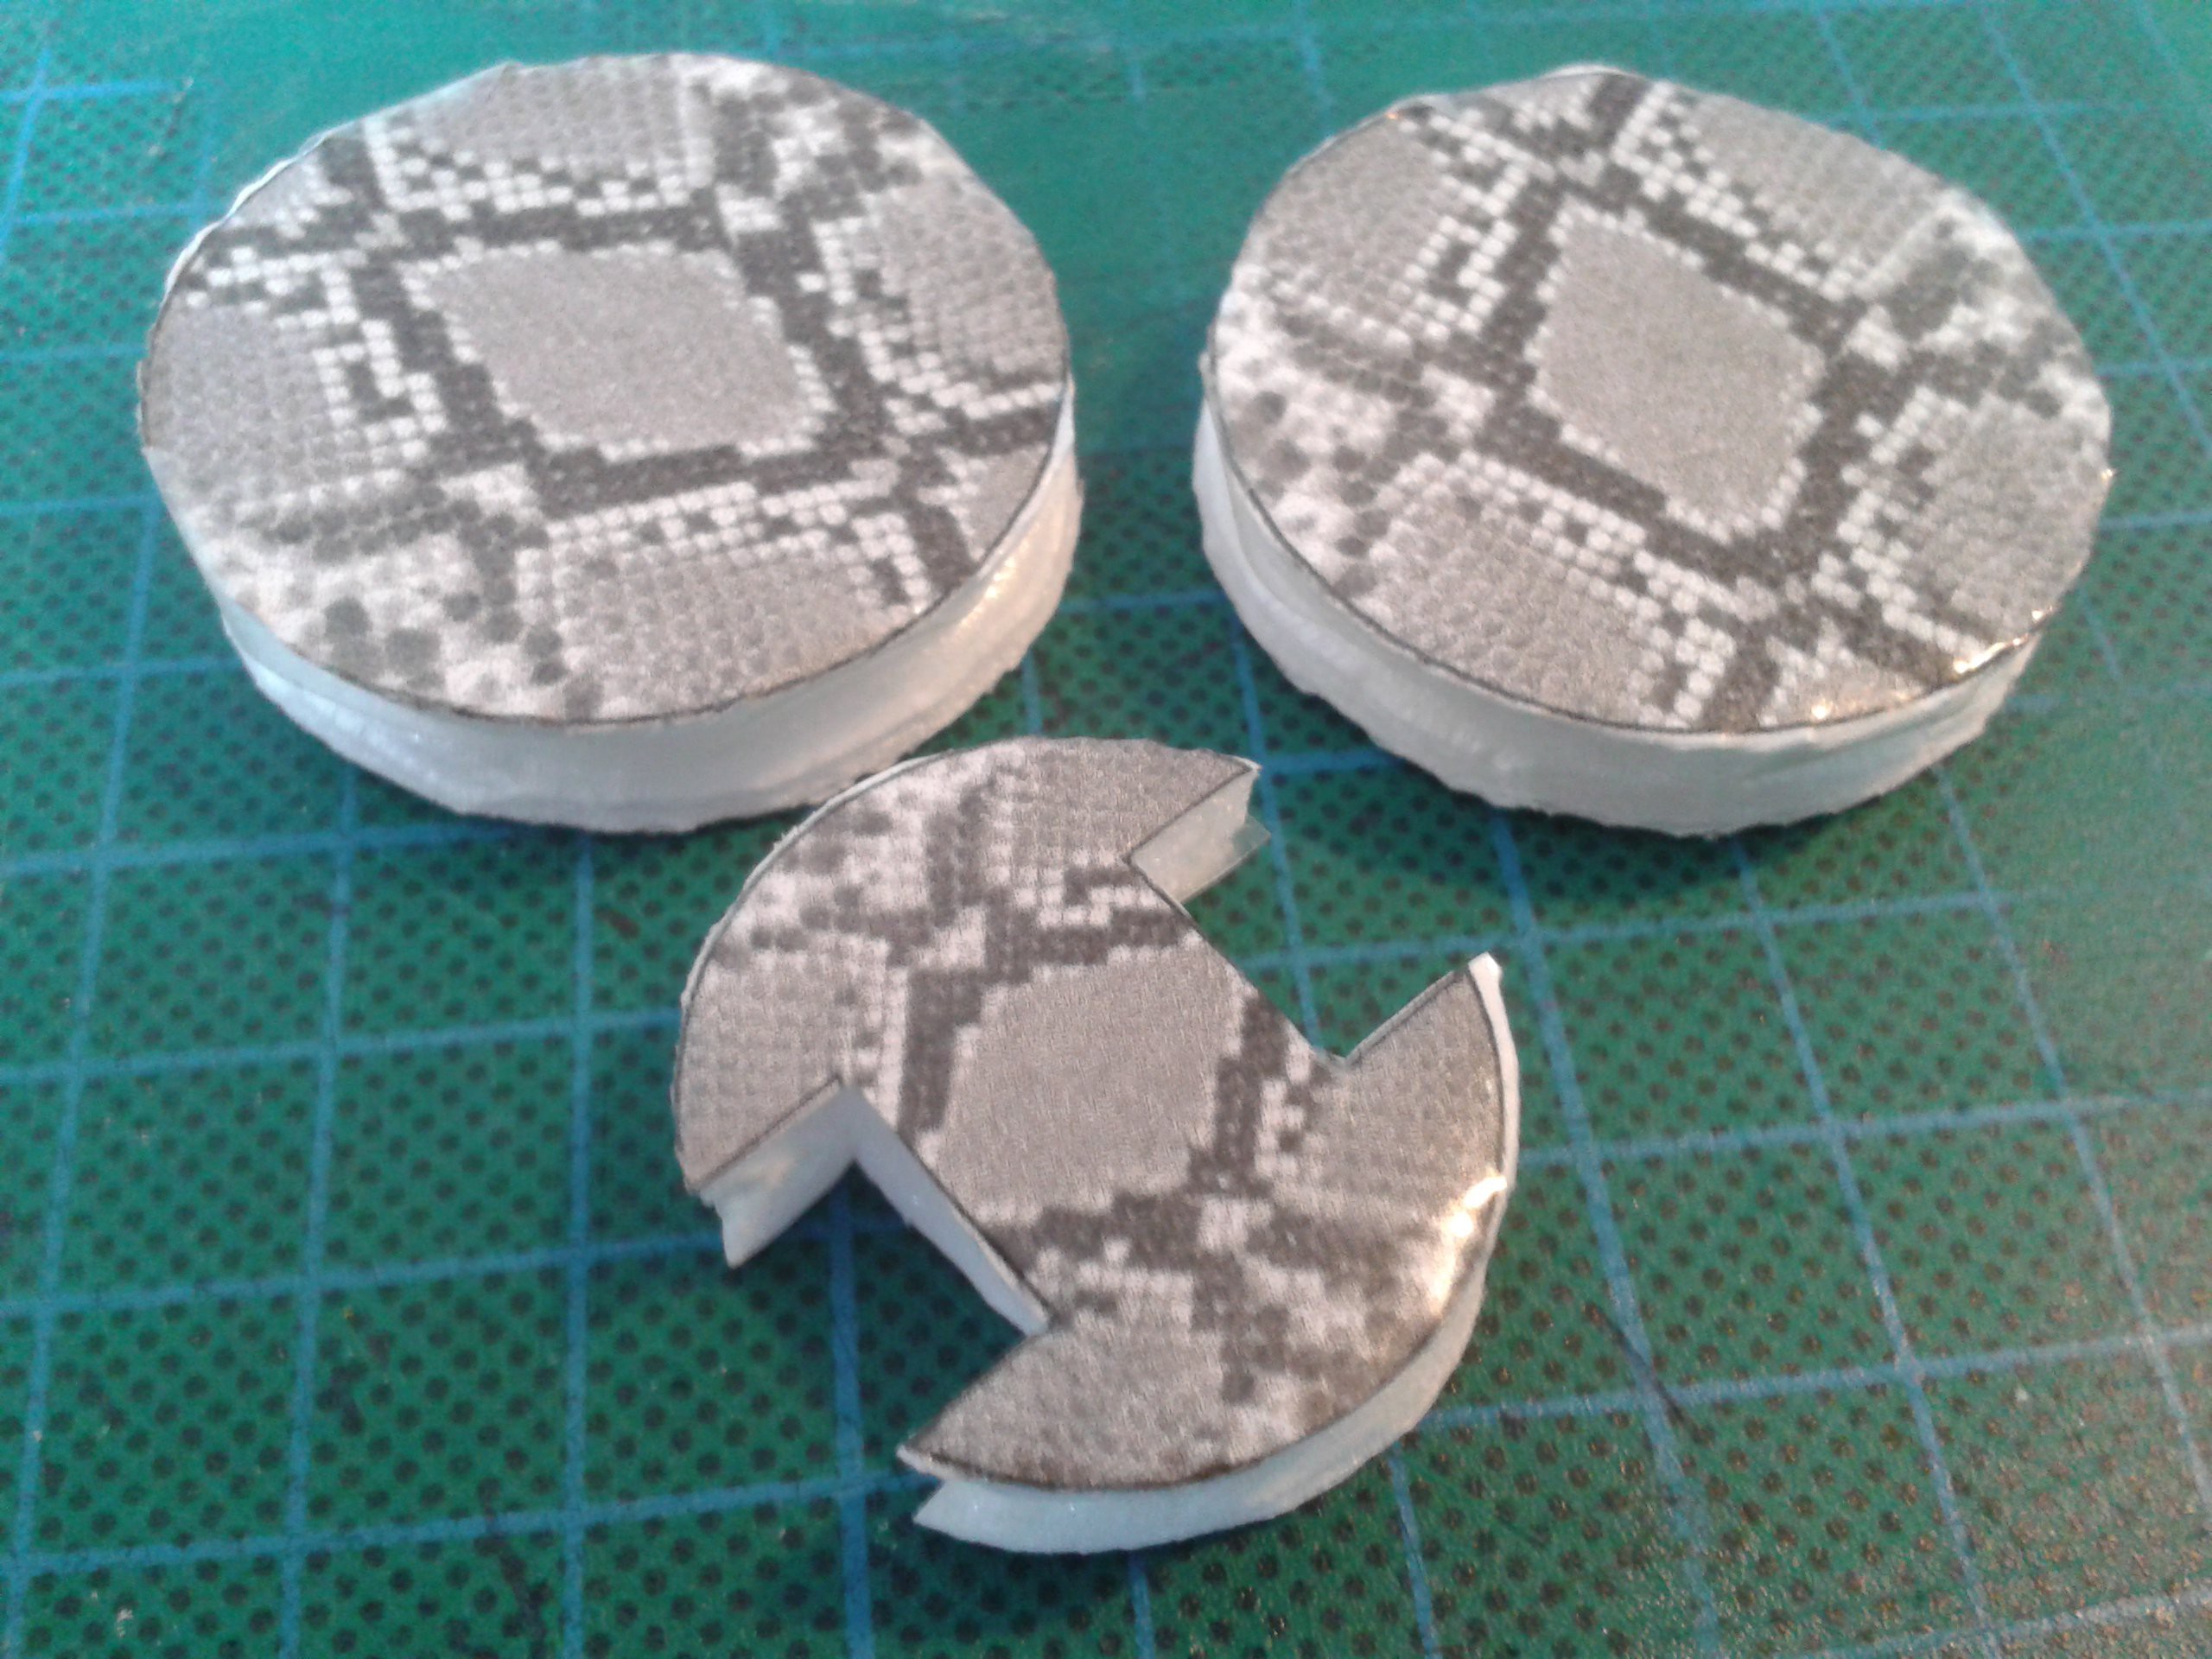
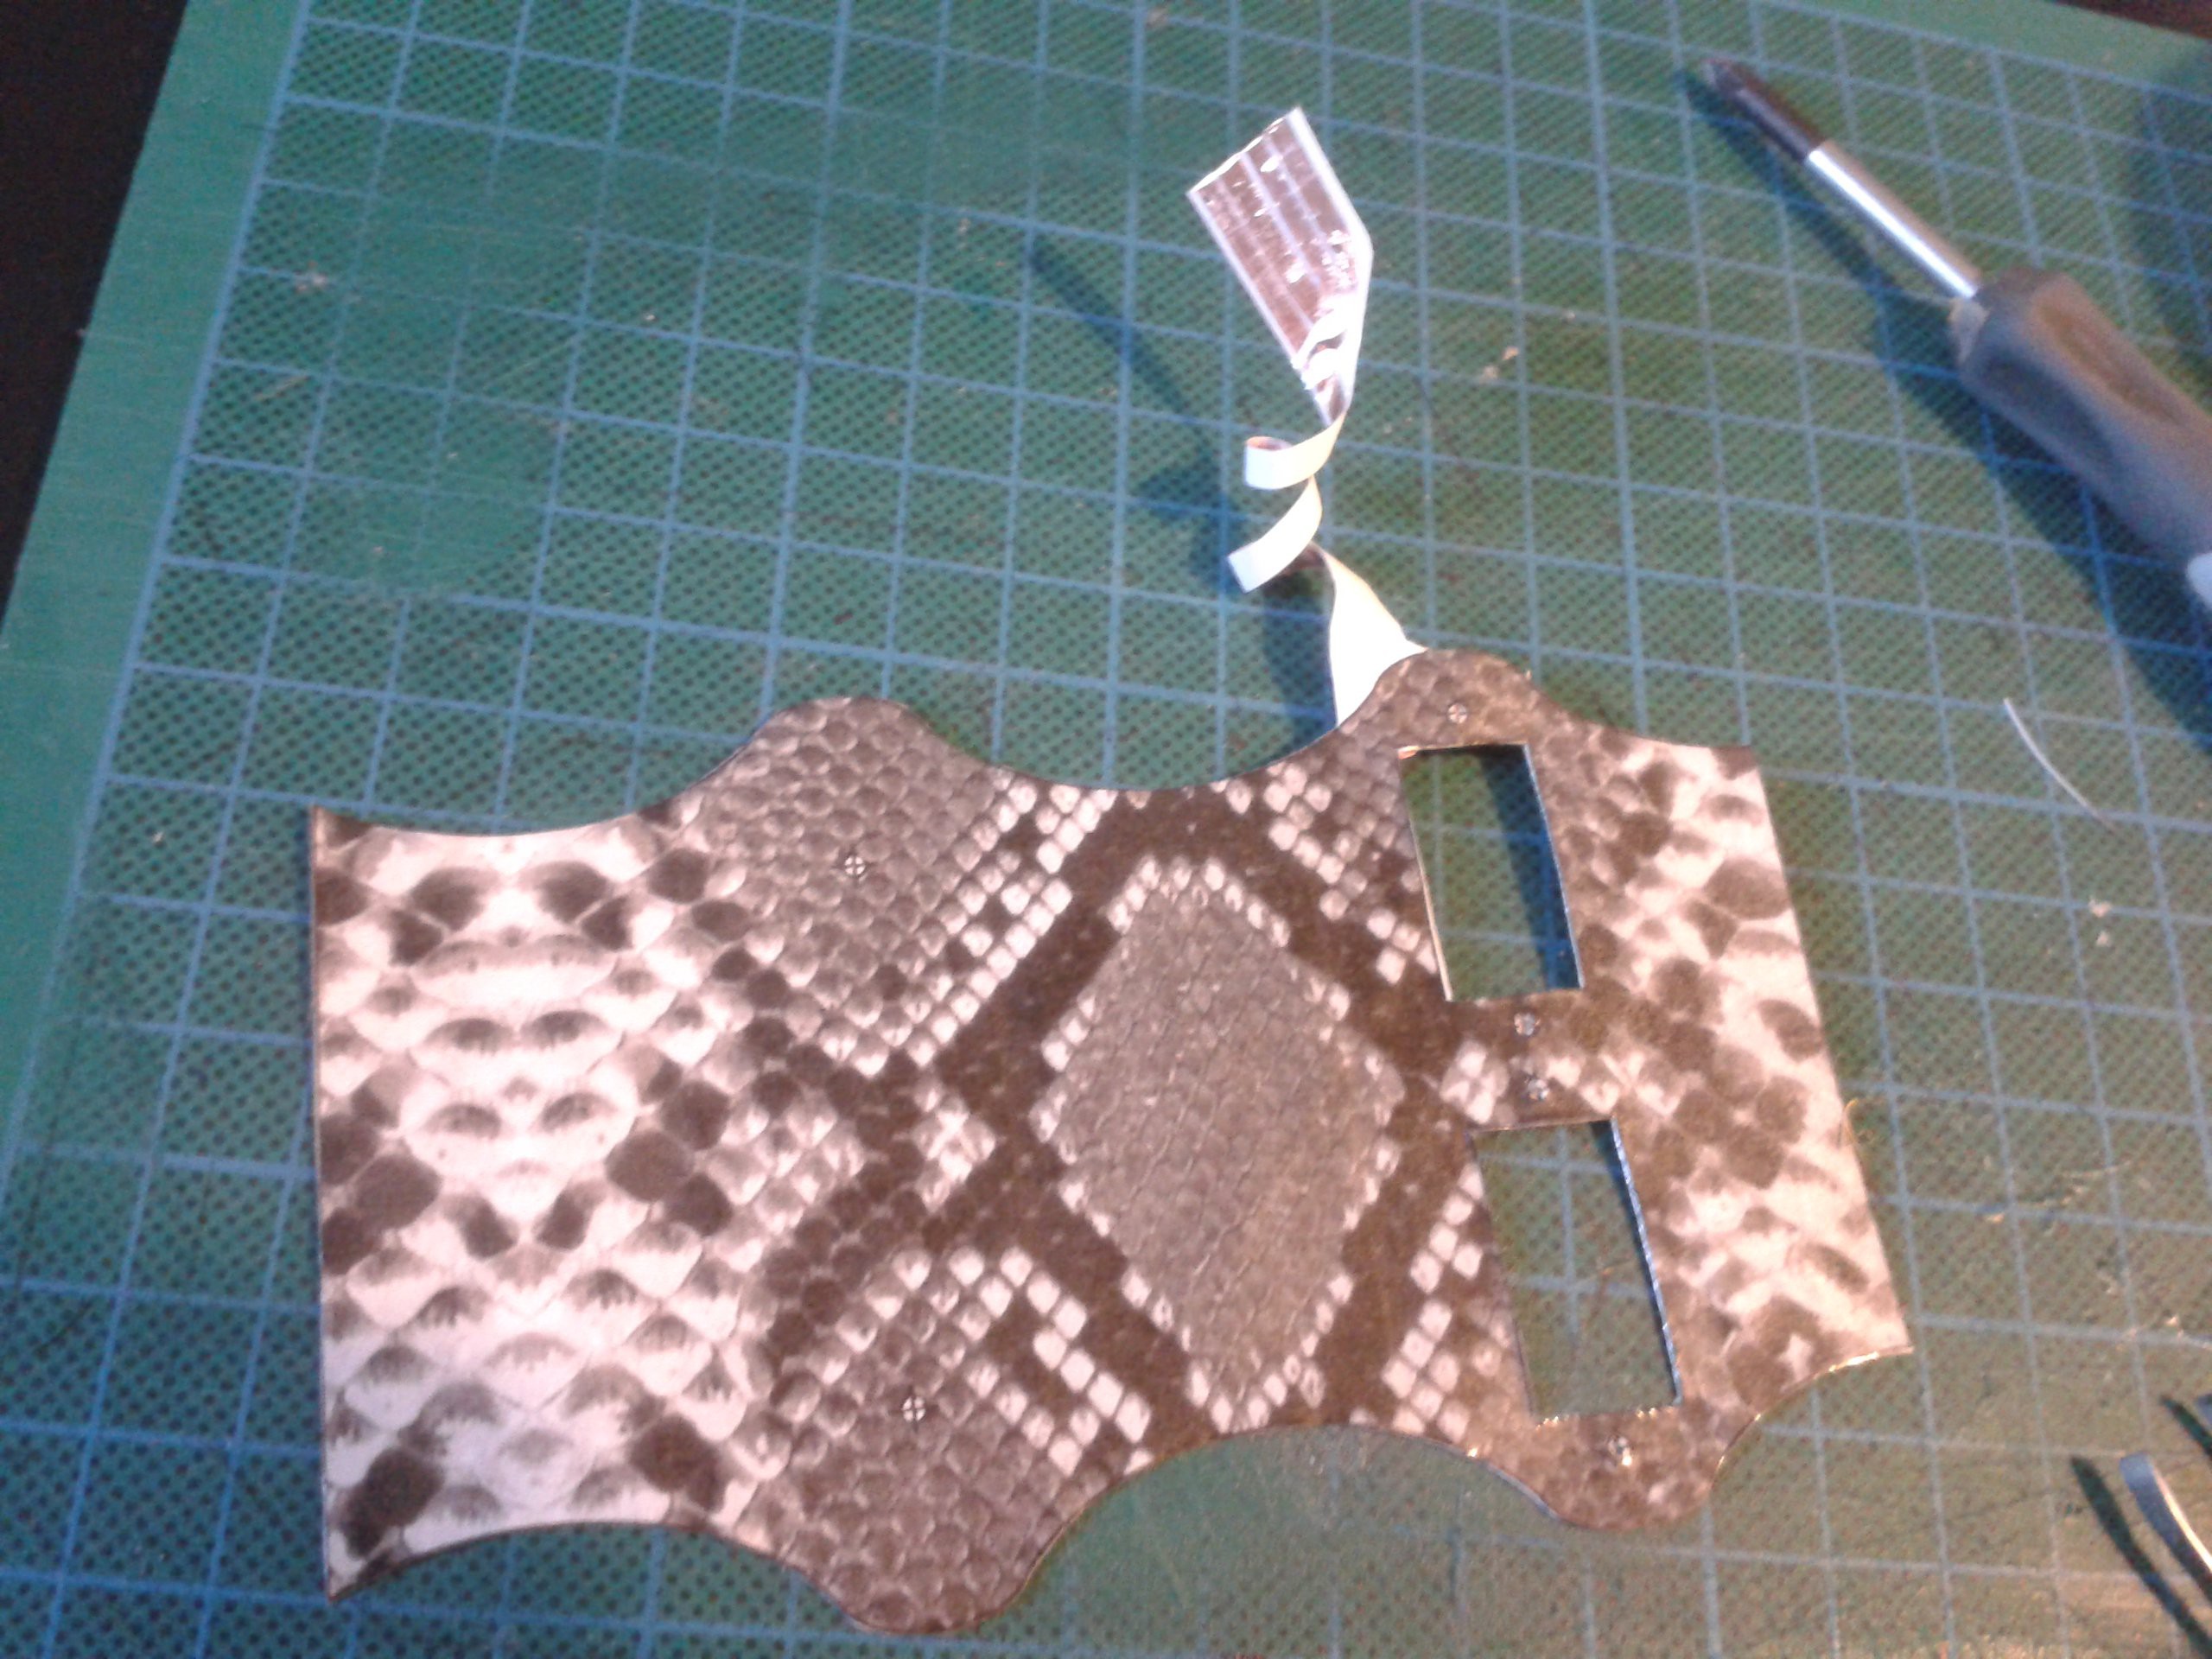
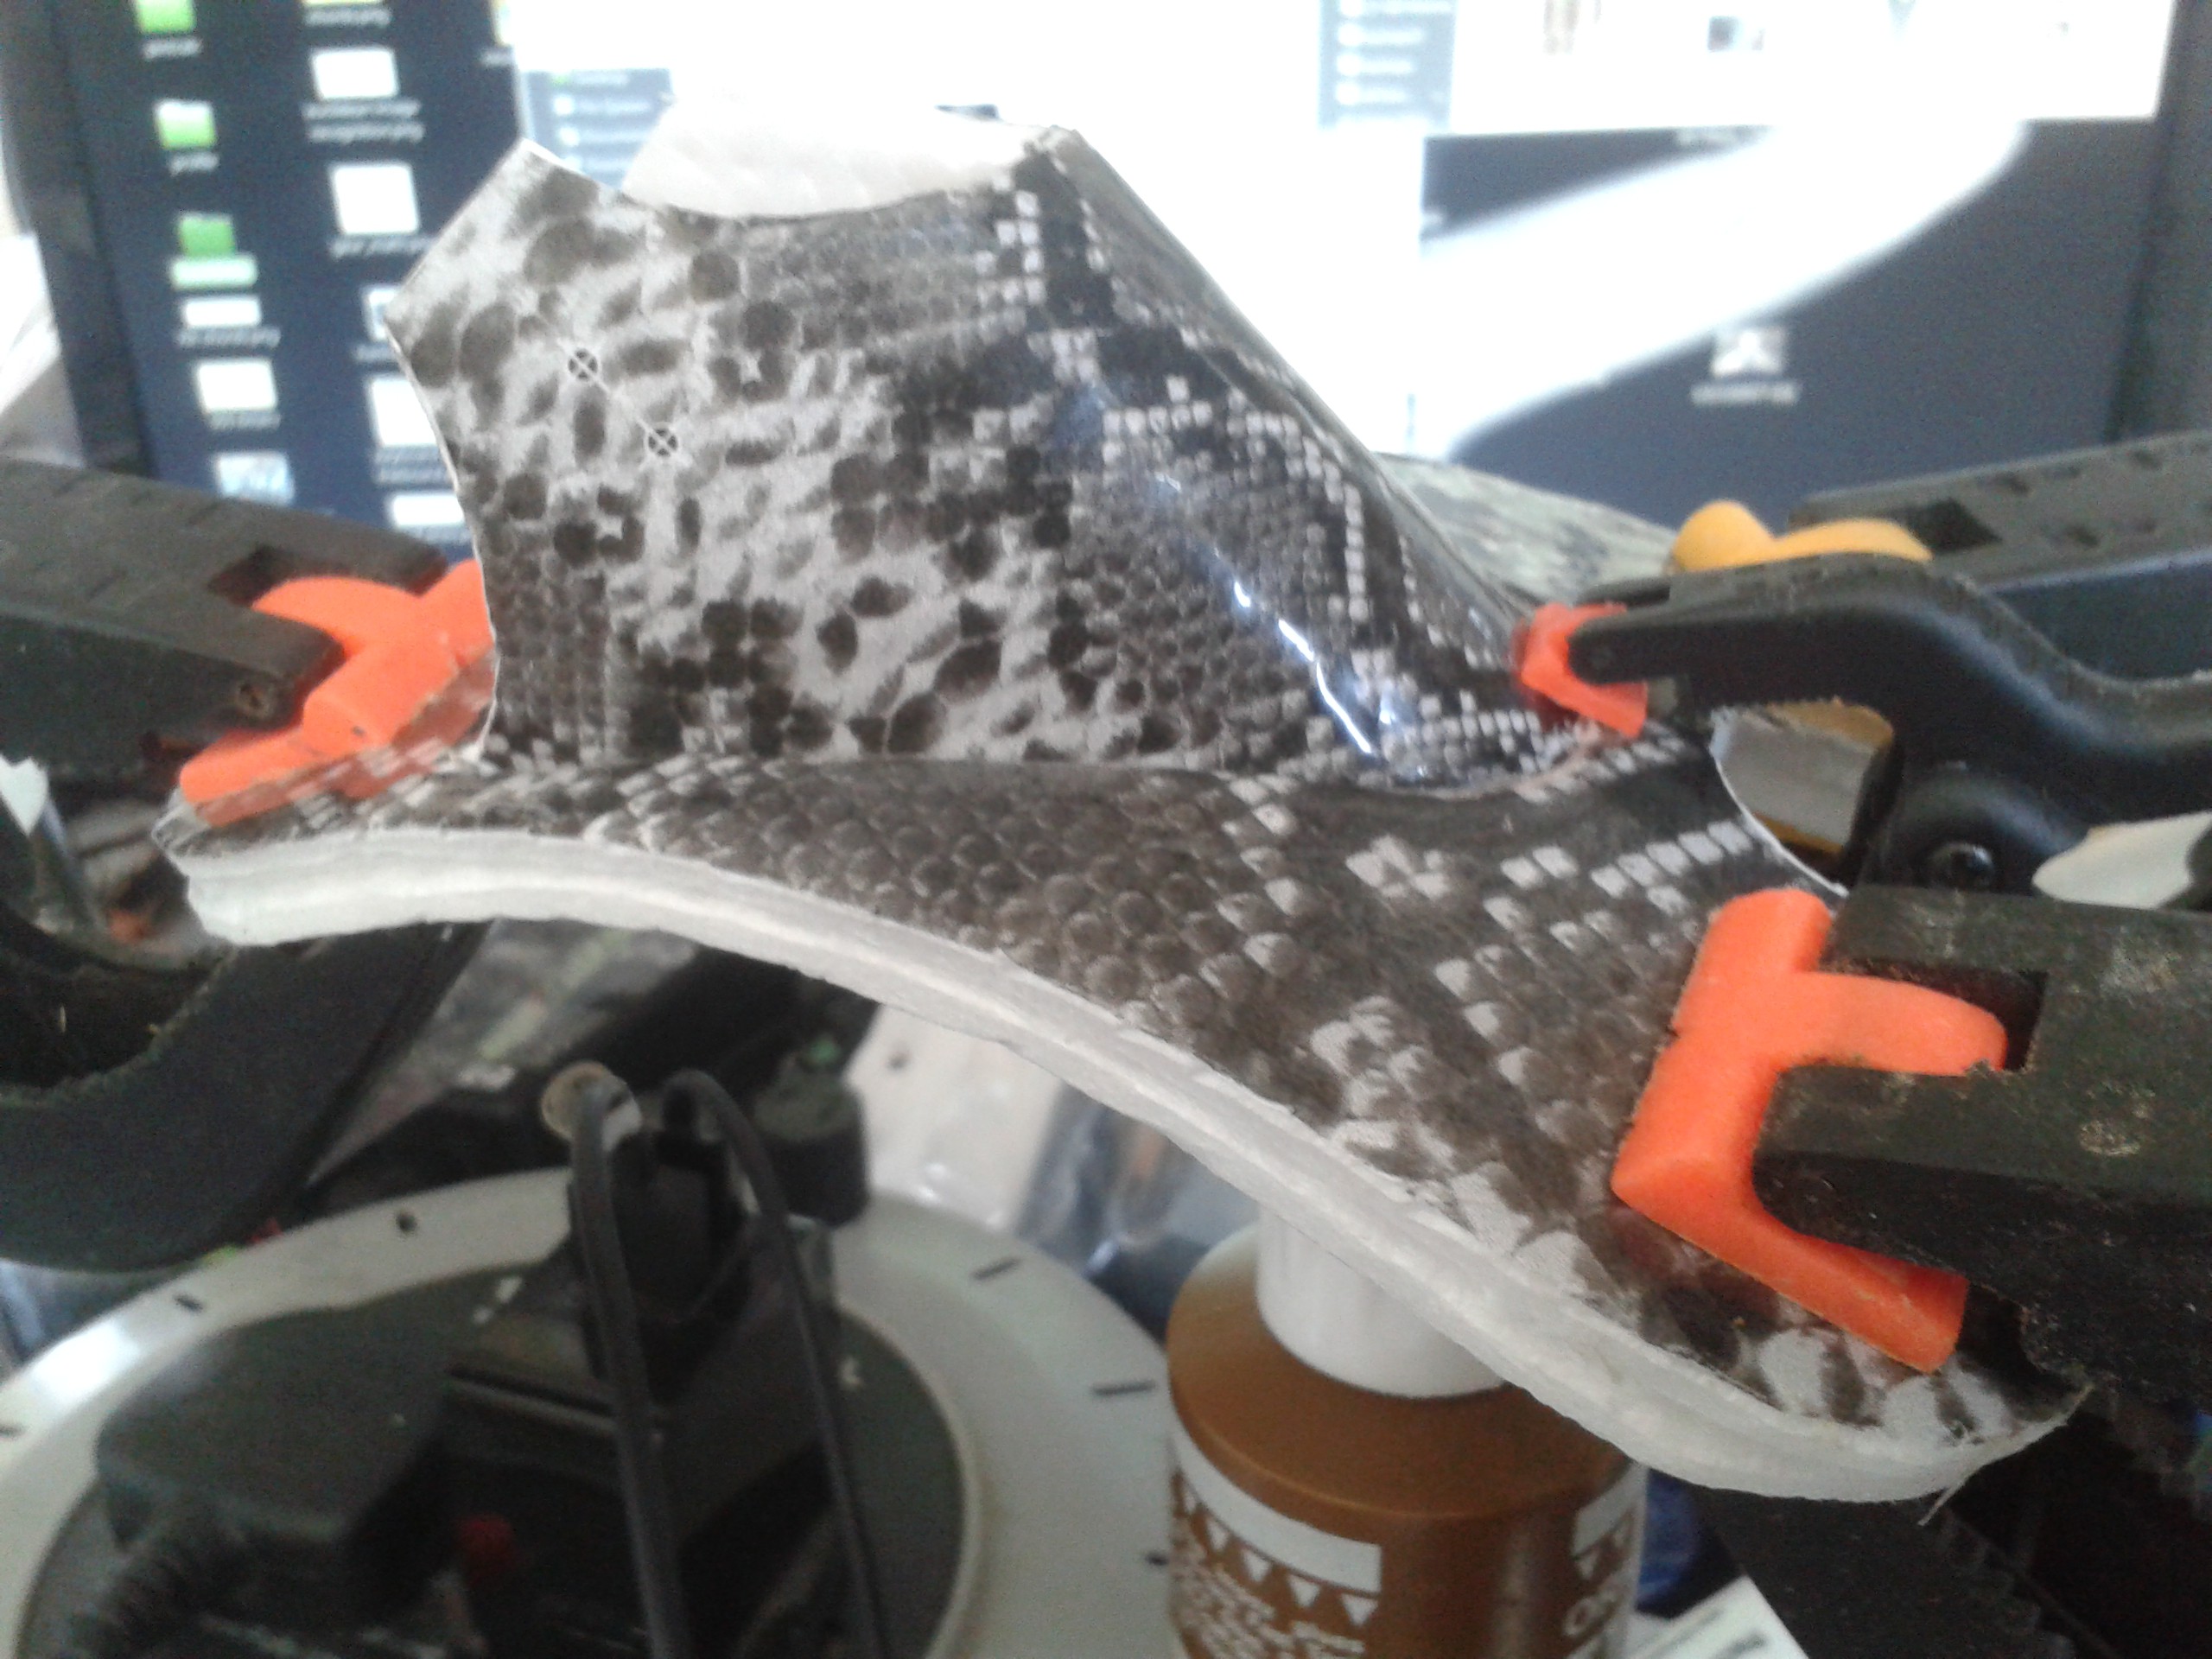
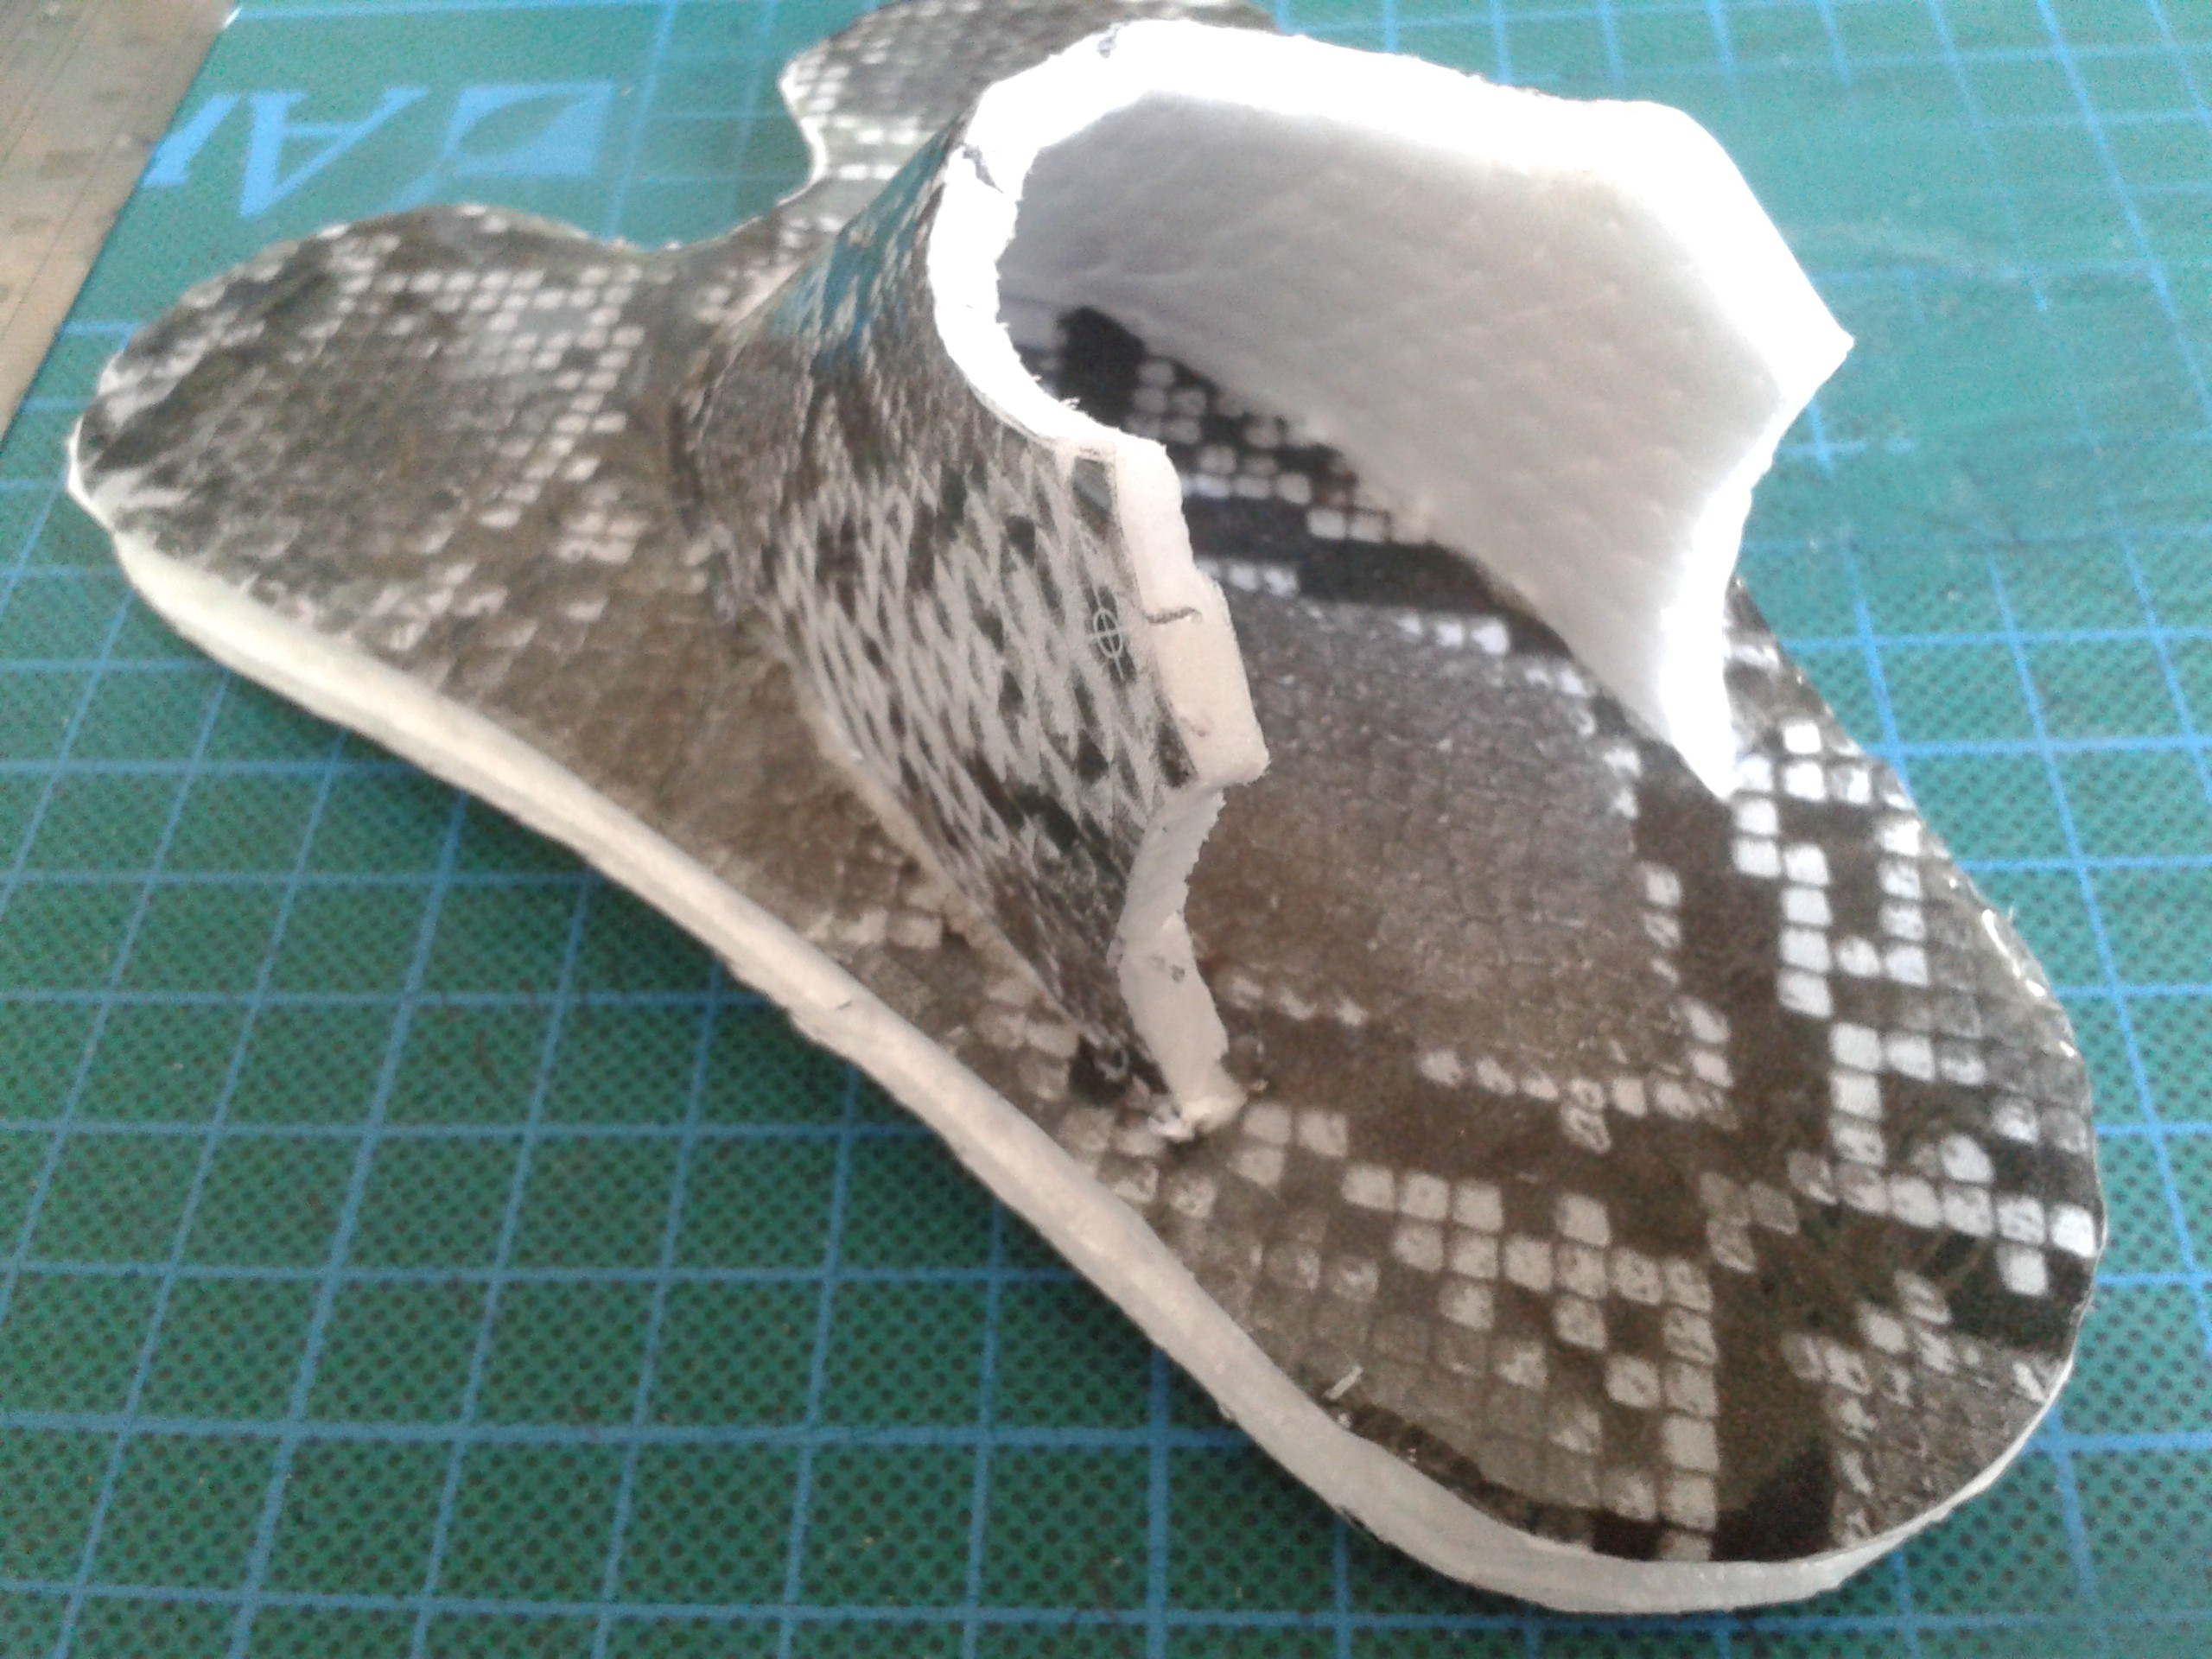
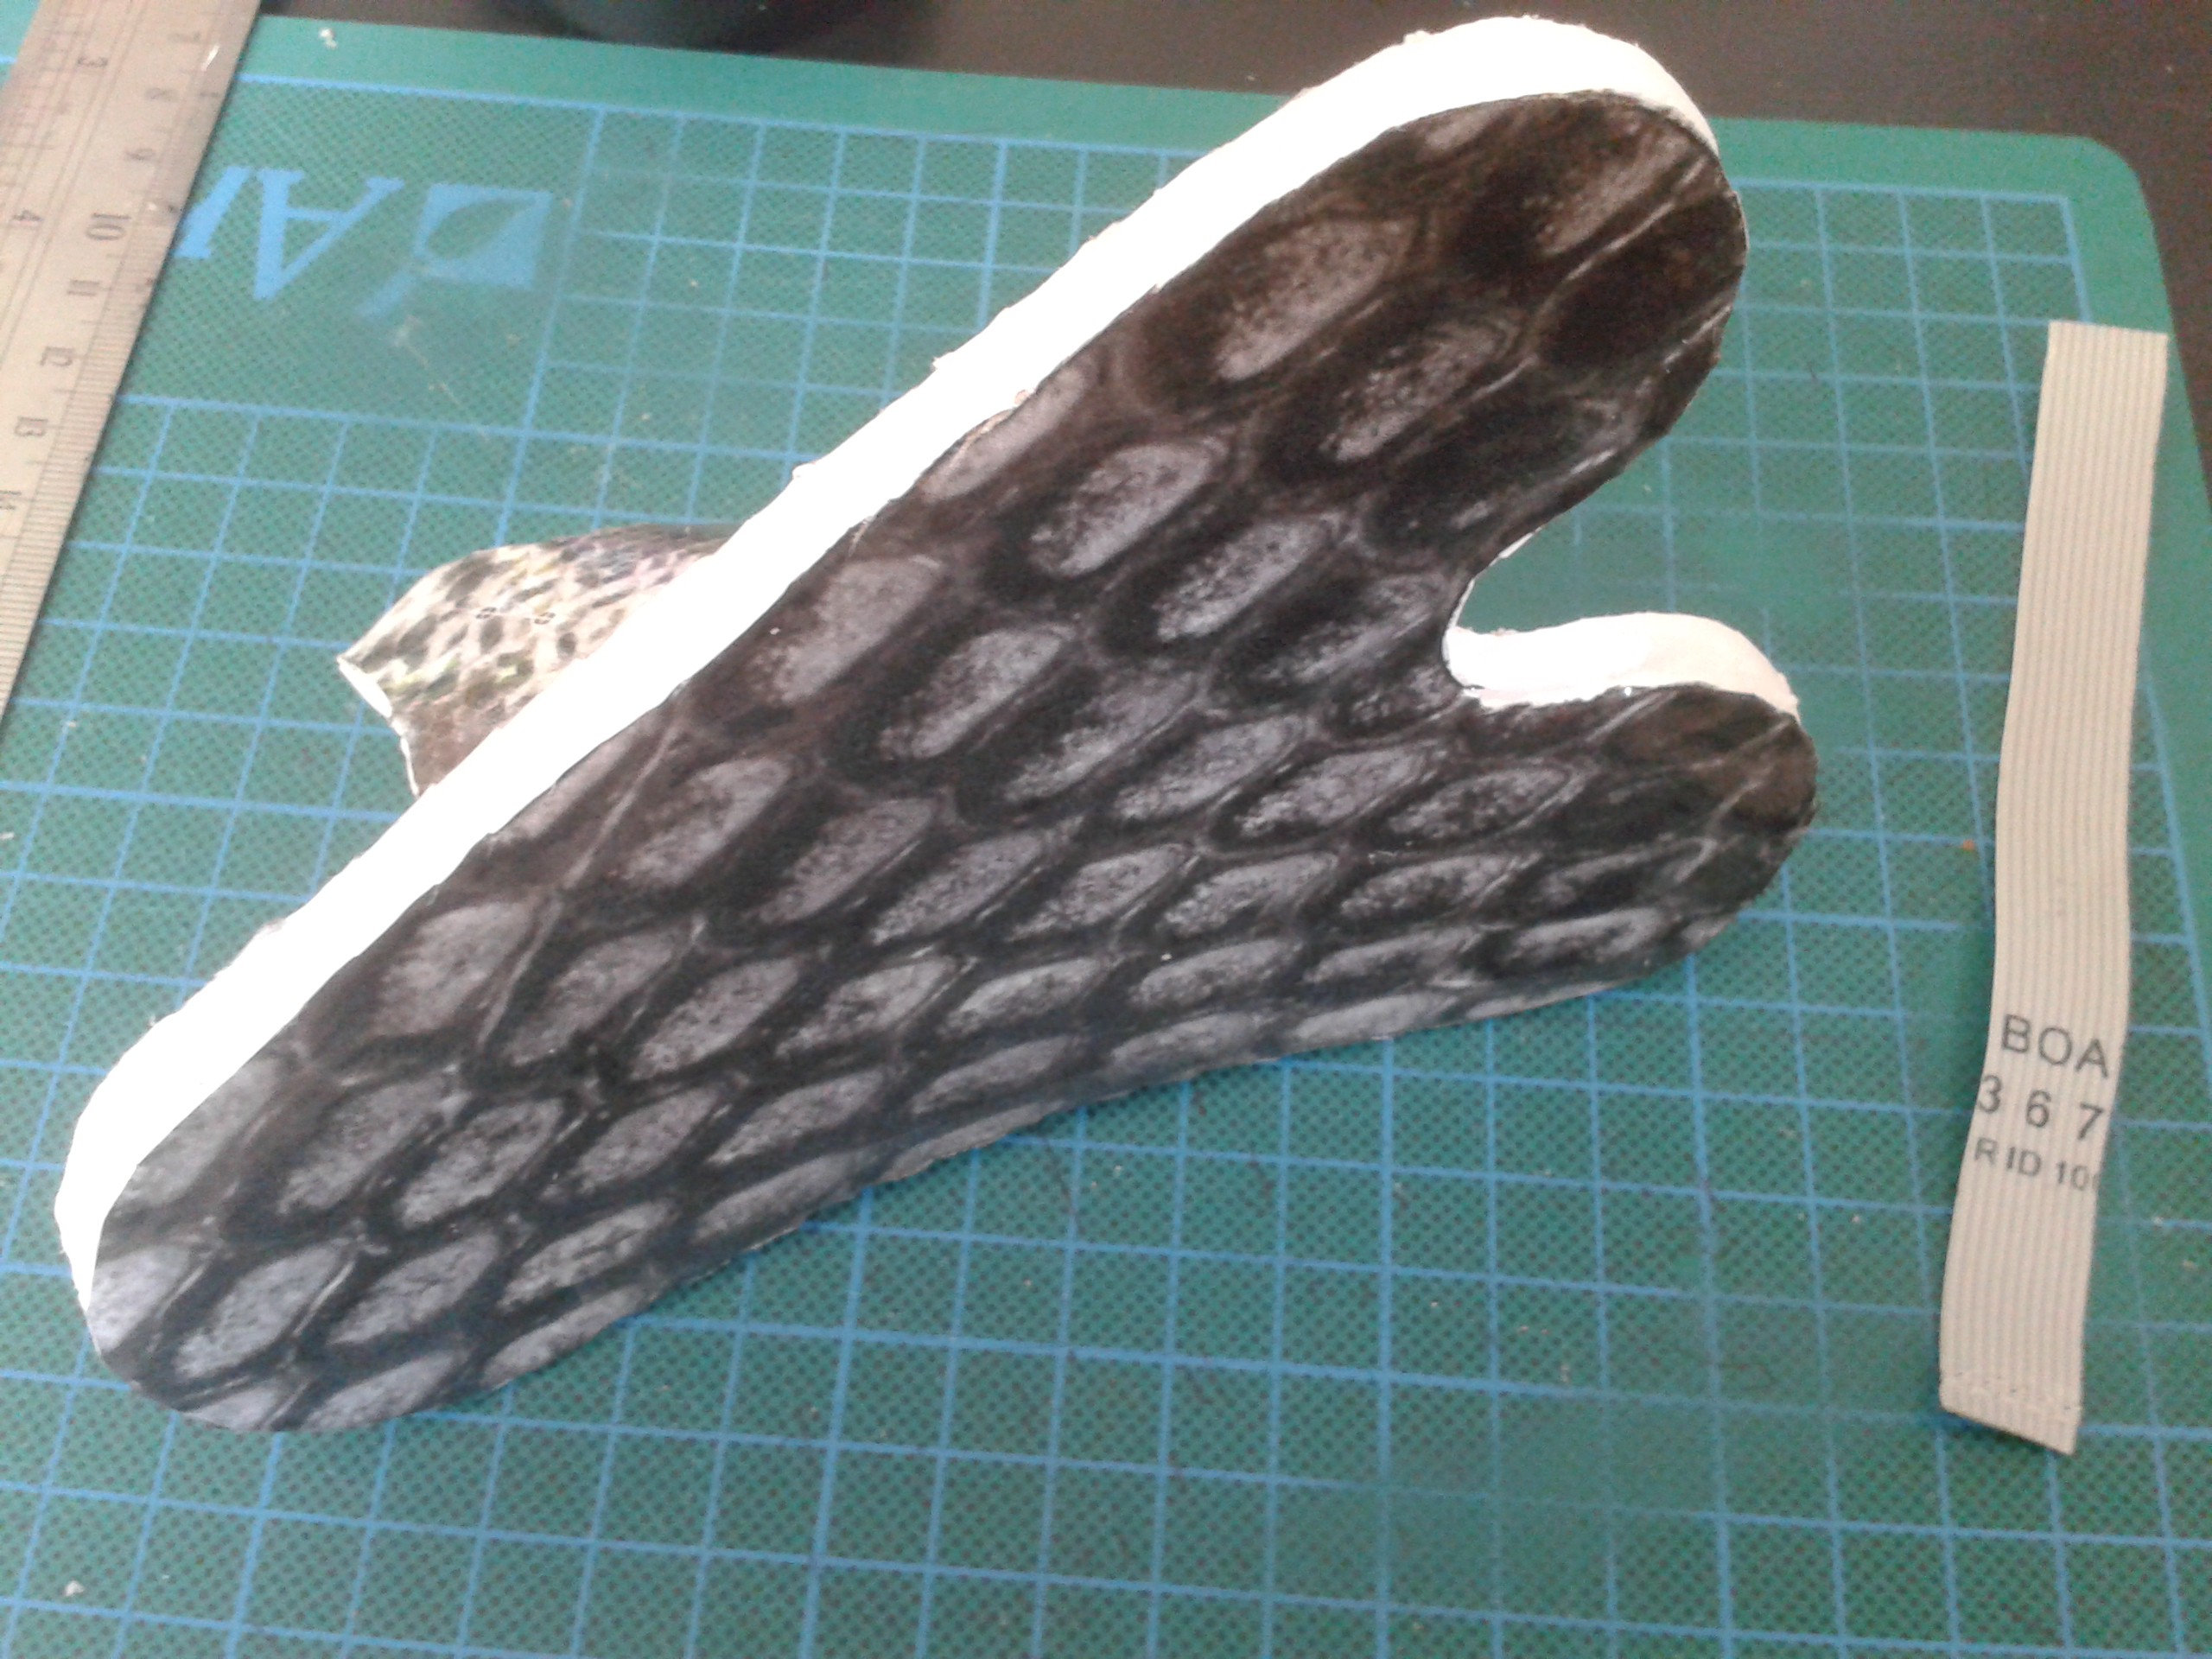
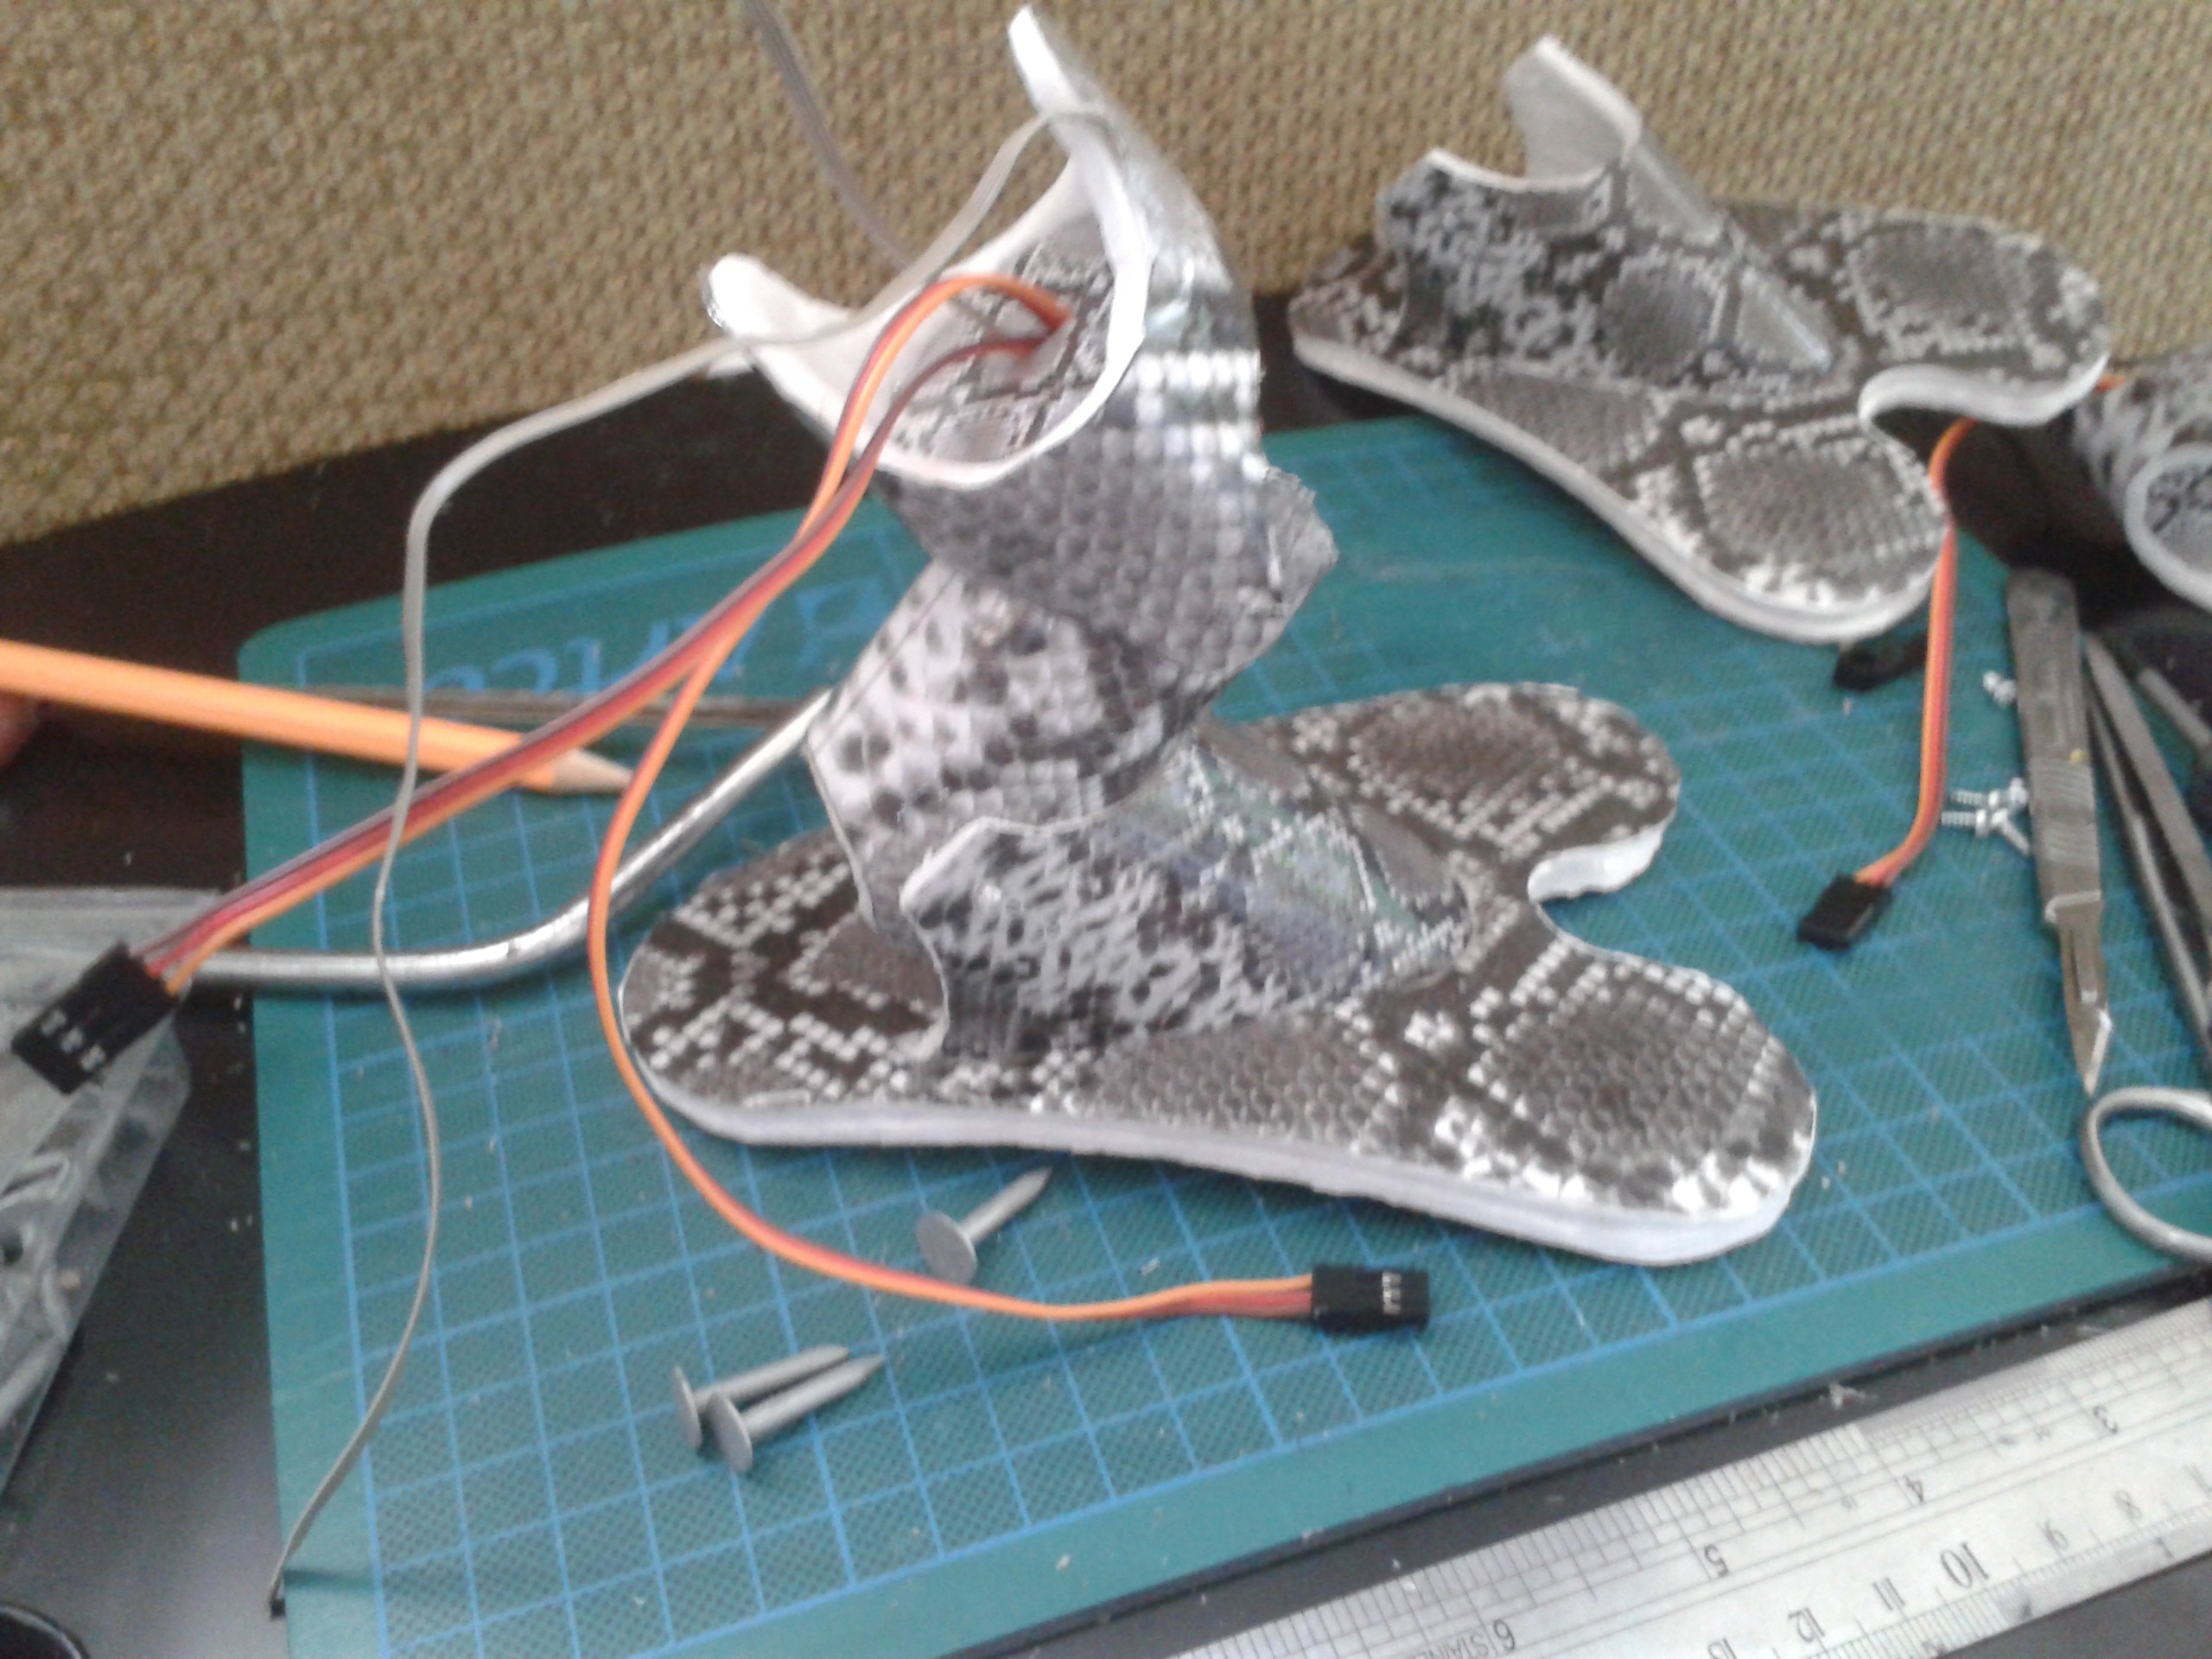
DECAL uses laminar material geometry for structural integrity. Surfaces are now formed from a flexible exoshell bonded to a foamed substrate that is then curved to compress the foam against the shell, making it rigid.
- Glue is gone
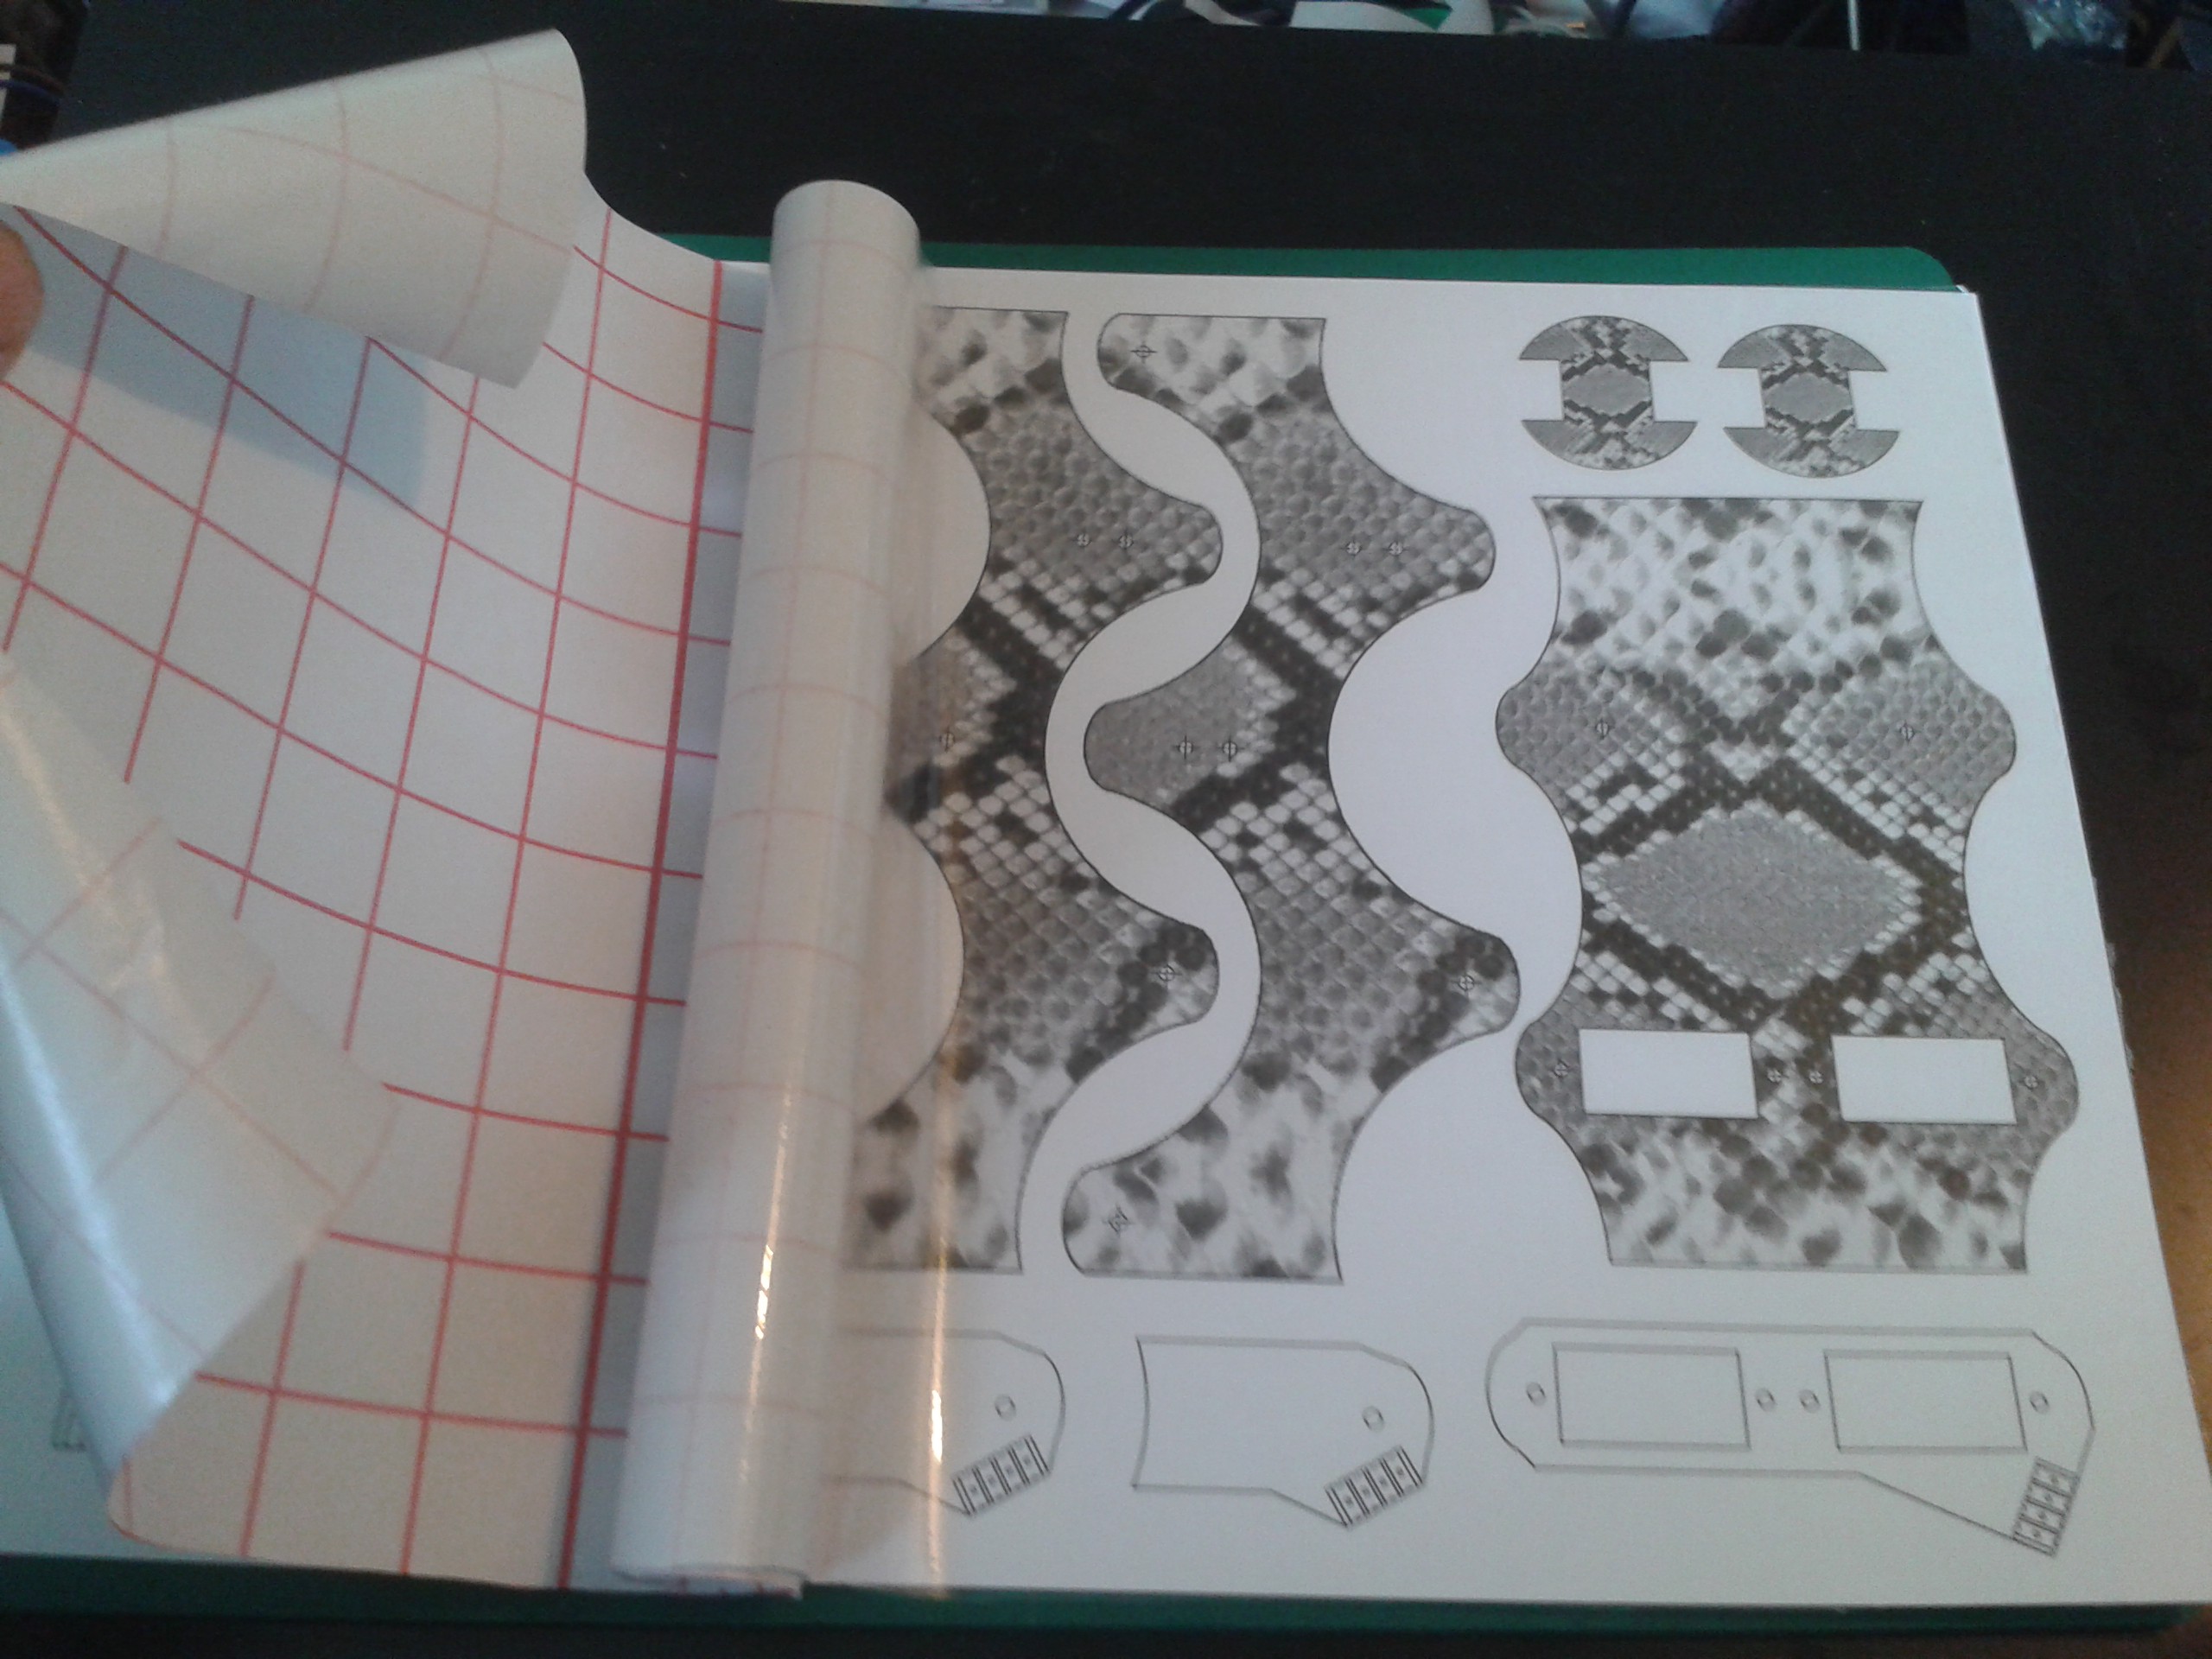
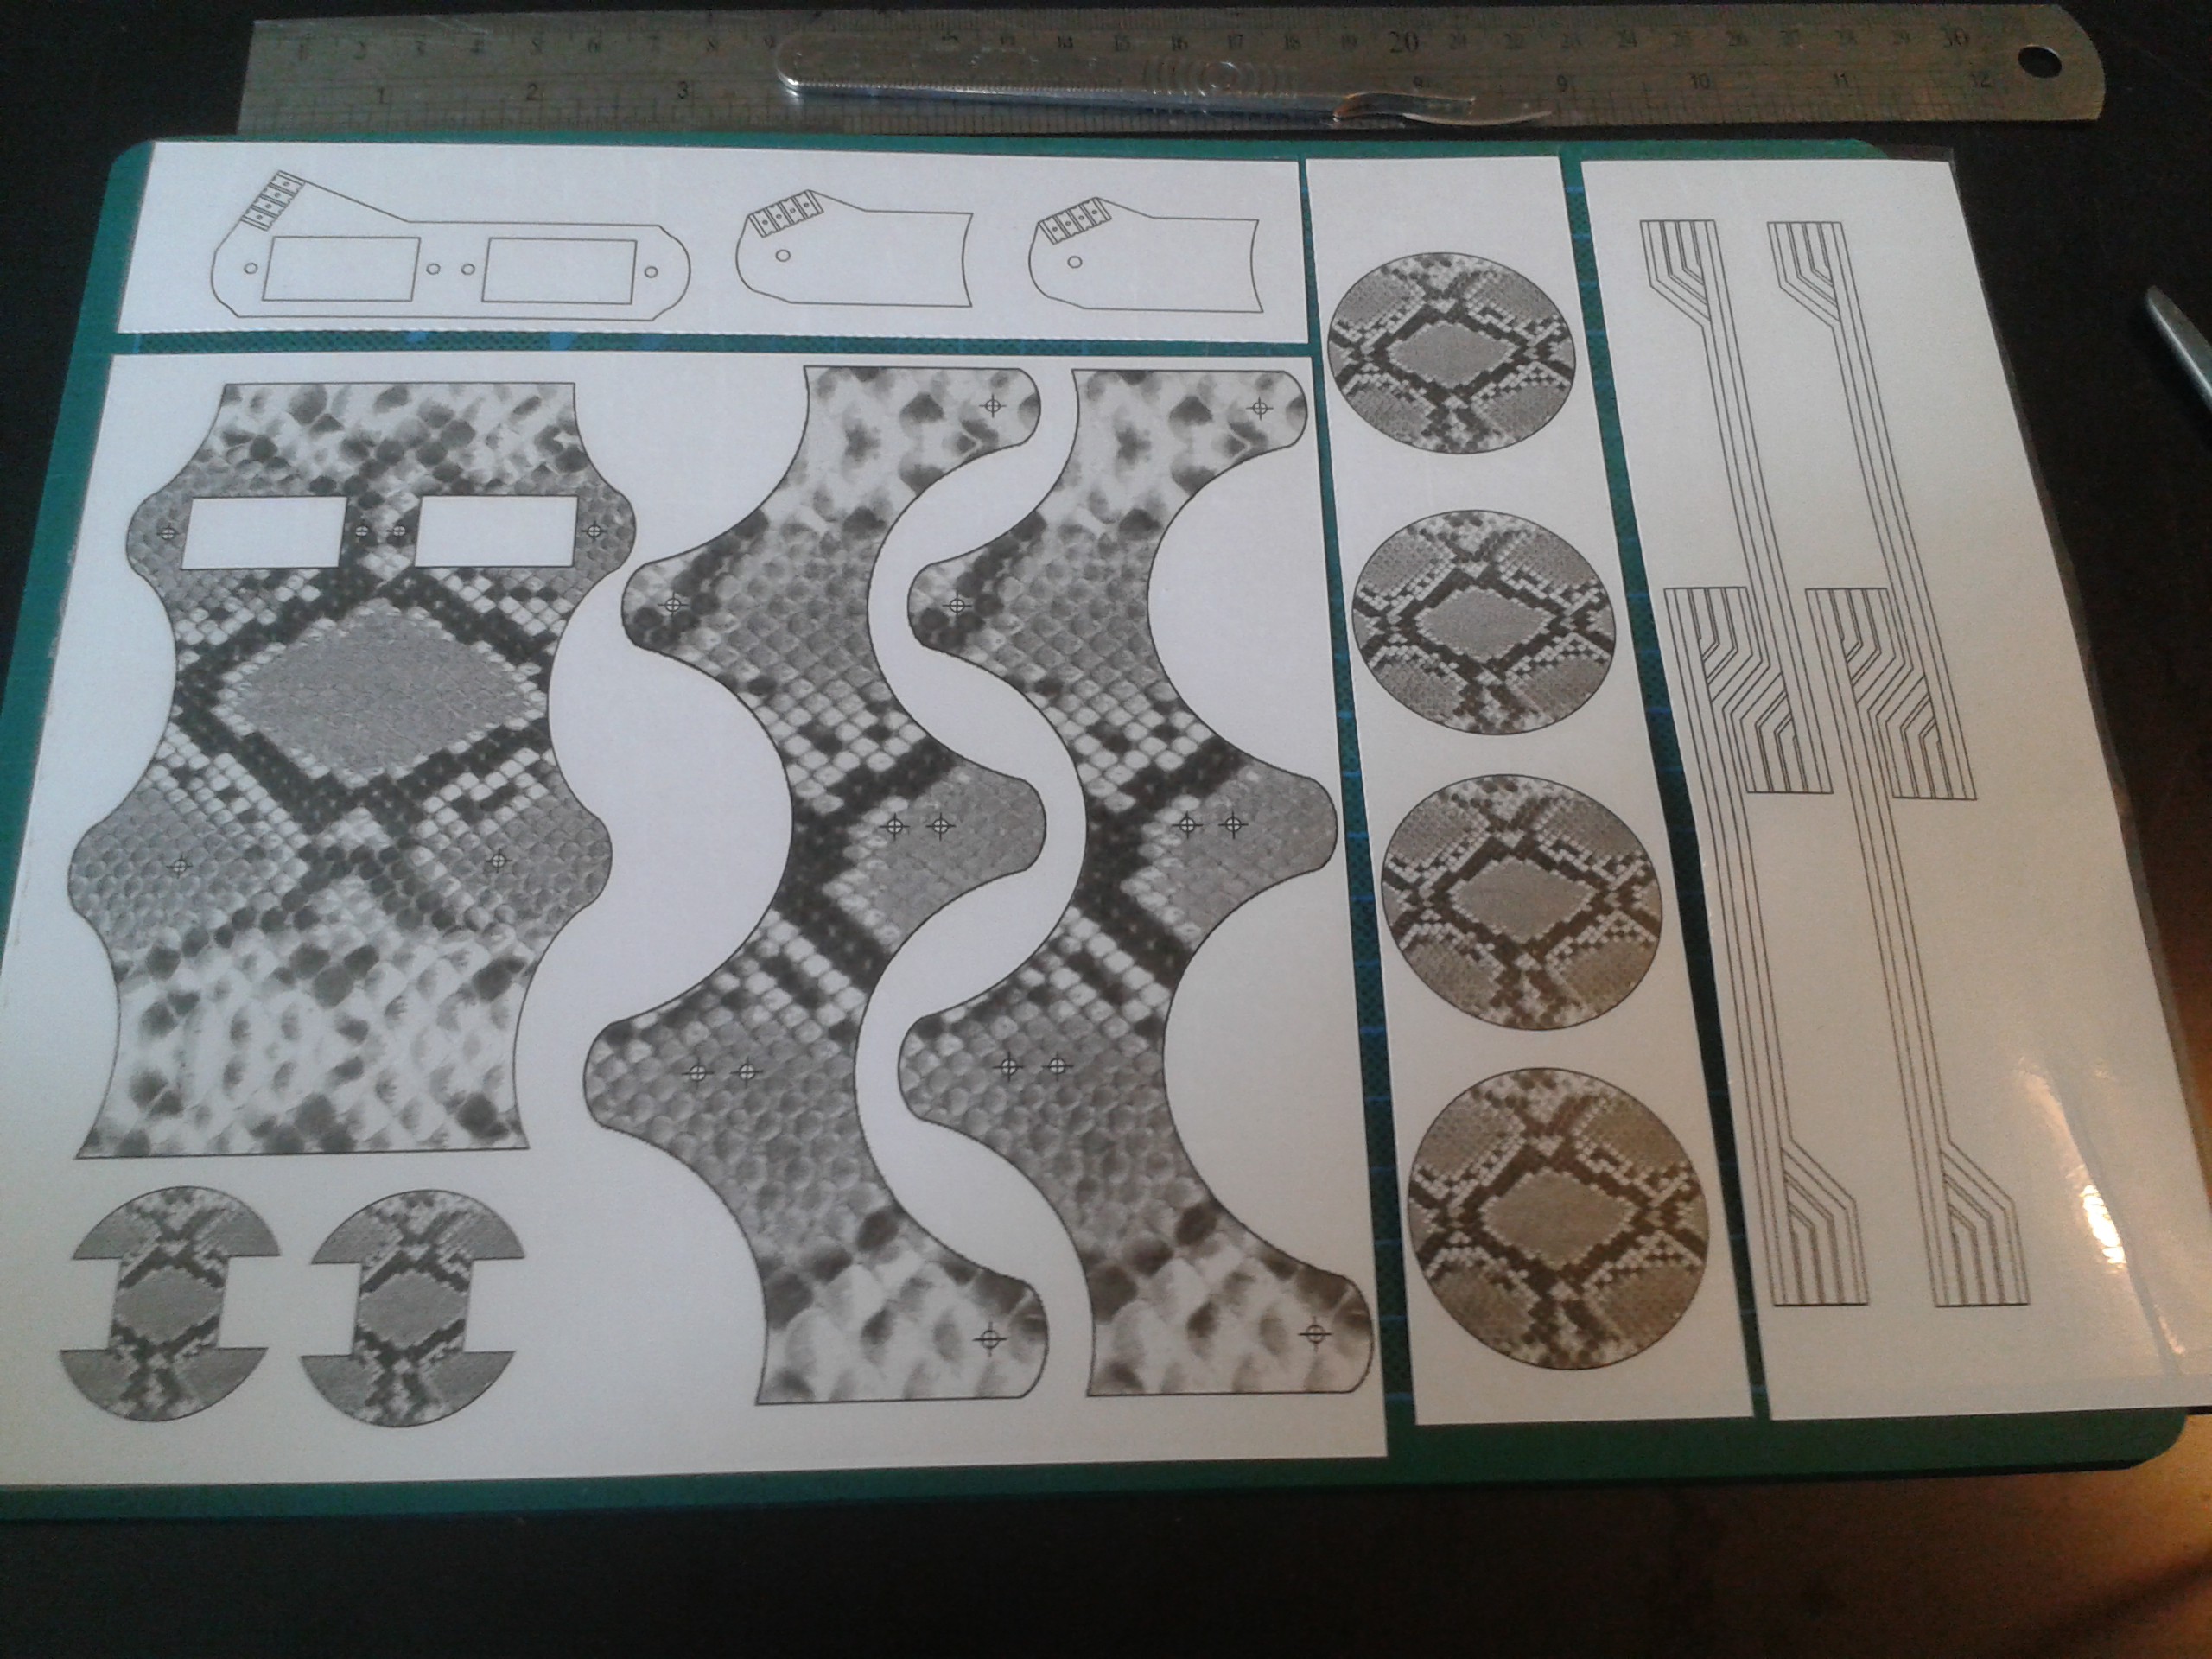
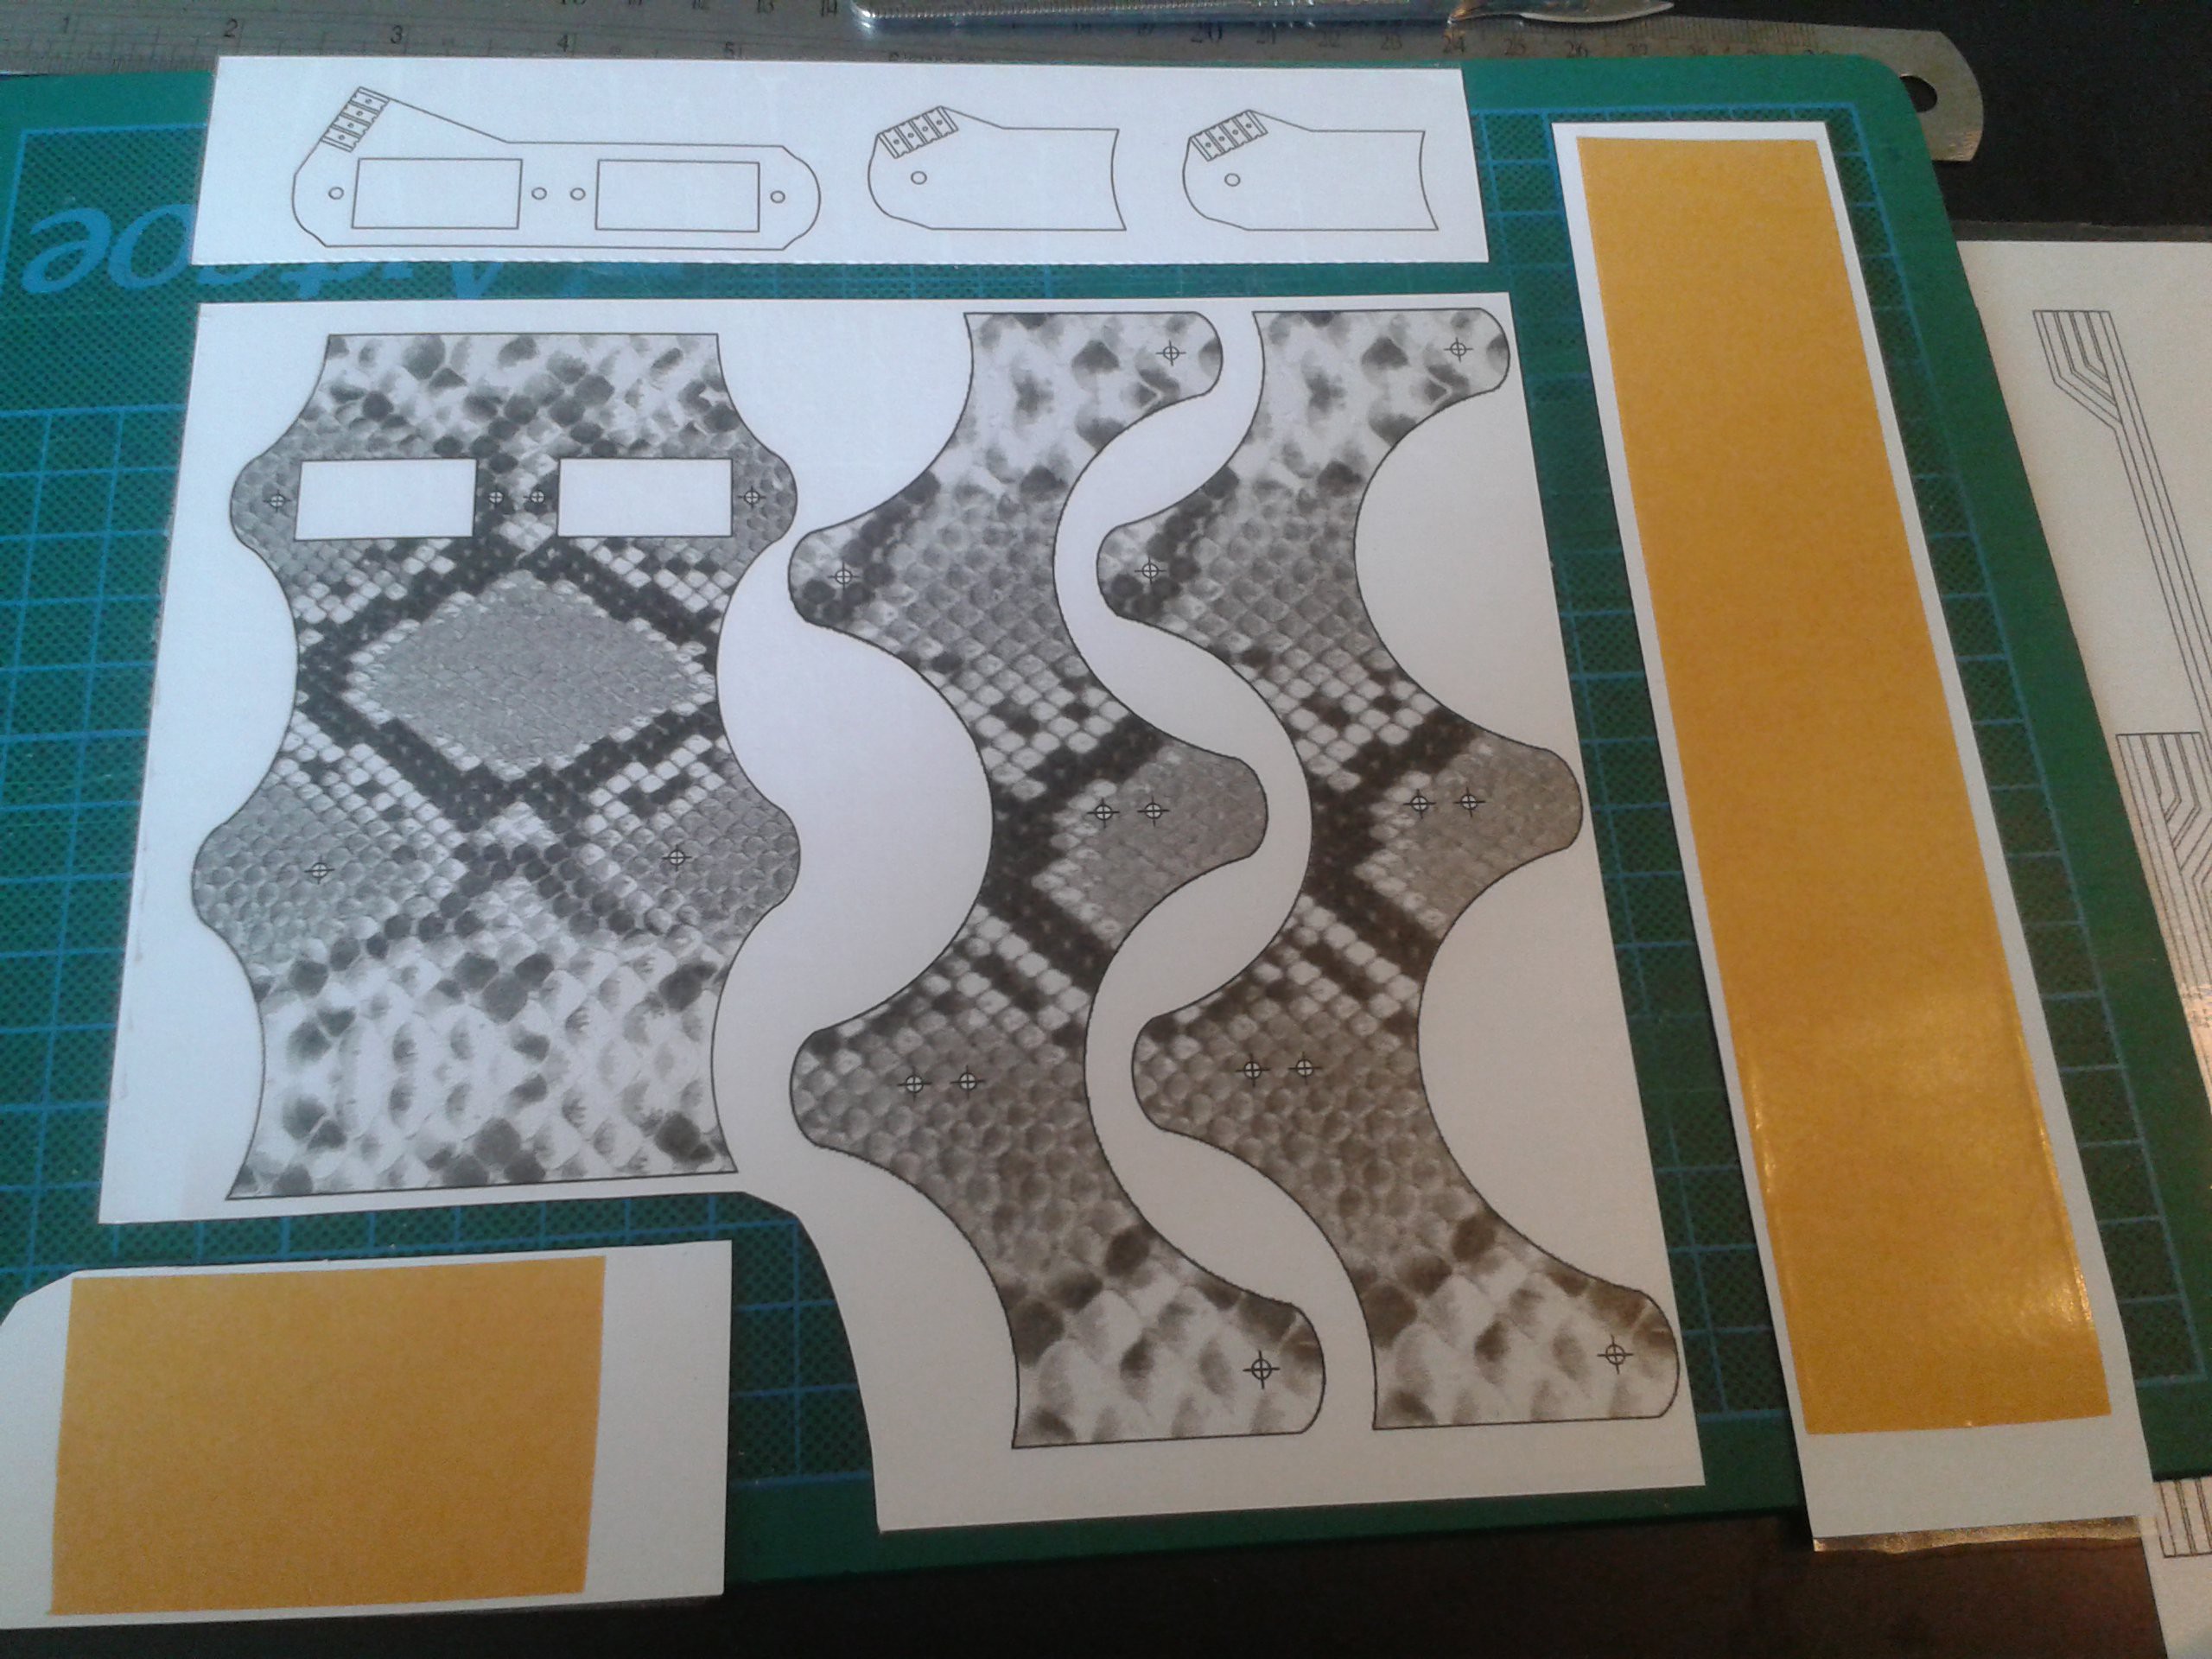
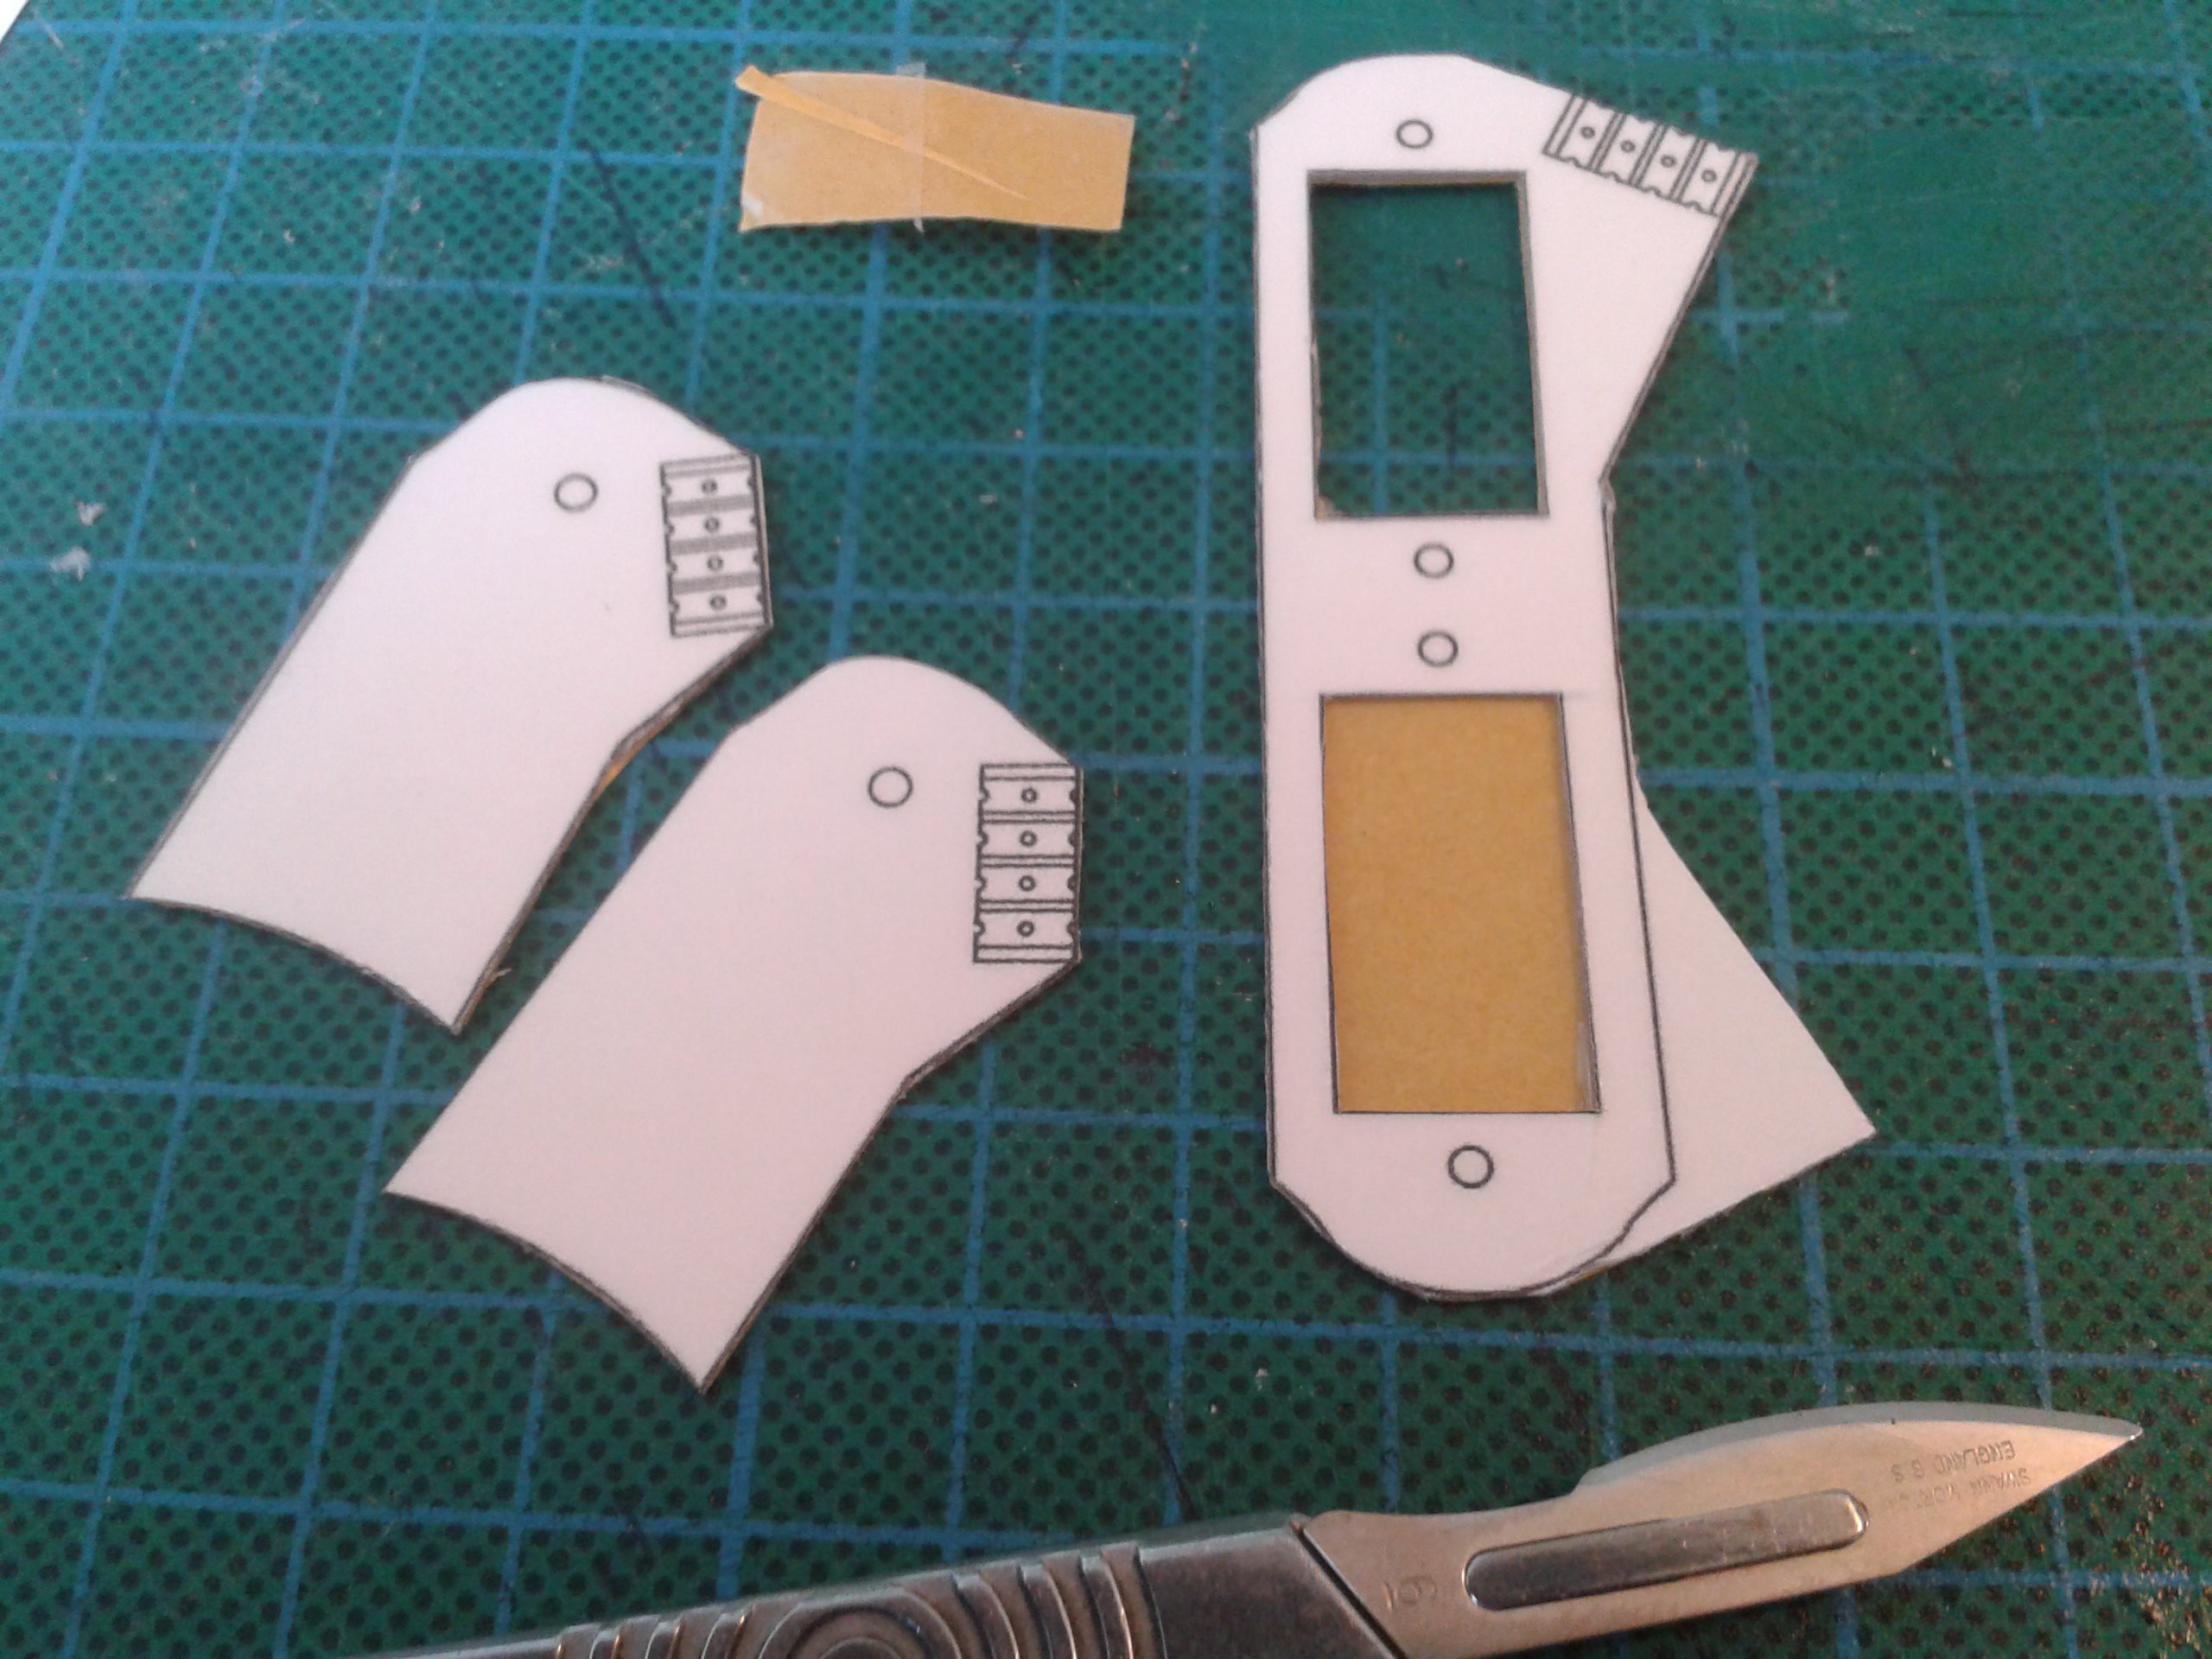
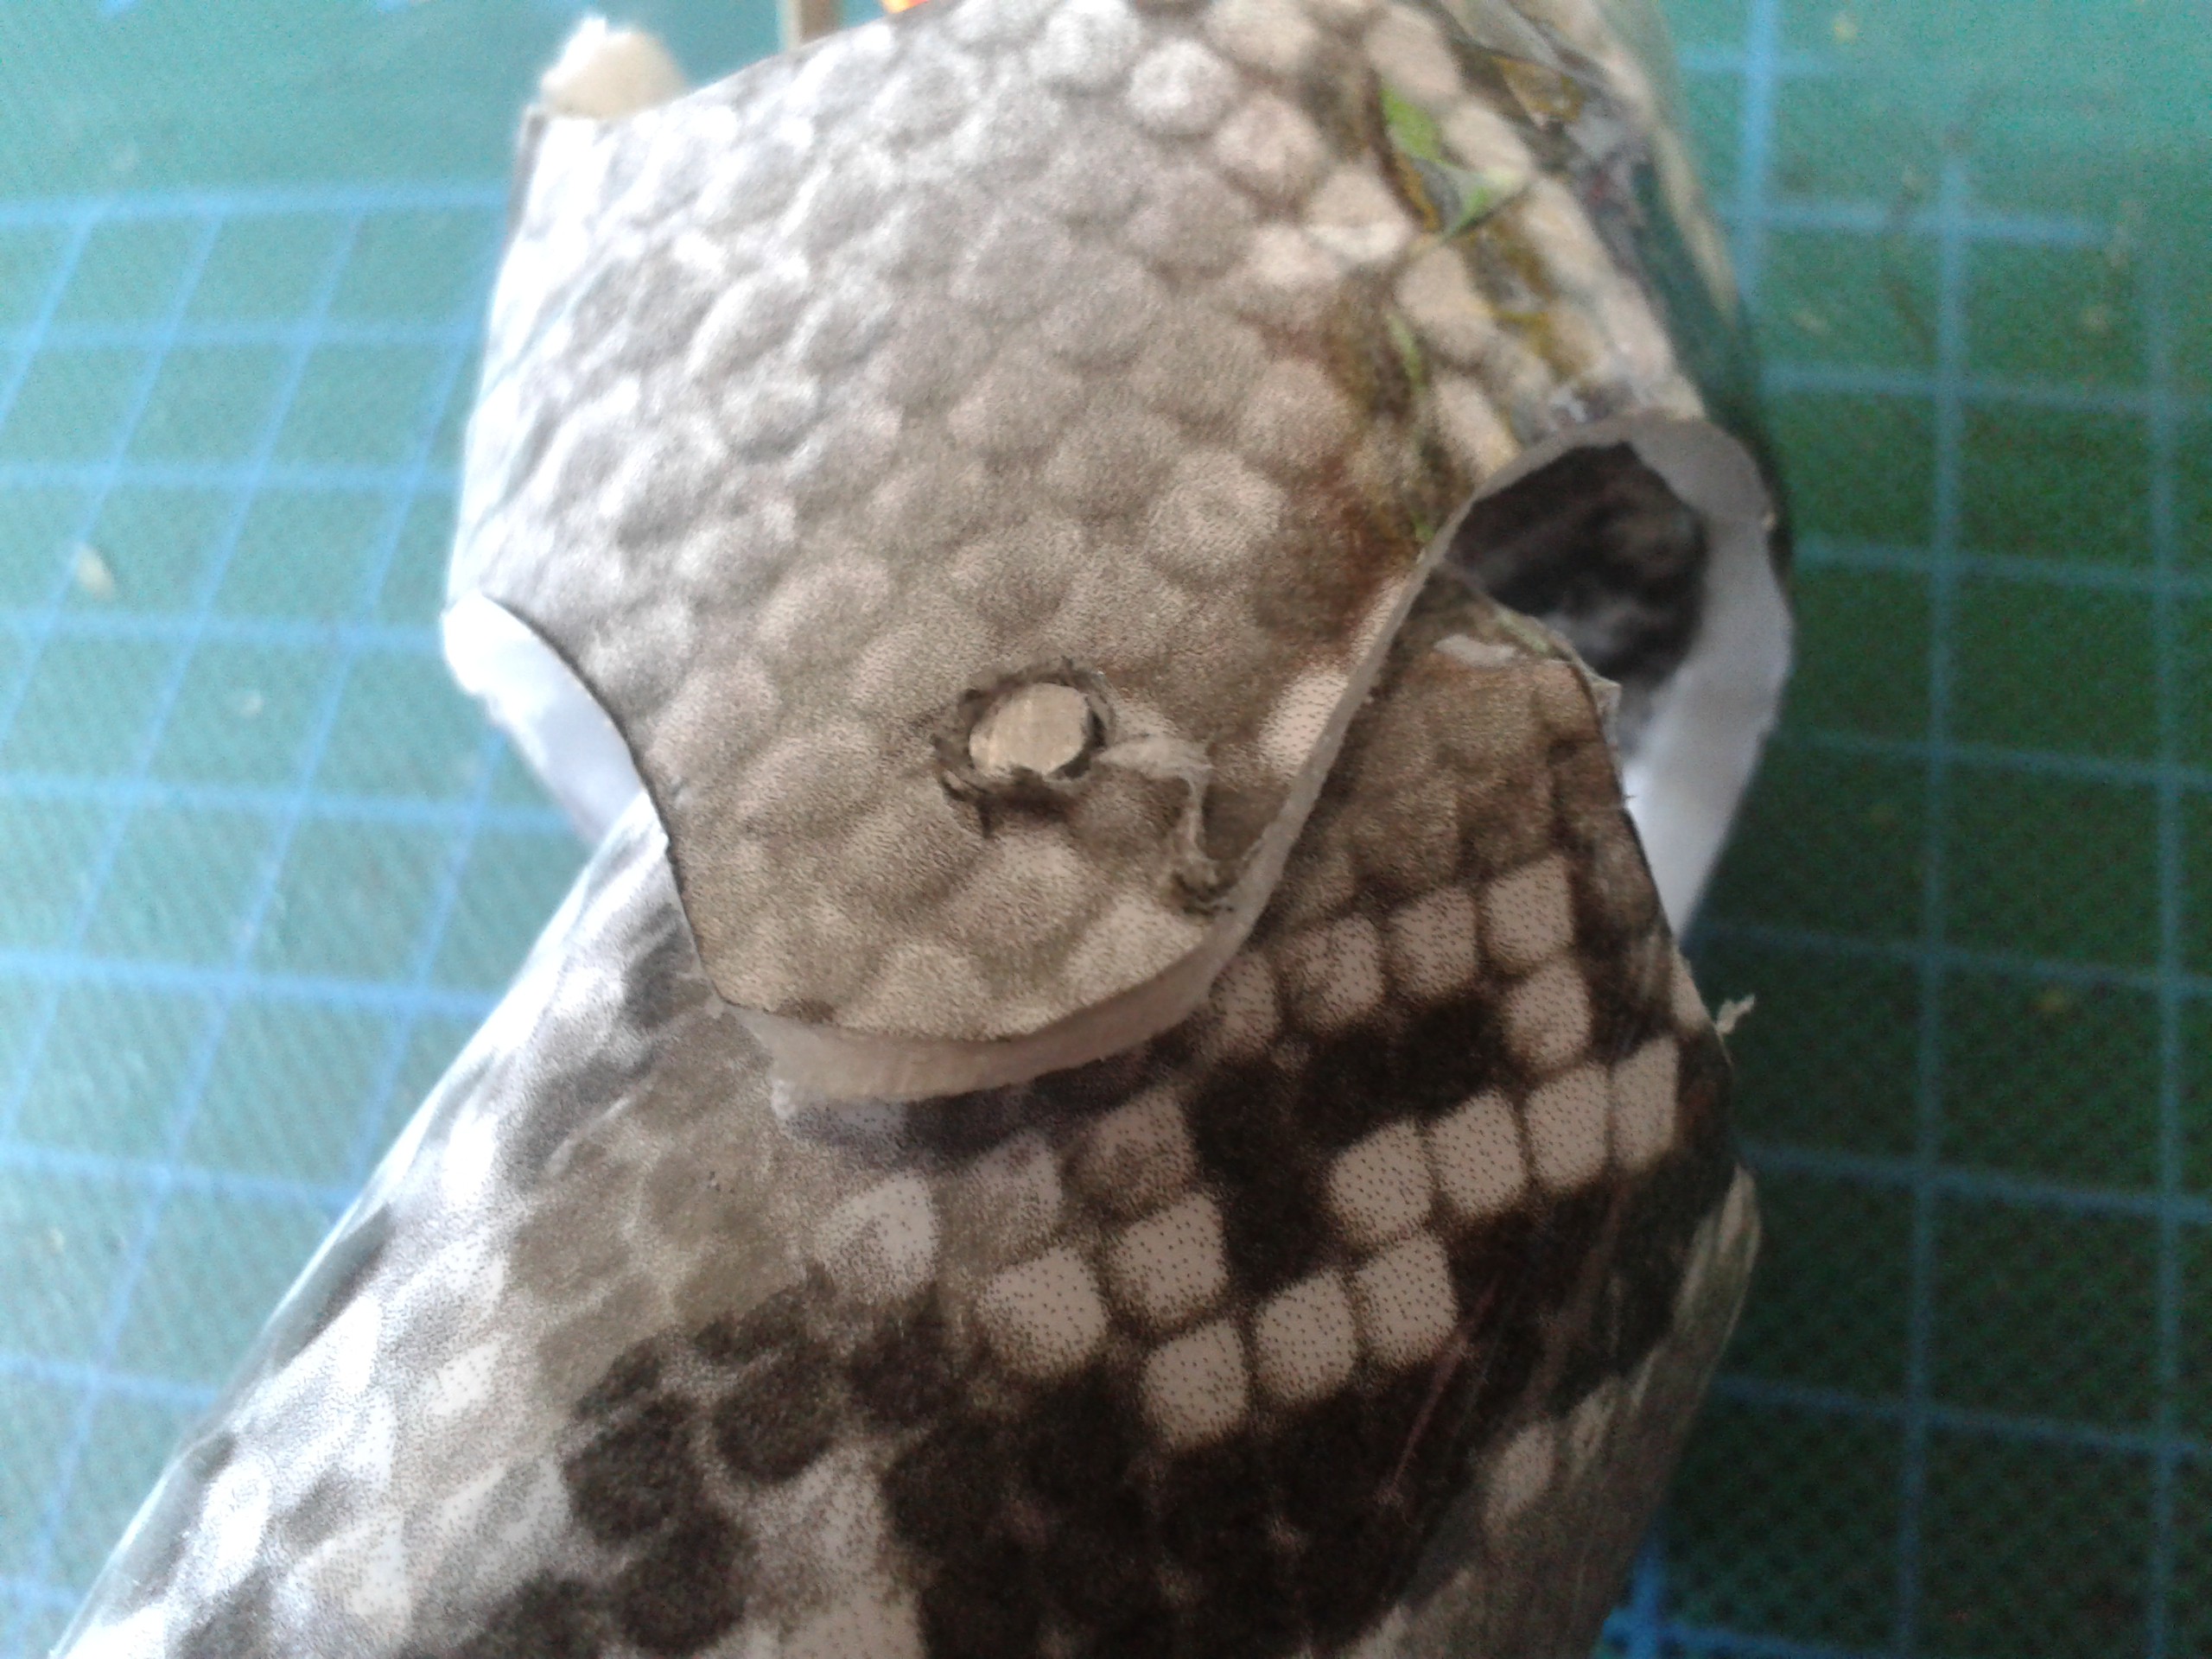
The system includes all the adhesive required. Parts just require forming into a curve and joining with a single pre-glued tab after cutting around them.
- Complex wiring is gone
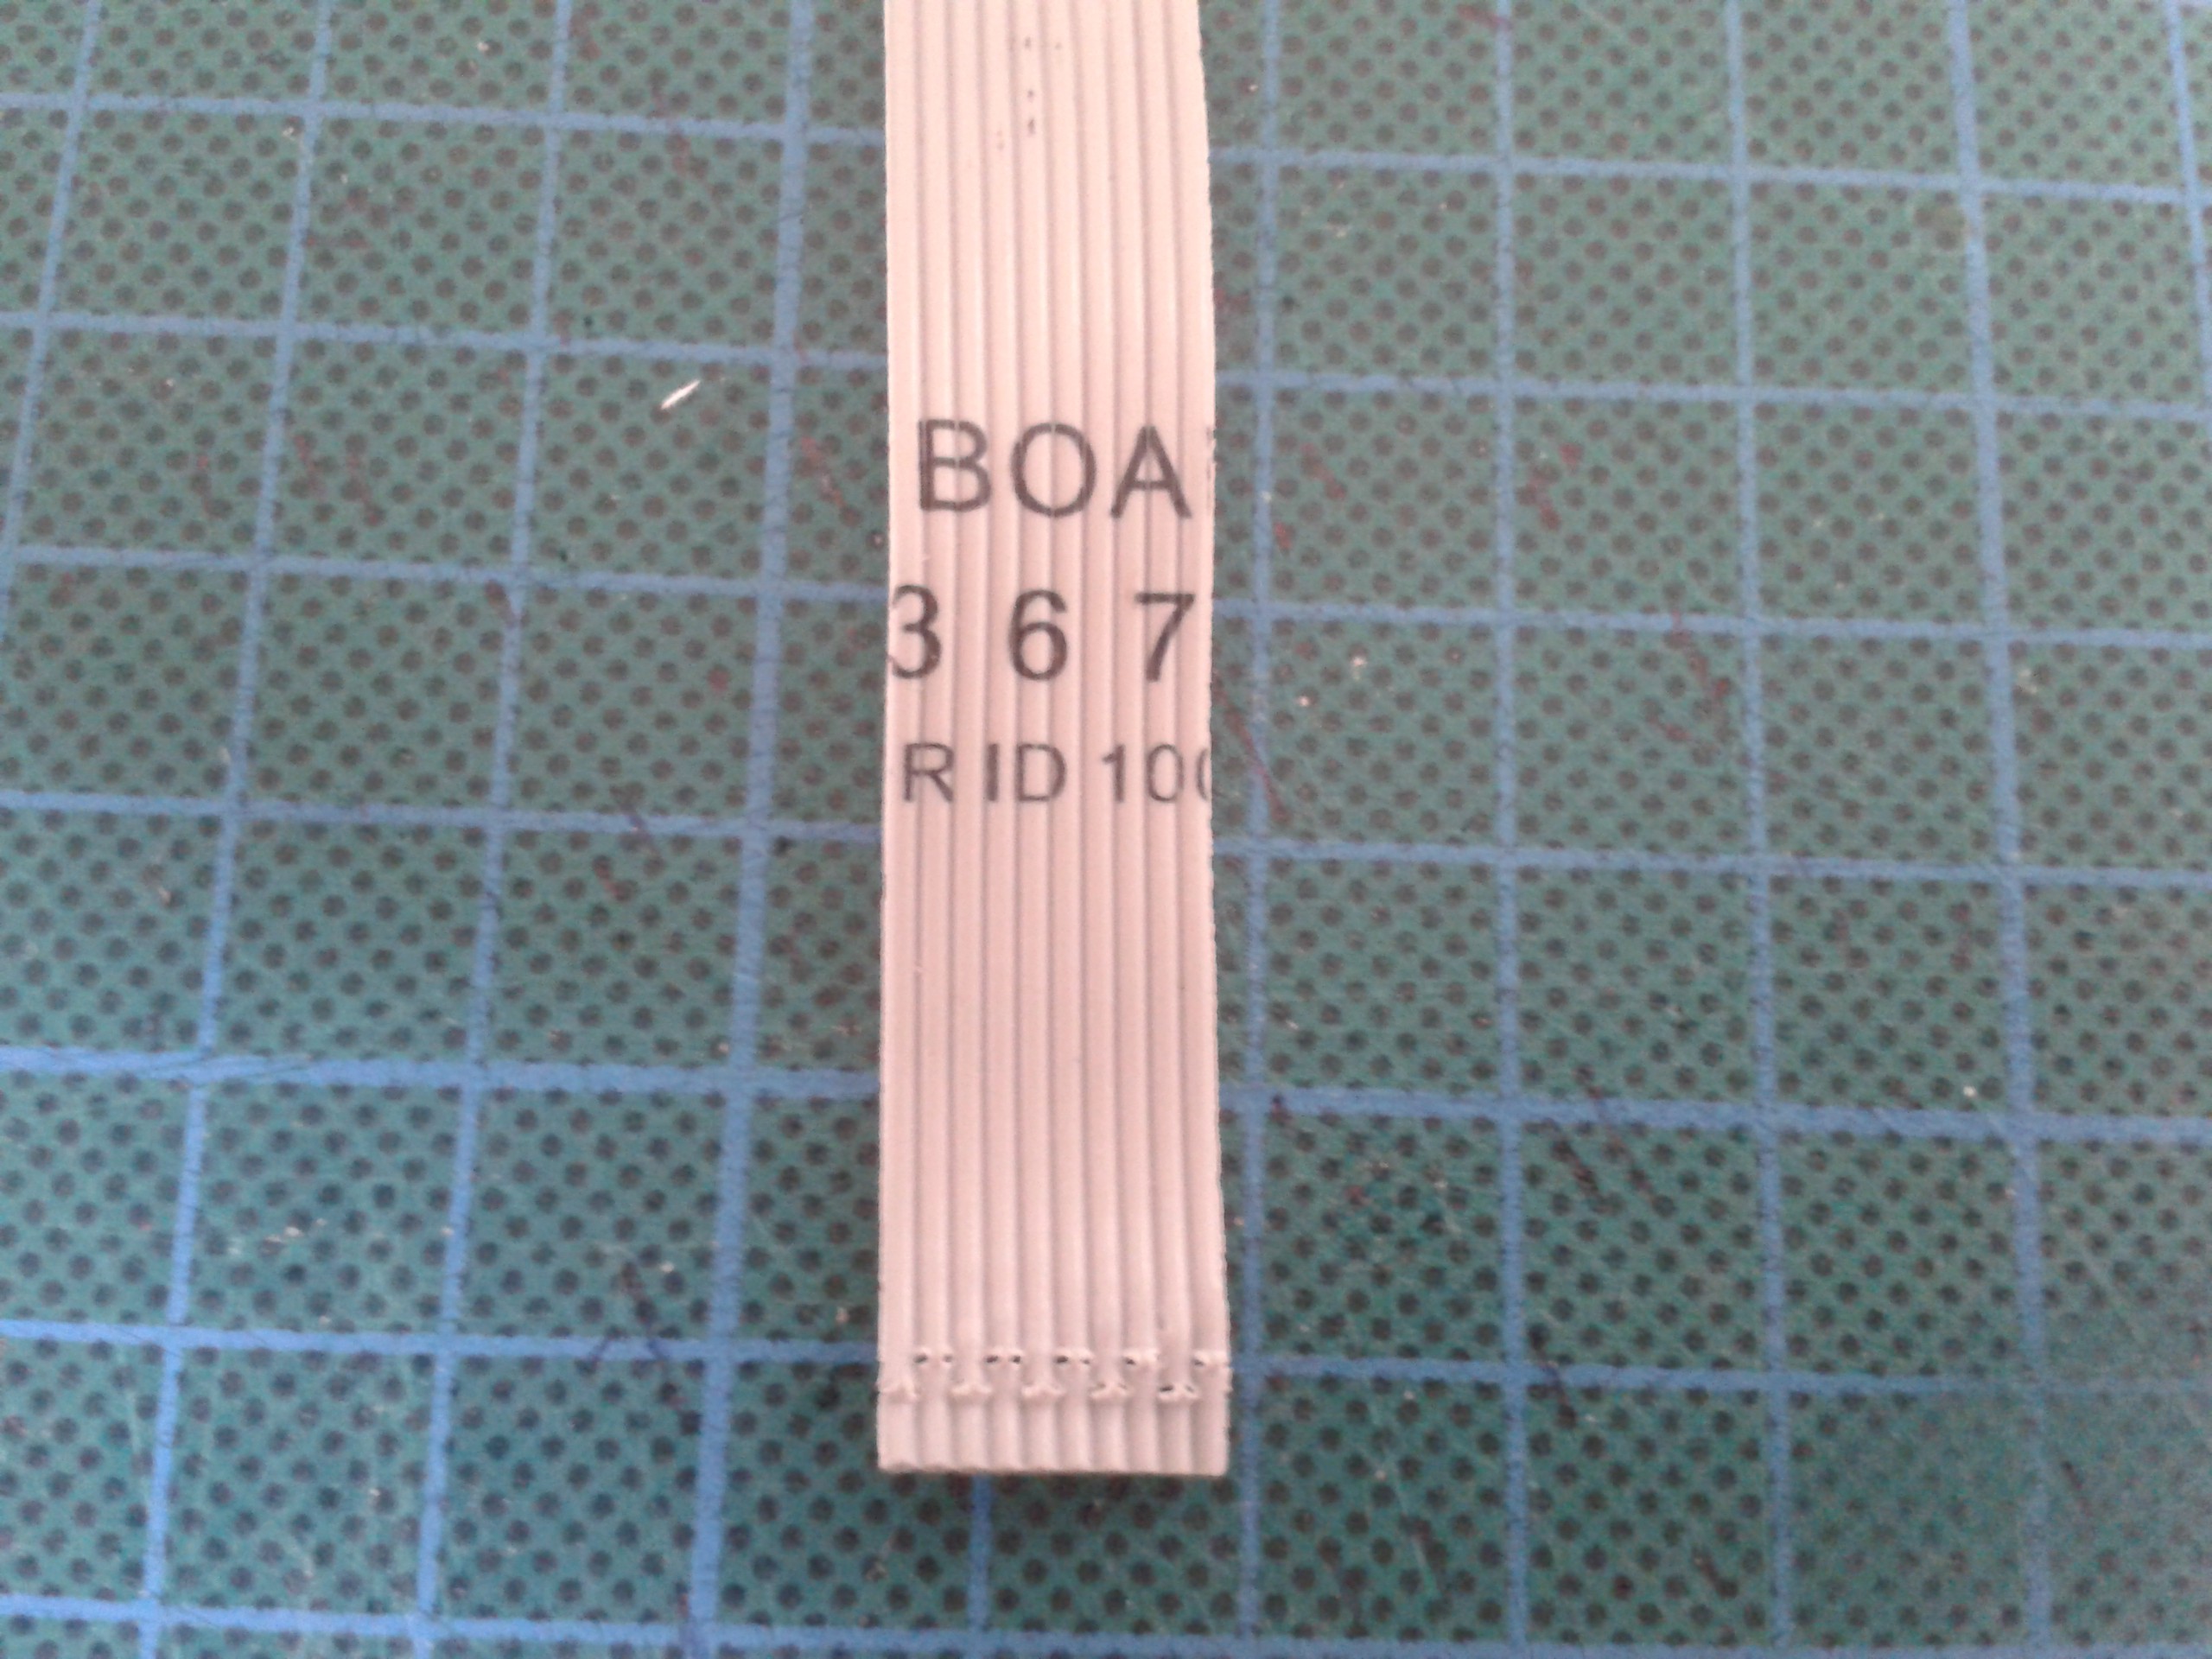
Use of foils and ribbons and integrated circuits in a single layer make construction simple and easily transferable to many materials without a retool.
- Hard to find card stock is gone
DECAL uses inexpensive manufacturing processes and builds on even cheaper resources, but looks more professional and contains many improvements to Cardware's philosophy. It is also a lot more durable for the same weight than card stock and has a cleanable surface.
DECAL's composite architecture goes under the hammer.
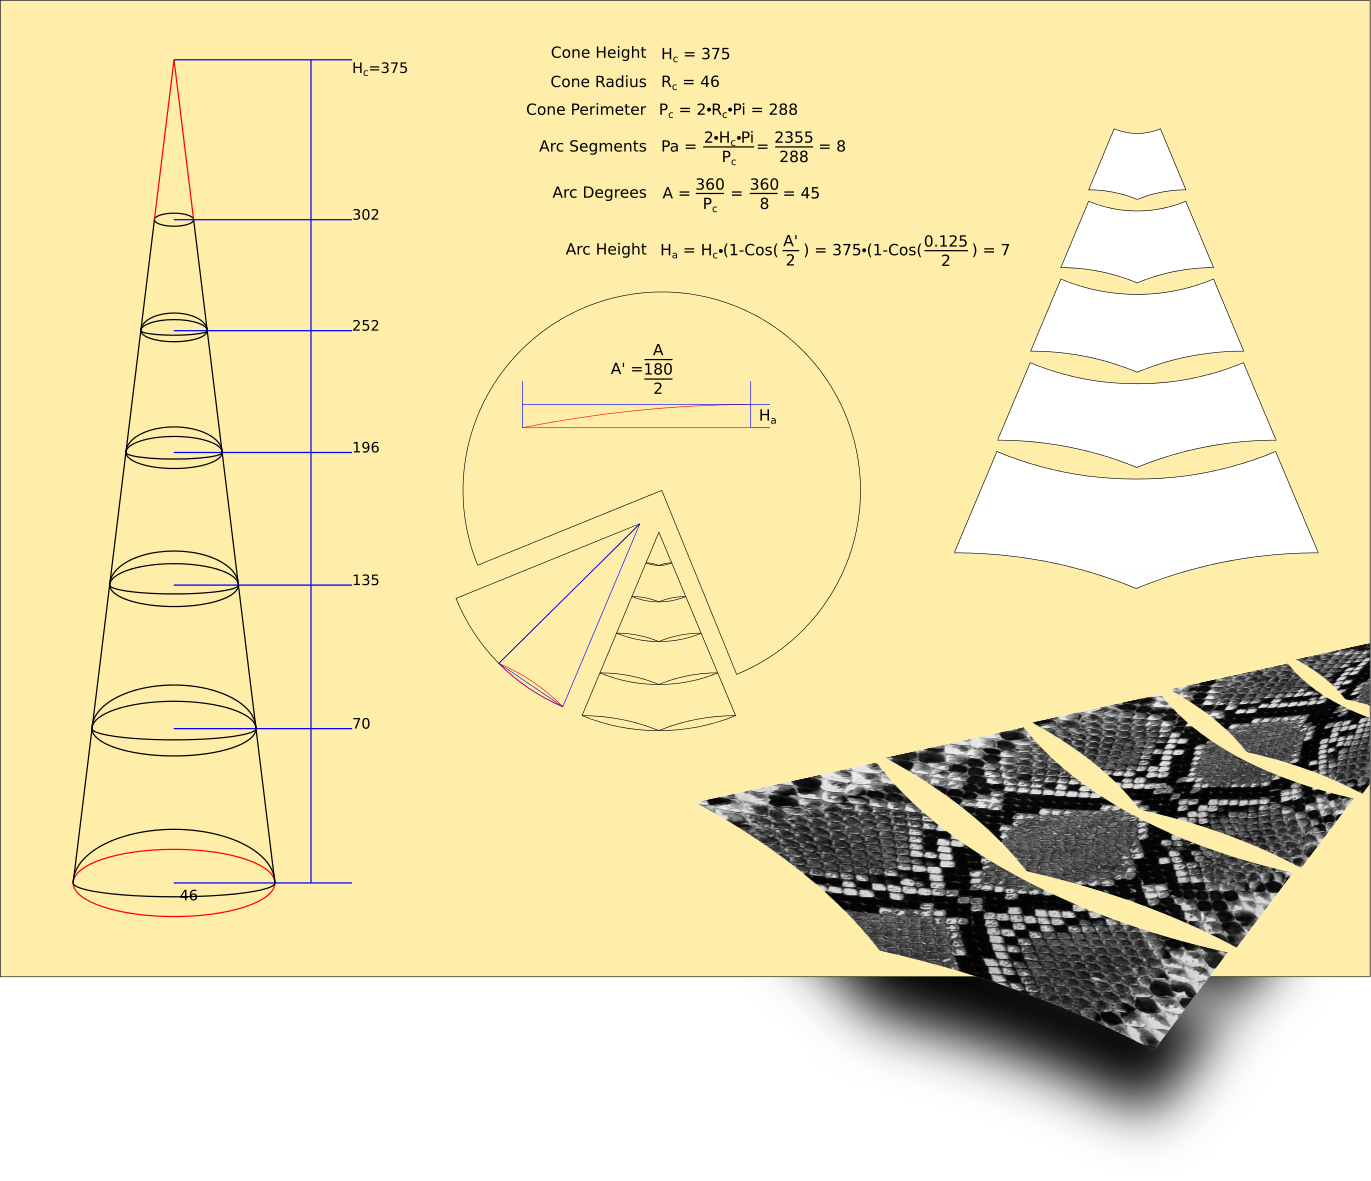
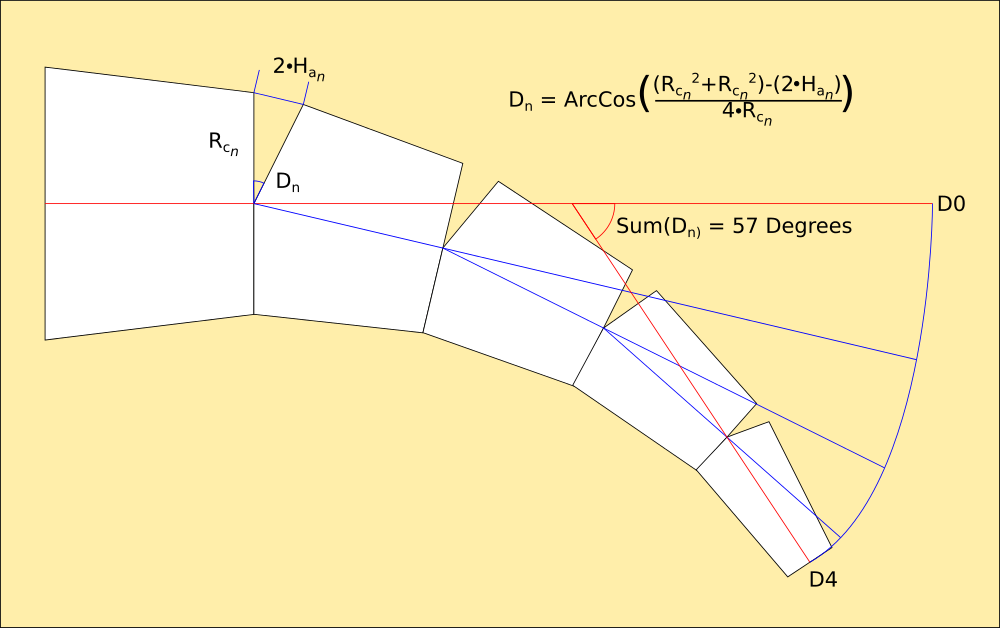
Working out the geometry
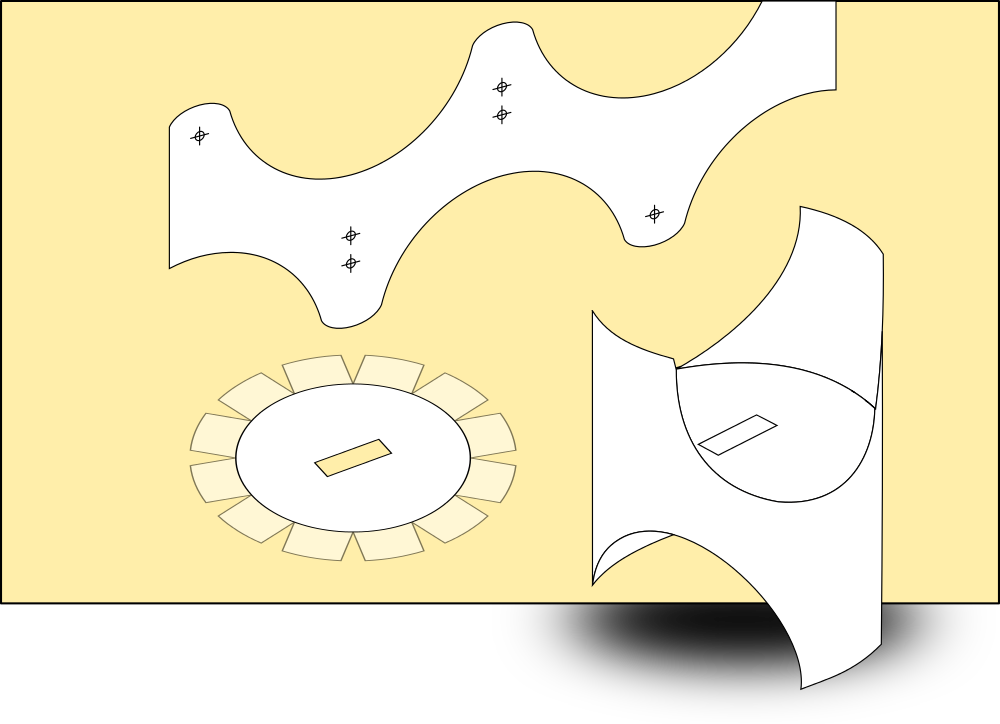
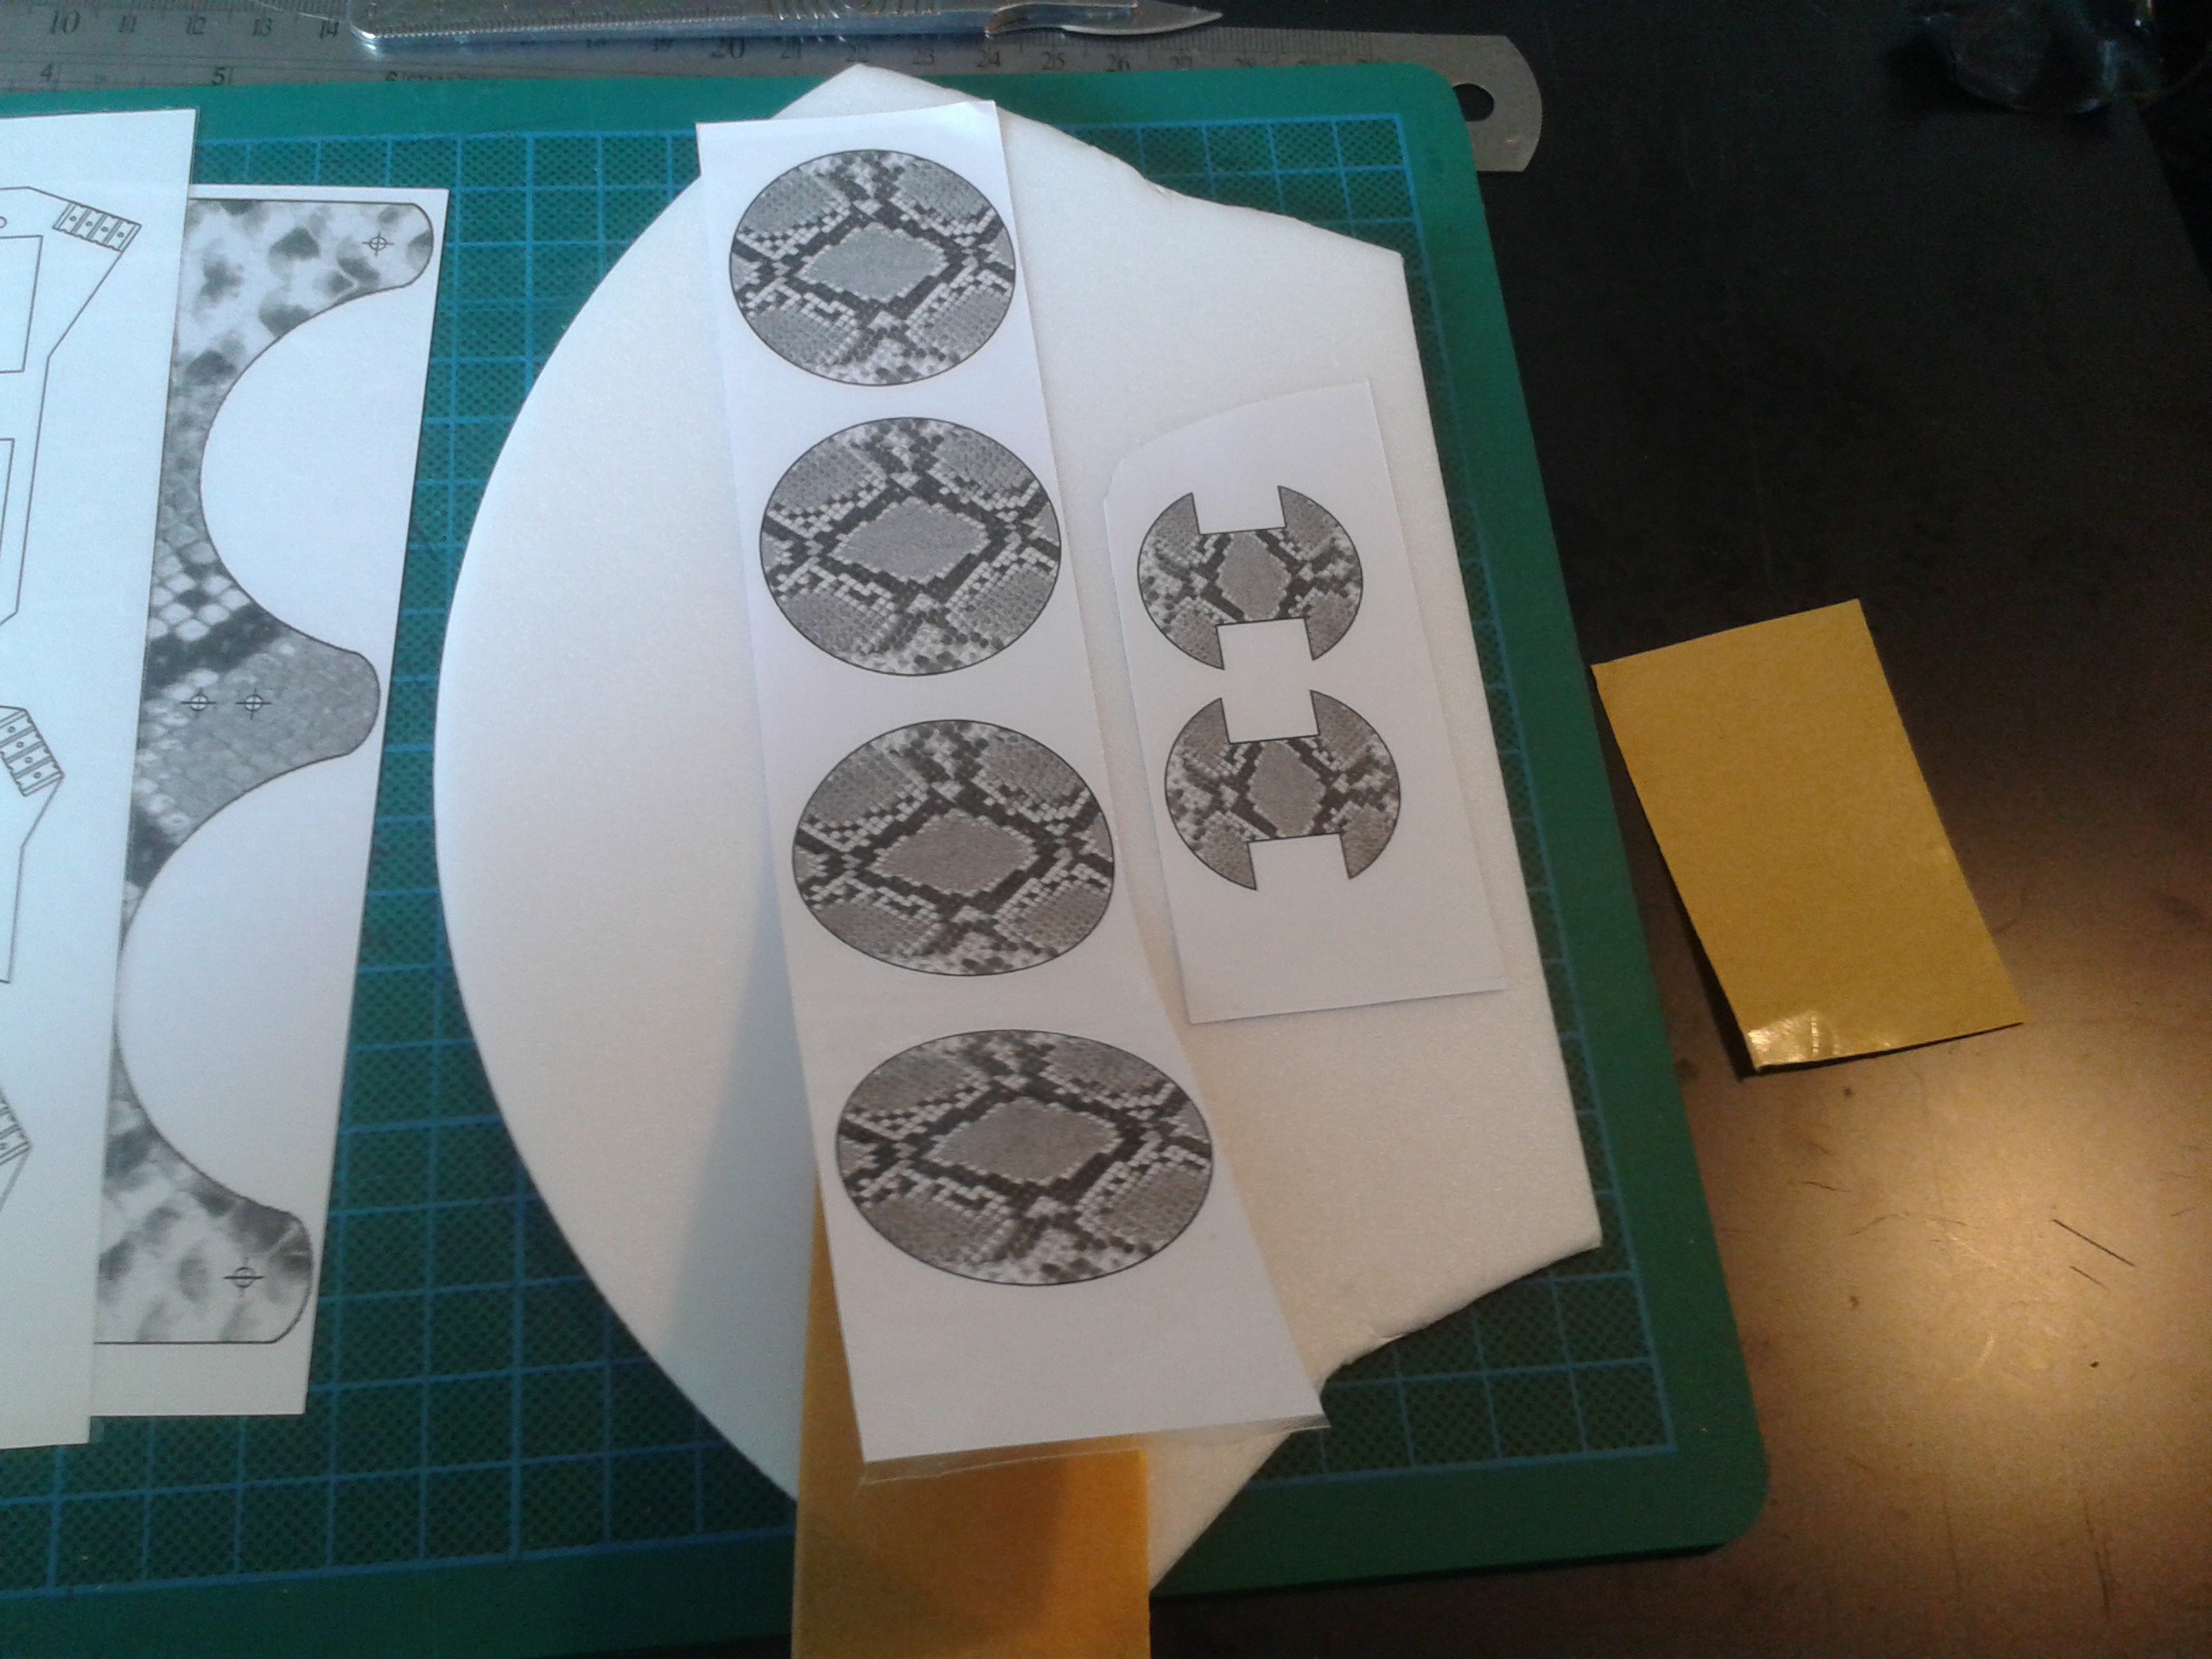
The complicated hip unit from cardware reduced to its bare minimum now assembles in two operations - form the templated material into a circle and reinforce the cylindrical shape with a cross-brace. Using a foam against a curved surface braces it in all directions, stiffening the surface and increasing the density of the material at no cost to weight.
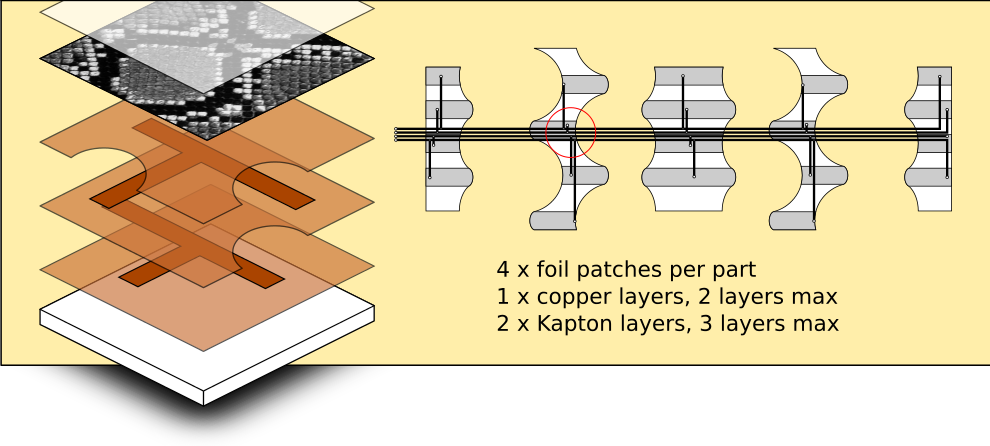
DECAL's adhesive sandwich
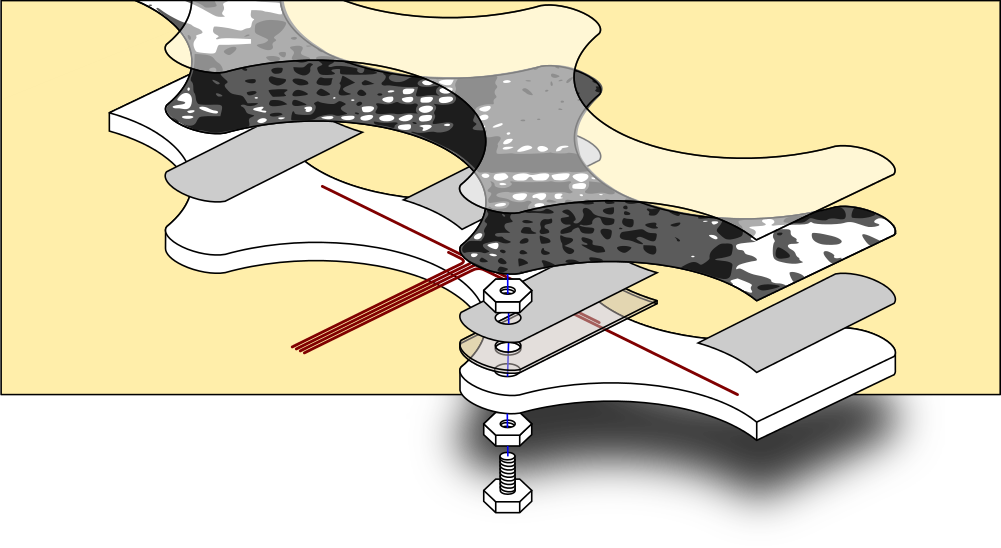
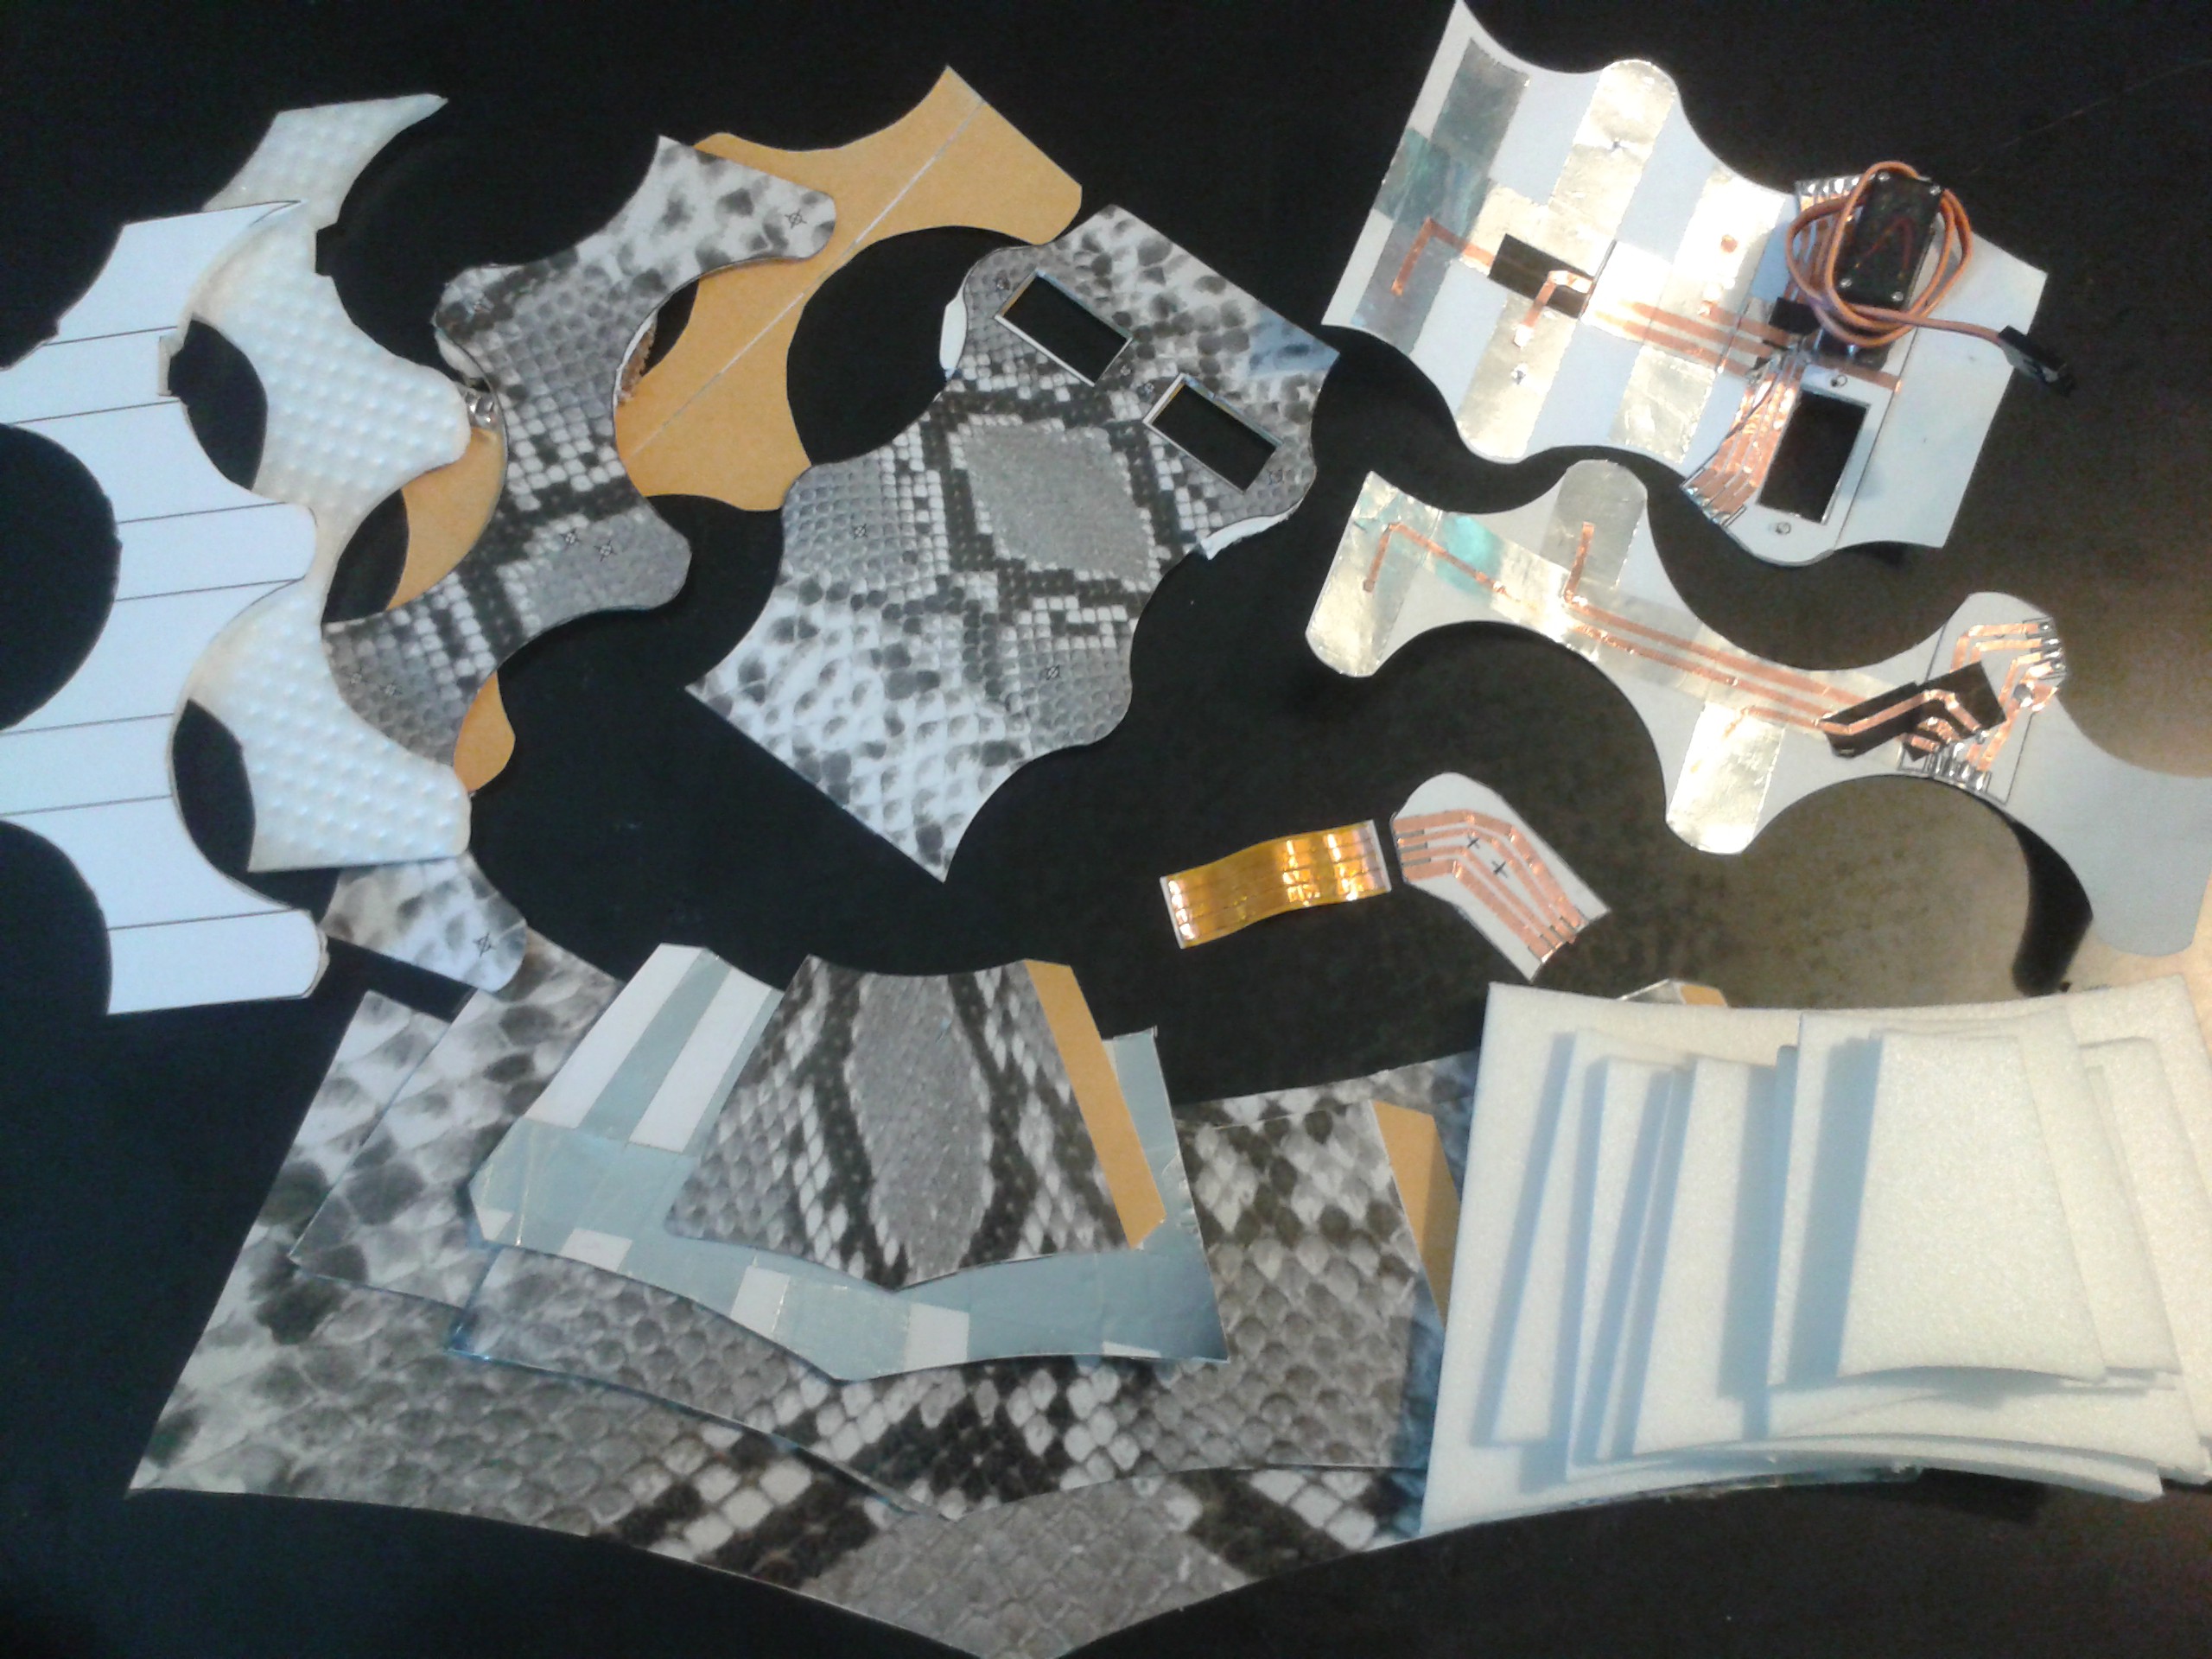
Construction is simple; layers of material and adhesive bonded together are cheap and easy to assemble and as an end product can be supplied as a wallet of stickers and foam shapes and a bag of servos and screws.
Proper terminators for the sensor cables would be nice.
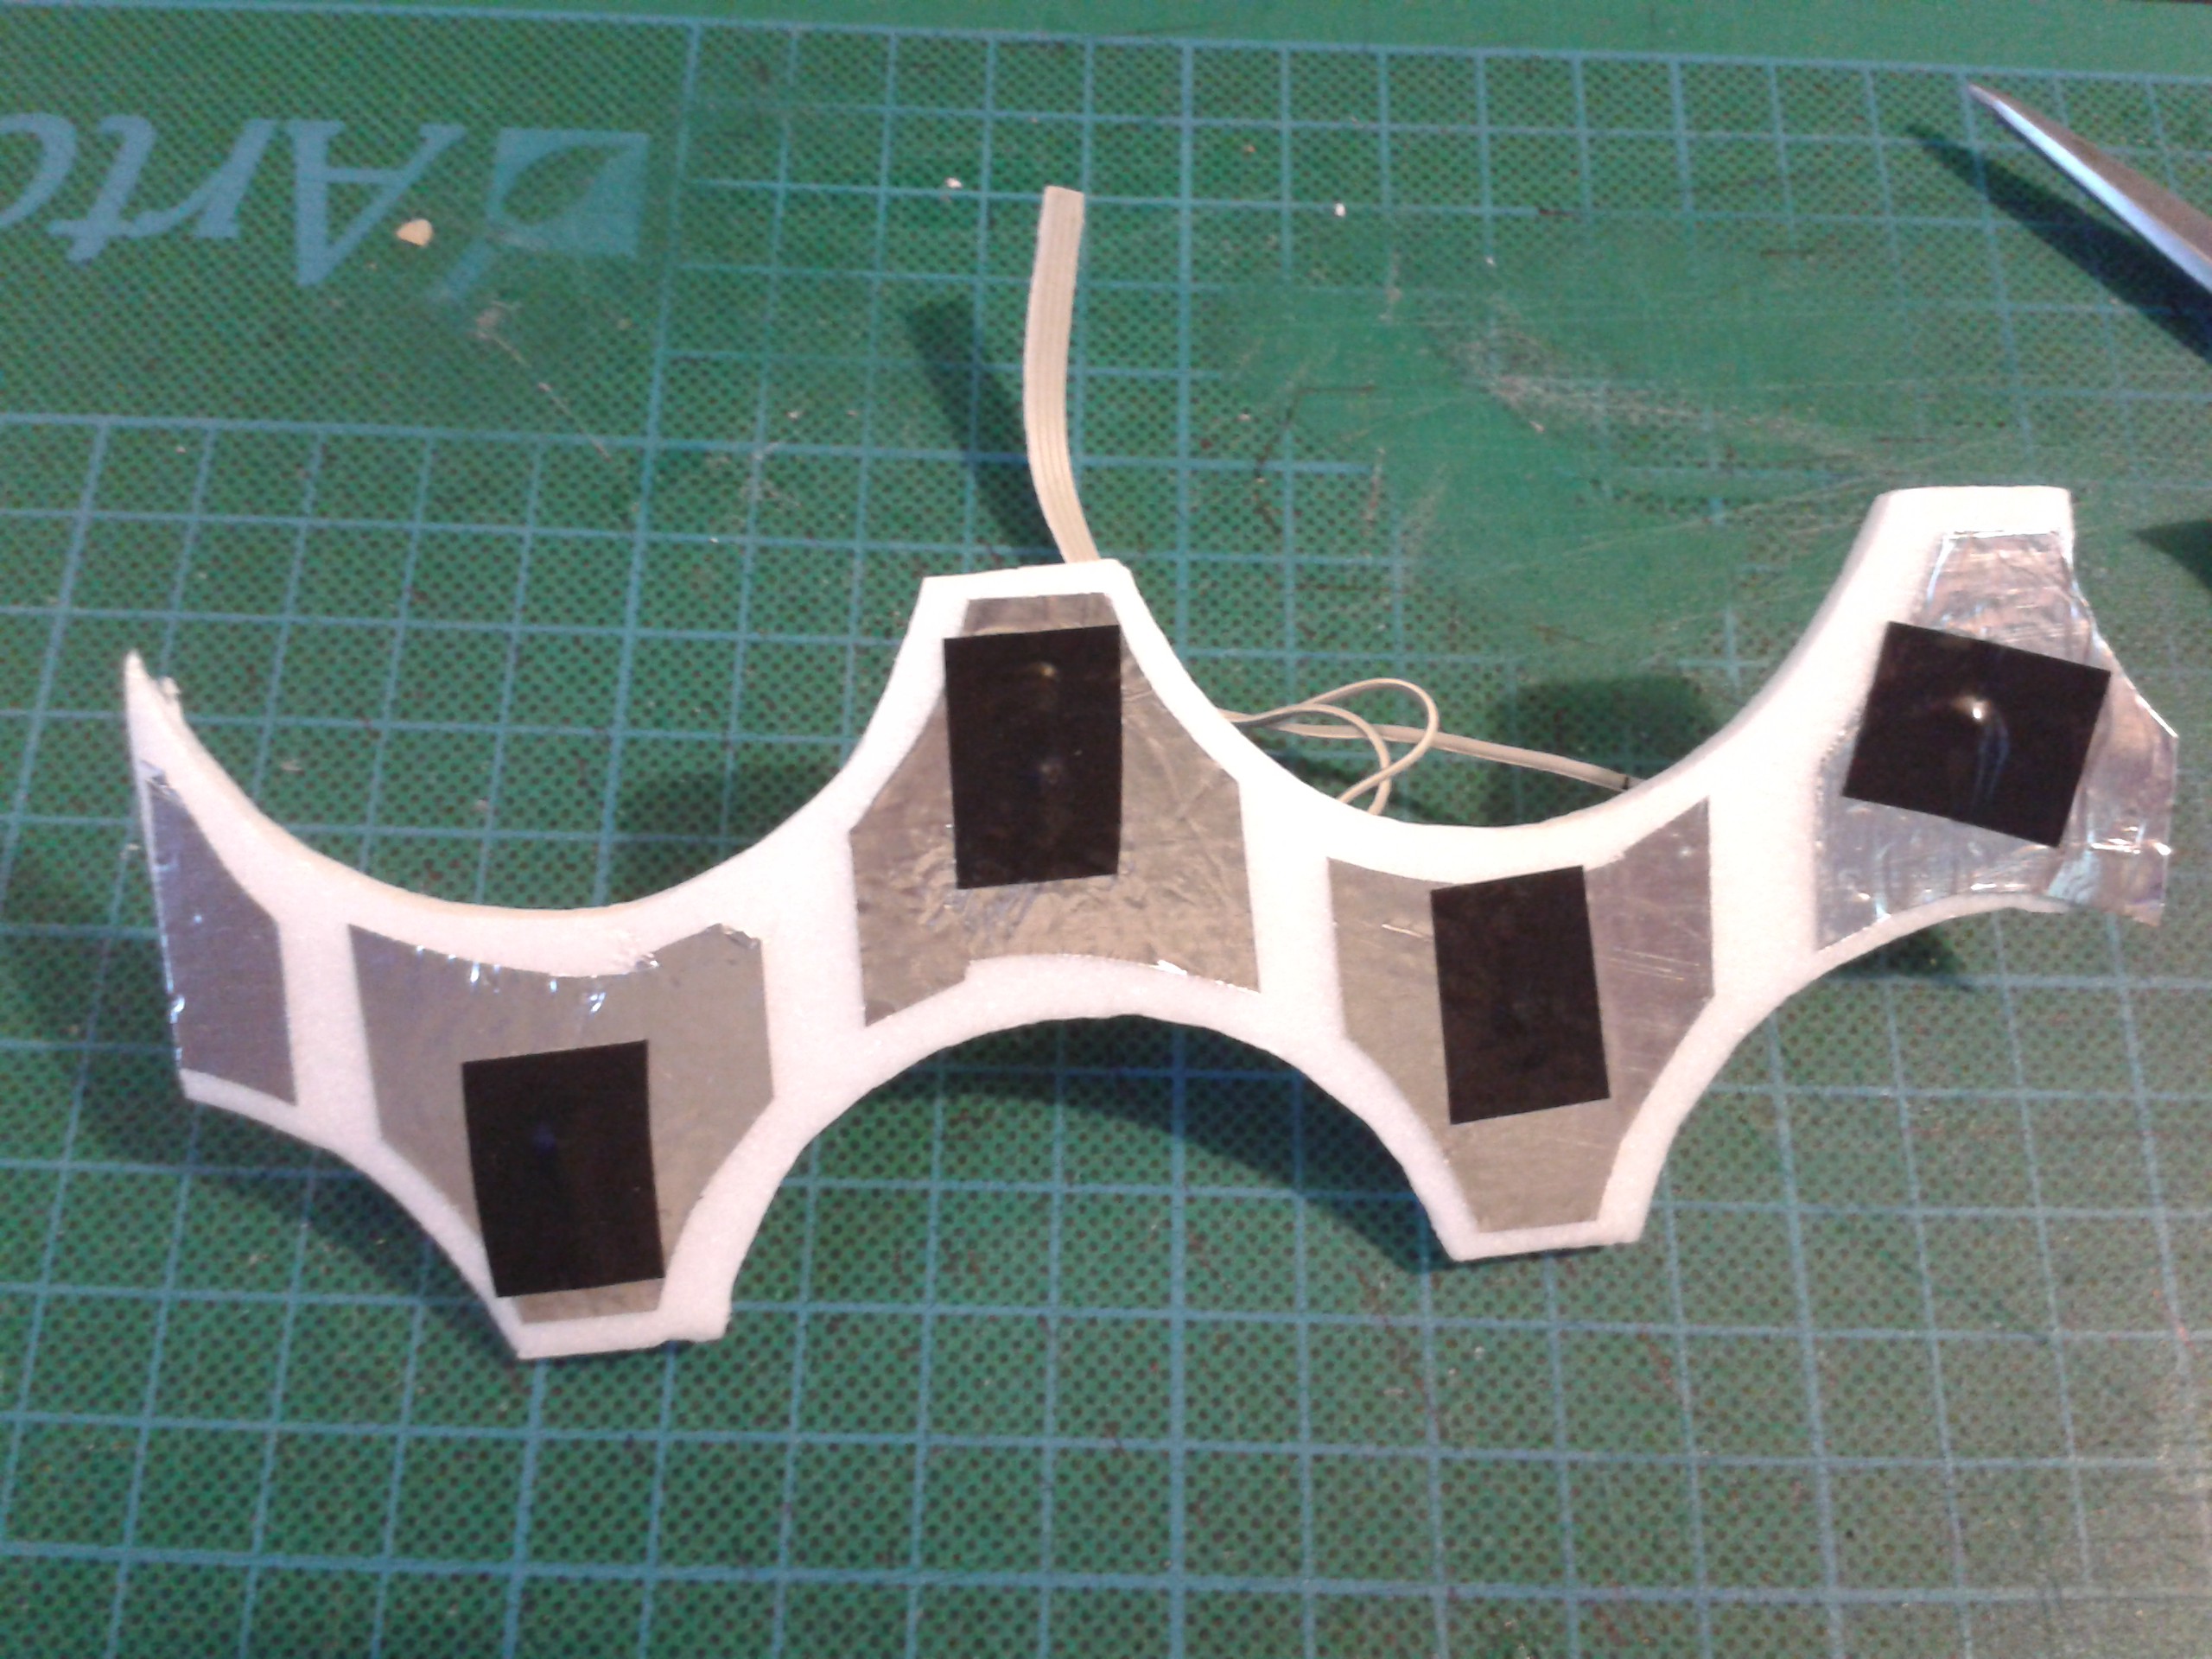
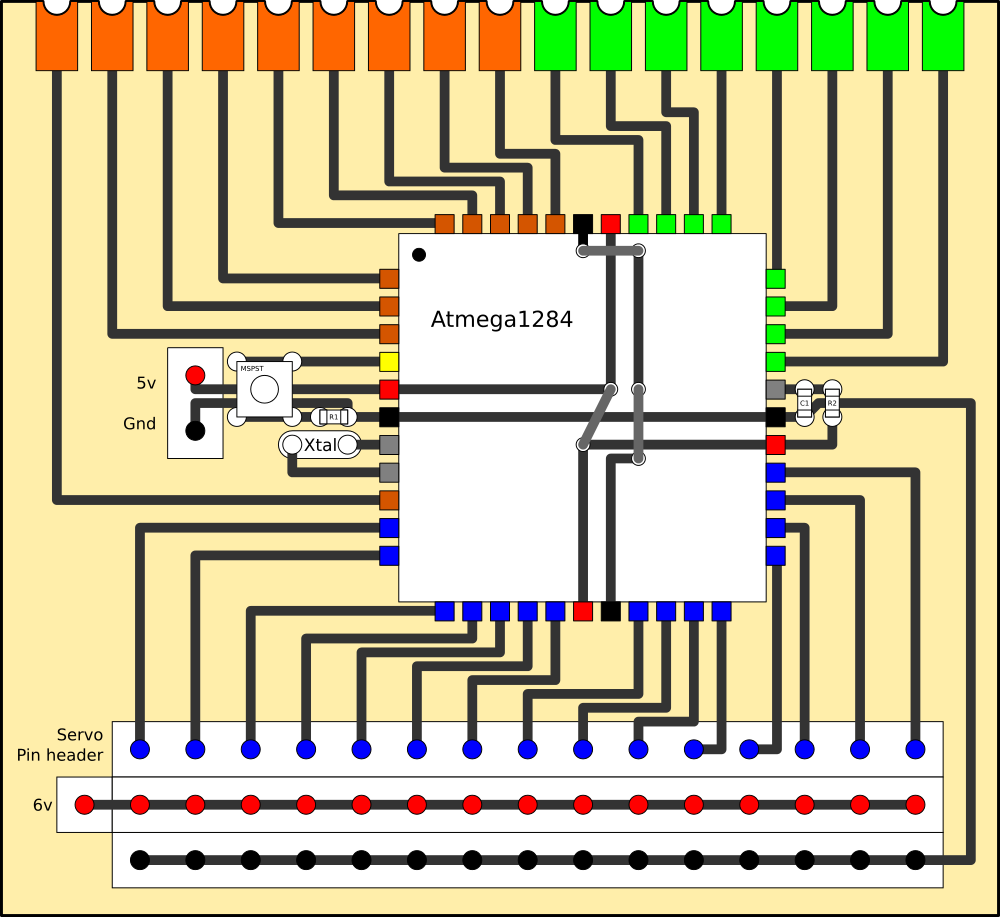
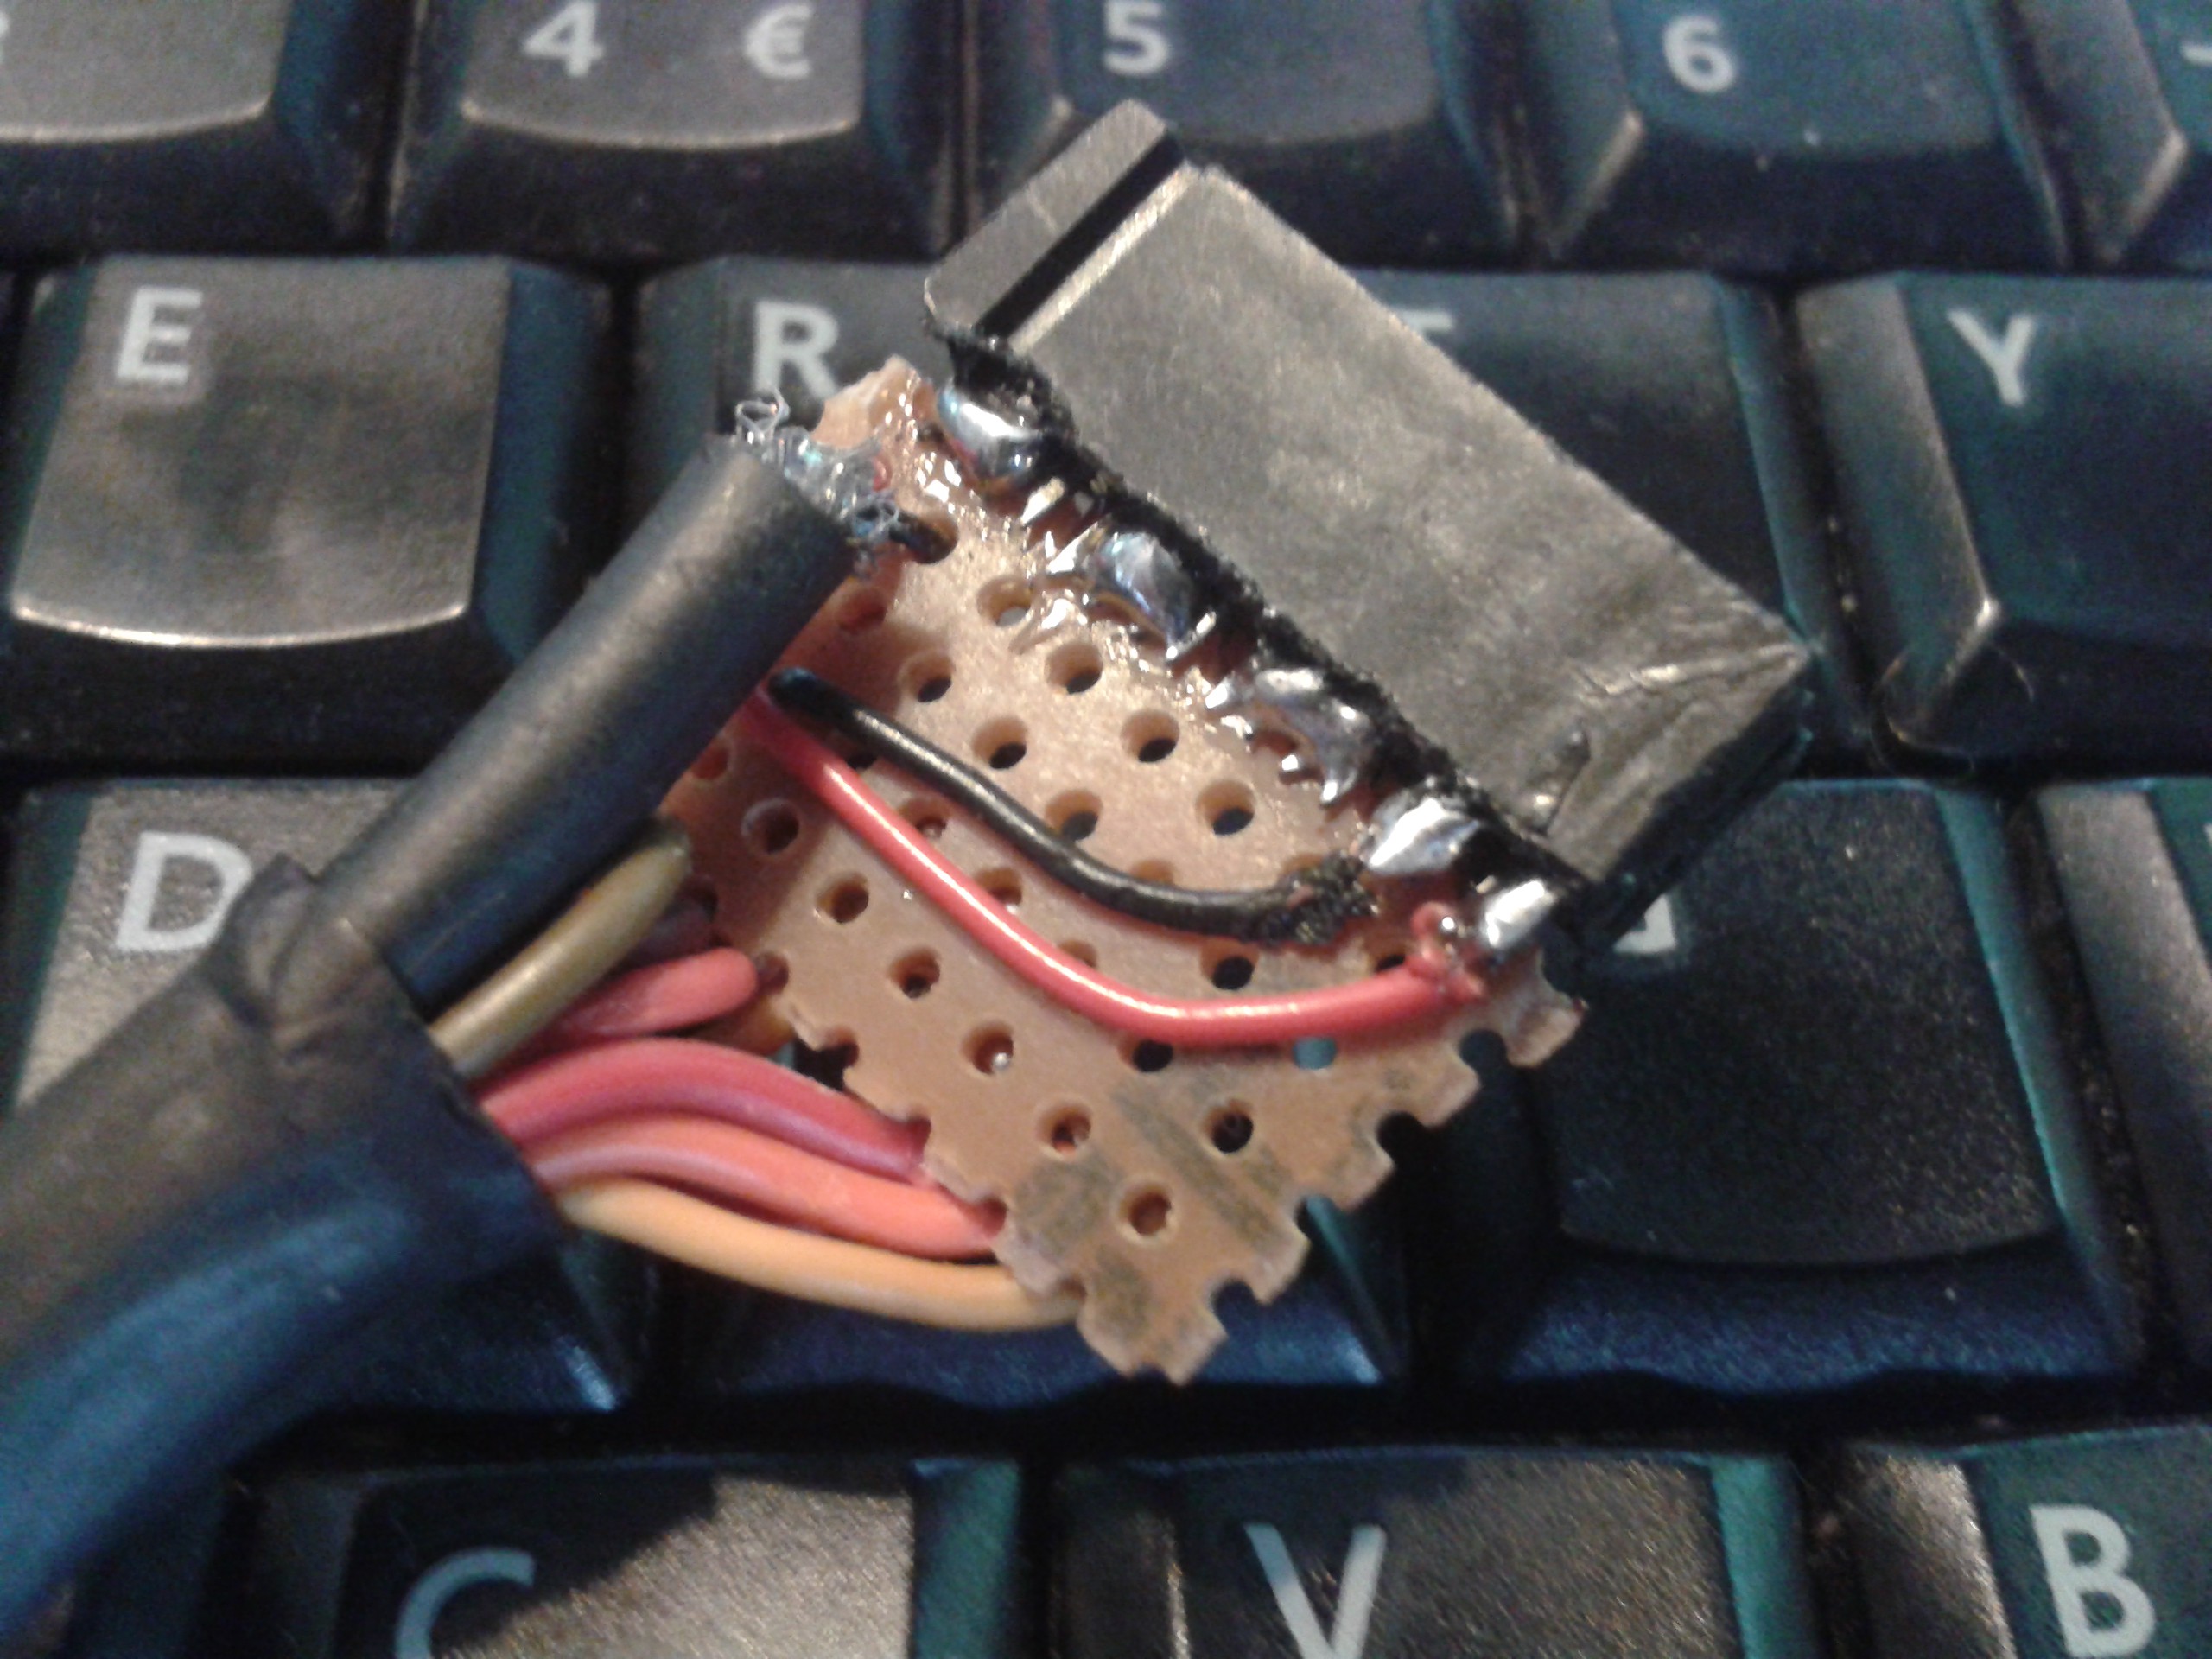
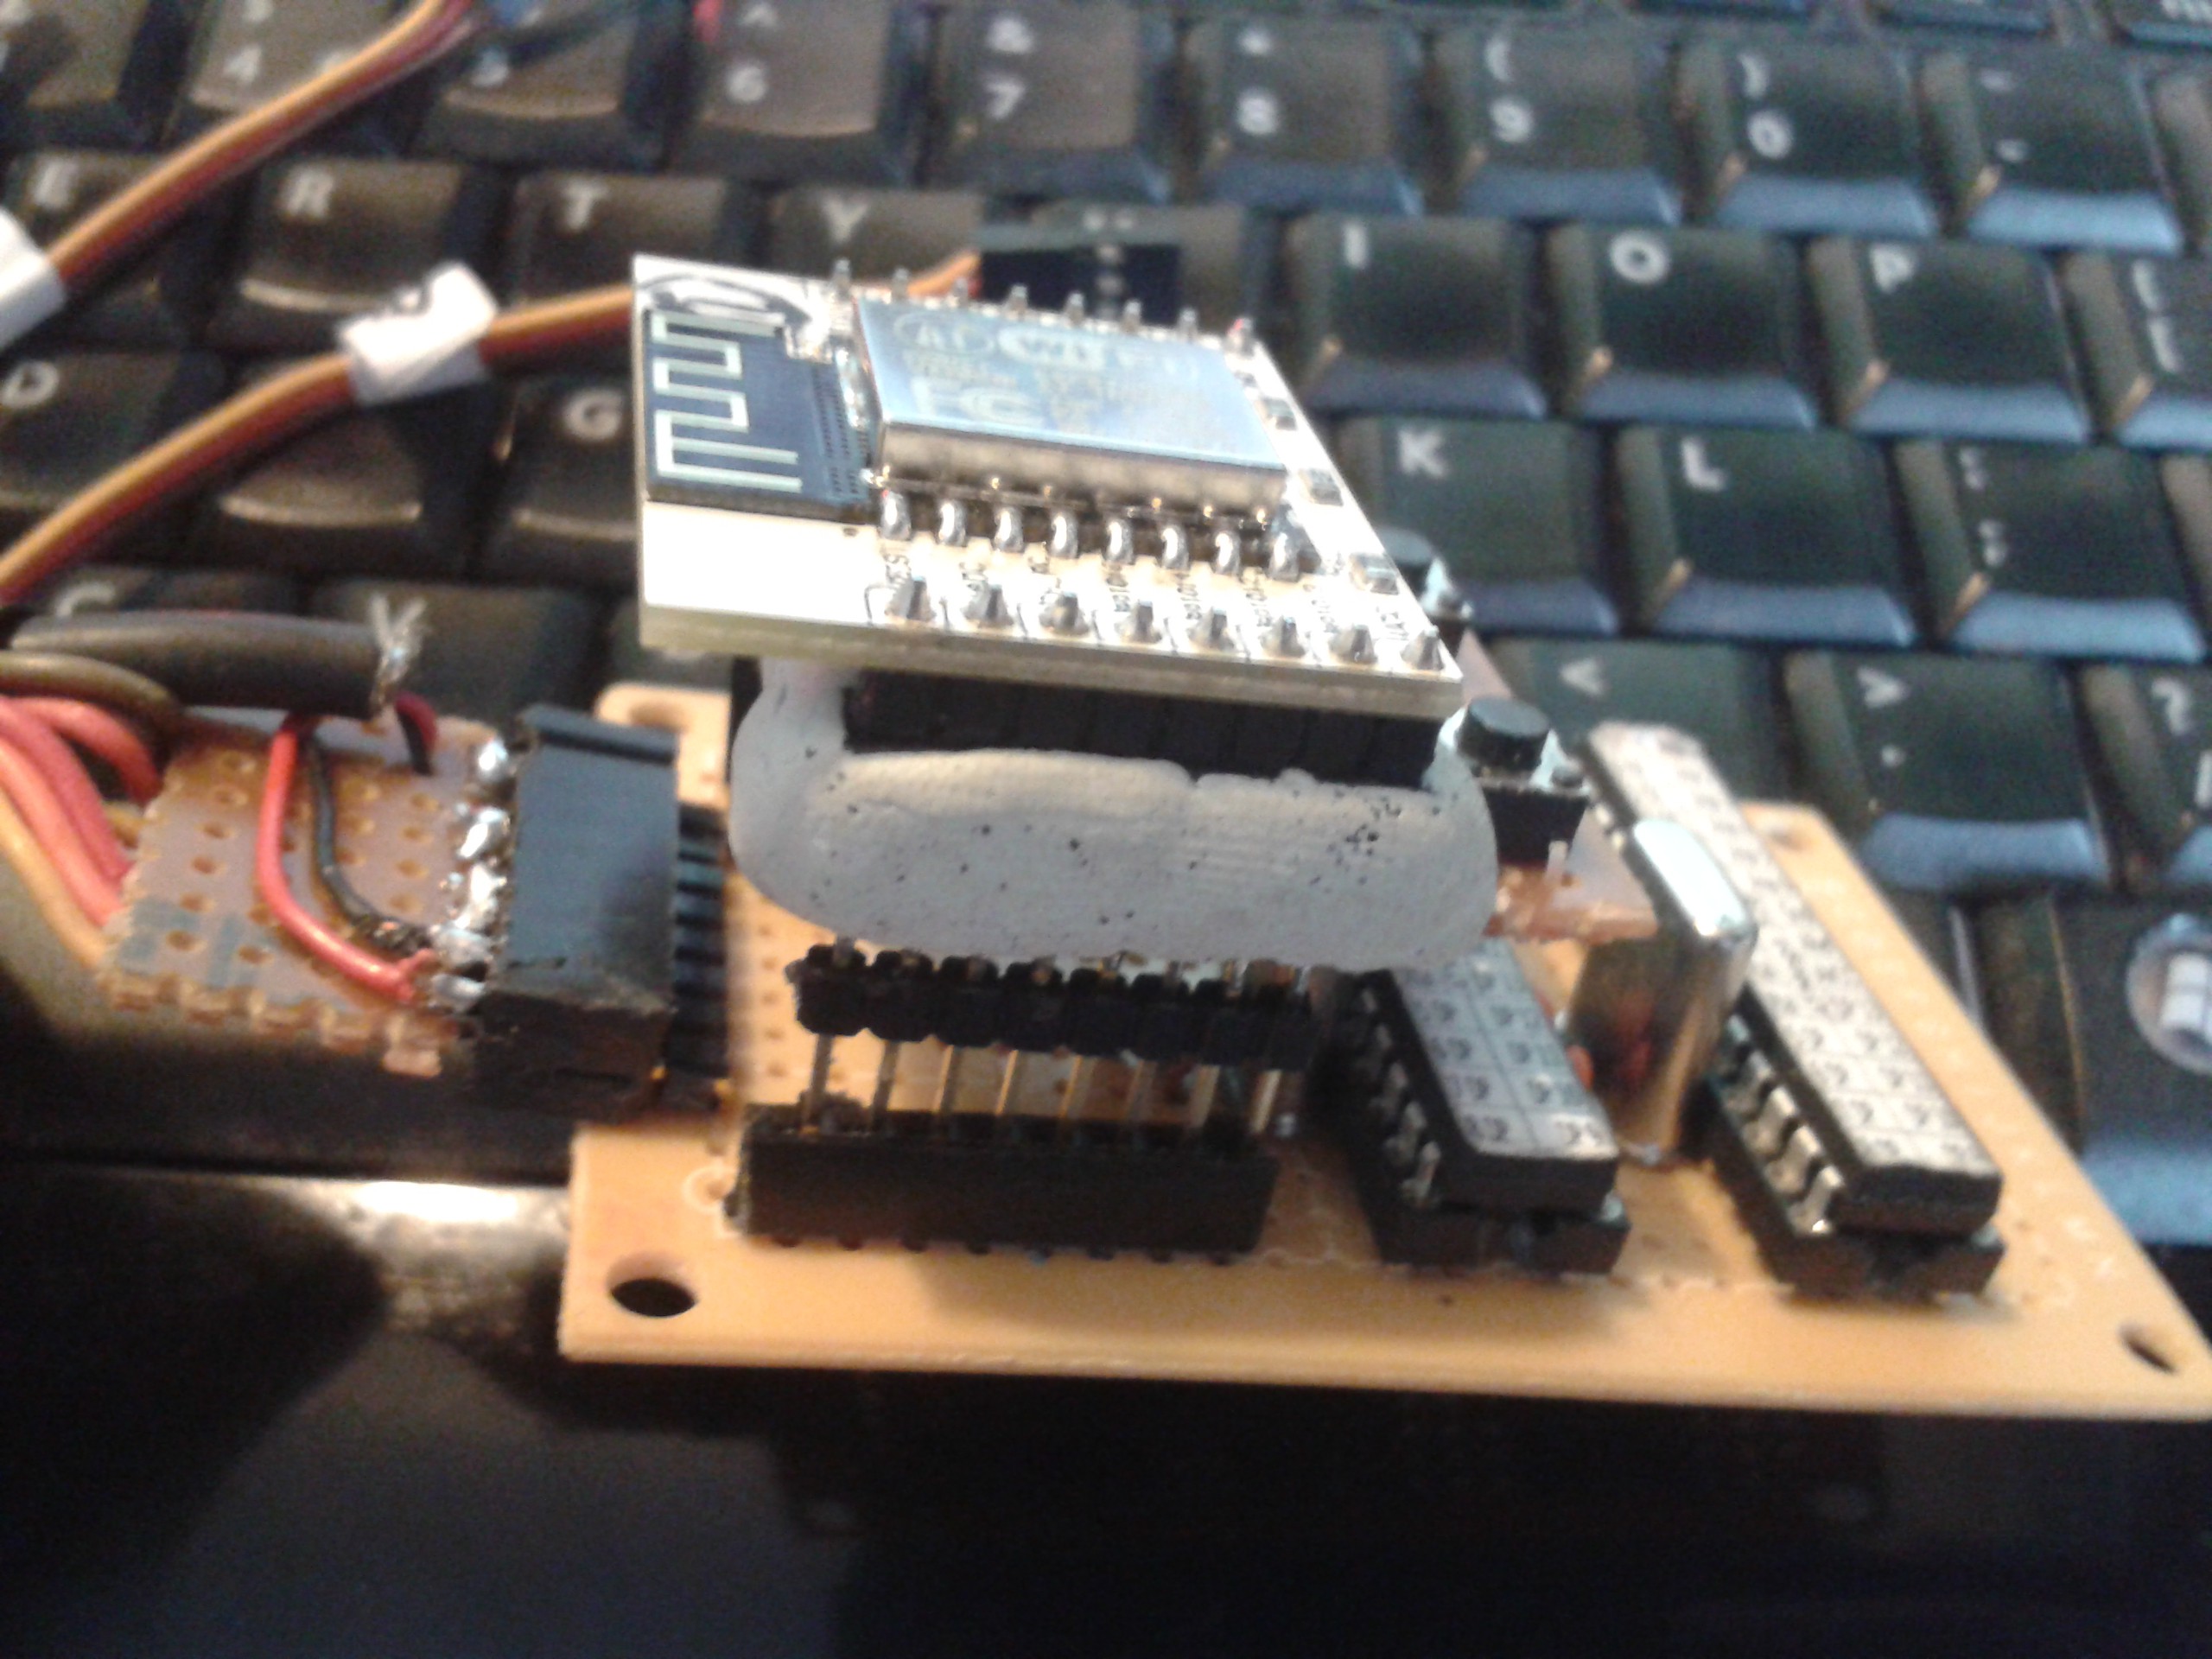
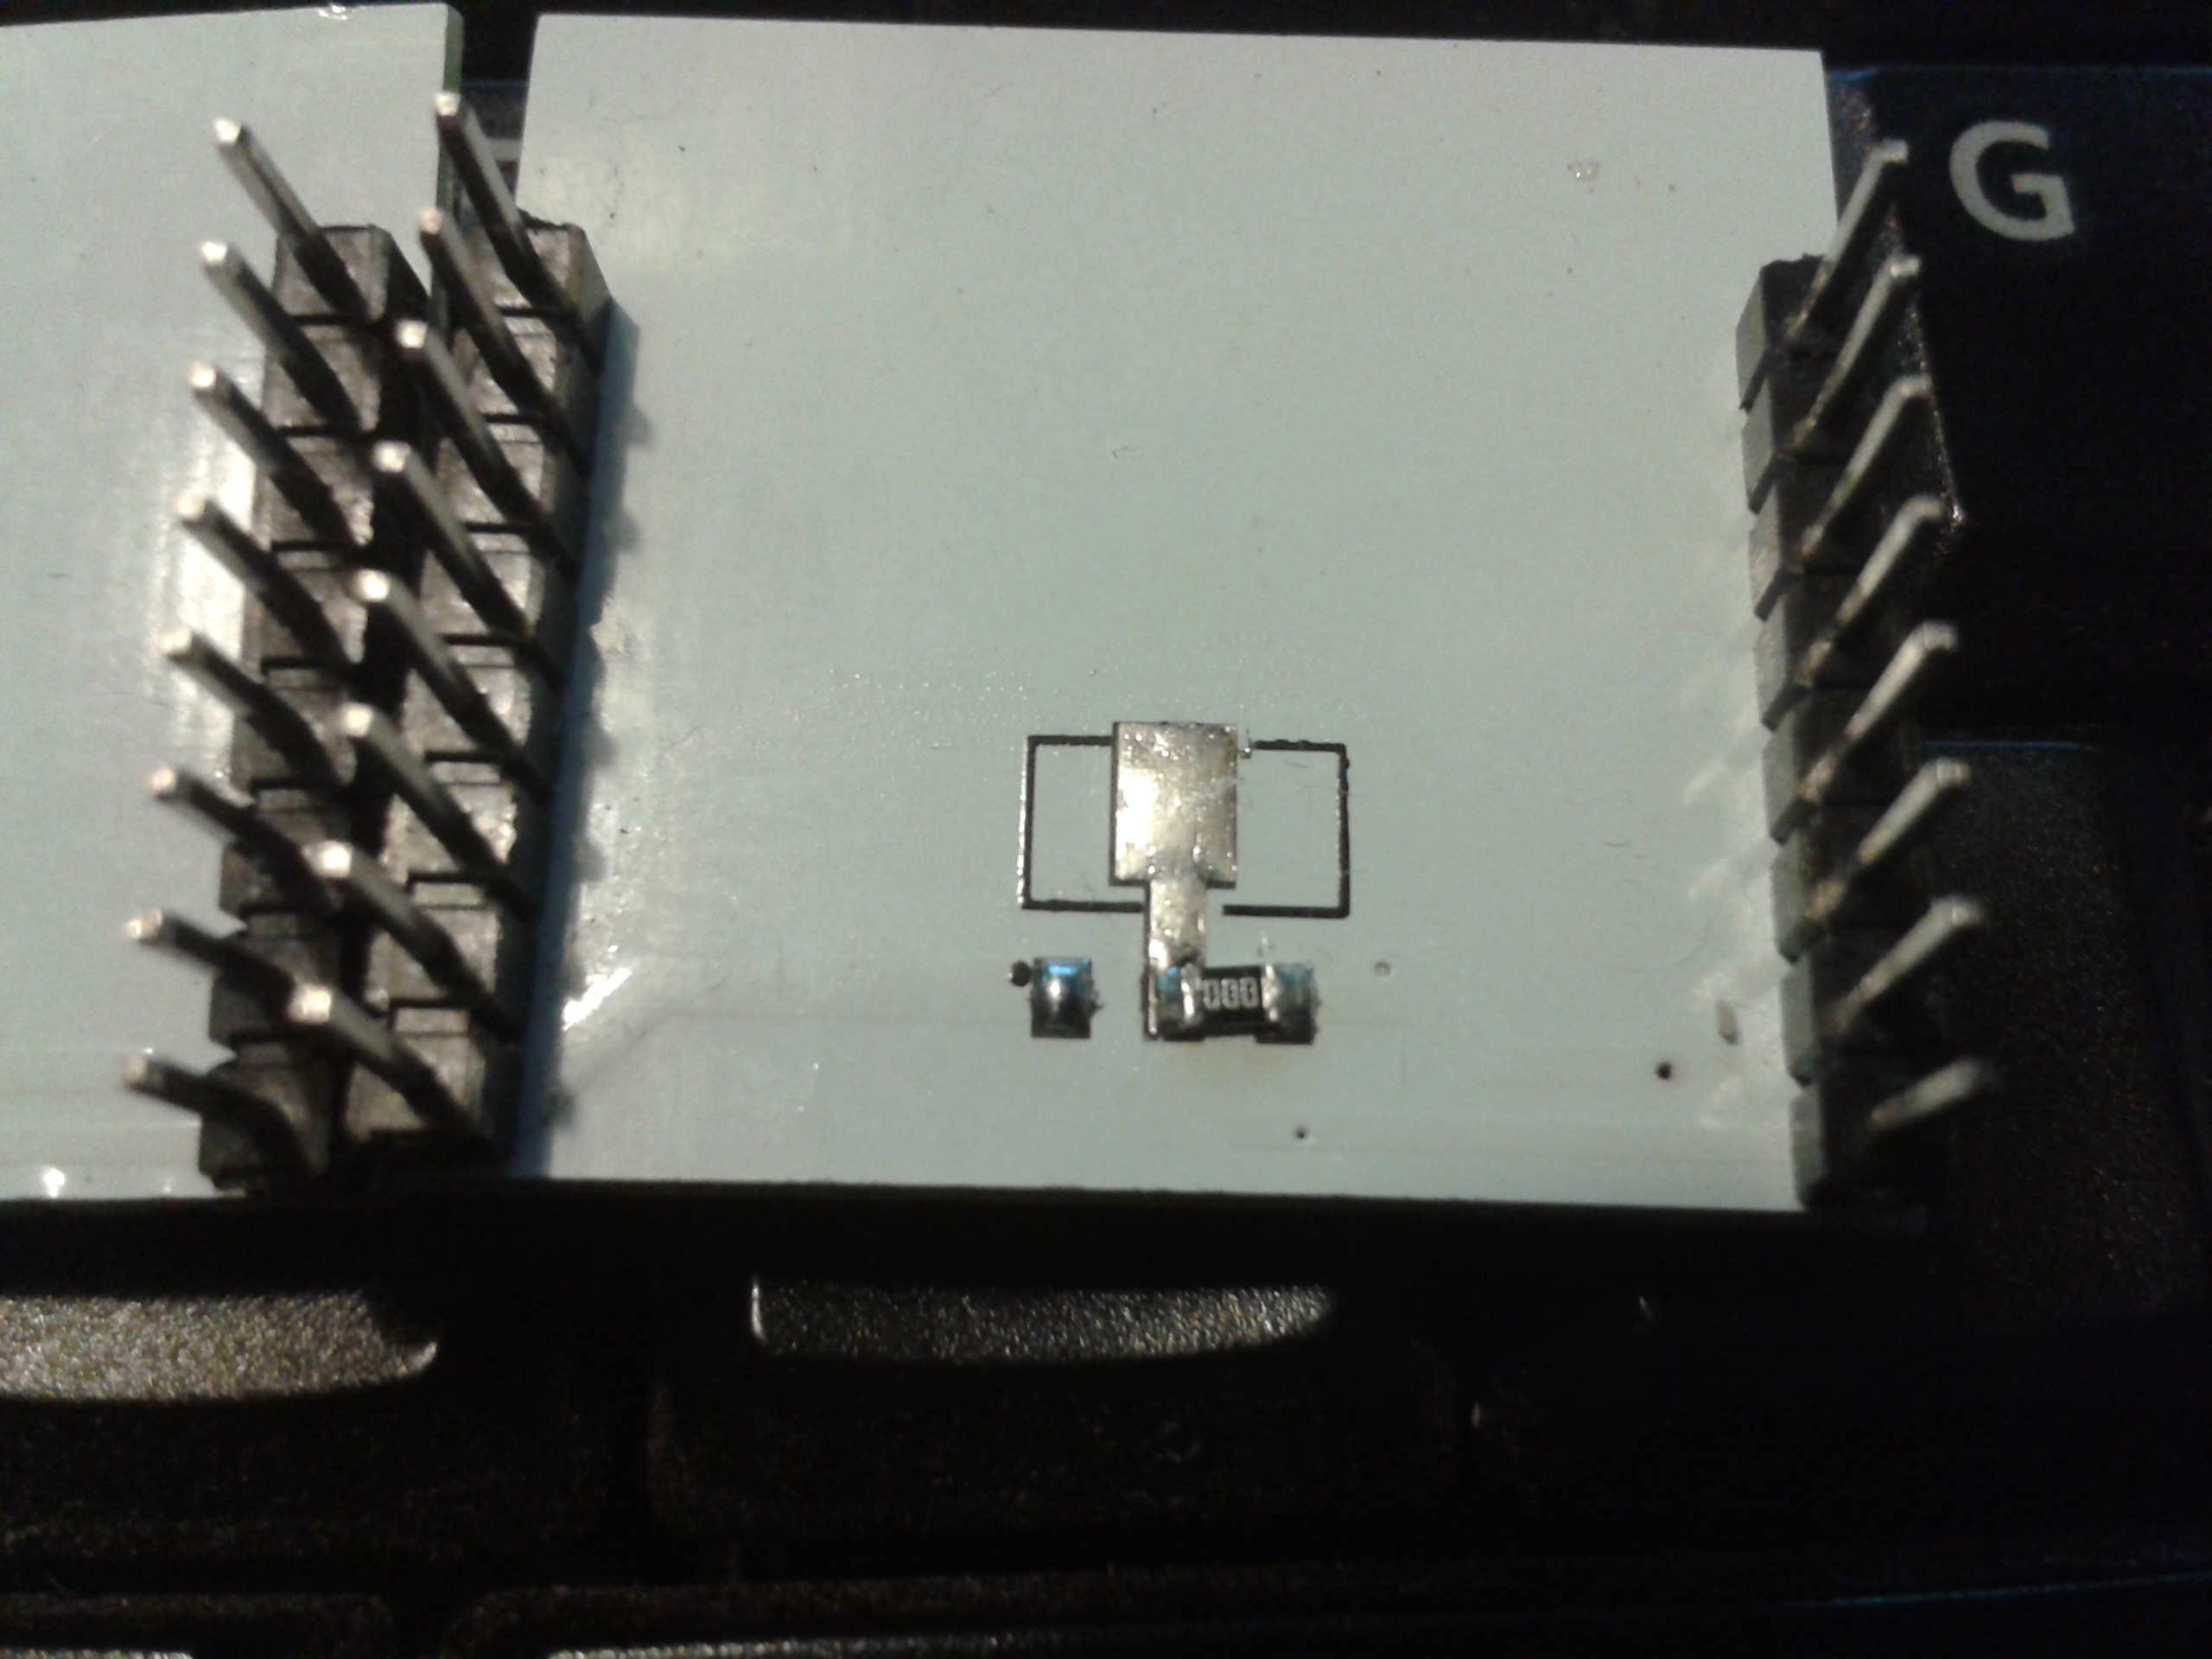
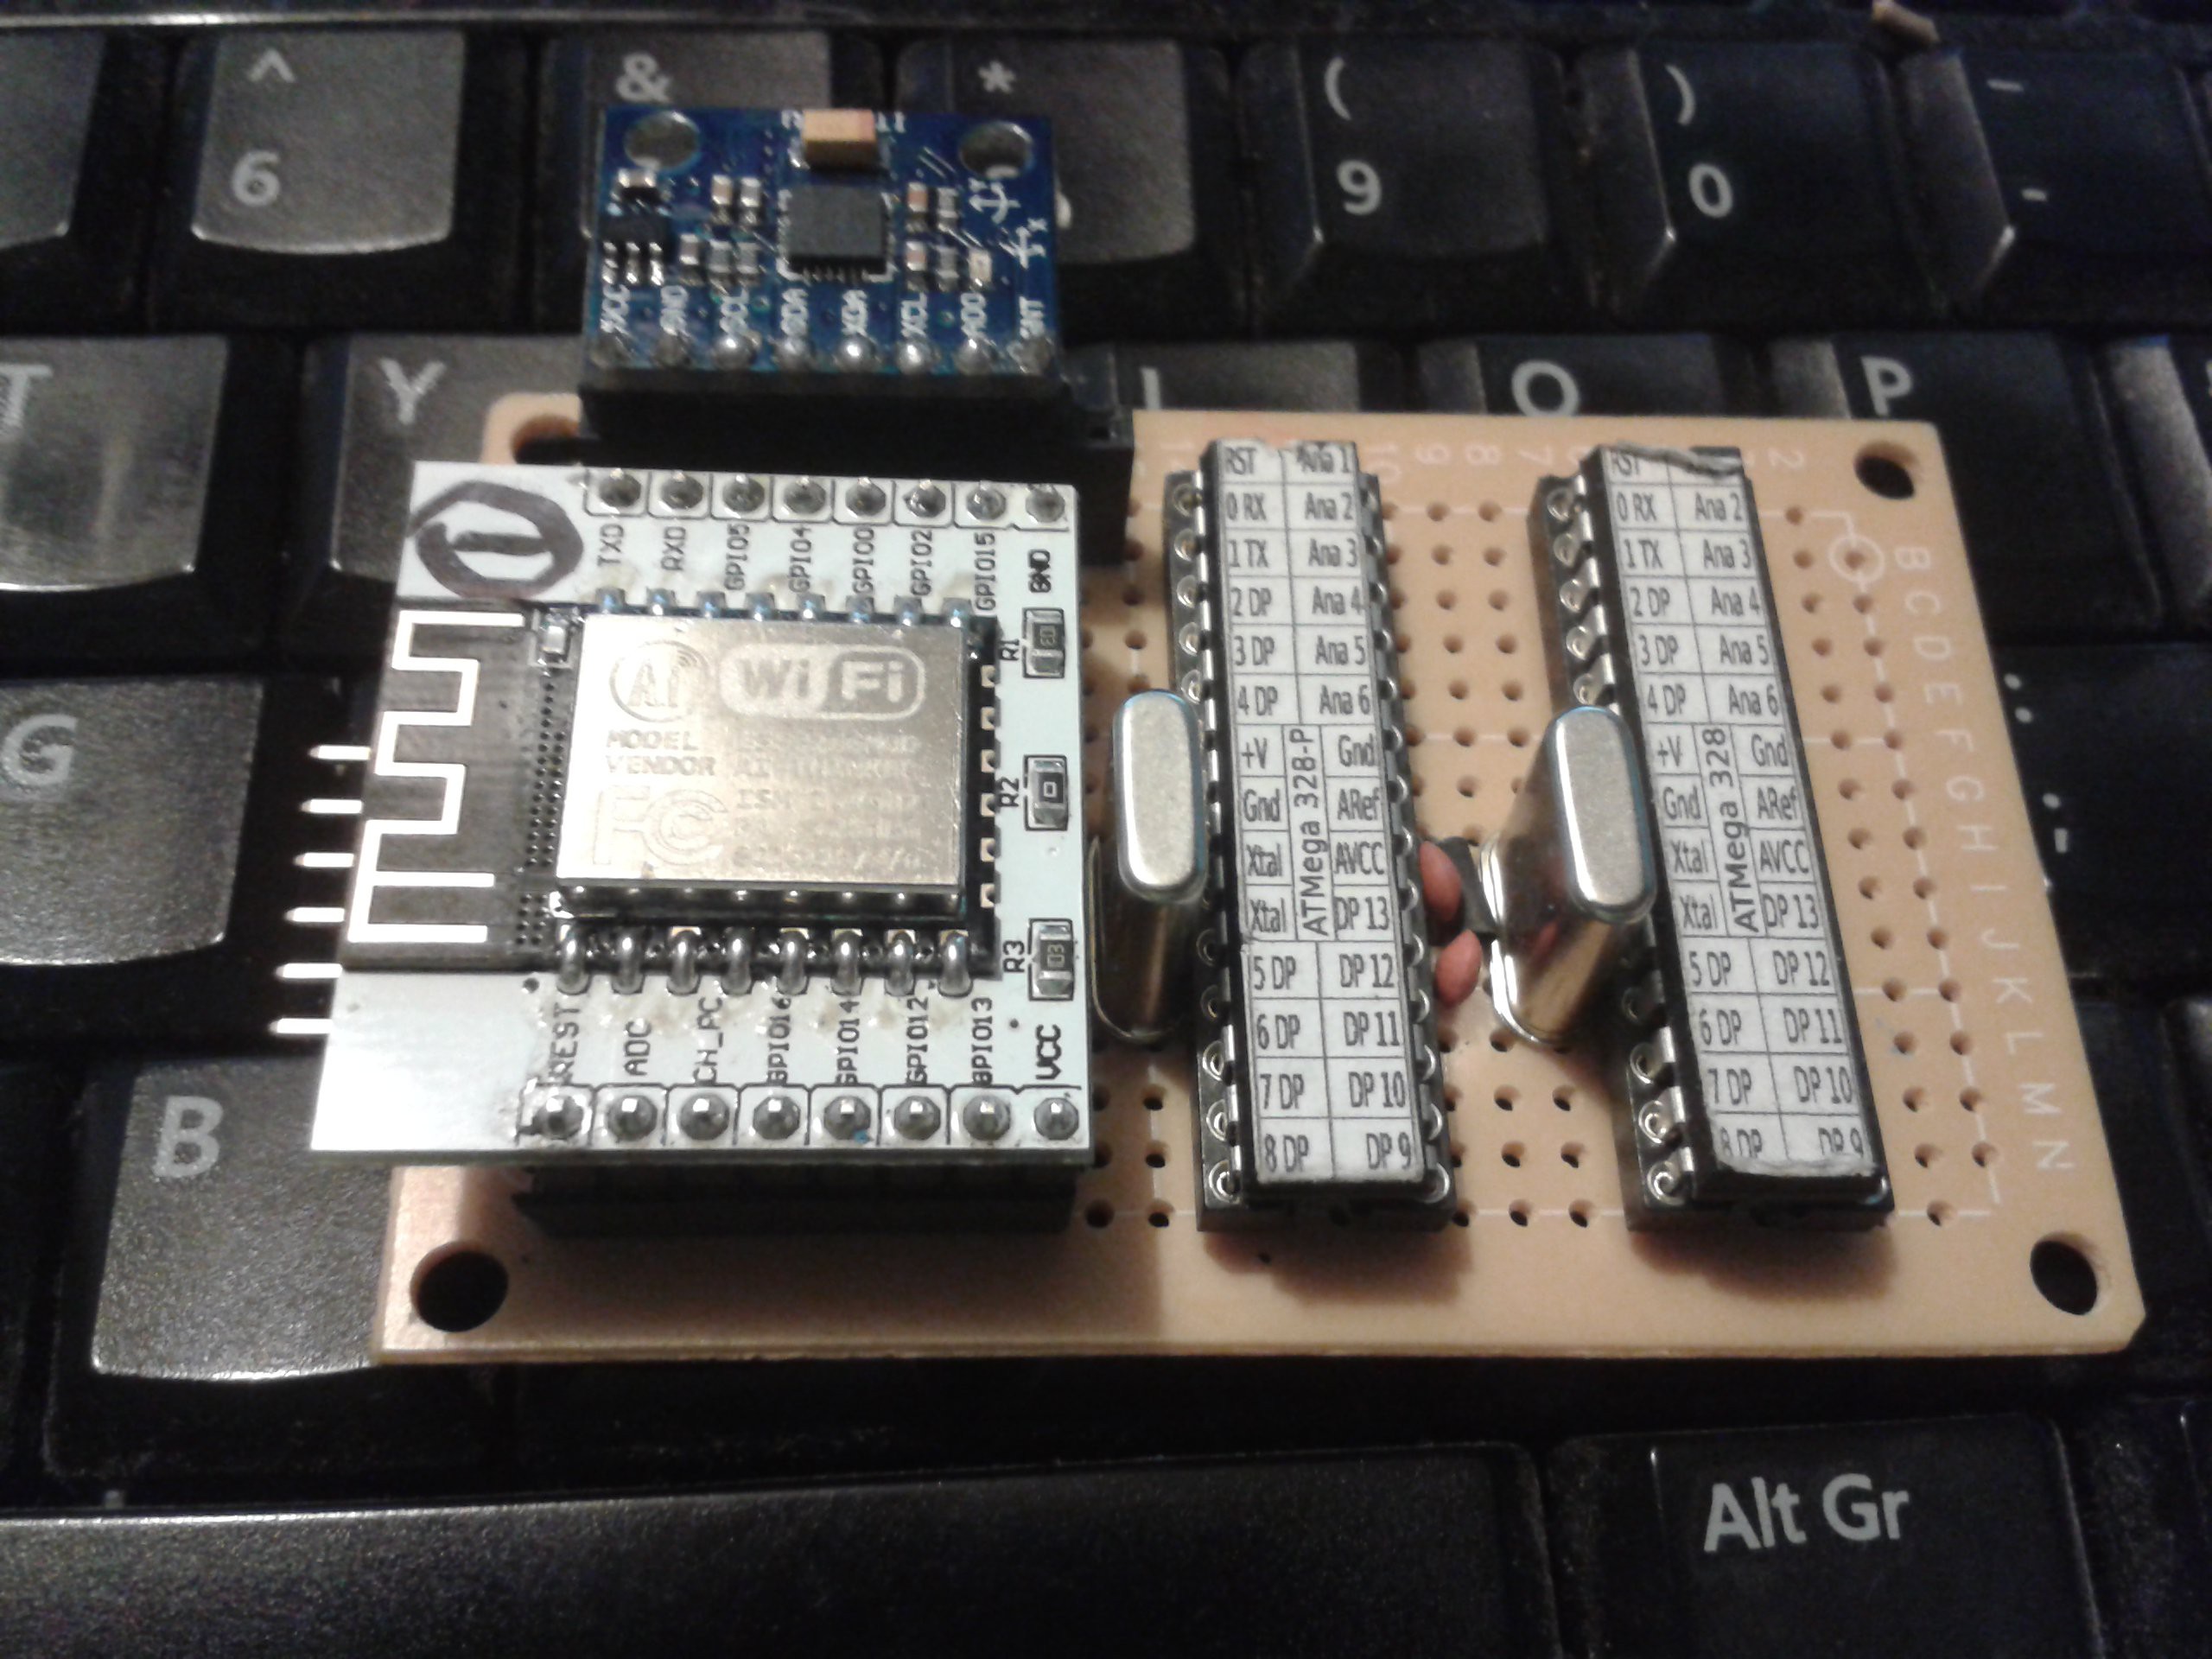
Circuitry can be built into the stickers by adding an etching stage for the foil, then soldering in SMD components before laminating. Things like LEDs and surface connectors for the wiring harness on the limbs can be interfaced to surface-mounted processors using a breakout: This has a 0.1" pitch edge connector and double-sided tape to bond it to DECAL's laminar circuitry, plus a standard 0.1" Dupont header for the servos. Sensor buses in orange and green, servo bus in blue. C1 and R2 are a filter for ARef.
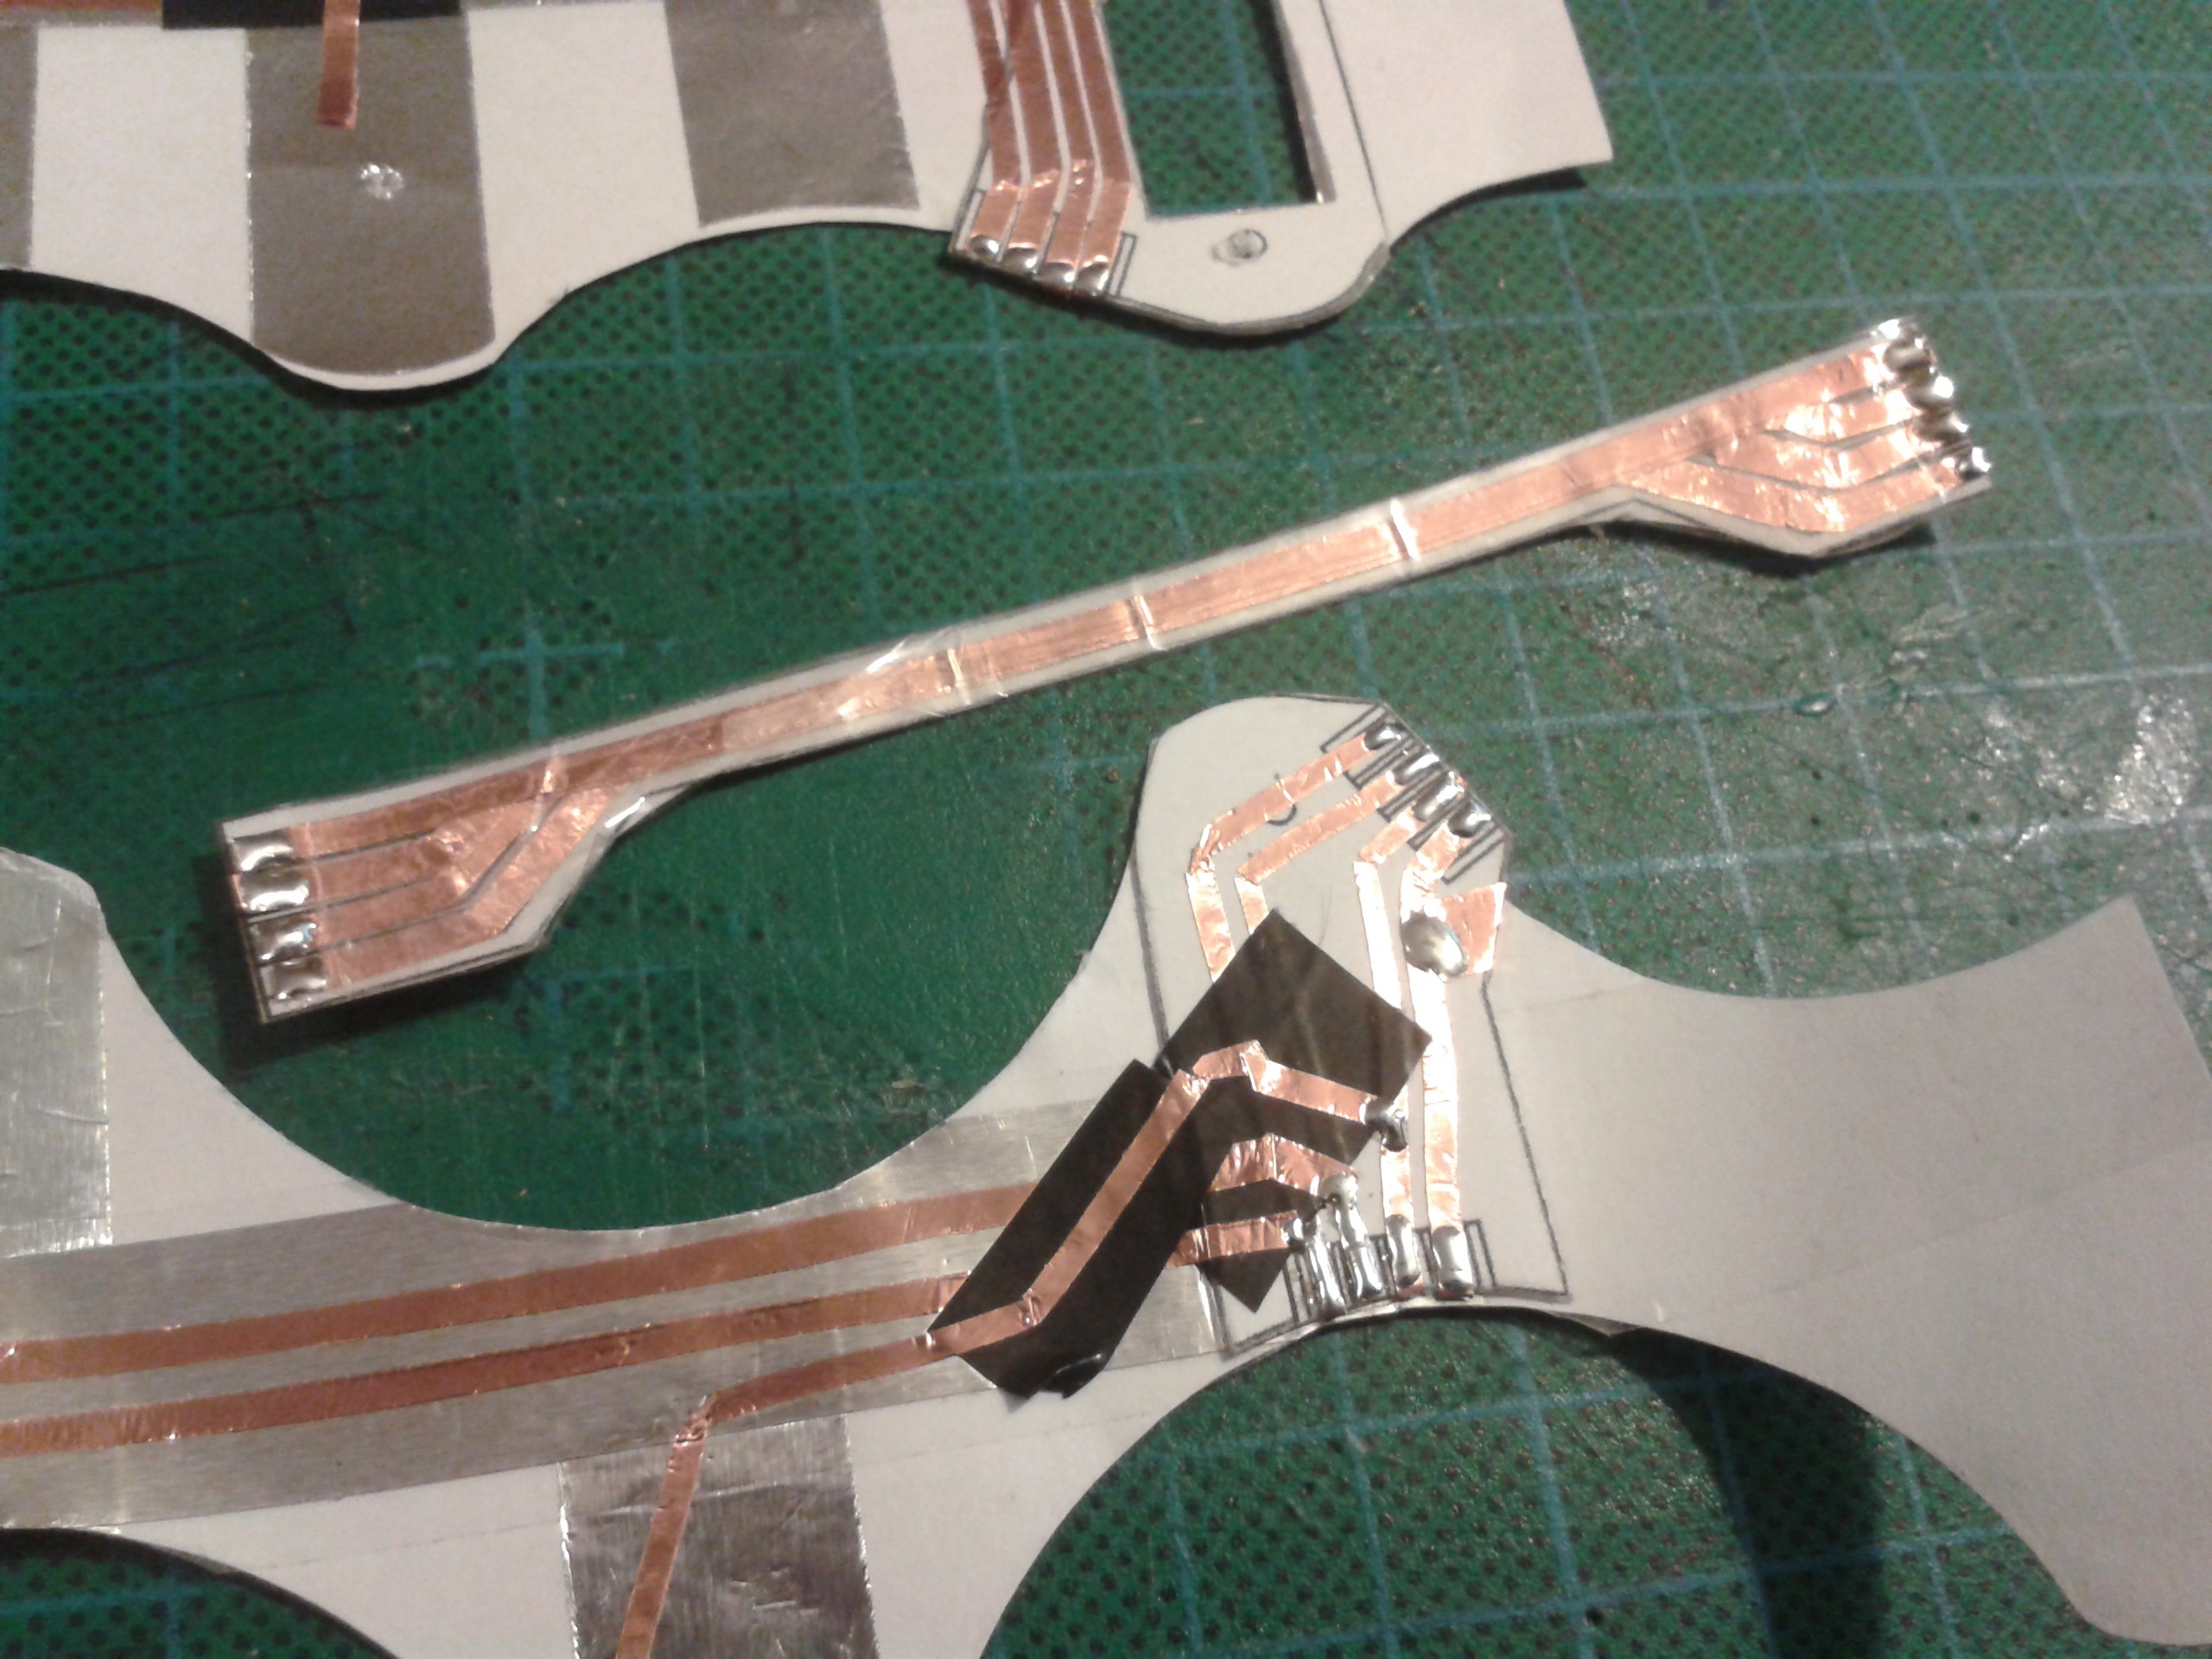
Hacking SMD into Decal
I wonder if 0.1" Plated Half-Hole edge connectors in purple are even possible? :-)
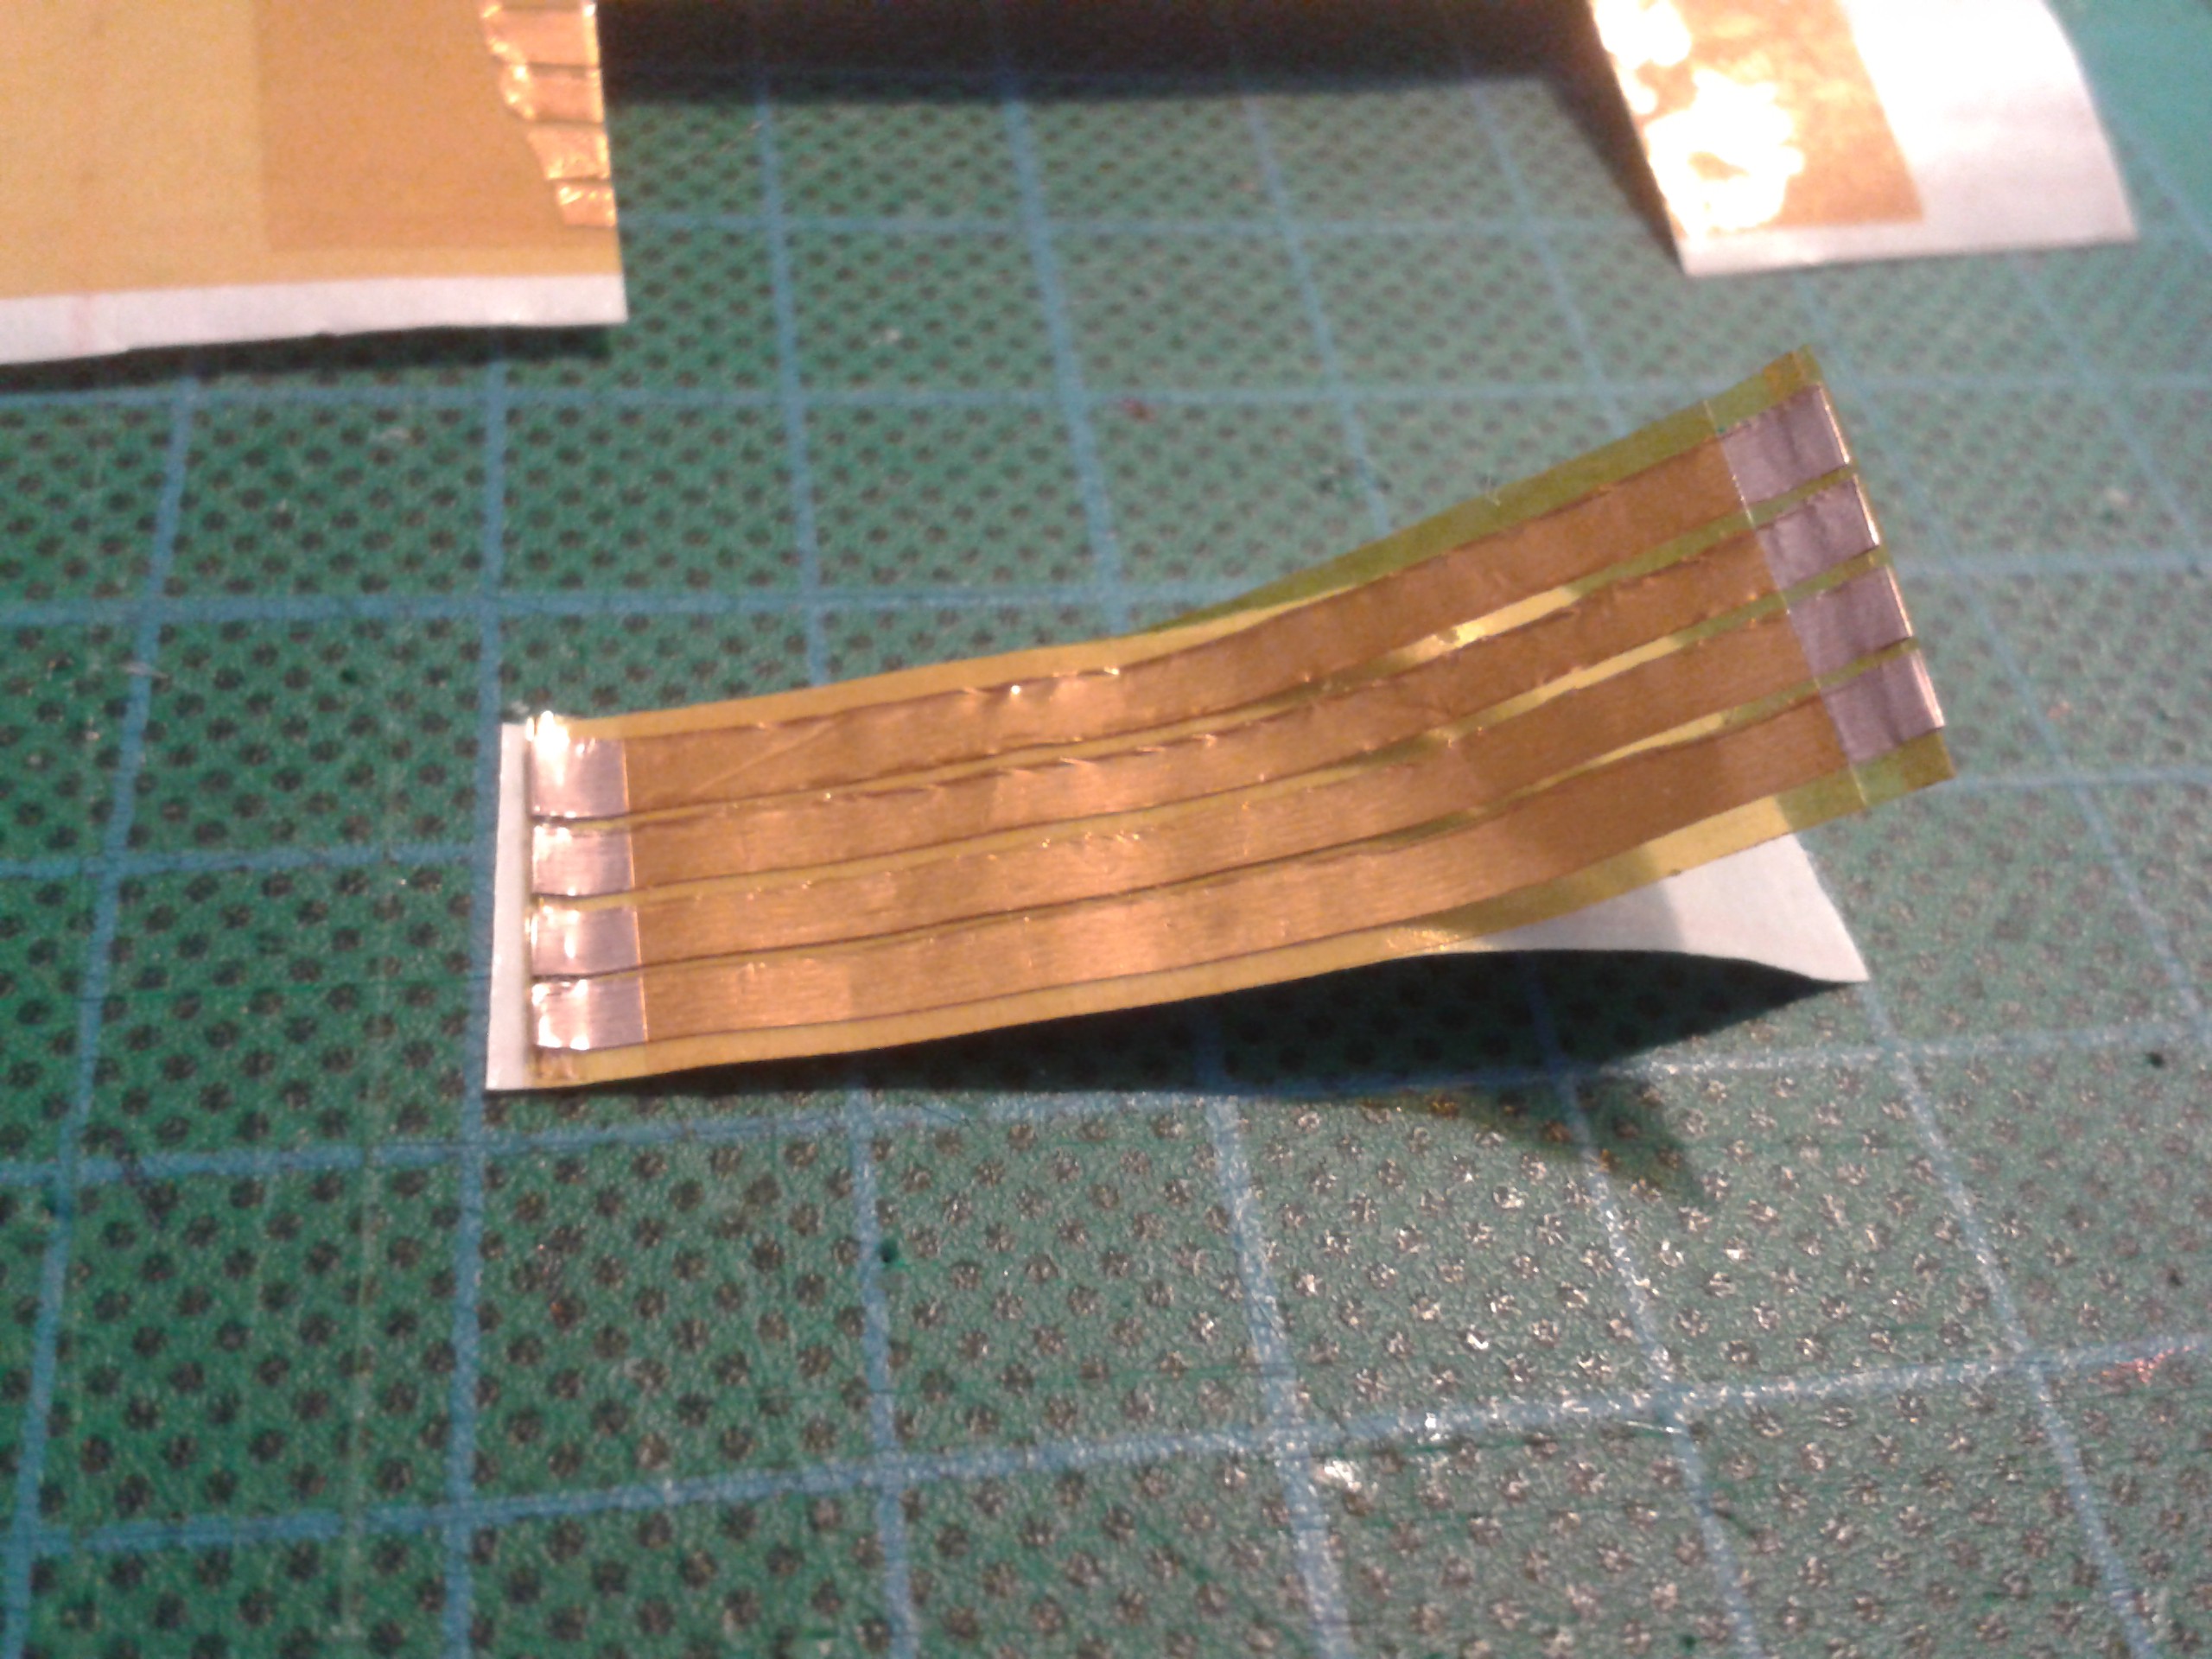
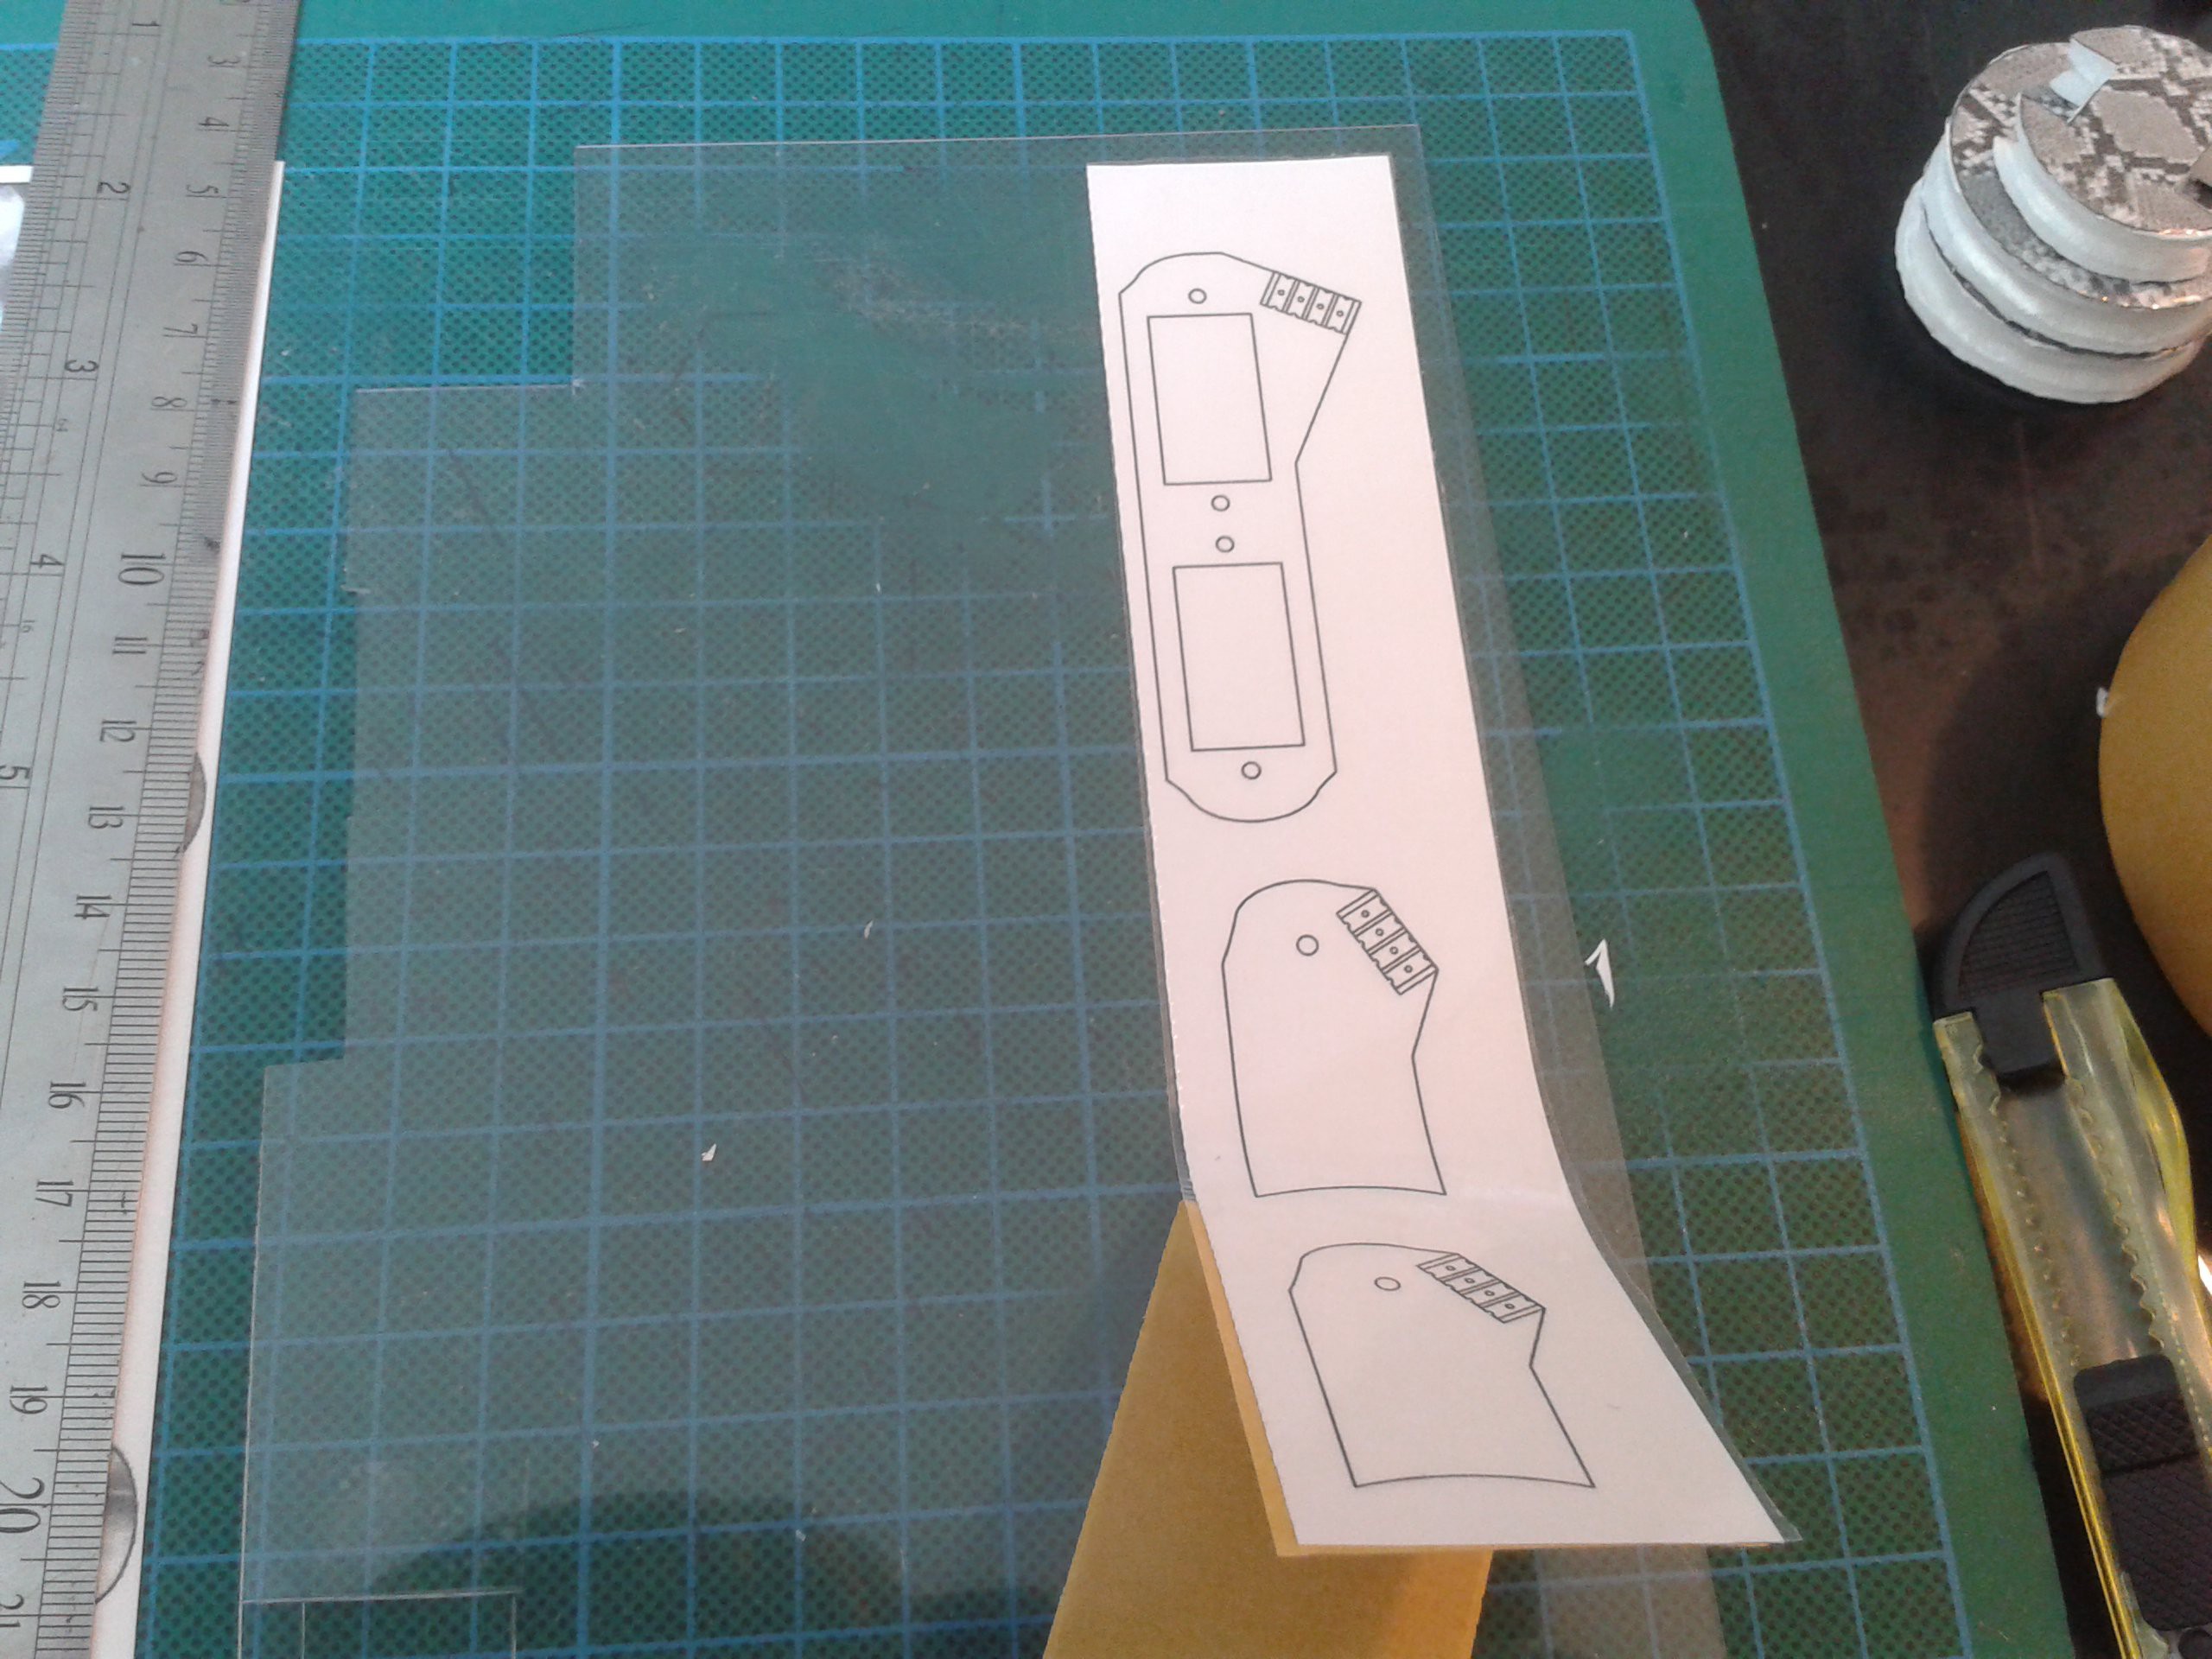
This is much easier with Kapton, particularly if you stick it to a pre-printed backing paper. I've used the backing from the sticky-back plastic for this, because one side is plain paper printed with a red grid, and the other is transparent plastic of some sort. The entire thing is half-opaque so I can see the print clean through it and several layers of Kapton if necessary.
A light-box would be useful for this.
- Idea - Build a really thin light-box with a TFT panel under a sheet of glass from a picture frame that can display tracings directly through a piece of paper and make circuit layout easier. Multiple layers can be displayed one at a time and without disturbing the artwork on top. It can also double as an exposure box for the photoresist, being as TFTs are lit by fluorescent tubes that throw off enough high energy photons to do the job.
Servos attach to the system via screws that go through the shell and fix into the mounting flanges. Simple, and sturdy.
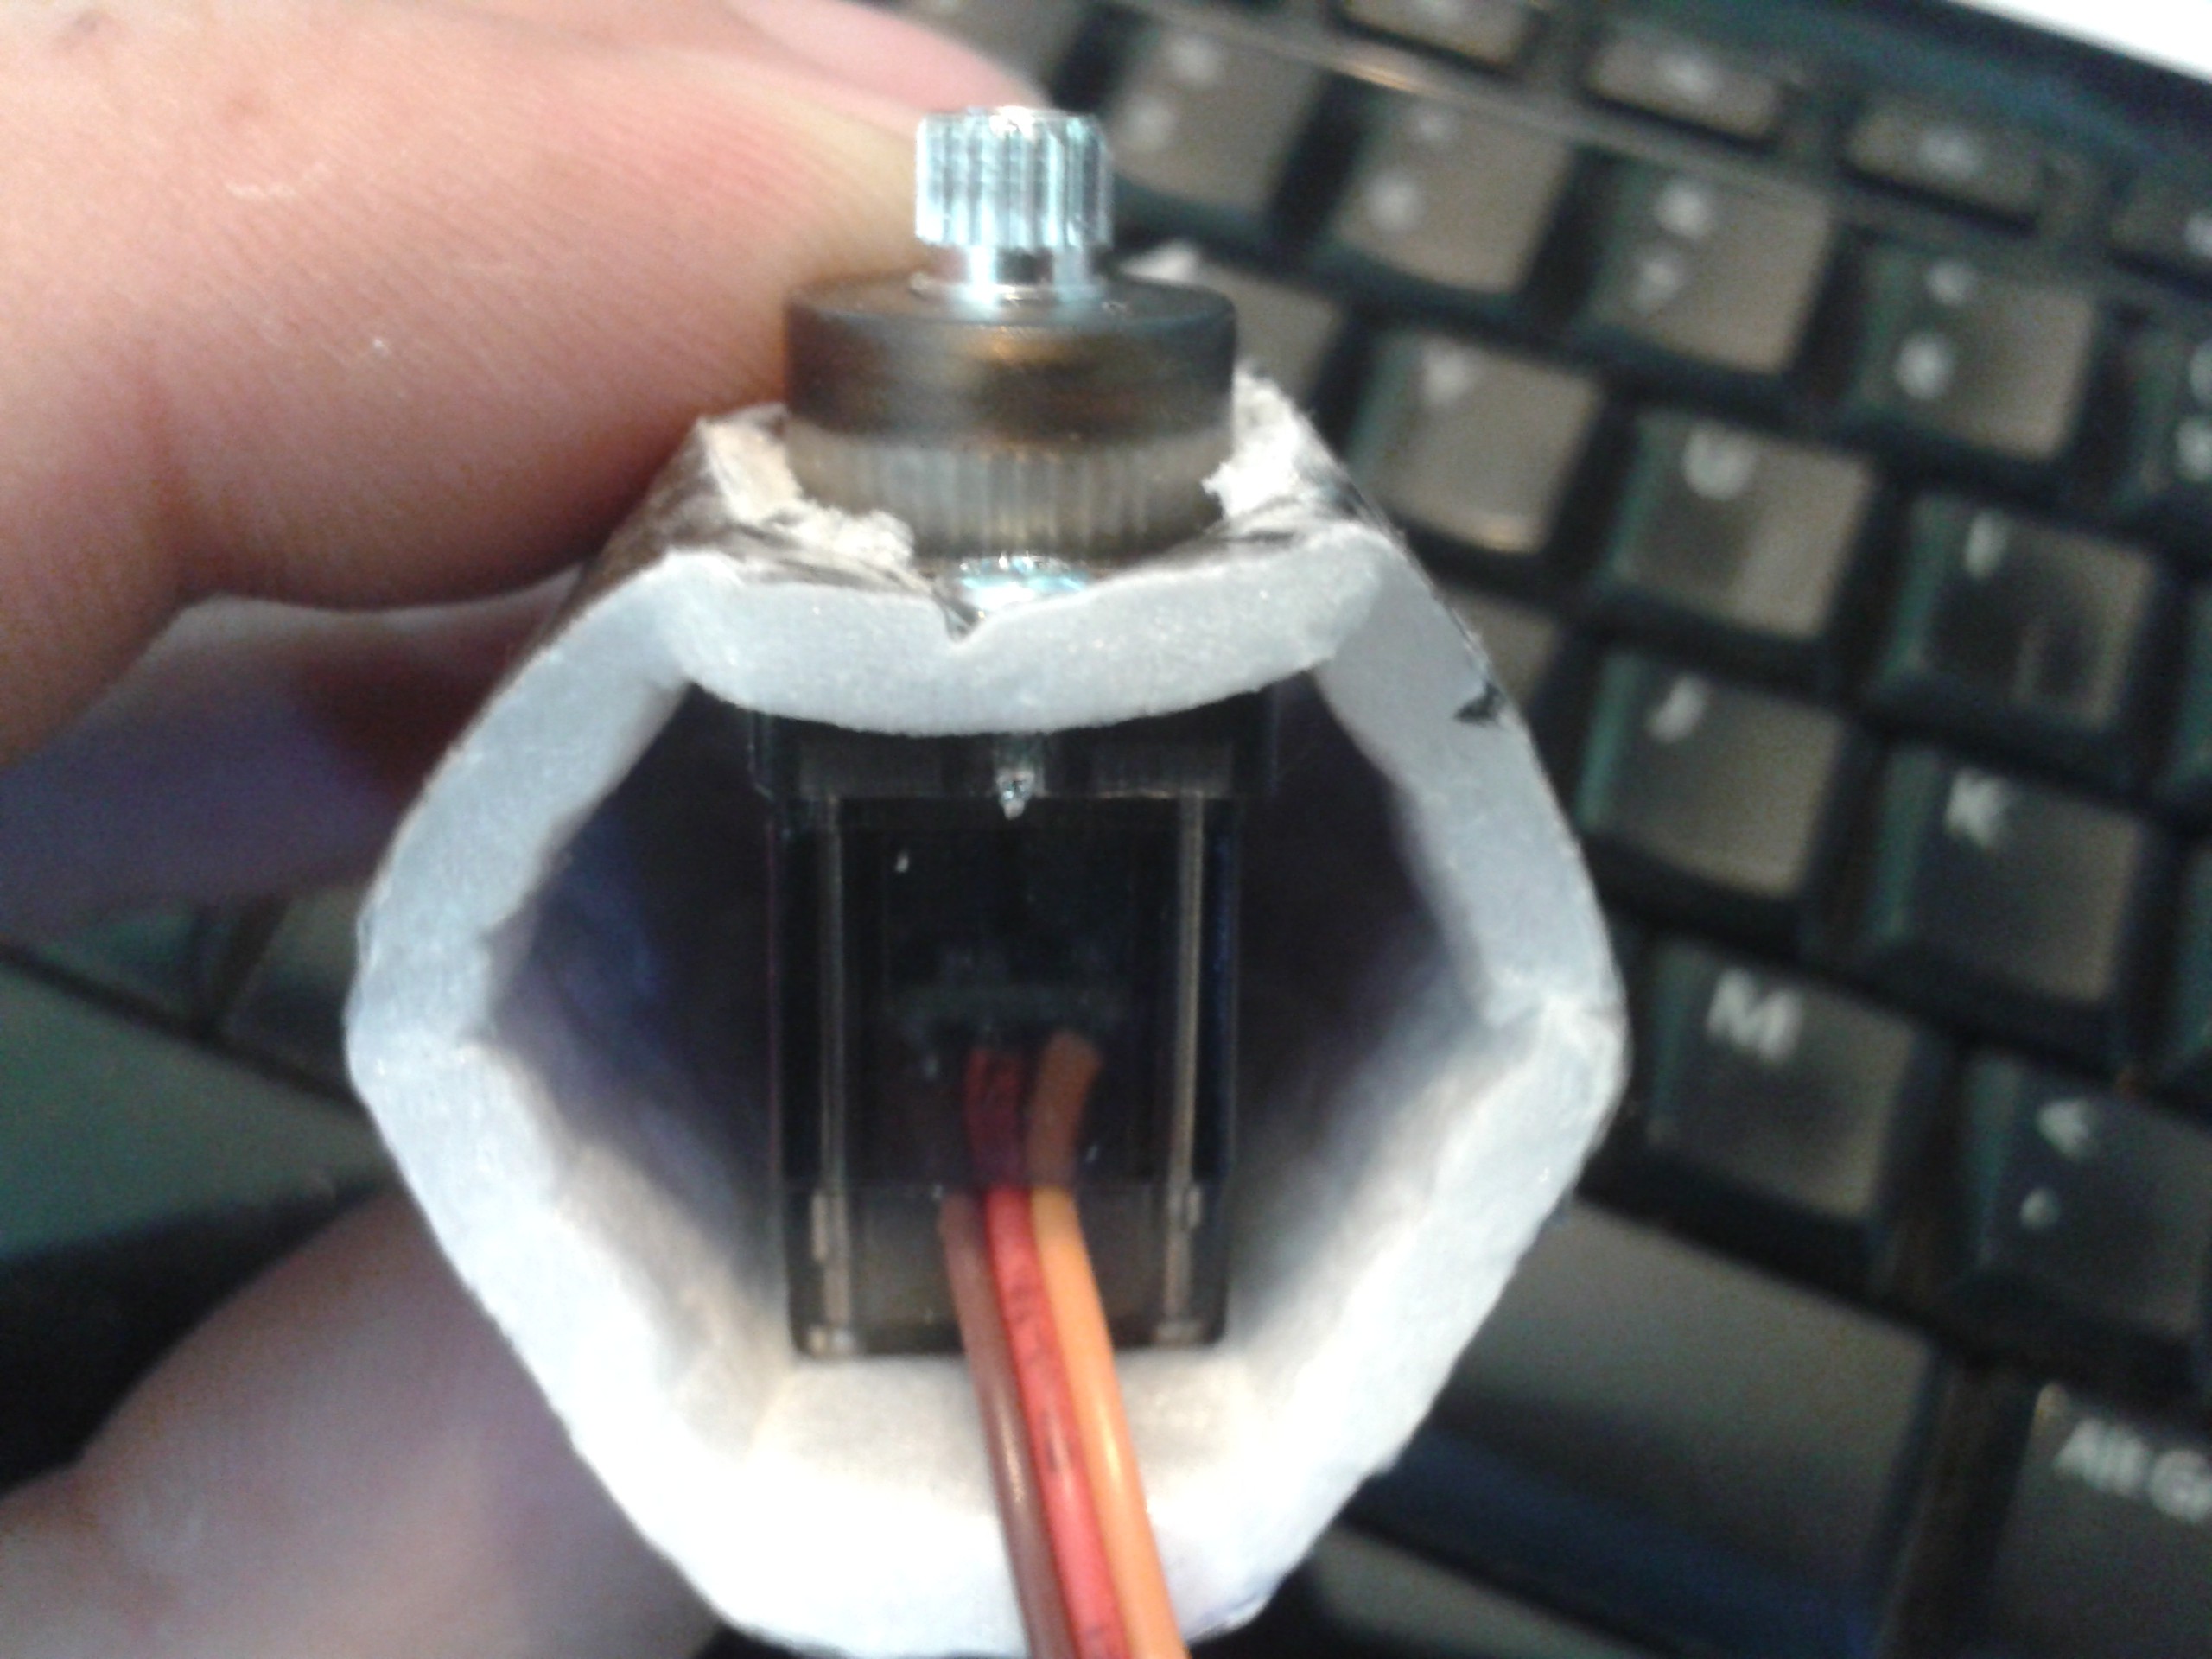
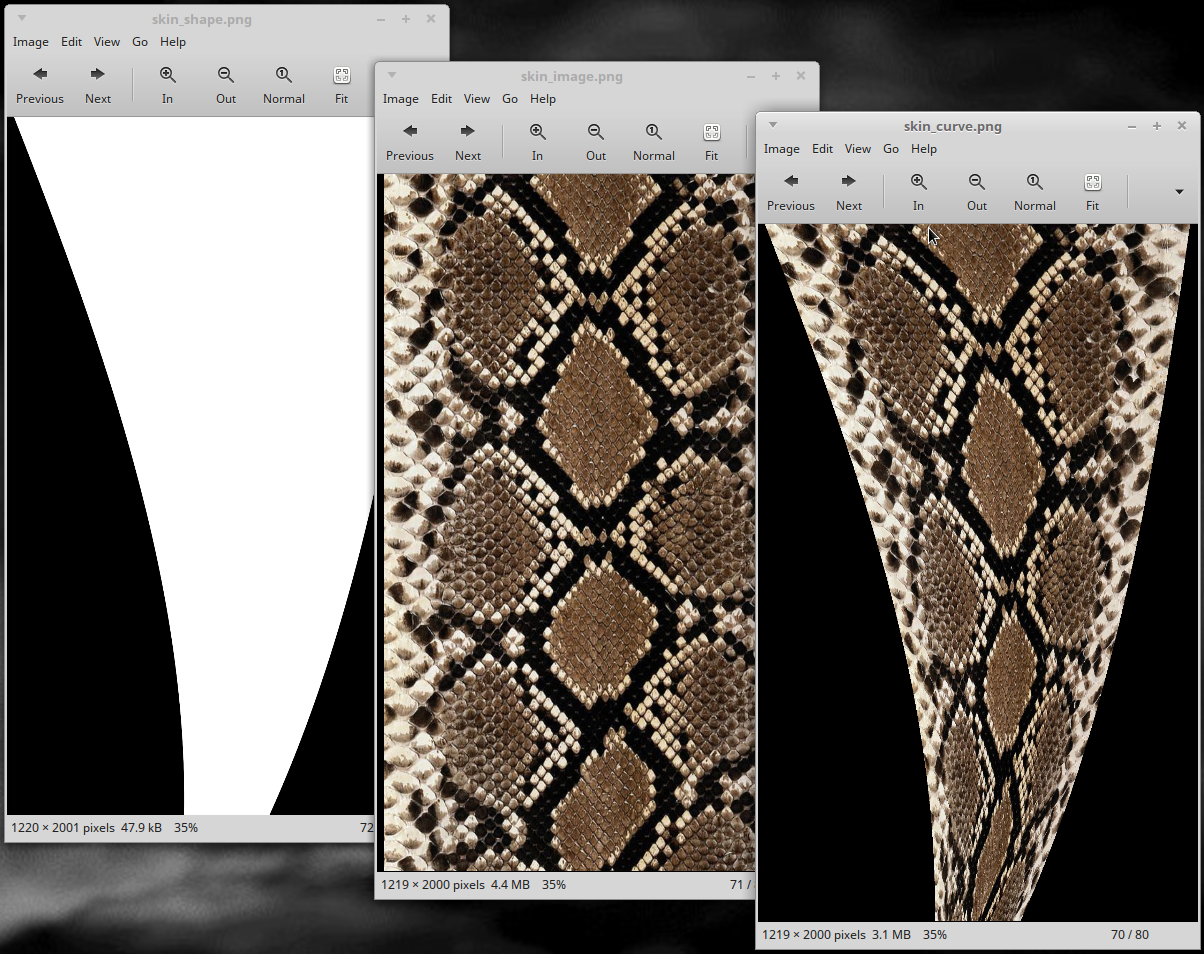
I've also paid close attention to the way that the system looks and moves. Servos have a throw of around 190 degrees and DECAL accommodates this where Cardware could not, I managed to squeak around 170 degrees from the cardstock version and had trouble with positively locating the artwork with the template because its double-sided and domestic printers are not very good at registering the paper for multi-pass prints. Here they are combined into one print, avoiding the problem altogther.
Integrating the template and artwork together also means I can use photographic resources...
Read more » Morning.Star
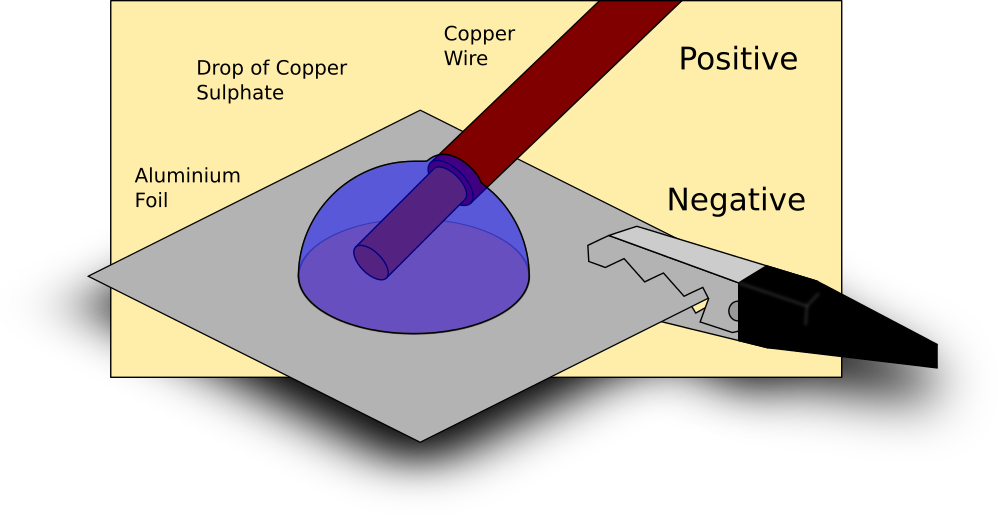
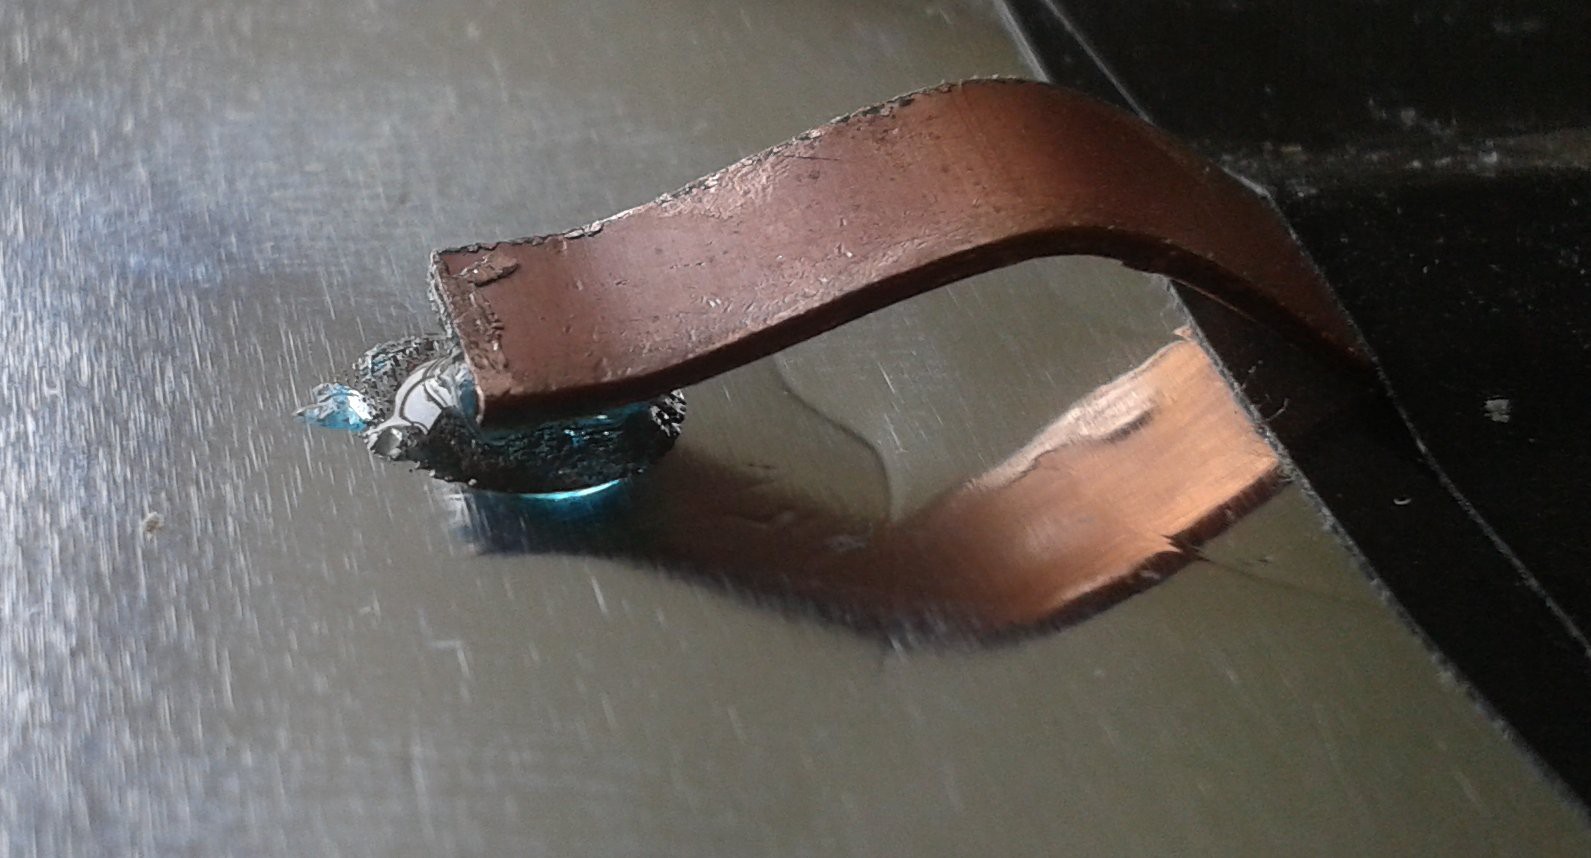
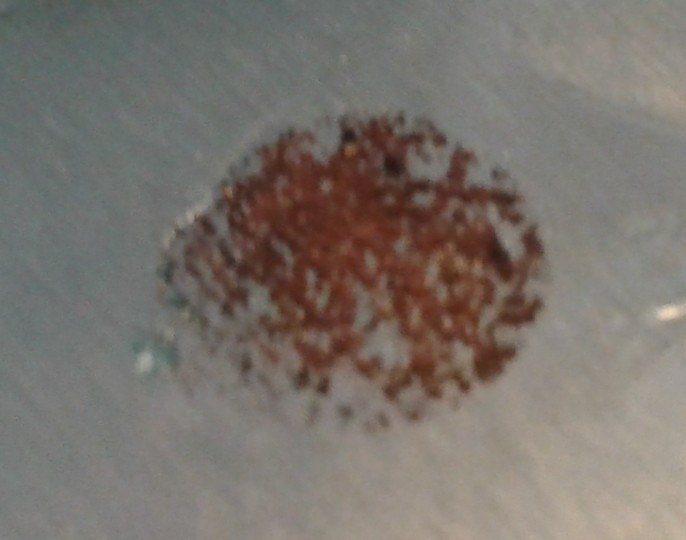
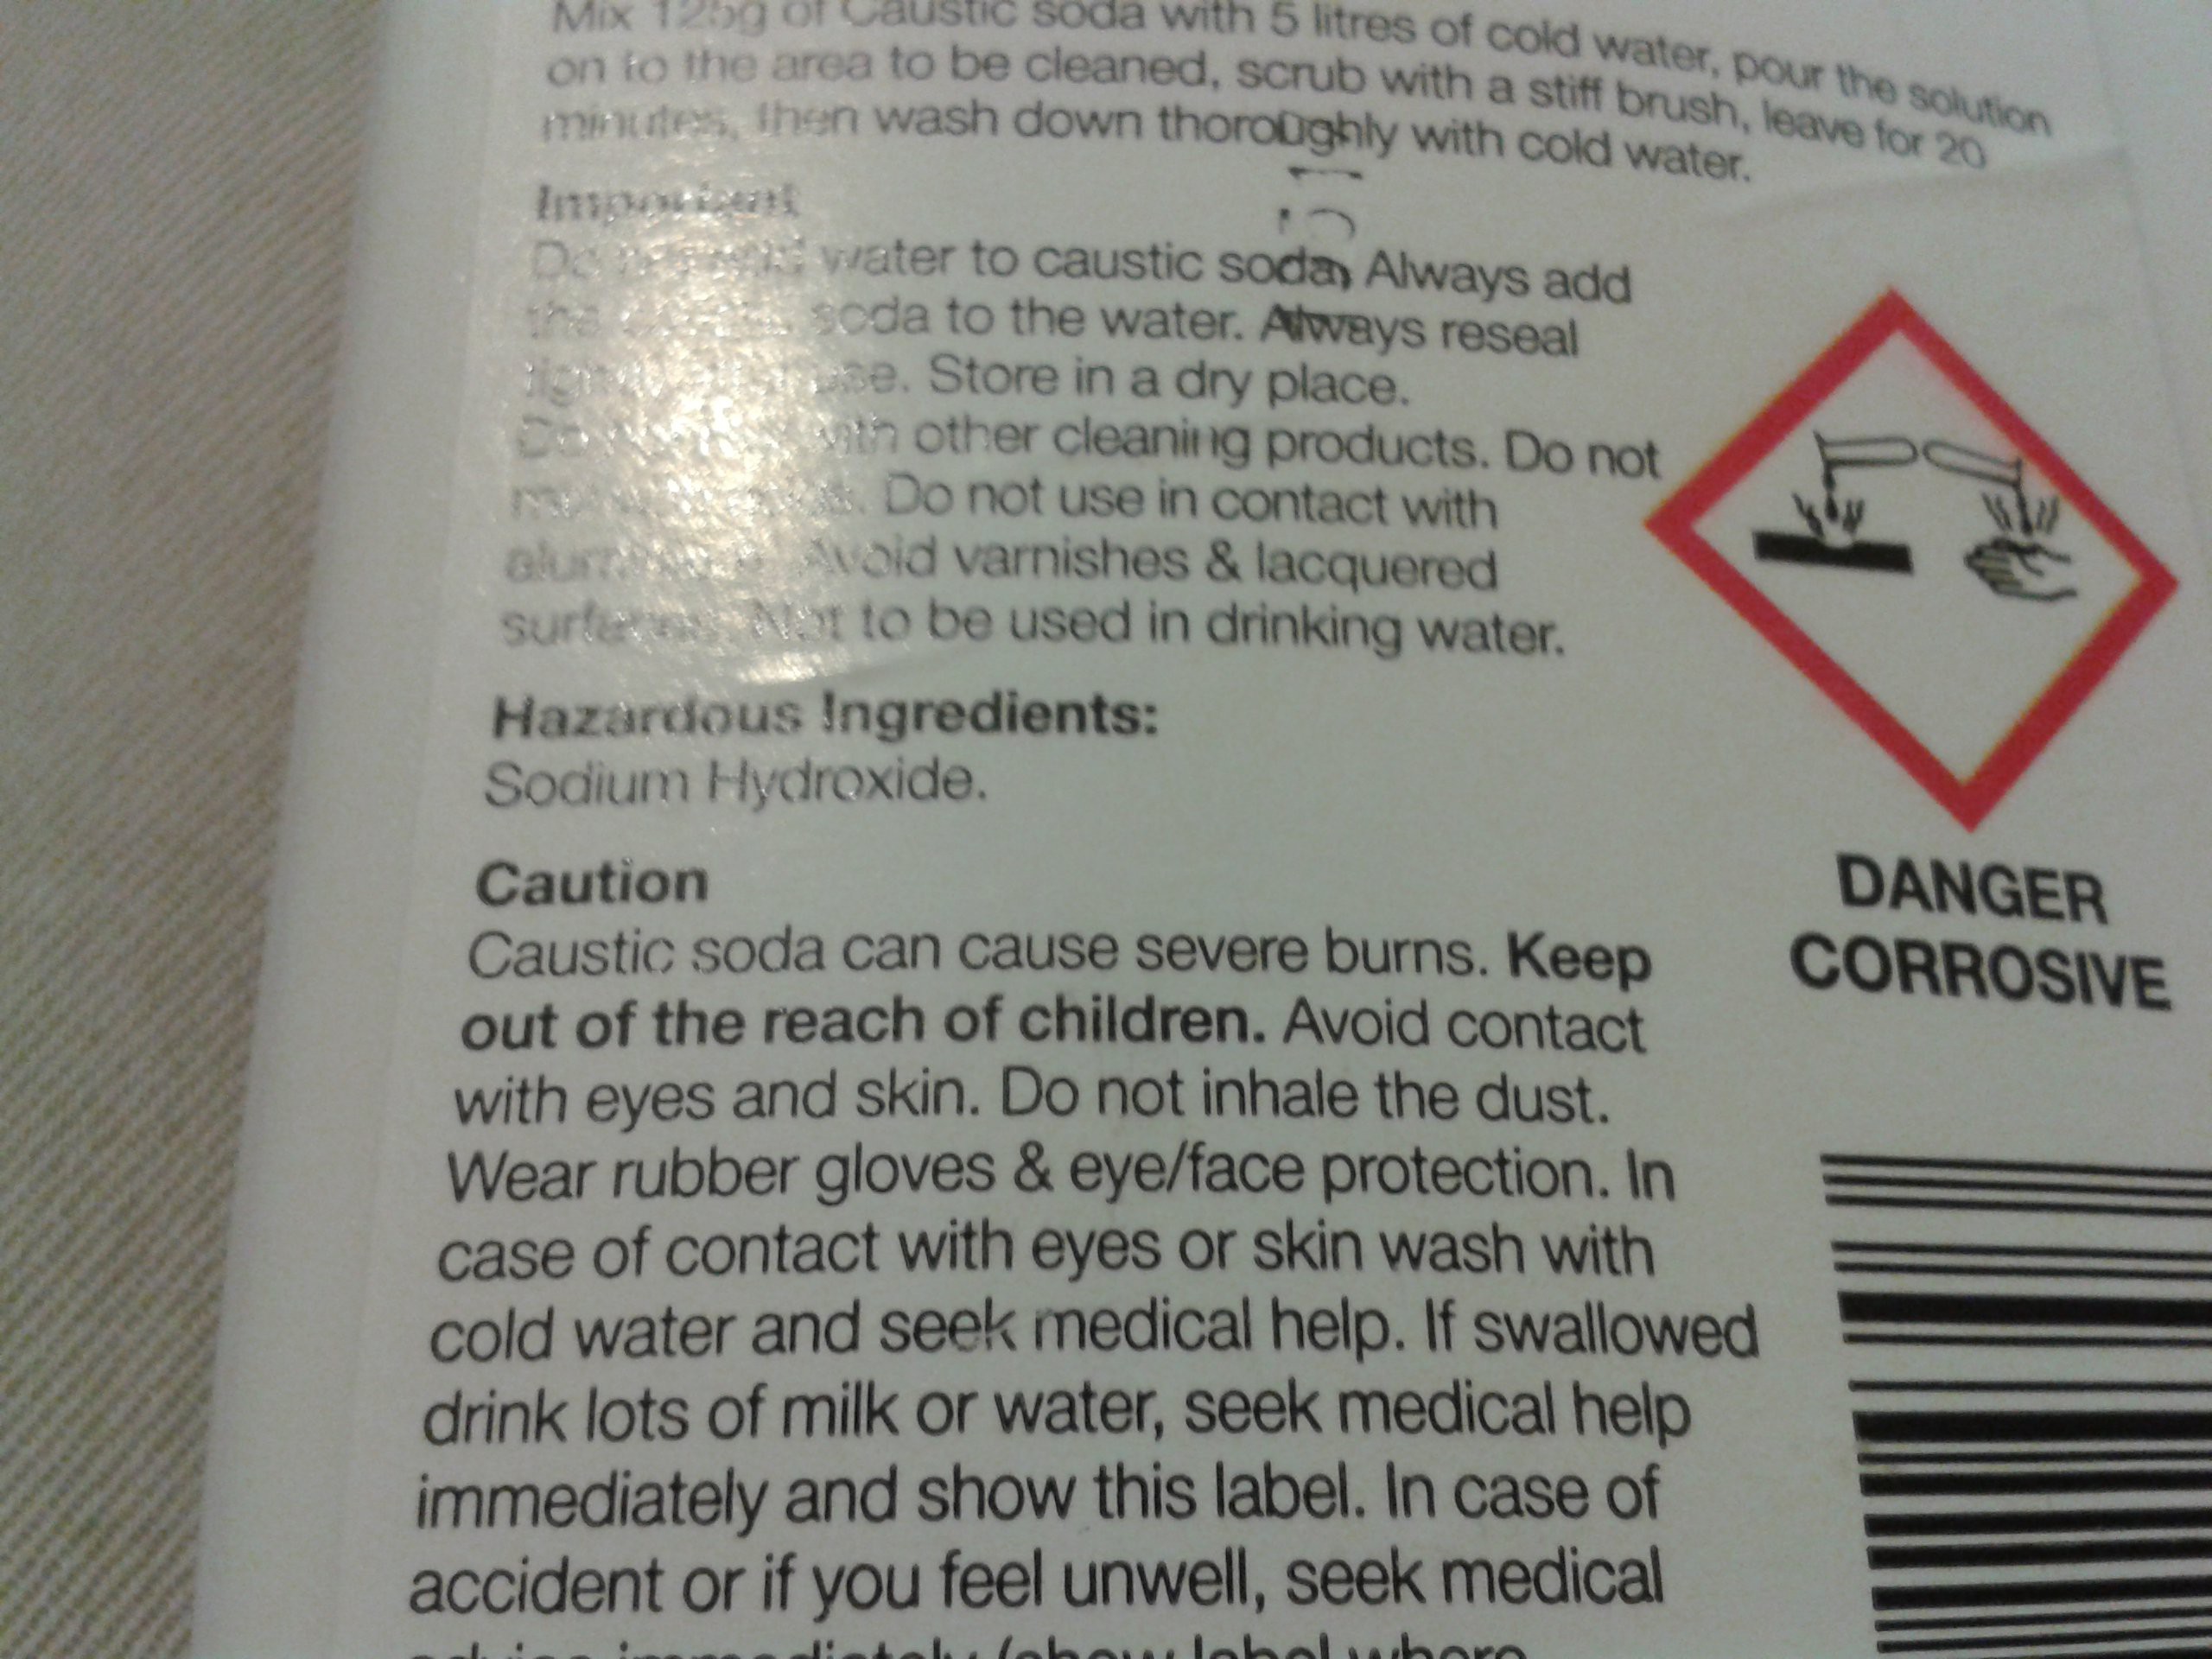 Probably the last of this I'll be able to buy over the counter, thanks to the morons who will use whatever is to hand to hurt others as well as their own stupid selves. I'll be careful with it, like I would the sulphuric and hydrochloric acids I can no longer obtain. As it is I'm reduced to metal-salt etch because the alternative is Ferric Chloride, which is nasty, hard to dispose of, costs a fortune and is only available mail order. I have Bicarb and Copper Sulphate though, both are better than table salt. About a table-spoon of this per litre of water should do it, and I can just pour it down the drain the same as the etching solution.
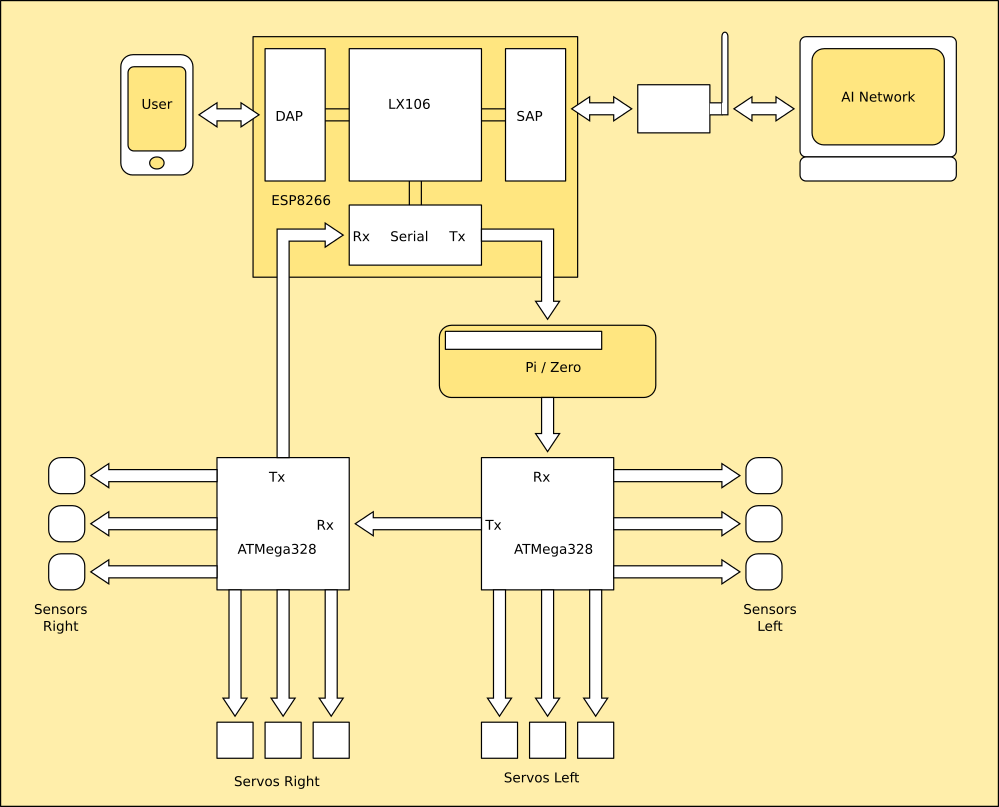
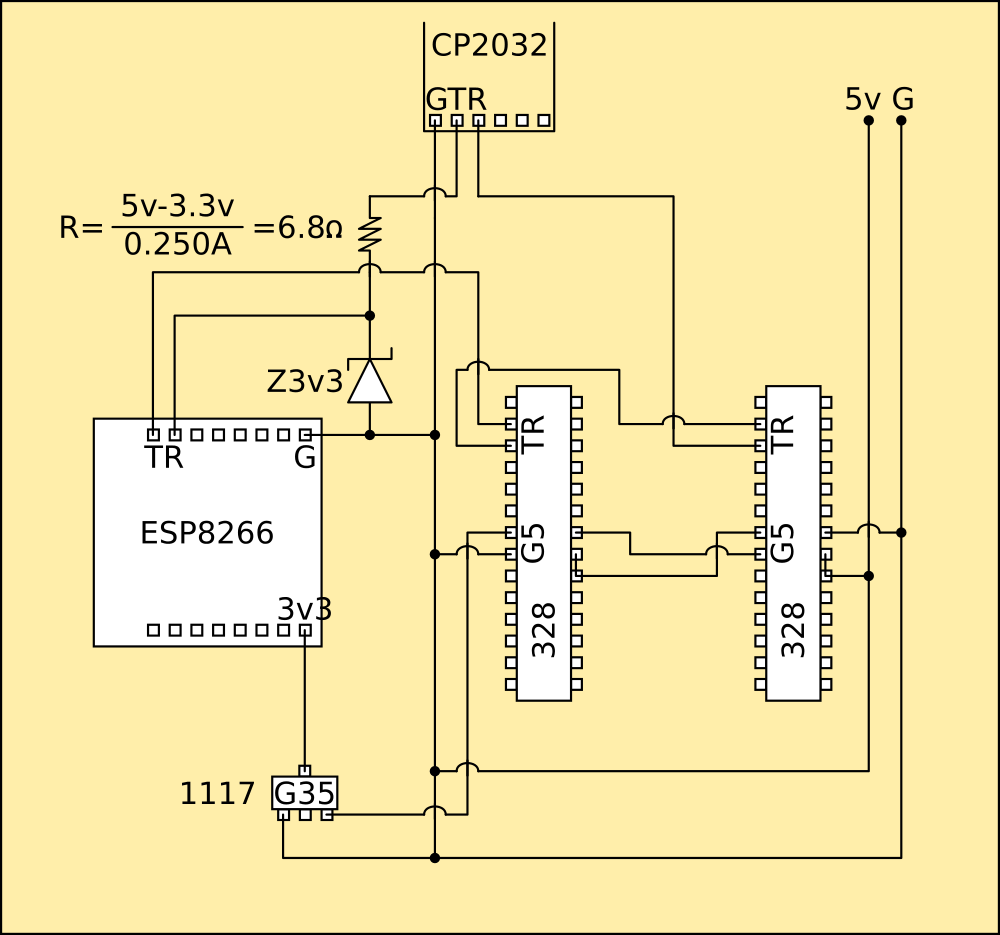 So I've added a 3.3v Zener and some current limiting resistance between them. This is in programming mode, the 6.8ohms dont affect the USART, and the Zener just blocks the Tx voltage from ground as it should. In run mode the ESP Rx is driven by the 5v Atmel Tx, however this drives the Zener into breakdown and it bleeds off the excess voltage to ground.
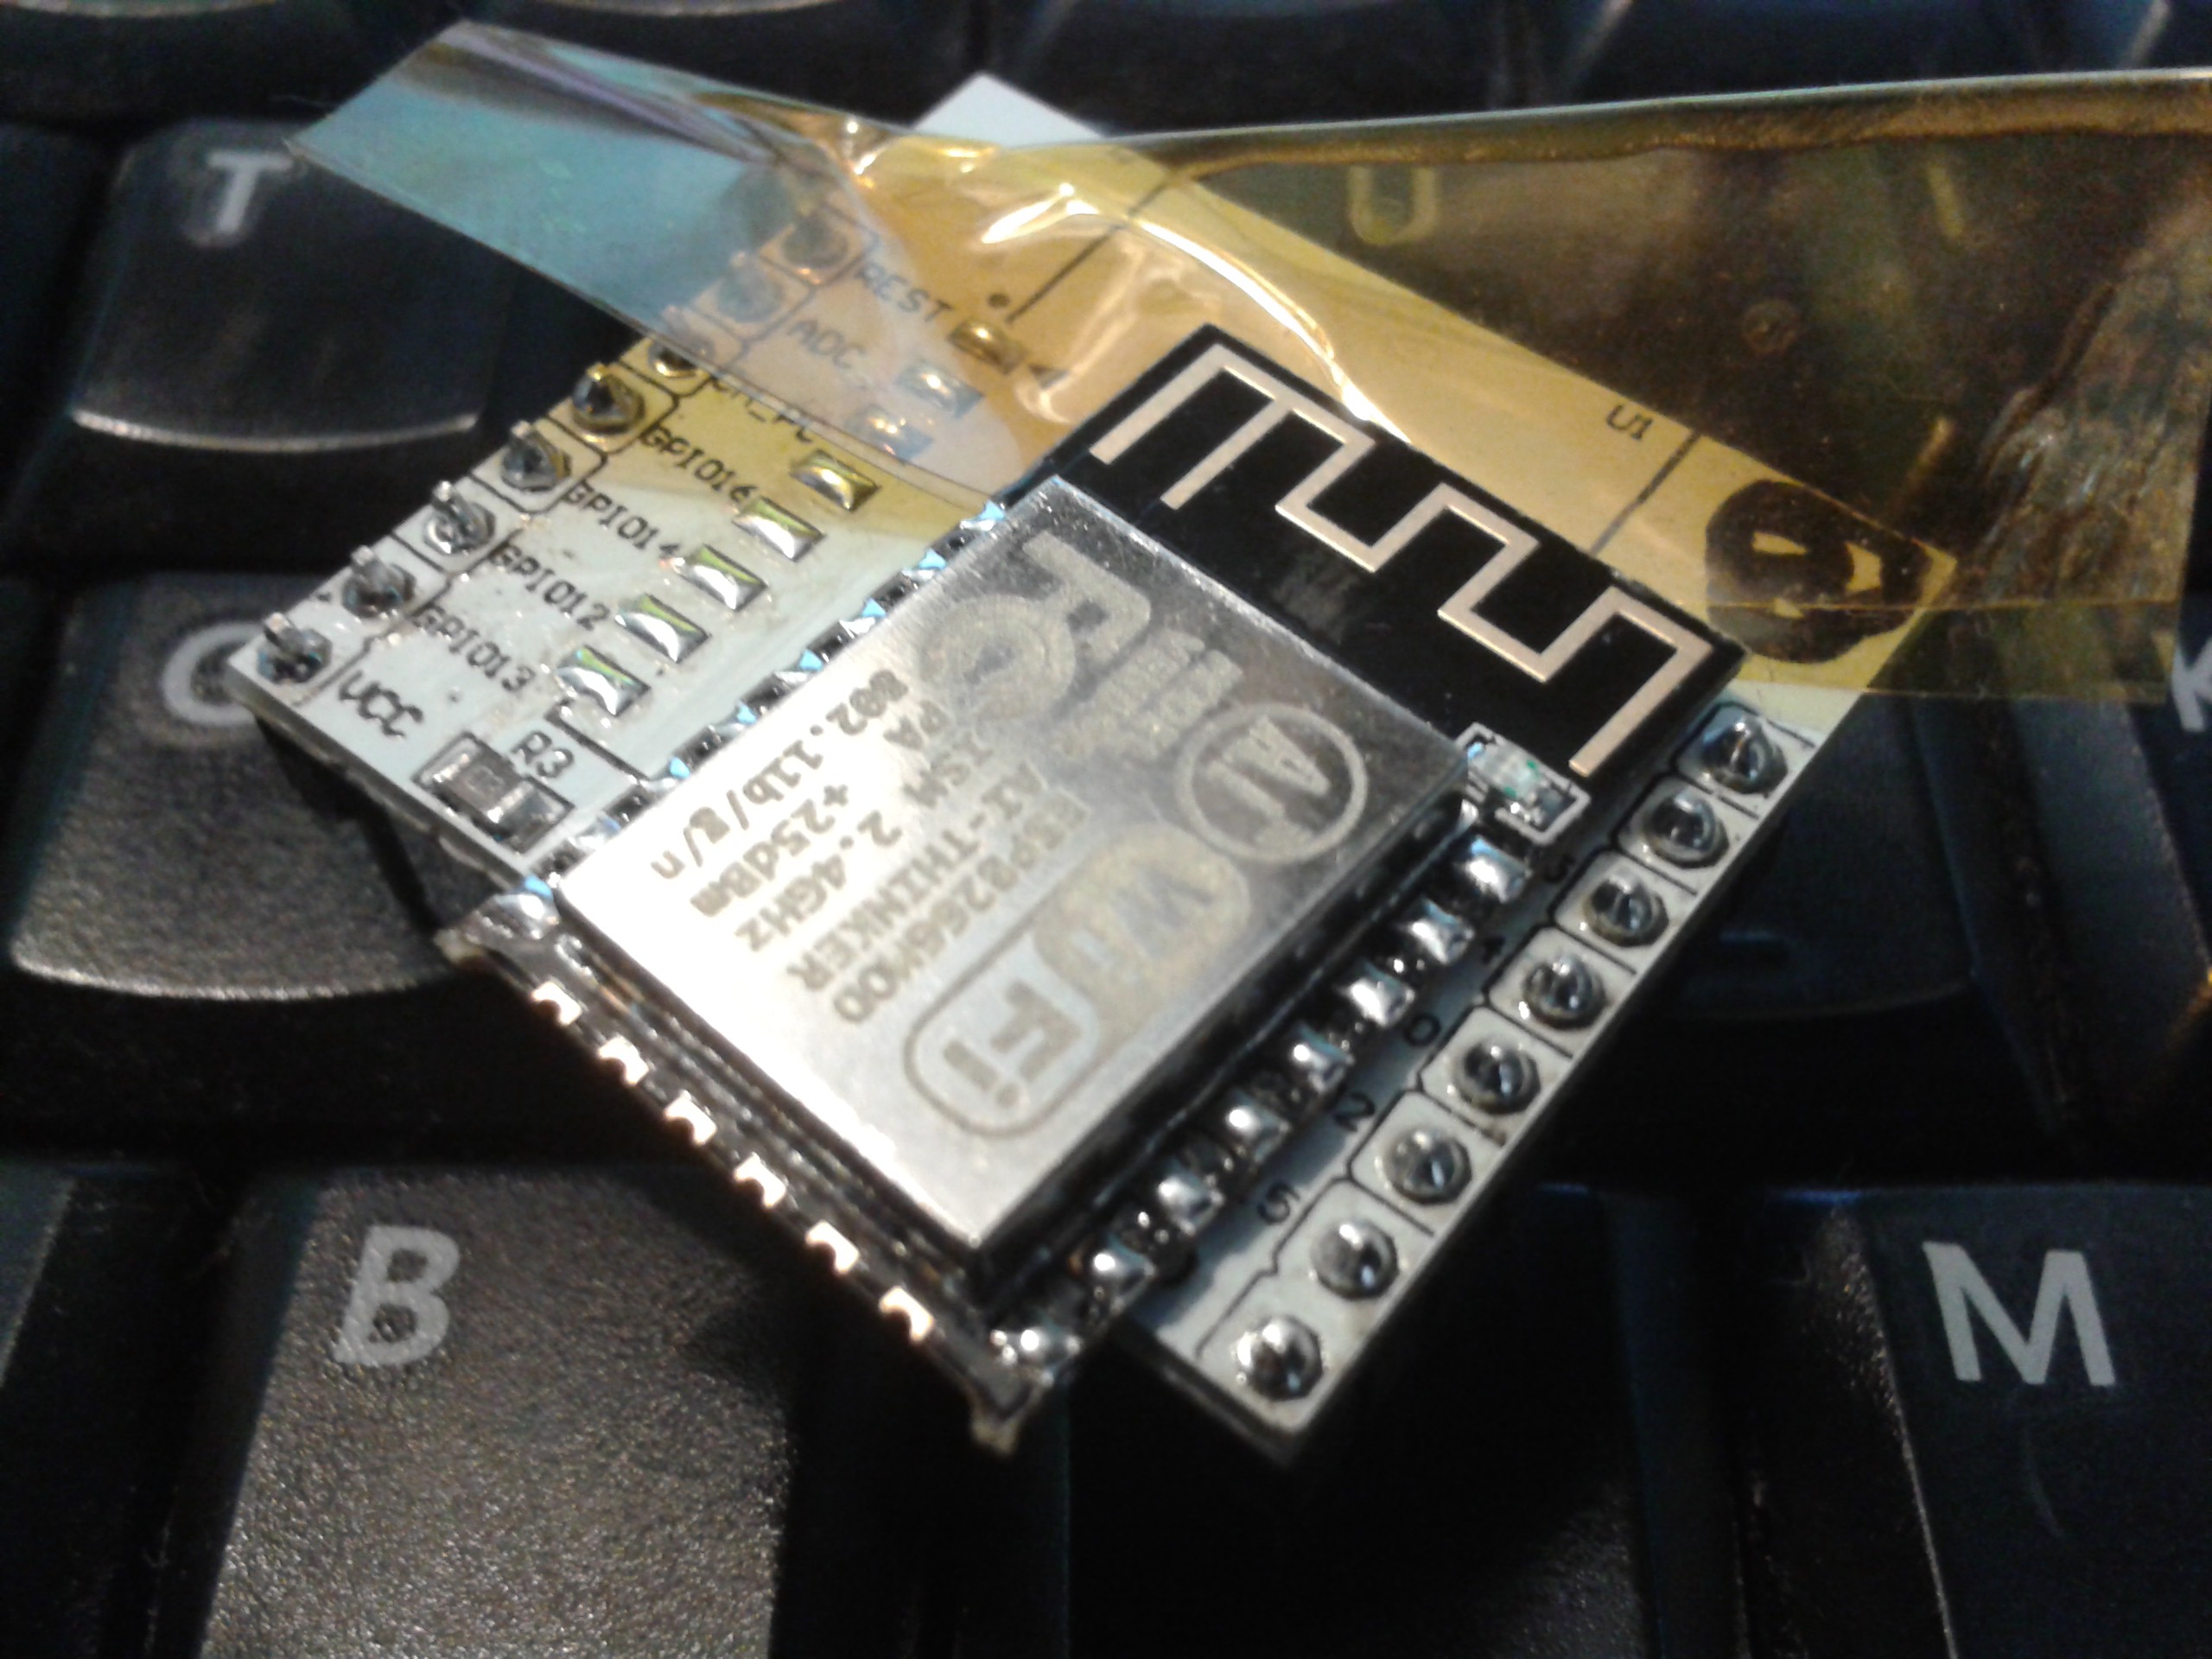
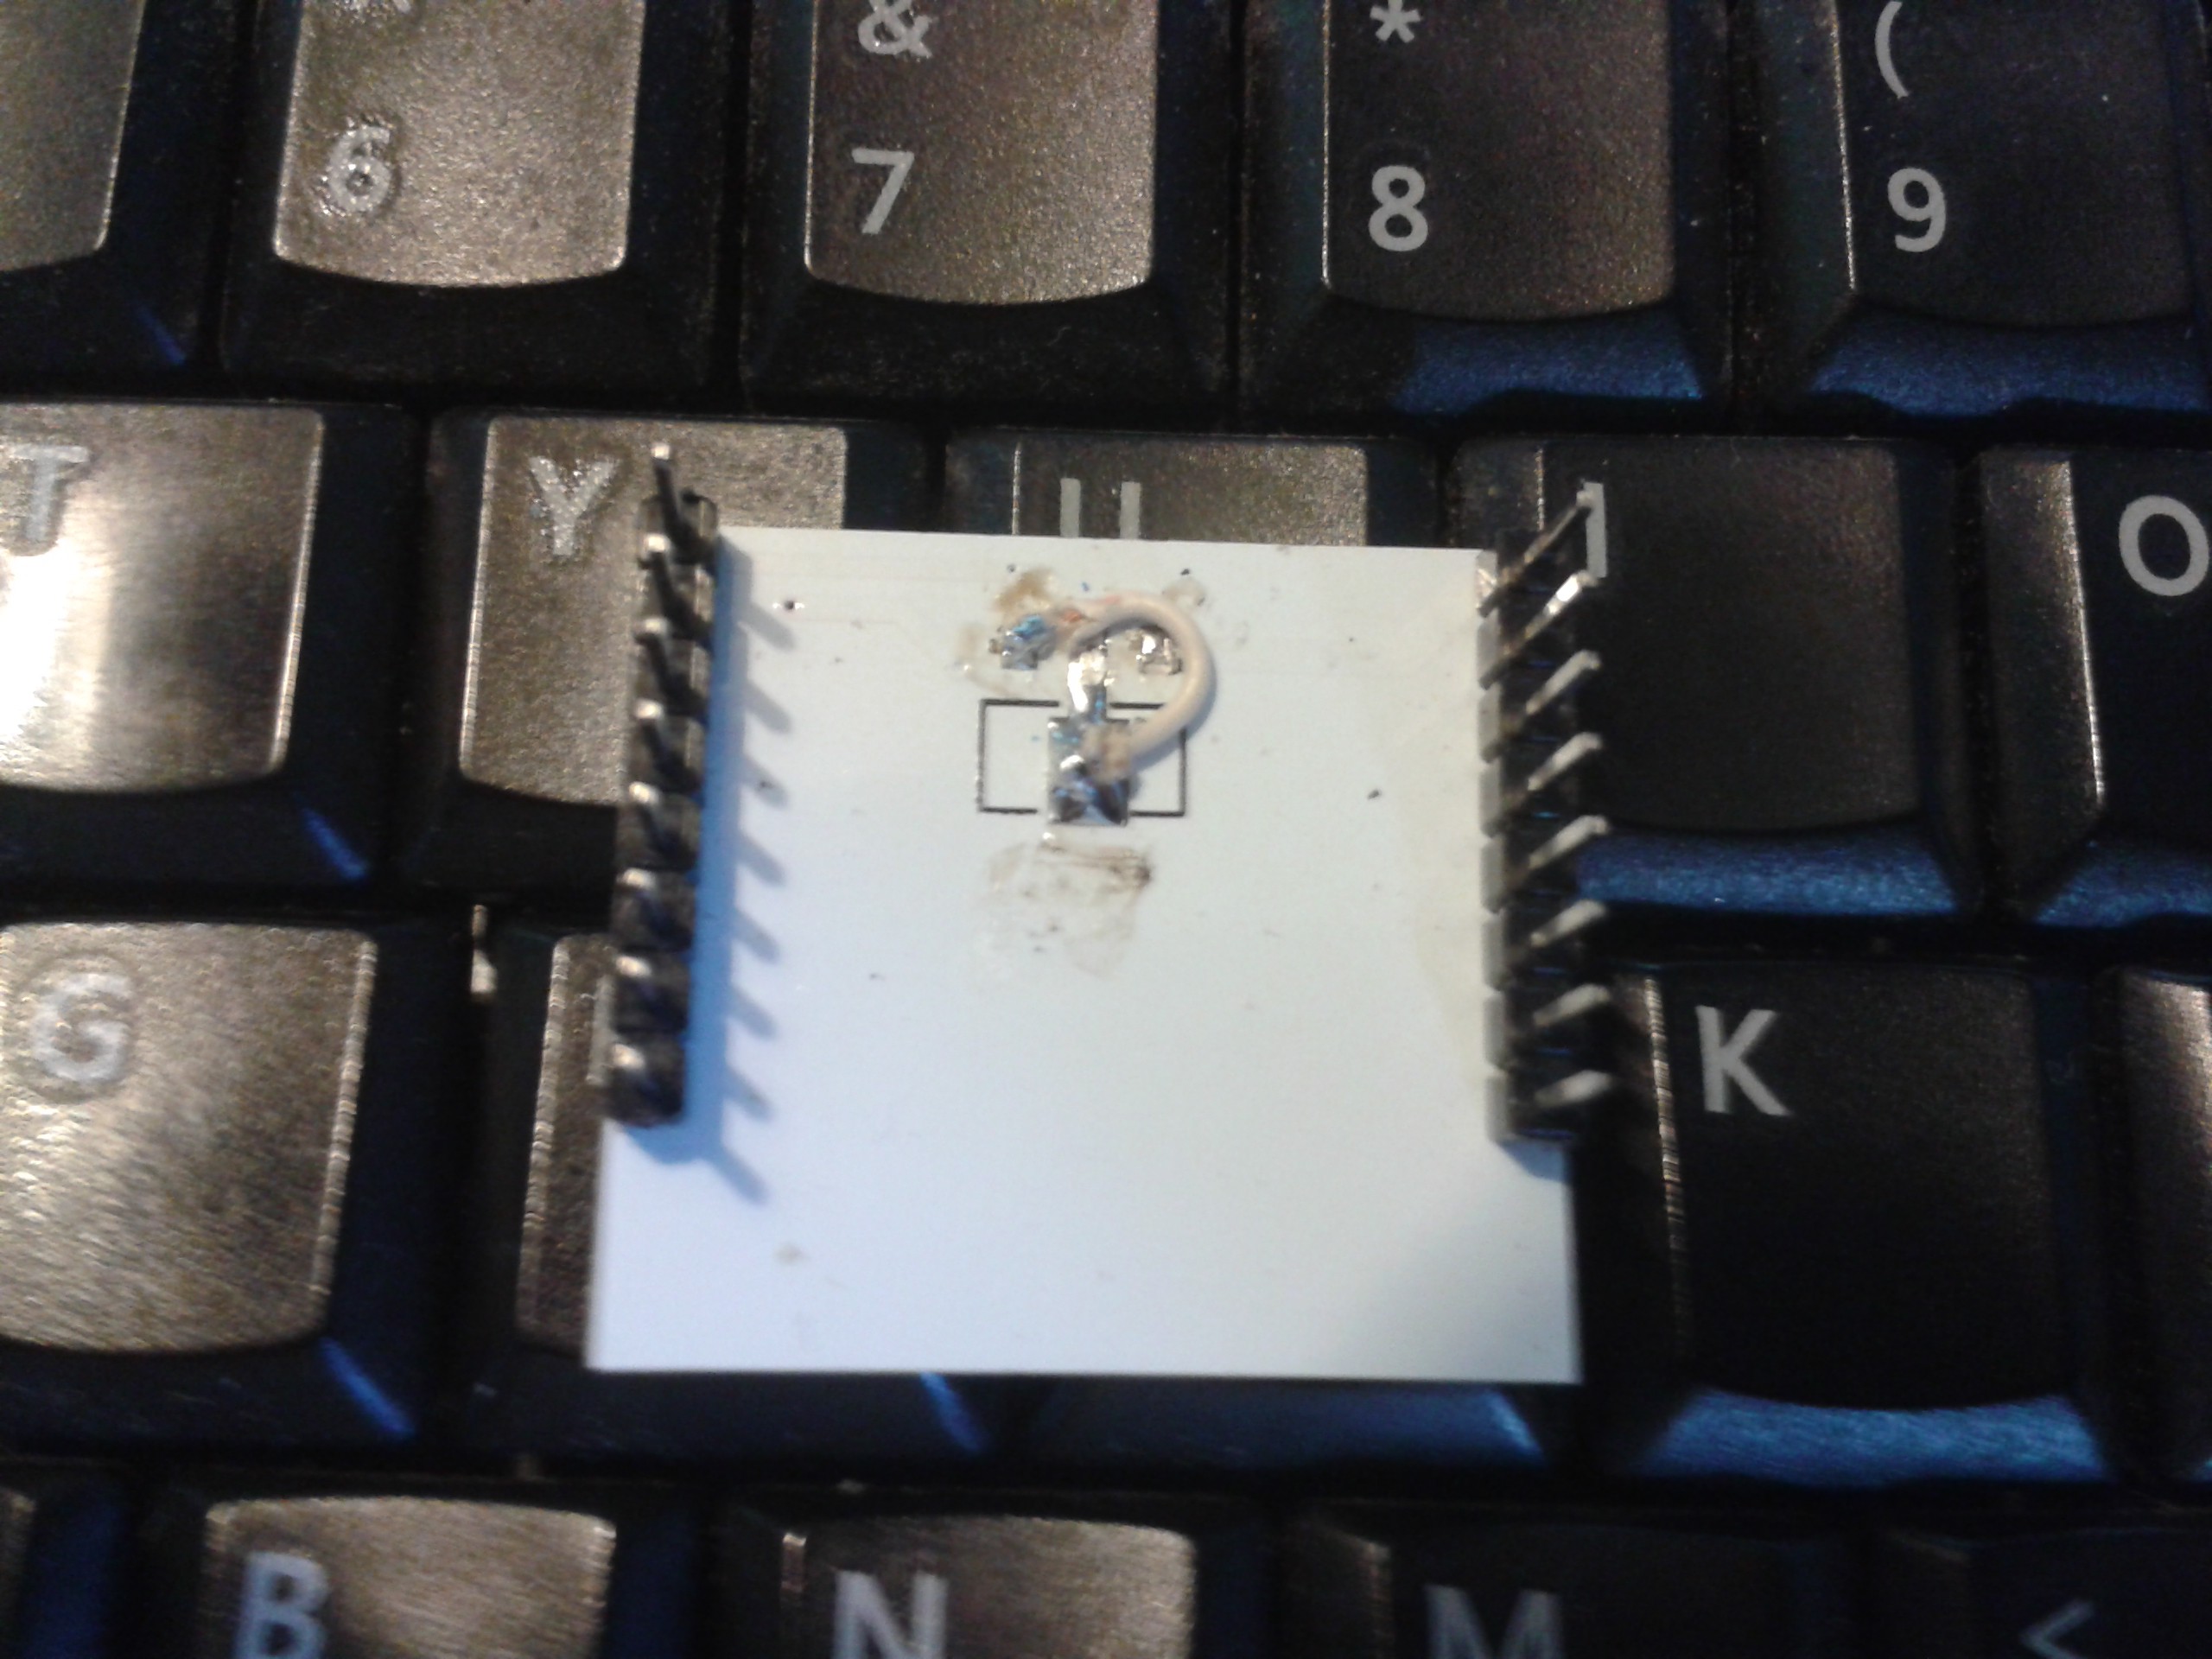
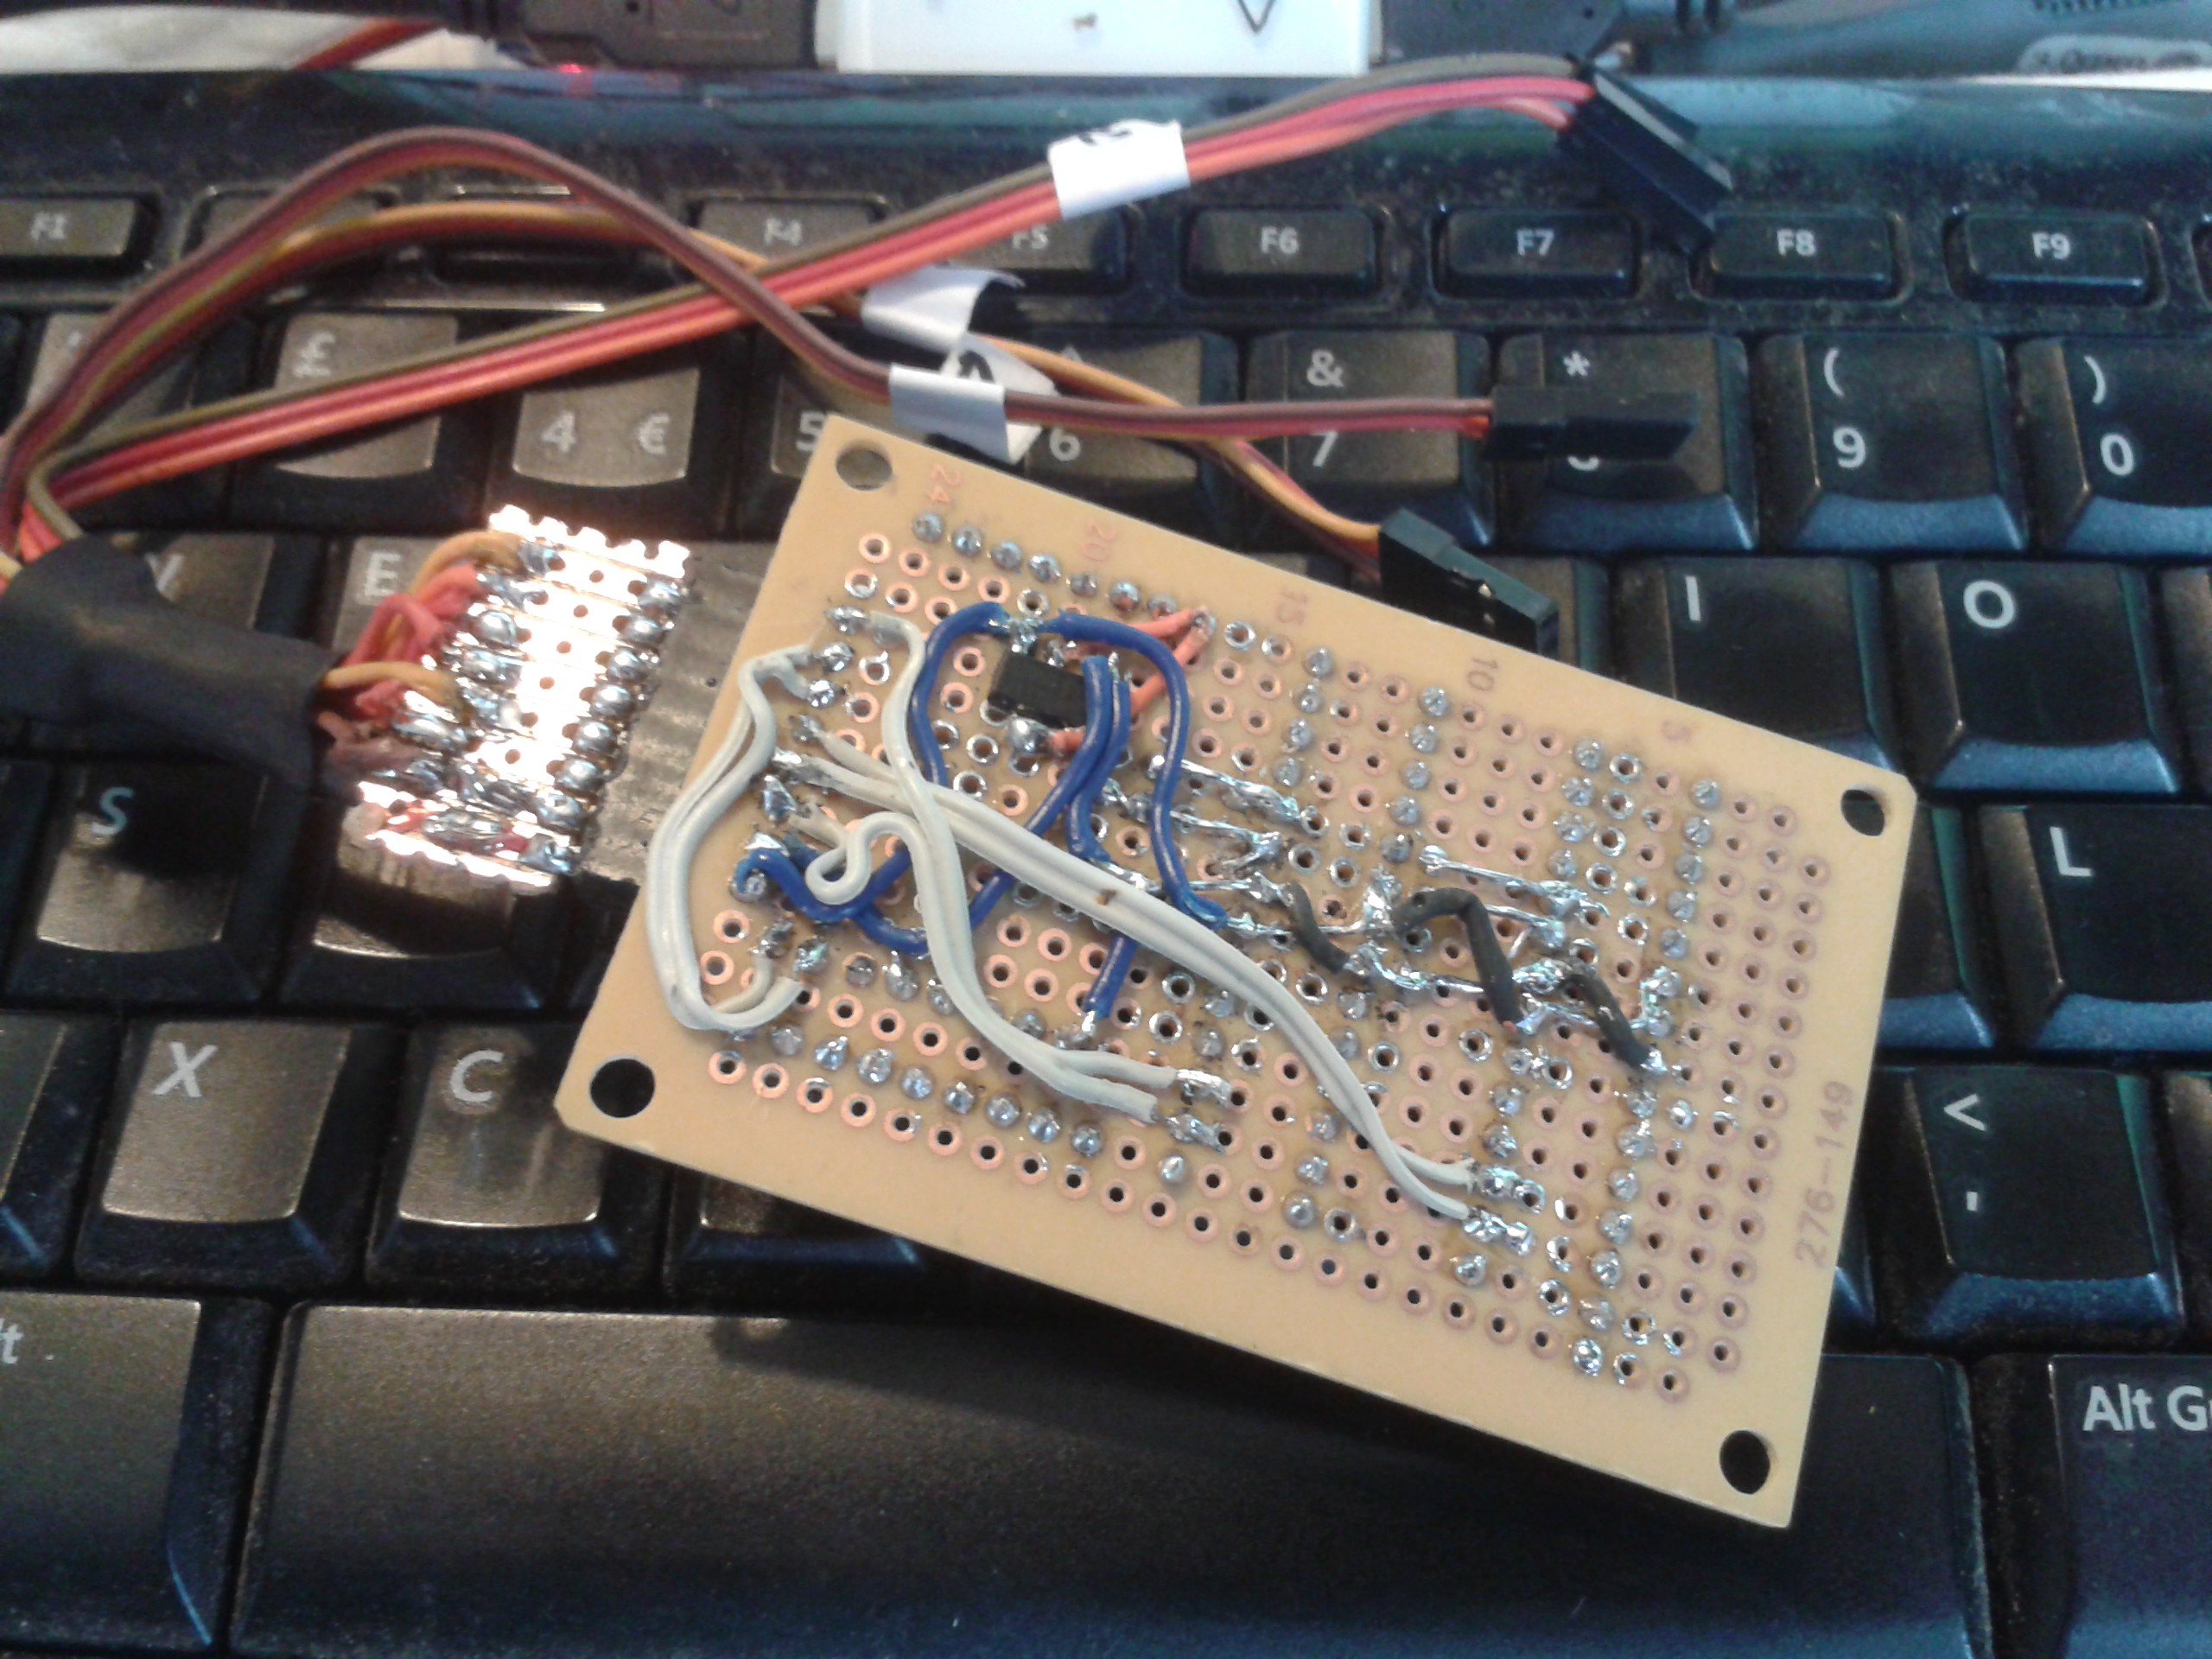
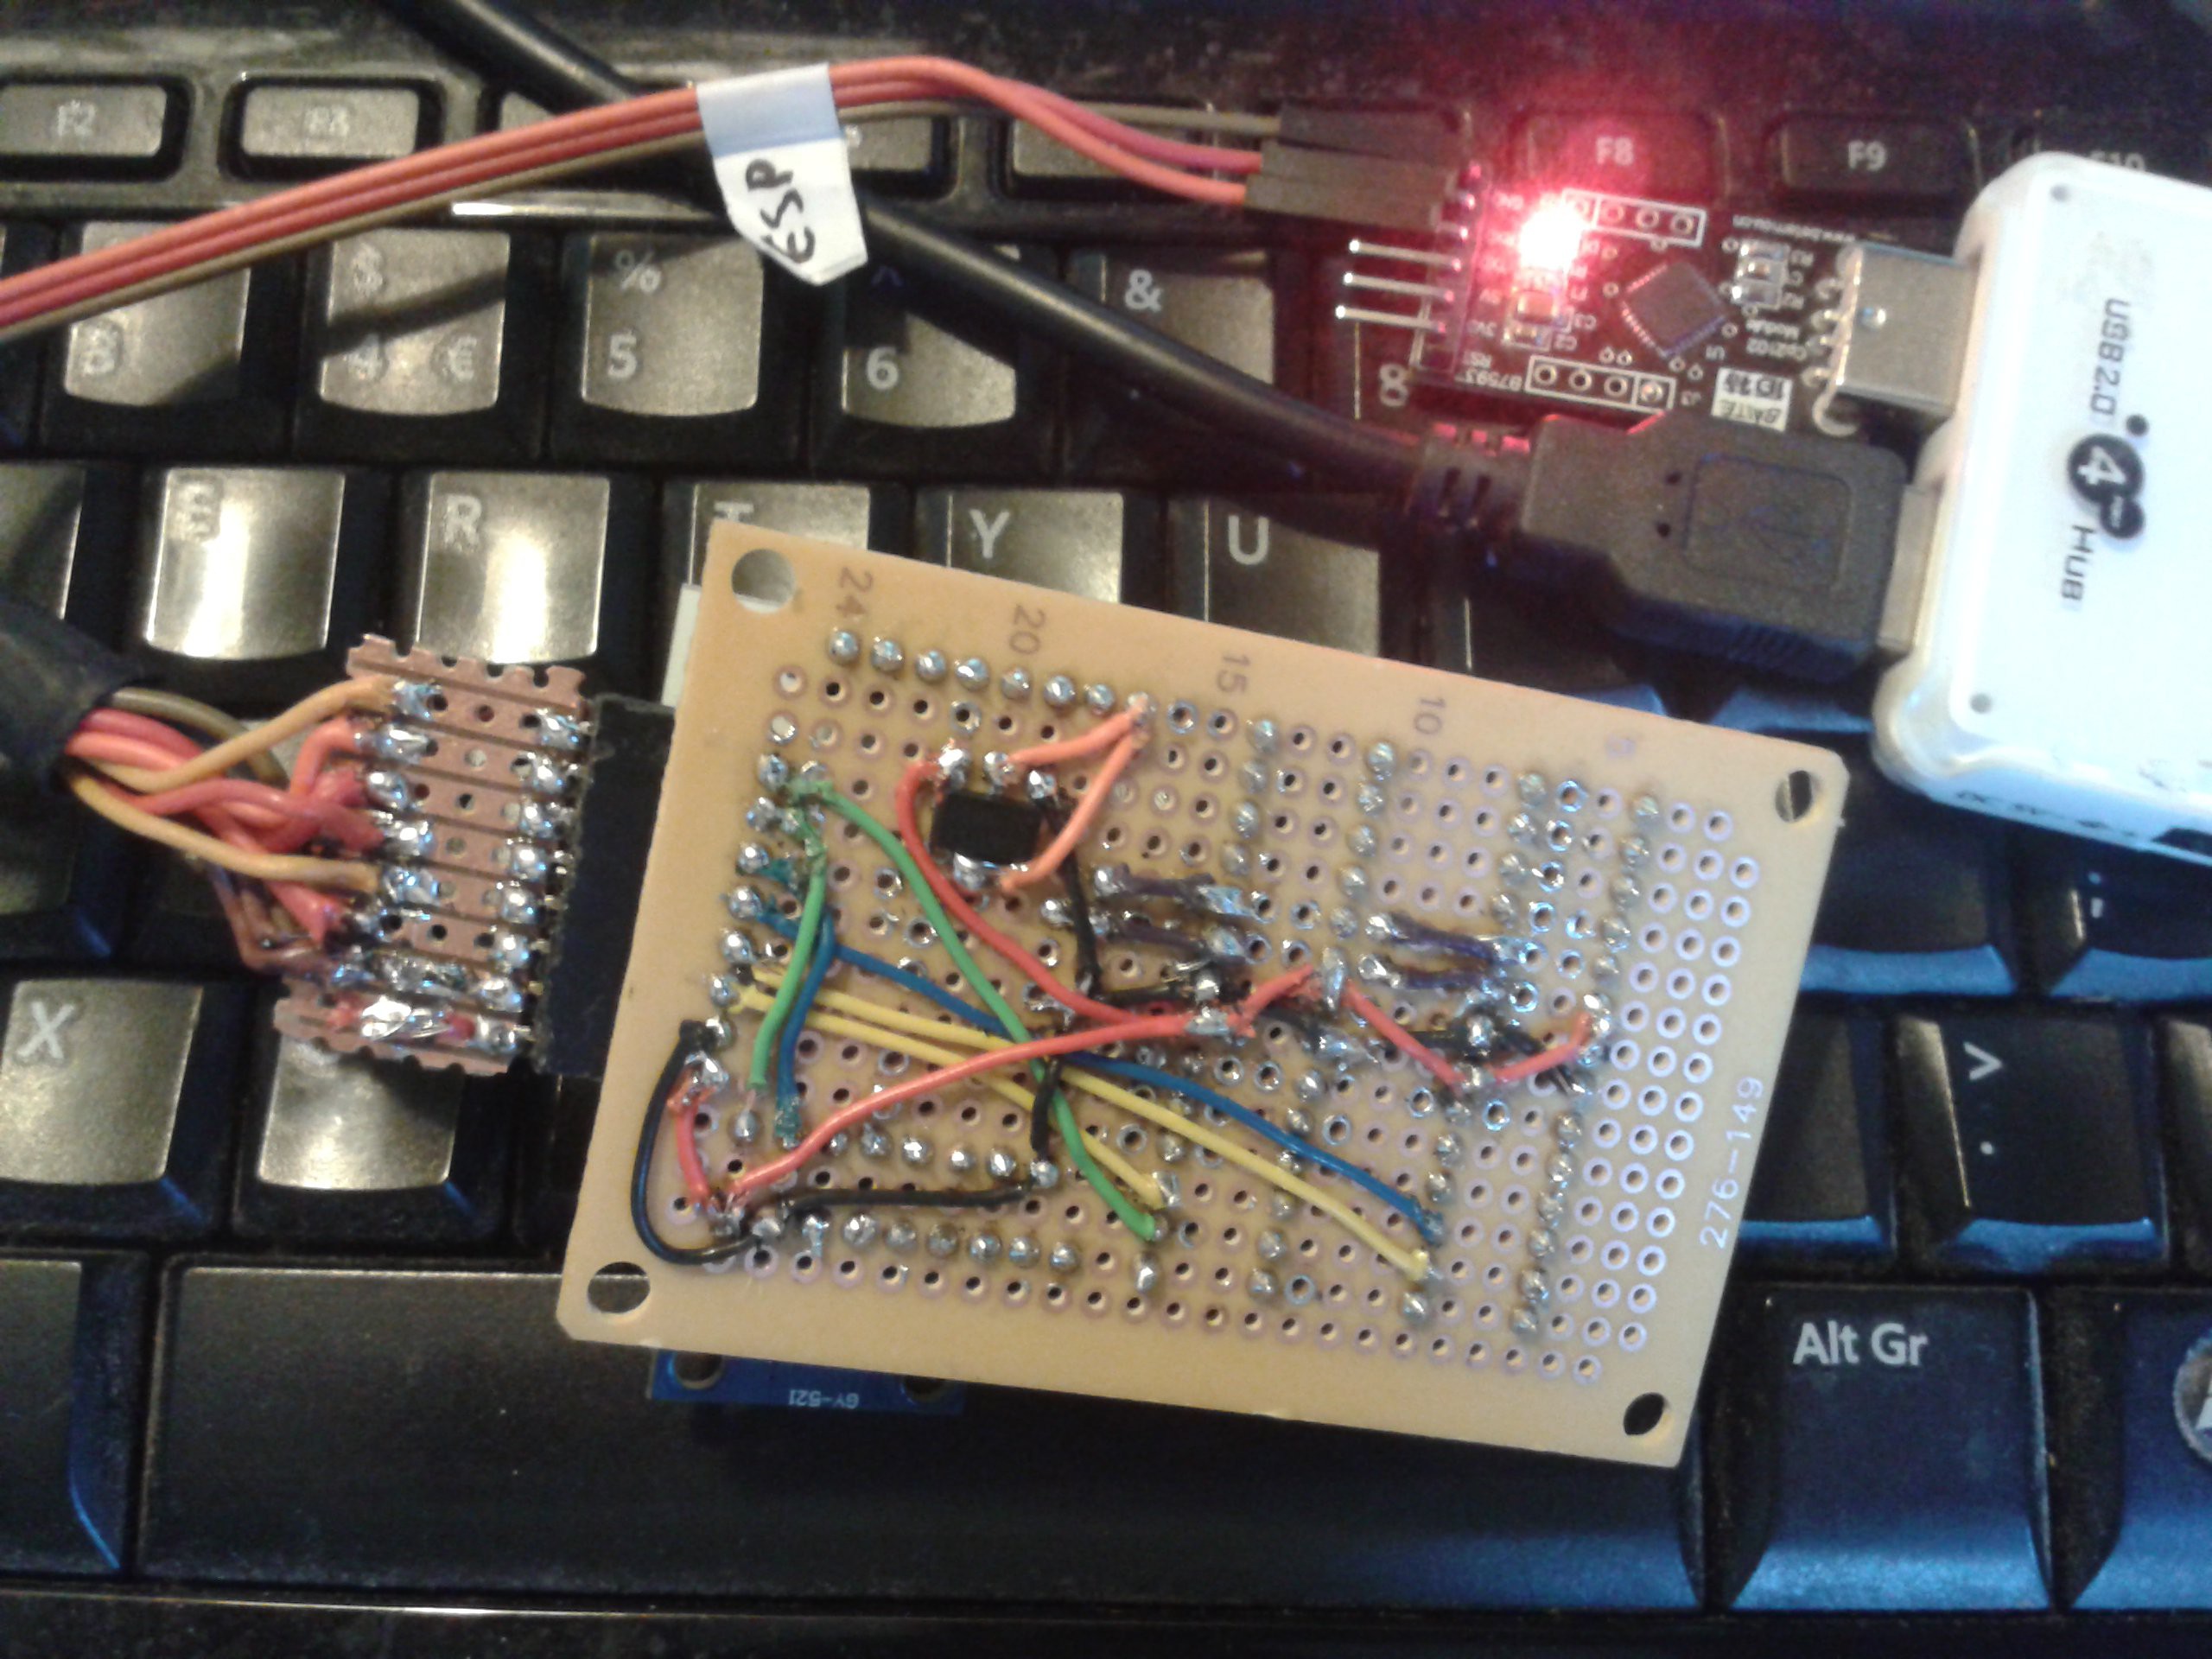 However, to my surprise the ESP module did work. I knew it powered up, but I never managed to get it to communicate before, sat on its breakout with the regulator onboard.
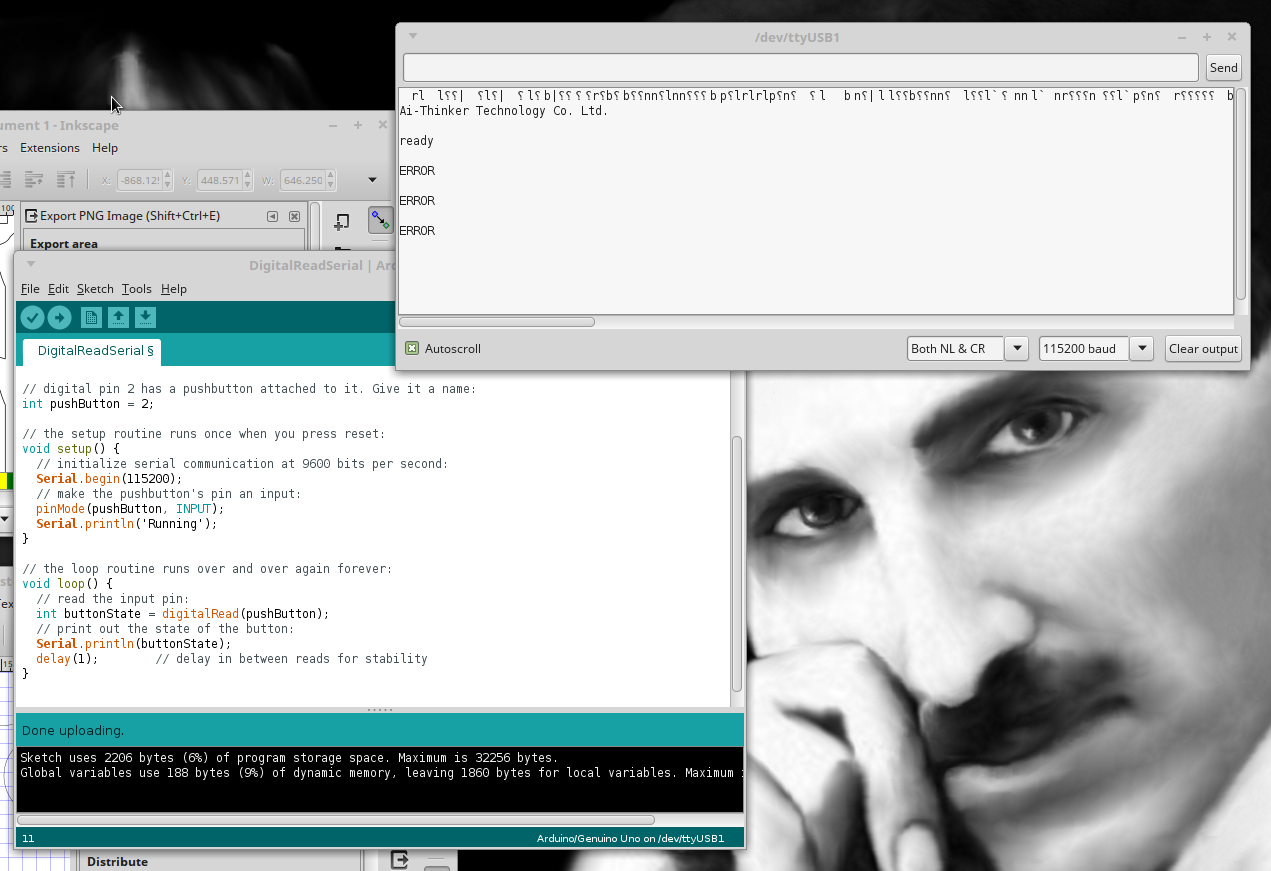 Ewww, Lua. Loaded, Used, Archived...
I have a problem with the plethora of general-purpose languages that have sprung up. I like Python, I like C++. Python is written in C++, shares some syntax with it and basically forms a higher-level and more flexible way to create machine code. C++ of course just does it the hard way, and all languages are ultimately written in it, so the syntax becomes a matter of personal preference. Mathematics and logic are not good subjects to apply preference to, so unless a language has a specific use, it doesnt have a point IMO, and Lua just adds another dialect to the pot.
There are exceptions to this, for example MIT's Appinventor was designed specifically to be written graphically in a browser and compile into a framework so it has a rigid syntax and is very hard to type and read so it was necessary to build an entire language rather than build a graphic interface to an existing one. Lua on the other hand just appears to mash-up some of the more fluid syntaxes from other languages and to be honest I find it confusing. I've written in several different Assembly languages, Microcode, many Basics including VB, Forth, Pascal, VBS, JS, C, C#, Python. I've managed to avoid Ruby and Lua because I take one look at their code and my brain barfs up all the others it reminds me of.
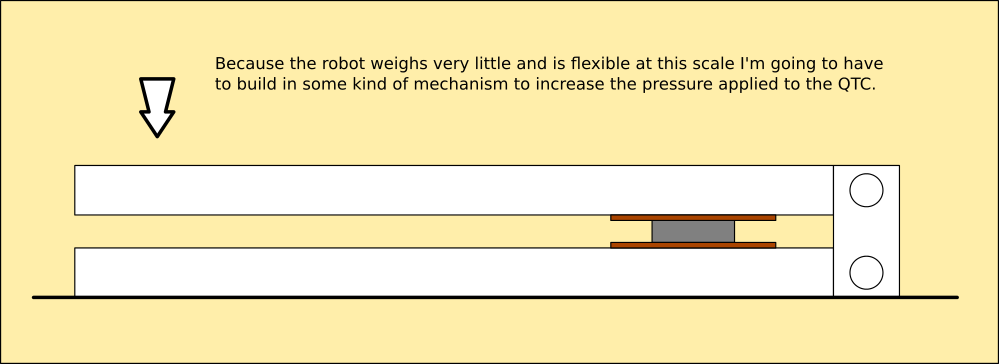
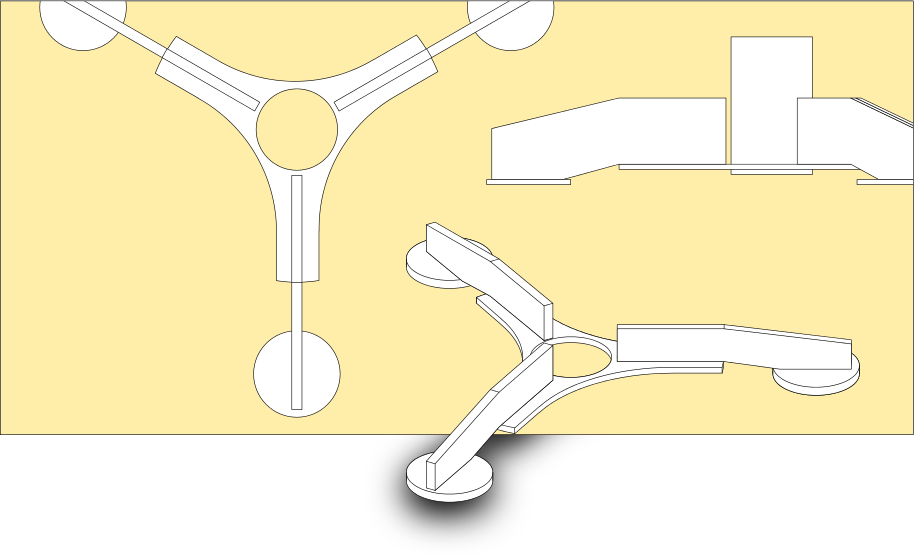
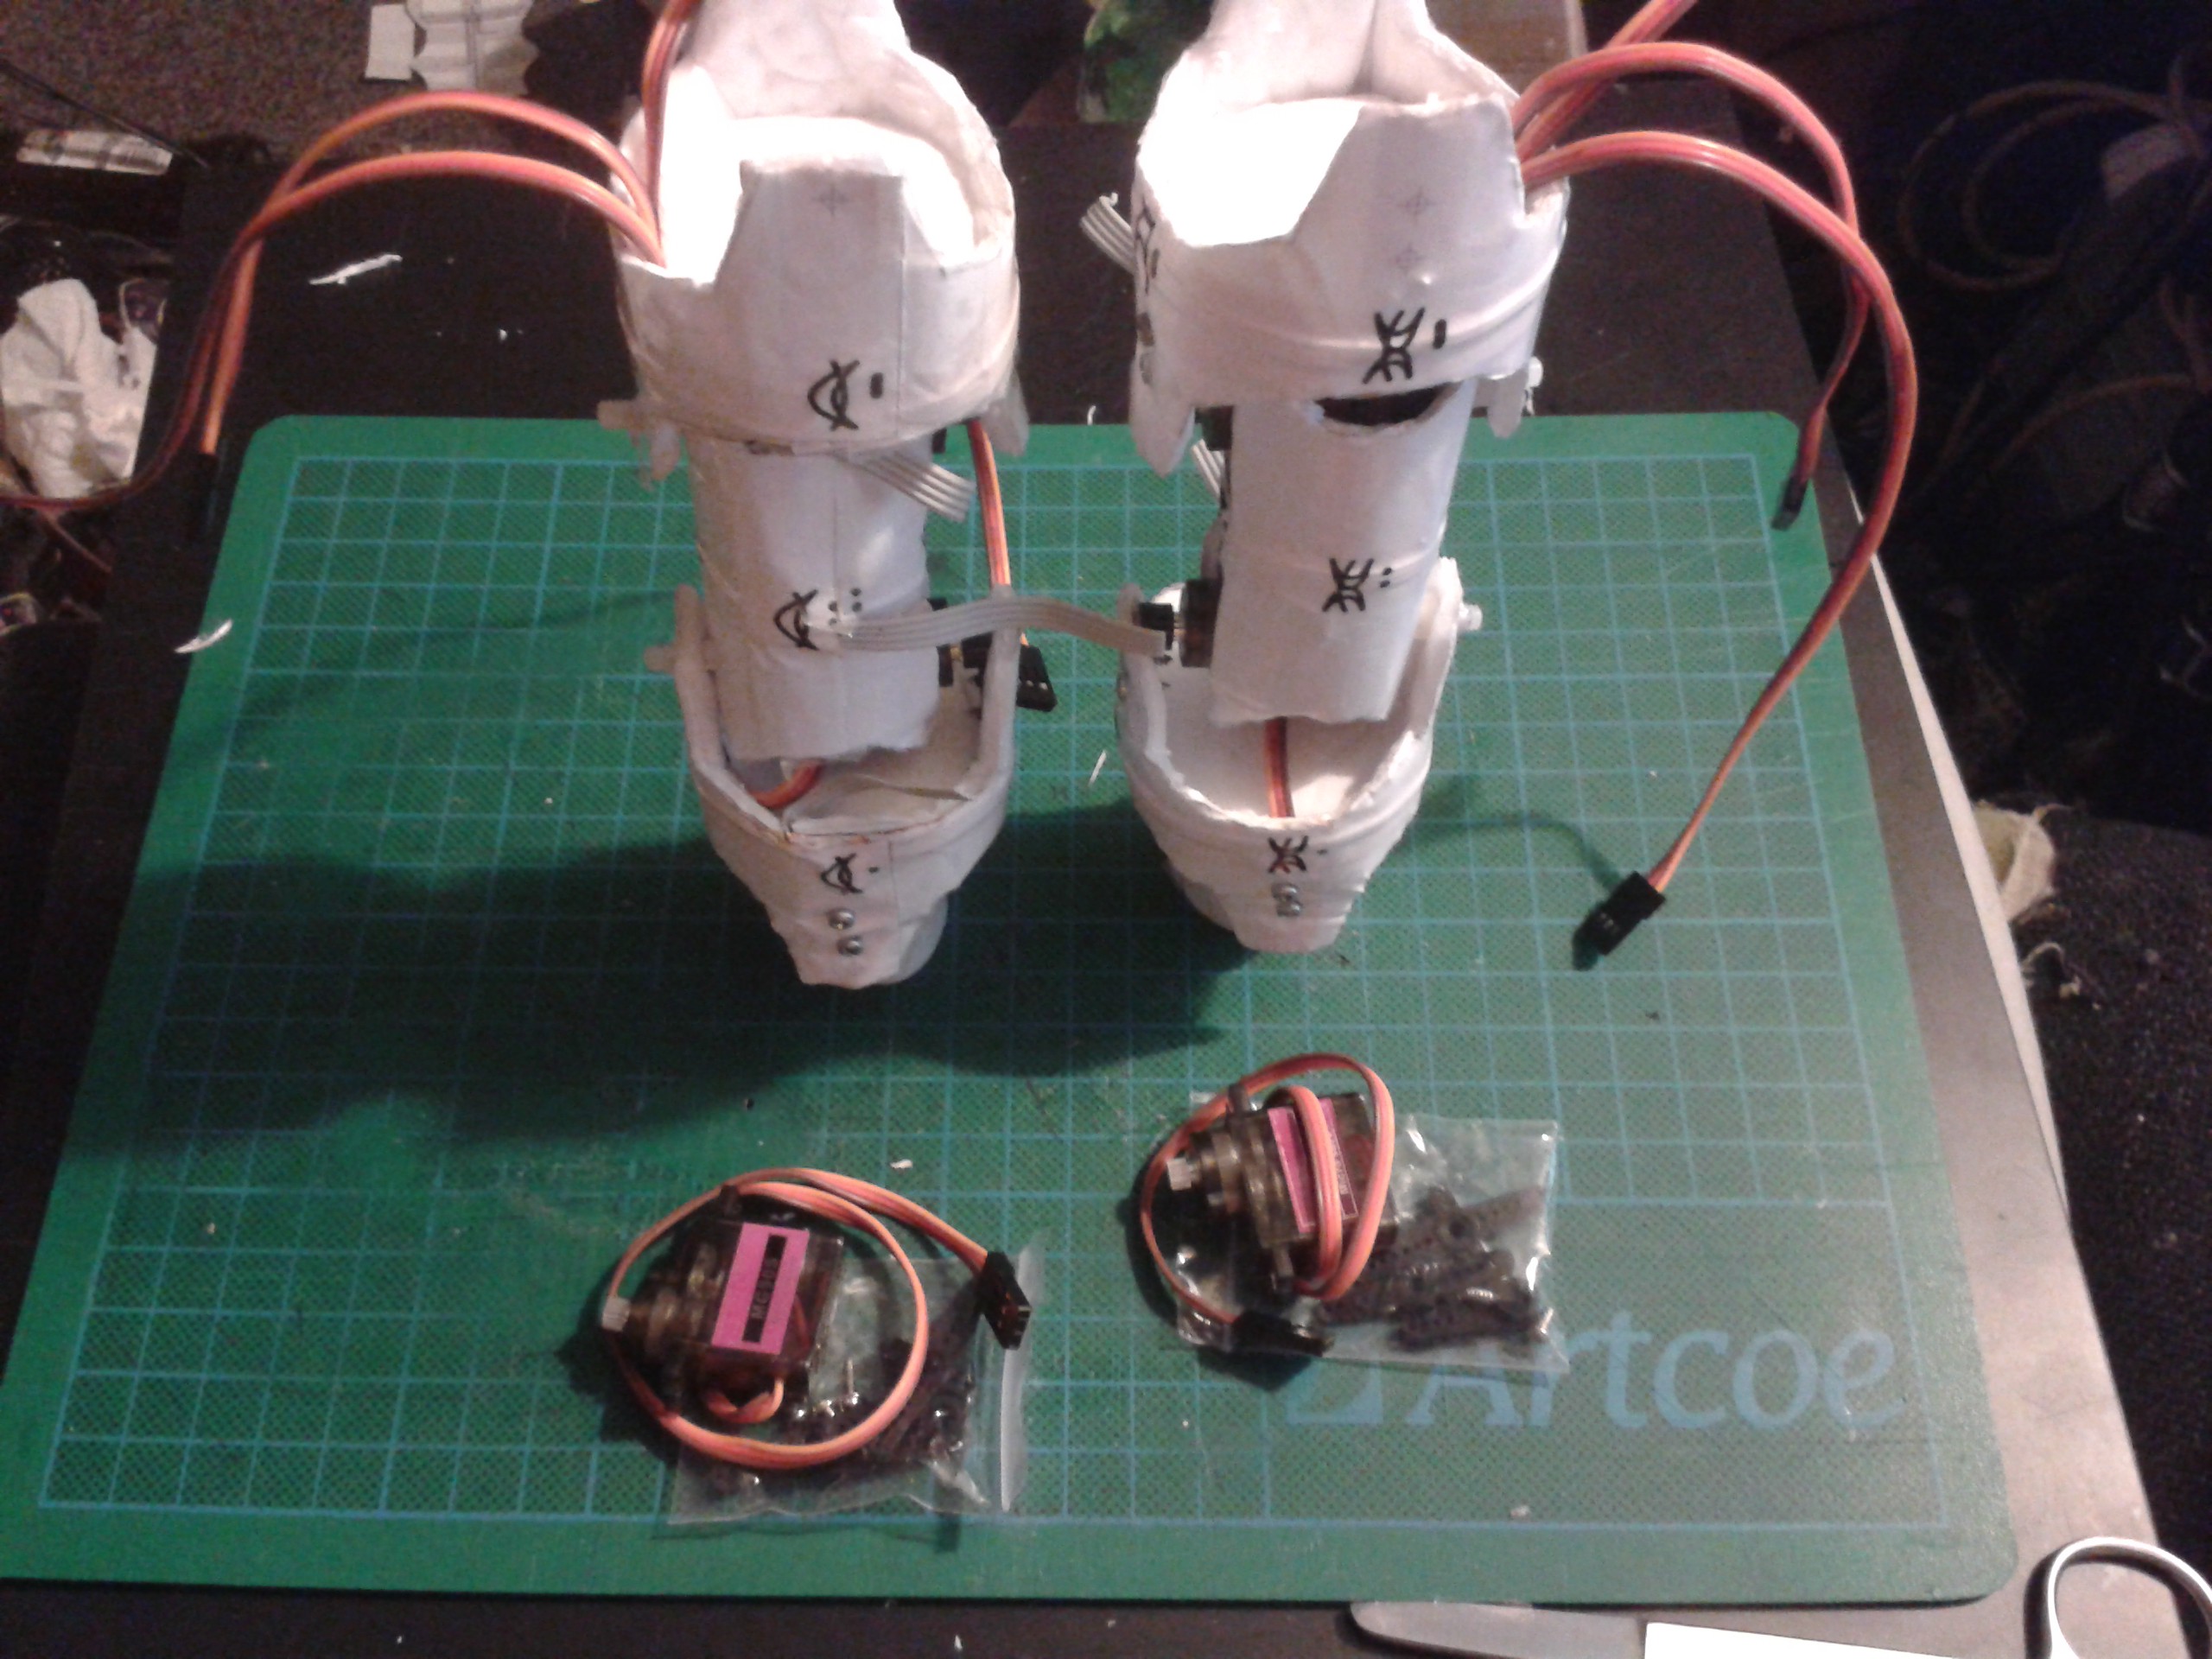
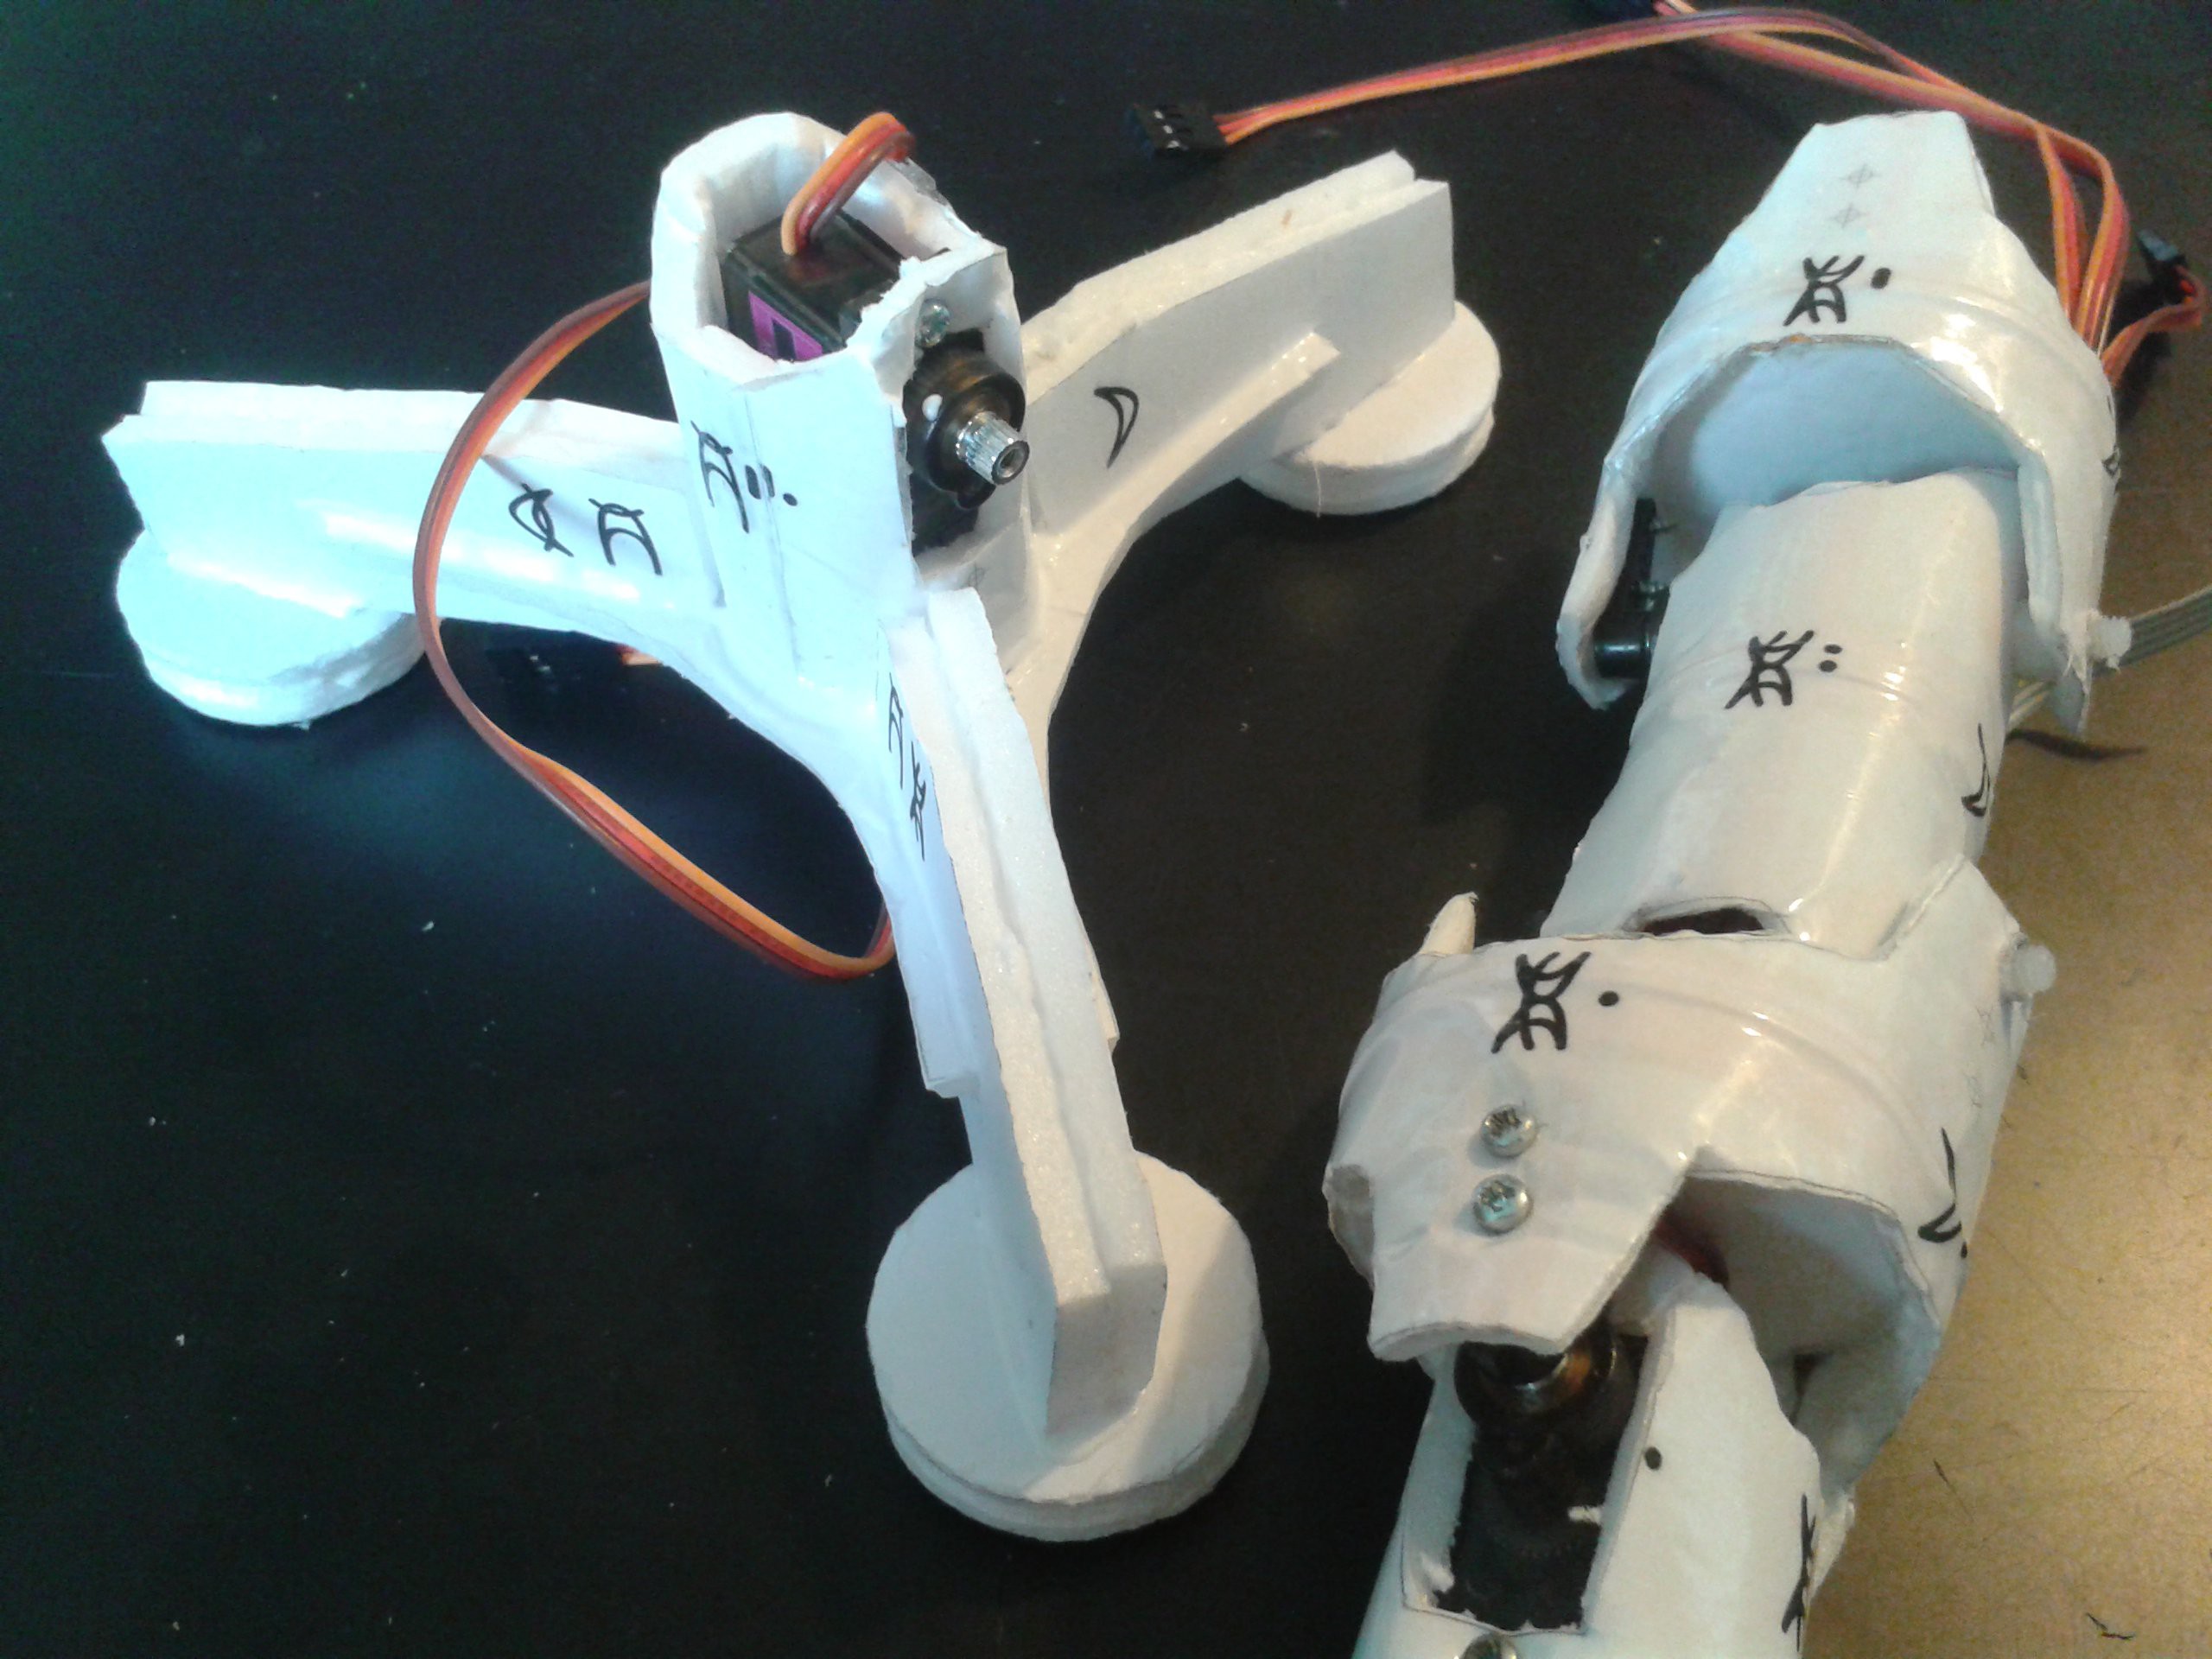 The toes turned out to be a bit longer than I imagined in comparison to the legs so I've made them a little shorter. Eventually the QTC will be integrated into the ankle skin along with the wiring.
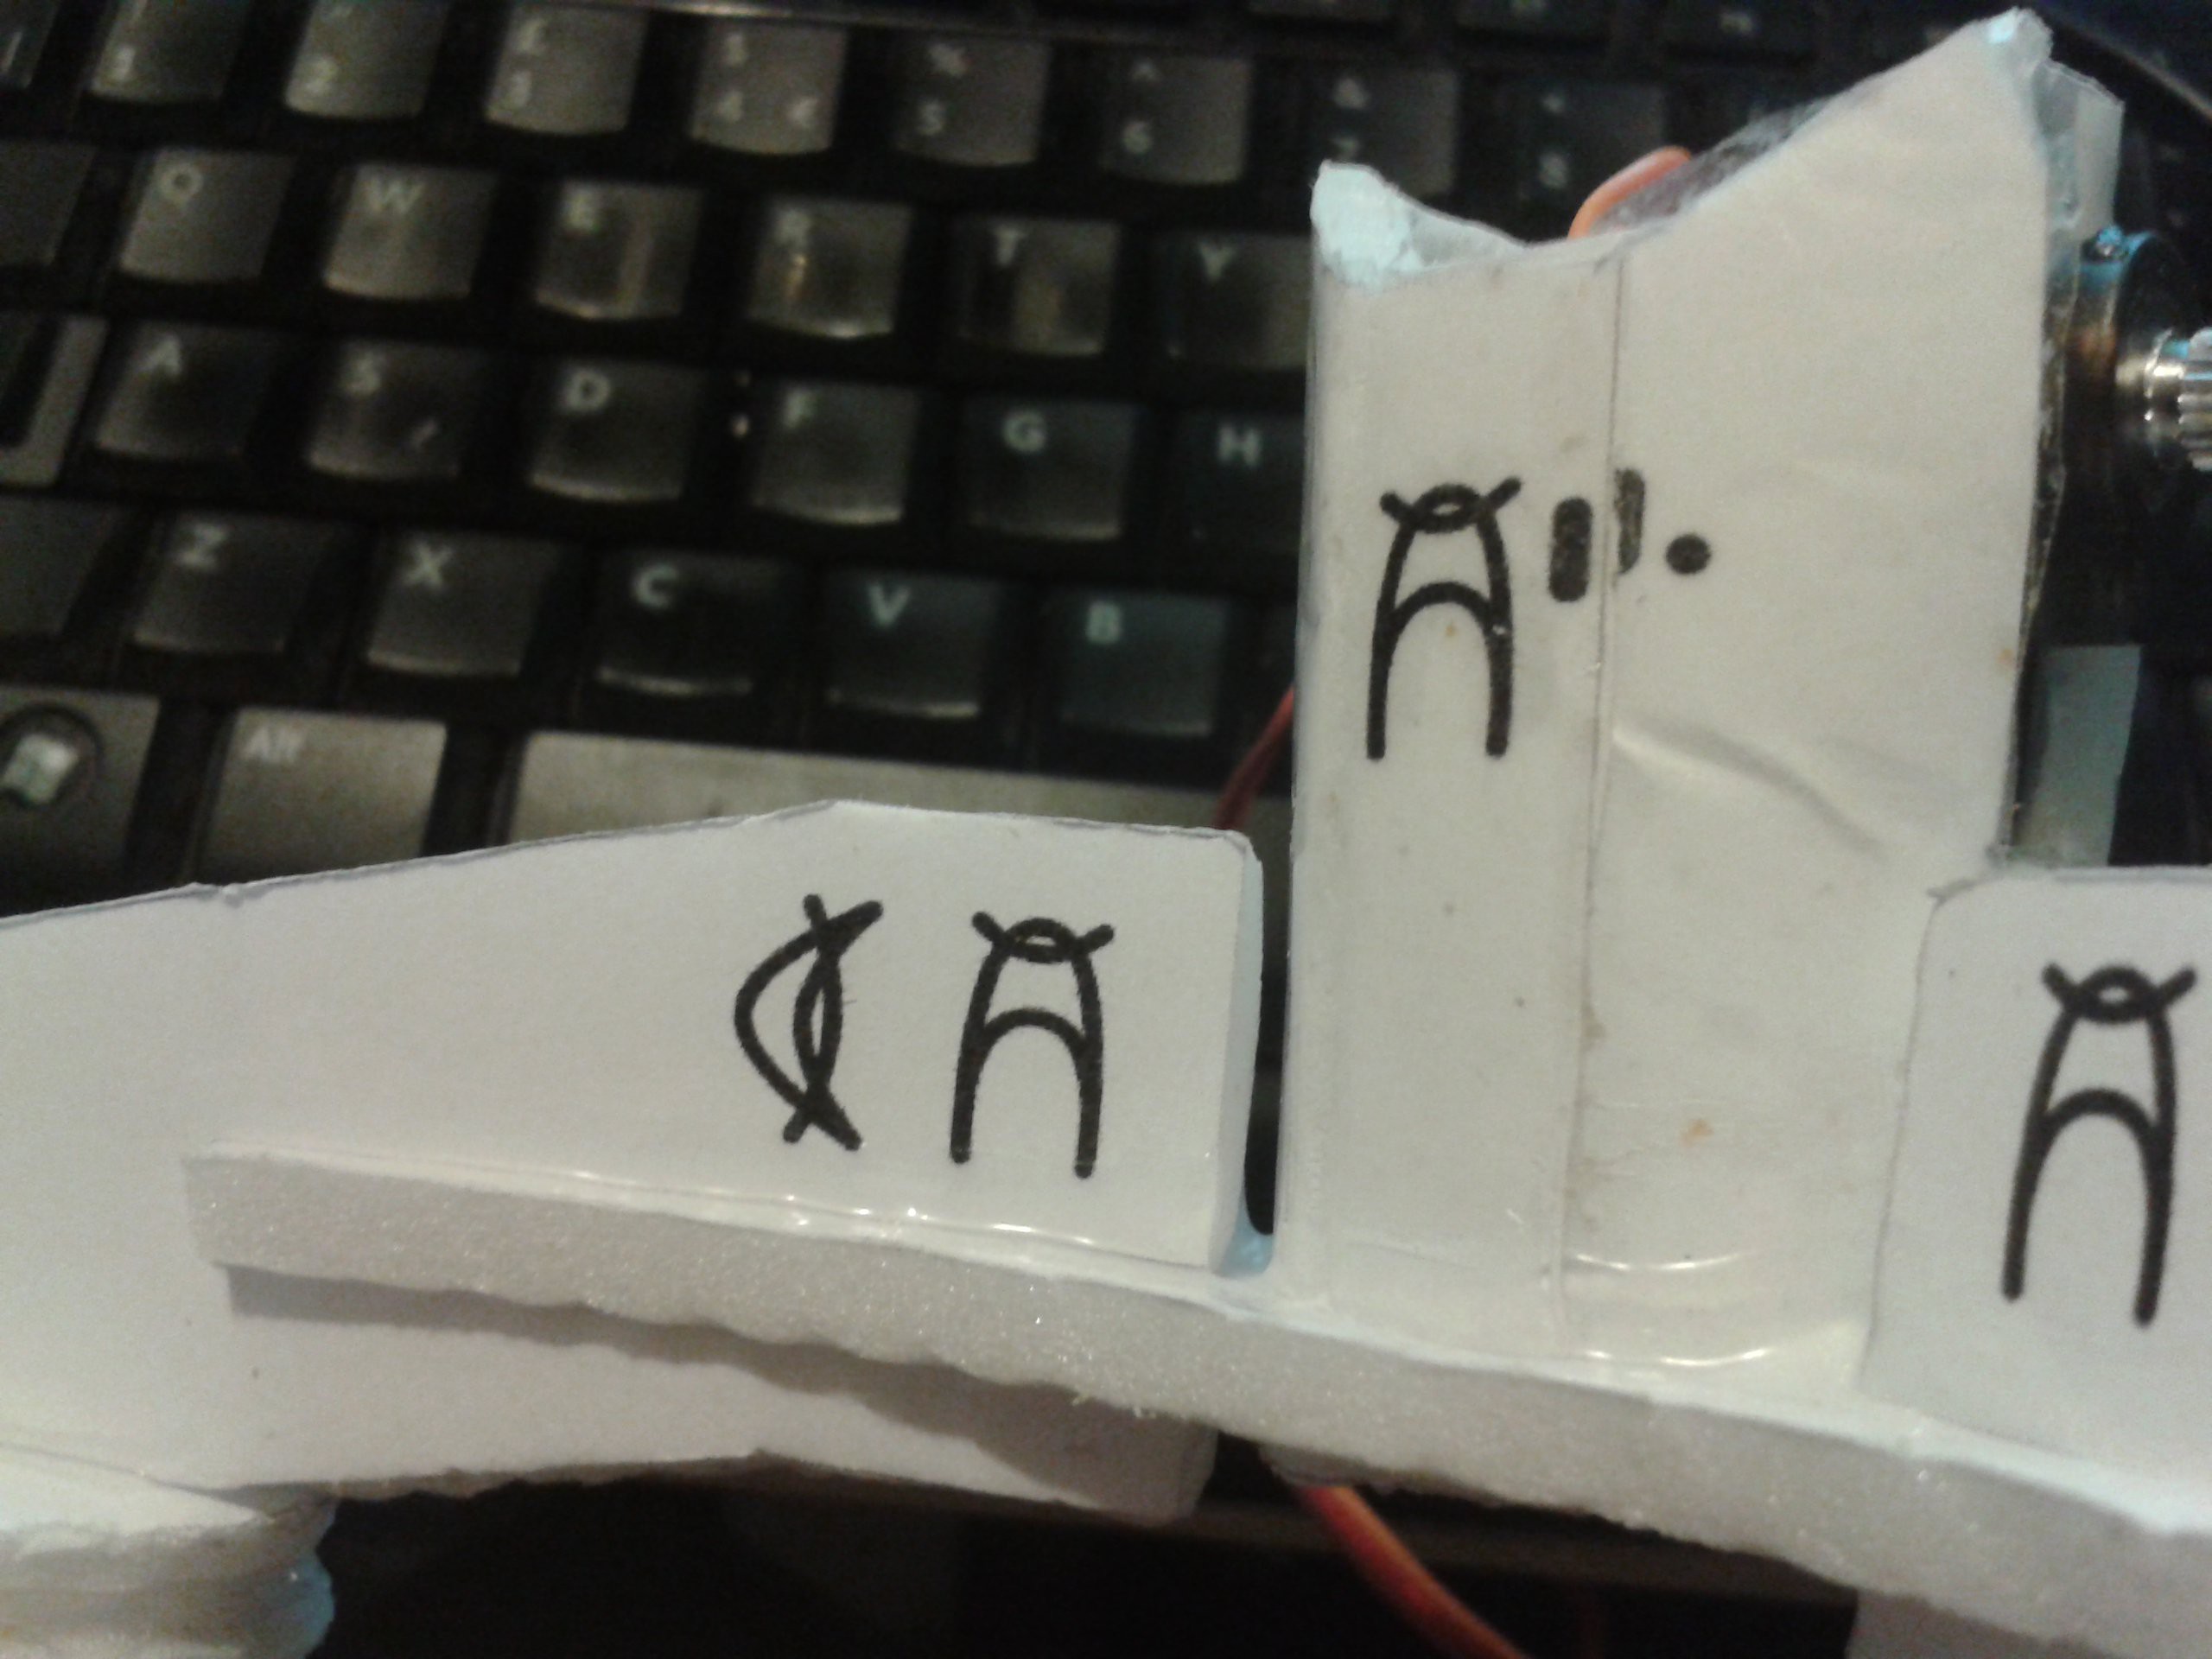
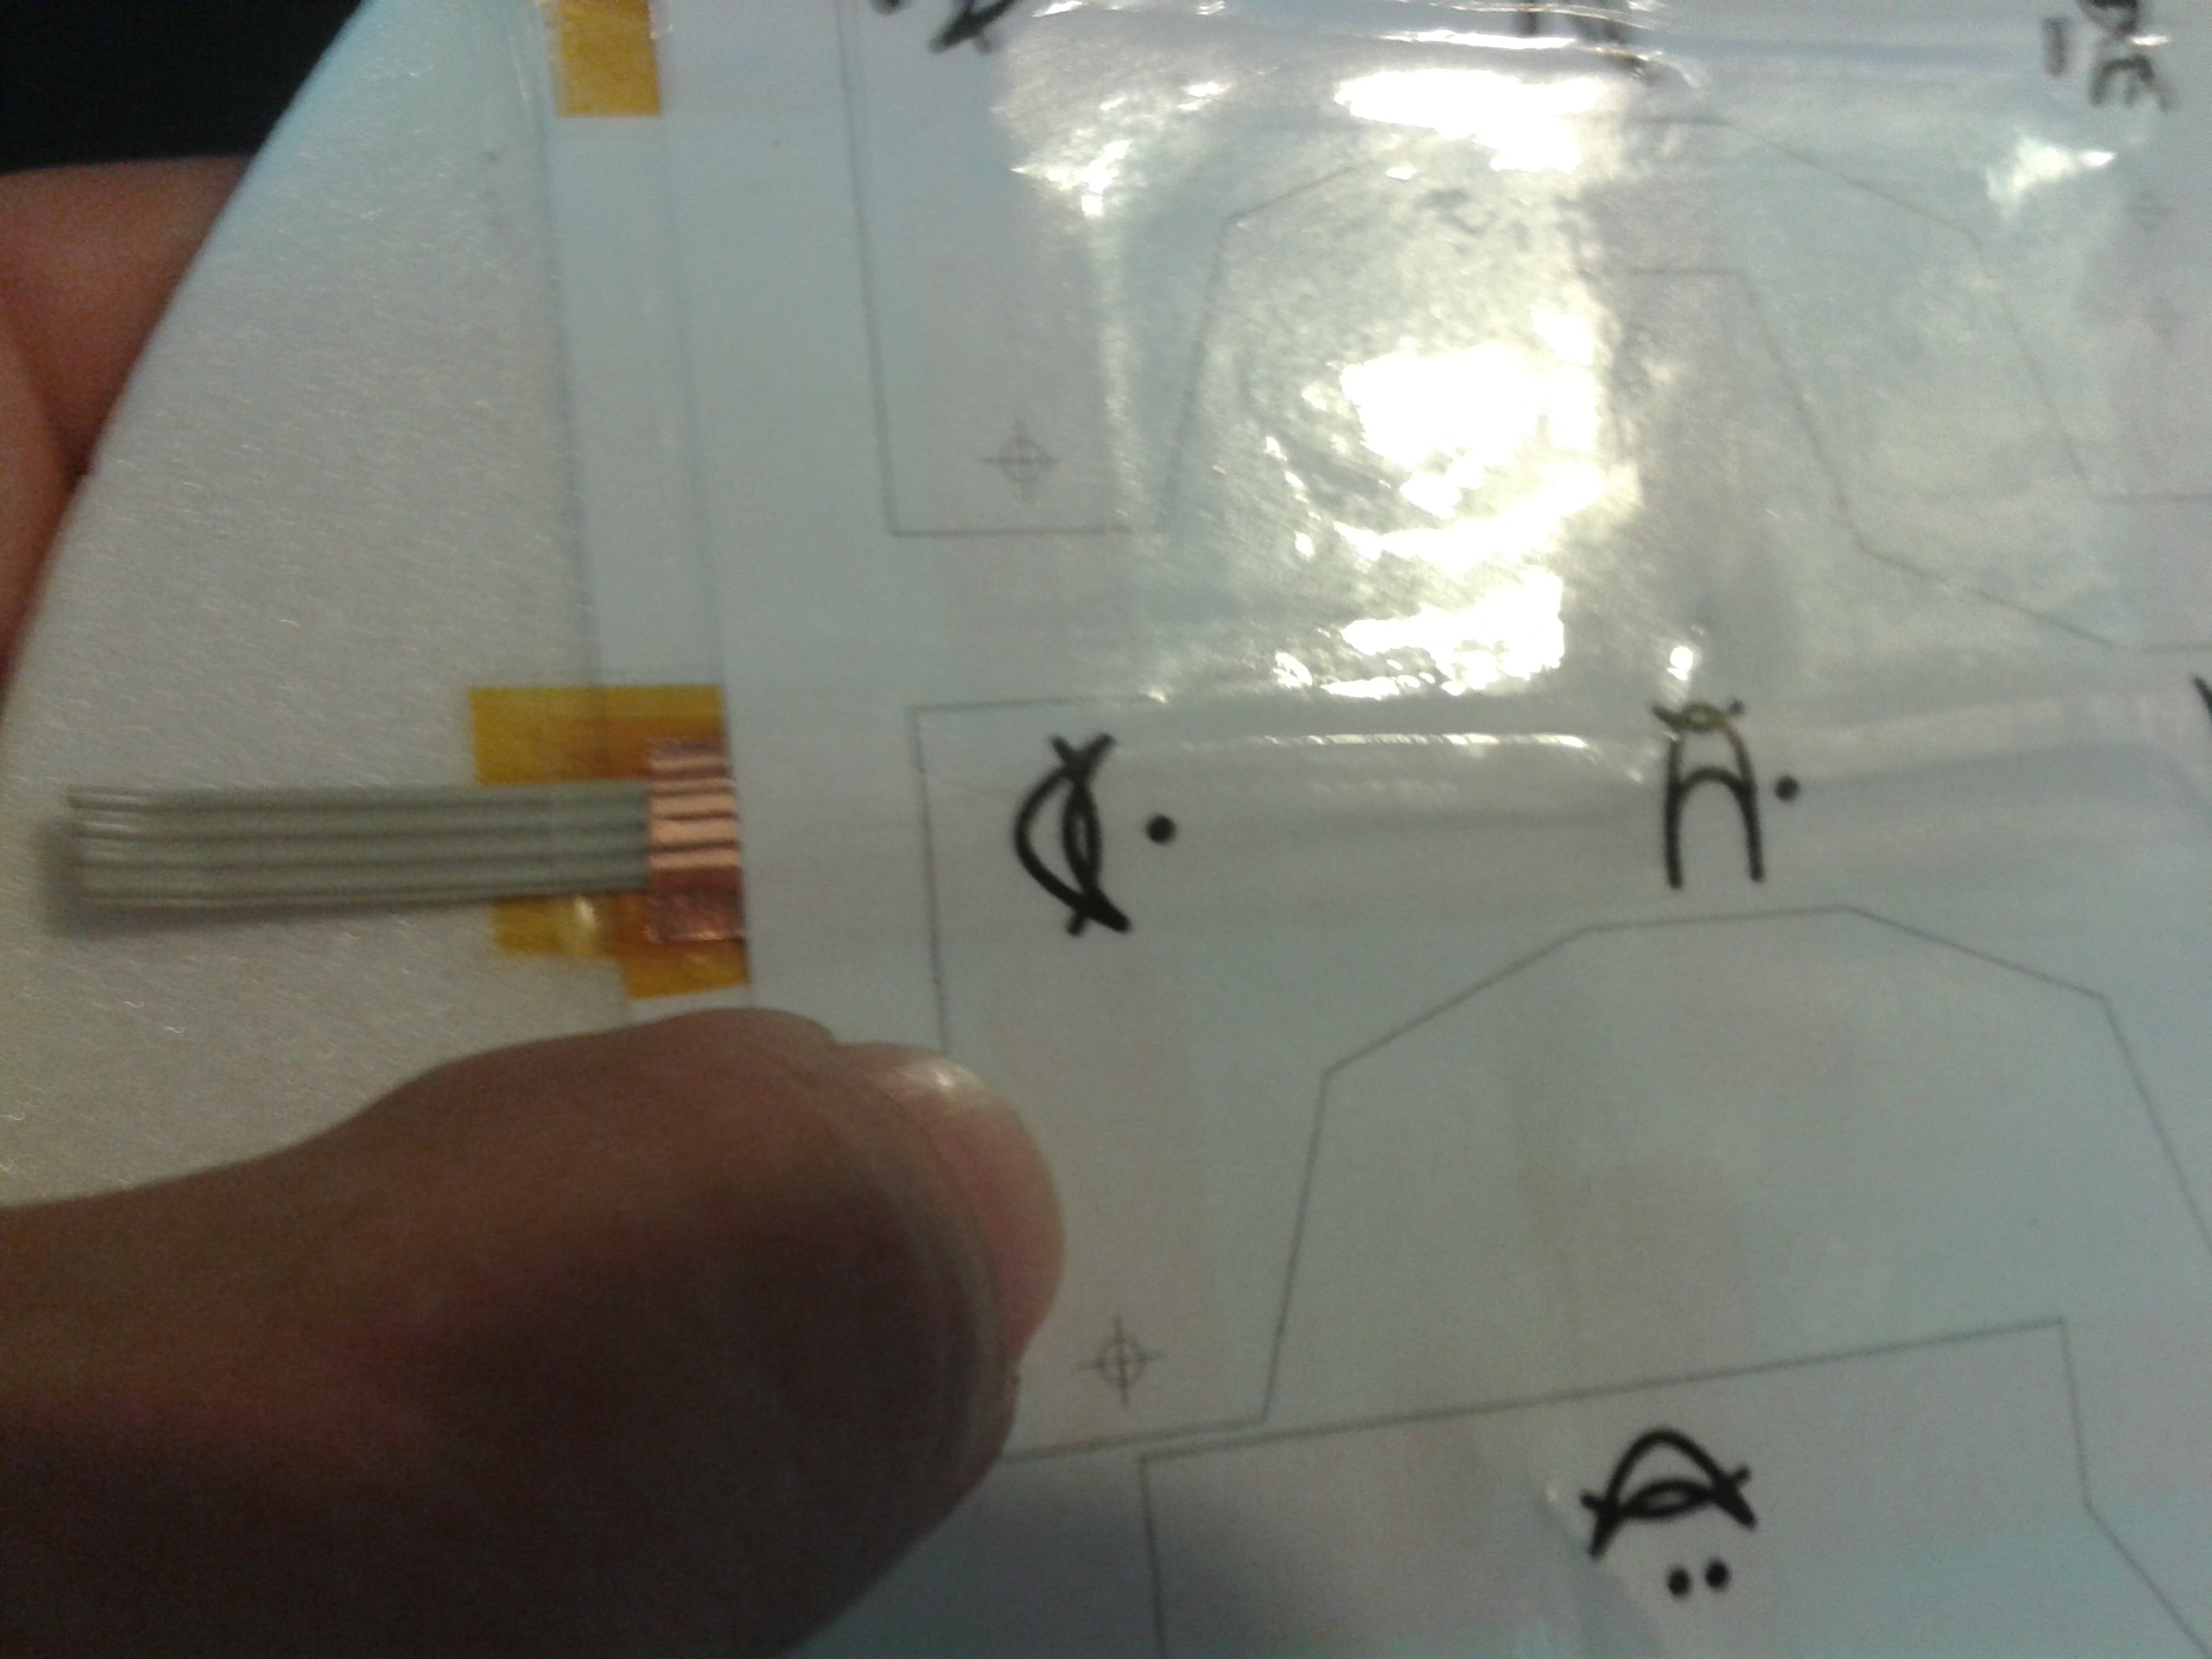
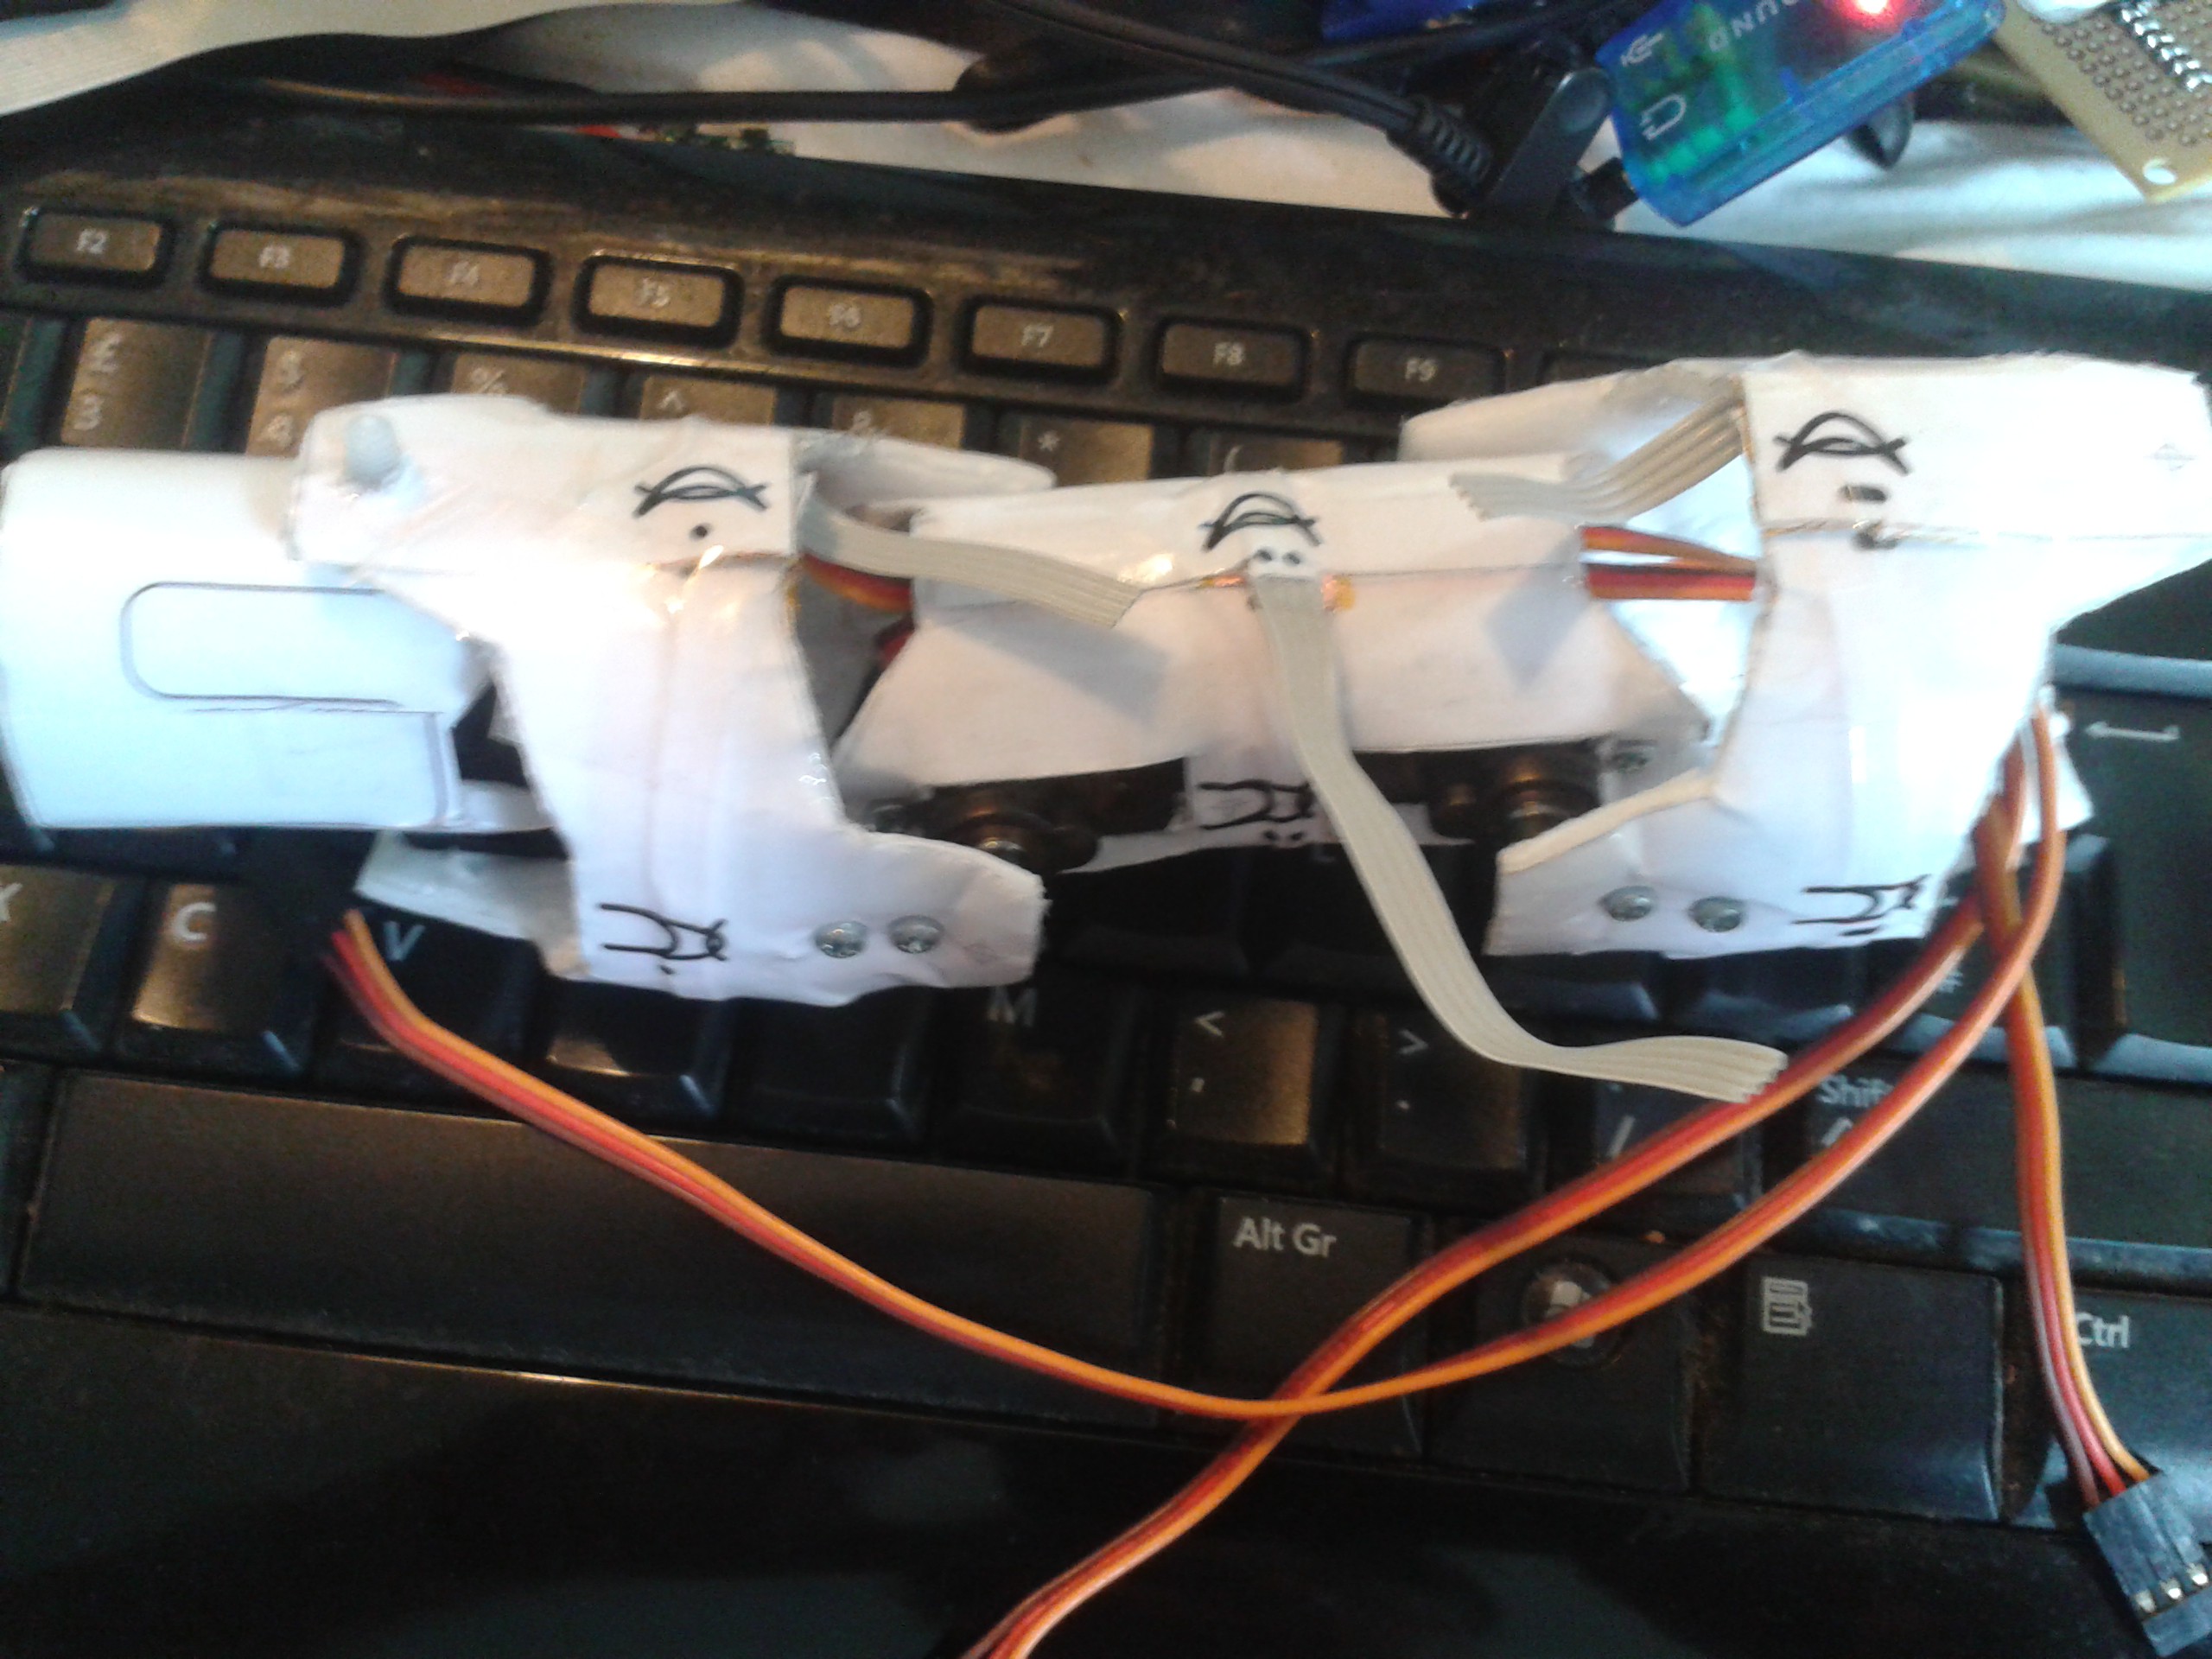

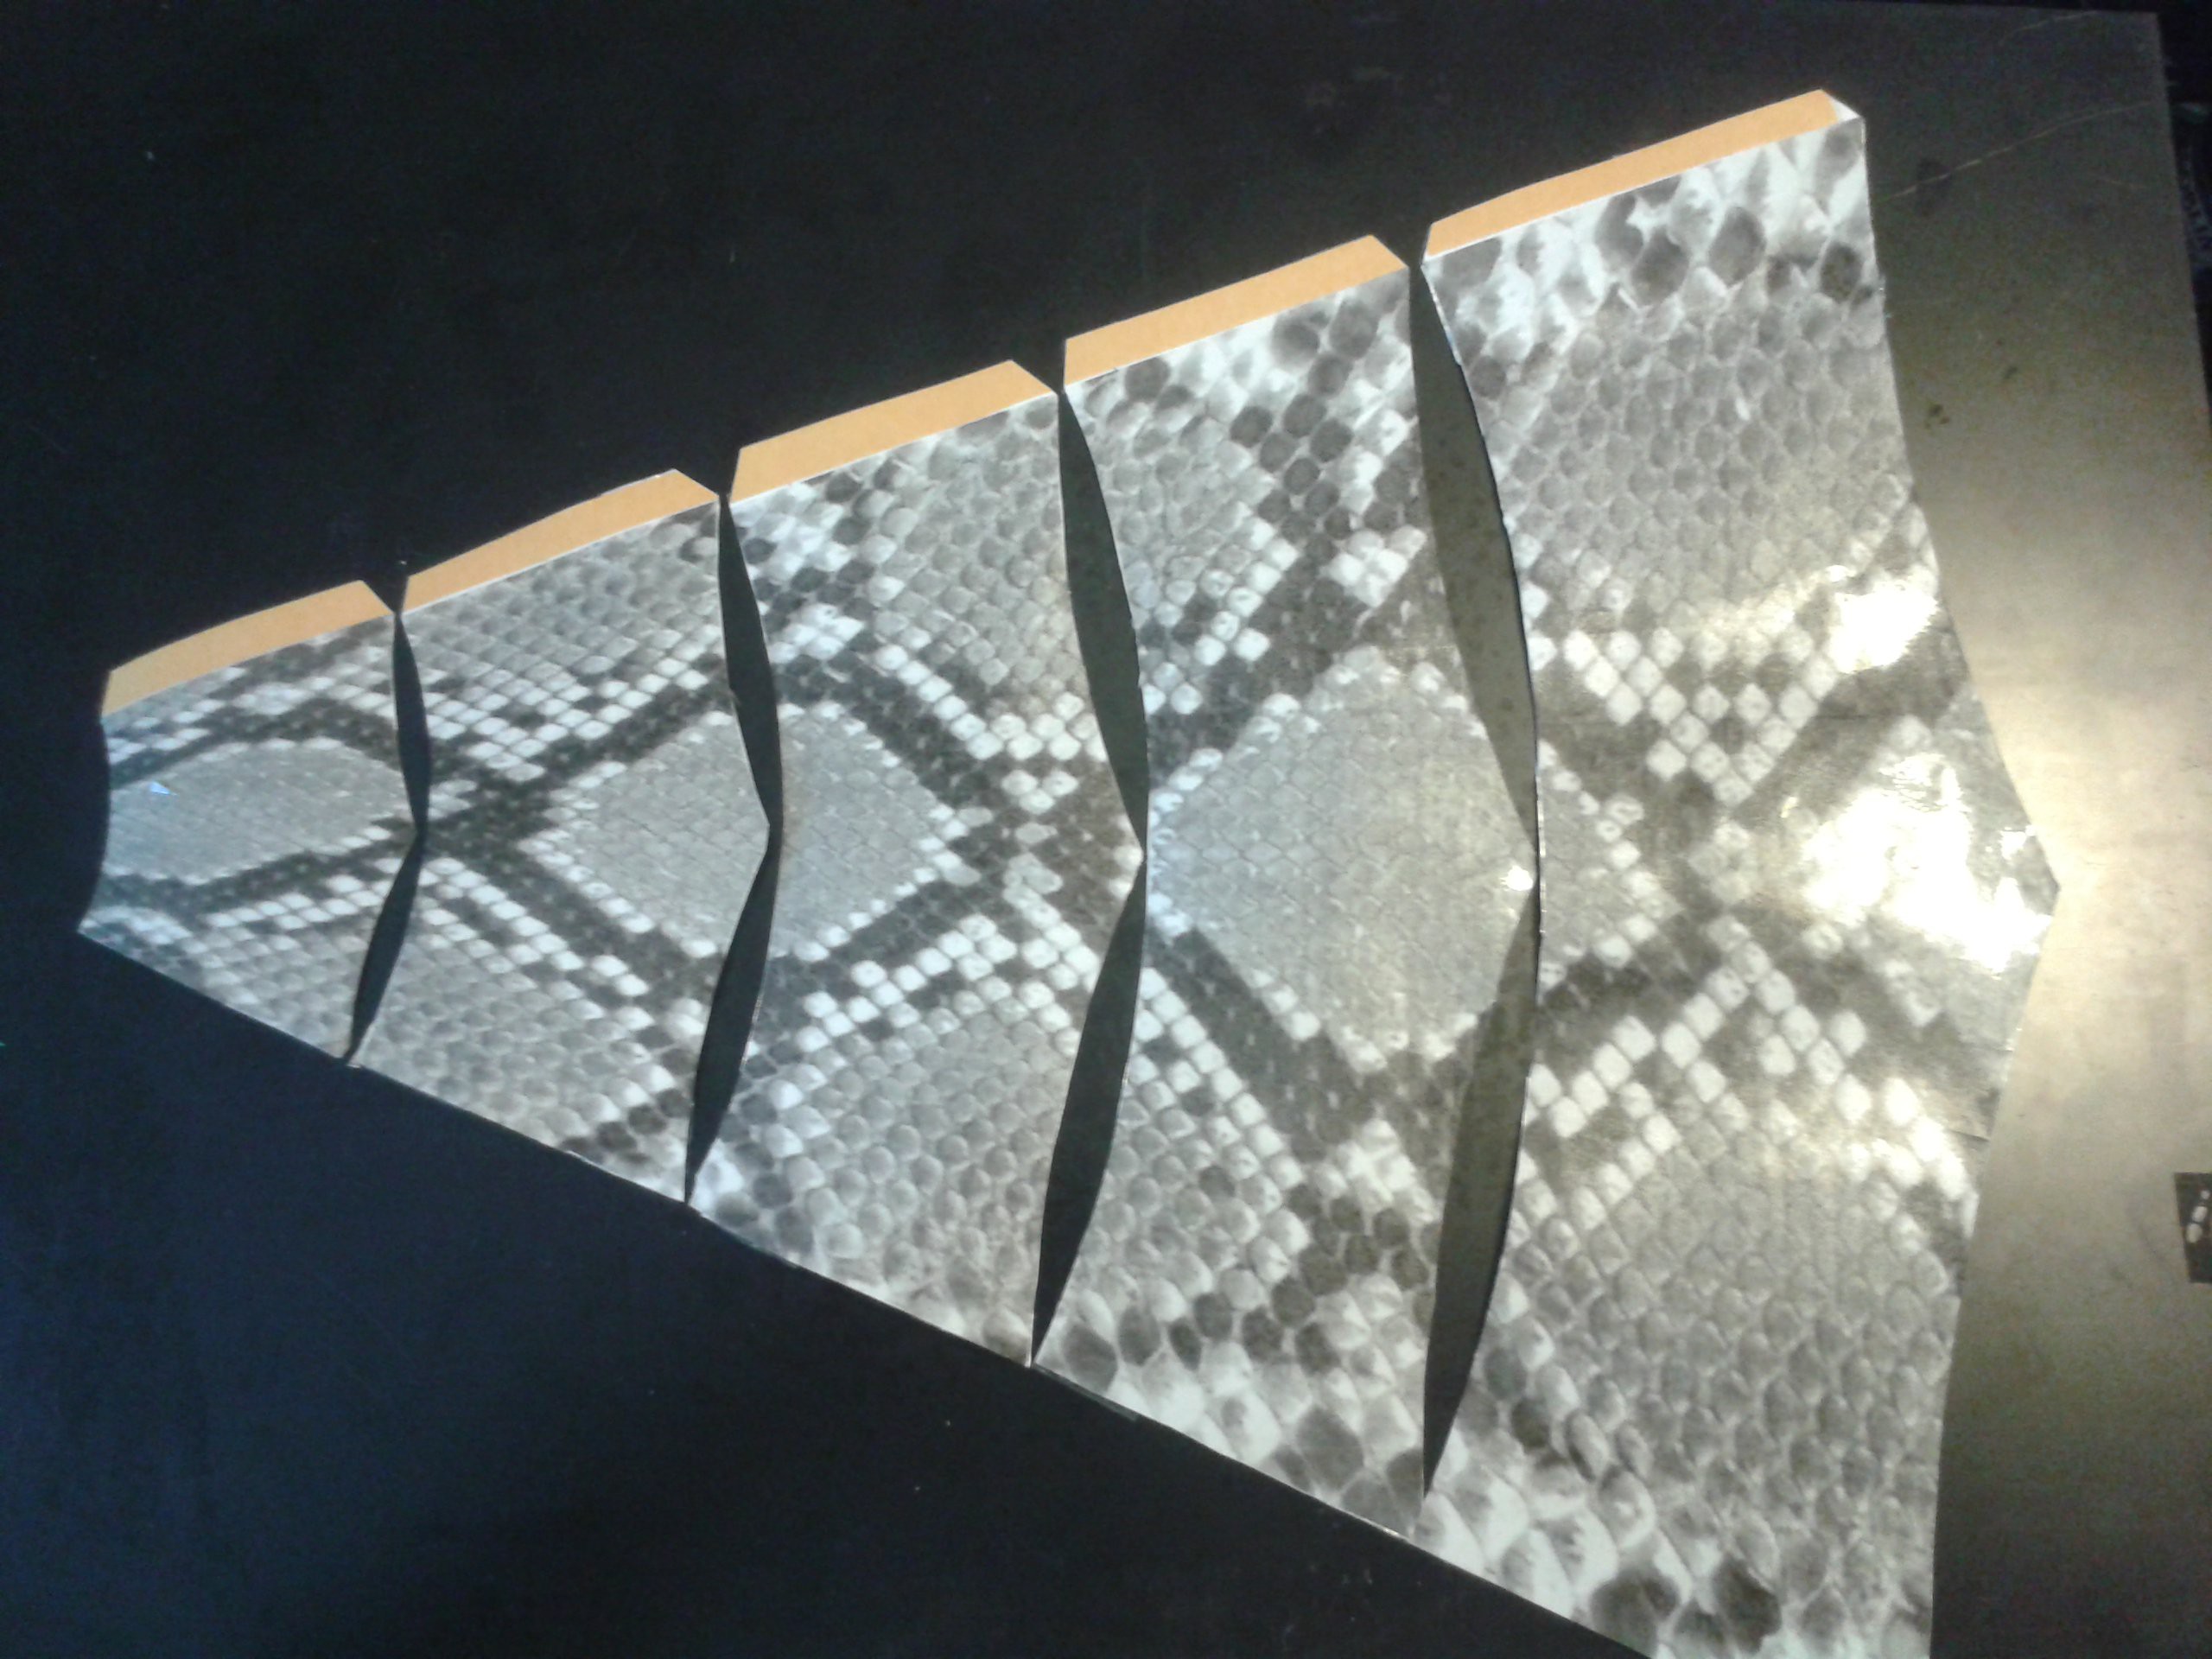
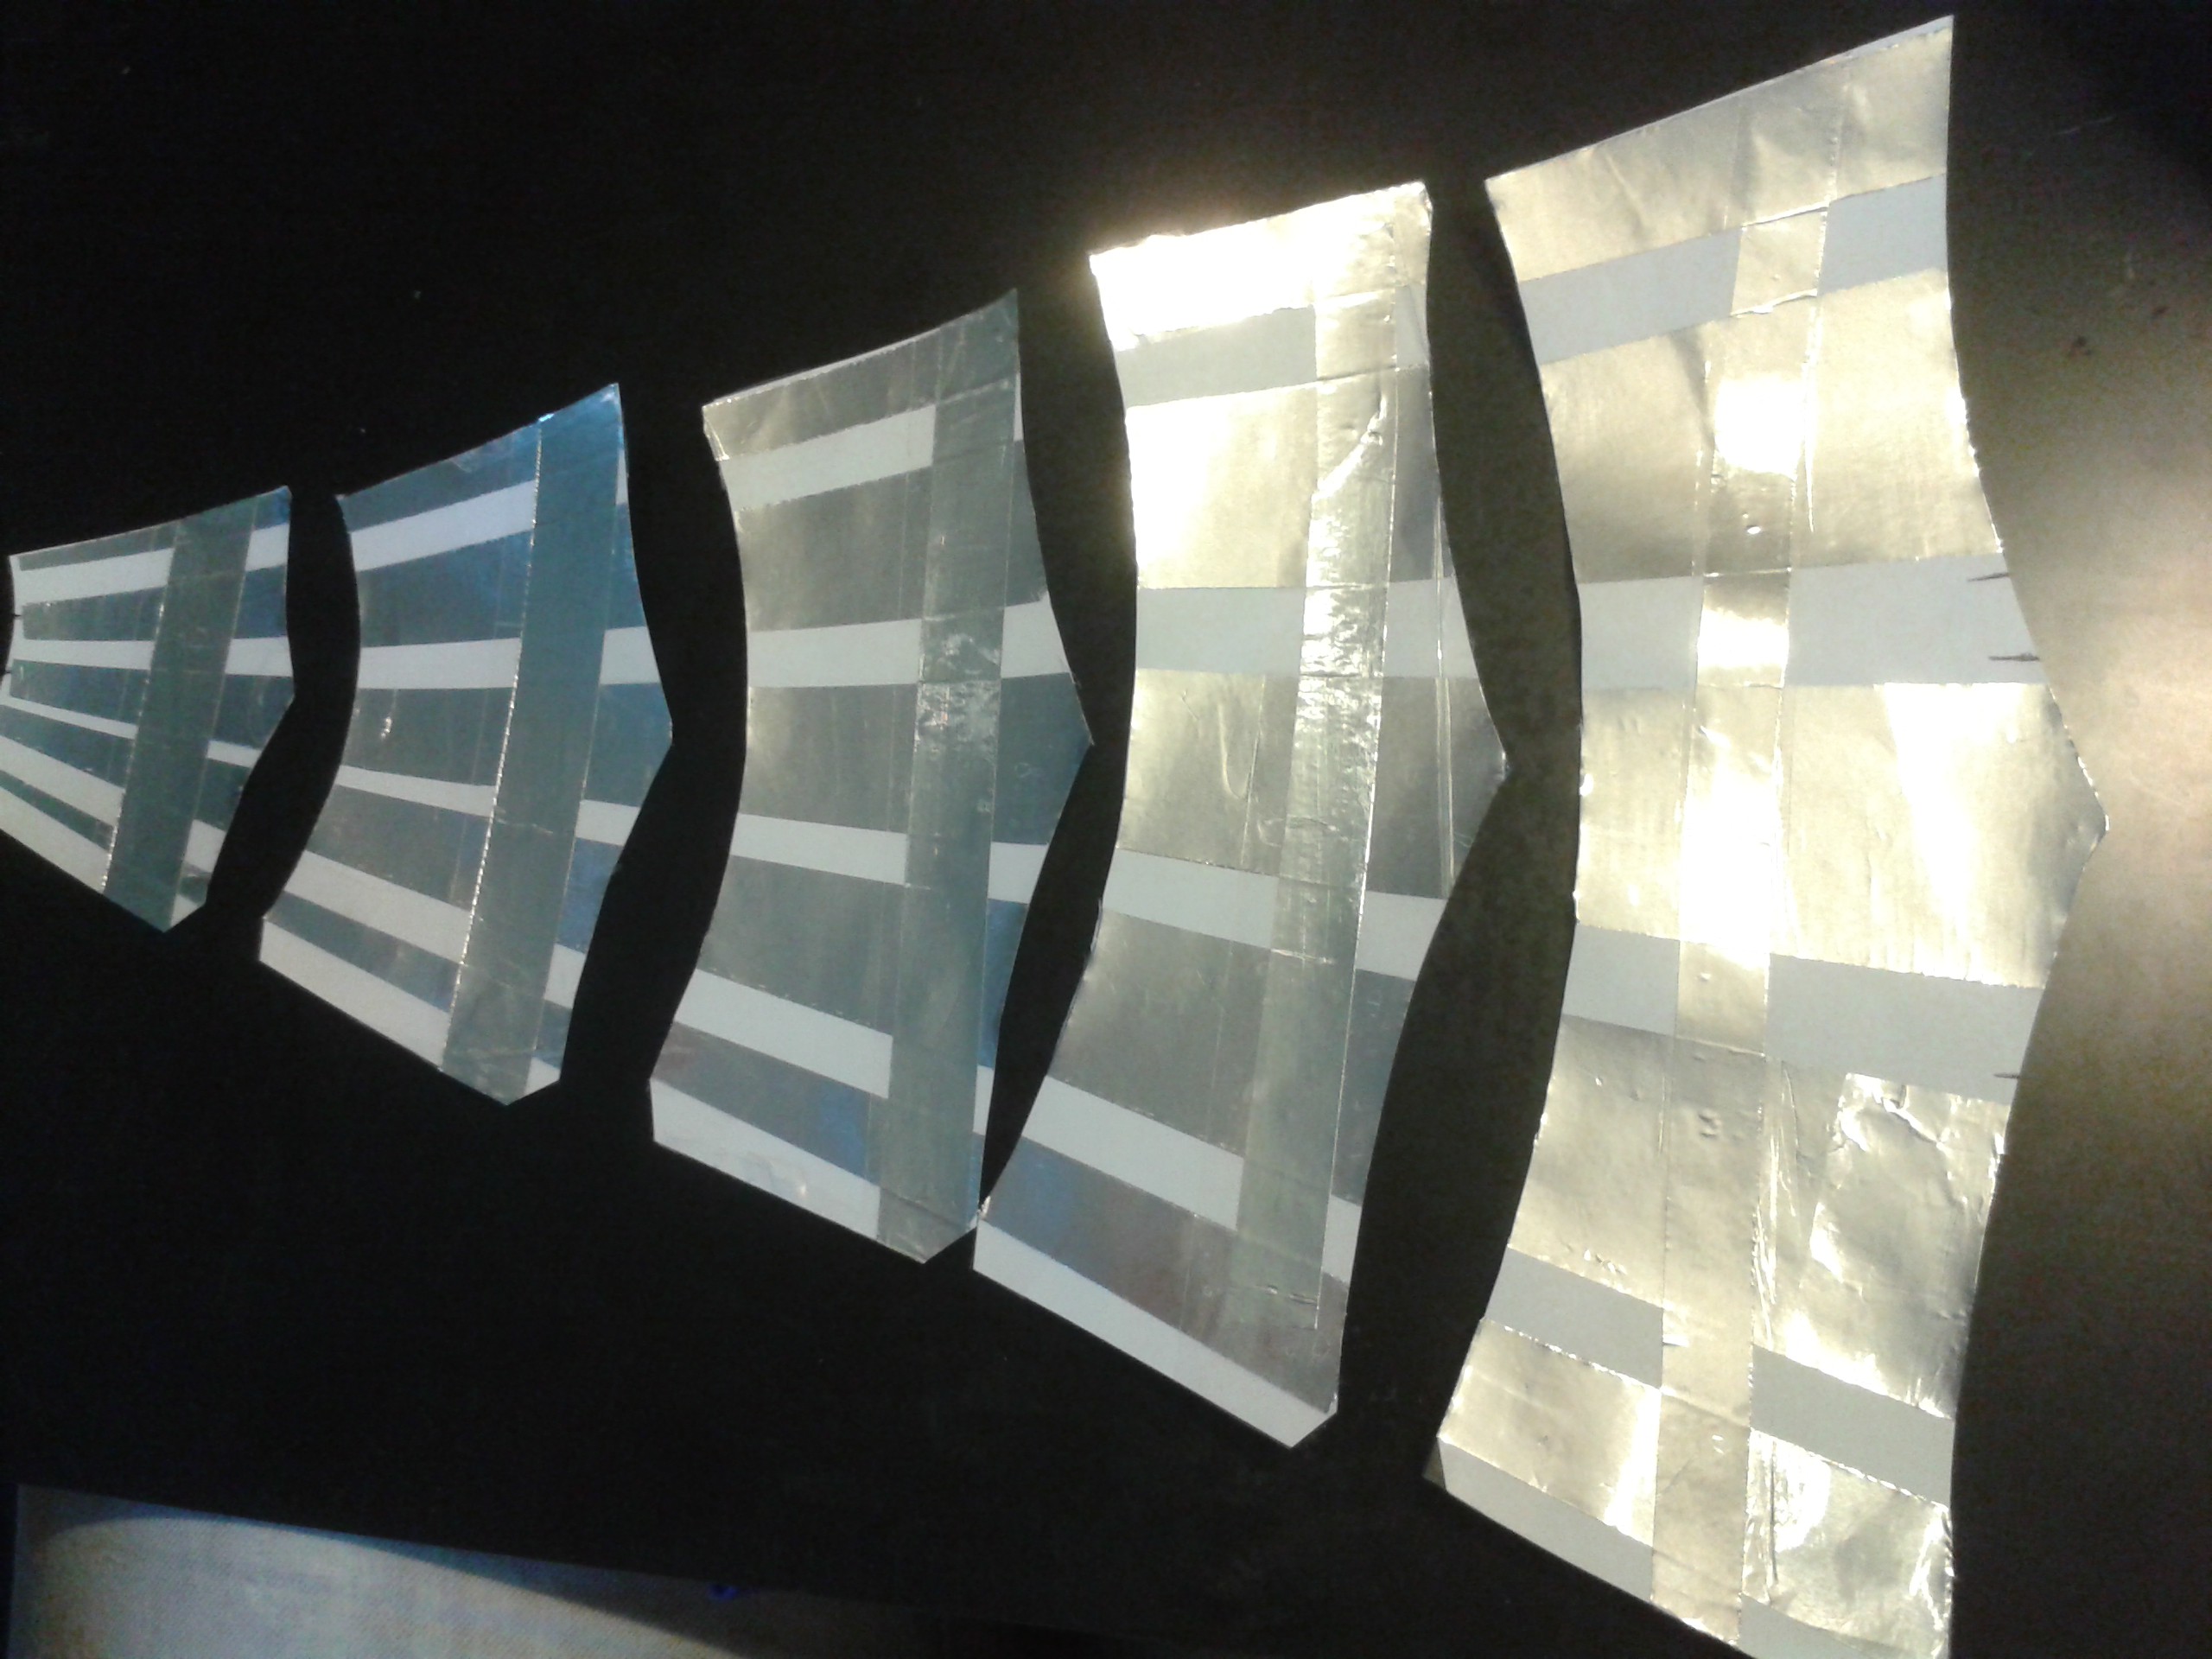
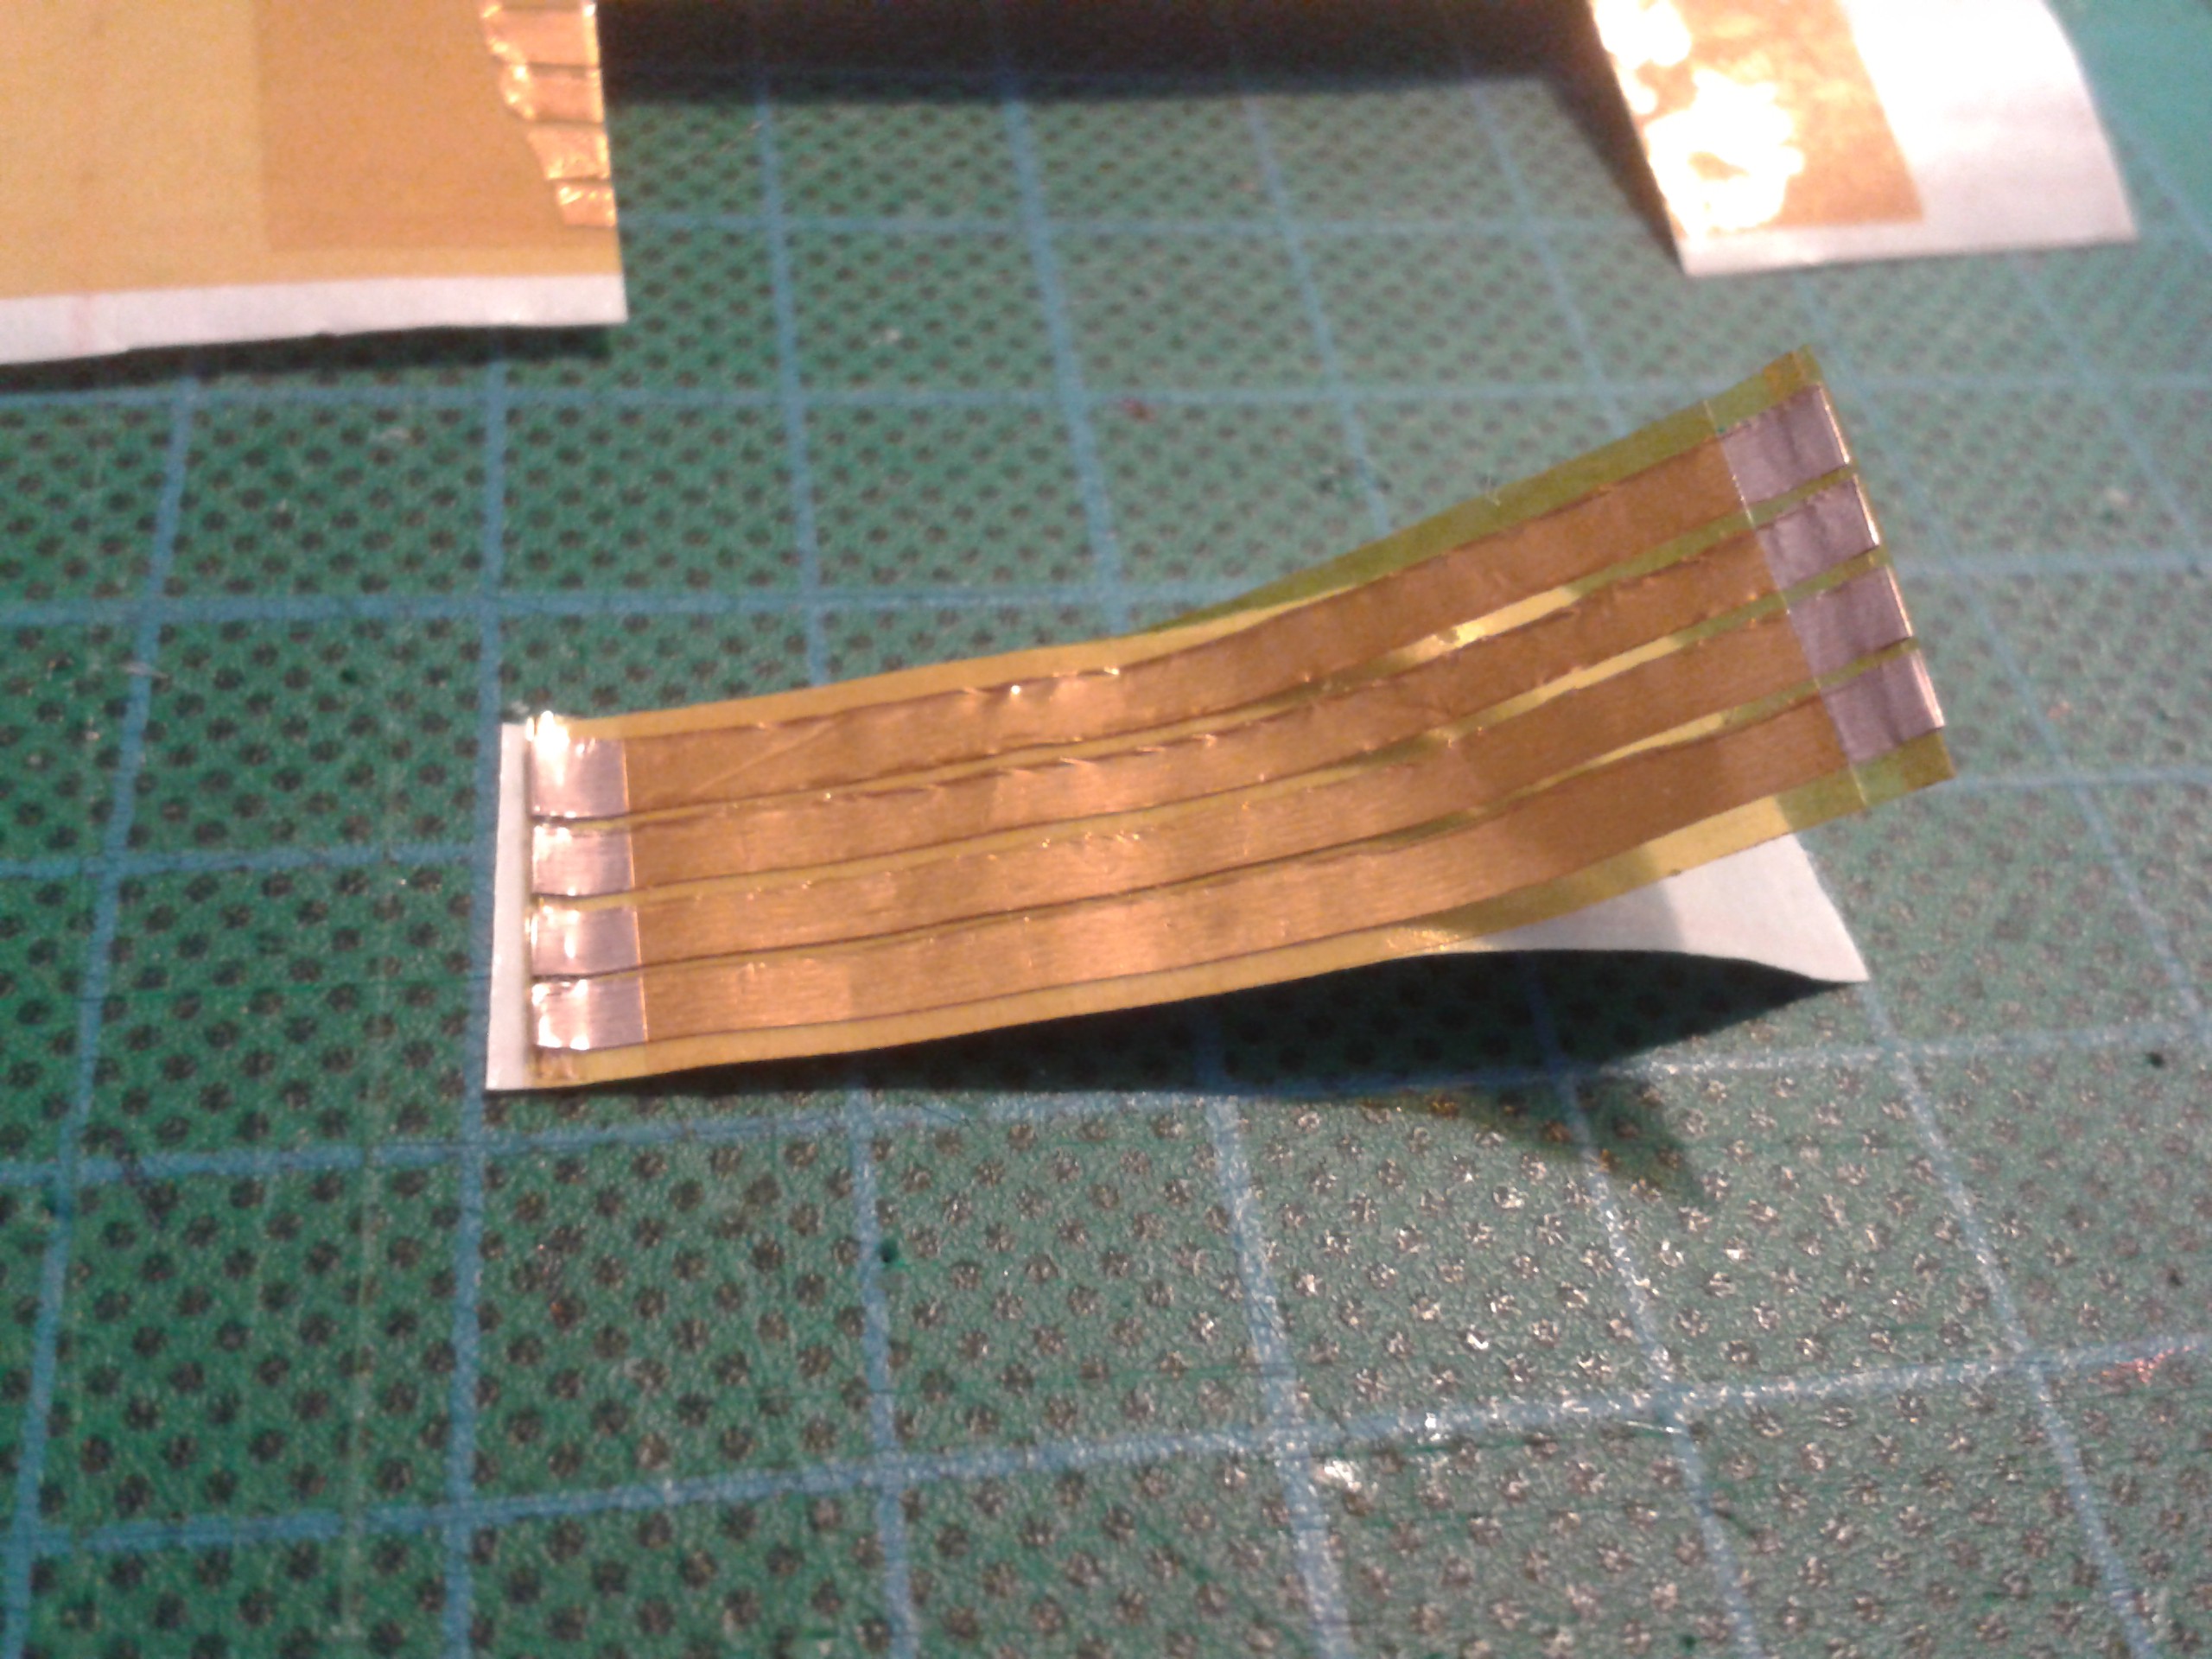
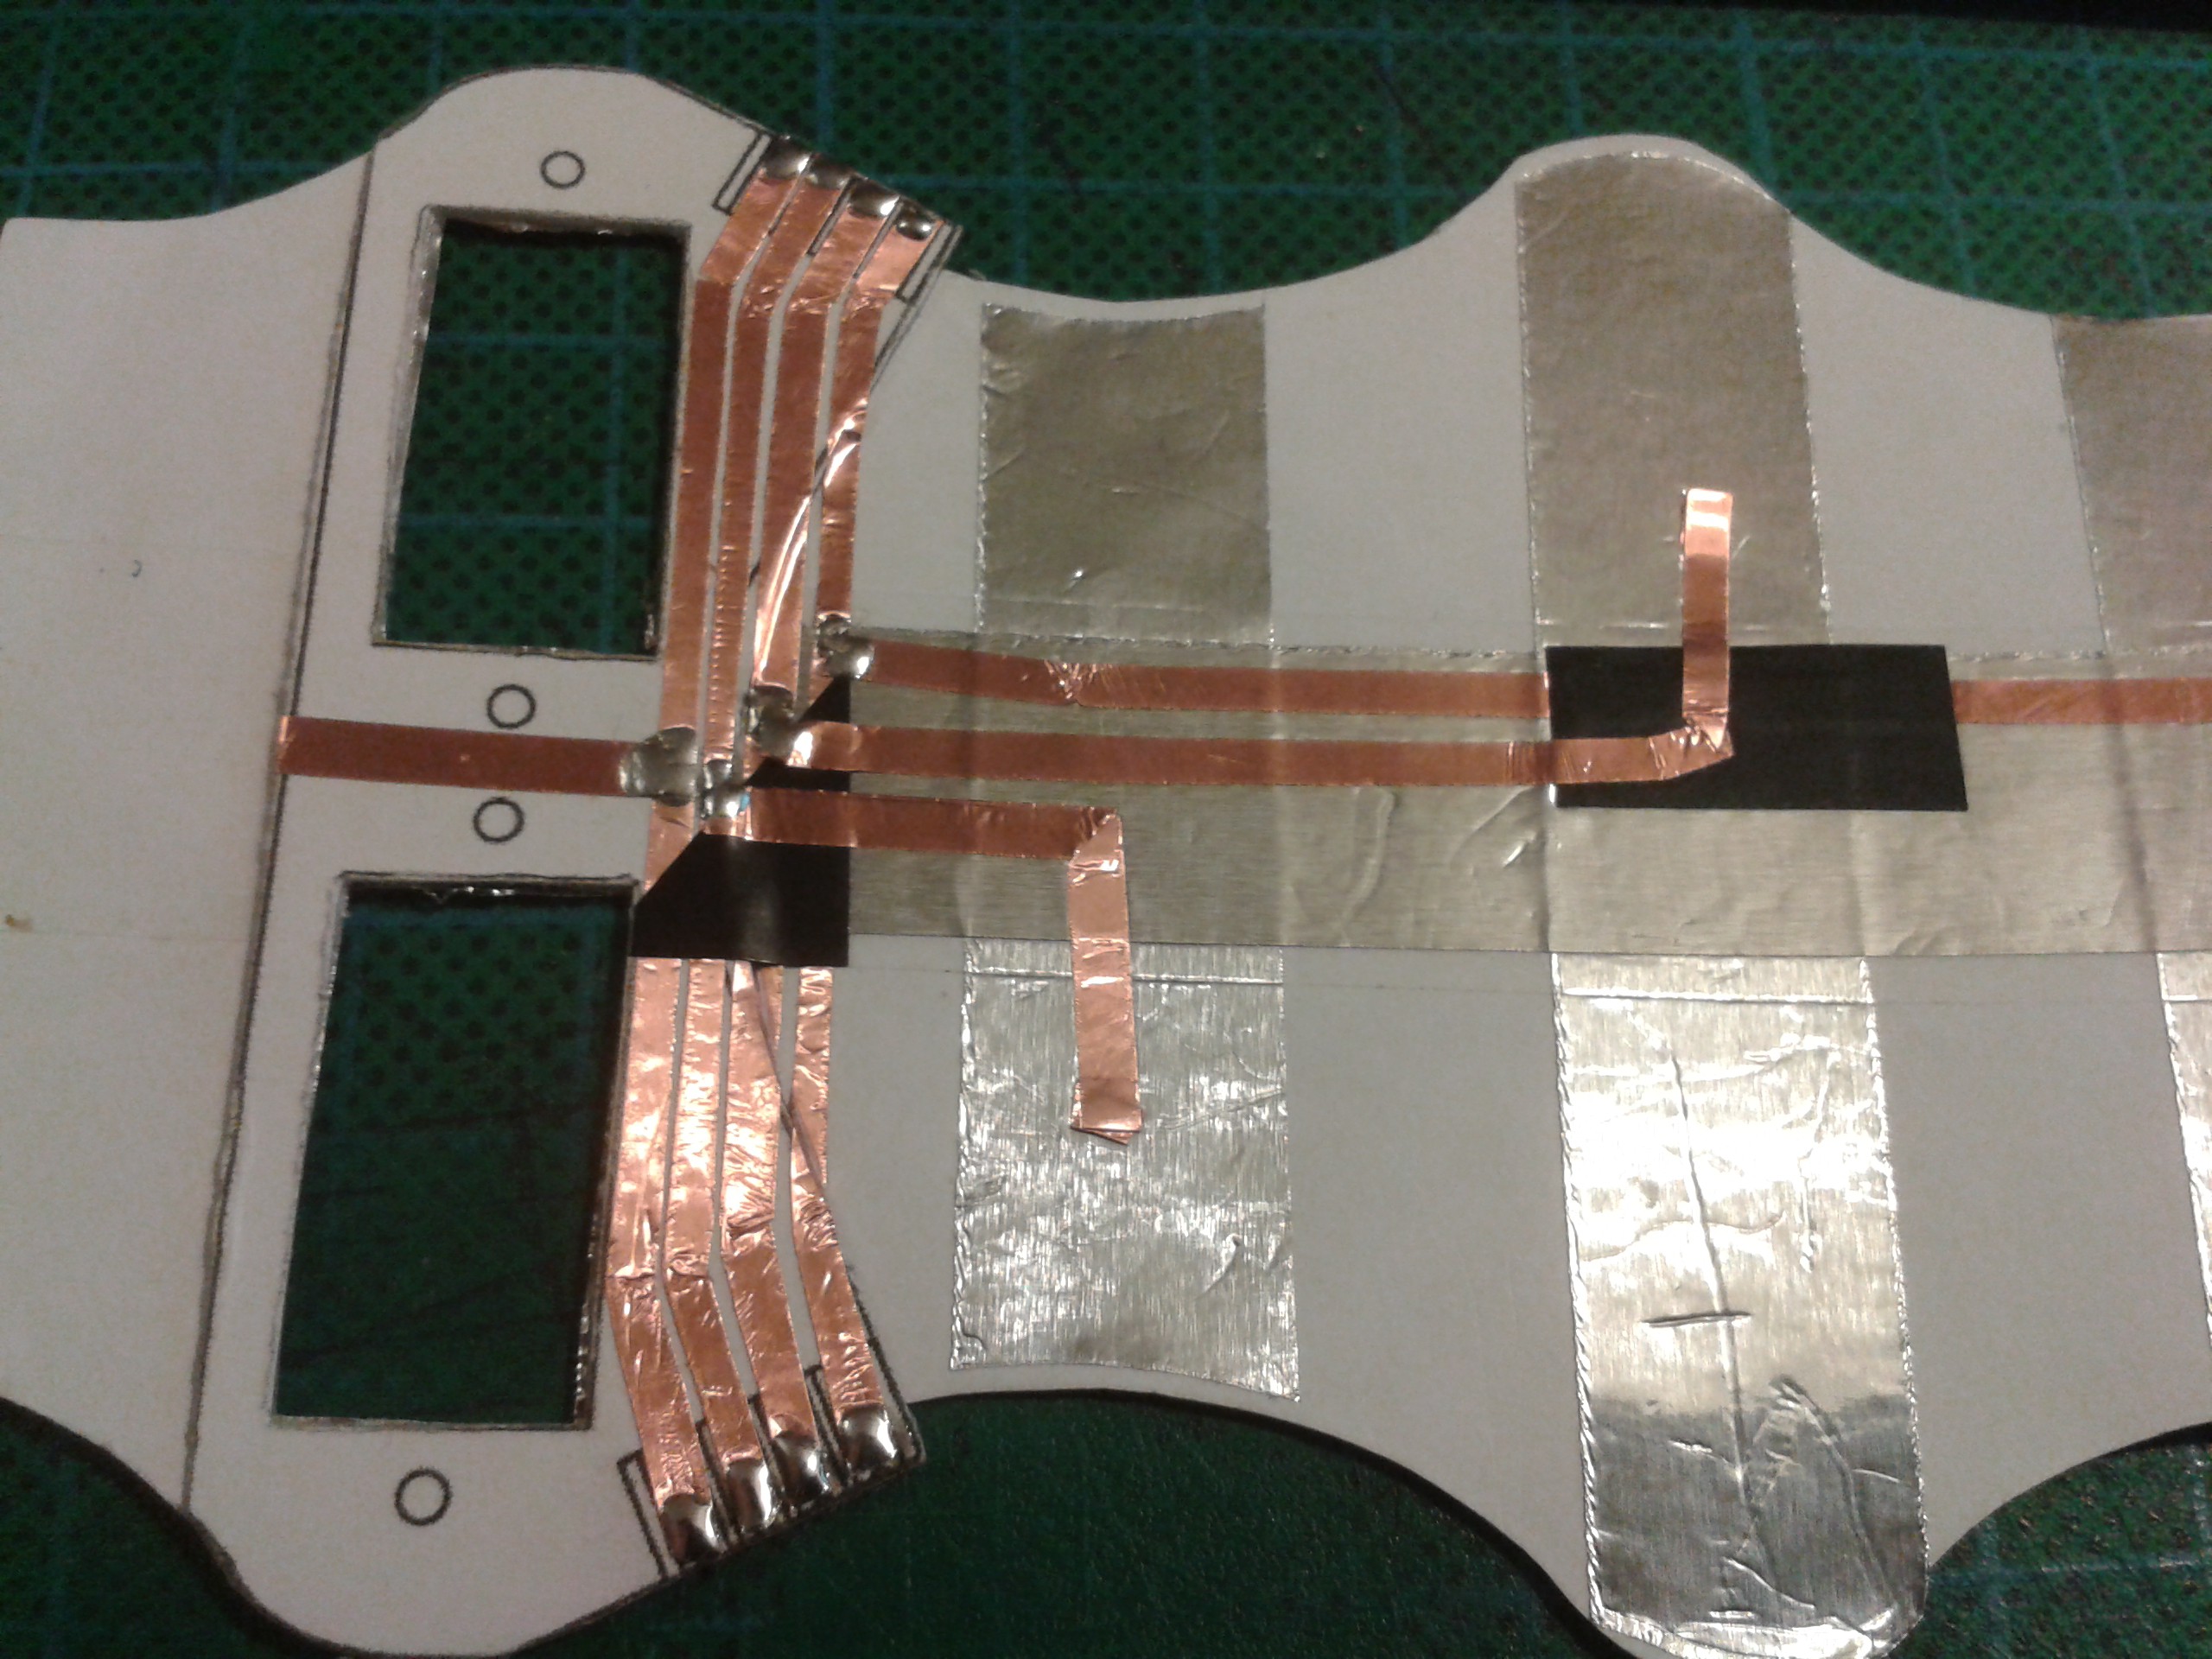
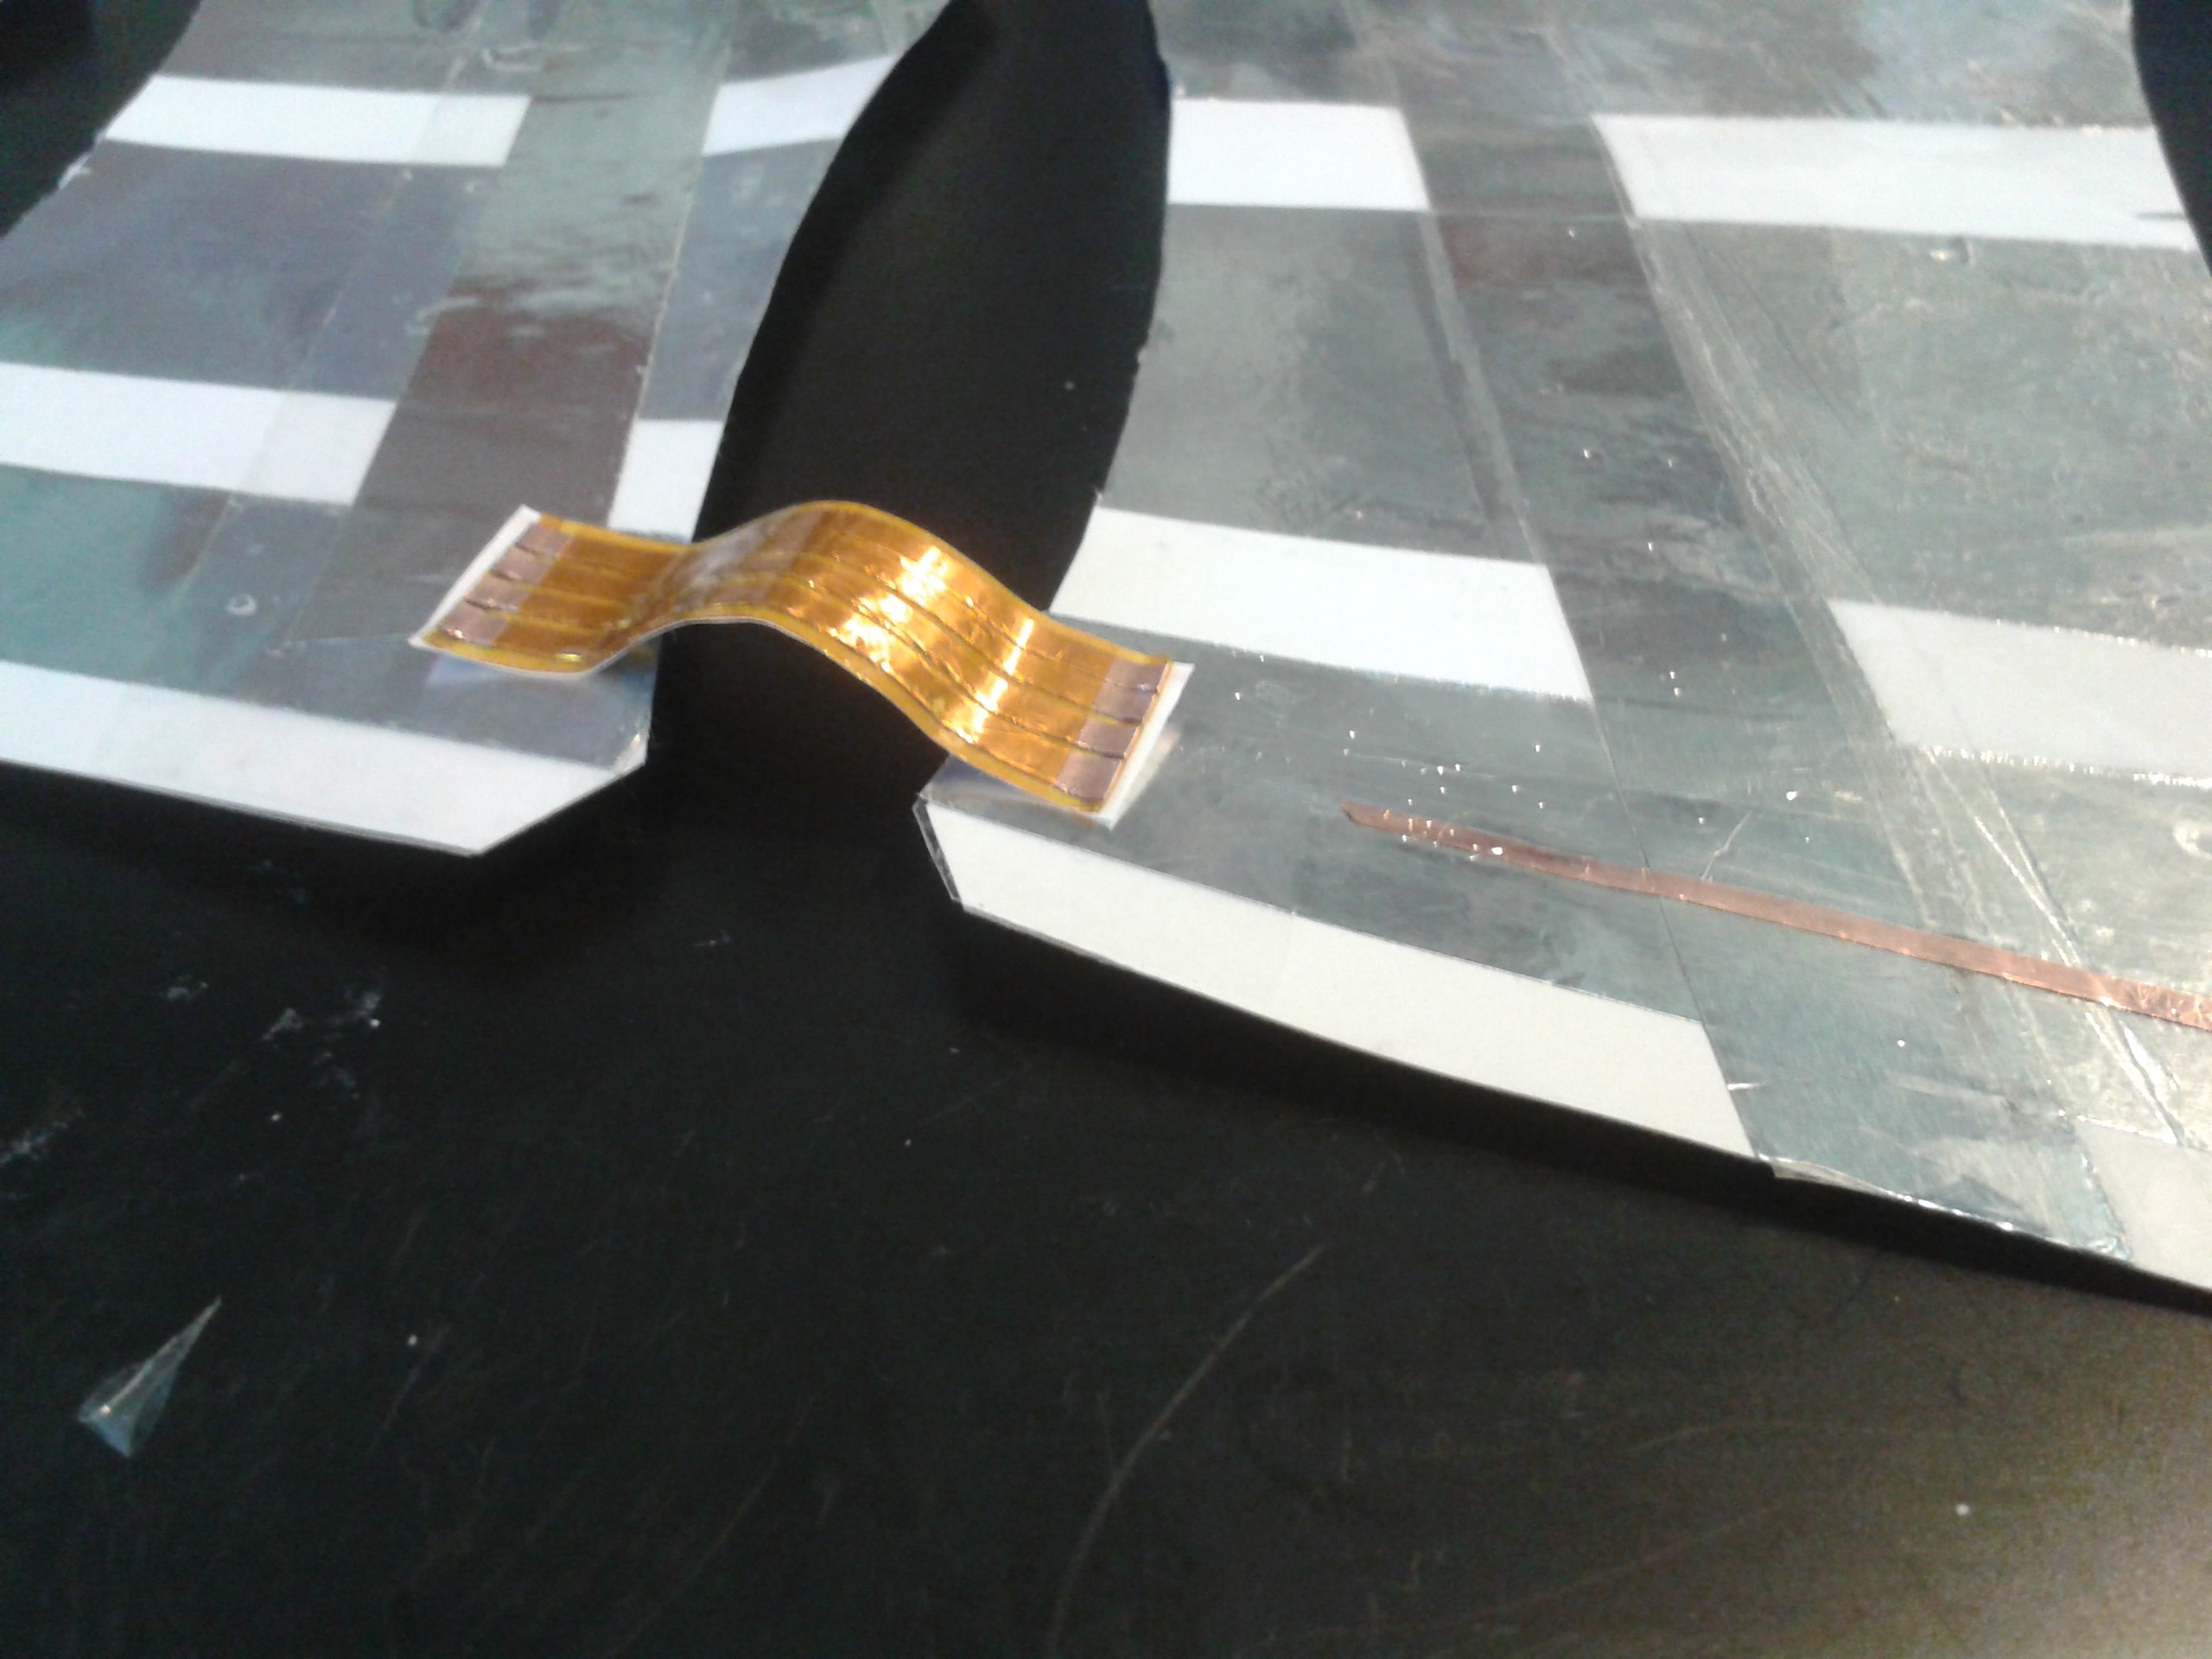
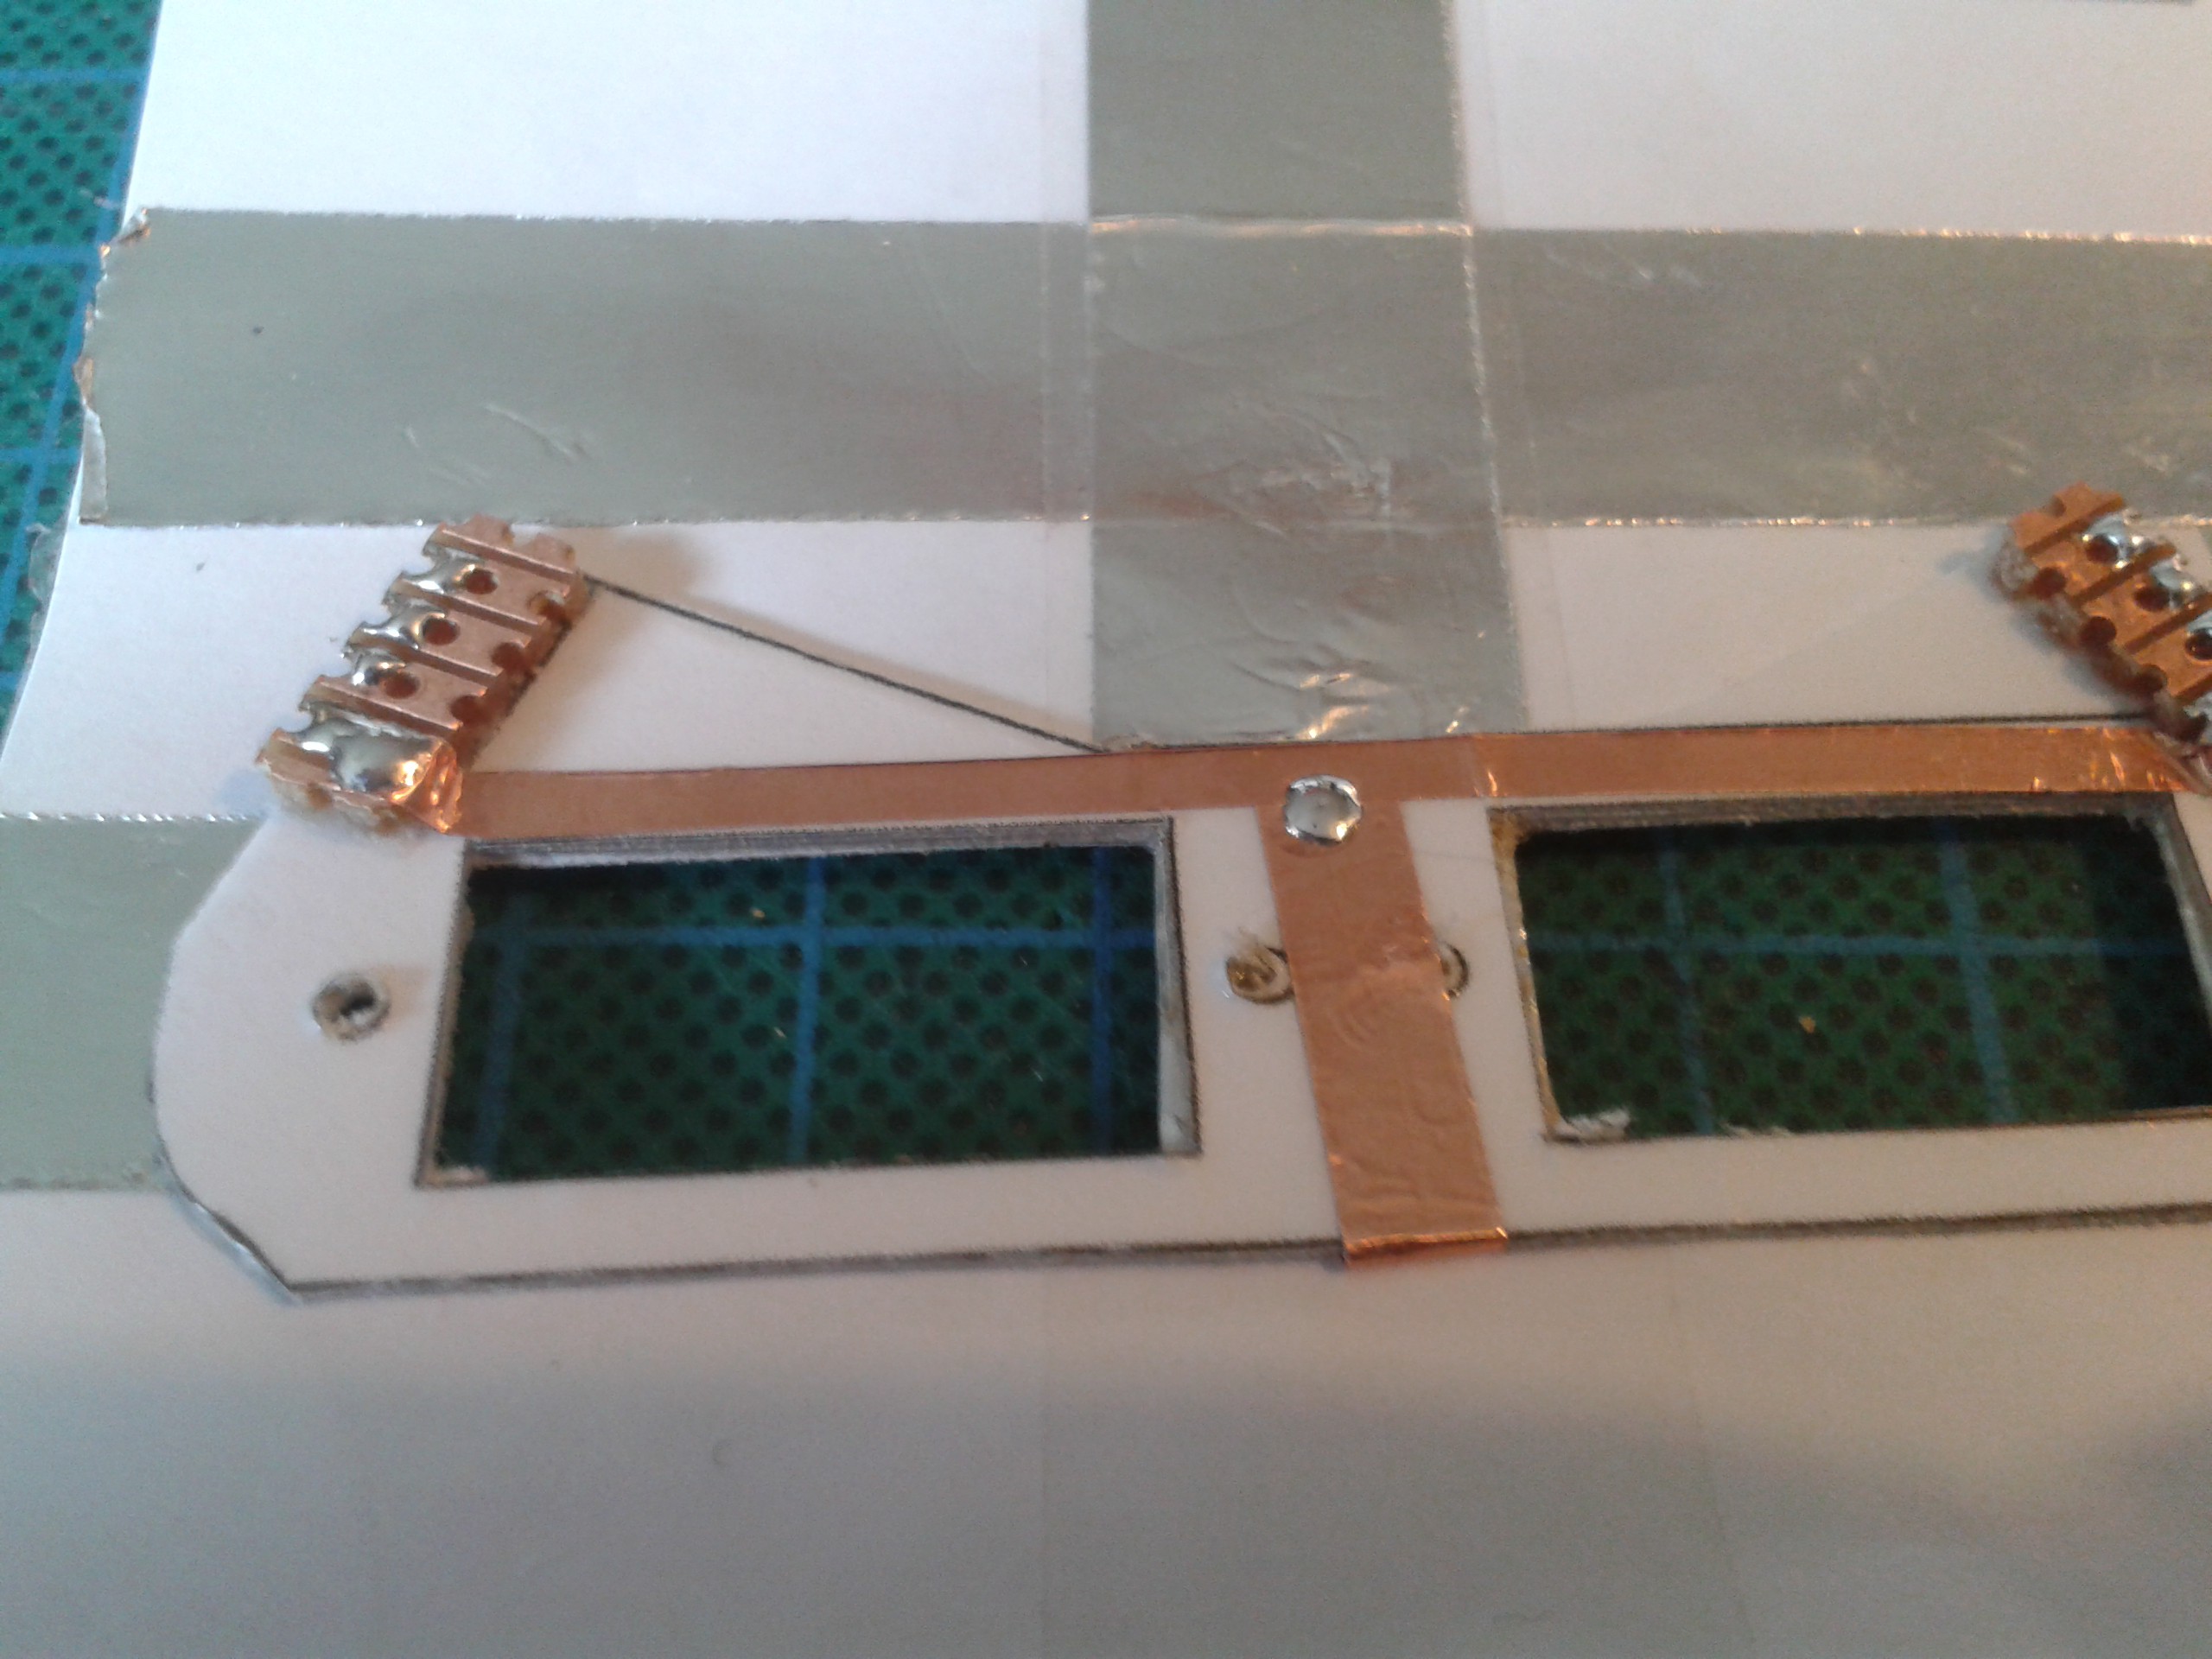
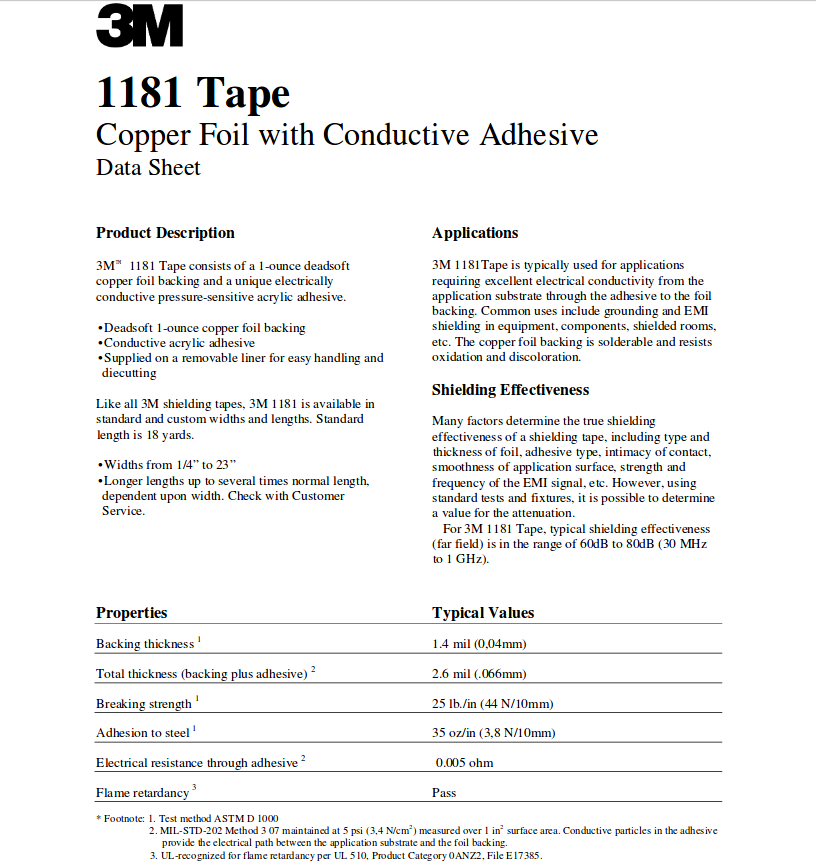
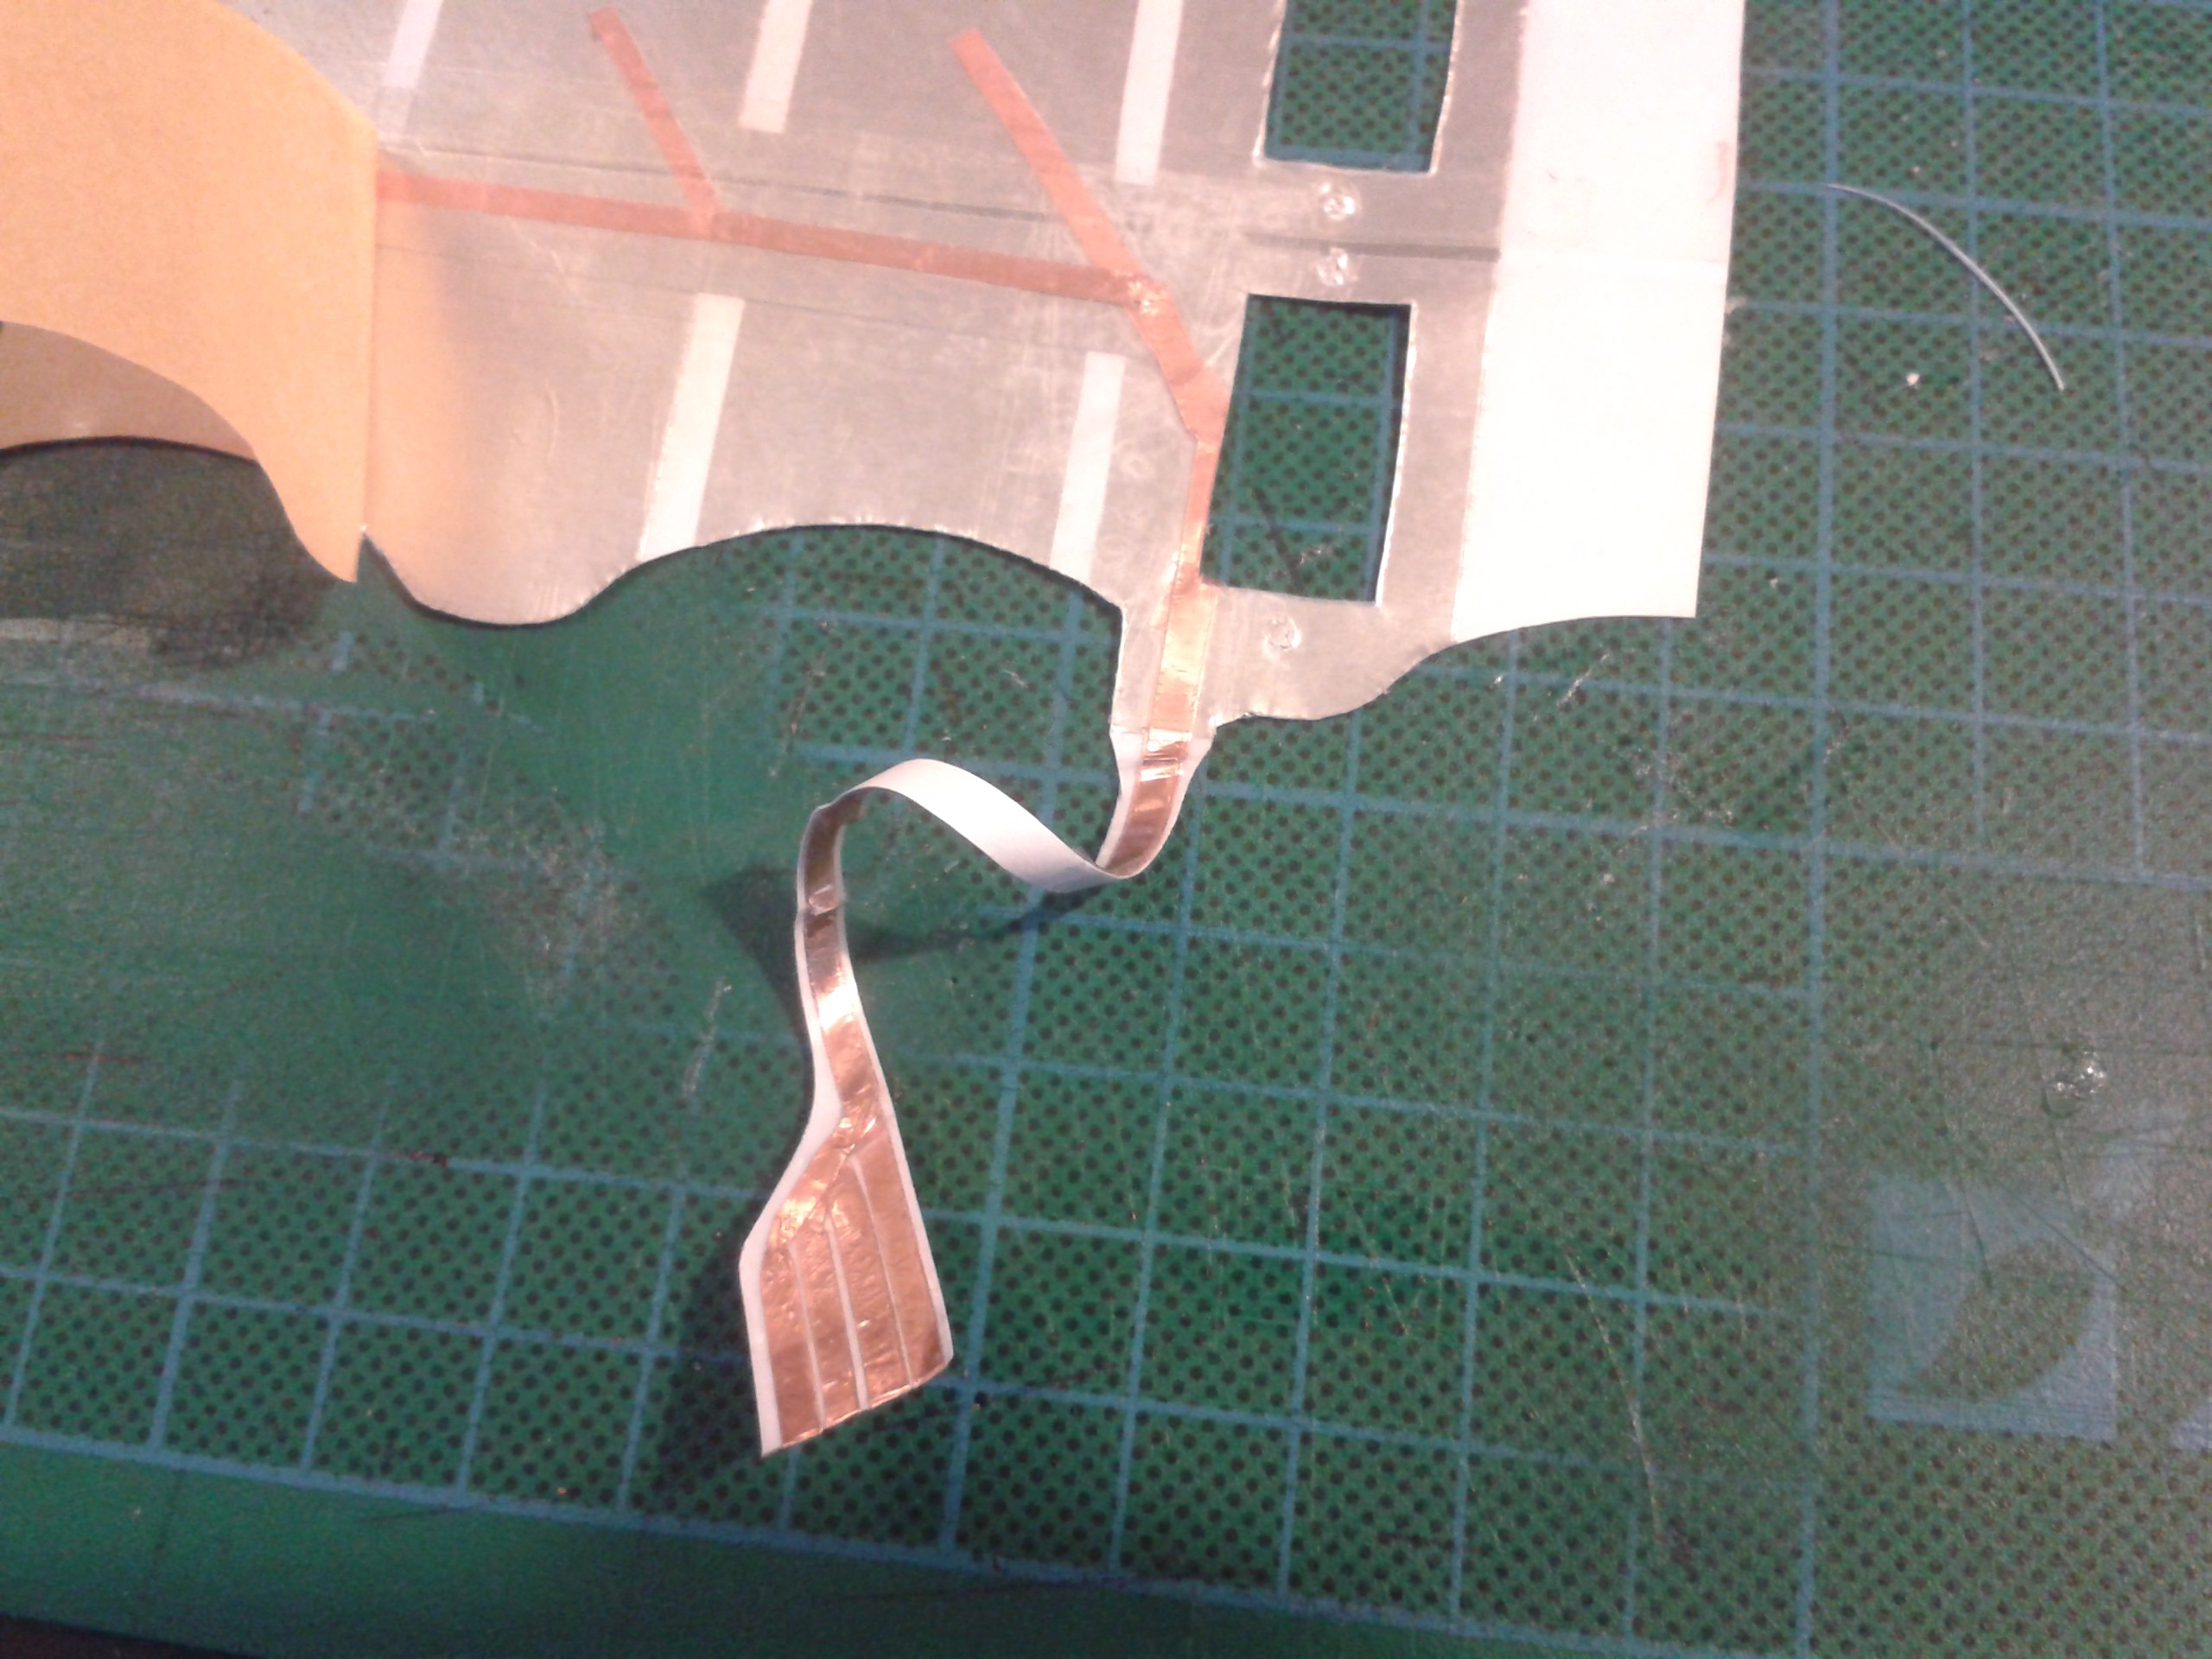
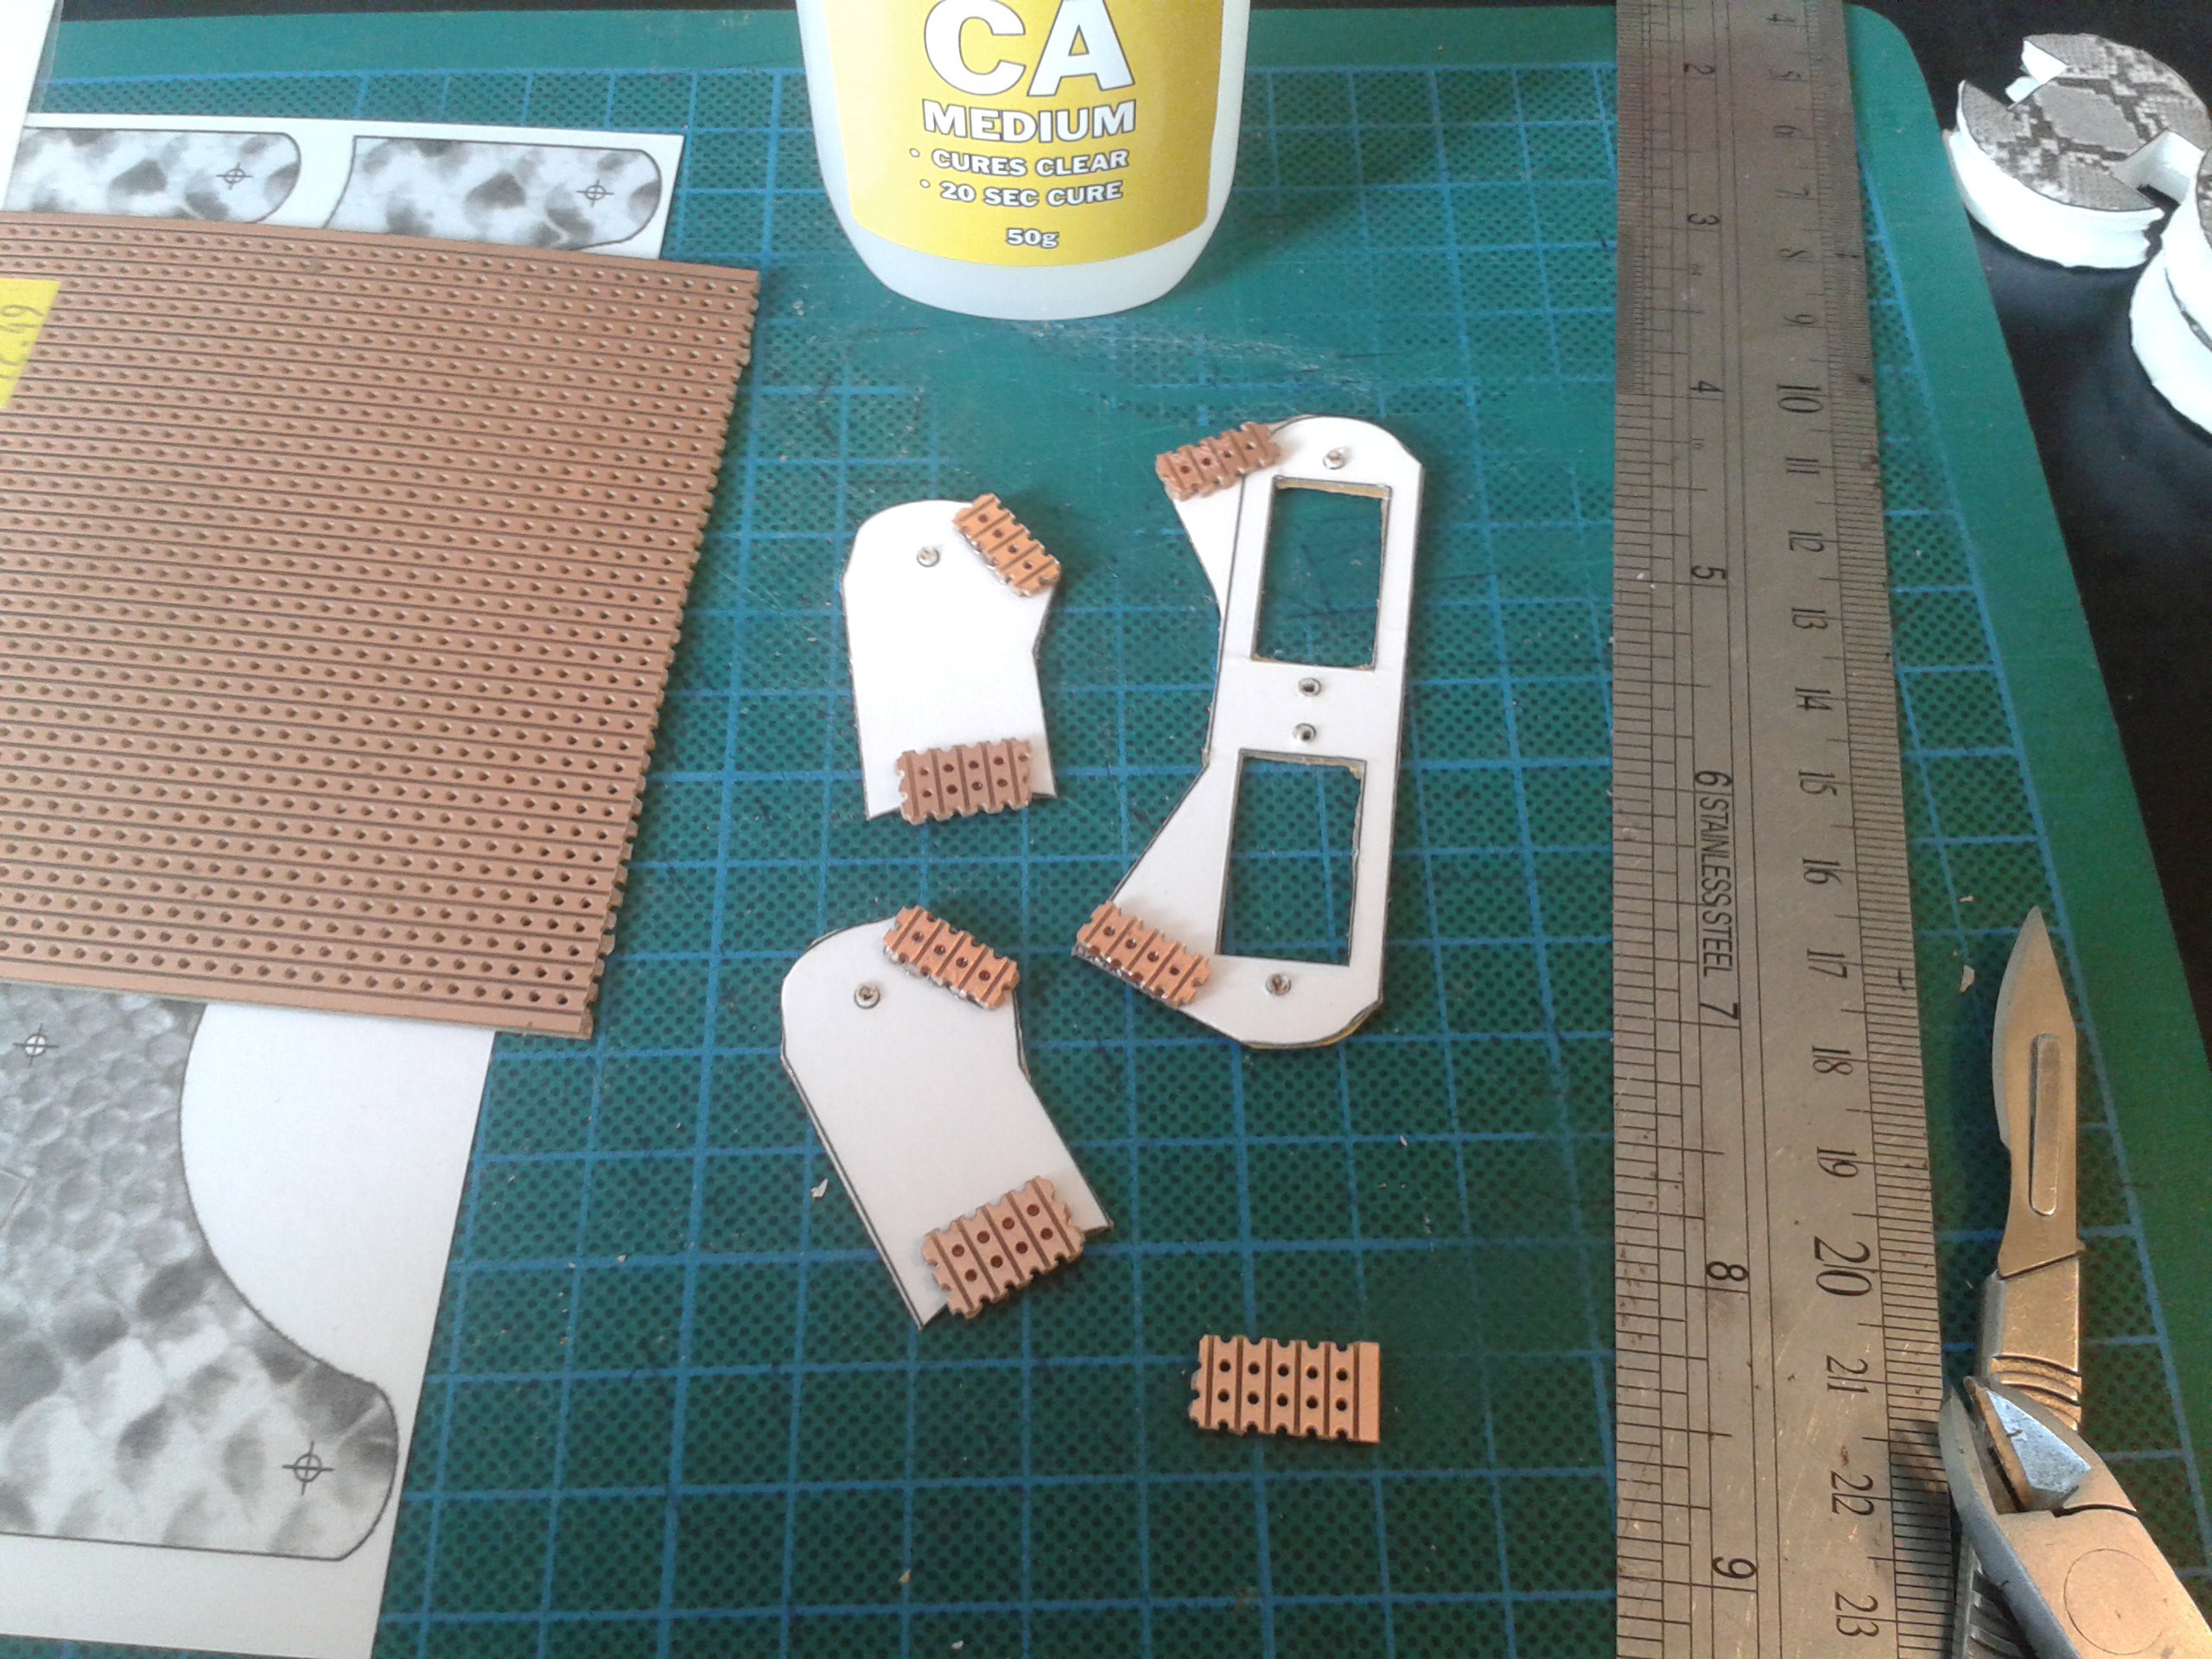 Connections to the front face are accomplished with a strip of copper... The horizontal foils are isolated from each other, they are covered with sellotape first and then the vertical foil covers that for shielding. I only want the horizontal faces to be visible from the outside to body fields, the 'cables' will interfere so they are behind an isolated foil.
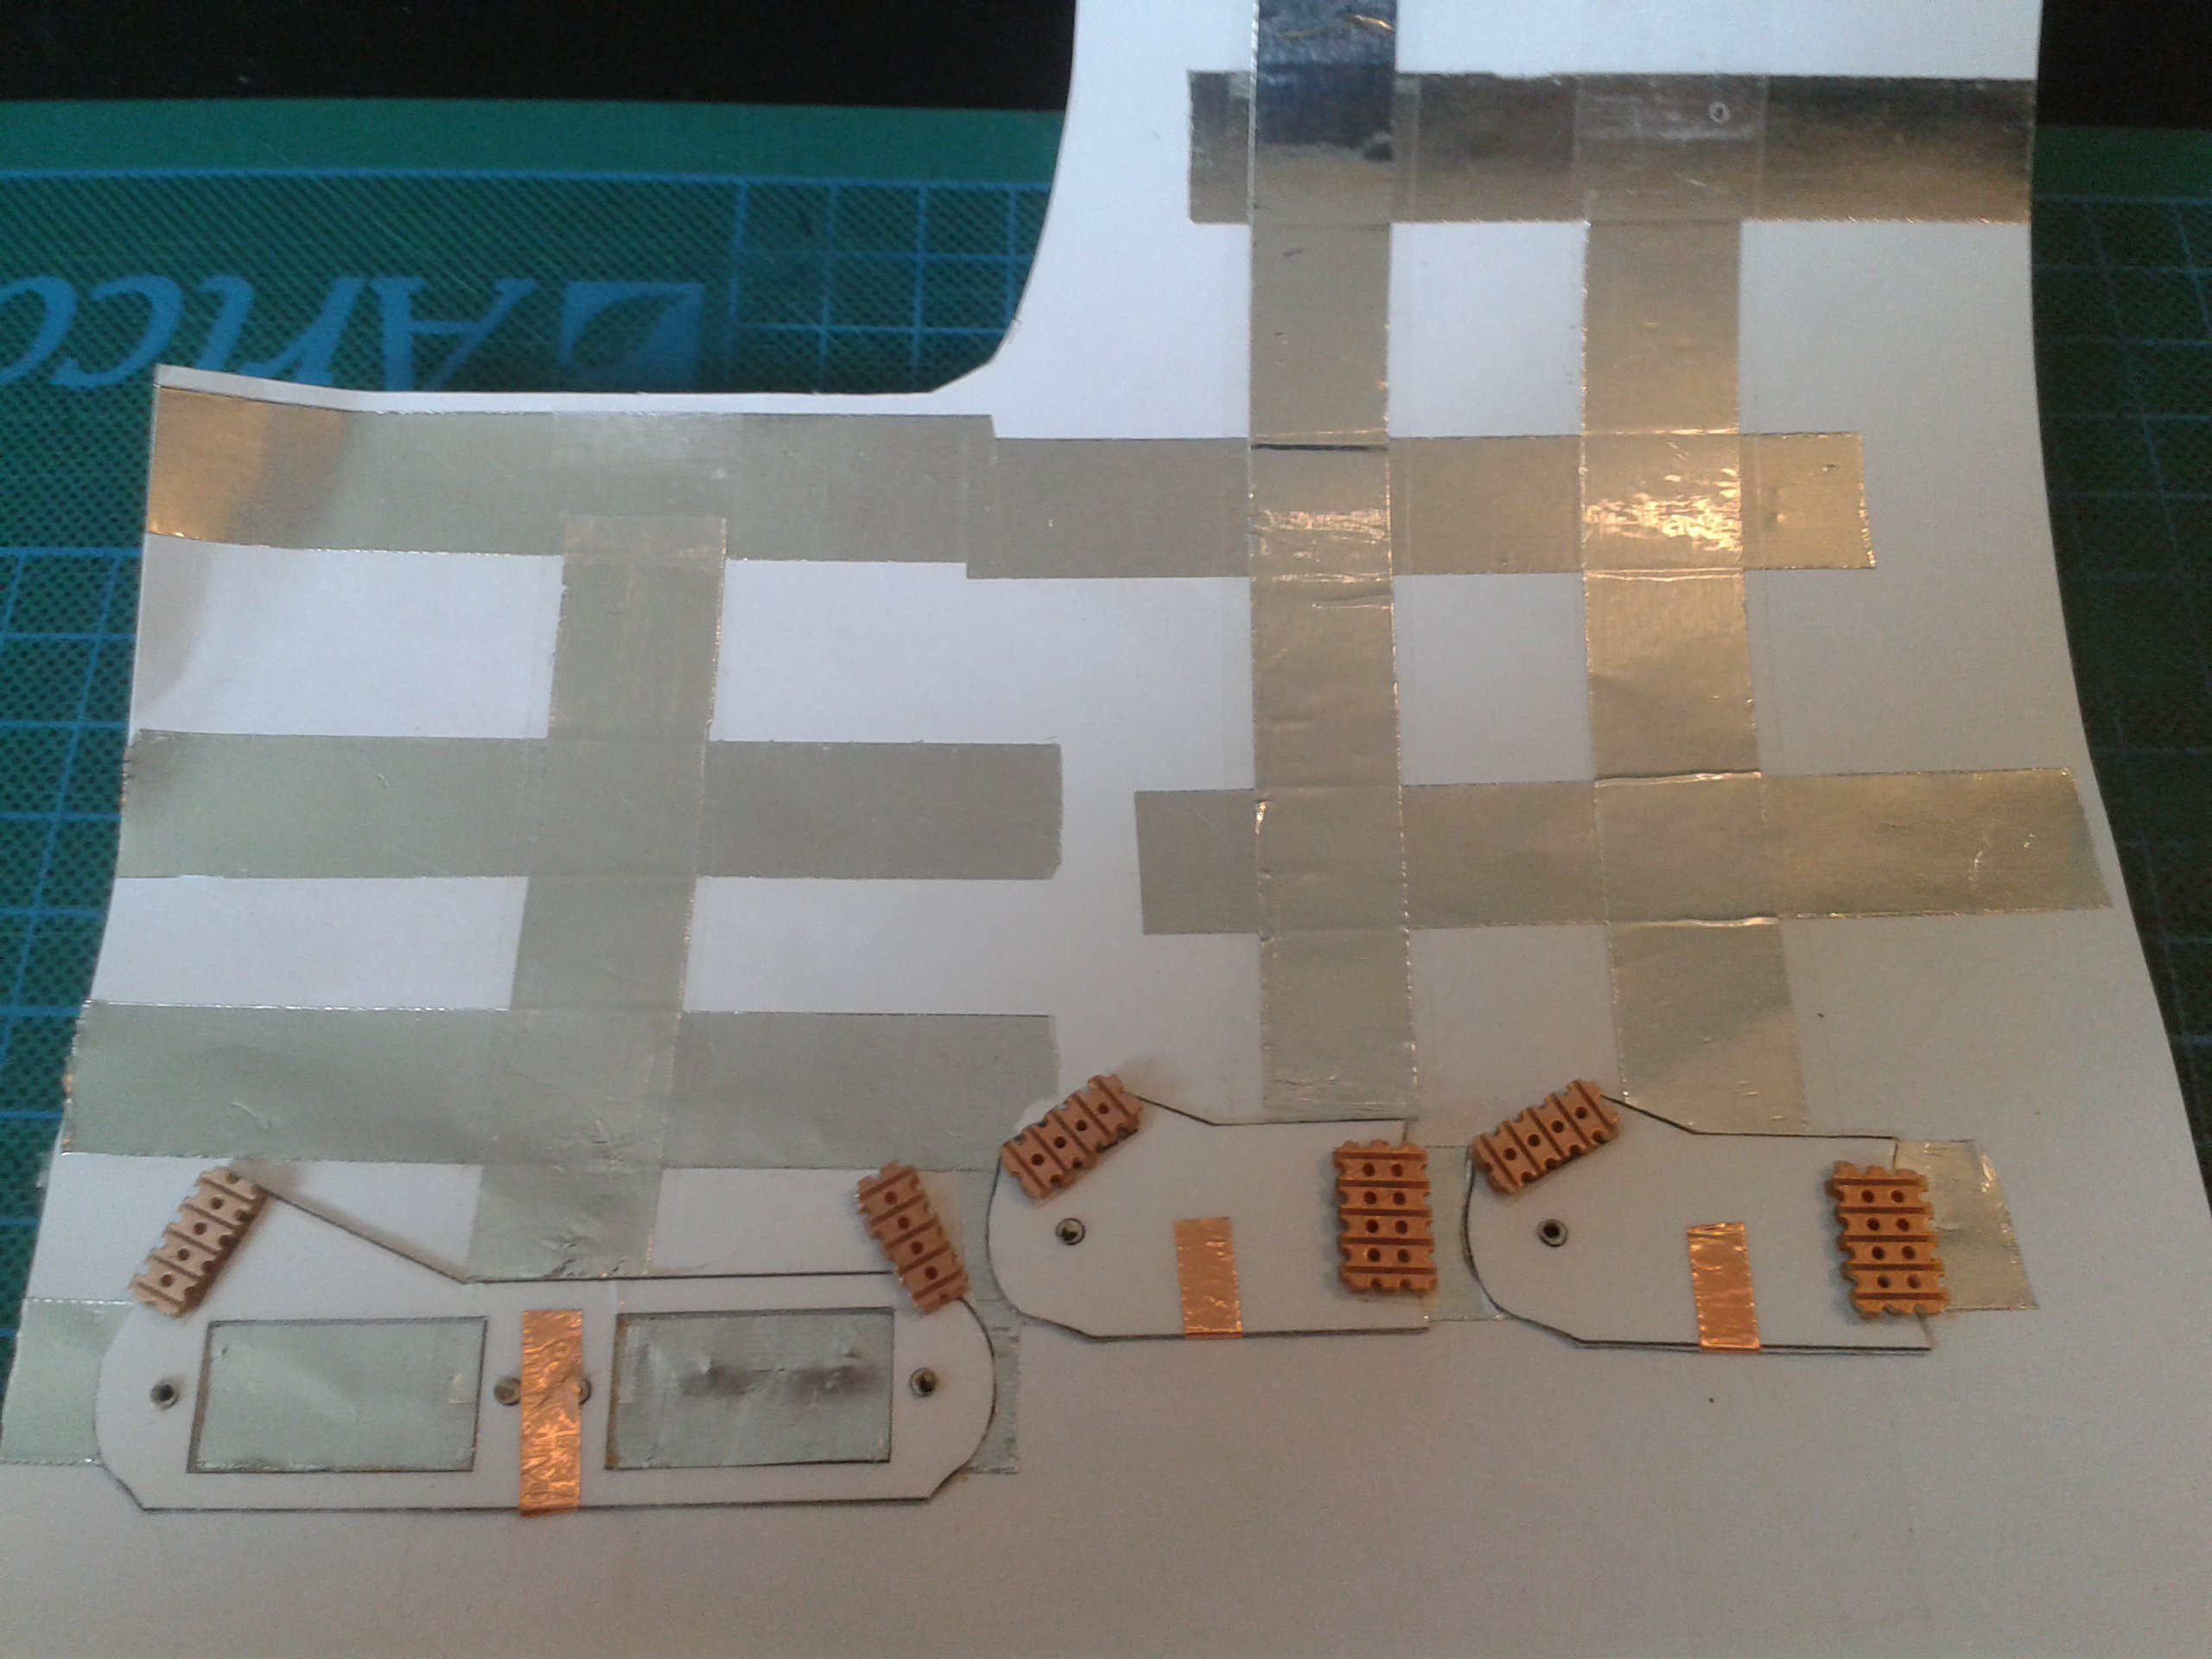 The through-connectors are then soldered together with the front face connection. This wont be necessary when the new tape arrives, just lap it and the adhesive takes care of the circuit...




 MasterOfNull
 Sarah Petkus
Recursive acronym? ;)