-
The End is Nigh
08/17/2017 at 20:21 • 0 commentsSave Yourselves! The mill is nearing completion!
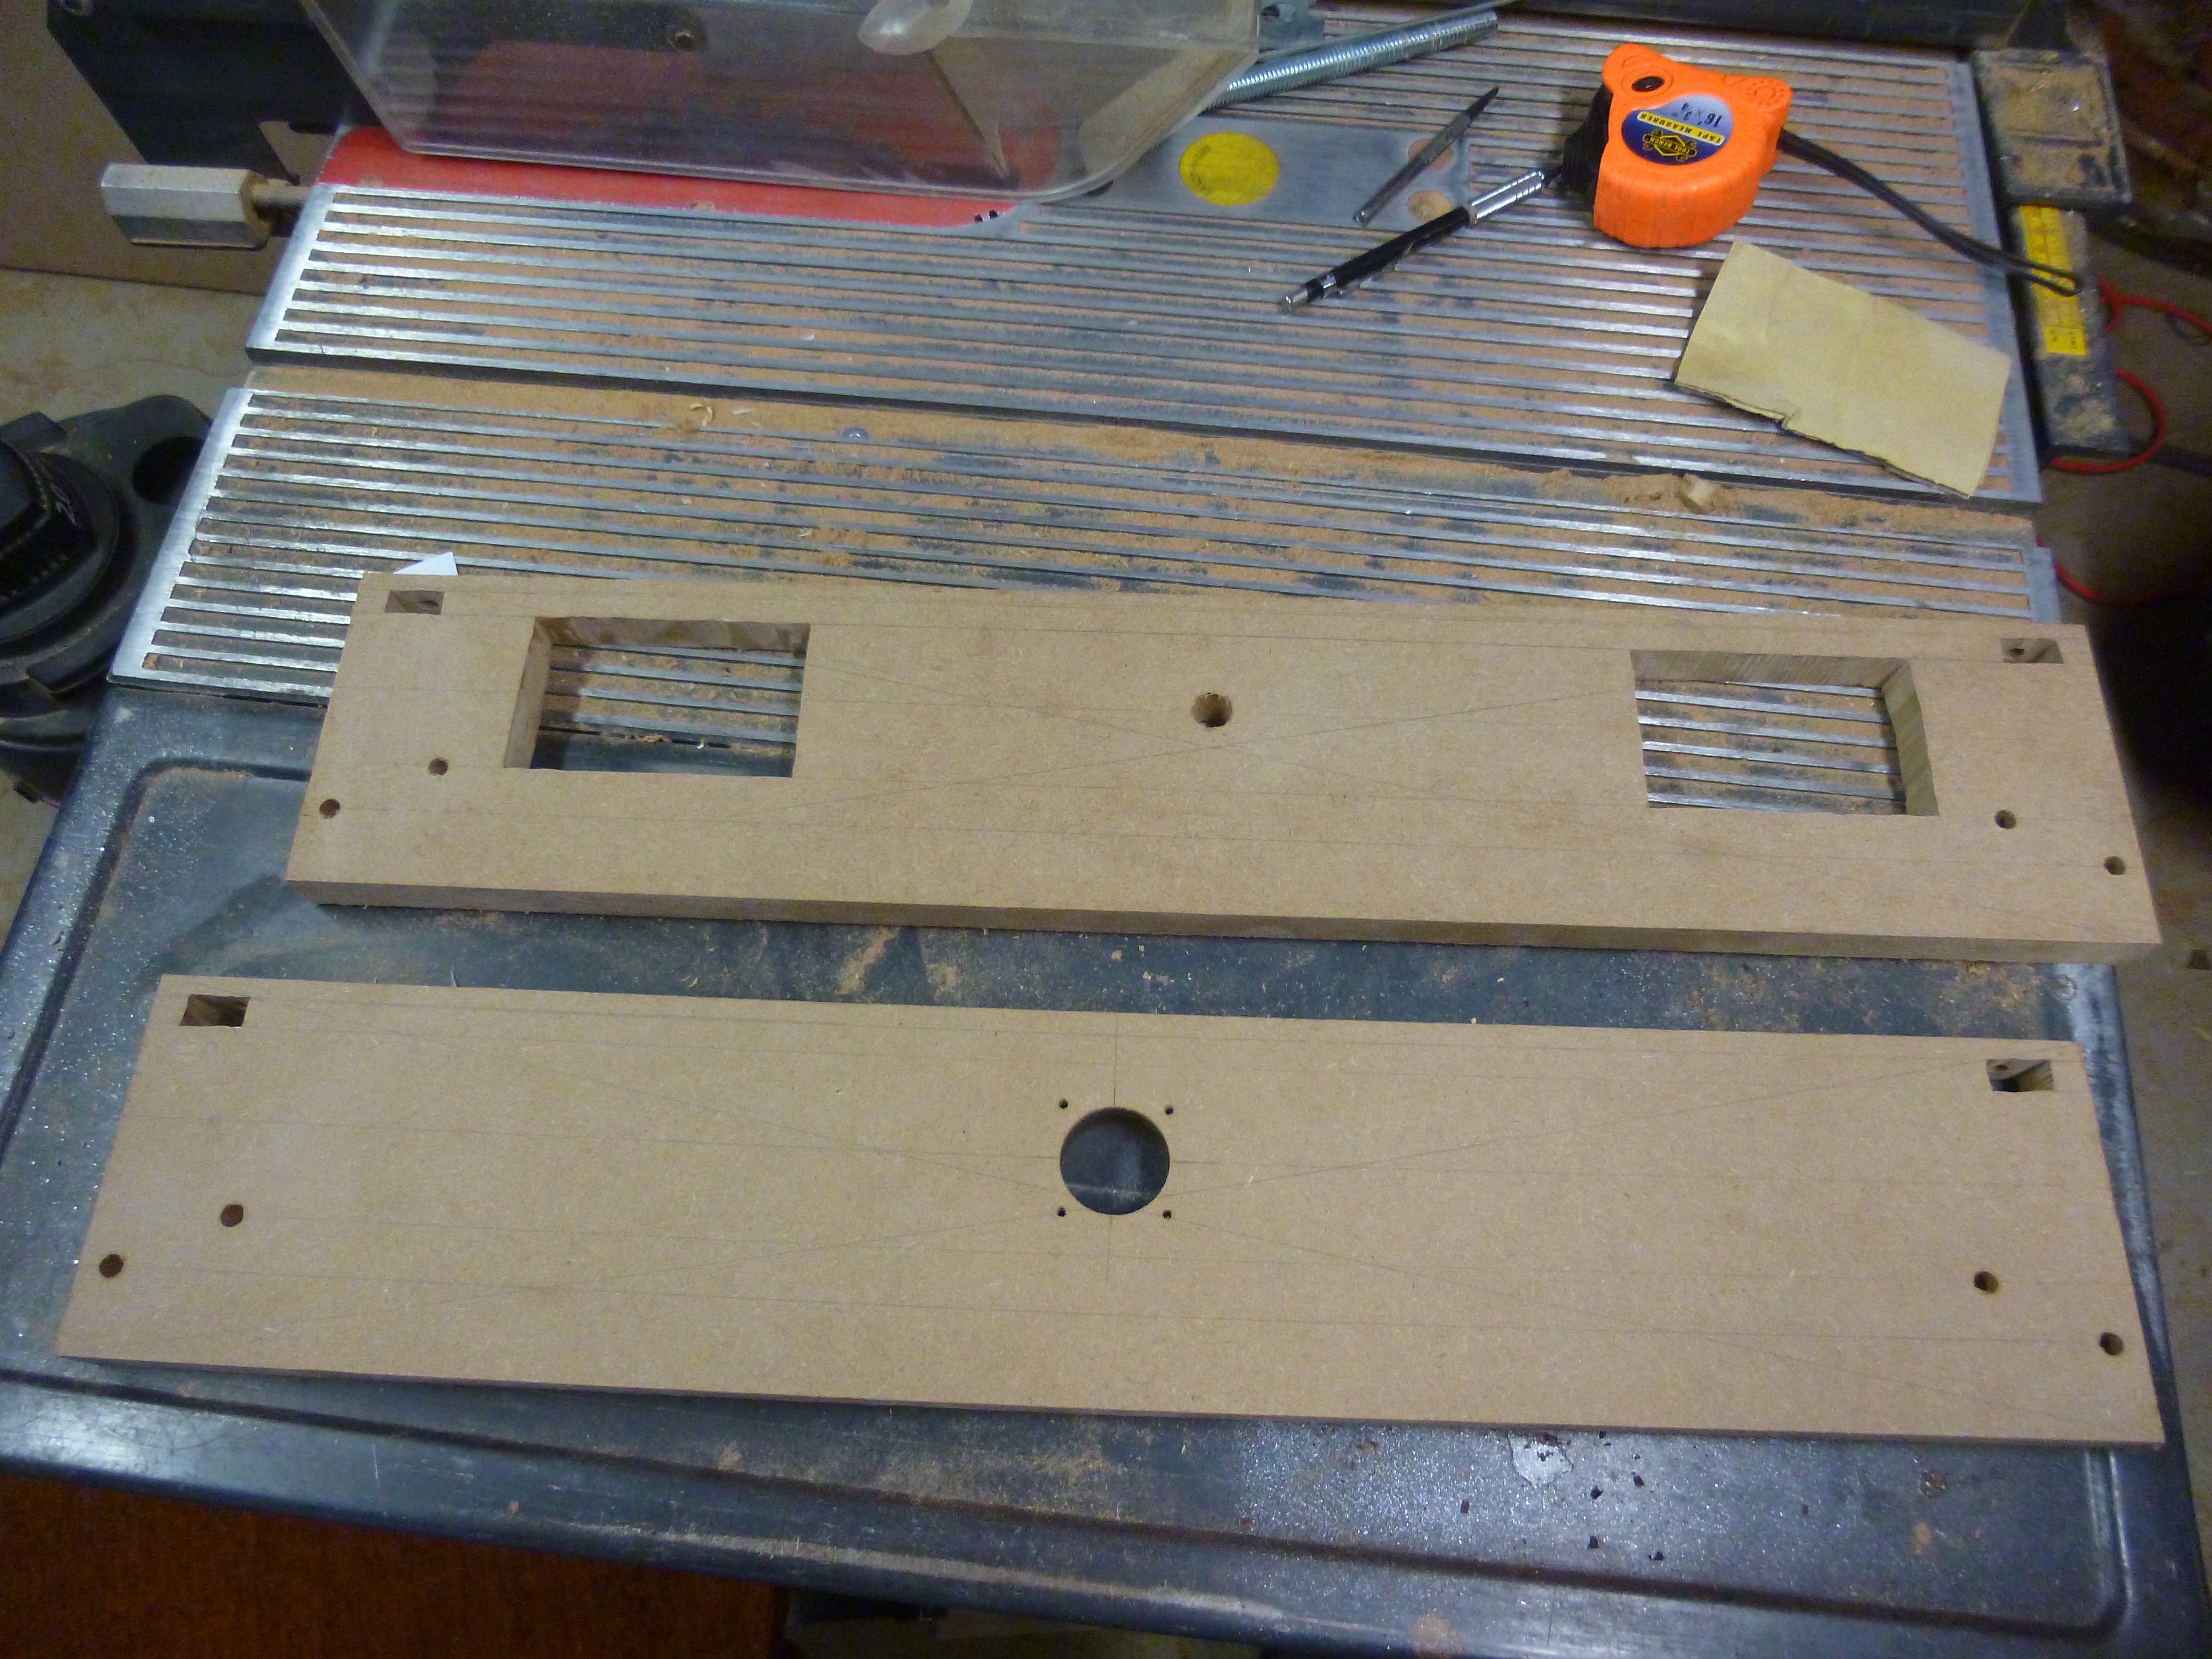
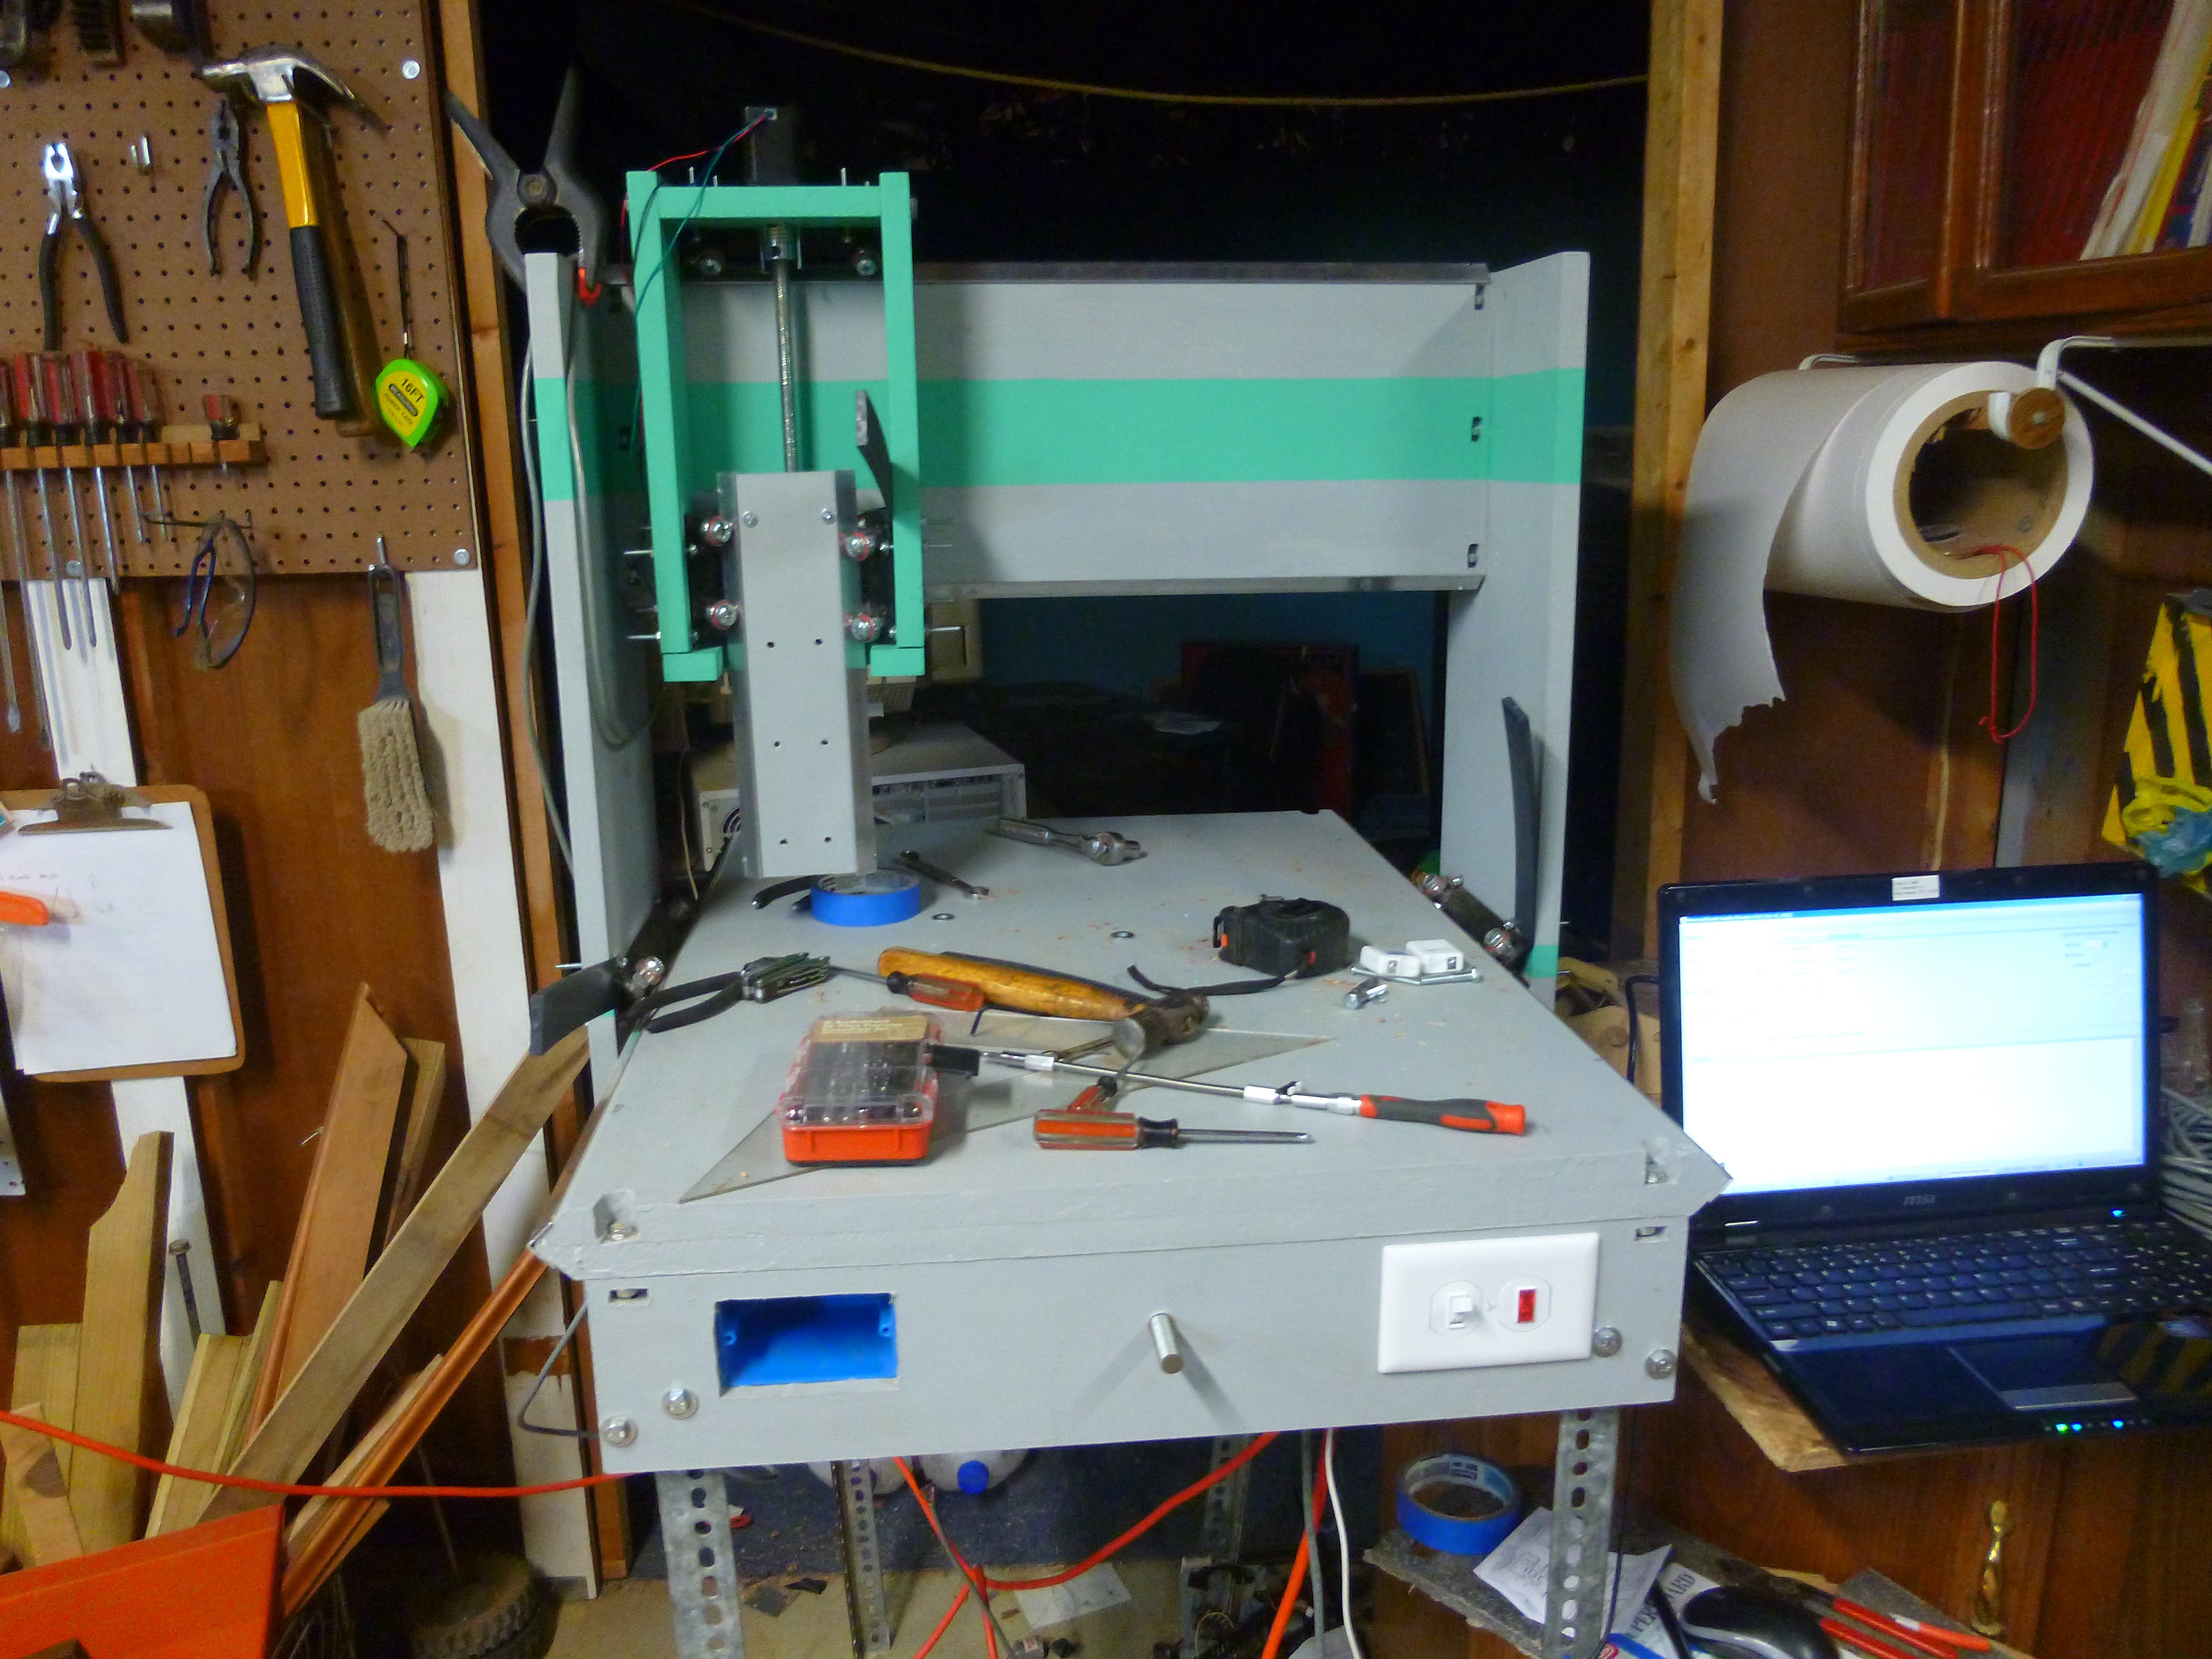
I have the mill painted and assembled, and am nearing the end. Before I painted the mill, I rebuilt the sides of the base. The ones that I had were from before I figured out how to make the bolts fit, and was trying to get away with drilling holes.
On top is the original. on the bottom is the new version. The cutouts are for a power switch and an outlet.
I painted the mill with latex wall paint. because it was what I had on hand. Latex paint might not have been the best choice, because it is soft, and already is showing signs of damage from tools and clamps.
Part of this might be from my habit of using any available flat surface as a workbench, and not putting away the tools I am using until after I used them for the third last time.
The shims are used to hold the trucks closer to the track and to compensate for any miss alignment in the wheels. Now I *simply*, need to wire the mill and work out the bugs with my wiring.
-
First Draft
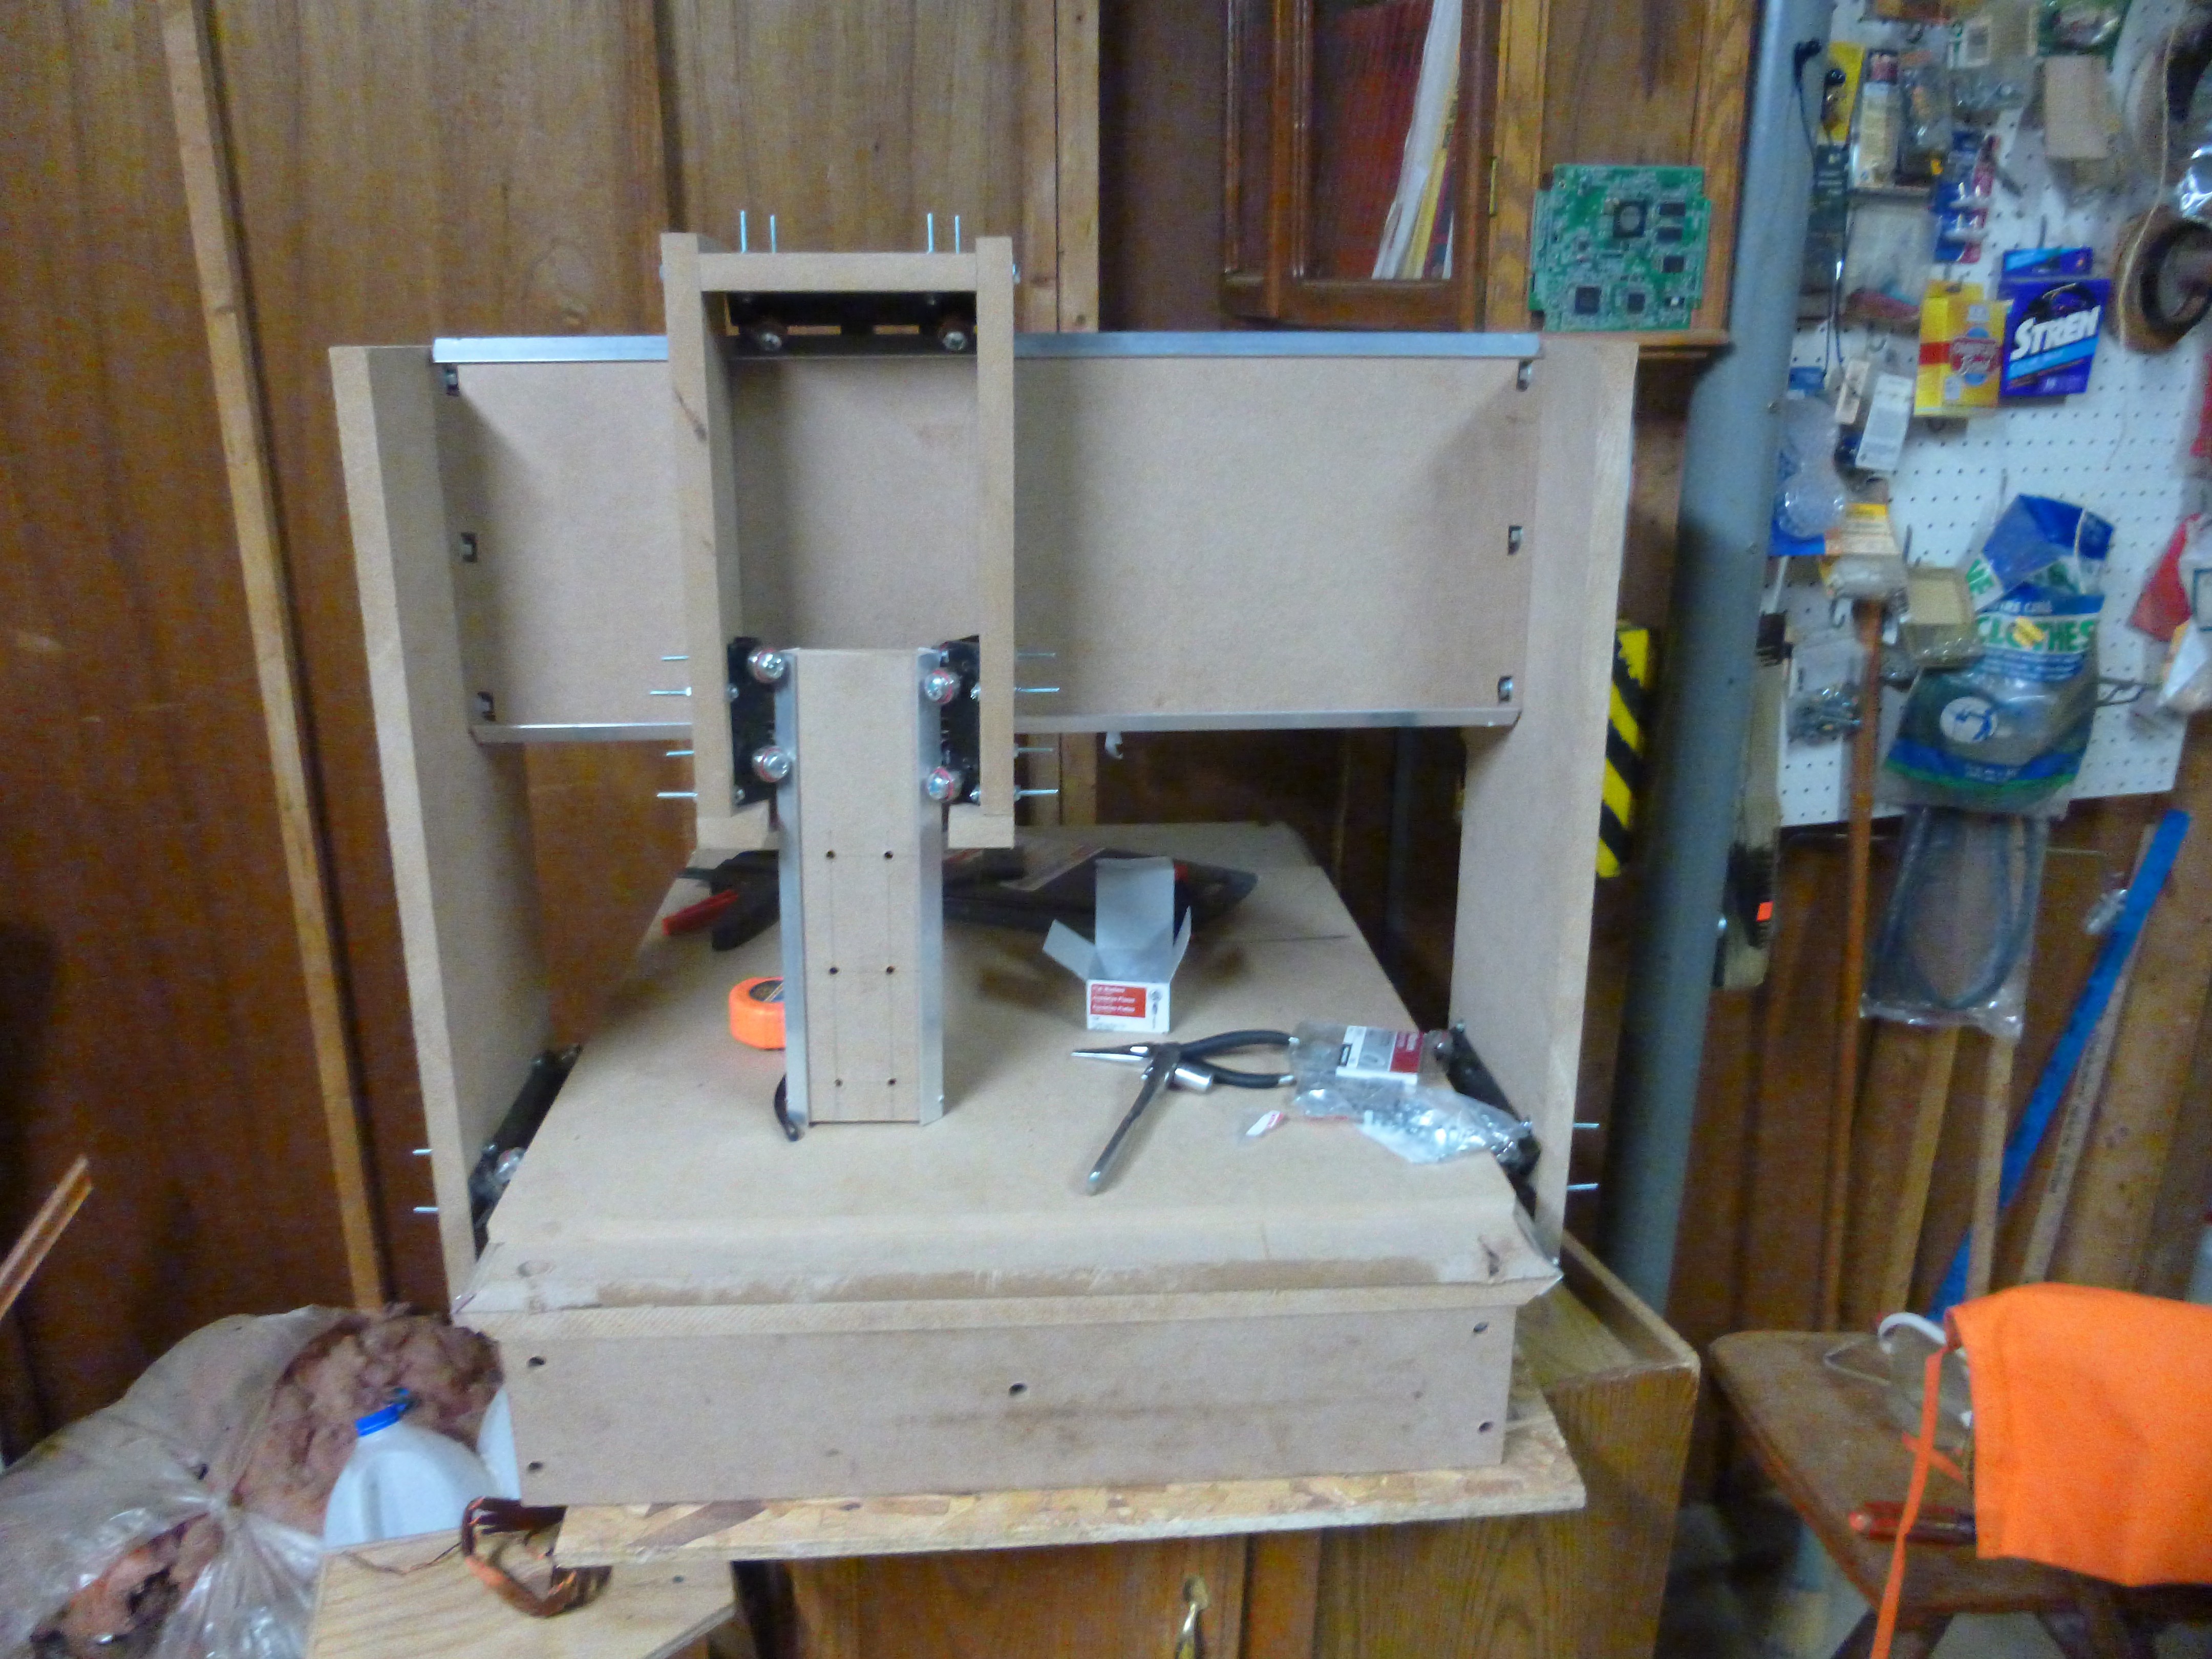
08/02/2017 at 21:45 • 0 commentsSince I last met you, I rebuilt the mount for the x axis nut, (twice), as well as the y and z axes.
The y axis is basically a box that slides on the y track, and holds the trucks for the z axis, but because of how they fit together, I had to build both axes together.
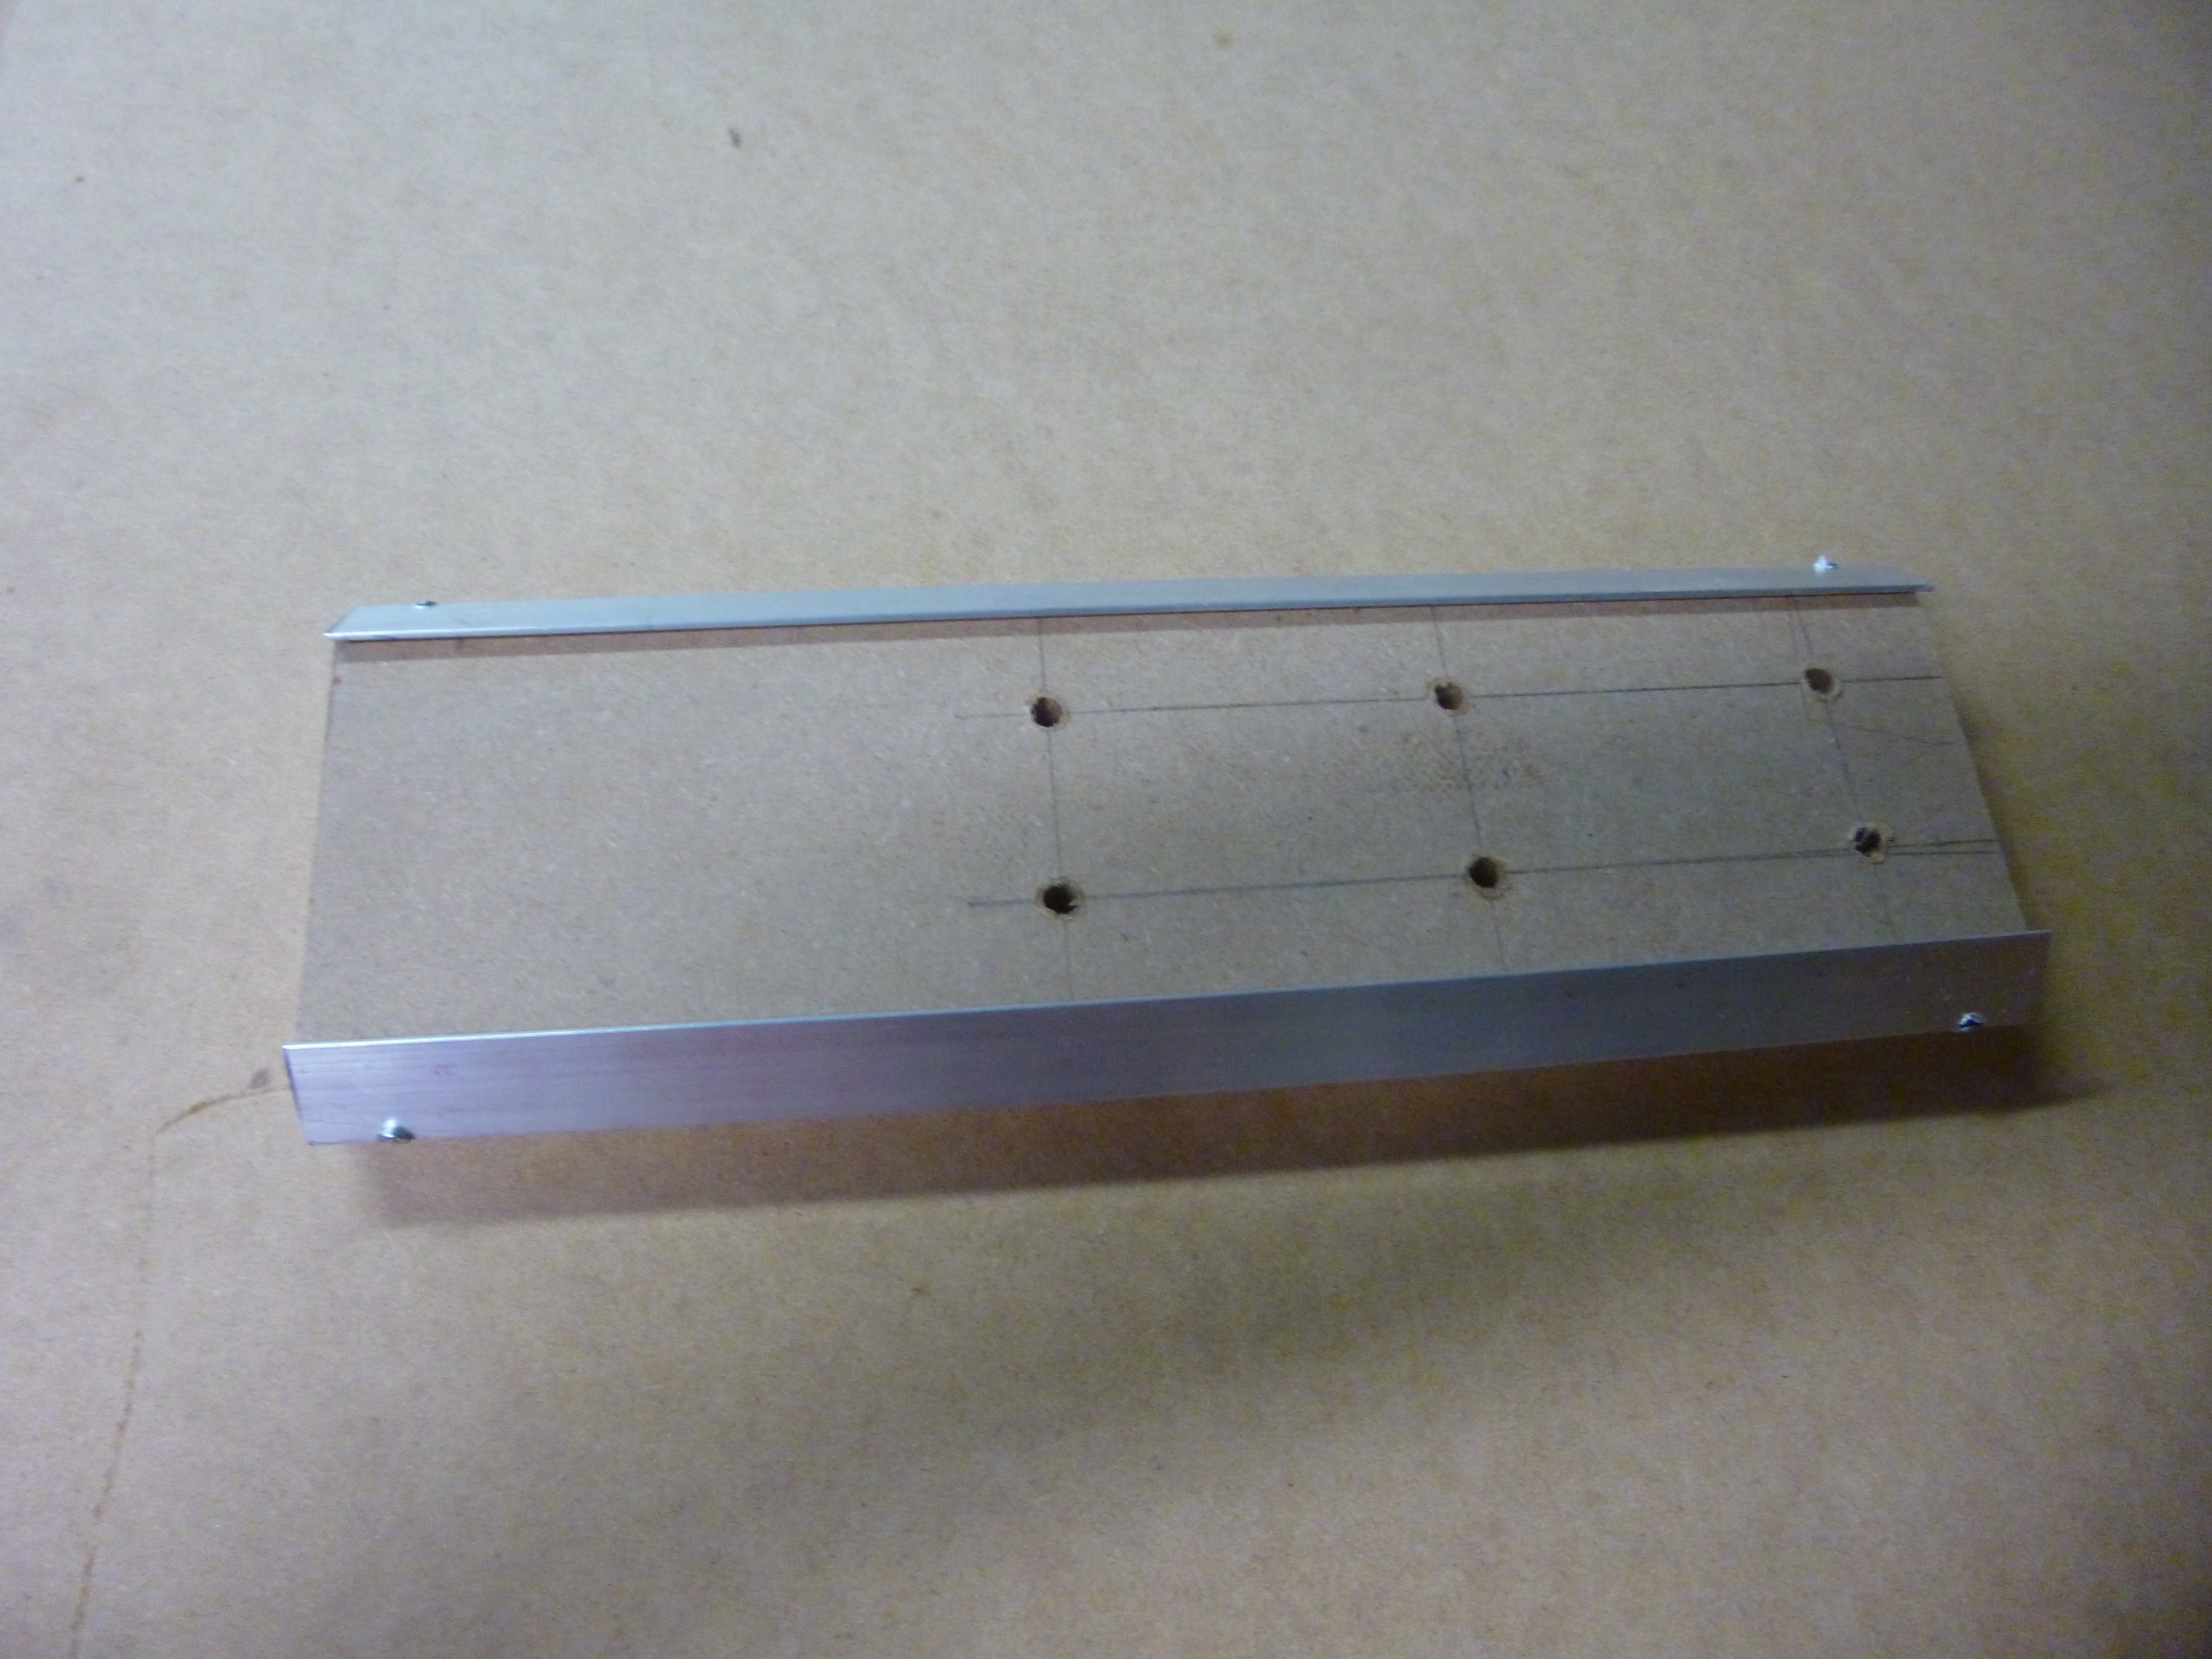
I started with the z axis. The z axis is simply a 3.5" plank with rails on the ends, and holes to mount my tools drilled down the center.
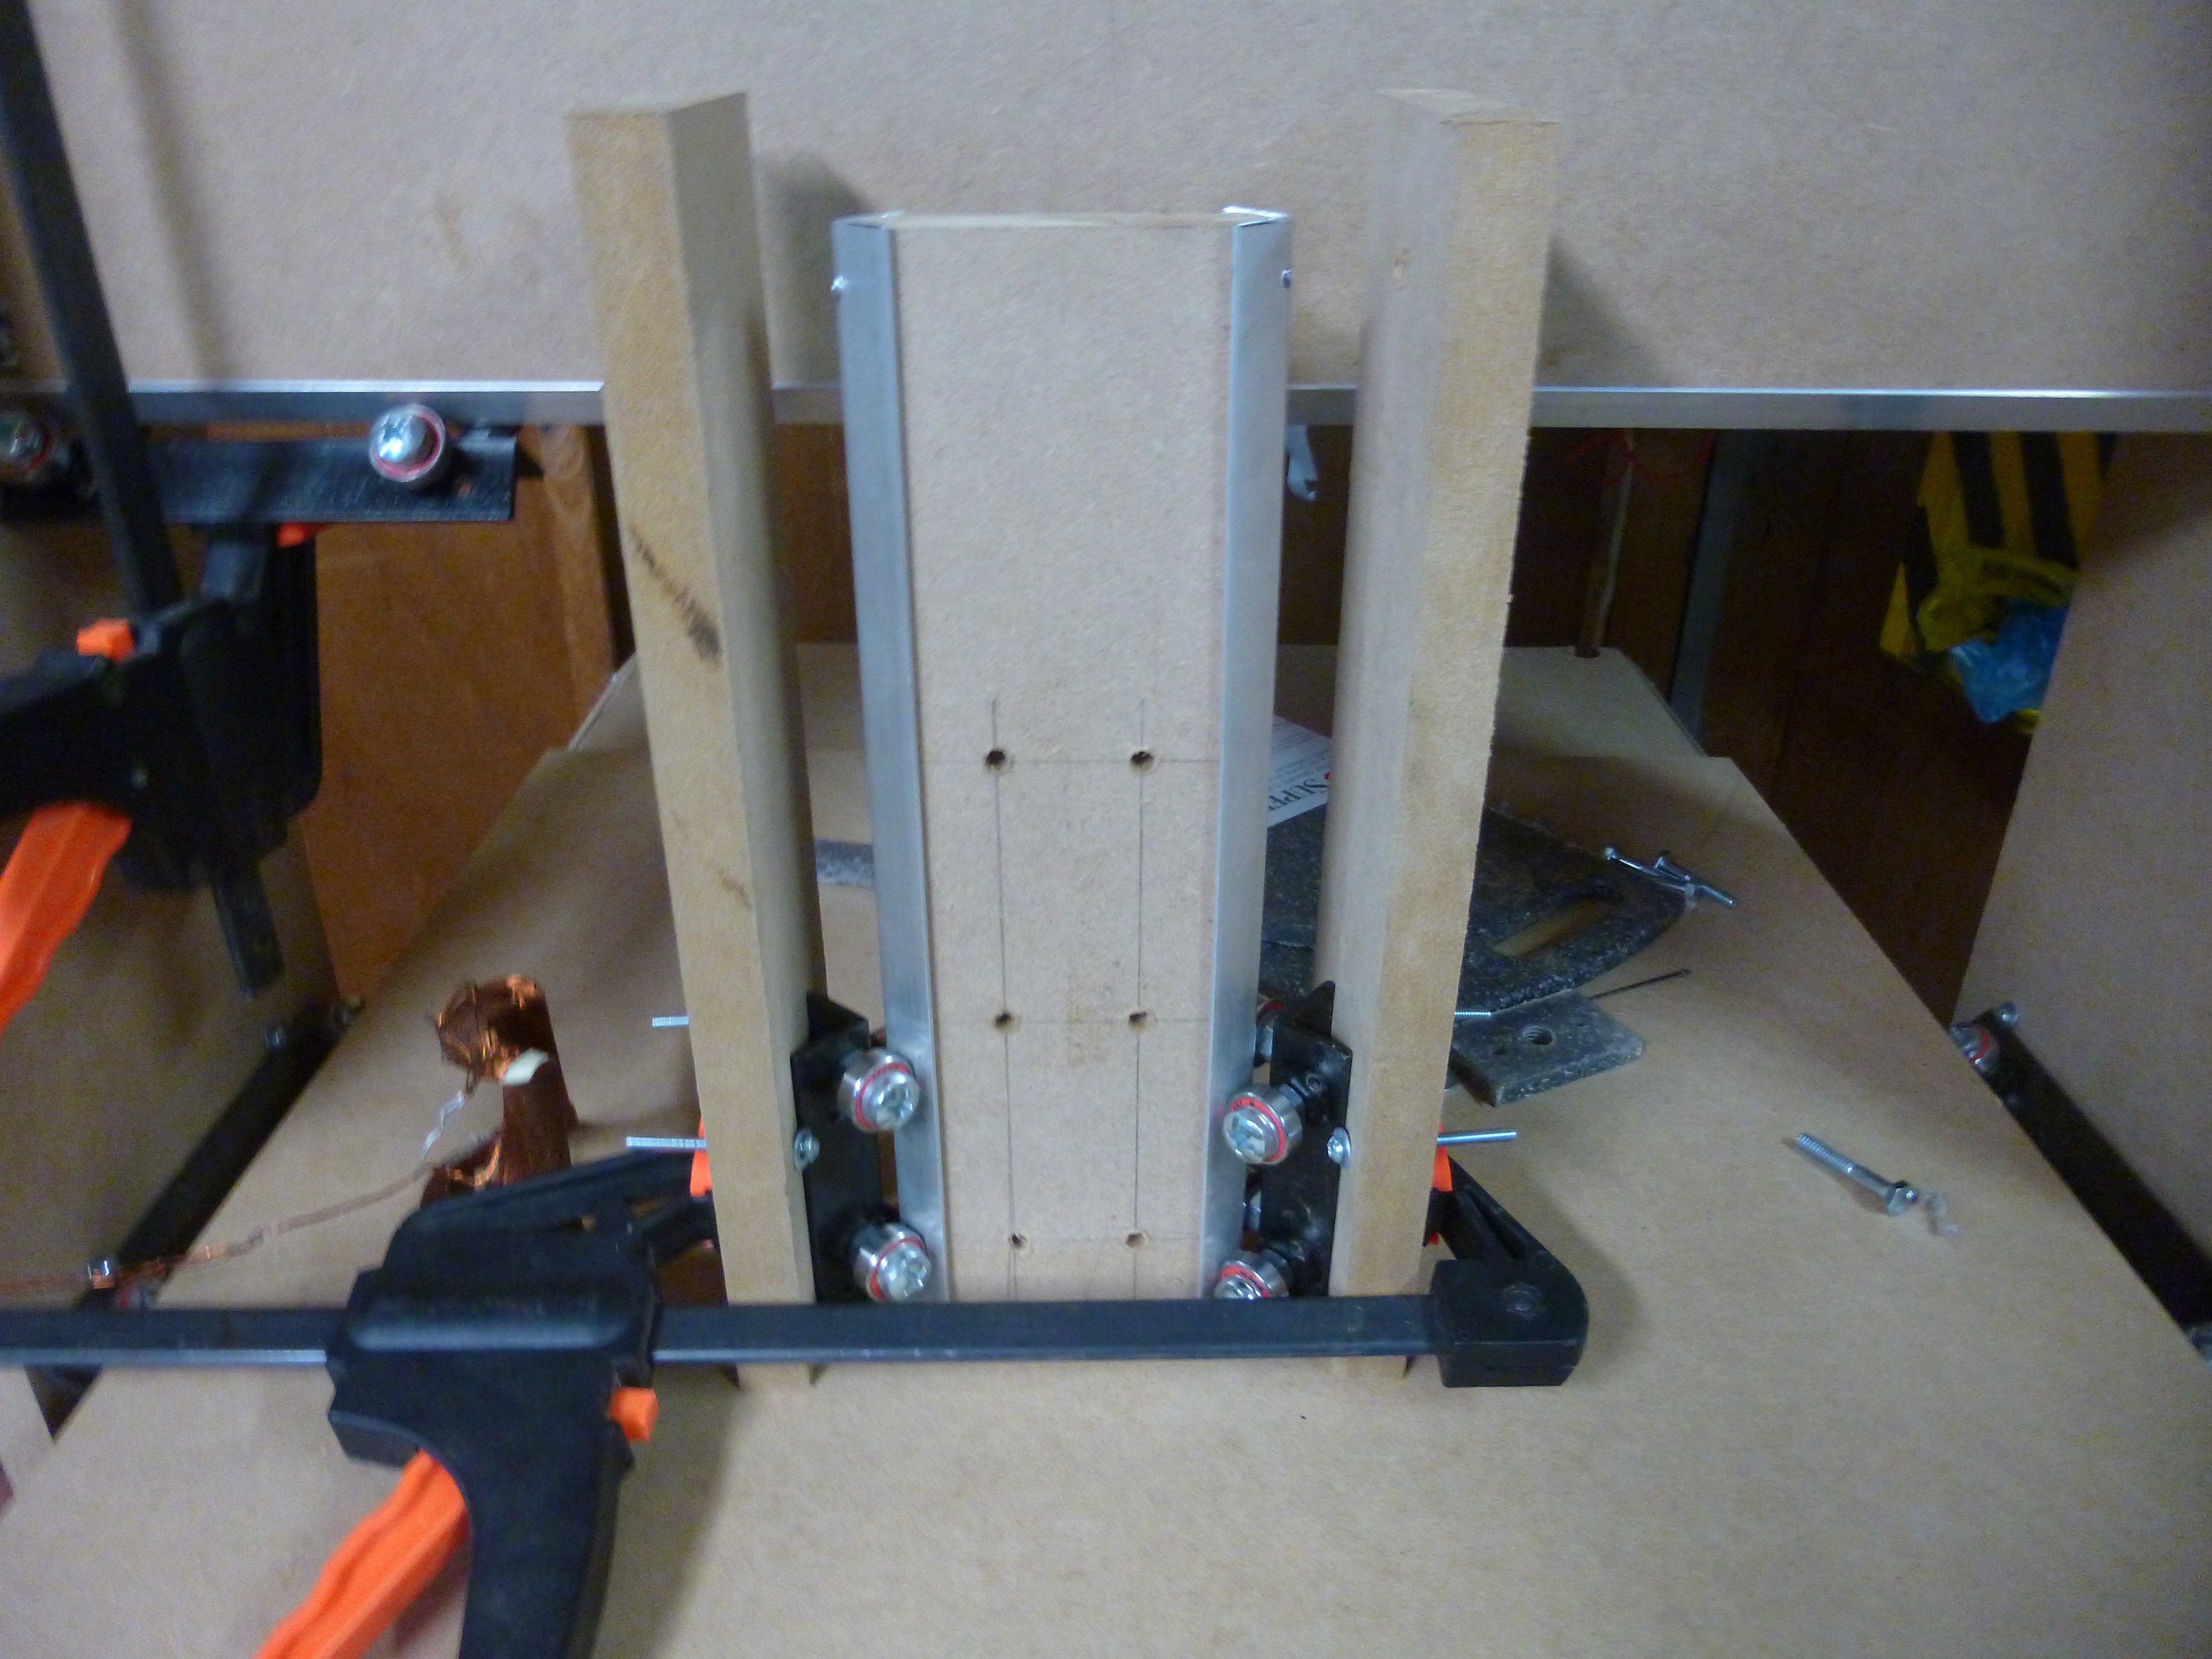
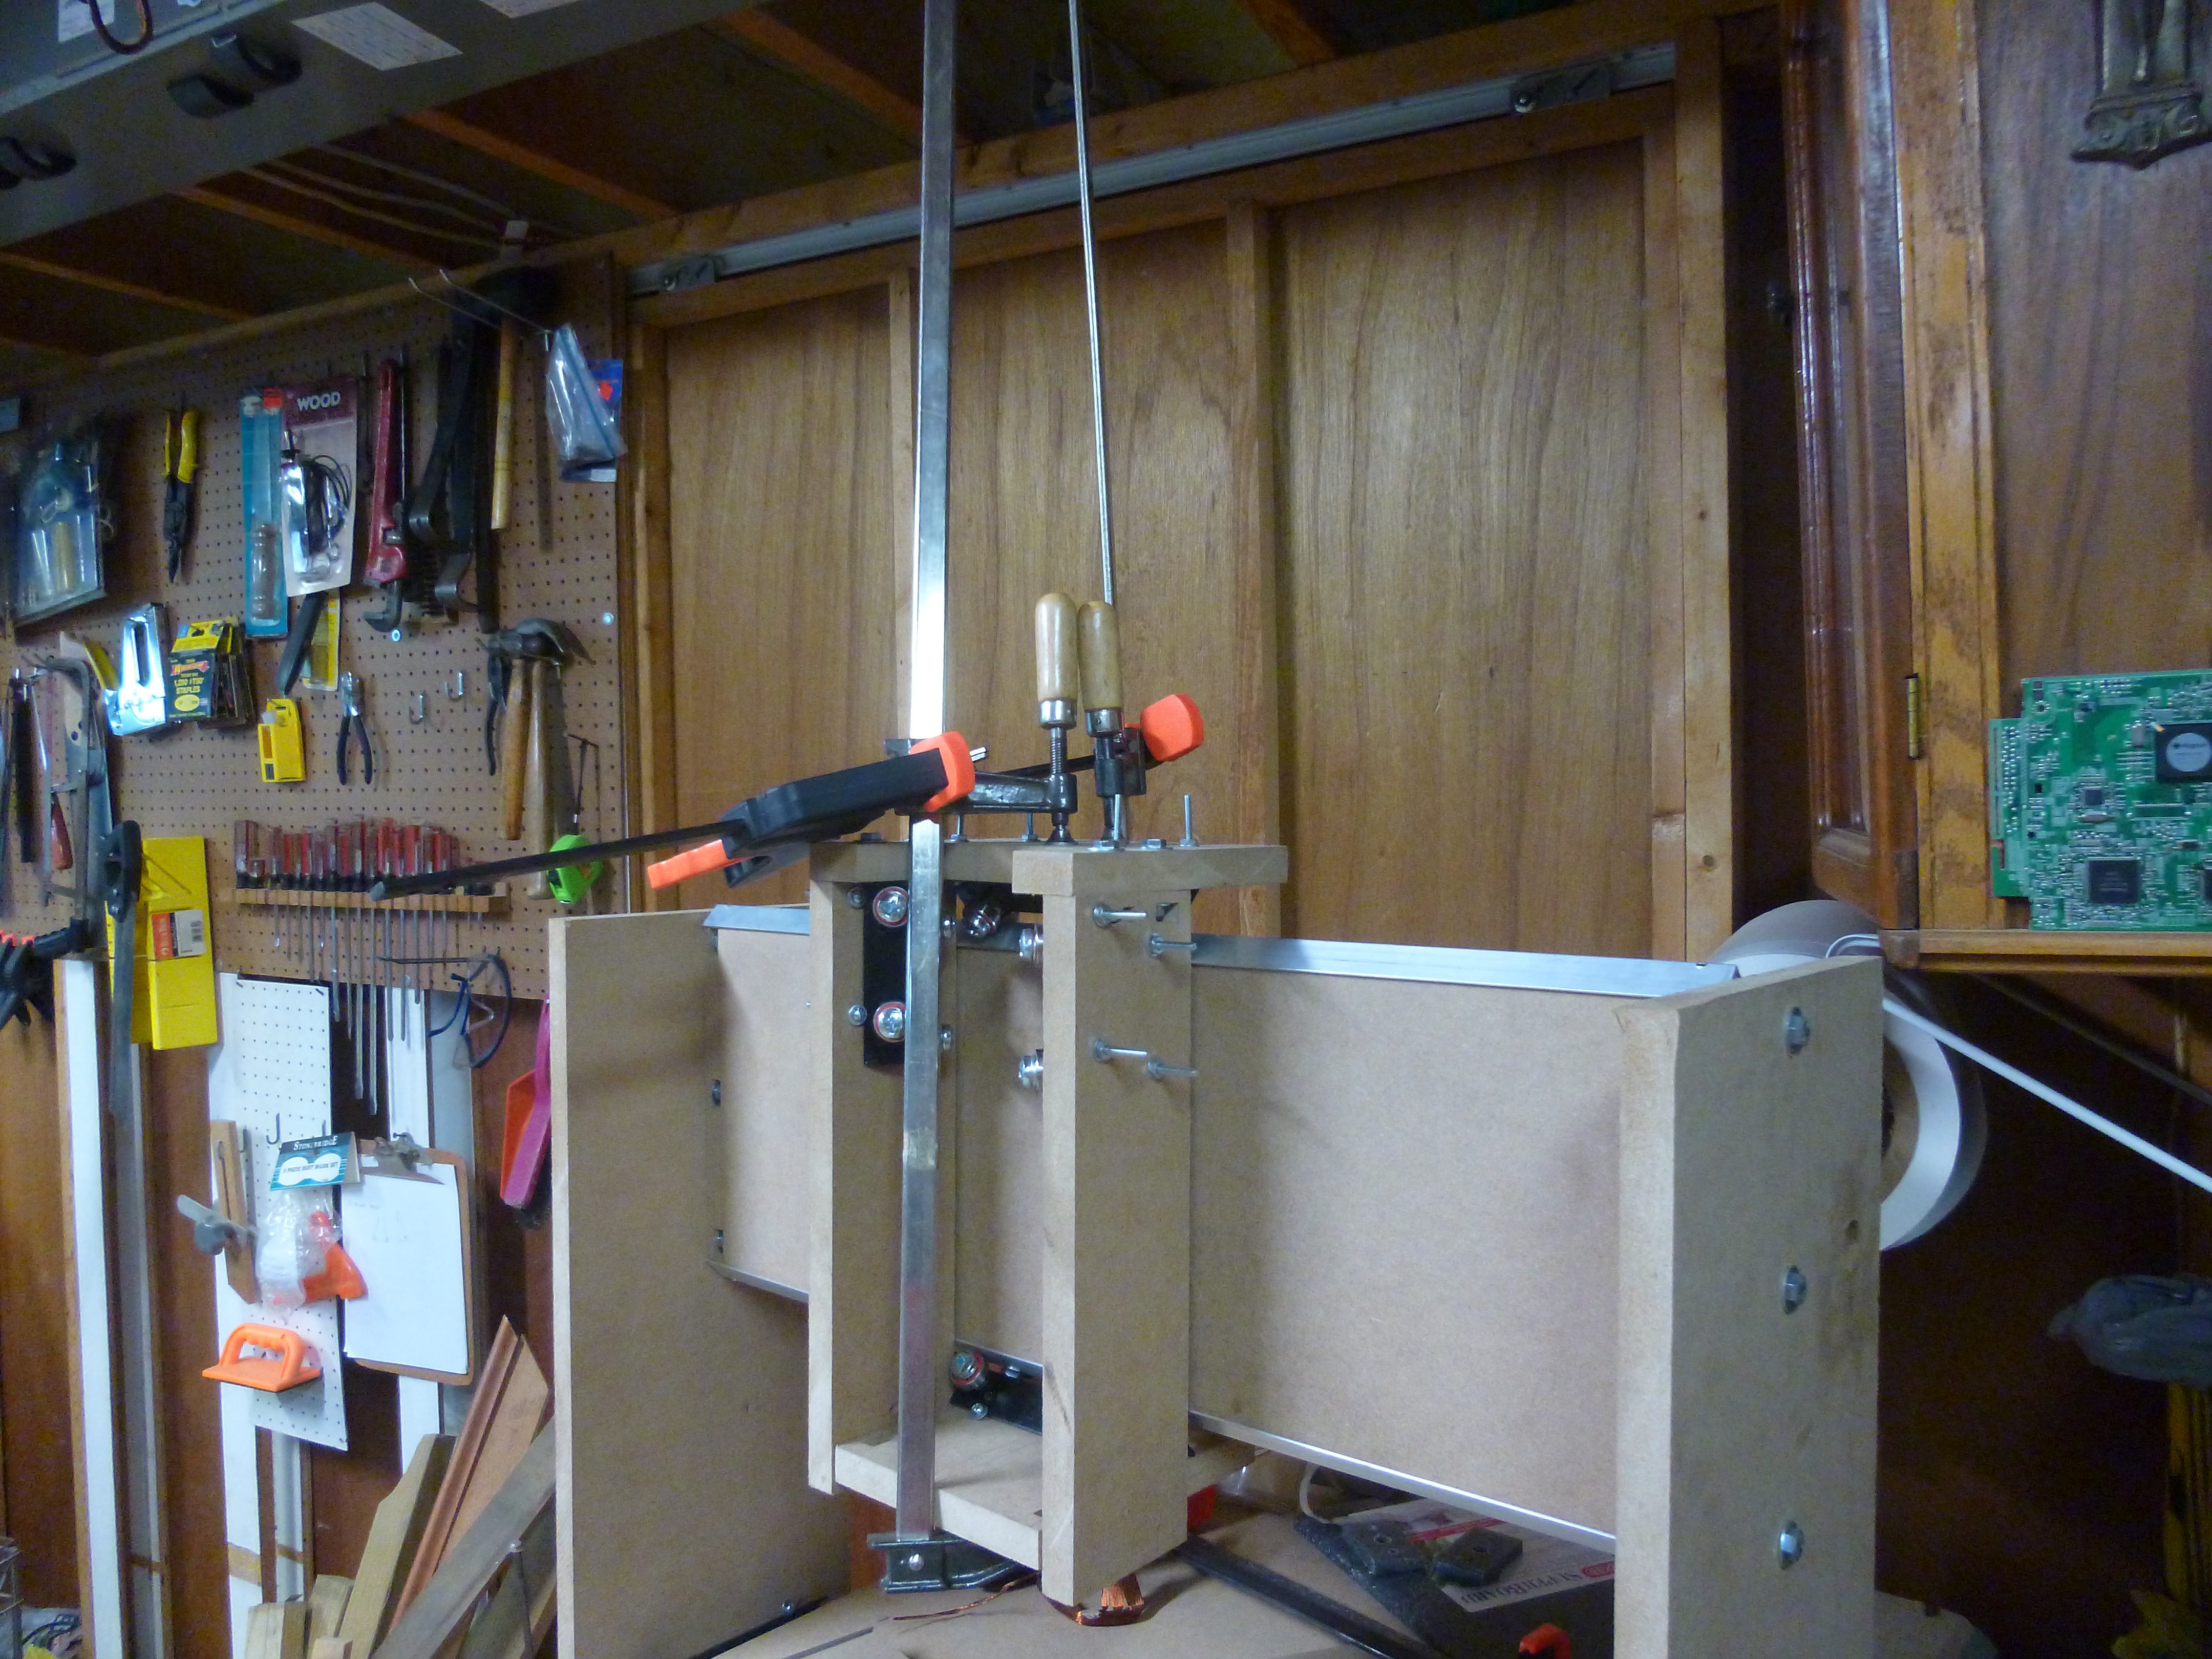
I cut the side pieces for the y axis a little longer than necessary, and clamped them to the z axis to get the width correct. After I had the width, I cut out the top and bottom pieces. the bottom piece needed a hole cut into it for the z axis to slide through. Since the bottom piece sits flat against the bottom of the side pieces, I was able to bolt it on to the sides. I then hung the assembly upside down from the y track, and slid the top piece on.
This was held in place with a couple of clamps, while I measured to make sure that it was parallel to the top plate. Once I found where it was suppose to go, I marked and drilled the holes for the top plate.
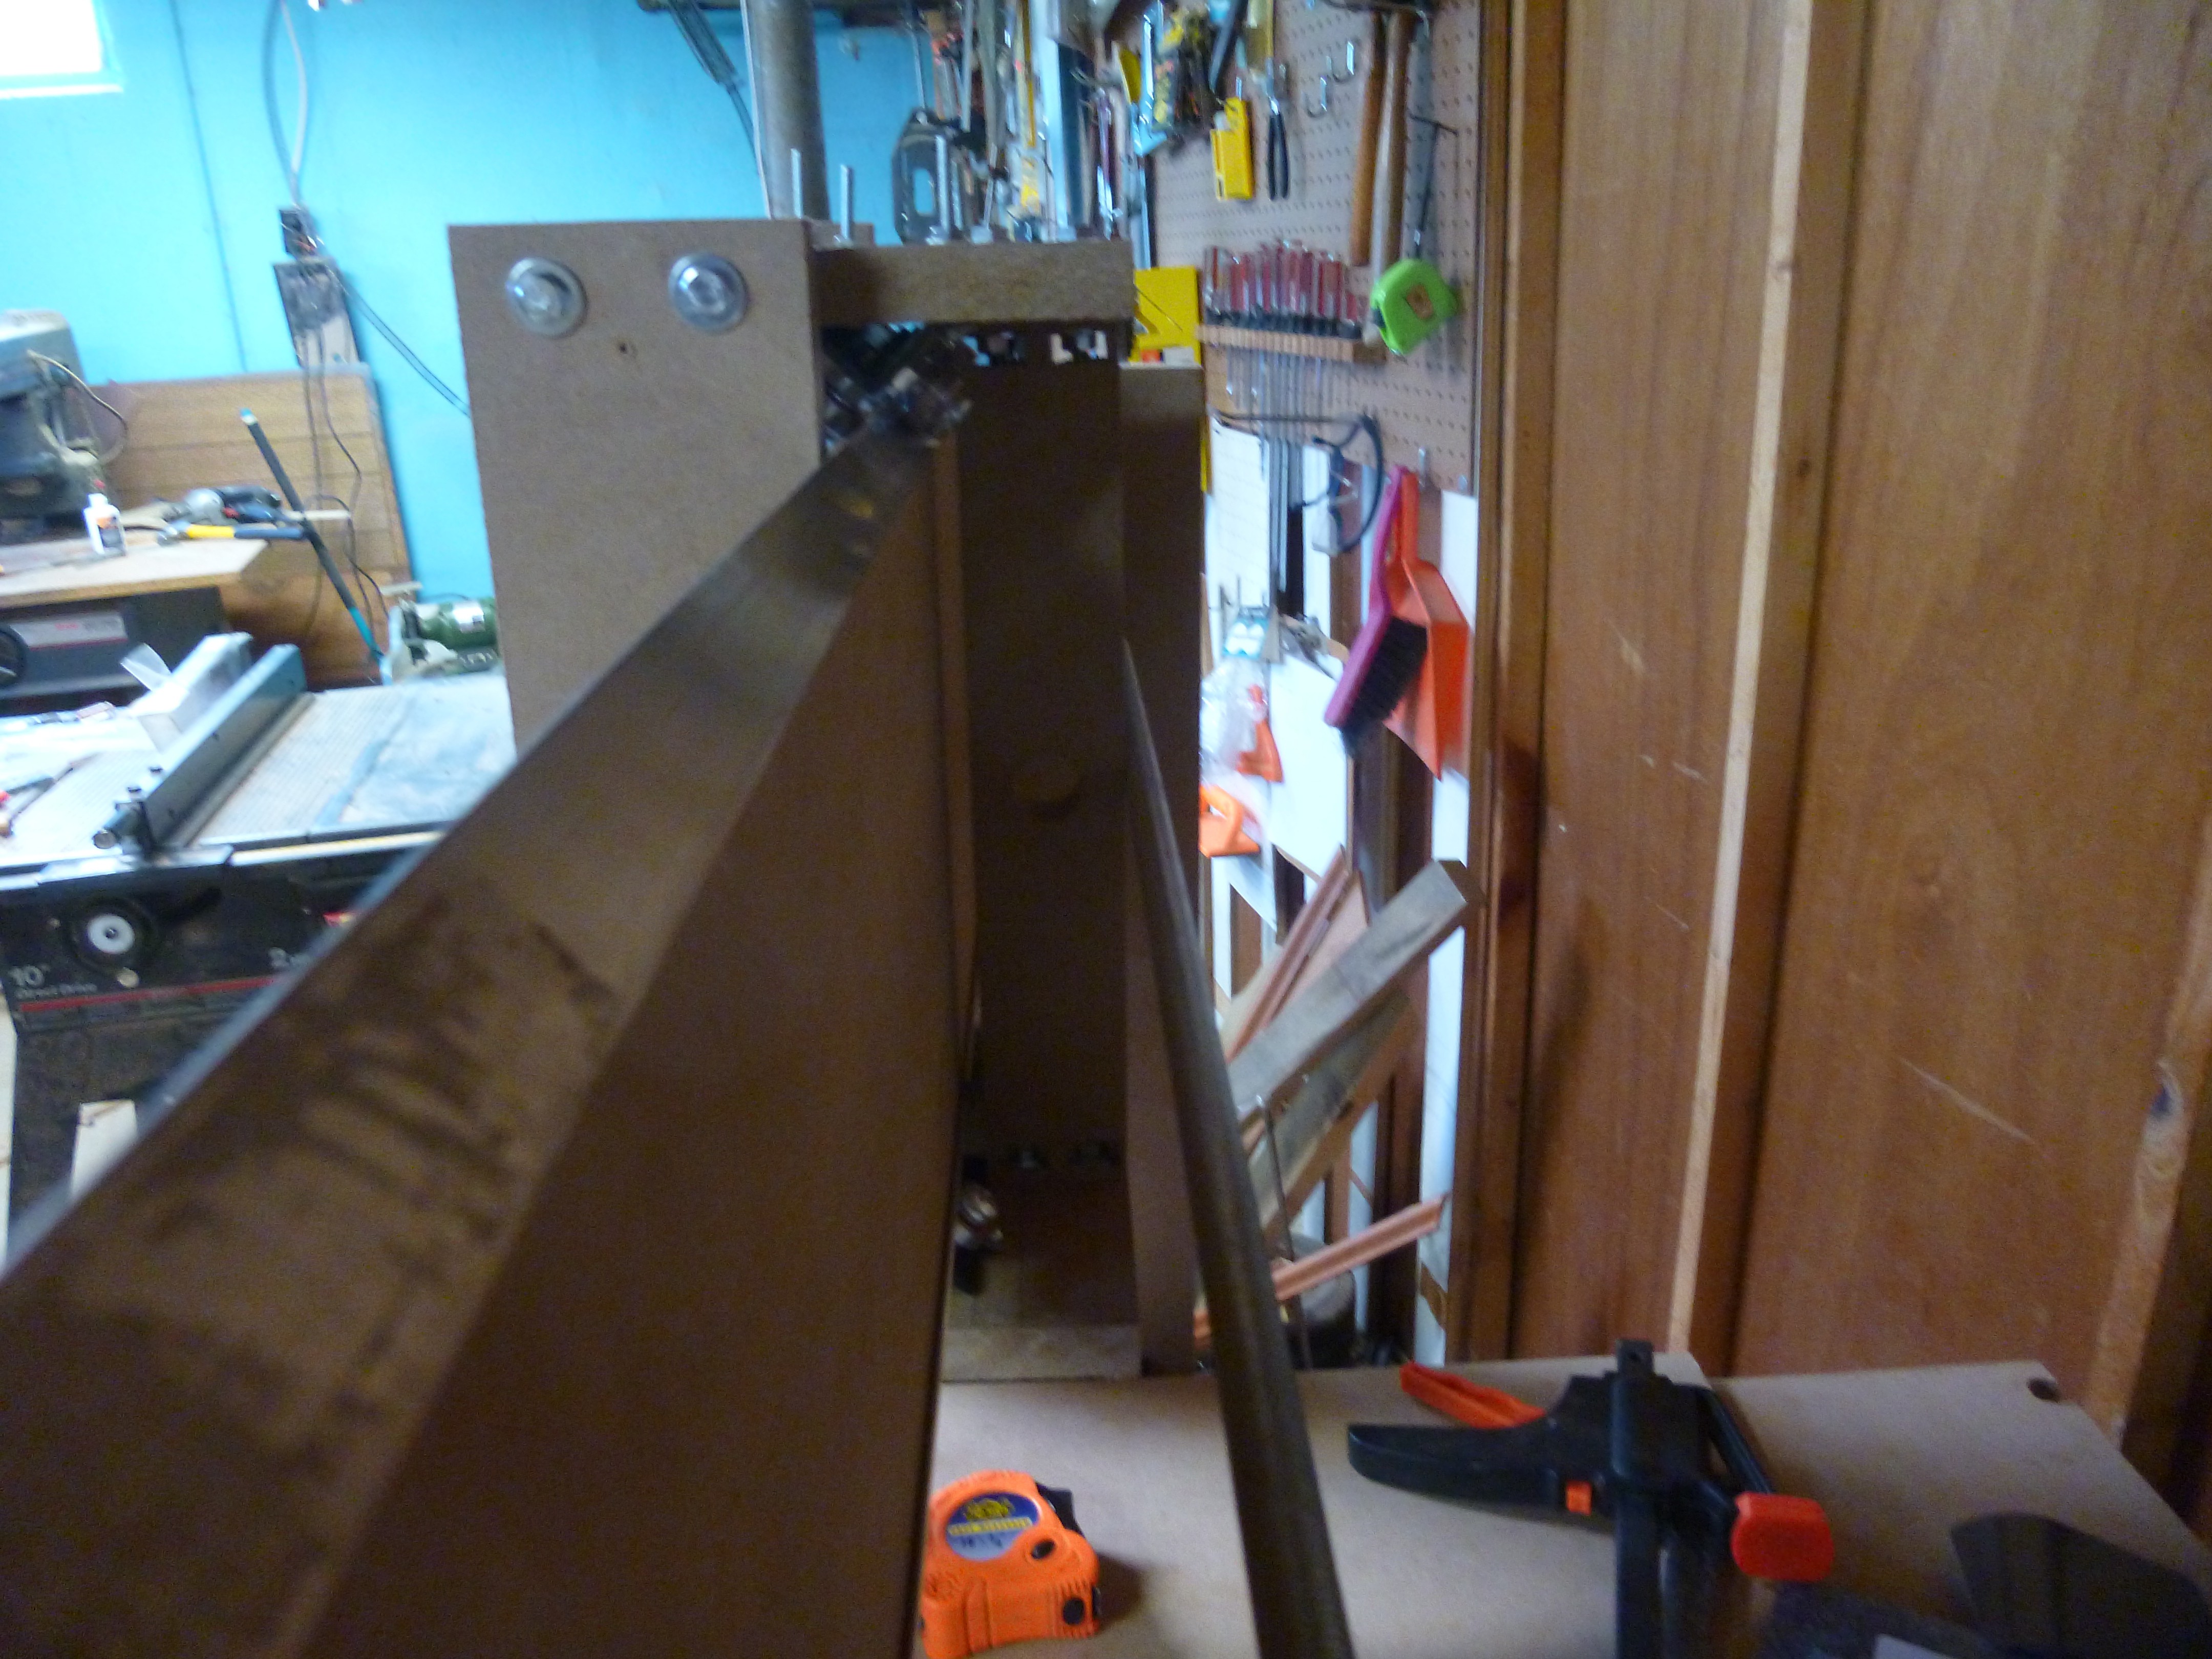
The mill is now structurally complete, however I noticed that I accidentally put the holes for the y track plate in the wrong spot on the side pieces.
Ill (stupid sans-serif font) I will fix this when I pull apart the mill for painting.
While disassembling the mill for painting, the first thing I pulled off was the right side of the x axis. this of course let the rest of the gantry rotate to the left, and crash to the ground. during this collision, the x nut mount and the y track plate broke and needed to be rebuilt.
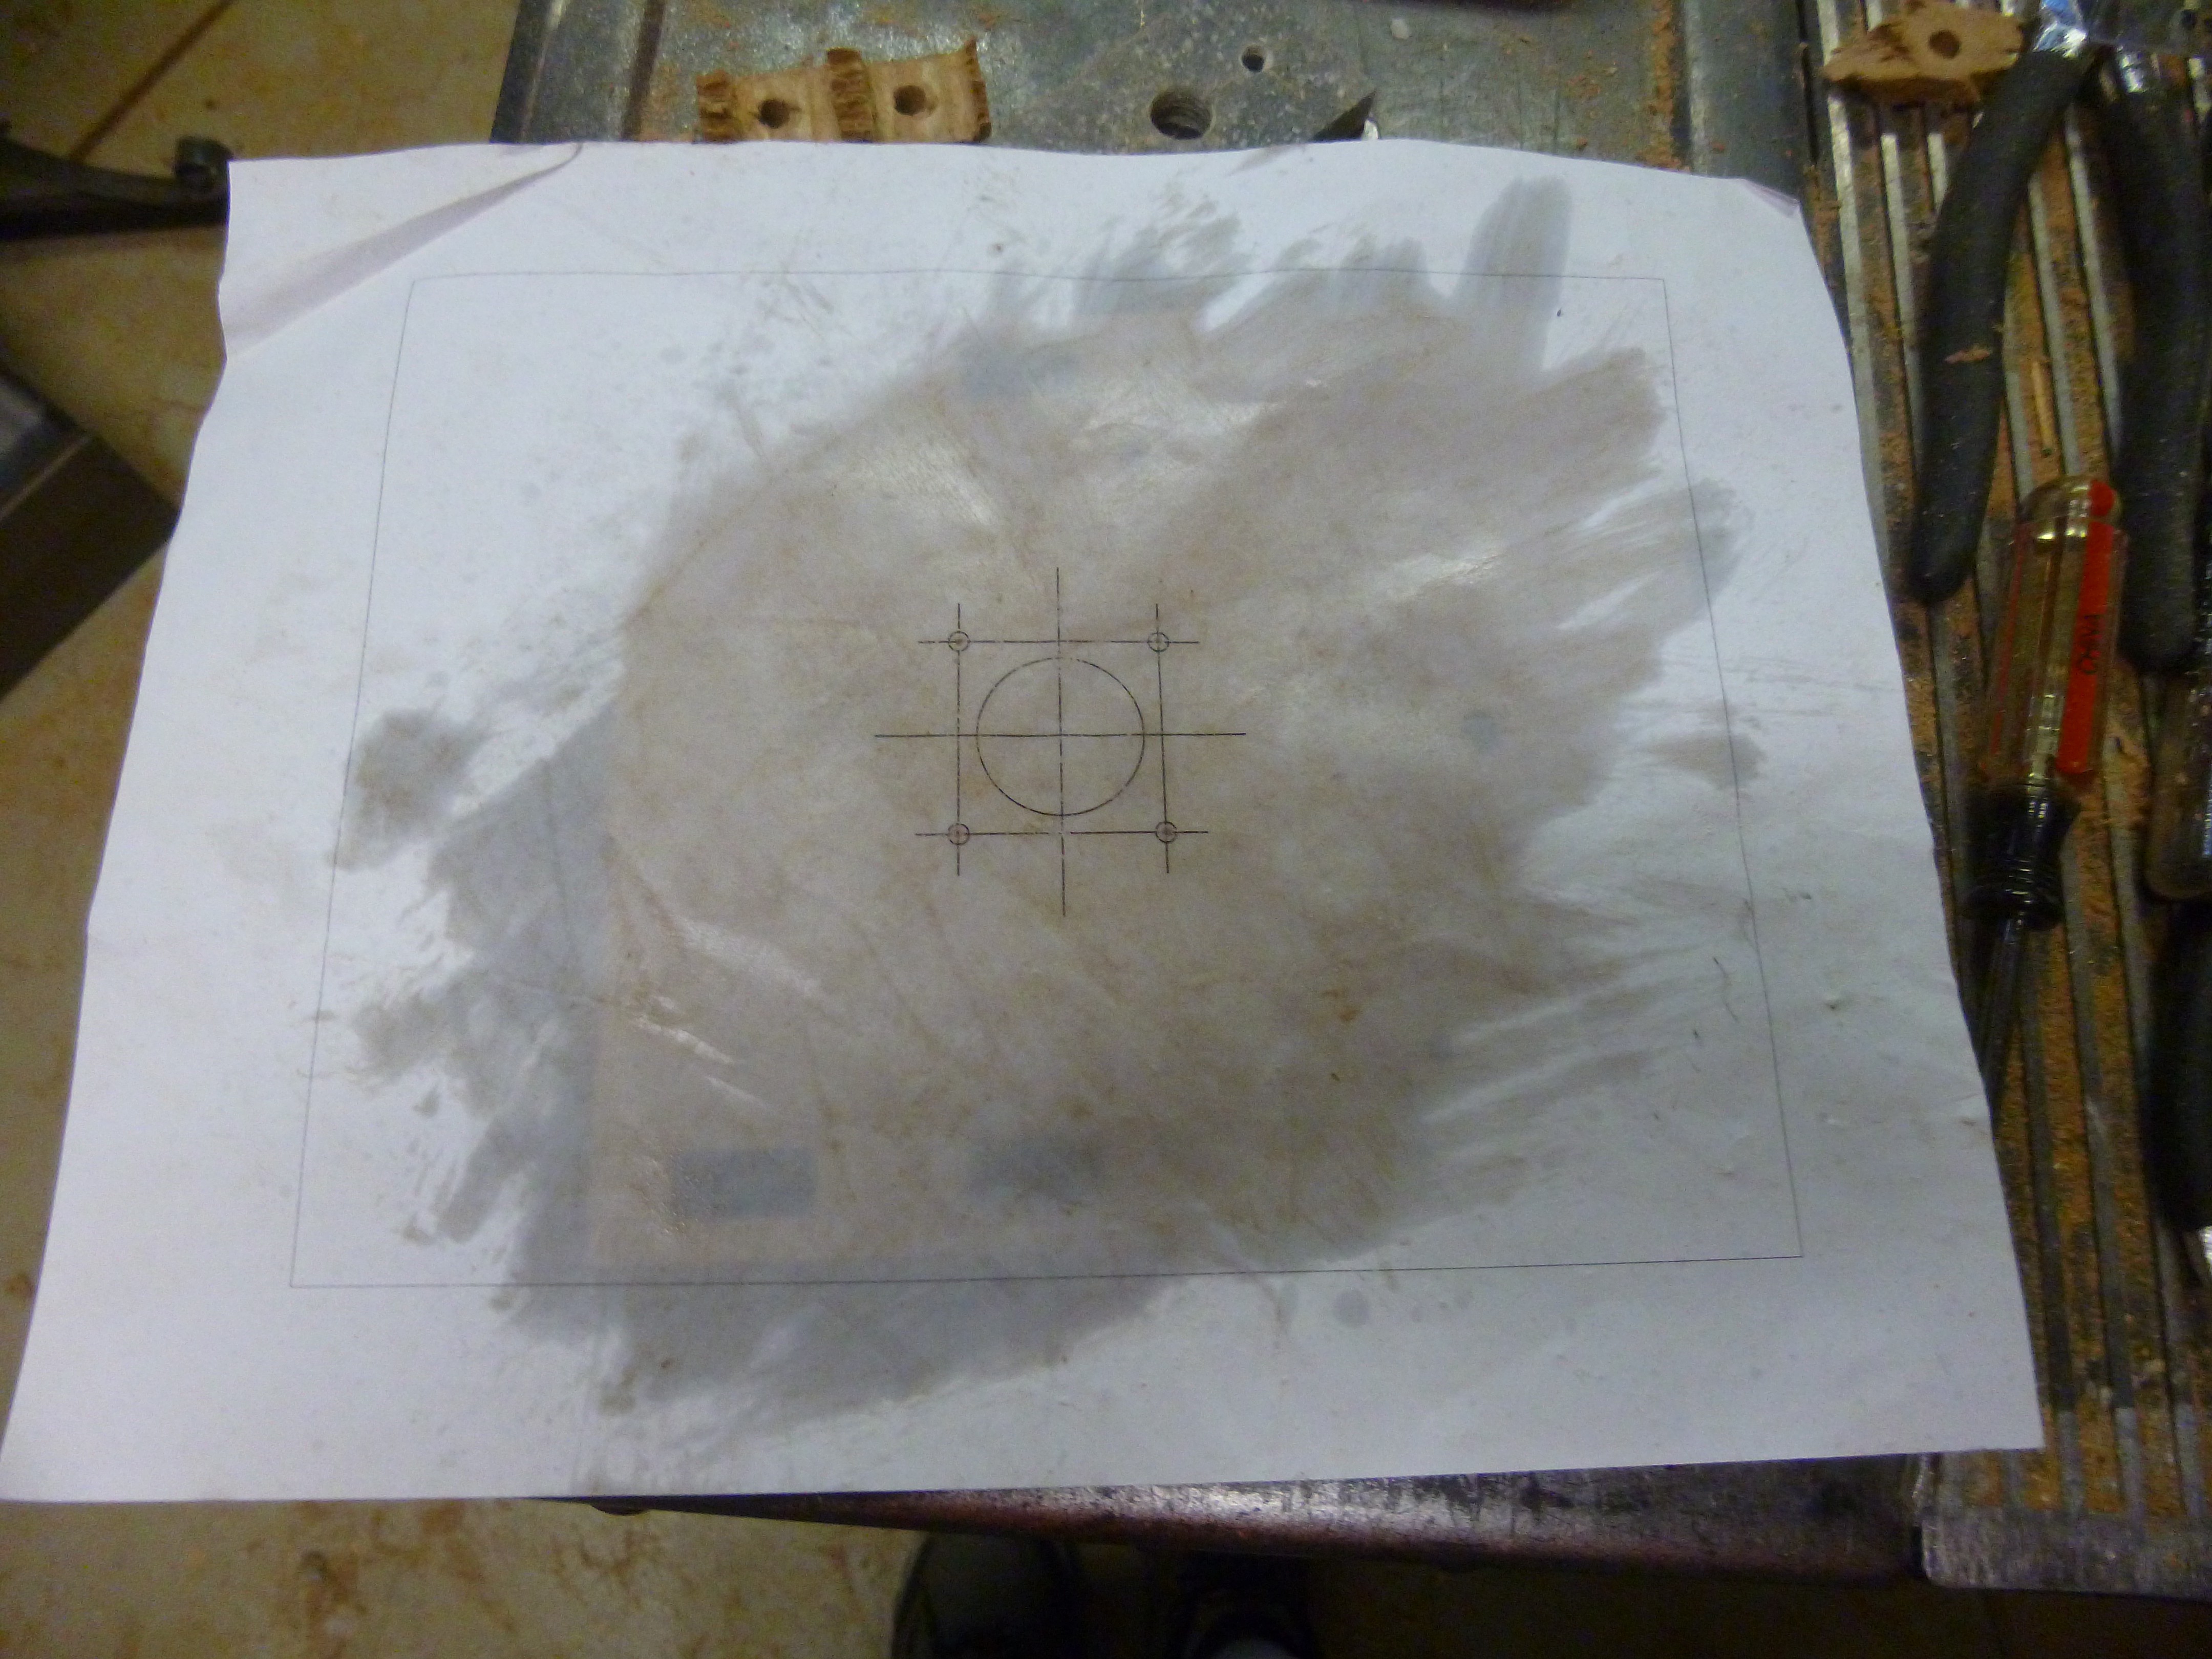
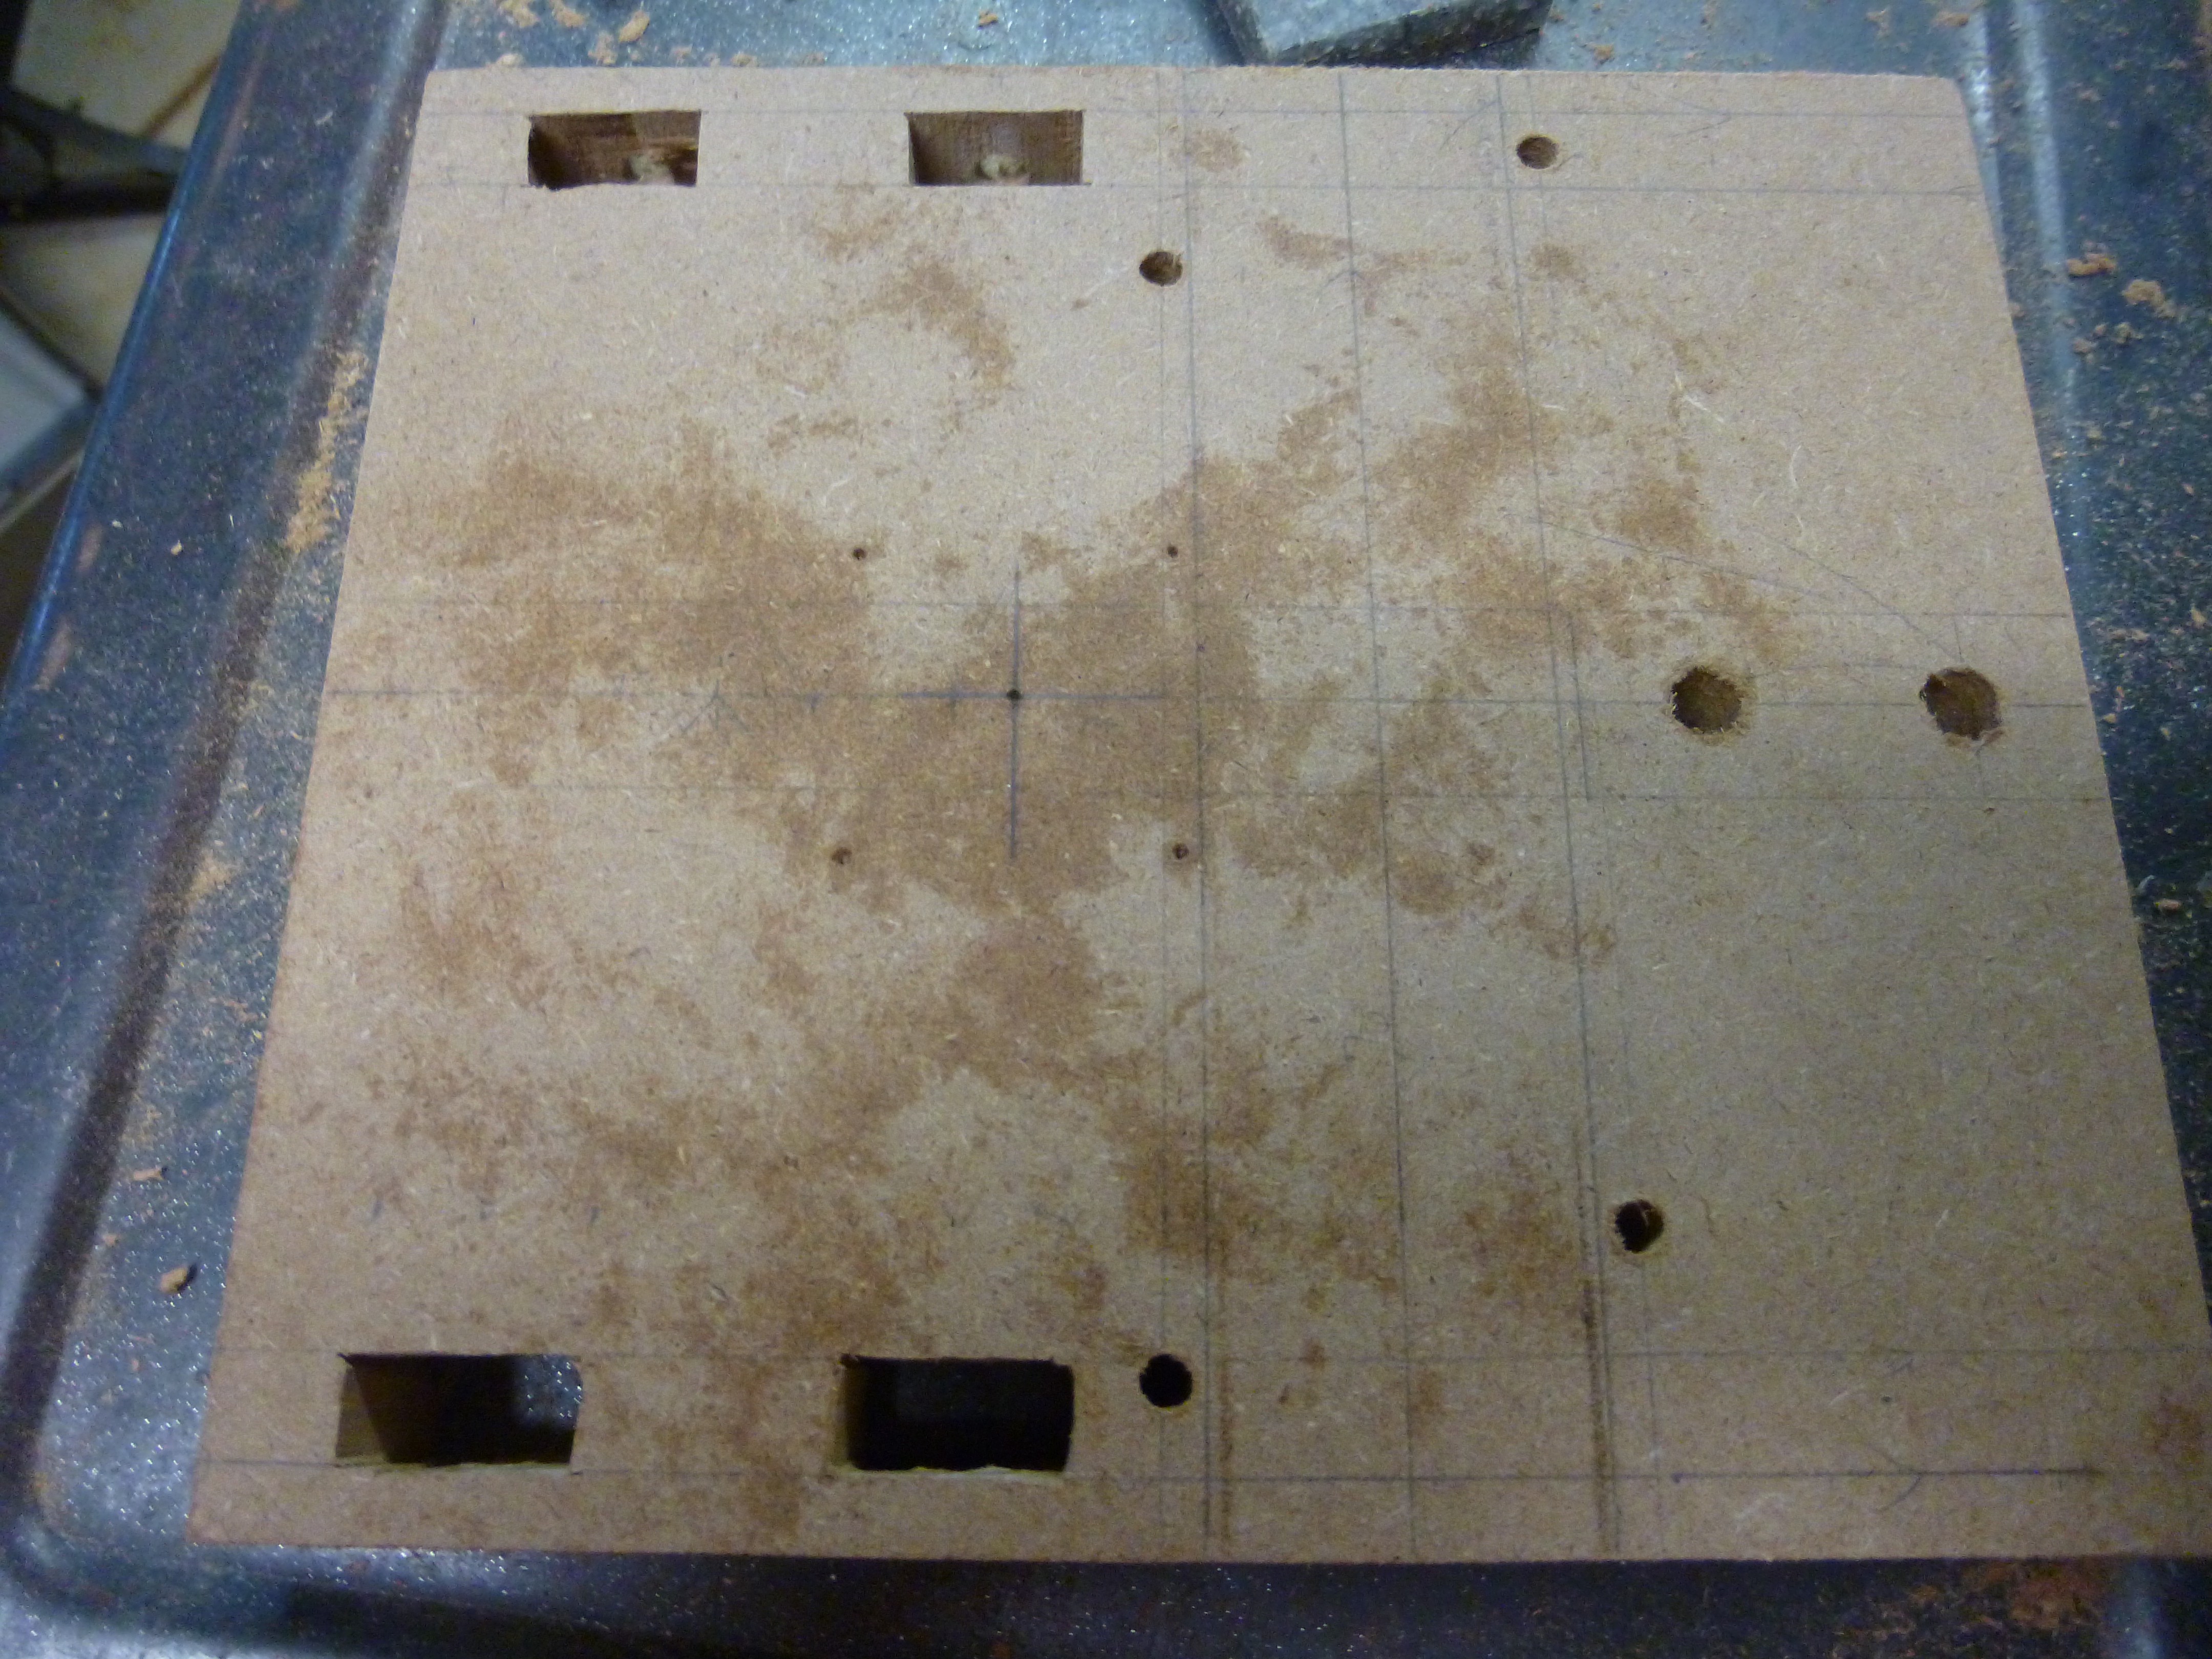
To transfer over the hole locations for the stepper motors, I first marked the center of the stepper location. Then using a printout of the whole guide, I marked out where the bolt holes should go. To see the center mark, I sprayed the guide with WD-40.This makes the paper transparent, however it also stains the MDF.
Hopefully, this won't mess up the paint.
When we meet again, I hope to have completed the painting, and be ready to get the mill up and running. -
Going Up
07/17/2017 at 16:38 • 0 commentsThe mill is starting to come together. I have completed the x axis gantry, and am starting to get a sense of how much space this takes up.
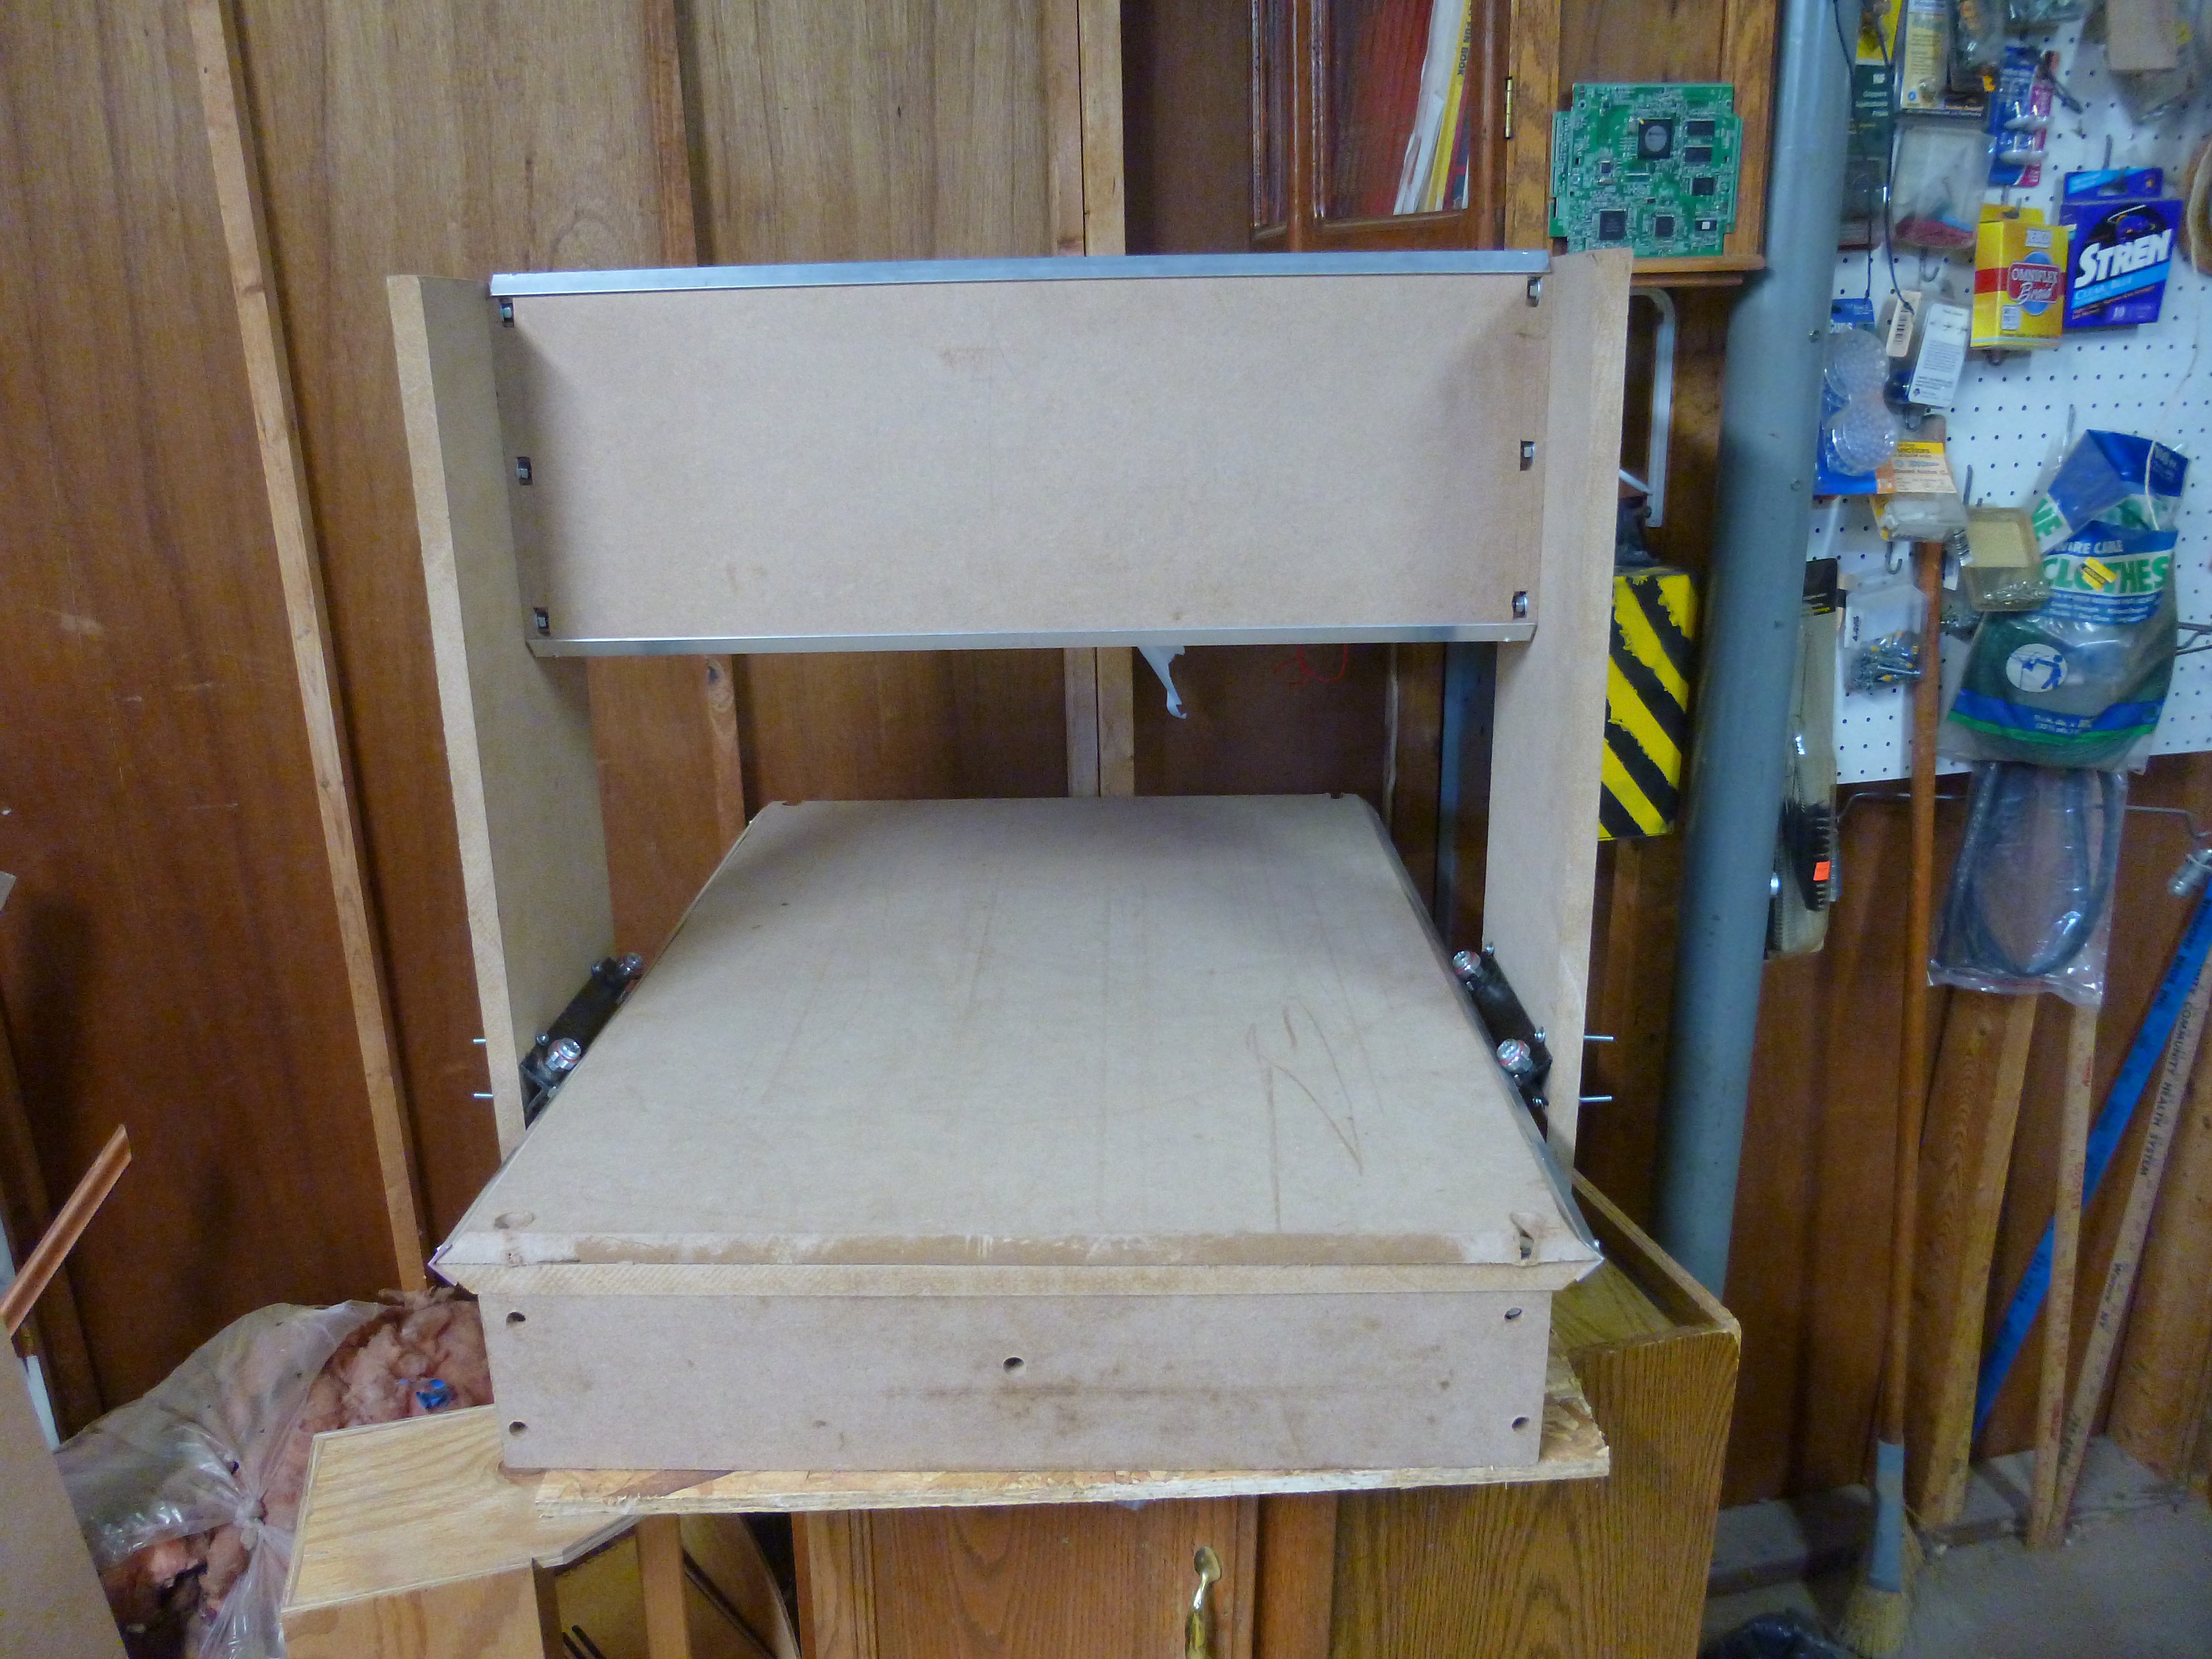
When I was originally planning out the mill, I was going to hold the trucks on with bolts holding the edge of the truck. Then I thought that this wouldn't have enough holding power and decided to instead hold the trucks with bolts traveling through the truck and board, cris-crossing halfway through. To line up the holes, I clamped the truck to the board in the correct location. and drilled through the hole in the truck to align the holes in the board. This worked, however it was almost impossible to get the angle correct, and half of my bolts were to short. To correct this problem, I routed slots where the bolts would go in the hope that they would slide in the slot and give me a way to adjust the truck.
These slots proved very time consuming to make, and didn't provide the freedom I hoped for. I was able to make the trucks fit, however I wasn't able to adjust them the way I hope.
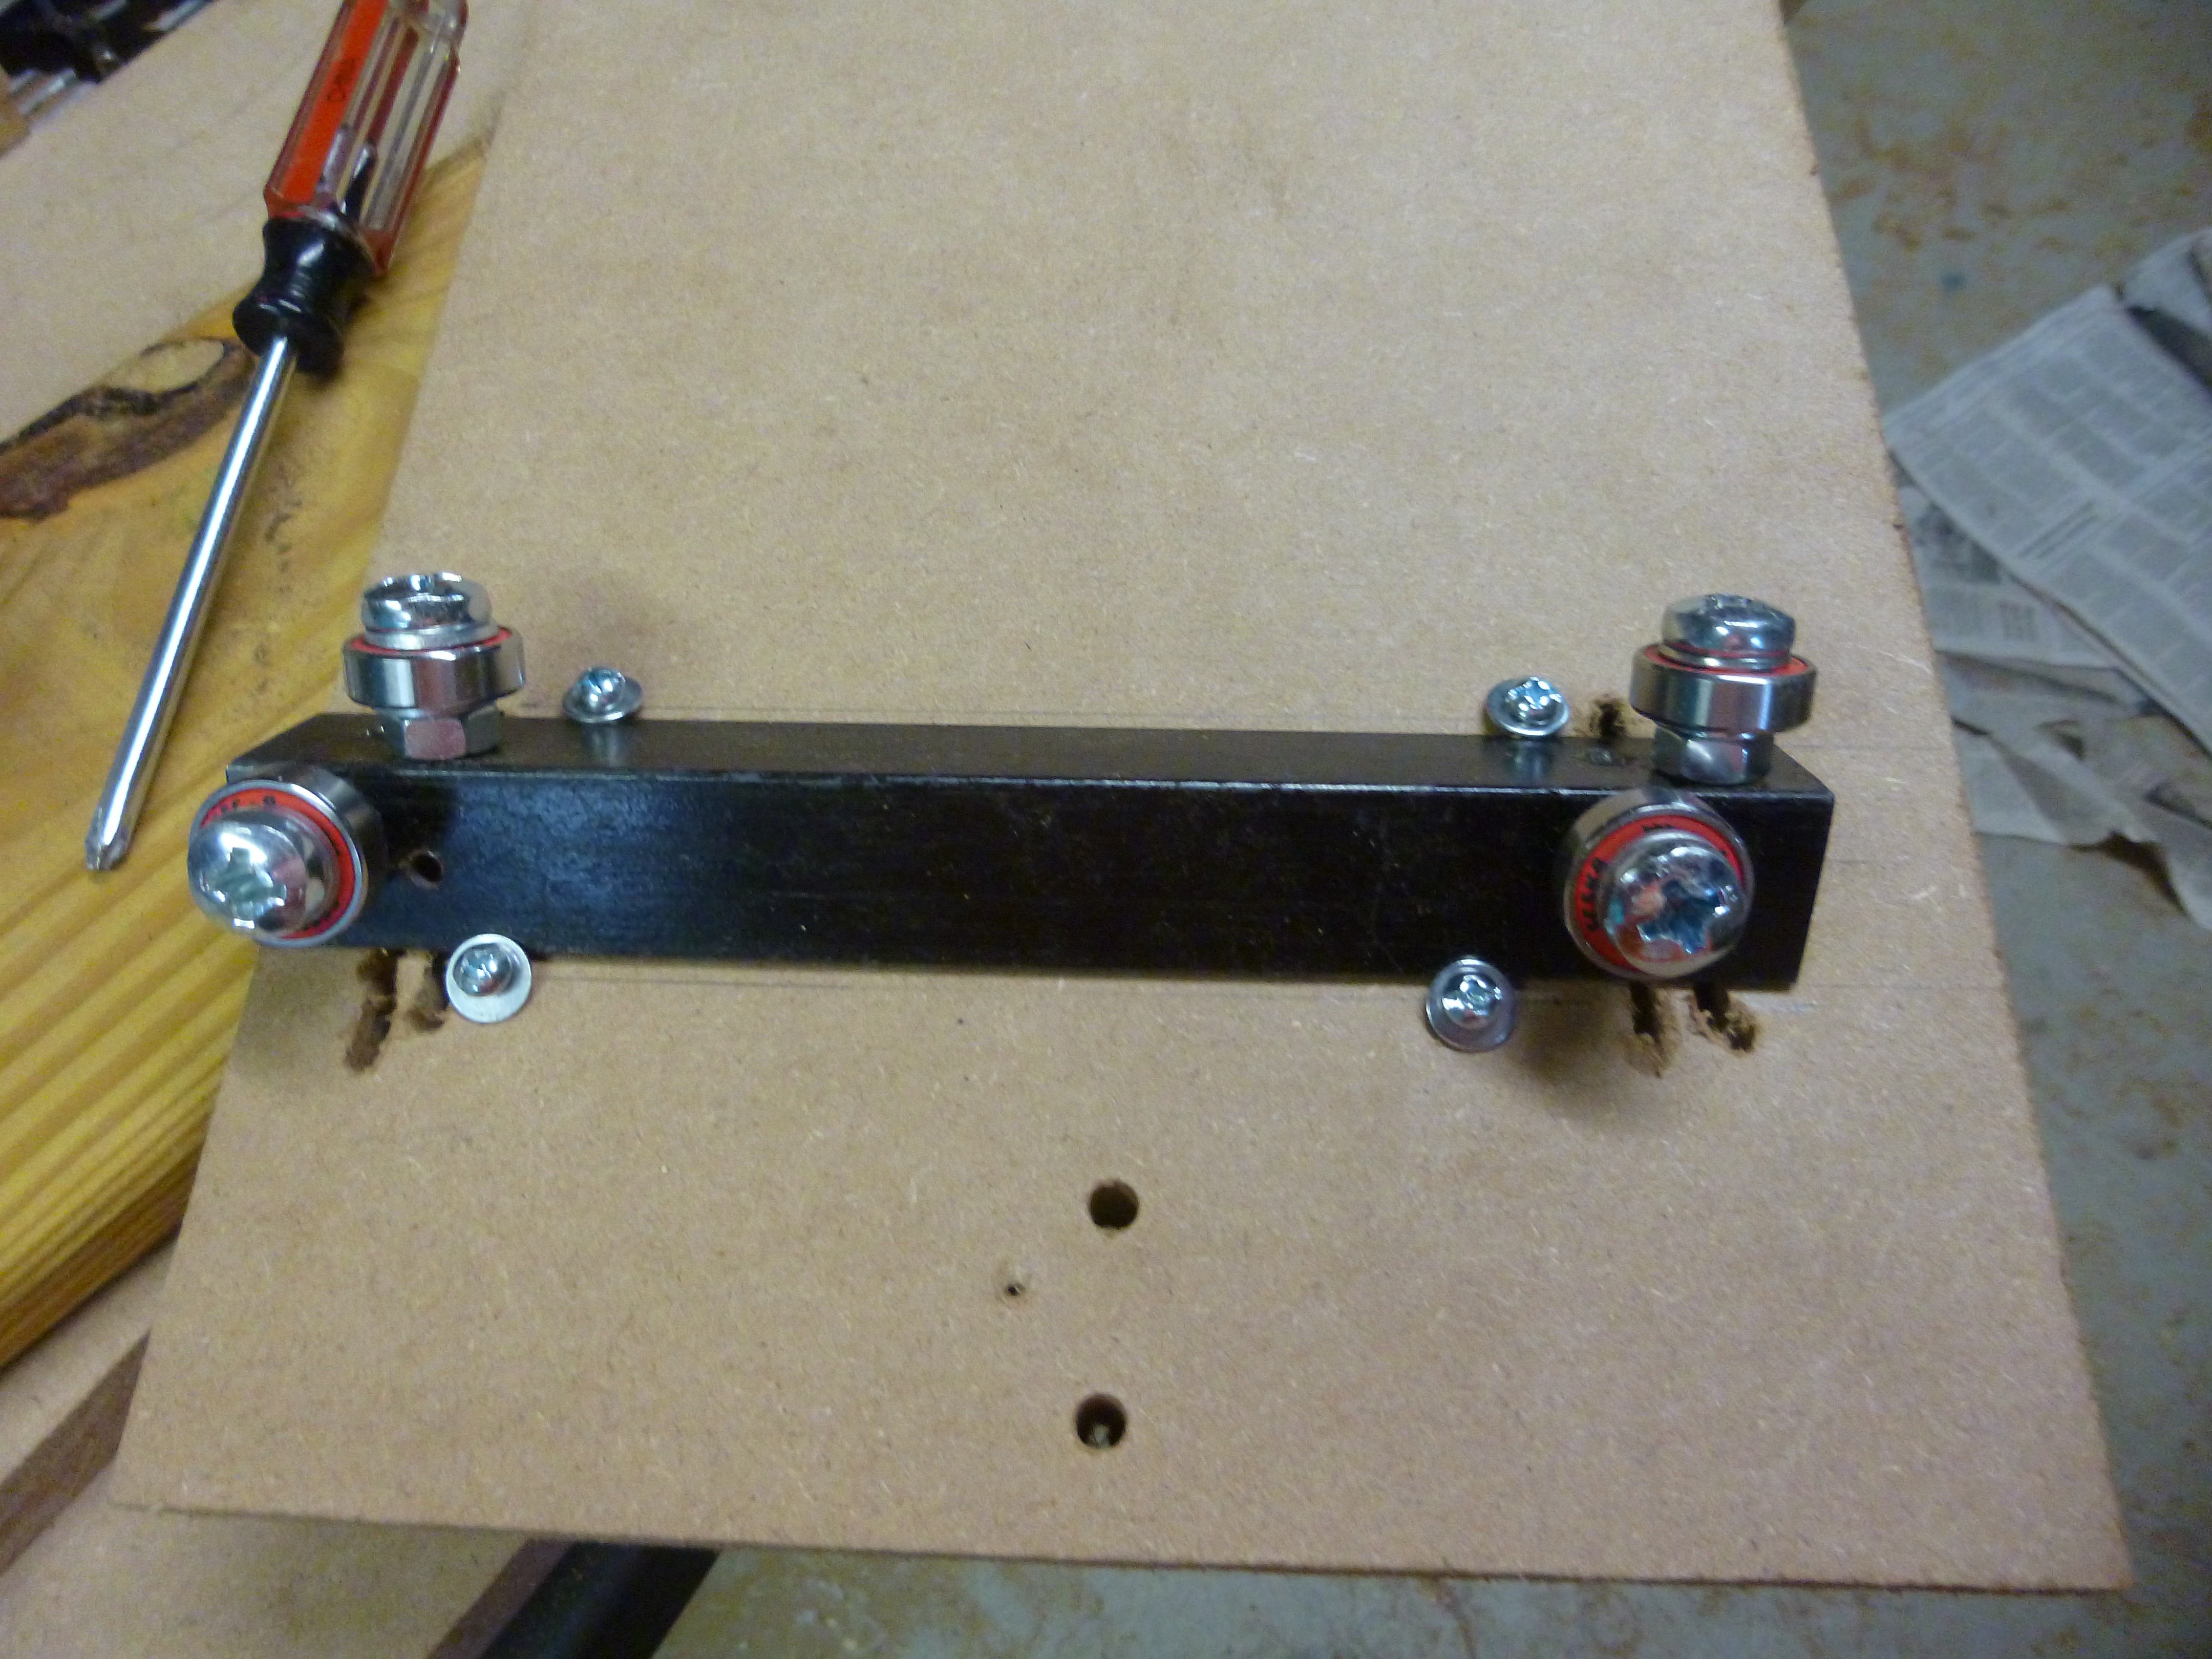
So I reverted to My original design which so far seems to be working better than I thought.
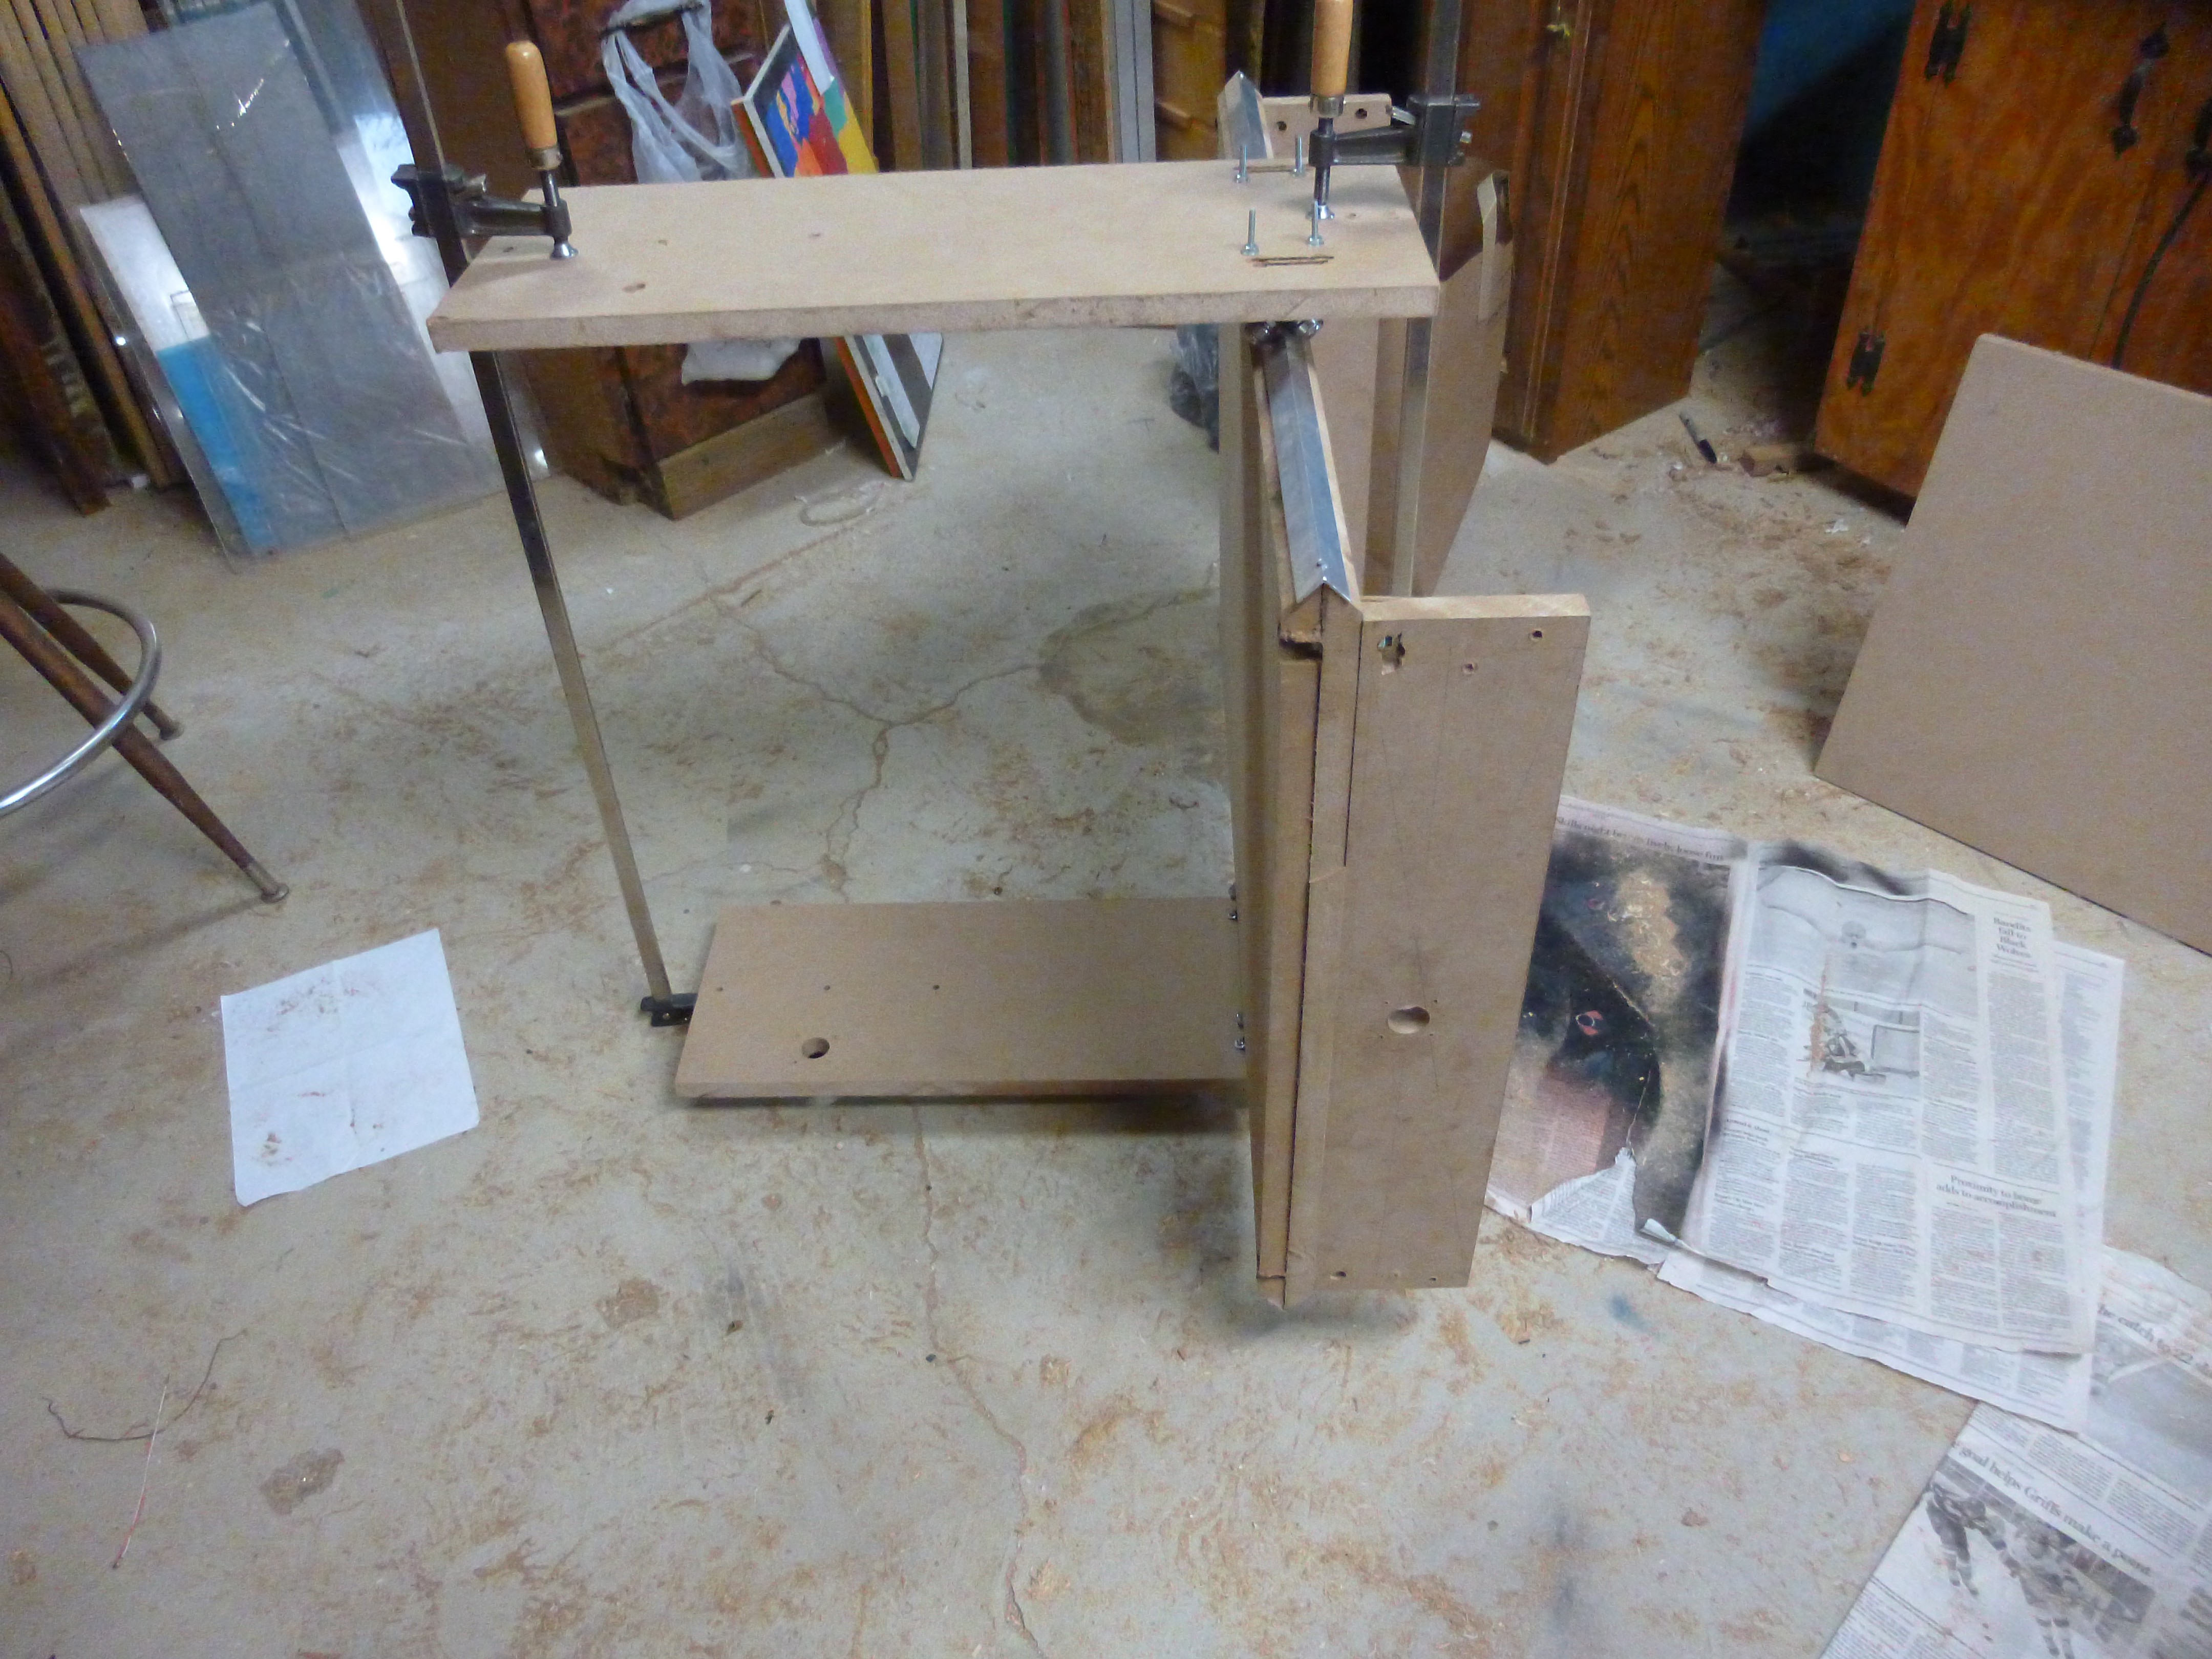
To get the correct length for the top and bottom pieces, I had to hold the sides in the correct location. This was done with the help of some bar clamps. I built the mill sideways because I had no way to hold the two side pieces in place vertically while I also set up the clamps.
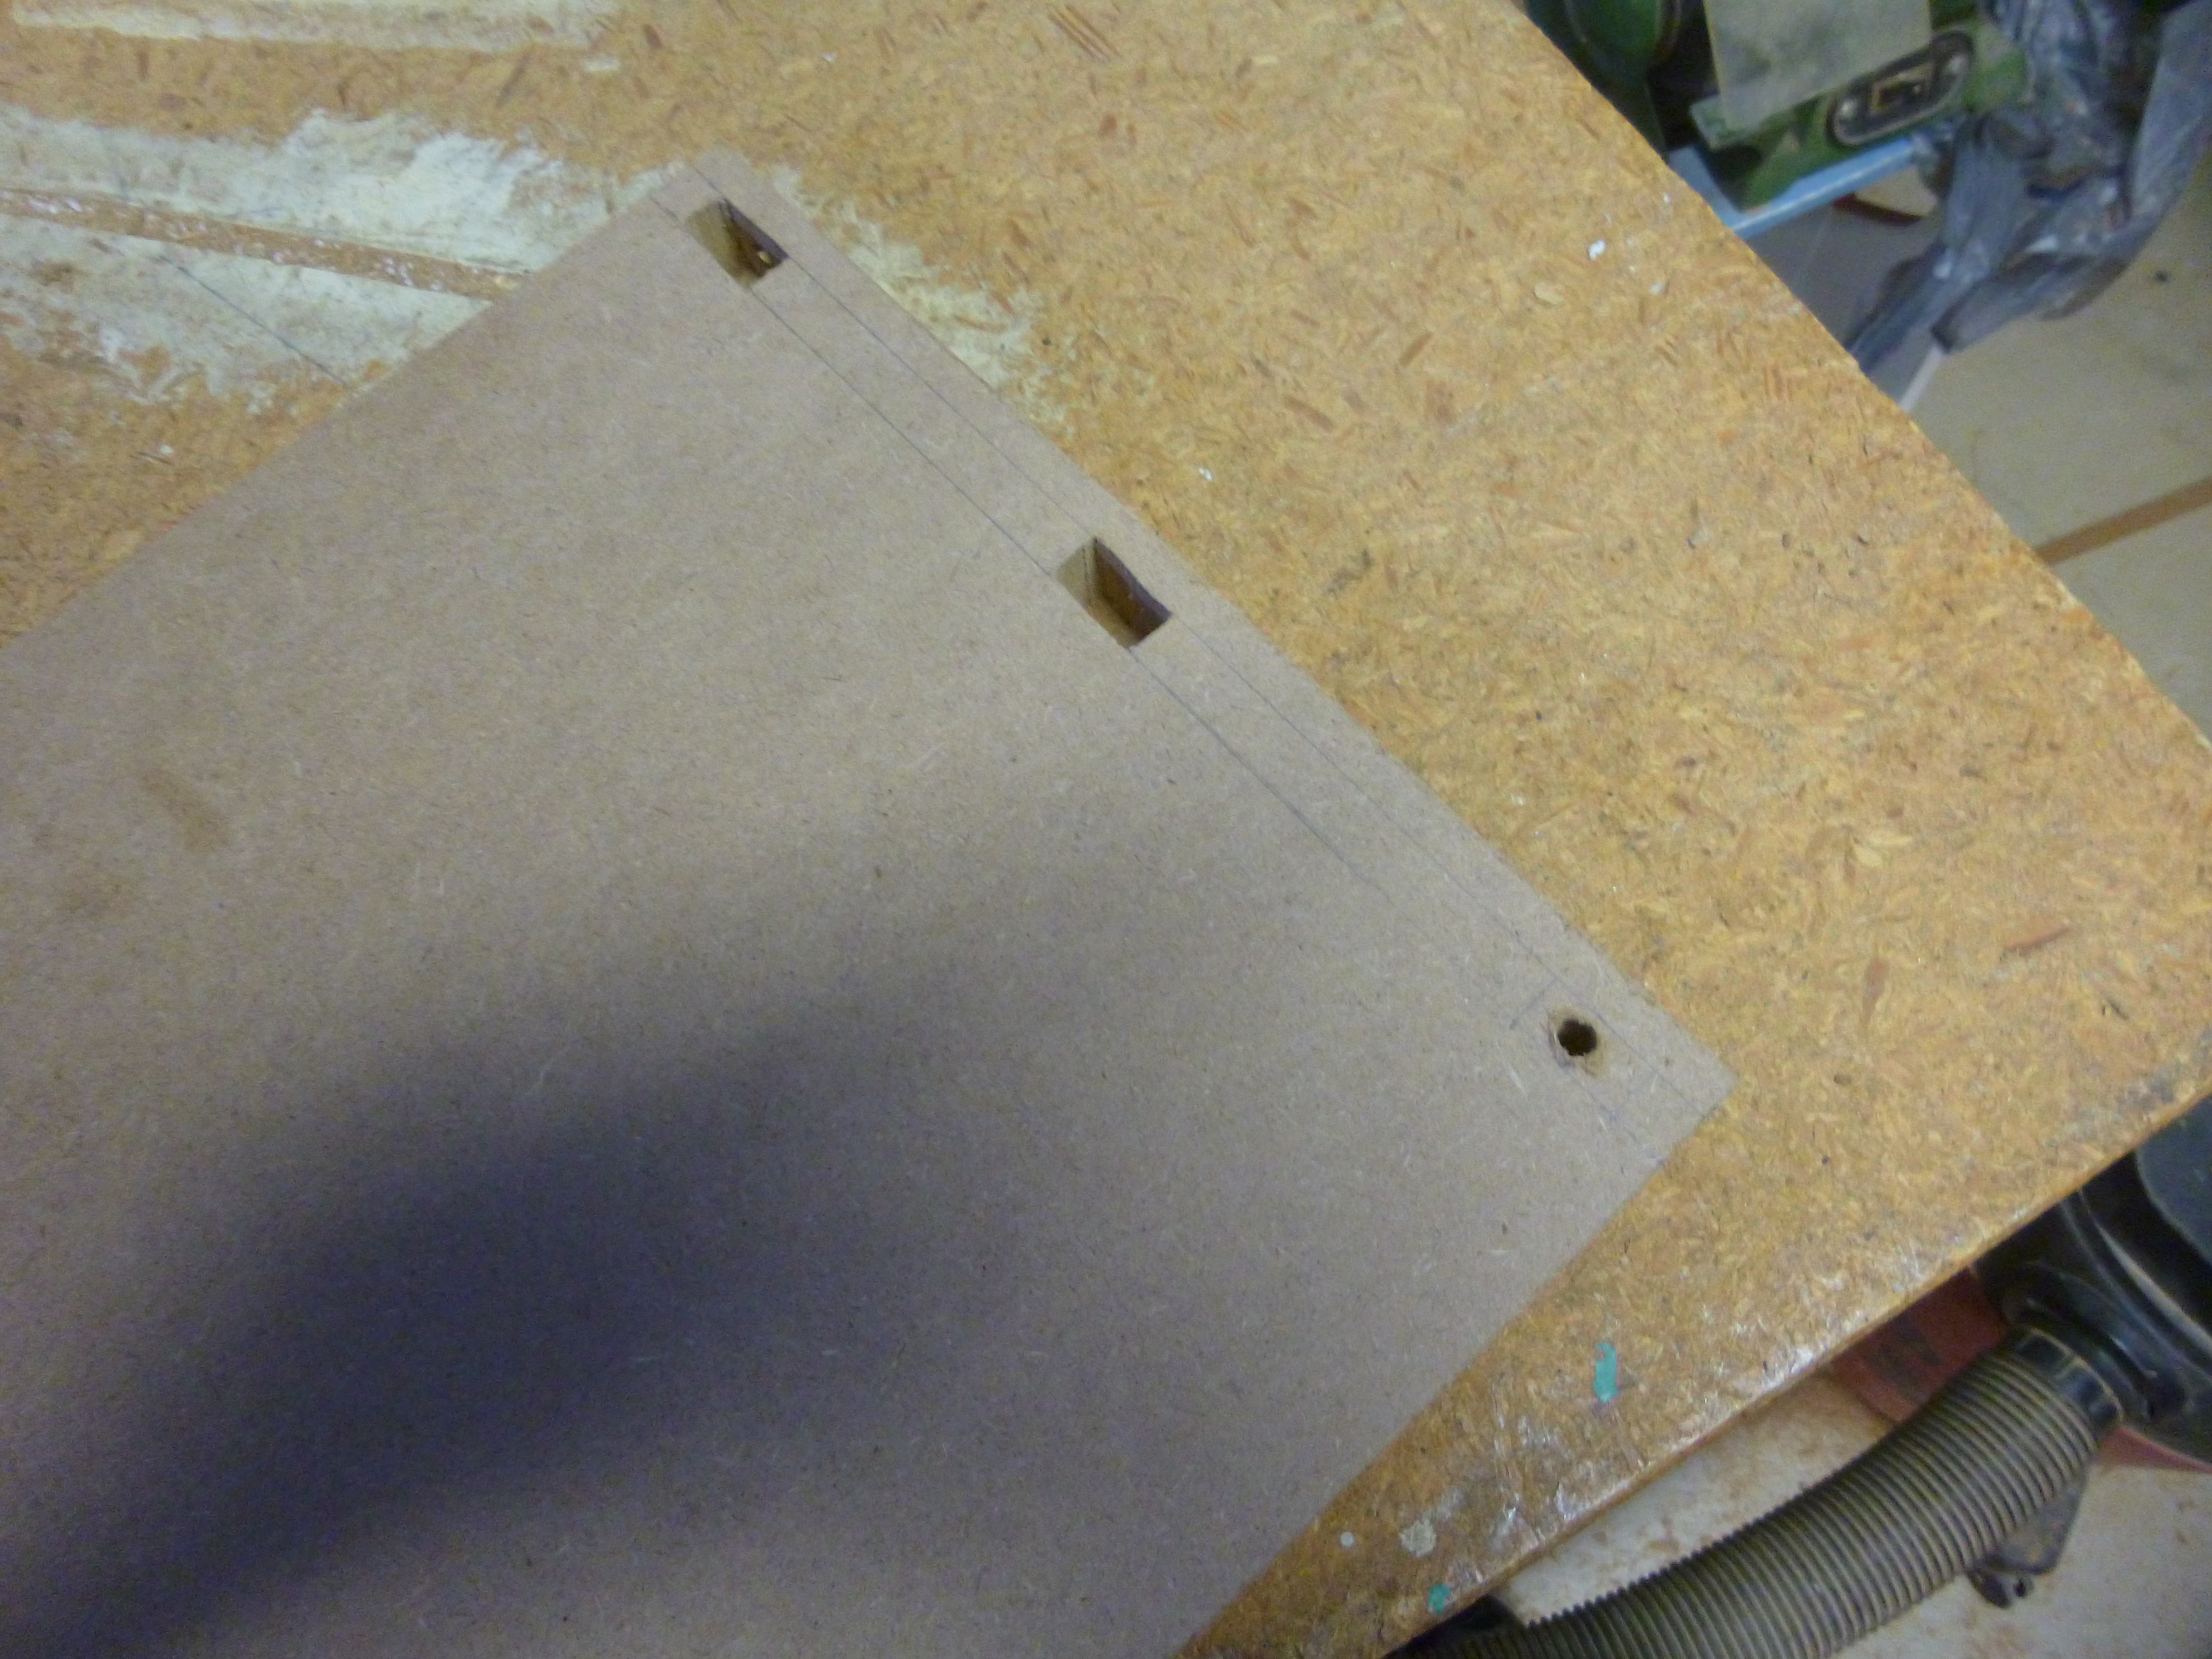
The top and bottom pieces were cut out of more MDF, with the holes for the nuts cut out on a scroll saw.
Here I have two holes cut while the third has a pilot hole drilled for the saw blade.
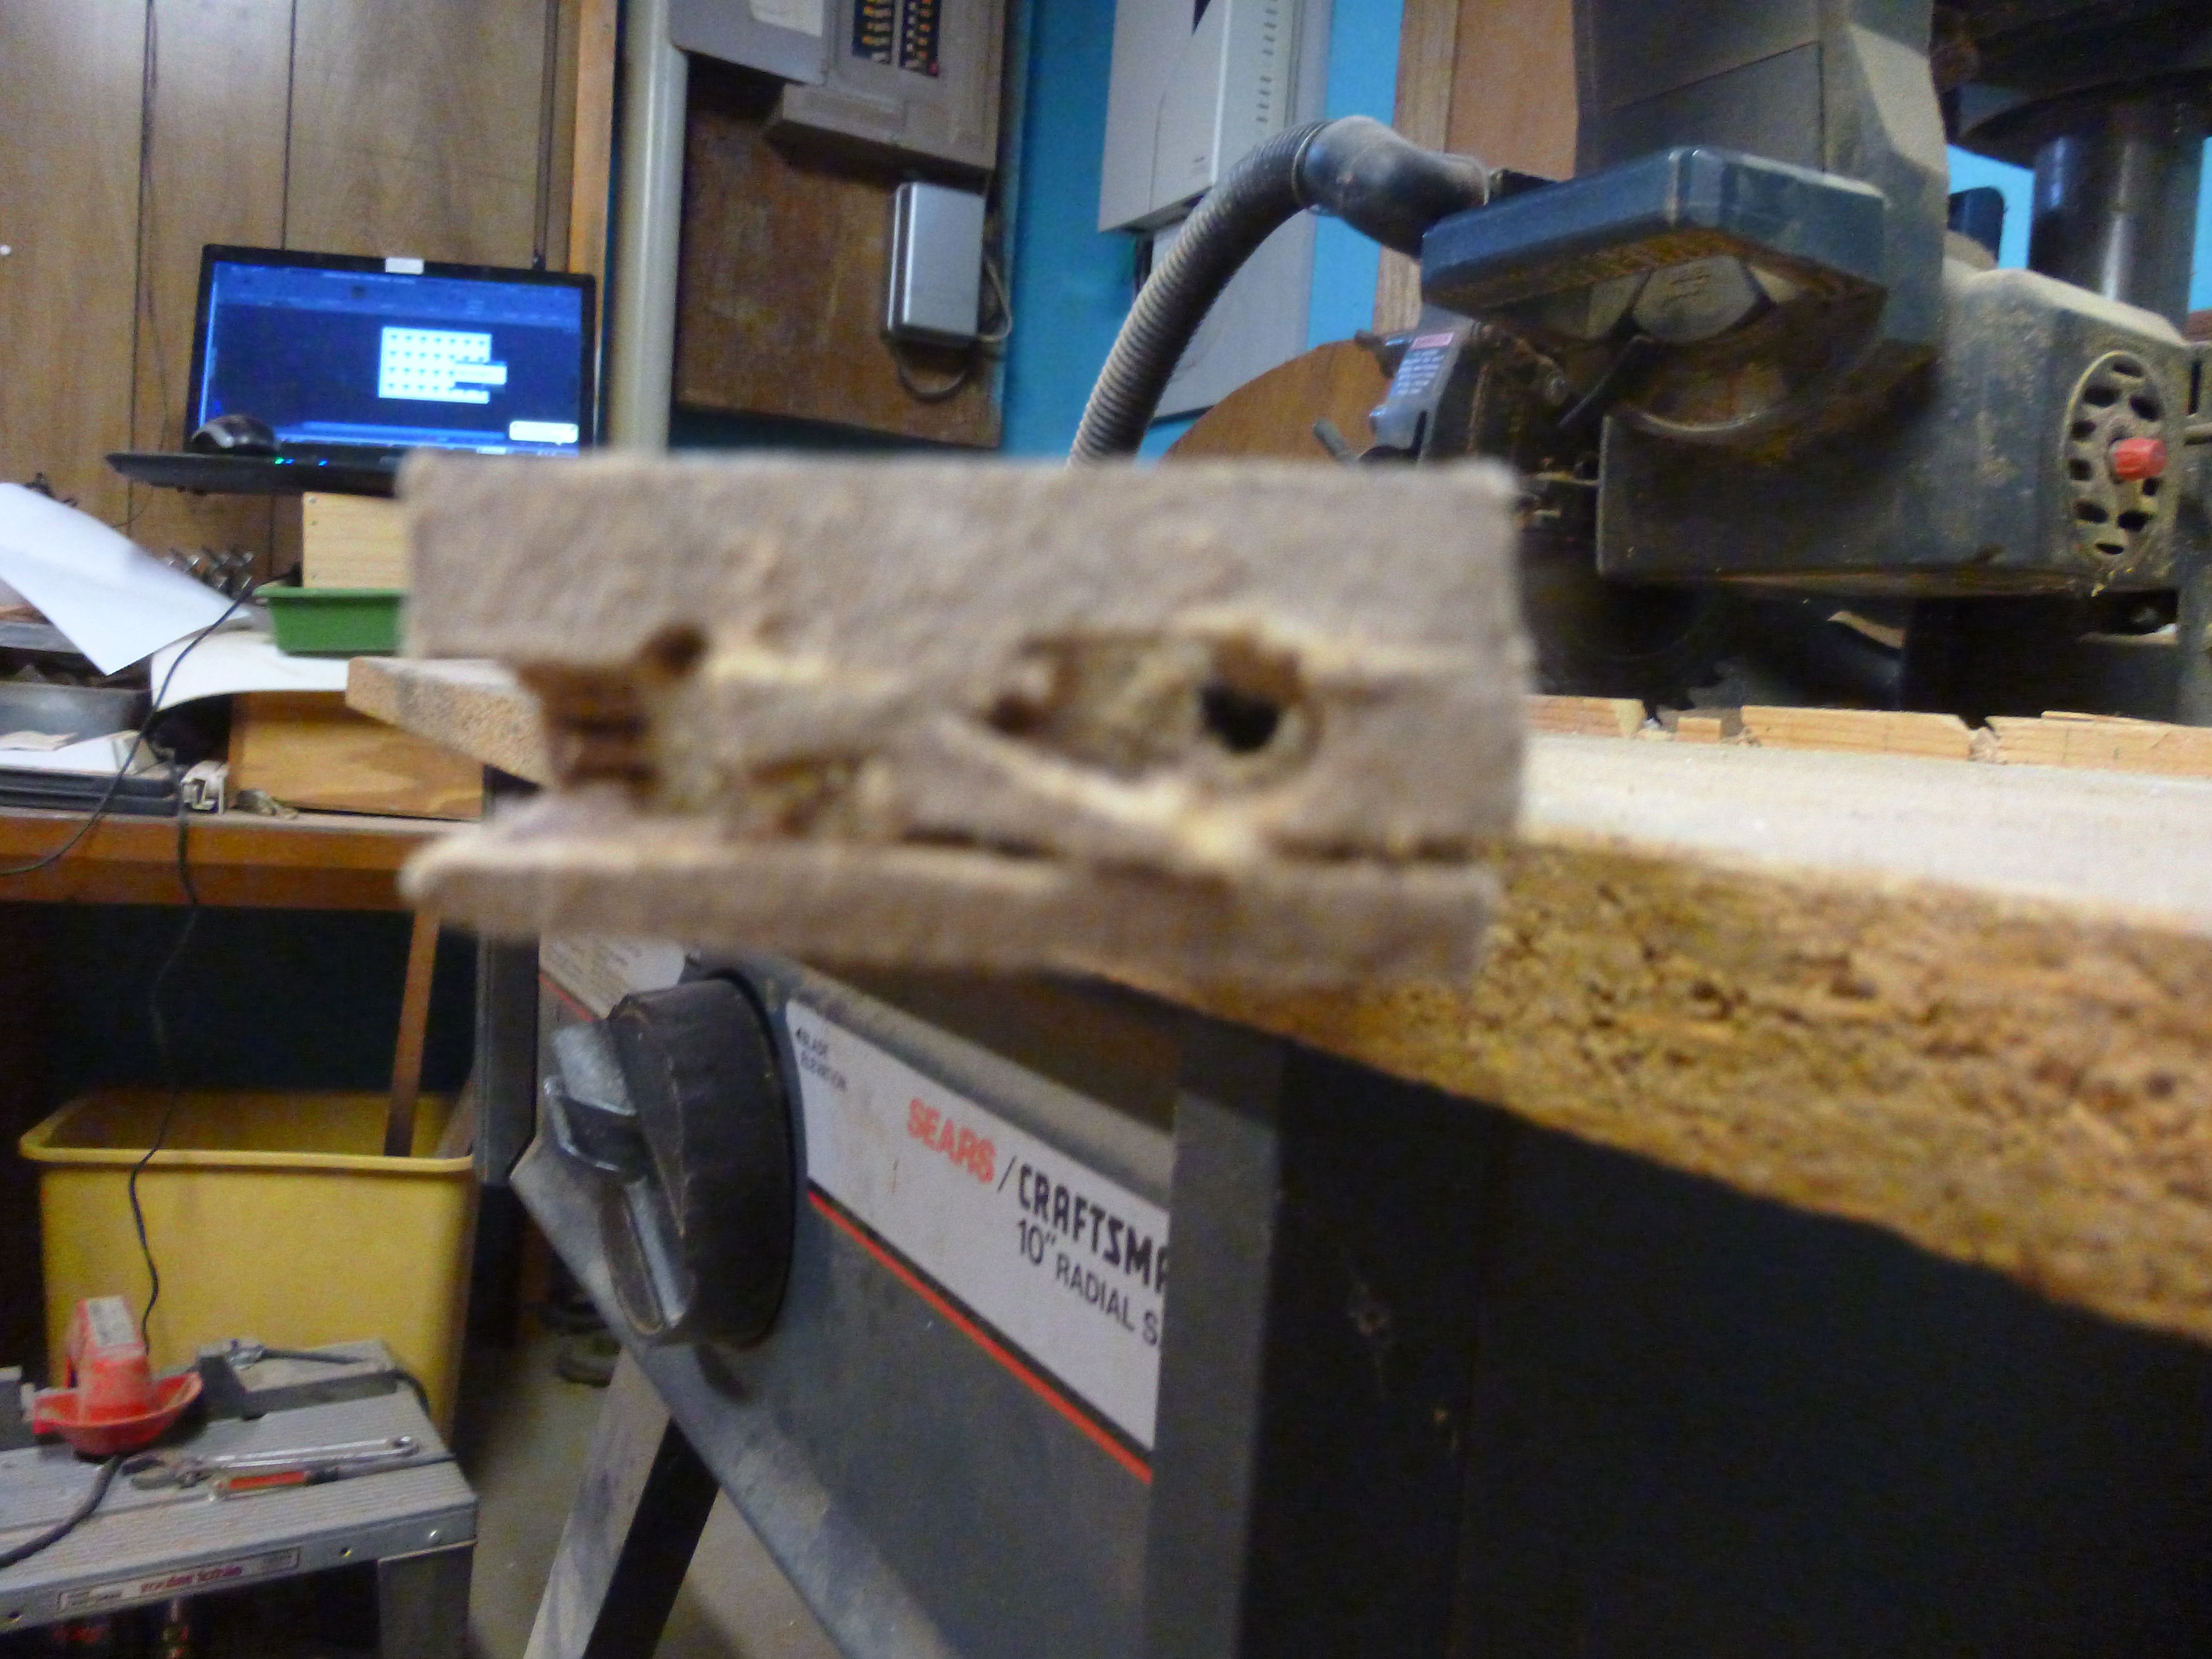
When you tighten down bolts in MDF, make sure that you have washers on both the nut and the bolt.
Otherwise this happens. ;-)
Also, when assembling the x axis, it helps if you bolt the top plate on first. this holds the sides in place while you slide it on the base.
-
Nothing but the base
07/05/2017 at 21:52 • 0 commentsLengthening the x axis truck meant that I lost two inches from my x axis travel. some of this was regained from the z axis, however I didn't want to loose to much of my z axis travel. This meant that I had to redesign my z axis to be more space efficient. I also redesigned the mounting system for the trucks.
I was originally going to mount the trucks by placing screws into the boards next to the truck, and using the screw head overlap to hold the truck. I later decided to use bolts traveling through the truck and through the board. This should hold the trucks more securely, but it means that I have to disassemble the trucks so I can put four more holes into the angle before reassembling the trucks.
Building the base was more difficult than I imagined. First off, the base is built out of a 25"x33" rectangle, while the fence on my table saw can barely be forced to 25". This meant that the initial cut had to be made with a circular saw. I used a guide with the circular saw, however despite all my careful alignment, the cut turned out crooked. This happened twice since I was doubling up the material for the base. Fortunately, the 33" dimension isn't critical, and I was able to make the 25" cuts on the table saw, so the tracks are at least parallel. I lined up the two most right angles, and glued the two sheets together
It was just after I glued the sheets together that I realized that one sheet of 3/4" MDF would probably be strong and stiff enough. After the glue dried, I used the table saw to cut a 45° chamfer on both sides of the base plank.
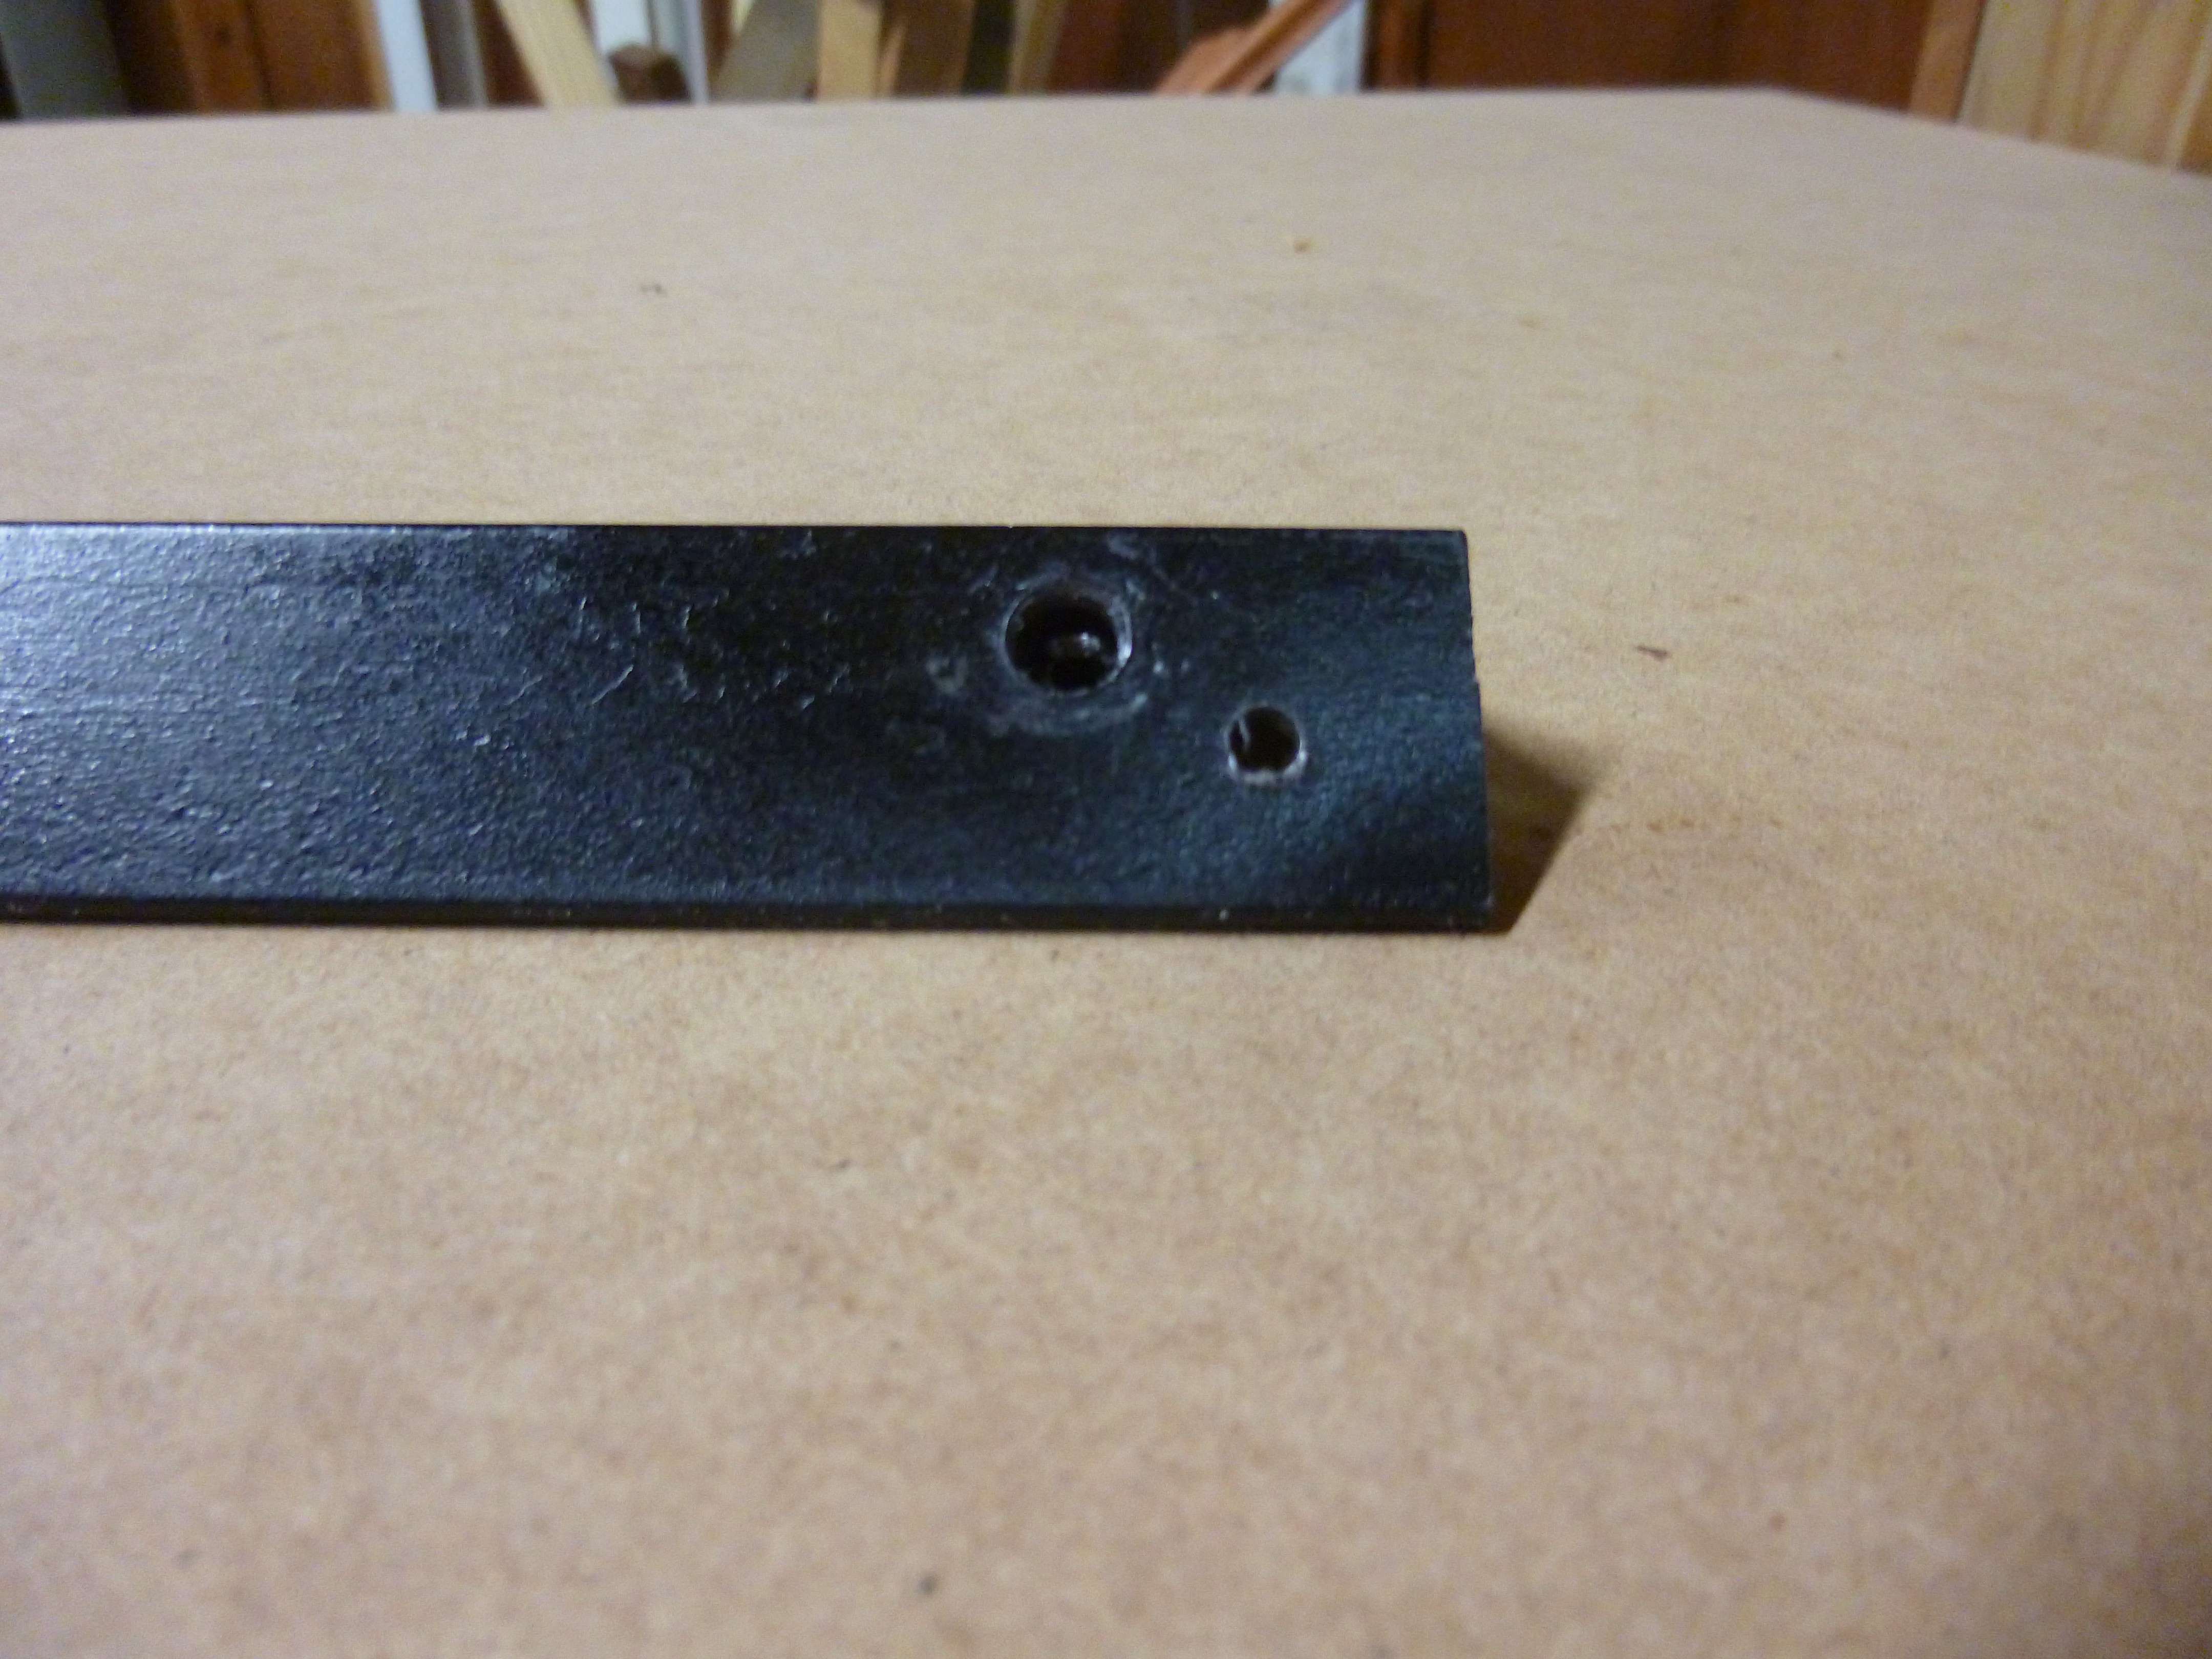
I attached two lengths of aluminum angle onto the chamfer for a track, and started on the end pieces.
The end pieces were made out of cutoffs from the base. they fit on the table saw, so cutting was easier. After they were cut, I screwed the two pieces together, and marked and pre-drilled holes for the x axis stepper motor, and mounting screws.
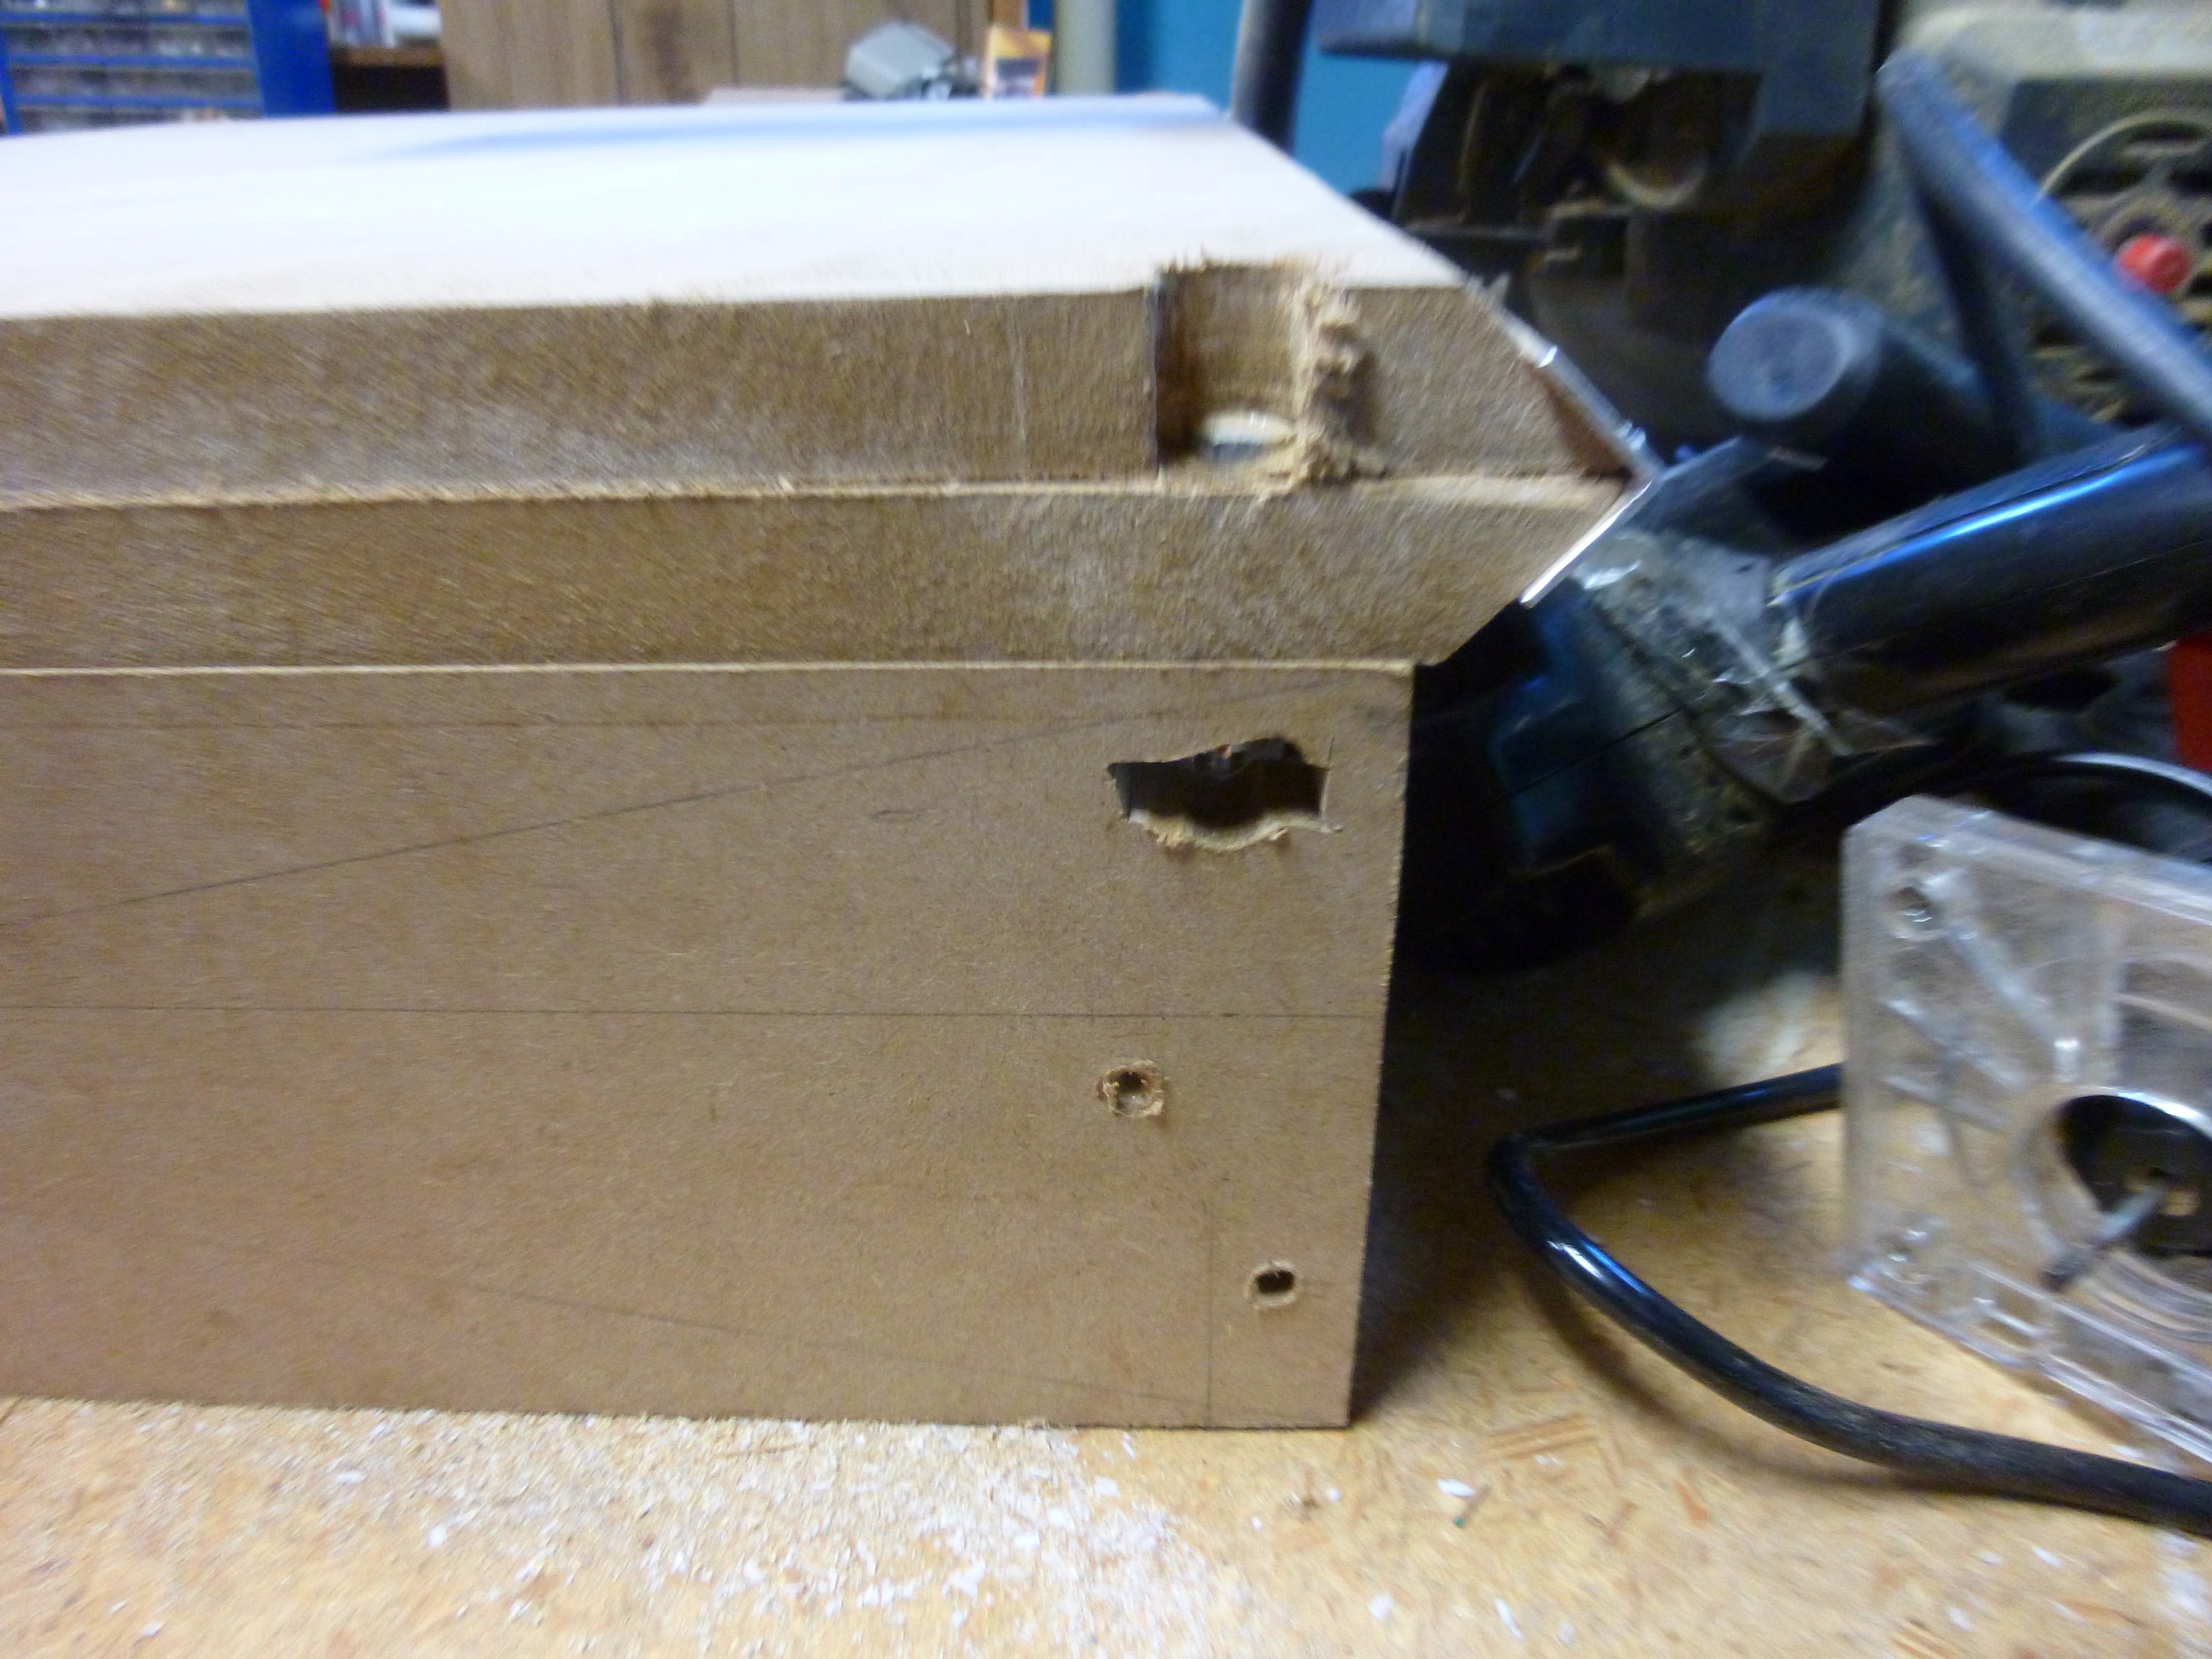
The mounting holes lead to a whole host of problems. The base plate was to big to put on the drill press, so I had to hand drill the holes. These holes inevitably became misaligned with the holes in the end pieces. I also failed to take into account that the bolts I had purchased were too short to fit through the doubled up base plate, so I had to countersink the heads. The holes were of course to large to be good pilot holes, so the countersinks were slightly off-center.
I also had to make some modifications to the holes that held the nuts
It's not pretty but it works.
-
More Trucking
06/27/2017 at 00:37 • 0 commentsI already decided to modify my plans. Instead of going with 6" trucks for all three axis's. I shrunk the z-axis down to 4", and increased the x-axis to 8".
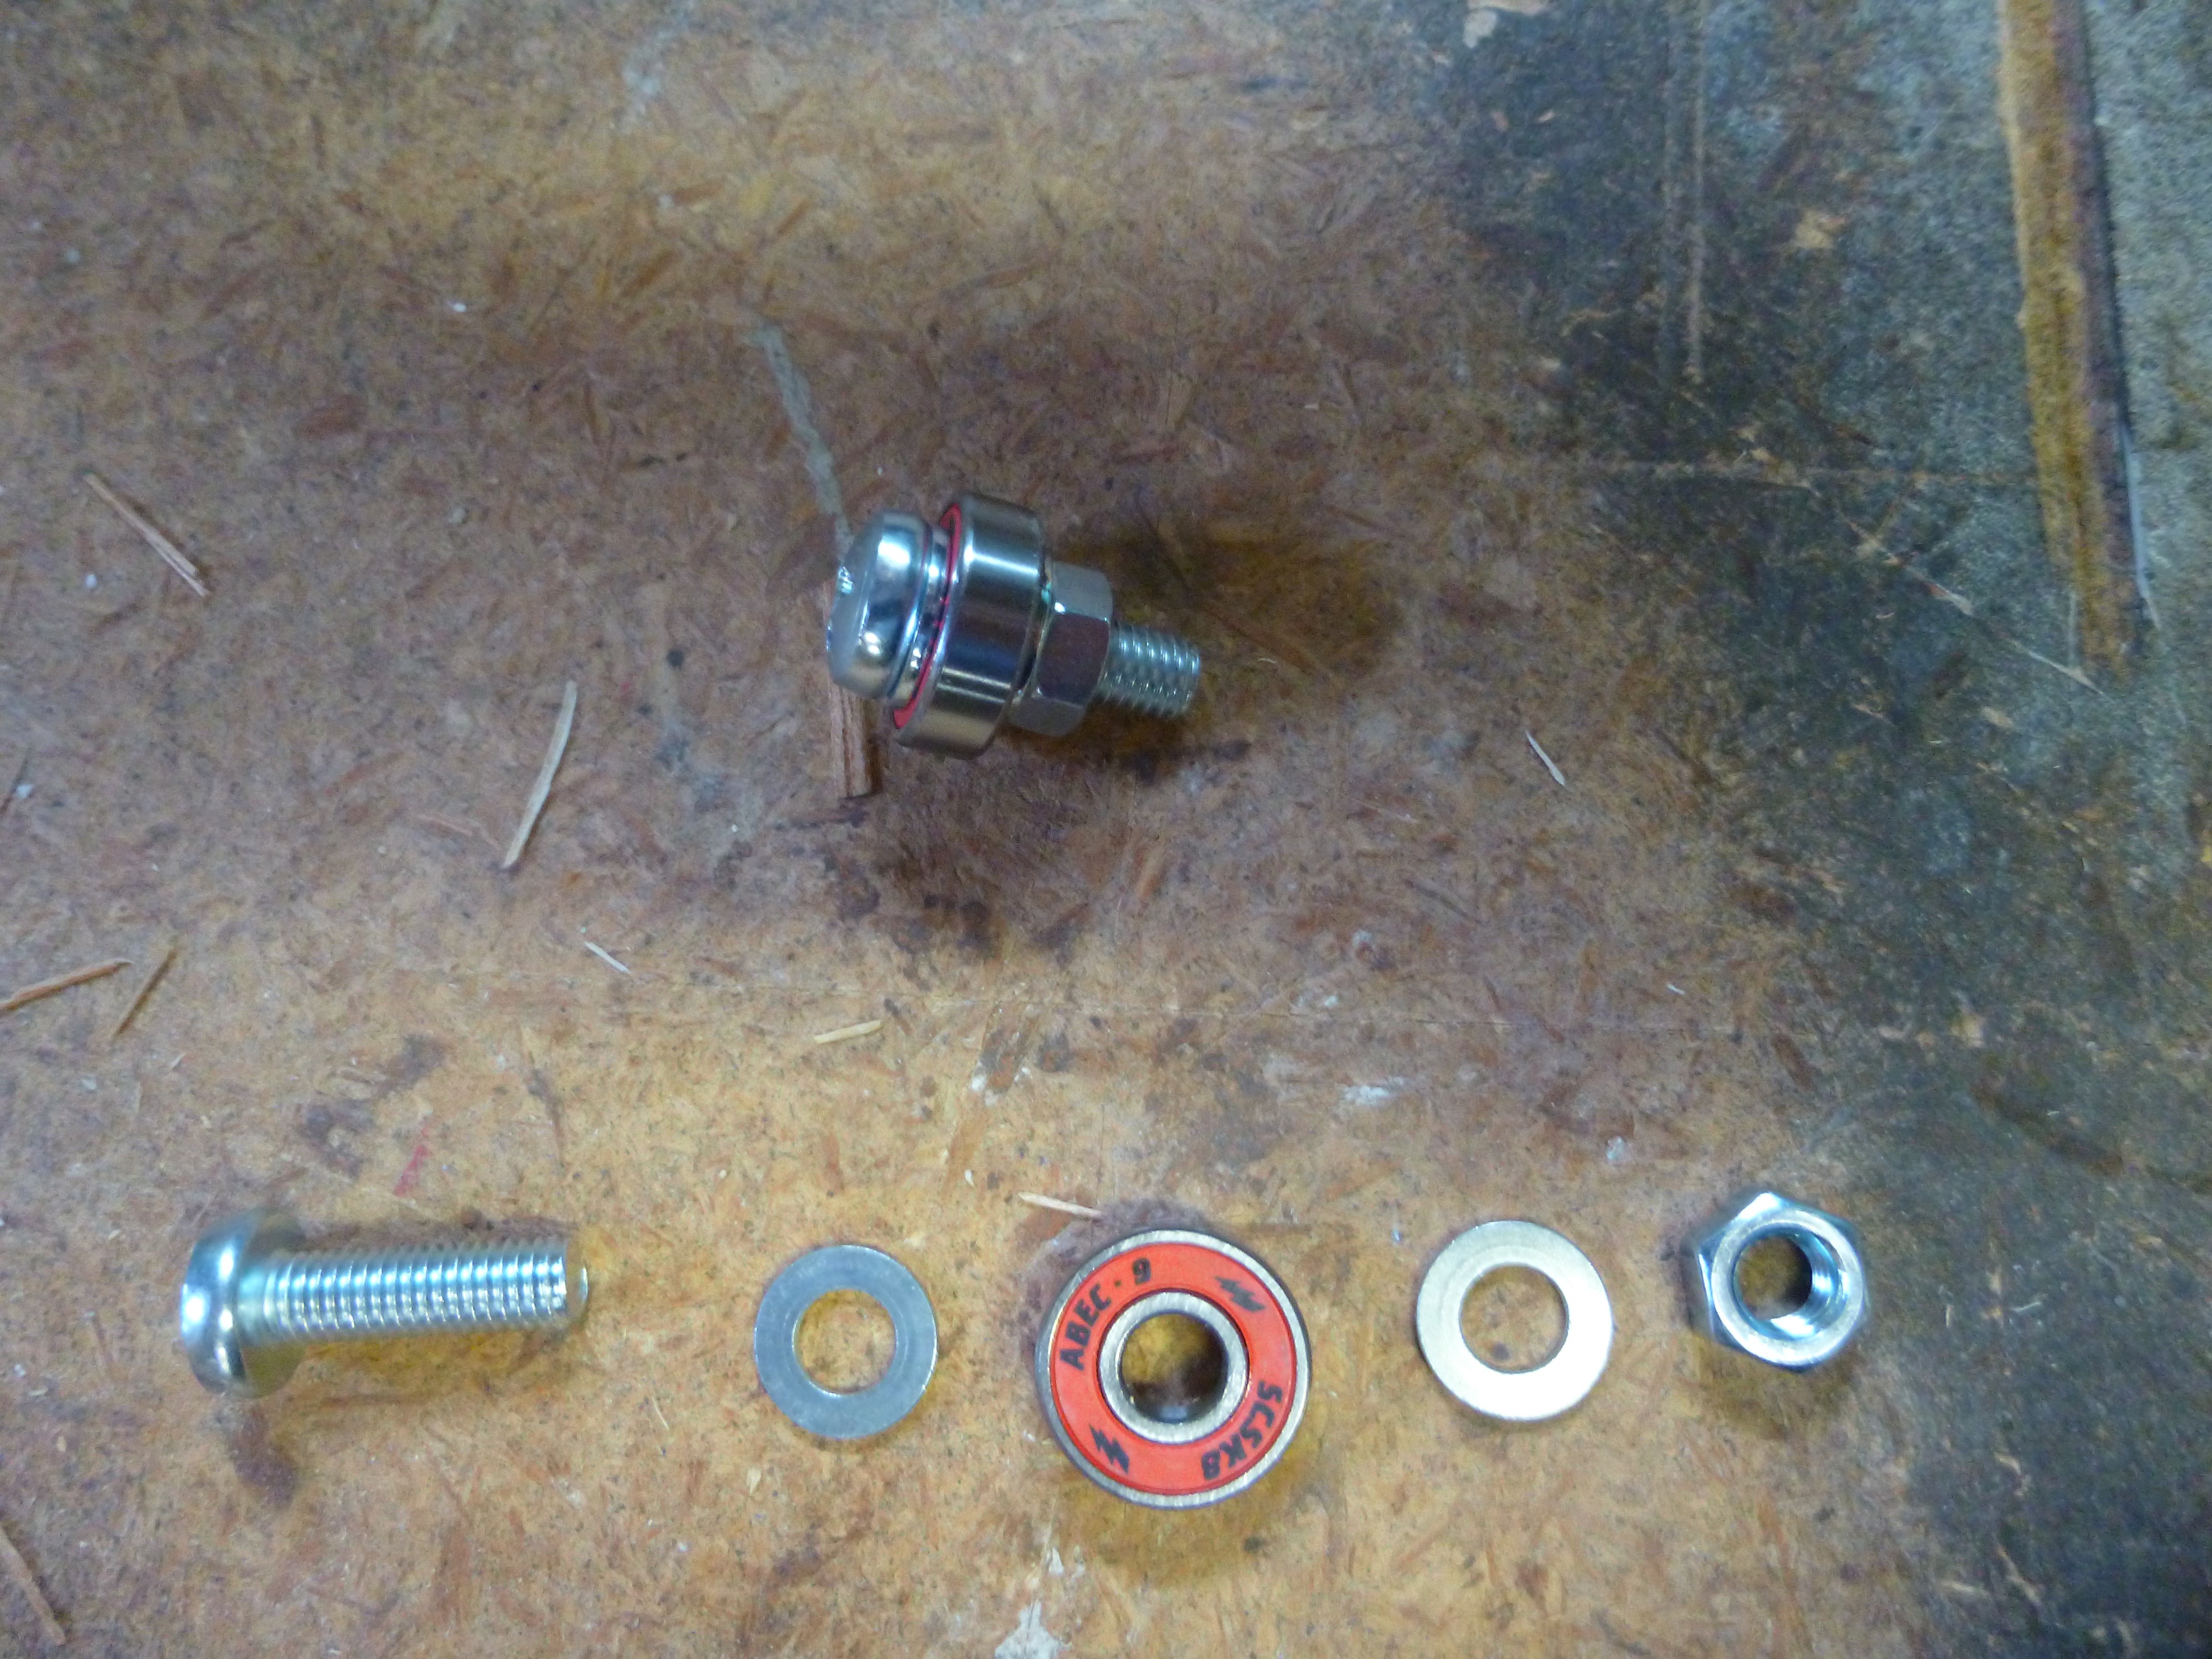
The trucks are built out of 1/8" steel angle, which was then drilled and tapped for 8mm bolts. the bolts were used to hold the bearing assembly.
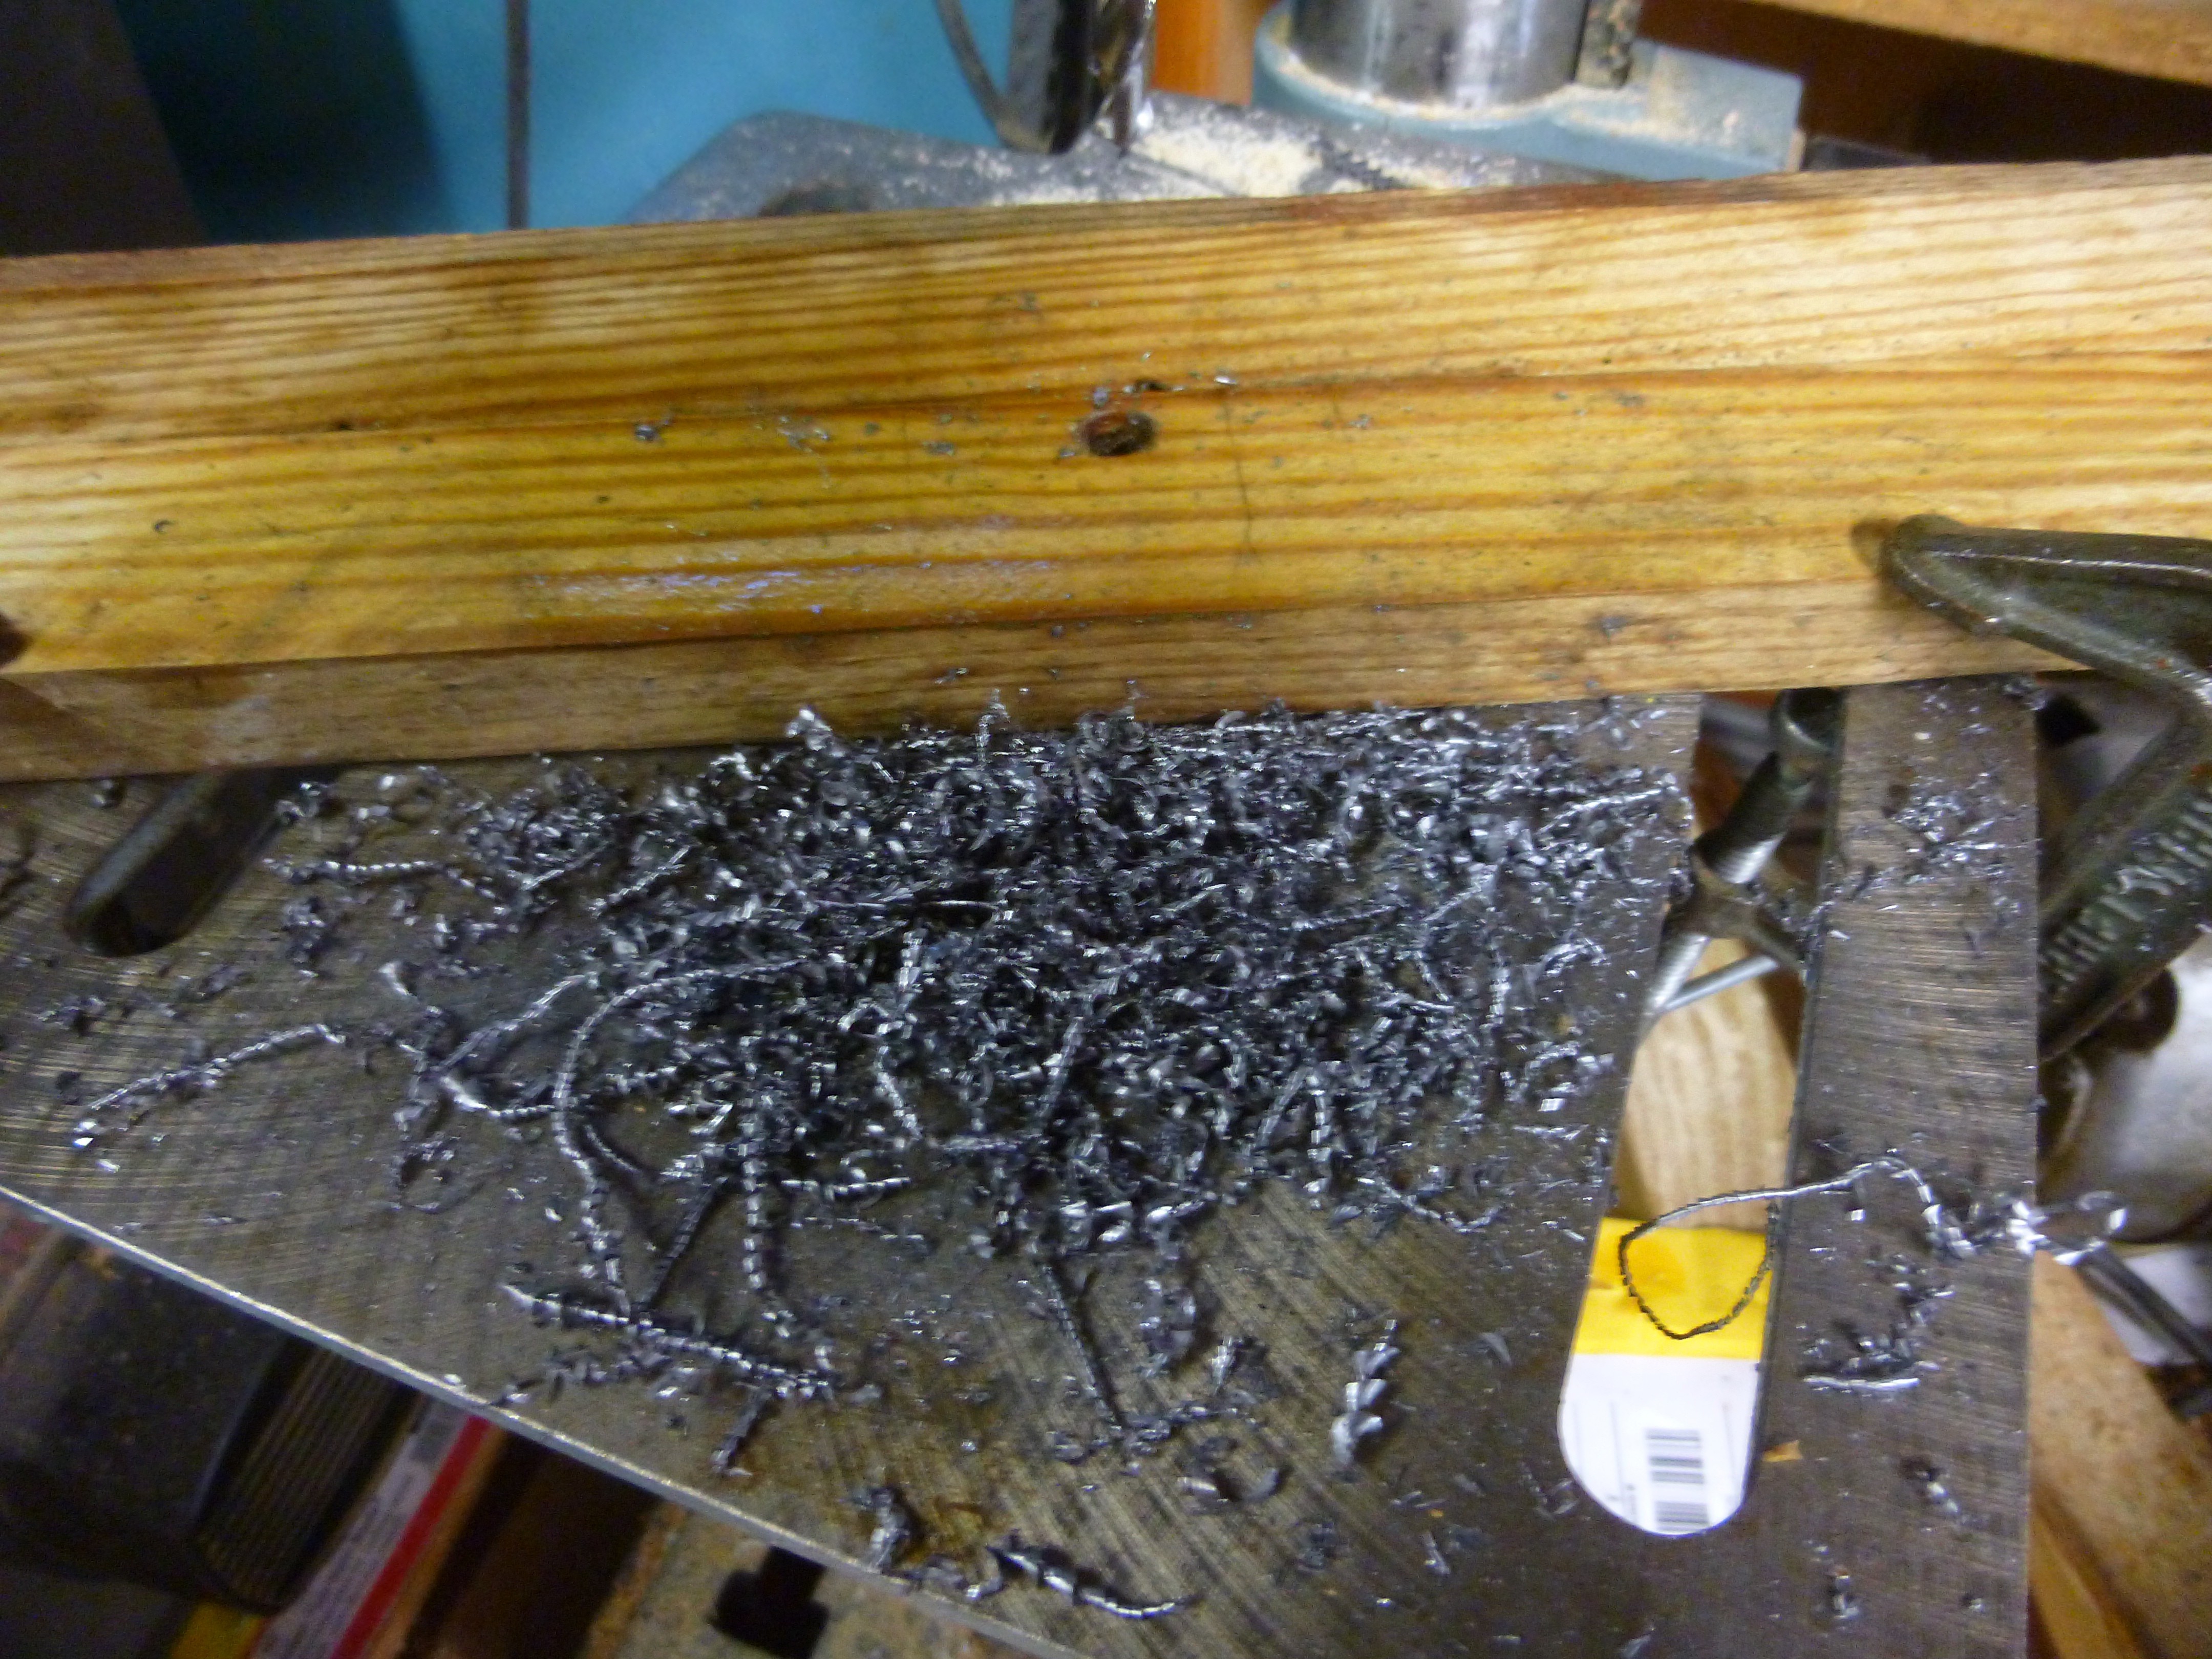
To aid in drilling the holes, I made a simple jig to hold the angle. The distance from the endpoints wasn't critical, however the distance from the side of the angle was.![]() I am not sure how well it shows in the image, but my jig is two pieces of scrap wood, nailed together, so the one forms a "wall" to set the angle against. I made a mark at 1" and 1/2", to line the angle against, and drilled away.
I am not sure how well it shows in the image, but my jig is two pieces of scrap wood, nailed together, so the one forms a "wall" to set the angle against. I made a mark at 1" and 1/2", to line the angle against, and drilled away.After I drilled the holes in the ends of each piece, I tapped the holes for the m8 bolts I was using to hold the bearing assembly together.
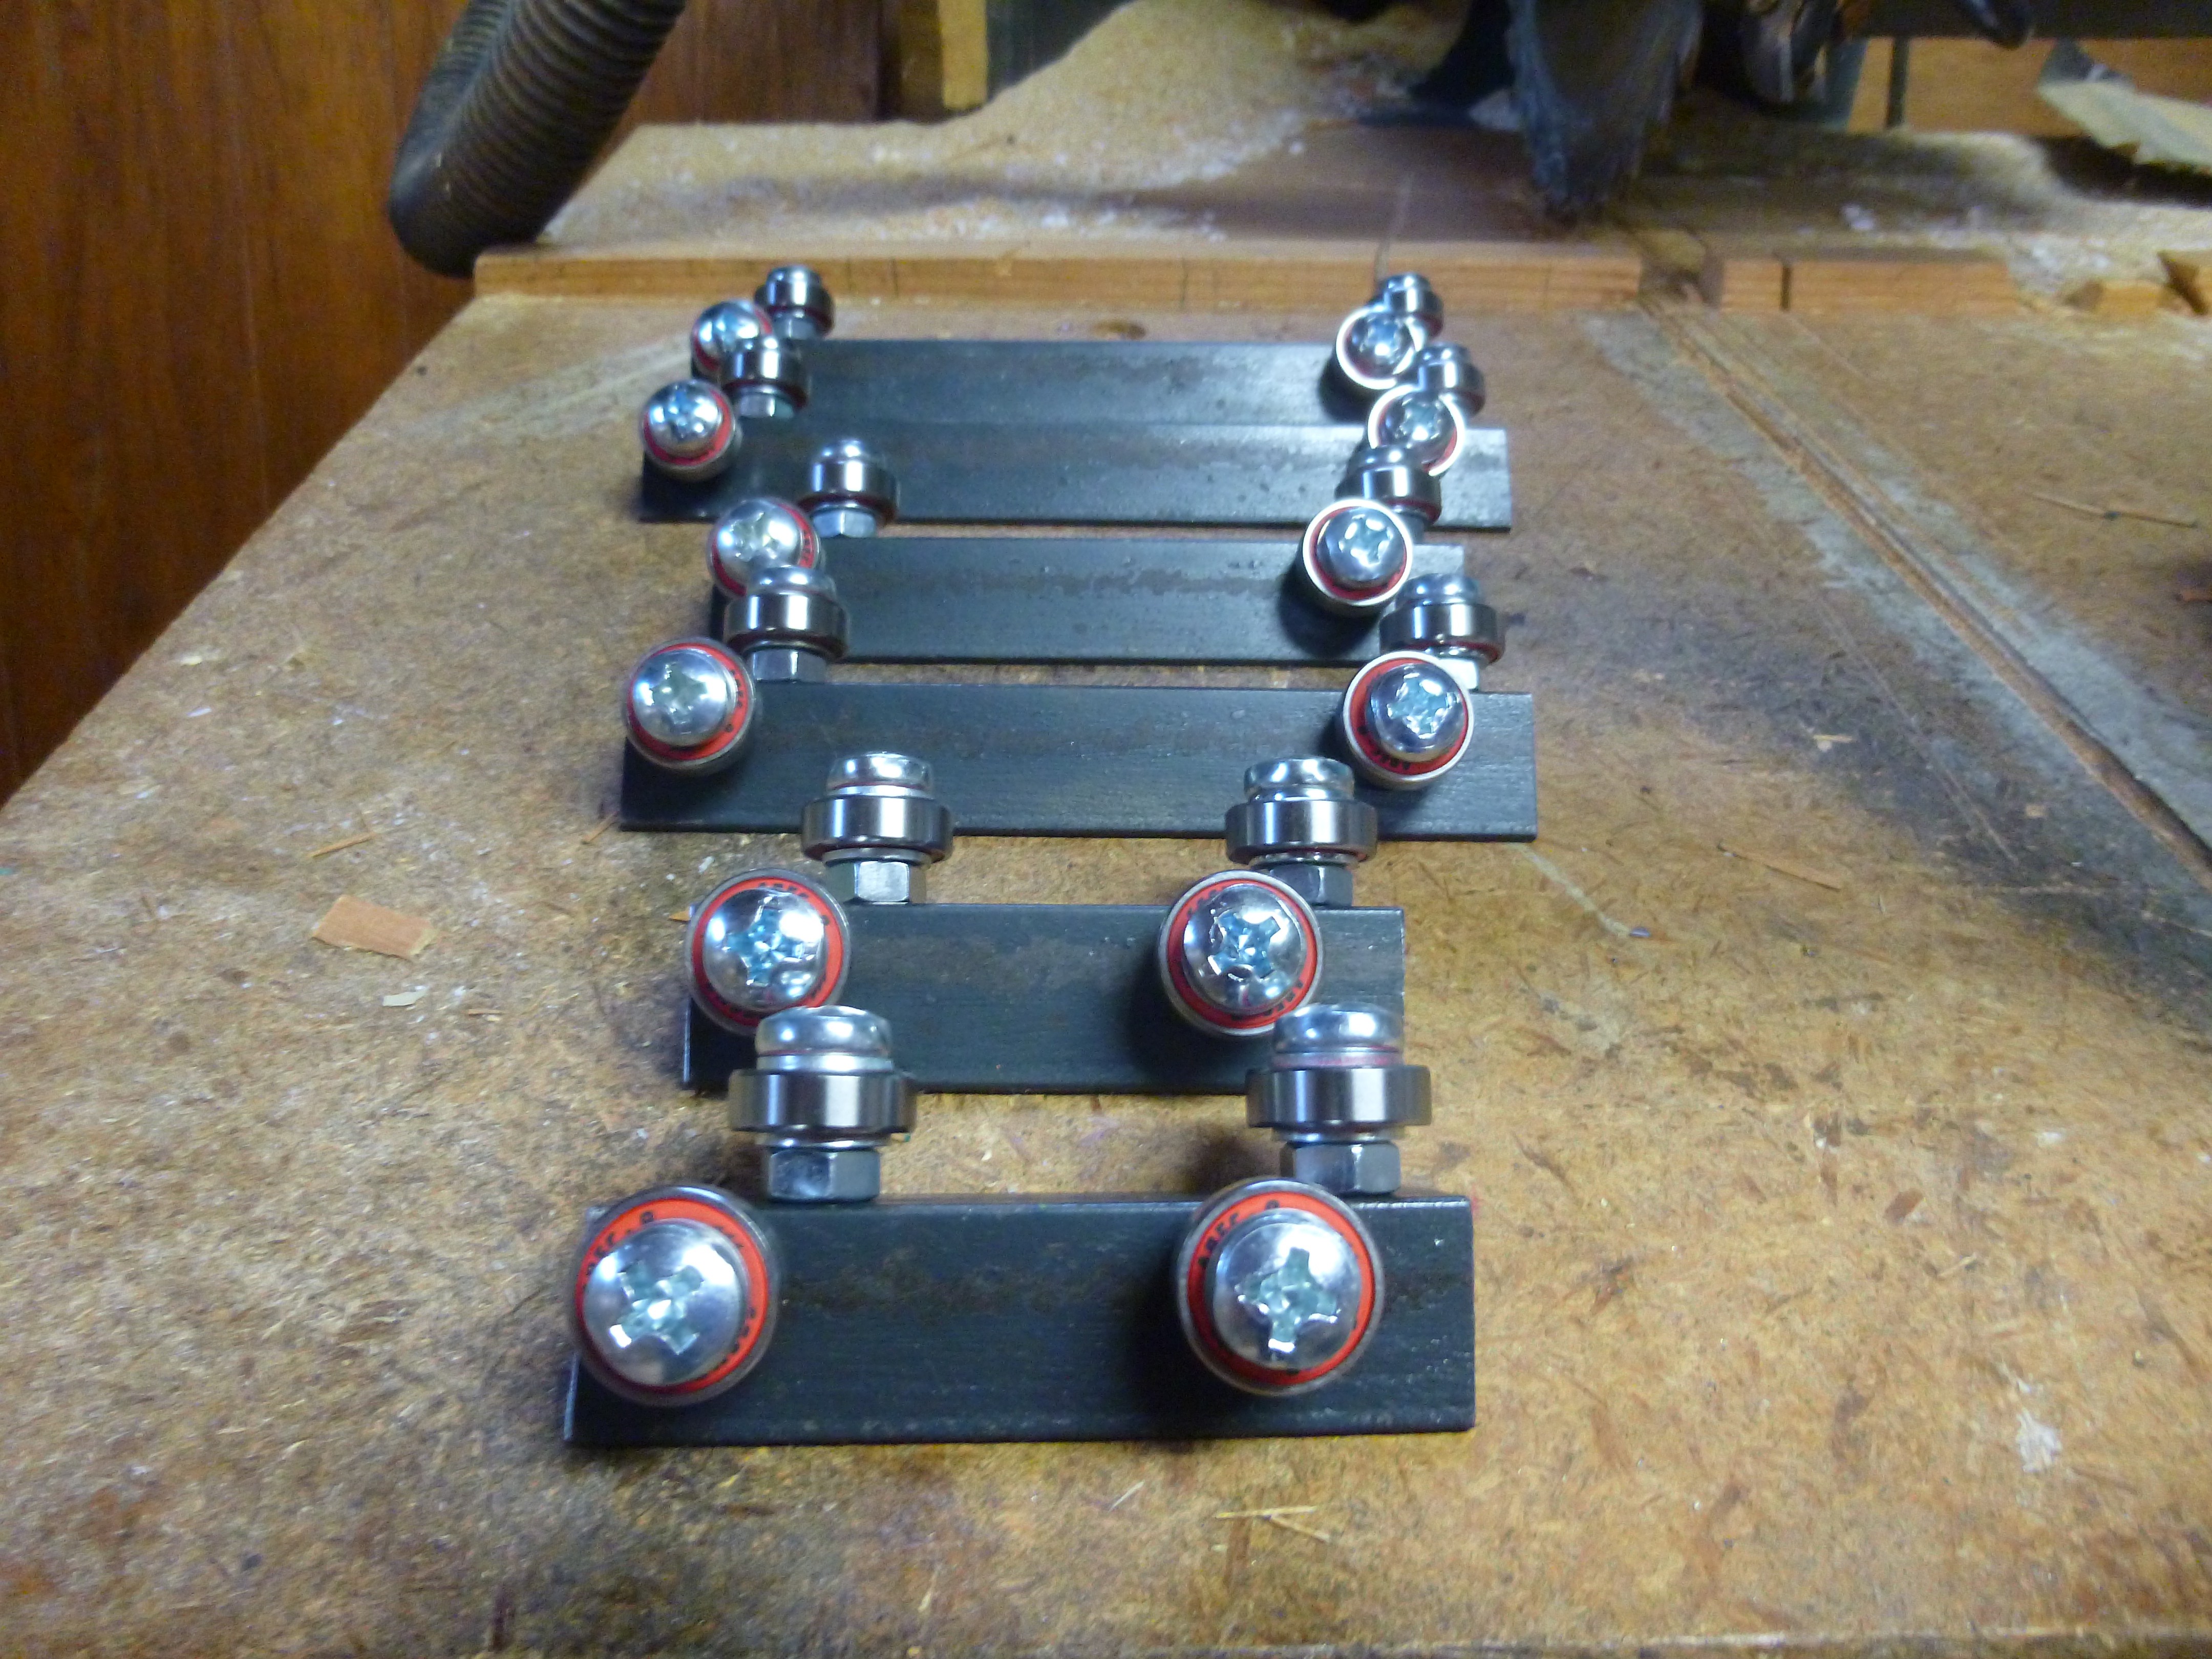
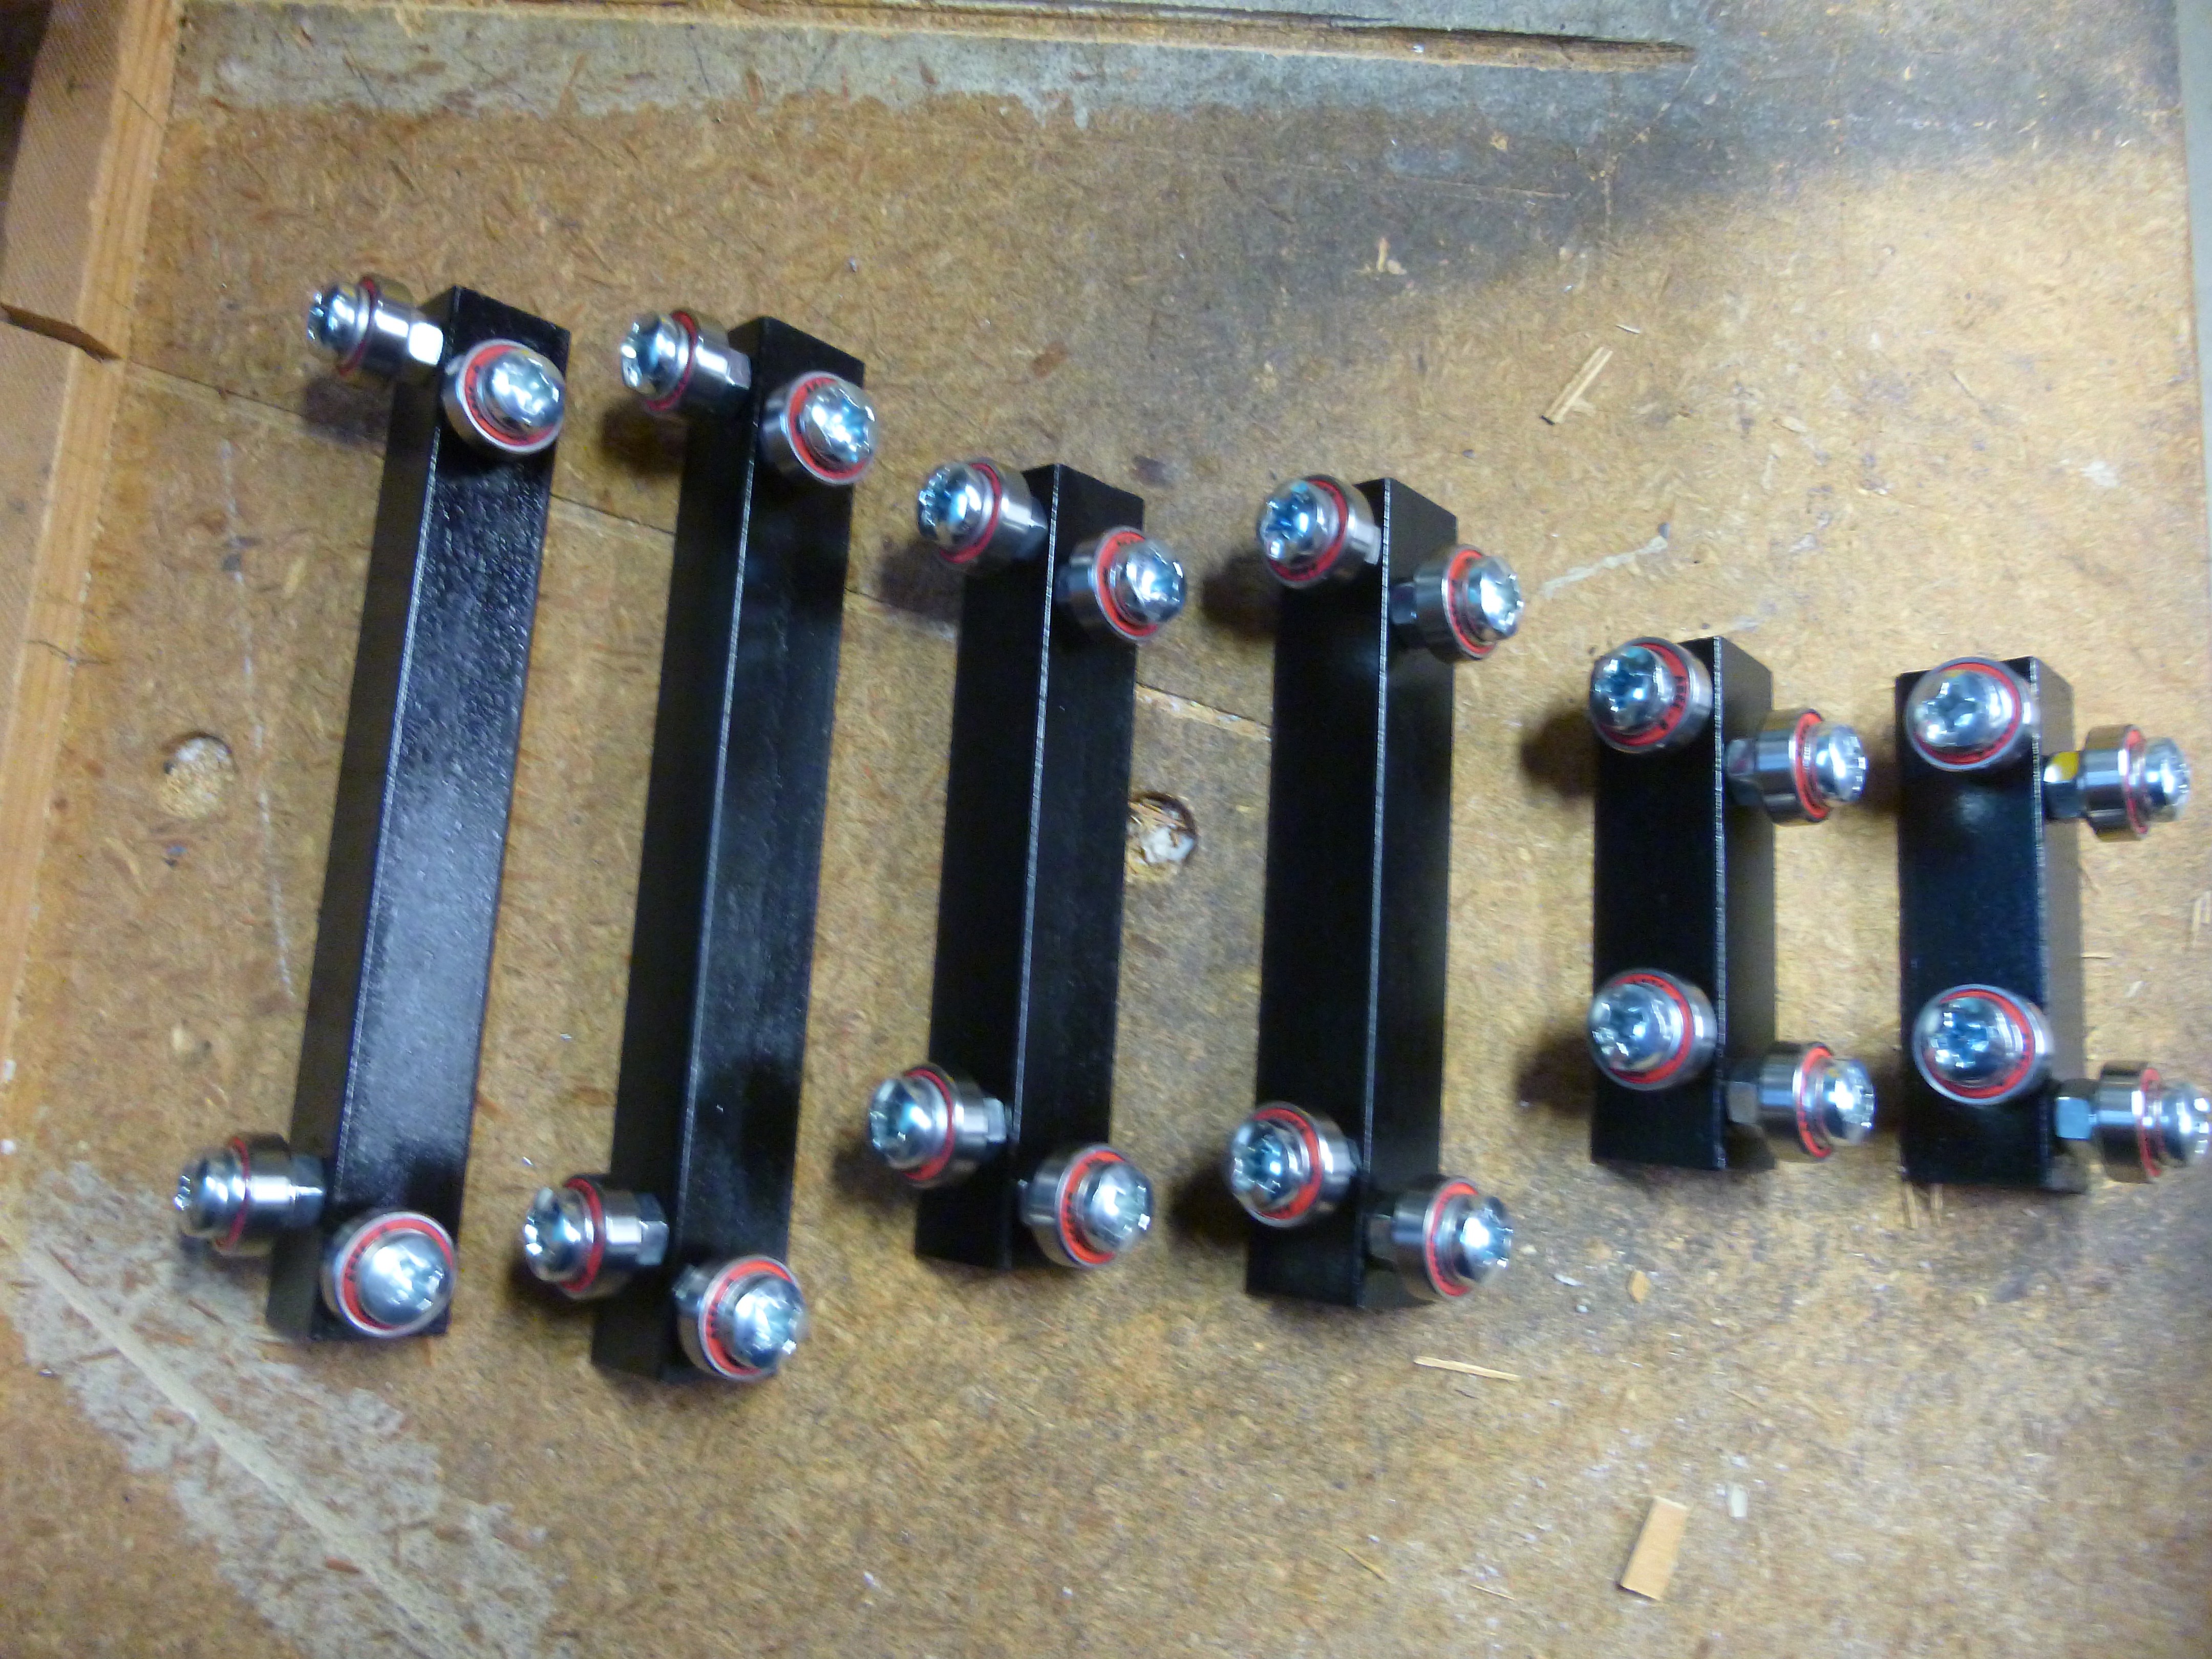
After I assembled the trucks, I realized that I should have painted them to prevent rust. So after disassembly and a quick scrub in soapy water, I gave the pieces of angle a quick coat of spray paint.
Well that is the easy part done. Next I have to build the base plate, and gantry.
-
Trucking
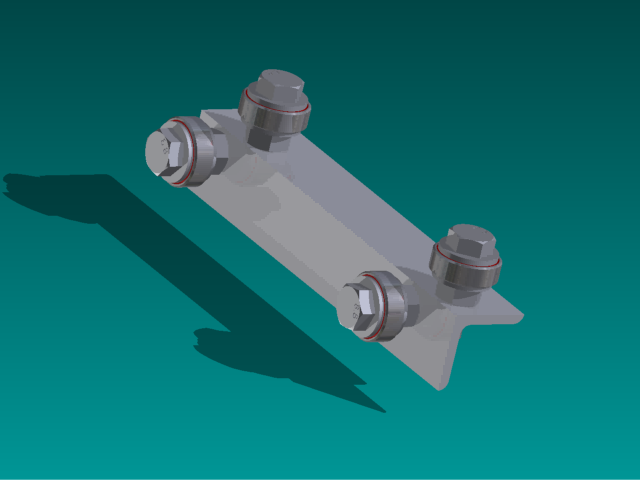
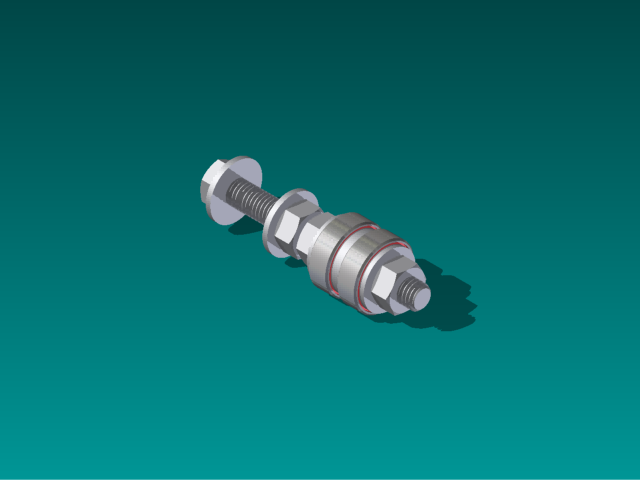
06/22/2017 at 19:48 • 0 commentsThe axes are going to slide along aluminum angle "tracks". I was originally going to use round rod for the track, and three sets of doubled up bearings to create a slot for the rod to slide in.
![]() This would require twelve bearings per axis instead of the eight my final plan uses.
This would require twelve bearings per axis instead of the eight my final plan uses. My final plan calls for each axis to have two trucks made from angle iron. this will hold the bearings at the correct angle to slide in on the aluminum angle.
![]()
-
The beginning
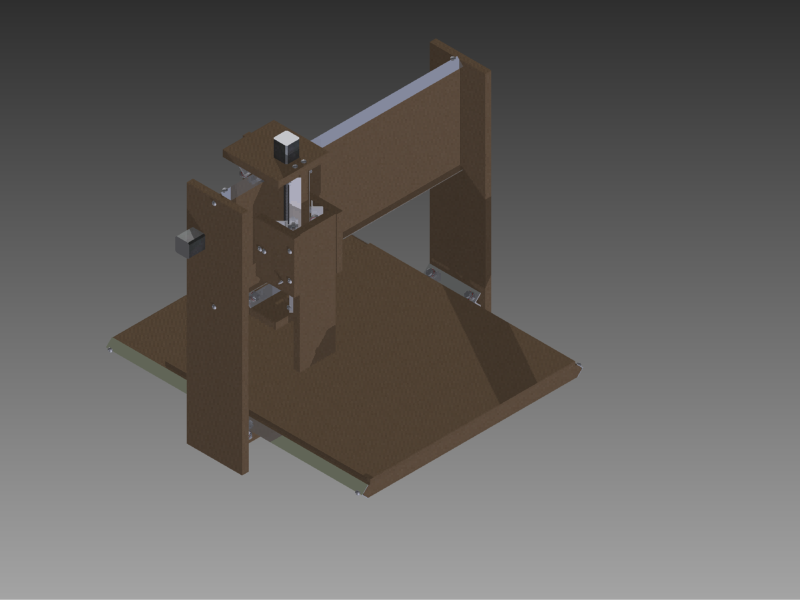
06/22/2017 at 19:20 • 0 commentsThis summer, I am planning on building a CNC mill. Along with being functional, I would also like it to be cheap. I don't know how to weld, and don't have access to a welder, so I am making the framework out of MDF. I don't know much about building a CNC, but with what I found online, I think that I have a usable plan.
![]()
To see if my design was theoretically possible, I modeled the whole thing in Inventor, before I began making purchases.
 Steel_9
 On top is the original. on the bottom is the new version. The cutouts are for a power switch and an outlet.
  Part of this might be from my habit of using any available flat surface as a workbench, and not putting away the tools I am using until after I used them for the third last time.
  I started with the z axis. The z axis is simply a 3.5" plank with rails on the ends, and holes to mount my tools drilled down the center.
 This was held in place with a couple of clamps, while I measured to make sure that it was parallel to the top plate. Once I found where it was suppose to go, I marked and drilled the holes for the top plate.
  The mill is now structurally complete, however I noticed that I accidentally put the holes for the y track plate in the wrong spot on the side pieces.
  Ill (stupid sans-serif font) I will fix this when I pull apart the mill for painting.
  This makes the paper transparent, however it also stains the MDF.
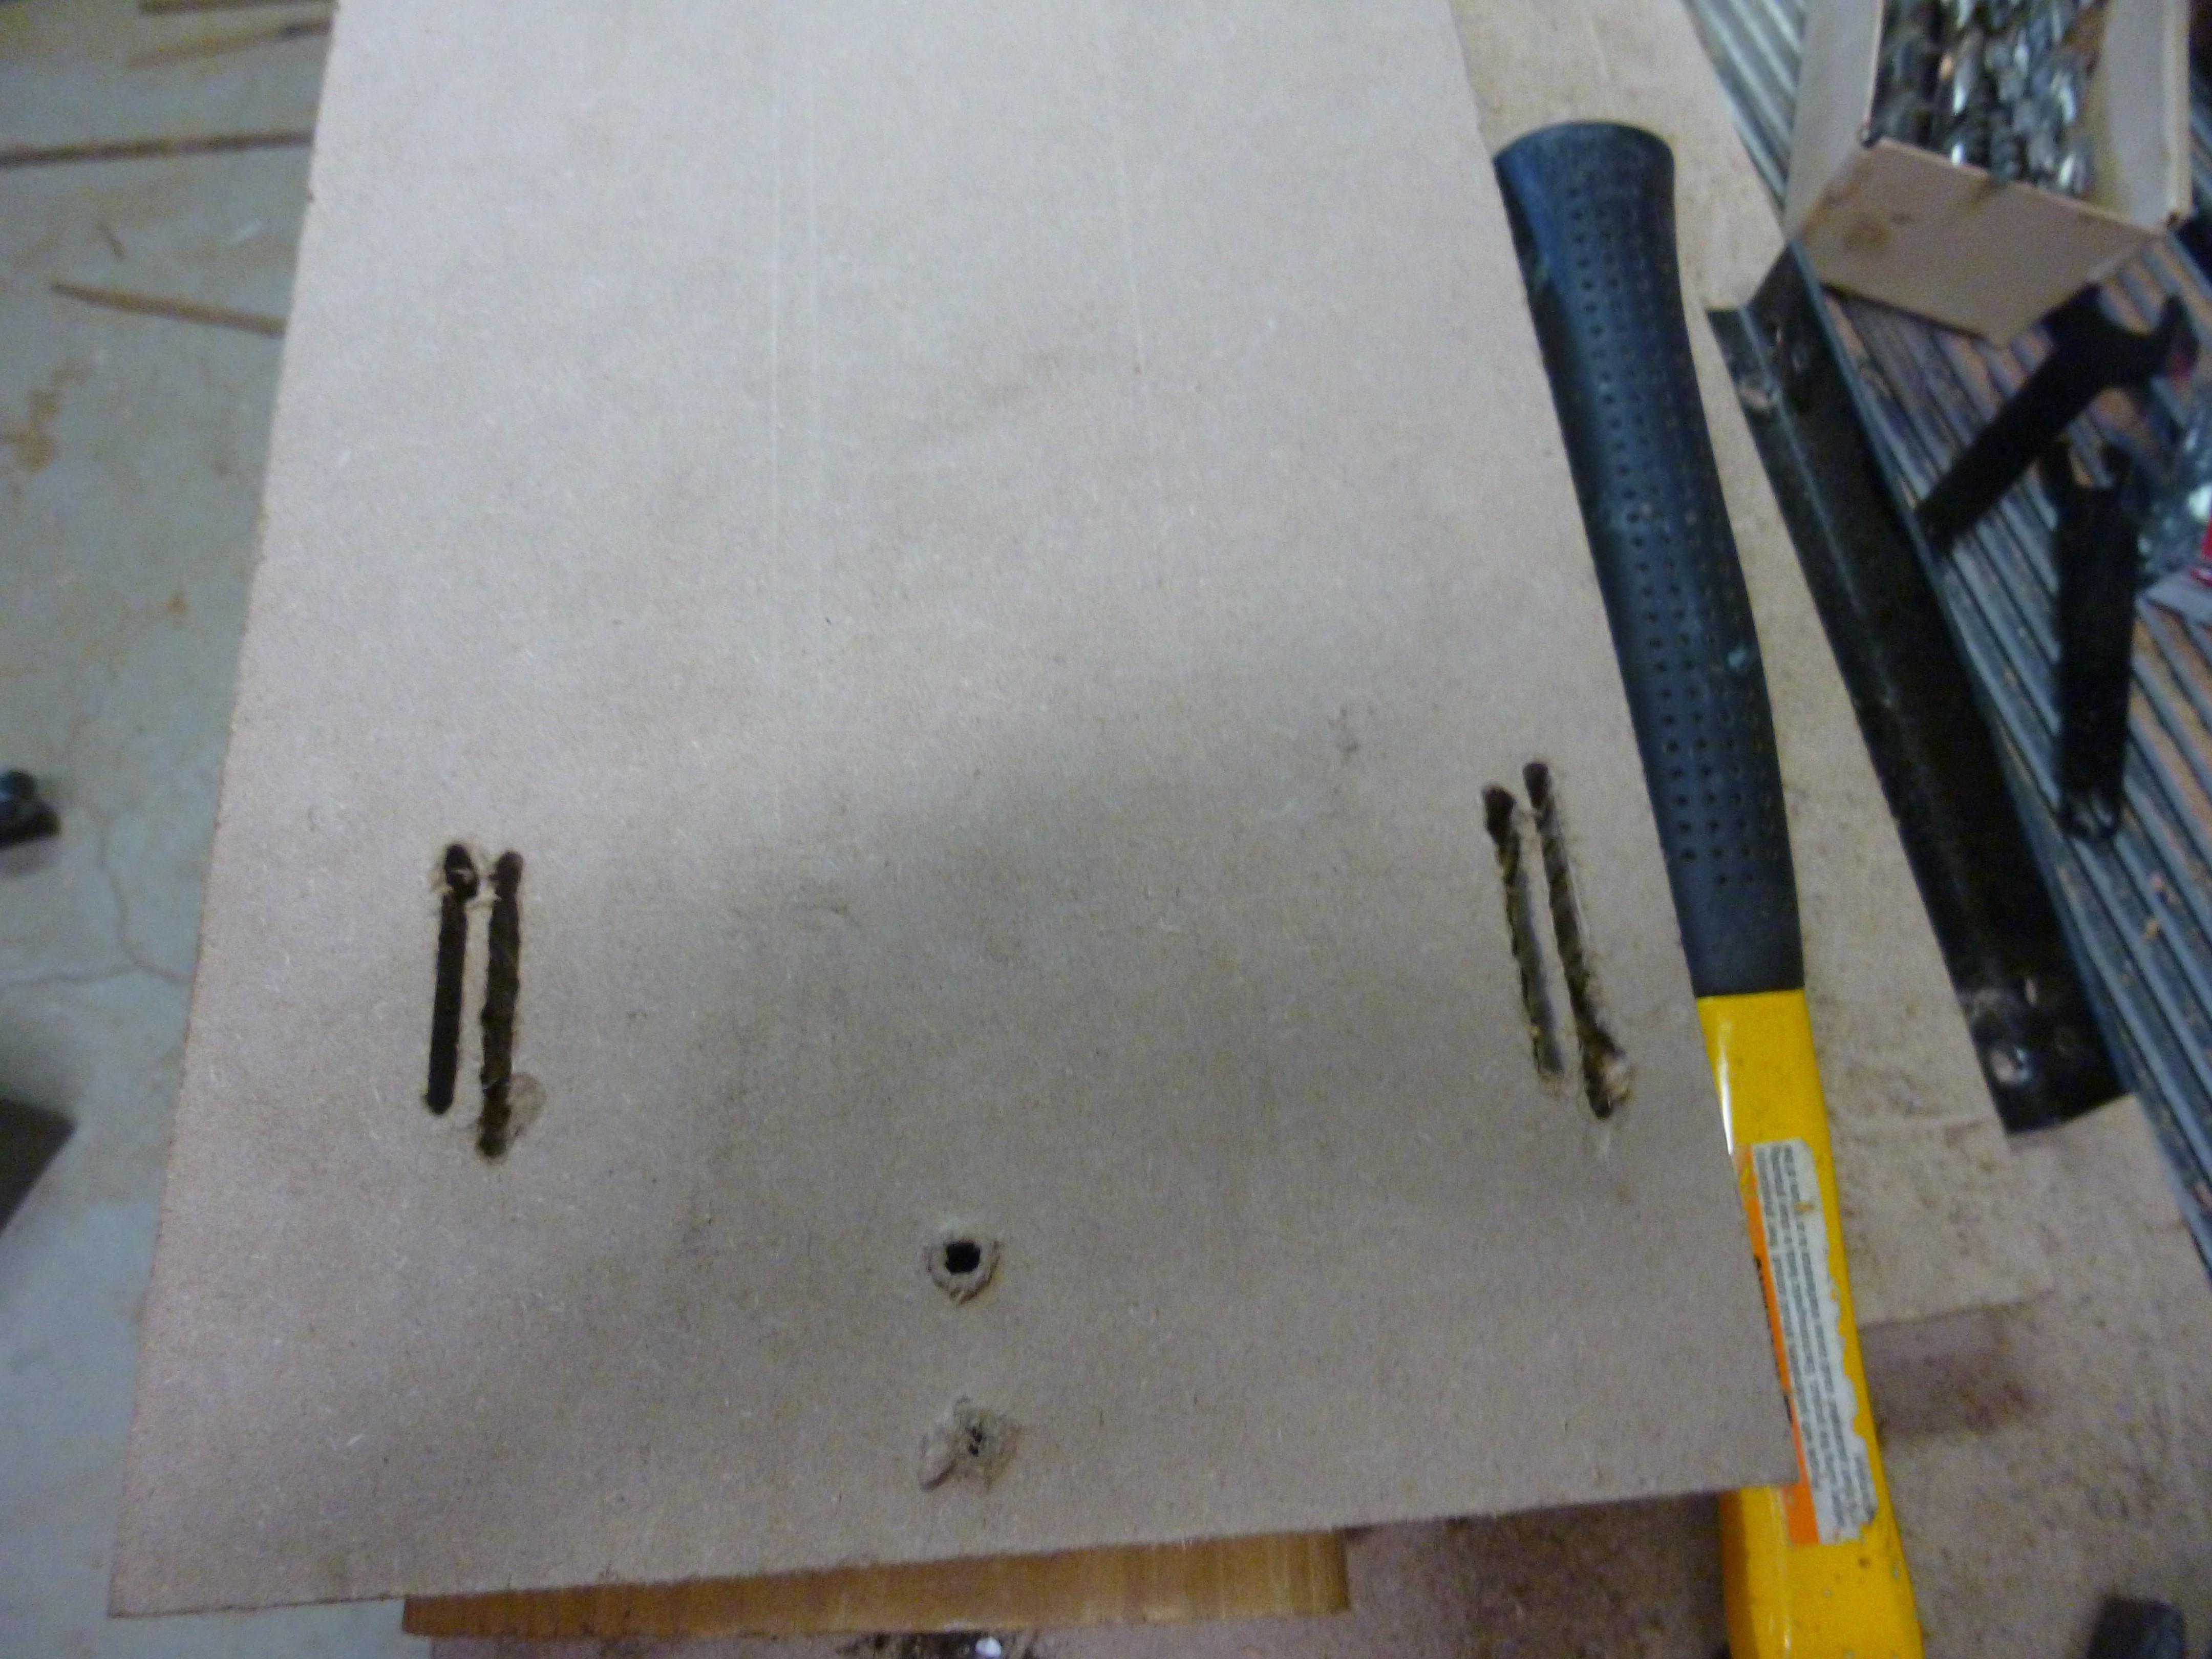 These slots proved very time consuming to make, and didn't provide the freedom I hoped for. I was able to make the trucks fit, however I wasn't able to adjust them the way I hope.
 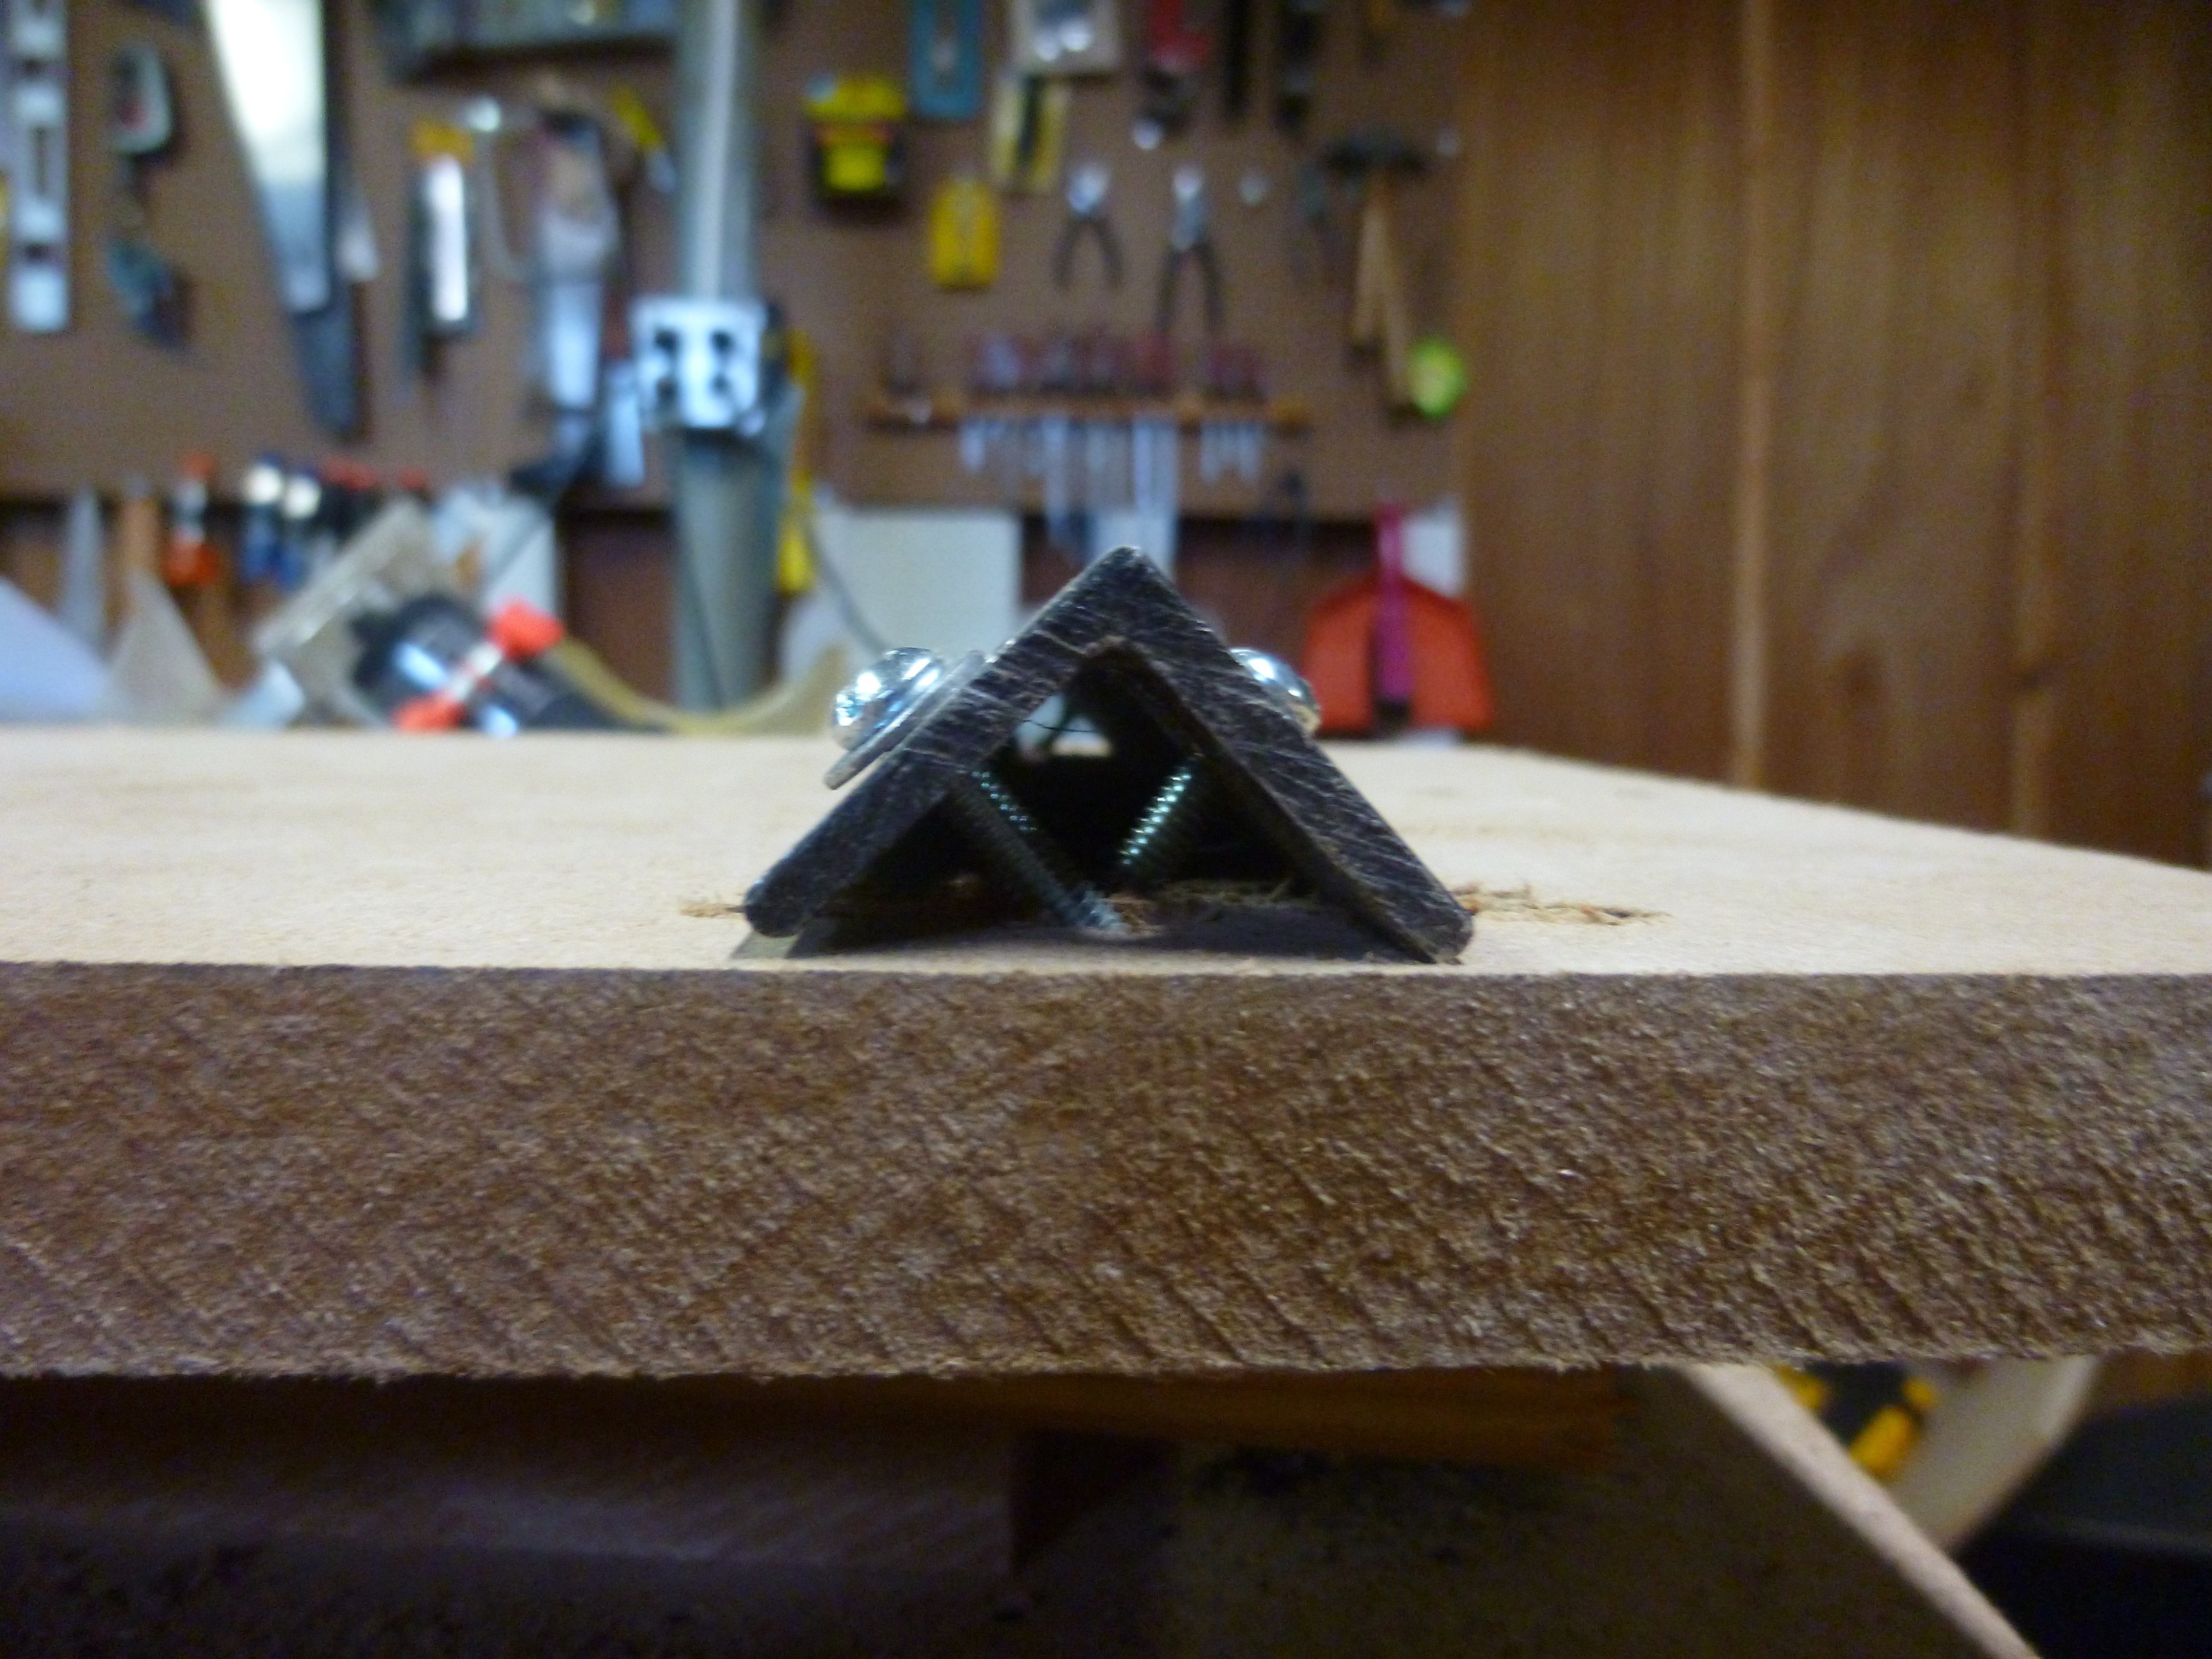 So I reverted to My original design which so far seems to be working better than I thought.
 The top and bottom pieces were cut out of more MDF, with the holes for the nuts cut out on a scroll saw.
  Here I have two holes cut while the third has a pilot hole drilled for the saw blade.
  Otherwise this happens. ;-)
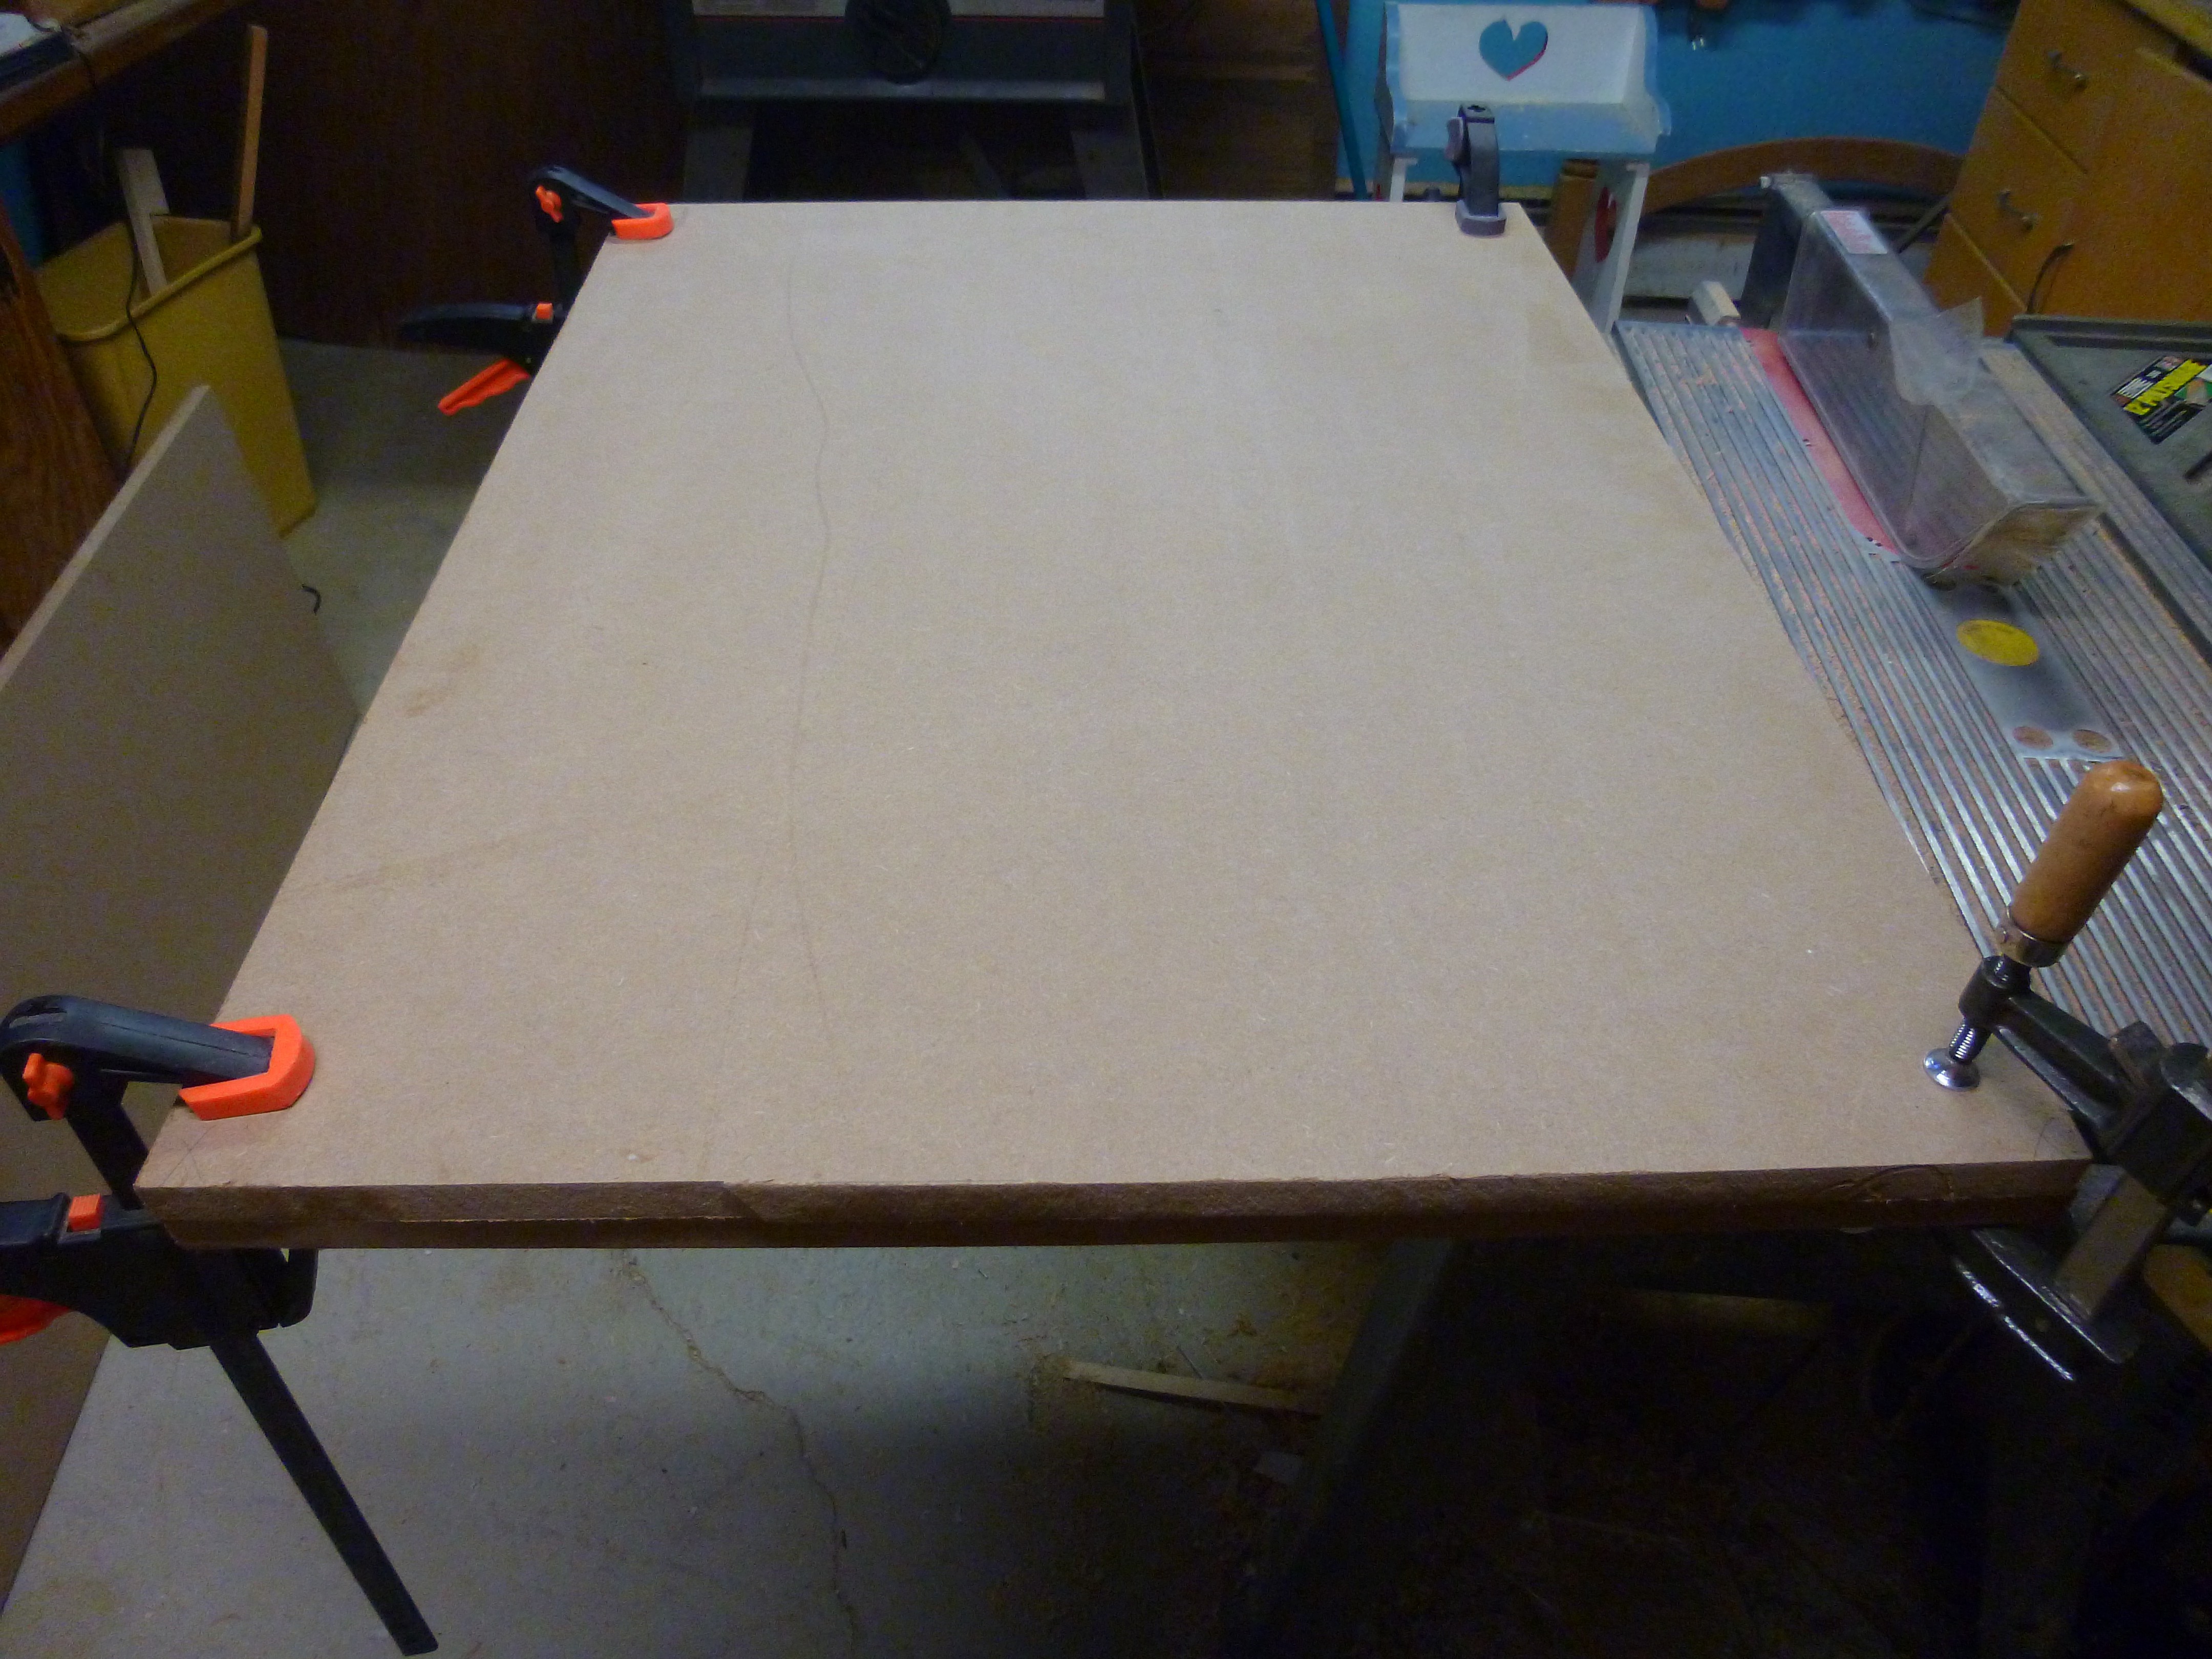 It was just after I glued the sheets together that I realized that one sheet of 3/4" MDF would probably be strong and stiff enough. After the glue dried, I used the table saw to cut a 45° chamfer on both sides of the base plank.
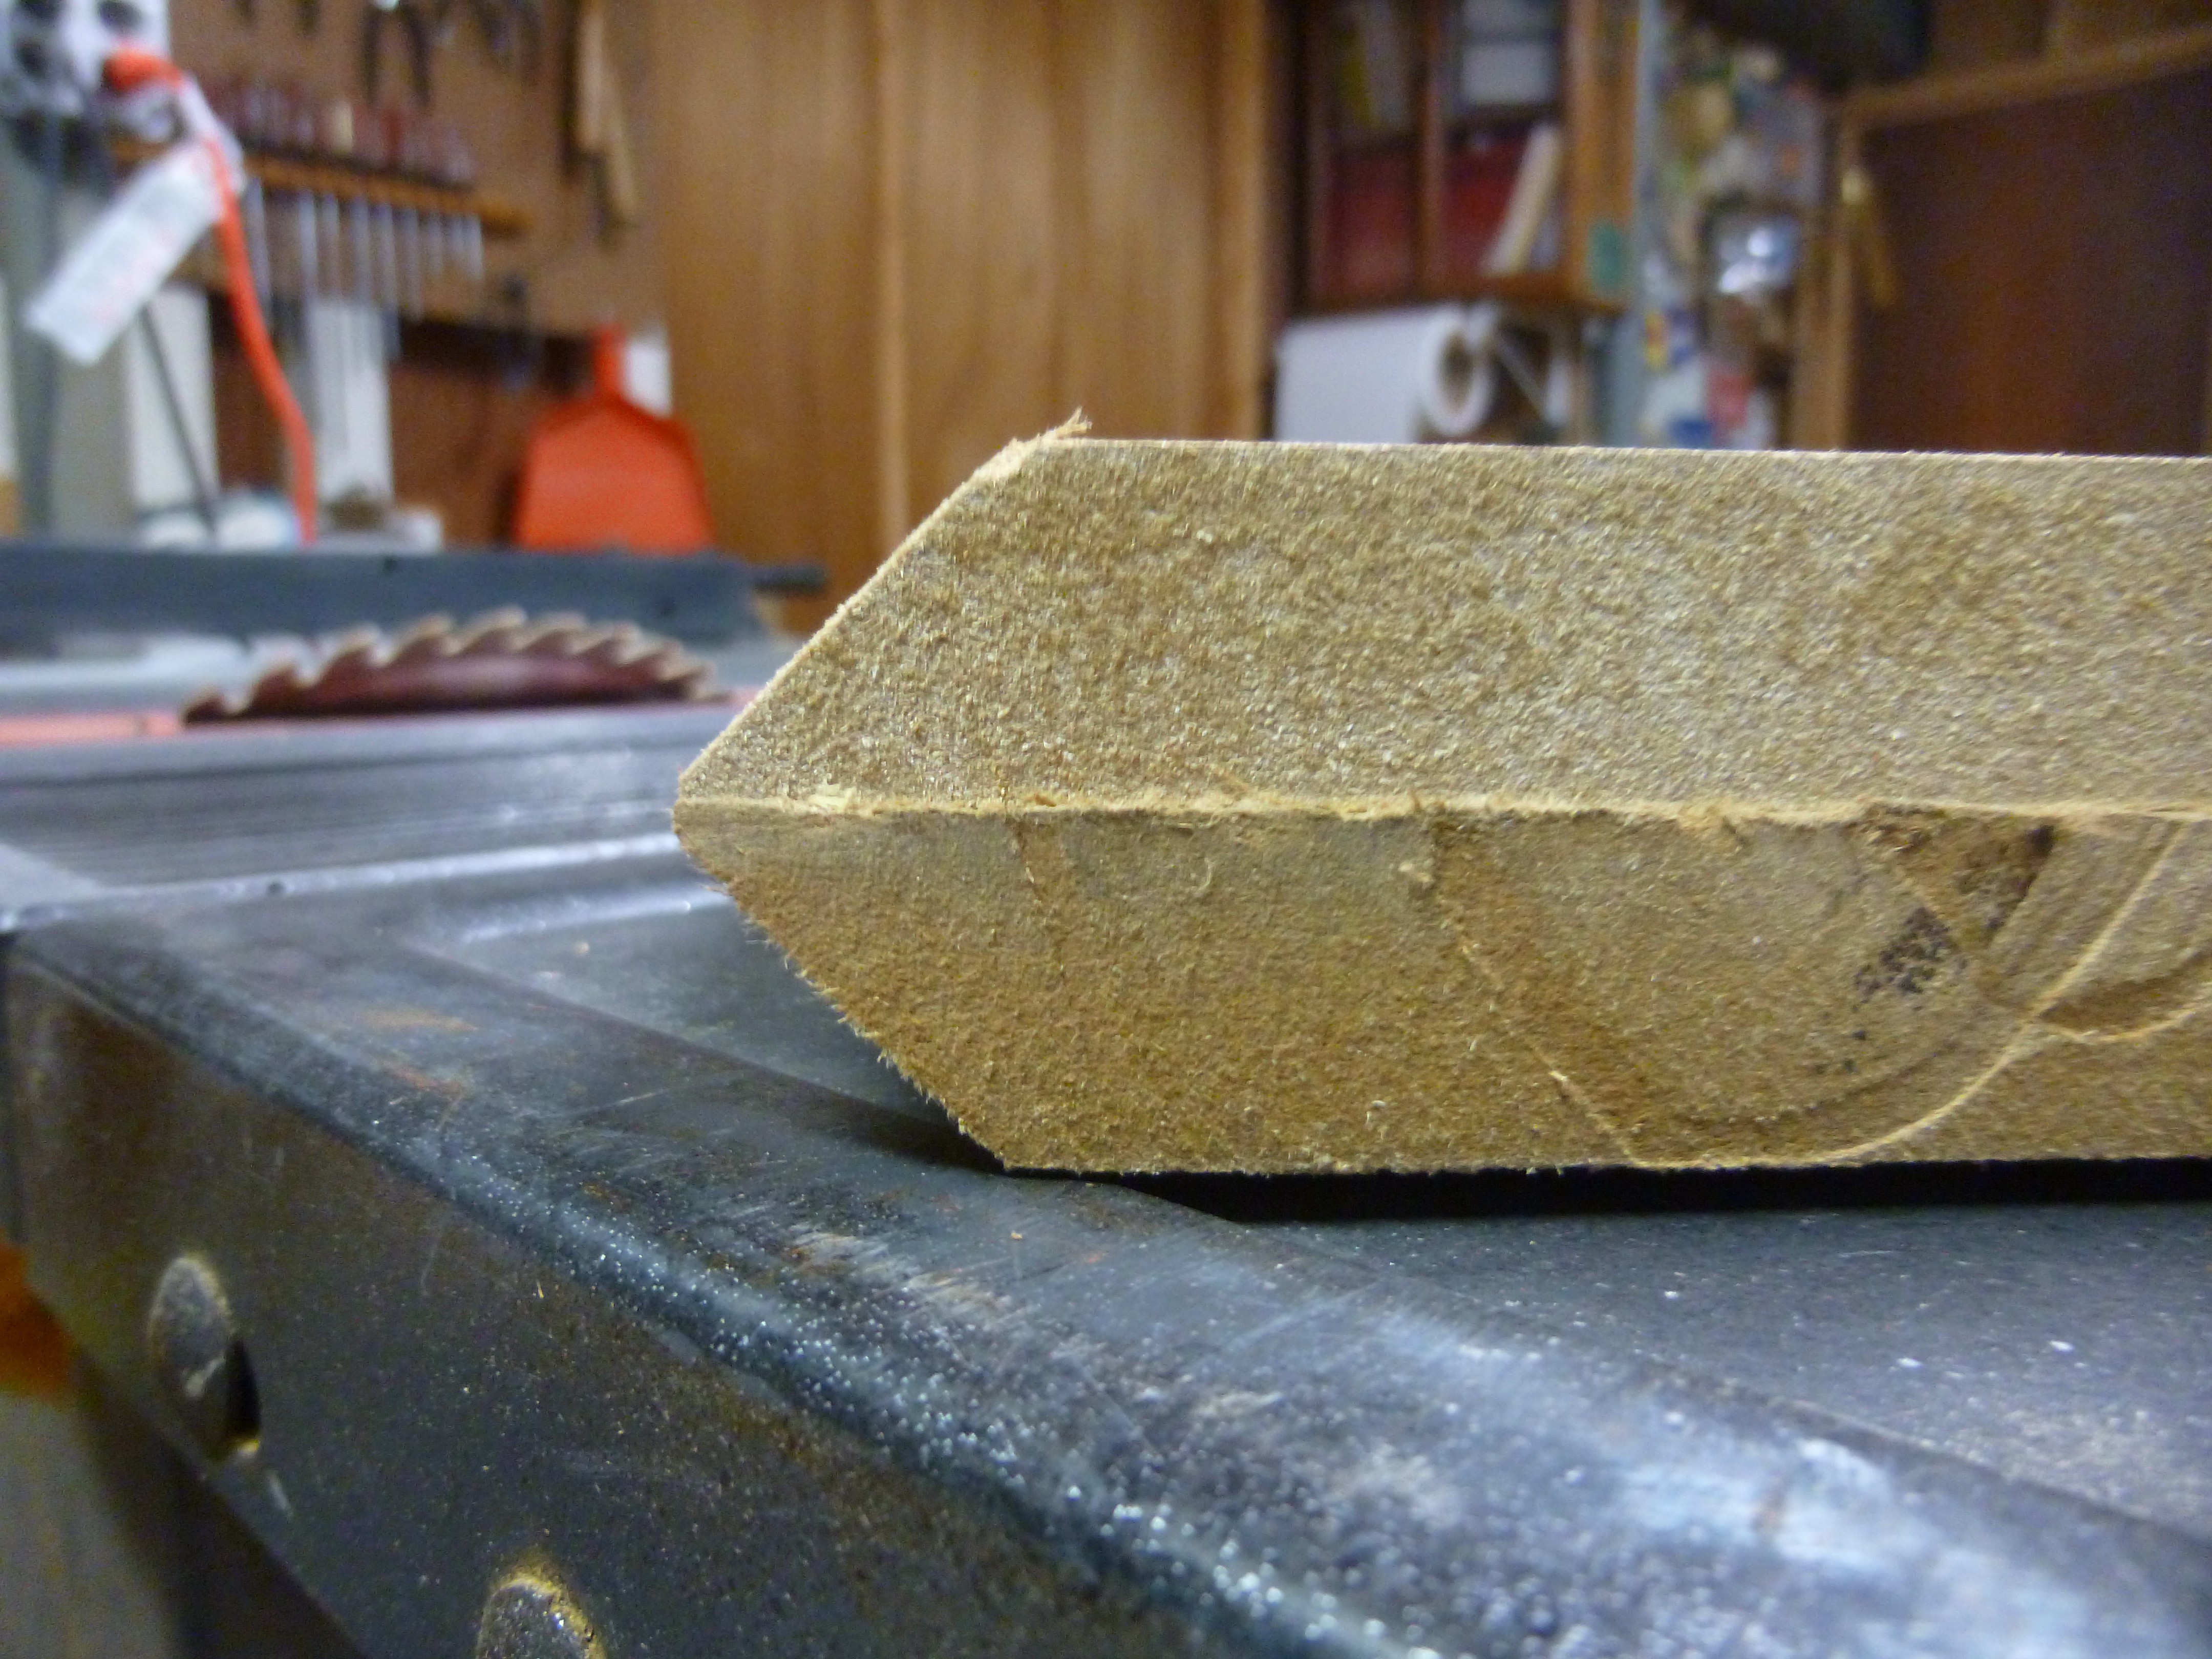
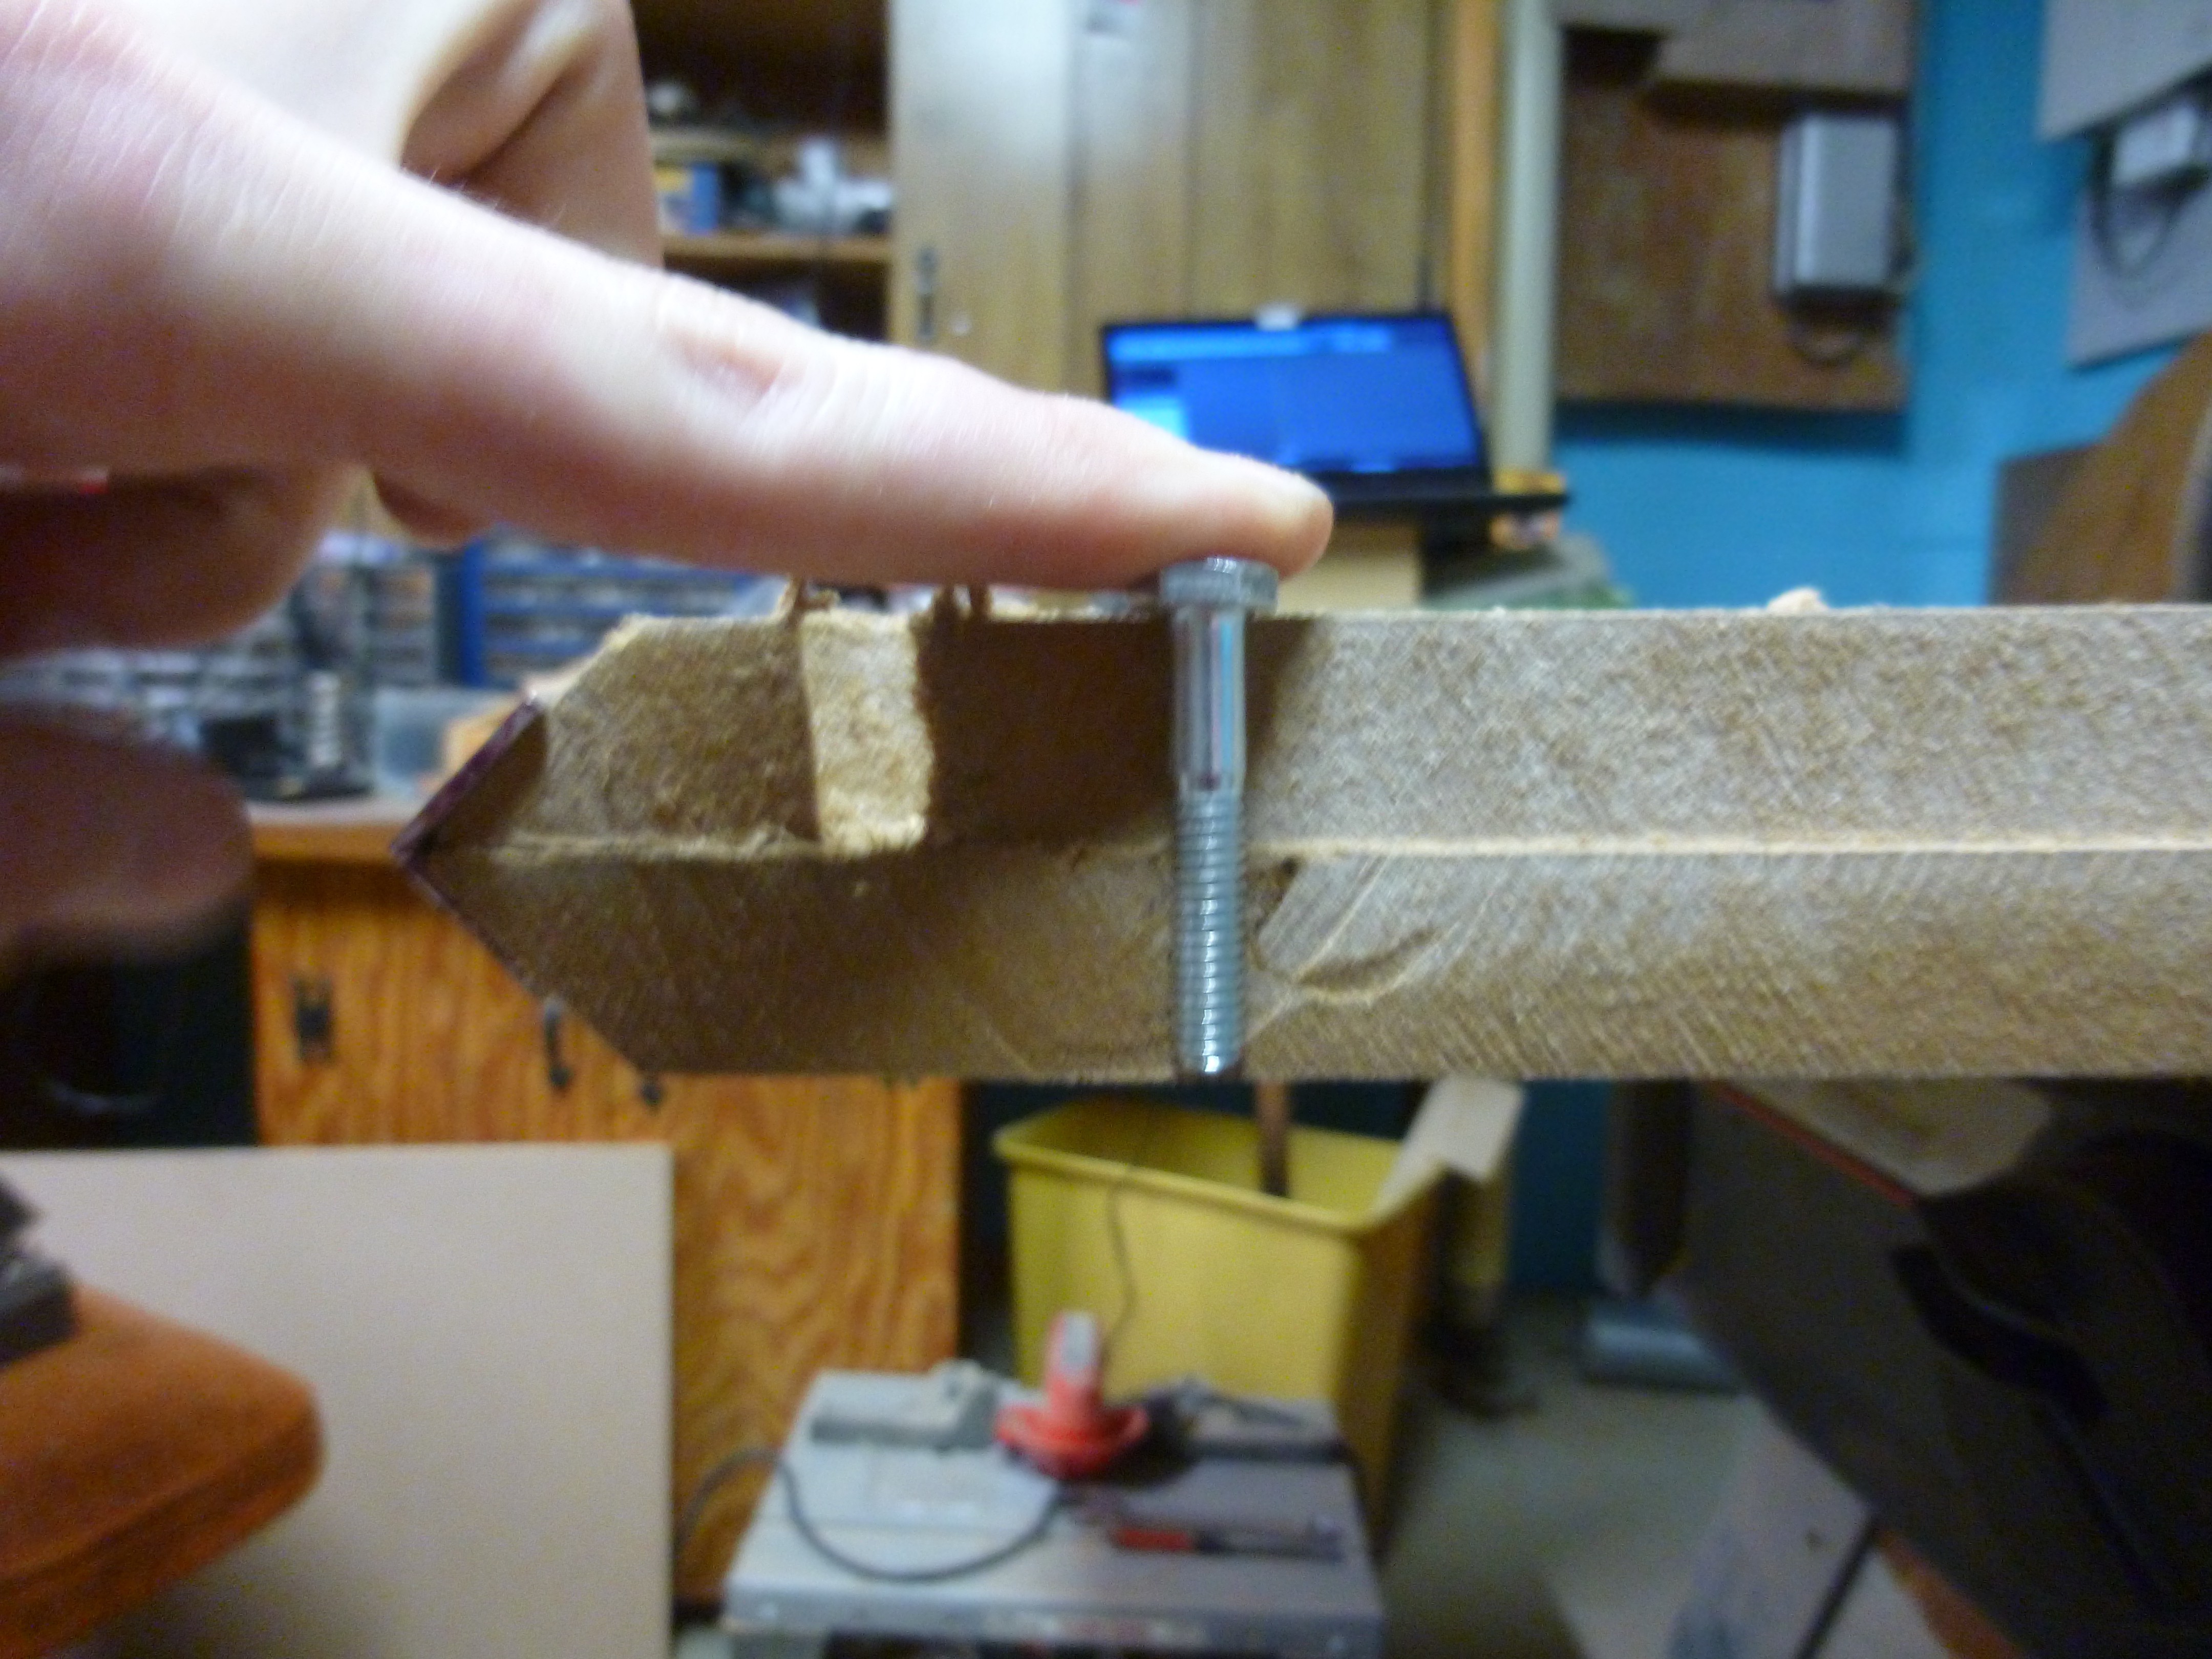 I also had to make some modifications to the holes that held the nuts
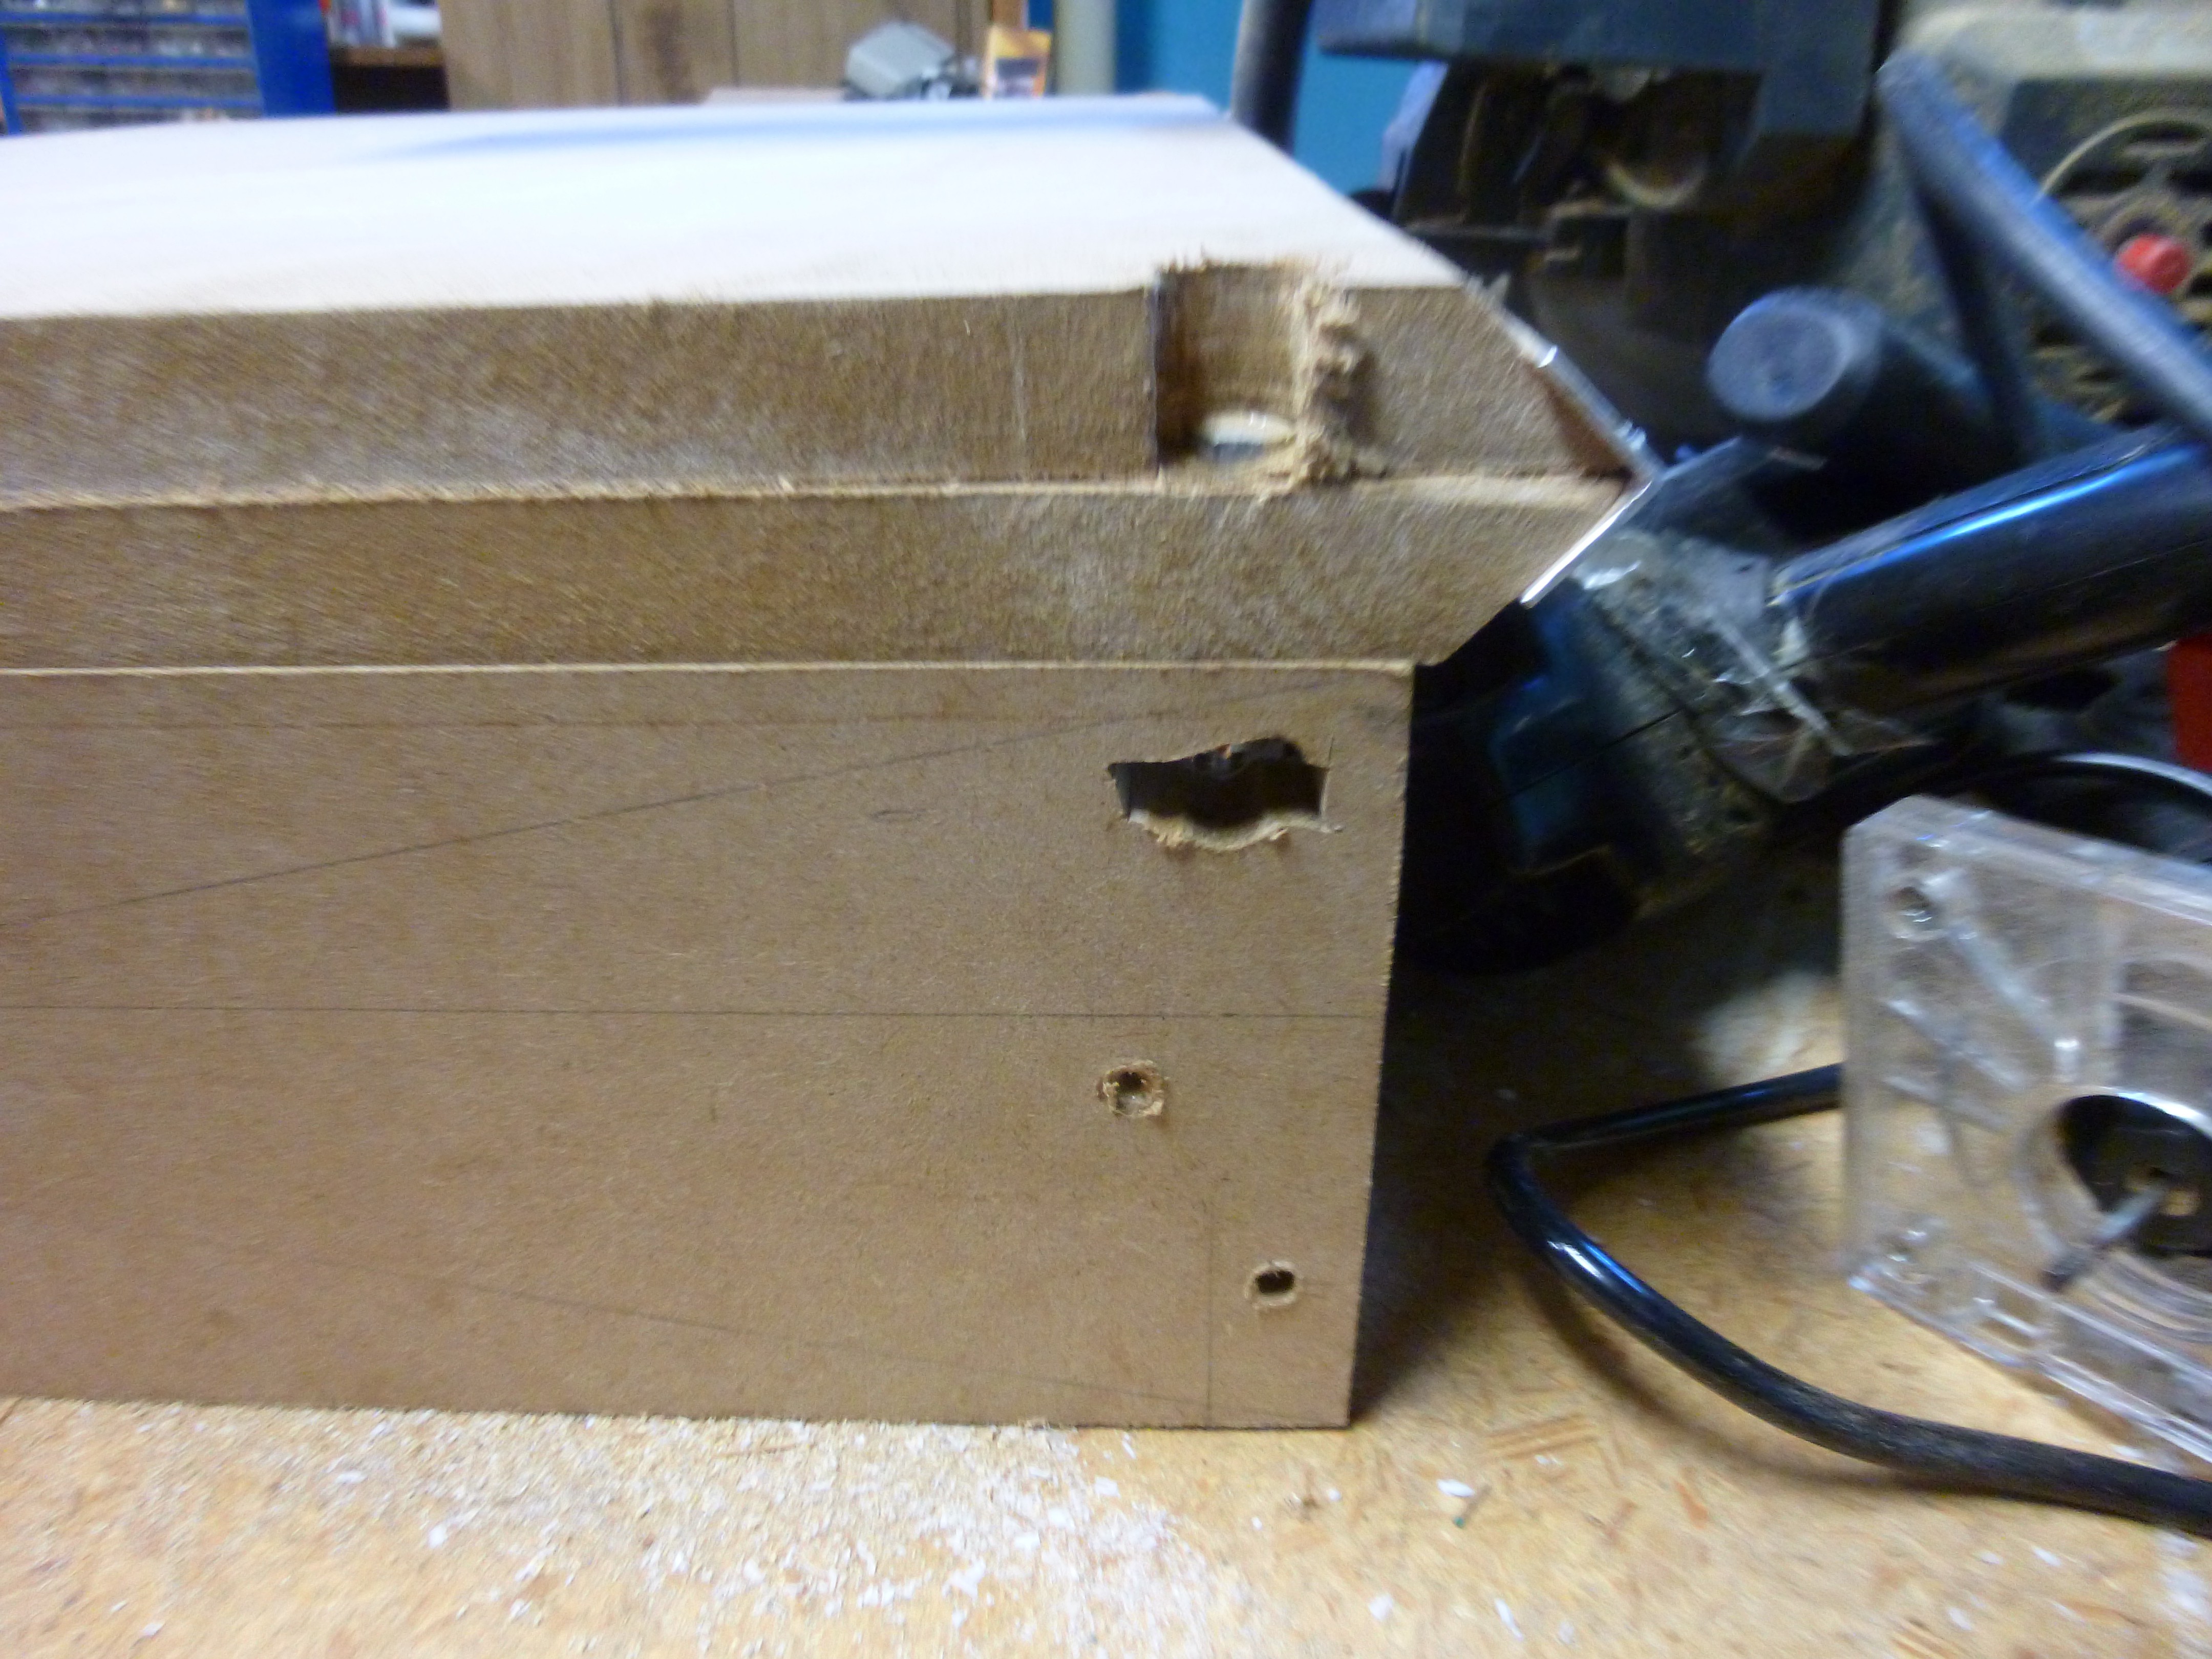 It's not pretty but it works.
 I am not sure how well it shows in the image, but my jig is two pieces of scrap wood, nailed together, so the one forms a "wall" to set the angle against. I made a mark at 1" and 1/2", to line the angle against, and drilled away.
 After I assembled the trucks, I realized that I should have painted them to prevent rust. So after disassembly and a quick scrub in soapy water, I gave the pieces of angle a quick coat of spray paint.
  Well that is the easy part done. Next I have to build the base plate, and gantry.
  This would require twelve bearings per axis instead of the eight my final plan uses.