Matt Barr
-
2017 Test Footage
12/04/2022 at 04:22 • 0 comments -
Performance Tips
08/06/2017 at 21:52 • 0 commentsTry to use a full battery. Performance decreases when the battery is low. The Alexmos firmware does compensate, but eventually physics and chemistry take over.
Remove strap from camera. This might seem obvious, but I left mine on initially. It does make a difference because it throws off the weight distribution and aggravates motion correction.
Work on technique. Gimbals are meant to correct errors in motion, but it does have a limit. When I went at it hard, performance suffered. You should not have to walk on eggshells to get it to work right, but it won’t work well with big harsh movements as well.
-
Calibration & Tuning
07/23/2017 at 00:54 • 0 commentsBefore calibration, the gimbal should be reasonably well balanced so the motors don’t have to work as hard. I used 1 Oz fishing sinkers for counterweights. To calibrate, I used a simple photography light stand to brace the gimbal for tuning. Having the assembly well balanced is absolutely necessary for the initial accelerometer and gyro calibration.
Calibration and tuning requires adjusting the power and PID settings. A good rule of thumb is to set the power as high as possible without overheating the motor. Power, in gimbal terminology, is essentially the torque applied to the motor. More power makes it harder to move when bumped, which is a good thing, but too much will cause the motor to overheat.
The PID settings more or less control the motor’s behavior. PID is shorthand for Proportional, Integral, and Derivative control. A good way to calibrate the PIDs is to set them all to zero, and work on them one motor at a time. I found that it’s best to start with the pitch motor, then roll, and finally yaw. The SimpleBGC software has an auto mode that is useless. Don’t use it. Instead, tune the PIDs manually. Start with (D) and add until it starts to whine, then back off until it stops. Then, add (P) until the motor has enough torque. If it overshoots, back off a little. It should return to level smoothly. Finally, add (I) to adjust drop time on each axis. Too much (I) will cause vibrations. A well-tuned gimbal will be responsive, but should stay stable with small bumps. The result is smooth footage.
My Initial PID Settings:
Roll: P-40, I-0.1, D-120
Pitch: P-20, I-0.1. D-30
Yaw: P-35, I-0.1, D-100Final PID Settings:
Roll: P-18, I-0.57, D-78
Pitch: P-24, I-0.49. D-13
Yaw: P-22, I-0.20, D-56 -
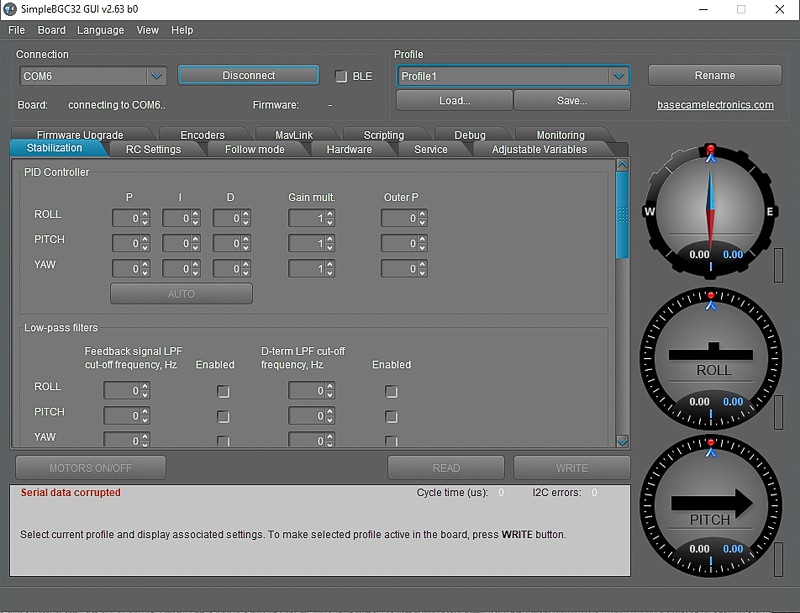
Murphy’s Law
07/23/2017 at 00:48 • 0 commentsPeople that make things make mistakes from time to time. It’s inevitable, I think, at least for the first guy that does it. I tend to greet failure as an old friend, and I think our community feels the same. I made a mistake during this project that is worth noting here, so that maybe I can be that guy who did it so you don’t have to. I made my power cable with a female pin connector that popped off while tuning, and it shorted my controller board. The verdict is out as to whether I can salvage it, but it doesn’t look good. My computer can recognize the com port with the board connected, but the Alexmos software shows a corruption error. My plan is to pick up another board and go at it again. It was a boneheaded move on my part, but I learned some things. I think I’ll go with the full-sized board this time, with recessed pins, and solder down the power connections. The Tiny Pro controller pins are pretty vulnerable to damage in general since they sit above the case. I’ve always played fast and loose with connections while prototyping and it got me in trouble this time. I’ll never do that again.
![]()
-
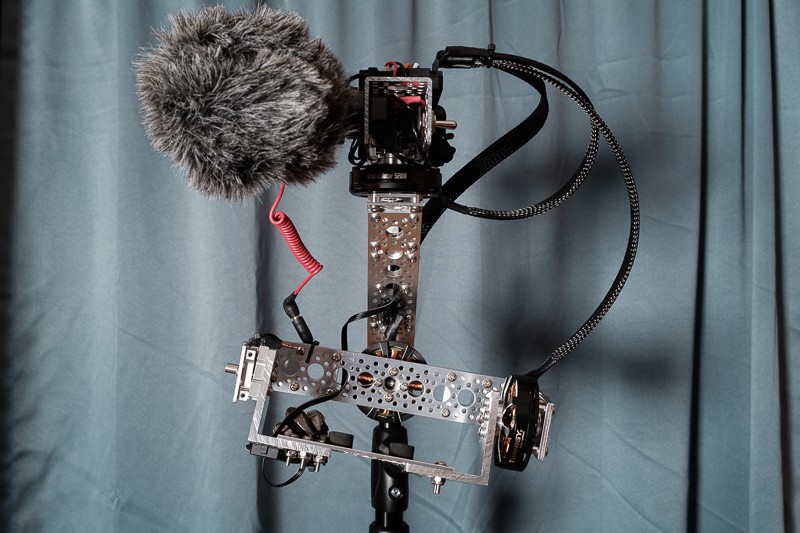
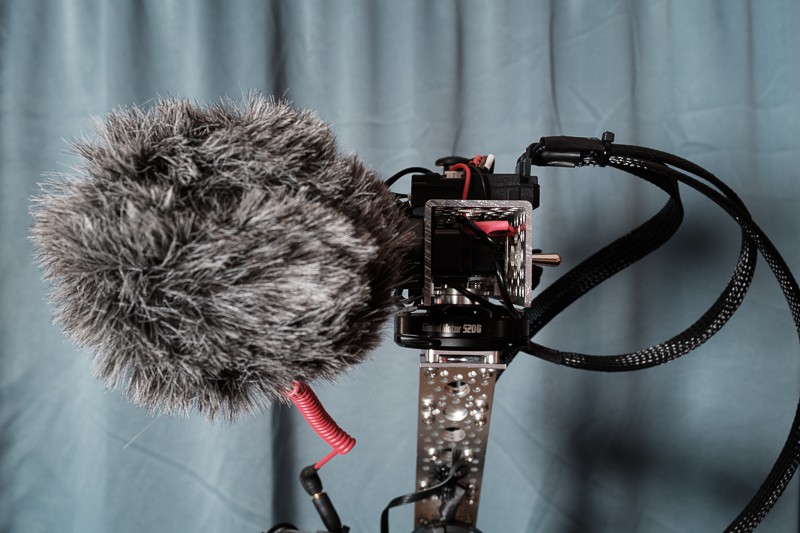
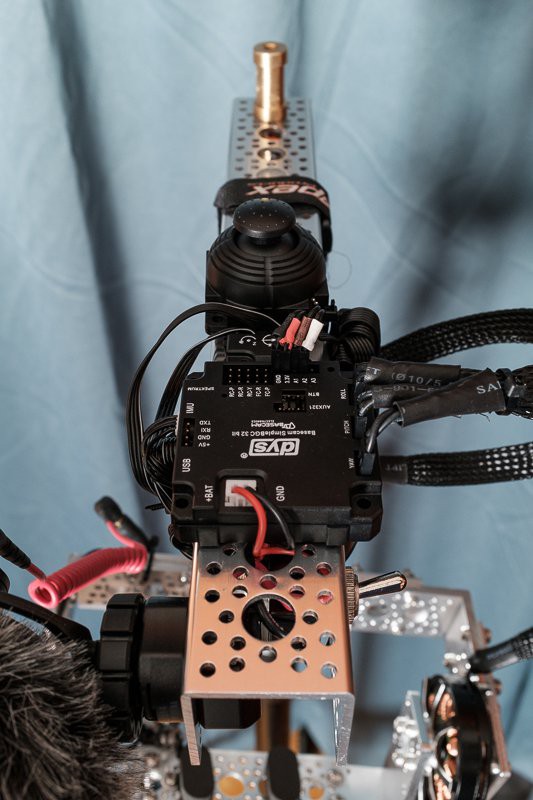
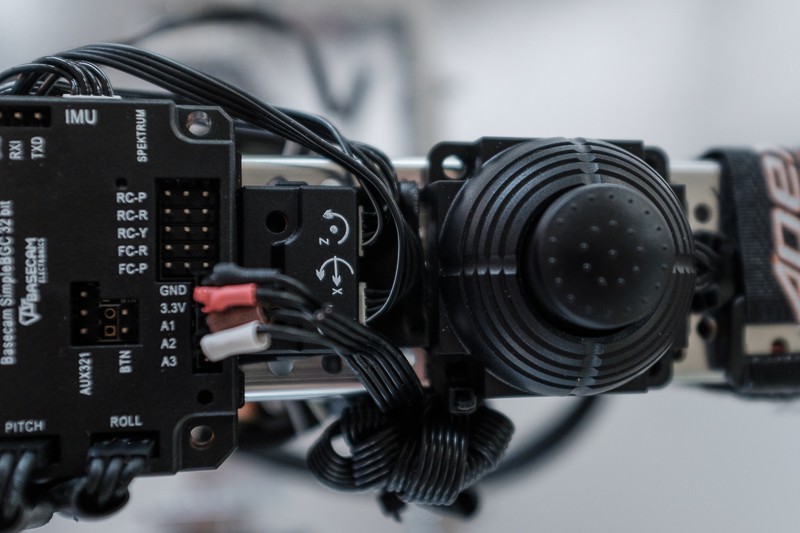
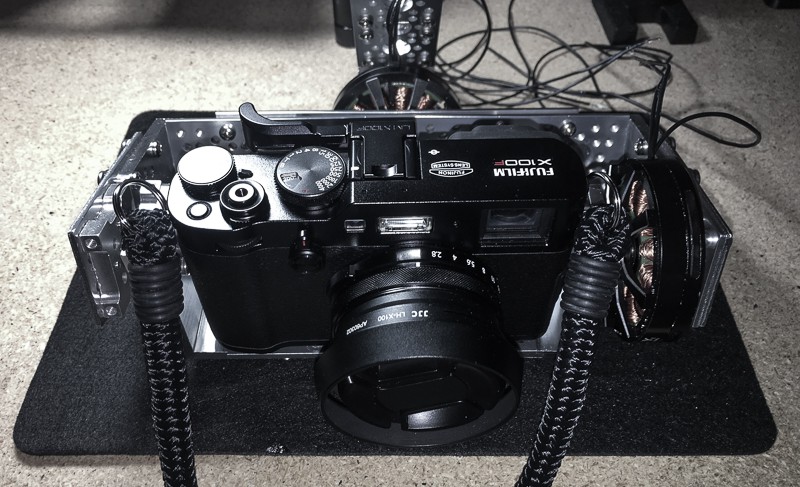
Electronics Assembly
07/18/2017 at 11:10 • 0 commentsThe electronics side of this gimbal is pretty straight forward if using a dedicated gimbal controller. I went with an Alexmos 32-bit board. The motor wires were already long enough, so I just added some ¼” braided sleeving for protection. A 3S lipo fits, with room to spare, inside the aluminum channel grip. Standard lipo straps work well too. 1 Oz fishing sinkers make good counterweights for balance. Finally, I added a simple toggle switch to control power to the board. Everything is assembled and working at this stage. A simple light stand, as seen below, should work great for tuning and calibration.
![]()
![]()
![]()
![]()
![]()
![]()
![]()
-
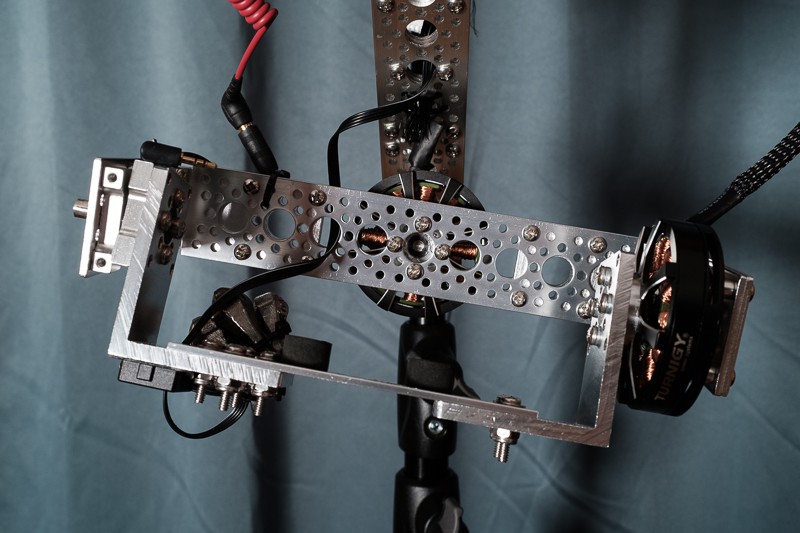
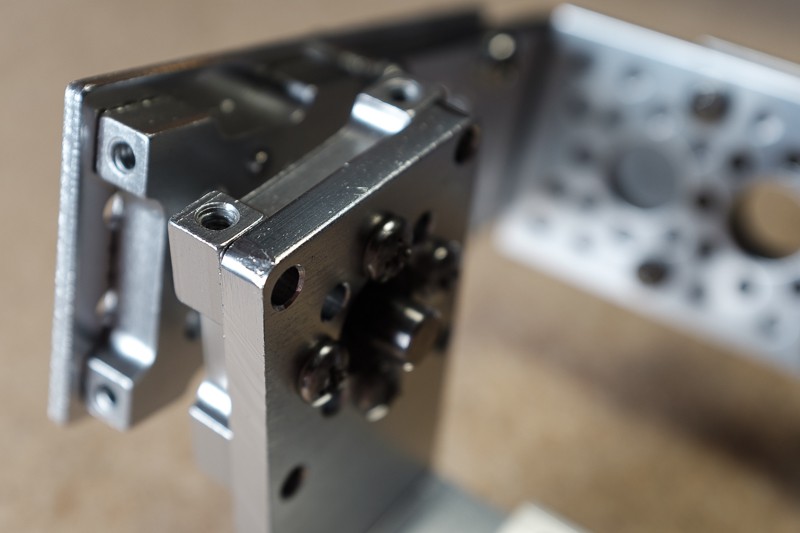
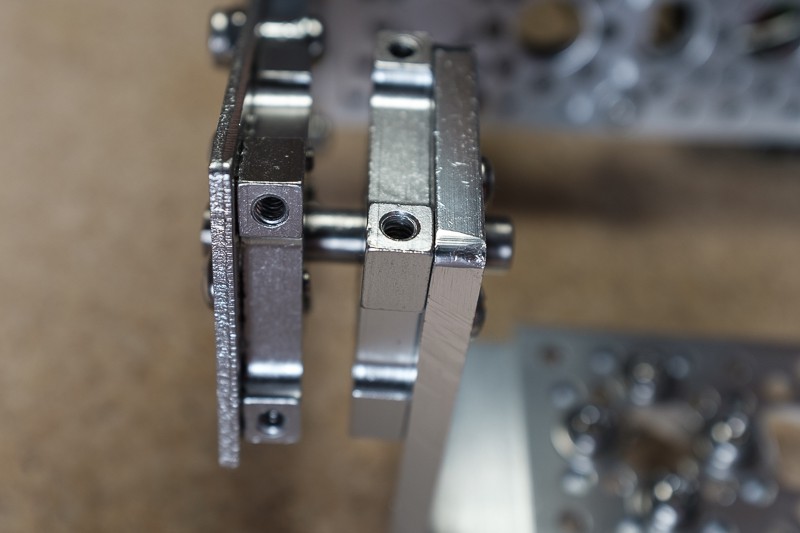
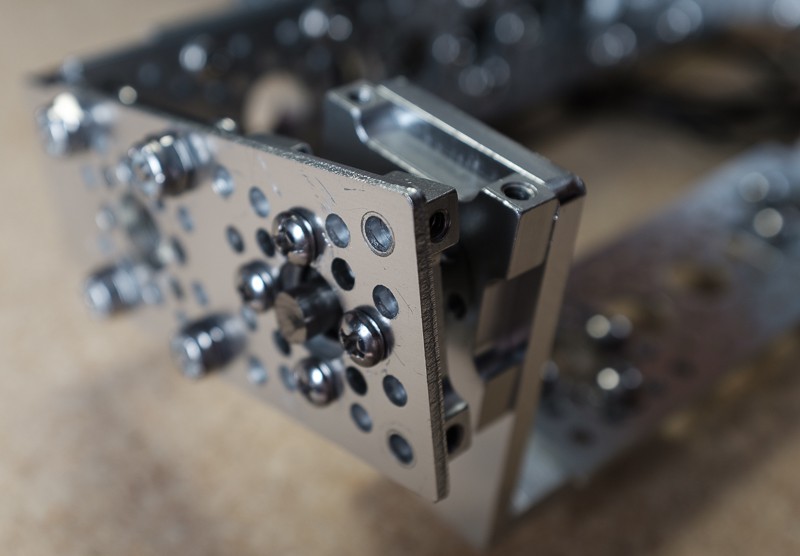
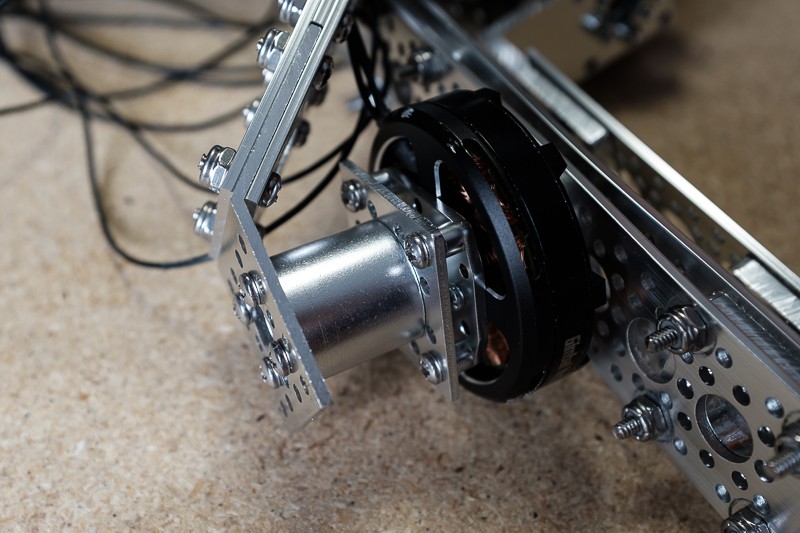
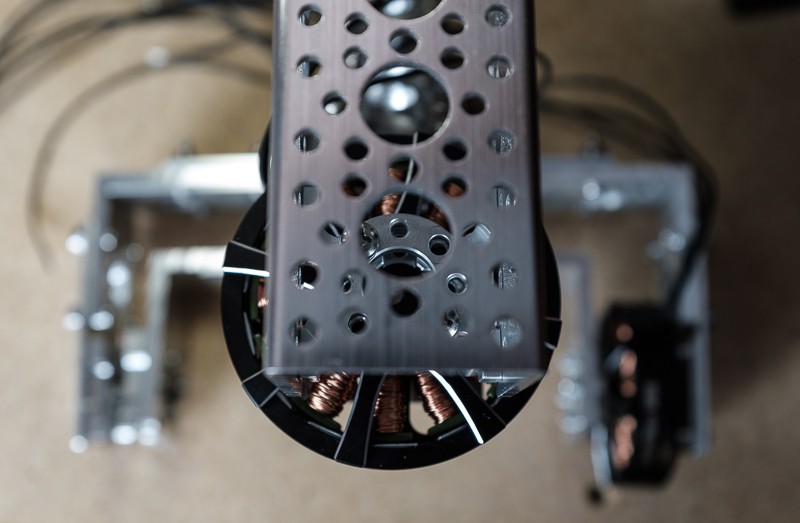
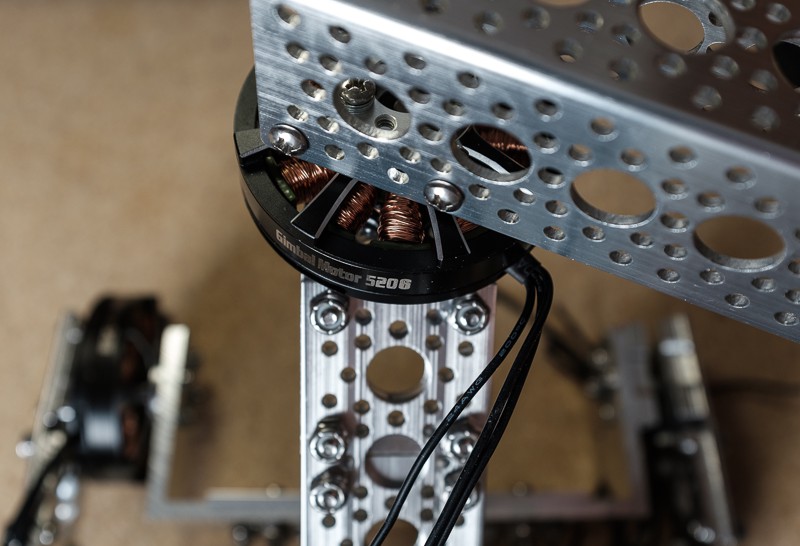
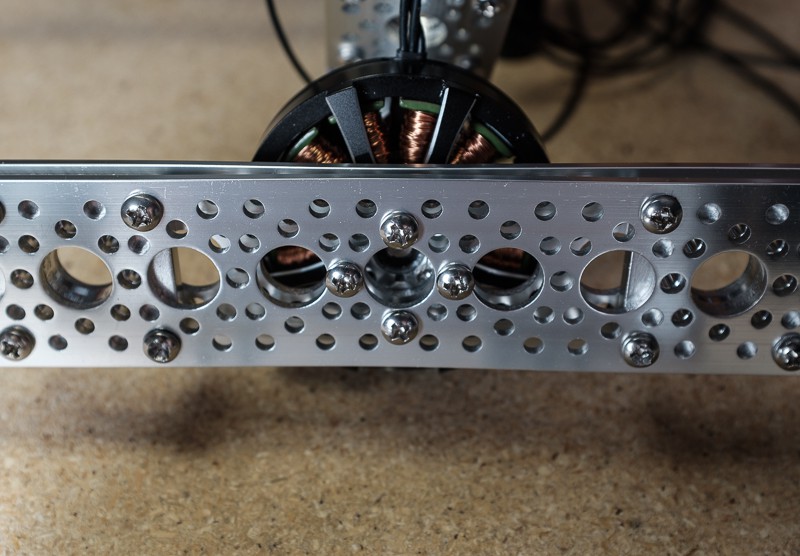
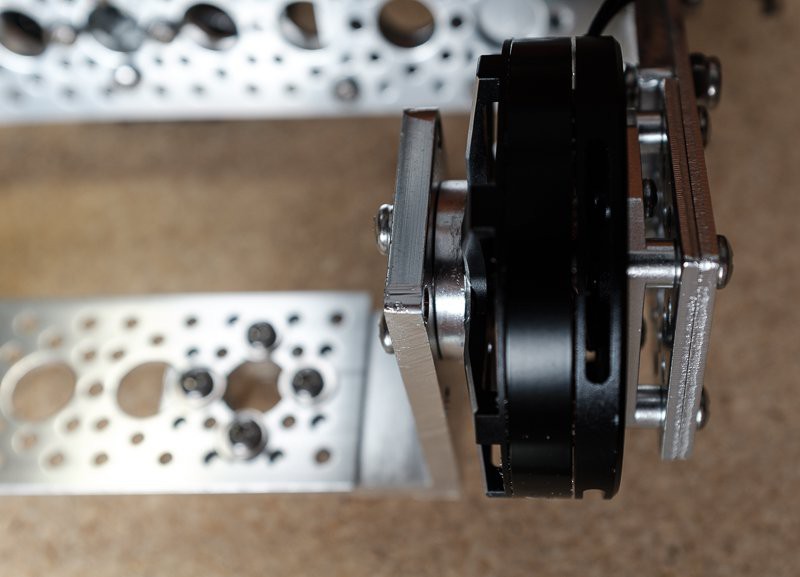
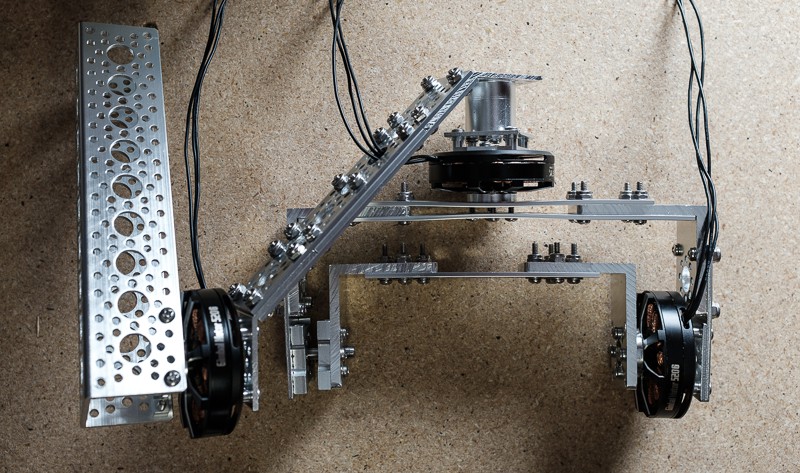
Structure Assembly
07/07/2017 at 20:01 • 0 commentsFor the actual gimbal structure, I used Actobotics aluminum plating and pattern adapters from Servo City. The entire Actobotics line uses 6/32 threads for everything that is threaded (except the weird stuff). For fasteners, I used the new 6/32 stainless machine screws from Lowes. They are incredibly strong and strip less than the 6/32 hex screws that Servo City sells. The 8mm rod will need to be cut to size with a Dremel. It is certainly possible, and cheaper, to make the structure with simple aluminum bar stock. I had quite a bit of Actobotics stuff laying around, so I used it. If using a light camera, the rod and pillow block side could probably be left off. I added it for support and to take some stress of the pitch motor bell.
![]()
![]()
![]()
![]()
![]()
![]()
![]()
![]()
![]()
![]()
![]()