-
Resultz
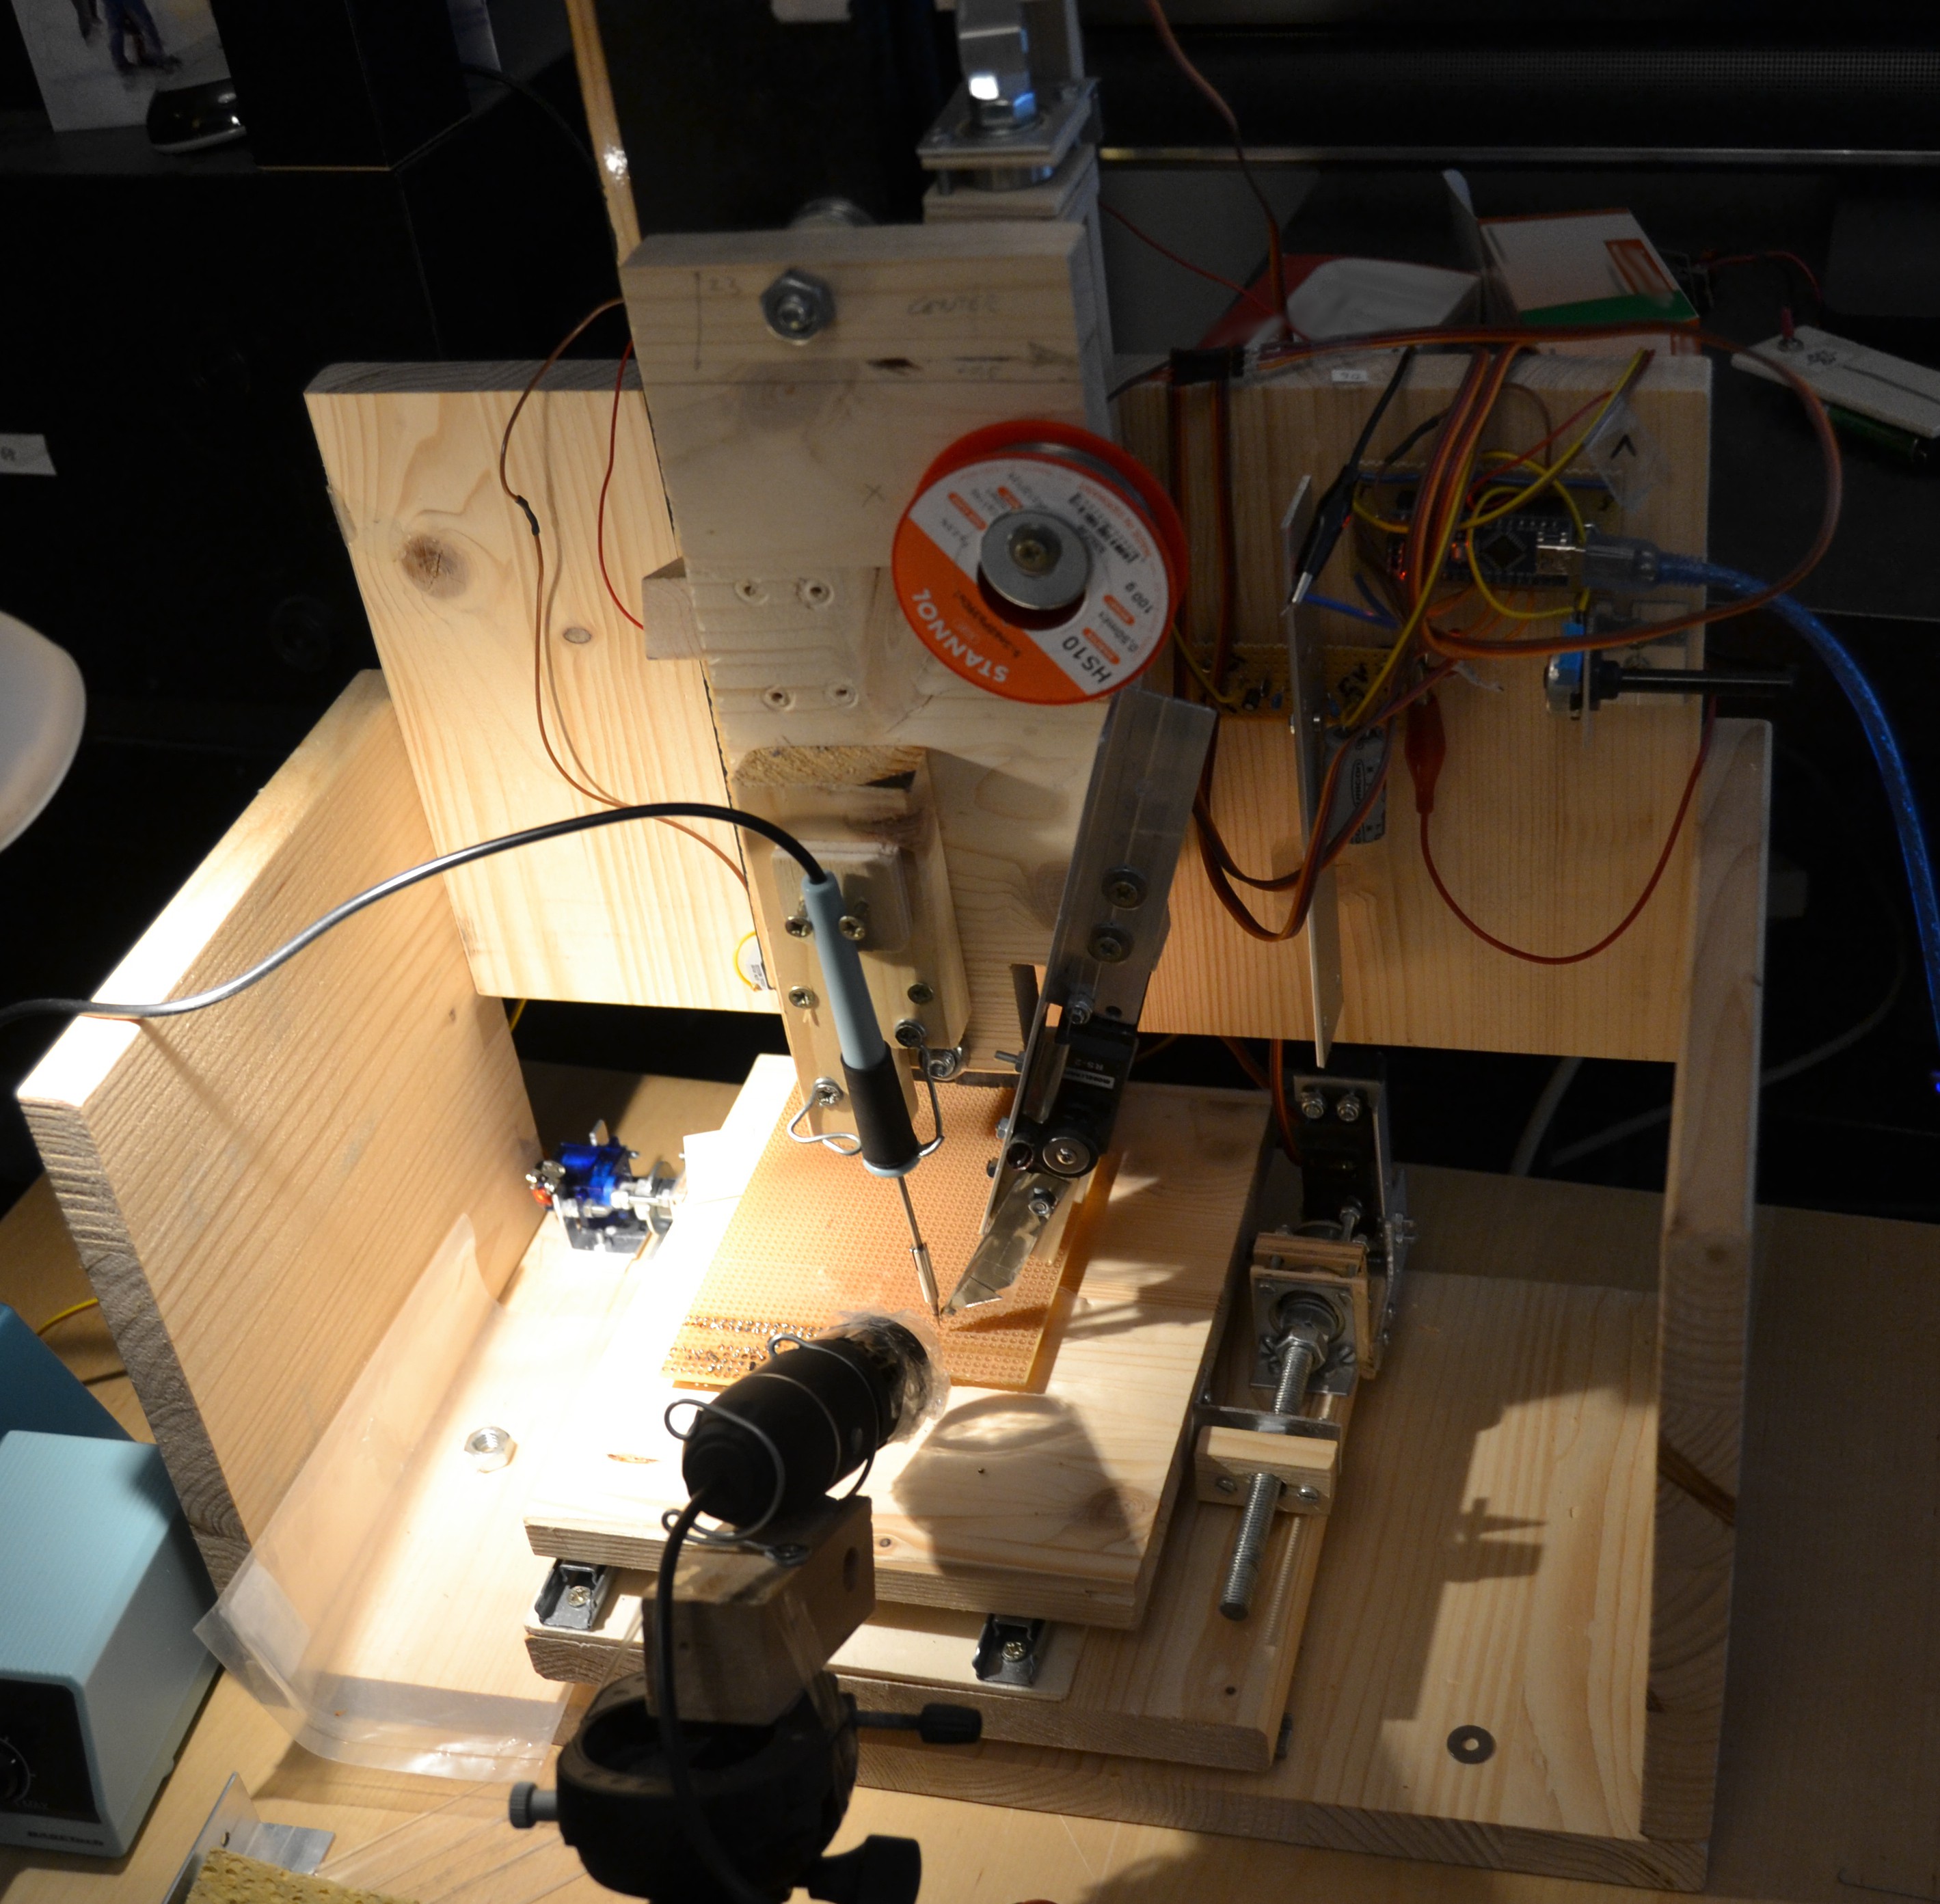
08/30/2017 at 08:59 • 0 commentsWhen a project ends, I'm always deeply moved. Especially, when it's successful. This one was. Enjoy the final Photo and the video for soldering. The controls in the vid were made by hand, but the video playback is 8x original speed for entertainment reasons. It shows the soldering of 29 holes. I planned a more interesting soldering, but I ran out of time. There will be a following project, I guess.
vid:
Have fun!
---
Annex:
some source code of the controller, for your amusement:
/*
 * commands:
 * -> move head to the right (X)
 * <-    .. left
 * ^     .. back (Y)
 * v     .. front
 * PgUp  .. lift (Z)
 * PgDwn .. drop
 * +     .. feed solder
 * -     .. remove solder
 * s     .. enable stepmode (=auto stop after 1/25 sec.)
 * c     .. continuous mode (=permanent drive)
 * esc   .. stop all commands immedeately
 * l     .. enable low speed
 * h     .. enable high speed
 * Y axis has high speed only, because it's slow
 */
=)
-
Measurez
08/30/2017 at 08:46 • 0 commentsWhat about measurement? To position any device precisely, you could try counting steps or use a digital caliper. But there is a cheaper way, awire. At 100 Ohms per meter, this can be attached directly to the AD-converter of the µC. But the current must be limited and hence the accuracy is slightly reduced. The result is still good enough for simple tasks.
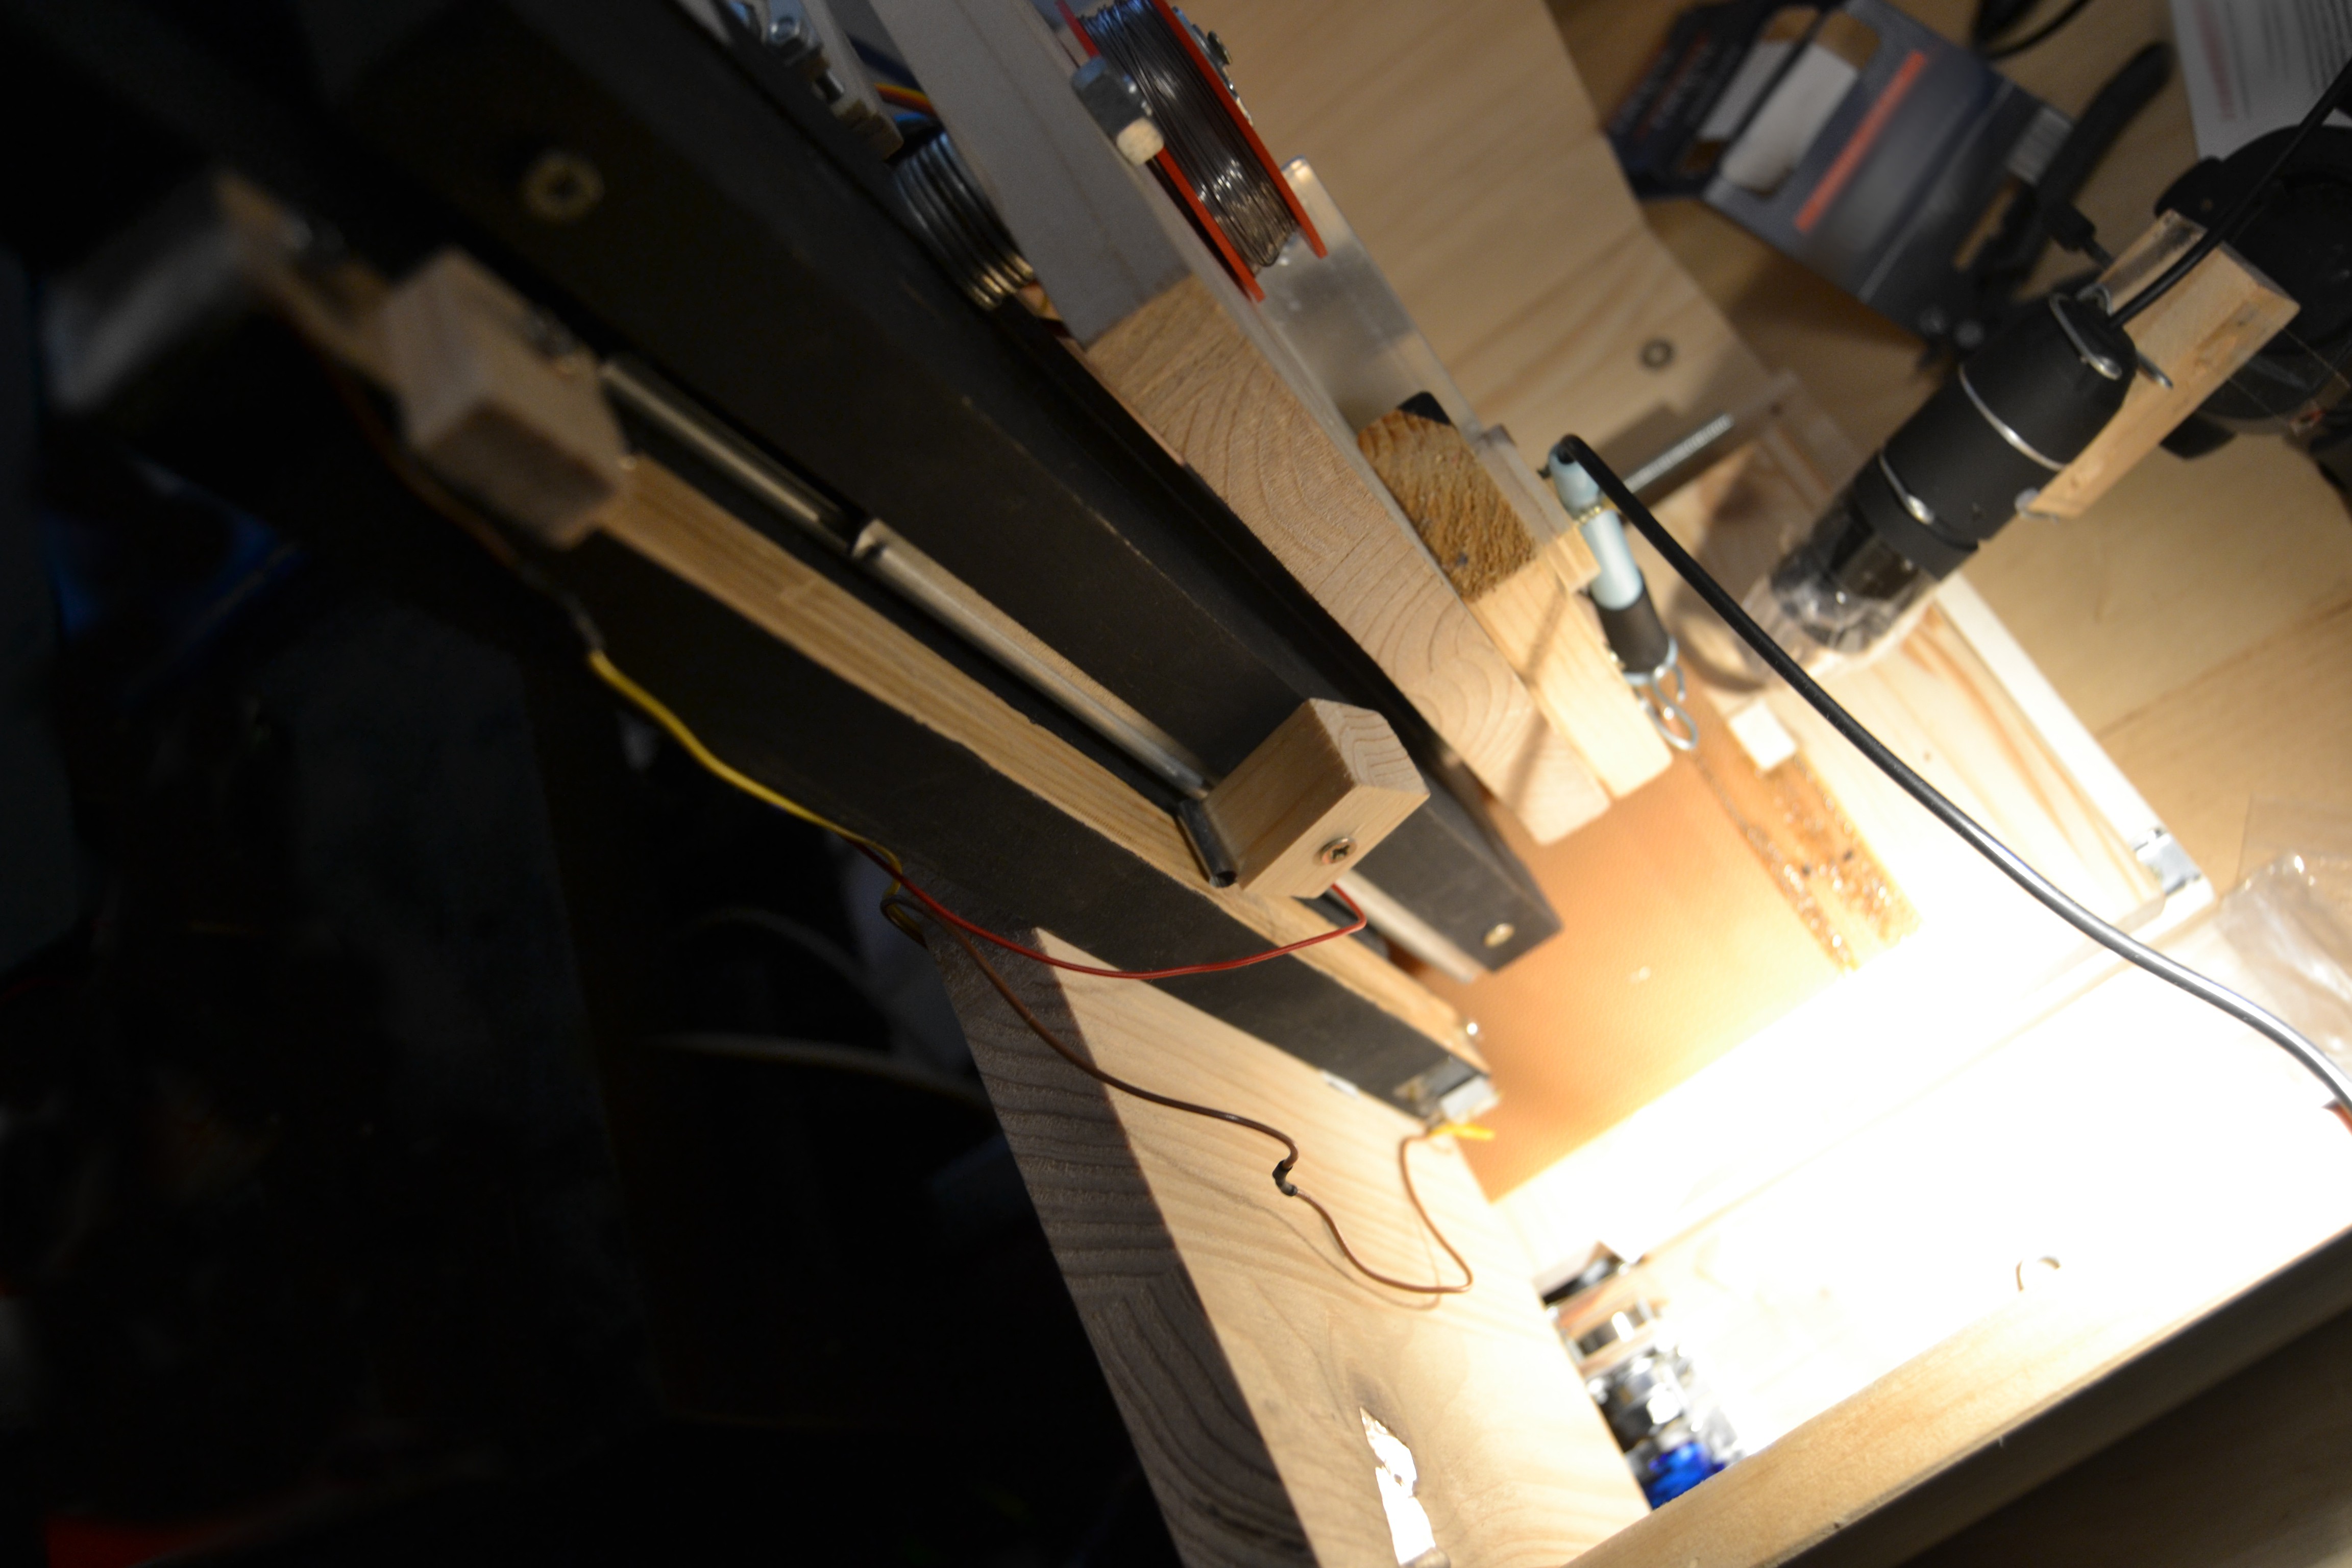
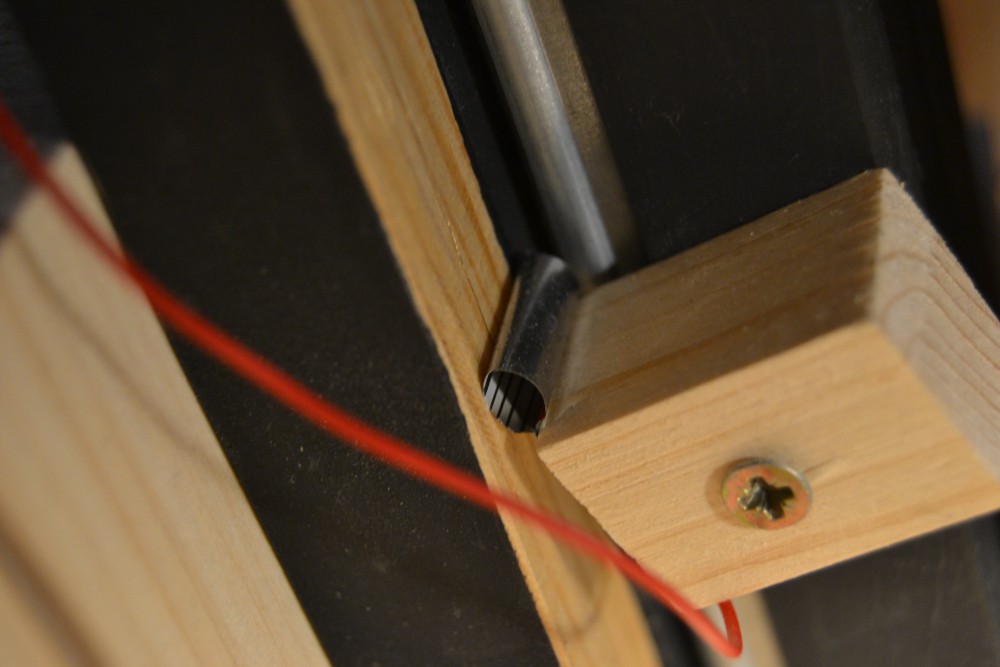
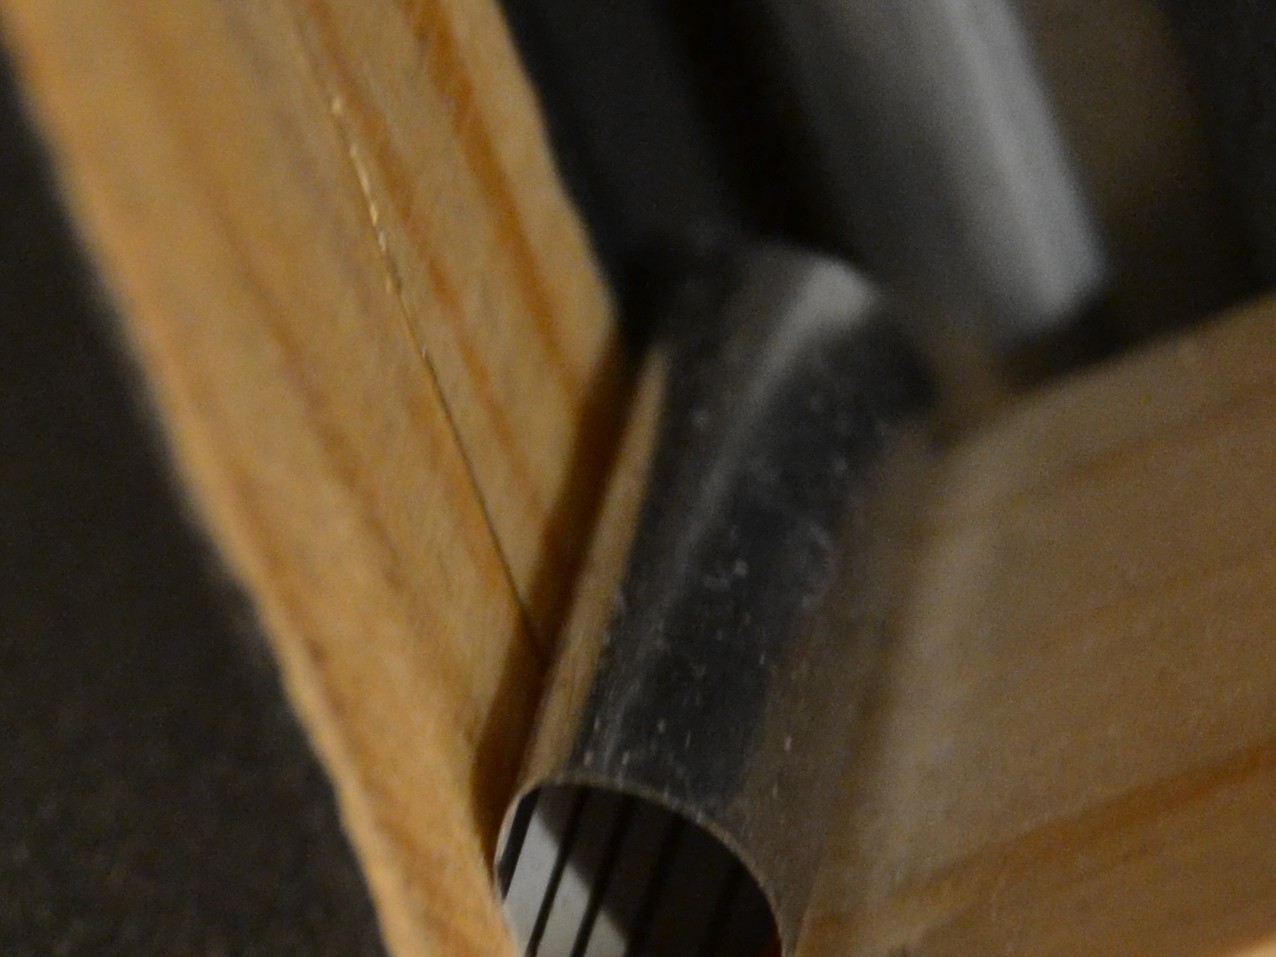
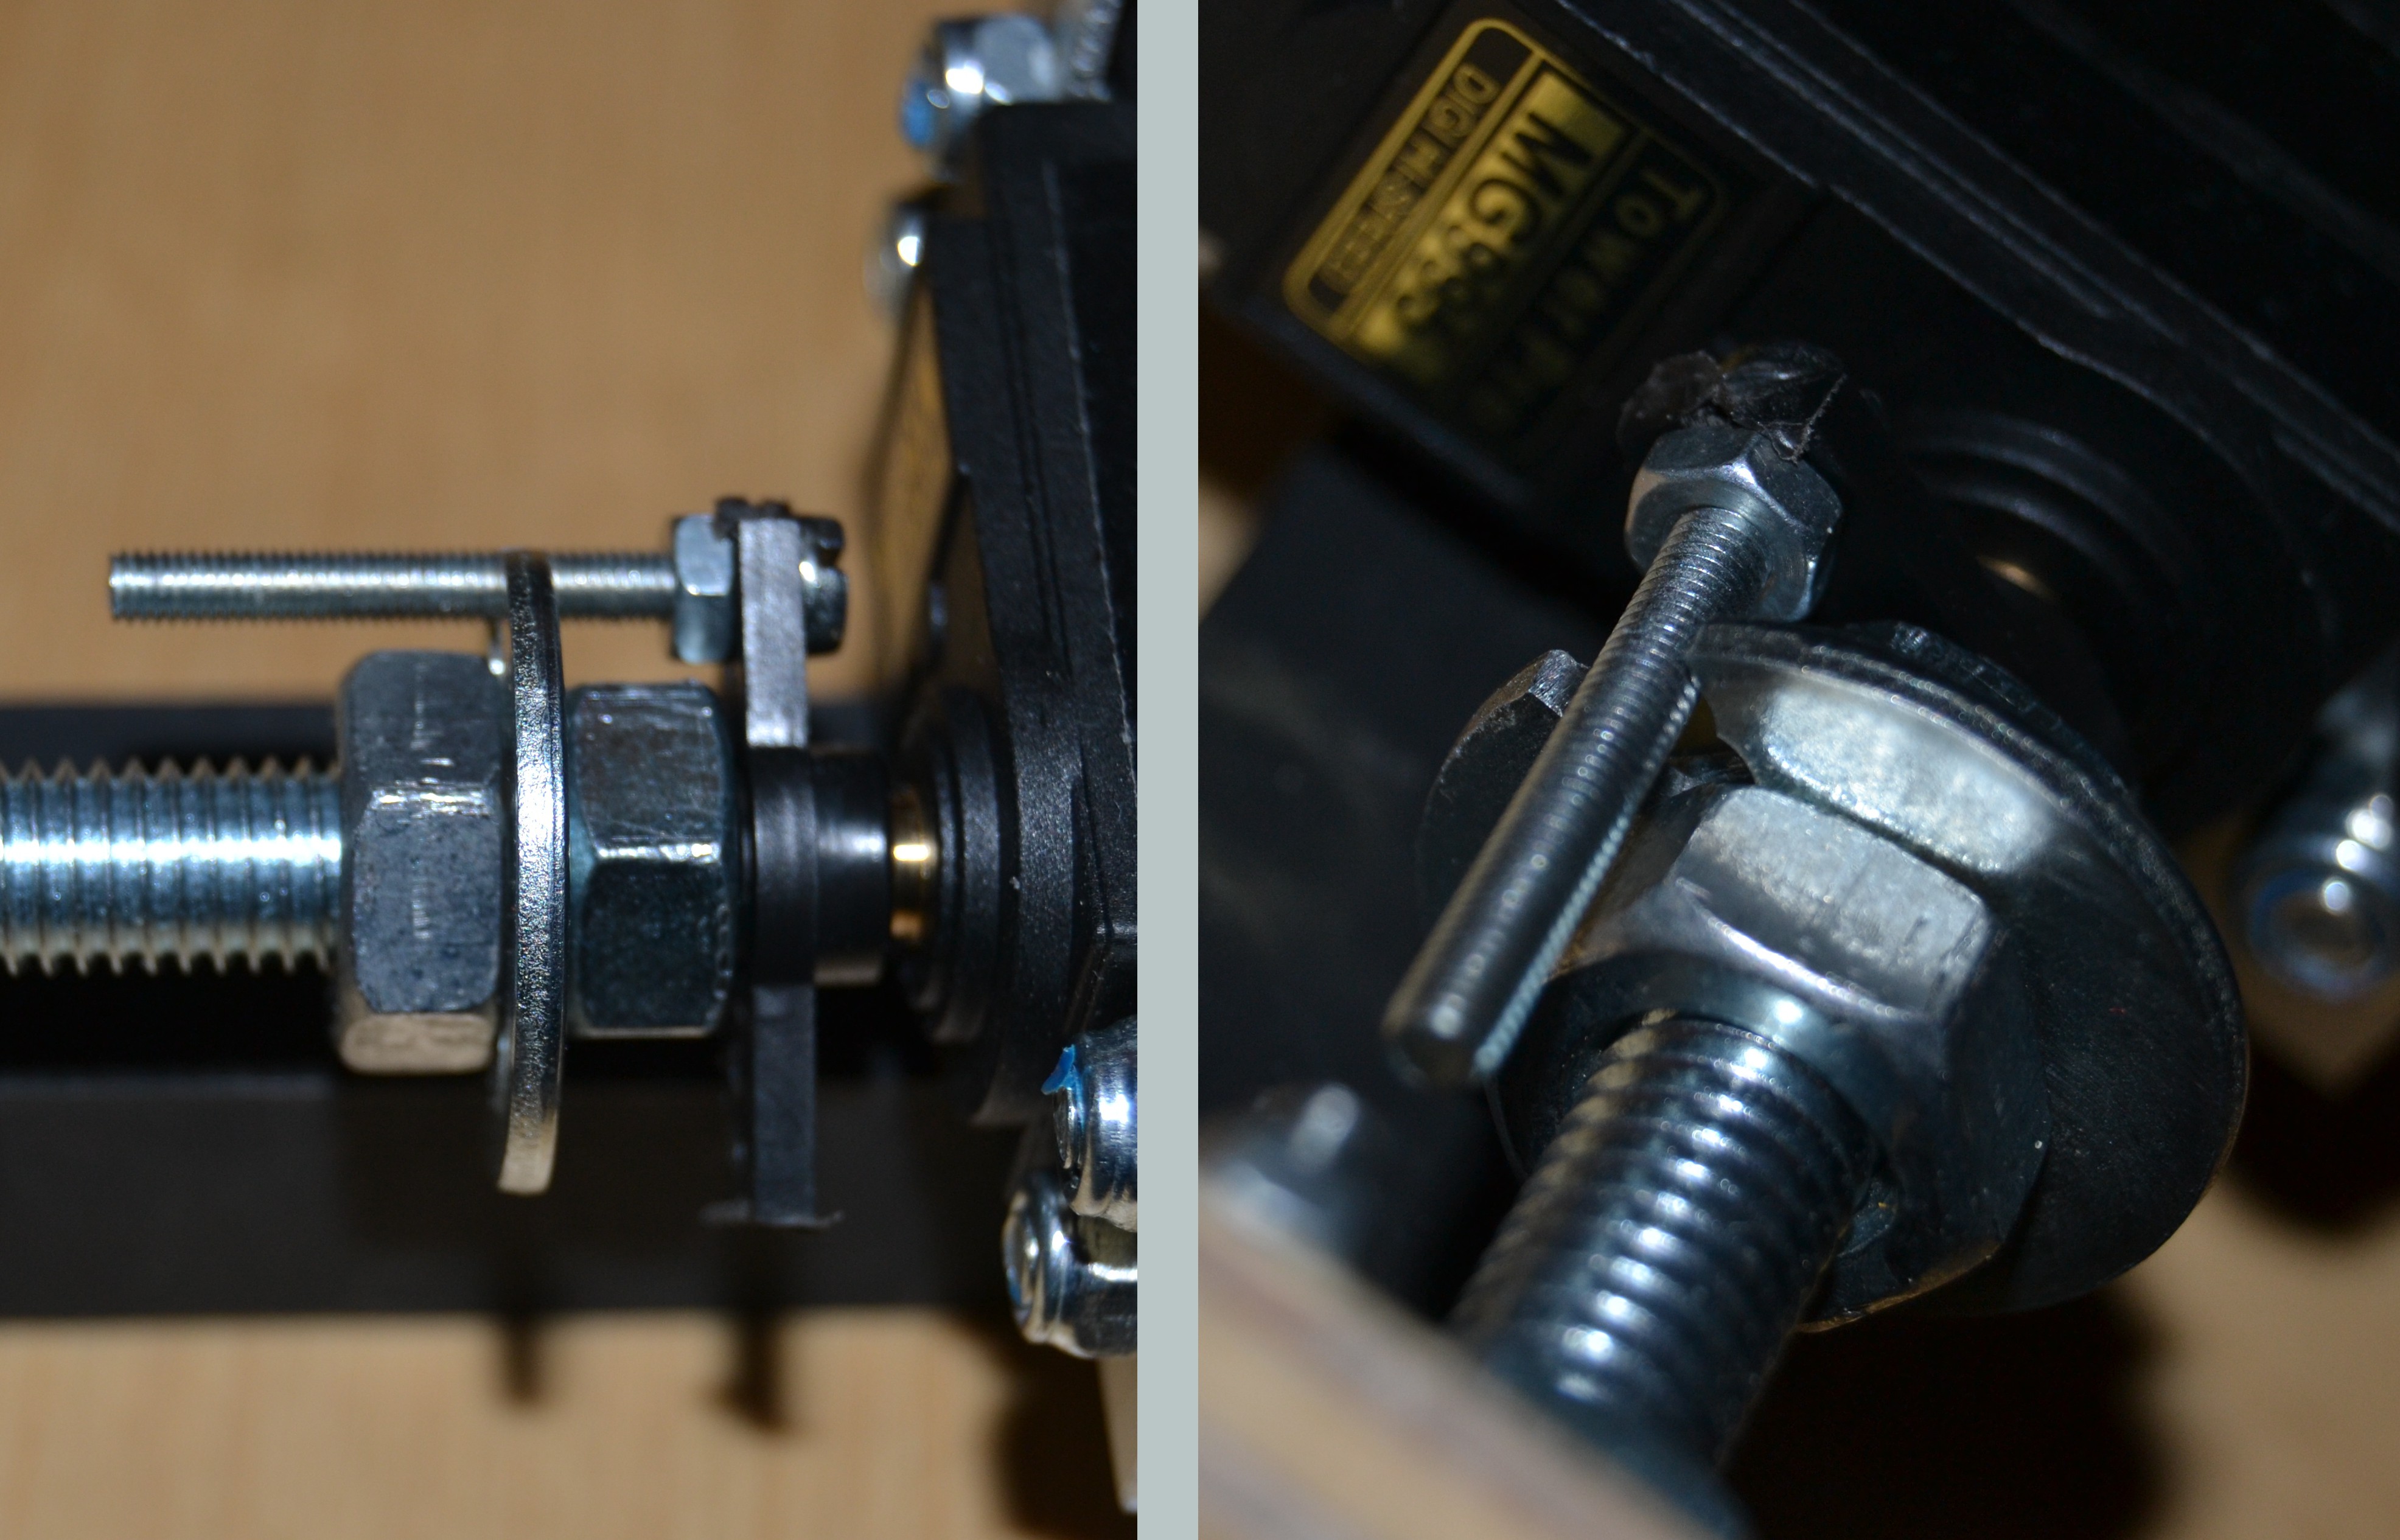
In the picture you see the wire (or not) attached to the fixed mount on the left. Above it the contact spring, attached to the Z-slider. The red wire is attached to the contact. The yellow wires are attached to the endpoints of the resistance wire. In the next picture you see the contact spring in close up. Here, you can see the resistance wire, too:
The isolation of the wire was removed by a razor blade.
The precision of this can be seen in the videos.
big:
small:
Frankly, it can be used for a rough absolute positioning. In the first video, it's a automatic drive between positions 720 to 734. In the second it's a smaller distance to show the wiggle at the endpositions. The reasons are inacuracies in the whole setup, mainly the wire itself. The price for the wire: 2 EUR. It would last for 25 axis or 8,3 Shelfies. I doubt, it can be beaten.
Regards!
-
Solutionz
08/22/2017 at 17:01 • 0 commentsAs seen on other CNC projects, the coupling between rod and motor poses a serious problem, based upon accuracy in making. I encountered the same on the first Axis (Z). Therefore for the X and Y Axis, I used a different Approach with a simple non-fixed coupling, you can see here:
By communication with some really clever guy working on DIY CNCs, I learned that "fixed" connection made by M8 nuts tend to wiggle anyway as the construct is not perfectly axis-aligned. He also encouraged me to try out the above. Thanks a lot to Norbert Heinz! Most impressive Video here (german version).
You can see the first test here:
This assembly is relatively easy carried out and does not sacrifice too much precision. It's a great step!
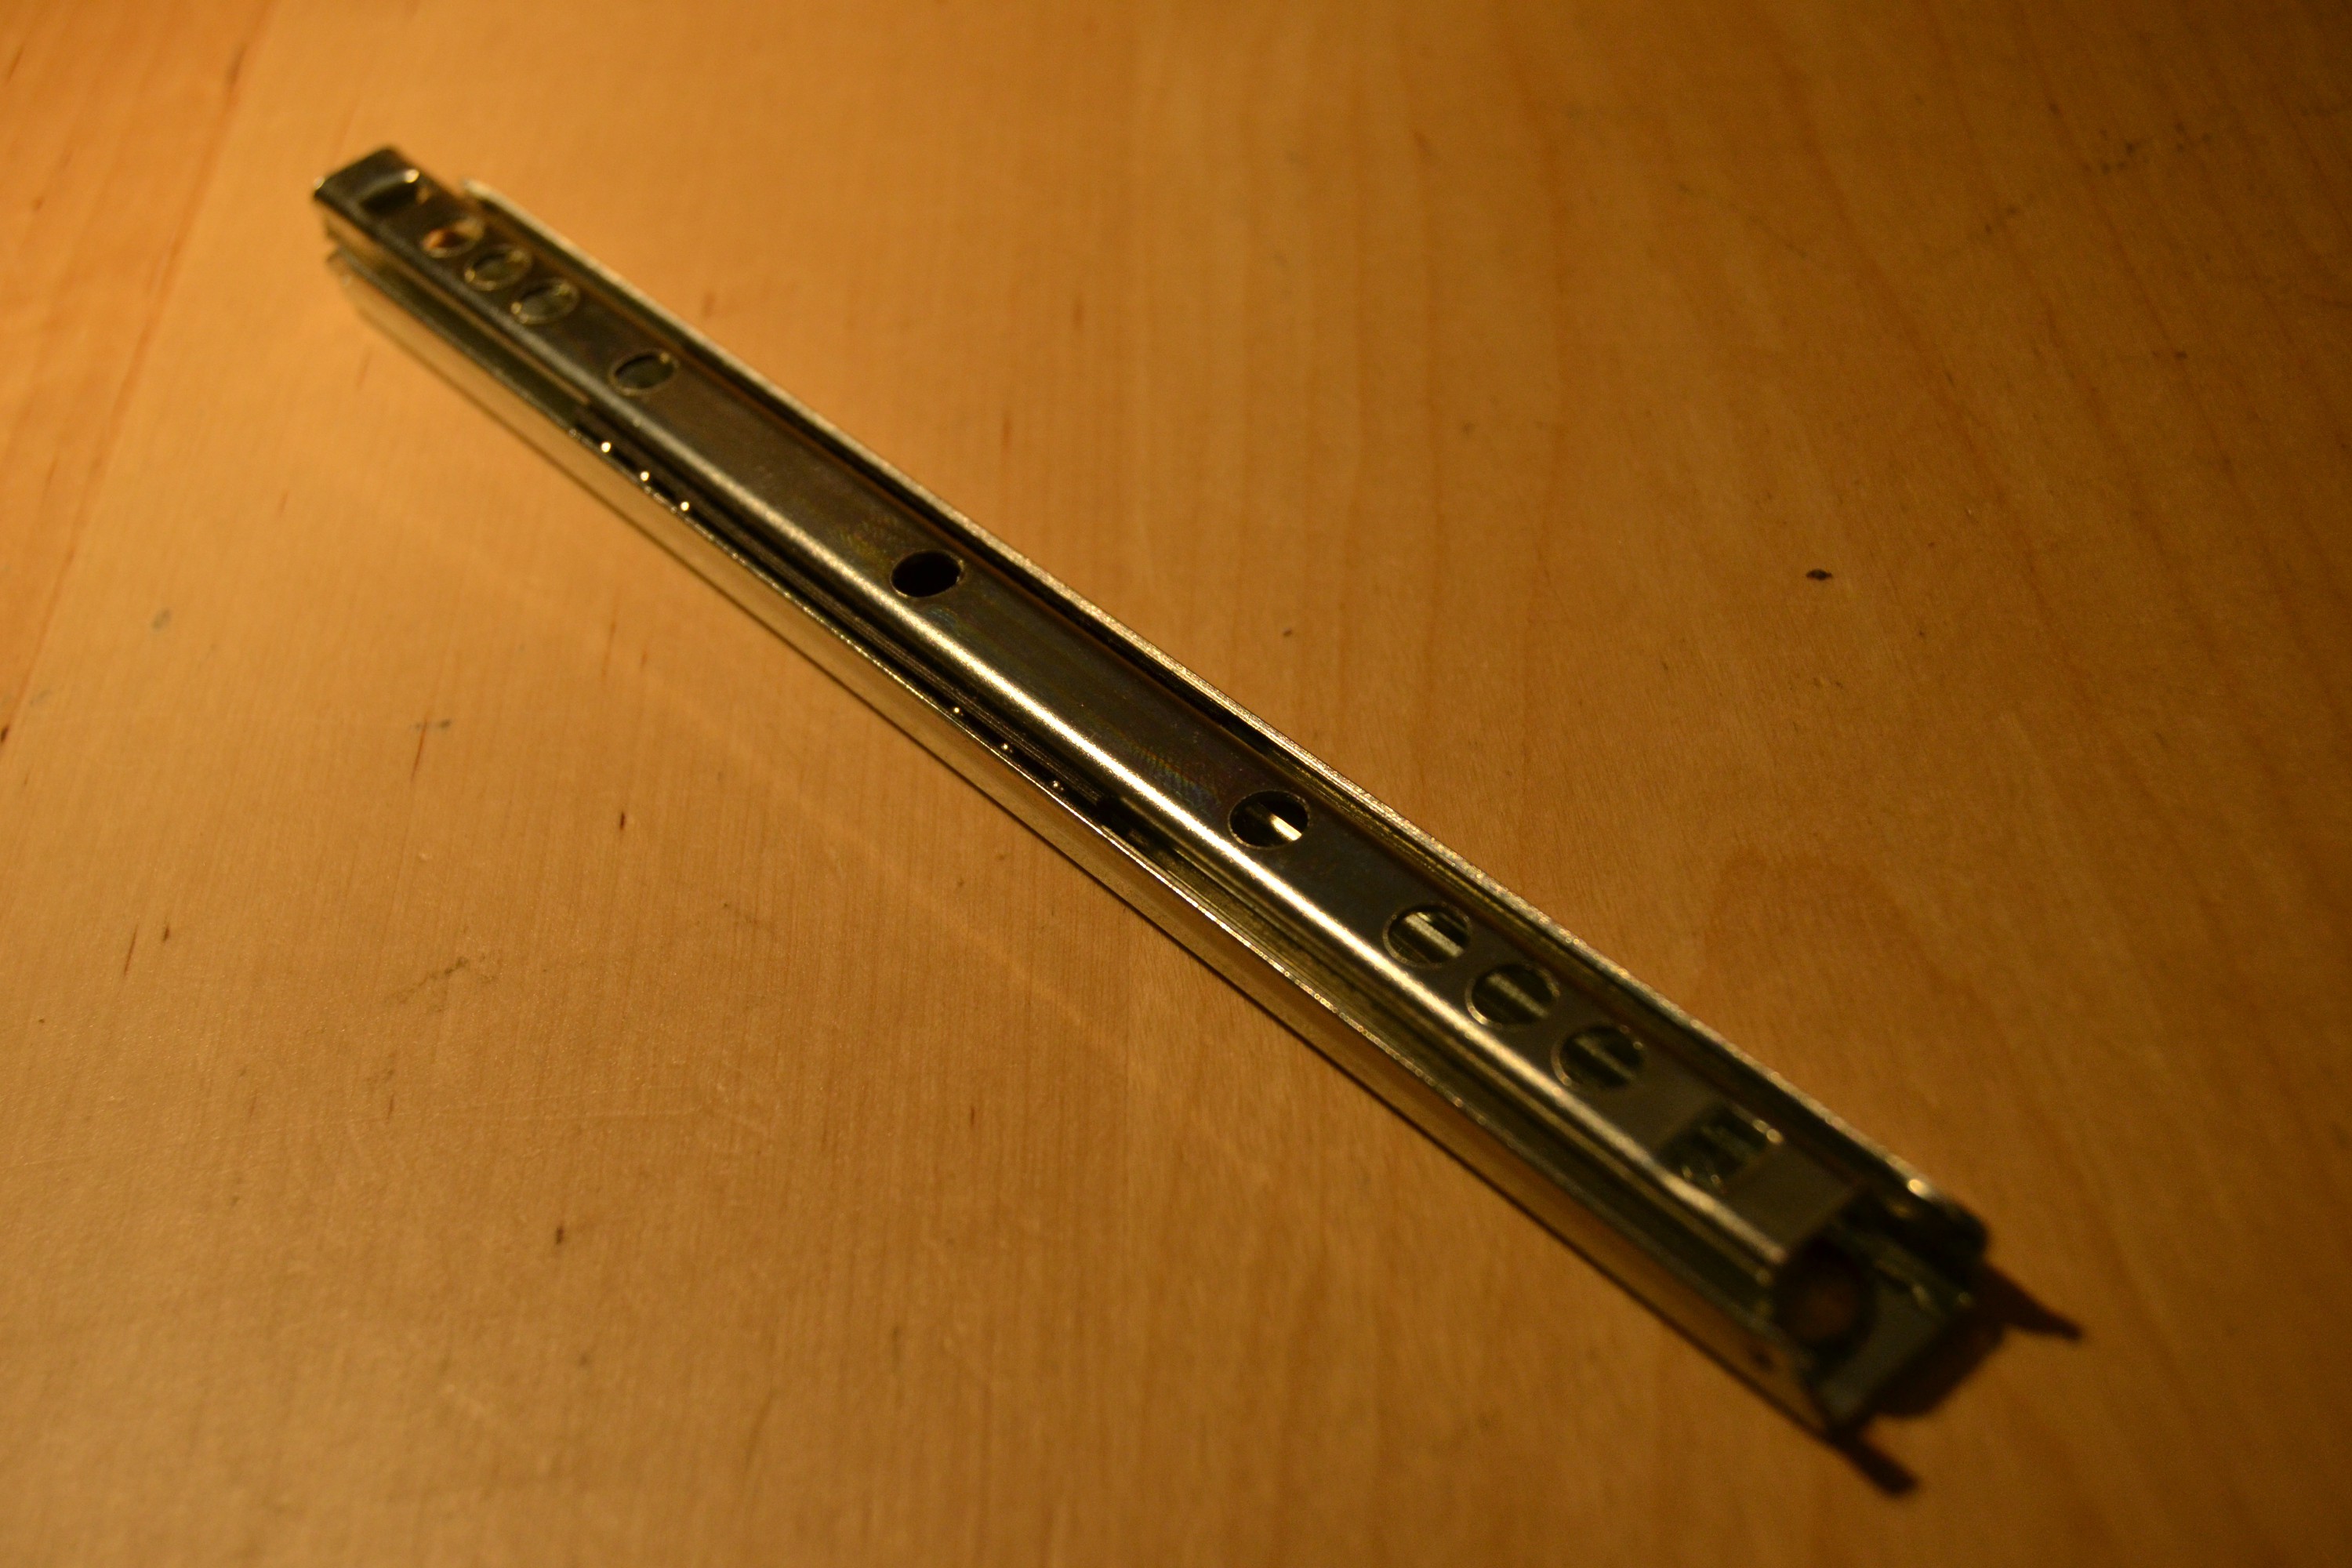
Another important decision is the use of 18cm linear ball bearings, used for drawers from the harware store. It costs about 7EUR for a pair, hence 21 EUR for all 3 axis:
The quality varies by the price, you can get some with higher precision for more money of course. At the moment, I consider the cheap ones good enough. The main reason for this decision is, you save a lot of time making plus you save a lot of space in the machine. The central slider rolls upon 12 balls, of wich 6 can be seen in the photo. They each can withstand 10 Kg minimum and the precision is acceptable.
Regards
-
Numbrz
08/07/2017 at 11:56 • 0 commentsTo fit inside a bookshelf, the depth of the build has to be under 30cm. On the prototype, it is actually 22cm. It's height is 52cm and the width is 40cm. In operation, the Y-slider moves out up to 6 cm. The X-slider moves +/- 10cm and on the Z-Axis (up/down) it's friggin +/-10cm as well.
The operation zone is designed to hold a standard PCB or printed circuit board by the size of 10x16 cm. A standard perfboard of this size with a raster of 2.54mm holds around 61x39=2379 soldering holes.
The mount point for tools is made up from two M8 bolts by the vertical distance of 20cm on a socket 6cm wide. This enables tools by the width of up to 20cm as the X-shift is 10cm only. Furthermore, tools can be changed quickly by hand-fastening the M8 nuts.
The axis movements are enabled by so called high torque micro servos which rotate M8 threaded rods, which is by the way a long established and well proven method in the backyard CNC scene, regarding the rods. Regarding the servos I am not so sure, here I guess the stepper motors dominate. Anyway, a servo is much cheaper overall and it gets the job done.
The servo (for example a MG90S clone) at 4.8V applies around insane 1.8Kg/cm torque at a speed of 60°/0.12sec nominal and measured builtin under load (500g) in the backyard around 1Kg/cm at 360°/1.3sec. The M8 gear transfers this into a linear motion, meaning 1.2mm/1.3sec. Therefore, it takes around 173sec to traverse the operational zone in X and 108sec in Y. Roughly estimated, it takes 173x39=6747 seconds or 1h52min to visit all 2379 soldering holes of the perfboard under load. This is a long time. But on the other hand I guess you could never manually solder 2000 connections in 2 hrs anyway.
To control the servos, a ring you need. Which would be casted as esp, raspberry or arduino. I roll the dice and .. it's the arduino nano clone. It has the PWM controllers, ADC and USB on board, which means easy development with the IDE on and powered by a PC. Plus it's cheap.
To fire the servos, I use a 7805 with low drop and 2amps, feeded by an scrap 14V1A transformator.
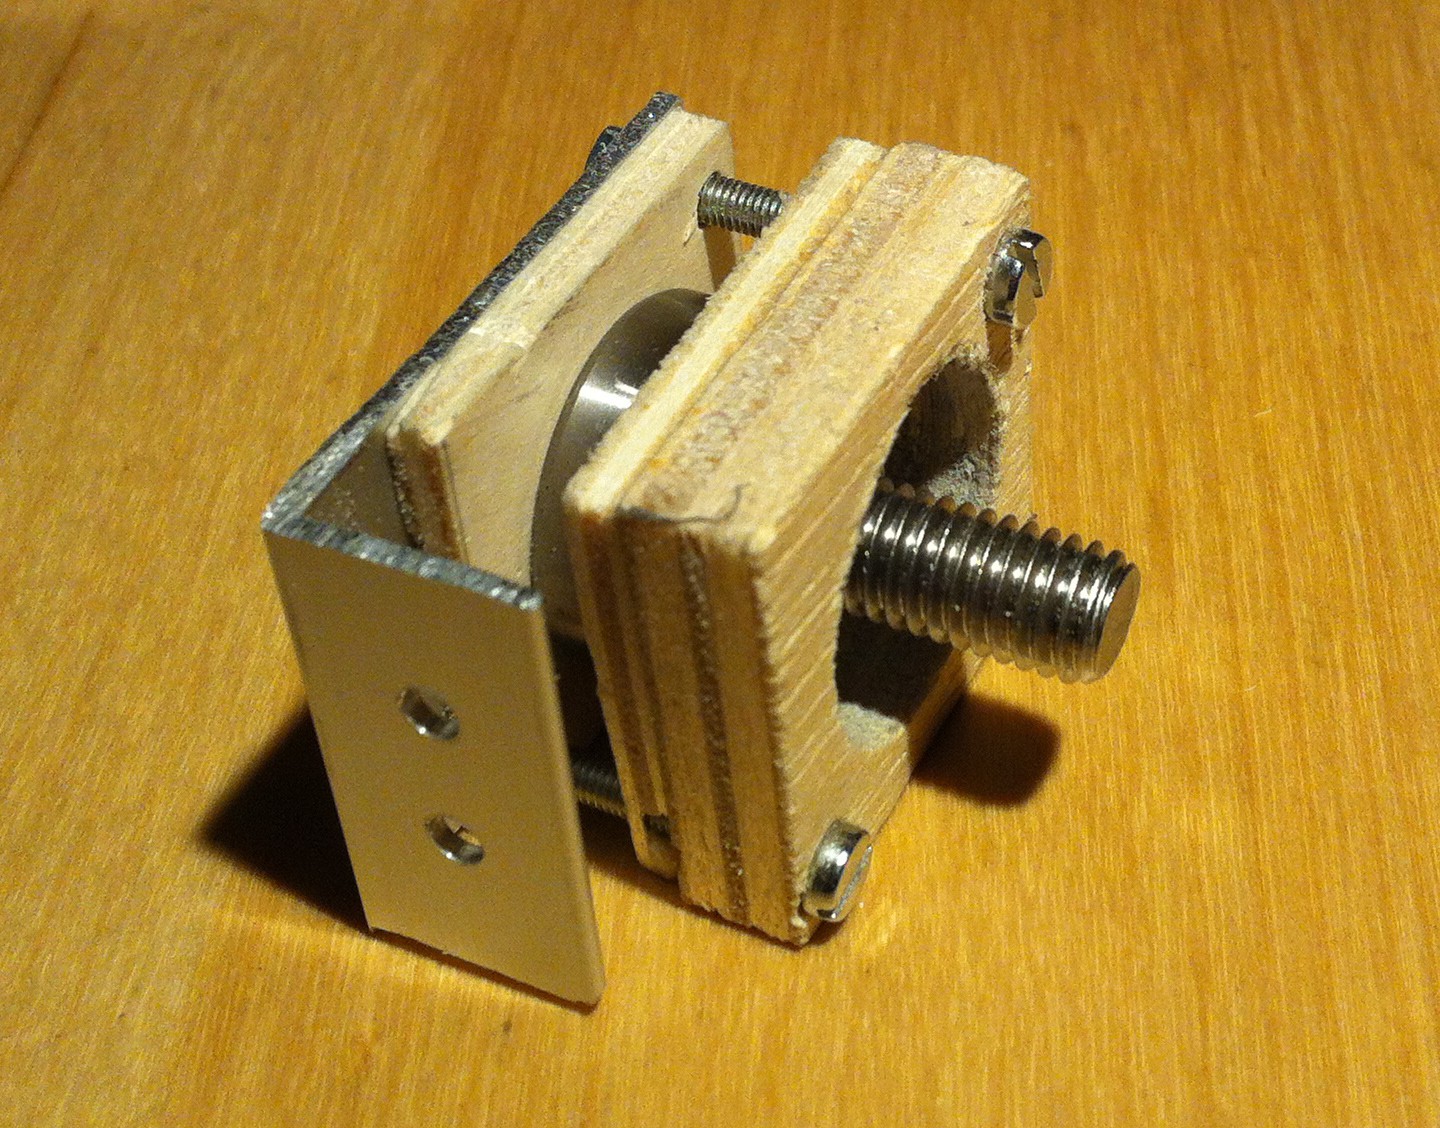
Ok, sorry for the long post - I finish with the image of a rod bearing mount:
--
--
Regards
Shelfie
Shelf sized 3D manipulator, intended for mircoscoping, drilling and soldering. DIY and low cost, of course.
 Horst Schlawutzke