This project is gradually improving. It is fully functional at this point, our kids use it already every day. Nevertheless, we have planned several improvement for the second release, such as a night light mode.
Features
- 3D printed case covered with felt with a personalised embroidery
- SD card for storing MP3 files
- Charging and uploading files via micro USB
- Visual feedback using 24x LED ring with configurable RGB pattern
- Triggering songs/folders using RFID module
- Creating your own characters and link them to a MP3 folder
- Pre-configuring maximum volume level
- Sleep mode for battery saving
- Customisable startup jingle
- Portable with a more than 20 hours of play time
- Cheap and easy to build hardware
Hardware
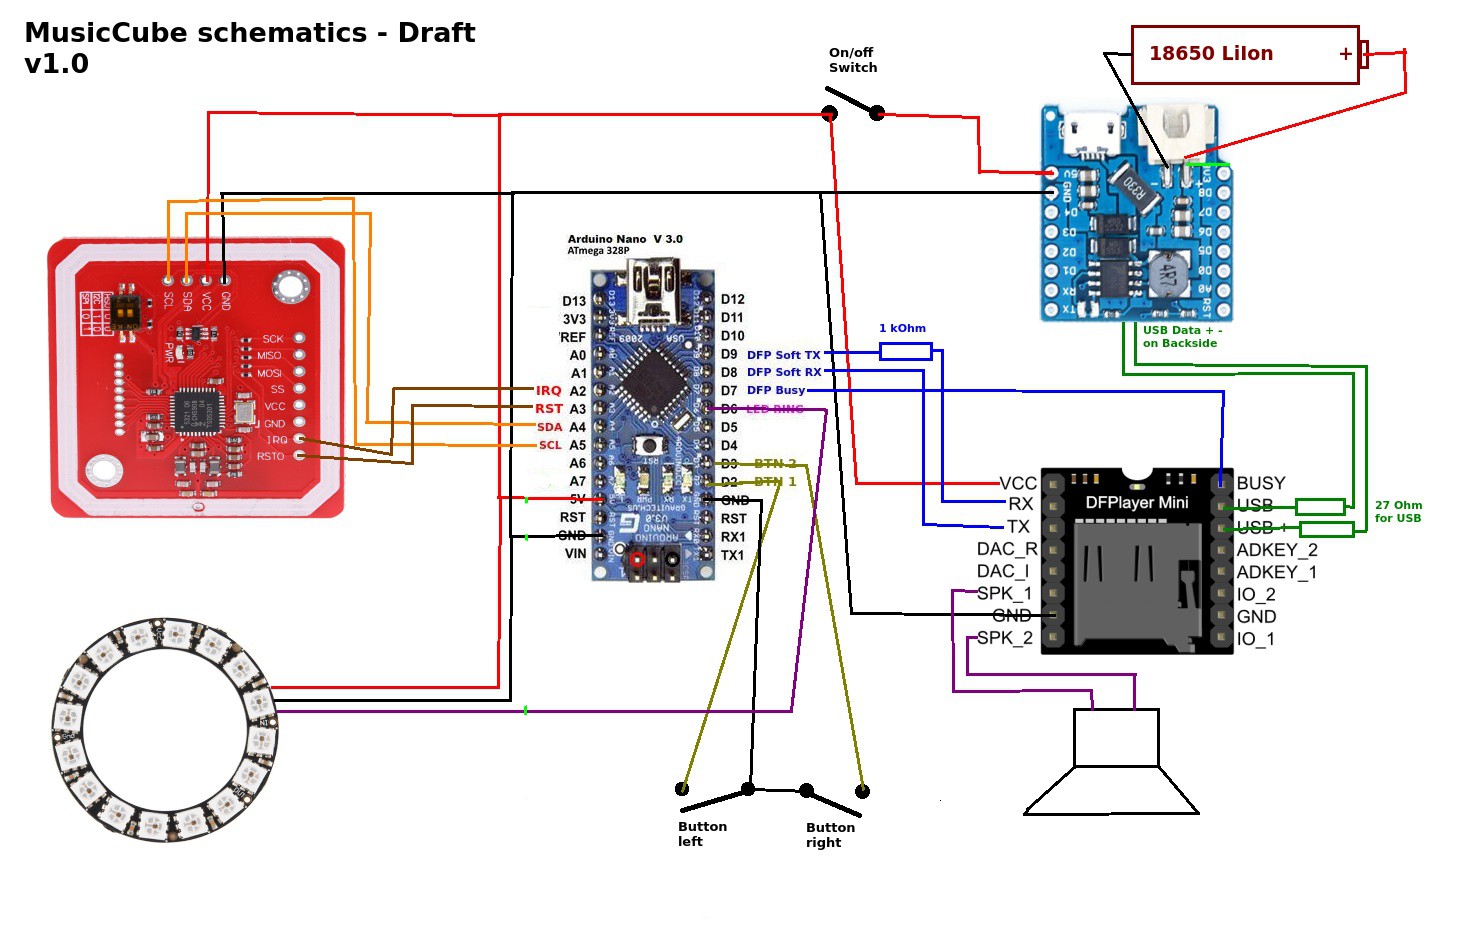
The Put'n'Play Cube hardware is based on the cheap DFPlayer module which contains an SD-Card reader, an MP3 decoder and an audio amplifier, controlable via a serial interface.
A Mifare compatible RFID reader is used to program and read the objects/characters that are placed on the cube. These objects are linked to the folders on the SD-Card containing the related mp3 files. Visual feedback such as state, played track etc. is done using a ring with 24 WS2812 RGB LEDs. An Arduino nano is used to control the mp3 player, handle the tags on the RFID reader, read the buttons and control the LEDs. We use a standard 18650 LiIon cell for many hours of autonomous music. There is even room for a second cell to double the runtime. The WEMOS Battery Shield provides us with stable 5V from the battery as well as doing all the charging and battery protection logic. The onboard Micro USB port allows us to charge the cube with any mobile phone charger. When connected to the USB port of a computer, the cube will register its self as a mass storage device to fill the SD Card with fresh music.
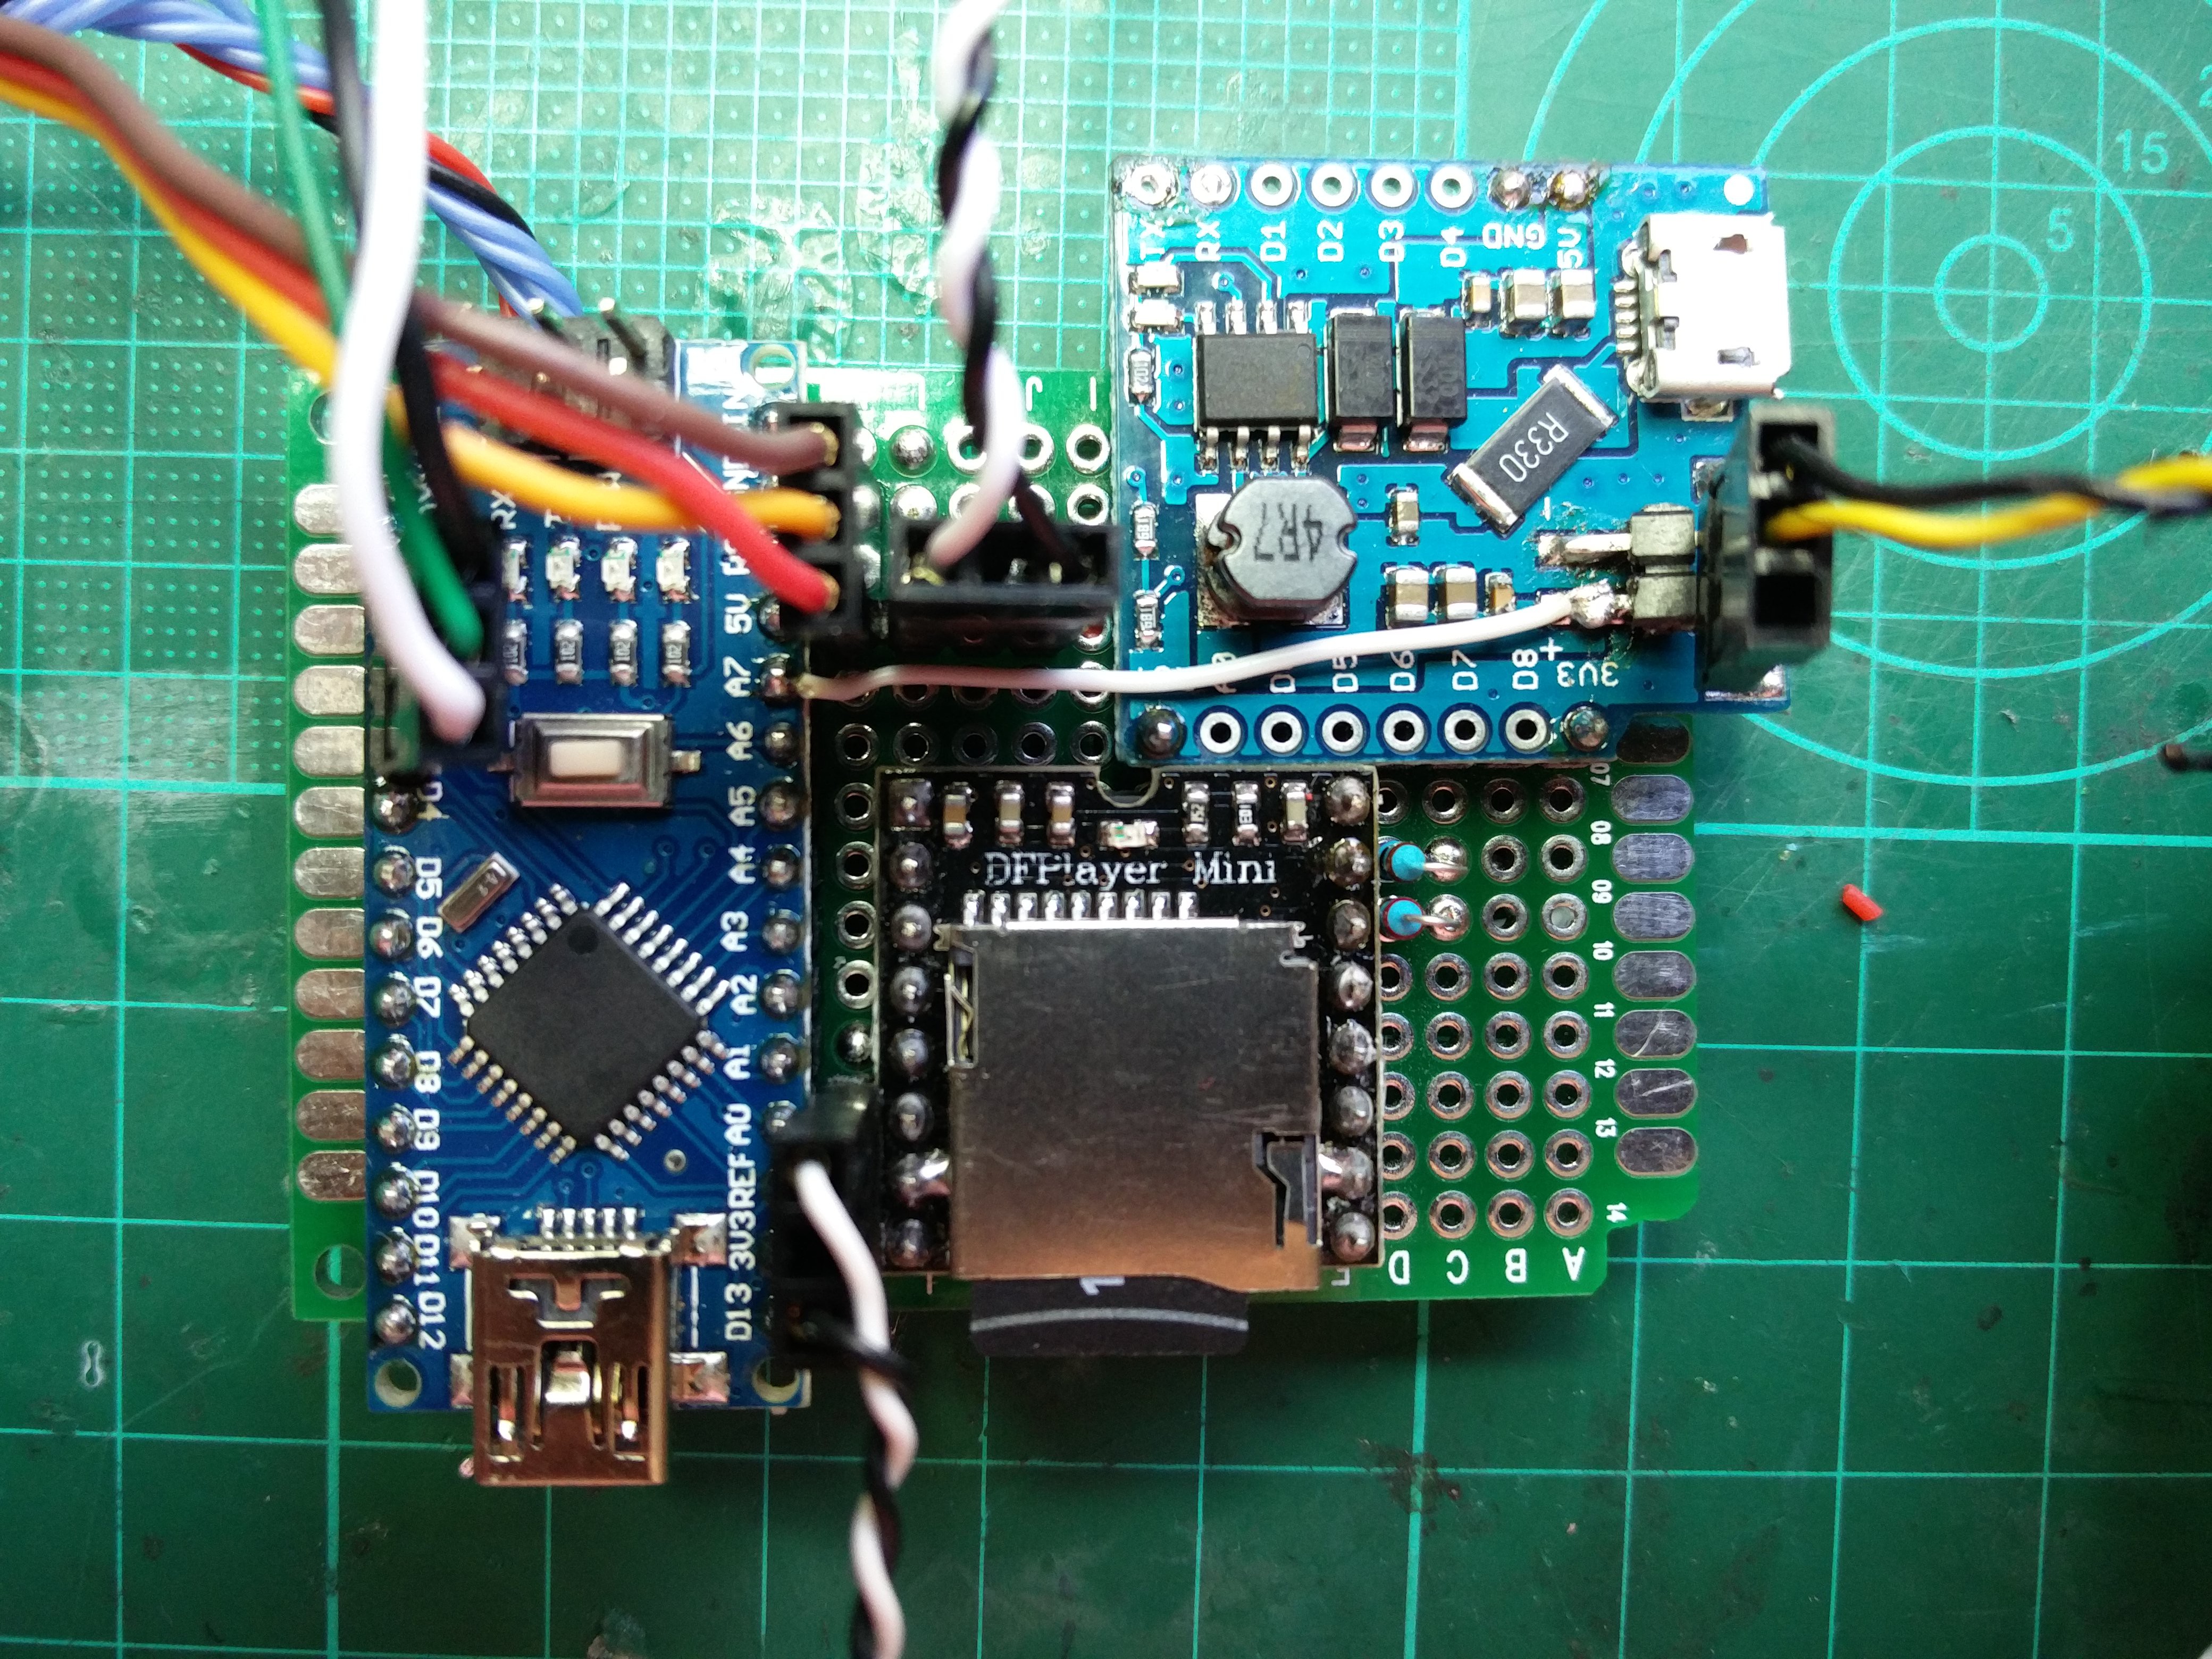
The mechanical and electronical assembly is done by soldering all components to a simple prototyping PCB. No custom PCB is needed. If you place everything correctly, it will perfectly fit the 3D printed case. Simply follow the build instructions below.
All components can be bought from your/our favourite china shop or ebay at a low price.
Firmware
The firmware that is managing all functionalities of the cube is written in Arduino using several external libraries for the MP3 player, RFID reader and LED effects.
When the Cube is switched on, it checks for the SDCard, initializes the hardware while playing the configured startup jingle and startup led effects. Once that is done, the cube will wait for an RFID tag being placed on the reader.
If an already known tag is detected on the reader, the cube will speak the number on the tag and start playing the sd card folder named with the same number as programmed on the detected tag. The album will be resumed at the same track it was stoped last time. The LED ring will display the current track as well as a "play" effect.
If a new tag is detected, the cube will program this tag to the next available folder number. After programming it will tell the programmed number by saying the number twice. After that you will need to create the matching folder on the SD card and place the mp3 files in there. The next time when this tag is put on the cube, the corresponding folder will be played.
Short clicks on the left and right buttons will play the previous and next song in the current folder/album. Long presses of the buttons will decrease/increase the volume.
 Put'n'Play


Great project but does anyone else find the tracks do not play after folder name is spoken unless tag is removed & replaced? Even with 'say_folder', turned off, I have to place the tag on the reader twice for track to play. I suspect there's something missing around line 383 but am far too newbie to know what...