 Sepio
SepioLast week I printed al the Art3 Parts.
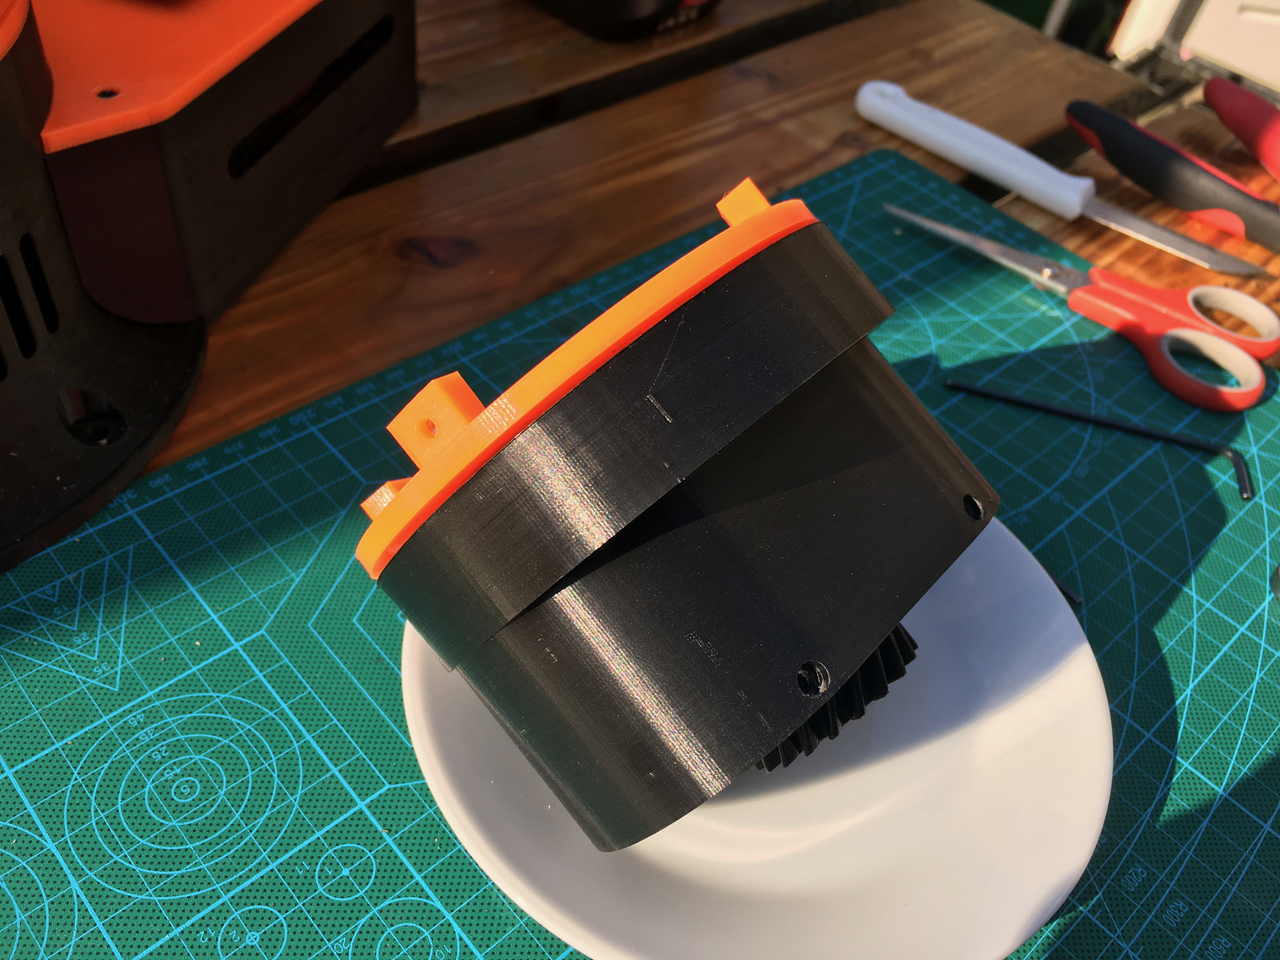
First I had to cut the GT2 belt to length. I used the Art2 body parts as a mounting template.
After a few tries the pulley was having the right length.
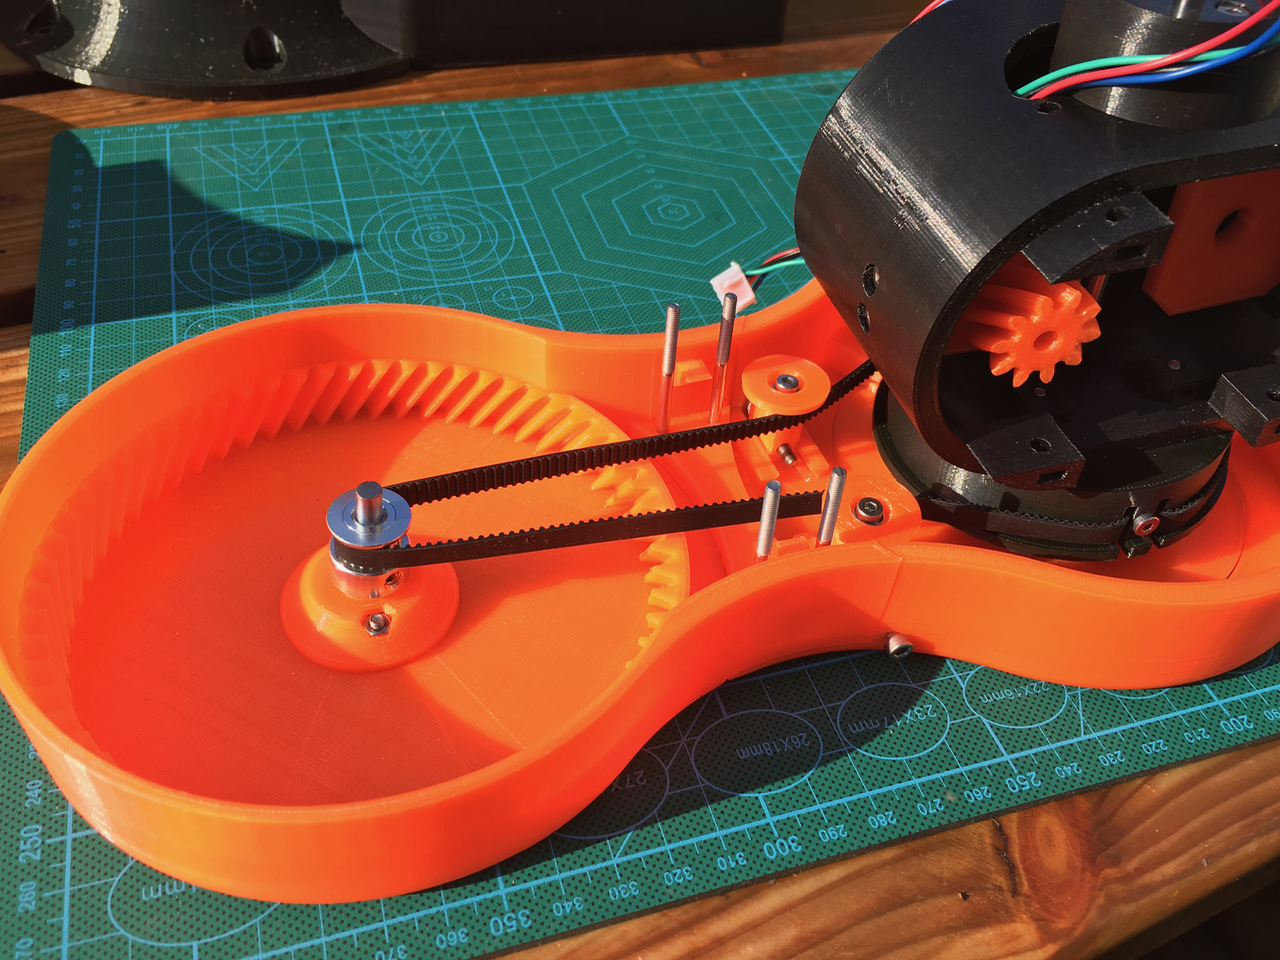
Now it was time to mount it al together. There is just enough slack to mount the belt. The cover contains the bearing and this will tighten the belt.
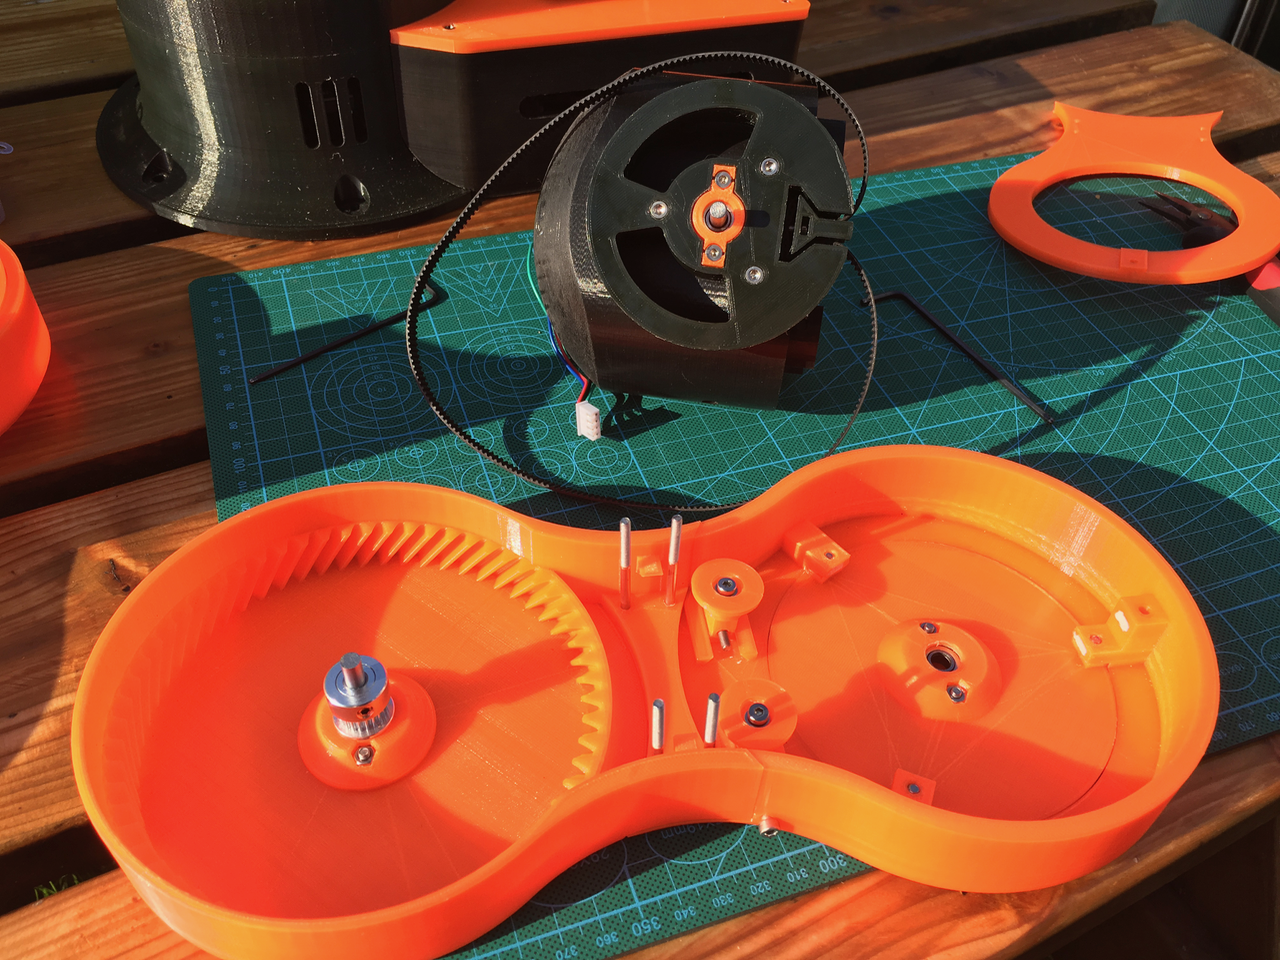
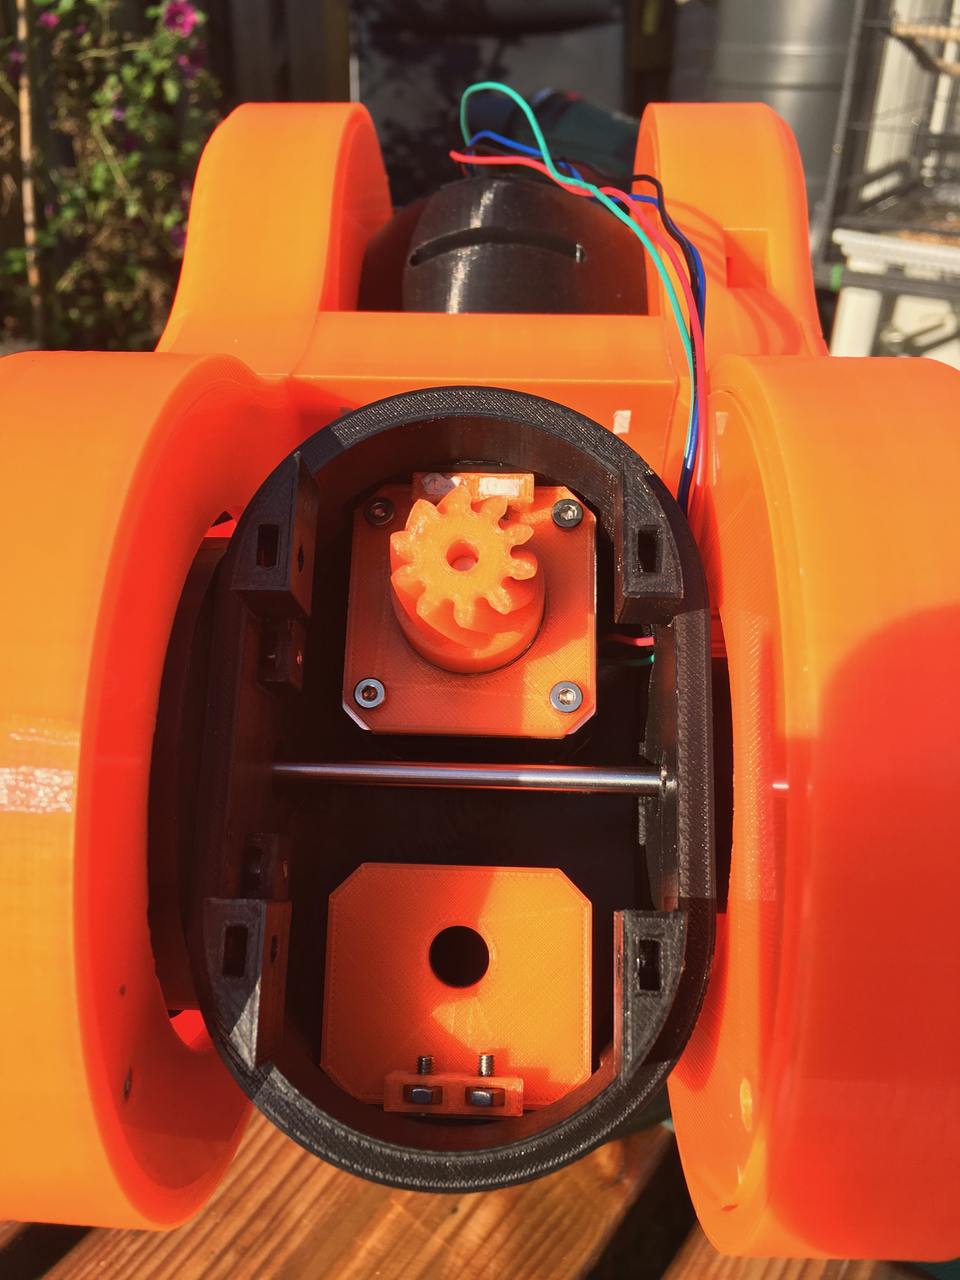
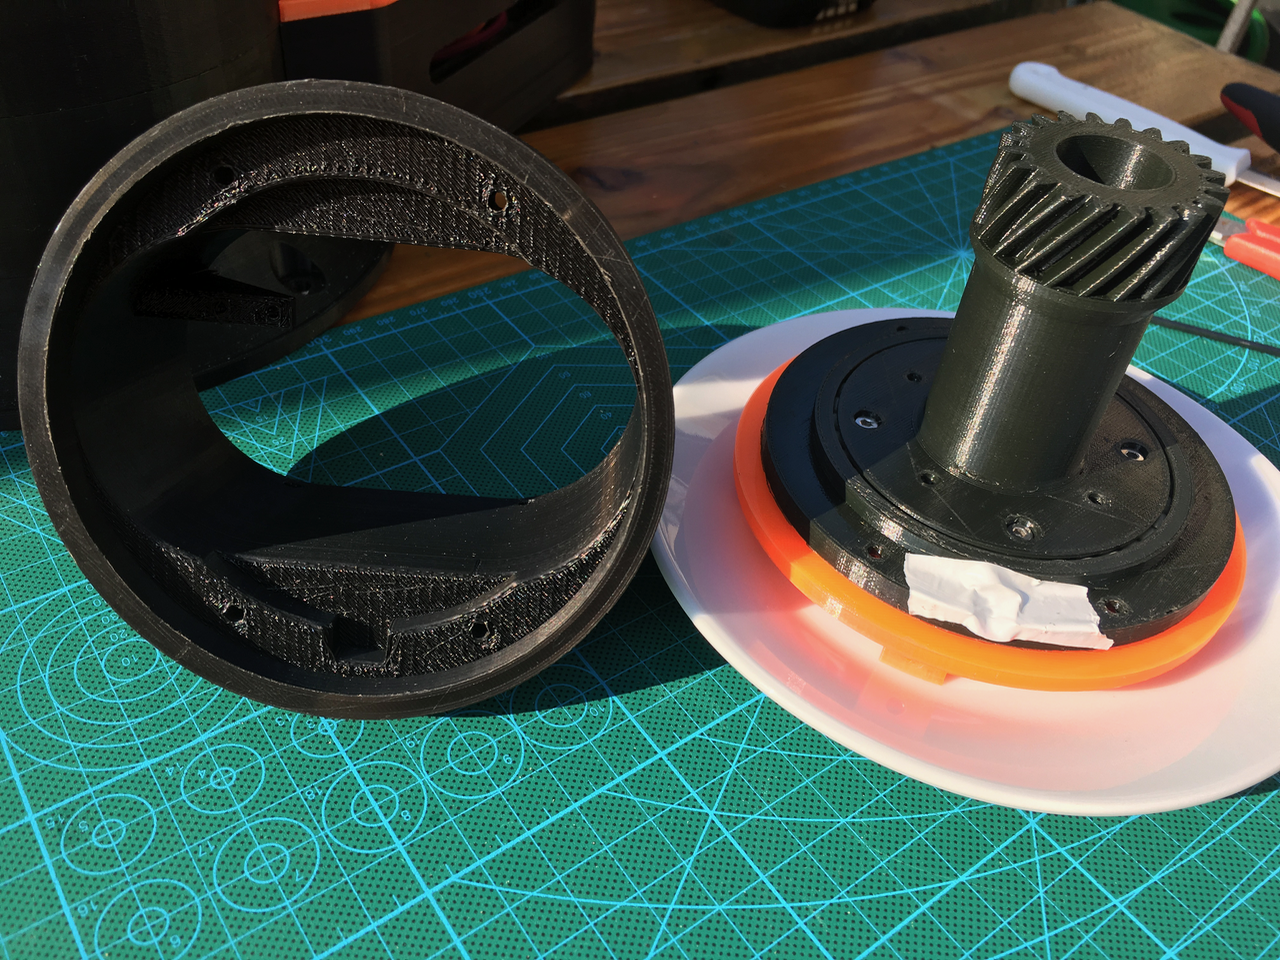
Below the inside of the lower part of Art 3. I already mounted the motor. A potentiometer or optical rotation sensor will be added later.
This is the top part of Art 3. It contains a custom bearing.

Below all the parts for this custom bearing. The green ball are 6mm airsoft balls. The small black part is the plug.

Just hold the inside and the outside of the bearing in place and fill the hole with balls.
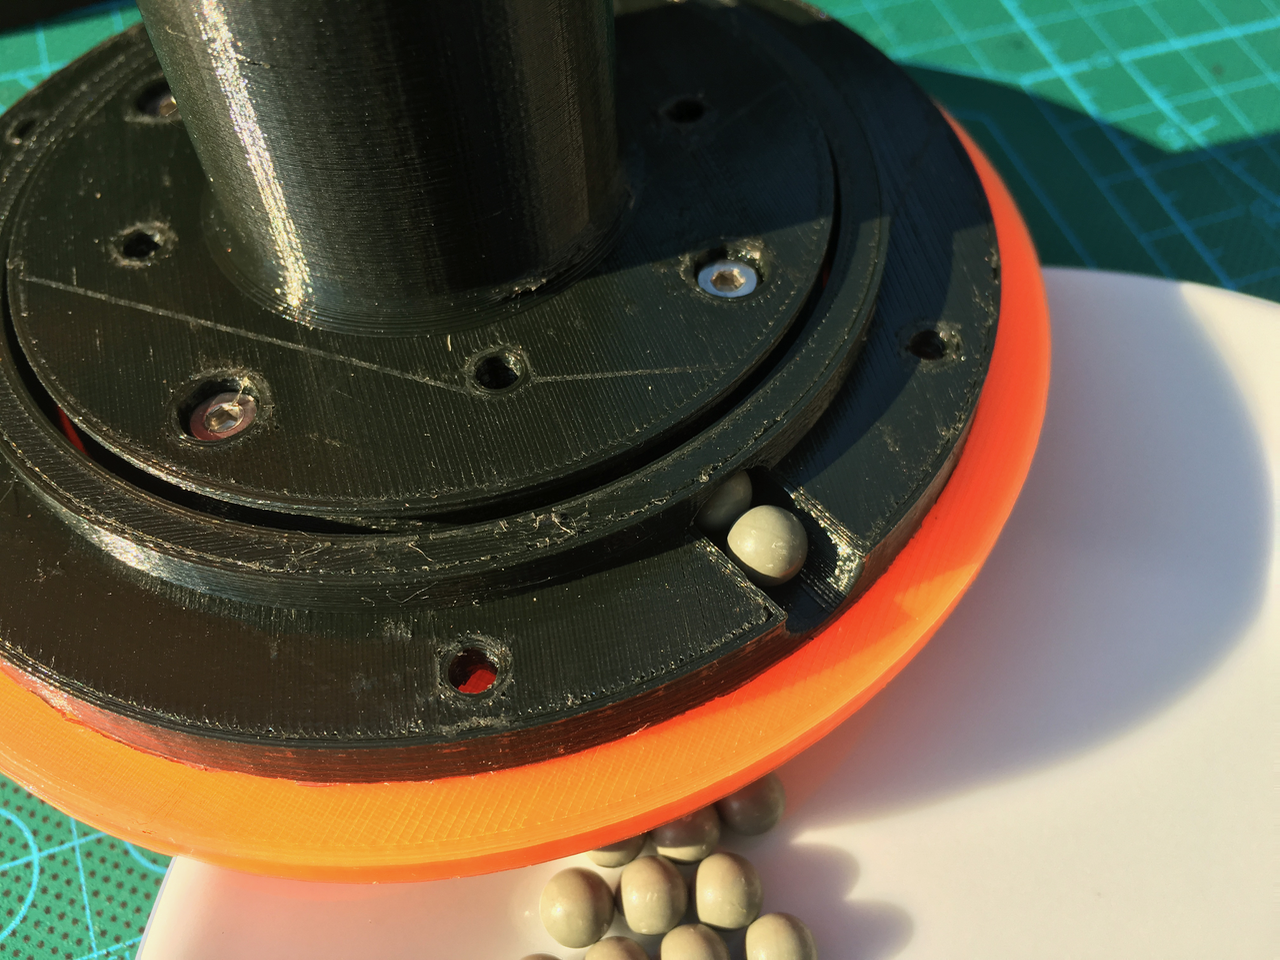
By rotating the inner part the balls are traveling to the bottom and the hole is free to insert the next ball.
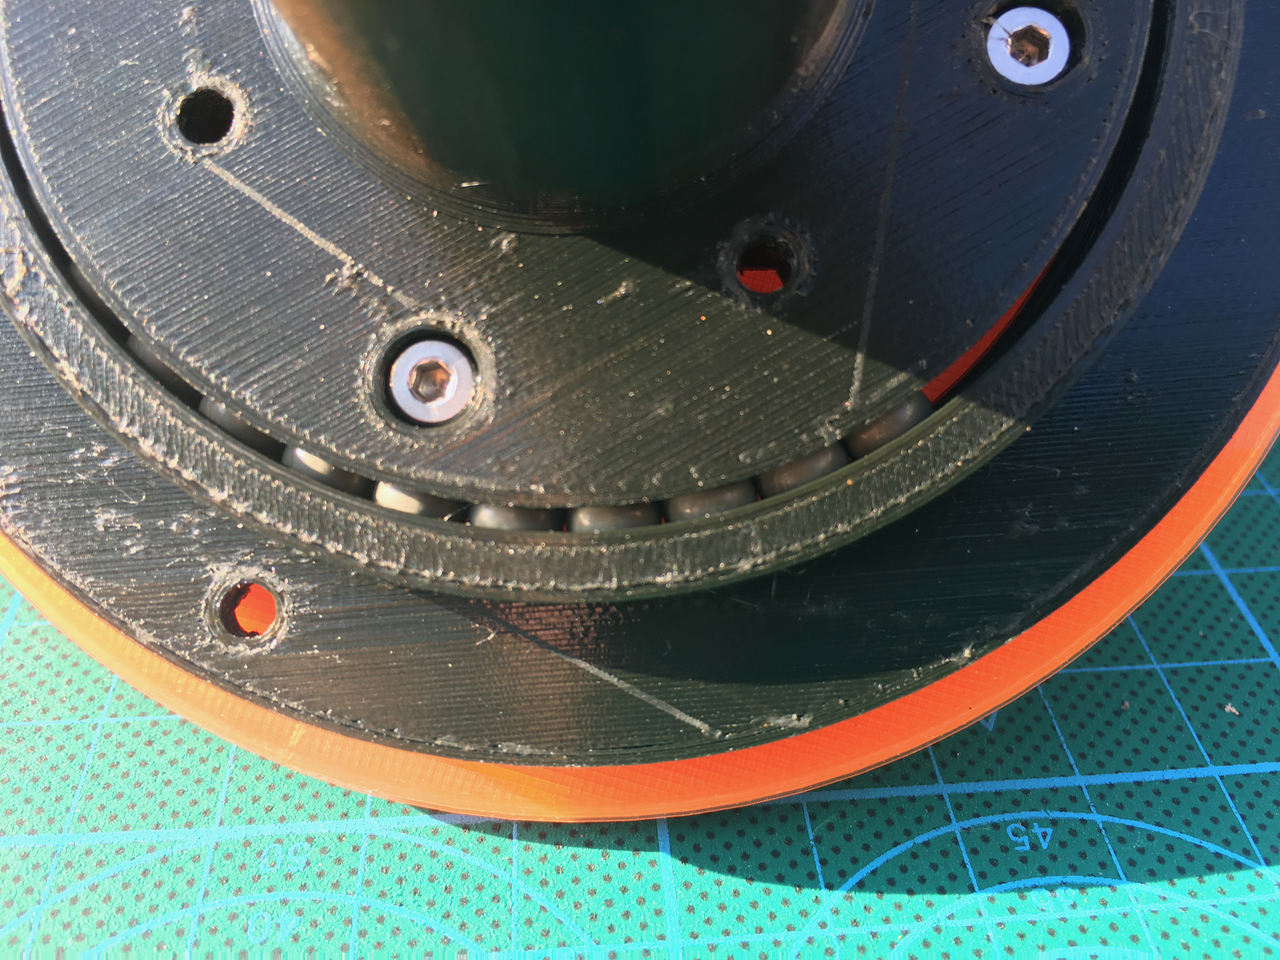
I used some tape to hold the plug in place. The plug will fit in the hole of the outer part on the left side.
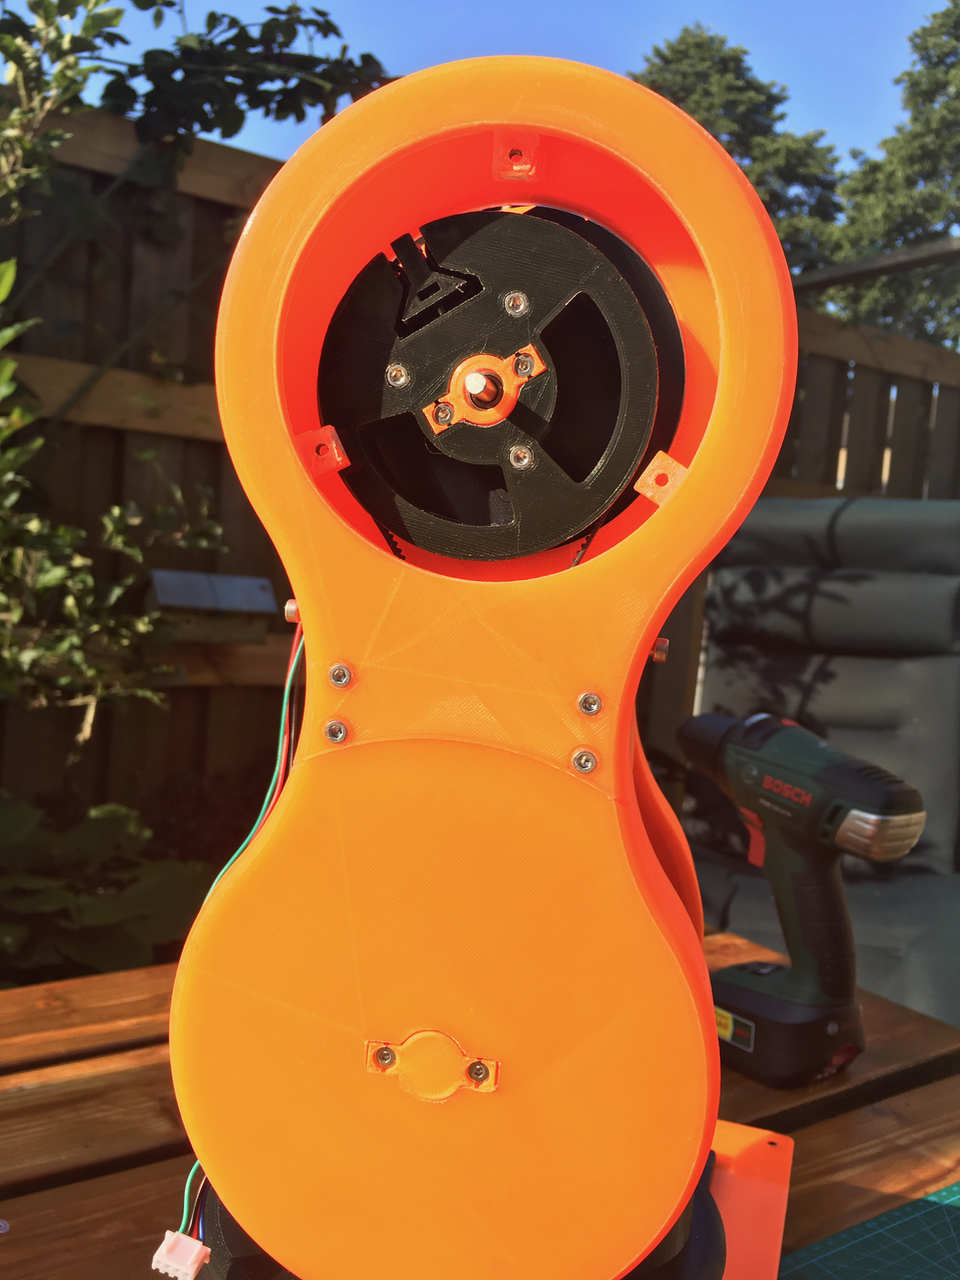
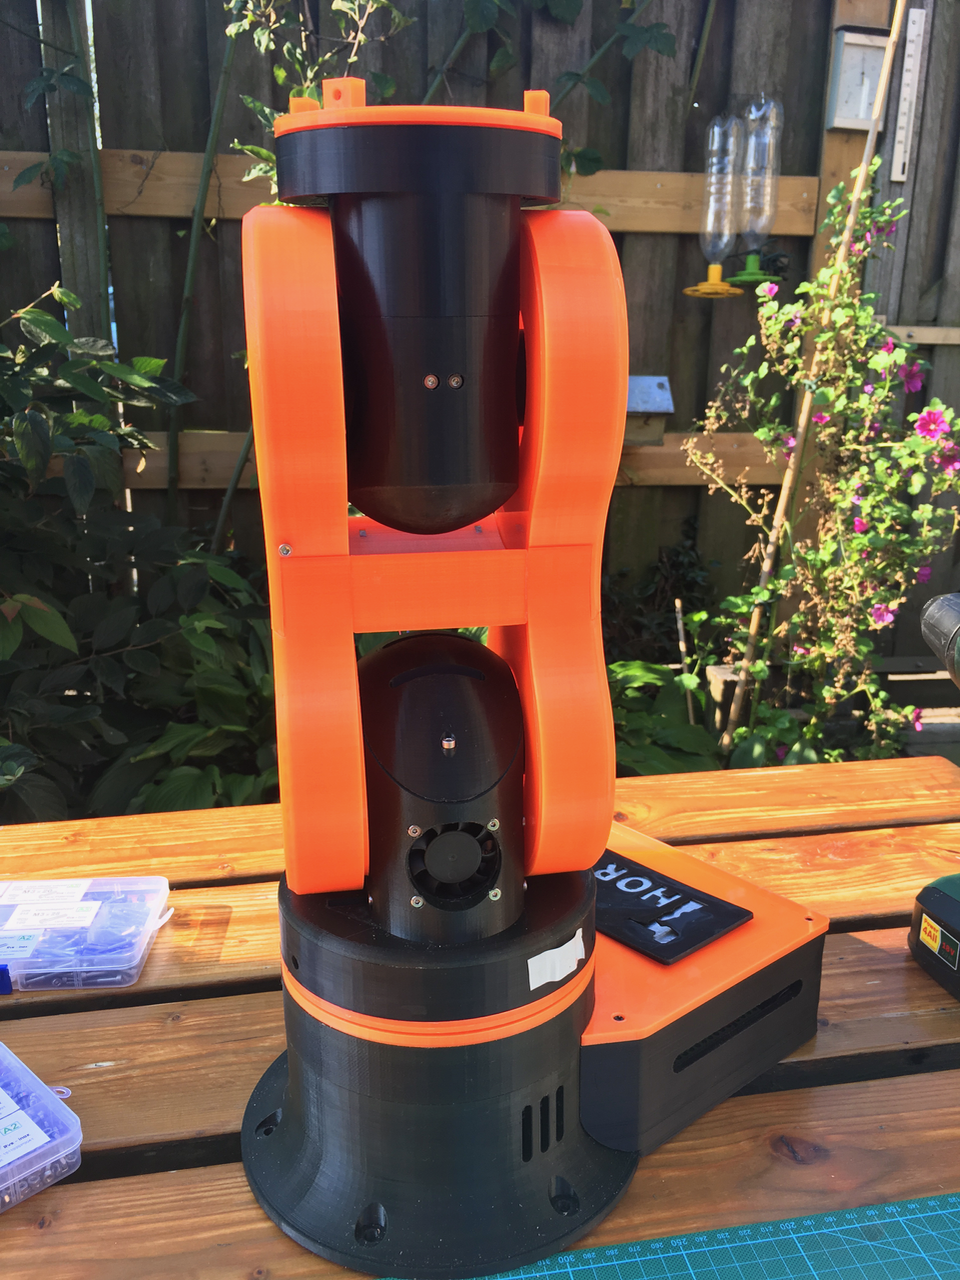
There is a small gap between the orange Art4 part and the Black Art 3 part.
Below the Art 3 upper and lower part are mounted together.
In the future I might change the custom ball bearing because it has to much slack. I want 2 bearings to keep this axis as steady as possible. I already ordered a few different sized 6xxx series ball bearings.
Discussions
Become a Hackaday.io Member
Create an account to leave a comment. Already have an account? Log In.
I really like your step by step images.
Are you sure? yes | no