 jegatheesan
-
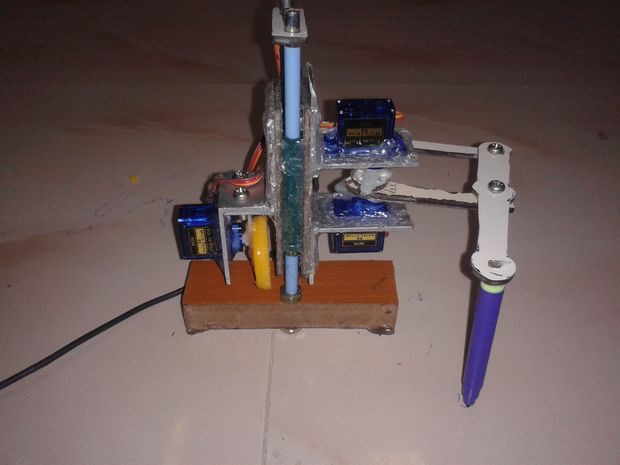
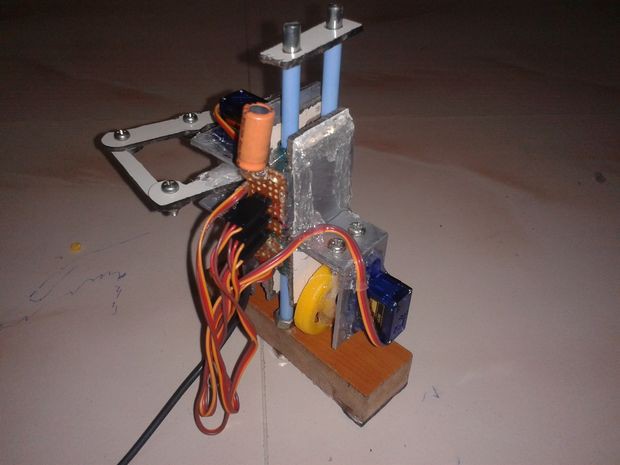
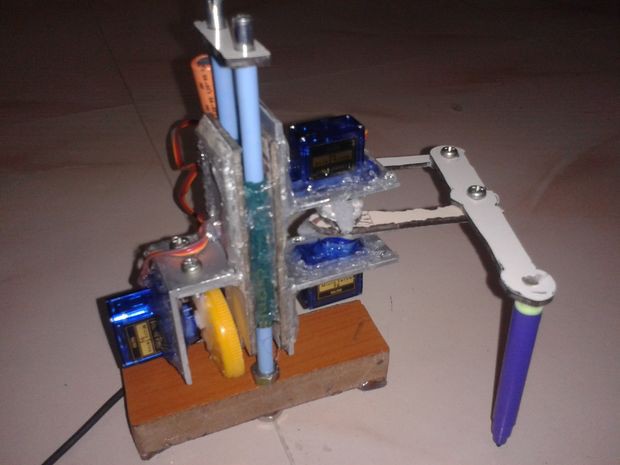
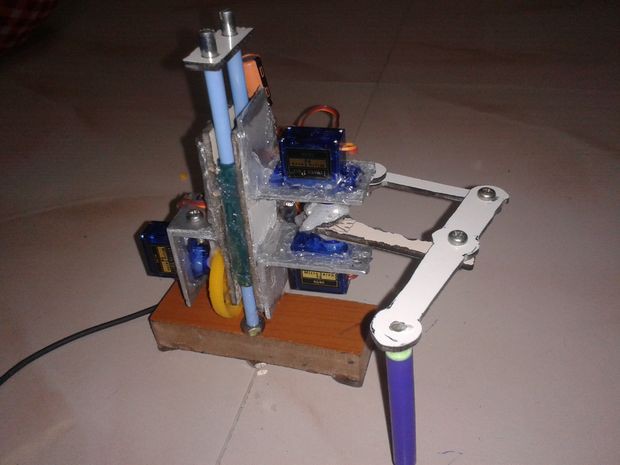
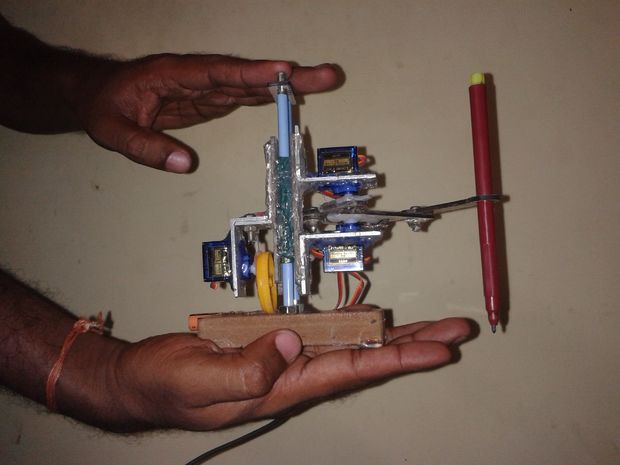
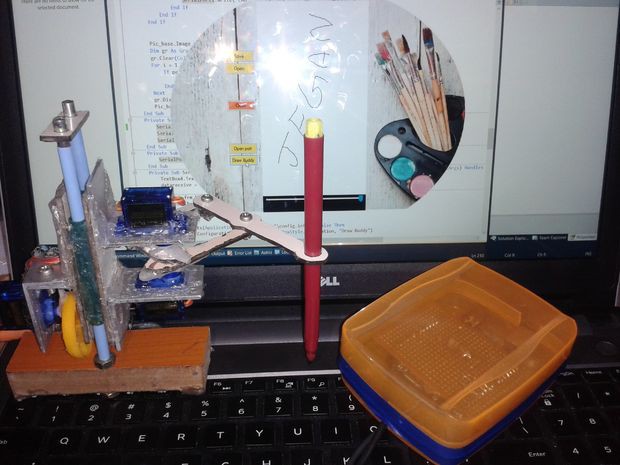
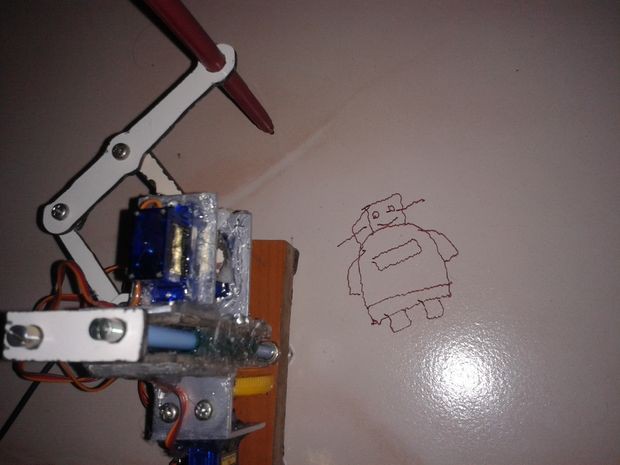
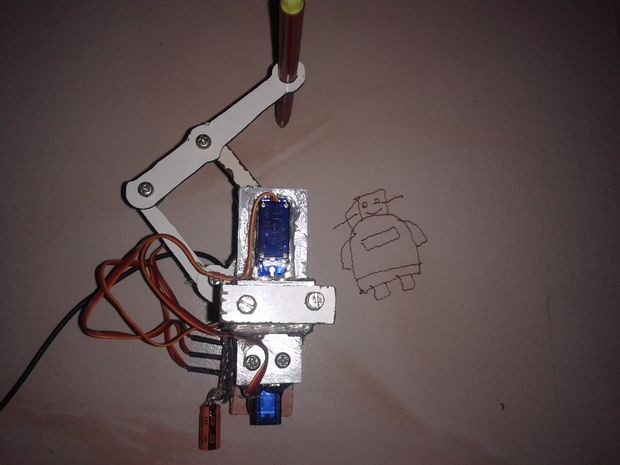
11Assembled Draw Buddy
![]()
![]()
![]()
![]()
![]()
![]()
1) Its well come after 3 days night work.
2) Hot glue the connector to the non servo moving side and connect the servos.
3) See the all side views of my Draw Buddy its very cute.
-
12Servos Control Program
1) Connect the Servo connector to the arduino.
2) Its time to write the code for Computer and Arduino. I reduce the work of arduino by increase the work of the Computer.
3) Here with this i attached the Arduino code. Arduino turns the servos degrees as per pc command.
-
13Desktop Application
1) Download the zip file and unzip it.
2) Change the Arduino connected comport name in the config,inf file.
3) Download and install .net frame work 4 or more.
4) Run the Application. After connected the arduino to the port. This program run only in windows.
-
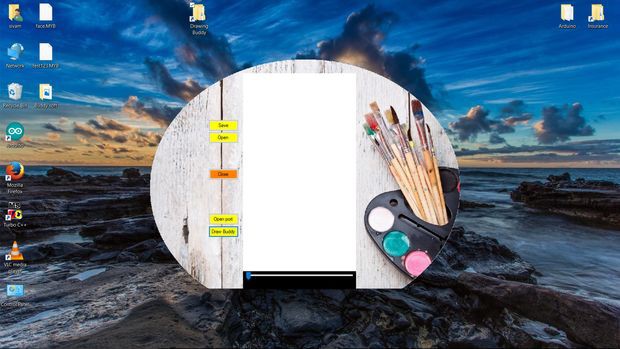
14My Own Buddy Control Software
![]()
![]()
![]()
![]()
![]()
1) The application is not a downloaded application. It is developed by me. Actually i like very much to program logically.
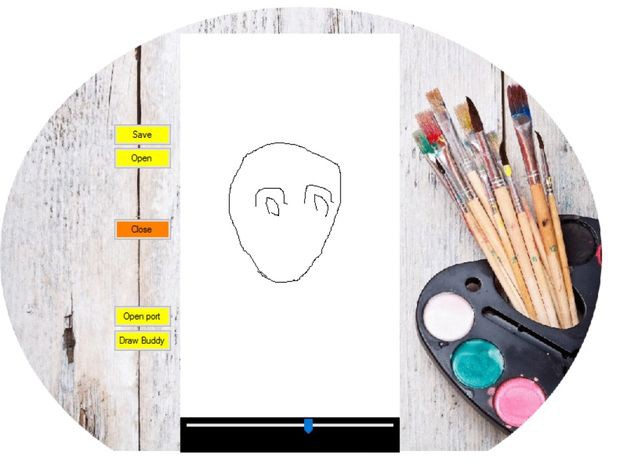
2) In the control software we can draw the picture as line art and ask the buddy to draw it.
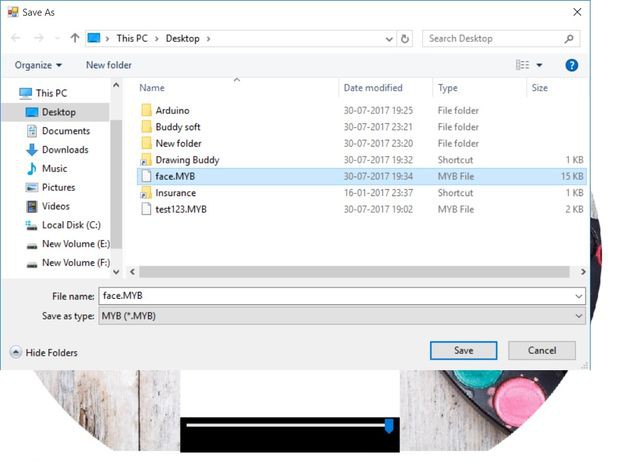
3) U have a save button to save the drawn picture and also a open button to open the saved one.
4) On click the Open Port the system connected to the Arduino.
5) By click the Draw buddy, Draw buddy draw the image as like we draw.
6) While drawing use the slider button to erase the drawn line.
(More ideas are in progress to convert vector drawing to our format)
-
15Checking All
1) Its time to check.
2) Connect the connectors and power supplies.
3) Draw lines in the application and click open port and then click draw buddy.
4) Buddy draw it as like the picture .
Problems Faced at first
1) Drawing is drawn in mirror format.
2) When pen up and down it leaves some lines at the end of up due to delay has same time.
This can be corrected by altered the arduino coding and Computer coding.
-
16Final Changes and Packing
![]()
![]()
![]()
![]()
1) Its very compatable so u can able to hold in one hand.
2) Fix the Arduino into a plastic box.
3) Arduino to Draw buddy has long wire, so that we can able to move it to the long place and draw where ever we want.
Note At first while drawing My buddy moves some time. Finally i notice the surface of my Buddy is polished. So i rub with emery and make it rough. Now it works fine with out holding.
-
17Draw Buddy in Action
After lot of trial and error here the finished one with out error.
-
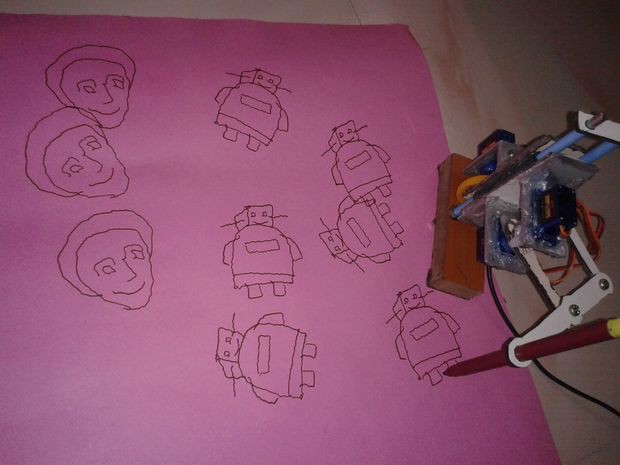
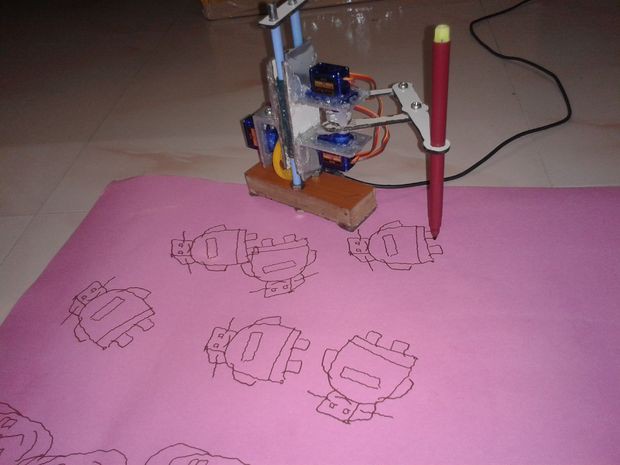
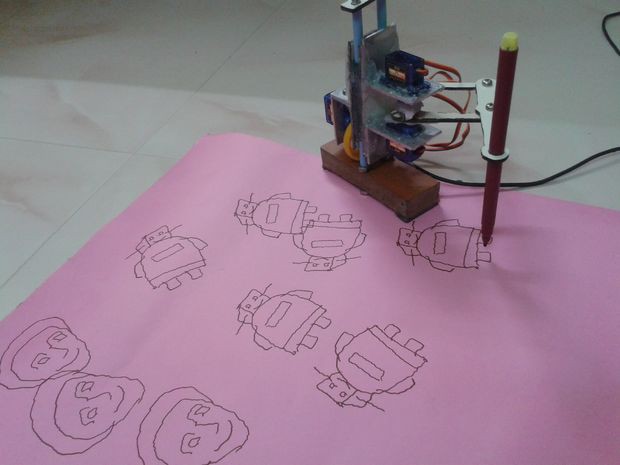
18Action in Papers
![]()
![]()
![]()
![]()
Lot and lot of pictures are drawn by my buddy to make my daughter happy.
-
19Action in Tiles
![]()
![]()
It not only draw in paper it paint in any flat surface. Here a a sample from my Room Tiles.
Its very interesting to done this project after some gap. Its very cool and like by all age groups in my family. I also recall lot of mathematics from my school life. Its a nice experience to work in this project. Want to do lot of upgrades in this project that's only i make it as V1.
Thank You Very much for Watching this.
Very eager to hear comments from You all.
Be cool make a Lot.
Cute Drawing Robot - Servo and Android
Very very low cost drawing robot draw like what u draw in the Computer. Its movement are not traditional its very cute. Every one like it.


Discussions
Become a Hackaday.io Member
Create an account to leave a comment. Already have an account? Log In.