 Stephanie Stoll
-
1Building and Maintaining the Transmission System
Given that I snapped two tendons whilst testing the hand the other day, I thought this was a good opportunity to provide some detail on the hand's actuation and transmission system and show how to wire up a finger.
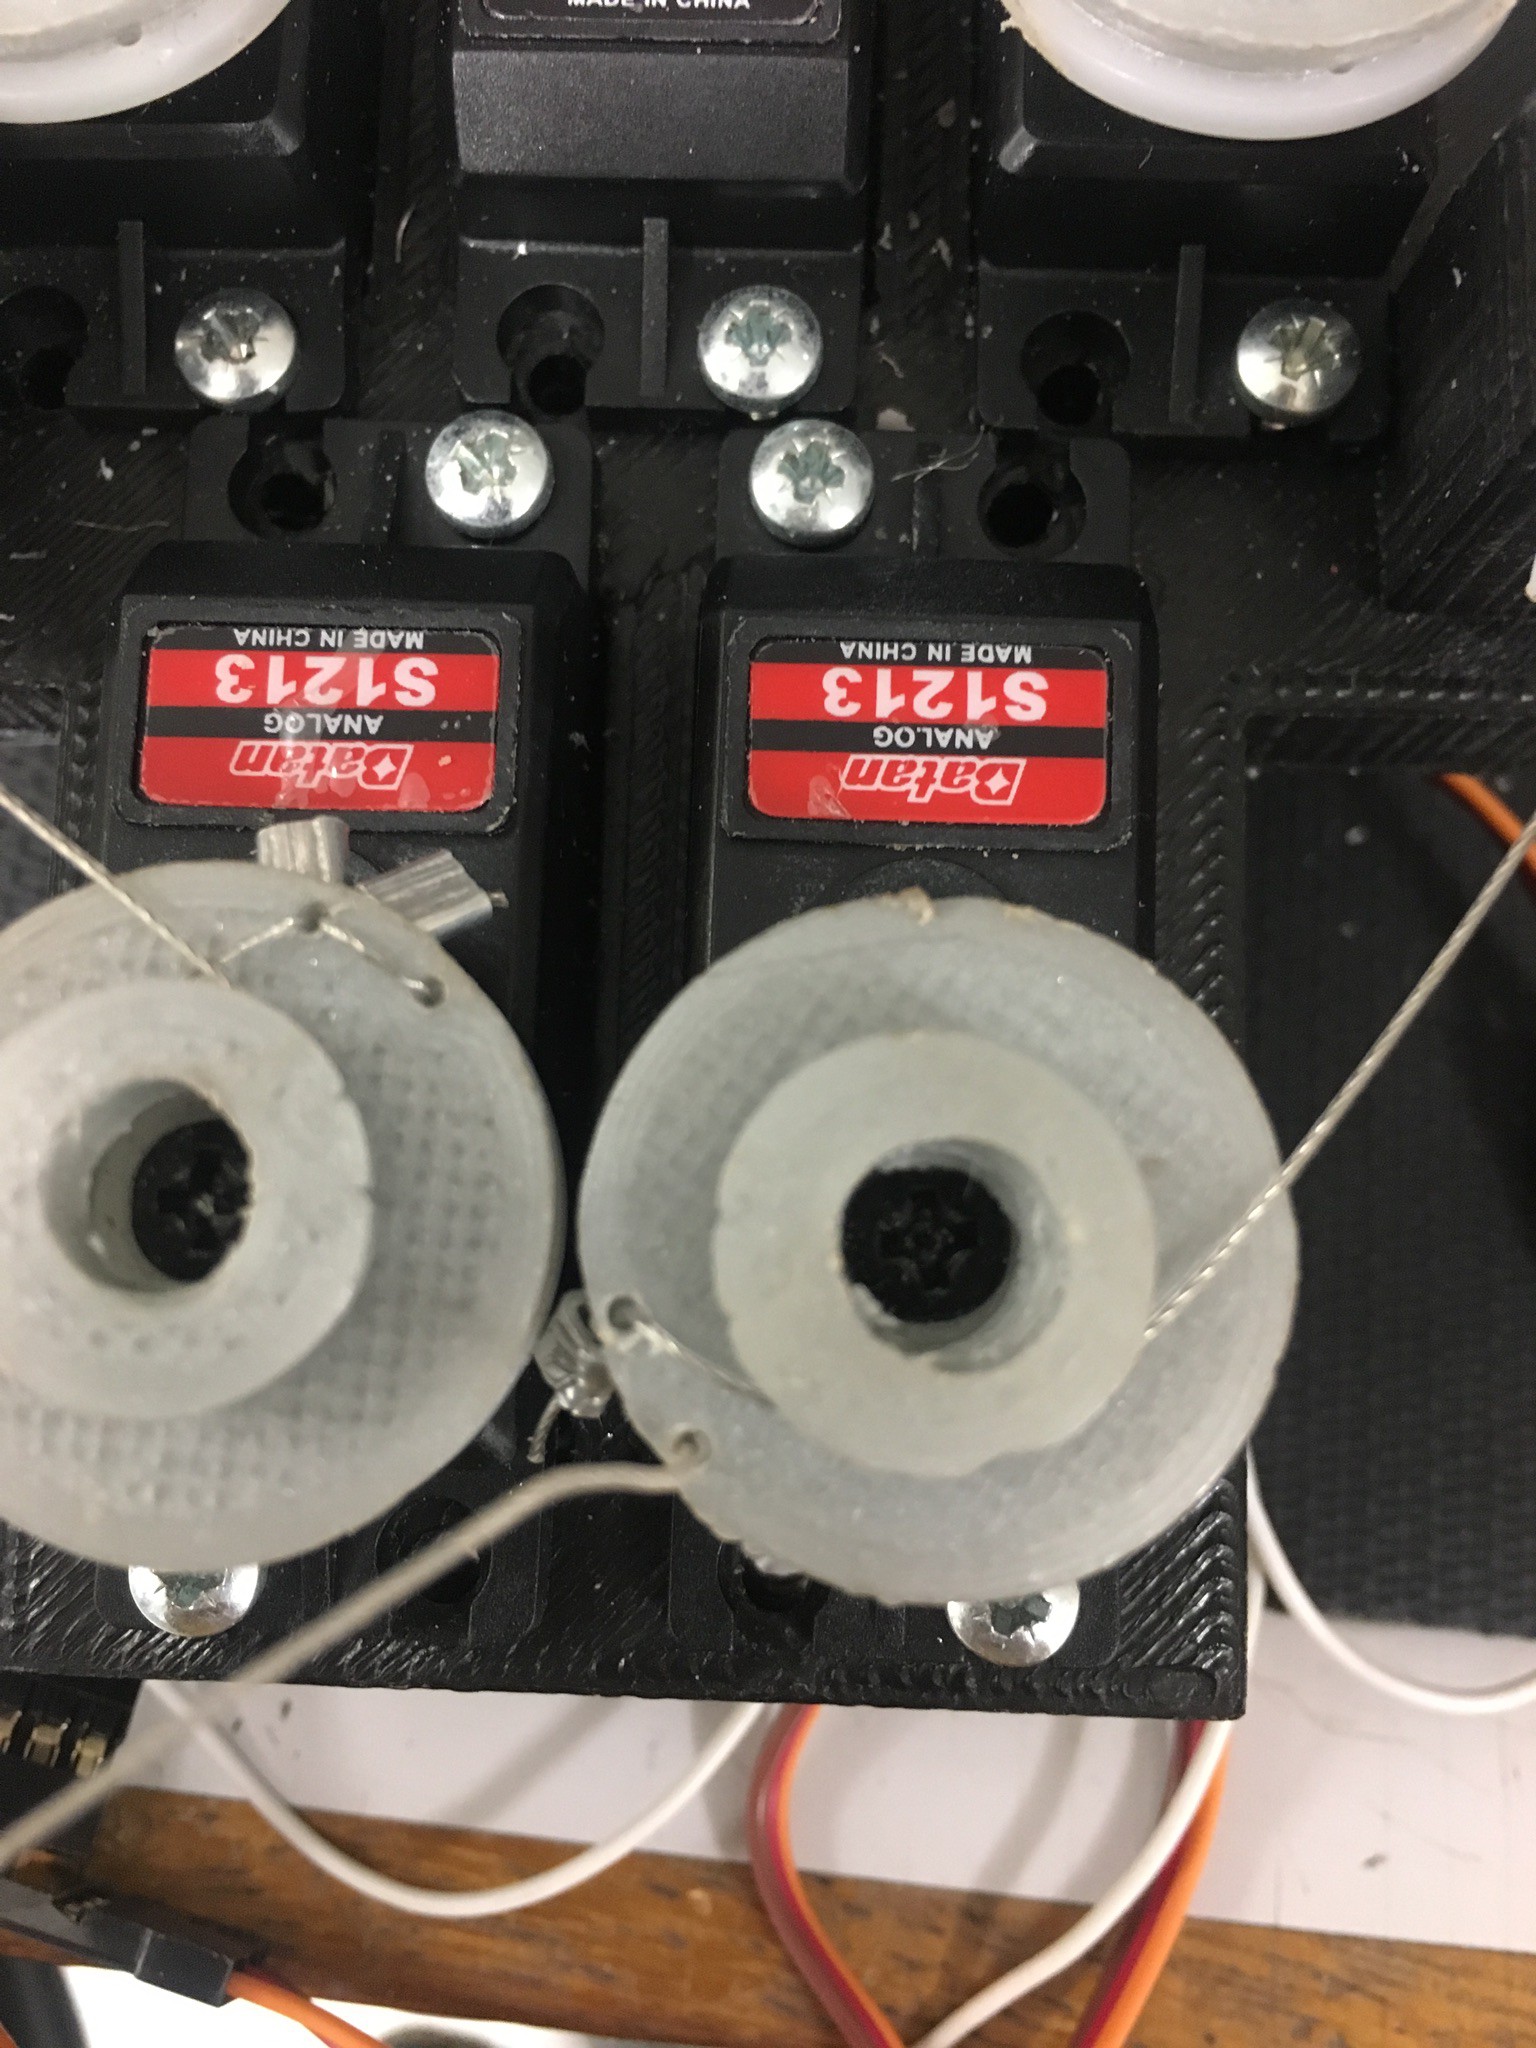
Just to recap, the hand is actuated using five servo motors. The five servos are housed in a servo bed with guides which lead the tendons from the palm to the servos. The tendons are mounted onto each servo horn using two servo rings of different sizes, as it was found this gives the maximum turn with minimum backlash.
From each servo, two tendons run into a Bowden system and through each finger, for extension and contraction respectively.
The tendons itself are 0.5mm closed loop wire which is normally used for transmission in model aircrafts. The wire was crimped to the servo rings using 0.5mm diameter aluminium ferrules.
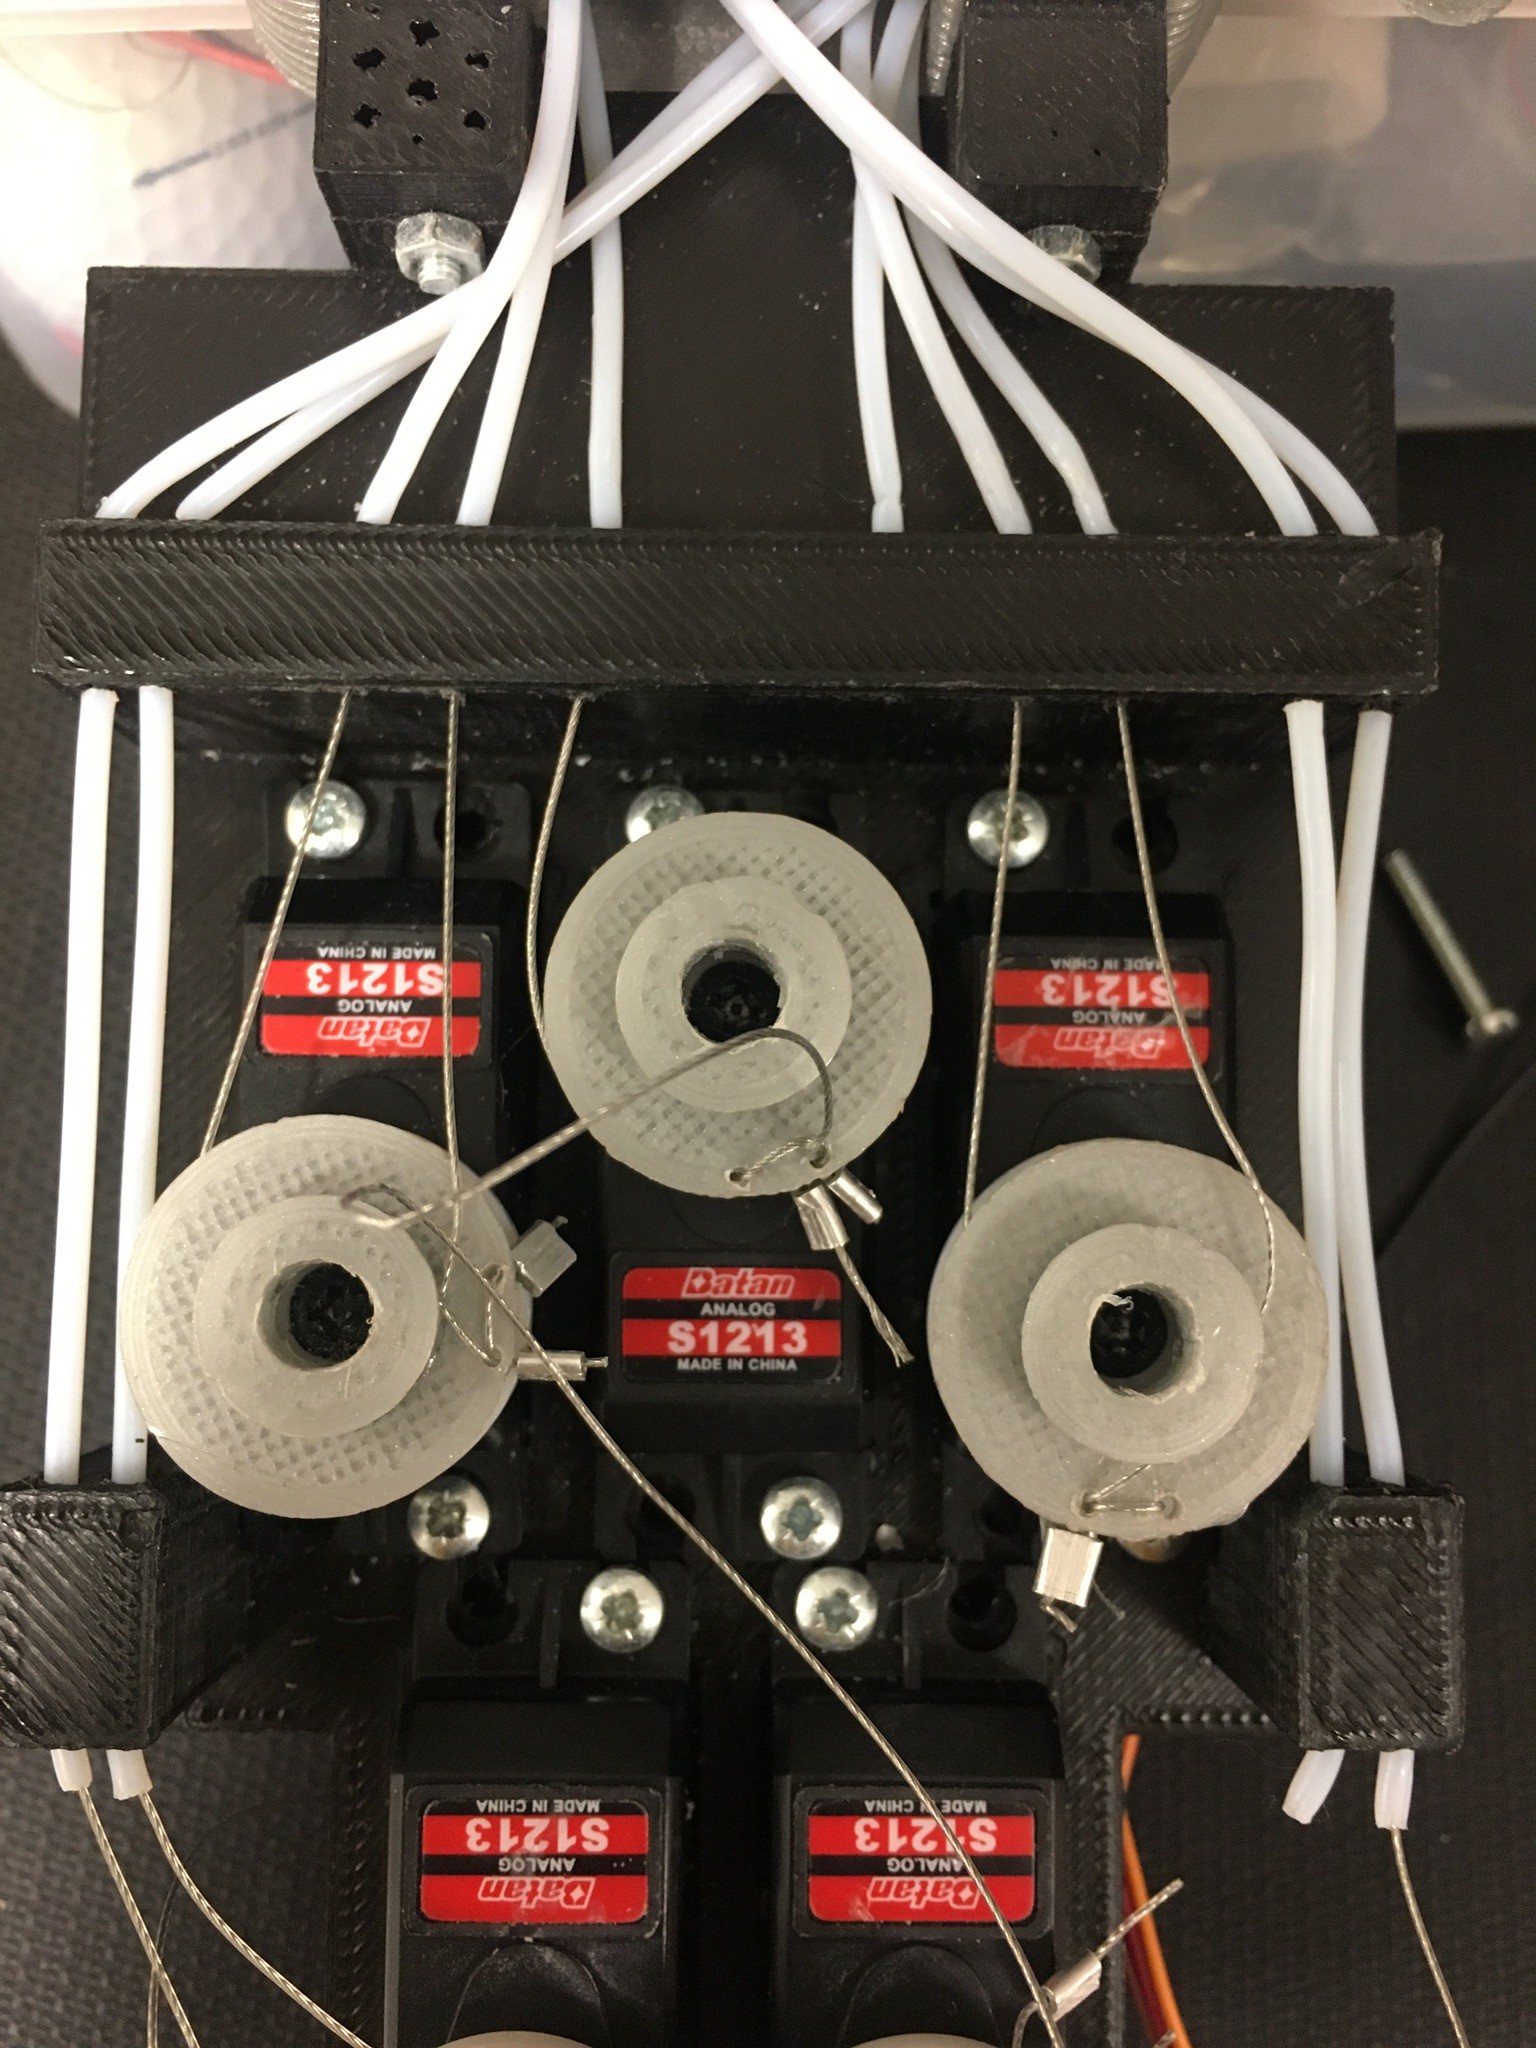
The Bowden system was built using 1mm inner diameter/2mm outer diameter PTFE tubing, originally destined to be used as a Bowden system for the RepRap 3D printer.
 This shows the full positioning of the servos, as well as the whole Bowden system (ignore the cables, they were for some force sensors I tried).
 -
2Wiring up the front tendon
The front tendon runs along the lower, bigger circle of the servo. Apart from that it's pretty much the same as the back tendon.
-
3The Problem
The tendons in the transmission system are subject to wear and tear and tend to snap at some point (believe it or not, one of the tendons in the middle finger broke 5 minutes before my Viva, giving my examiners the finger).
Today we are going to fix two snapped tendons: the extension tendon of the middle finger (the back one that pulls the finger back) and the little finger front tendon that makes the finger bend.
-
4Wiring up the back tendon
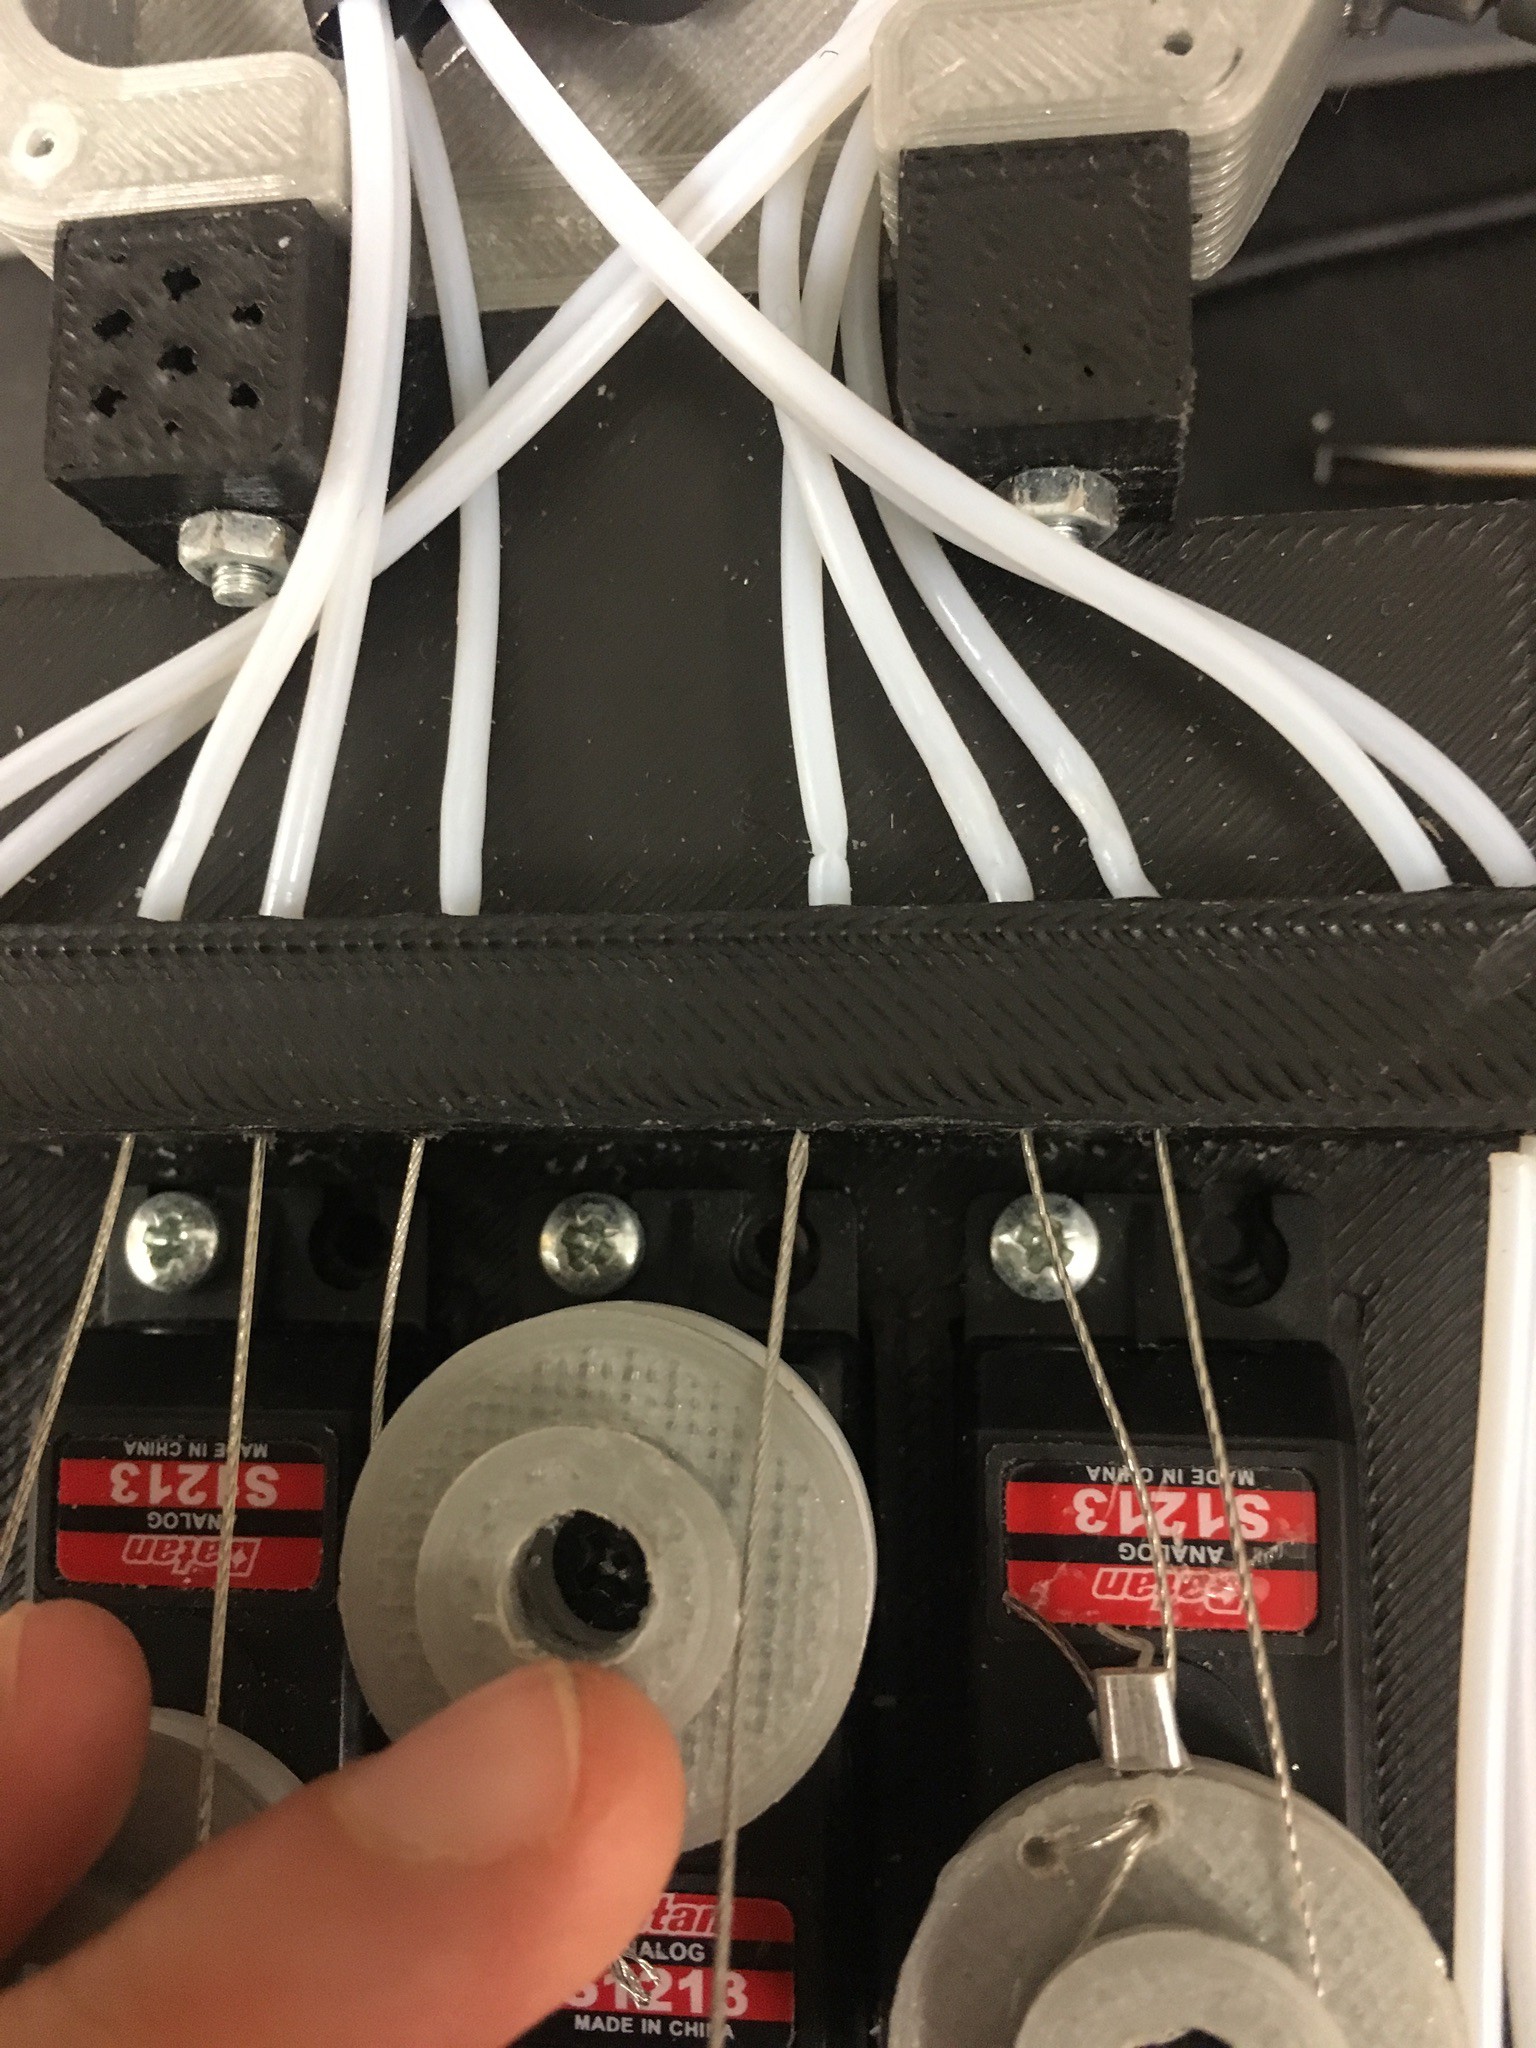
The back tendons run on the upper, smaller circle of each servo. Gently pull the snapped wire out of the Bowden system and through the hole in the servo ring.
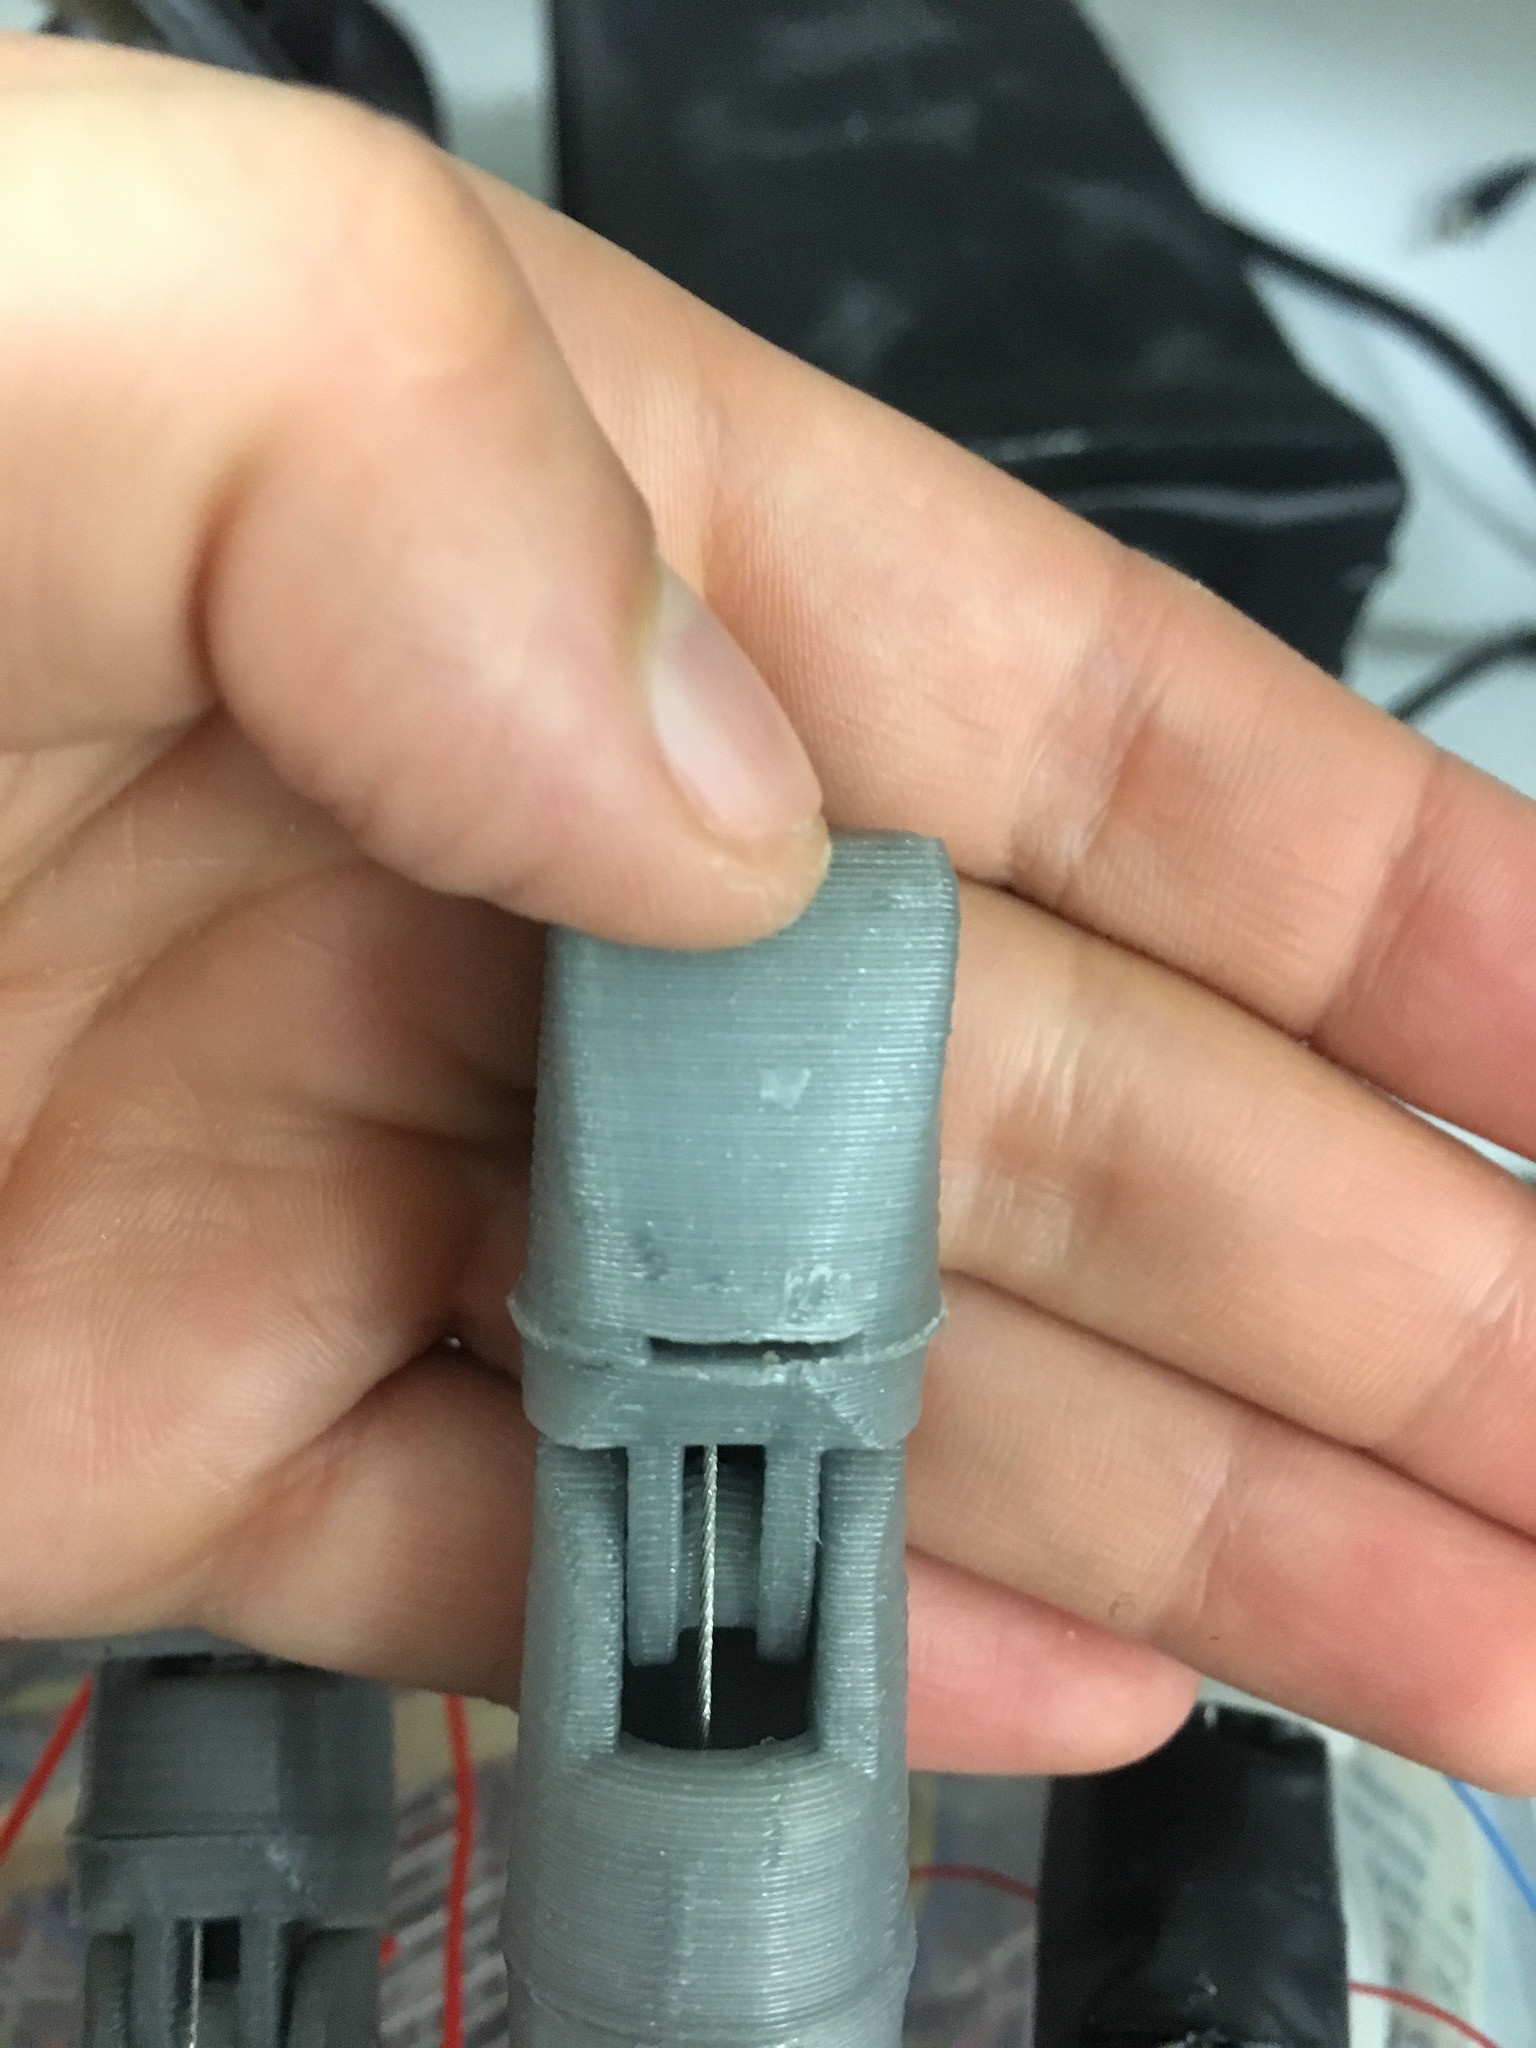
To remove the other half of the snapped tendon, remove the silicon fingertip (these are actually toe cap protectors, I don't know how I found them, but I had to look at an awful lot of pictures of feet to purchase them on Amazon). The fingertip has a slit that fits a small flat head screw driver. Gently snap off the fingertip by wiggling the screen driver up and down. Remove the snapped wire.
It's time to thread through the new wire. Depending on what kind of wire you get, it might be coated or uncoated. The latter tends to fray as you push it through. To avoid that, I dip the tip into some superglue, giving it a thin coating that stops it from falling apart. Once its all dried you can start threading the wire through the Bowden system.
The threading can be a bit fiddly, so make sure you have thin pliers/tweezers/ something small with a hook at hand to make life easier.
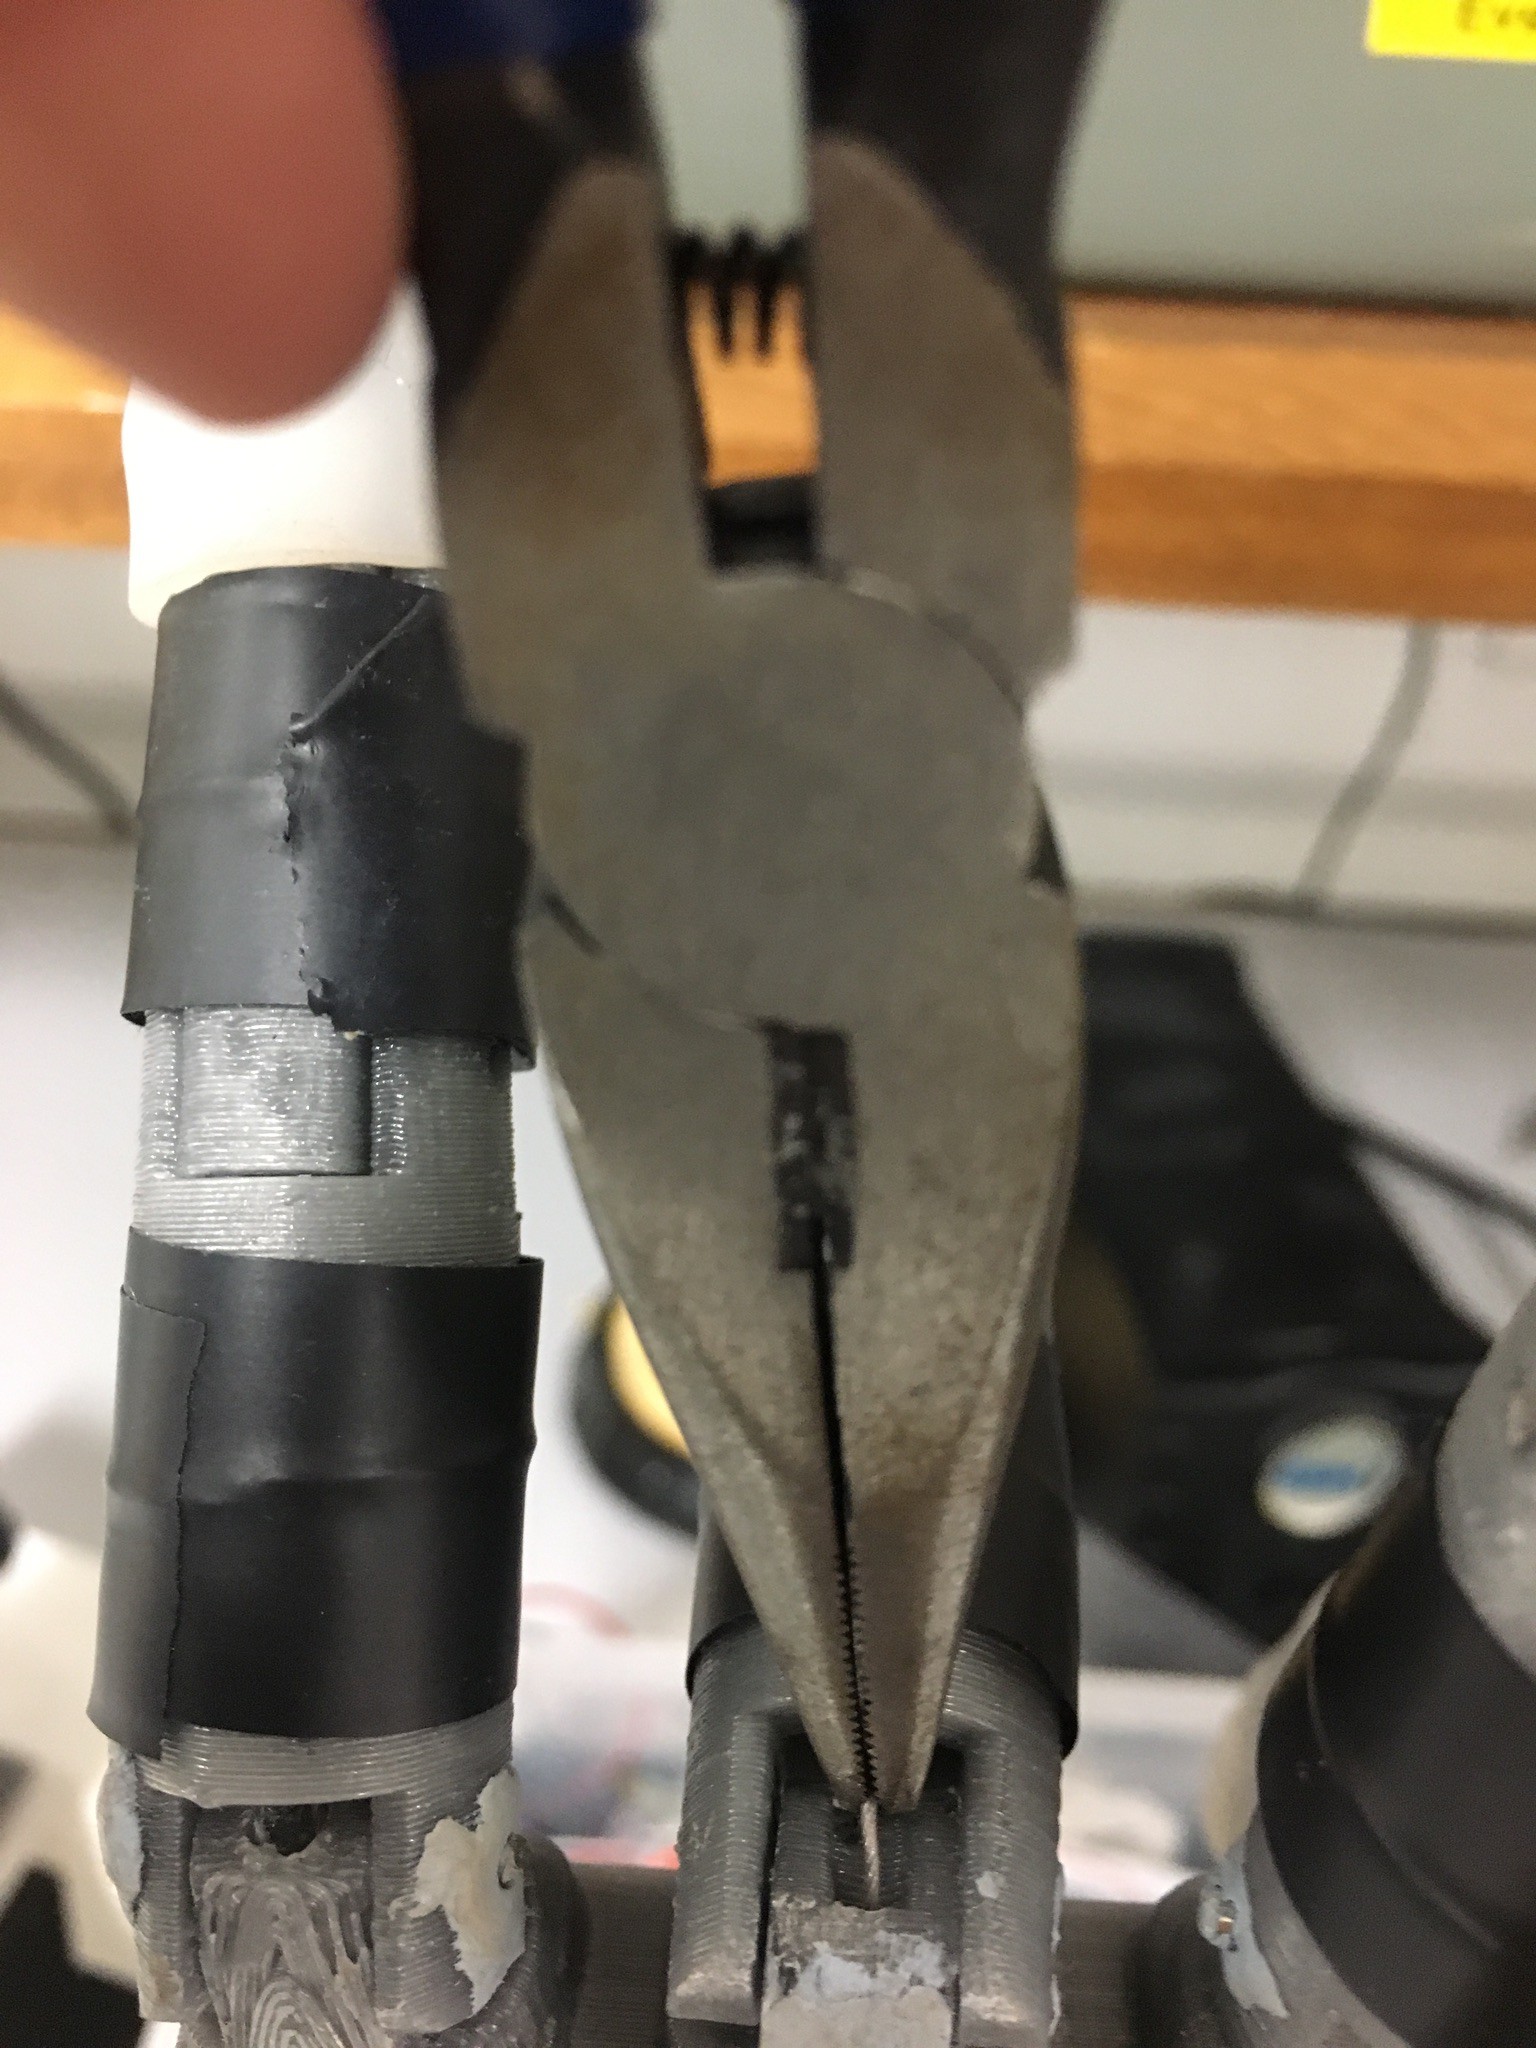
Once the wire is threaded through it's time to tighten it up. The tension of the wire is crucial to get right, as too much will make the tendon snap, and too little means the finger will just sadly flop around. Make sure the servo position provides maximum extension of the finger (in my case that's turned all the way to the right).
Which end you crimp with a ferrule first, is really up to taste. Whatever you decide, make sure you leave enough spare wire each side to reshuffle things if needed.
Once both sides are crimped, turn the servo to see if the finger contracts and extends as expected. Then cut the excess wire and superglue the fingertip back on.
Vision-Based Grasp Learning for Prosthetics
Building an intelligent, highly-functioning hand prosthetic on the cheap using the power of deep learning.

Discussions
Become a Hackaday.io Member
Create an account to leave a comment. Already have an account? Log In.