 Xylitol
-
1Pin configuration
For this project i've choosed to use the ethernet shield with a led marquee but i couldn't interface everything on the same board due to pins conflict, instead i've choose to use 2 board, one will be the master who retrieve data from internet, and the second will be the slave who gather the data from master and display it on the led marquee.
First arduino (Master):
- Put the ethernet shield on it
- Connect A4 of the master to A4 of the arduino slave
- Connect A5 of the master to A5 of the arduino slave
- Connect GND of the master to GND of the arduino slave
- Connect 5V of the master to VIN of the arduino slaveSecond arduino (slave):
we wired previously the i2c communication between master and slave, so now we gonna wire the slave to the marquee- D8 to LT
- D12 to SK
- D10 to R1
- D11 to R2
- D2 to EN
- D3 to LA
- D4 to LB
- D5 to LC
- D6 to LD
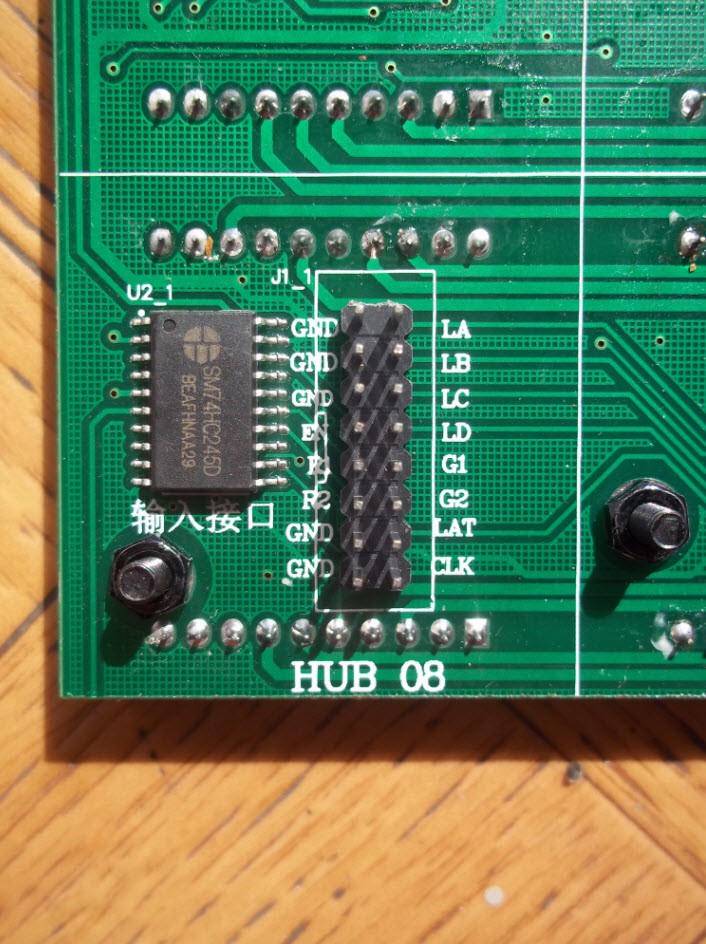
- GND to GNDClose view of the marquee pins:
![]()
Don't forget to also power up your marquee:
![]()
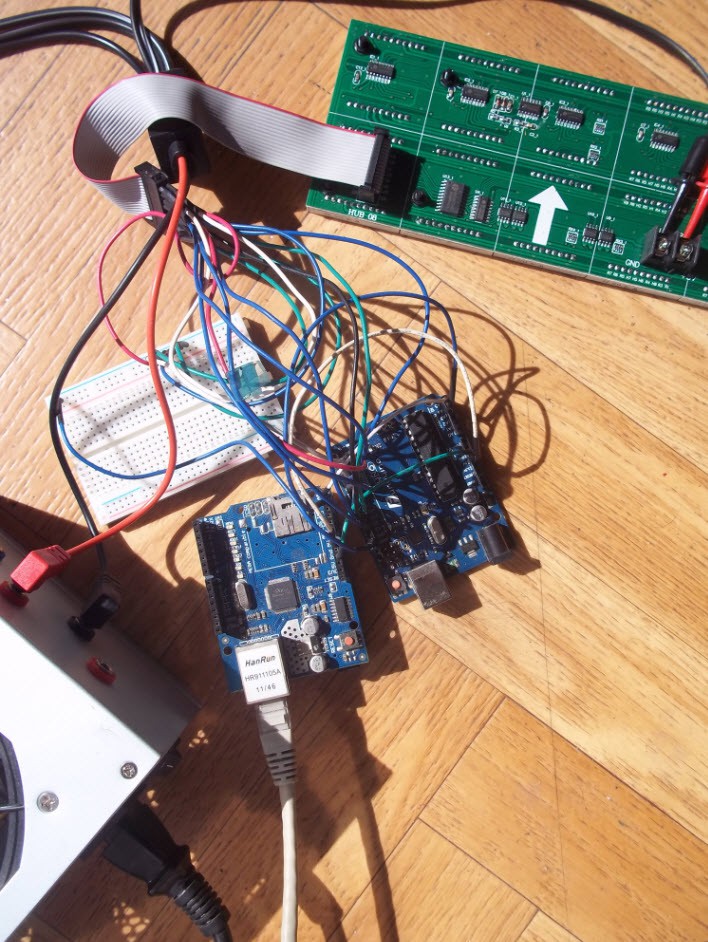
You should end up with a jungle like this:
![]()
-
2Make your web page for retrieving datas
I've used PHP and the API provided from my mining pool (nanopool)
<?php
$json_url = "https://api.nanopool.org/v1/eth/balance/0xYOUR-WALLET-ADRESS-HERE";
$json = file_get_contents($json_url);
$data = json_decode($json, TRUE);
echo '<MESSAGE>Balance: '.$data['data'] . ' ETH^</MESSAGE>';
?>
Make that file and host it somewhere on your server, verify that the page is working correctly.
a tipical message if you view-source can be: <MESSAGE>a scrolling message^</MESSAGE>
<MESSAGE></MESSAGE> is used for the initial parsing.
^ at the end of the message is the indication of end of string.
File can be downloaded from Files manager on this project. -
3Upload the codes to the arduino
Upload the codes from the Files manager of this project to your arduinos, and the php file to your web server.
You have a bit of modifications to do if you don't mine on nanopool.For ethernetWireMaster.ino (master code) here are the things to change to your settings:
char server[] = "example.fr"; // change to your host
String dataLocation = "/balance.php HTTP/1.1"; // change to your PHP page
[...]
delay(60000); // Delay before next loop into void_loop() (one minute).
Voila, for the moment it's a bit dirty but i've did that for myself initially, not for releasing it.
Some part of the code come from this instructable, as i was having the same display as the guy, it was a lot easier reuse his work.
Internet controllable LED message marquee
led marquee controlled with two arduino, and an ethernet shield

Discussions
Become a Hackaday.io Member
Create an account to leave a comment. Already have an account? Log In.