 jean.perardel
-
11Build the Surface, Playing With Plexiglass and Mirror
![]()
Another tricky part was building the detection area. I didn't know which material to choose so I started with glass panels. But it was too fragile to manipulate and cut so I moved to plexiglass.
- A plexiglass panel of 420x720, 5mm thick carried most of the detection parts (except the sensors and the Teensy because I wanted them to be lower).
- From this first panel I cut a line 12mm height. I made some regular holes to insert the LED.
- Then I bought another plexiglass panel 2.5mm thick and I cut it into a 12 mm line to make the other borders.
- I fixed some black tape around the CIS sensor to isolate it from external light and set it at the good height.
- For the reflective mirror, the shop next to my place couldn't cut smaller than 100mm. So I bought some 100x300 panel and a glass cutting knife. On internet there are a lot of videos to learn how to cut glass. Still it's not very easy and I broke many... it's easier to buy smaller mirrors (like 100x150), but don't forget to buy more than you need, as it's hard not to break any!
When everything is fixed and working. You can add some transparent glue above the surrounding plexiglass lines and around the LED to create an isolation if any liquid falls on it.
-
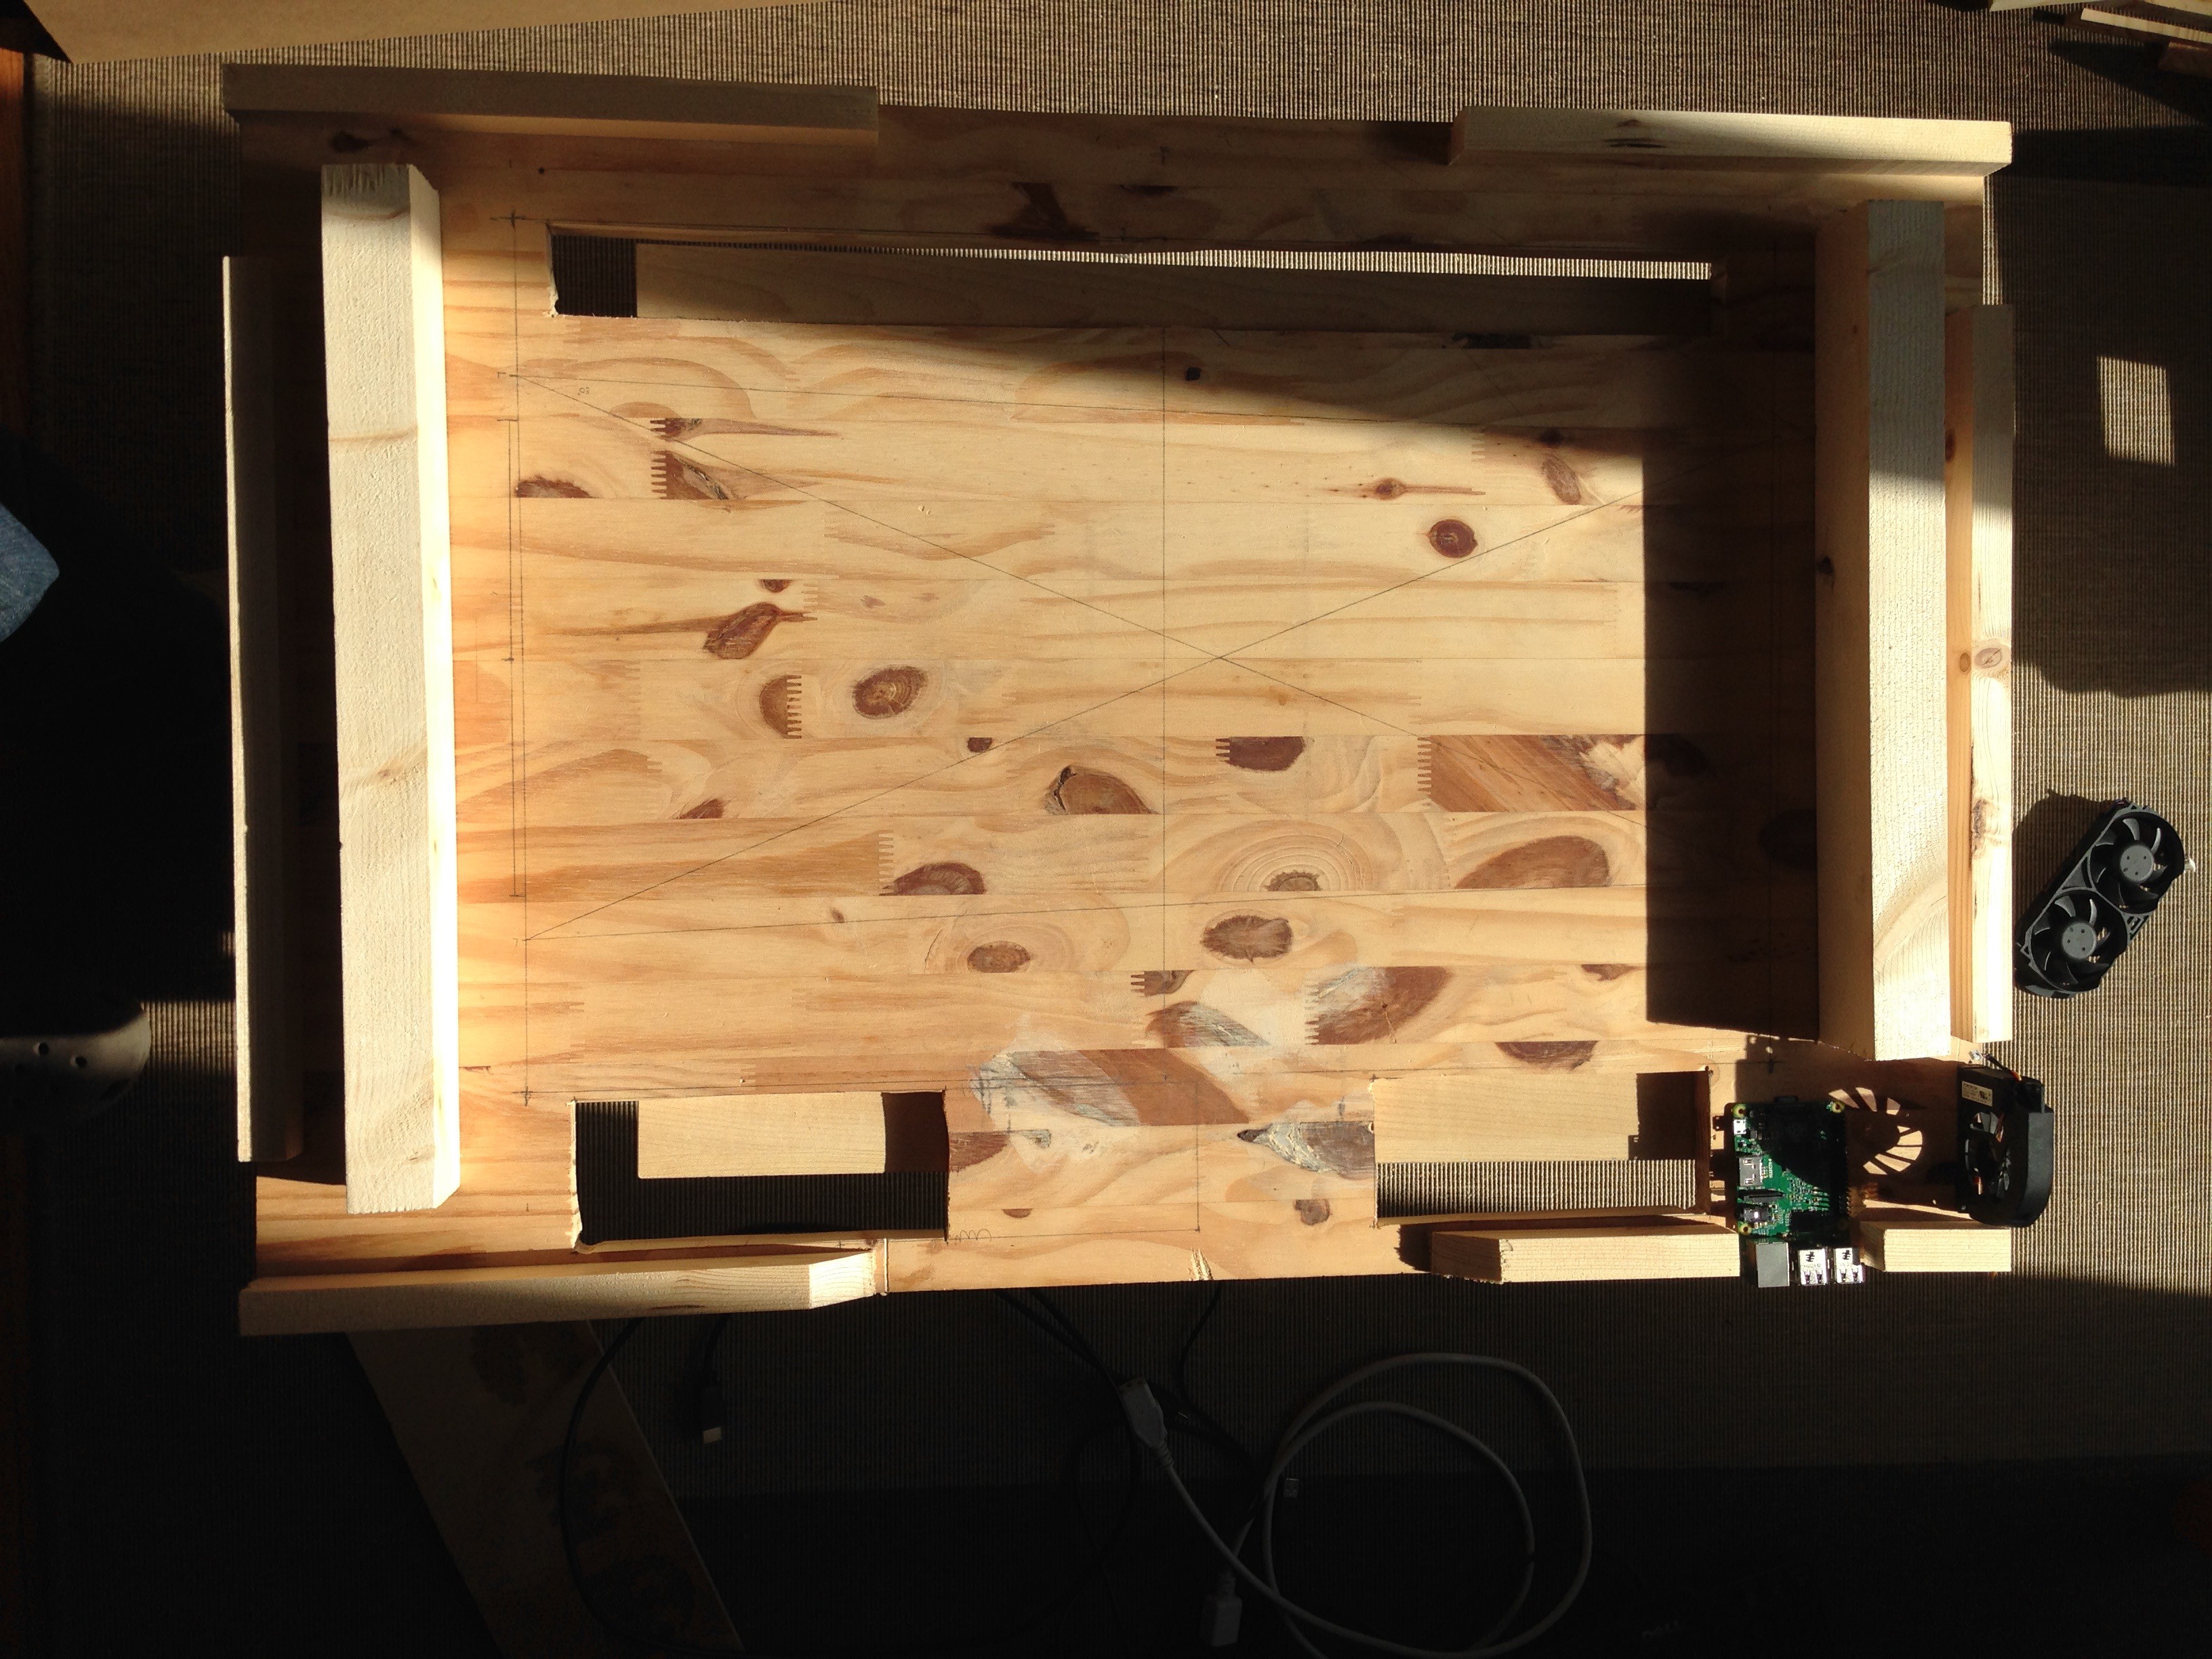
12Build the Wooden Enclosure
![]()
The wooden enclosure depends exclusively on the TV you have. I will only give the basic specification for mine, but I think the pictures are going to explain it better.
- I used some 18mm thick Pine Wood to support the weight of the TV. I made several holes around the ventilation area of the TV.
- Some large framing lumber to support the two sides of the TV so the back is not in direct contact with the wood panel behind.
- Some small framing lumber all around to fix the decorative MDF around it
- Some laser engravings on the surrounding 10mm MDF panels adding Pacman, Mario, Toad, the opening for the Raspberry Pi USB, the fan and the infrared hole of the TV.
- The box is closed with one 10mm panel and one 3mm panel of MDF with a big square hole the size of the touch screen.
- I also added some brown varnish to give a more natural wooden color to the MDF
The little table under is made with :
- A 18mm panel MDF on the top to support the structure.
- 4 feets, each of it made with two large framing lumber screwed together.
- A layer made with a 10mm panel of MDF to store the remote of the TV and a multi-socket powering TV and Raspberry Pi
-
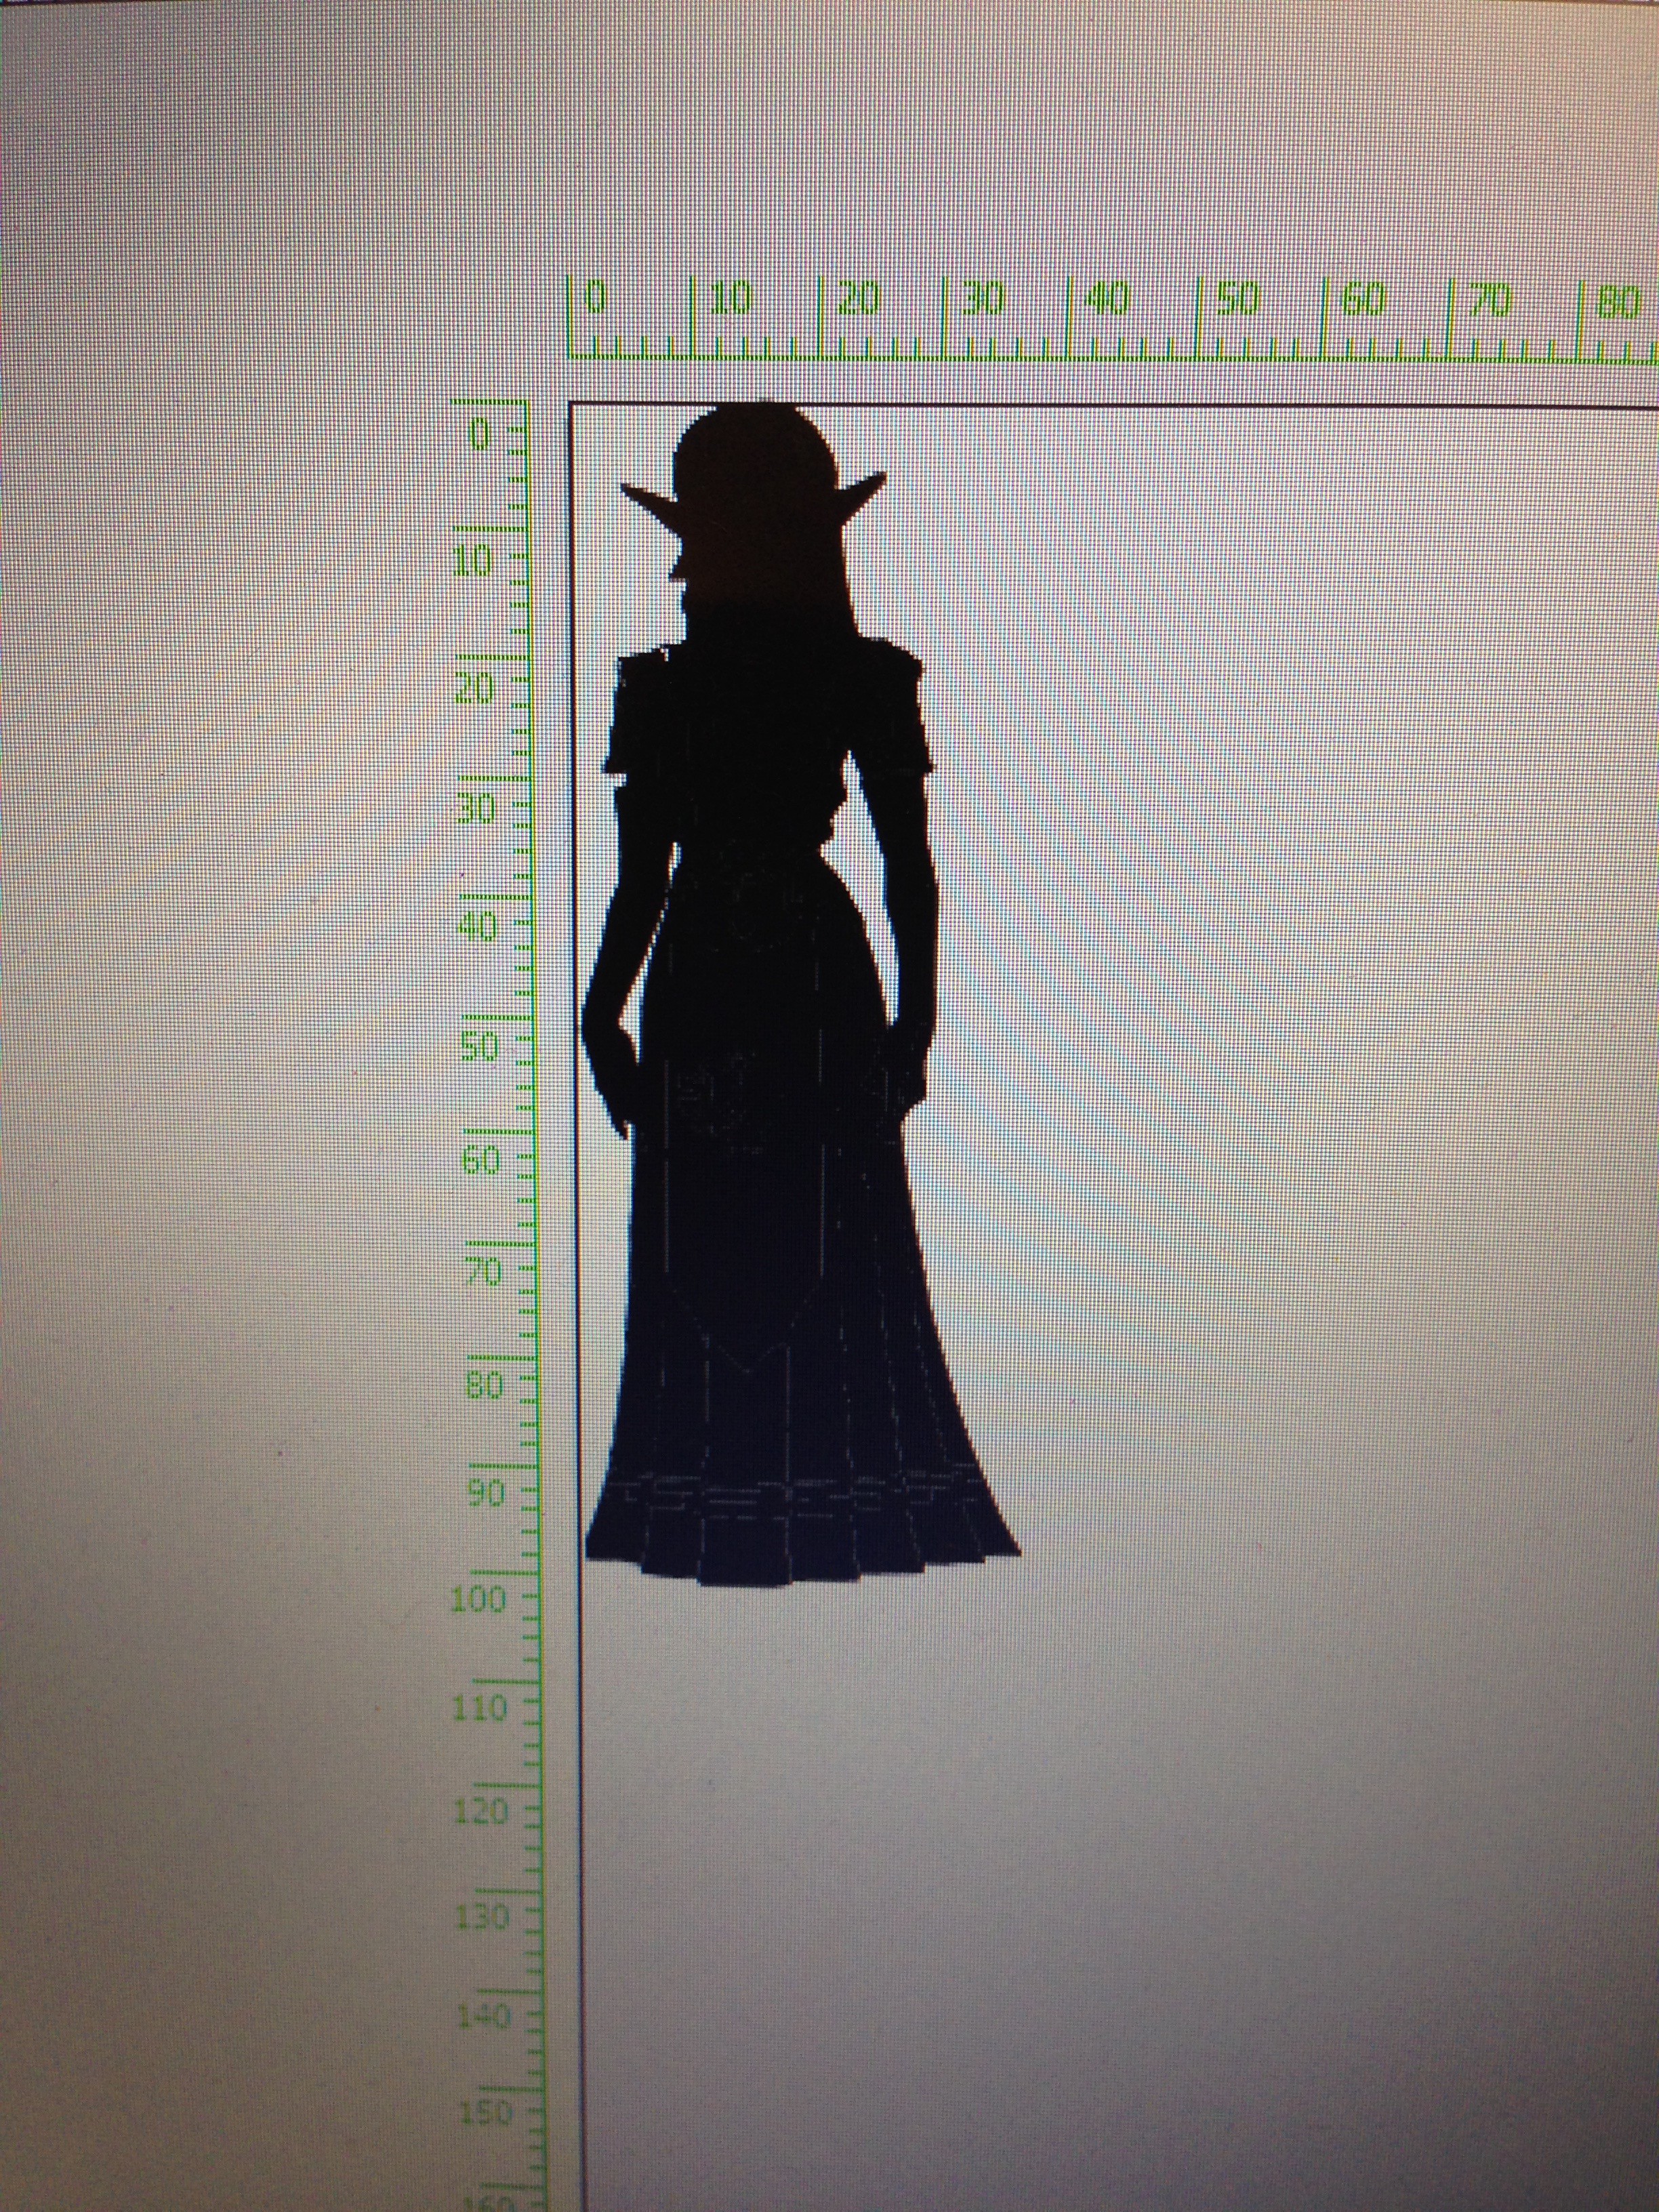
13The Laser Engraving
![]()
In this step, I added some of the illustrator files I used for the engraving.
For the others, they are from this awesome website. It's a really good database of Adobe Illustrator Vector files of games (like Zelda, Mario, Mortal Combat or Street Fighter...), movies (Star Wars, Despicable Me), Comics (Superman, Batman, Deadpool...) and many other categories!
-
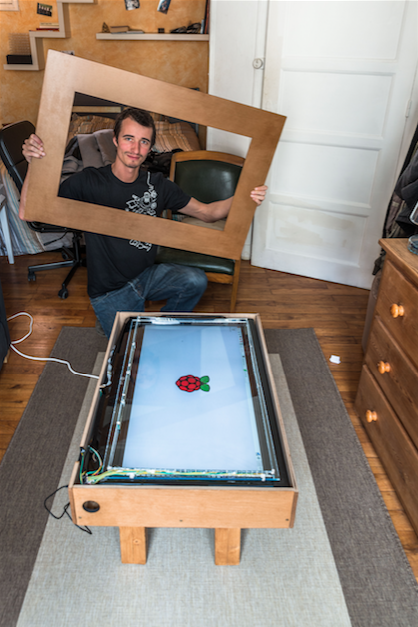
14Final Program, Let's Play!
![]()
Now we have everything fitting together, let's try a few games :)
With the keyboard option of the Teensy program you can emulate any key based game. I made few test with the PyGame already on the Debian Pi like the game squirrel.py. Then, I installed Retropie on a second SD card and tried playing with few games.As the engraving of the table, I have the games Mario, Zelda, Star Wars and Pac-Man (and others!)
But my keyboard code wasn't adapted to emulate a gaming keyboard so I had to make few modifications on pressing and holding the keys. If you use the normal program, the frequency of sending the key is not high enough, so Mario is gonna move very slow, like if you where just pressing the button very quickly instead of holding it.
My new keyboard game code hold the position of the button while it's reading the next one. With this configuration the movement of Mario are smooth :-) . I also implemented the multi-point as you need to be able to move and jump in the same time.
As we can easily access the usb port, it's also possible to plug a controller in and to emulate some games without a touch screen.
-
15How to Improve the Project
![]()
Still a lot of thing to do, it's hard to work on everything in the same time :-)
- Now I made the multi-touch work, I can't stop thinking on how to improve the algorithm. But it's quiet a complex part for me :p
- With the second CIS sensor, the screen is almost entirely covered. I still want to add more LED to create a slow mode but with a 100% screen cover.
- I added a small button on the Teensy to be able to change mode. But we can't switch from a keyboard to a mouse or to serial. I can only change the different serial mode (like processing/python or debugging). Maybe Pymouse could be an interesting way to improve.
- Maybe adding several sensor to use it as a monitor of the apartment. We can find some very interesting project on this area and I could add a nice Python GUI as the link between Teensy and Raspberry Pi isn't very useful right now.
-
16Conclusion
![]()
I hoped you all enjoyed this tutorial and that it will inspire many other projects using CIS sensors or coffee tables!
As you can see in the last step, there are still many ways to improve it... If you have any ideas or any questions, I would be happy to work with other people on making it more reliable, efficient and fun! ;-)
Magic Frame : Turn Everything into a Touch Area
Build your own touch screen solution adapted on your TV by using some CIS or CCD sensors from old scanners


Discussions
Become a Hackaday.io Member
Create an account to leave a comment. Already have an account? Log In.