Alex Bell
-
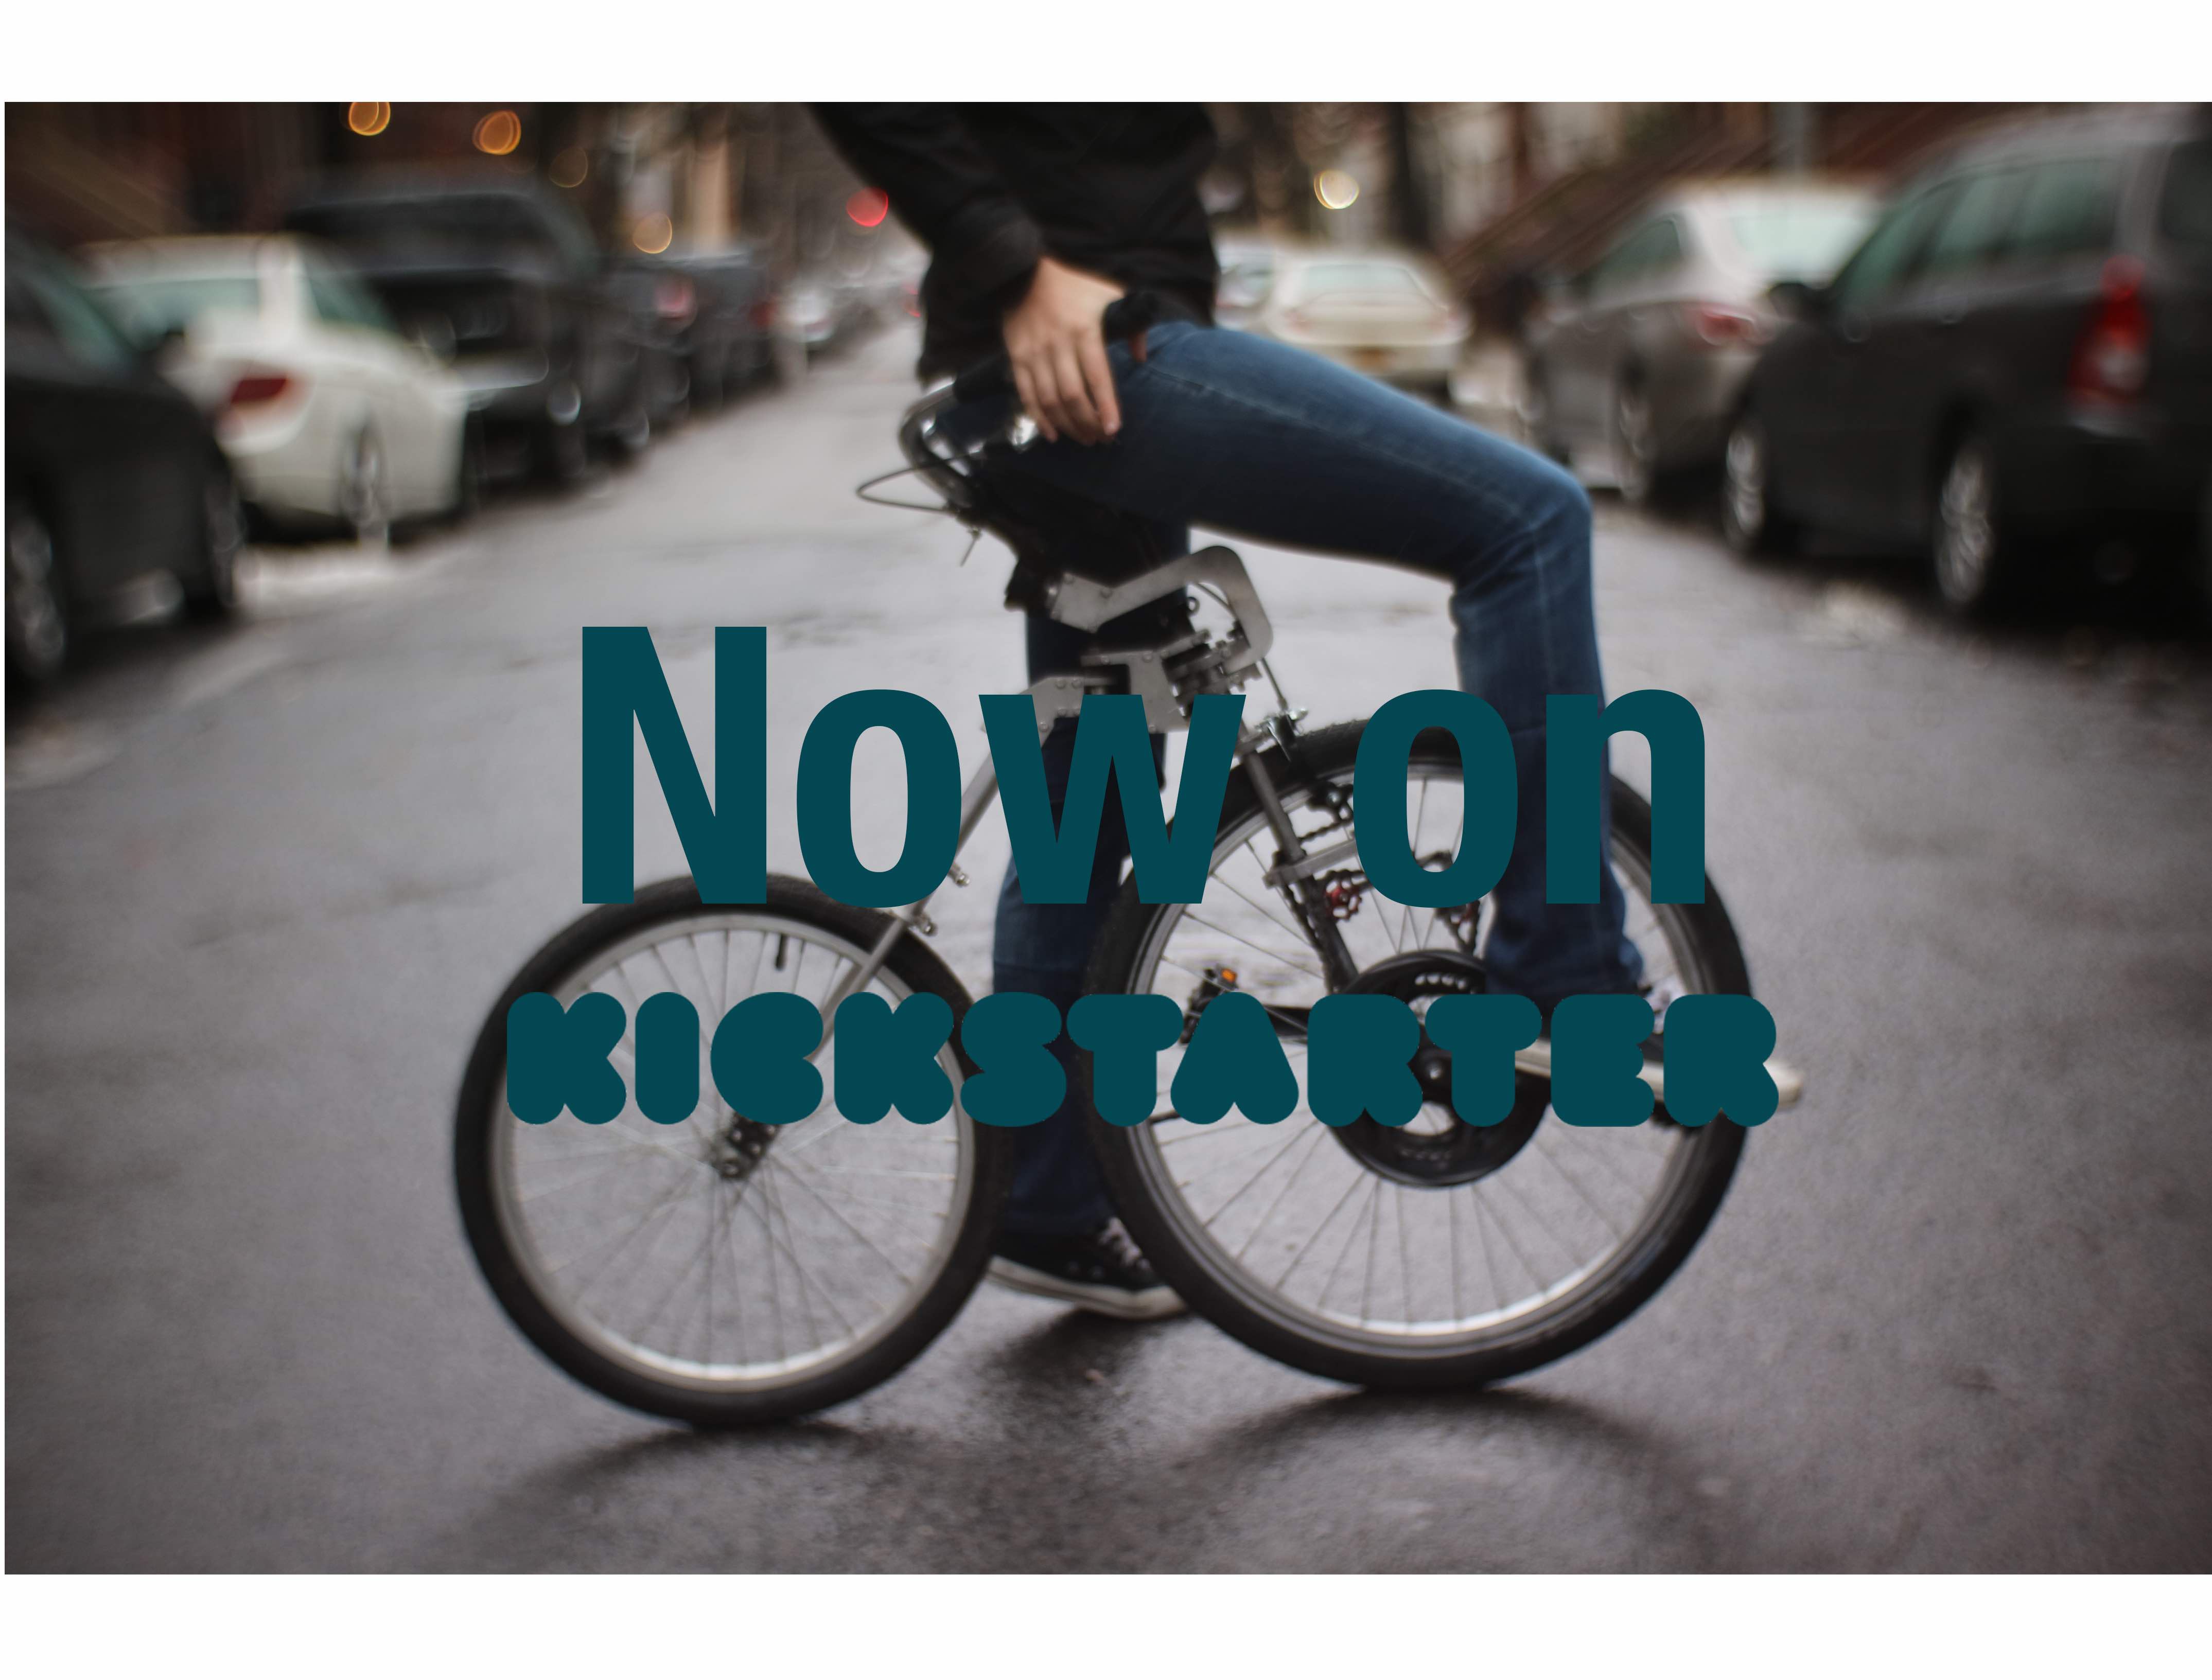
Live on KICKSTARTER
01/30/2018 at 17:37 • 0 comments -
Bellcycle vs Regular Bicycle: What are the differences?
11/09/2017 at 22:33 • 0 comments -
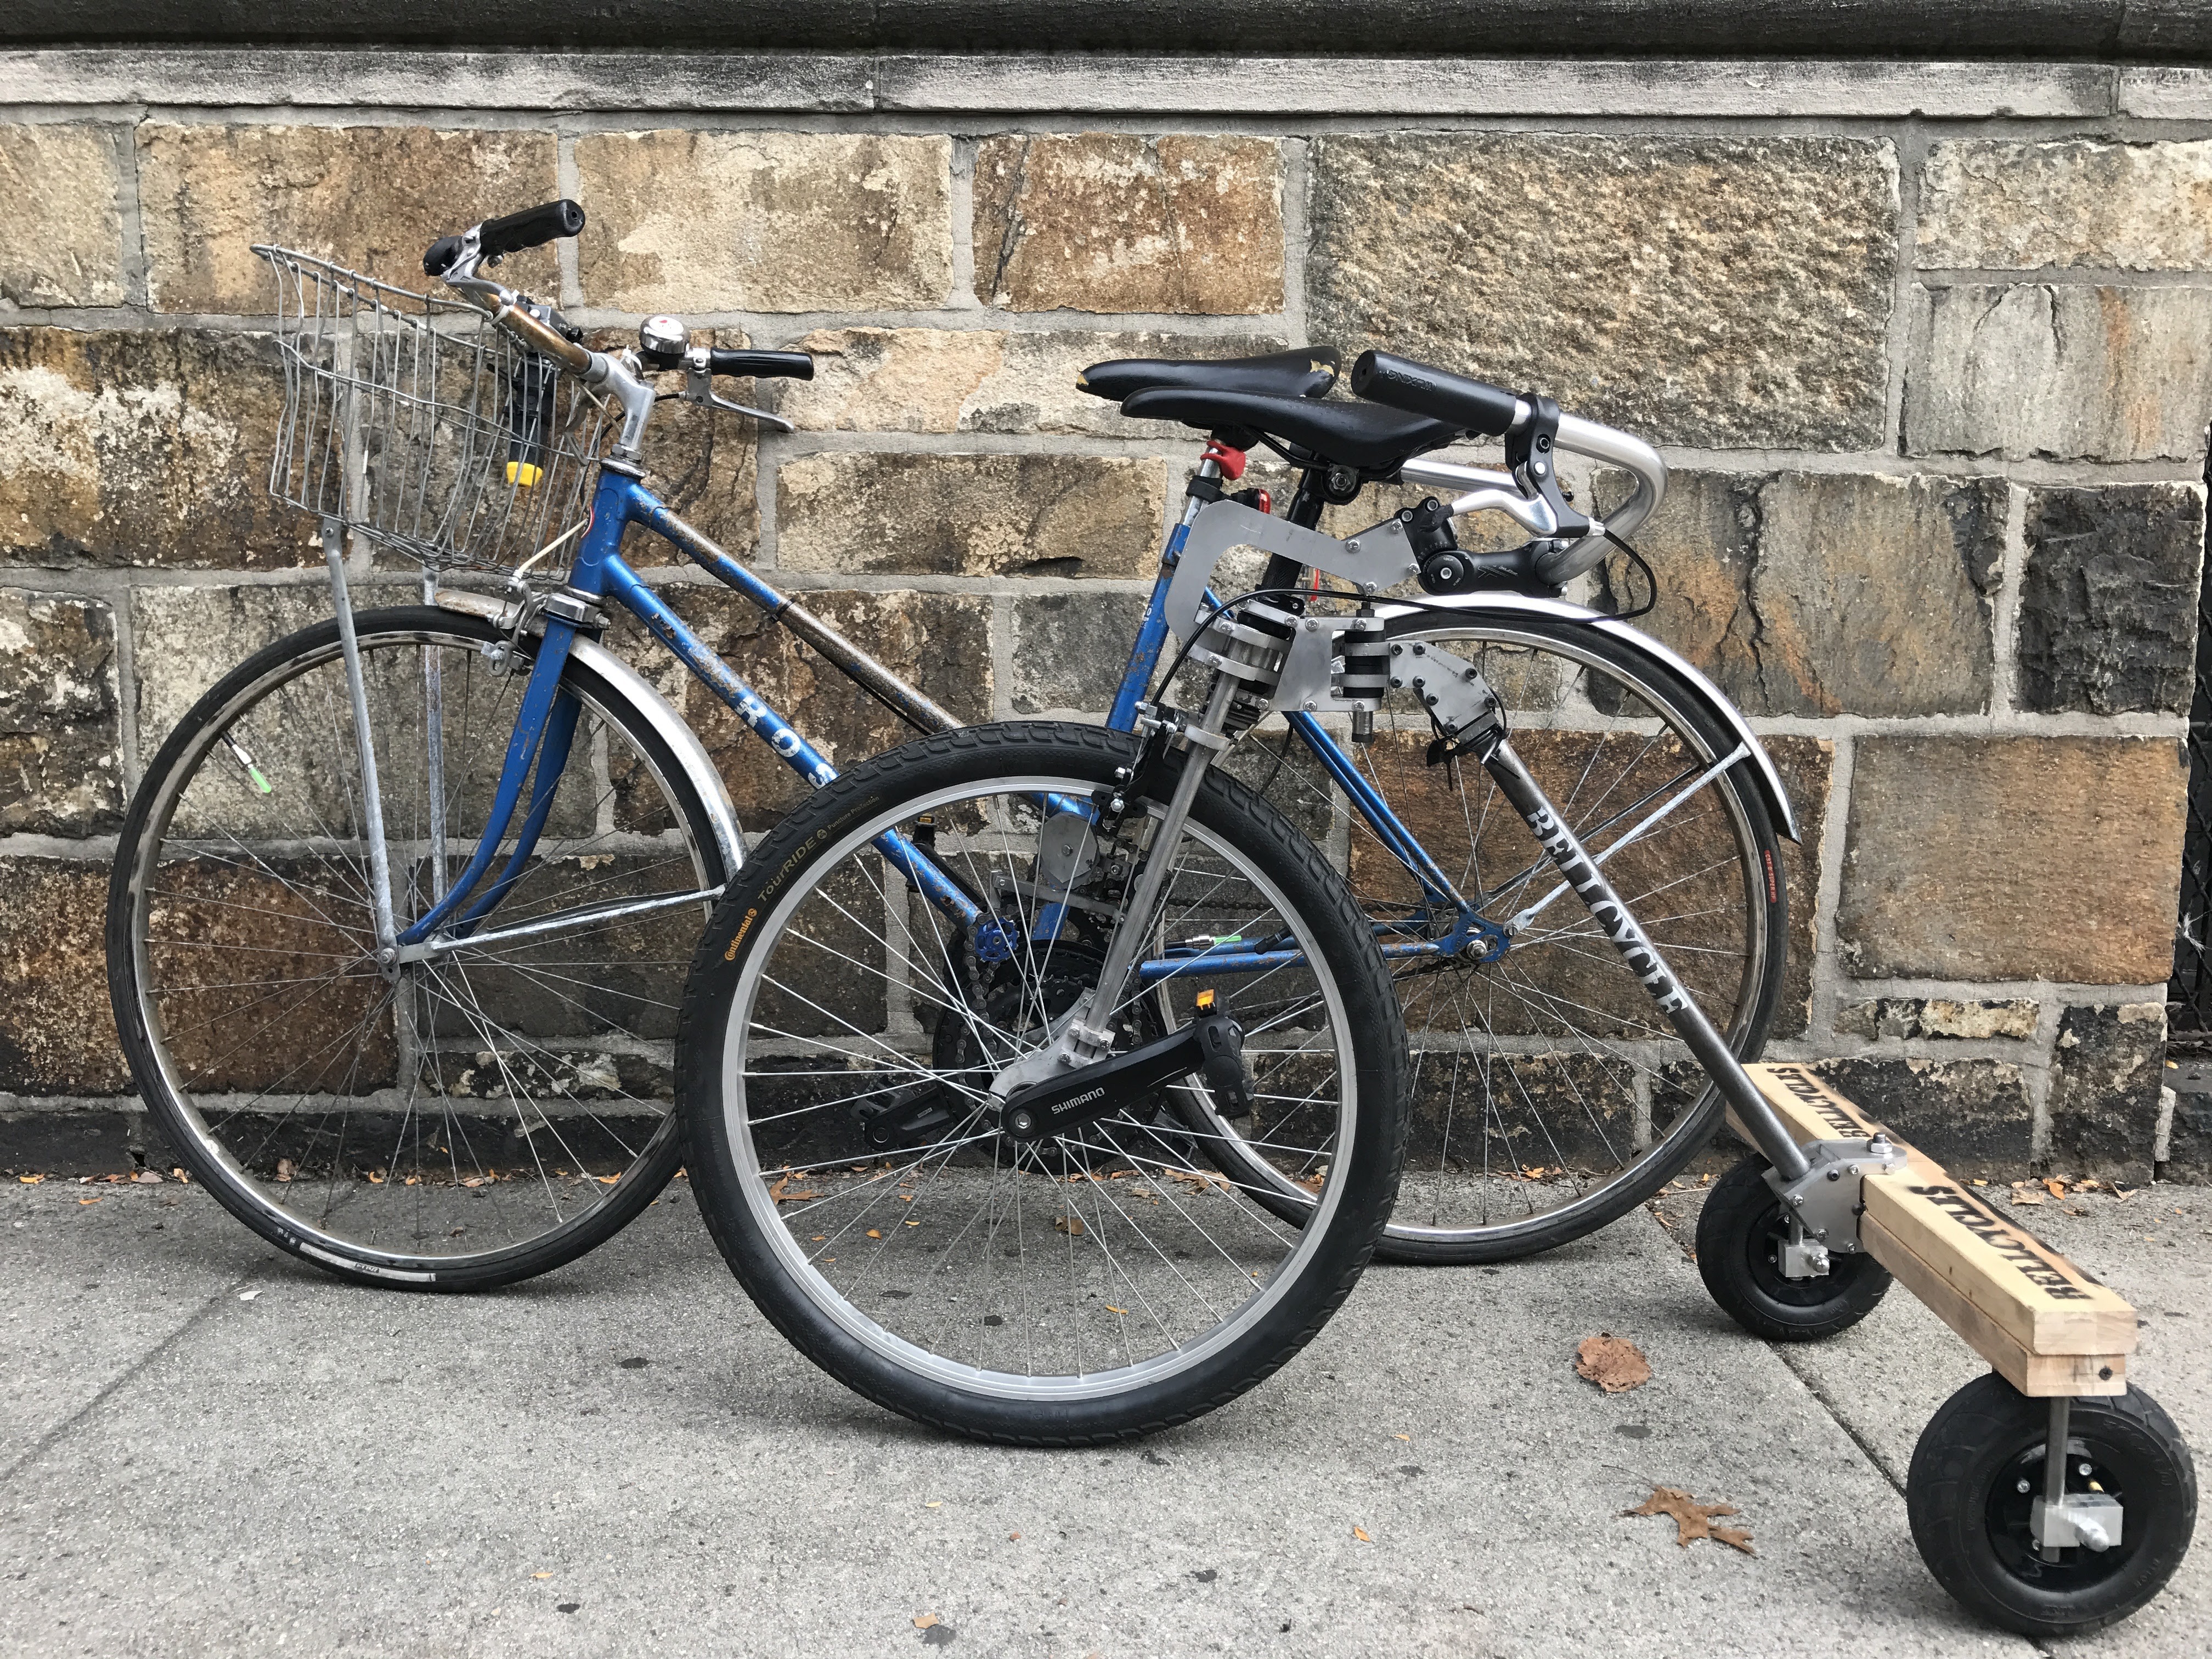
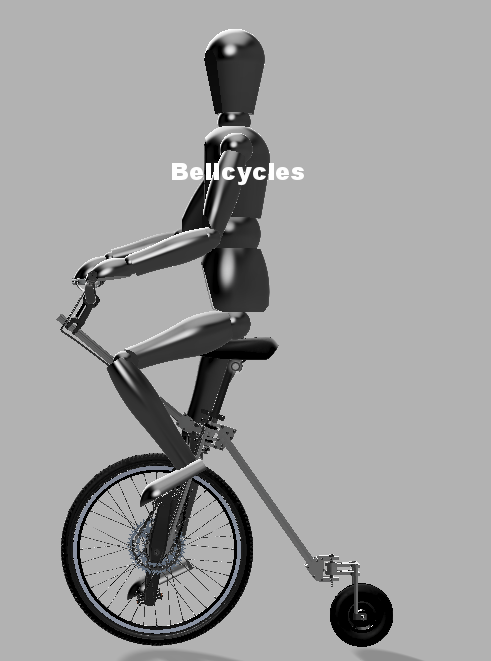
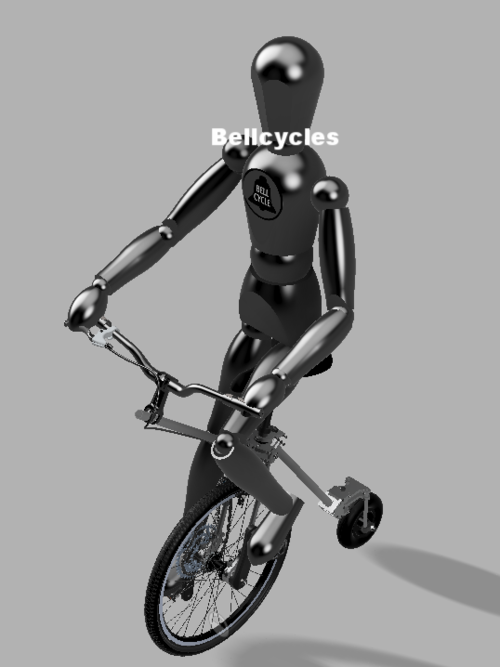
Comfort
11/07/2017 at 20:23 • 0 commentsI get a lot of comments on the street which are along the lines of
Is that comfortable? or That looks uncomfortable.
![]()
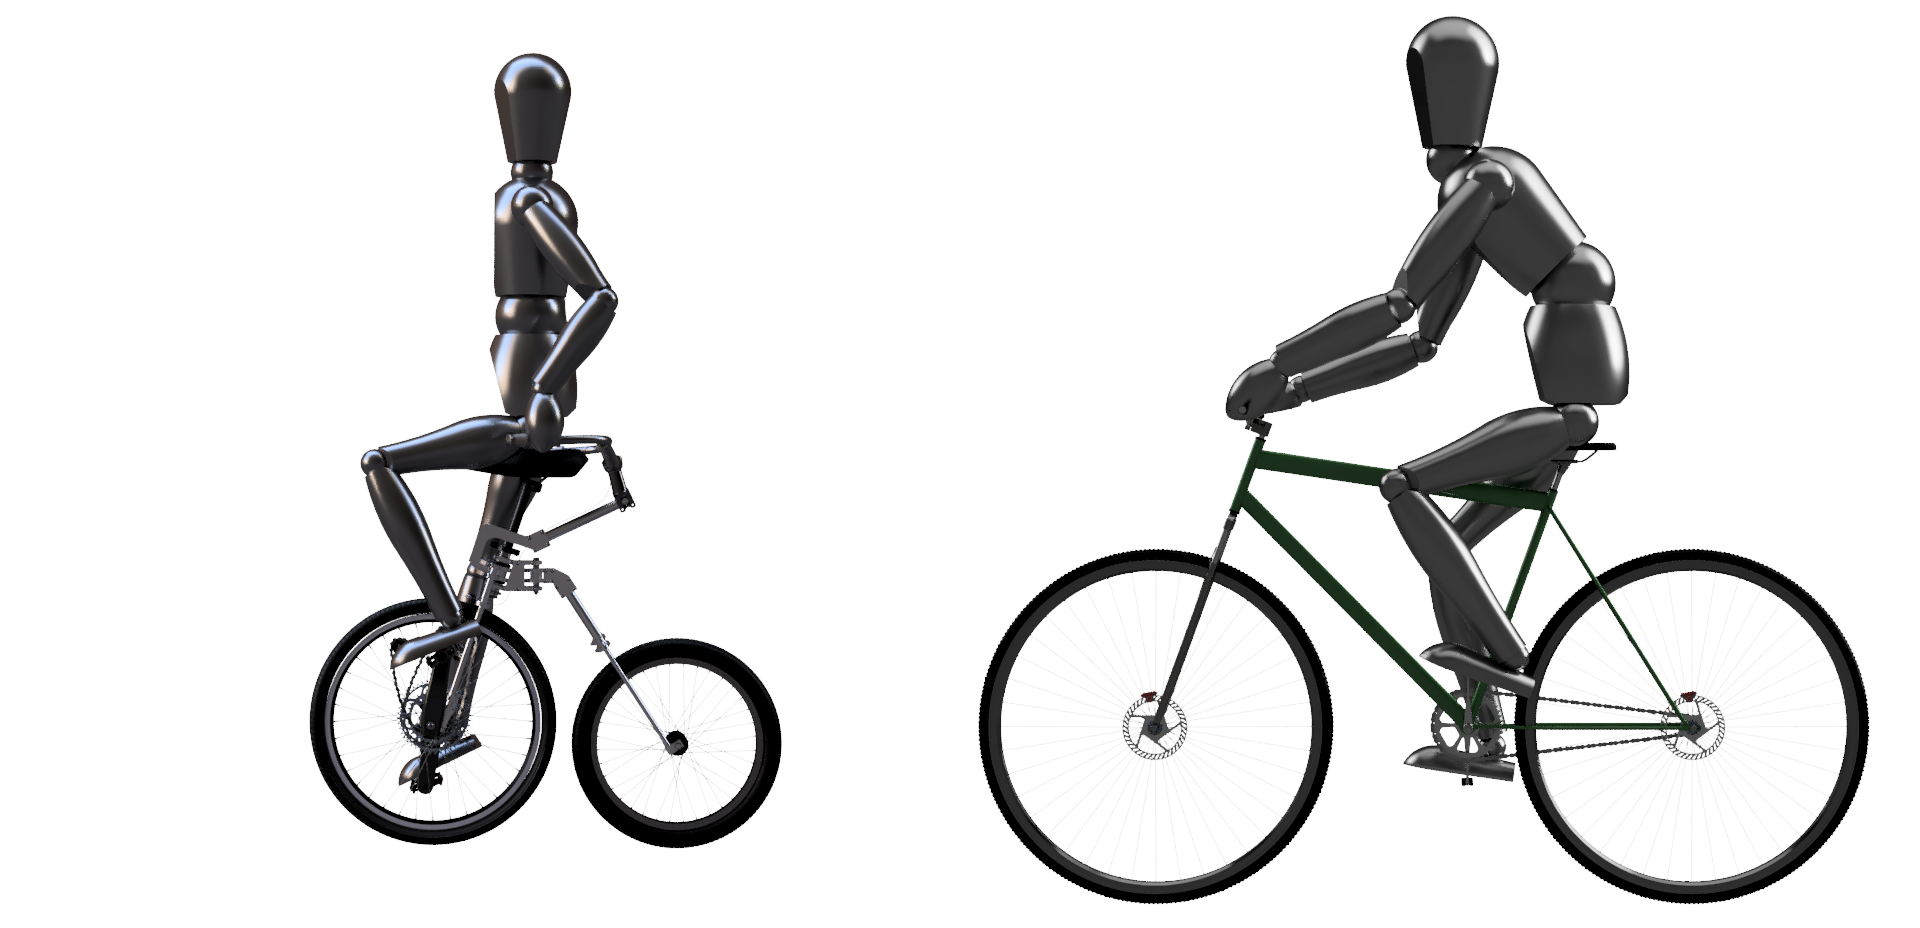
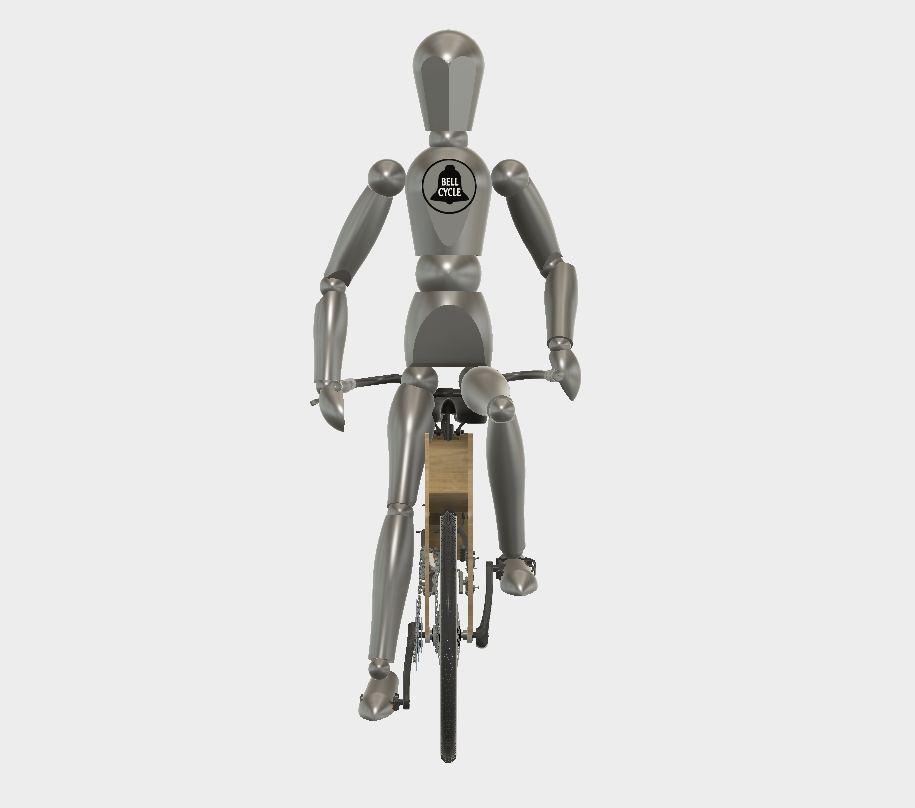
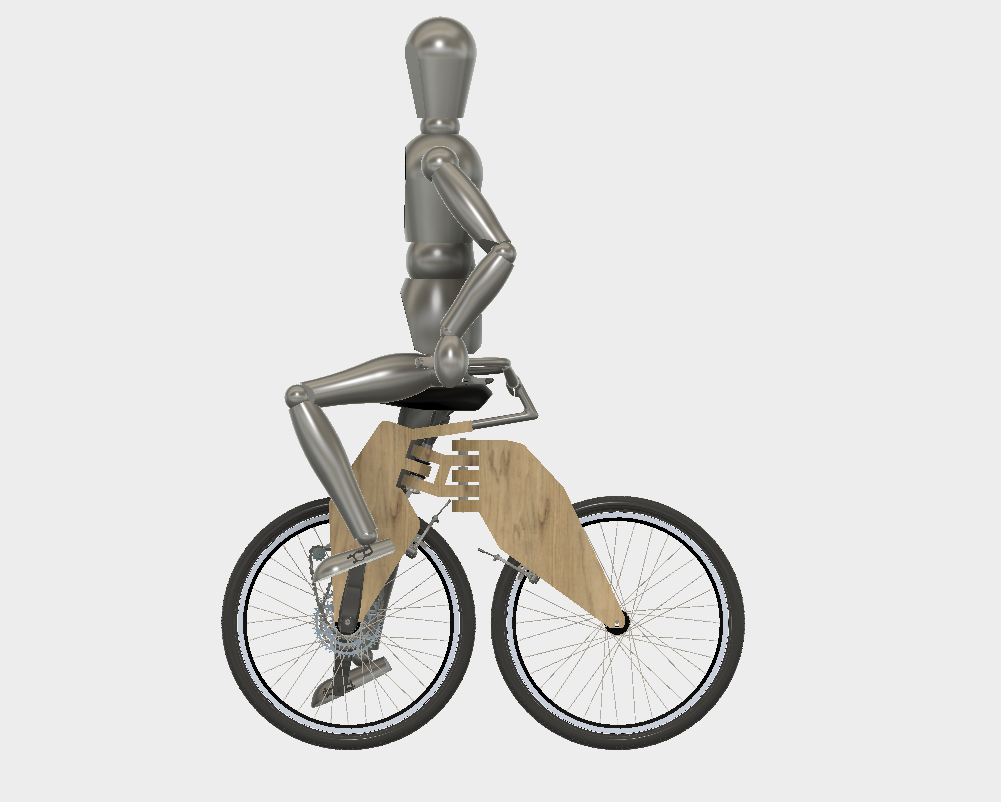
But if you look at the images side by side and we can remove the bikes to make it more clear.
![]()
The bellcycle posture seems better with back straight and hands by your side. The regular bike seems like the less comfortable one with head bent up and hands forward.
In general I find both comfortable.
-
More Higher Resolution Photos
10/21/2017 at 04:39 • 0 comments![]()
![]()
![]()
![]()
![]()
![]()
![]()
![]()
-
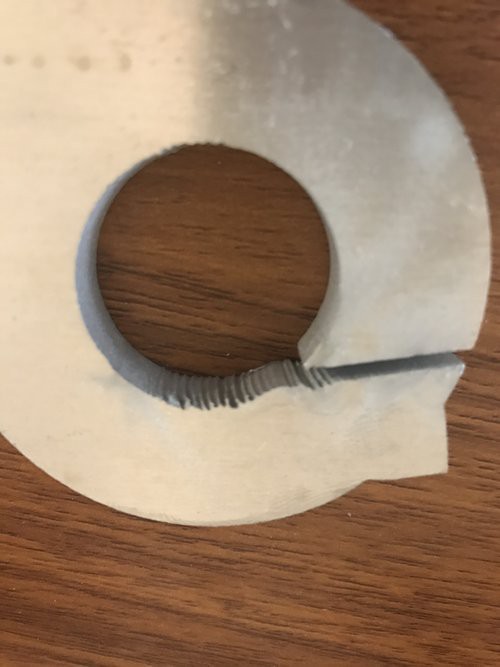
For Fun: a Wood Version
10/18/2017 at 23:06 • 0 commentsI have always wanted to build a wooden bike. But I am not really interested in the bamboo bikes or higher end models which use epoxy and composites to join the tubing/spars. I wanted something that was cheap.
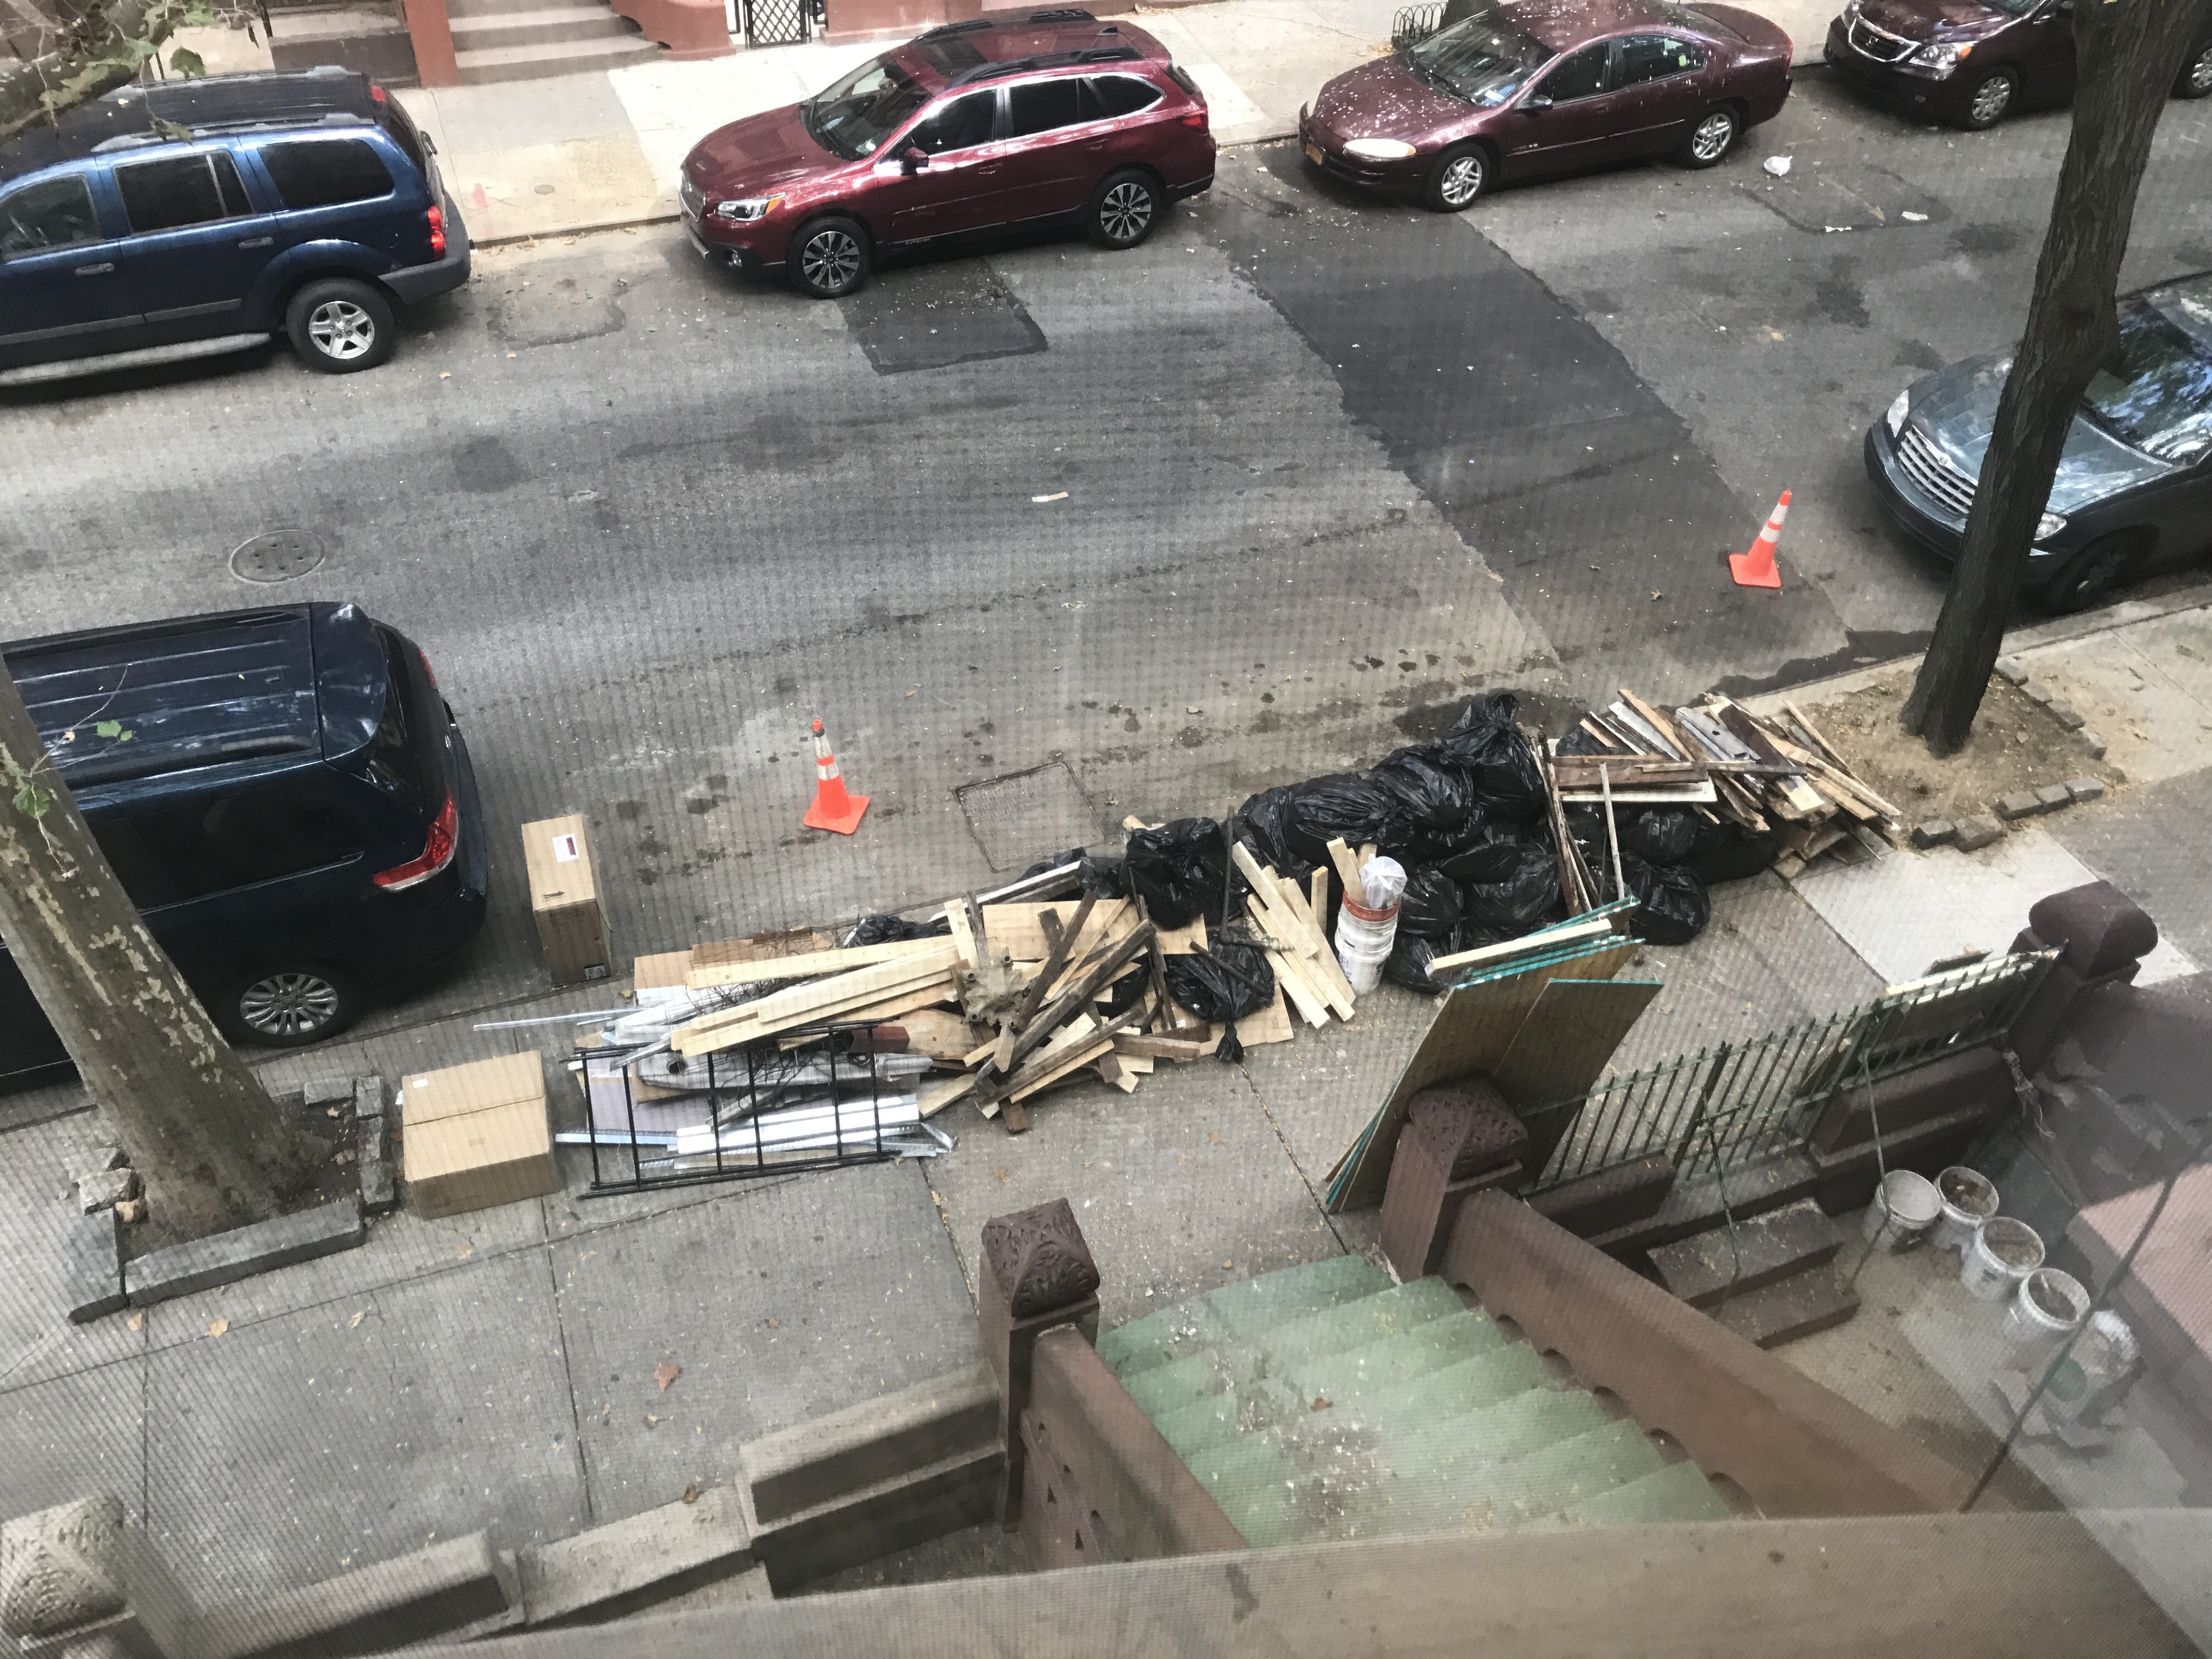
One great thing about NYC is there are a lot of people throwing things away. There is always a stack of wood in a dumpster nearby and routinely half mutilated bicycles are in the garbage also.
![]()
Wood for the taking. I used the Oriented Strand Board (OSB) leaning up against the building and some of the 2x4's.
![]()
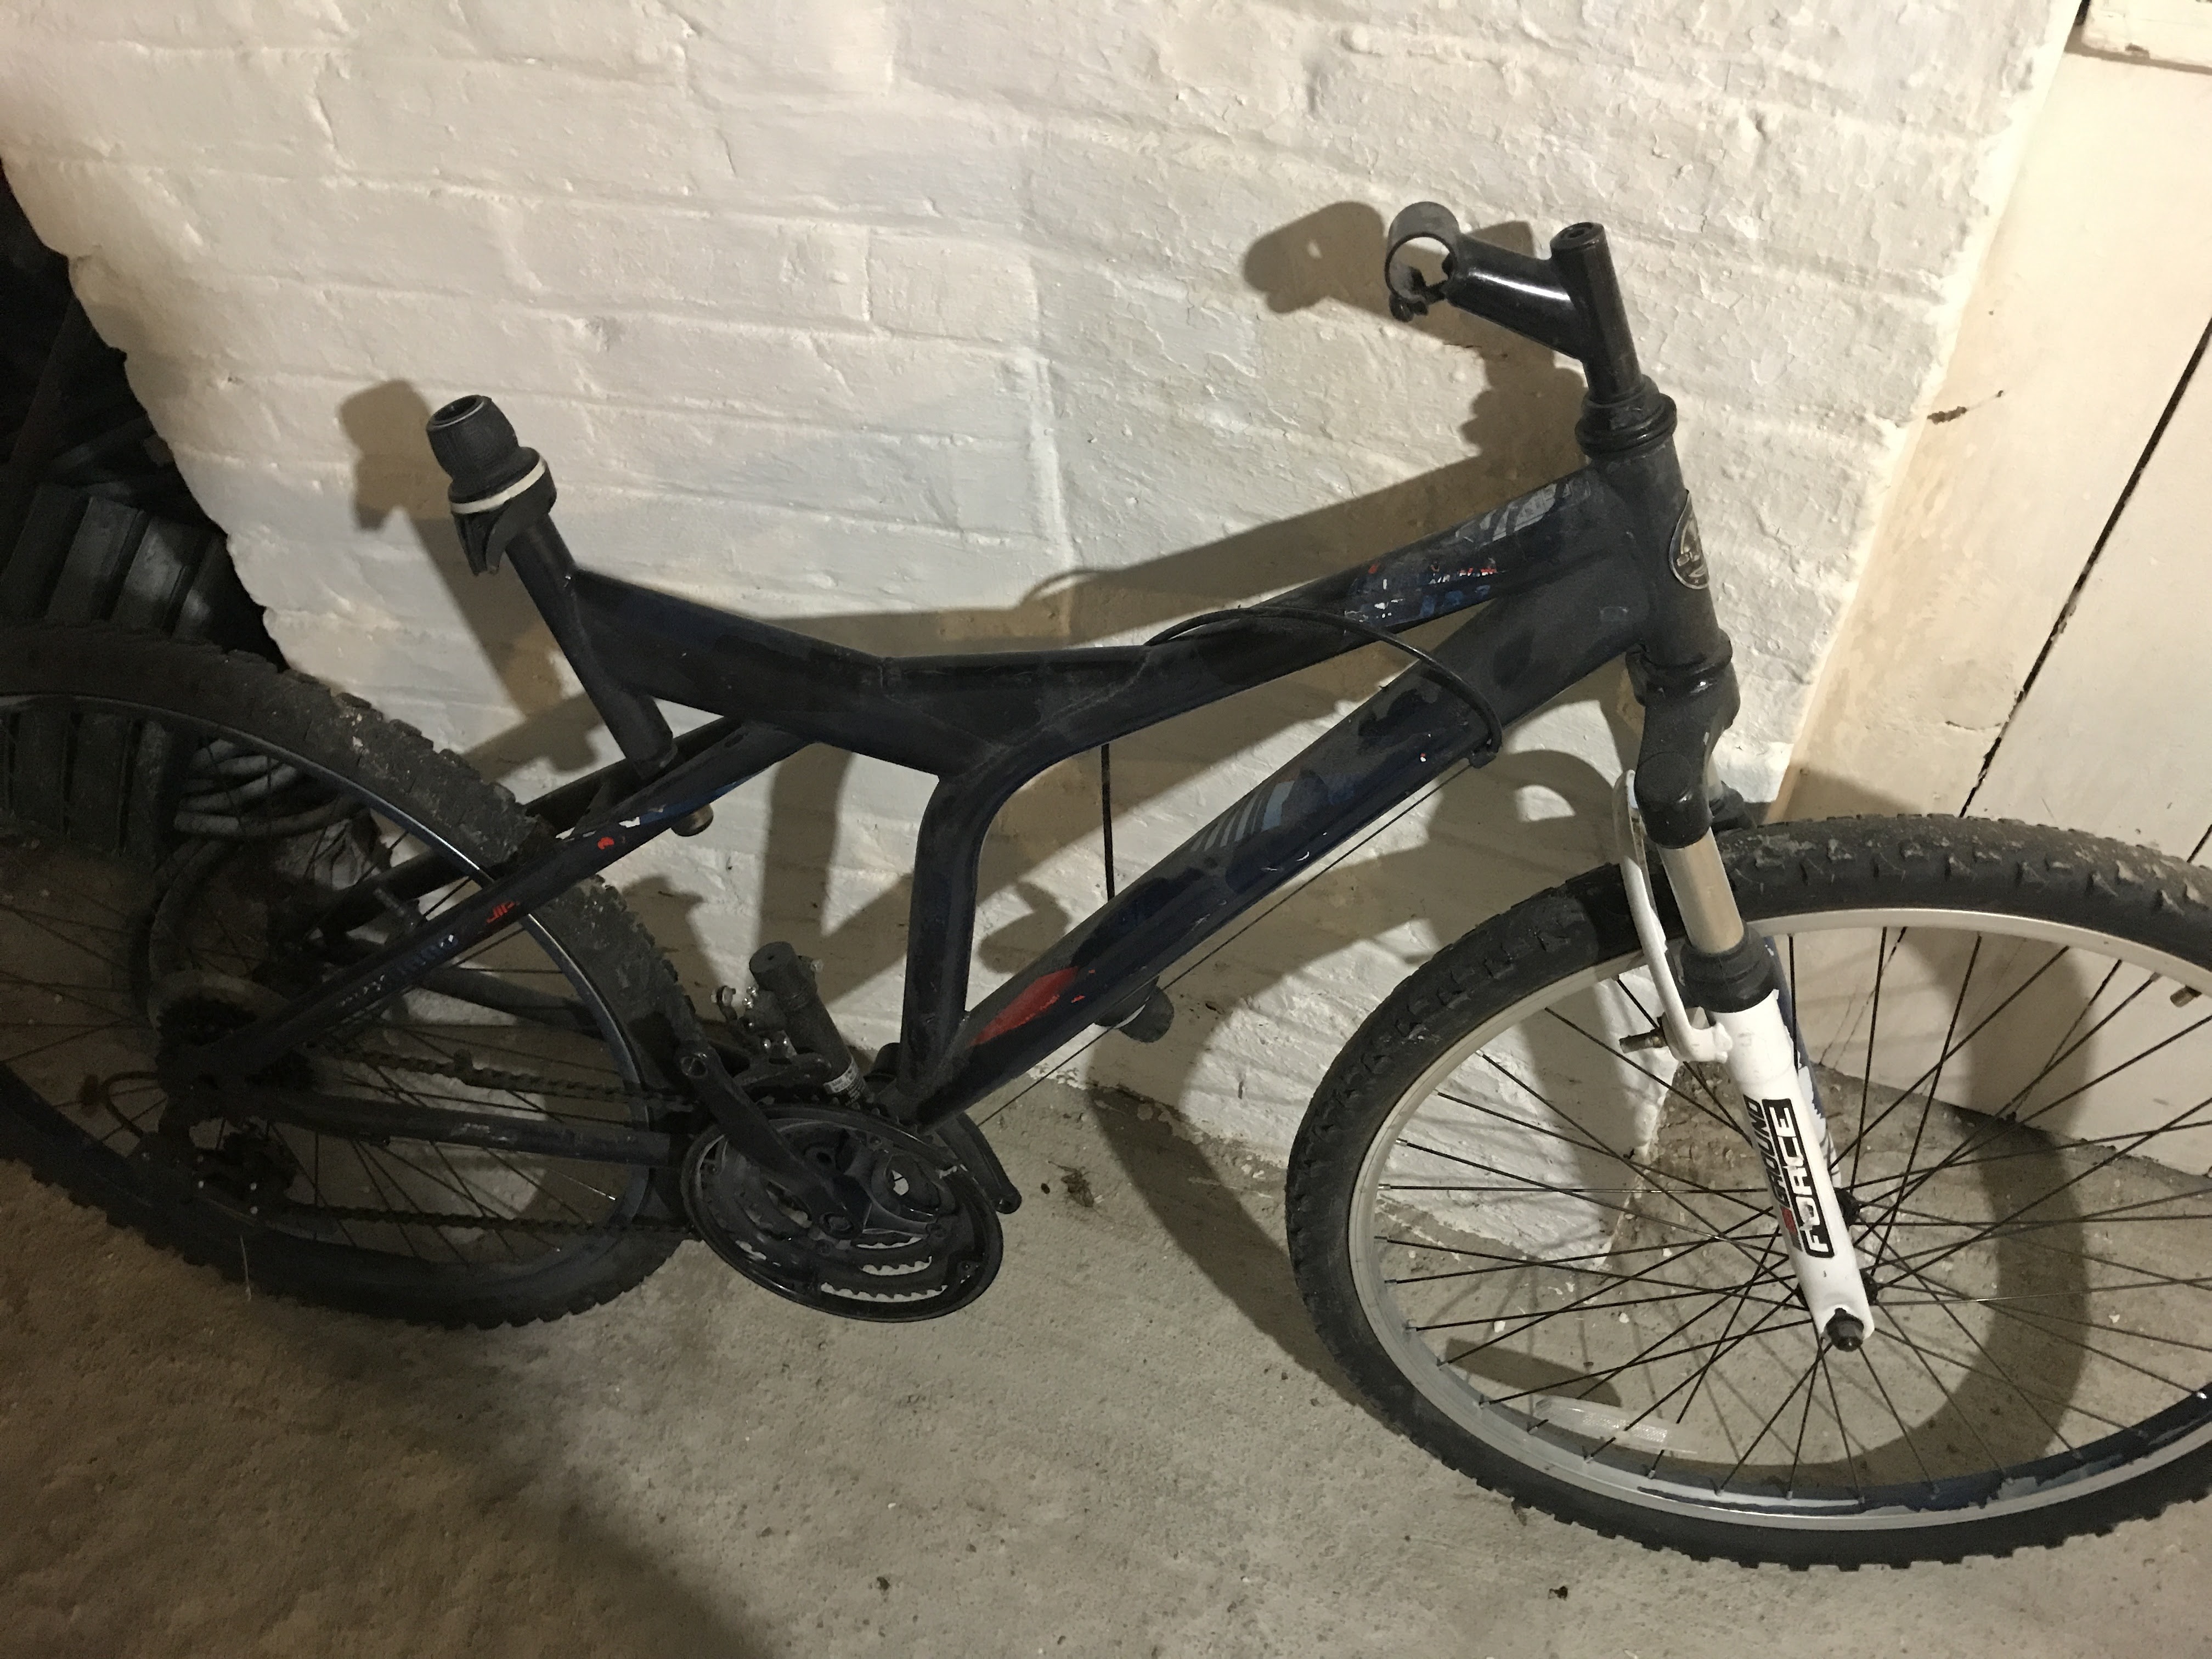
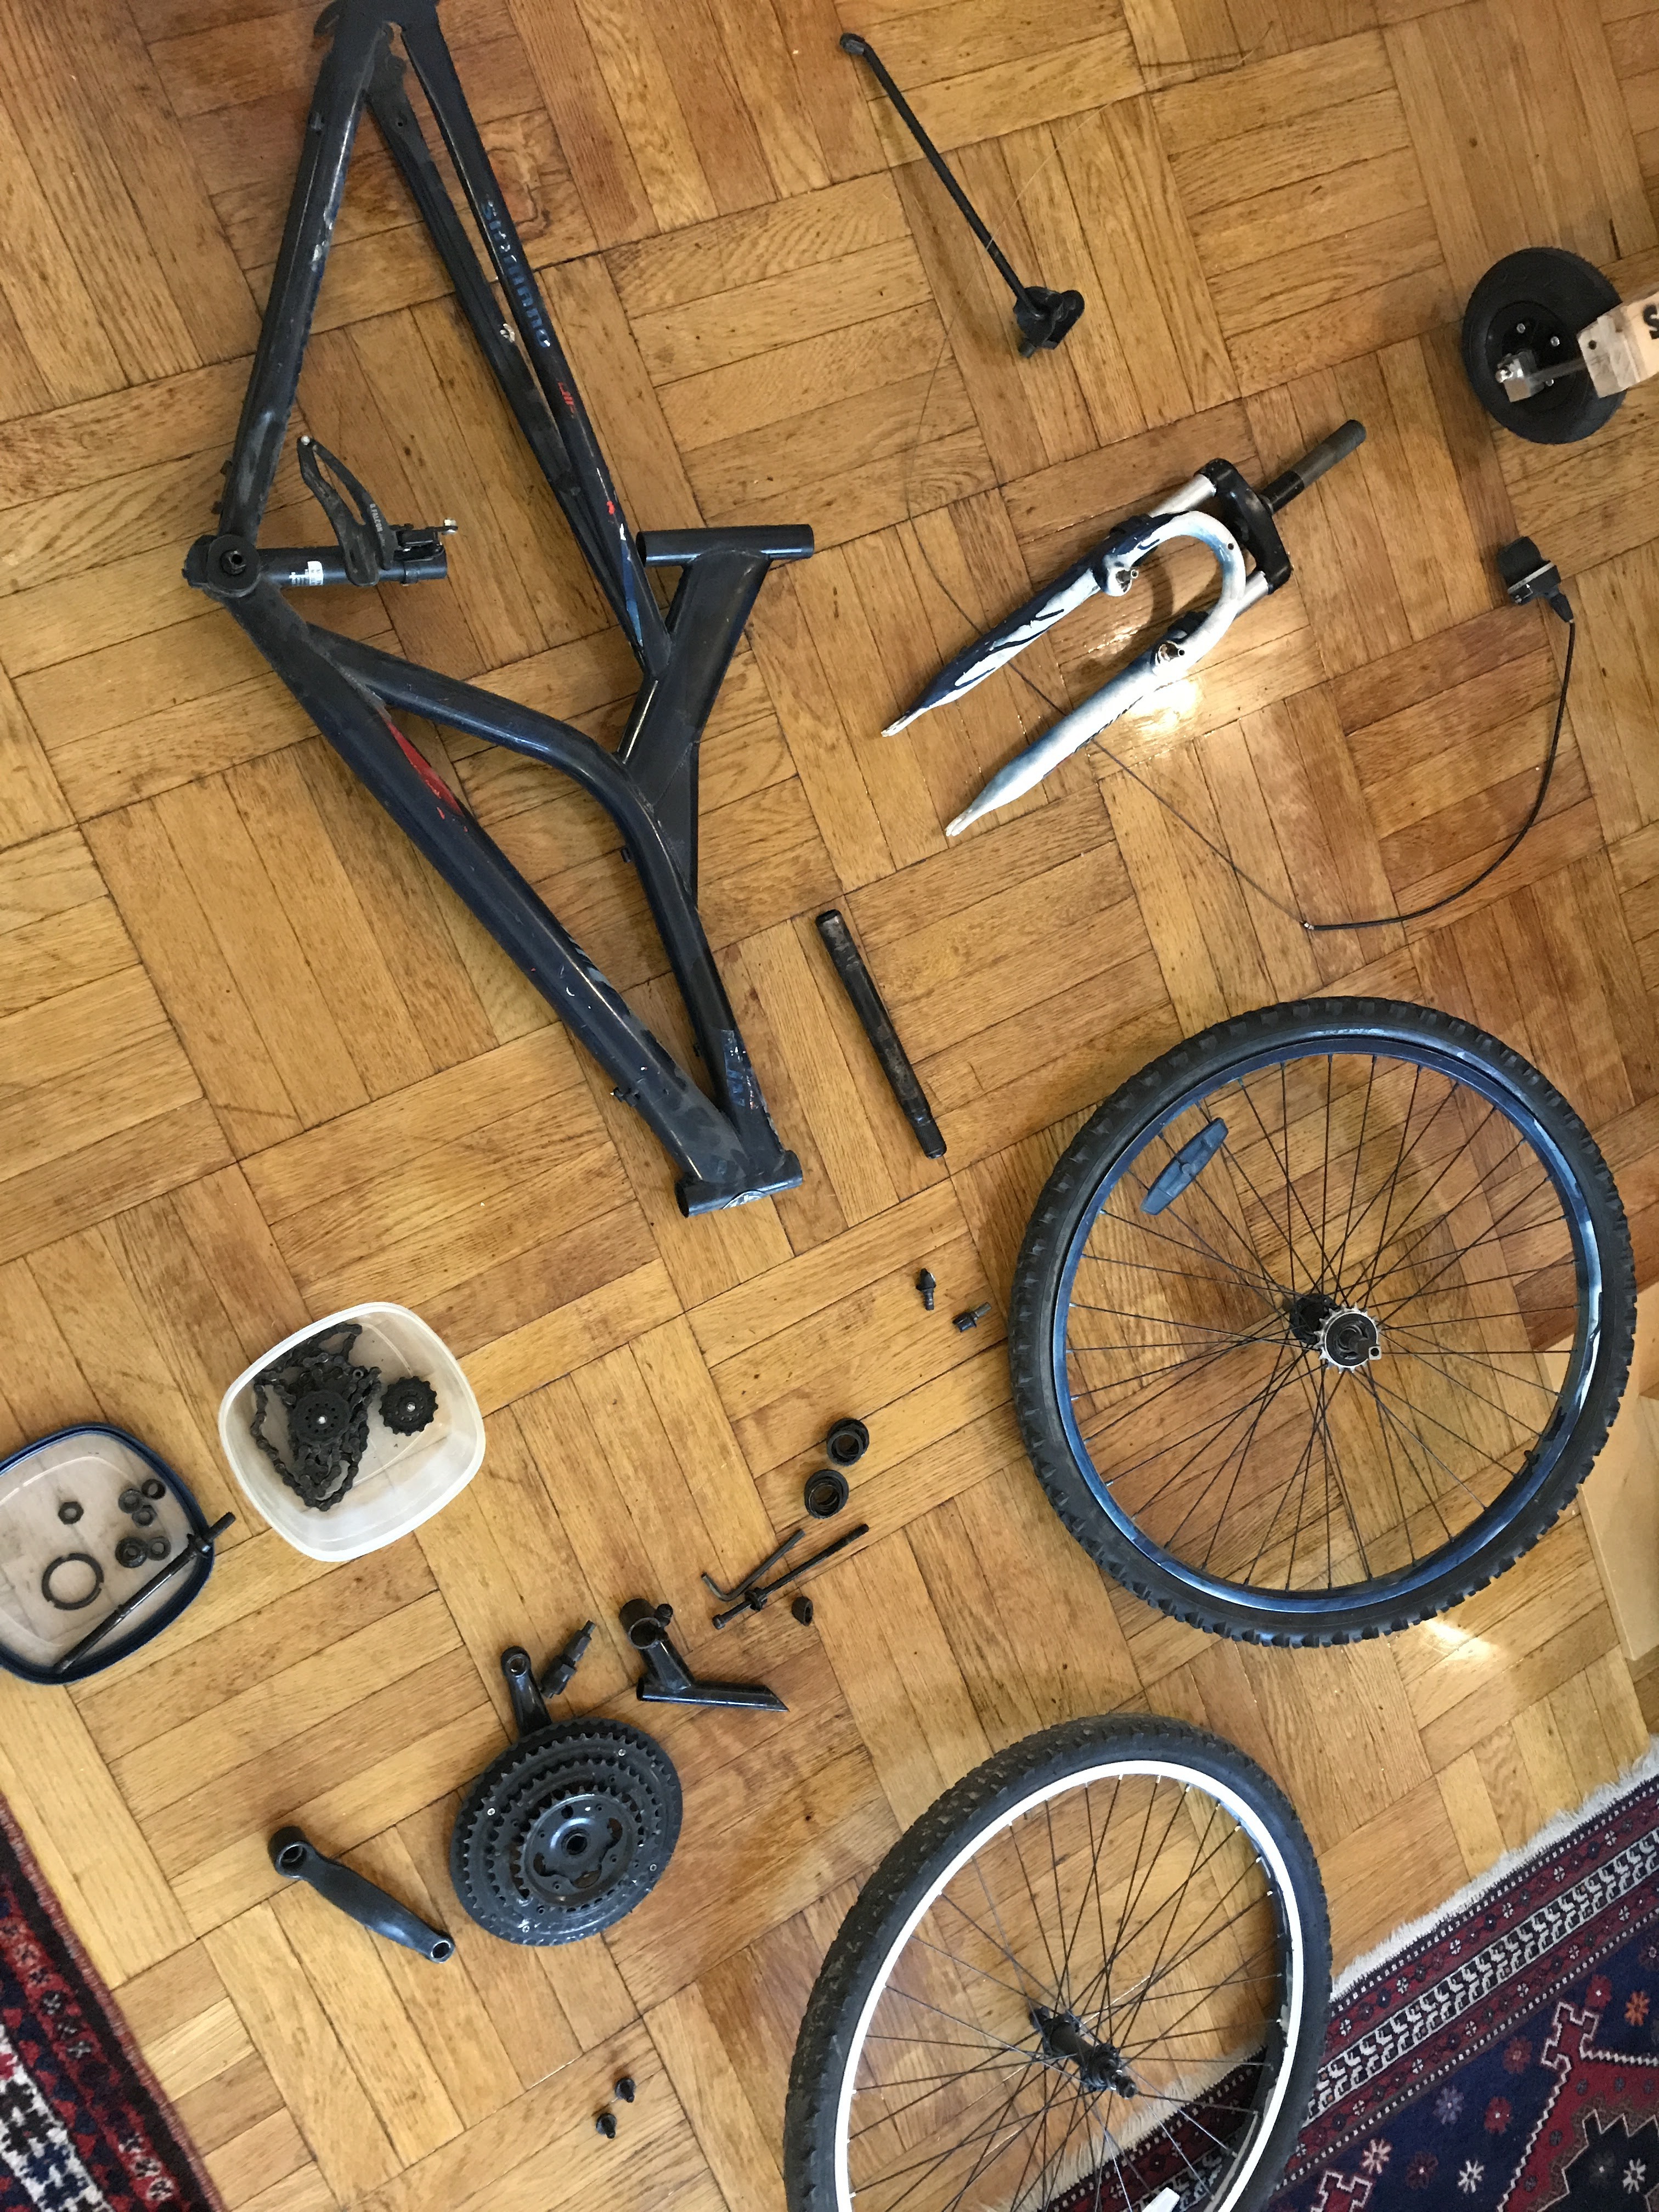
I found this jewel in the trash a few months ago. Missing quite a few things but good enough.
![]()
![]()
![]()
The CAD files are on Github ( https://github.com/Bellspringsteen/Bellcycles ) and AutoDesk Fusion360 ( http://a360.co/2yxKDWi )
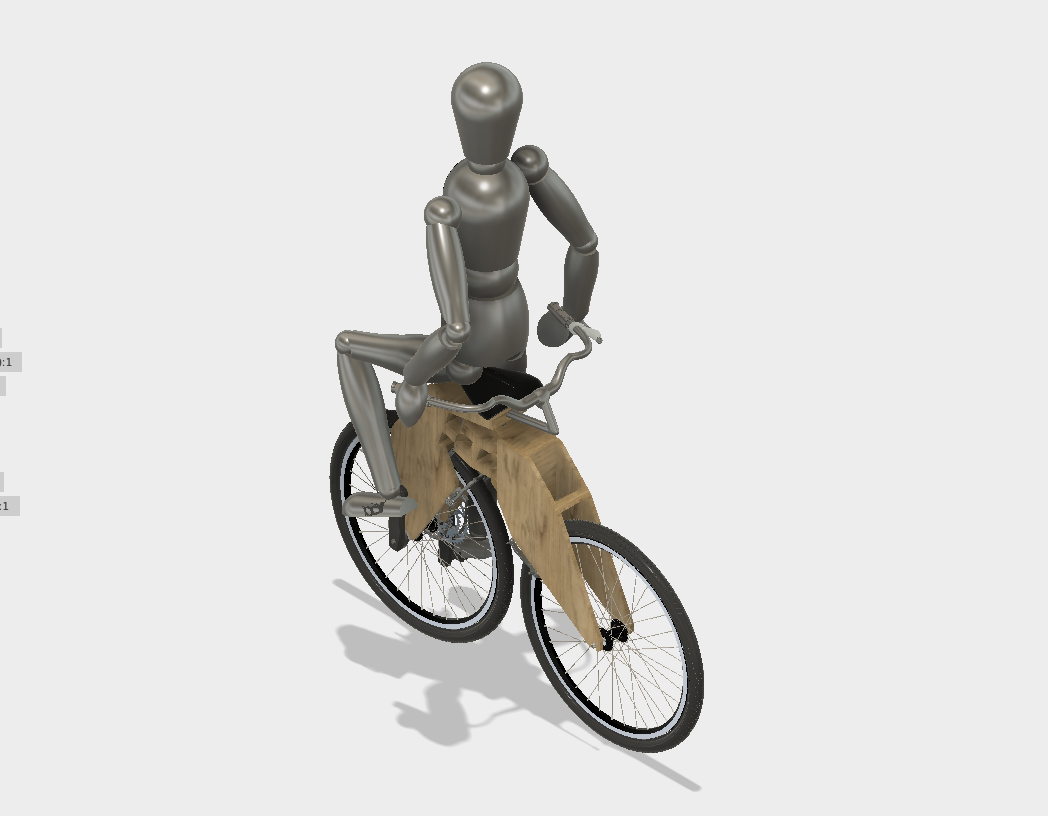
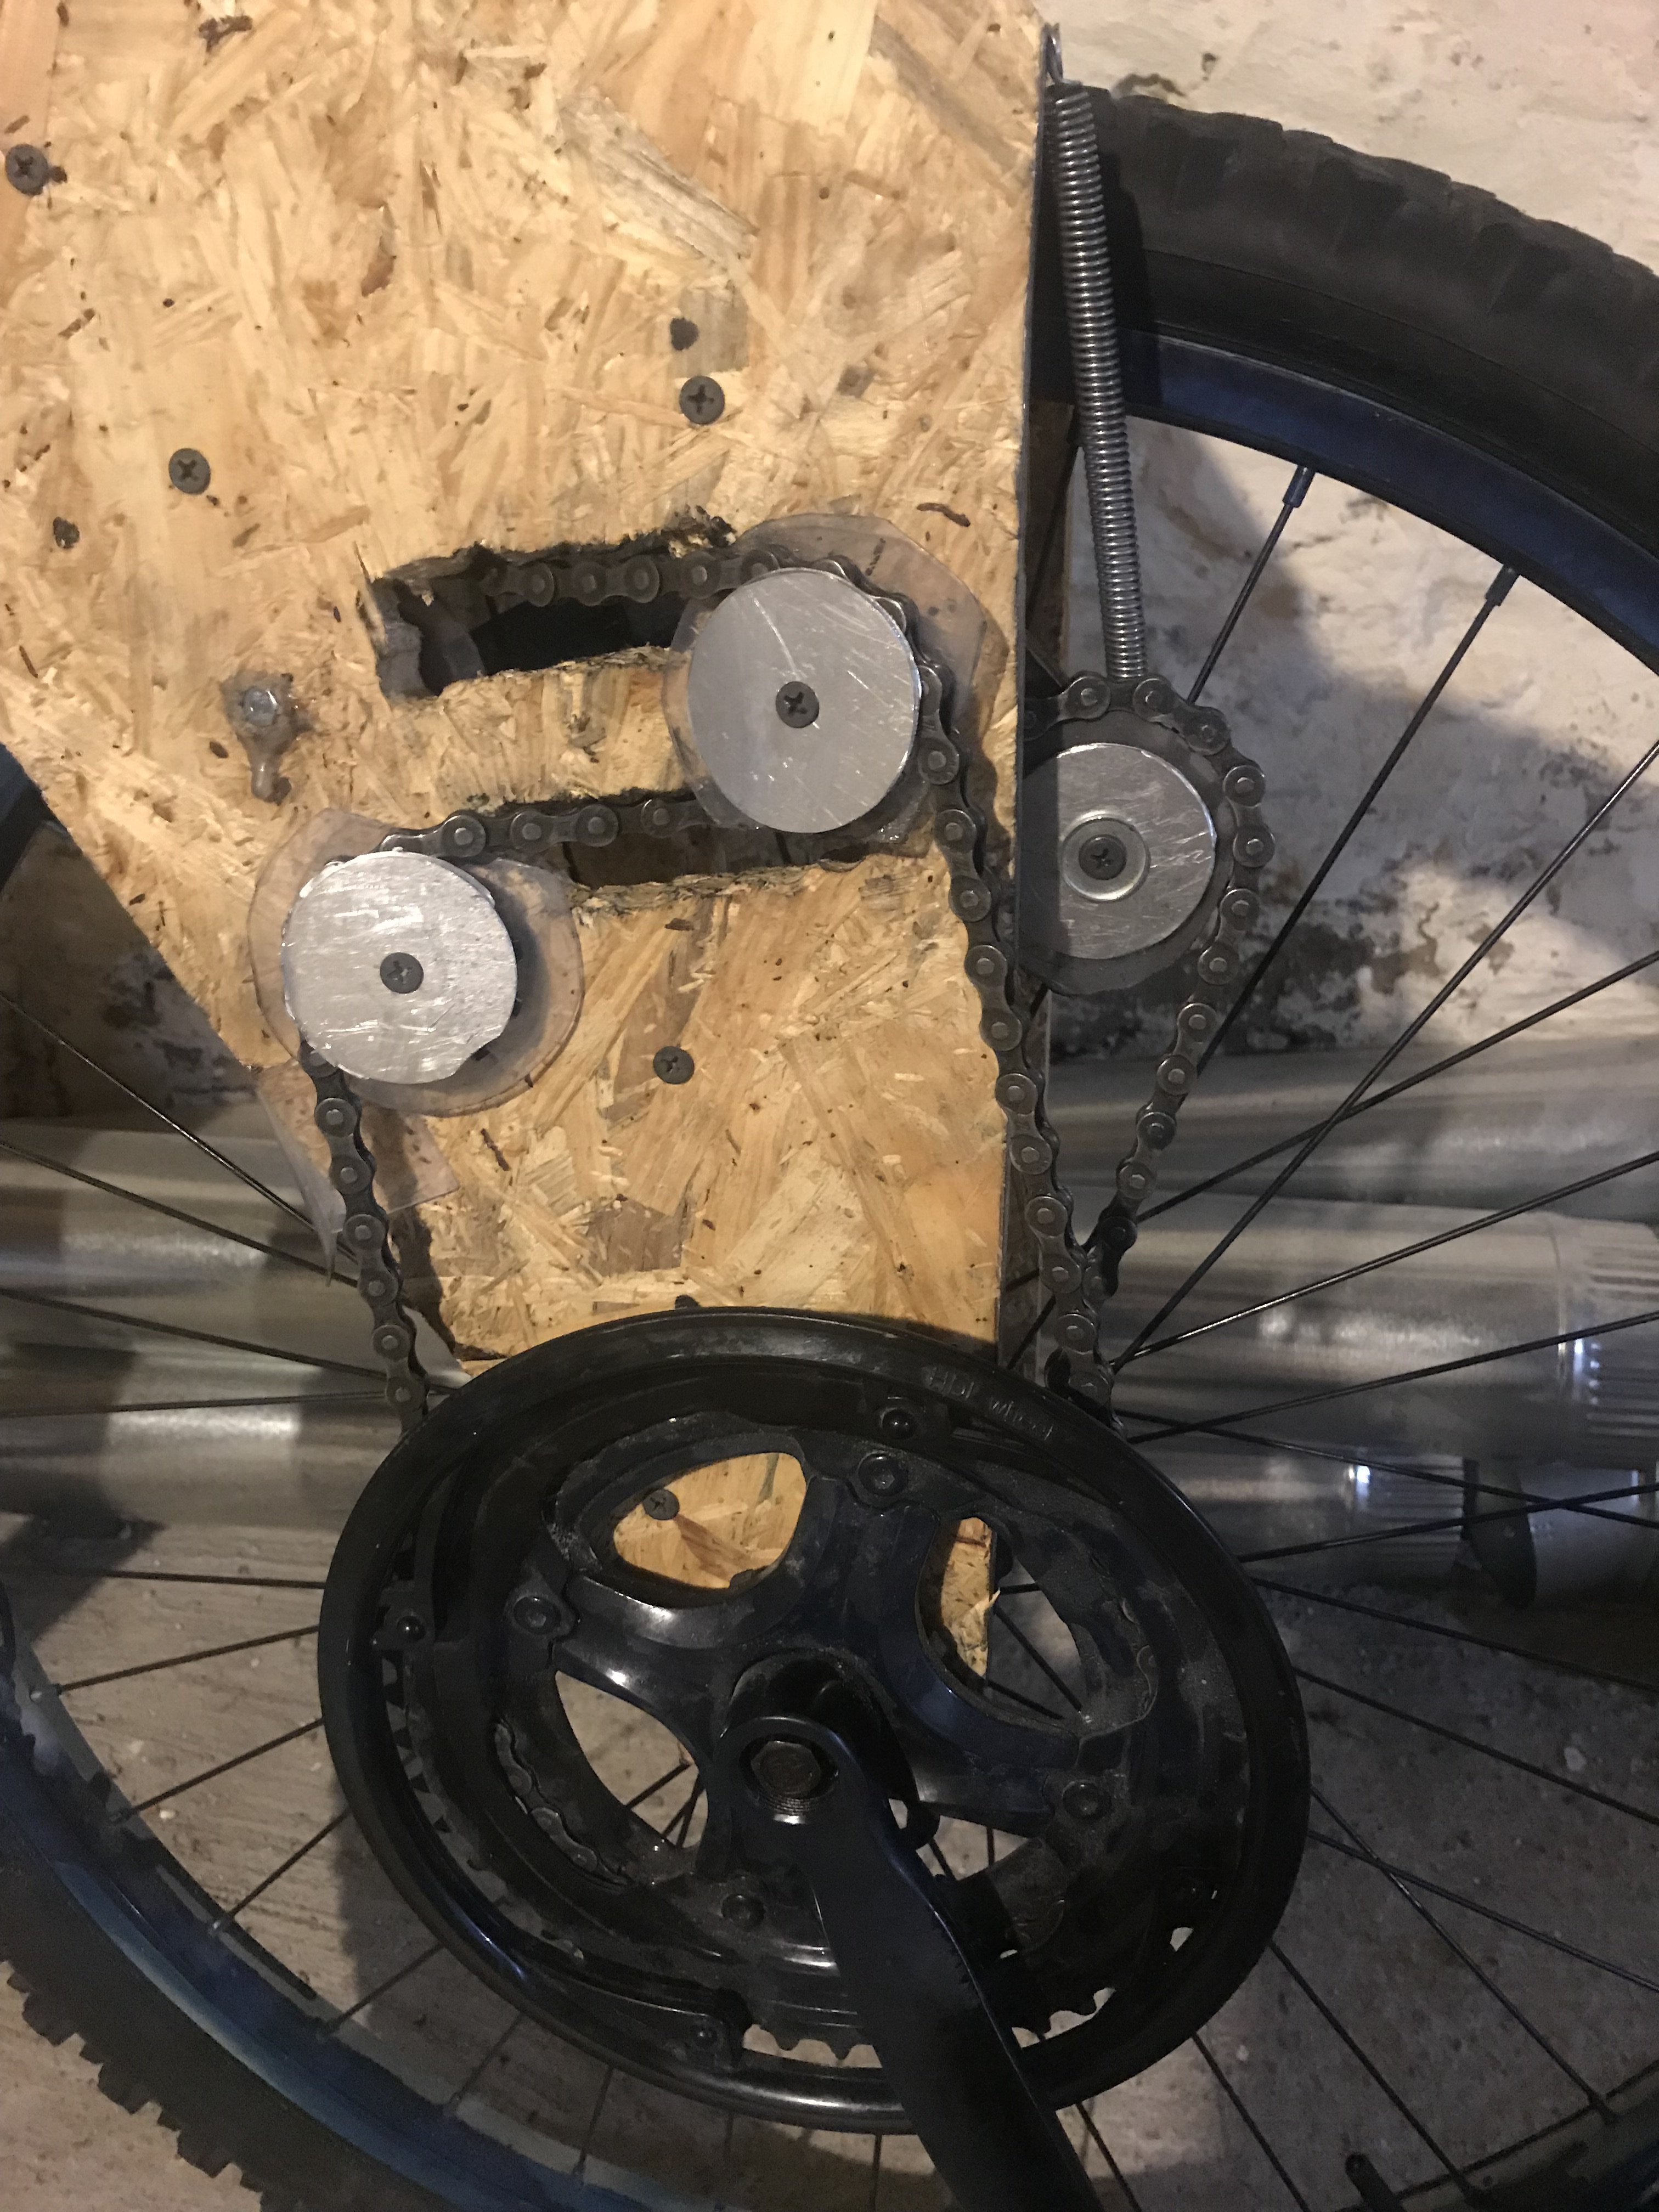
The design is similarish to the aluminum bellcycle bikes. It has the front frame which holds the same kind of front drive wheel. The center frame connects to front frame through a headset bearing and has the spring to remove pedal interference. The rear frame freely pivots behind the center frame.
![]()
From the trash bike we are going to need
- Crankset
- Chain
- Jockey Wheels
- Handlebar Stem
- SeatPost
- The side pull brake attachment points ( just hacksaw off)
- Both wheels, tubes, tires etc.
- Headset
- The top threaded tube from the fork.
![]()
![]()
![]()
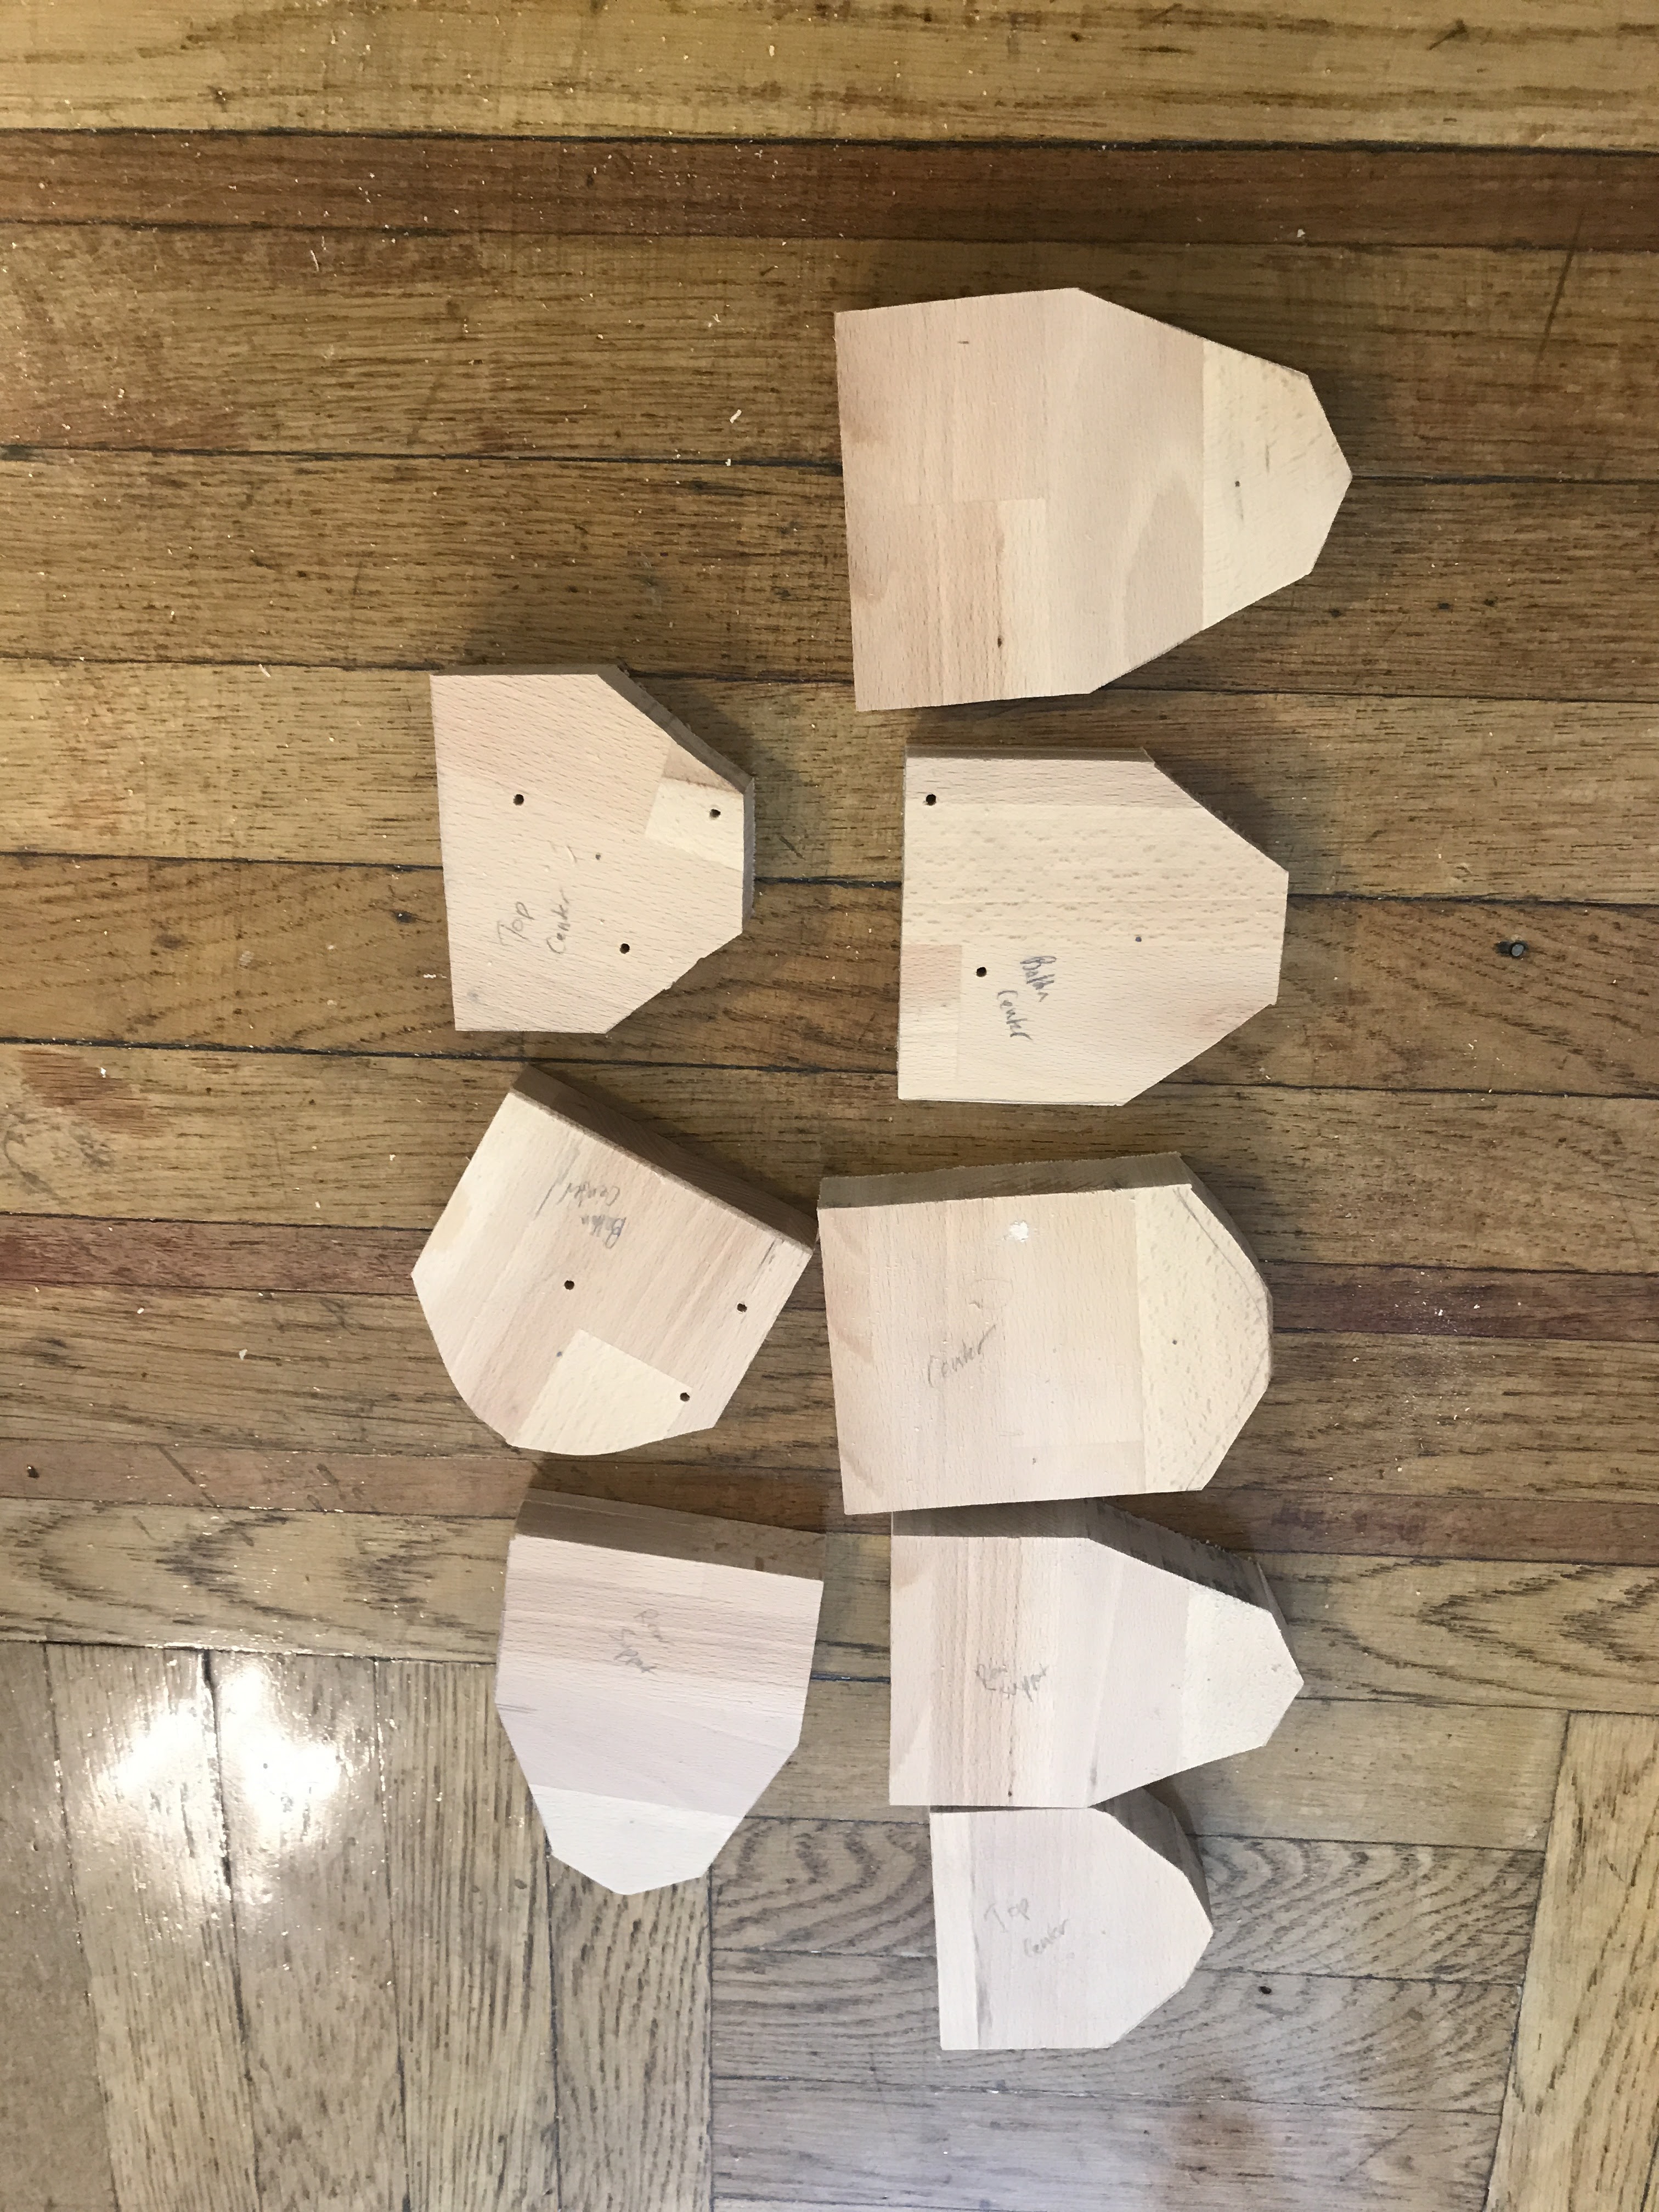
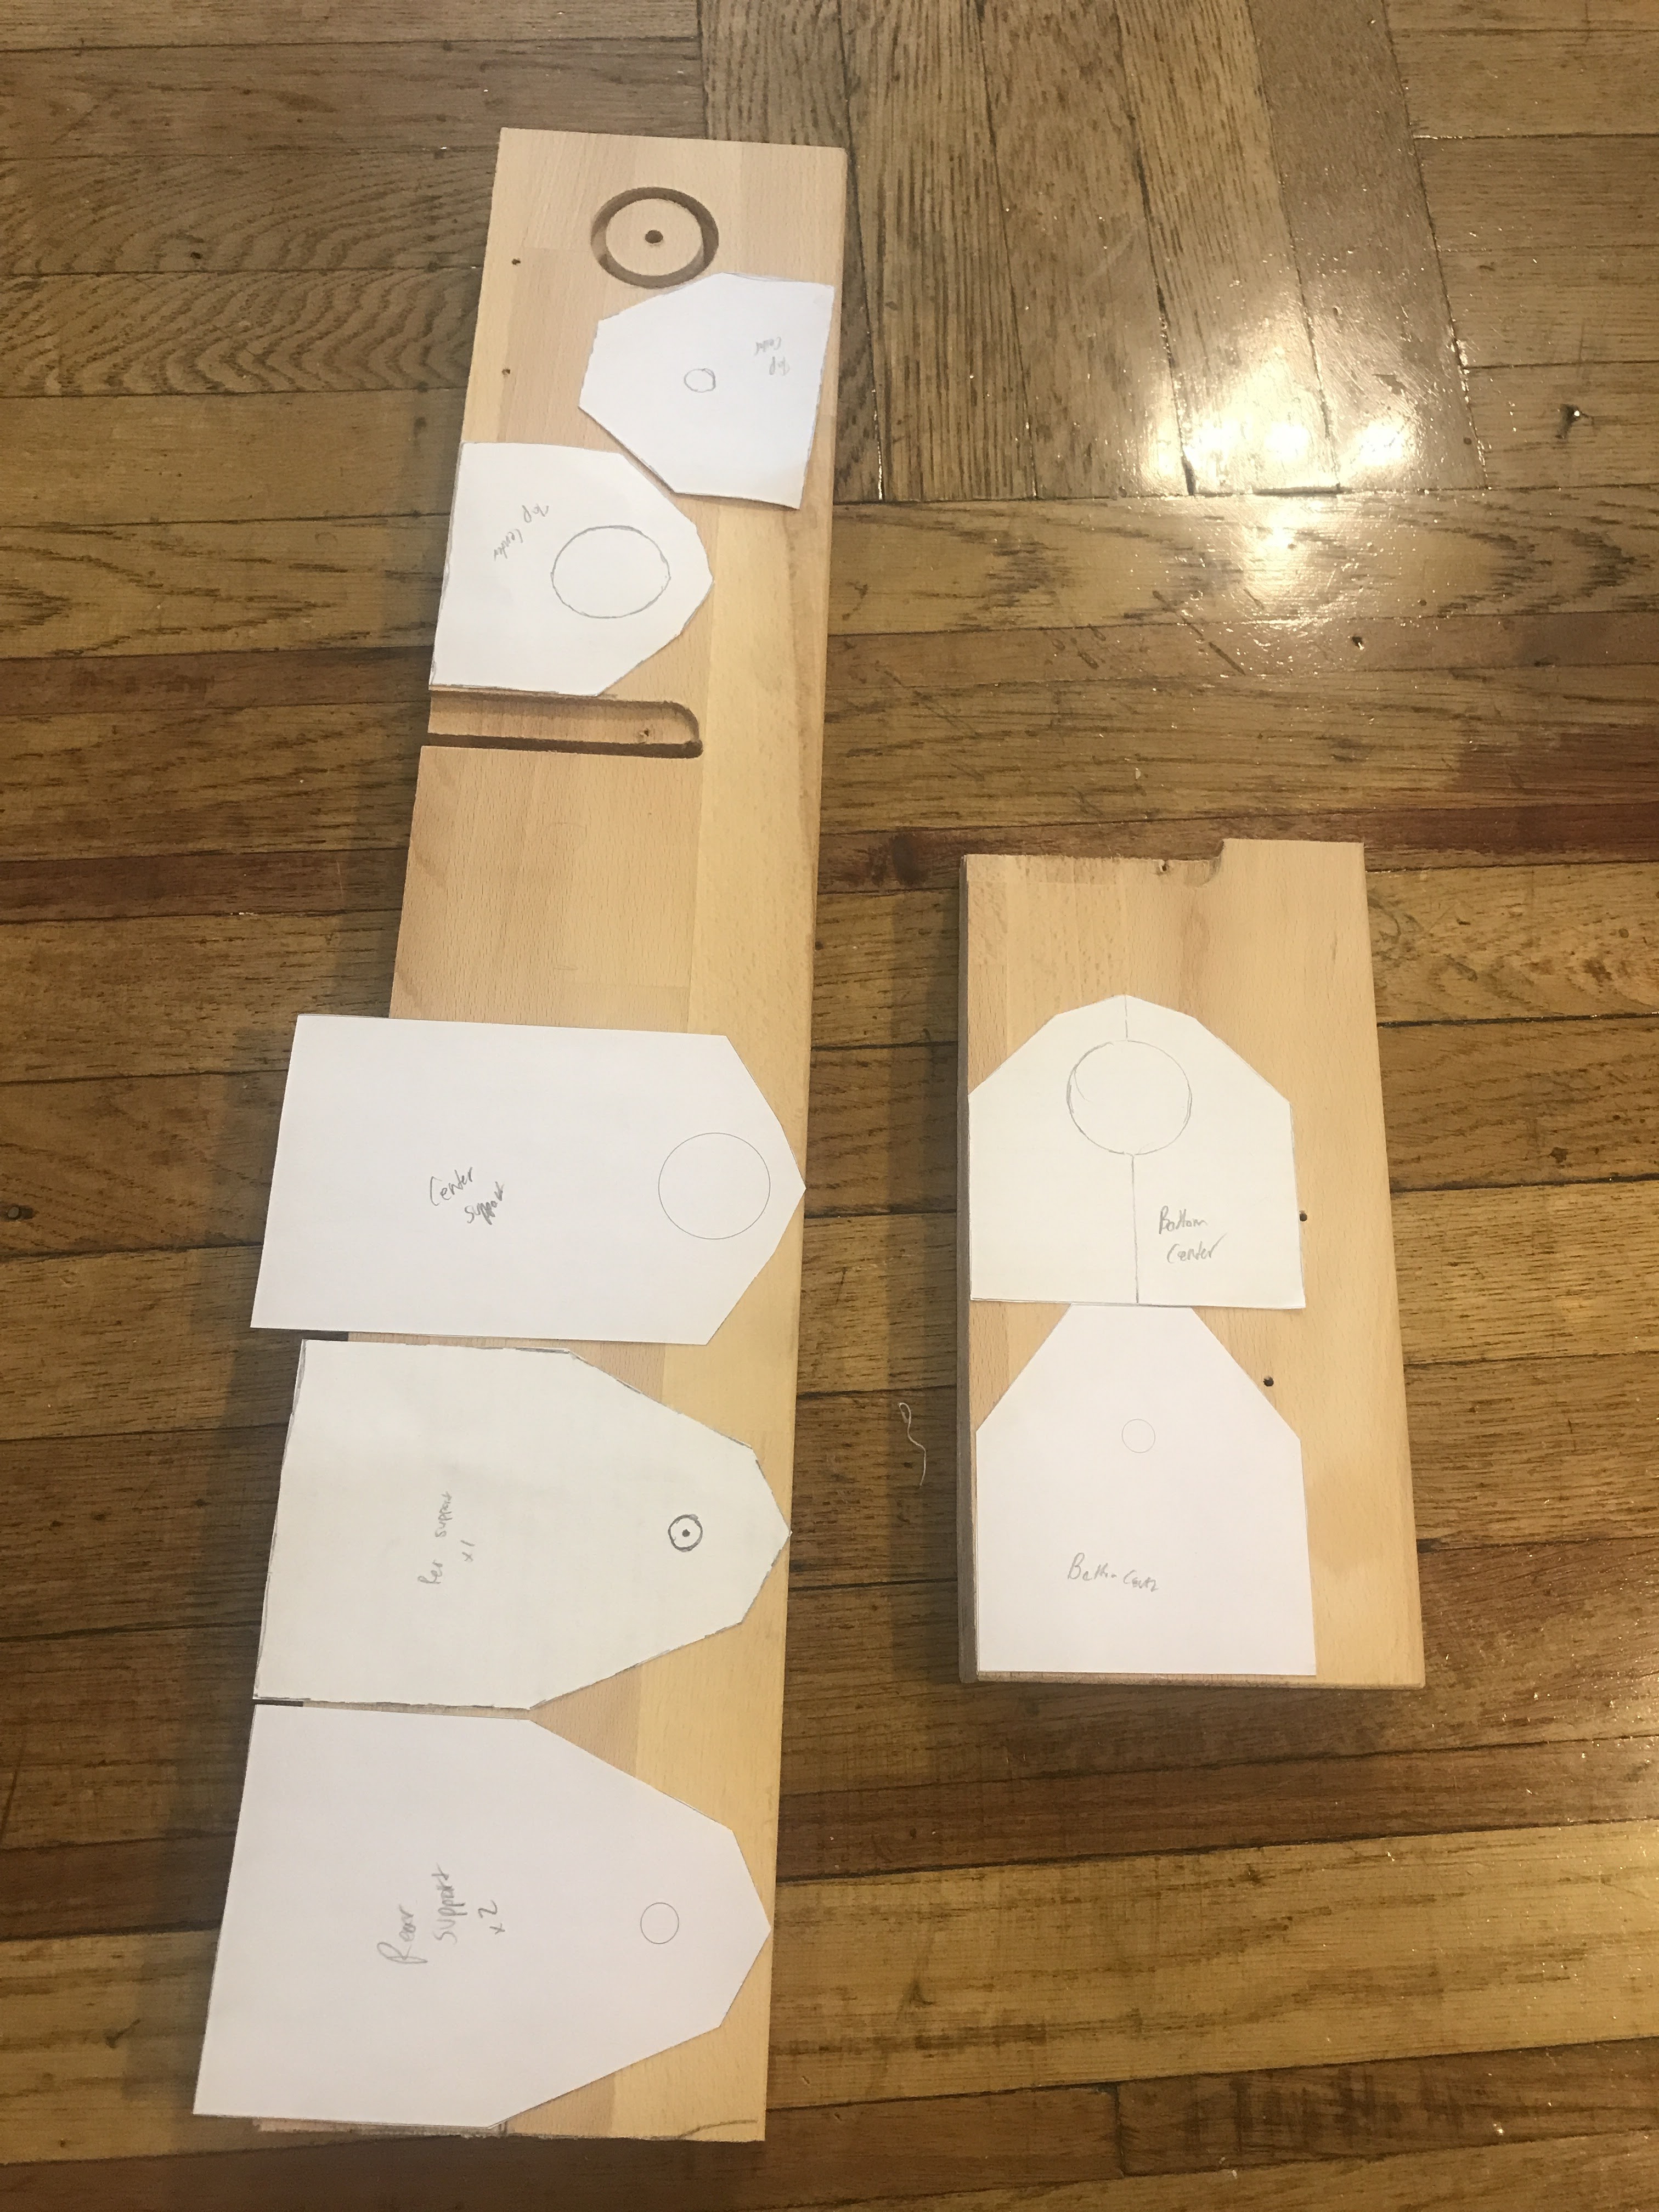
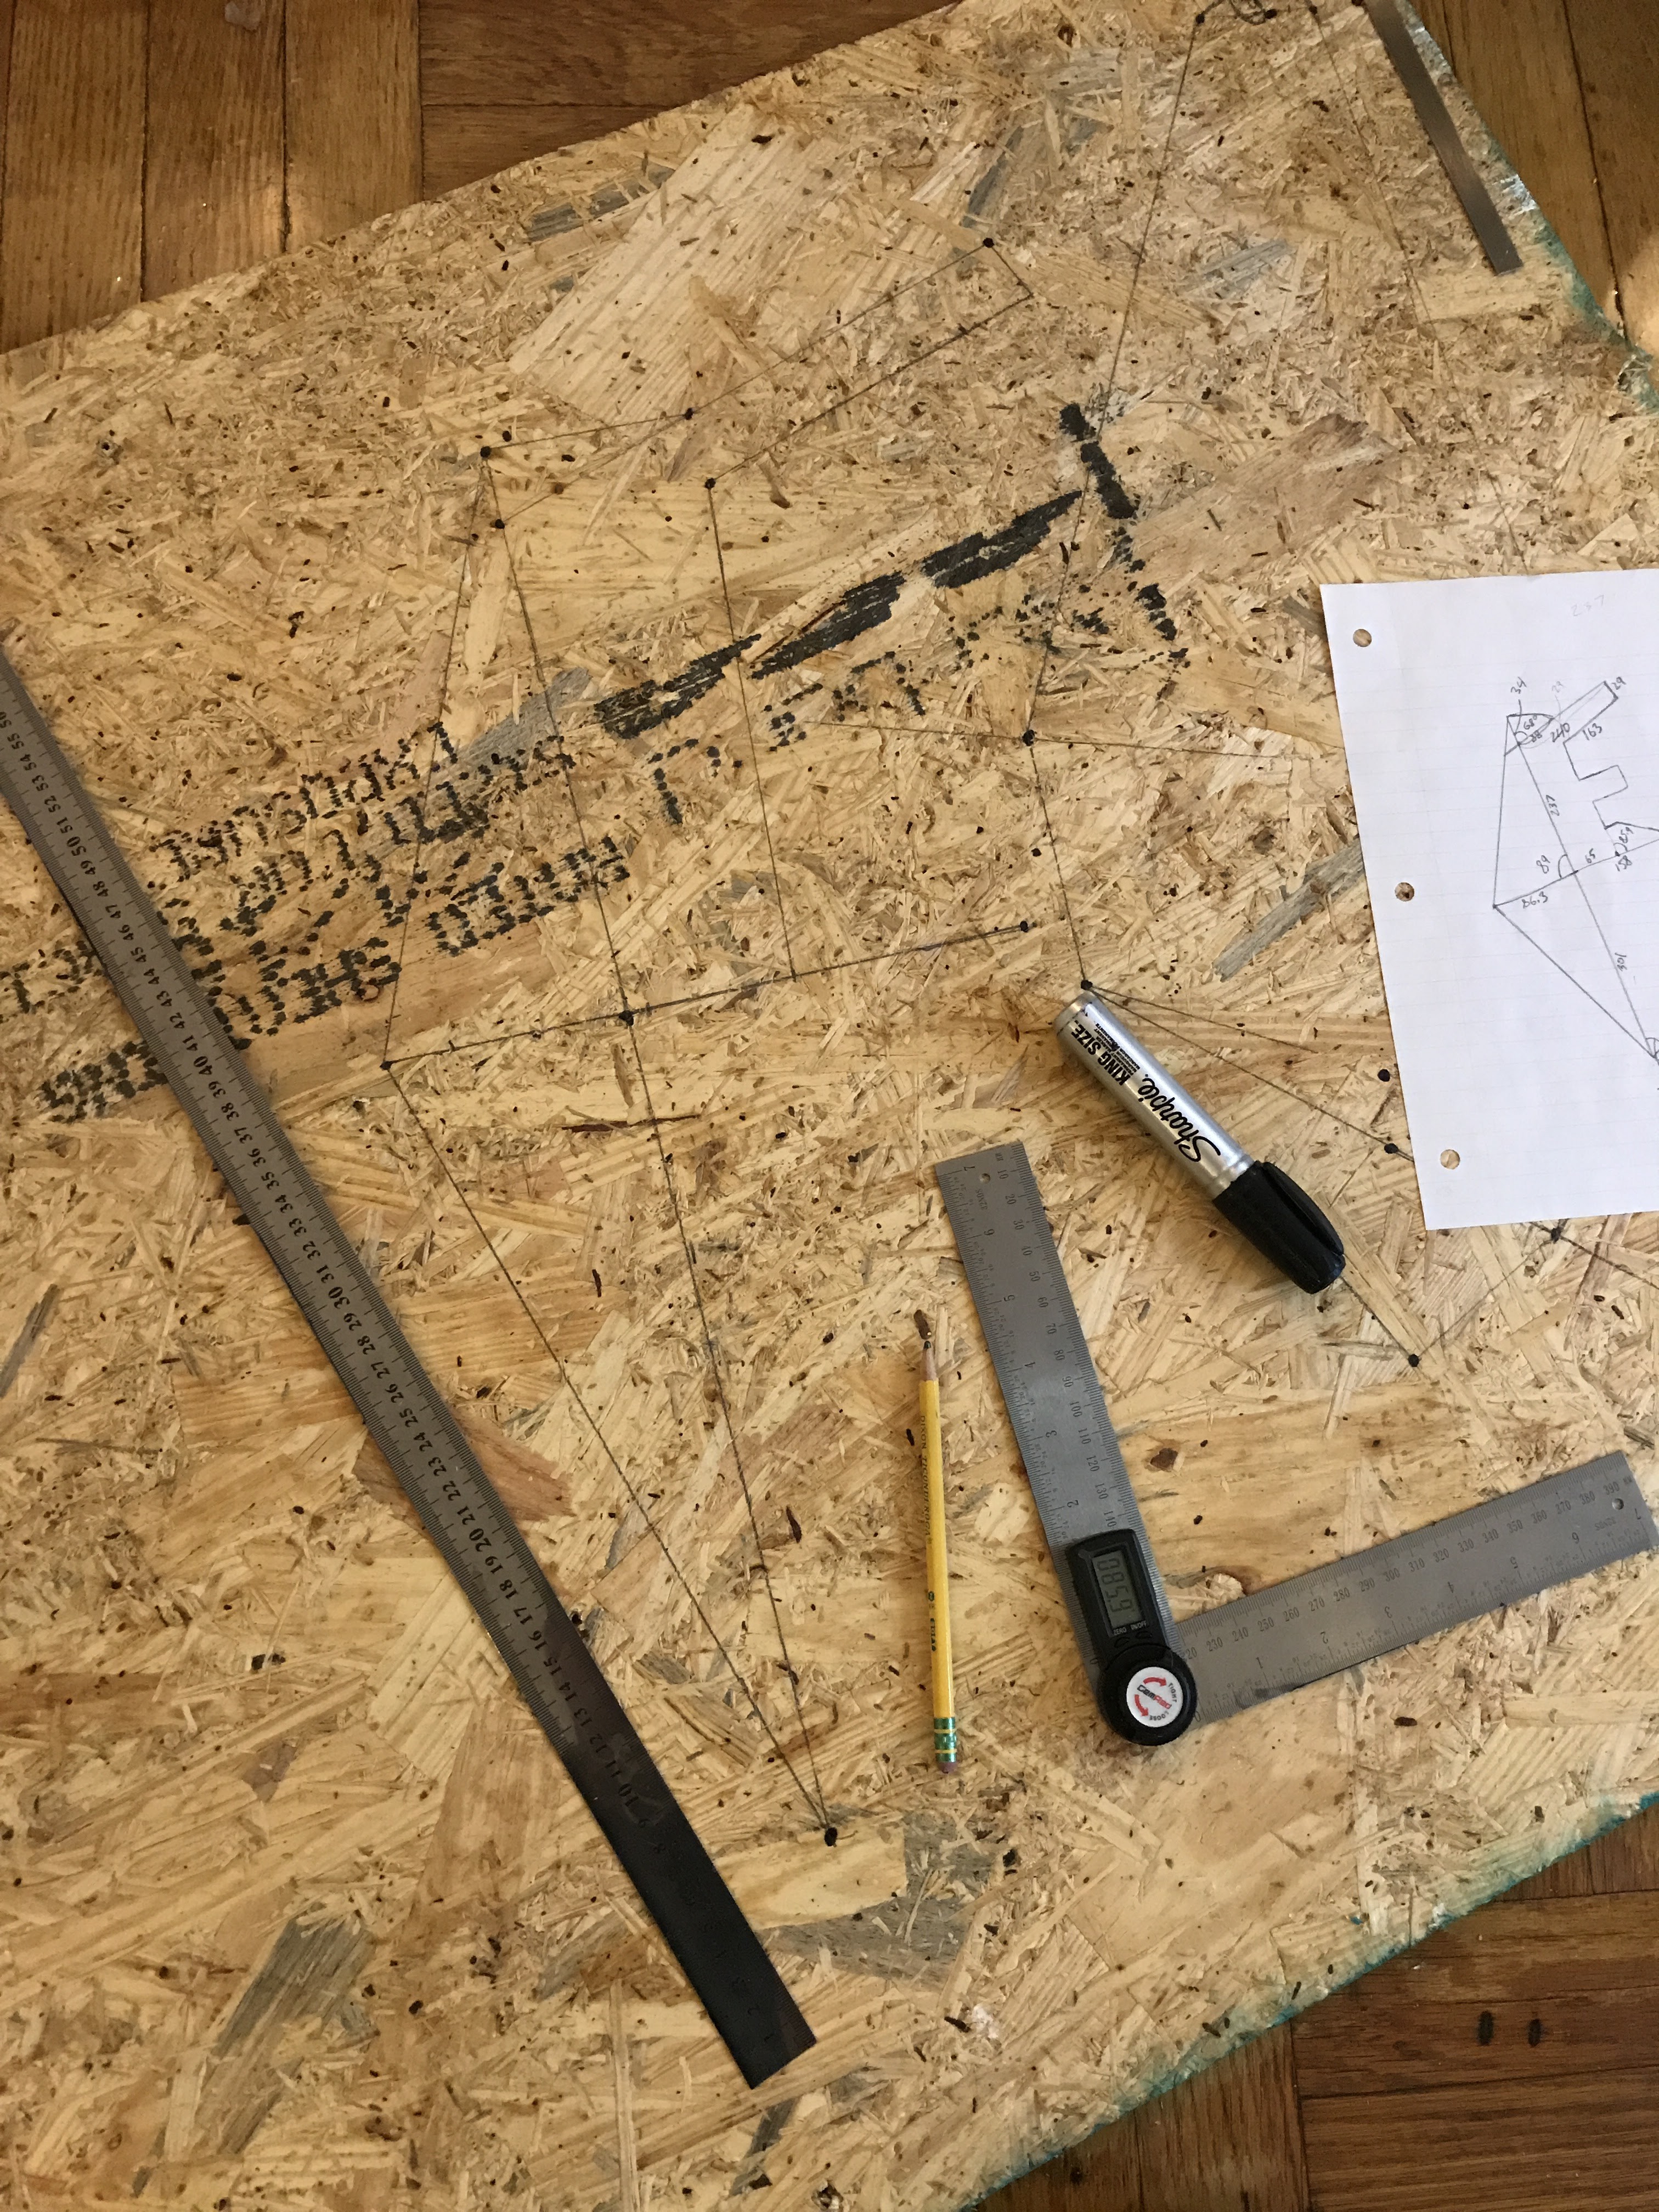
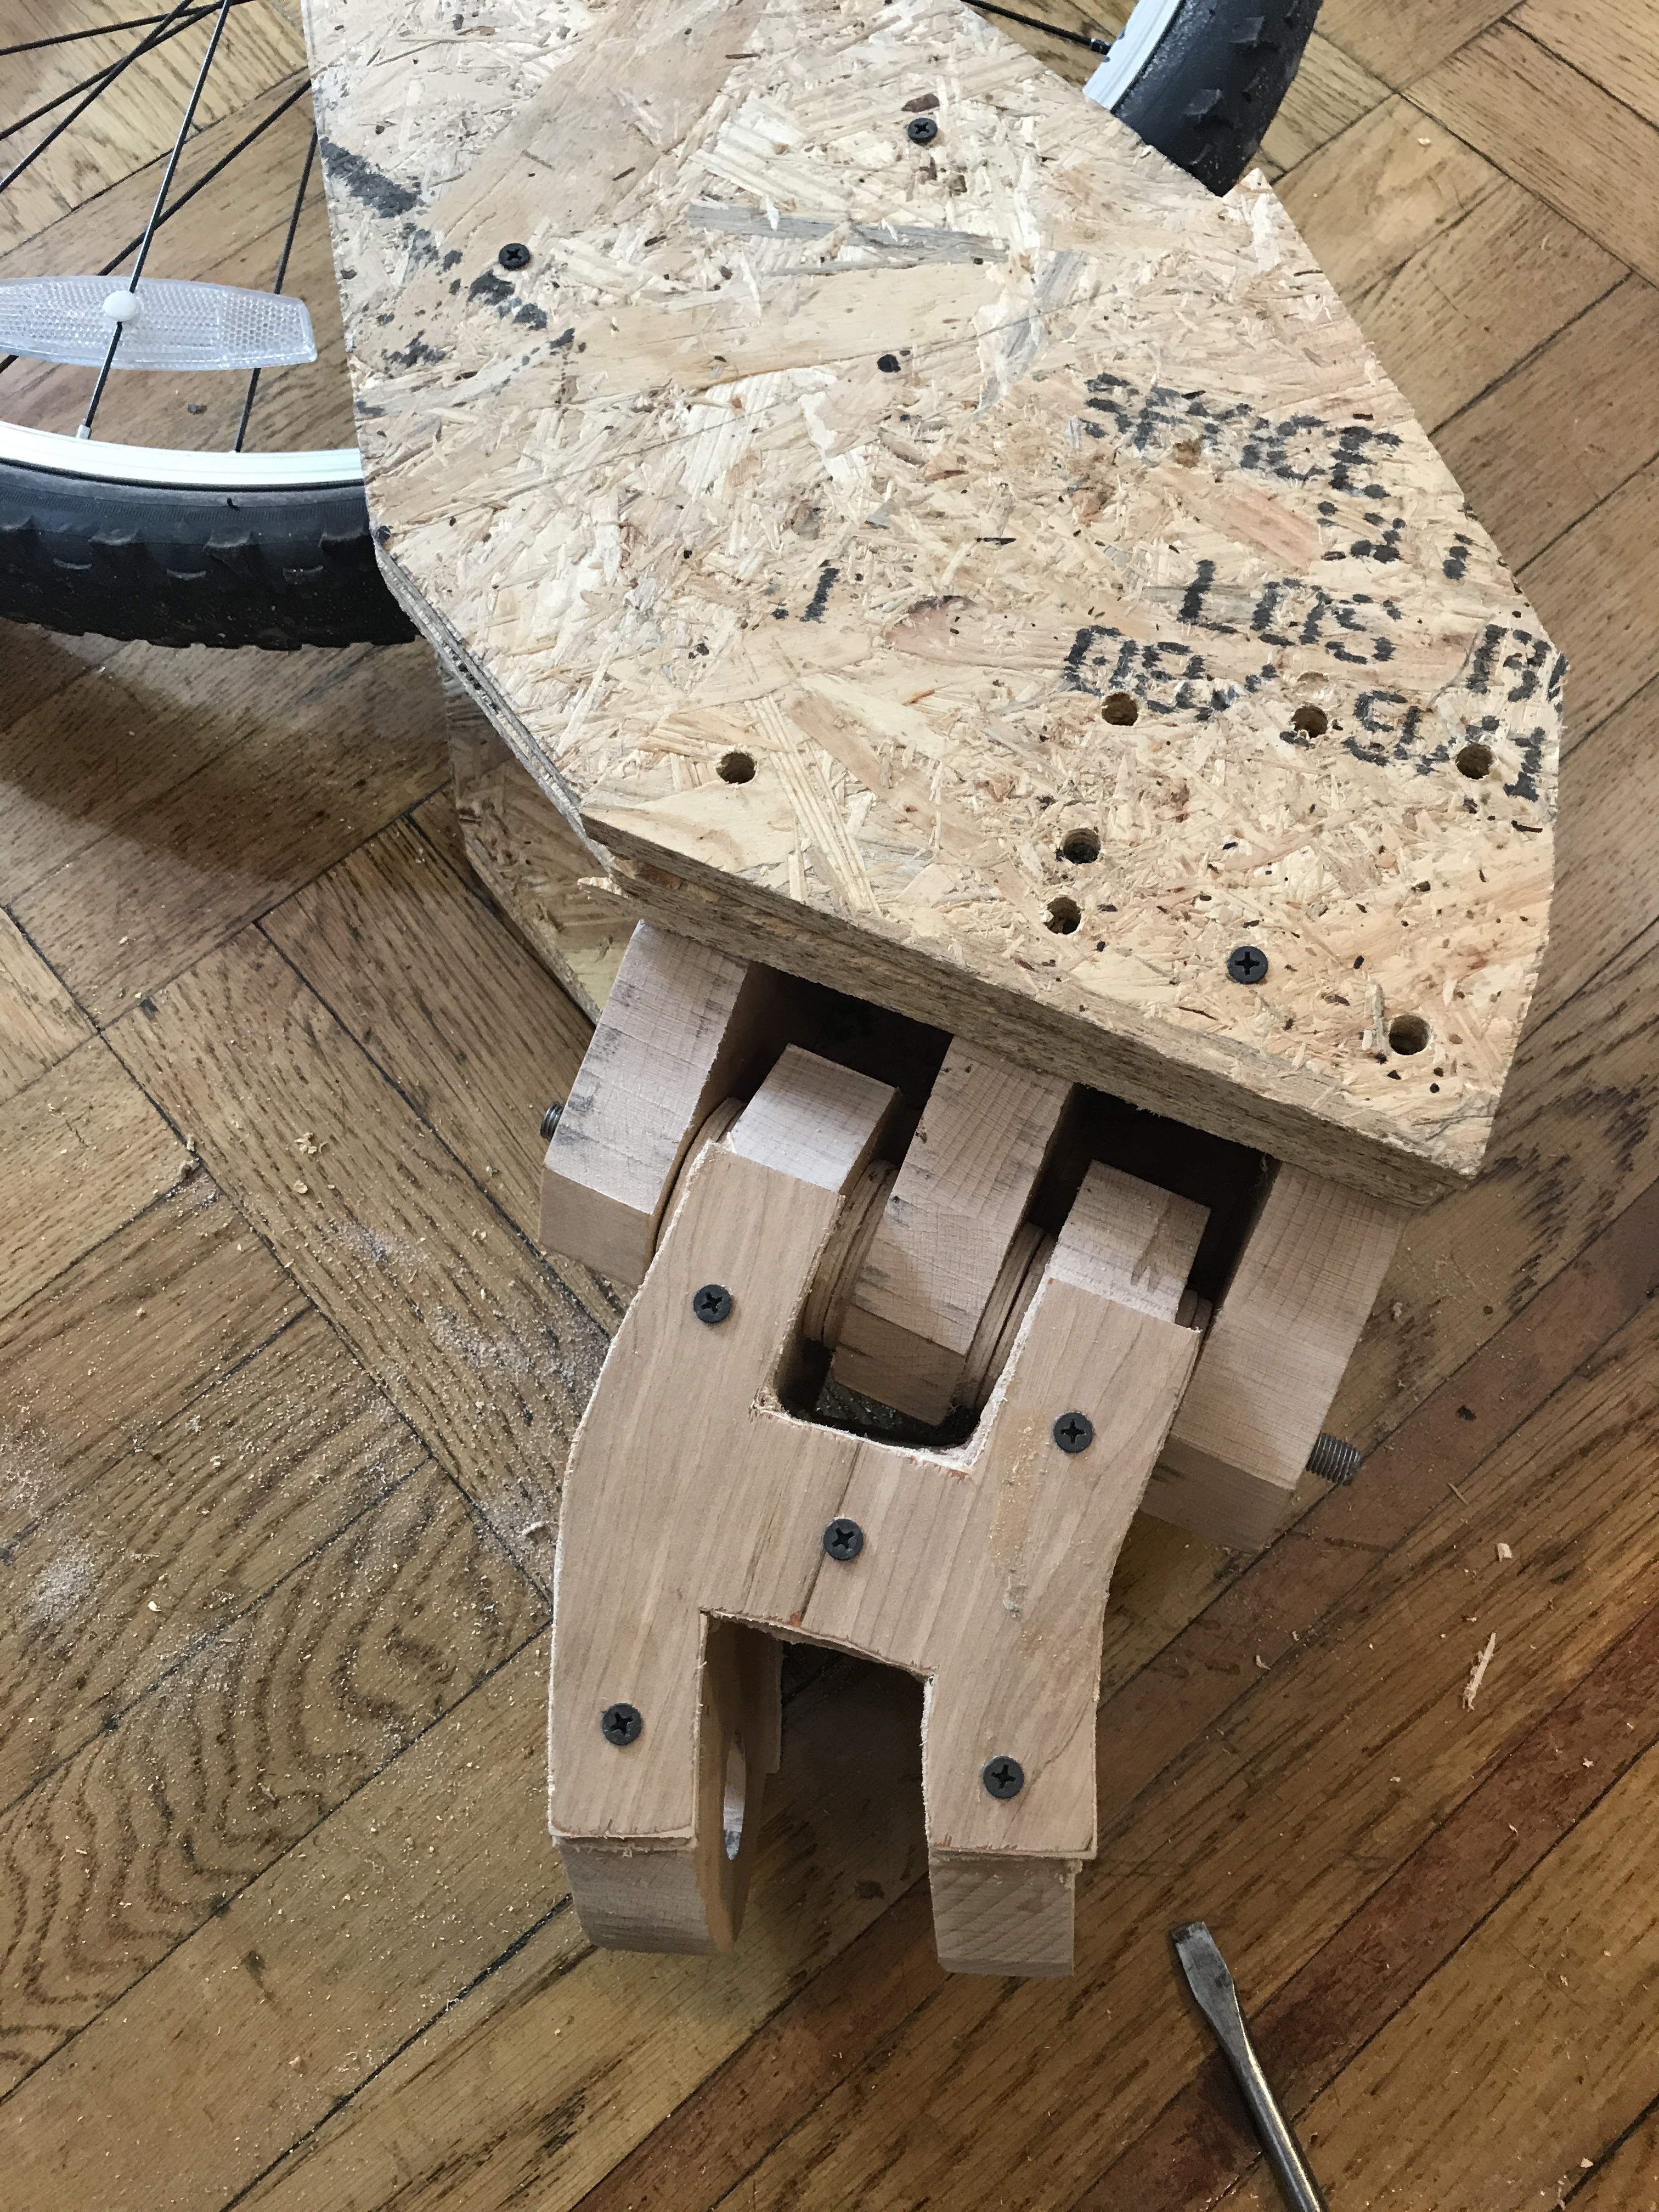
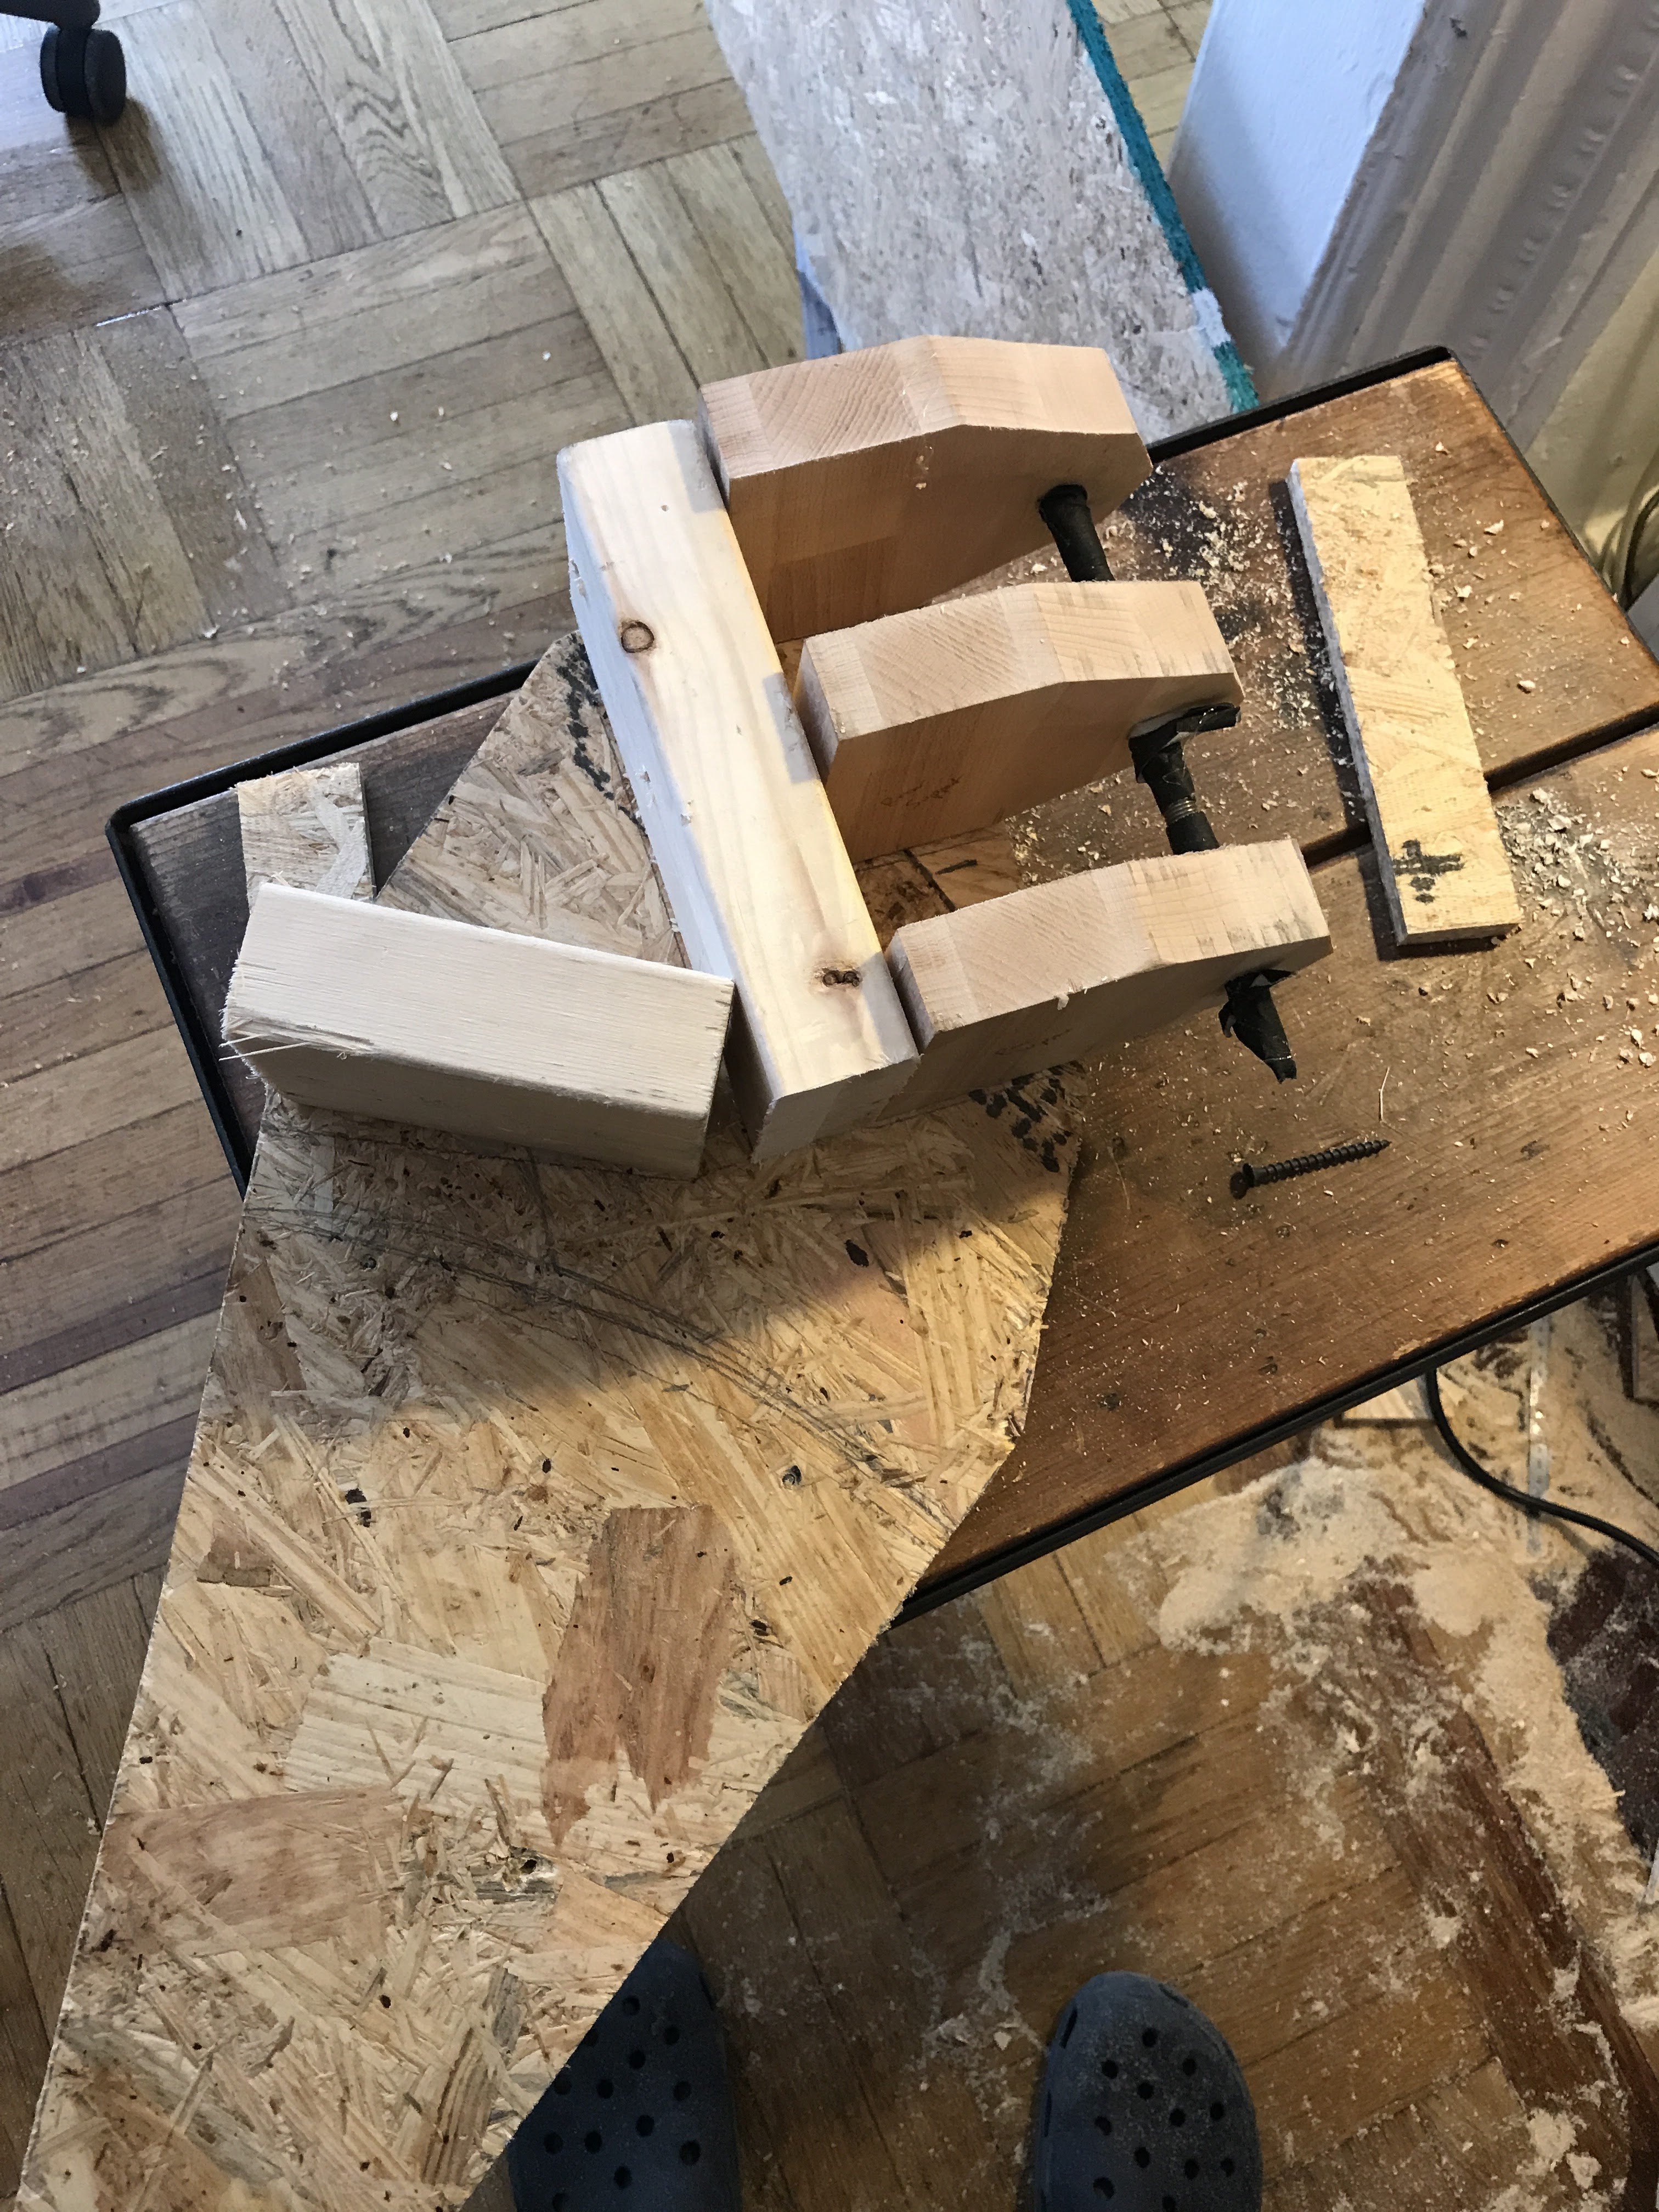
I printed out the shapes of the center frame pieces and laid them out on scrap pieces of wood. Cut them out. Made some poor joinery and glued the whole section together.
![]()
![]()
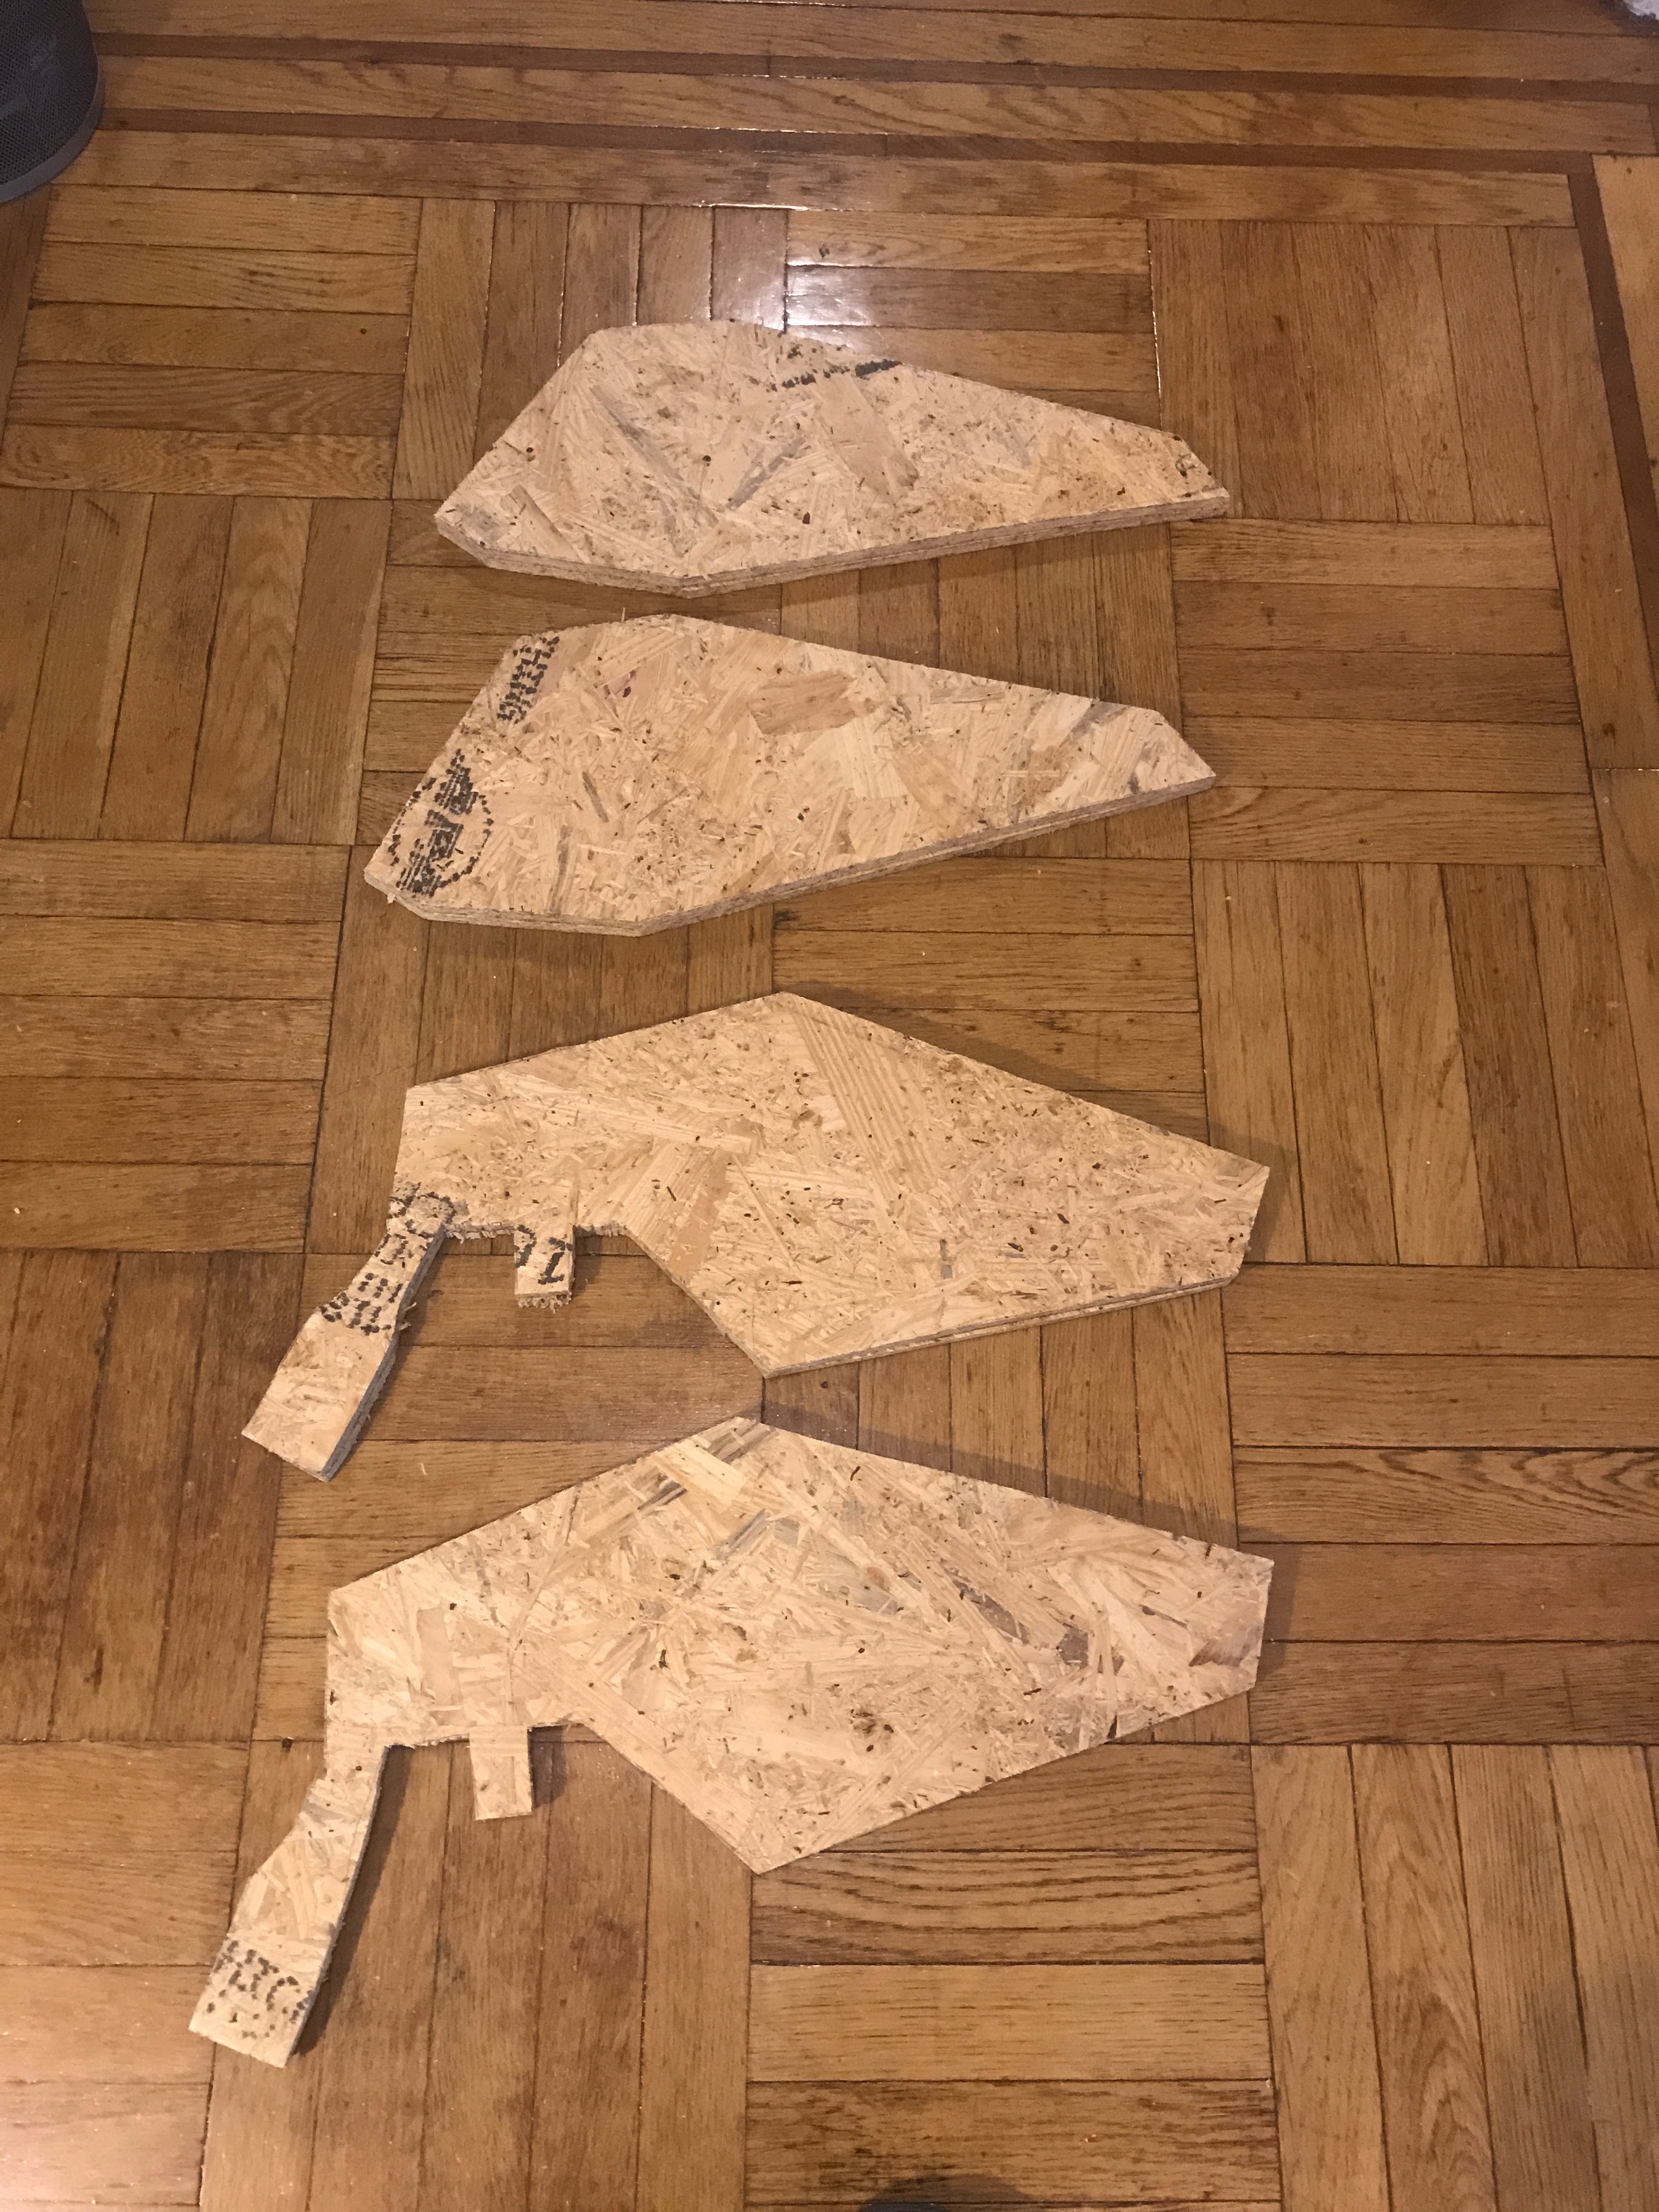
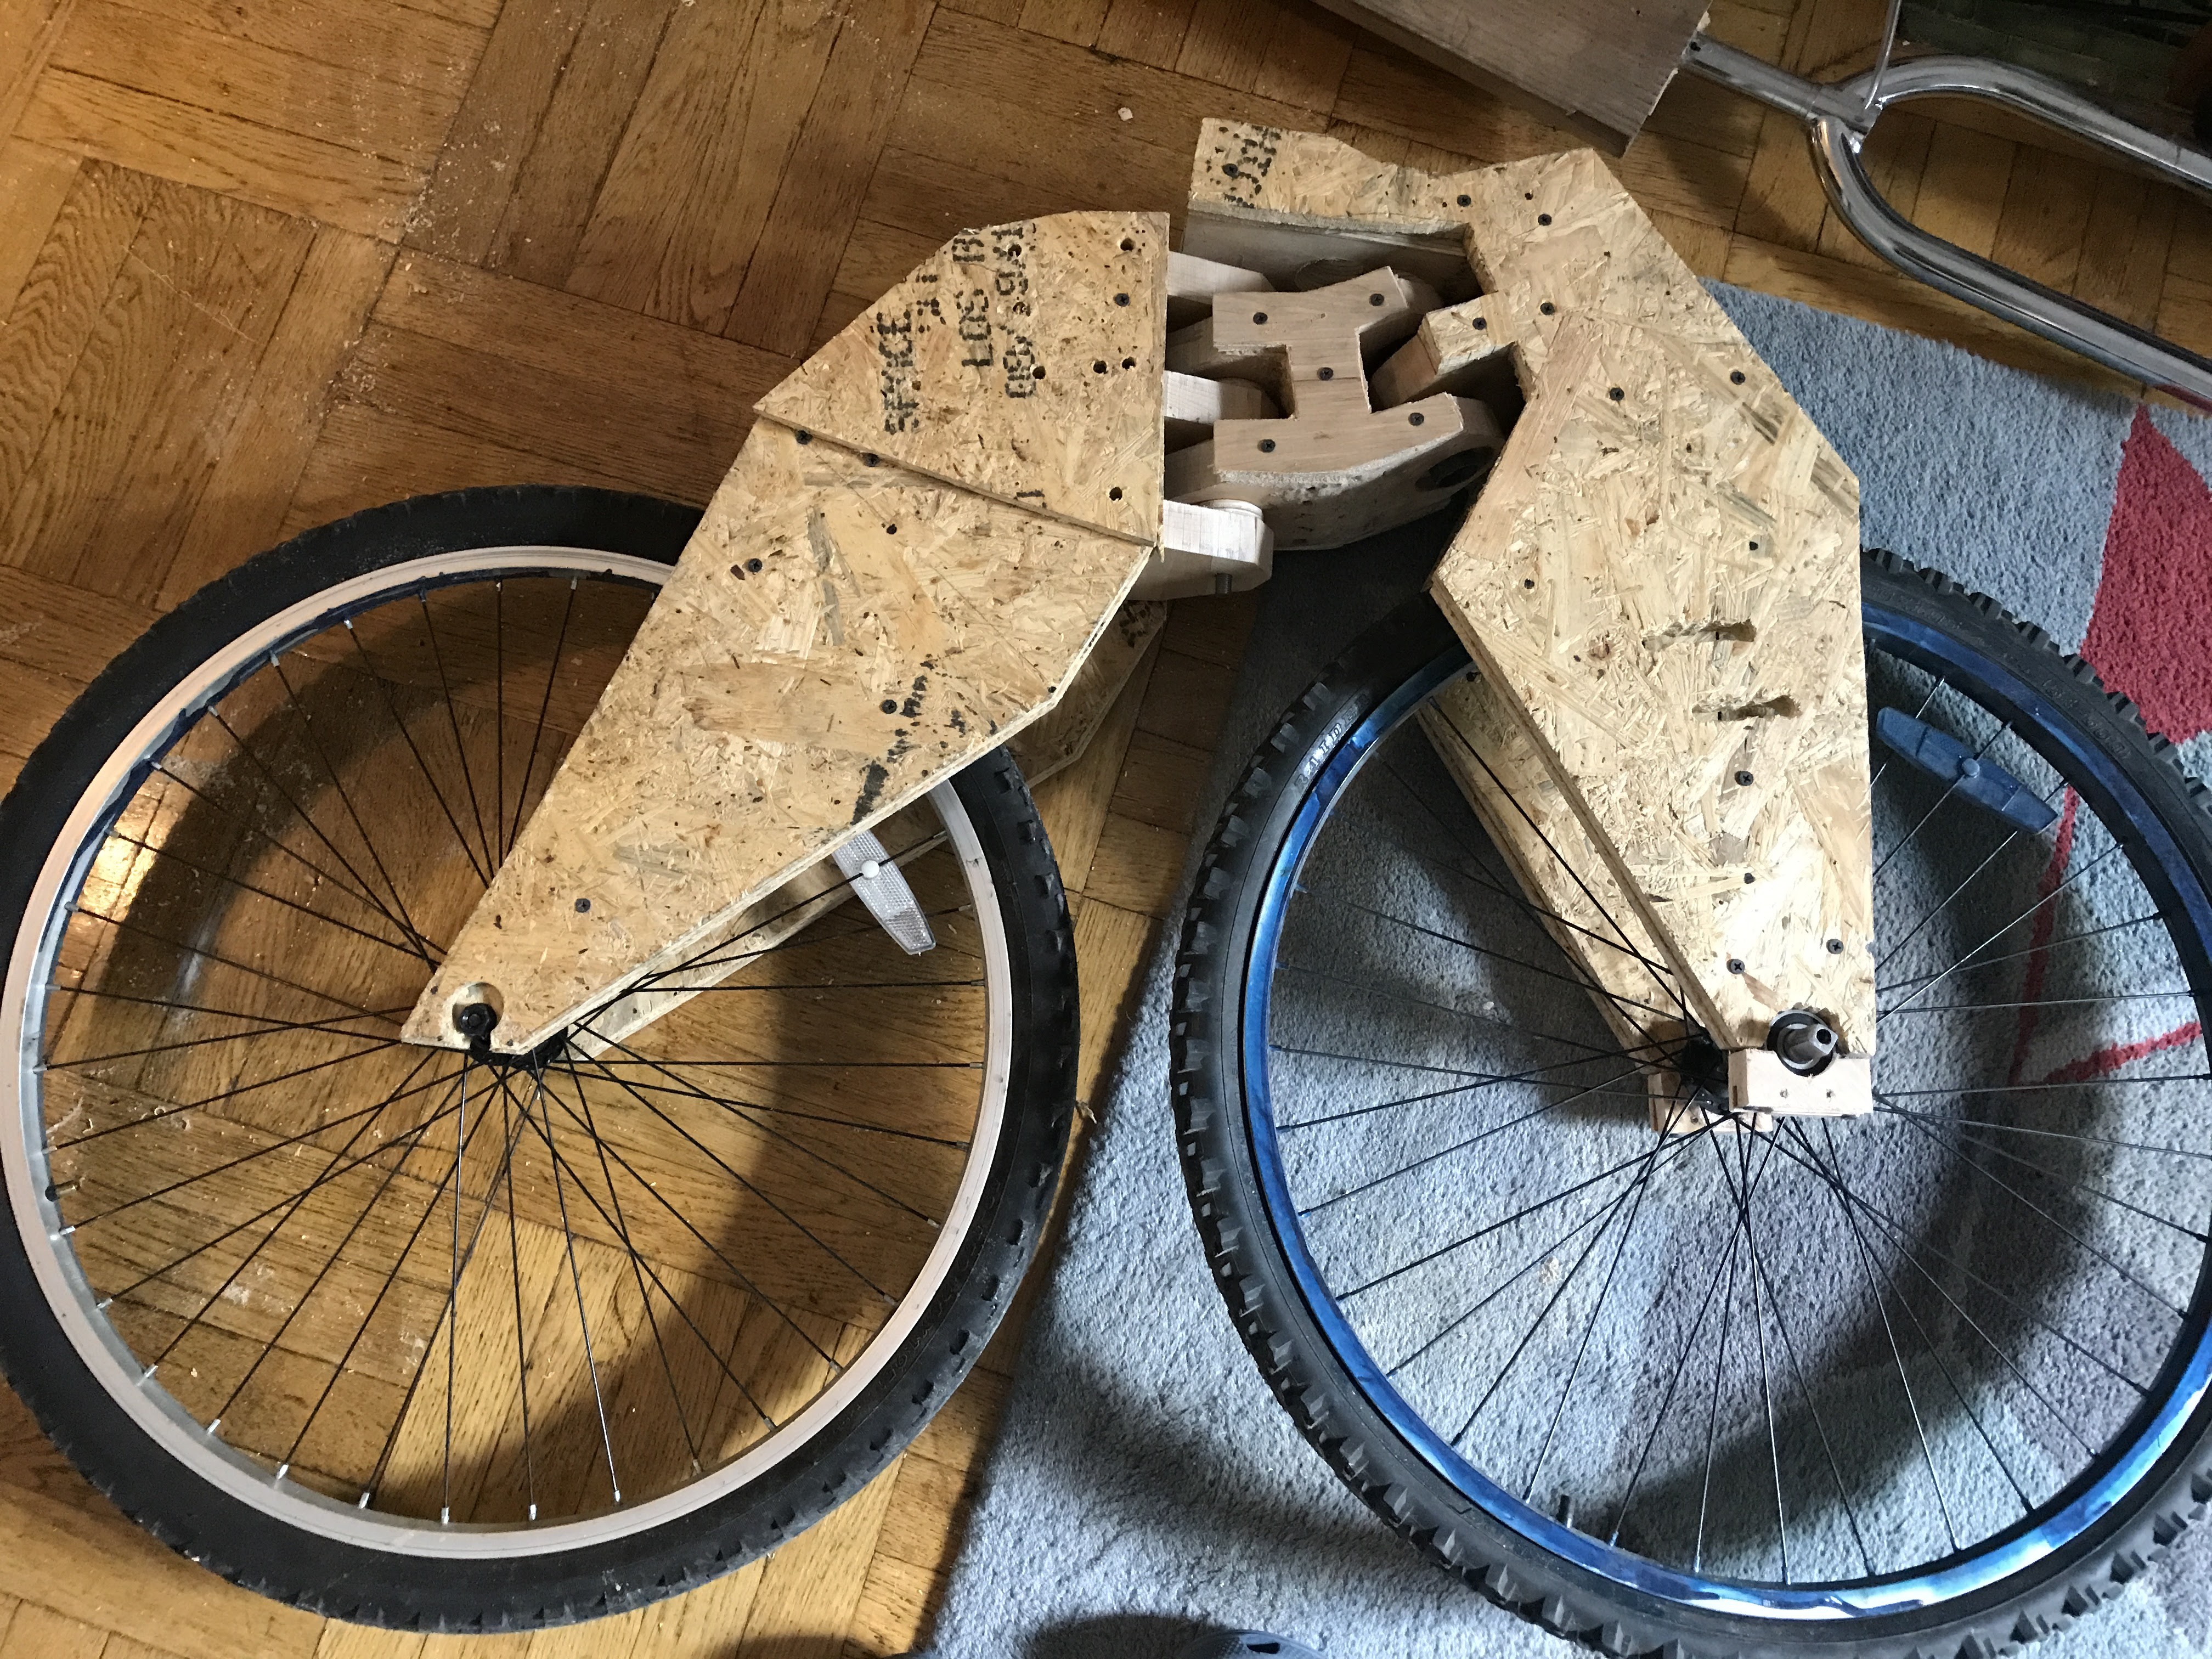
I laid out the dimensions of the rear and front frame on the OSB. The OSB was .5 inch and I ended up doubling the width. I cut out and glued together the pieces.
![]()
![]()
![]()
![]()
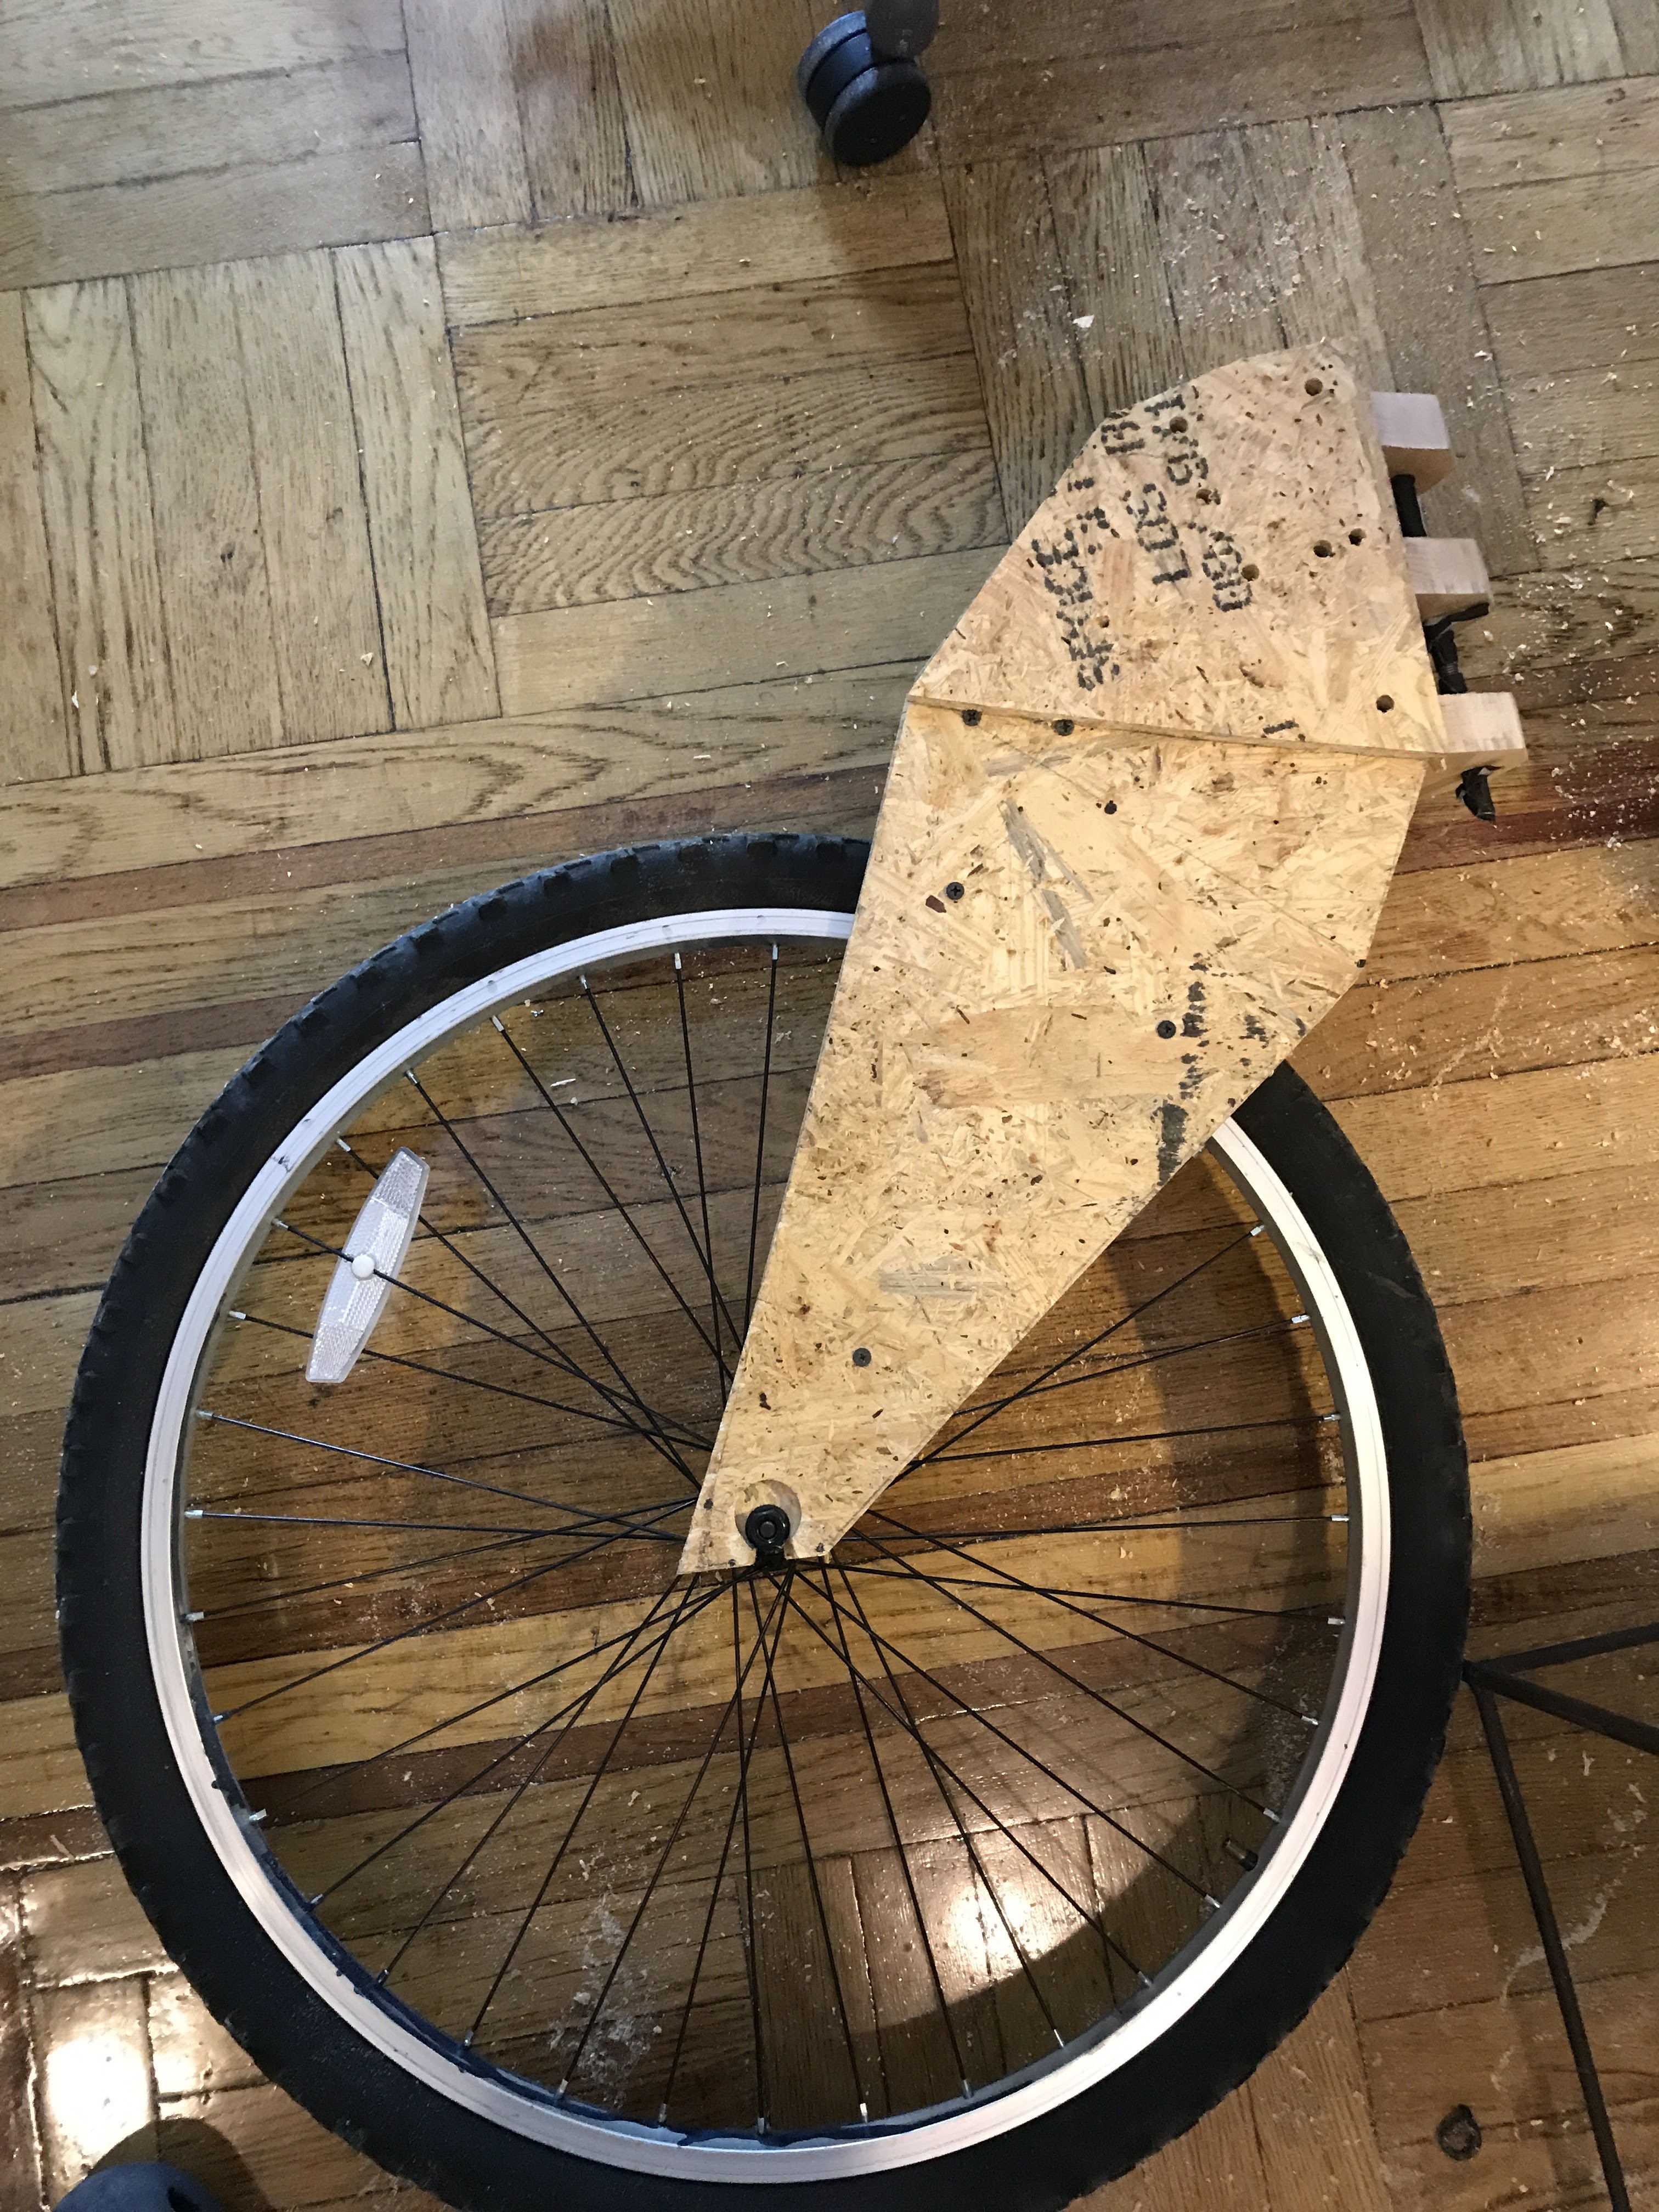
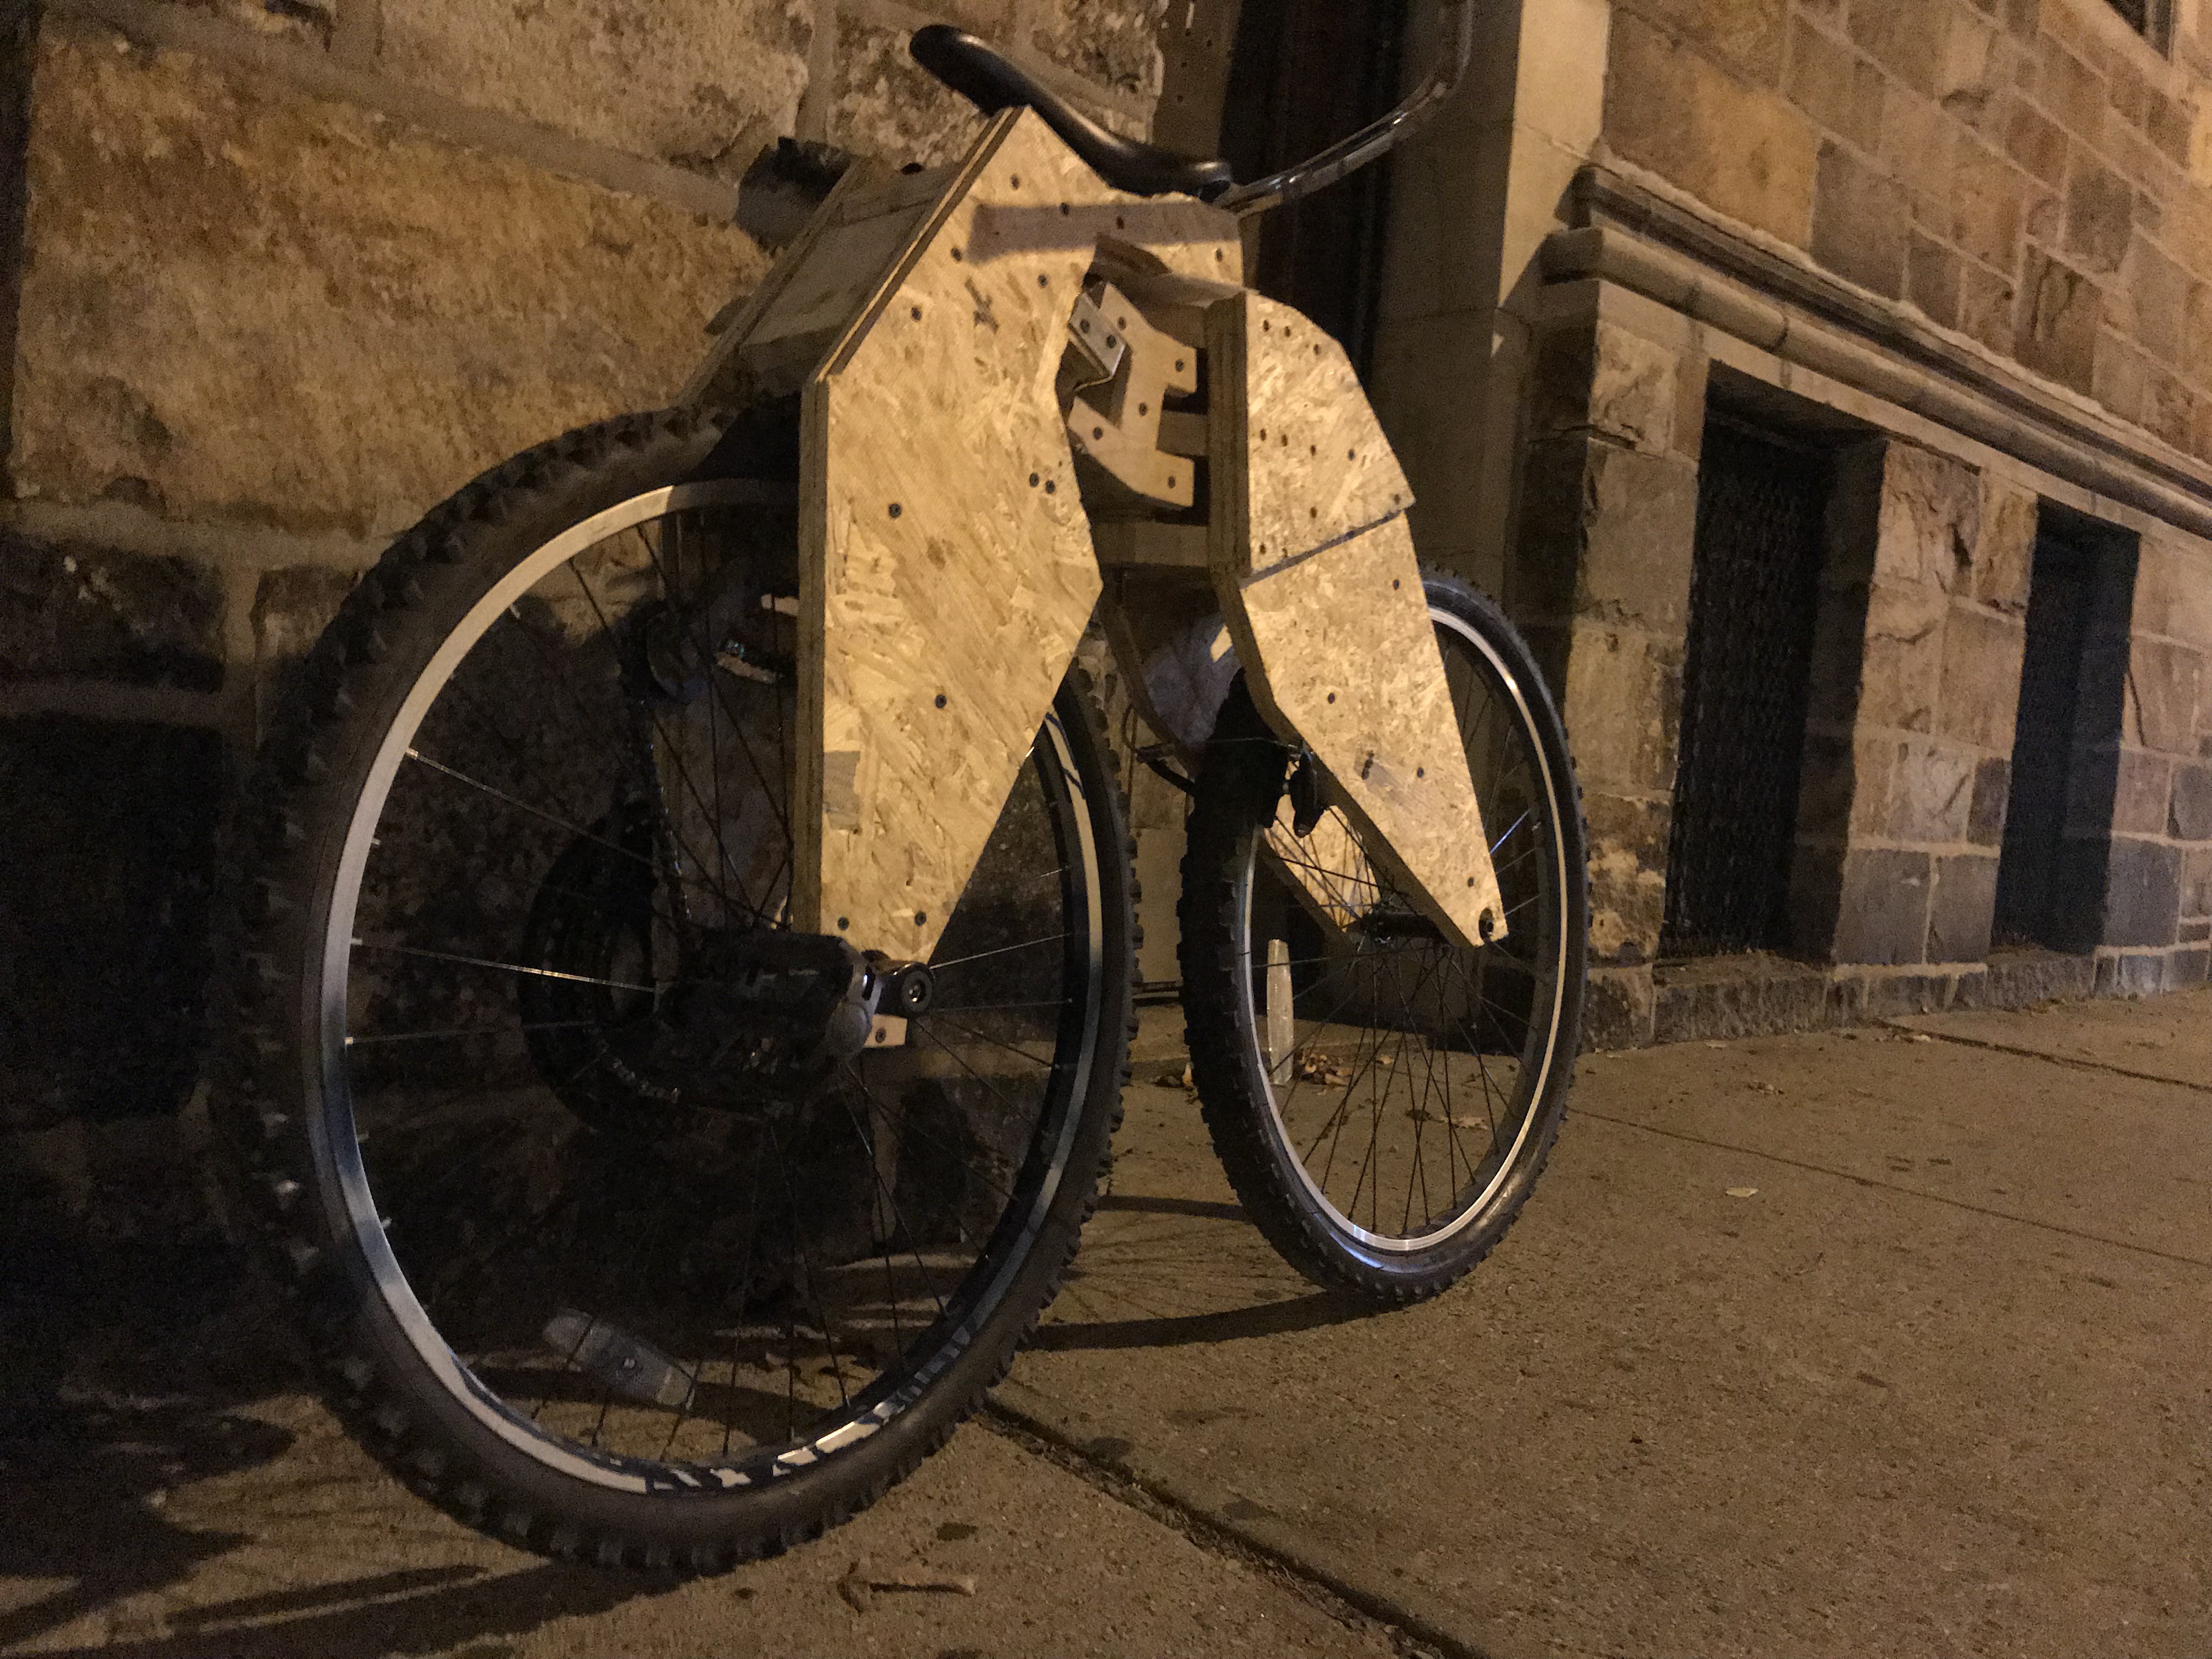
I assembled all the pieces. I used a lot of drywall screws in lieu of glue which I ran out of.
![]()
![]()
-
Electrification
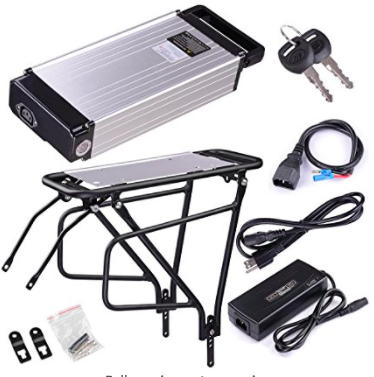
10/18/2017 at 21:26 • 0 commentsThis is not a complete discussion of electrifying the bellcycle but mostly a product review of the AW Motor and Battery from Amazon + notes on adding it to the bellcycle.
I purchased
- 36V Lithium ion Battery - AW 36V 14AH Li-Polymer Battery Water Bottle Type w Holder Charger For 36V 500W 800W Electric Bicycle https://www.amazon.com/gp/product/B00XP538DI
![]()
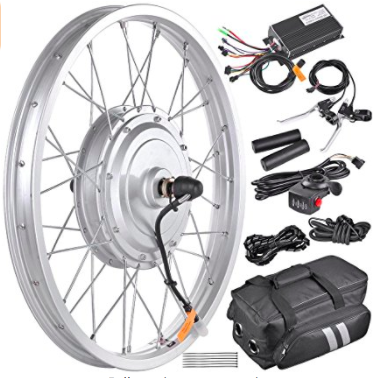
- 20 inch bicycle hub motor AW 16.5" Electric Bicycle Front Wheel Frame Kit For 20" 36V 750W 1.95"-2.5" Tire E-Bike https://www.amazon.com/gp/product/B01C6QZ2US
![]()
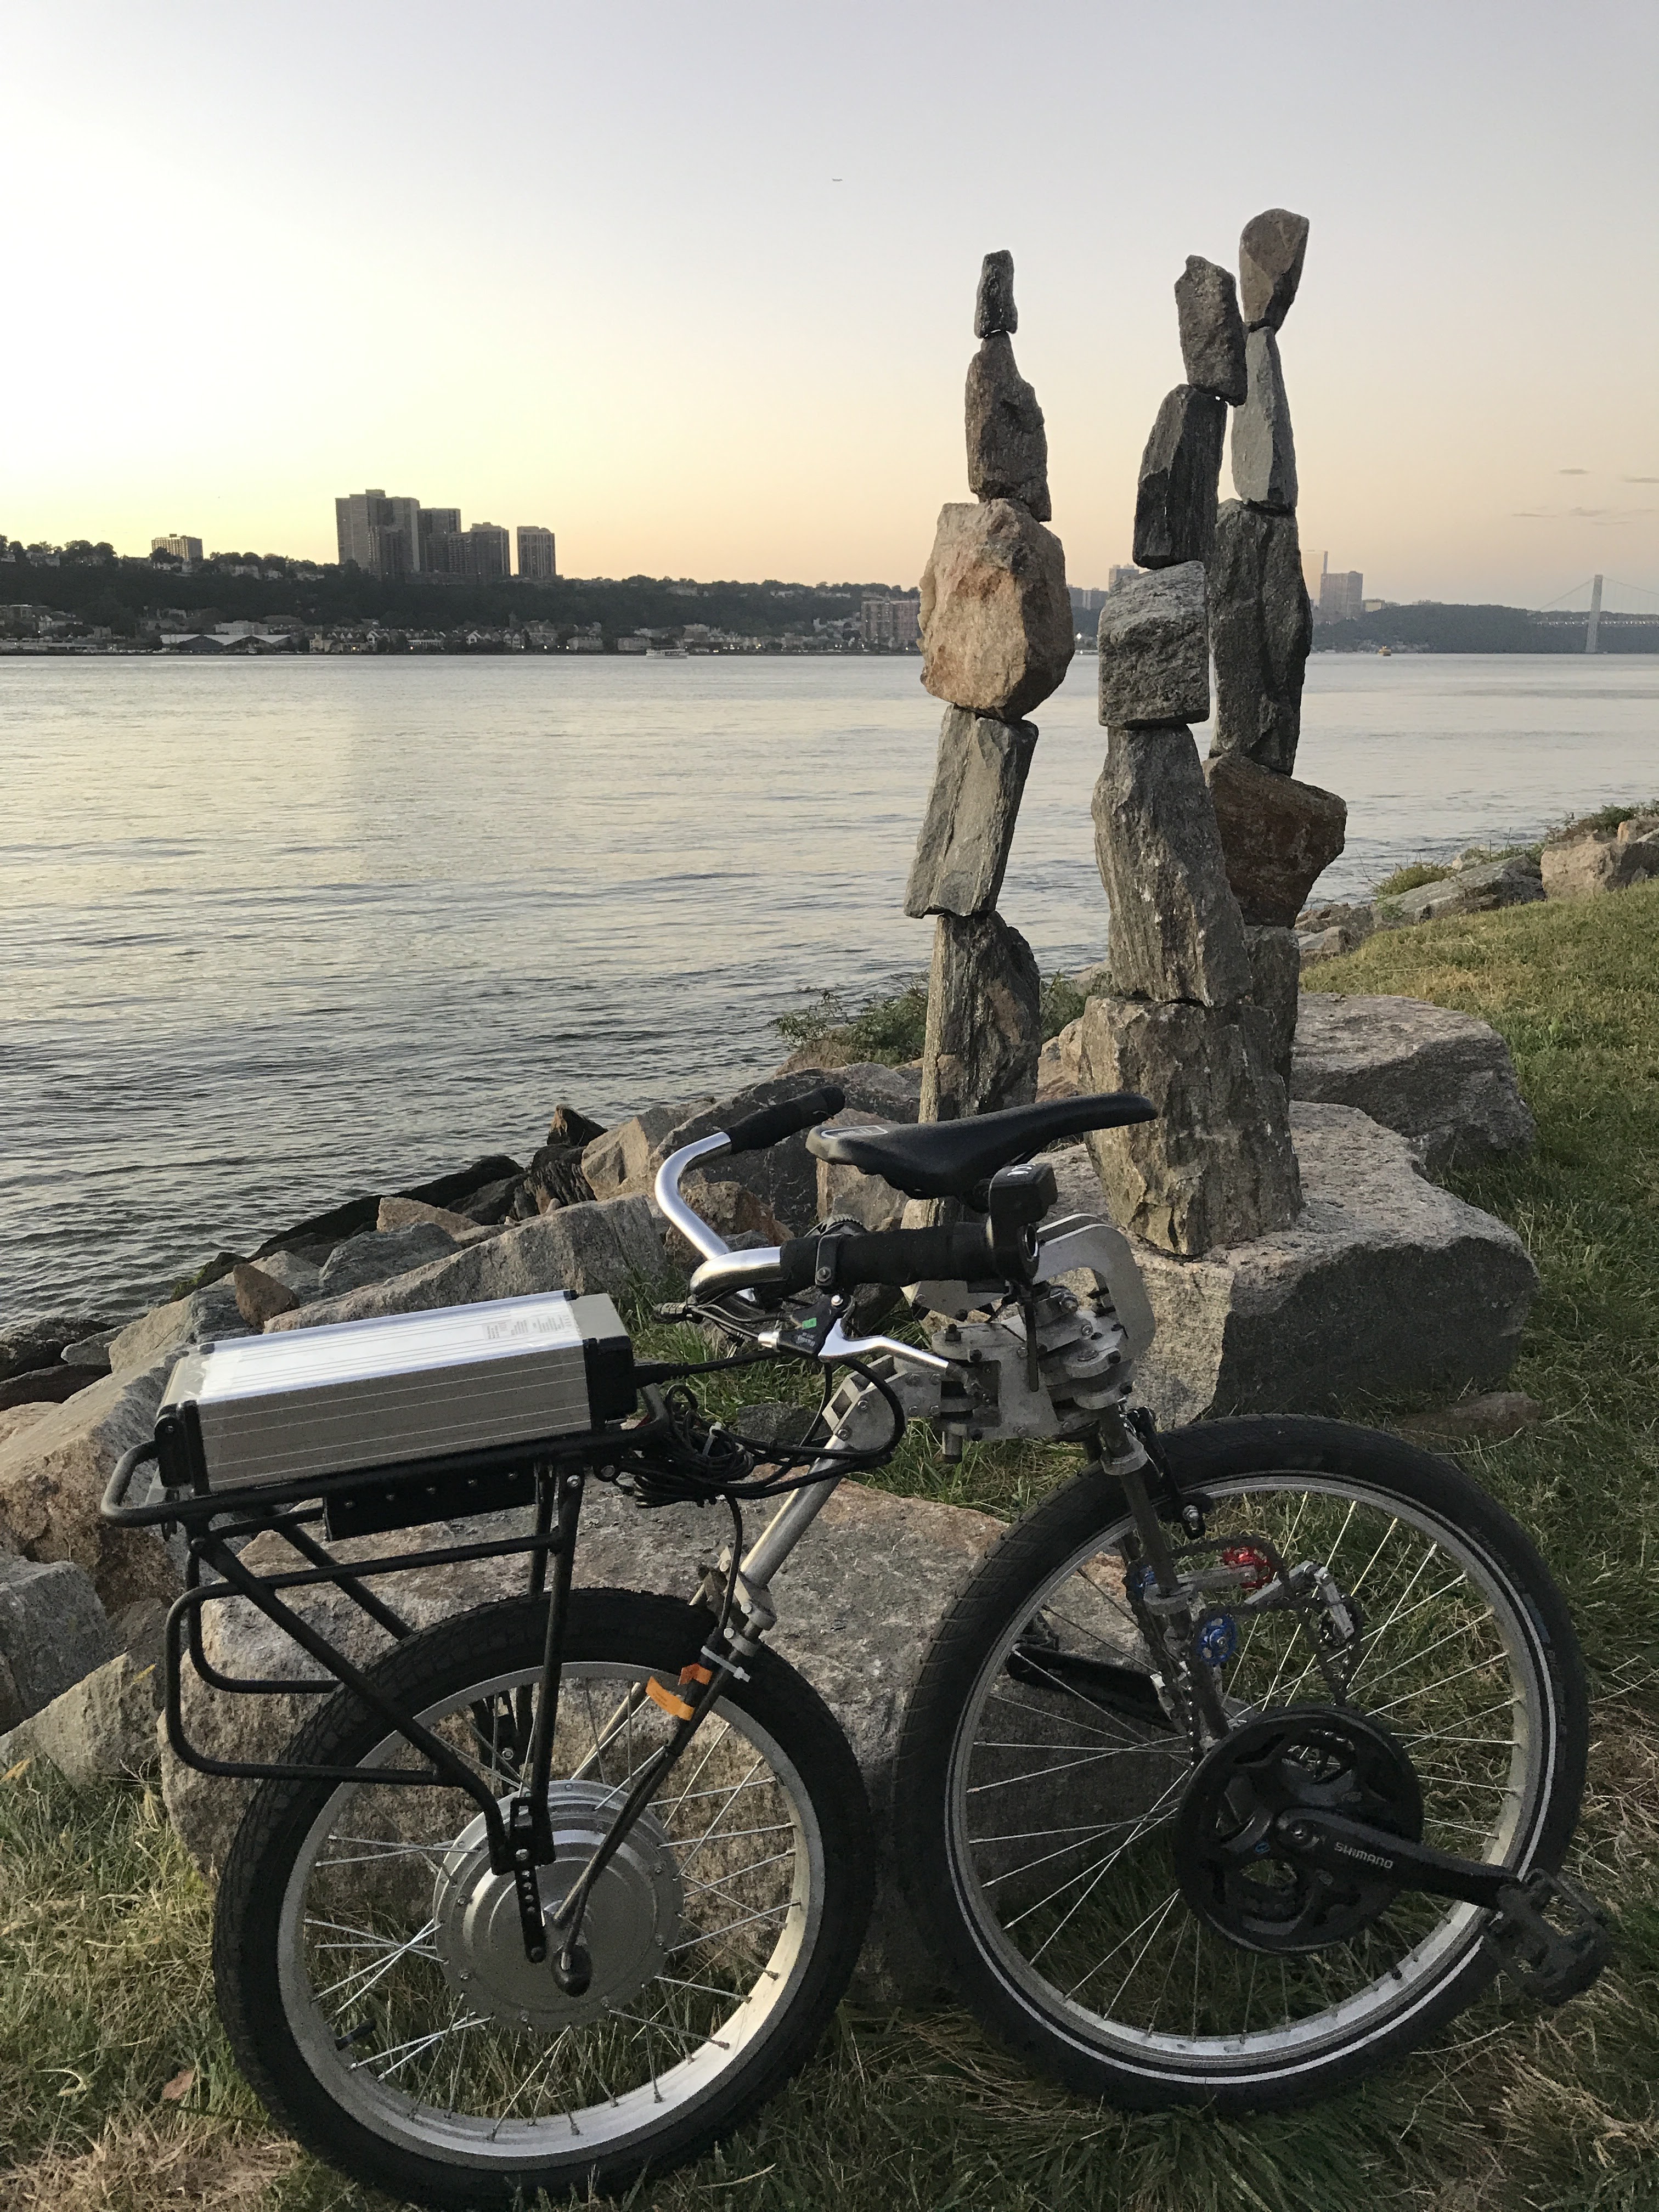
The battery kit includes a slightly noisy rear rack for mounting the battery. The rack was easy to install on the rear dropouts of the bellcycle. I just drilled and tapped two m5 holes into the dropouts and attached the upper mounts to one of the existing bolts on the rear pivot.
The motor kit includes all the wires you will need and they are already plugged in which is a nice time saver. The motor is heavy. I knew this but I forgot just how heavy. I mounted the motor controller under the rear battery rack.
![]()
- The cycle is fun to ride with the electric motor and that the motor has no problem hurtling you up to speed.
- The battery has an impressive range, I have gone 20 miles and gotten home with the orange(but not red) light on and some still in reserve. Of course this is still with a good amount of pedaling.
- There is now easily an additional 30 pounds in the rear. I feel it in the responsiveness. The cycle feels a "heavier" and less responsive.
- Todo: The electric system is too big and heavy. Pedal Assist would be a better fit. The battery mounting takes up too much room.
-
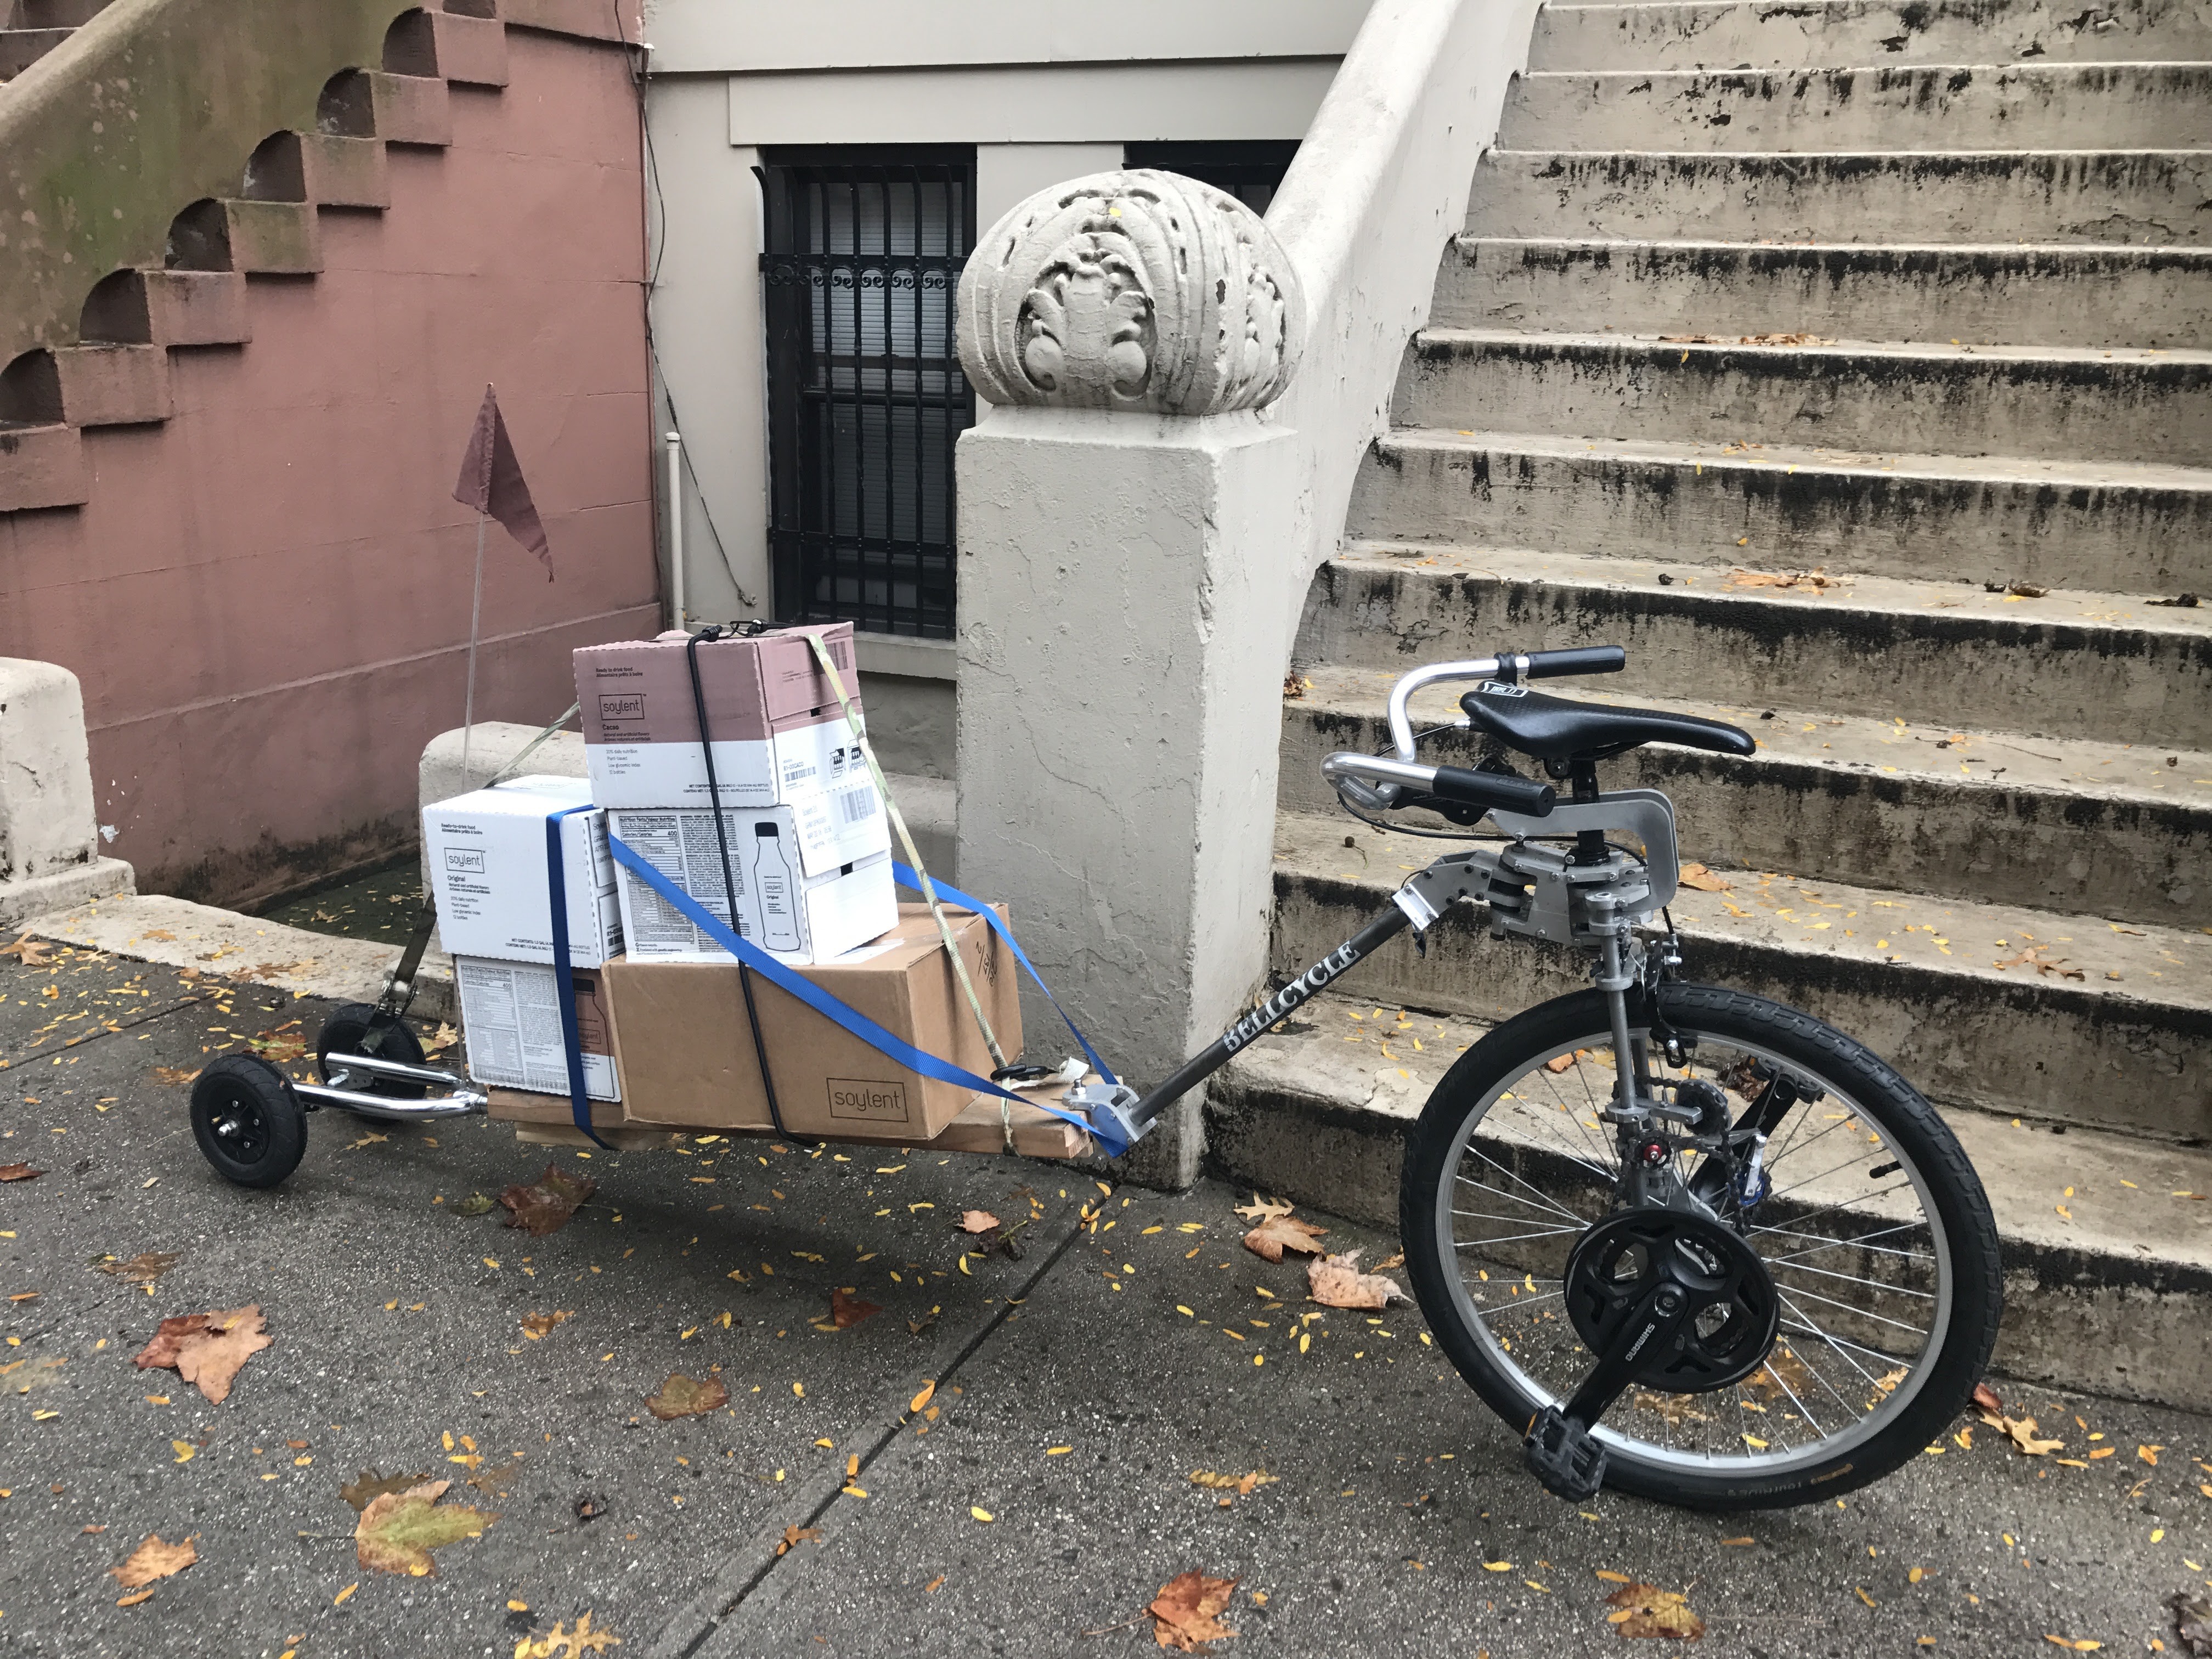
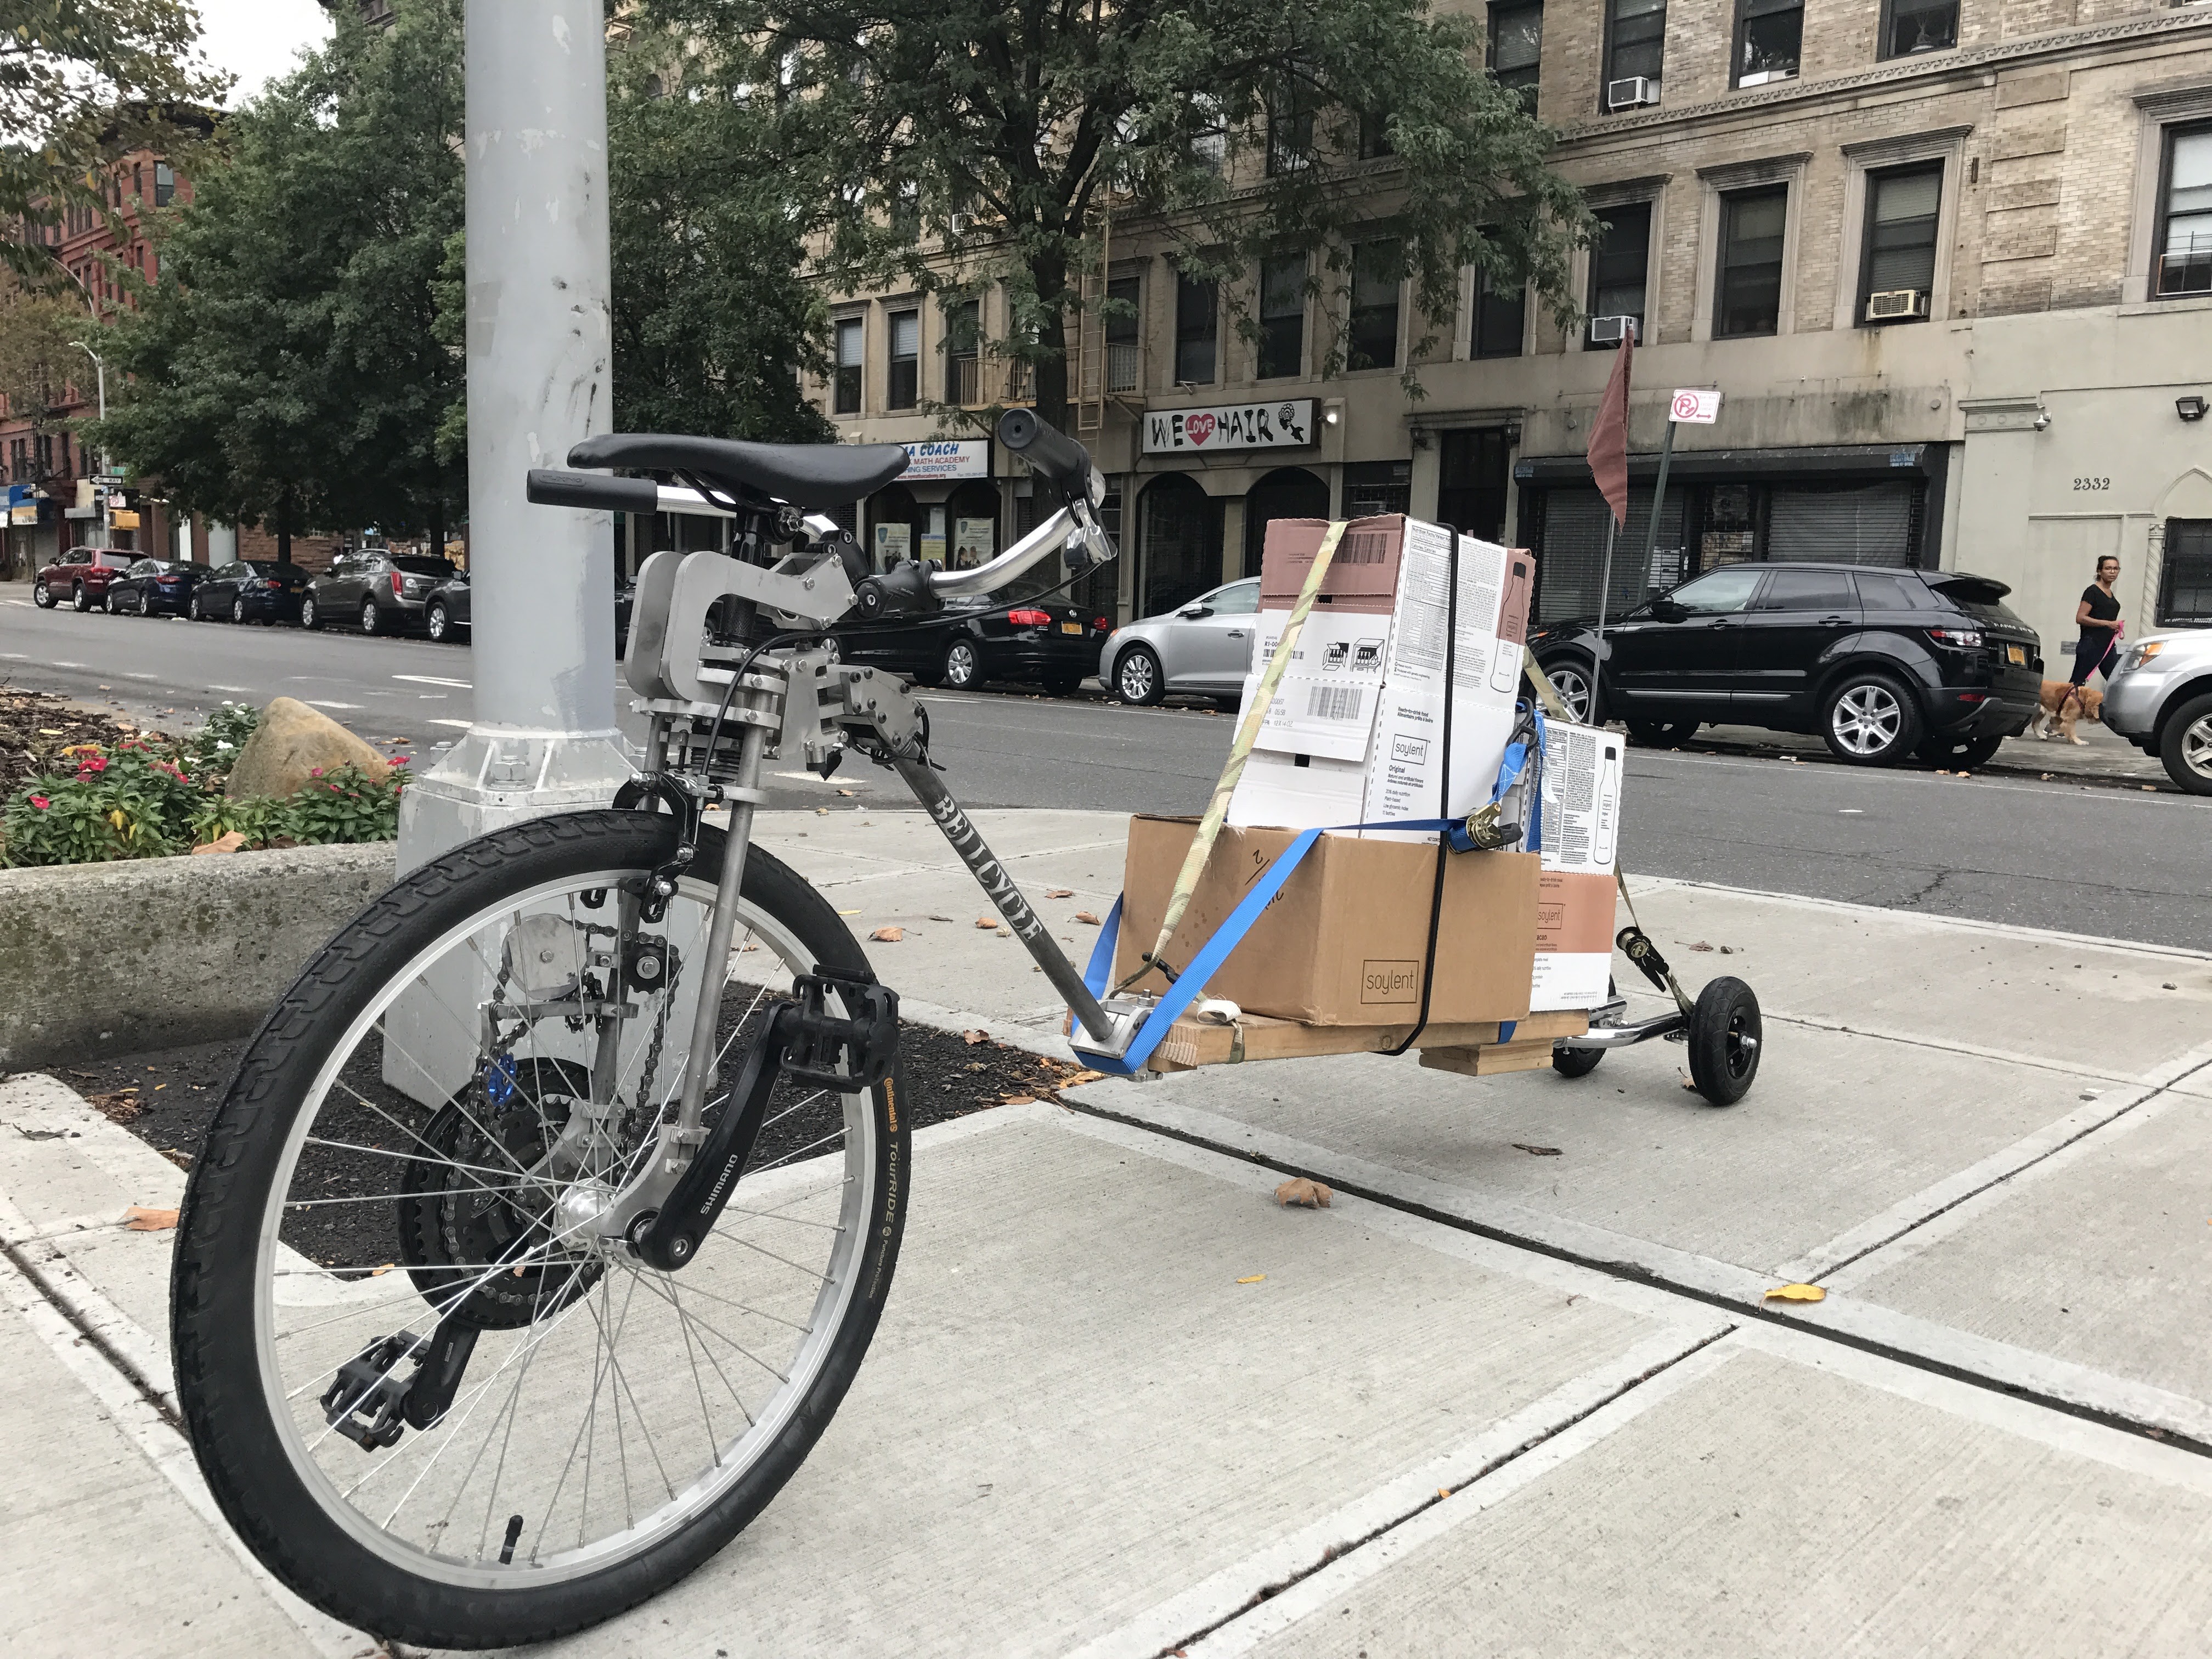
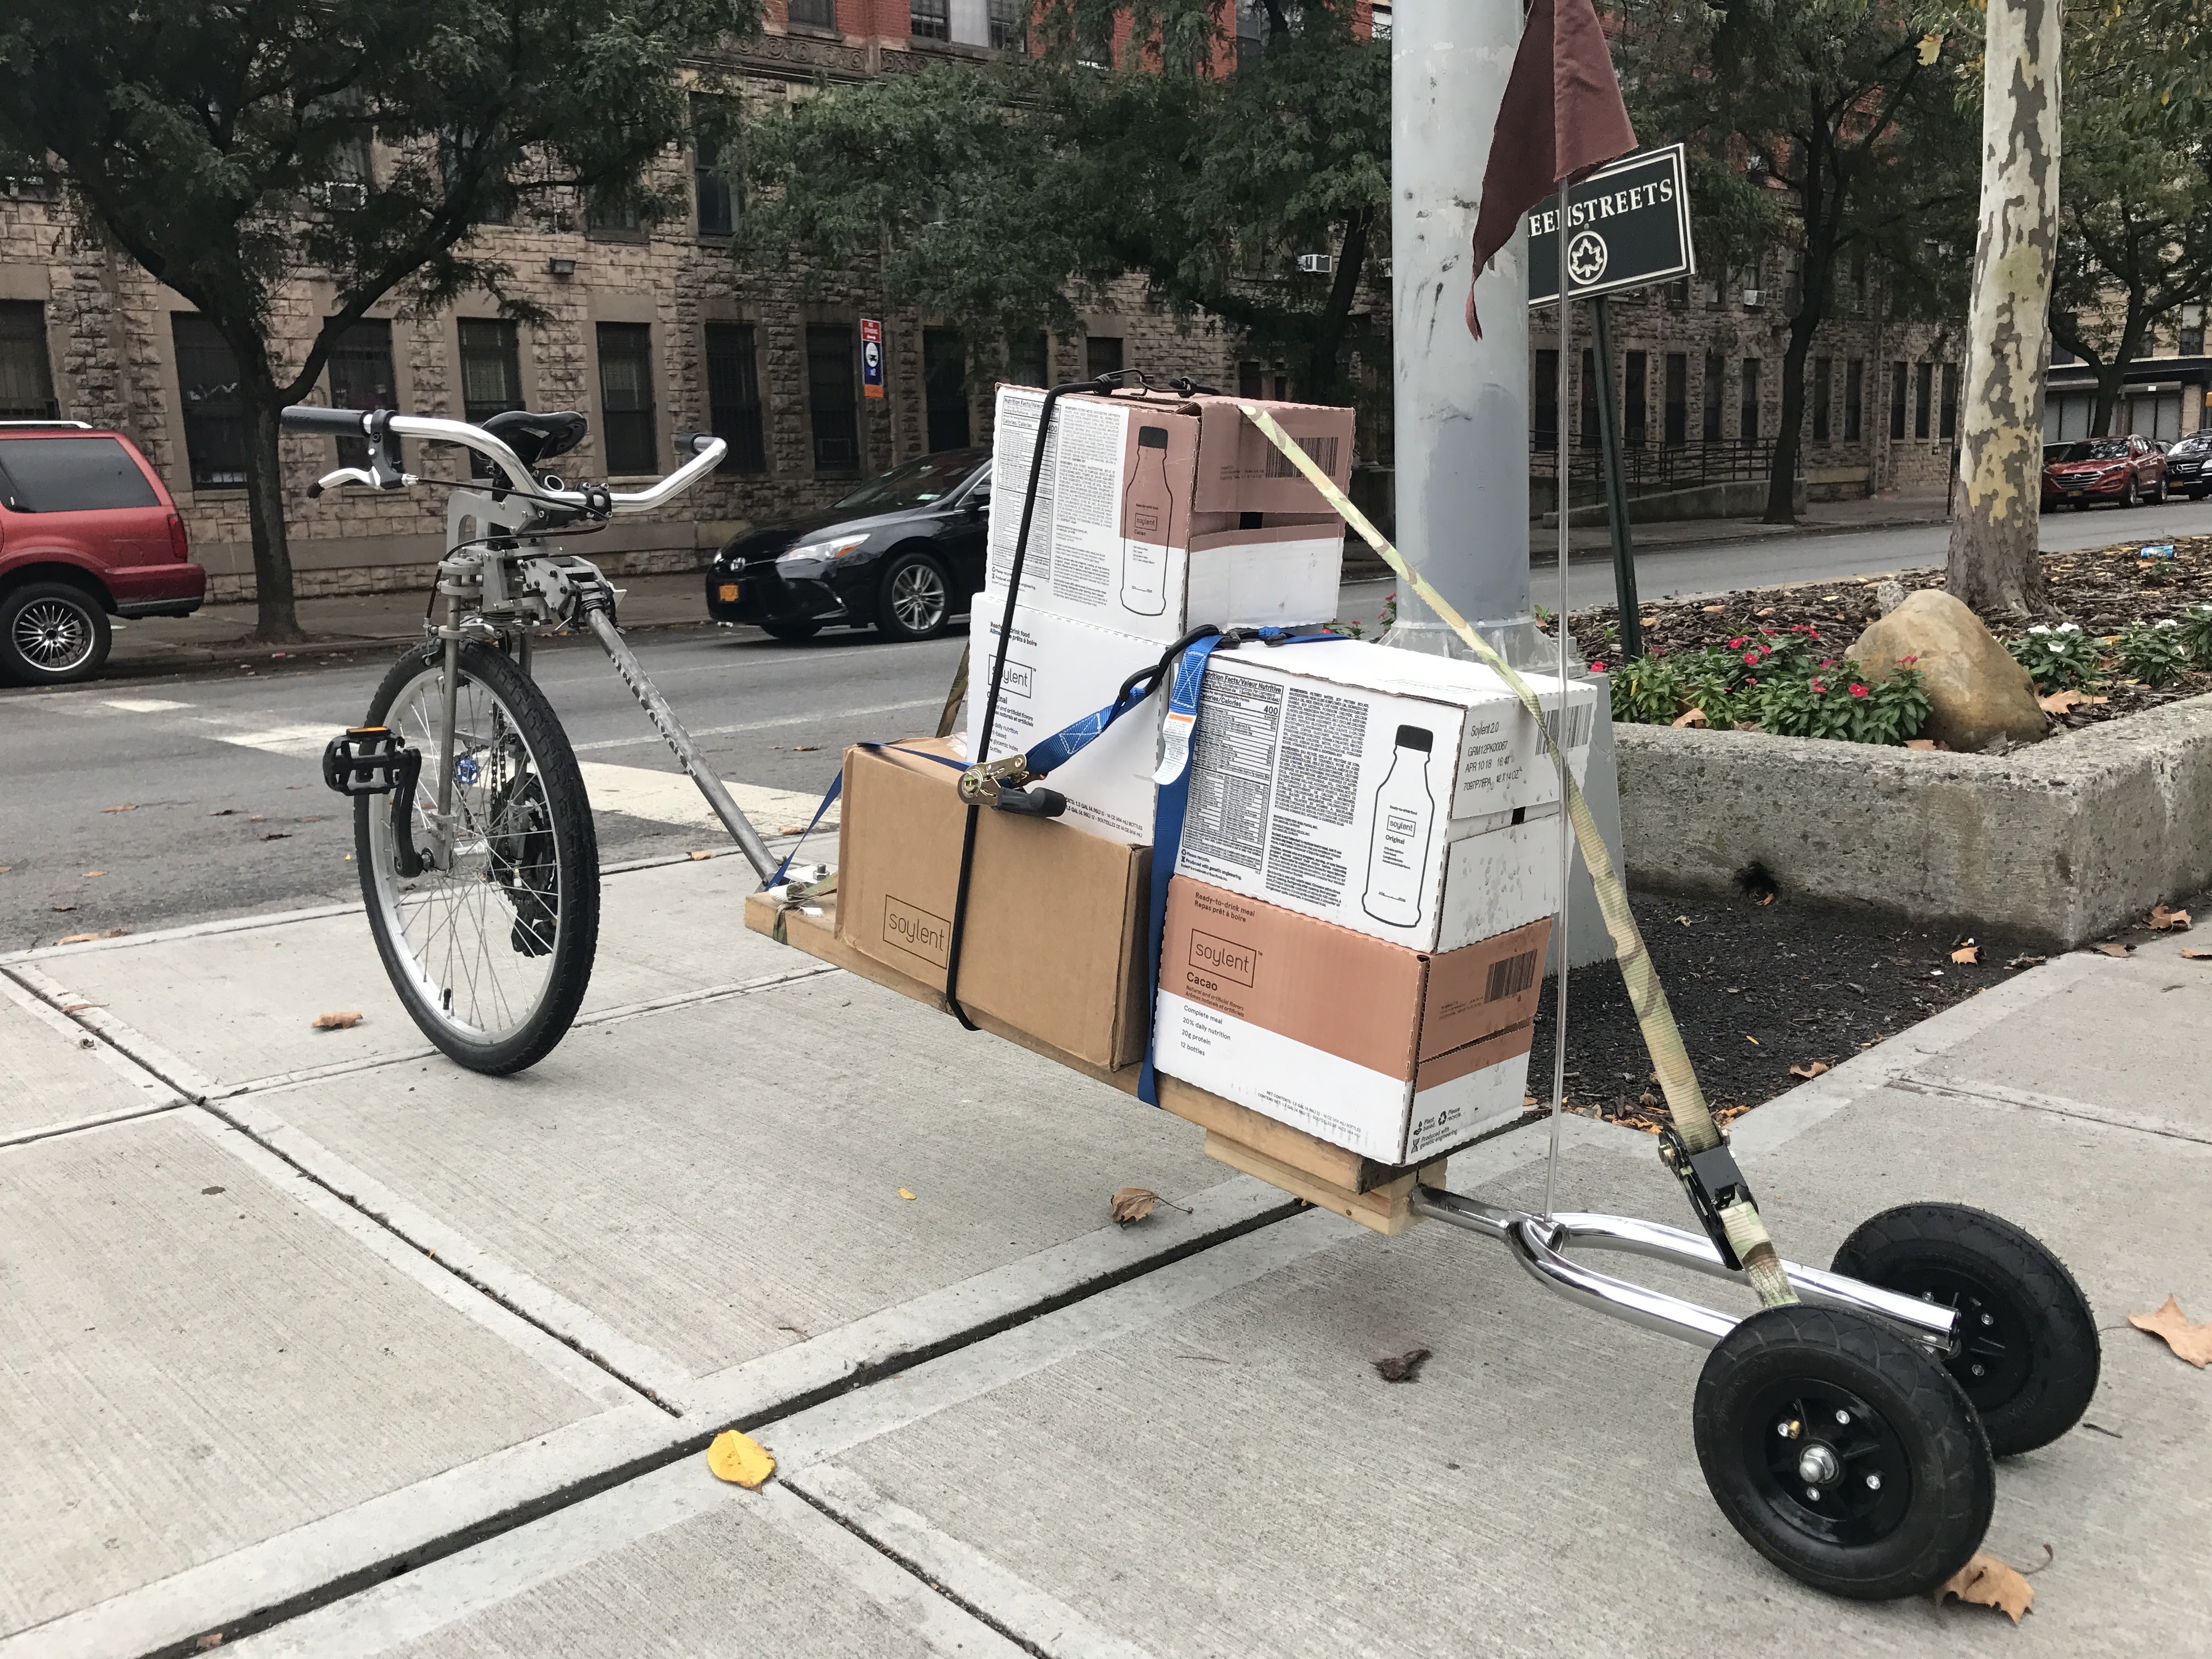
Cargo Bike First Take
10/09/2017 at 14:30 • 0 commentsOne of the benefits of the Bellcycles design is that the rear pivot allows the rear section of the cycle to be easily swapped out and as long as the height of the pivot remains the same, the cycle rides pretty much the same.
![]()
![]()
![]()
So if you are mostly a bicycle commuter but occasionally you need to haul some heavy boxes you could just swap out the rear section of your bike with two bolts and bolt on a cargo back. In this case, I just used a 2x6 piece of wood with an old bmx fork and two small wheels.
The worlds longest bicycle is 117ft says the Guinness Book of Records. Thats not really that long. I could build a light 120 foot beam ( wood? Foam/Fiberglass? Carbon Fiber Tube?) and bolt it on the end.
-
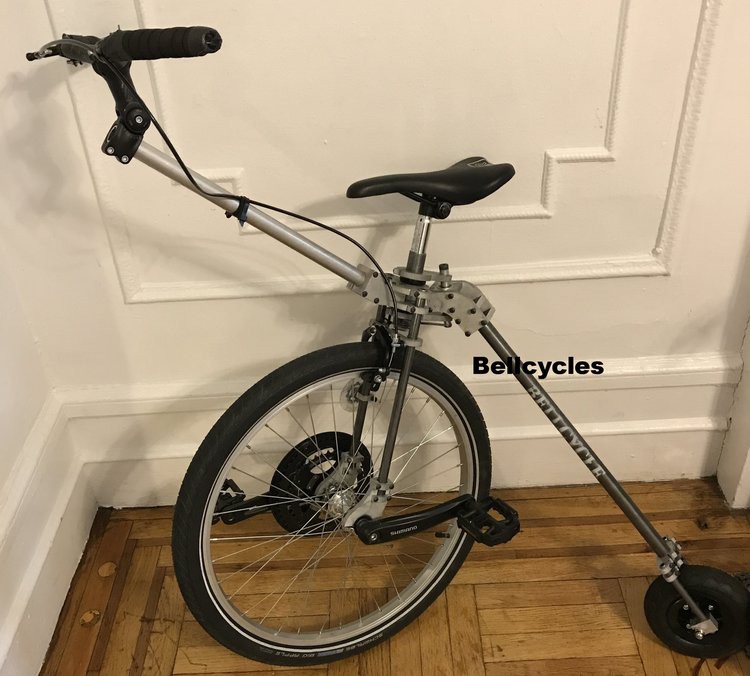
V1.15 Rear Pivot
09/28/2017 at 22:16 • 0 commentsWhere should the rear pivot on the cycle be? From v0.5B when I stuck a office chair caster wheel on the cycle the pivot was very close to the rear wheel. But in later version to simplify the design I moved the pivot towards the front.
![]()
![]()
![]()
The results? Its more maneuverable. You can perform tight tight turns. Its more fun!! But its also a little more challenging at low speeds. I think for the first version to release, I will go with the pivot towards the front but possibly with the possibility of the back pivot.
-
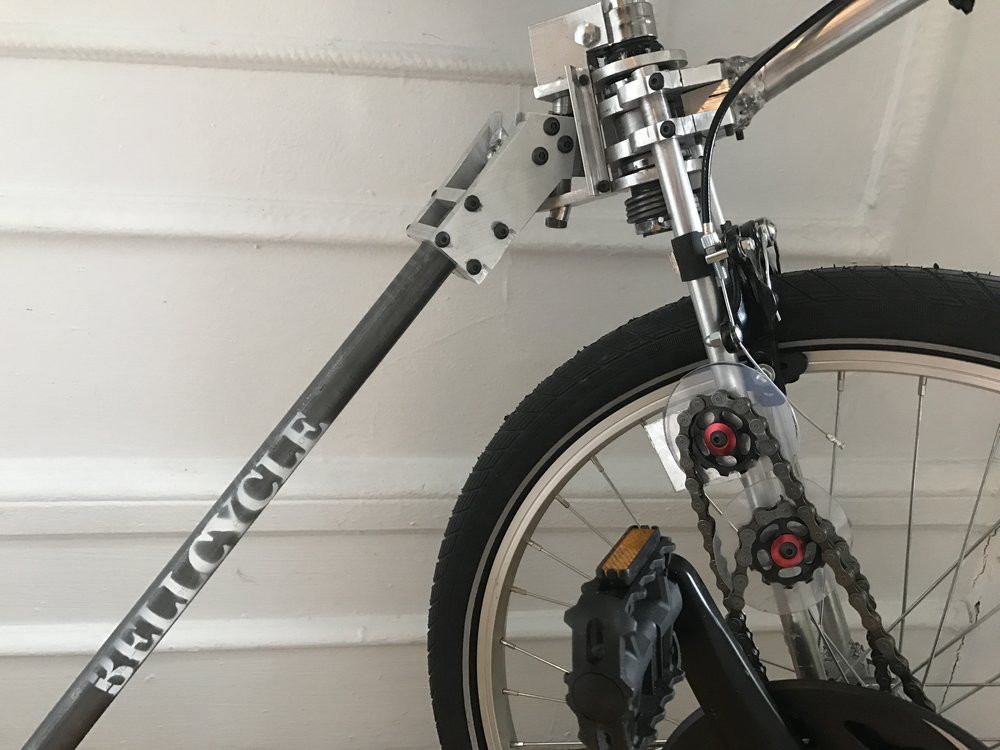
V1.10 Waterjet
09/27/2017 at 13:55 • 0 commentsVersion v1.0 showed me that the idea of the flat cut parts bolted together with tubes worked. But the process of cutting and drilling everything was not scalable. Enter the waterjet cutter. I went to BigBlueSaw.com and uploaded the parts. I also made a few changes to make the cycle simpler with fewer parts. I also added back in a connection to bring the handlebars under the seat as in earlier versions.
![]()
![]()
The waterjet parts were not perfect but much easier to work with then raw material. In further versions widening the diameter of the holes by a small amount gave enough clearance to make assembly simple. The parts do require holes drilled and tapped in some of the parts sides for the pinch bolts, but in a few hours a complete cycle is ready.
![]()
![]()
-
V1.0 How would you manufacture this thing?
09/22/2017 at 17:29 • 0 commentsEarly 2017, I am riding the bellcycle around the neighborhood and occasionally from Harlem to the Flatiron. Most New Yorkers just ignore me. But for those bicyclists or people who look closely they yell some variant of "Where can I get that" or "What the f*&X is that."
My thoughts on manufacturing were
- I could have visited a boutique local bicycle frame shop and had them TIG weld a custom frame or even perhaps build the entire cycle from my rough plans. This is expensive at probably a few hundred dollars per cycle.
- I could try going overseas and working with existing bicycle manufacturers to make a more production ready prototype. This has other issues which I will address in another post.
- Growing up in NYC I always wanted to build my own bike from scratch, frame and all. I had finally done that. But it wasn't easy. You can buy a kit and assemble a radio, computer etc from scratch, why not a bicycle? What would a cycle kit look like? Sure, you can buy a frame online and assemble, but what if you want to go further and assemble everything?
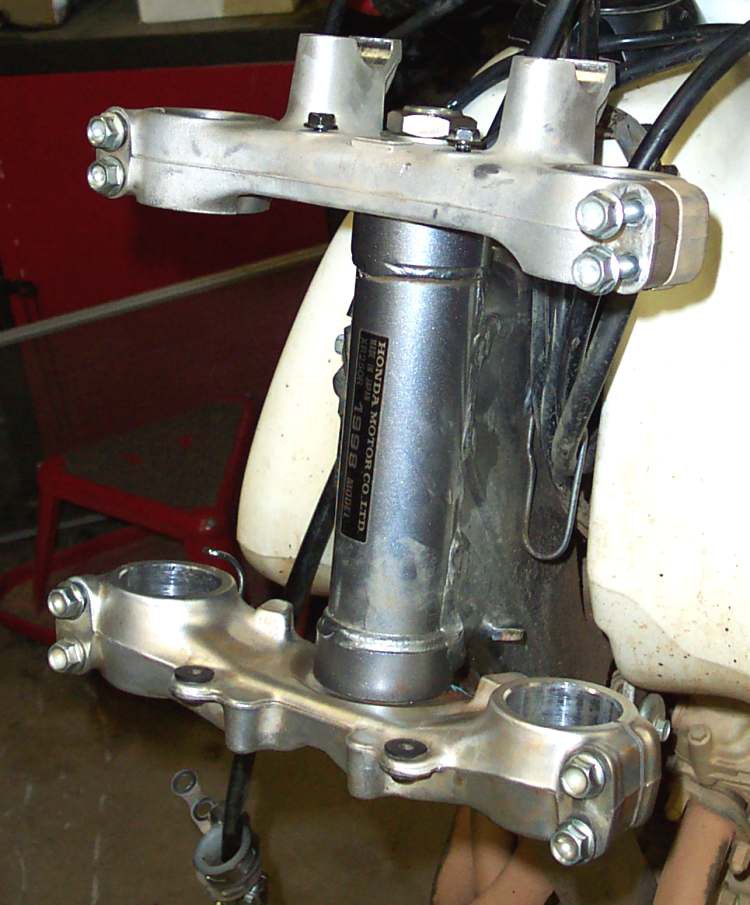
I downloaded Fusion360 from Autodesk and jumped in. Many modern motorcycles have an interesting construction of their front fork/ triple tree in which the forks are bolted between usually two aluminum members with the forks held via pinch bolts. As in below.
![]()
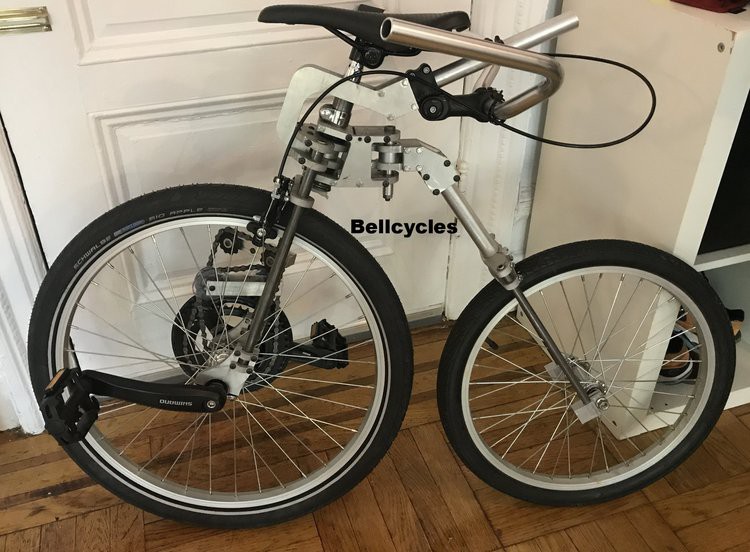
So I designed a version of the bellcycle in which the parts are made up of tubes( aluminum, steel, carbon fiber, whatever) are held together by a series of plates with pinch bolts.
![]()
Without building it, the benefits seemed to be
- Mostly flat stock
- Can be easily assembled with just a allen wrench
- Should be cheaper at smaller volumes if there is no need for welding factories etc
- Modular allowing for different handlebars, positions, angles, tandems, cargo cycles etc.
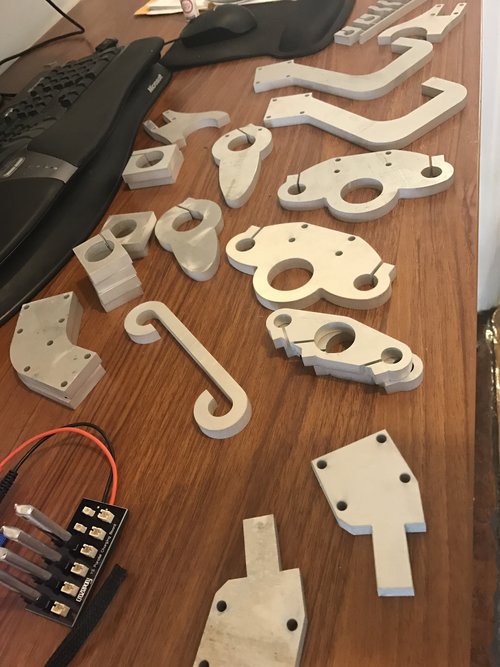
I ordered the metal from onlinemetals.com. Used my hacksaw to cut out the shapes and a drill press with a variety of bits to drill out the required holes. Drilling a 30mm hole through a chunk of aluminum is not easy!! When building the design it became obvious the improvements in the design that were needed to reduce holes, angles, etc.
![]()
It works. It is fun to ride.
Bellcycles: A New Take on the Bicycle
A front wheel drive, compact, modular bicycle that you build yourself.