 Carlos Garcia Saura
-
1Decide which version to build
There are two versions available:
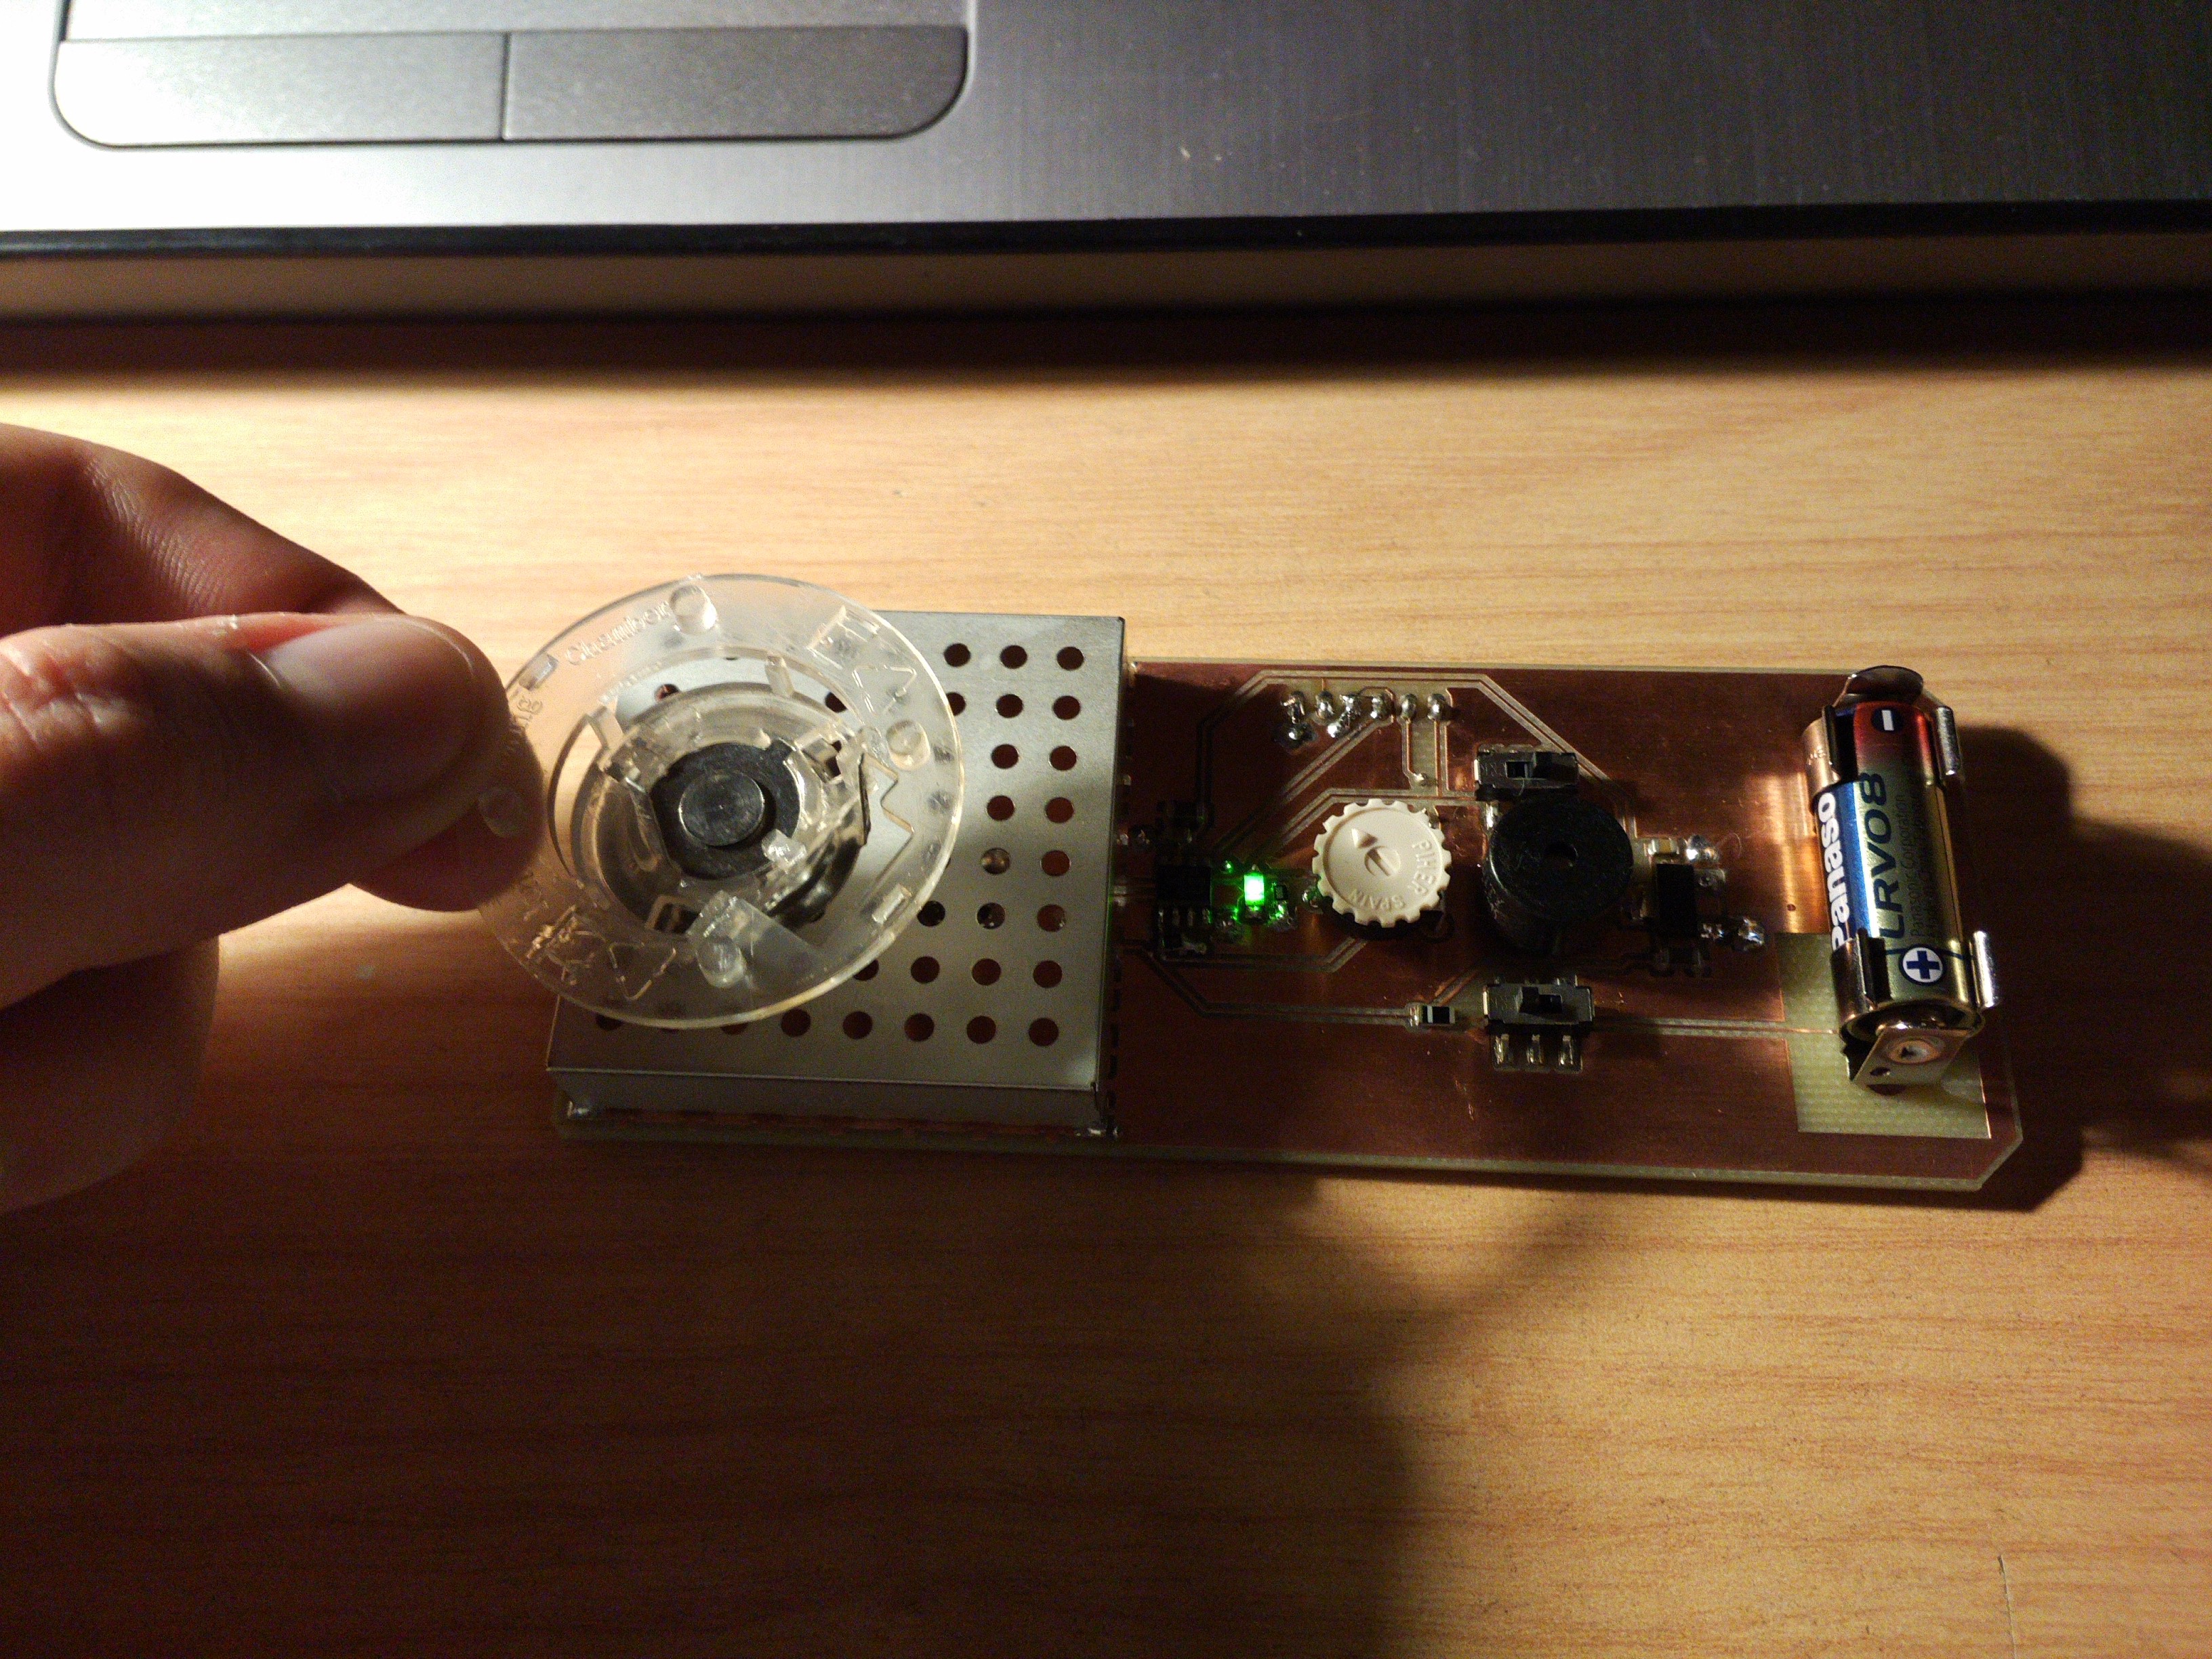
- Version 0.9 is the most simple, requiring the least number of components. It shows the level of radiation by using a single LED. It is powered with an A23 12V battery. You can interface it with Arduino and other microcontrollers.
![]()
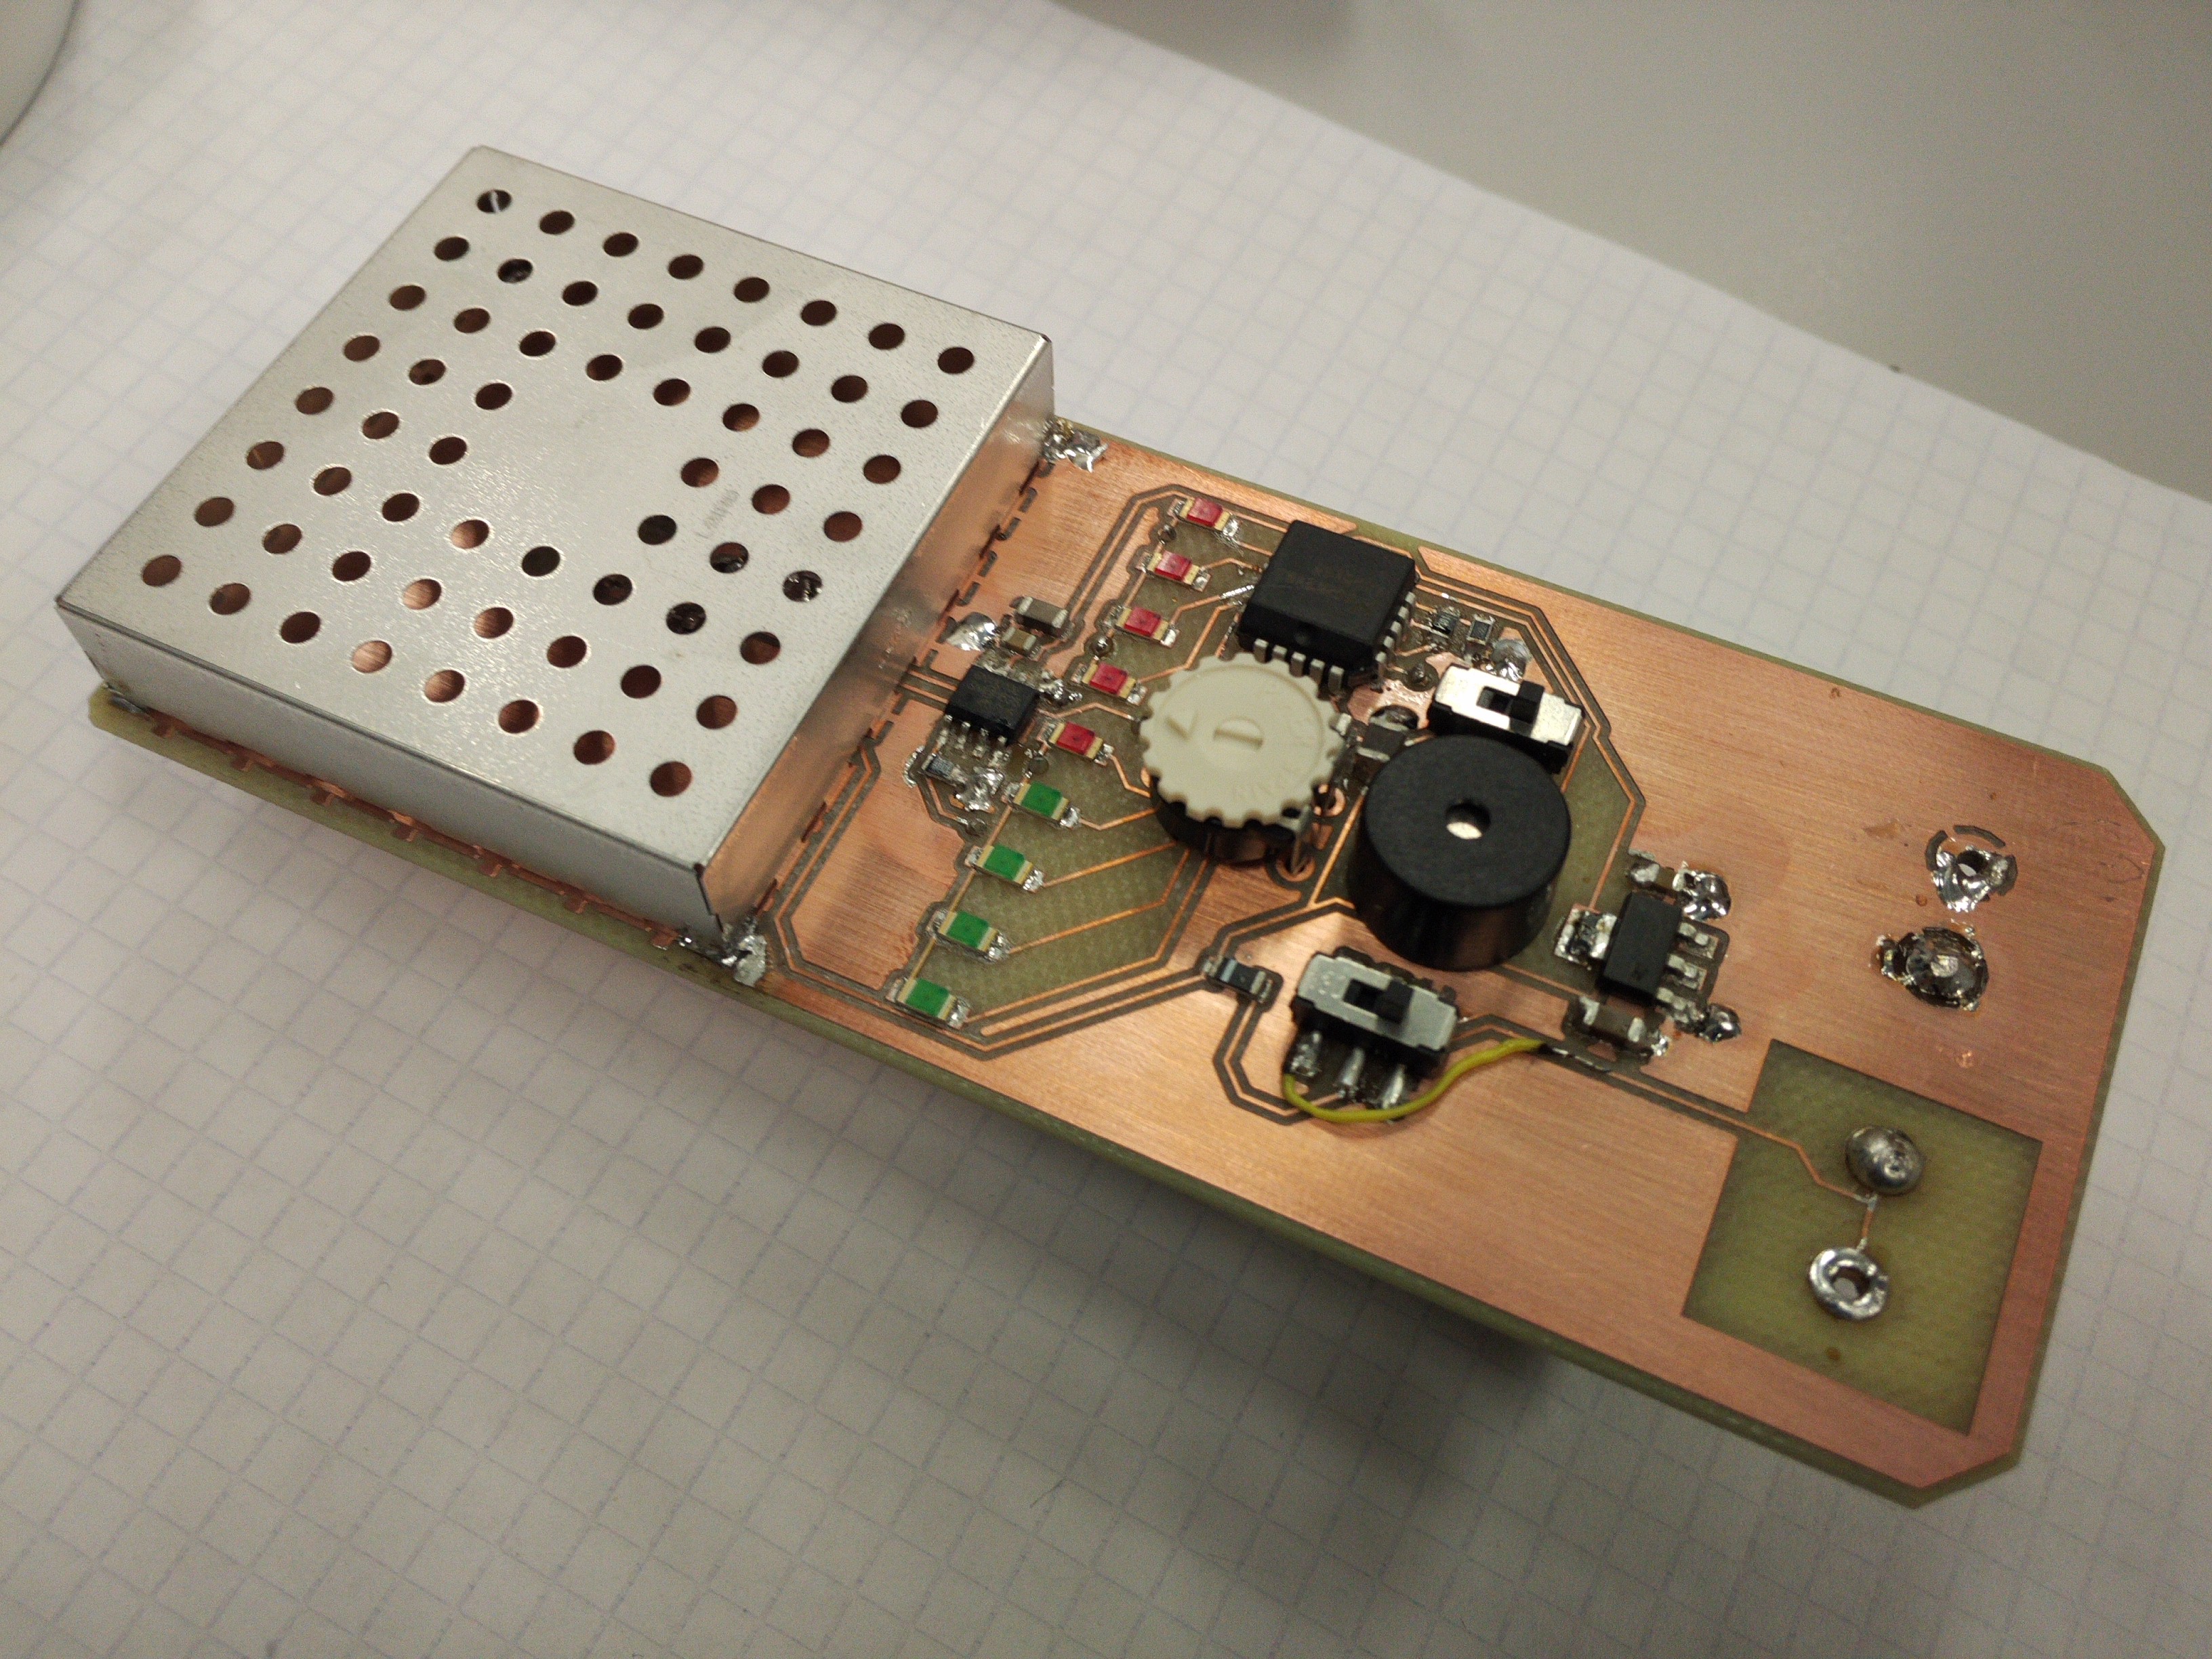
- Version 1.0 has a strip of LEDs that gradually light up. It uses a more powerful, standard 9V battery. It requires more circuitry, we believe it is worth the result :-)
![]()
-
2Manufacture the PCB
Using the Gerber files, available here:
- Gerbers for Version 0.9: https://github.com/CarlosGS/open-radiation-detector/tree/master/Detector_PCB_0.9/Gerber
- Gerbers for Version 1.0: https://github.com/CarlosGS/open-radiation-detector/tree/master/Detector_PCB_1.0/Gerber
This can be done with any manufacture method of your preference.
-
3Source the components
Full bill-of-materials are available here:
- BOM for version 0.9: https://github.com/CarlosGS/open-radiation-detector/blob/master/Detector_PCB_0.9/Documentation/BOM_open_rad_detector_0.9.pdf
- BOM for version 1.0: https://github.com/CarlosGS/open-radiation-detector/blob/master/Detector_PCB_1.0/Documentation/BOM_open_rad_detector_1.0.pdf
We provide manufacturer part numbers and a link to buy the parts in online stores. Use your favourite supplier!
-
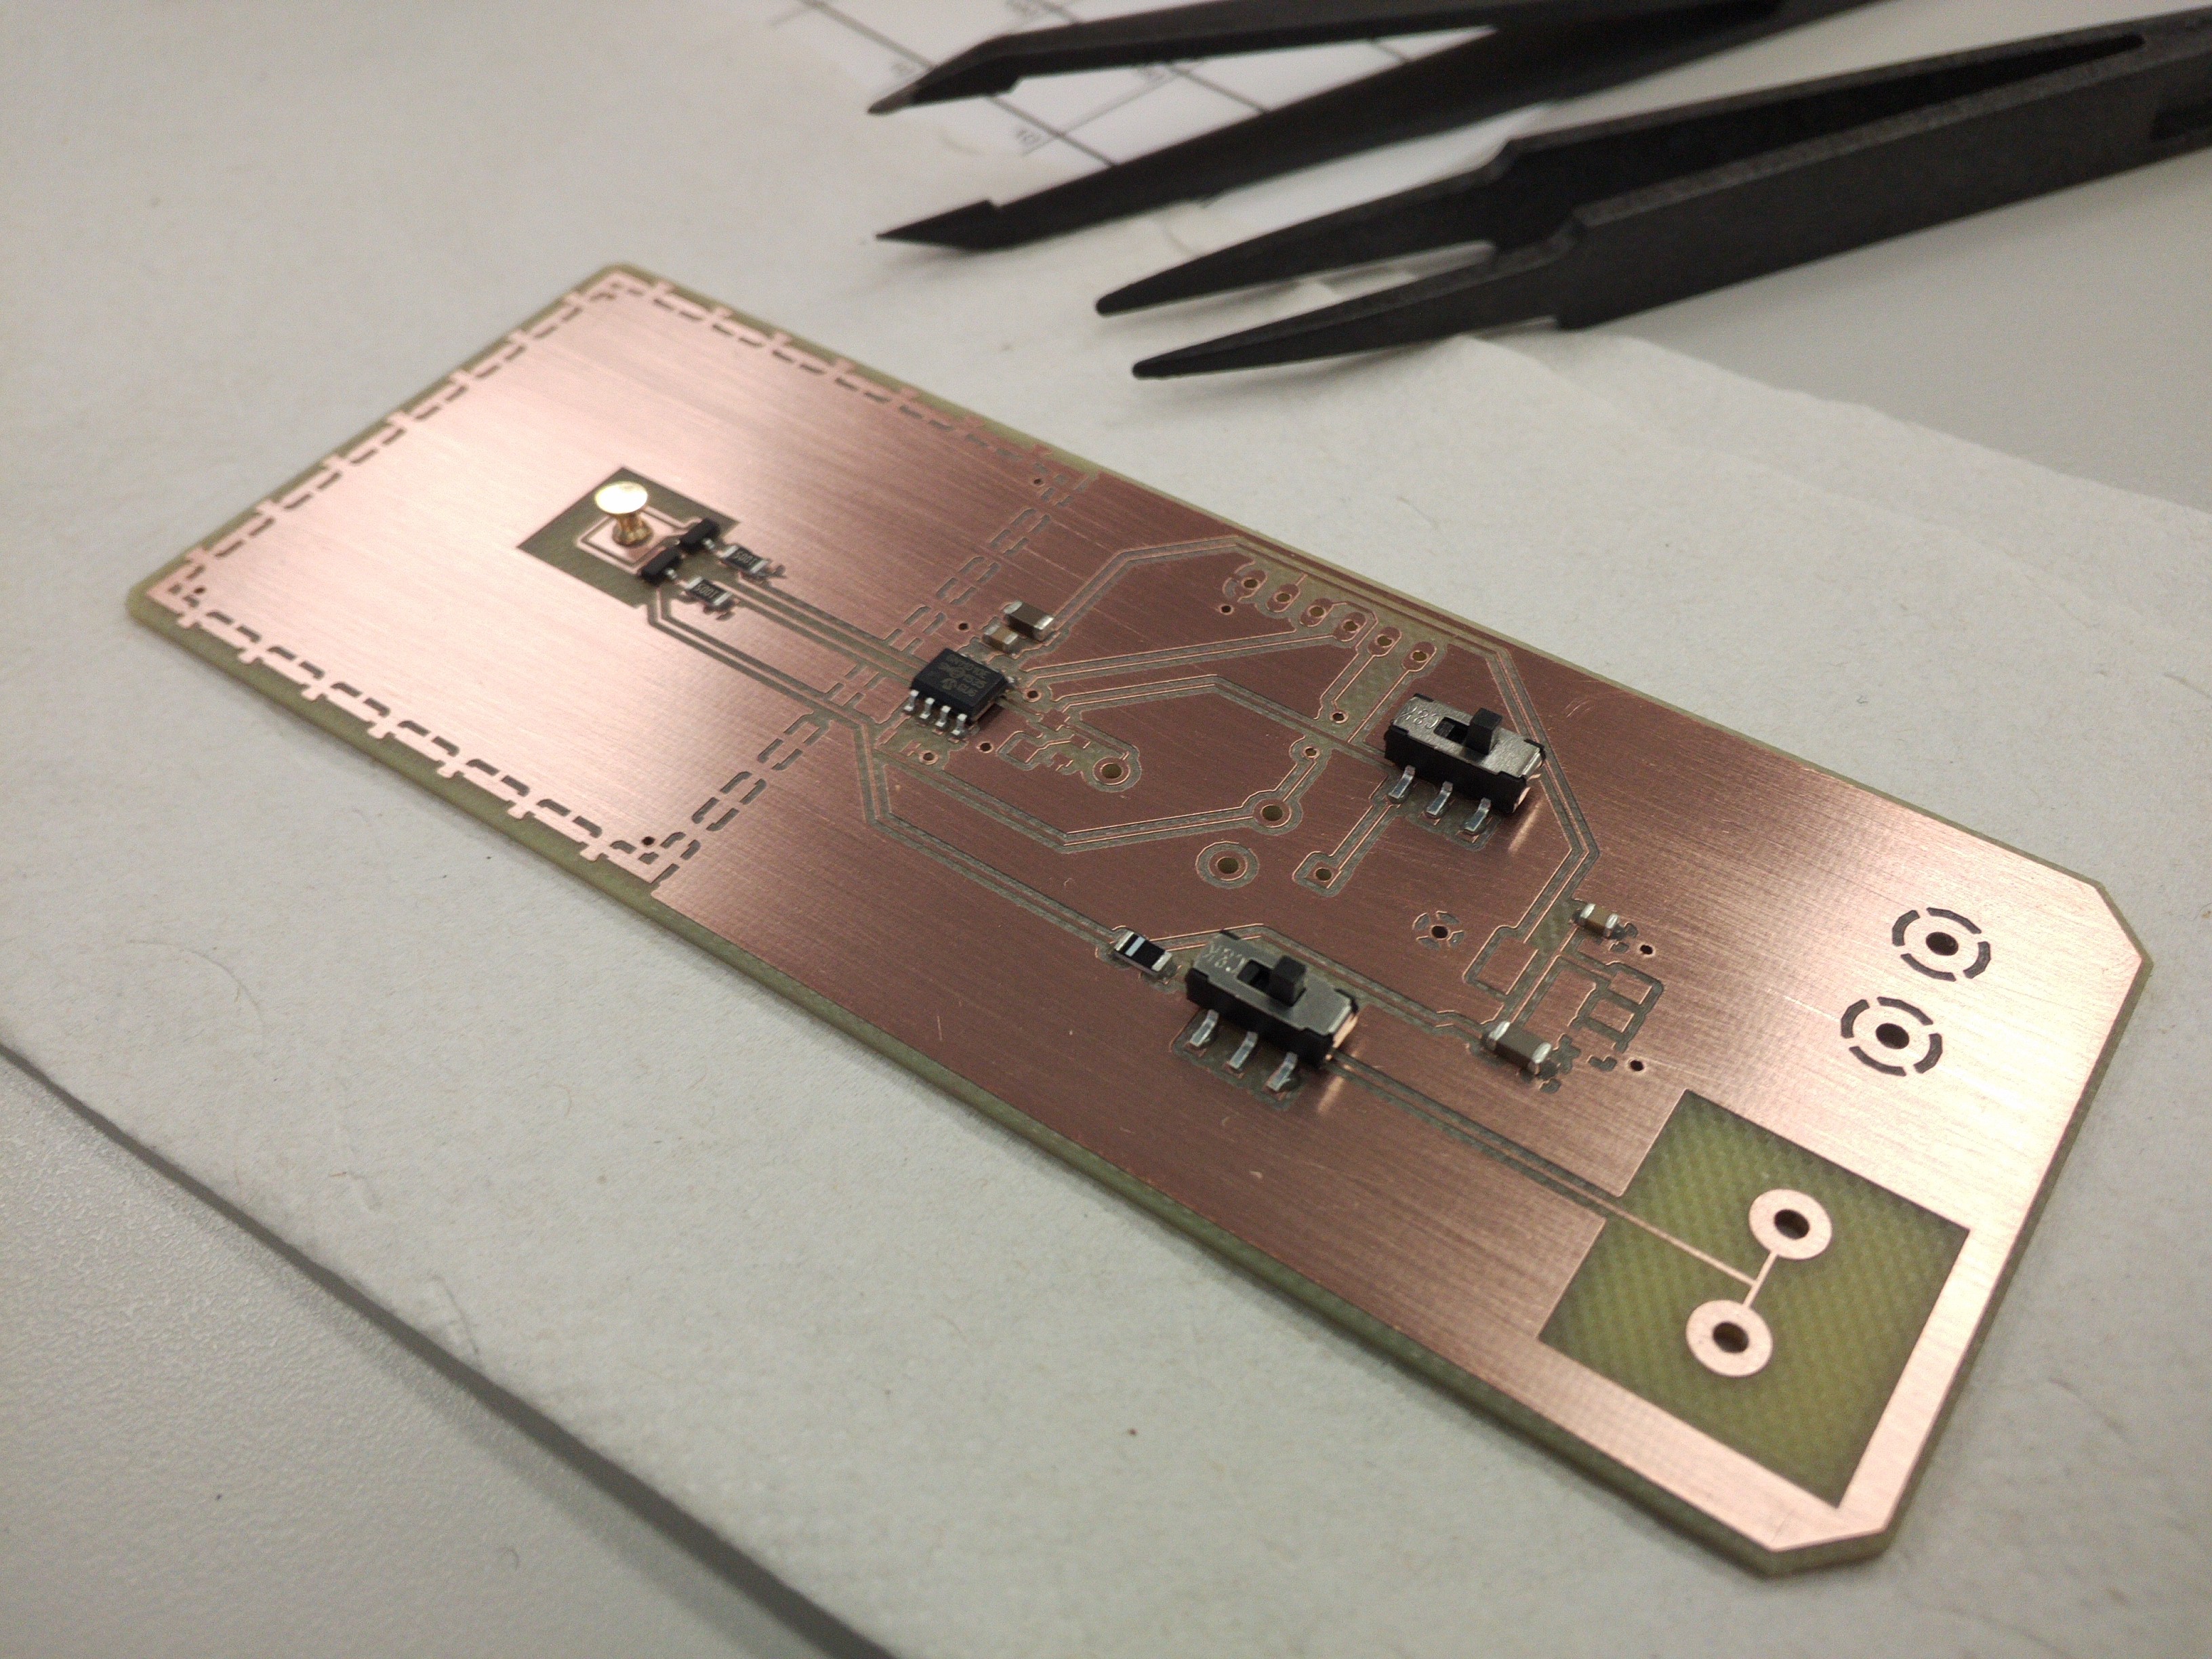
4Assemble the board
- Version 0.9: schematic, PCB layout
- Version 1.0: schematic, PCB layout
![]()
-
5Tips & tricks
- It is an experimental design, do not assume it will work in the first try. In doubt, ask in the comment section so we can document everything better.
- Have a voltmeter handy to test everything.
- You may need to tune the high-value resistors within the detector chamber. Do not solder the chamber permanently. It is better to solder two corners only, in order to test the detector first.
Open Radiation Detector
Quickly identify radioactive materials with a pocket-sized ion chamber. Built from standard parts for easy manufacture and low cost.
Discussions
Become a Hackaday.io Member
Create an account to leave a comment. Already have an account? Log In.