-
Update on Prototype PCB and Box
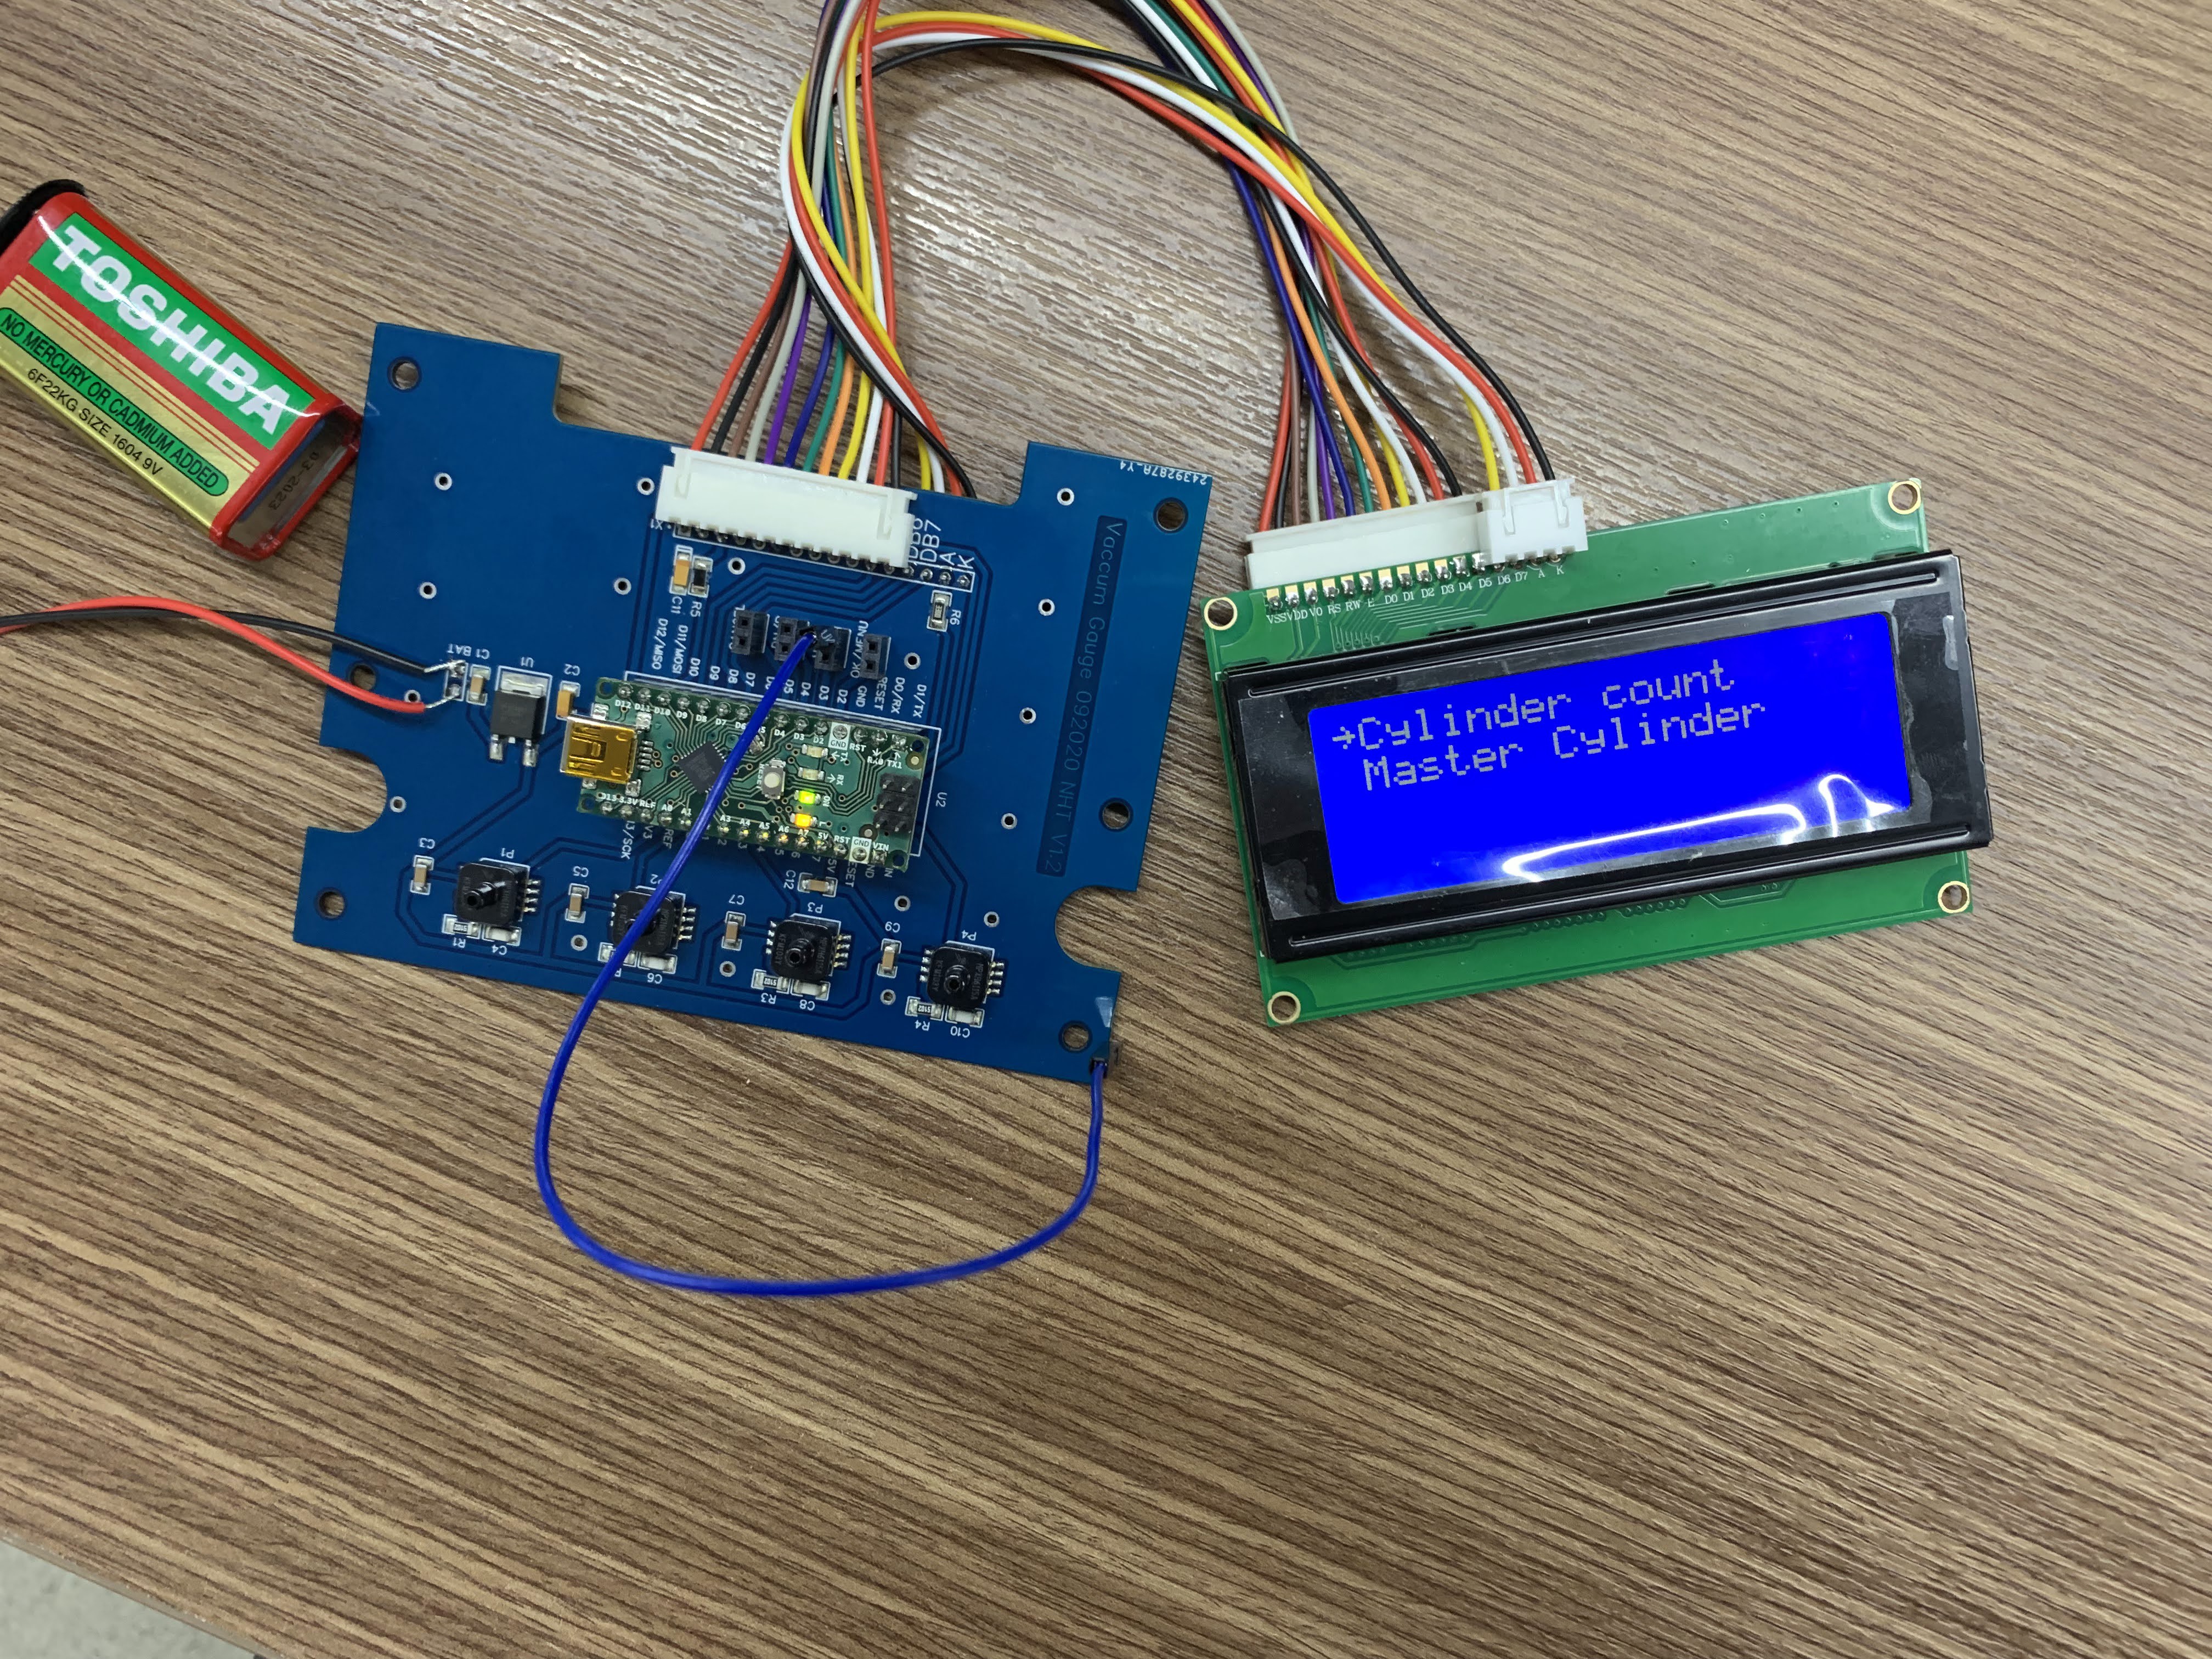
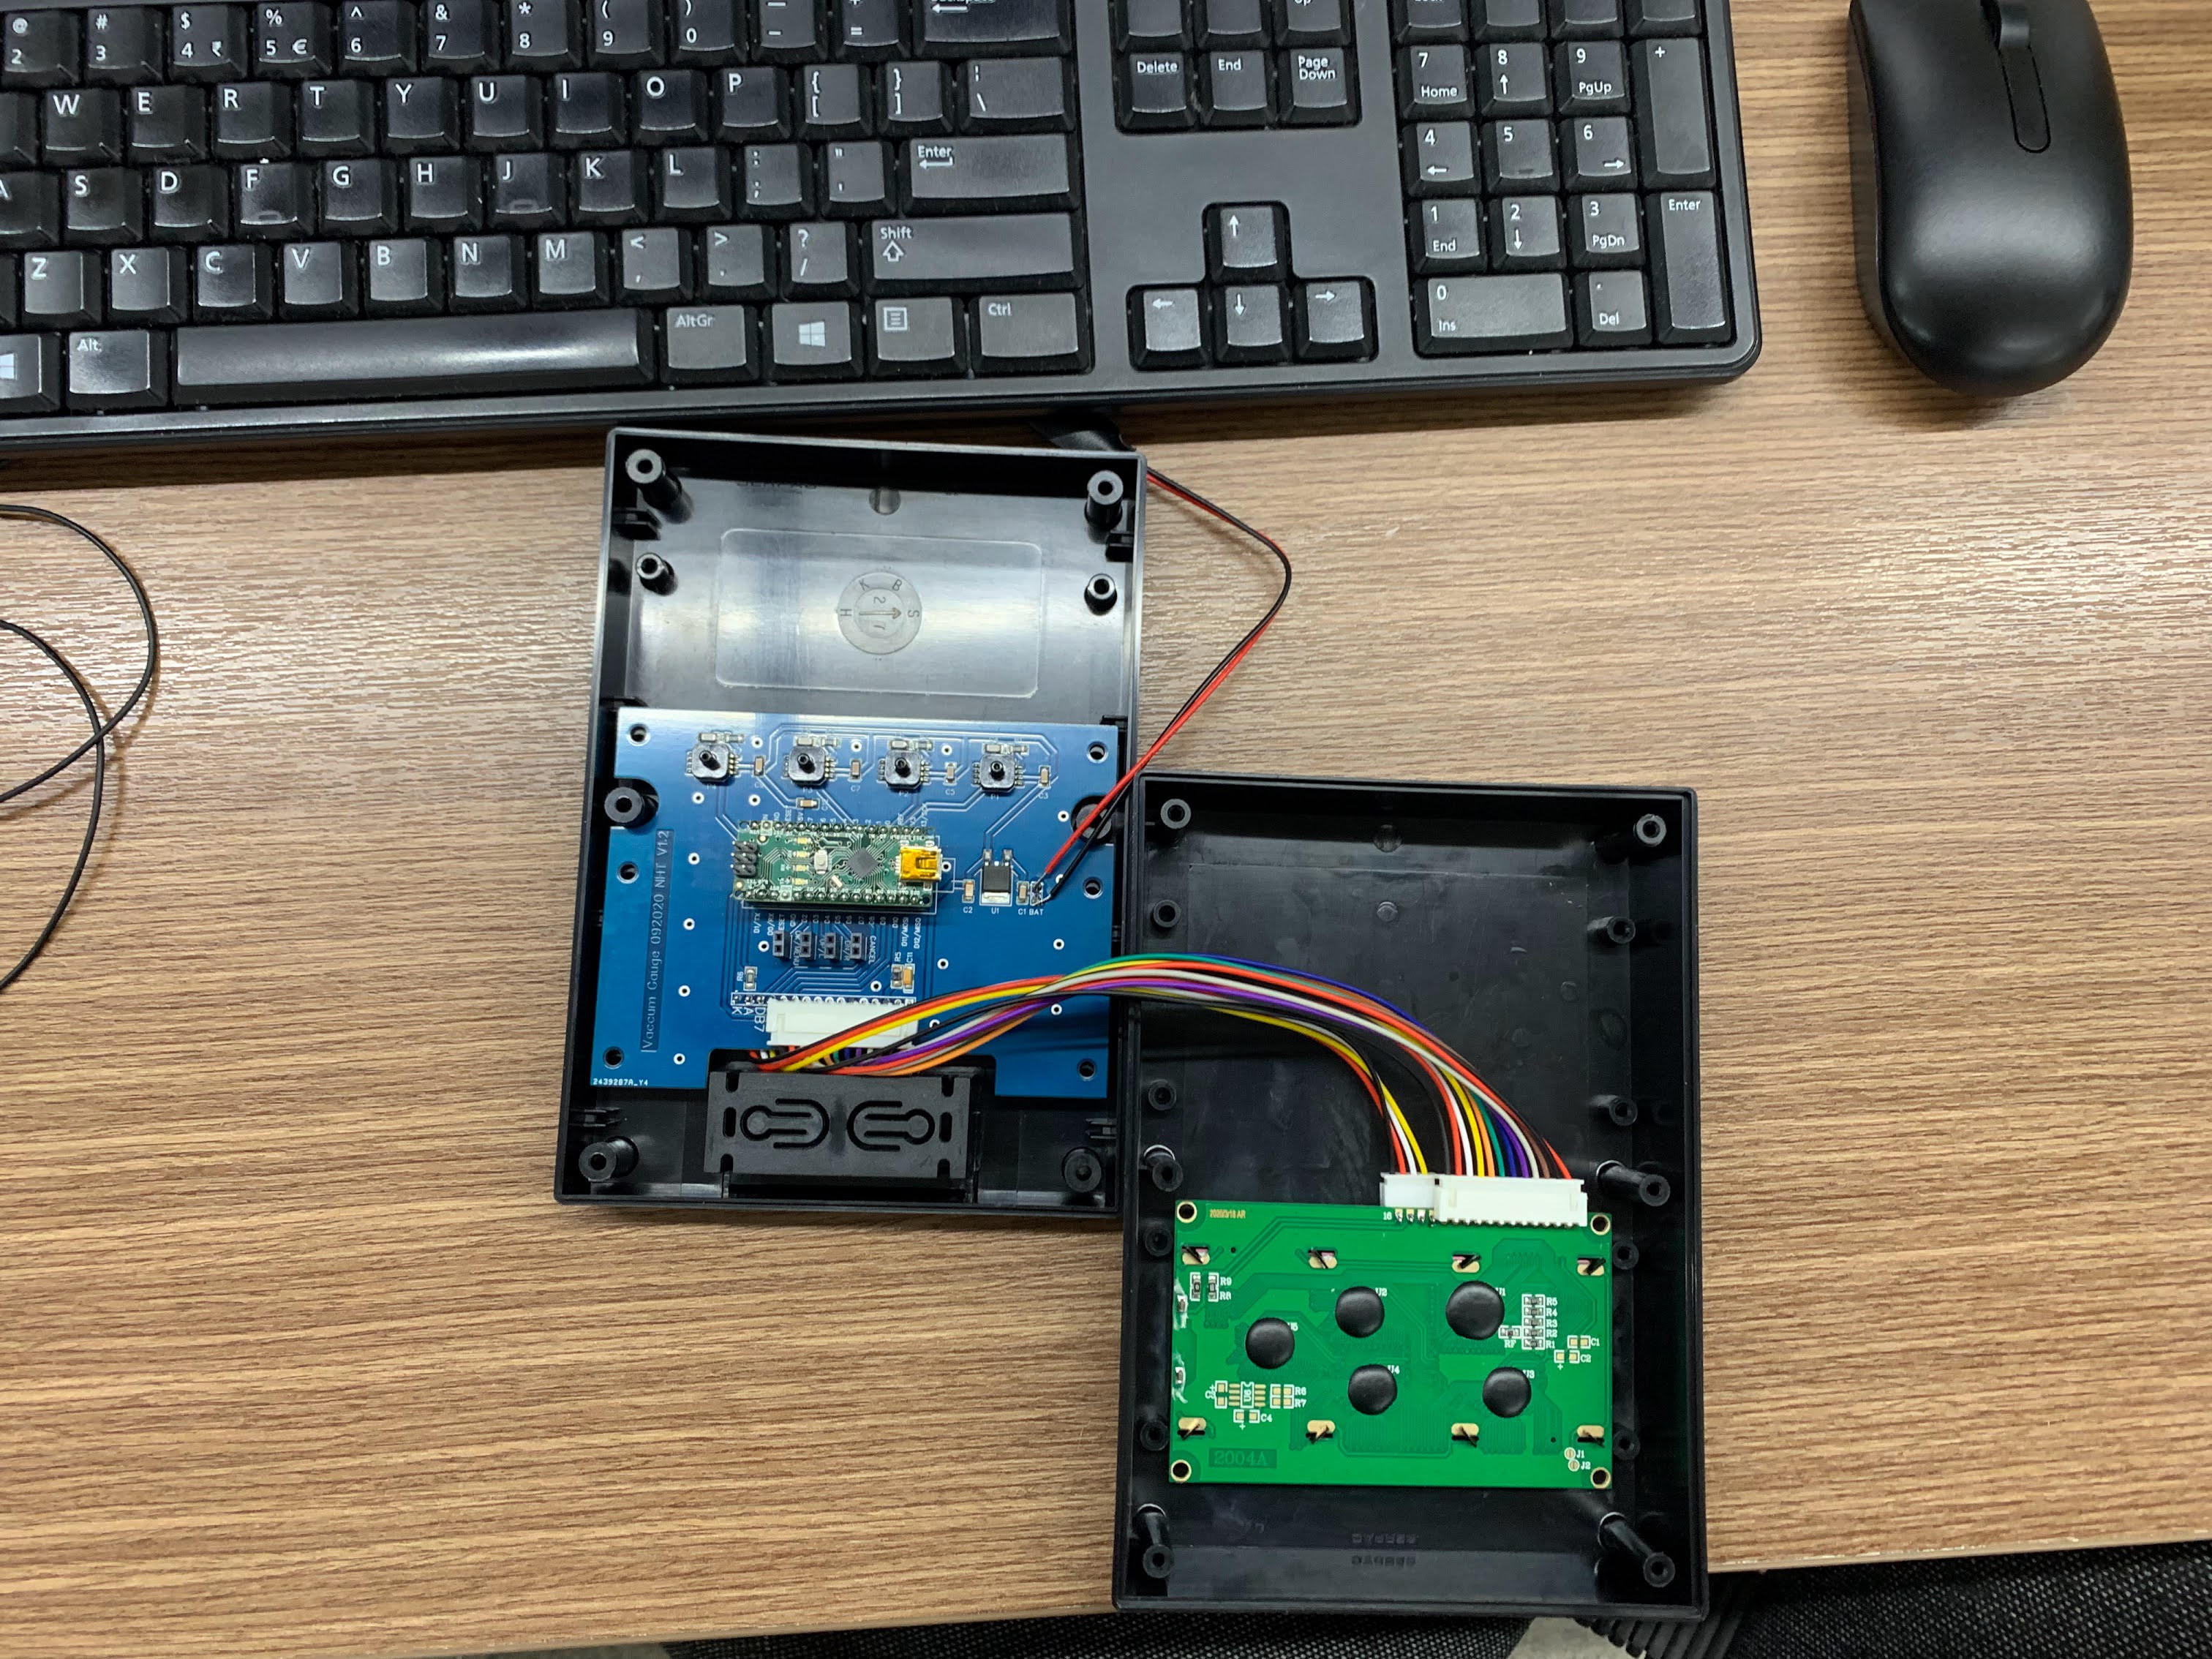
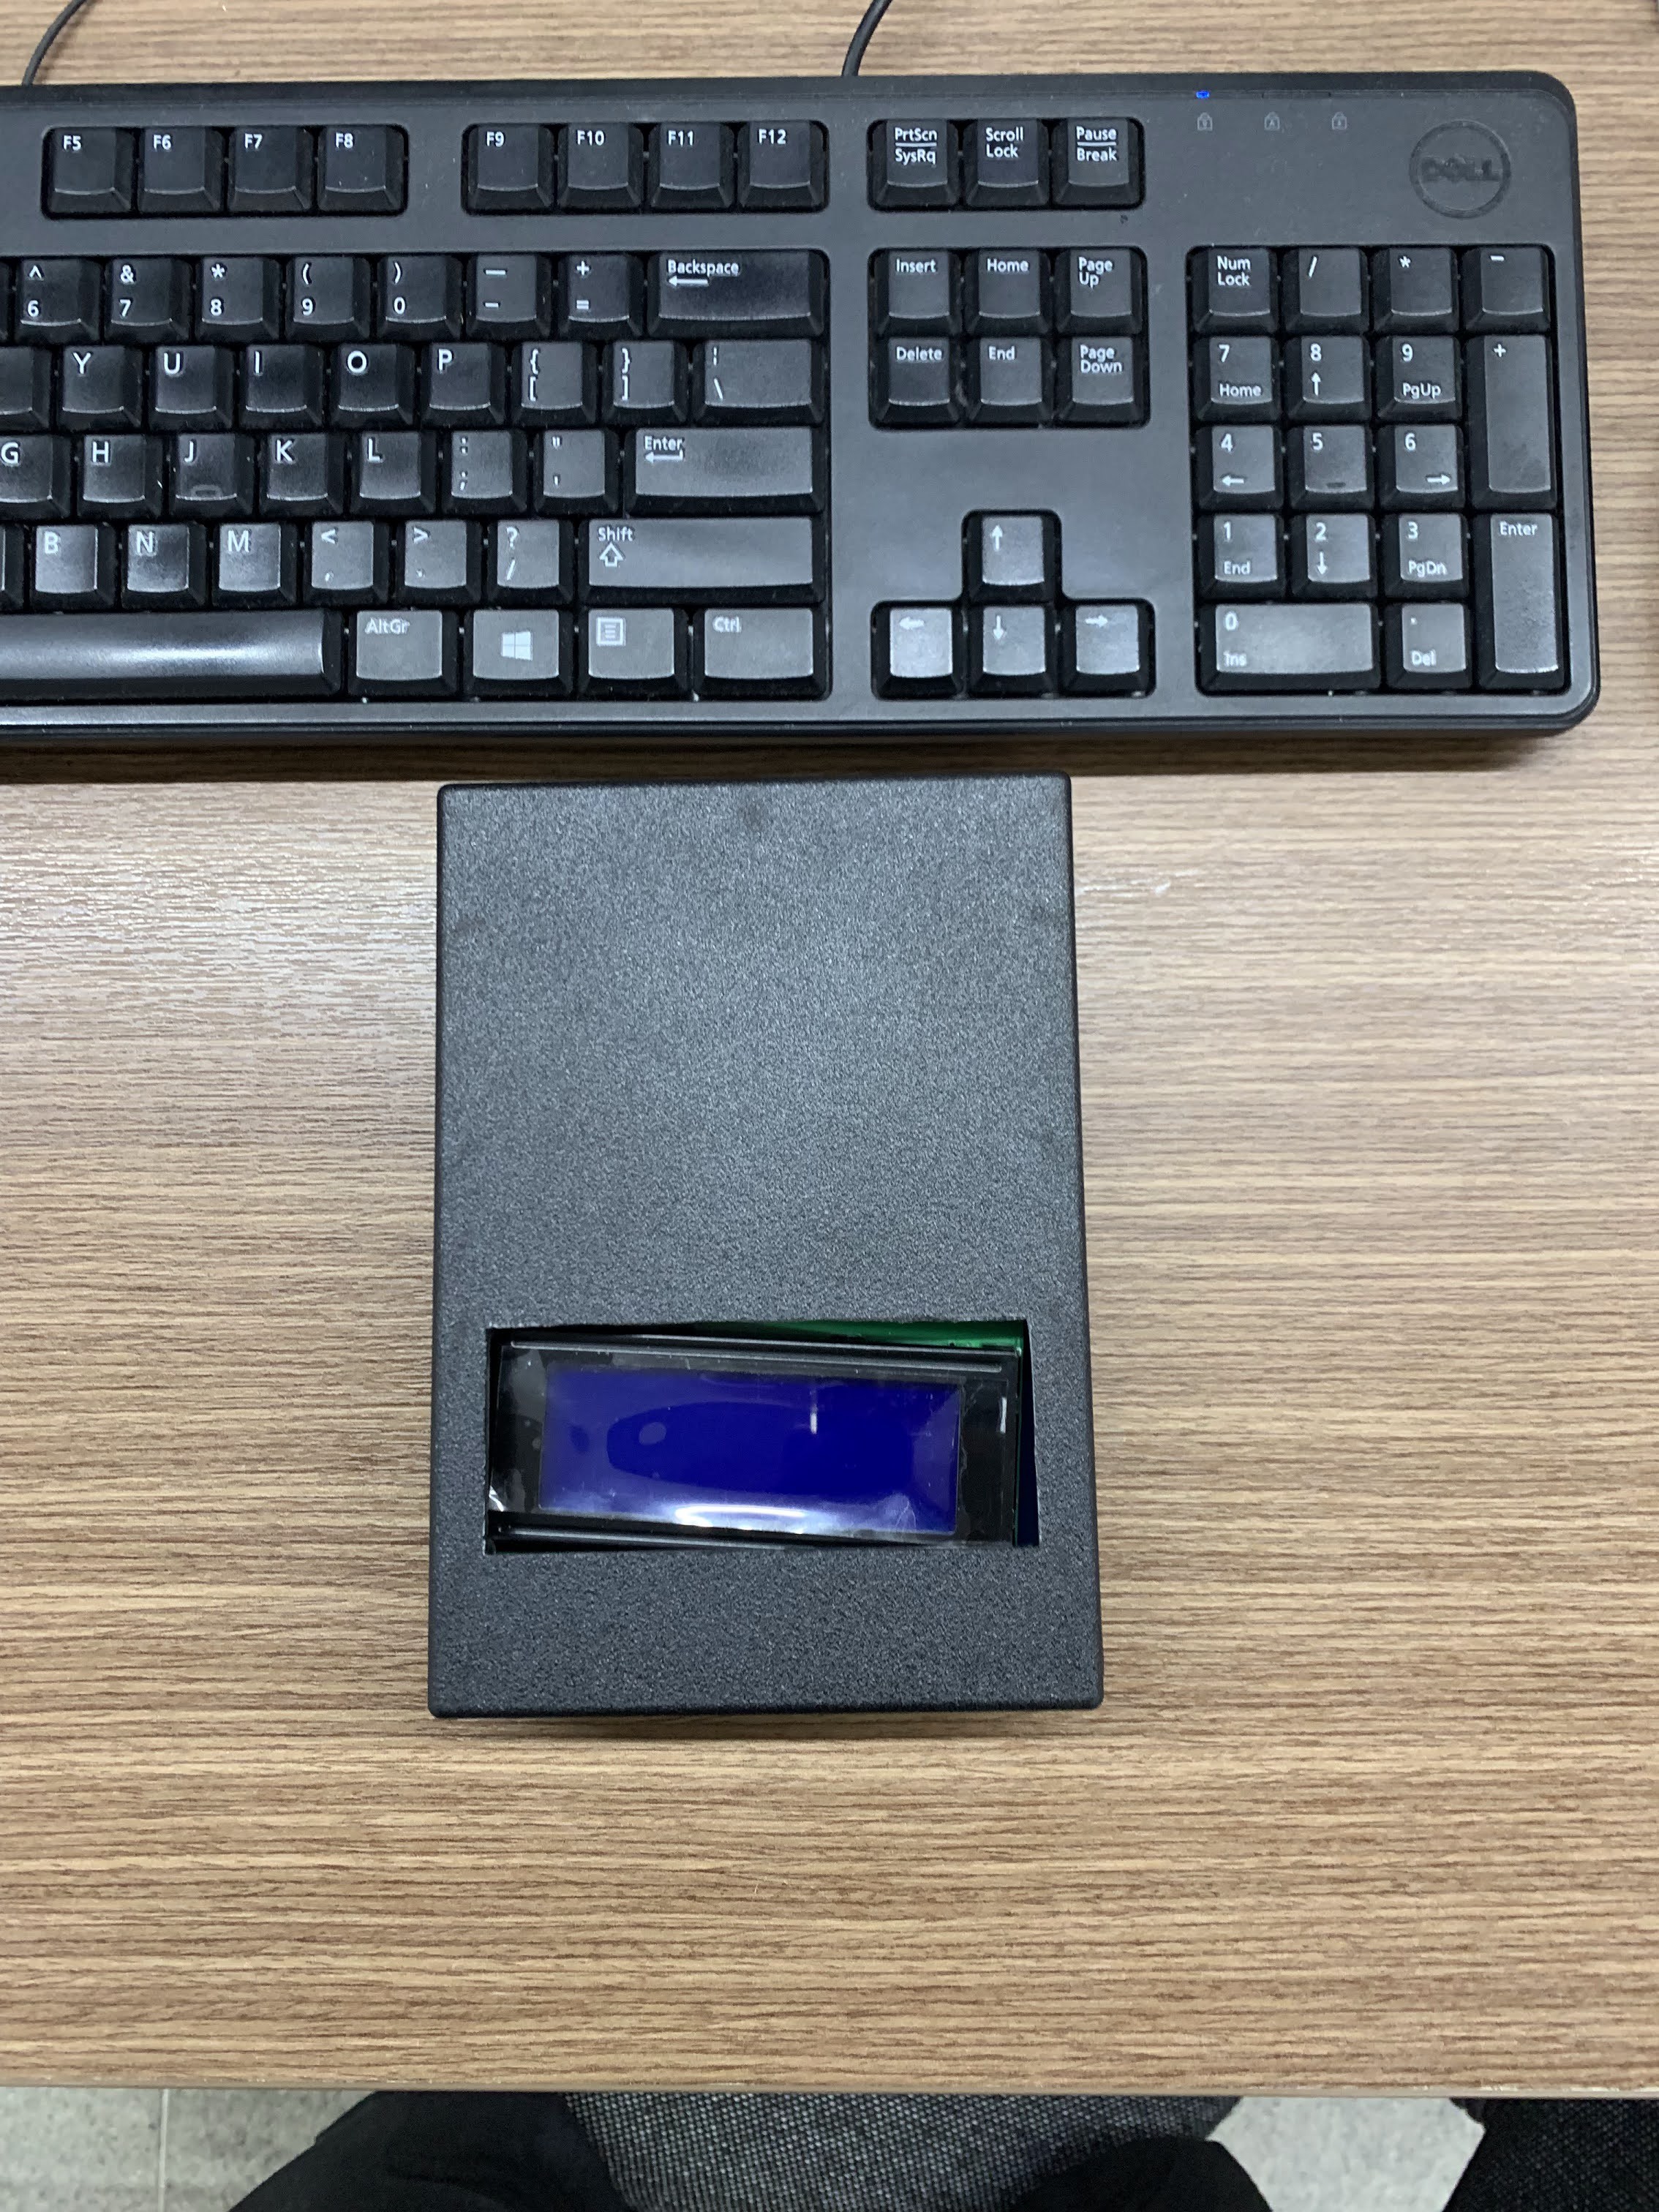
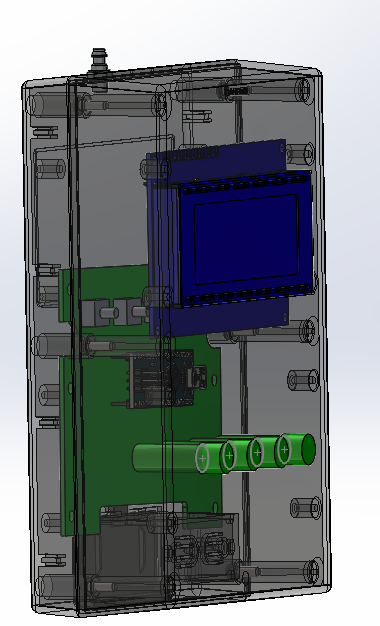
11/24/2021 at 08:47 • 0 commentsJust update the PCB and Box
![]()
![]()
![]()
-
Update: Put everything in the Box
09/15/2020 at 03:22 • 0 commentsUpdate: put everything in the box
-
CarbOnBal updates and Laptop software released
04/20/2020 at 19:17 • 0 commentsHi everyone, I just spent a lot of time tweaking CarbOnBal so this is a heads-up for existing users to get the latest updates from github. There have been a lot of improvements, particularly to usability. This makes it simpler to use out of the box. The previous versions had too much clutter and variables that all had to be set up just right.
The latest version just works, straight out of the box, with no incidental "hanging meters" artifacts.This also marks the first official release of the laptop (or desktop) companion app.
https://github.com/dennisMe2/CarbOnBal_Laptop/releases
If you have java installed you just download the .jar file and double click it.
This gives you access to bar charts, meters and a graph for detailed analysis.
To use, just connect your unit to the laptop via a USB data cable. The com port will show up in the toolbar. Select the one that CarbOnBal is connected to and hit "connect". Then you can open the windows containing the relevant graphs and meters. A big colorful laptop screen is ideal for fine-tuning.
-
Can I use X sensor?
02/16/2020 at 18:07 • 3 commentsI just got an interesting question.
Can I use X sensor?
The answer depends on three basic properties;
1 you need a 1 Bar sensor for best accuracy
2 it must operate at 5V and produce a voltage swinging from as low as possible to as close as possible to 5V for ultimate accuracy.
3 It needs a 3 pin connector (5V, Ground, signal (in any order, as long as you know which pin goes where)
We are really looking for a MAP sensor that was designed to work at 1BAR. That means it was originally intended for use in a vehicle without a turbo! This is important because a turbo sensor may go up to three Bar or more and we only need to measure the carburettor or throttle body vacuum (the values below 1 Bar). Going to three reduces the accuracy by a factor of 3 (almost). It would still work and probably still be accurate enough for a decent tune-up, but insane accuracy is one of the main attractions of CarbOnBal!
It needs to be powered by 5V because that is what our Arduino works with, using a 3.3V sensor would require an extra power supply and a voltage reference, that is more external components and a few lines of programming. It can be done but I can't support stuff I can't test myself.
There are some crazy sensor designs out there with many pins. I have no idea how to hook them up, and they probably require more external components to use. Stay away from these at all costs. There could be designs that are usable, but you are on your own if you decide to use one of those units.
-
Why can't you calibrate one sensor
05/24/2019 at 19:44 • 0 commentsSomeone just asked me why it isn't possible to calibrate all four sensors.
The reason is simple, its not a bug, its a feature!
What happens is that the other sensors are calibrated to respond the same as that one (0 in software) 1 in the menu. This means that if that one has a different response curve, after calibrating all four sensors will respond the same way. That actually means its possible that the sensors are responding with less accurate results and that's actually a good thing!
When calibrating a set of carburetors or throttle bodies, we need them all to respond the same way over the full pressure range the engine can produce, so the sensors need to do the same! We are only interested in differences between the cylinders of the same bike, you are not getting a reading and transferring that to another bike somehow. No we are only interested in relative differences between the sensor readings. All sensors could be off by 50% and it would still work as long as they were all off by the same 50%!
Luckily these sensors seldom have more than 2% variation and that is easy to calibrate out. Actually doing this is what makes CarbOnBal crazy accurate.Don't believe the hype on those expensive electronic units that claim to not require calibration. They never bother to explain why... And no "Advanced electronics" is not an explanation. The only system that actually doesn't require calibration is a mercury manometer setup even the old aquarium hoses (at least in theory!)... The others are just always off by a bit, but they should be within usable tolerance anyway, certainly well within the manufacturers specs.
Compare it to using the old aquarium air lines to tune. You don't care how much liquid is in the tubes as long as all the tubes are the same diameter and one line is not pinched, for example. Nobody takes their aquarium hoses in to get them calibrated, there's no need.
-
Back to batteries
08/25/2018 at 17:58 • 0 commentsI was experiencing intermittent noise from the boost converter I used to run the system off 2 AA batteries. I tried different capacitors but I just couldn't get it 100% ironed out.
Unfortunately I no longer have a really good high frequency scope to check out what was actually going on. Maybe I should have sprung for a better quality boost board with post regulation or something, but I couldn't be bothered waiting for Ali Express.
In the end I decided to just go with a whopping 6 (yes, six) rechargeable AA batteries and feed that into Vin. That way the Arduino's on-board regulator takes care of voltage regulation, and it does a pretty decent job at 7.2V (much more efficient than at 9V). I haven't done the math but these should last me more than long enough.
The hardest part was extending the housing. But that is still the same ugly-ass MDF board and not hard to do. I just bolted an extension on the back with some left over IKEA screws I salvaged from an old piece of furniture. Looks ugly, weighs a ton bot no more intermittent noise throwing off my calibration and really easy to hook up.
-
Ride On, Wouter
06/11/2018 at 09:18 • 0 commentsWouter was my fellow contributor to this project, and a fellow electronics and motorcycling lover.
Unfortunately Wouter recently died in a traffic accident while touring in Luxembourg.
I never got to meet him personally but he was a likeable guy, and a very active member of the Dutch motorcycling community and a couple of classic car clubs also. He will be sorely missed by many, many people. Not least of which are his girlfriend, friends and family.
My condolences go out to all those who feel the loss. -
Laptop Application in the Pipeline
06/07/2018 at 18:31 • 0 commentsI couldn't resist and after a bit of kicking around I decided to build my own graphical app for the laptop. Its written in Java and should run on Mac, Linux and Windows.
This allows me to simulate an attached engine for easy and faster debugging. It also has the added advantage of not waking up, or gassing, the neighbors kids.
What it also does is provide lots of cool new ways to visualize and save the data coming out of CarbOnBal. In the first prototype version I have Bar graphs, a running plot and four gauges, which pretty much covers the ways we all used to balance our carburetors, for nostalgia's sake!
Right now its clunky and probably broken in more ways I'd care to count but ts a start and I figure it will be a great addition, especially for those looking to balance 6 carbs.
The software lives in its own location:
https://github.com/dennisMe2/CarbOnBal_Laptop
Right now its pre-alpha so you're on your own! I'll let you know when it becomes usable.
-
Simplifying
05/19/2018 at 19:14 • 0 commentsJust a quick update to let you know what's up!
I'm getting to the stage when I need to clean up some of the clutter that has made its way into the code. I have three different approaches to calculating averages and I need to settle on what works best. Probably a mix of the different approaches.
I also added a diagnostic (text only) display to help me see what's going on under the hood. I might even leave that in, it seems to have merit now that I have come up with a good responsive averaging method.
Planned is a Bluetooth interface to a mobile phone or tablet which could run an app to support up to 6 carbs, much better graphics and advanced diagnostics etc. This is one for the long term though, and I may let it go if it turns out to be too involved. We'll have to wait and see where it goes.
Its also great to hear from those who have built their own units! I look forward to hearing more from you and would love to get your feedback on how to make CarbOnBal even better!
-
Betteries, bettered! [Advanced]
03/03/2018 at 16:16 • 0 commentsIt turned out that the little el-cheapo boost converters I have laying around are a little too cheap to use out of the box. They wrought havoc with my calibration routine and general accuracy.
Luckily I was able to borrow a 'scope' from a friend and come up with a practical (simple, cheap) solution.
What this converter needed was a filter so I tried just slapping a humongous capacitor on the end. I like to keep things simple. Unfortunately the capacitor on its own wasn't working because it caused the switching regulator to unregulate. It needed a proper coil to make what is known as an LC filter. This can be tailored to lose the high frequency switching noise from the regulator and the mains noise which is picked up over the air.
So I unsoldered a couple of coils from an old broken down router I had lying around and tested those, they worked well, very well. I also tested a coil I made from gaffer tape and 1.2m (4ft) of wire I had on stock. I just wound the wire on the end of a marker pen and glued it together with the tape. It works, not as good as the 'commercial 150uH coil I unsoldered, but well enough to not impact the calibration routines.
The capacitor I ended up using was a 470uF 6.3V electrolytic. Small enough to fit well.
![]()
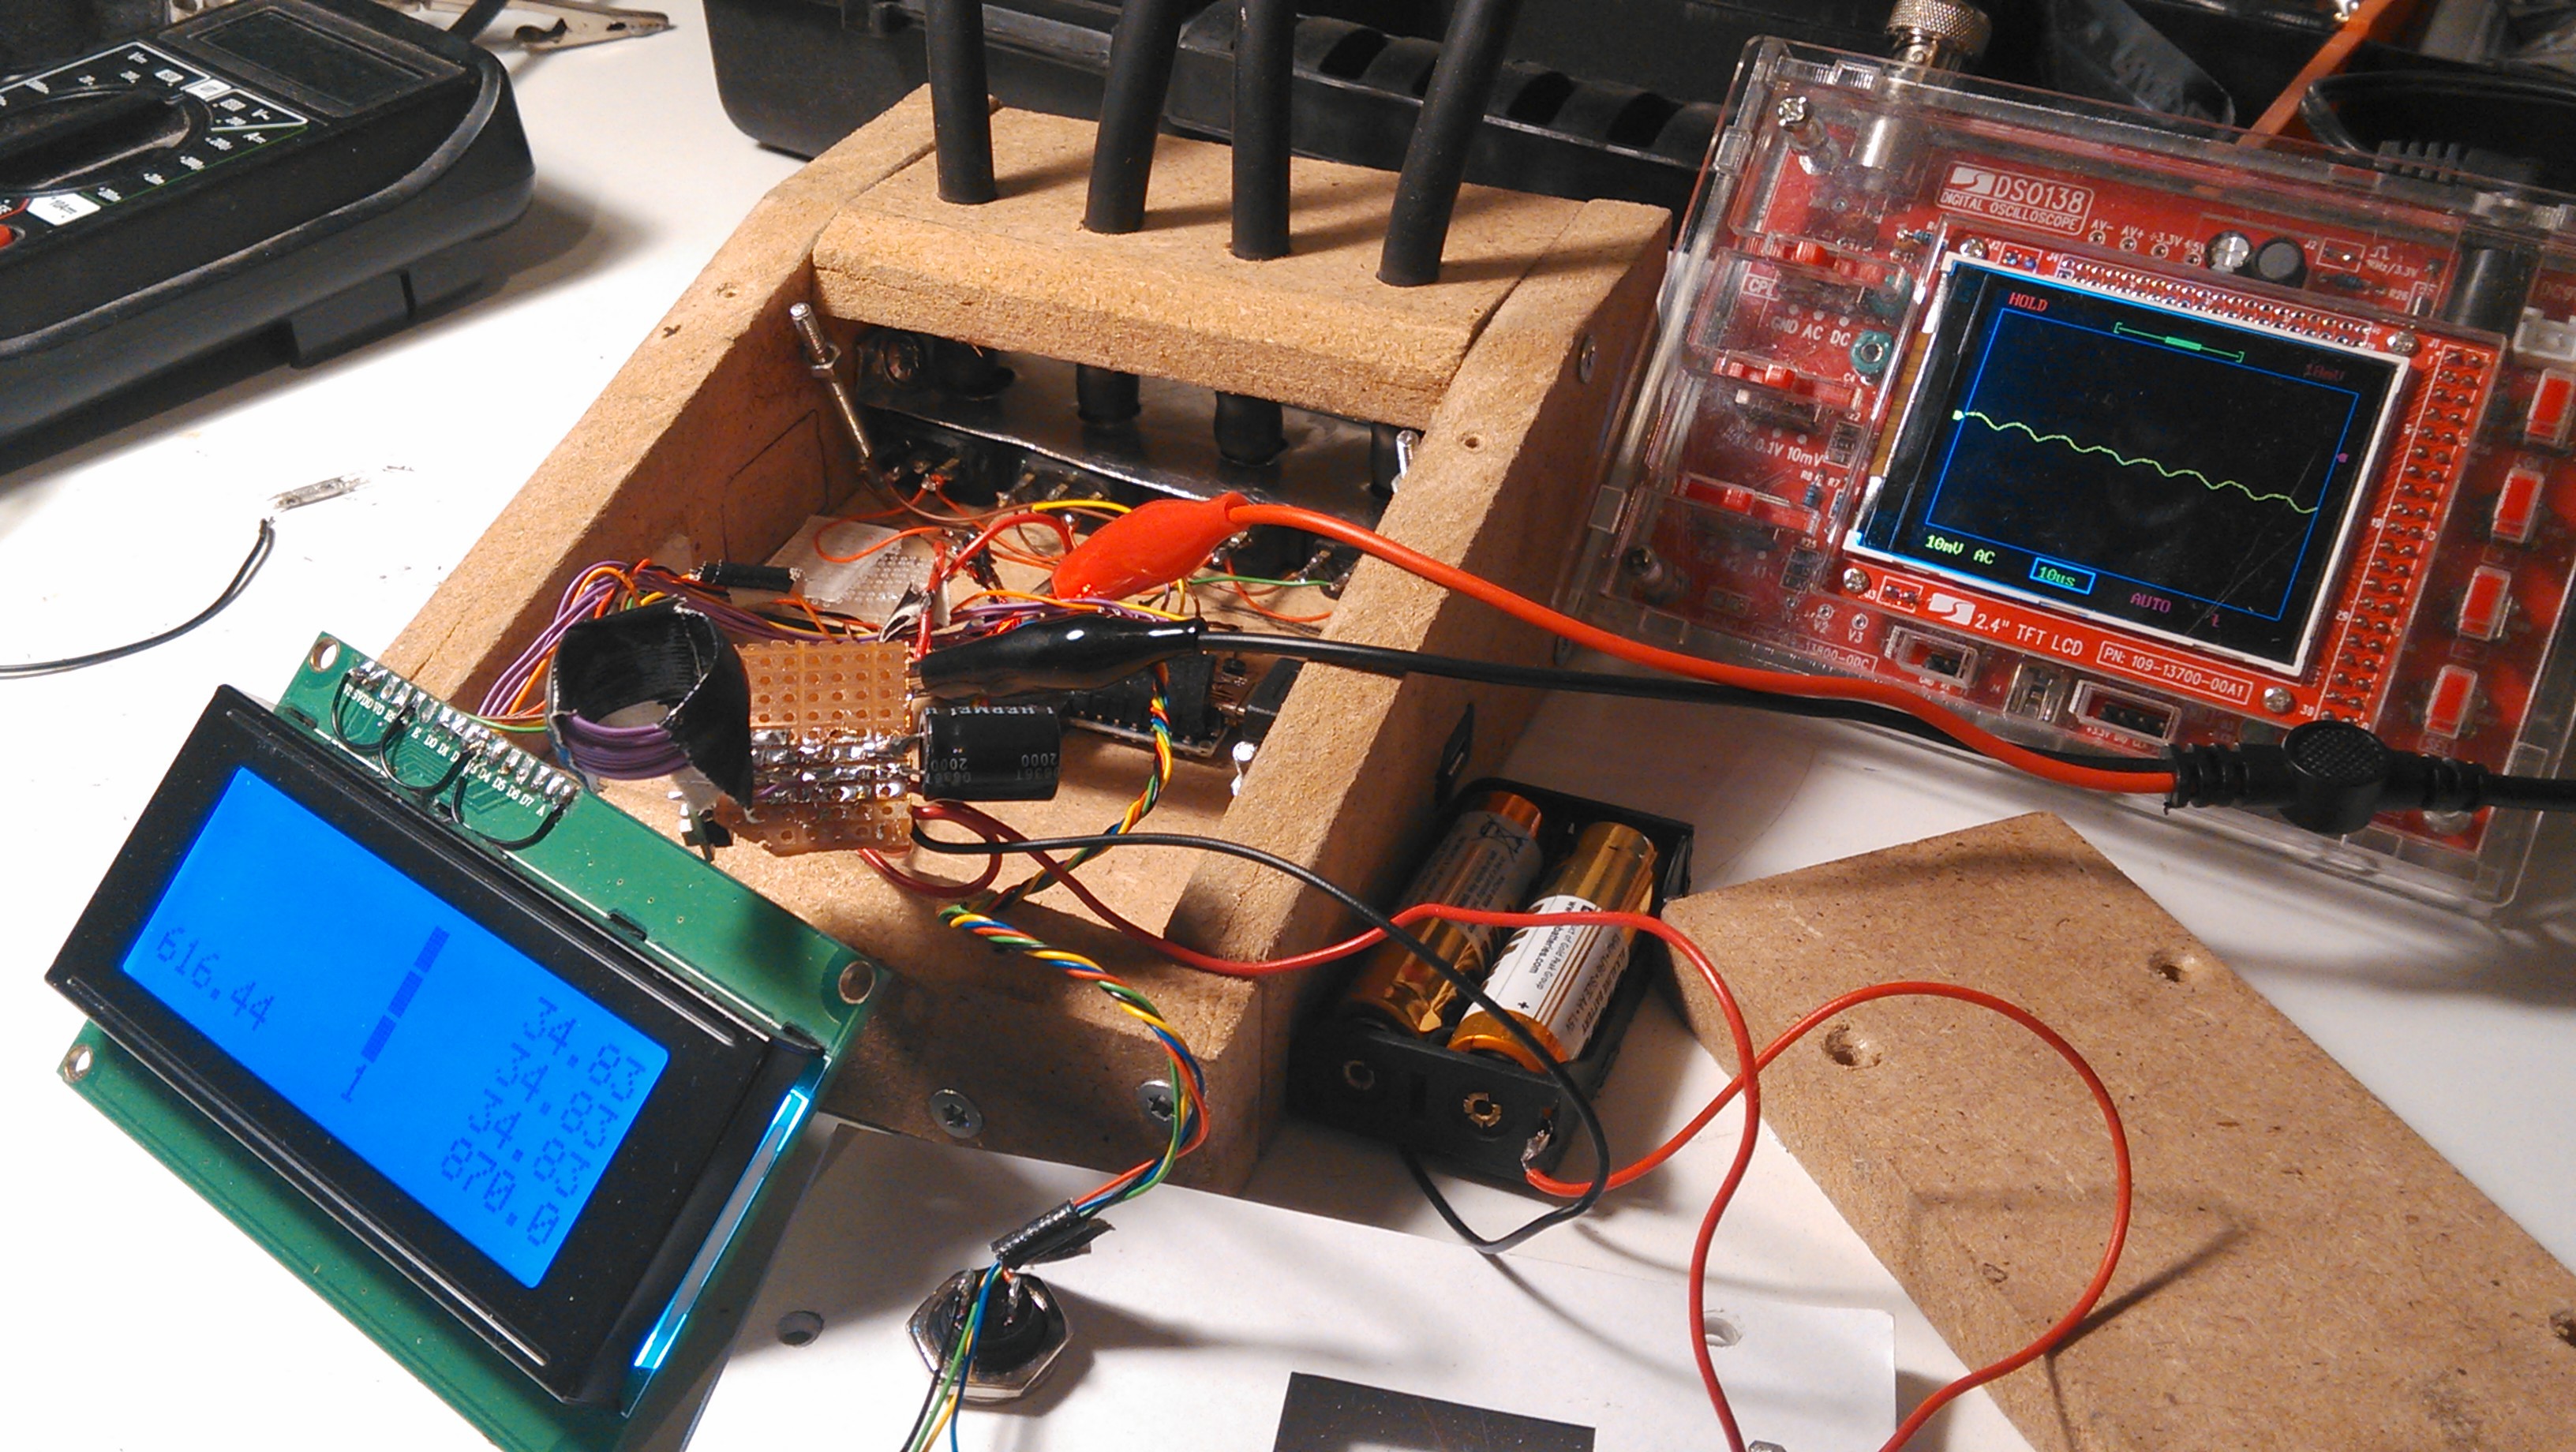
Here's a picture of the hand wound coil I tested. That's the purple and black round thing above the center of the LCD screen. You can see the 'scope indicating a ripple of about 4mV which is actually really good. This big a coil will aggravate the 50/60Hz mains hum though, but the capacitor will handle that, no sweat.
To be honest I ended up using a 150uH coil I unsoldered from the old router because it was much more compact and works a tiny bit better. But this will do in a pinch!
It also helps if you mount the boost converter physically farther away from the sensors and Arduino. I ended up sticking it in the same place anyway, because of space constraints, no biggie.
 dennis