Close
0%
0%

UVI Meter Business Card

An Ultra Violet Light Index (UVI) meter in business card format.

Similar projects worth following
This is a follow-on to my sunburn monitorwearable project. I'd taken the monitor through another iteration (not shown here on hackaday.io) using a GUVA-S12 UV photodiode. I did this to get true UV reading (as opposed to visible vs IR balance on the i2c chip), to make it easier to build (the i2c sensor was super tiny), and make it cheaper.

The GUVA-S12 wearable worked well. However, it had a few issues, most of which are use-related. First of all, it doesn't really do the job unless you keep it pointed at the sun - otherwise it will read lower than it should and you'll get sunburnt on your shoulders, ears, etc... anything getting full irradiance. Second, it's overkill. Pretty much you just need to wear sunscreen and re-apply it as needed. So, what you really want is an awareness tool - something that tells you "wow the sun is very strong today" and you then feel more motivated

Continuing from the desciption:

This version just takes a reading, flashes out the rounded-up UVI on the LED, and then goes back to sleep.


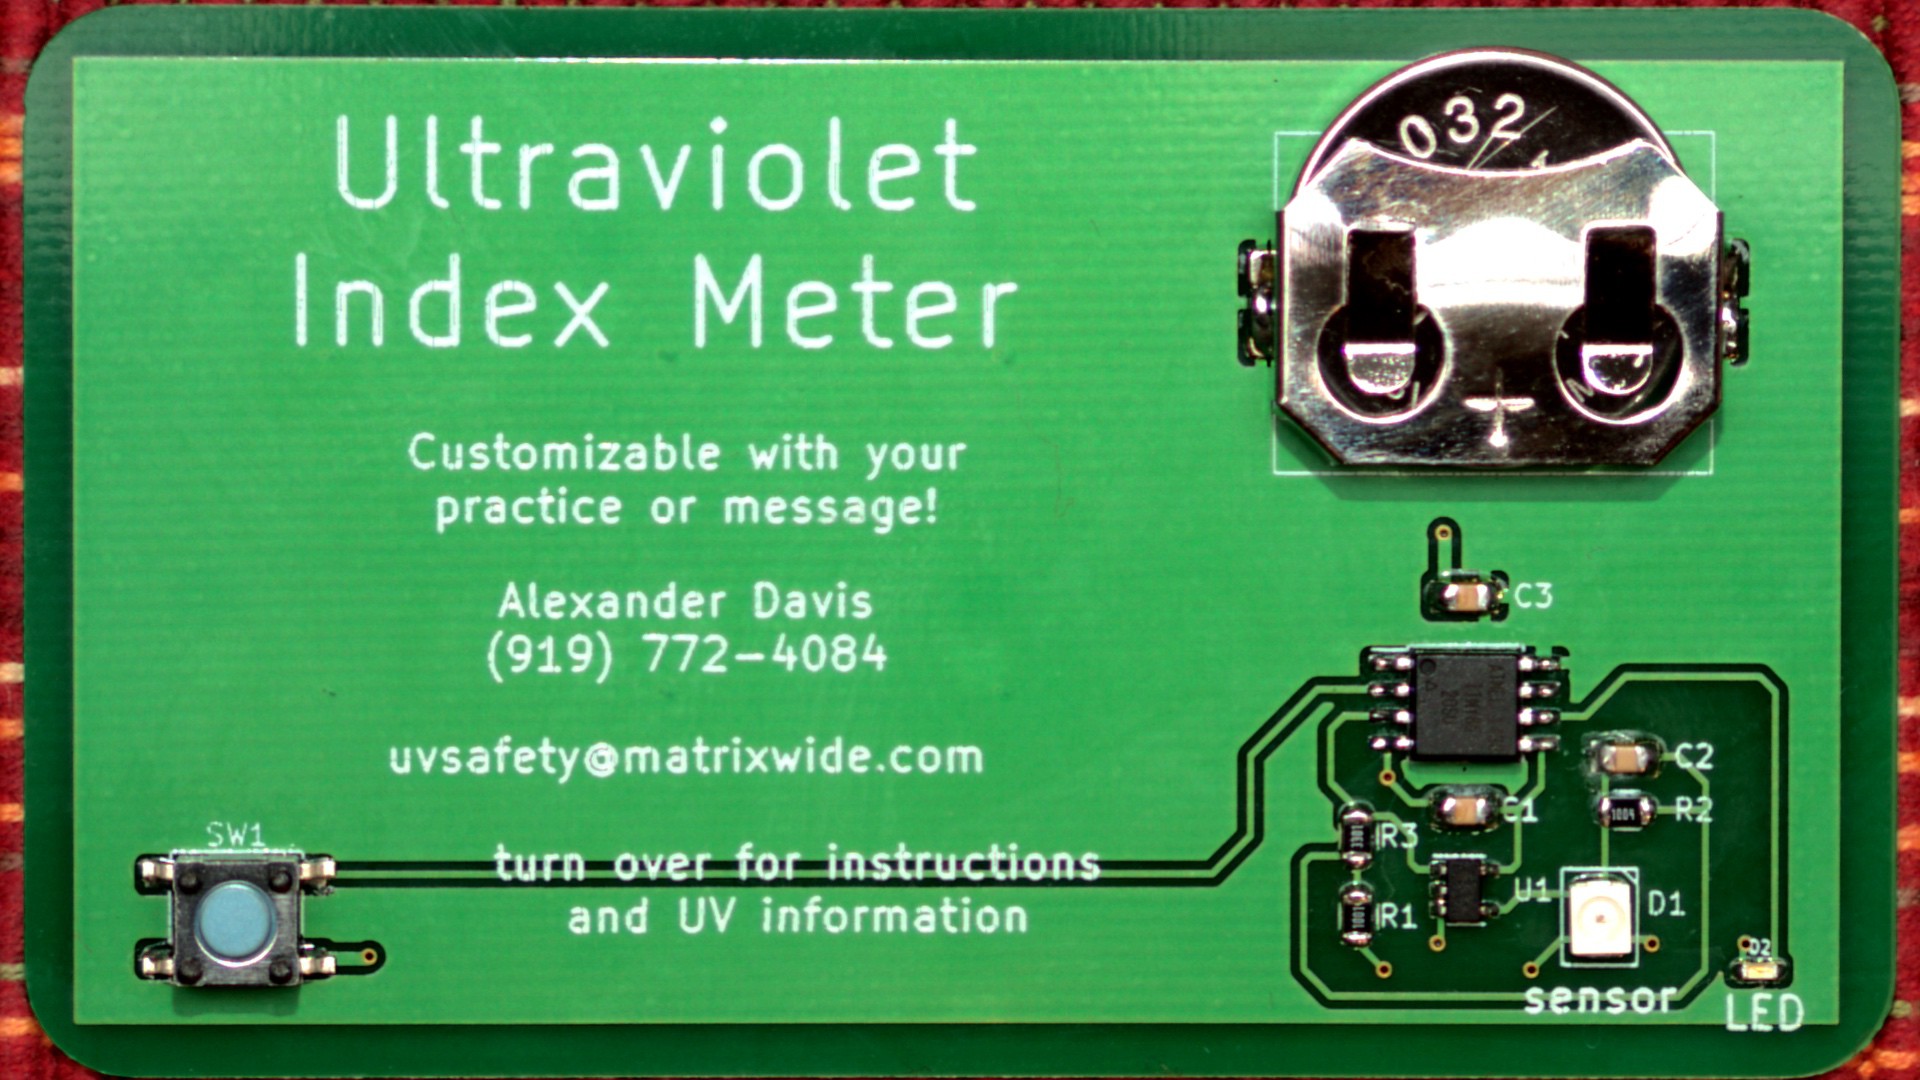
A side-view, 350 mca, true-green LED was chosen for maximum visibility in full sunlight. Side-view is used as the user is to hold the card top facing the sun, so they will be able to see the LED easier when in that orientation.

0.8mm PCB thickness was chosen, as half the usaul 1.6mm seemed about right for durability vs. weight.

A regular 2032 20mm metal coin cell holder was chosen as they are pretty cheap on aliexpress and relatively smooth so you can pocket the card without snags. I'd considered some designs which just used clever inside cuts to make front and back contacts for the battery, but decided a standard holder would be easier and more reliable.

It's hoped the card can be done cheaply enough to be a purchased by physicians as a free hand-out to patients. We will also pursue drug makers to offer it as a "freebie" during their drug sales calls to physician practices. The biggest constraint on cost is the UV sensor. It's over $5 in small quantities from ROITHNER LASERTECHNIK GmbH. Somehow the Chinese sellers are doing full breakouts for like $2, so hopefully the Roithner people can do a better deal should we get to the 1000 pcs range. It is possible the Chinese sellers have copied the sensor. I have both genuine and aliexpress diodes and find they agree in terms of readings, so who knows. If Chinese sensors must be used then a testing rig will be built to check diodes for accuracy.

UVI-business-card-front.jpg

front of the card

JPEG Image - 594.90 kB - 12/27/2017 at 00:33

Preview

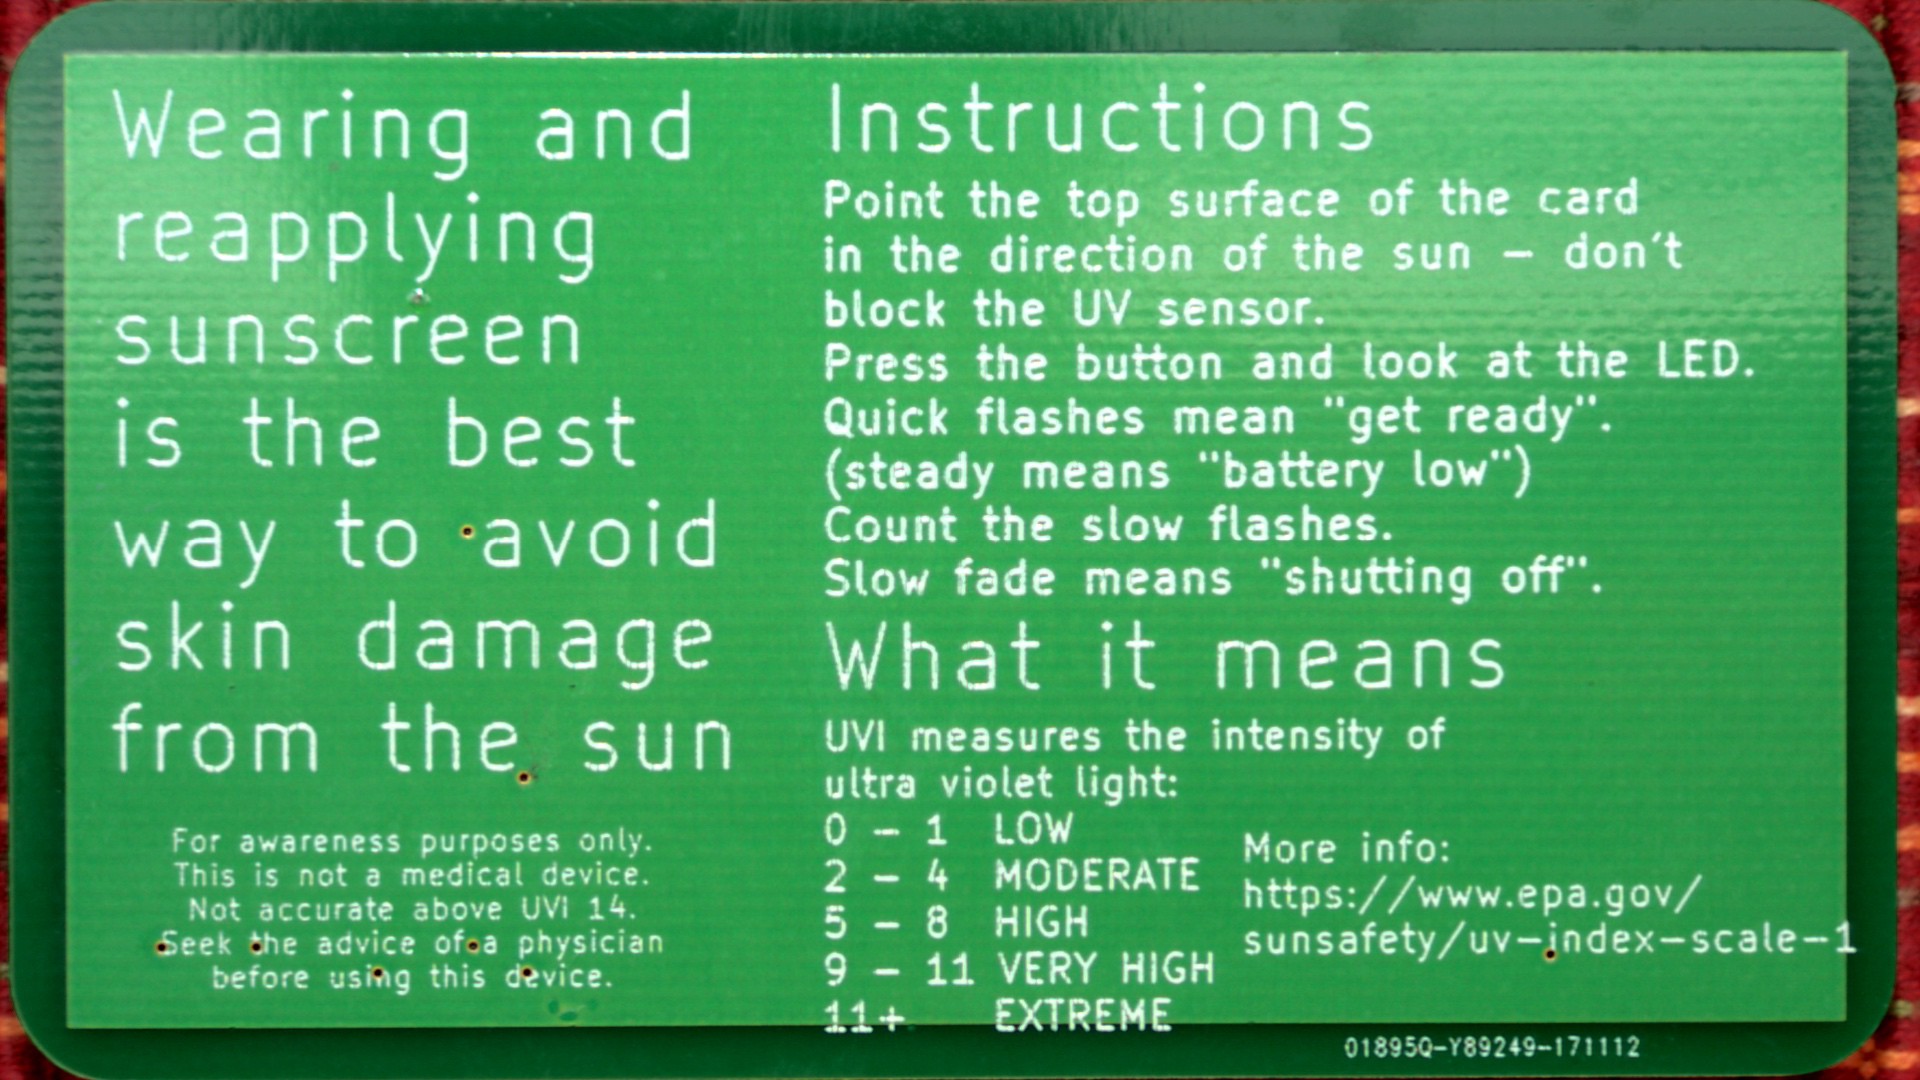
UVI-business-card-back.jpg

back of the card

JPEG Image - 597.86 kB - 12/27/2017 at 00:33

Preview

  • 3 × CAP CER 0.1UF 6.3V X7R 0805 399-9155-1-ND
  • 1 × ATTINY85 ATTINY85-20SU-ND
  • 1 × GUVA-512D UV photodiode
  • 1 × IC OPAMP GP 1MHZ SOT23-5 MCP6001T-I/OTCT-ND
  • 1 × RES SMD 1M OHM 1% 1/8W 0805 RC0805FR-071ML

View all 8 components

  • Characterizing A New Sensor

    hackaday03/12/2018 at 19:32 0 comments

    I got a promising candidate as a substitue for the GUVA-S12D. I have a 405nm UV LED which tracks a GUVA and VELM sensor in daylight well. It has a further advantage of outputting a voltage almost in range of the 2.56V internal reference. I find a 1 M resistor in parallel with the LED is enough to pull down the voltage within the upper bound of 2.56V.


    This will enable me to get the parts count down siginificantly. I can drop the op-amp and the associated passives. My LED is $0.18 in quantity.


    I noticed it is more sensitive to my 385nm LED flashlight than the GUVA, so I'm using real sunlight to gather readings. I'll need to wait for the sun to get higher in the sky (or a sunny day in the mountains) to get up into the 9-11 UVI range. 11 will be enough to get to the "extreme" range. I plan on simplifying the readout into the four cateories of "low", "moderate", "high", and "extreme".

  • Rev 0.1 Boards In - Qualified Success

    hackaday12/27/2017 at 00:33 0 comments

    I got the boards back from Seeed about a month ago and was waiting on the delivery of the GUVA-512D sensors from China. Wish I could afford to buy them direct from Roitner Technik, but not at >$5 each.

    Once the UV photodiodes arrived, I built a board. It makes little sense to order a stencil so early on when there are bound to be mistakes, so I just put a fine needle on the solder paste syringe and crushed my thumb squeezing it out onto the pads while watching through my Wolfvision VZ-8light4 at highest magnification.

    Quick trip to the reflow oven, and... it did not work! One quick blip from the LED is all I got upon inserting the battery.

    Such a simple board! What could have gotten screwed up? I had to look at my schematic and veroboard prototype for a while, but it finally dawned on me I'd assigned the power/wake button to the wrong pin. I think this was due to copying my Sunburn Monitor code and design, where there were two buttons (50/50 chance to screw up and copy the wrong one).

    Not the best result, since the board has the button on PB3 vs PB2 where nice INT0 is available. I was able to find a working example of wake on pin change interrupt for PCINT3/PB3. I guess there's really nothing wrong with it, I just prefer waking up on INT0 if possible. Oh well this will be fixed in rev 0.2 of the board. 

    The LED was a bit of a surprise. It was described as 'edge view'. I was hoping it would mount with the die facing the side, but what it means is that the die is in a little clear box pointing up with the pads on the bottom, and you can see the die light up from all around.

    I took it outside in the rather weak winter sun, and it is clearly visible. I'd prefer a cheaper LED and one in a bigger package, but this will do for now.

View all 2 project logs

Enjoy this project?

Share

Discussions

Mynasru wrote 05/30/2018 at 10:00 point

Nice project! Are you planning on releasing the source files ?

  Are you sure? yes | no

Similar Projects

Does this project spark your interest?

Become a member to follow this project and never miss any updates