-
1Upload the Arduino sketch
First you need to install the Arduino IDE. Then you have to install the library for Esp8266
Here is a good tutorial how to setup the Arduinio IDE for programming the Esp8266.
After opening the sketch with the Arduino IDE you have to do some settings depending to you local WIFI before uploading:
//For a faster connecting/switching we use a static ip adress:


IPAddress gateway(192,168,178,1); //ip of you local wifi router where the hue bridge is connected

IPAddress ip(192, 168, 178, 216); //ip of your switch, be aware of using a high adress in the range of 200-250 that is not used for other devices

IPAddress subnet(255,255,255,0);

int light = 2; // the number of your light that is switched

const char hueHubIP[] = "192.168.178.57"; // the ip adress of the hue bridge

const char hueUsername[] = "hue bridge username" //username the hue bridge

const int hueHubPort = 80;  always "80"

const char ssid[] = "SSID"; // network SSID (name)

const char pass[] = "password"; // network password
you have to create an authorized username in the hue bridge, look at this tutorial
-
2Step 2
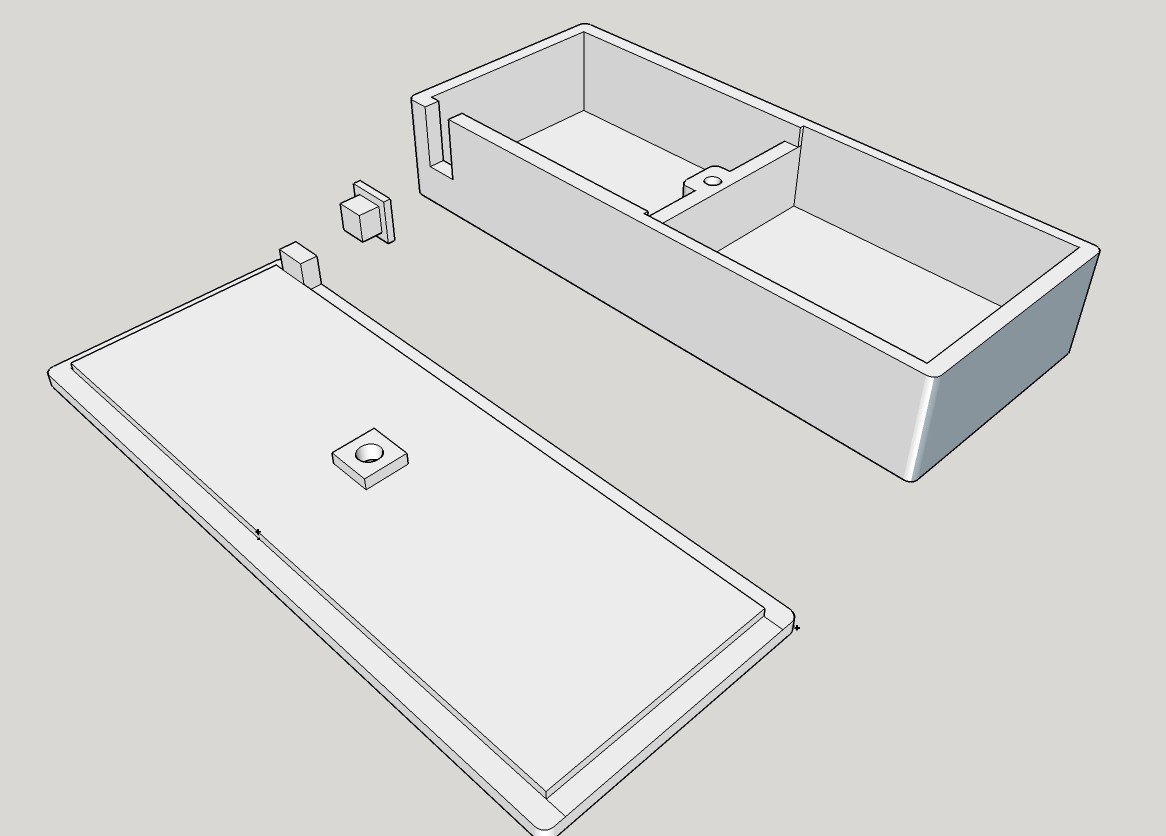
STLs for the remote control are uploaded, I use normal print settings with an infill of 30% and 0.2mm layer height
![]()
The knob is also printed so you can use the reset button for action and don't has to use an extra button.
Use skirt and brim for the knob because the object is very small
-
3Some additional Infos and assembly video
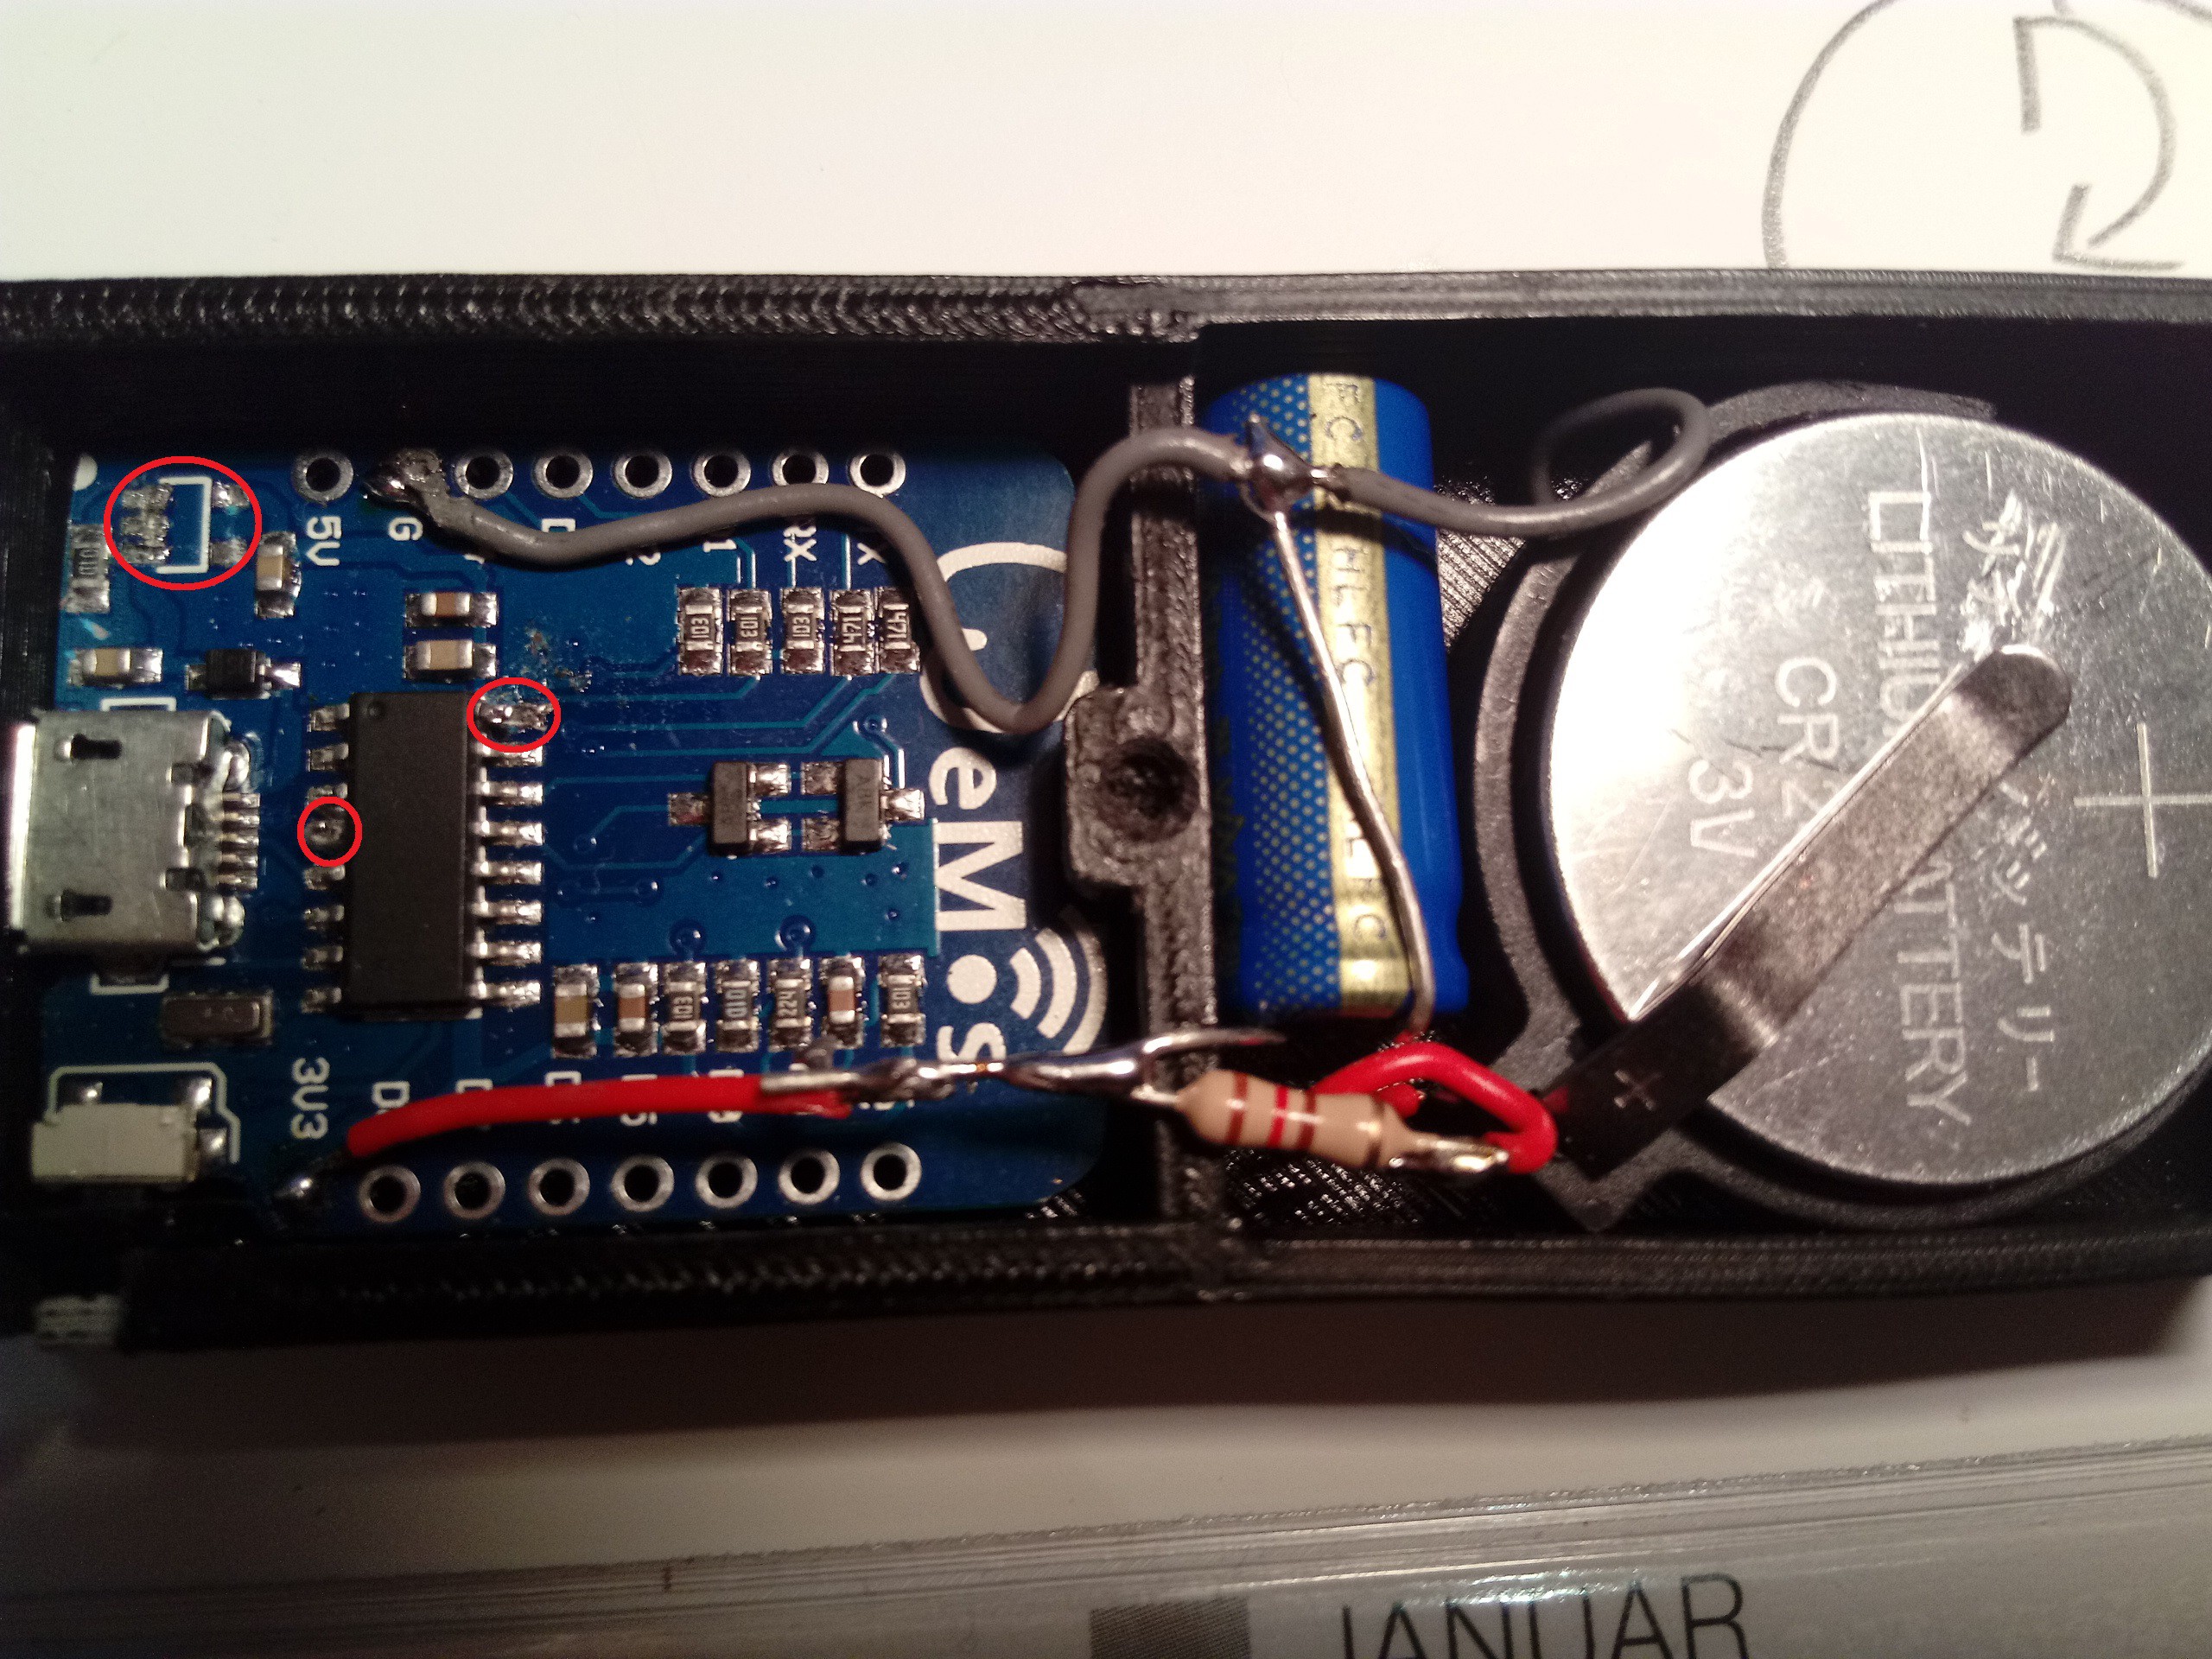
Be sure to pre-charge the cap before connecting to wemos because the Esp8266 immediately start to make a wifi connection
after reset/connect power.
![]()
to save energy disconnect pin 4 and 16 of uart-ic and remove the voltage regulator, please note that it's no longer possible to program the wemos via USB !!
Feel free to ask your questions
Solved: Esp8266 powered by coin cell
This project describes the use of a coin cell for powering the Esp8266 by building a remote control for Phillips Hue Lights
 Gelstronic

Discussions
Become a Hackaday.io Member
Create an account to leave a comment. Already have an account? Log In.