Niel Malan
-
Done
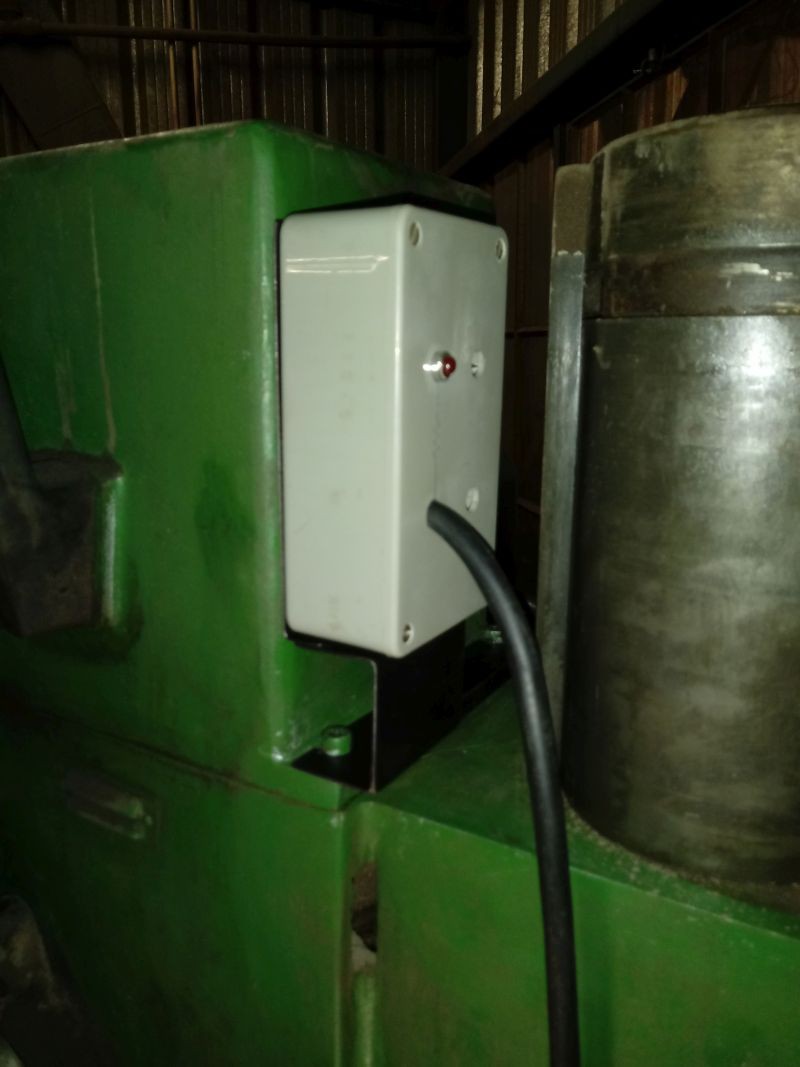
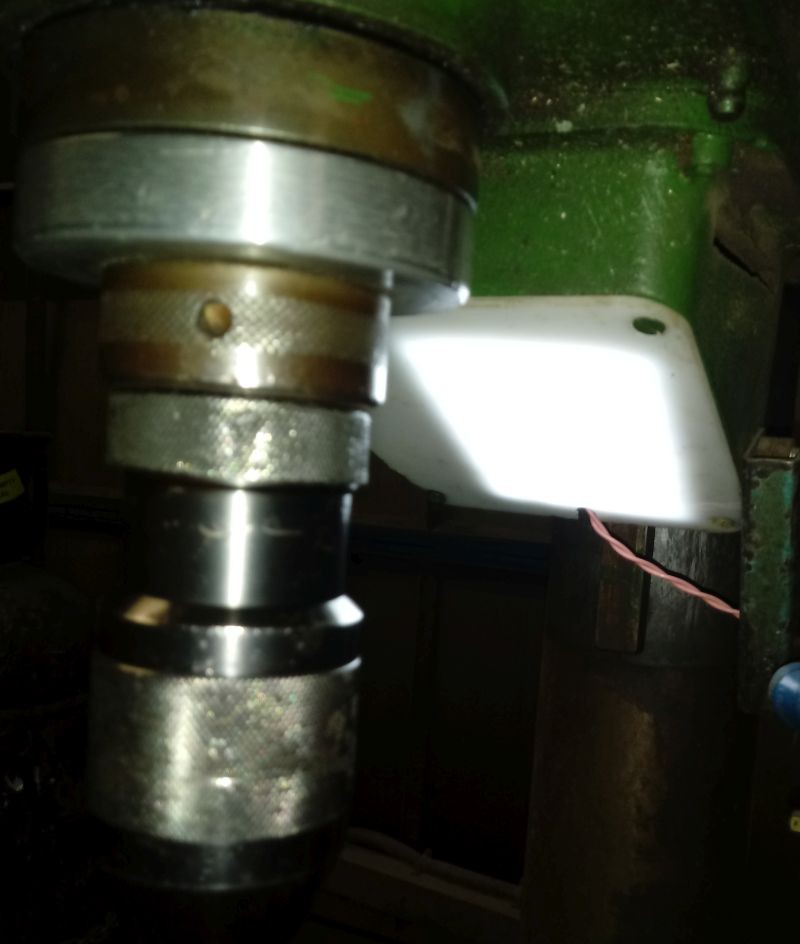
01/06/2018 at 20:46 • 0 commentsThis was not the way it was supposed to be.
The project is complete, but it is more of a hack than I wanted it to be.
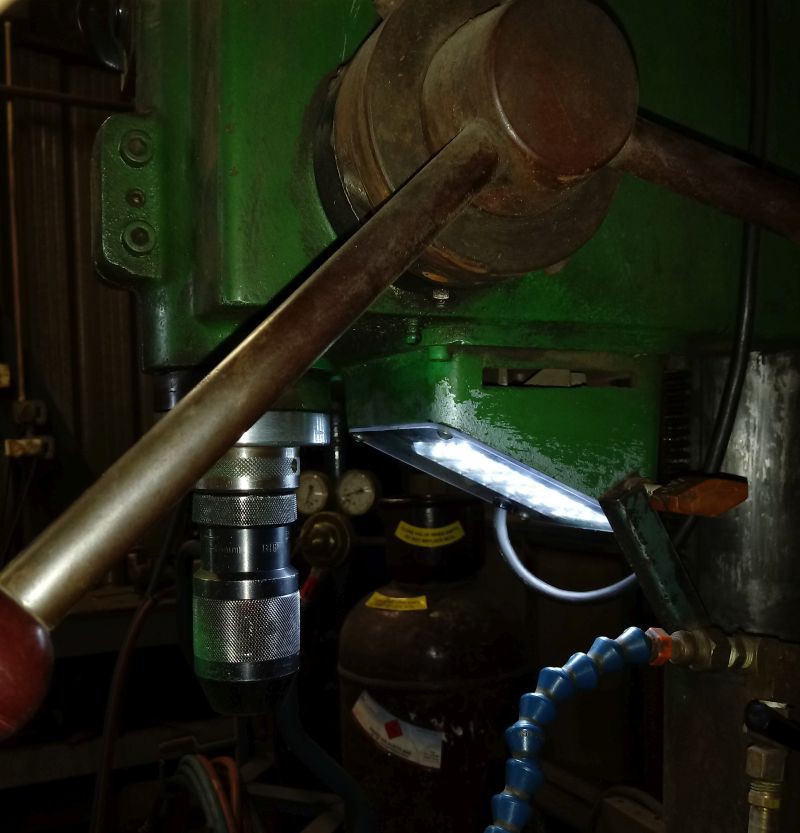
First the success: There's light!
![]()
Now the ugly:
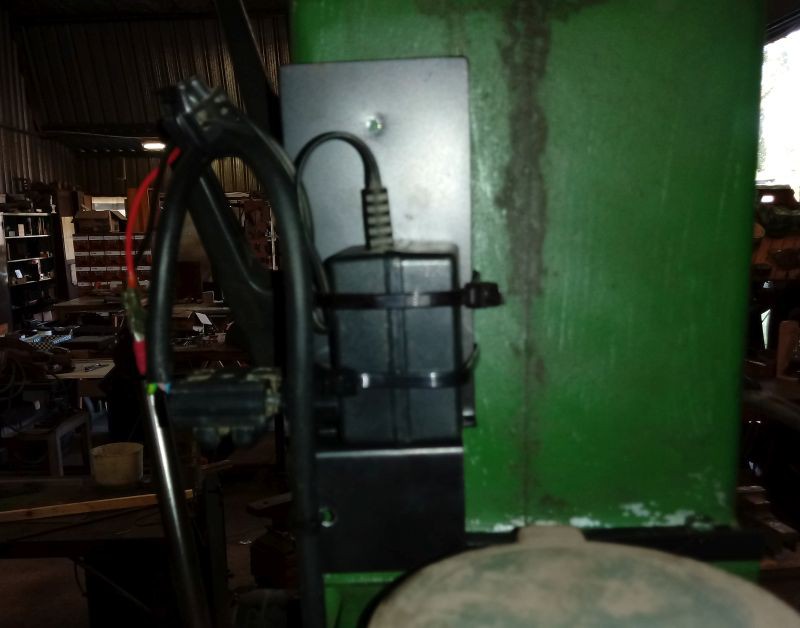
The light is no longer powered by a sleek, single-purpose box, mounted on a bespoke bracket, but a wall-wart cable-tied in place.
![]()
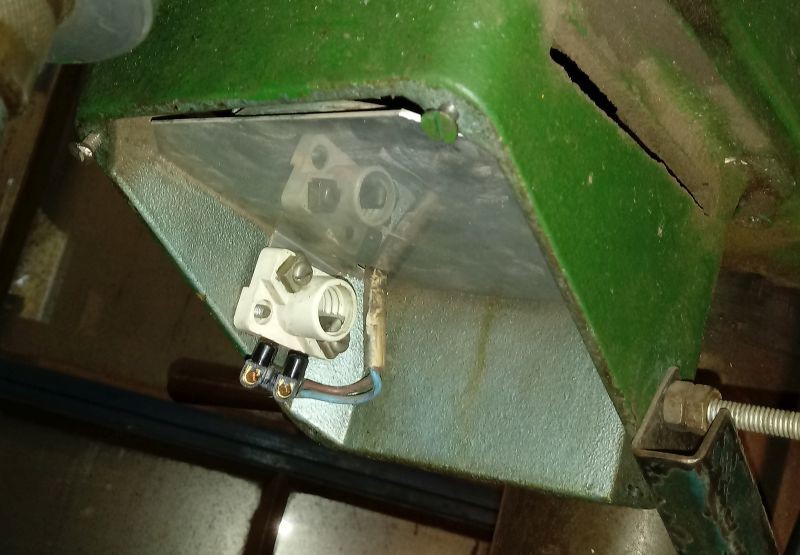
The change was not of my choice. This morning I went to do the final connections. It all went well, and just as I was to demonstrate the final product, a final flick of the switch failed to produce light. Upon inspection it proved that the fuse and blown and the transformer had gone open-circuit.
(I guess the fact that the fuse failed to protect the transformer is just another indication of the poor design of the UltraTec products.)
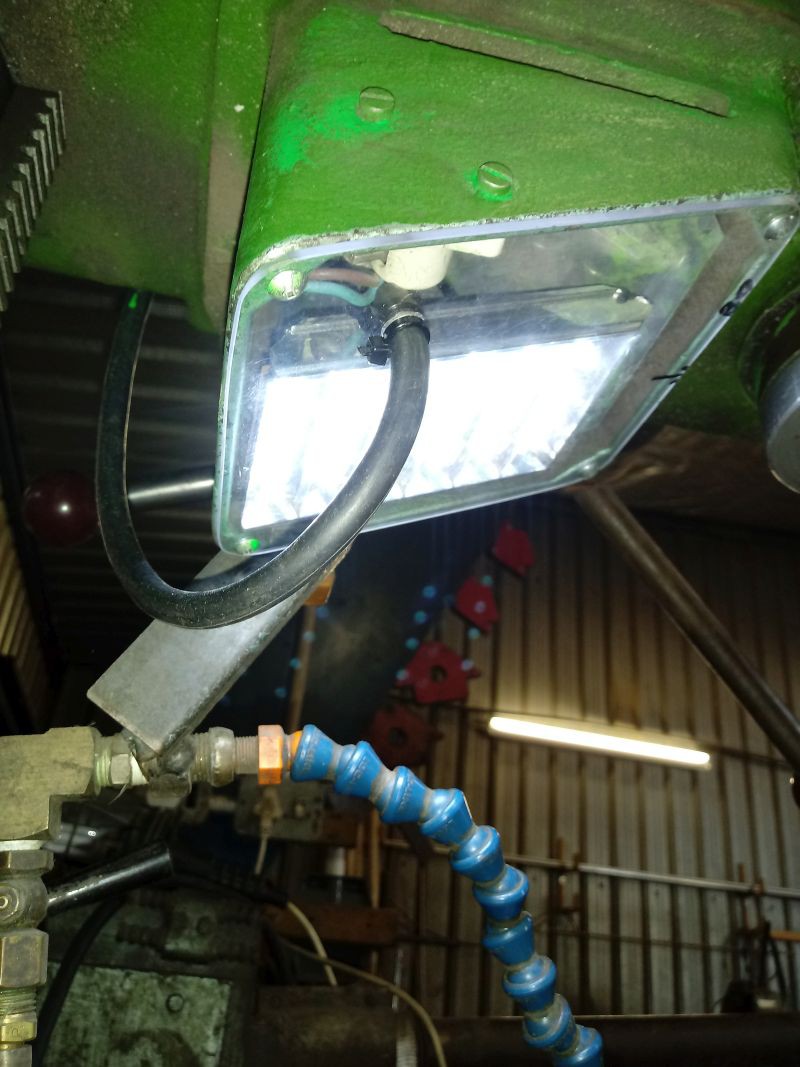
Here's another view of the light in working order:
![]()
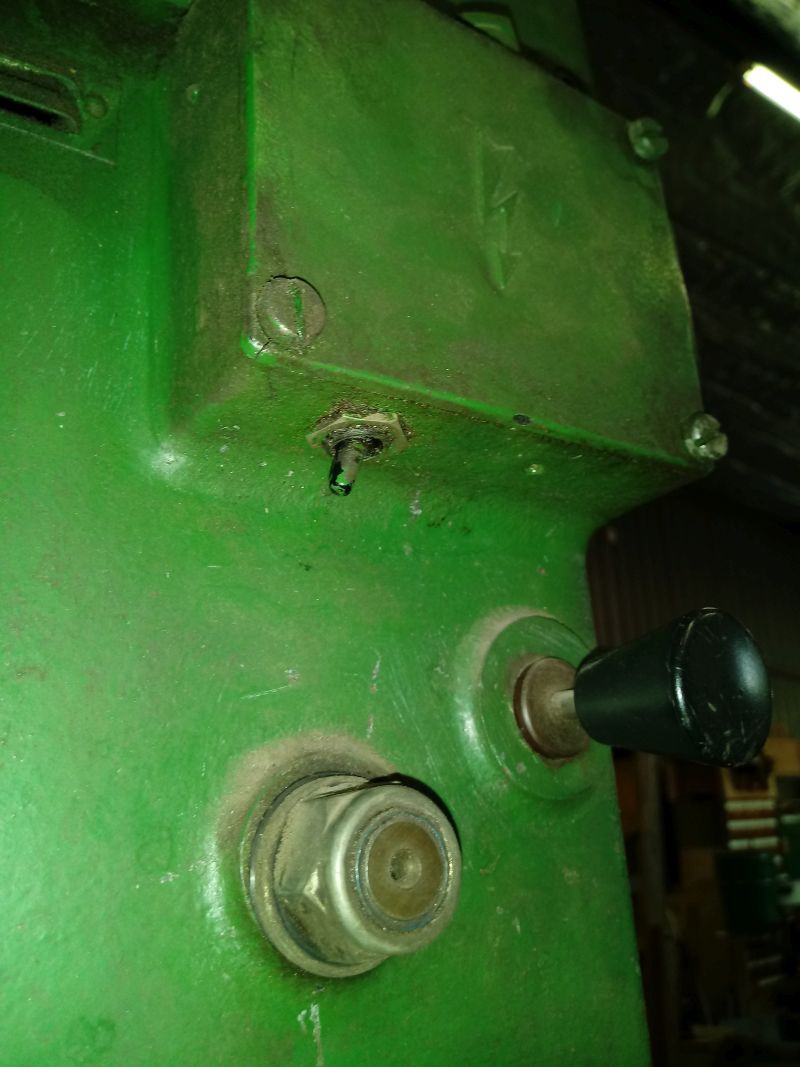
And here's the dinky little switch that powers the whole thing:
![]()
The client made the new cover for the light, out of polycarbonate sheet. In case it needs to be replaced there's an extra, and also templates for making more, should the need arise.
-
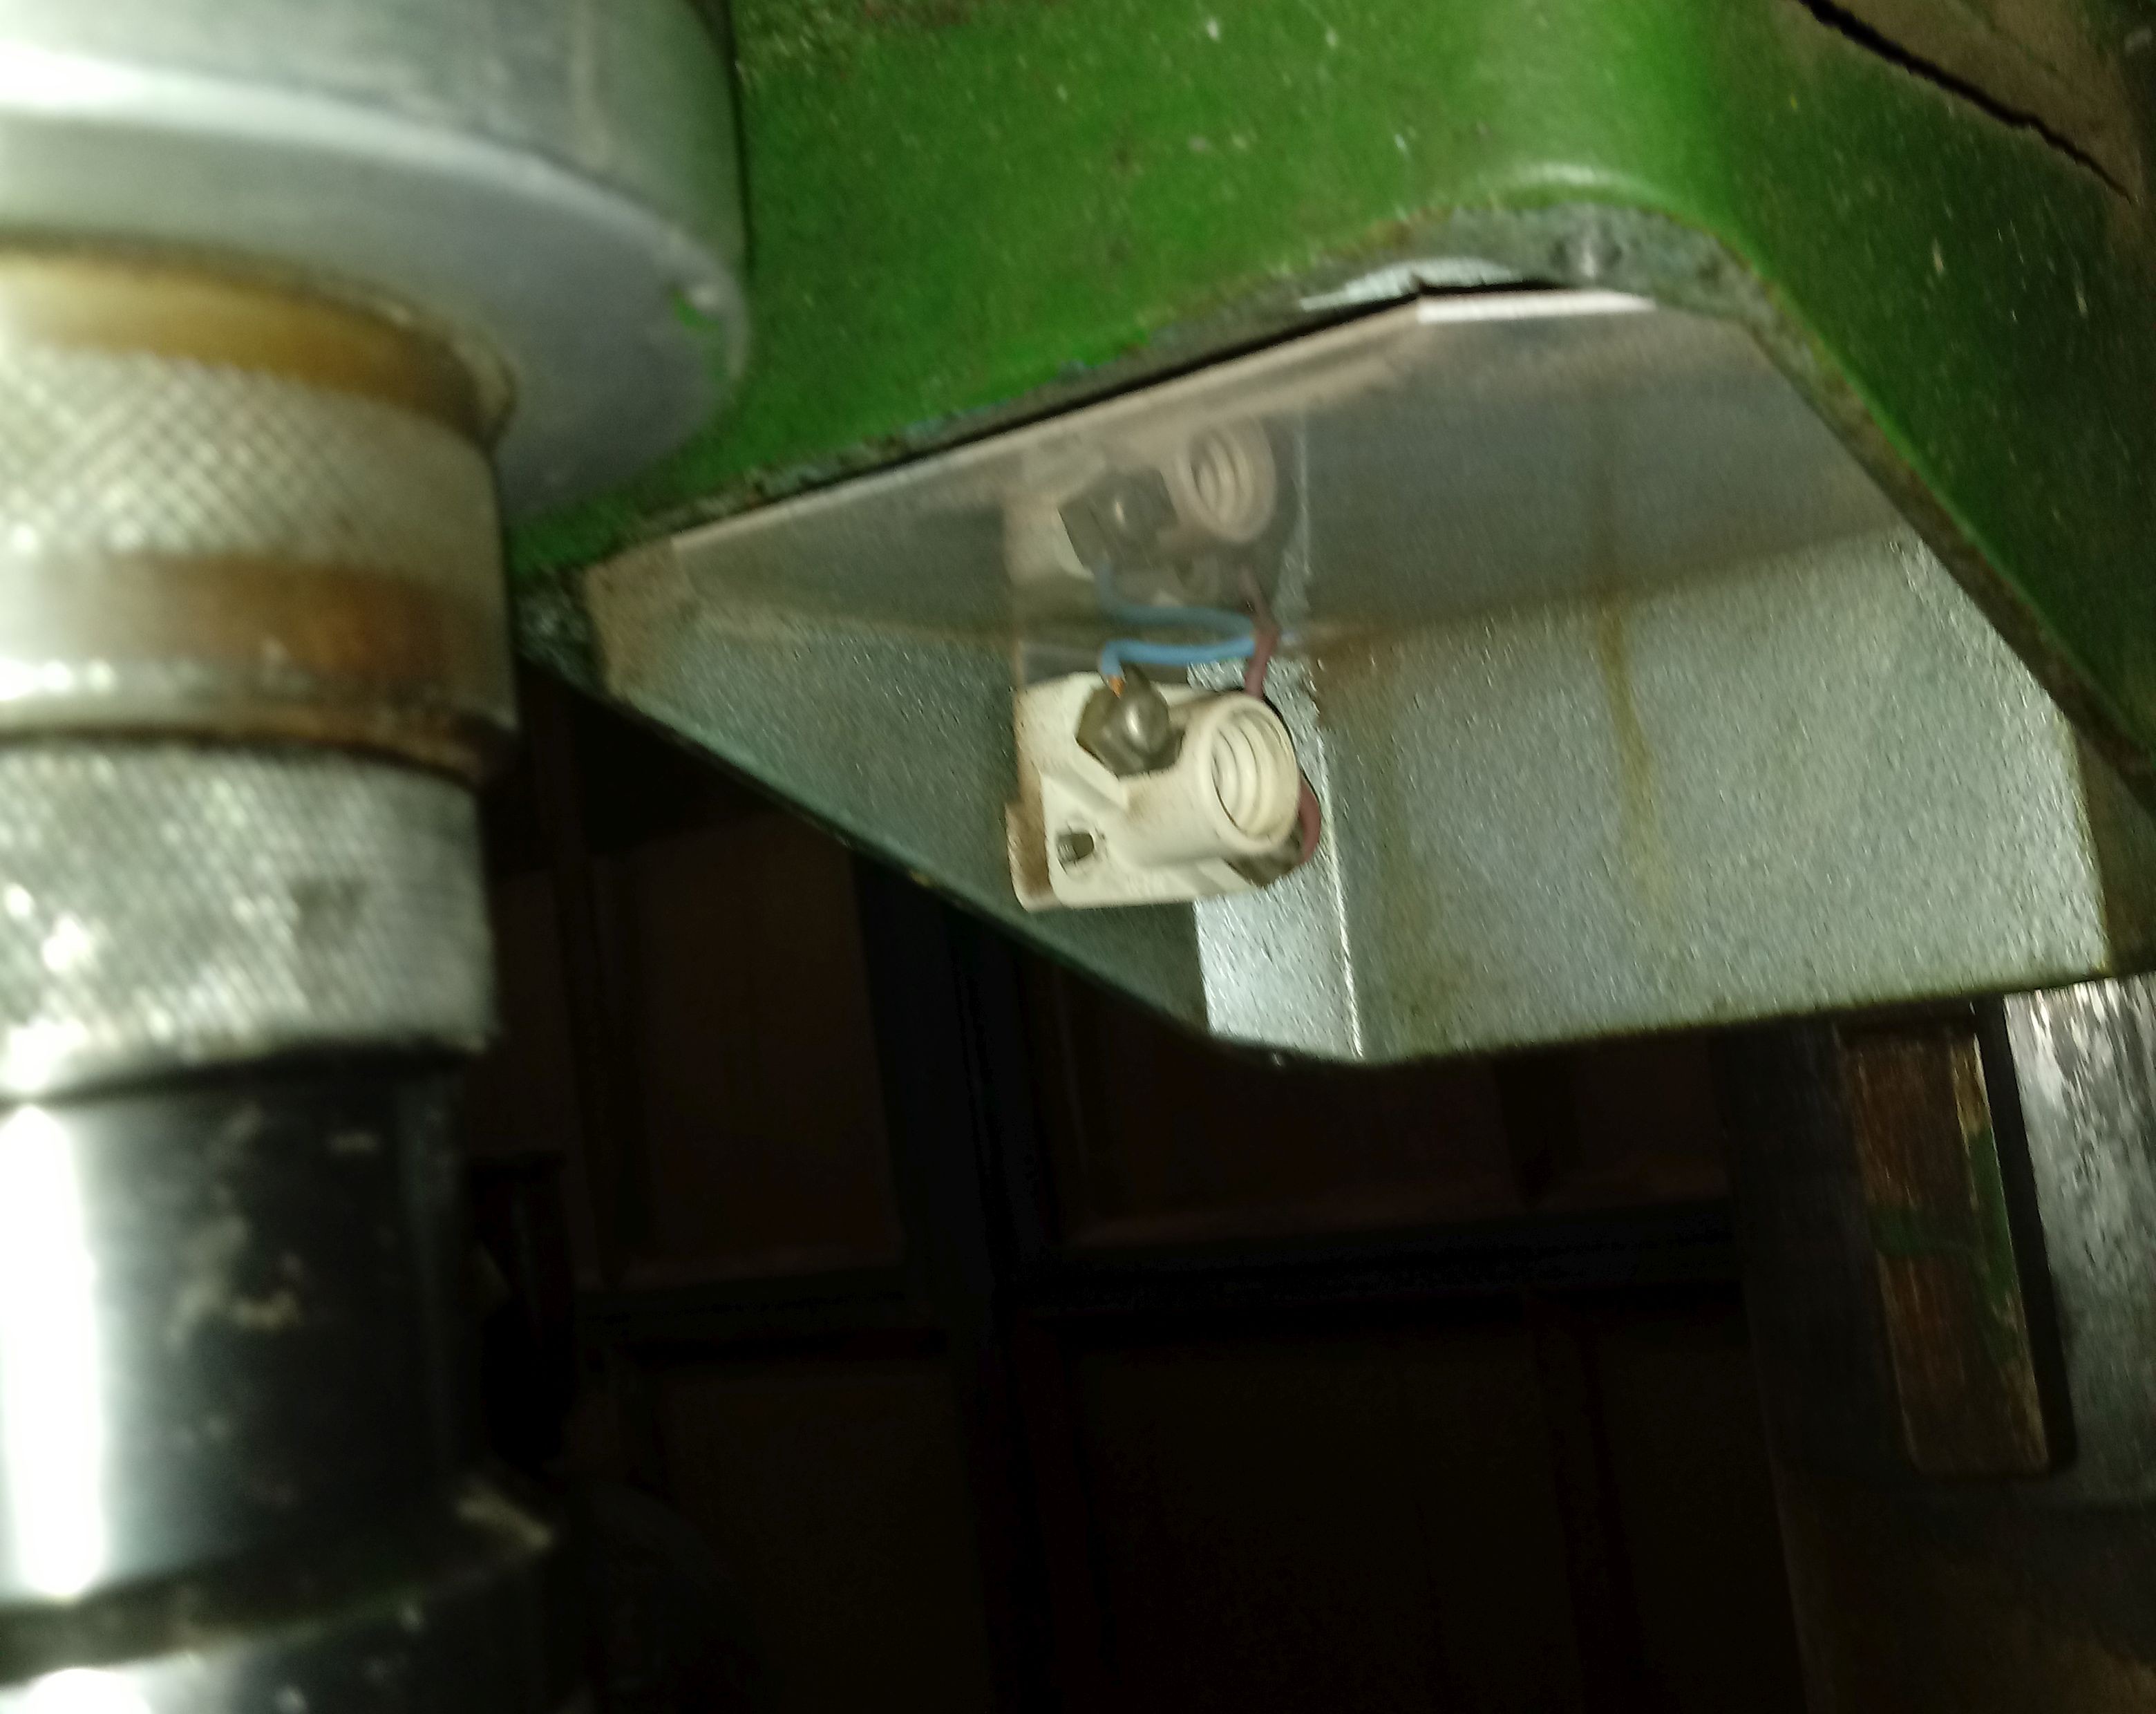
Progress
01/03/2018 at 17:53 • 0 commentsThe most important progress today was that Jacques made a bracket to mount the box on the drill press.
Here's the bracket with the box:
![]()
Here's the box mounted on its bracket:
![]()
I've removed the power connections from the lamp socket, and added a chocolate block.
![]()
I also did some sculpting on the array reflector, to let it fit better in the space available.
-
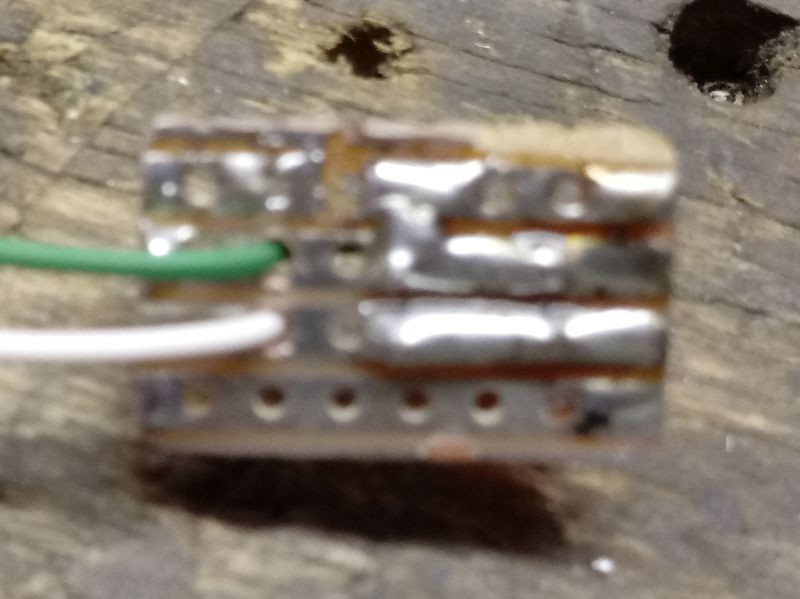
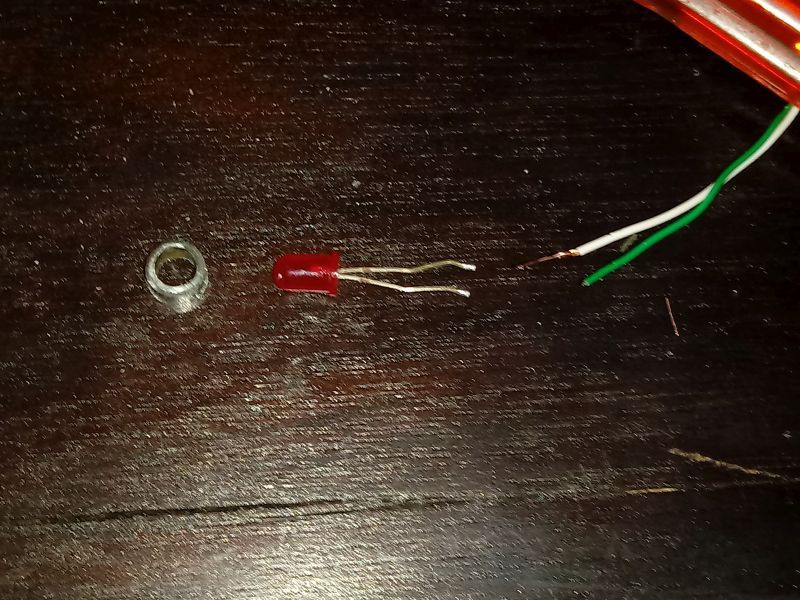
Indicator
01/02/2018 at 16:59 • 0 commentsToday I soldered up the indicator LED.
I made the holes in the Veroboard for feeding the wires through with the Dremel tool. This is something I can get used to.
![]()
I think I'm going to to glue it all into place using hot melt glue.
Here's the bottom side. Smartphone cameras suck at focusing. Also, I suck at cleaning up used fragments of Veroboard.
![]()
-
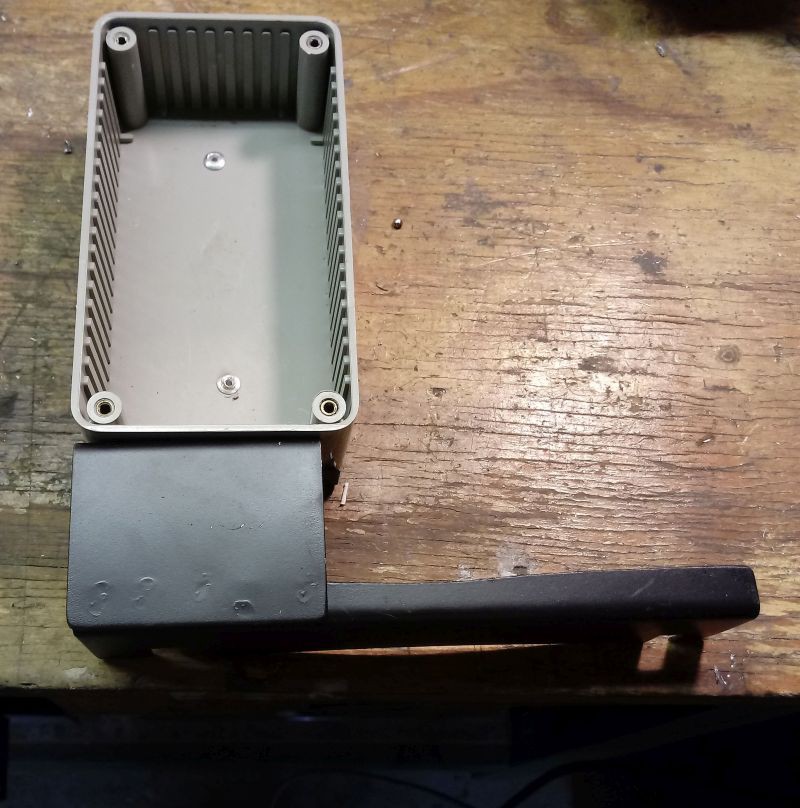
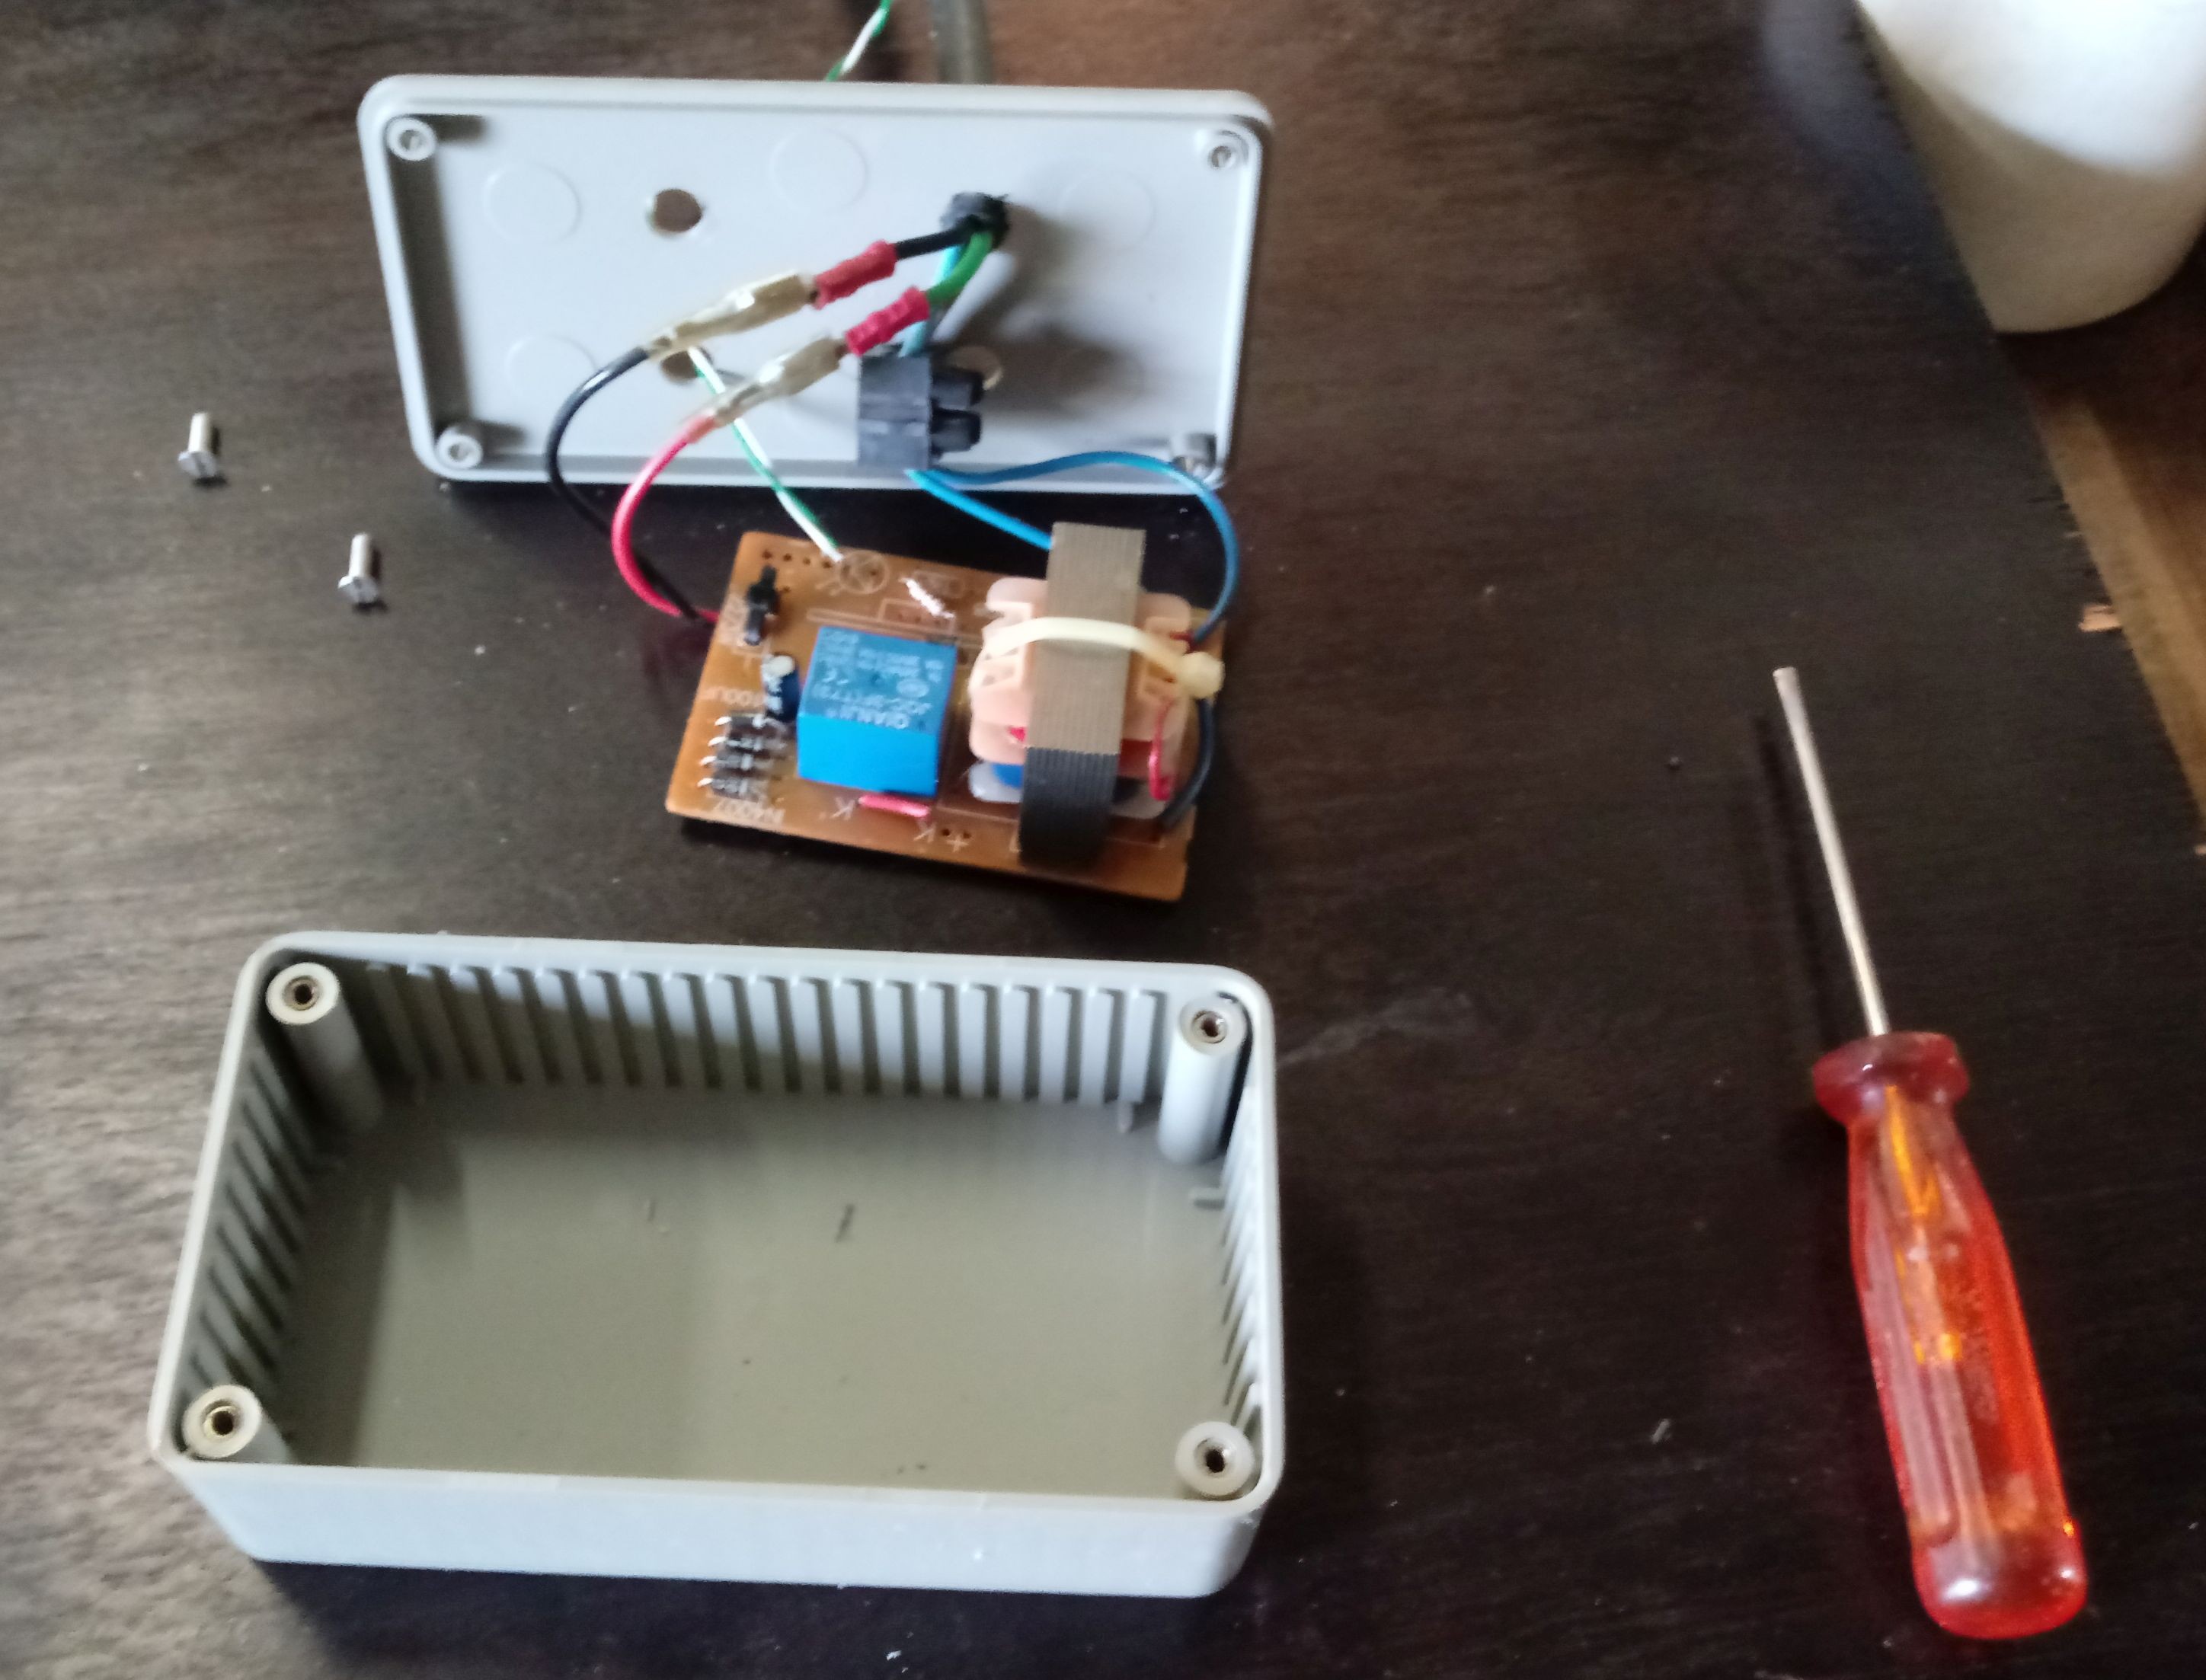
Box
01/01/2018 at 18:29 • 0 commentsI'm repurposing an enclosure I obtained from a research institution that shall remain nameless.
![]()
I discovered the bonus of using a Dremel tool to make holes in a circuit board. Quick, easy, and accurate. I made a pair of slots to anchor the DC output cable.
I'm using a 3-phase 4-core cable to carry AC to the PS, and 6V DC back to the light.
Although it will be rather invisible, I'm going to put an indicator on the front panel. The wire is rather fragile, so I think I'll invest in a bit of Veroboard to make the connection.
![]()
-
Proof of concept
12/30/2017 at 21:43 • 0 commentsToday's mission was to do a proof of concept test. Will the light I have actually be bright enough to be useful?
Here's the light compartment:
![]()
I made a lash-up of the LED array inside the compartment, and got some feedback from users. It seems the light is quite usable.
![]()
Tomorrow I can start boxing up the power supply. After that I can connect the light and the power supply.
Drill press illumination
Restoring illumination to an industrial drill press.