-
1Step 1
Choose you dimensions
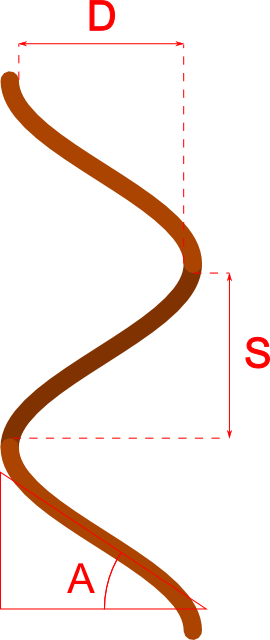
First, choose the wire diameter, helix diameter and turns spacing you want. I used:
-d=1.47mm wire diameter (standard 1.5mm² electric wire in europe).
-D=8mm turns spacing
-S=8mm helix diameterI will note D the helix INNER diameter (from one inner side of the wire to the other), and S the INNER distance between two steps.
![]()
-
2Step 2
Buy material
Get an aluminium tube (or rode, or irong rode, ...) with a diameter equal to D (helix inner diameter)
Buy a wooden bar with thickness equal to S. Don't use light wood like pine. I used oak from an industrial wooden floor. Mahogany or ashe would be fine.
Buy wood glue.
Get some cheap (2€ for a pair of mine at local disount store) if you do not have better ones.
Buy a drill press (no, don't, ask someone if you can use his one)
-
3Step 3
Mark the Face Plate
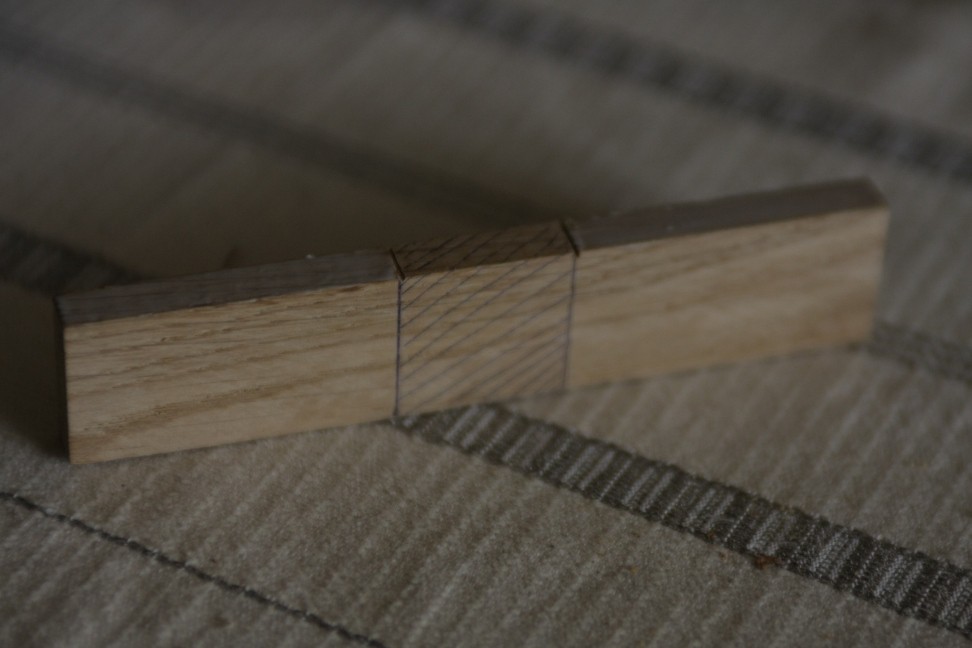
Cut two grooves on one side of the piece of wood spaced by about 20-30mm (1 inch).
Mark perpendicular lines on the face and mark the area between the two grooves and two lines.
-
4Step 4
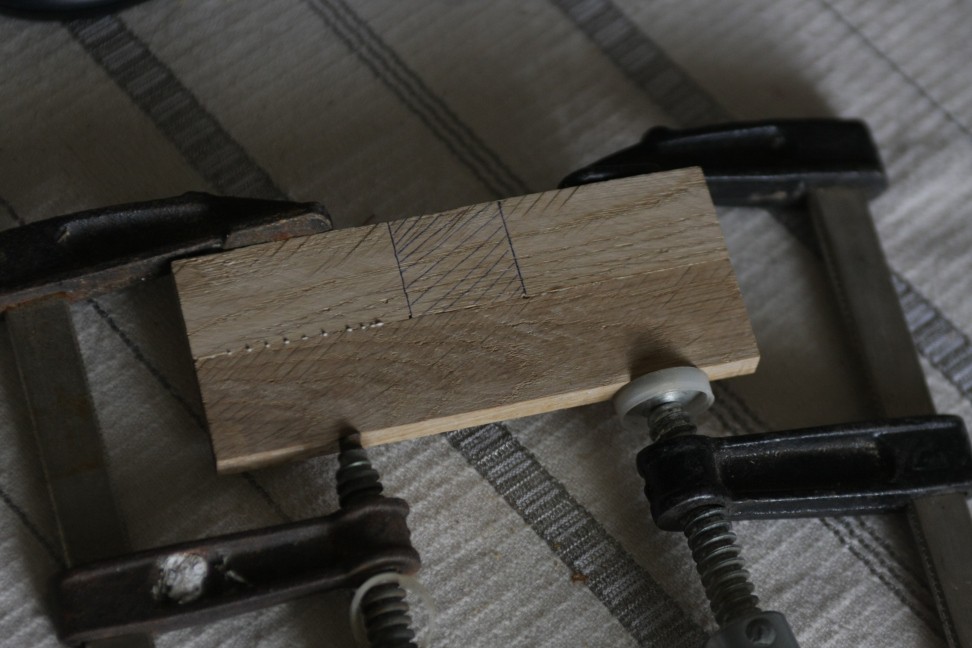
Glue pieces of the Face Plate
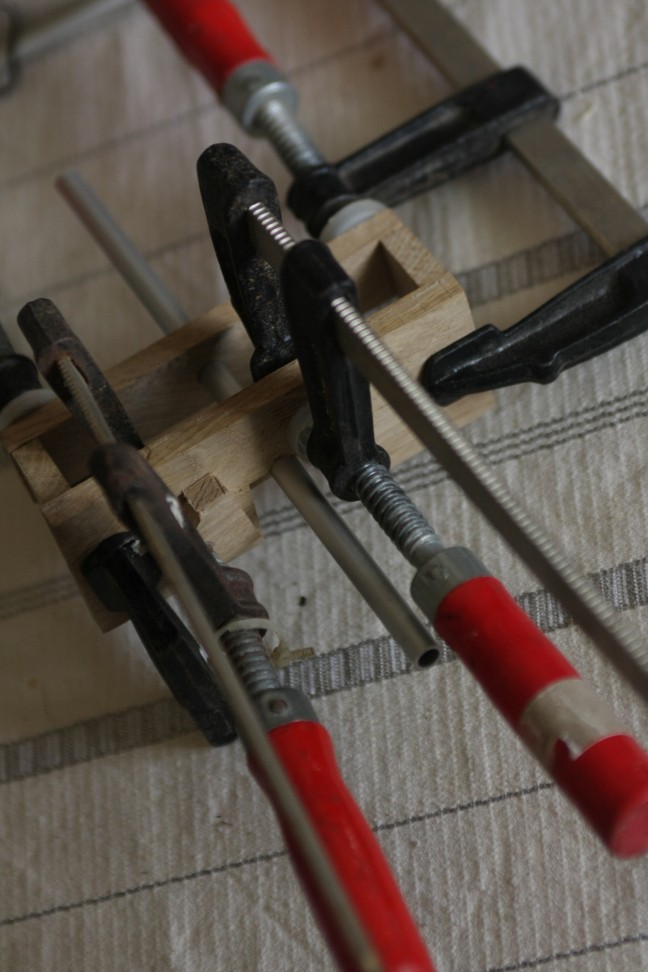
Clamp a second piece of wood on the side of the first one.
Cheap clamp will be good enough, but make sure that:
-The two pieces of wood are perfectly aligned (no angle)
-You clamp as hard as possible (exceed glue should come out)
-Exceed glue should not cross the grooves (if it does, you used too much glue :) ) -
5Step 5
Glue the main block
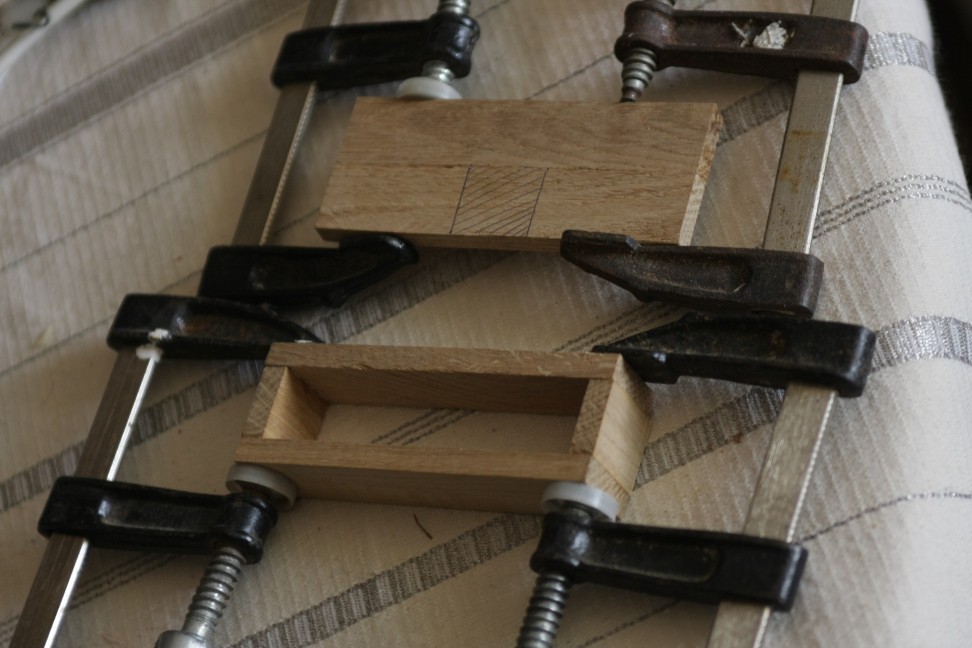
Cut two small pieces of wood (approximately square) and glue them between larger ones as shown.
The main block does not need to be hollow, this just saves wood. All you want is a block that is at least 25mm (1") thick so the tube can be held perpendicular to the block. Glue on the side that are really square and parallal, not the one you sawed.
-
6Step 6
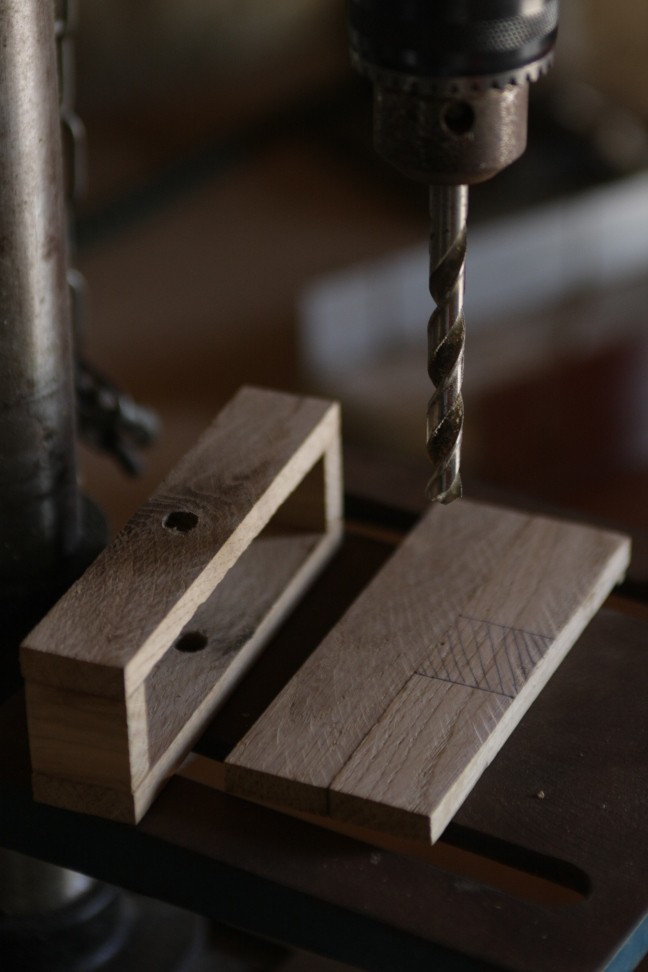
Drill
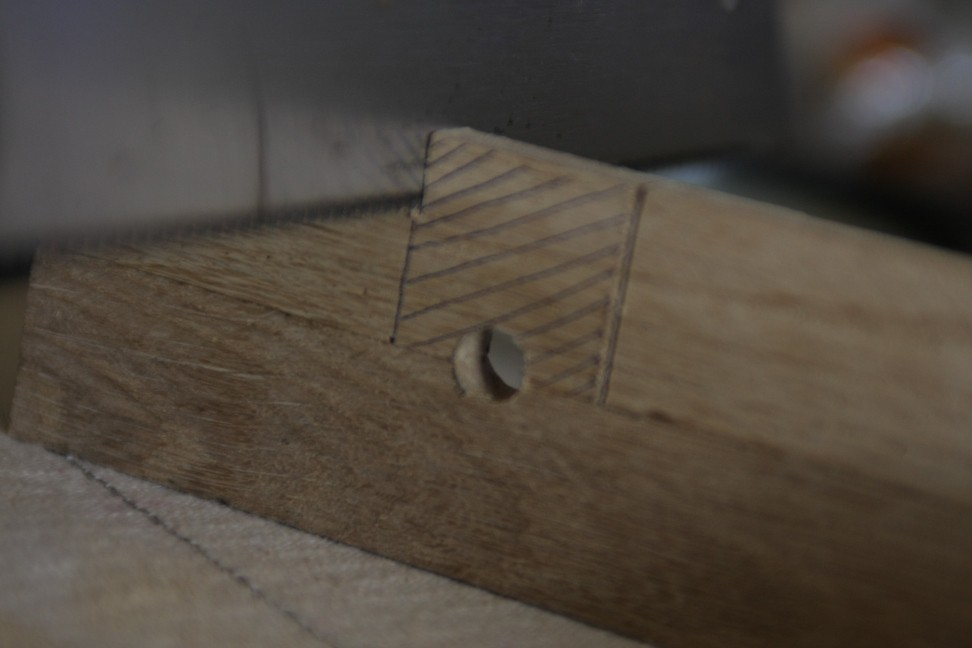
Using a nail, make a small mark in the marked area near to the center of the first part you made. The mark is slightly moved toward the marked / grooved piece of wood.
I use 1.45mm wire, so I will mark a point about 0.75 mm on the right of the joint. (see picture, formula is wireDiameter/2/cos(helixAngle) , but you need to make it slightly shorter because wood will be strained by the wire)
Take a drill bit with a diameter equal to D (inner diameter / tube diameter).
Using a drill press, drill a hole using the nail hole as a guide.
Also drill a hole that goes through the whole part you glues in step 5 (have a look at the precious picture, it is already drilled)
-
7Step 7
Remove the center part of the face plate
Cut the sides of the marked area. Since there is no glue on the the other sides, the center part of the wood will come off.
-
8Step 8
Glue the main block and face plate togeter
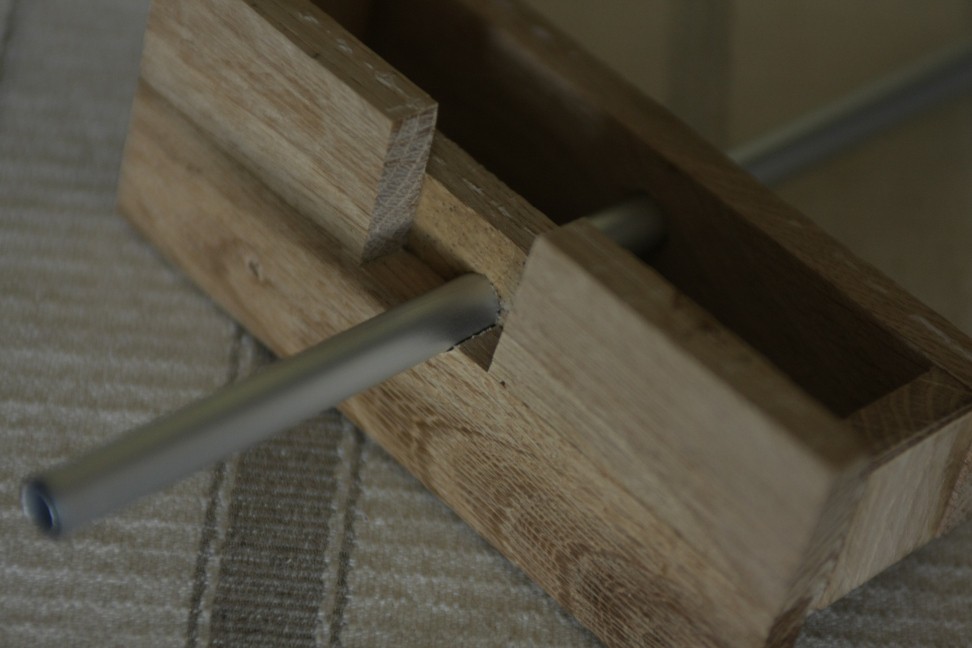
Cut an about 300mm long piece of aluminium tube.
Put it through the the holes in the block
Use the tube as a guide to position the face plate on the block (you want the side of the holes perfectly aligned:
From the back side:
Put glue where the face plate and main block are in contact (but do not put glue too close to the holes, stay 3-4mm away from there).
Make sure the face plate is well positionned, clamp, then remove the tube to make sure it does not get glued.
-
9Step 9
Drilling the wire-feeding holes
Now is time for a bit of calculation. The angle A between wire and helix axis is:
A = asin((D+d)/(S+d))
(remember, d is wire diameter)
If you used 8mm for both value, you should find 45° angle.
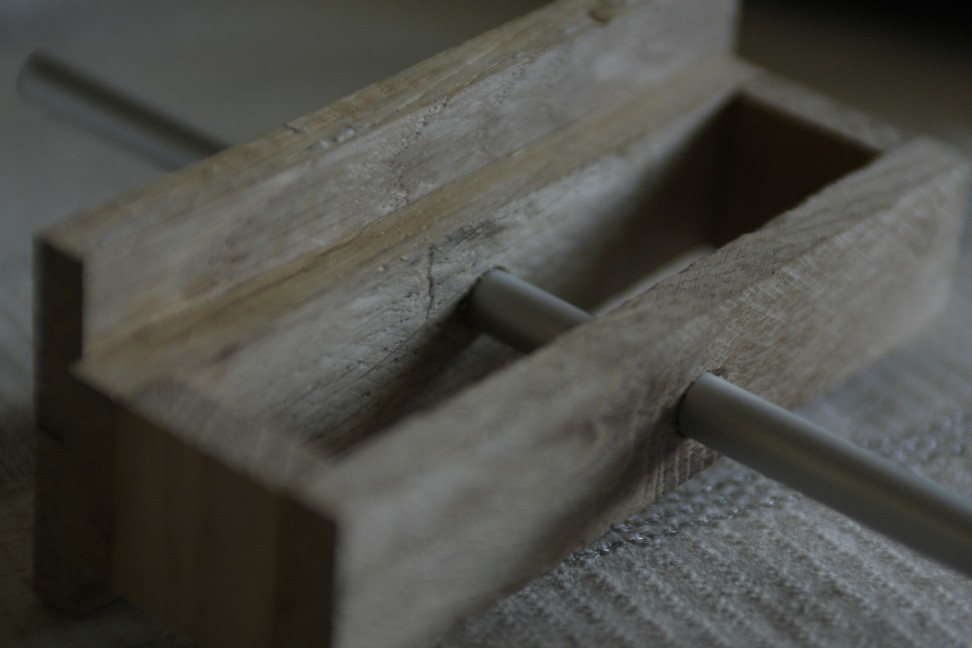
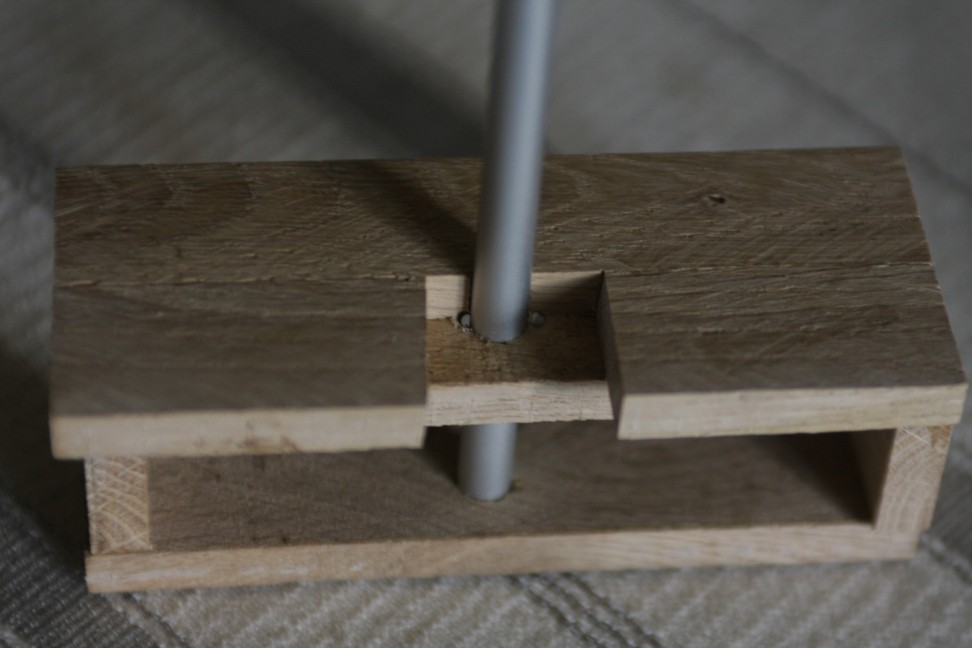
Set your drill press to the proper angle, and drill two holes slightly larger than your wire diameter (in my case, 1.4mm wire and 1.5mm drill bit) at the positions shown on this picture:
The holes should be tangent to the tube's hole. They should also be drill in the block only and be tangent to the border of the face plate.
The left hole on the picture is wrong, right one is almost good. This is what happen when you do not mark the center of the hole with a nail before drilling........... :(
-
10Step 10
Test it!
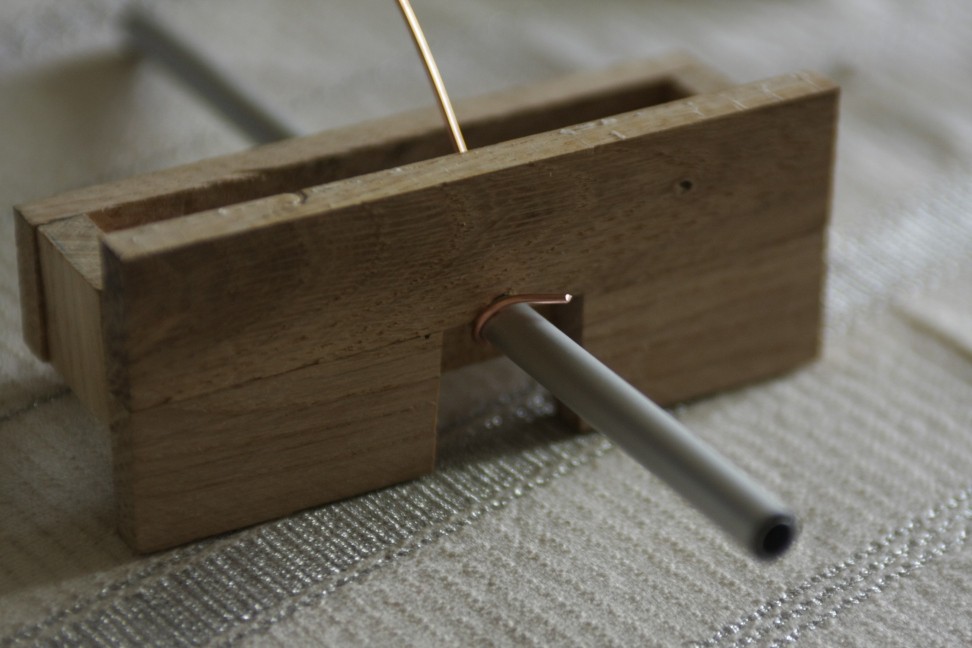
Insert some wire in one of the small holes (depending on the helix direction you want), wrap it around half of the tube so it comes out just at the corner formed by the tube and the face plate:
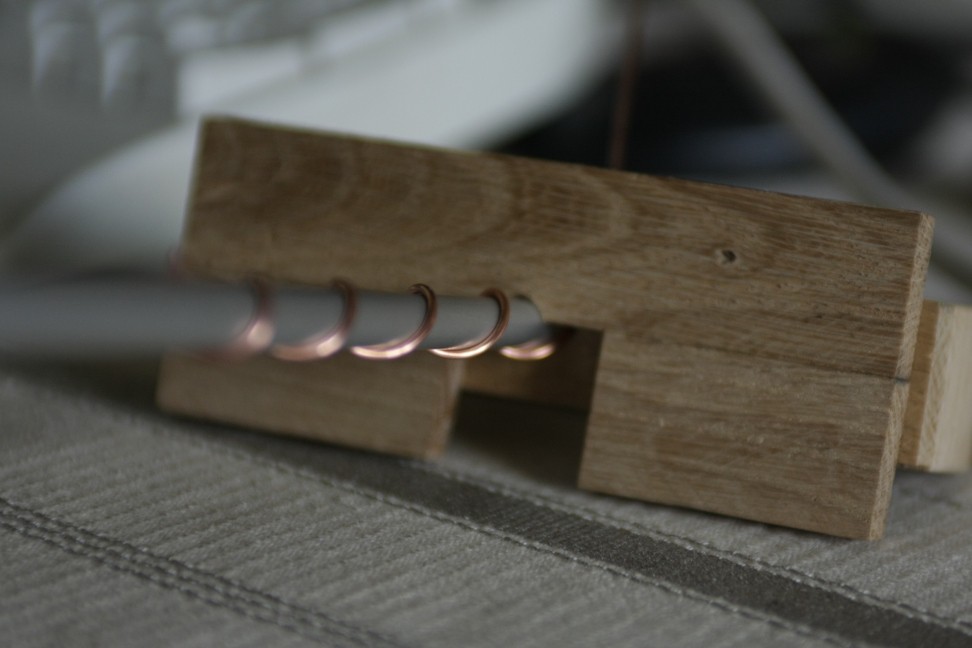
Grab the wire between the tube and your thumb, and with the other hand just turn the block. Let the winder move on the aluminium tube as you wind, make sure that the wire stays in contact with the face plate to keep a constant spacing.
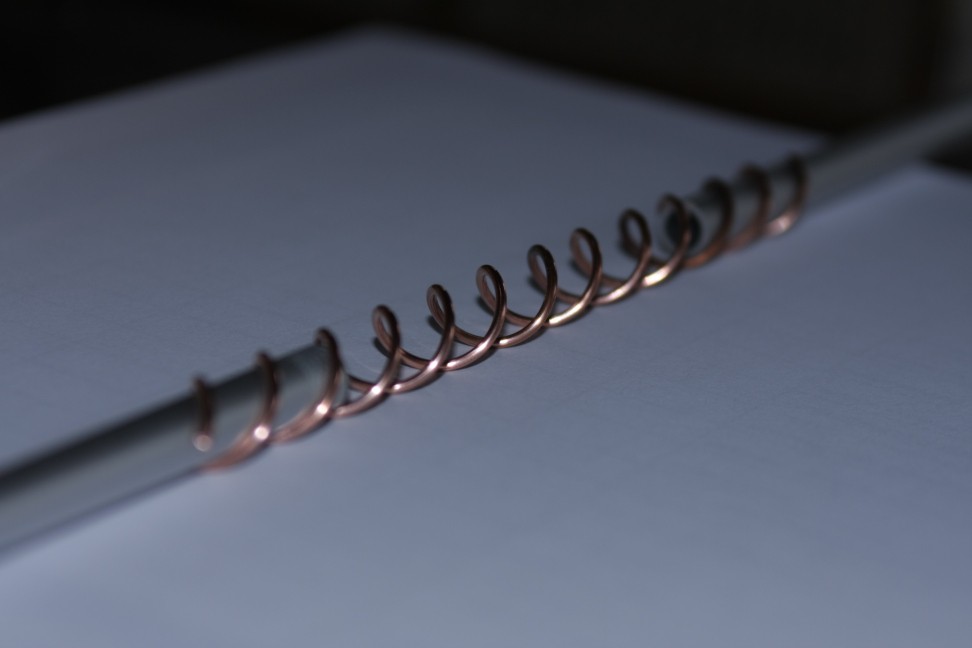
On my first test, I made three helix, and put them side by side. The larger difference in turns size I could find was 0.2mm. Here are two of them, ready to be part of the first DNA lamp:
![]()
Good enough :)
Helix Winder
A cheap Helix Winder you can make in less than an hour with basic tools.
 ftregan
Discussions
Become a Hackaday.io Member
Create an account to leave a comment. Already have an account? Log In.